Adding Soundproof Panels to Finn’s Home Office
Disclaimer: This post is sponsored by Armstrong Ceilings.
It’s hard to believe that Finn has been working from home for almost a year now. Last March, I certainly didn’t believe that he wouldn’t be going back to the office until…well, who knows?! I am very grateful that we have been home, safe, our little family of three. And Finn gets to see Rory all day, every day. It’s very special. 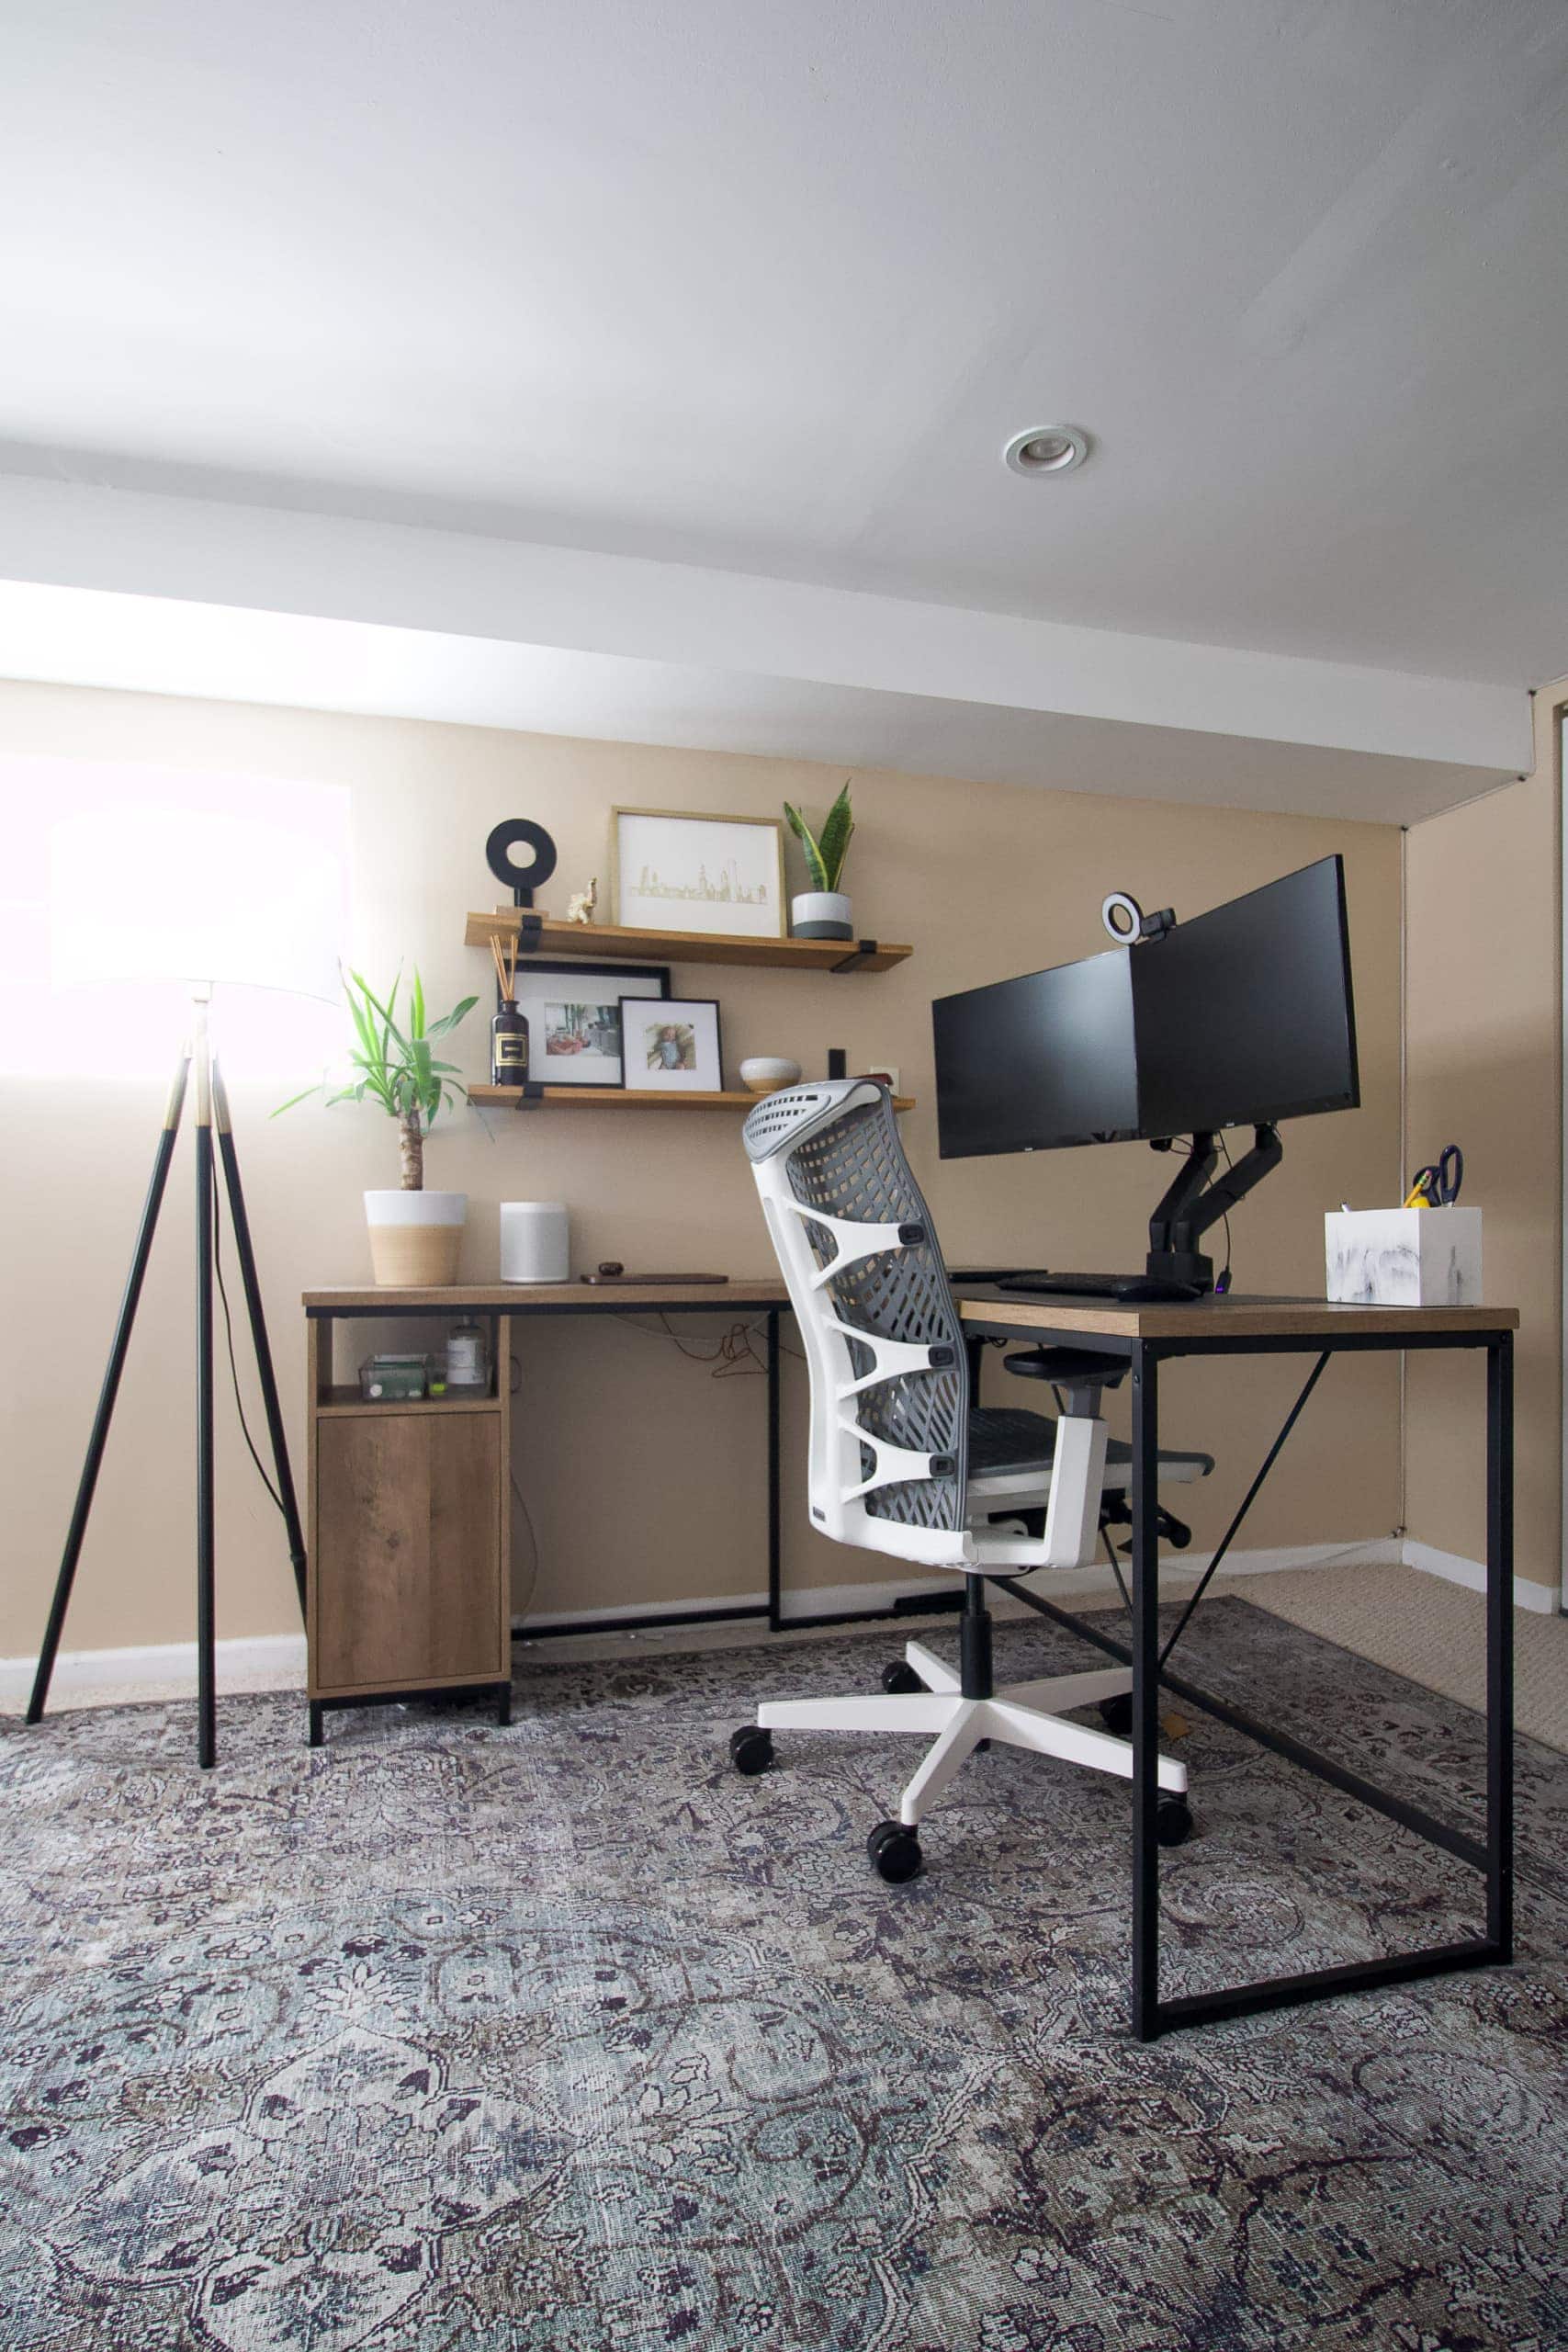
If you remember this blog post, I kicked Finn out of our upstairs office over the summer so I could reclaim it after maternity leave, and we made him a nice setup in the basement. I even made him some simple DIY shelves for his little office area to show off pictures of Rory. He has been working with that same setup ever since. 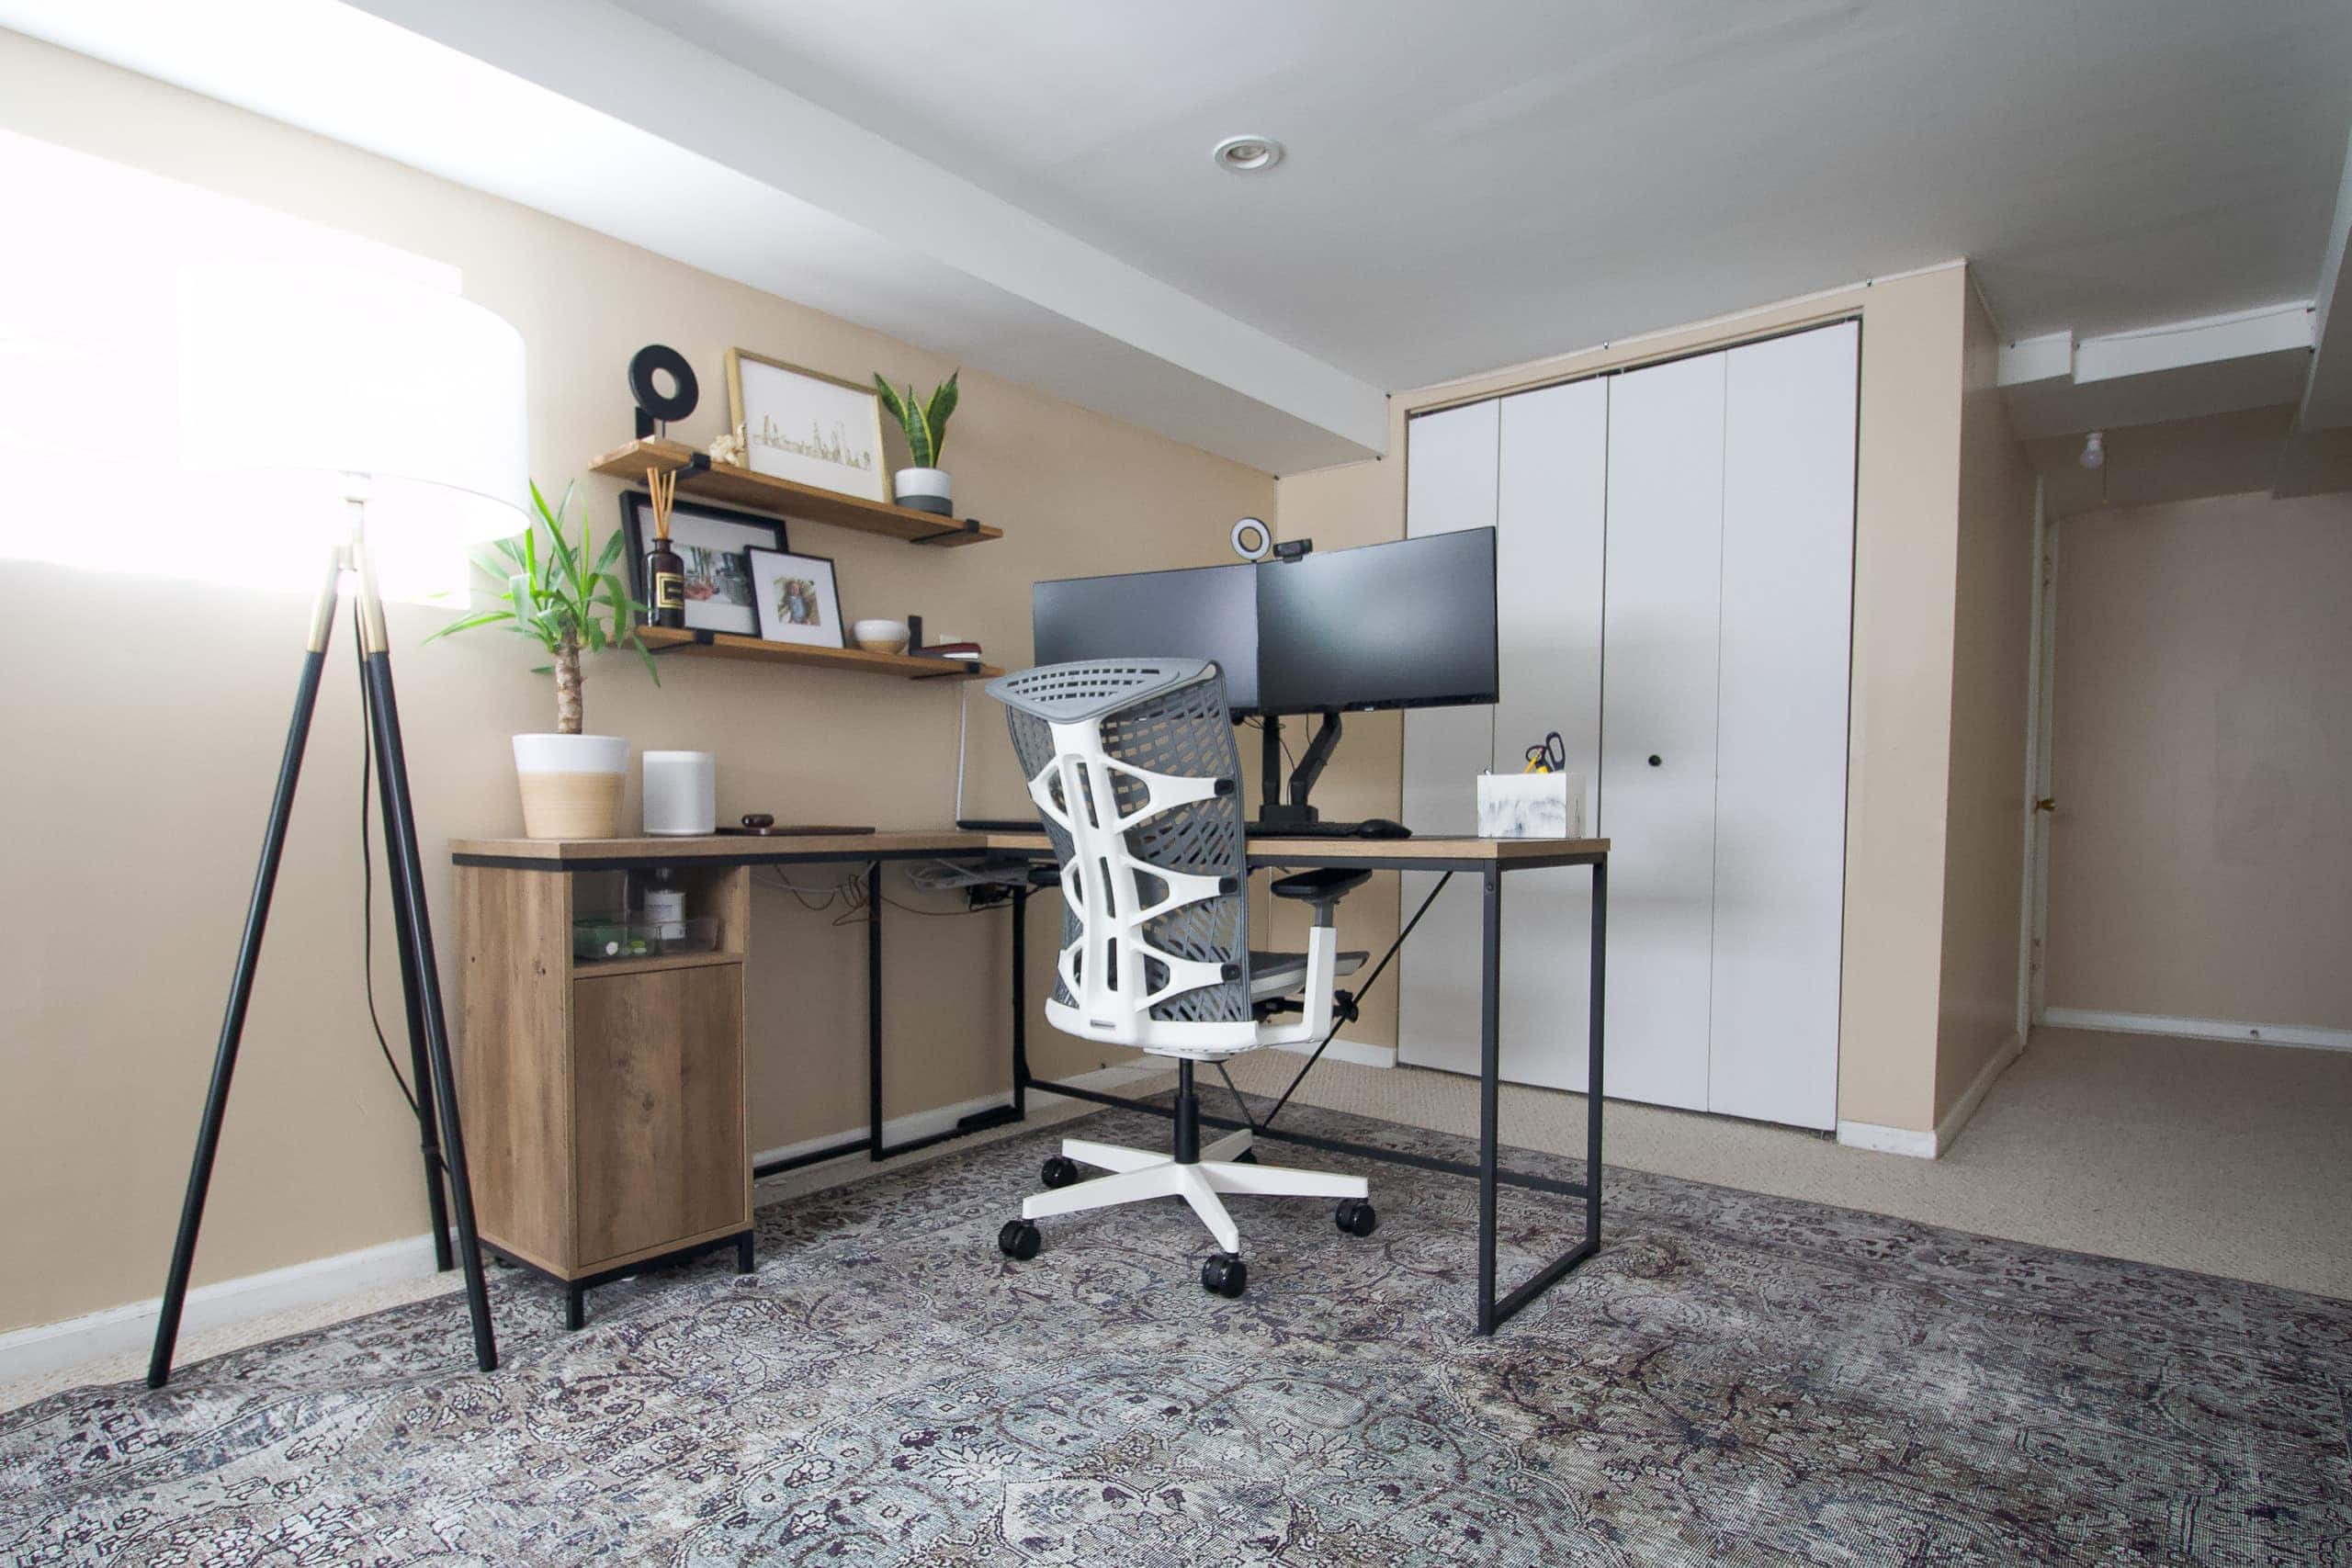
But sound has always been an issue down there, especially because he has so many video conferences. It’s pretty much meeting after meeting, all day long. When Armstrong Ceilings reached out and told us about their new workspace sound reducing kits, Finn was totally on board. These are designed to make your workspace quieter, while reducing echo, and improving the sound quality for audio. I got the green light from Finn to upgrade his home office situation with new soundproof panels. Yes!
Past Armstrong Ceilings Project

If the name Armstrong Ceilings sounds familiar, it’s because I’ve worked with this brand in the past. Remember this super cute kids’ room we worked on a few years ago? The homeowner, Denise, had popcorn ceilings and we used beadboard from Armstrong Ceilings to cover it up. It turned out awesome and still looks great to this day!  You can find all of the details about the installation in this blog post and the full room reveal here.
Supplies to Install Soundproof Panels
Okay, so on to today’s project…adding the soundproof panels to the basement office space. Here are the supplies I used…
- Armstrong Ceilings Sound Reducing Kit
- Tape Measure
- Level
- Pencil
- Sponge
- Utility Knife
- Putty Knife (or you can even use a credit card; this is just to really get the adhesive onto the wall)
The sound reducing kit will come with just about everything you need for this DIY project. When buying, you can choose sound-absorbing wall panels that are either 2ft x 2ft or 1ft x 4ft. After measuring the space, I decided that the 2ft. x 2ft panels were better for Finn’s office. The kit also comes with a sound blocking door sweep that you can add underneath the door to your home office for even better sound quality.
Determine Your Layout
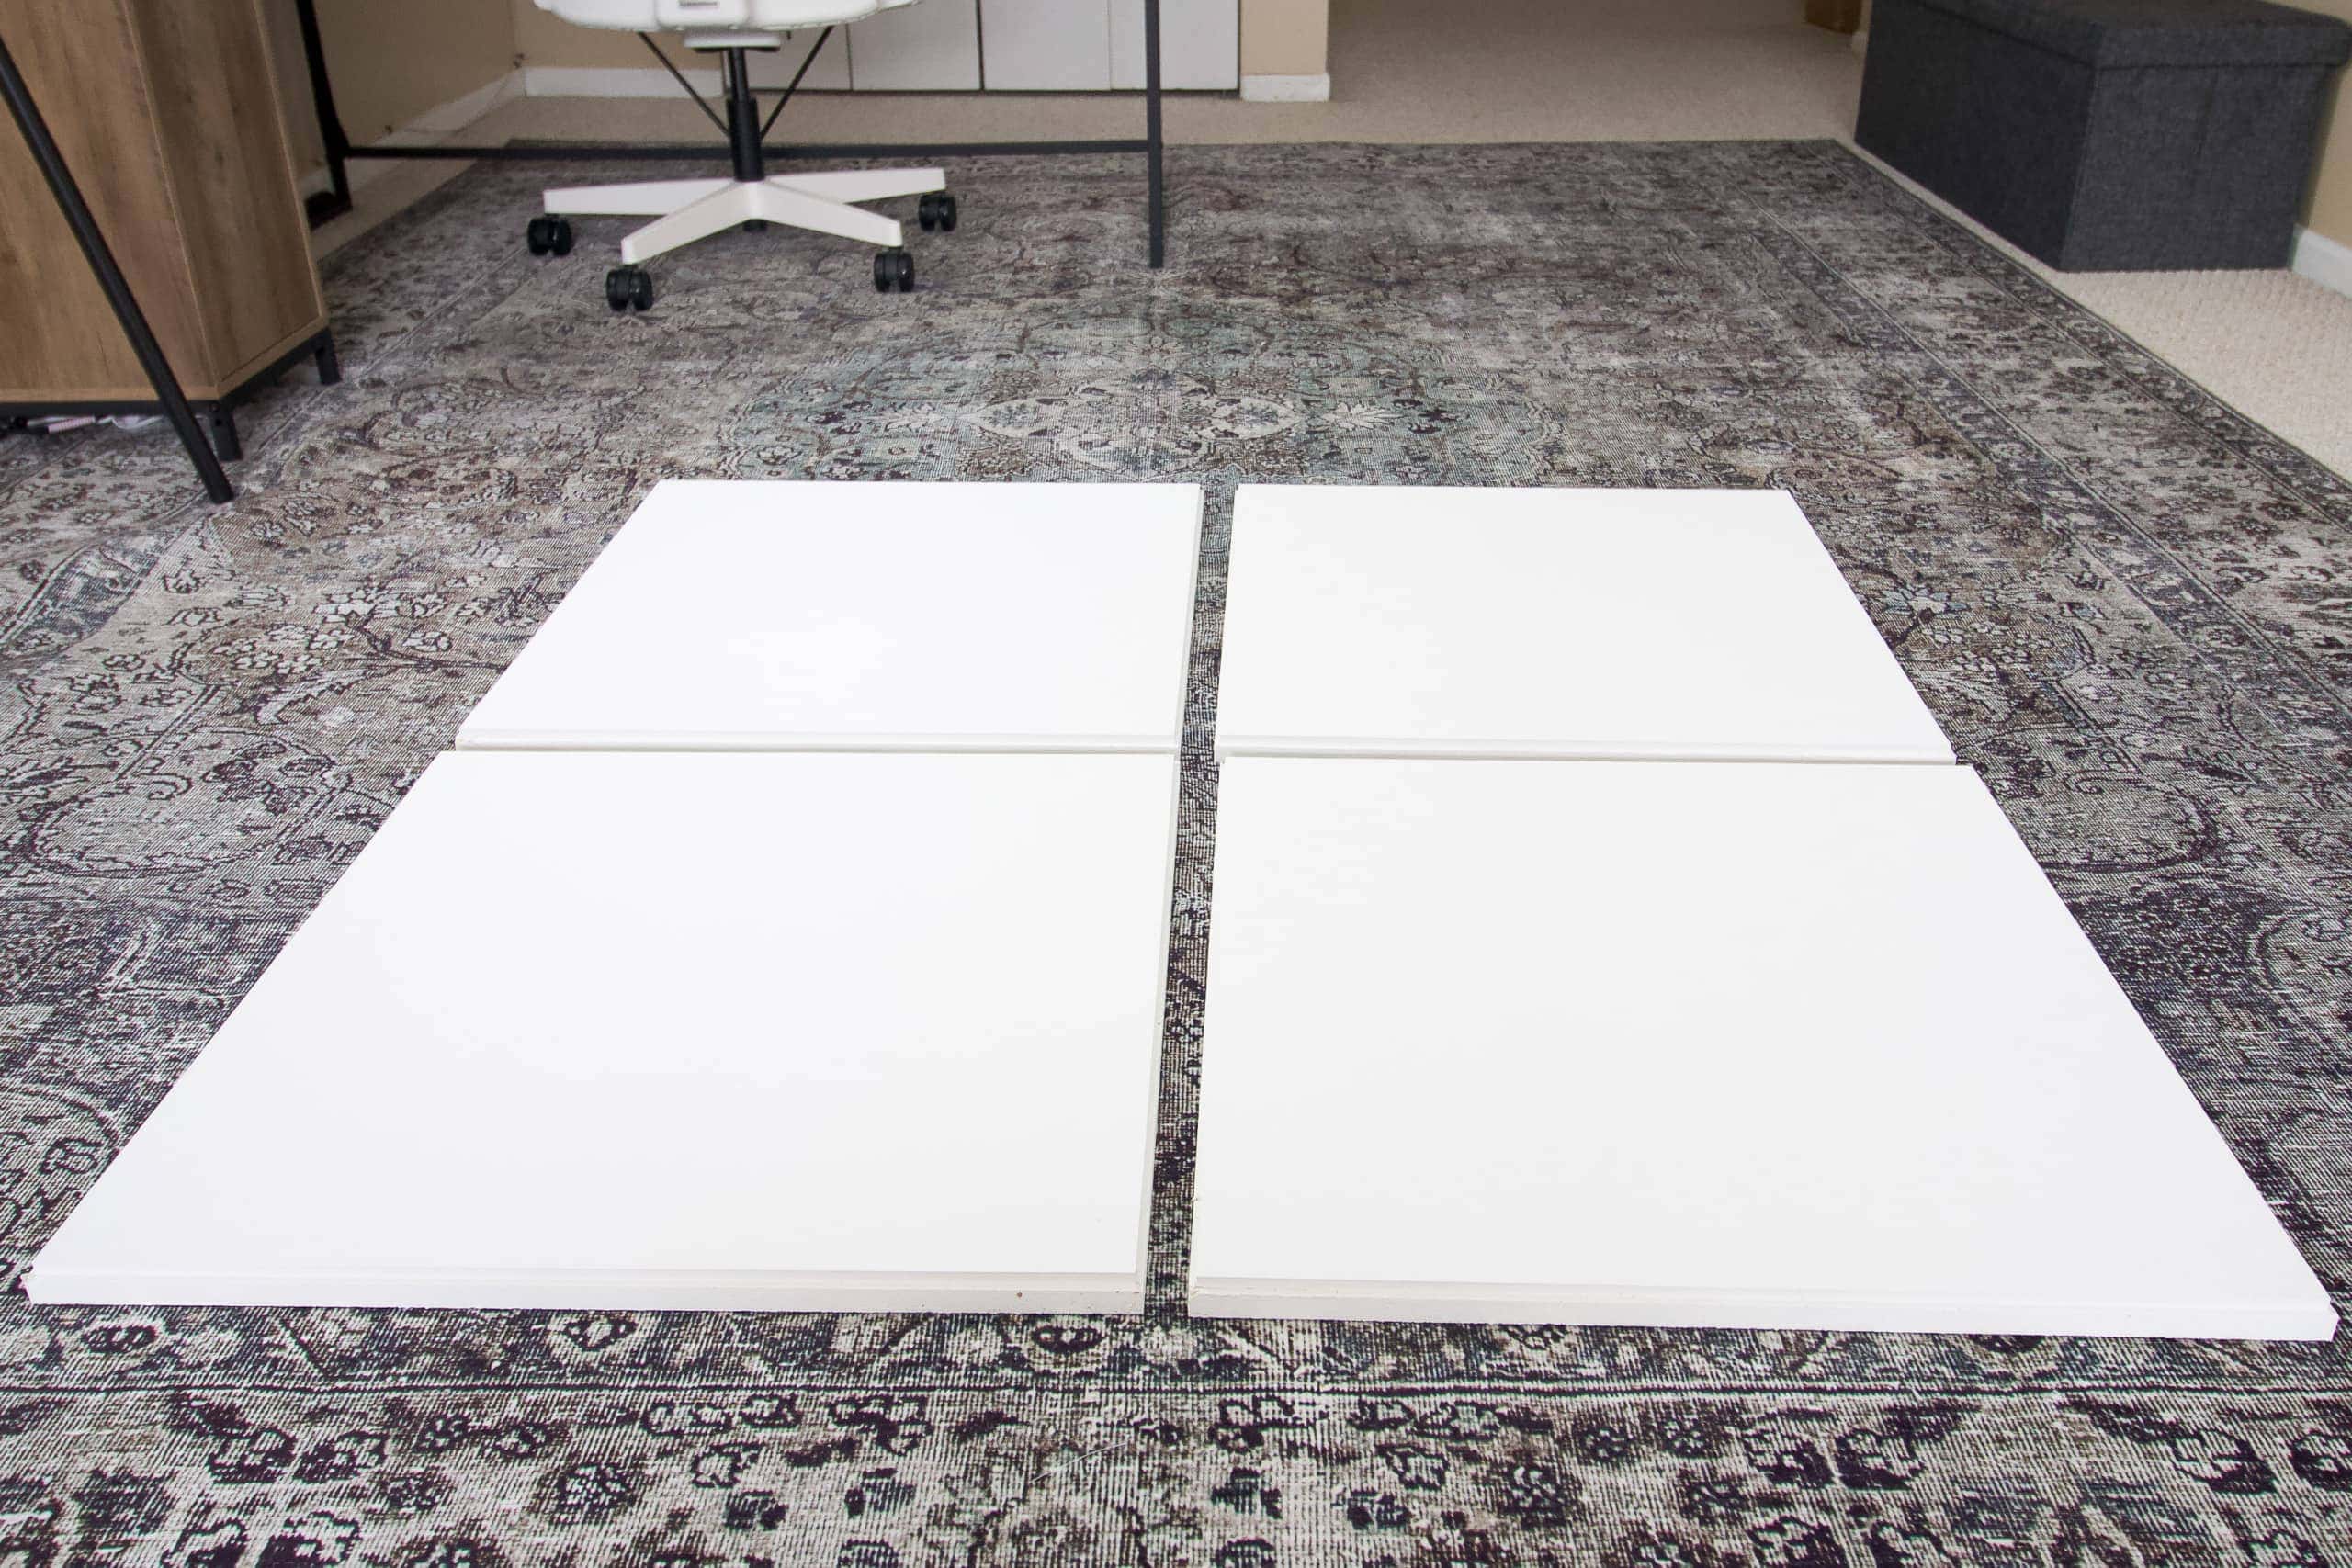
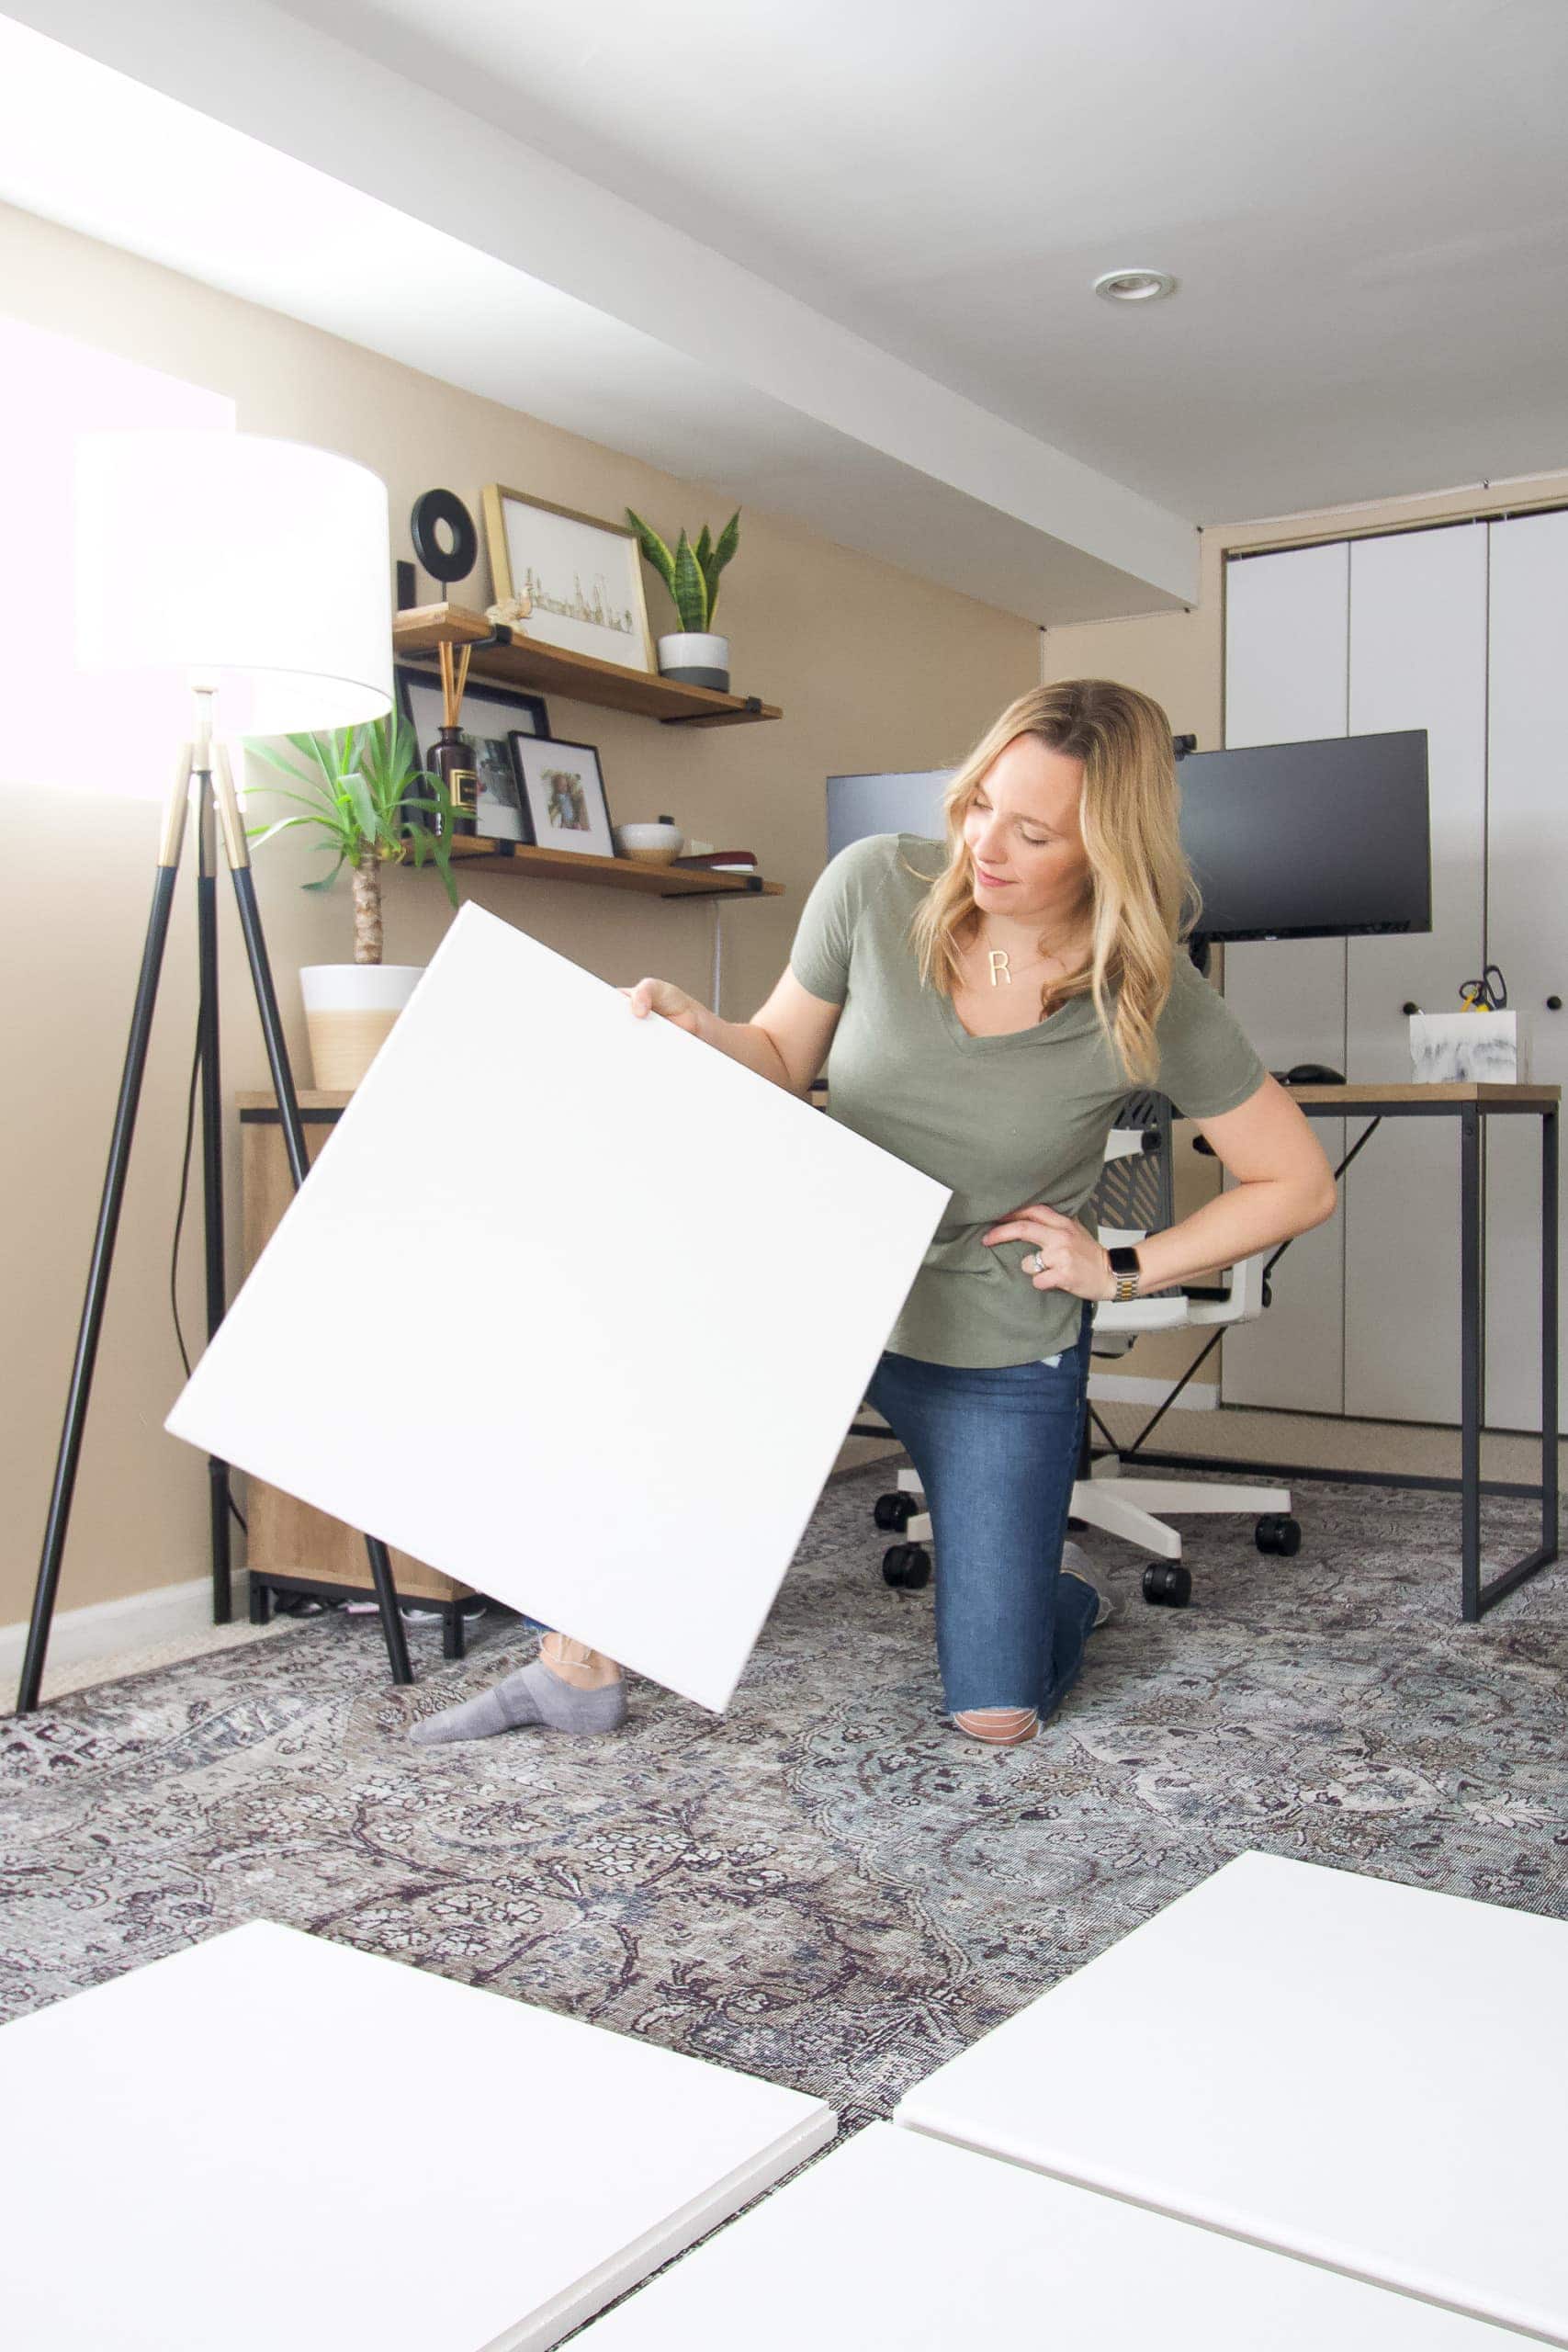
The soundproof panels are super lightweight and movable and remind me of drywall. The moment I got them out of the box, I put my face right up to the board and said a few words. It was wild how good it sounded. (I will definitely be doing all voiceovers for future videos in the basement by these panels!) 
The directions advise you to choose between two layout options – either in a grid, like the above photo, or all four panels in a horizontal row. Because we have the shelves near Finn’s desk, I decided to go with a horizontal row of panels. It’s also advised to place the panels directly behind your desk and at the height of your head. We had to place them a little lower than the optimal placement, but it still helps the sound quality tremendously!
Clean the Wall

After finding the best spot for the four panels, I then took a damp sponge and cleaned off the wall to get rid of any dust on the surface. You want your walls to be clean, dry, and ready for the product!
Prepping the Clips

The best part about this project is that there are no heavy-duty tools involved and you don’t have to drill into your walls. Instead, the lightweight panels are attached with velcro and a clip! 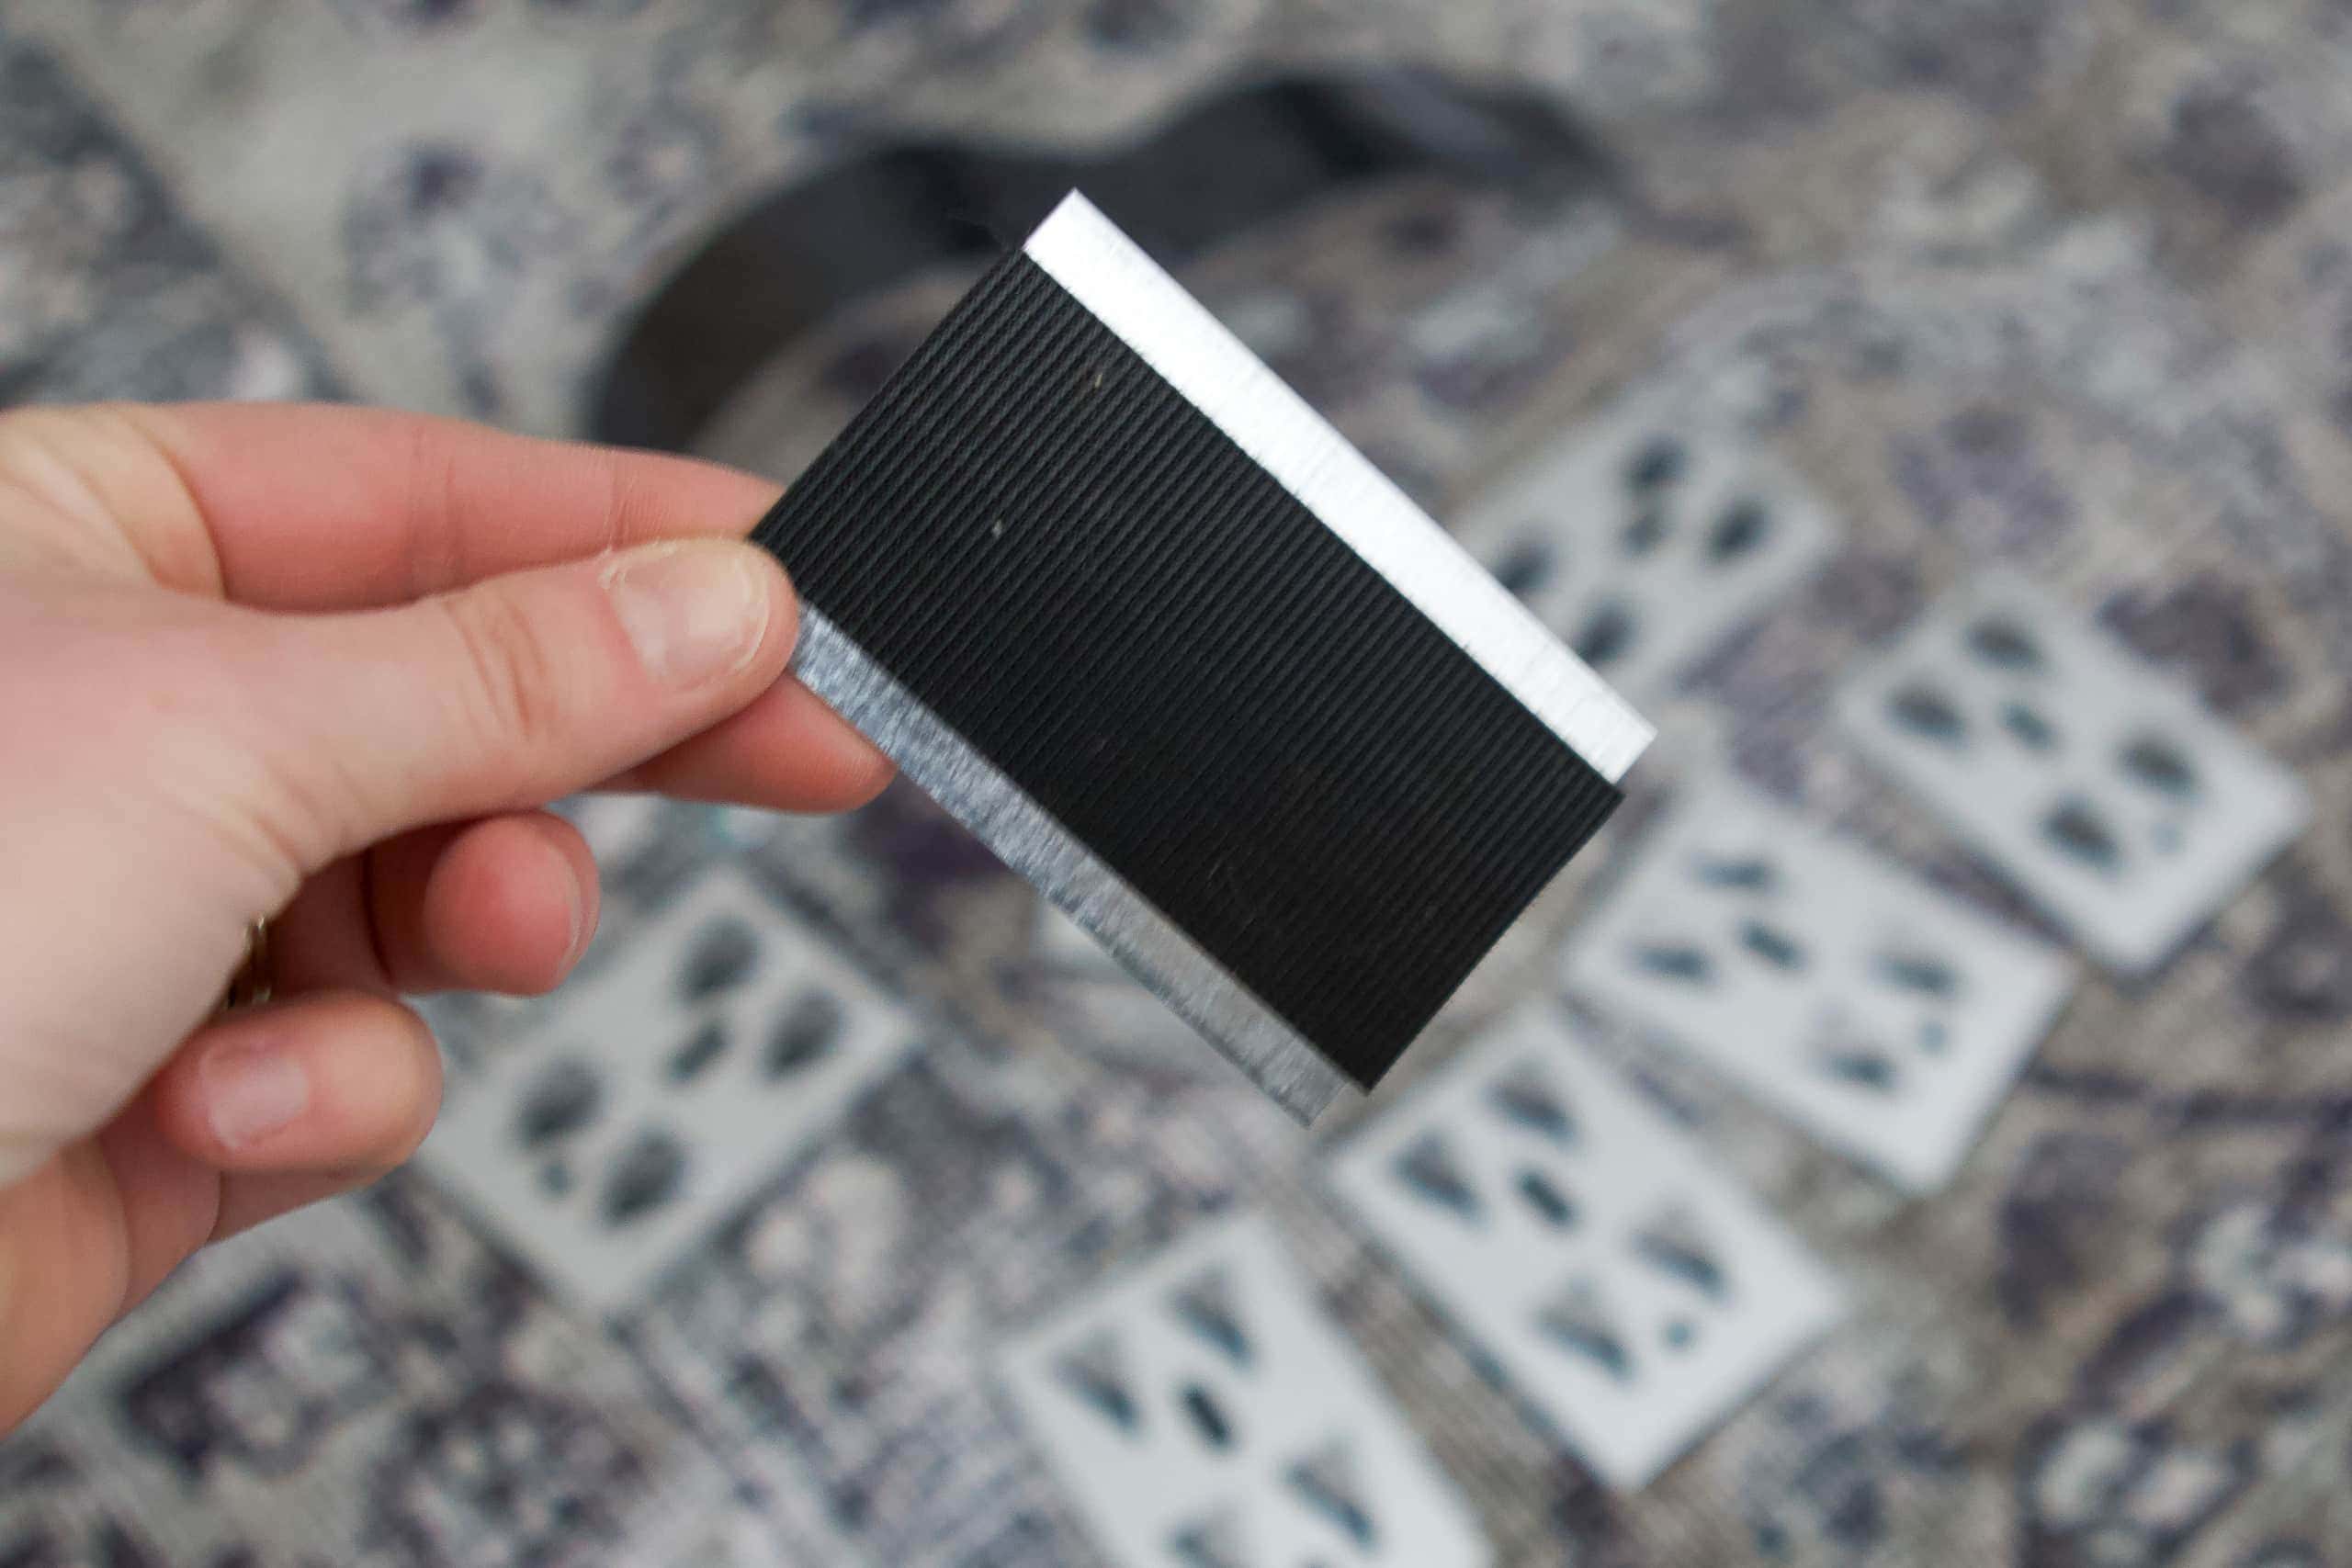
Each panel is attached with two clips, one on each side. I added the velcro to the back of each clip and then used my utility knife to cut it to size. 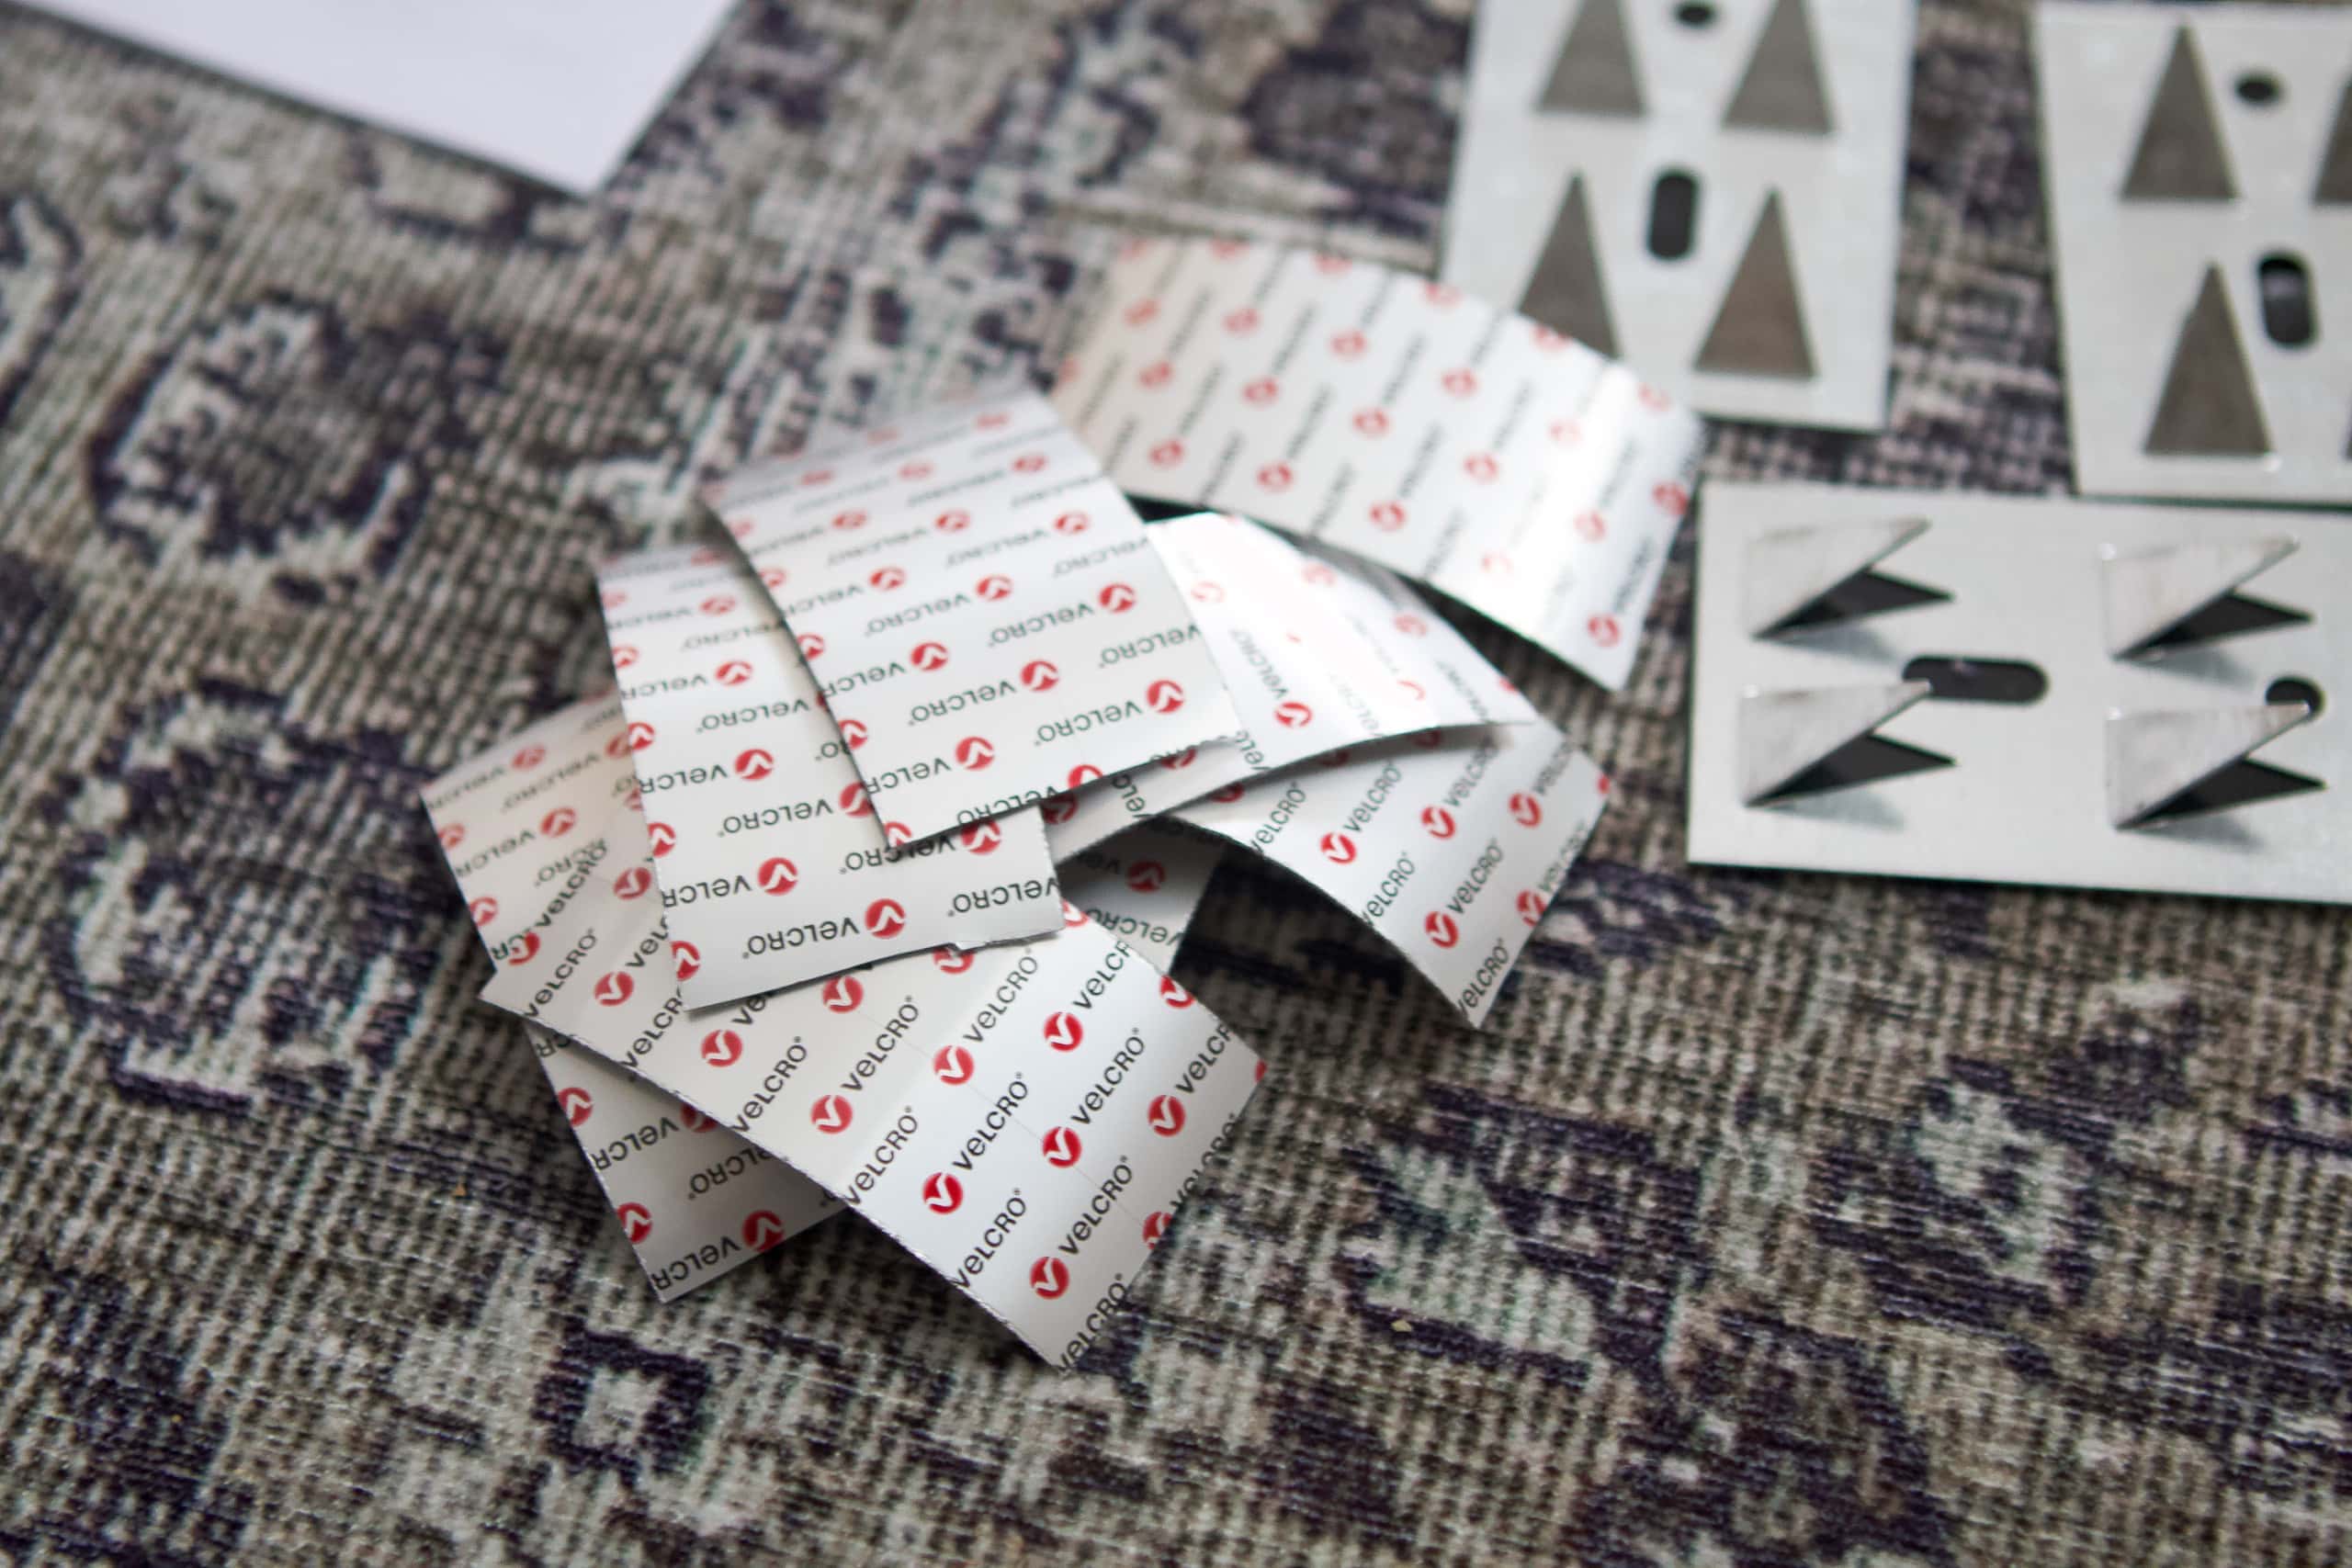
Those clips are then attached to the wall using the other side of the velcro. I cut that into 3-inch strips to fit the clips.
Attach Clips to the Wall
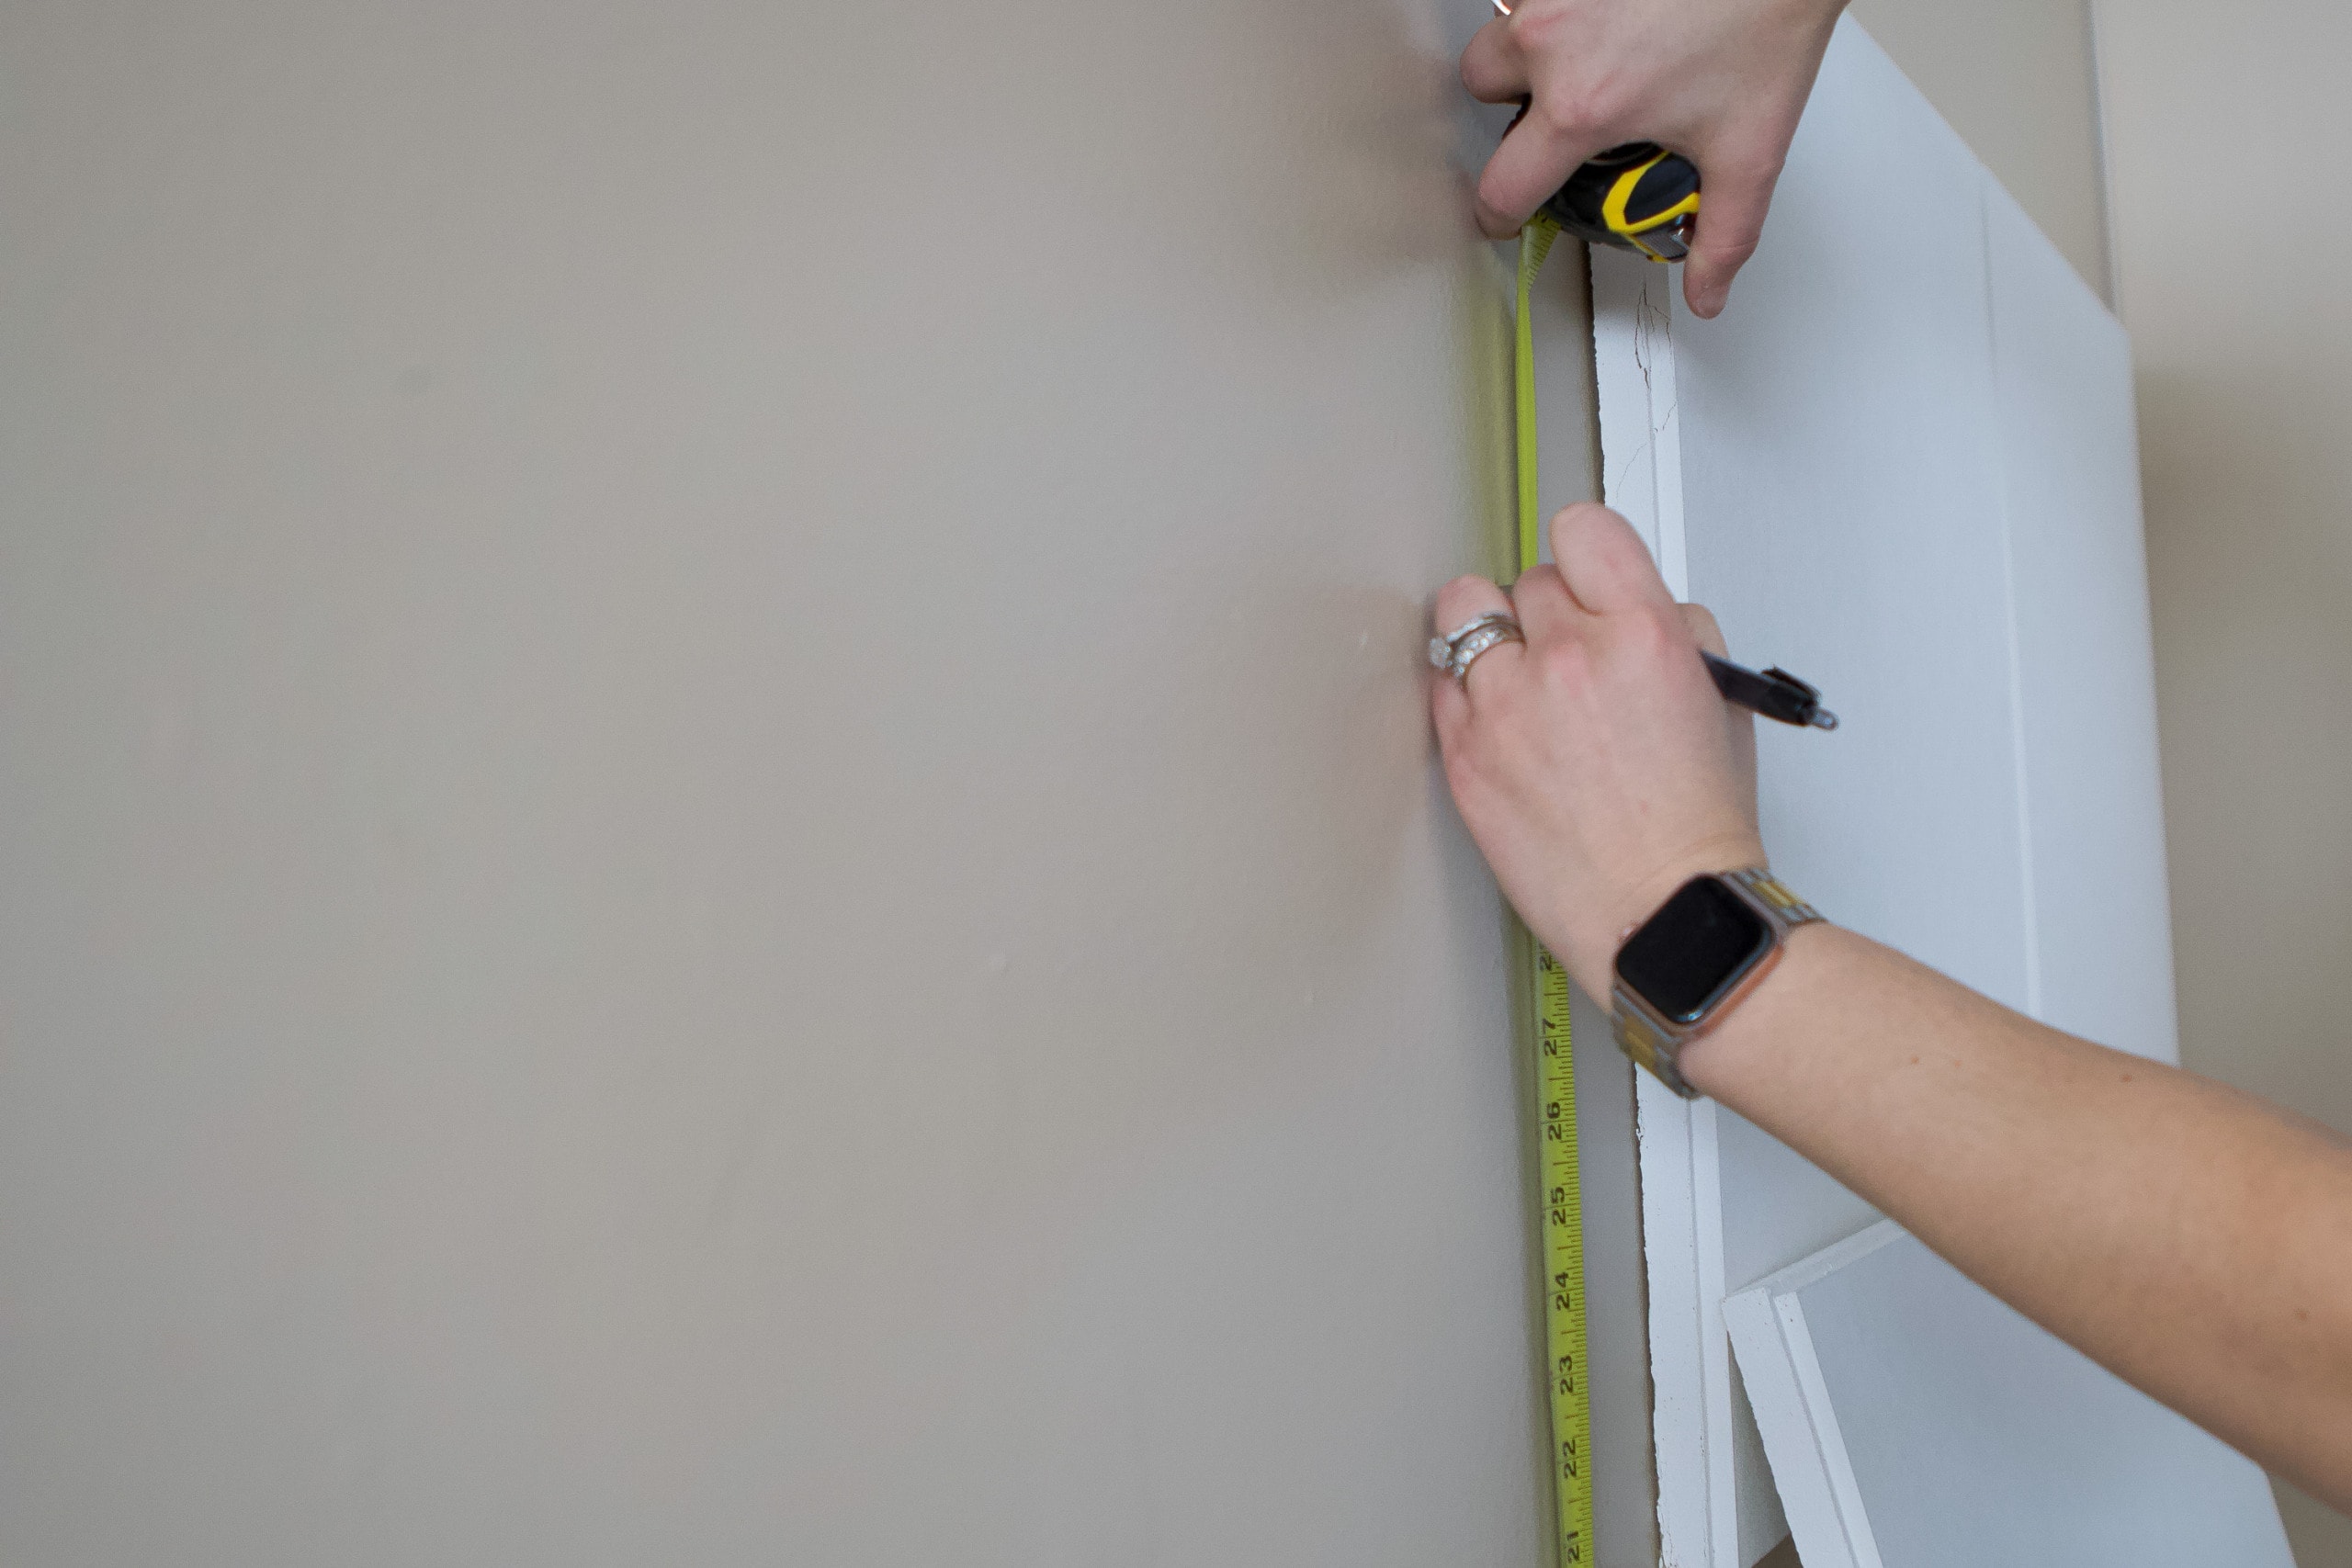
Okay, time for the hardest part of this project…math! (We all know that is not my strong suit and I hate measuring!) I marked the wall to figure out exactly where I wanted to place my four soundproof panels. It’s advised that you place them 1/4″ apart and I wanted the top of the panels to sit just underneath the shelves, so they would be as high as possible. 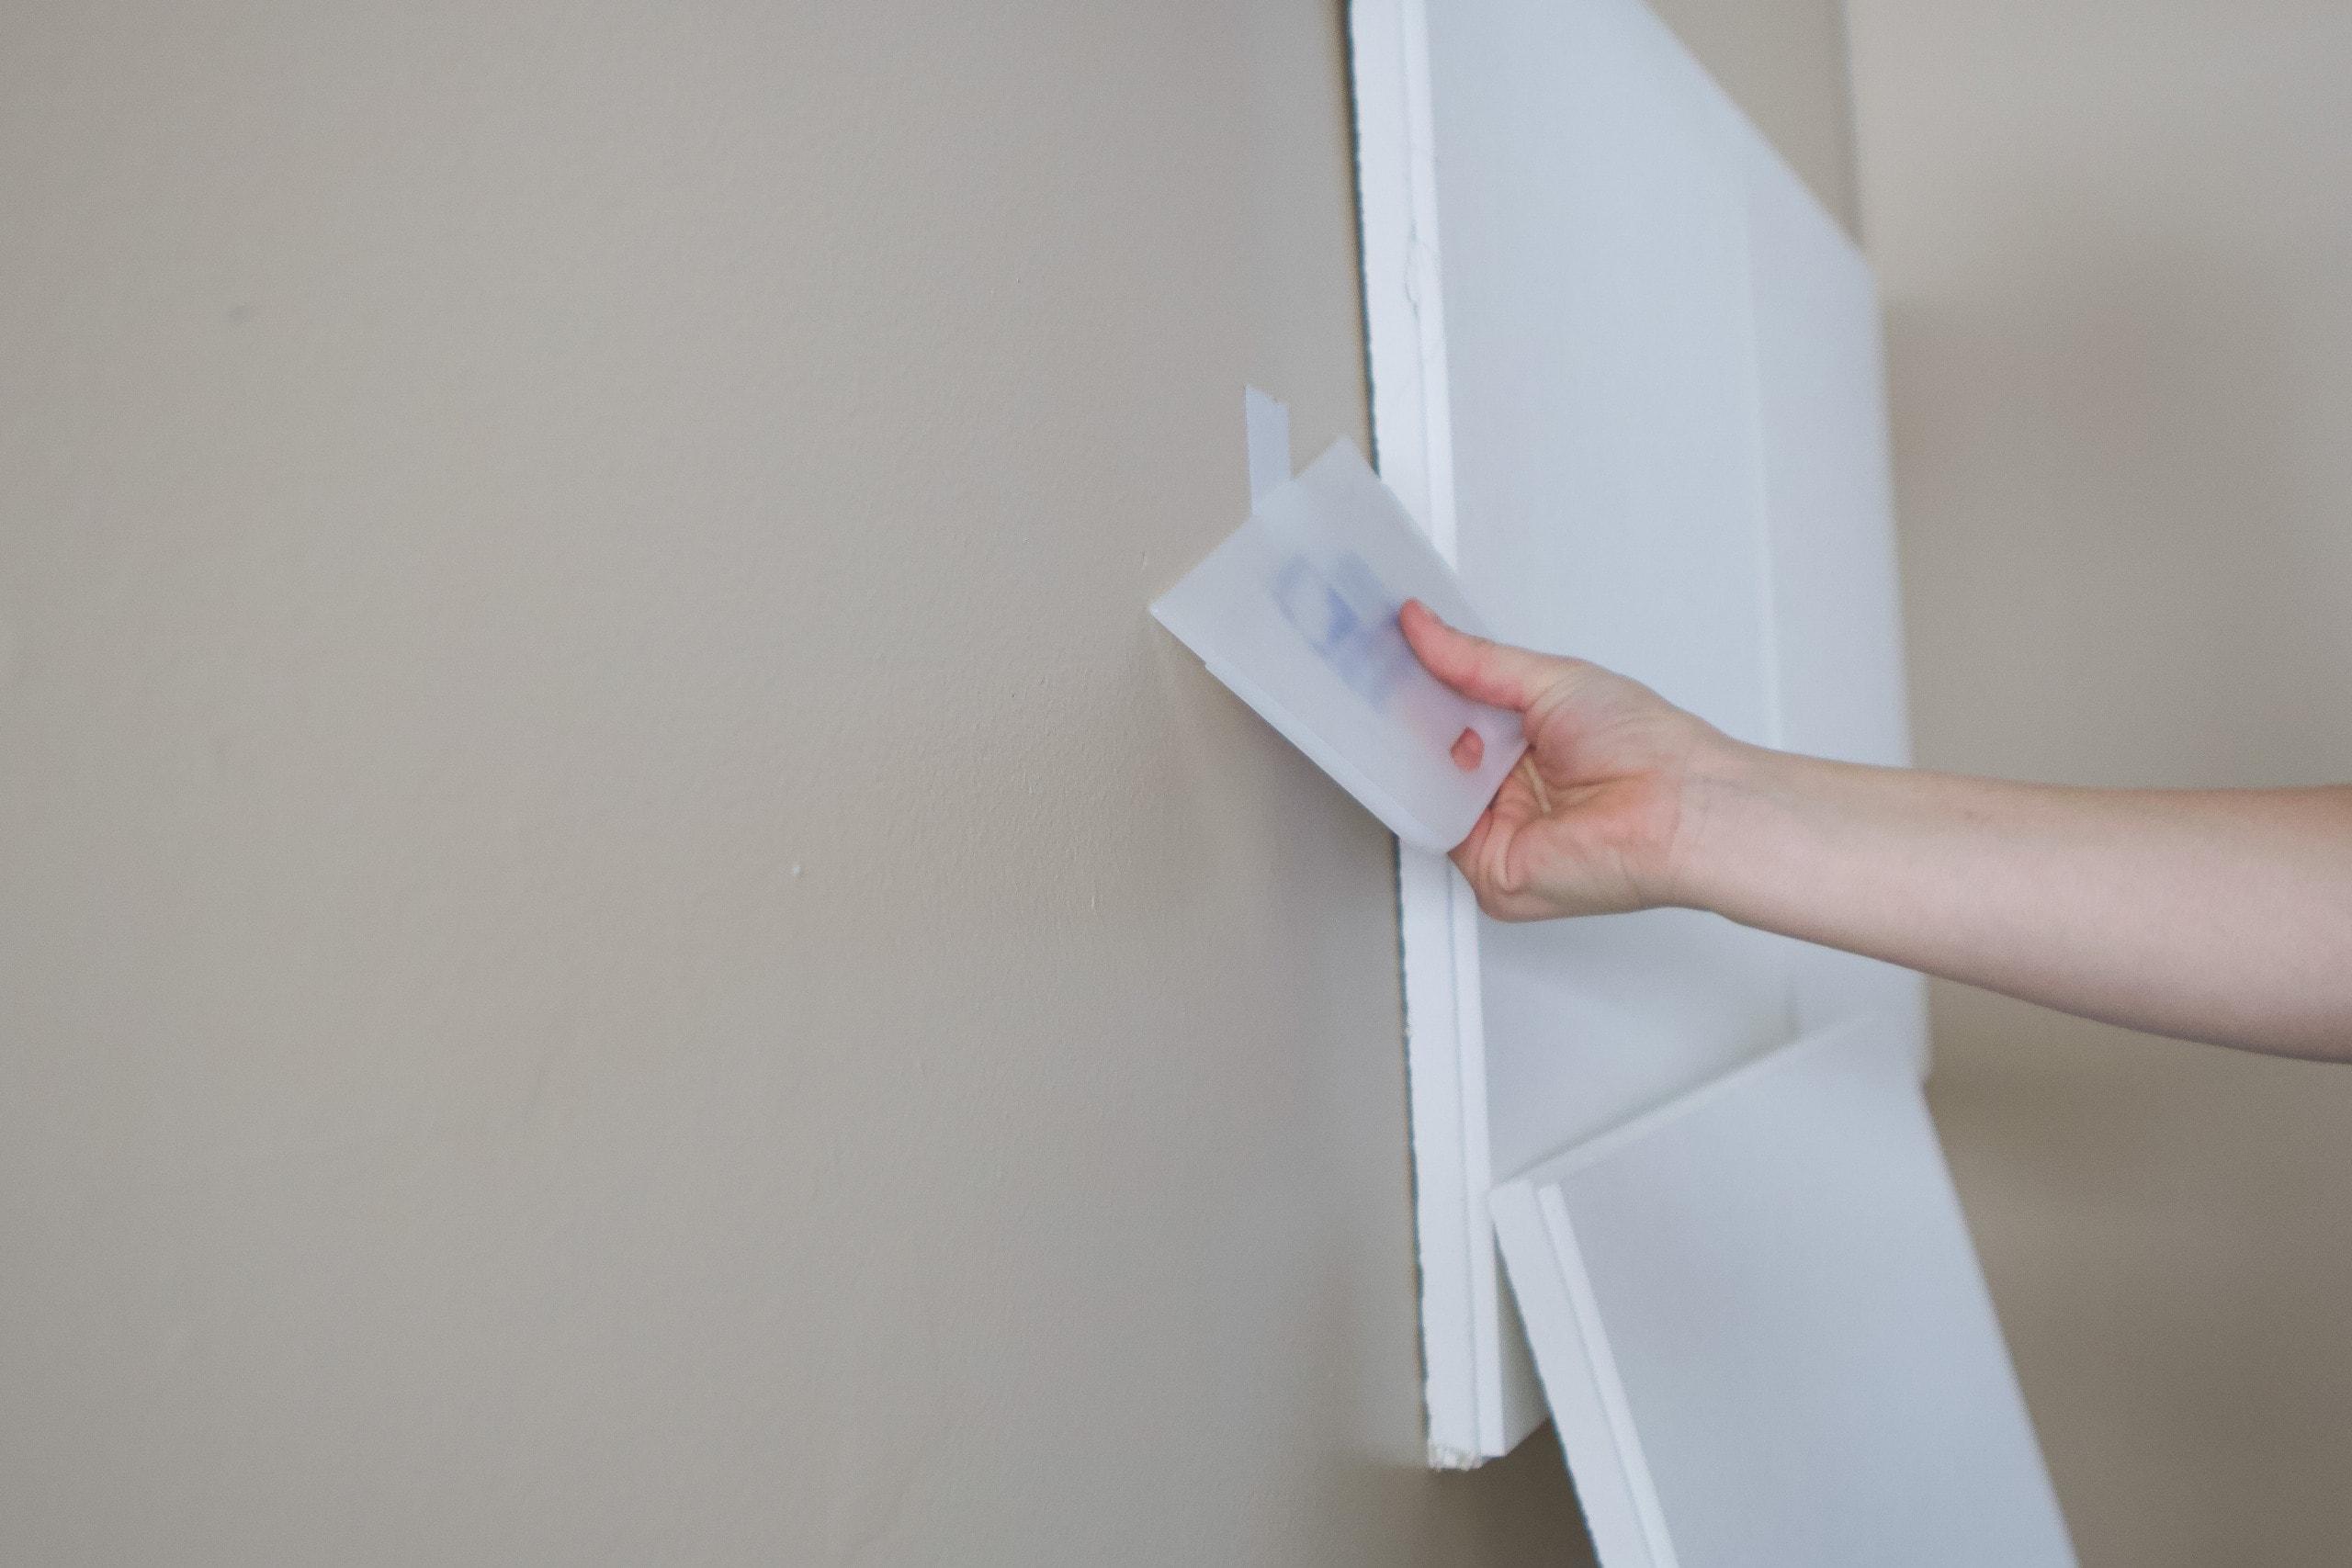
You want to place the two clips three inches from the end of each panel and centered on the back. So, I did some measuring for the panel to figure out where to place the velcro on the wall. I then added the velcro and used a wallpaper scraper to firmly press it on. A credit card would work for this too!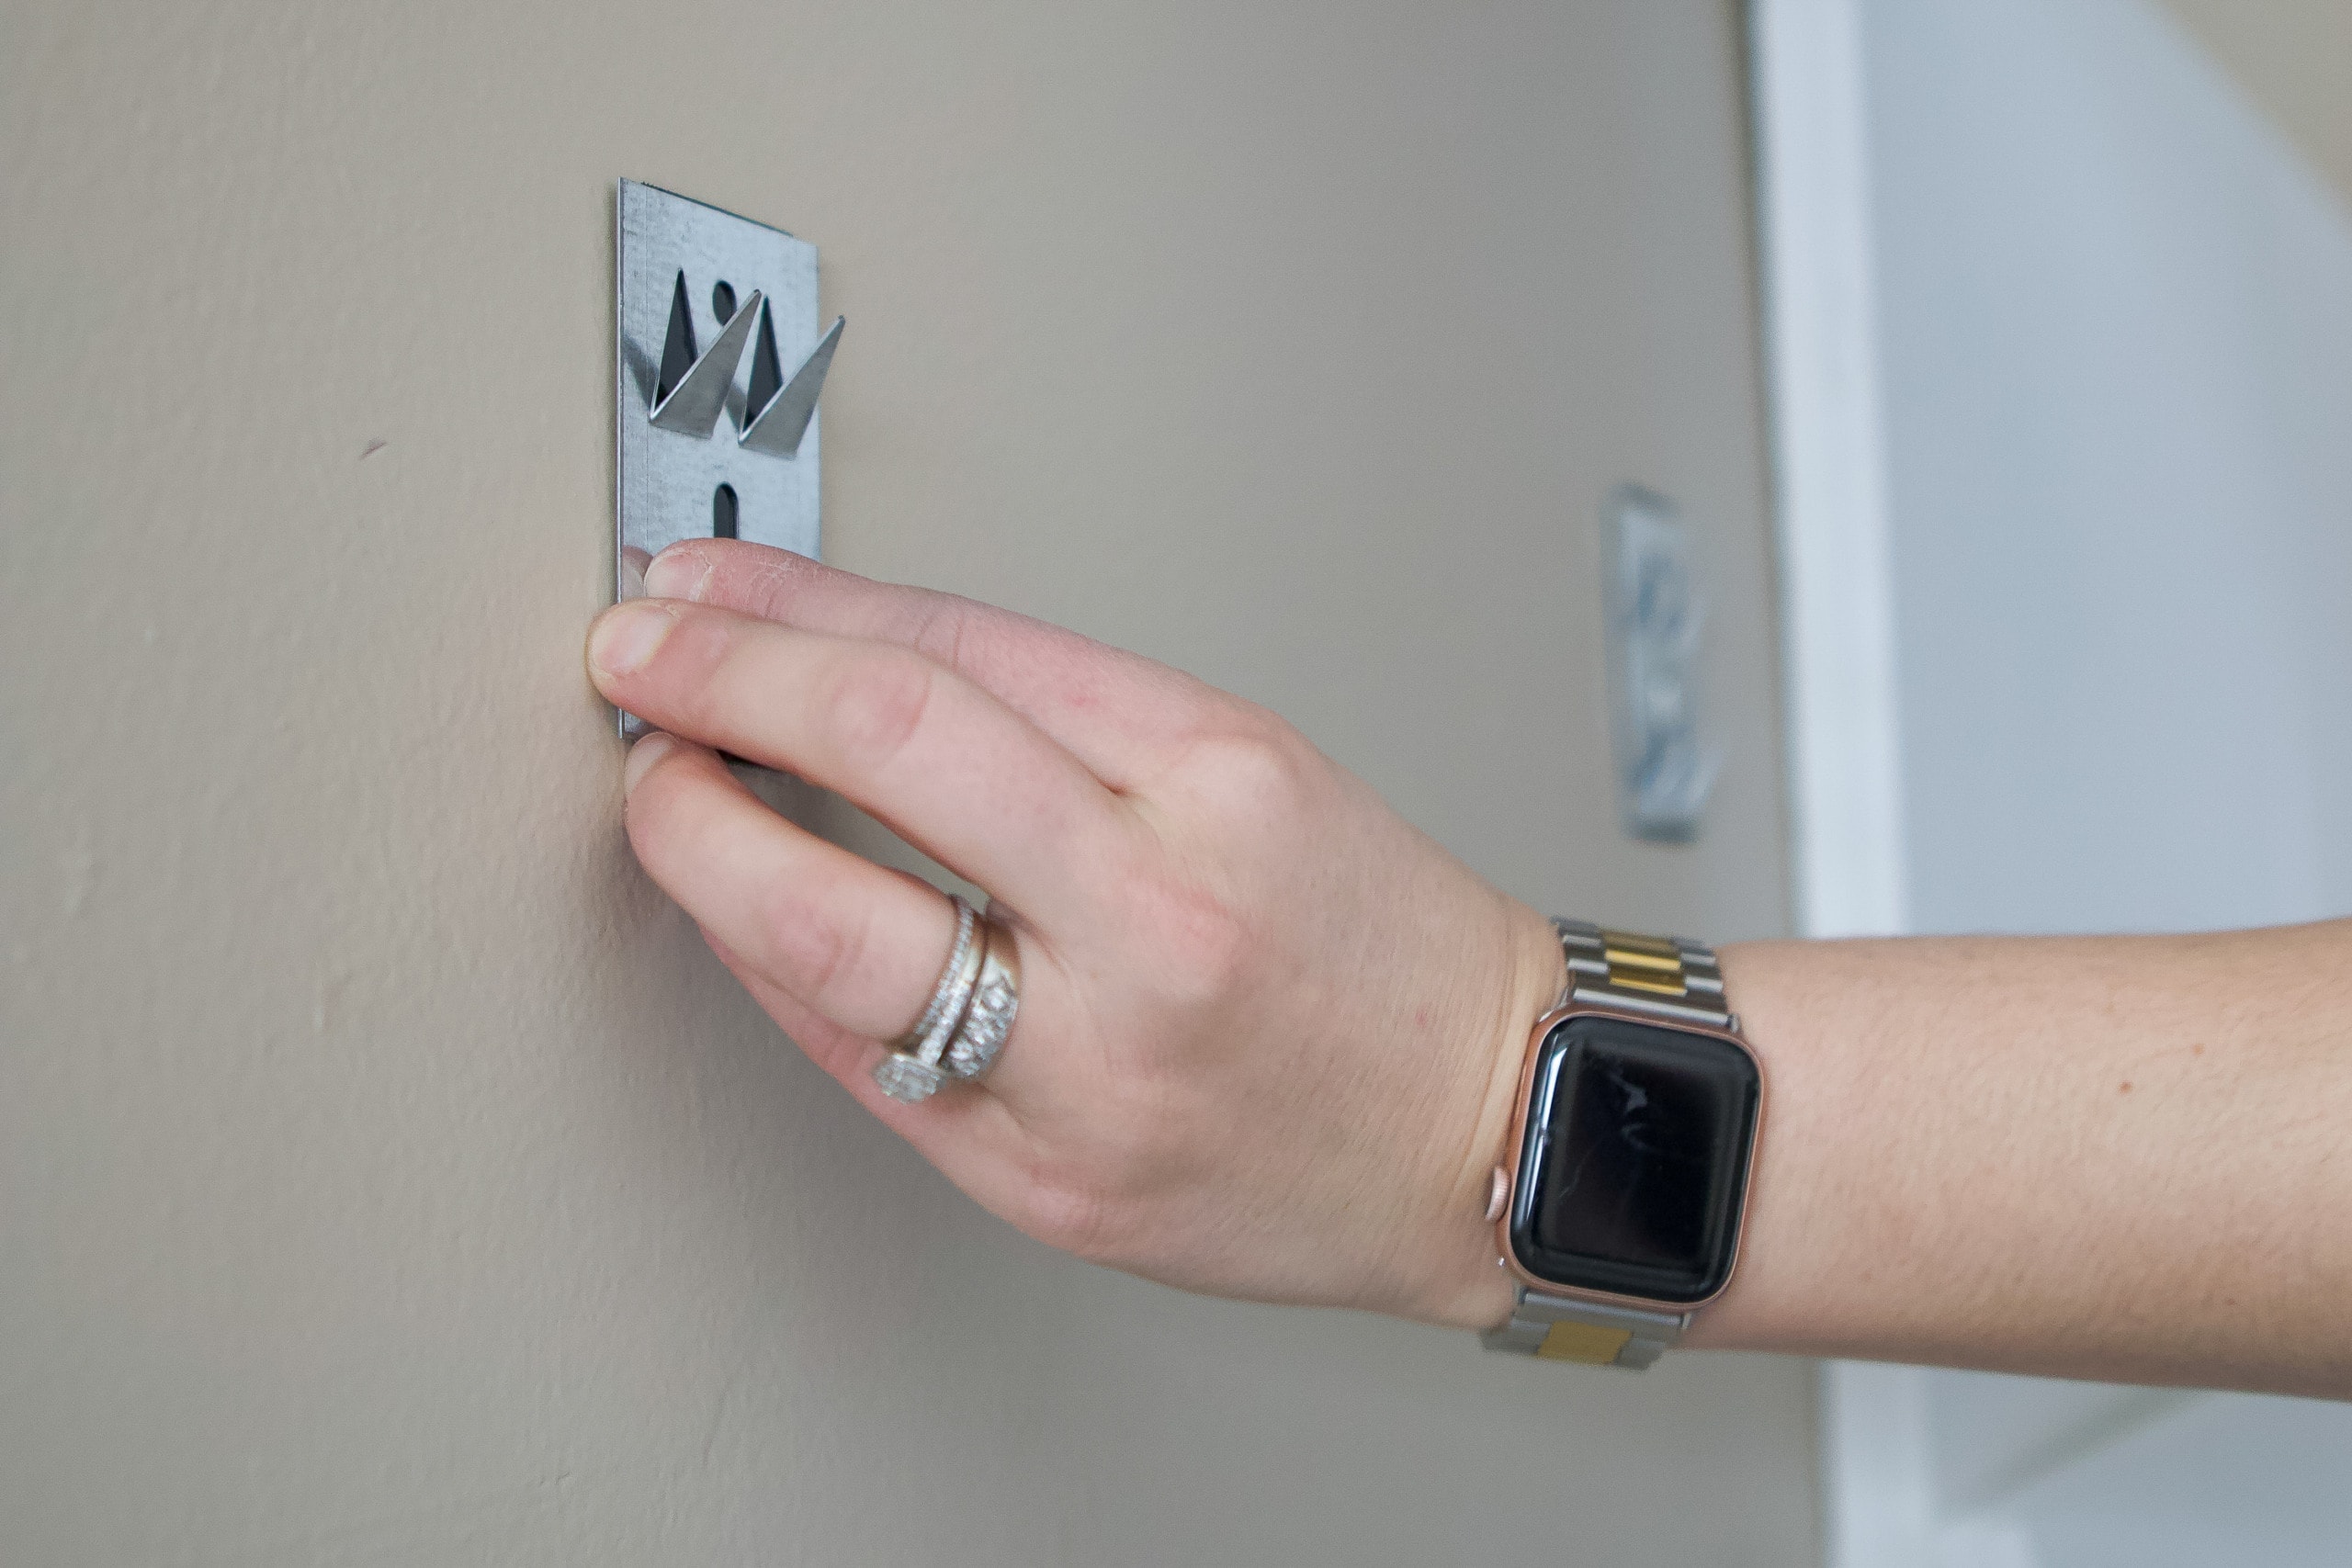
With the adhesive on the wall, you can just attach the clips with the velcro. Easy peasy. Just make sure you put the teeth of the clip pointing up.
Attach Your Panel & Repeat
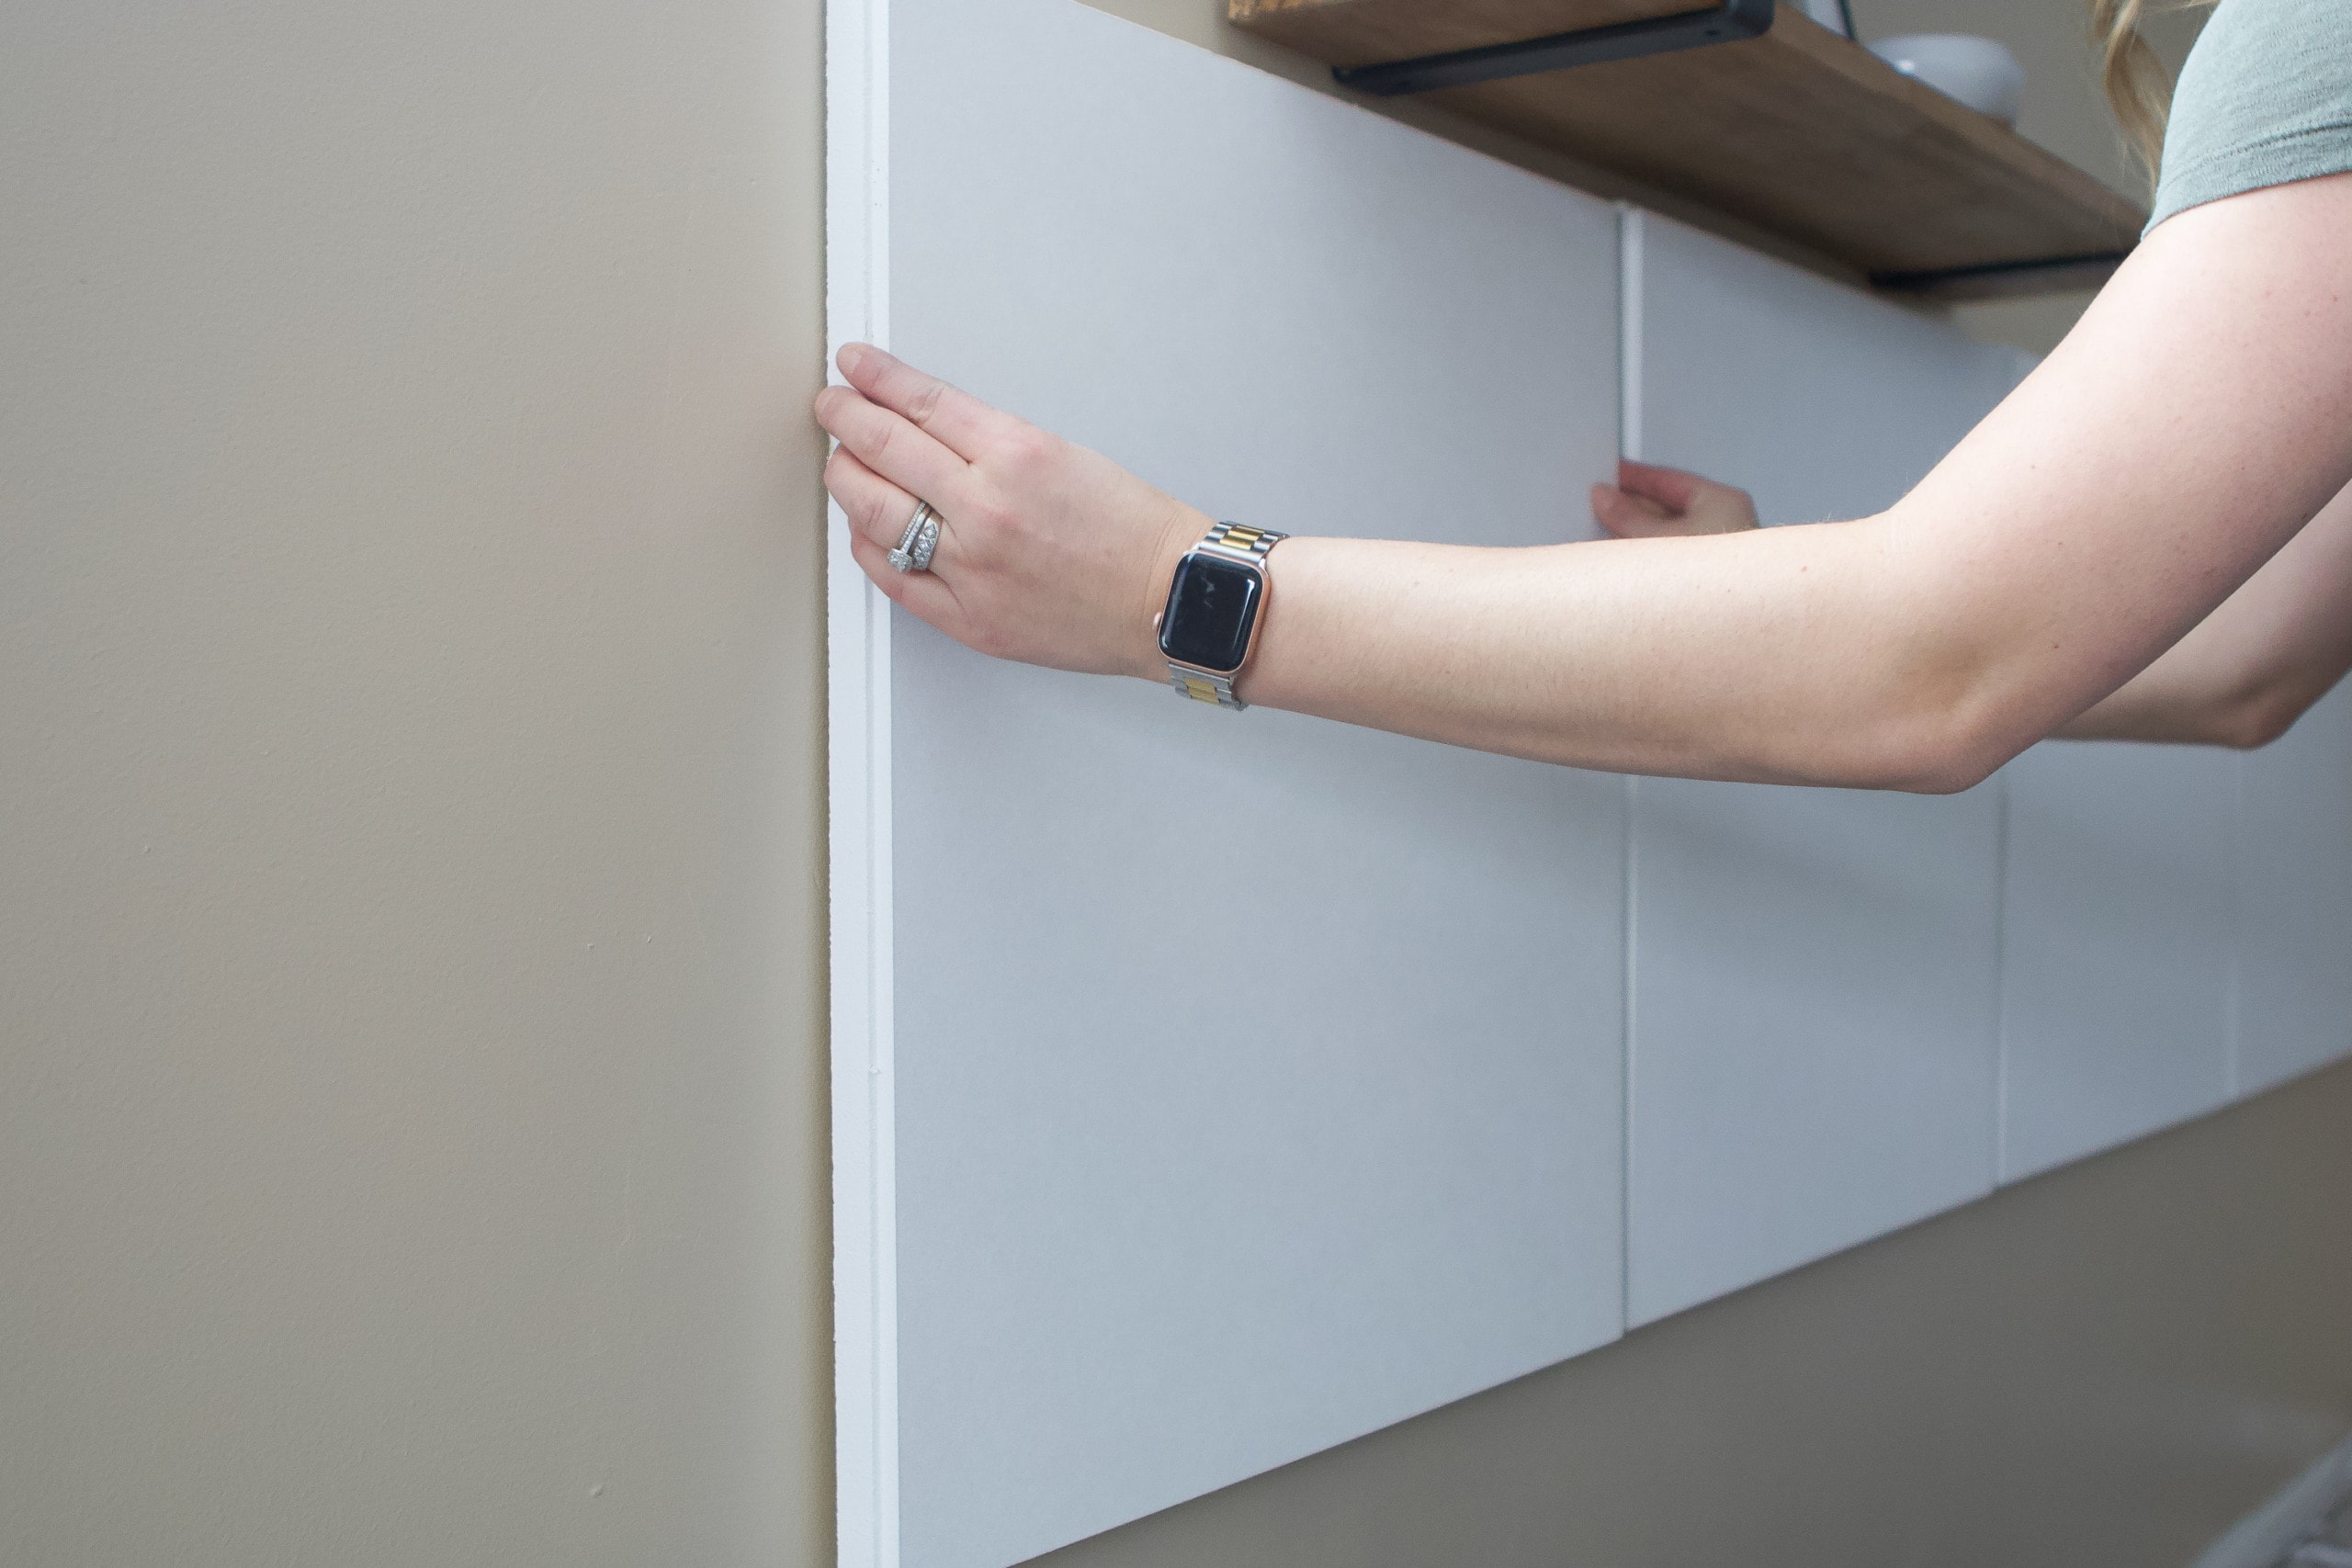
With the clips on, you can then attach the panel. Firmly push the panel down so it grips onto the clips. I made sure mine was on there securely and used a level to get it perfectly straight. If you need to, you can always take the panel off and reposition it back on the wall. There is no need to move the clips. I would put the level on the top of the panel as I secured it, so I knew it was straight! You can then repeat these same steps with the remaining panels. 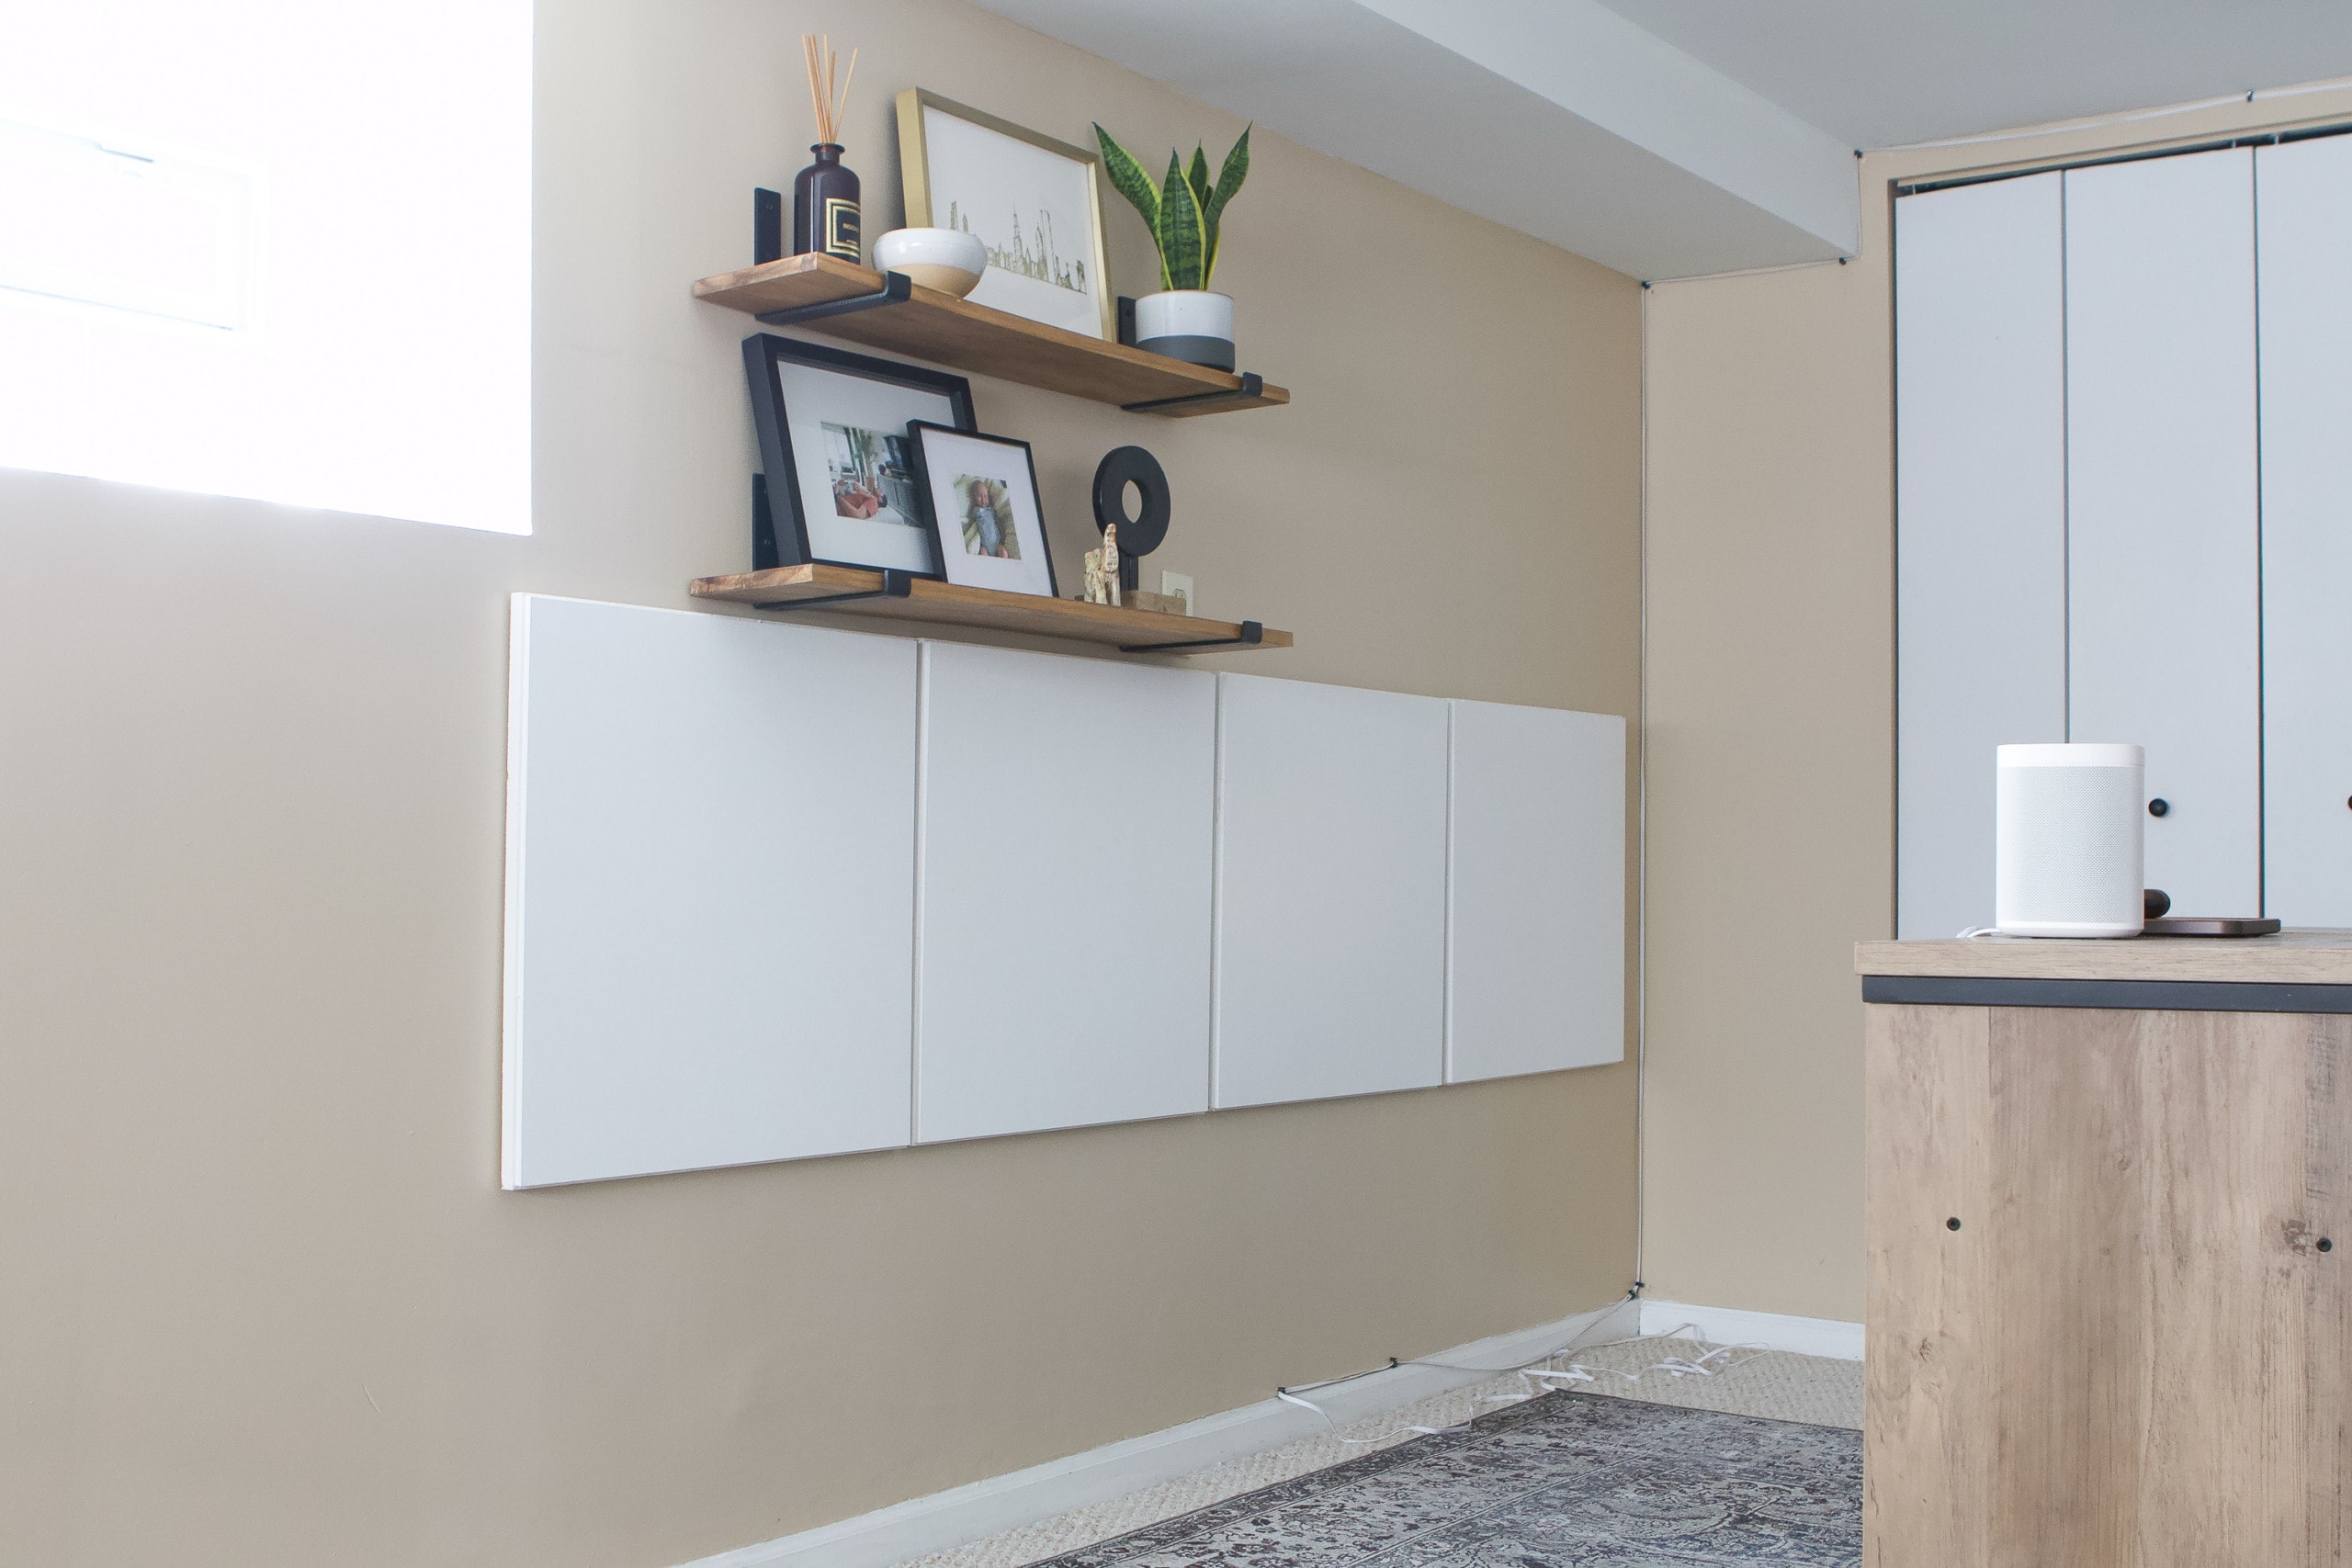
If you ever want to remove the panels, you can scrape off the velcro and it shouldn’t damage your drywall, although you may have some residue from the adhesive to remove.
Finn’s New Soundproof Setup
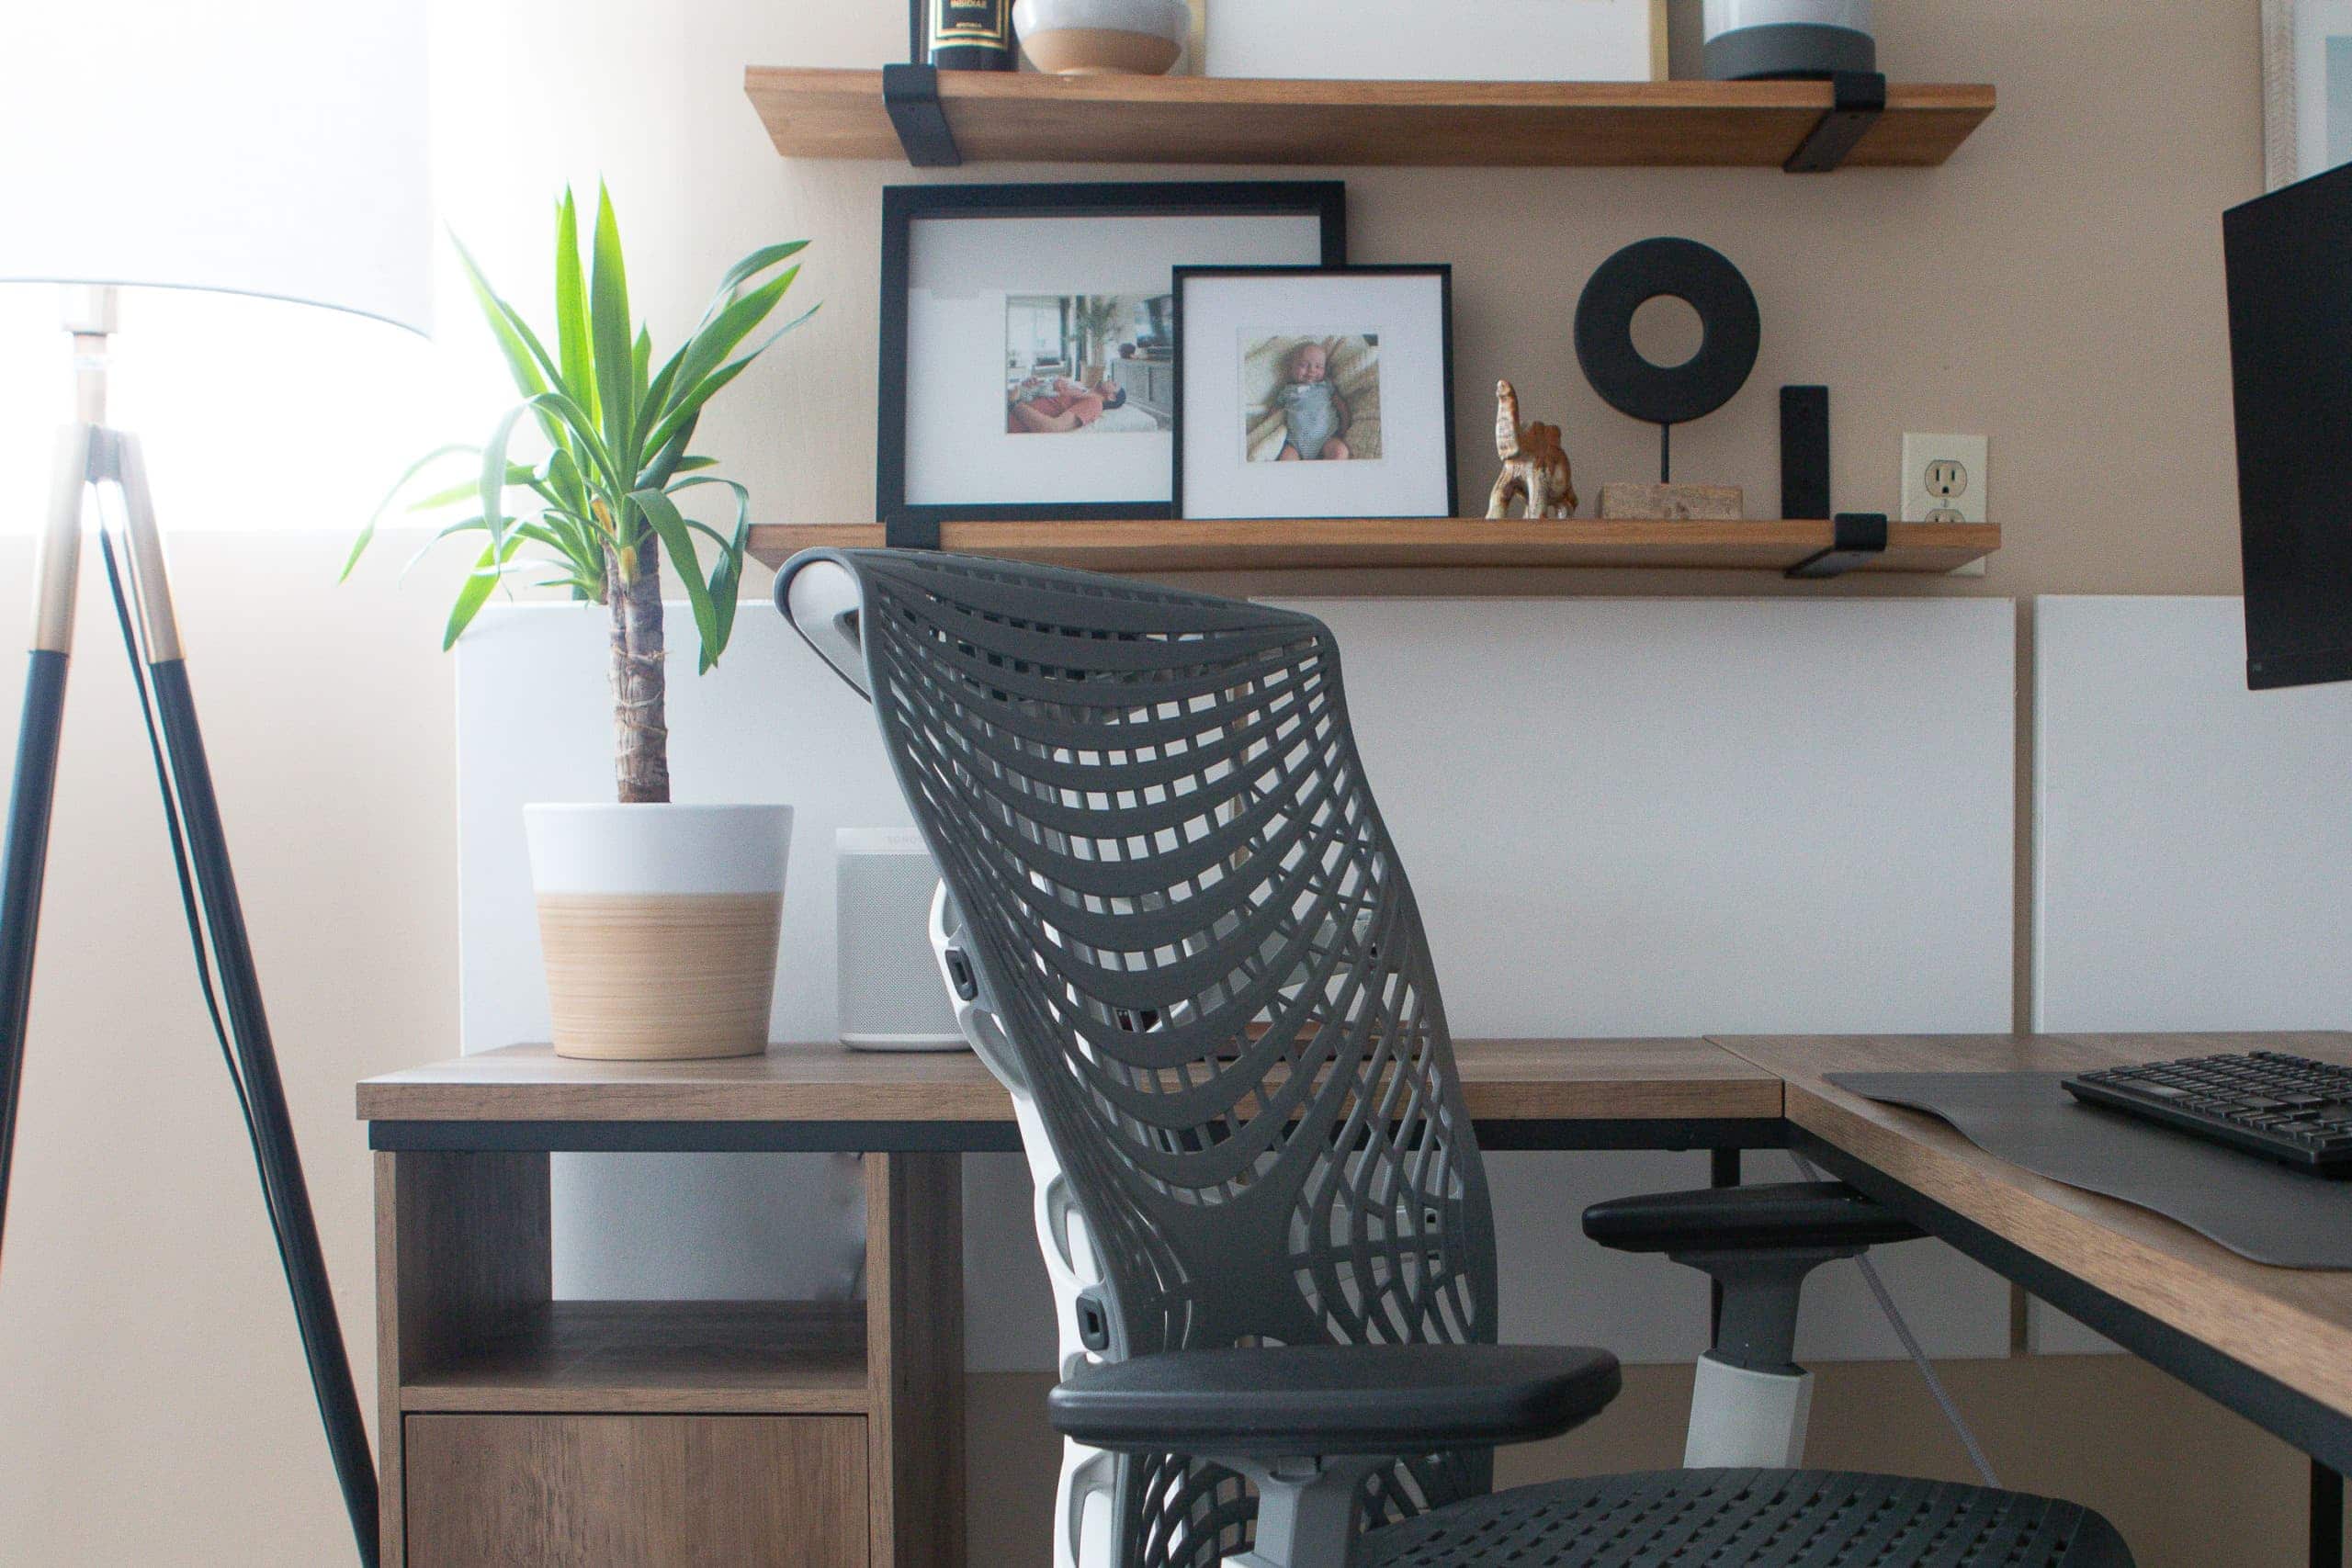

Not only is the room less echoey, but it actually looks pretty cool too. I put these up and then had Finn come see it as a “reveal” and he kept saying how it feels more like a real room now and the panels feel like art. That cracked me up!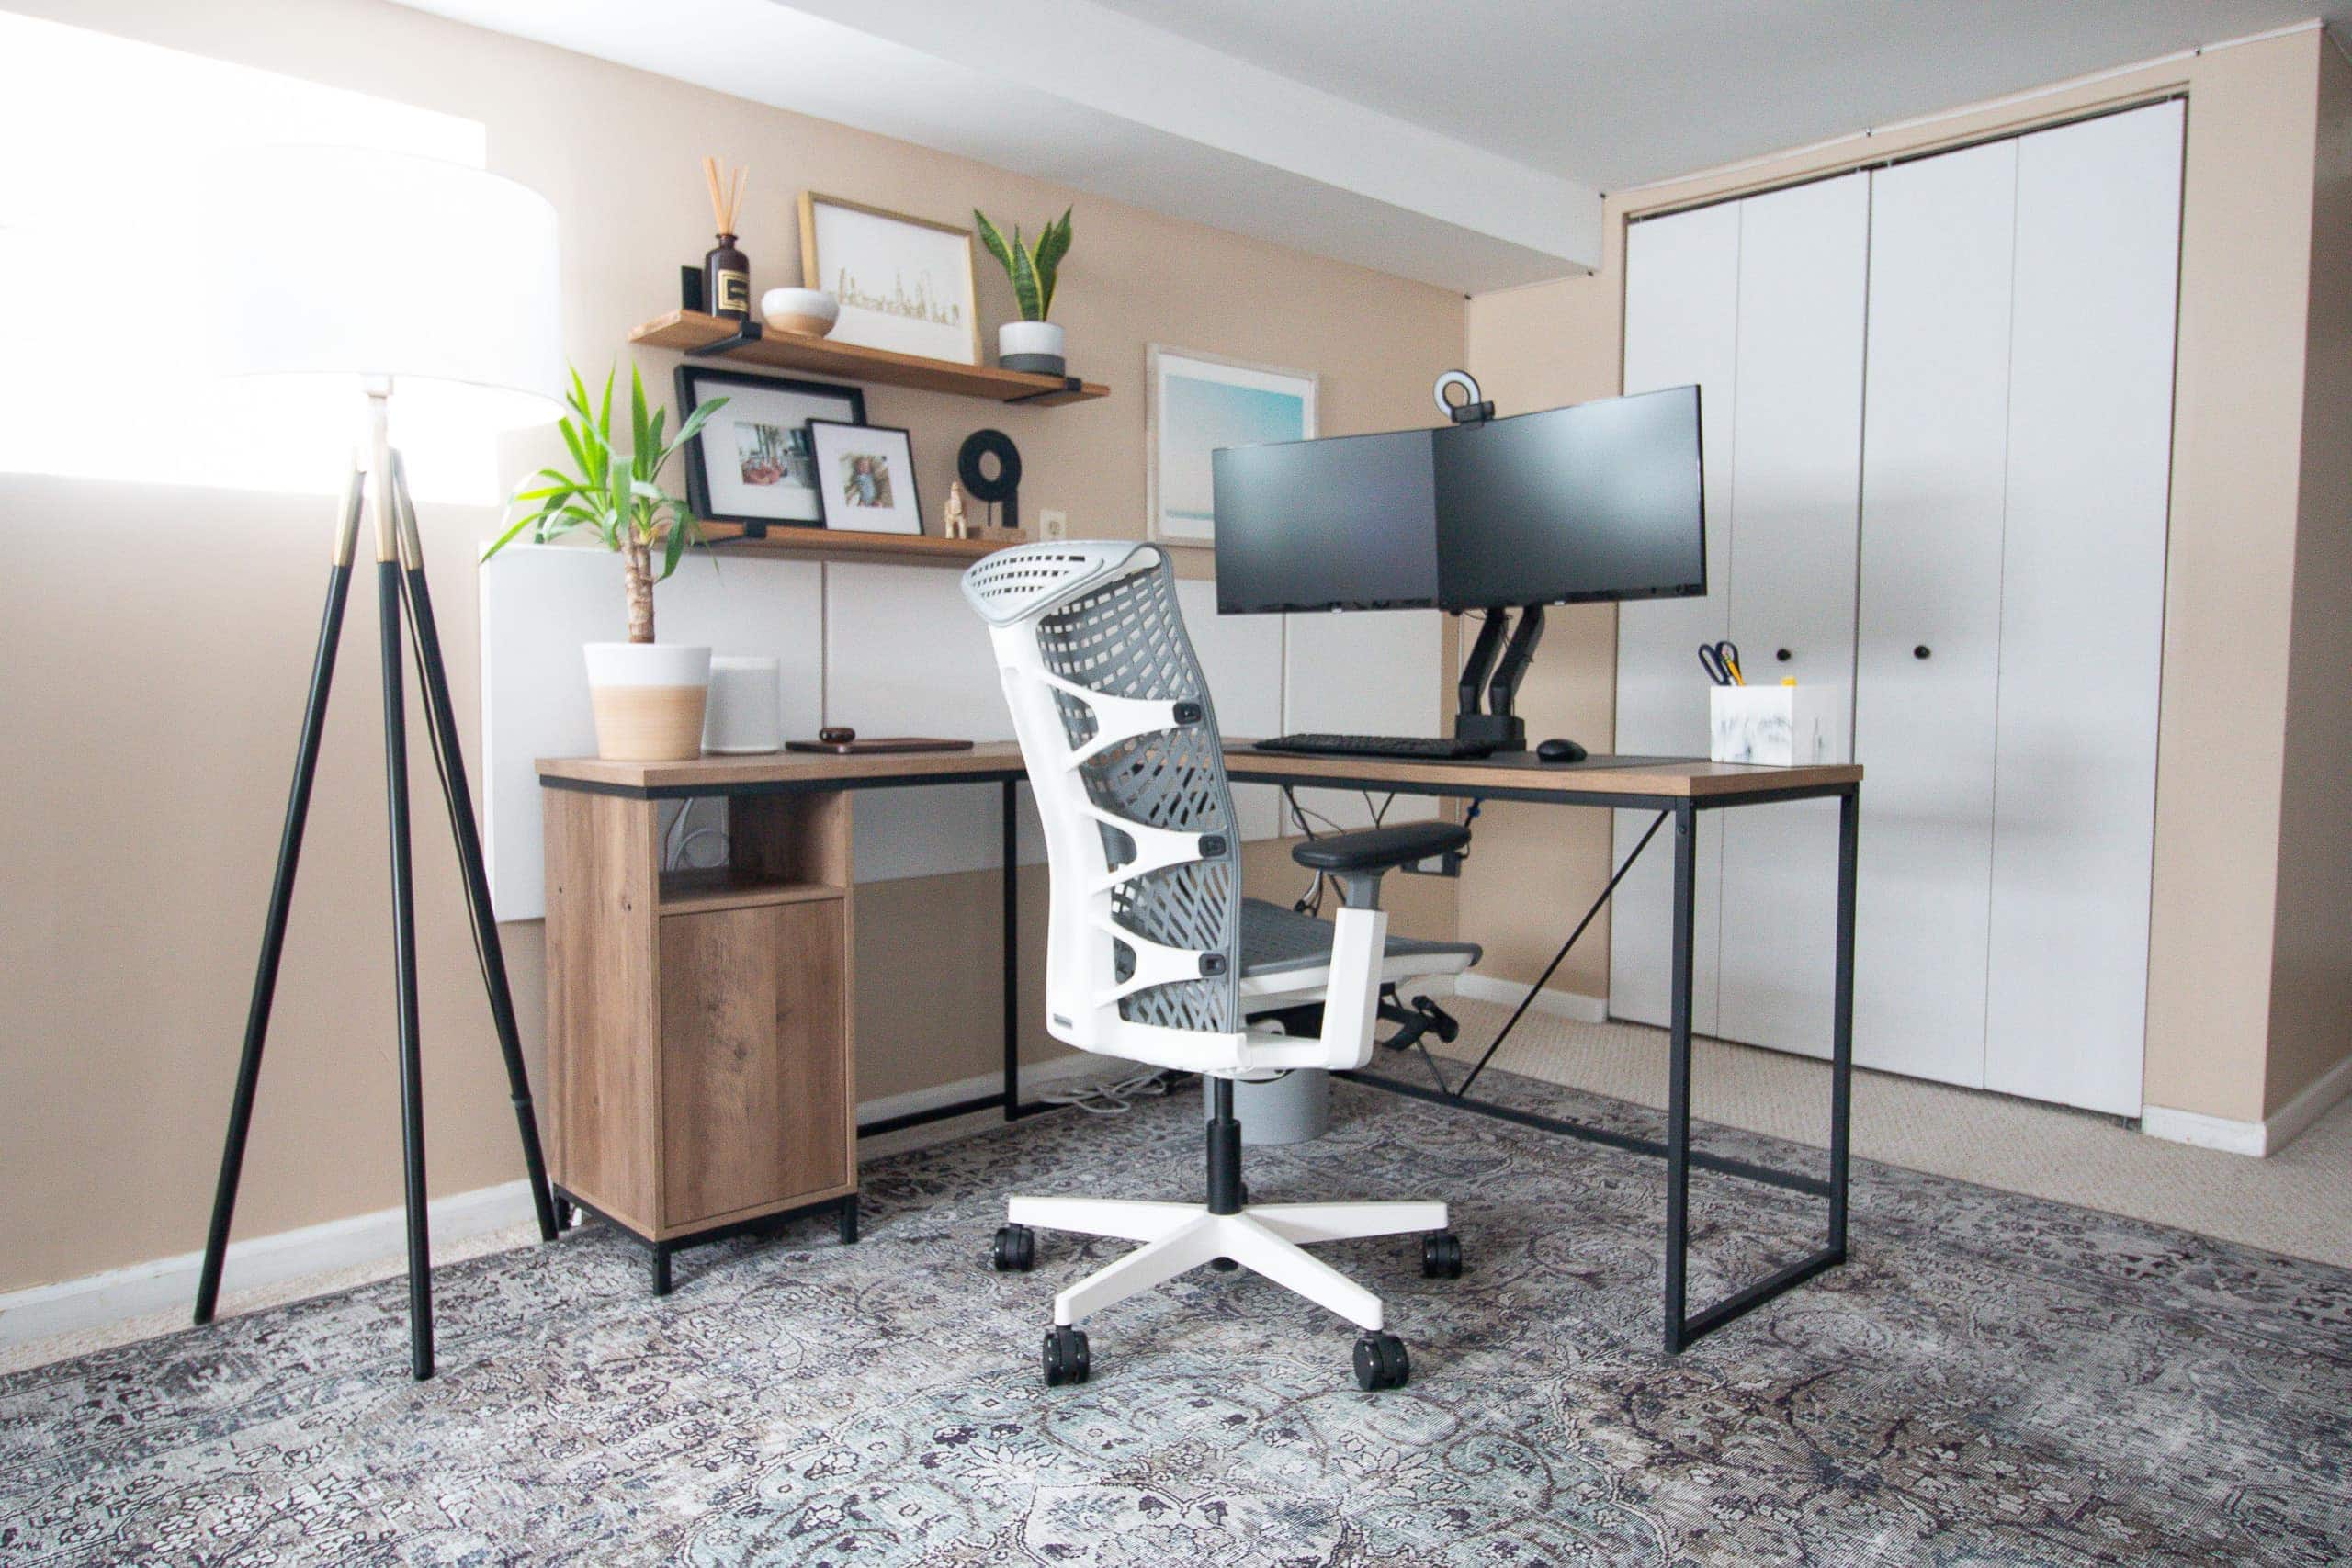
Rug // Desk // Office Chair // Lamp // Web Cam // Monitors // Monitor Mount // Clip on Light // Pen Holder // Desk Pad // Wireless Keyboard & Mouse // HDMI Splitter // Plant (Home Depot) // Sonos Speaker // Reed Diffuser // Dry Erase Board // Shelving Brackets // Black Sculpture (old from Target) // Chicago Print & Frame // Elephant (souvenir from trip) // Black Frames (Michaels) // Ceramic Candle // Leather Charging Mat // Leather Airpod Case // Wall Art
Finn said the sound quality is much better for his endless conference calls, so he gives this project two thumbs up. If you’re looking to upgrade your own home office, I highly recommend giving this sound reducing kit a try!
Casey