String Art Tutorial
Unfortunately, not many of those beautiful string art pics come with detailed tutorials, and if you’re anything like us you need step by step instructions so your DIY doesn’t turn into a big FAIL.
So, we’re here to give you the deets on making some sweet designs with string.

Side note: Doesn’t Instagram just make everything look so damn cool? We want an Instagram filter on our lives everyday, so we always look uber fantastic!
Now before you get started, we’re gonna tell it to ya straight. This project is time consuming. Not like #clearanentireweekendtimeconsuming. More like #havewineandyourbestieonhandtomakethetimepass.

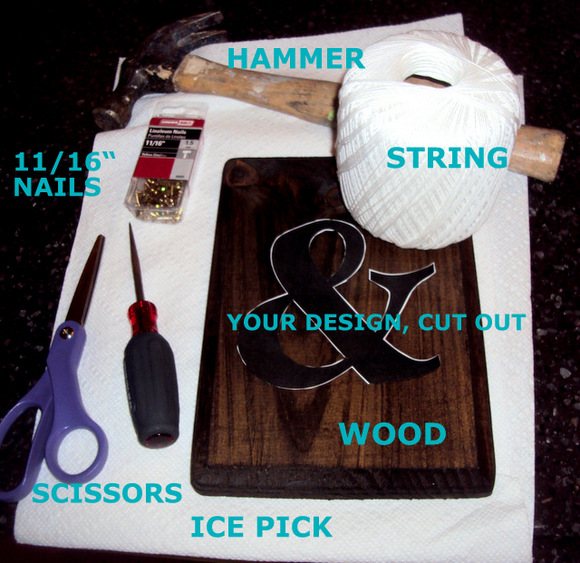
Piece of wood (We got ours from Jo Ann Fabric)
Wood Stain or Paint (not pictured, but just paint or stain your wood to fit your design look)
Ice Pick (small pointed end!)
Scissors
String
11/16″ Linoleum Nails (We used shiny gold ones, buy lots!)
Hammer
Your Design (We just designed ours in Microsoft word, printed, and cut them out)
Painter’s Tape (to hold your design in place)
I’m guessing you will have most of this stuff on hand. Make sure you buy plenty of nails, because you will go through plenty!
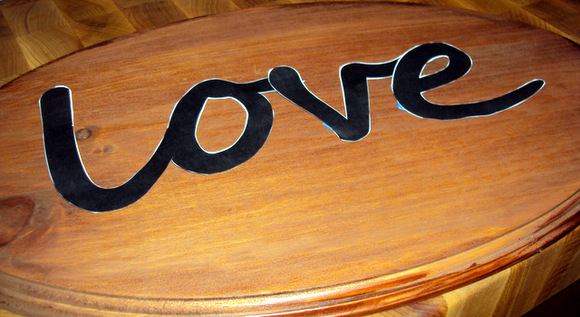
Step 1:
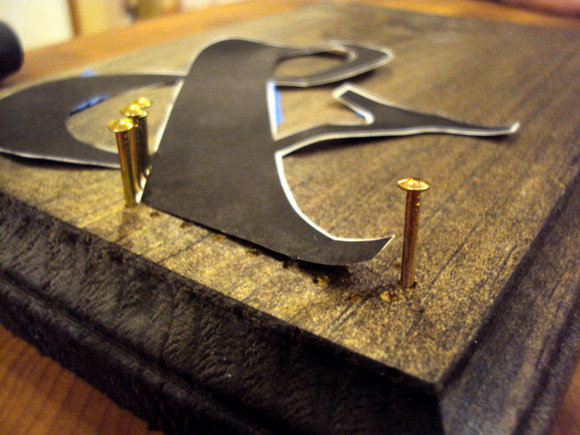
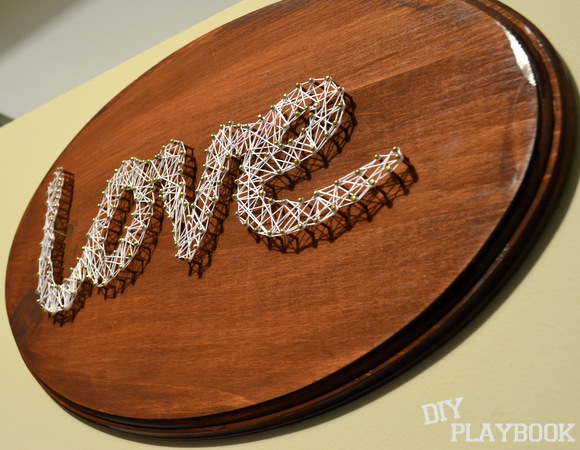
So once your wood is stained/painted and dry. Place your design where you want it on the wood.
Step 2:
You will then want to outline your entire design with small holes. This is a very important step. Just take the ice pick, and hit it a few times with the hammer. You want to make the hole deep enough that you could put the nail in, and it won’t fall over. This will be a big help when you go to pound the nails into place.
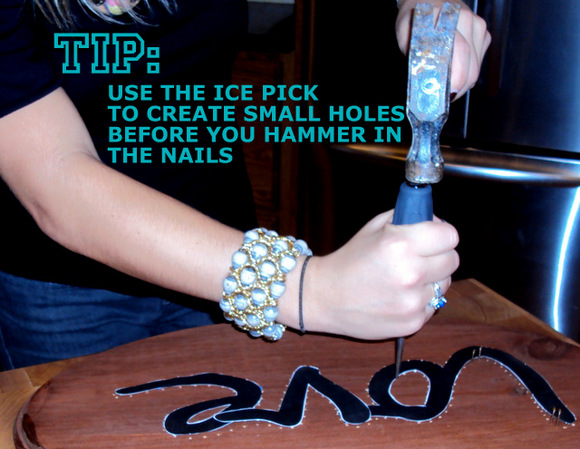
Don’t put your holes too close together. We suggest maybe about every half inch or so.
Once you’ve outlined the entire design with holes, you can take your design off.
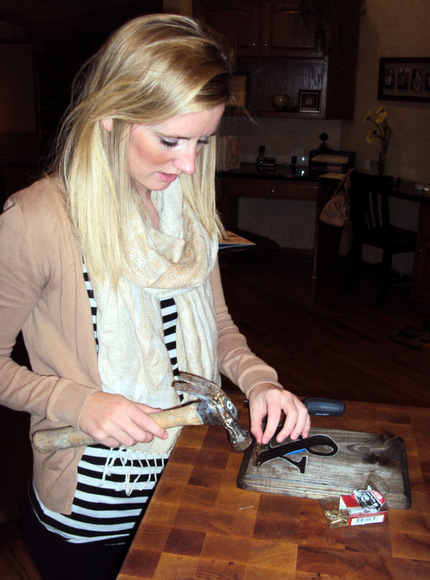
Step 3:
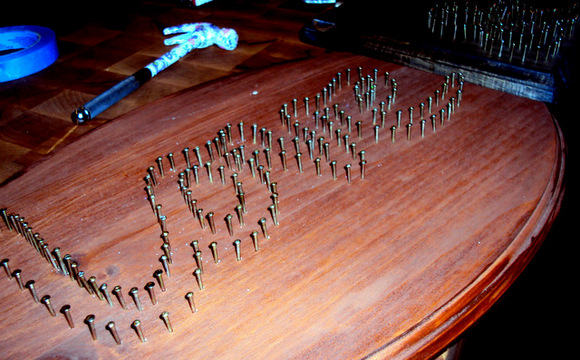
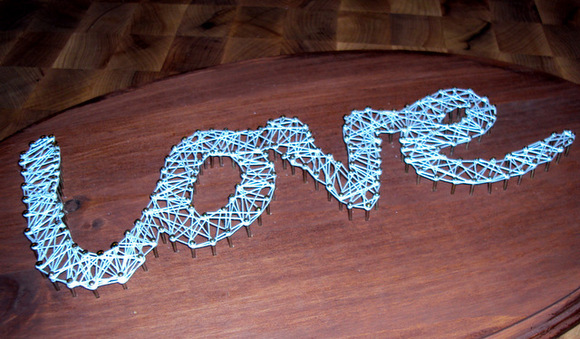
Now, it’s nailing time! Get a nail into every single hole. You’ll want to pound it in far enough so that it is very secure. No wobbly nails allowed.
Don’t worry too much about making sure they’re all even. Some will be lower, some will be higher, but I’m guessing no one will really notice. Just get those suckers in there best you can.
Step 5:
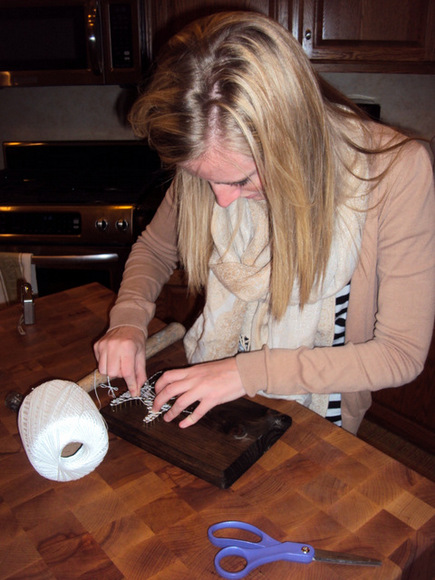
Once your nails are all in, it’s time to break out the string. Do not cut off a really long piece of string. Instead just start and keep it connected to the source. Trust us on this one.
Choose a starting point and triple knot it. Then we suggest outlining the outside of your entire design…looping between each nail.
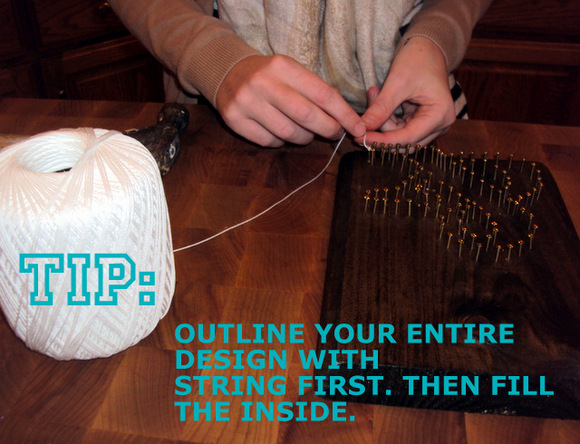
Once you’re back to your starting point, just begin stringing like crazy. There really isn’t much technique to this. Just do your best to fill in the design, and always be on the lookout for gaps.
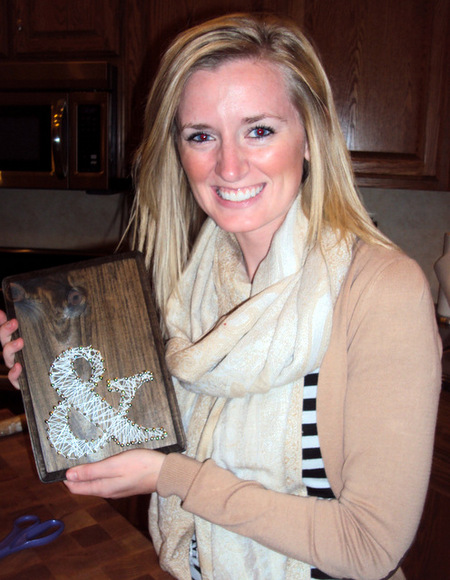
We just ended up tucking the little string right into the design. Just make it as secure as possible, and you should be good to go.
Our backs were incredibly sore after this little project. All that bending, hammering, and looping the string around makes for one sore back. So take breaks, and stretch stretch stretch!
I hope this tutorial helps you with your next string art project. Reach out if you have any questions at all.
Bridget&Casey