Tool Tips: Palm Sander
There has definitely been a slow and steady “progression” into the DIY world for both of us rookies. When we started this blog, we dabbled in a lot of crafts and anything that did not require power tools or heavy lifting. We did this partly because we didn’t own any “real” tools at the time, but let’s not kid ourselves here, mostly because we were super intimidated by any project that required a power tool. Who needs a nail gun when you have a glue gun?!
It’s no secret that we are DIY Rookies and are totally learning this whole do-it-yourself thing as we go, most likely not knowing more than a few random tips we picked up from YouTube a few minutes before we are starting any given project (Not a recommended strategy). However, it has worked for us so far- and has actually forced us to get a little dirty and start using those scary tools we used to avoid at all costs. I’m not saying we’re still not a tad hesitant to pull out these tools every now and again (we still love us a nice glue gun!), and I’m definitely not saying we know what we are talking about. But we are here to report that although these tools are a tad intimidating, they are essential in stepping up that DIY game & earning some serious DIY cred around the neighborhood. Allow us to share what we’ve learned so far and hopefully (if you’re anything like we are) you can build up the courage to try your hand at a project that you always wanted to try but never really had the courage. If us two clueless rookies figured it out (blonde hair and all), we know that you can too!!
To kick-off our first “Tool Talk Tuesday”, allow us to introduce you to one of our favs… The Palm Sander.
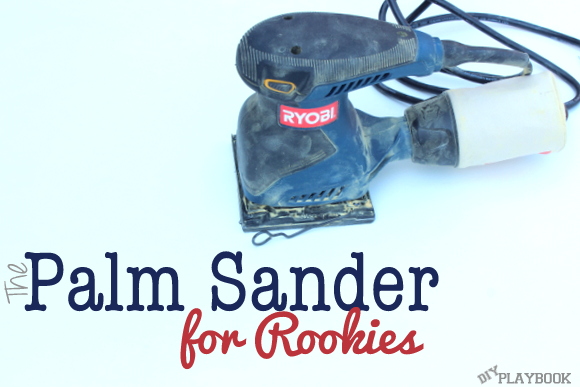

Any rookie tips I should know? Sand outside when possible!! Although this sander looks small… don’t be fooled- this bad boy can make a BIG ol’ mess. Sand outside to avoid a thick layer of dust throughout your home. If you do have to sand inside, use a large drop cloth, tarp or old sheet to cover anything and everything! Come to think of it, use the tarp/sheet/cloth regardless of where you end up sanding.
Where do you buy it? Local hardware stores, large retail hardware stores, anywhere tools are sold really.
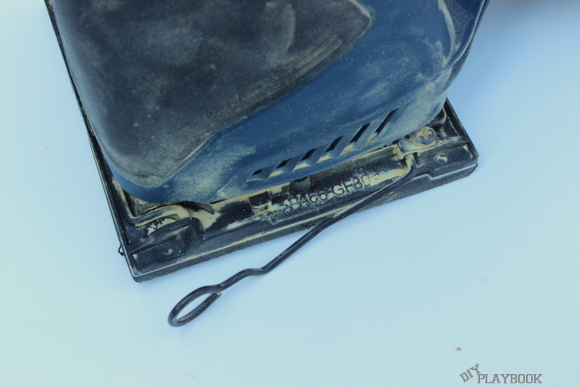
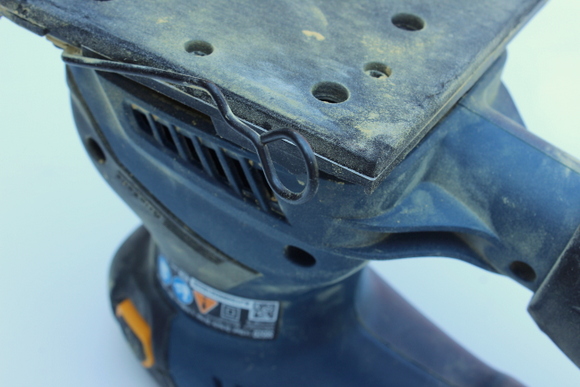
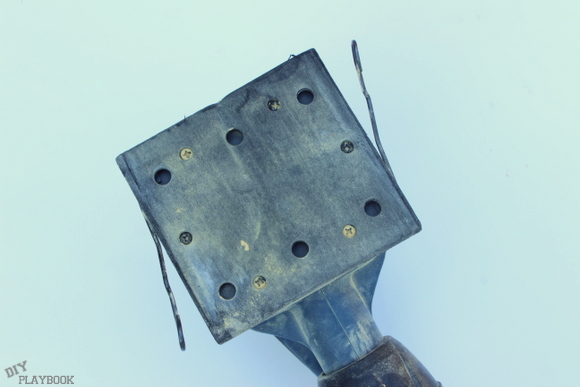
What are these clips or “clamps” for? The clips are what helps the sand paper squares stay secure on the palm sander while you are sanding away. You lay the sand paper square (about a quarter of an 8 1/2″ x 11″ sand paper) under the sander and fold the excess sandpaper around the sides of the sander and secure them with the two clips (one on each side). When that piece of sand paper’s grit has worn away, go ahead and pull up and out on each clip to release and tear away the sand paper. Repeat the process again and again until the surface is completely sanded!
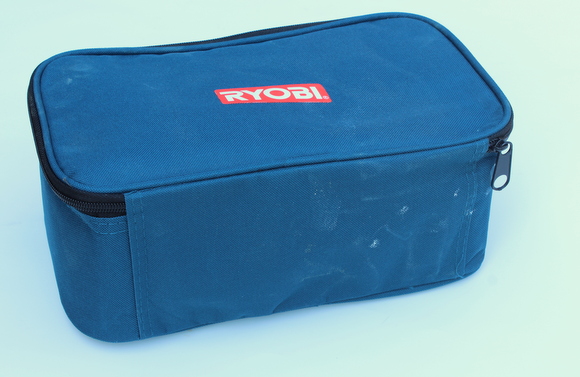
How do you store your sander? In a fabulously organized, zipped bag out of reach of your child, dog, hamster or neighbor.

Bridget&Casey