Video: How to Install Solar Shades
Disclaimer: This post is brought to you by Lowe’s Home Improvement. Thanks for supporting the brands that support this blog.
After more than three months of the entire block being able to see into our home, we finally have window treatments in our living room! Yes, we did have curtains on our windows for the last month or so, but honestly…they were purely decorative to add some color and warmth to the room. I knew from the start that we would actually need some real shades up in here! And let me tell you, I’m sooooo pleased with the solar shades I ordered from Lowe’s.
If you remember from this blog post, I weighed the pros and cons of all different types of window treatments for this room (curtains, solar shades, roman shades, and natural woven blinds). 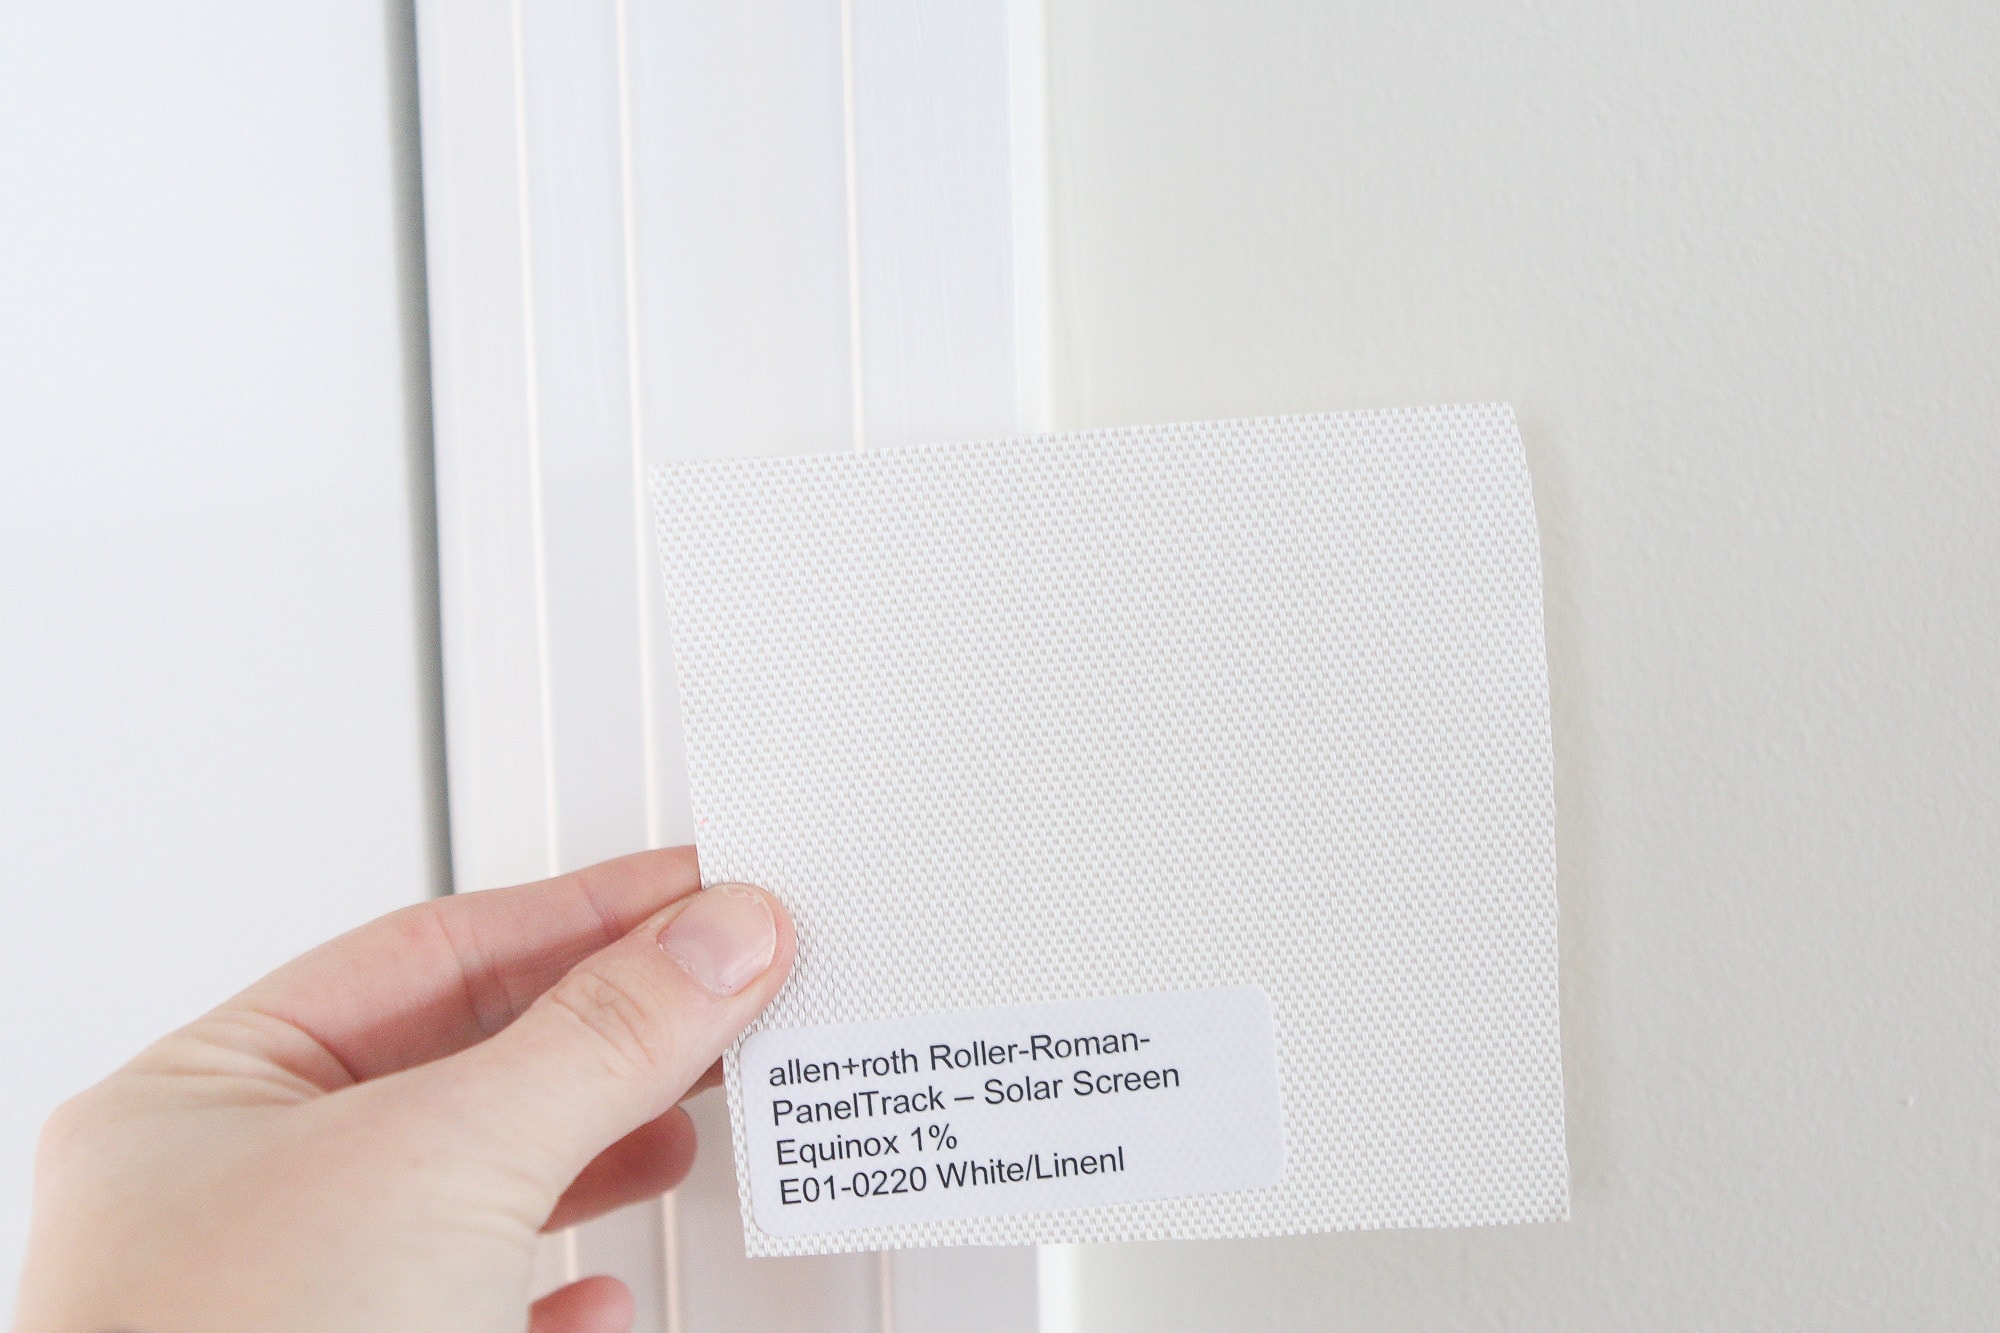
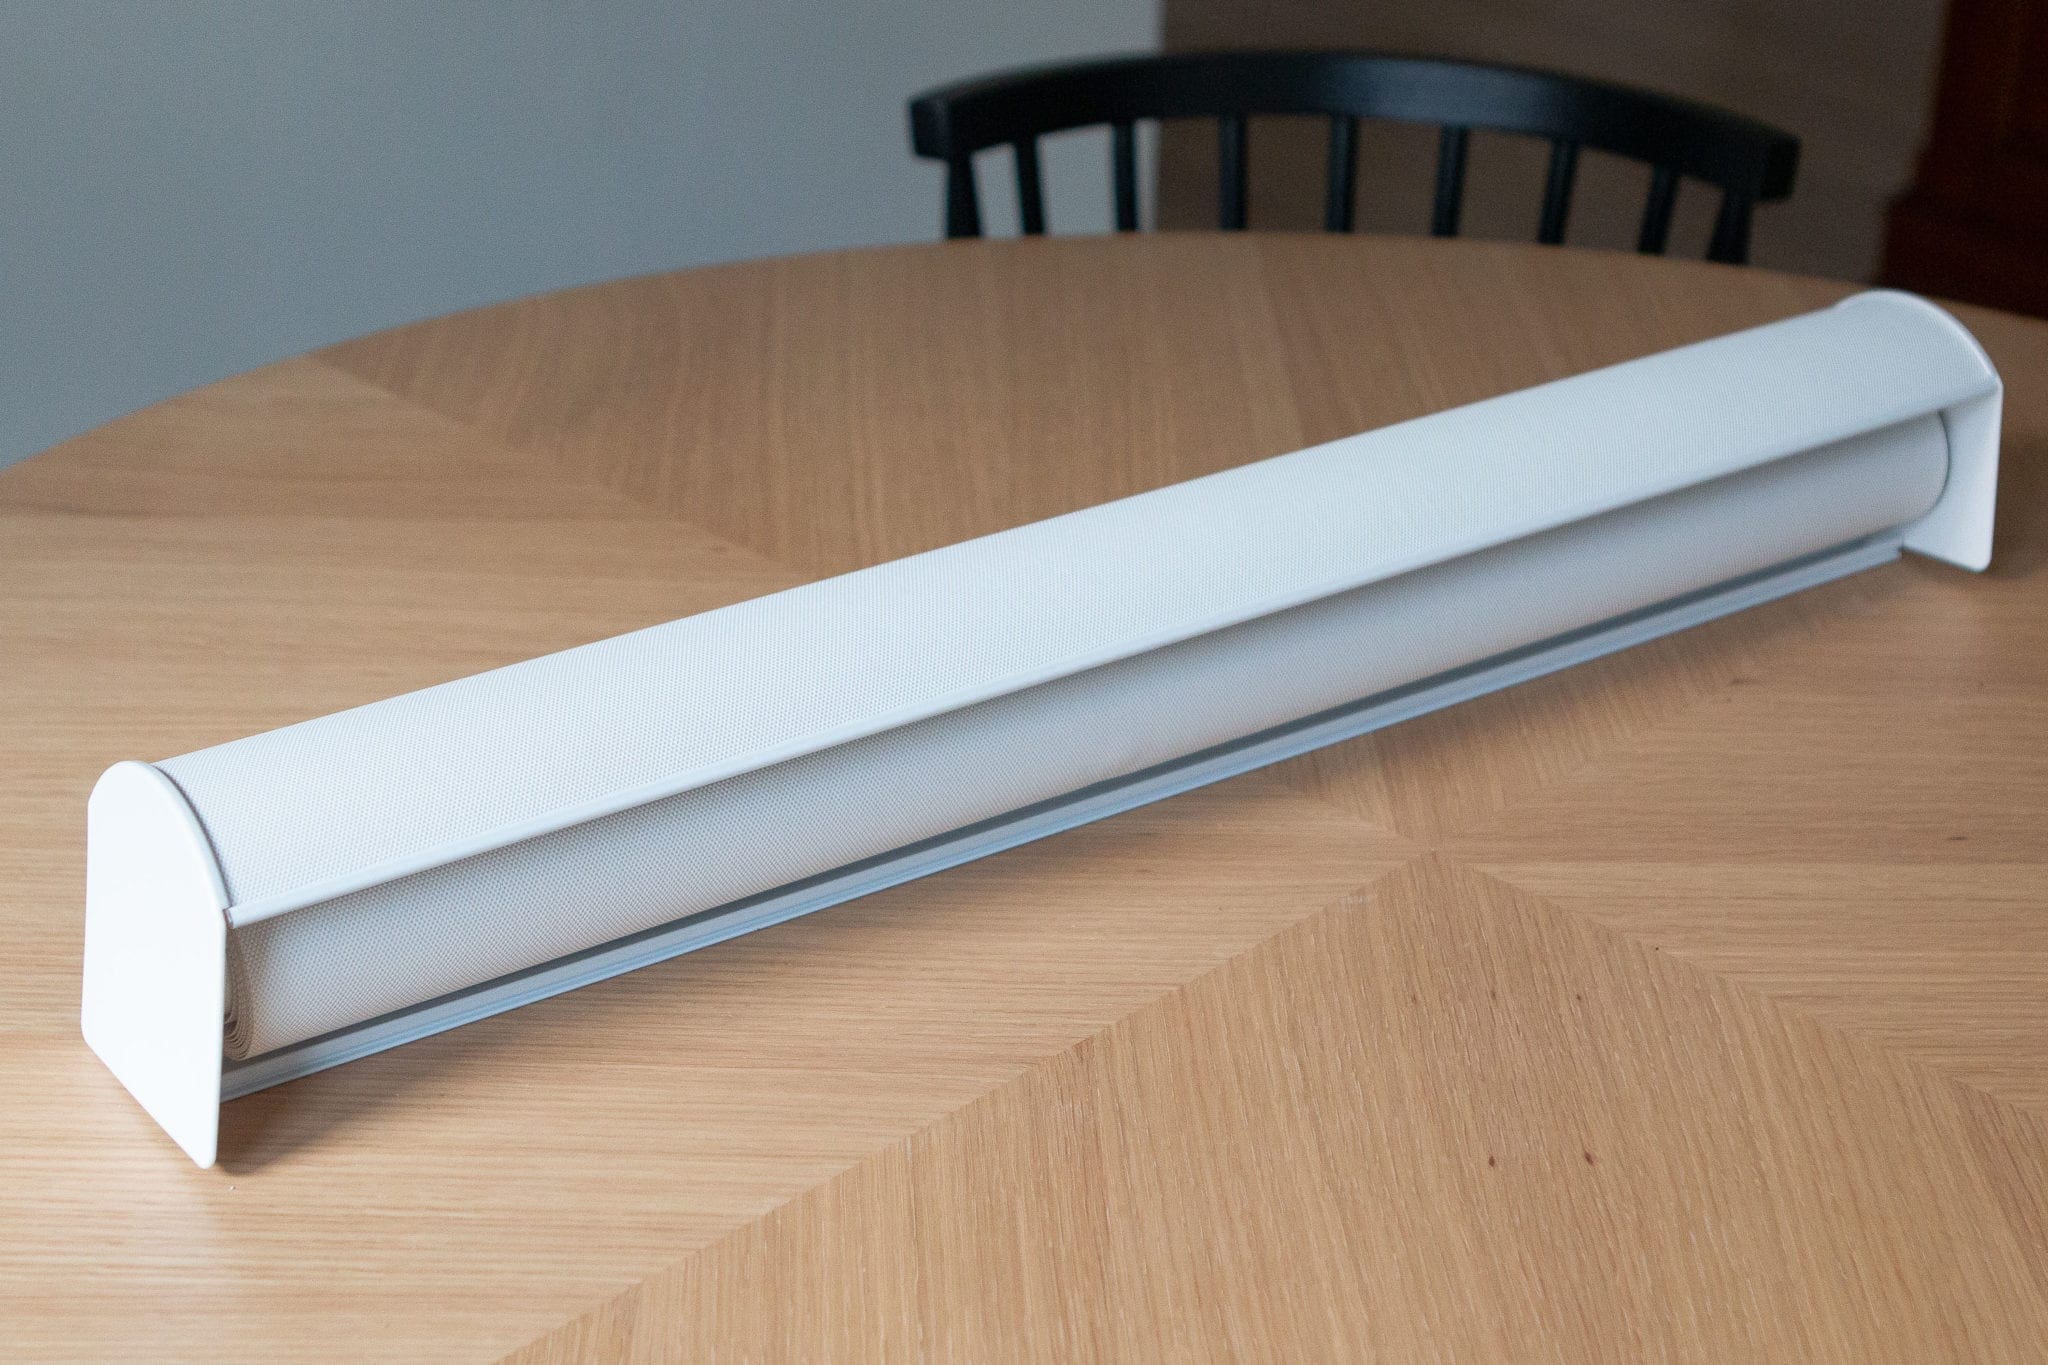 In the end, I decided on solar shades because they would give us the privacy we were craving without blocking out too much light in this bright space. I ended up ordering these Allen + Roth solar shades in the color white/linen color at 1%. I went with a light color because I wanted them to blend in with the trim and almost disappear when they are rolled all the way up. And, as you’ll see, that’s exactly how they turned out!
Here are the other details about my exact shades…
Video – How to Install Solar Shades
You can view the video below or head over to my Youtube channel.
My Favorite Parts
- :00 Yes, I had fun making my blinds dance for this part. Ha!
- :59 How to make a template that will save you so.much.time.
- 1:55 Tips to allow your shade to roll up perfectly every time.
I put together this short video to show a step-by-step tutorial to install these solar shades. Honestly, they were incredibly easy to install. I blocked out an entire day to get these done, but it only took me about two hours to install all seven (yes, seven!) of them (and that included time taking photos and gathering video!).
My Best Tips to Install Solar Shades
When you install seven solar shades, you learn a lot of tips and tricks along the way. I’ve actually installed lots of window treatments over the past few years and the installation process for each is very similar. I’m telling ya, there is absolutely no need to hire someone to install them for you. This is a DIY project…100%! Here are some of the tips I learned when putting up these particular solar shades…
Tools To Have On Hand

- Drill (I just got this one and love it!)
- Pilot Bit (here is the bit set I have and use constantly)
- Tape Measure & Pencil
- Scrap Piece of Cardboard
- Flathead & Phillips Screwdrivers (we have this Kobalt set)
- Scissors
- Allen + Roth Solar Shades
Make a Template
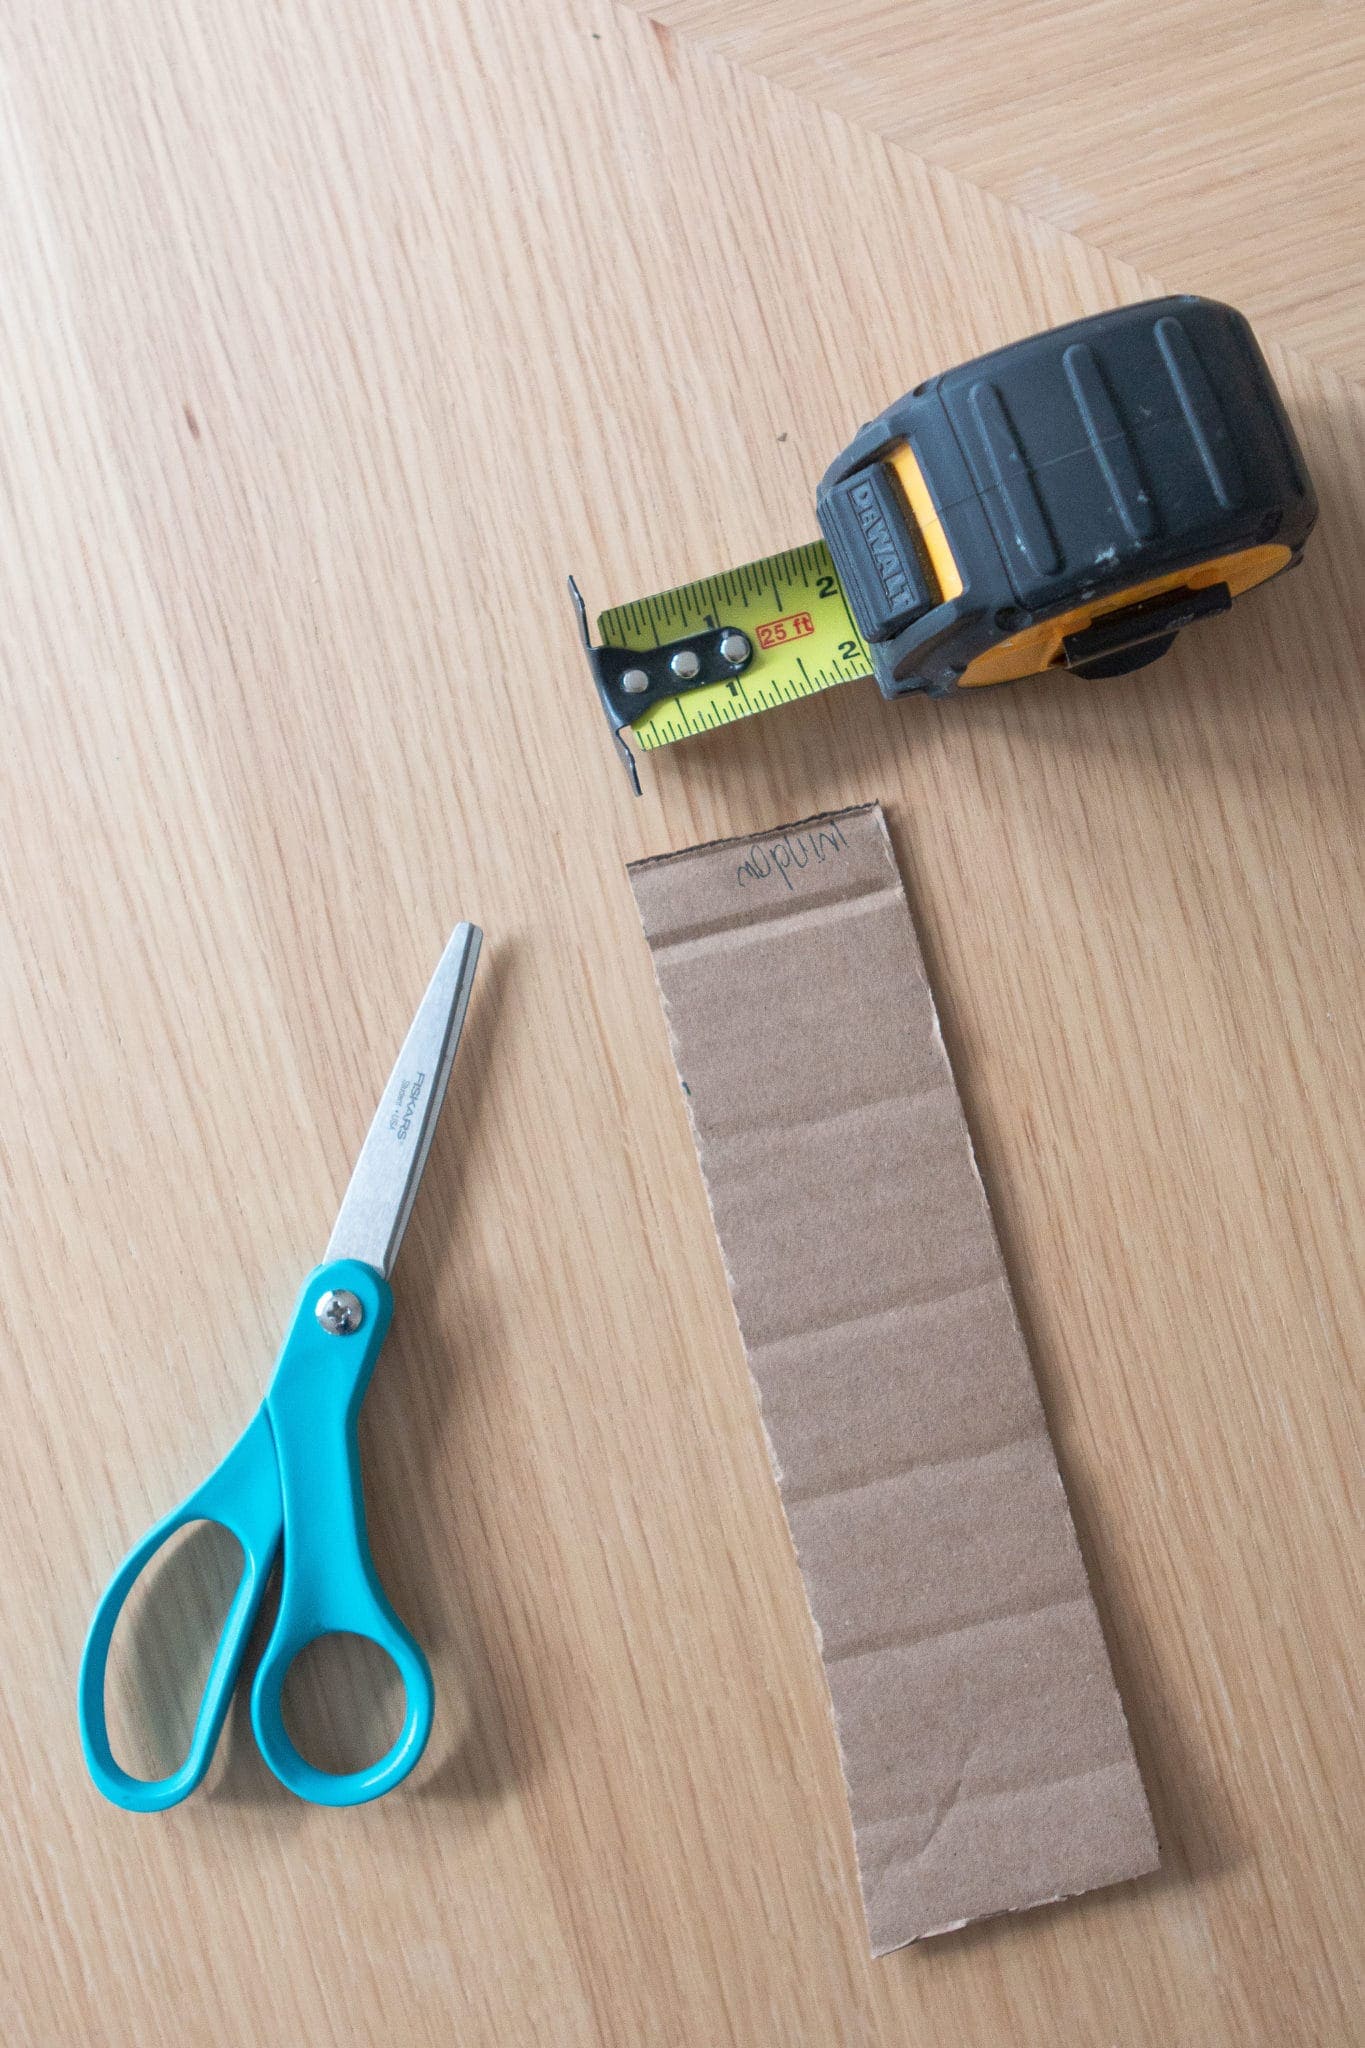
Ready for my best timesaver? Make a template out of cardboard. Hear me out. Whenever I’m installing just about anything, I hate measuring over and over again. Instead, I usually make a template the same size as the measurement I need so I can just use that, instead of whipping out the tape measure.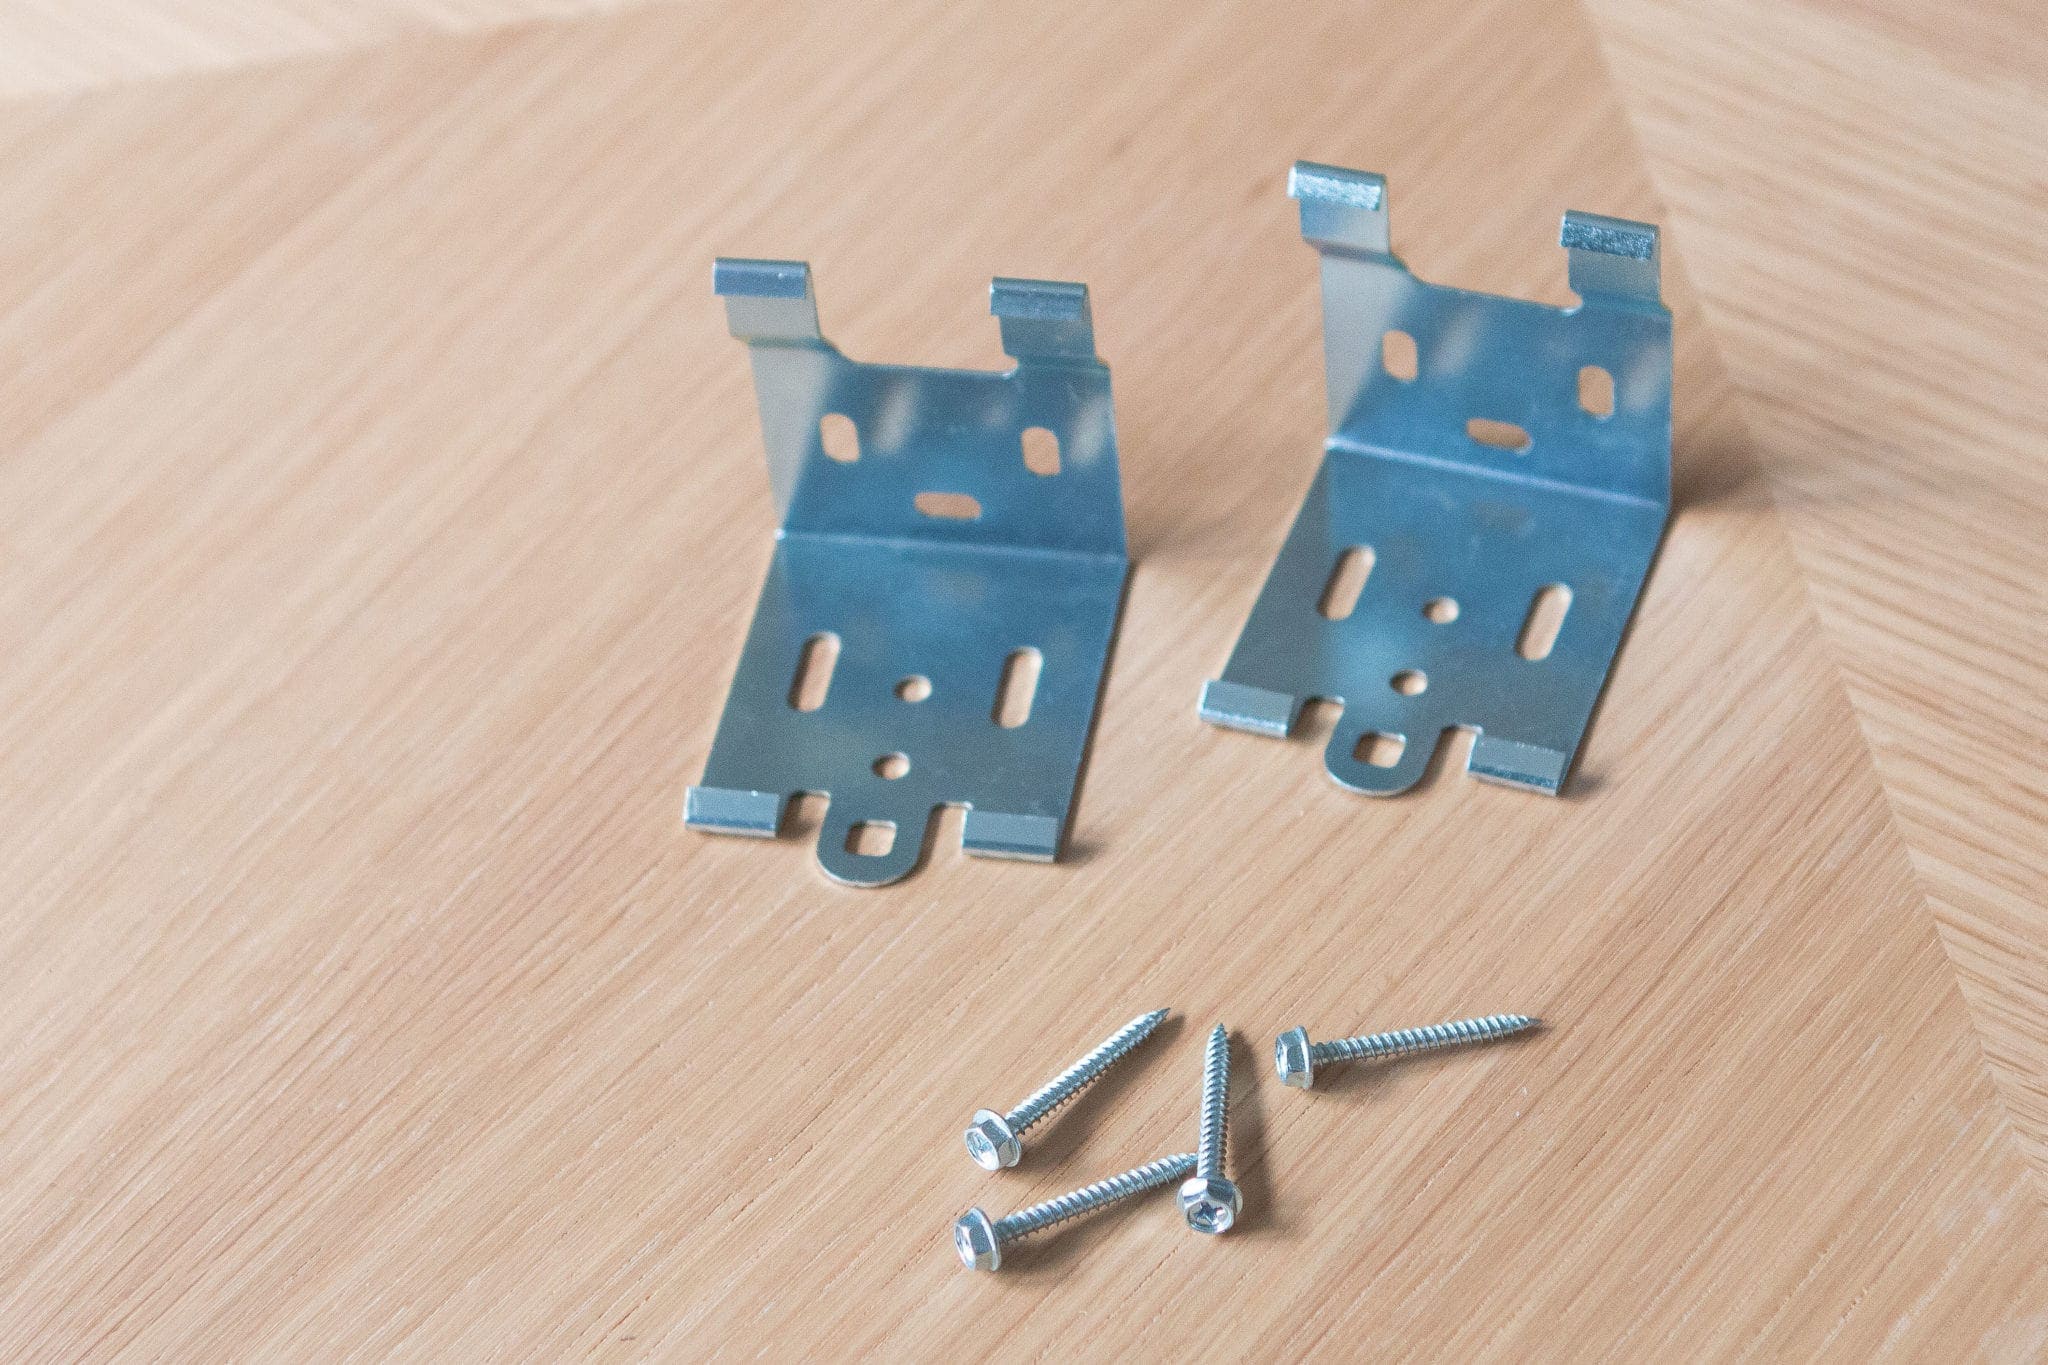
In this instance, the brackets all needed to be installed two inches from the end of each side of the window. So, I took a piece of cardboard from the solar shades box and cut it two inches wide. Then, I placed it on the edge of the window and made a mark right at the end of the template (over and over again).  No tape measure needed with this bad boy! So keep the boxes your items come in because they can always come in handy to speed up your DIY install.
Adjust the Tension
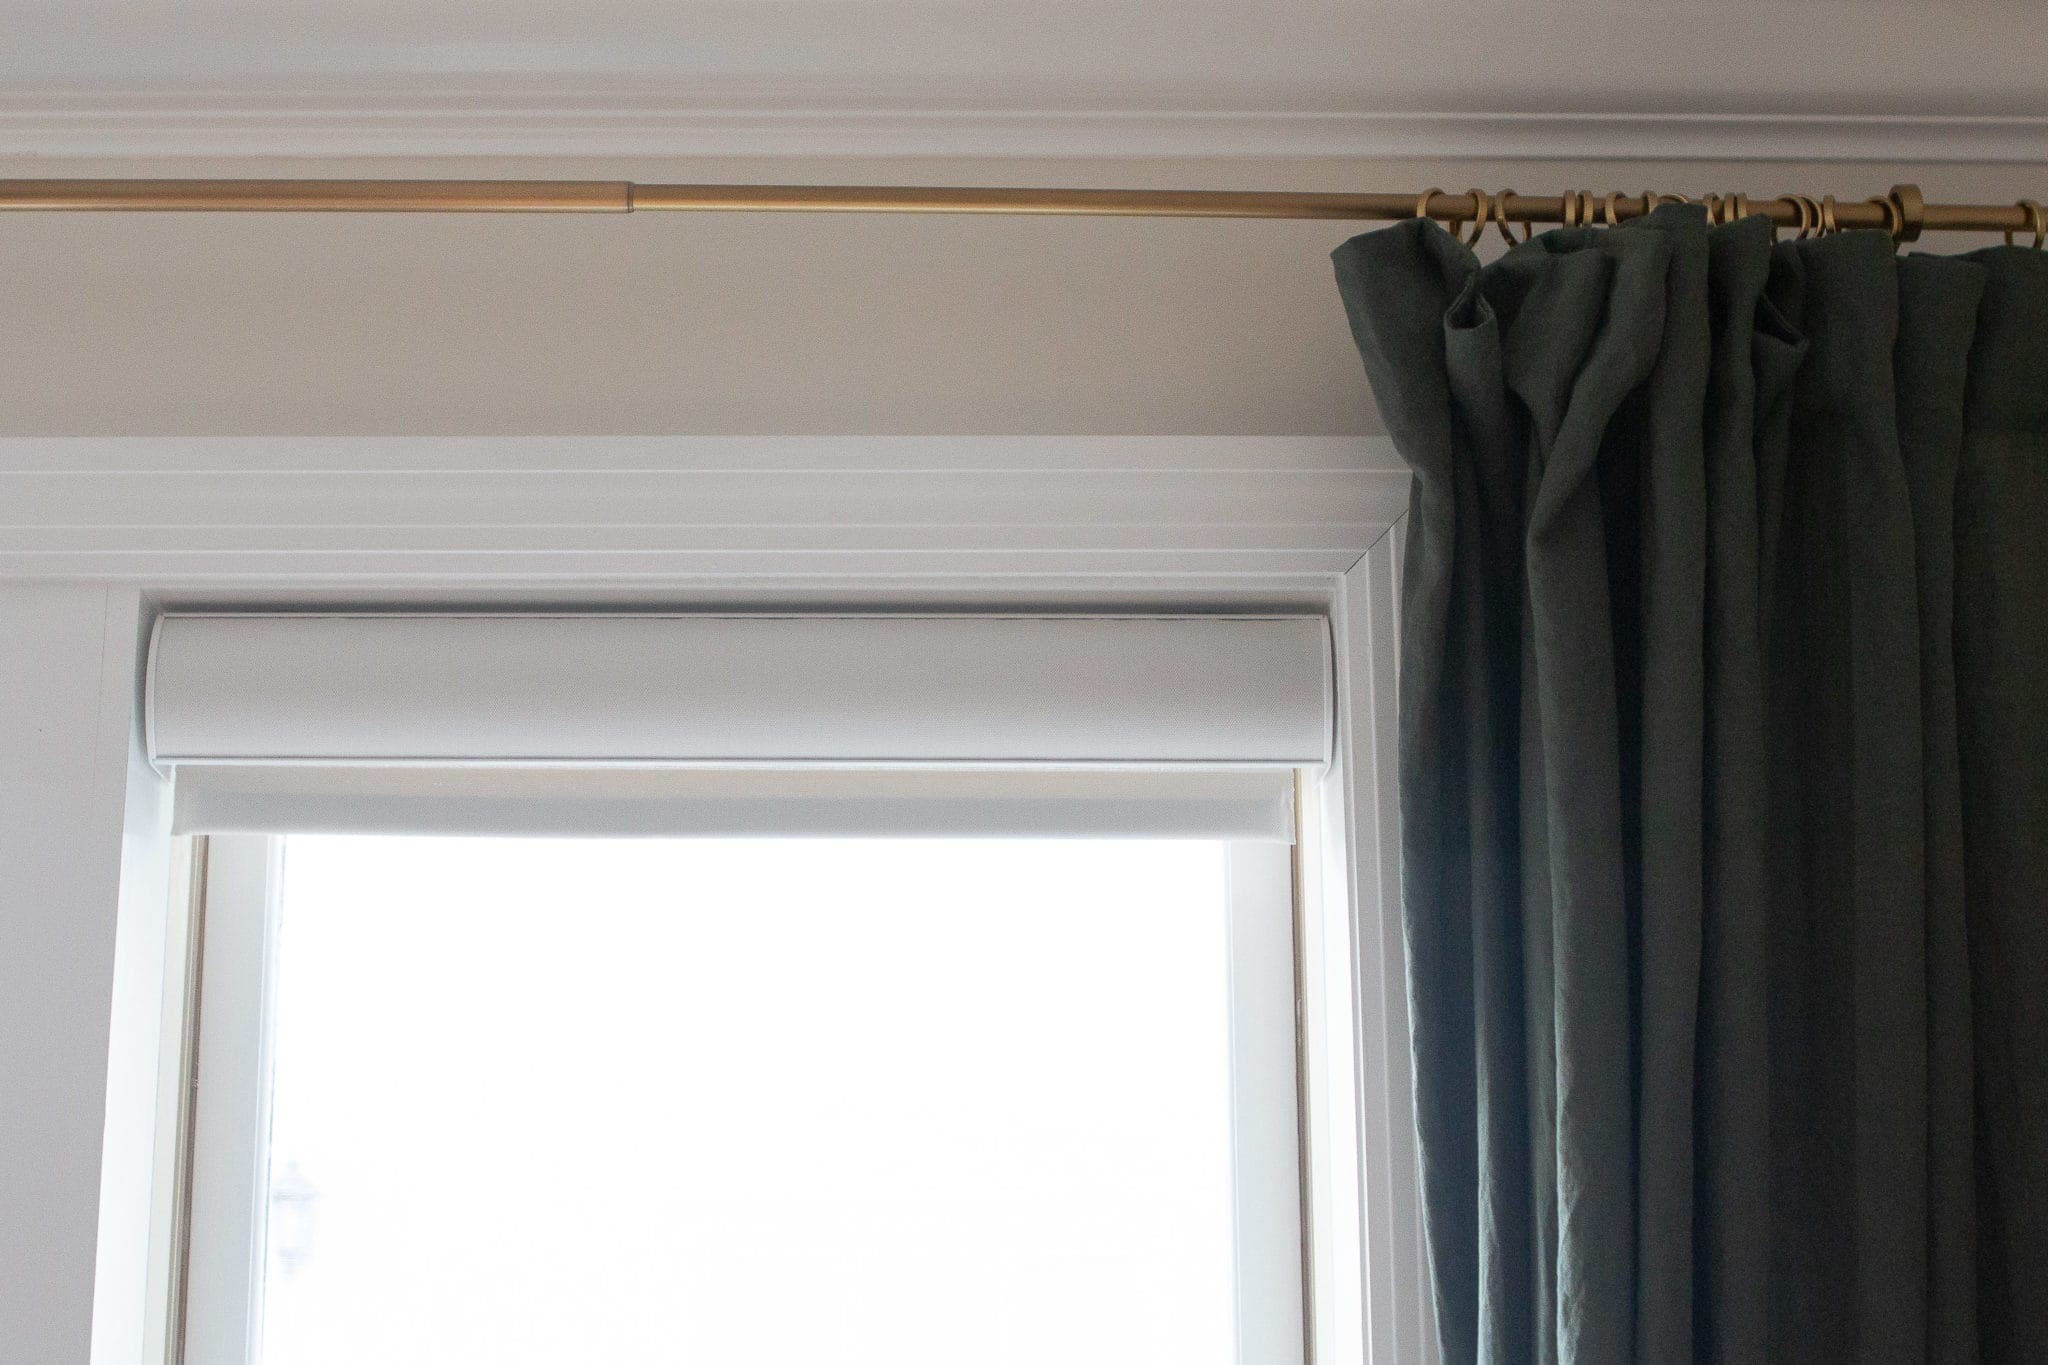
For my solar shades, I opted for the cordless magic-lift technology. That means there is no chain or cord to pull them up and down (I figured they would be much more kid-friendly and cleaner looking!). You just pull from the center of the shade and they roll up and down that way. You do have to adjust the tension of the solar shade to make sure it rolls up the way you want it to, though.
For this, you just pop off the cover on the left side of the shade. You can then use a flathead screwdriver and turn it clockwise to increase the tension (speed up the rolling effect) or counter-clockwise to decrease the tension (slow down the rolling effect). If you pop off the cover on the right side, you can adjust where the shade stops when you roll it all the way up. I wanted mine to go all the way up into the roll, so I turned it counter-clockwise to raise it a bit. The video above shows this in action really well!
Reveal Coming Soon

Right now, my living room is all decorated for the holidays so I can’t quite show you the big “reveal” of the new window shades just yet. In fact, the Christmas tree is blocking the view of that large front window! I promise to show you the big before & after on the blog when we come back from break in January. Plus, it gives me an excuse to give this space a little refresh by scaling down to just my fave items (something I always love to do after the holidays!). 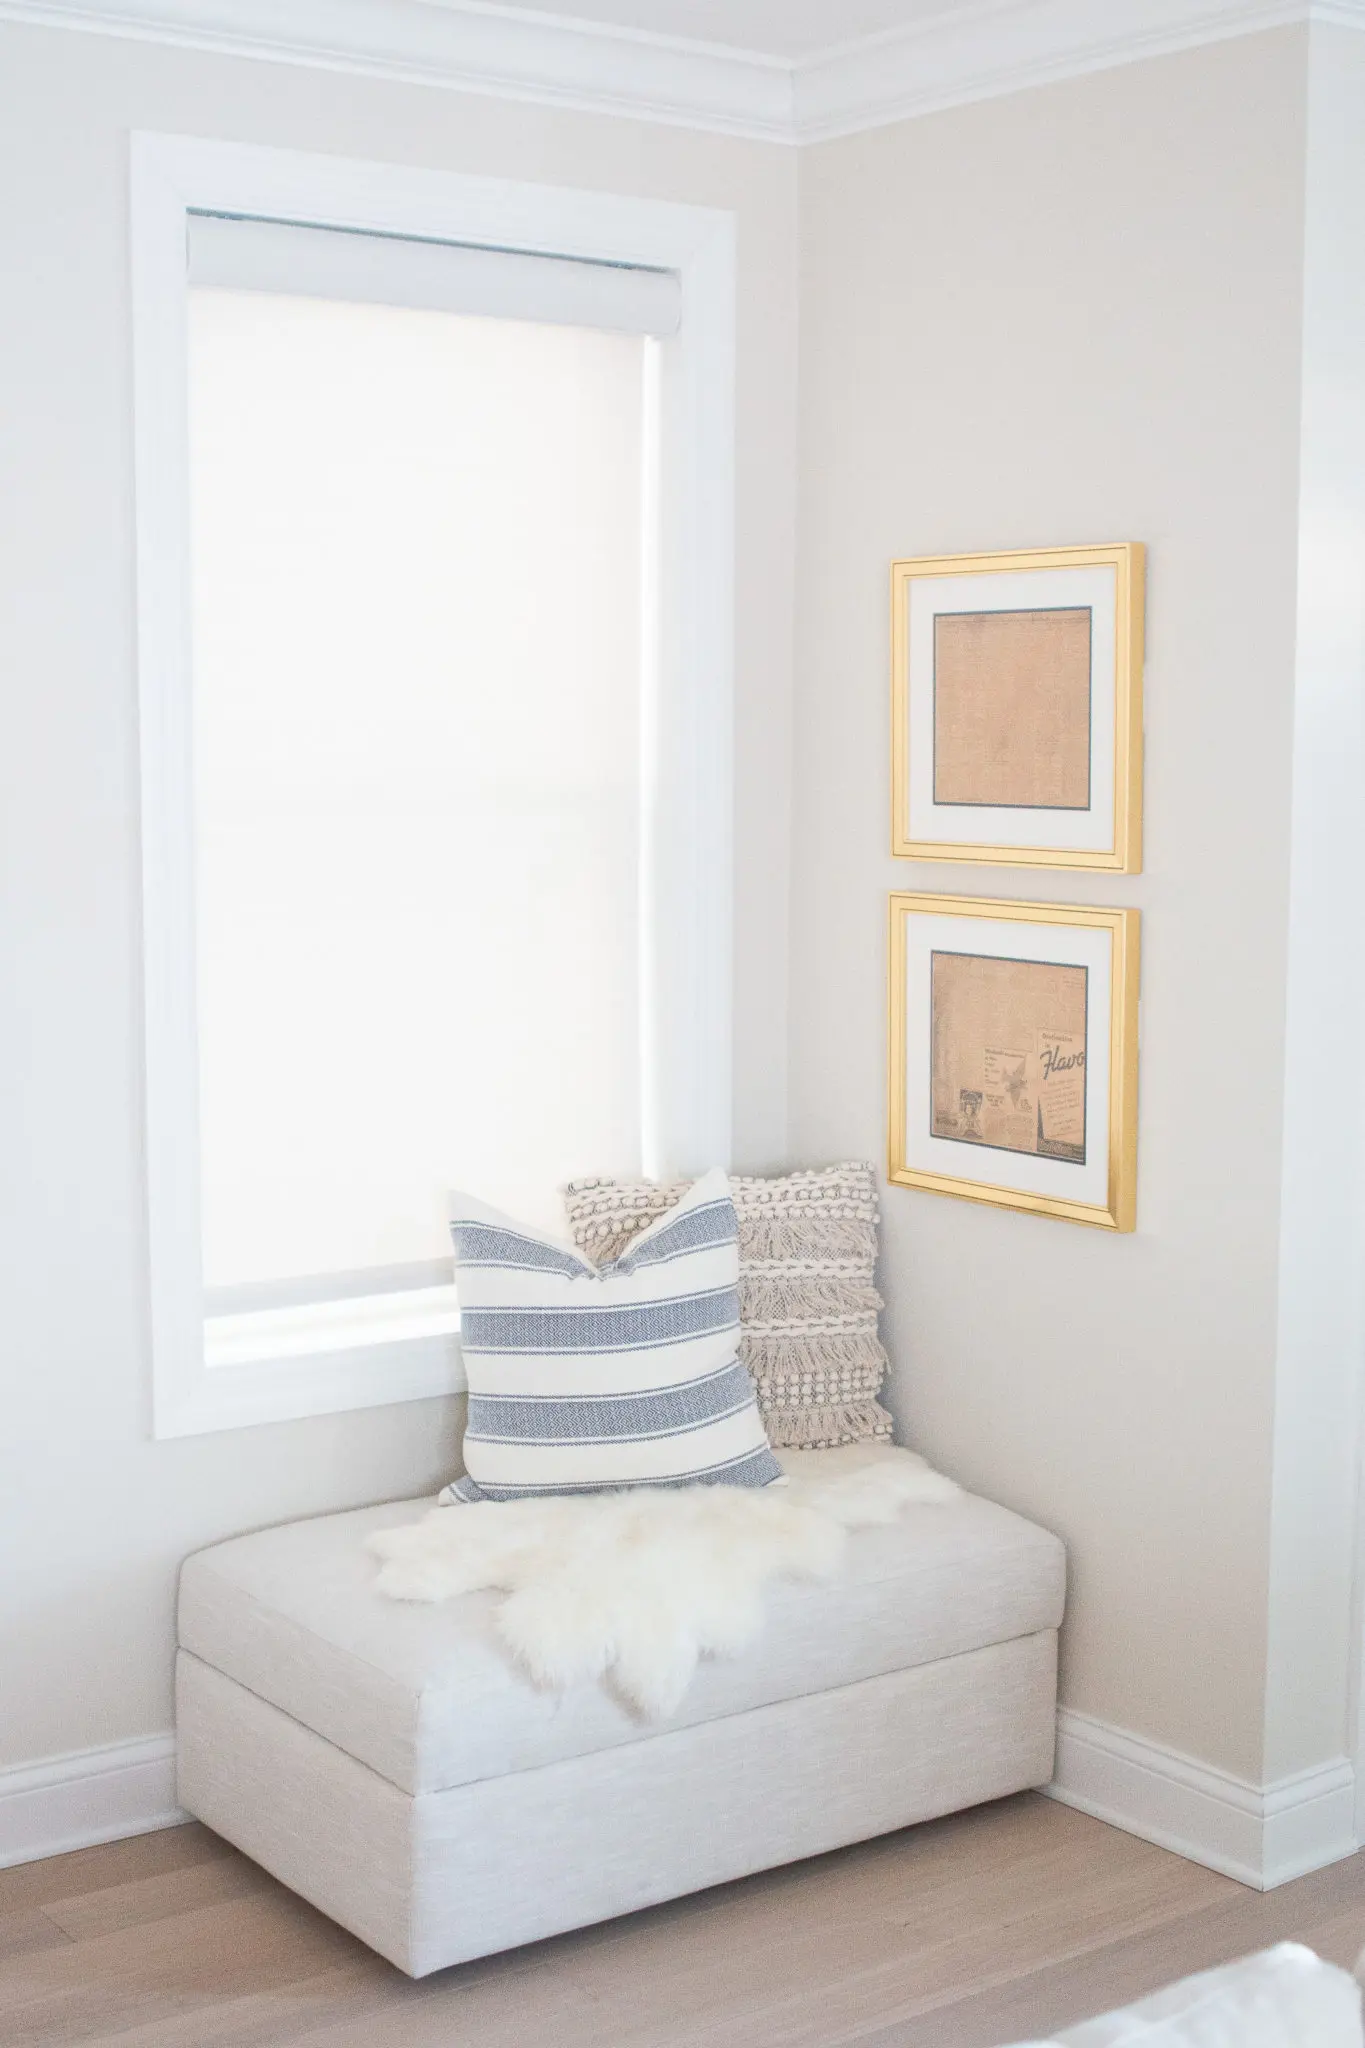
I’ll show you the before and after, discuss how we like living with the shades, and I’ll be sure to include some pictures from the outside of my house so you can see how much privacy our new solar shades provide.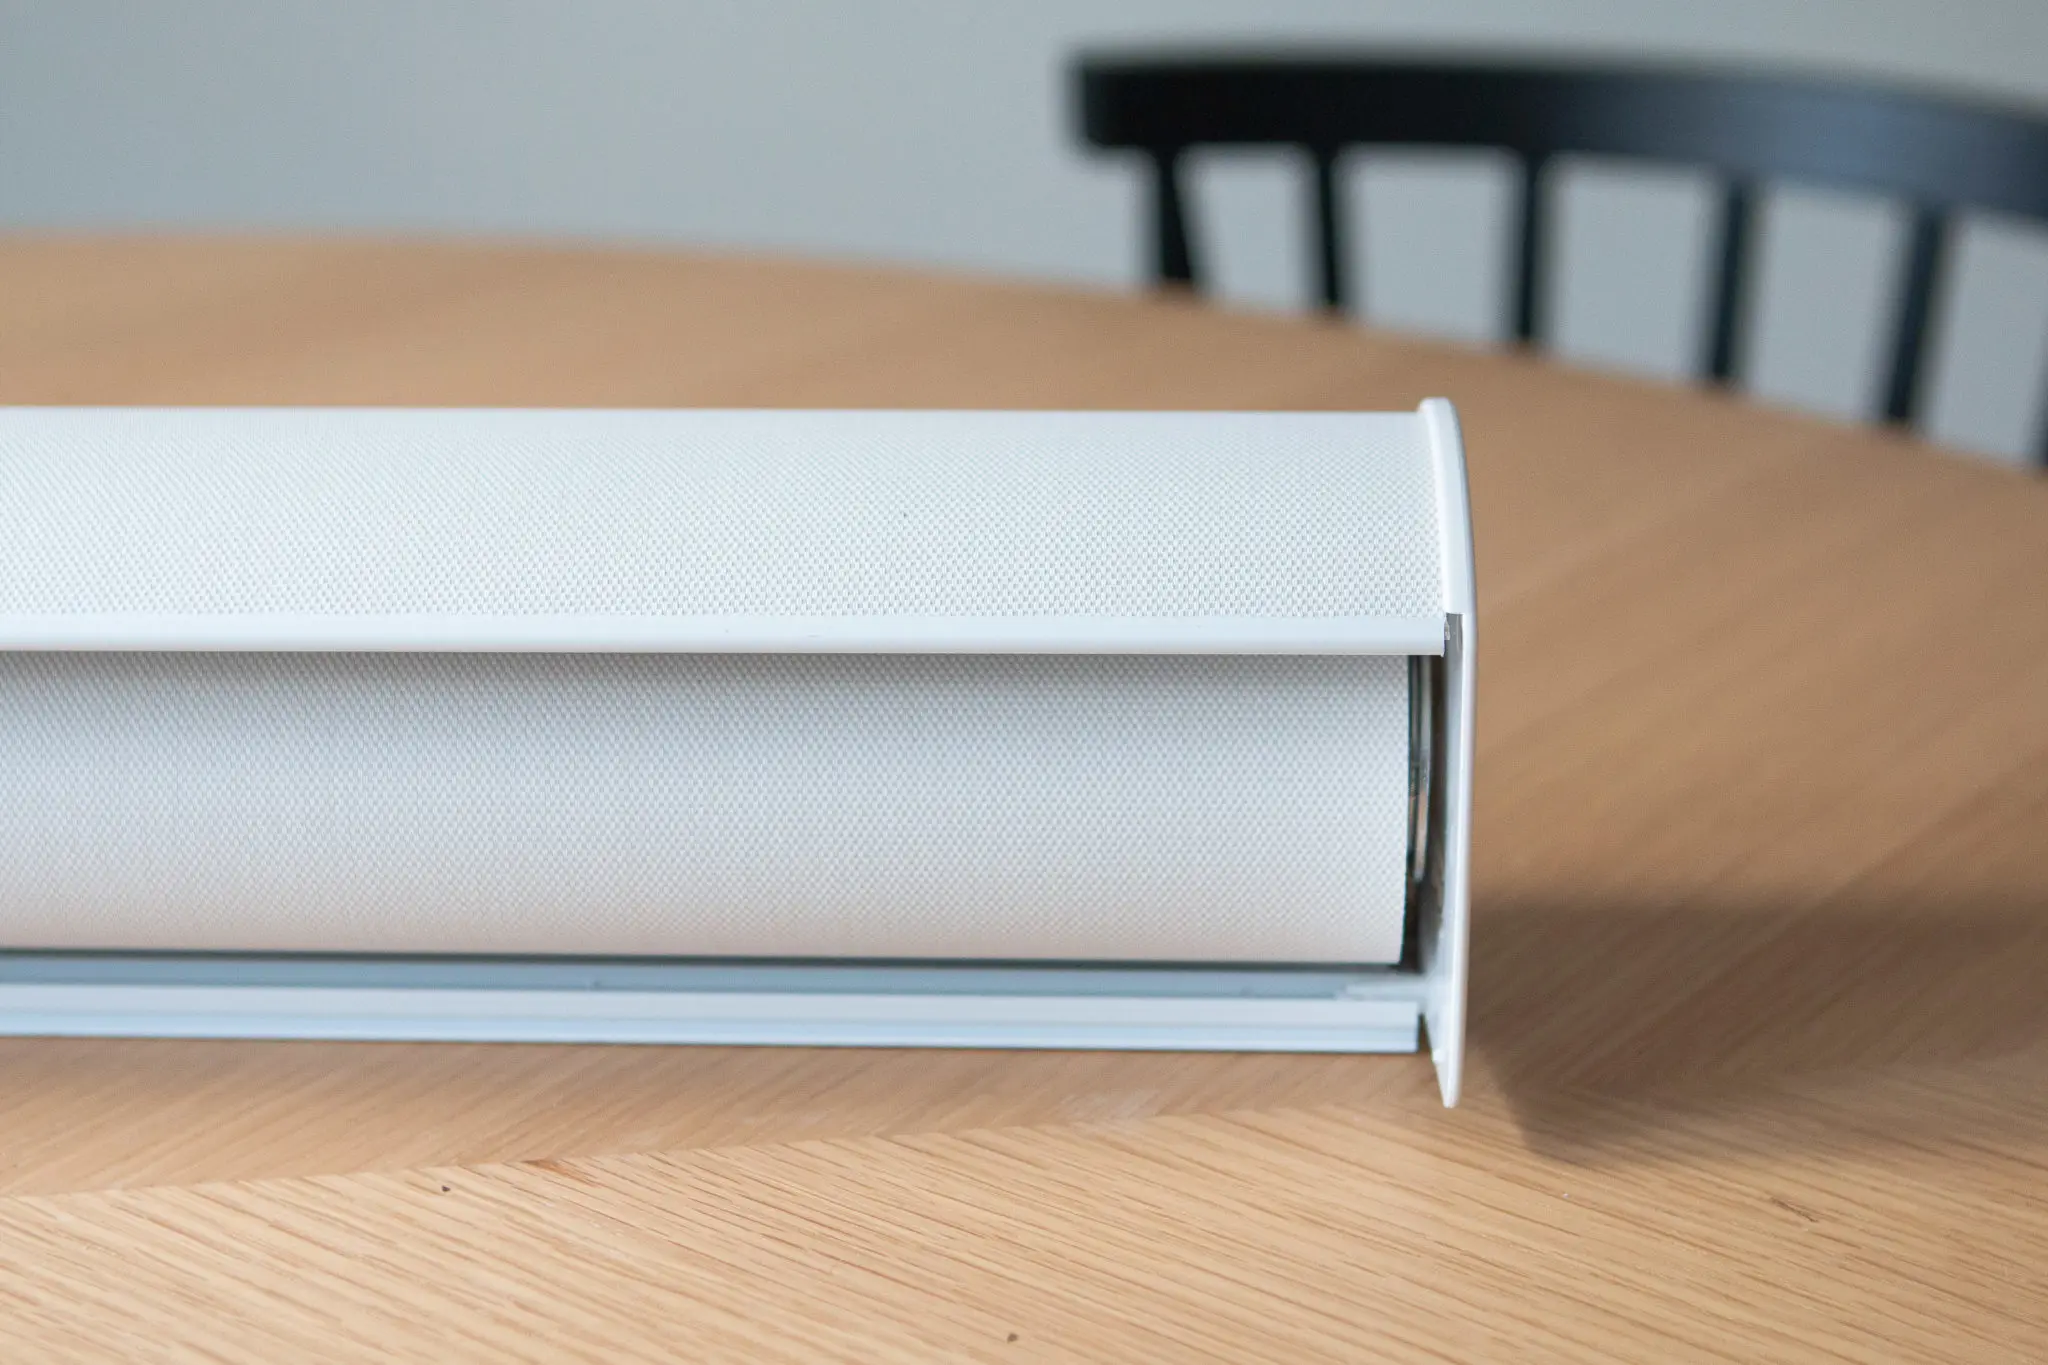
Until then, just know that we are loving our new solar shades! I’ve been drawing them closed at night and it’s nice knowing that the entire block doesn’t know what we’re binge-watching (because lately, it has been bad holiday movies on Netflix!).
Casey