A Simple Idea to Keep Old Christmas Cards Organized
How to Organize your Christmas Cards
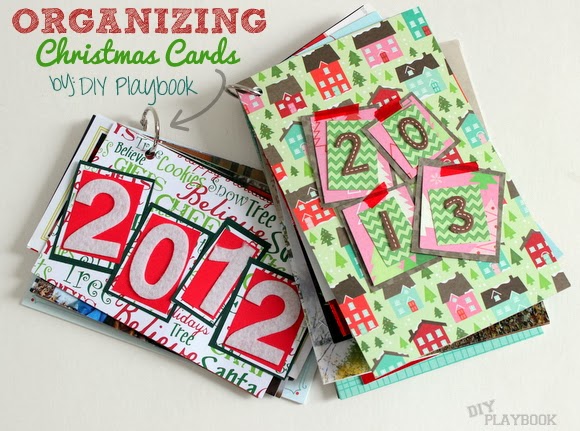
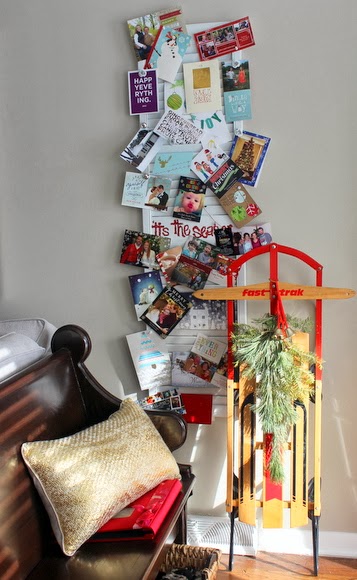
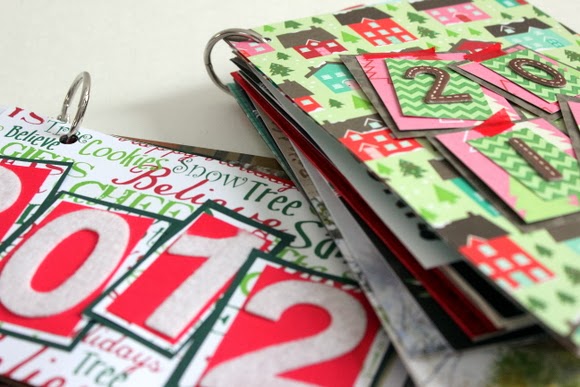
Last year I started the tradition to bind all of the Christmas cards I received throughout the holiday season as a lil’ holiday flip book. This is definitely not an original idea (I see it all around the blogosphere) but I selfishly wanted to blog about it just to motivate myself to DO IT. Putting in a few extra minutes to create this book was not on top of my to-do list but I pushed myself to suck it up because I loved looking back at last year’s memories (and it’s only been a year!). I also loved setting this little cutie out for my holiday guests to enjoy. I can only imagine how much more my guests and I will cherish these books as time passes.
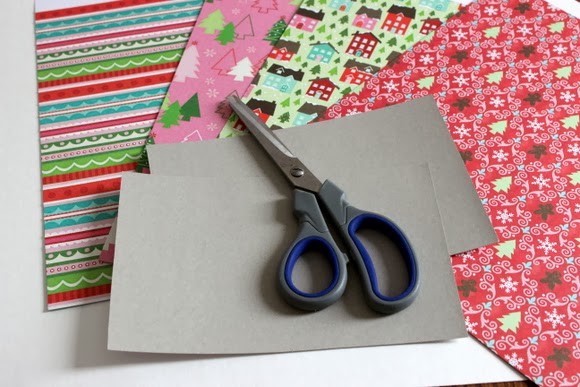
Christmas Card Organization Supplies
- about 4 large scrapbook pages (double-sided offers more combo opportunities!)
- numbered stickers
- glue
- scissors
- hole punch
- ring (or two) to hold the book together
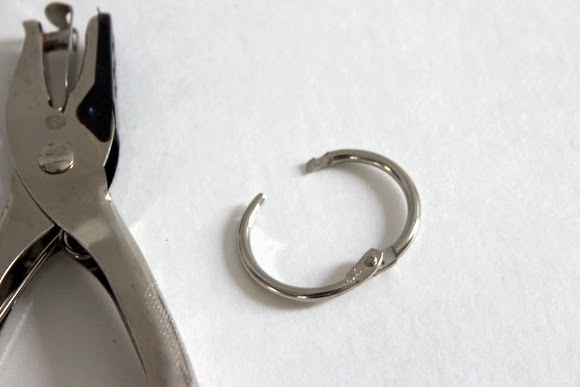
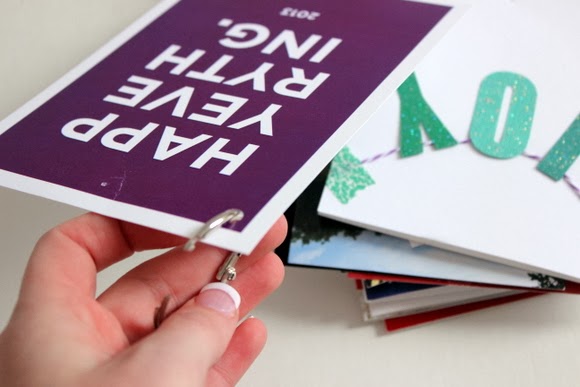
Rookie Tip: Make sure you purchase a ring(s) that fits the size of the stack of cards you want to bind together. Go with the larger ring if you have lots and lots of cards and a smaller one if you’re still new to the holiday card scene. I used a small ring and the cards fit perfectly.
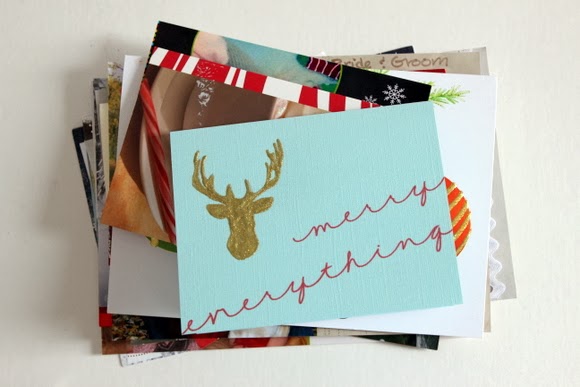
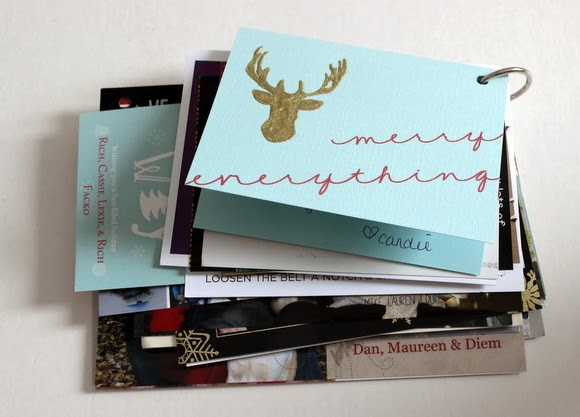
To kick off this simple project, I stacked all of my cards by size (approximately). This is a completely personal preference, but to me, it helped to organize the book by size.
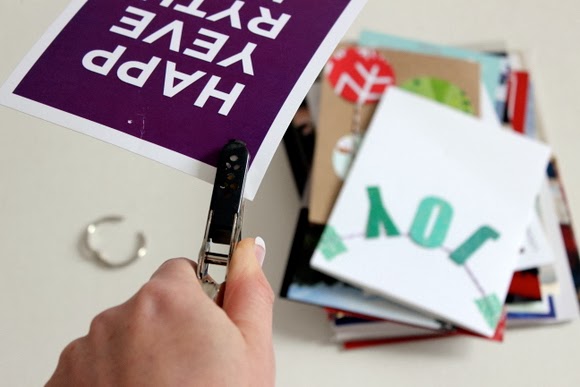
I then hole punched each card and fished it through the hoop. #helloweddingnails
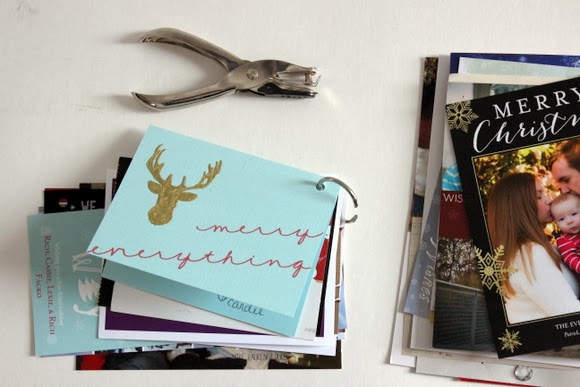
I repeated that two-step over and over and over again until all of my cards were clipped together.
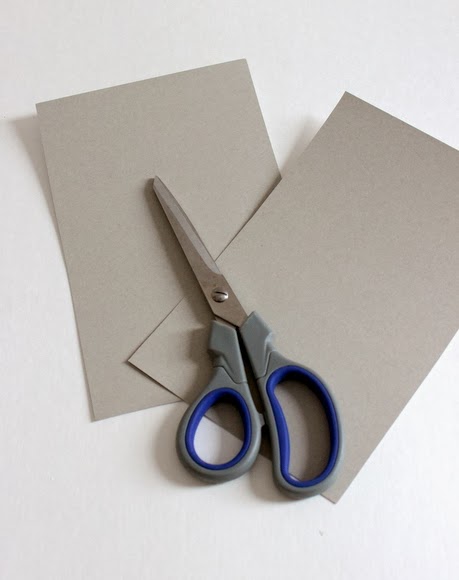
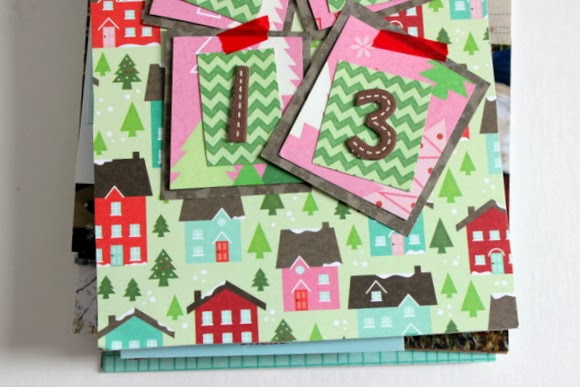
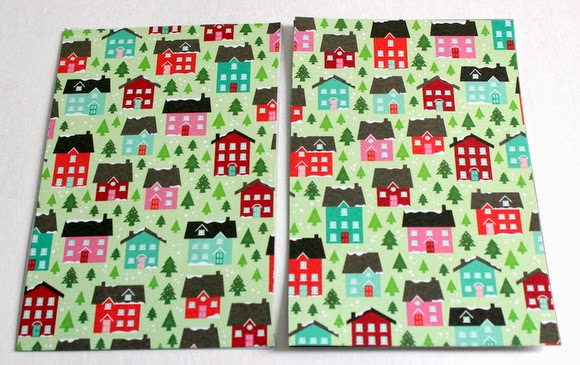
I then used some lightweight cardboard (almost like extra heavy cardstock) I had around the house and cut out a front cover and a back cover. I just eye-balled the size to make sure all of the cards would be hidden by the front & back covers.
I traced the cardboard pieces onto two sheets of paper. (one pattern for the front/back covers and another pattern for the inside of the front/back covers).
I glued the paper onto the cardboard, this way the front and back cover would be BOTH decorative and more sturdy.
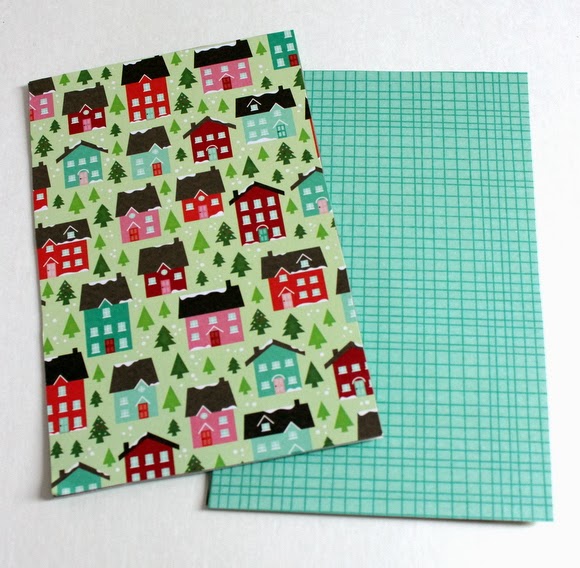
I did that once again on the opposite side of both covers…
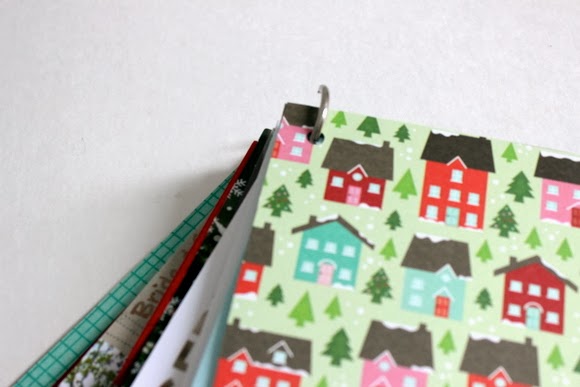
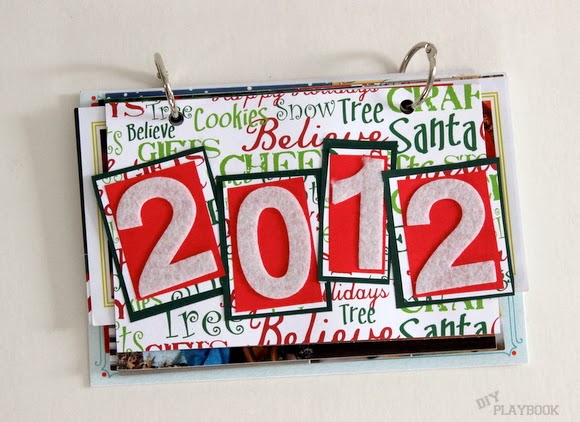
… and hooked the sheets onto the clip. Now all that was left to do was cut out some extra paper and add the 2013 number stickers.
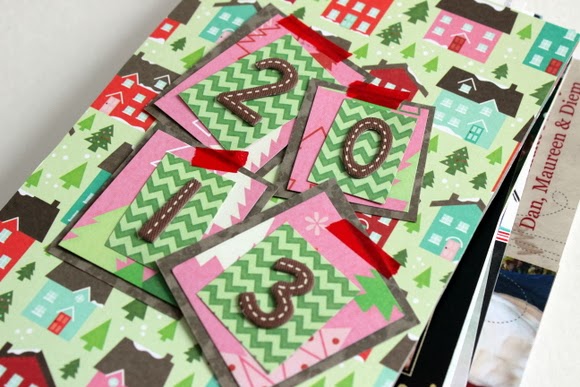
To finish off the very non-traditional Christmas look, I added a pop of red washi-tape and called it a day.
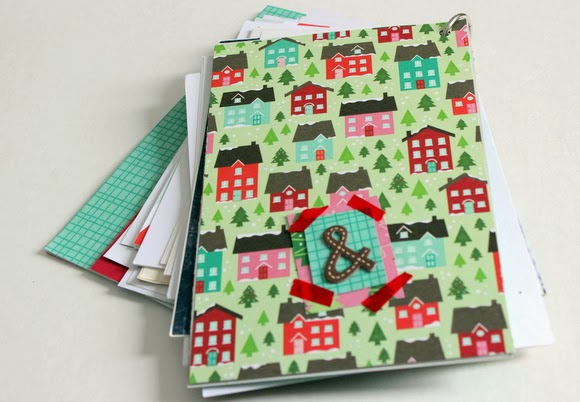
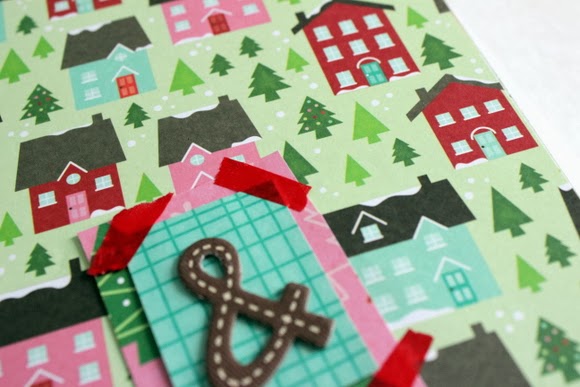
In honor of the big wedding in ’13, I had to add a little “&” trademark onto the back of the book.
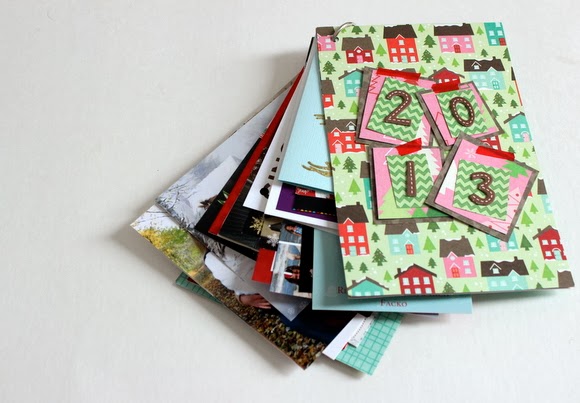
Now that all of my cards are bundled and organized, I’m excited to pack them away and pull them out next year as a quick reminder of how lucky we are to have such amazing friends and family in our lives.
Bridget