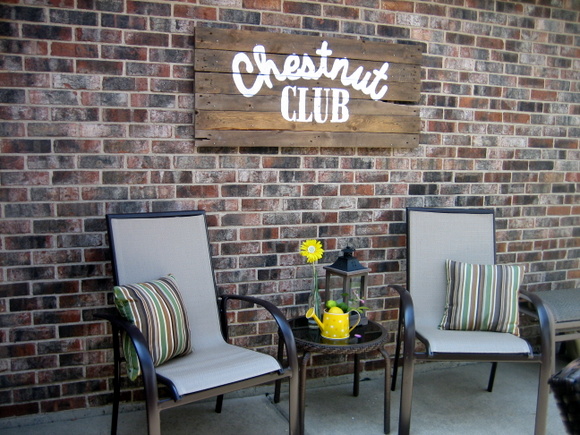
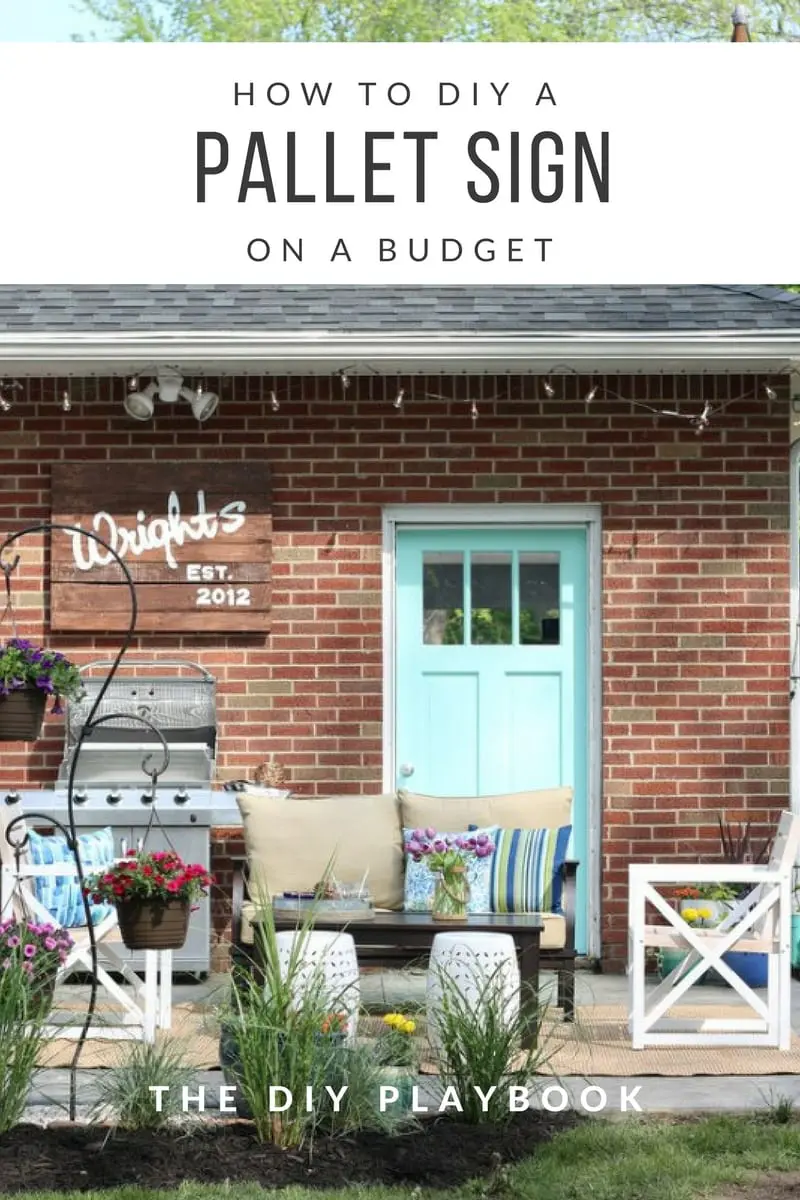
Easy Steps to Create a Pallet Sign
DIY Pallet Sign
With lots of intimidation and quite a bit of hesitation, I decided to create a pallet sign to give to my dad for Father’s Day!
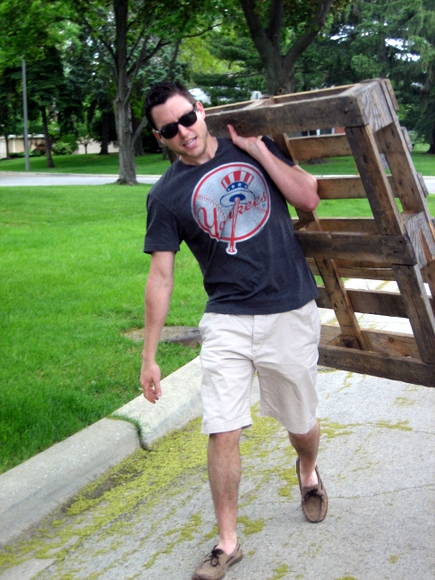
I enlisted my better half to carry this way-heavier-than-I-expected pallet home from a dumpster nearby. (I say “nearby” loosely… more like 1/2 mile of trucking this thing home). Poor Matt, such a team player.

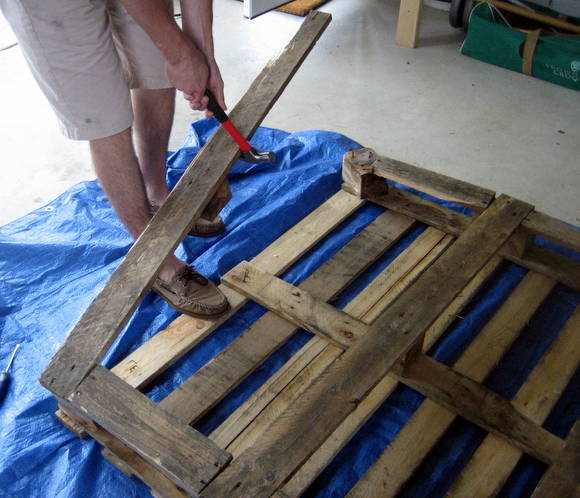
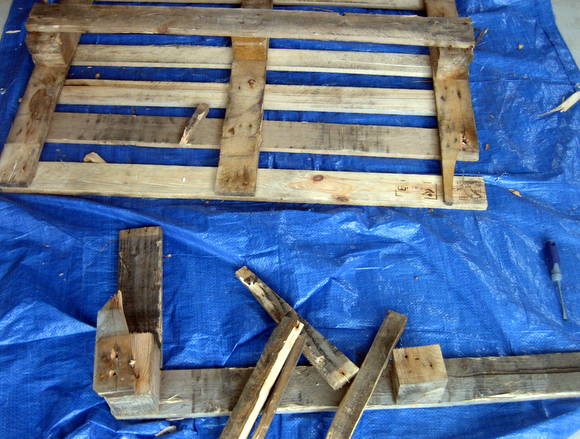
Breaking the Pallet Apart
After we he got this bad boy home, we got to work tearing the wood apart.
I know this is the man of my dreams when I see him knee deep in DIY still rocking his Sperry’s.
Needless to say, the muscle part of this duo took care of most of this demolition as well.
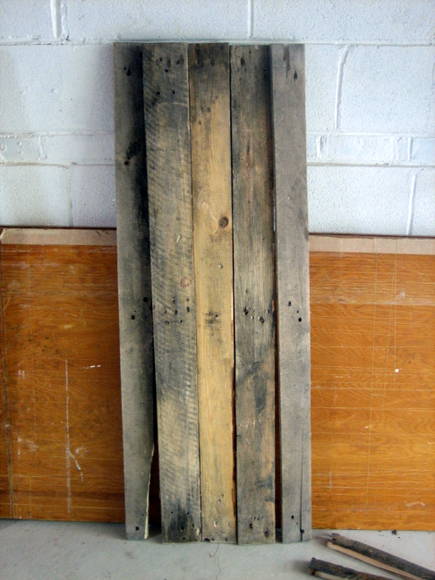
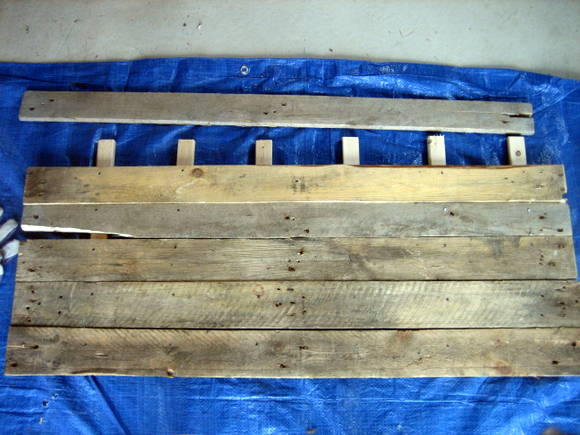
Thanks to Matt, we were left with some weathered pallet wood that would eventually make up the Pallet Sign.
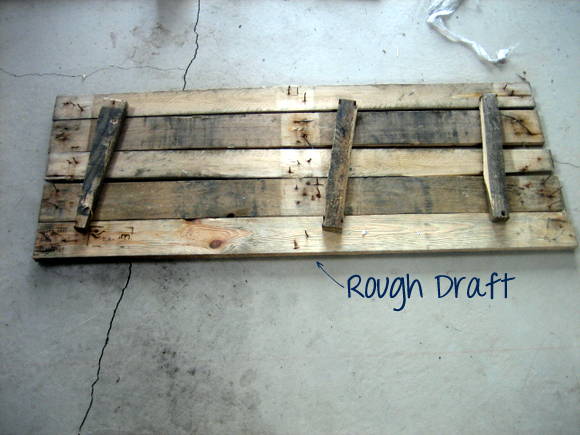
We laid out a rough draft of the sign and decided that the tiny pallet leftovers just weren’t sturdy enough to back this heavy sign. We headed to Home Depot to buy some new wood.

But first, these dangerously scary nails needed to go. With the back of a hammer and some more muscle (ohhh Maaaattttttt), we got those bad boys out in no time.
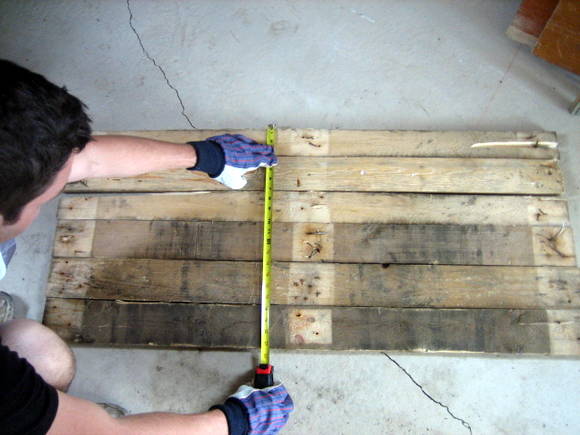
To identify how big our strips of wood needed to be at Home Depot, the project manager did some measuring.
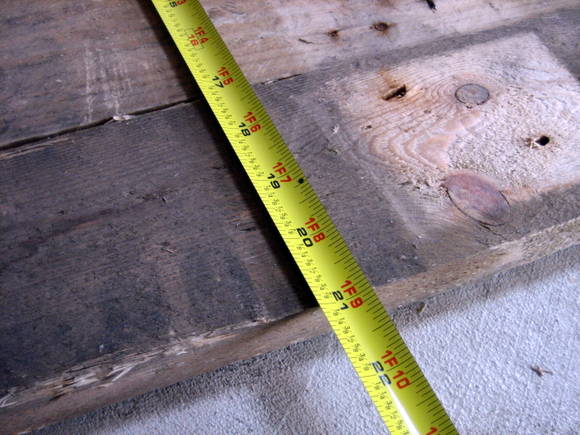
Putting it back together

Since the whole sign was 21 inches long, we picked out one long strip of wood and had it cut down (for free) to 20 inches. The total at Home Depot for the wood, a whopping 97 cents.
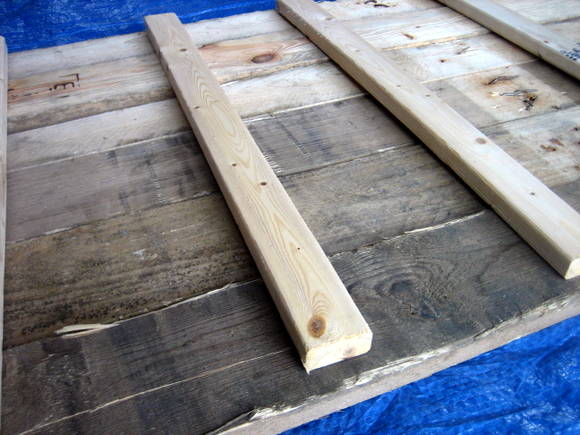
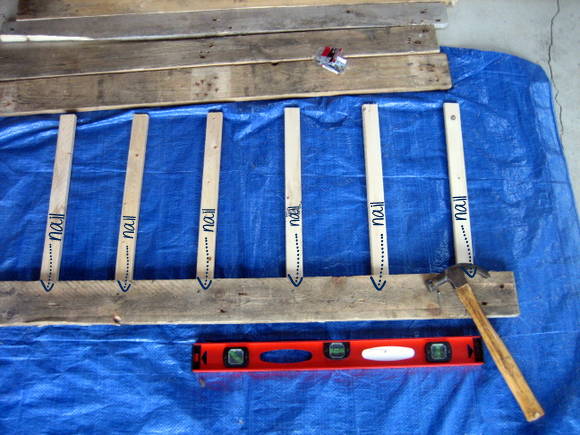
After we did some more measuring and re-adjusting, we were ready to nail. One pallet board at a time, we leveled, nailed, nailed, nailed, nailed, nailed, nailed and repeated the process over and over and over again.

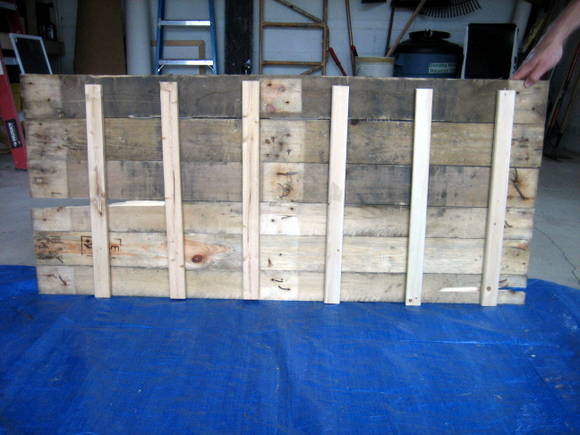
Until we were done!!
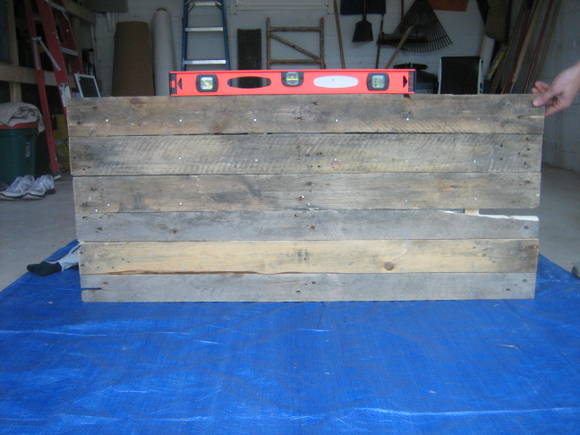
Sturdy? Check. Level? Check. Proud? Check, check double check!
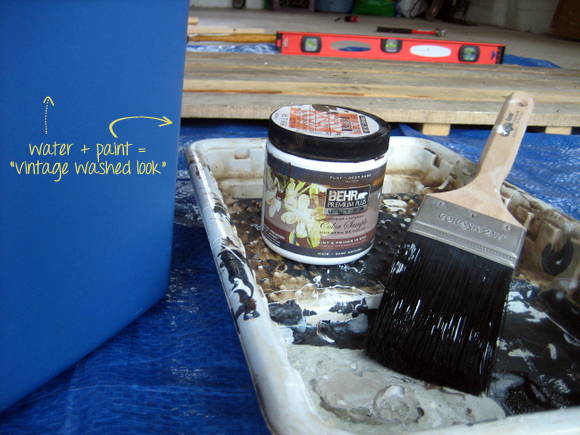
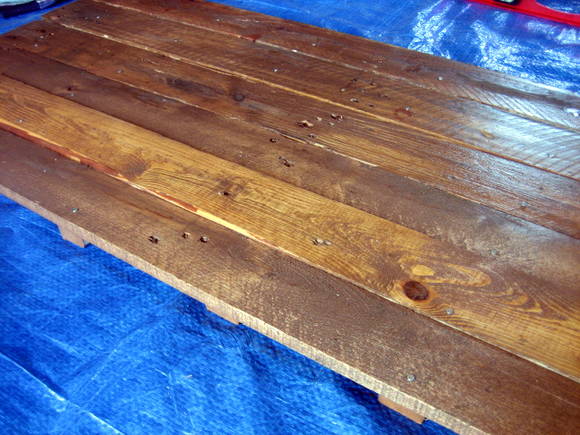
Now, the fun part- adding a “little” finish to the already weathered pallet strips. I didn’t want to add a fresh coat of pure paint onto this sign because I figured that would eliminate the vintage charm this wood already offers. However, without a little color I knew the wood was just too unfinished for my dad’s style. The compromise: watering down paint to give it a vintage washed look.
Painting the Pallet Sign
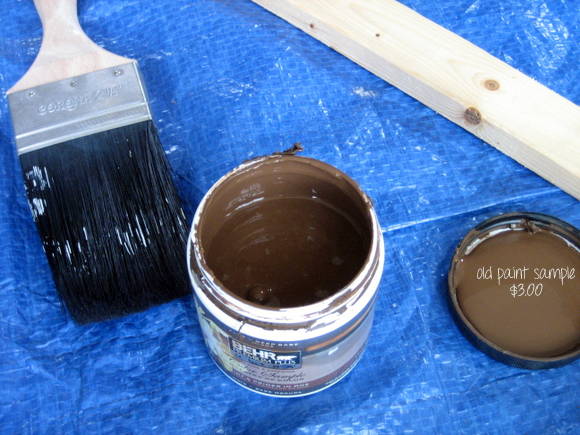
I used a small jar of an old paint sample for my paint base. #hugemoneysaver. Instead of buying an entire gallon, Home Depot will create a sample of any paint color you choose for around $3. How could you beat that?
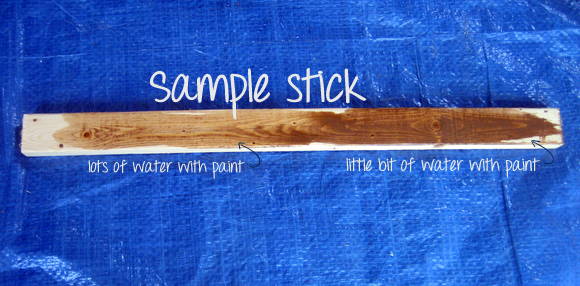
Before I took my (paint + water) concoction to the pallet sign, I sampled it on a piece of leftover wood. If you want the darker look, use less paint. I wanted my finish to be a little lighter, so I added more water to the paint. There’s no rhyme or reason to my mixture, I just kept adding a little bit of water until the consistency was exactly what I was looking for. It’s sort of like creating the perfect pancake mix… kinda?
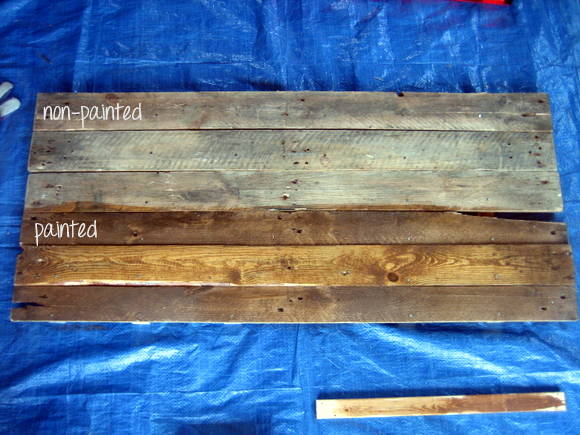
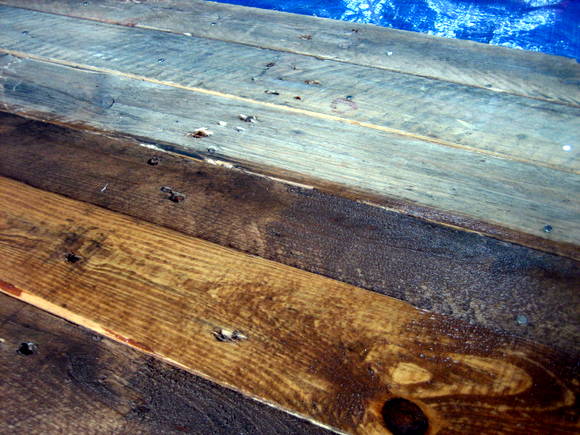
Some of the pallet wood absorbed more of the paint than others; giving those strips a darker look. Clearly each strip looks a little different, which was A-ok with me! The more weathered charm, the better.

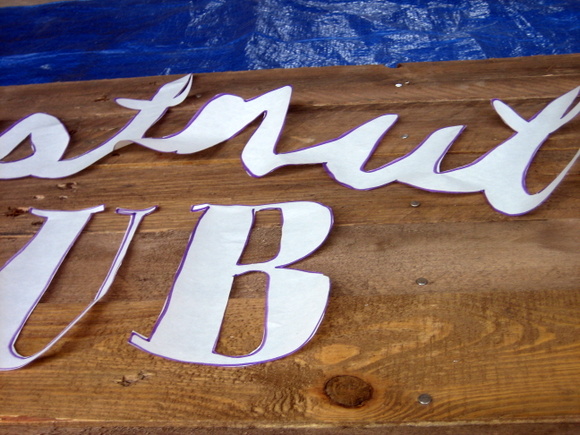
The next step: adding some words! I traced some letters that I printed off the of computer with a pencil.
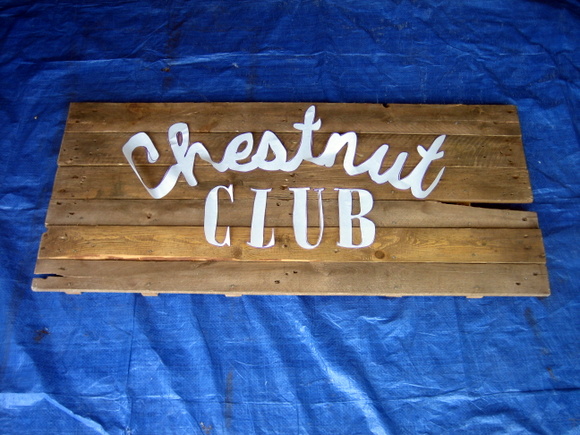
I filled in the lines with a few itty-bitty artsy paintbrushes and some white paint.

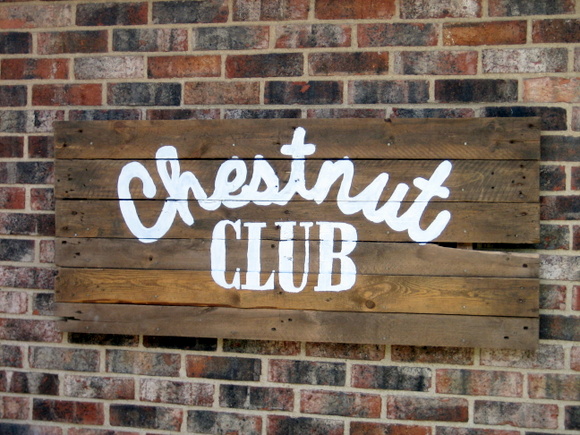
About an hour and a half later, I was so excited to present this treasure to my pops.


(Dad, if you’re reading this…. skip this part)
Cost Breakdown
- Pallet Wood……… Free
- Backing Wood…. $0.97
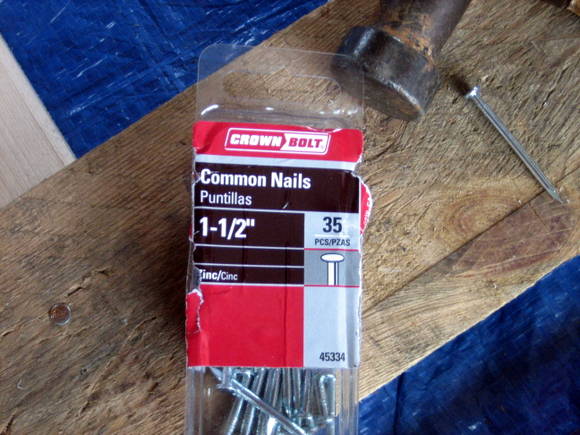
- Nails………………. $1.30
- Paint………………. already had it
- paint brushes……. already had them
- Total Cost: $2.27
A personalized gift….. Priceless
Happy belated Father’s Day to the best dad in the world. Not only have you taught your daughters how to become independent young ladies, you have shown us what it means to be a selfless parent, hardworking professional, amazing husband, and most importantly…. a good person. Thank you.
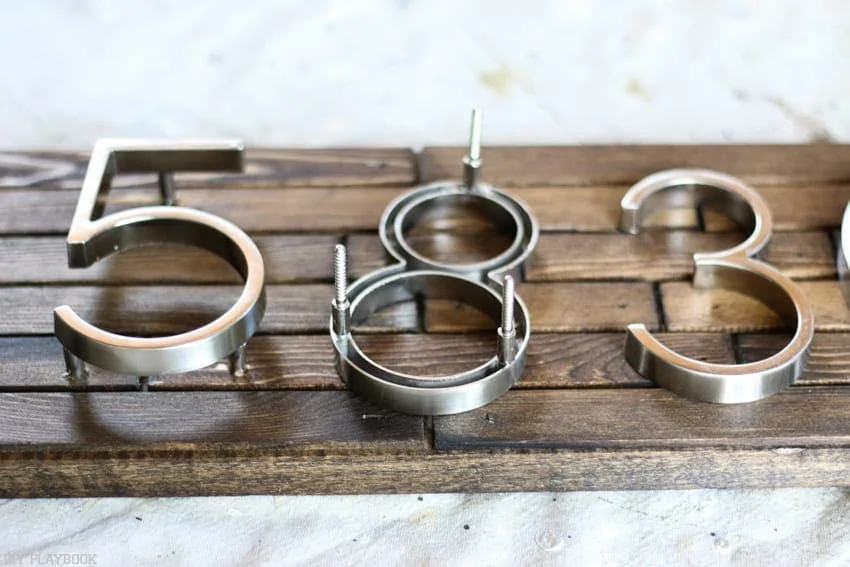
P.S. If you love this affordable project, I think you’re going to love DIY Address Sign too!
Bridget