P.S. I Love You – Our Wedding Mailbox
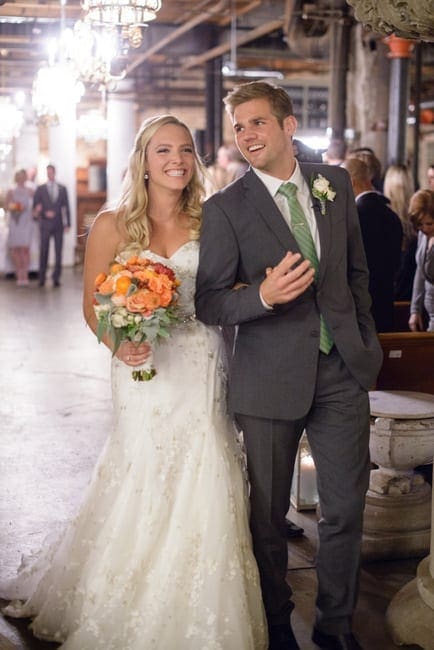
I’ve officially been a married woman for over 3 months now and I am loving this new wife status. I wasn’t a huge fan of the word “fiance”, and I feel much more comfortable calling Finn my “husband” instead. Cya fiance, I won’t miss you and your fancy ways.
I haven’t spilled the beans on all of the wedding details just yet, specifically because we only recently got our professional photos back. But sit tight my friends, I have two fully detailed wedding posts happening tomorrow & Friday. So get ready for lots of bridal craziness as we close out this week.
Today, I want to share one of the many DIY projects that we did to add a personal touch to our big day. As I said before, we ended up going with a love letter theme to showcase our relationship throughout our wedding. When thinking of a card box or place for gifts, I immediately knew I wanted to use a large farmhouse mailbox. Ya know..letters, mail, mailbox? Get it? This was actually one of my first DIY ideas for the wedding. So I had this idea…but I honestly had no idea how I was going to execute it. I mean I live in downtown Chicago…where the heck was I going to find a FARMhouse mailbox?
I trolled Craigslist and Ebay in hopes that I could find the perfect mailbox for us. But all I found was overpriced (I’m talking like hundreds of dollars) farmhouse mailboxes, newer mailboxes without much character, or standard mailboxes that were just way too small. I looked at local antique shops and thrift stores for about 6 months, and I was about to give up with my grand plan.
But then a trip to the Kane County Flea Market changed everything. My mom, mother-in-law, Finn, & I headed to the monthly market in hopes of finding some fun items for the wedding. Obviously a mailbox was on our radar…but I tried to keep my expectations low.
Then I saw this ginormous mailbox…
 Sure it was covered in paint and featured a crazy colorful farm scene, but with a little TLC I knew it could work for us! I paid the vendor $30 for it, scooped it up in my arms, and waddled to the car with our wedding mailbox!
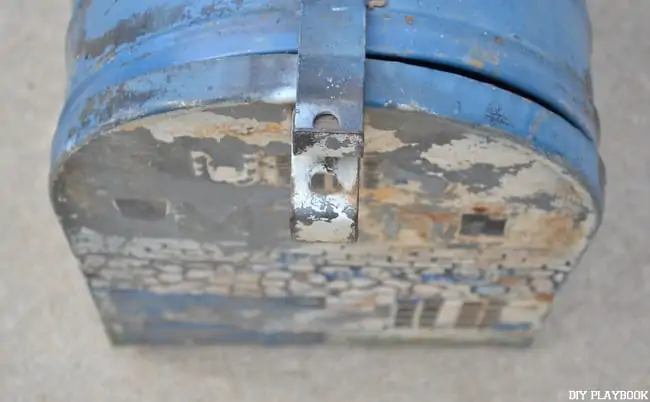
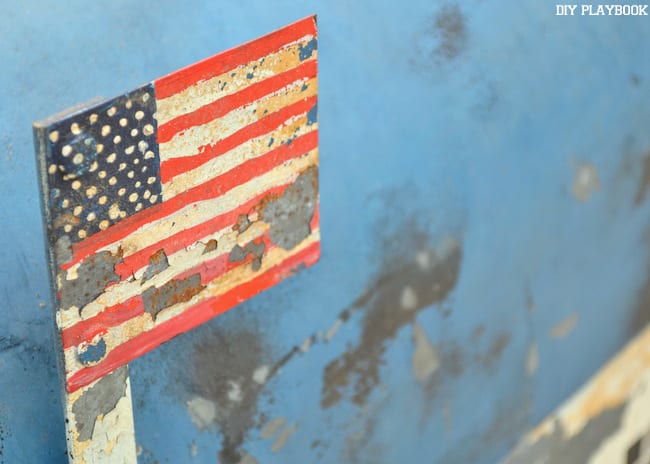 After investigating it at home, I realized that this was going to be a huge undertaking. This mailbox was in rough shape. Chipping paint, an American flag themed mail-flag, and rust all over…
 Not exactly the most romantic treasure for our wedding. But I was a bride on a mission, so I figured I needed to try my best to spruce this baby up.
 First method to beautify this baby? The power washer. My mom and I went to work shooting the flaking paint off of the mailbox with an intense water spray. Many of the top layers of paint came right off and boy was it satisfying!
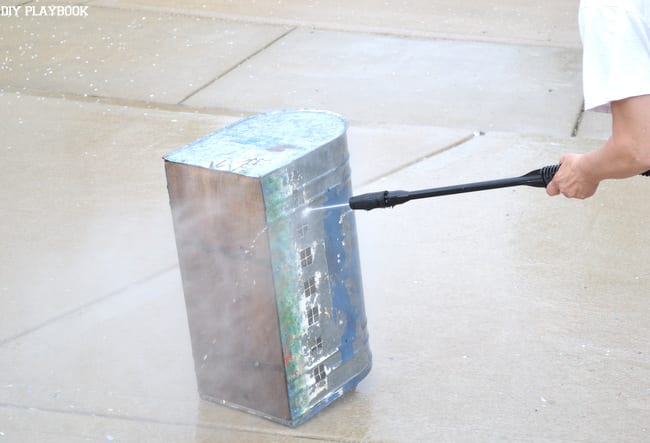 We continued on power washing every square inch of the mailbox…only to find that the older layers of paint were not going anywhere. I sanded, I scraped, I did everything imaginable to get rid of the colorful chaos on the metal….but nope, it was there to stay.
 Second method…something a bit stronger. I purchased this paint remover and plastic spatula to really loosen up the layers of paint. Because this stuff is toxic, I wore gloves and a mask for this step. The employee at the hardware store told me to simply brush it onto the areas, let it sit for a couple minutes until the paint bubbled, and then use the plastic spatula to scrape it all off. He was right…it worked wonders and took most of the paint right off. I then gave it a good rinse with the power washer and it was looking good! There was still some evidence of the paint, but I liked that it kept some of the original character and charm.
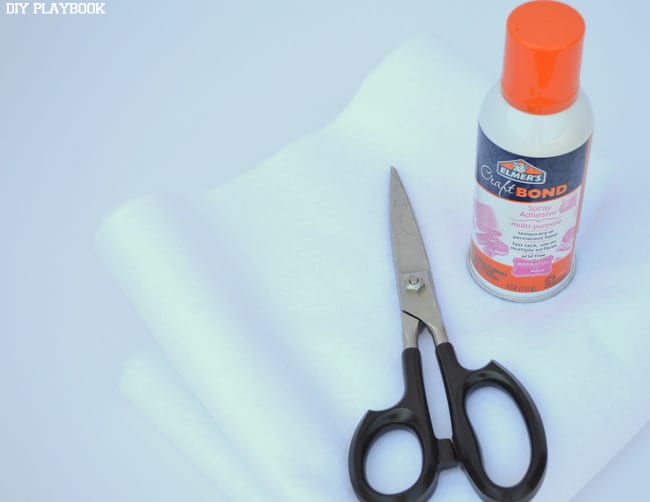 Next up…adding some special touches to make it more of a card box, and less of a mailbox. I bought some felt and cut it to fit the inside of the mailbox. Some spray glue helped to hold the fabric in place.
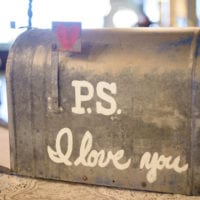
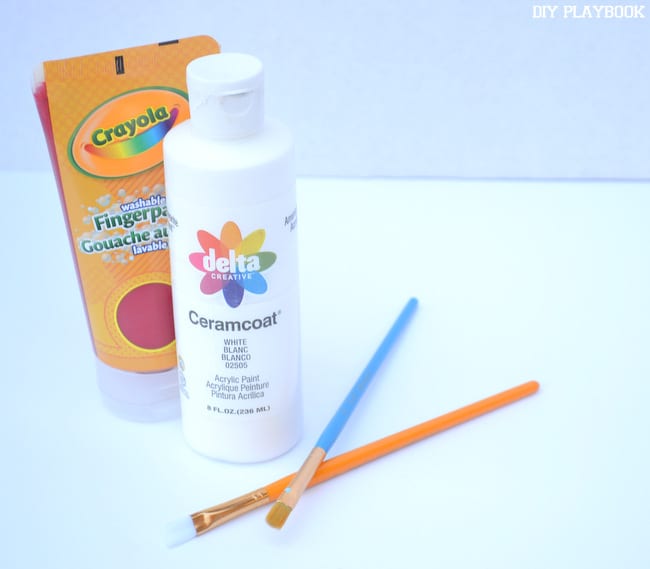 Finally, it was time to add some romantic flair to our wedding mailbox. My mom wrote out “P.S. I Love You” on one side of the mailbox, and “The Finns” on the other. I turned the American flag mail-flag, into a heart instead. Boom, our little mailbox was all dressed up and ready for its debut at our wedding!
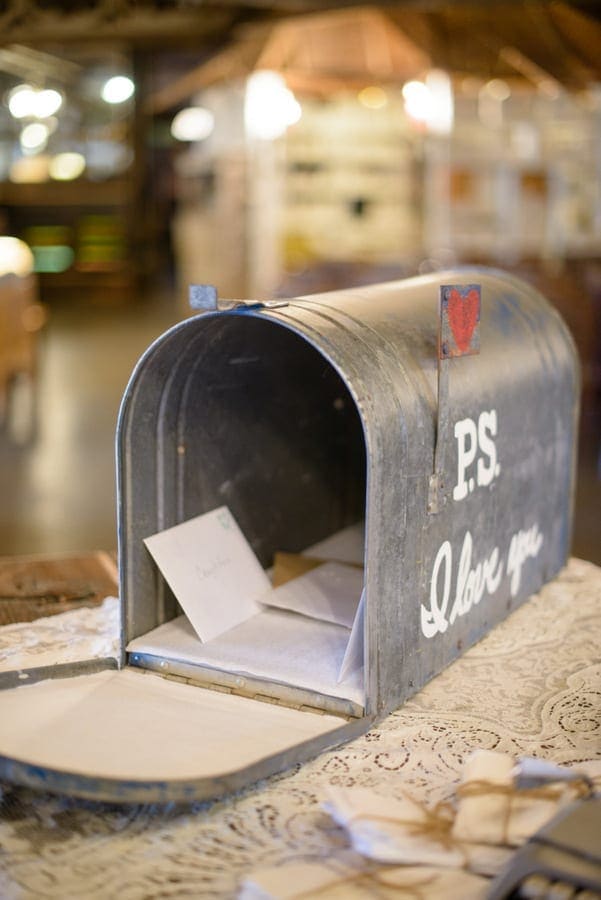
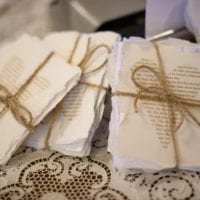
 When you entered our ceremony, you were greeted with this table holding our large wedding mailbox, love letters, and our wedding programs. Guests dropped their cards and gifts directly off in our mailbox, and then sat down to prepare for the ceremony.
The mailbox turned out beautifully and I am so happy we spent some time looking for such a special item. Even though the wedding is over, there is no way I’m getting rid of our mailbox. It is currently sitting in storage, but one day (when we have a larger place to call home) I’m going to find a large shelf or countertop to display it on…because it is so.darn.cool.
Tomorrow I’m spilling the beans about our wedding venue and even more personal touches we added to make the day truly “us.” Until then…
Casey