Creating a Decorative Wood Wall Treatment (Part 1 of 2)
Disclaimer: We are so thrilled to partner with Lowe’s Home Improvement on this Guest Room Makeover. We wouldn’t have been able to do this DIY without their support. All opinions & photography are our own and are not influenced by Lowe’s Home Improvement.
If you’ve been following the guest room makeover on social media, then you’ve already seen the after shot of our wood wall…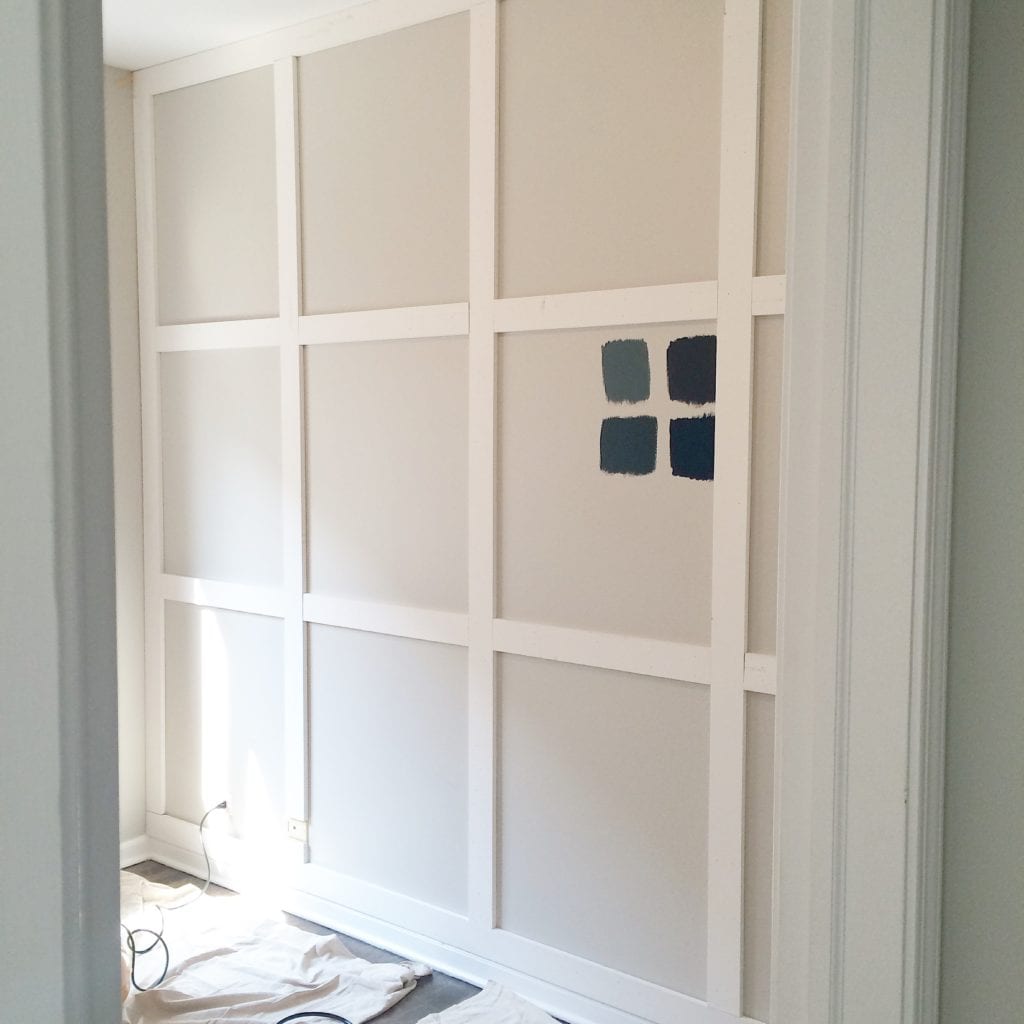
Today we want to show you how we got all of that beautiful wood up & secure on the wall. We’re going to break it down step-by-step, so you can easily recreate this same DIY project in your own home. We also figured this should be a 2-part post, since there’s a heck of a lot of information to cram into one blog post and we want to be sure to include all of the tips & tricks we learned along the way.
So let’s first backtrack with our plan for this big, bare wall.
The Wood Wall Gameplan
 Before starting, we finalized our design and figured out the calculations & measurements for the space (you can read more about it in this post). We HIGHLY recommend doing this before you start because it’s going to make DIY day a heck of a lot less crazy. Plus, it helps when you figure out how much wood to buy for the project. Armed with that knowledge, we headed to Lowe’s and picked out our supplies. Here’s what we got…
Wood Wall Installation – Supplies

- Miter Saw (more about our purchase in yesterday’s post)
- Nail Gun (again, check out yesterday’s post)
- Extra Nails
- Primed Board (we picked up 12, 12 foot boards and ended up having A LOT of extra wood!)
- Liquid Nails
- Caulk & Caulk Gun
- Painter’s Putty
- Safety Glasses
- Drop Cloths
- Ladder
- Extra rags
- Pencil or Marker
- Level or laser level (we used both!)
- Sawhorses & Plywood
- Speed Square
- Sanding Block
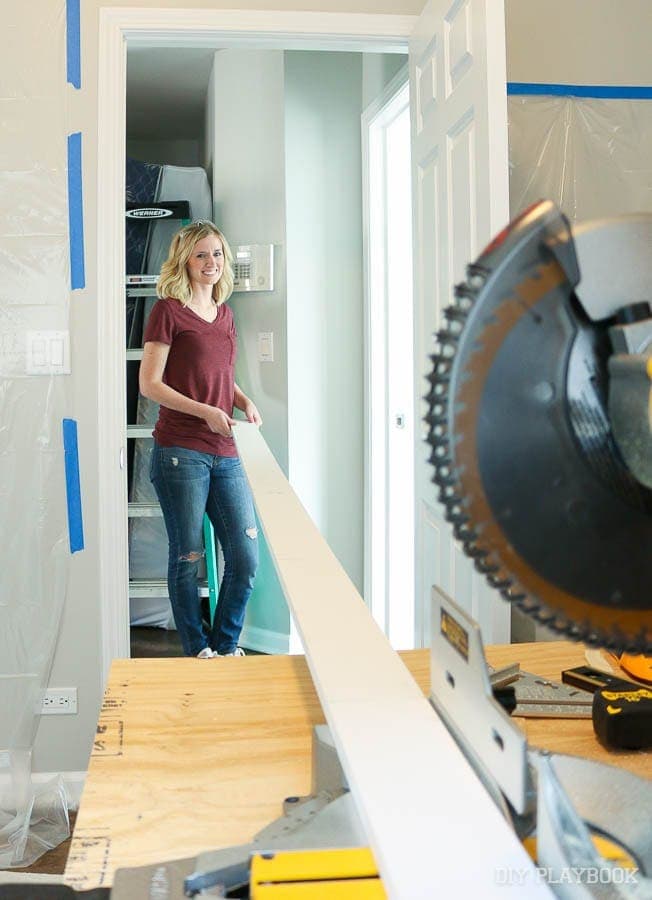 Because the boards were 12 feet long, Finn & I had to rent a truck to pick up all of our supplies. It was a crazy, hectic day gathering all of the supplies…but we did it! We did this step the weekend before starting our DIY project. Experts recommend letting your wood acclimate to the conditions of your home for a few days, so we wanted the wood to be in our place for some time before securing it to the wall. Also, because the wood was so huge..we had to make our long cuts with someone standing outside in the hallway! Crazy, right?
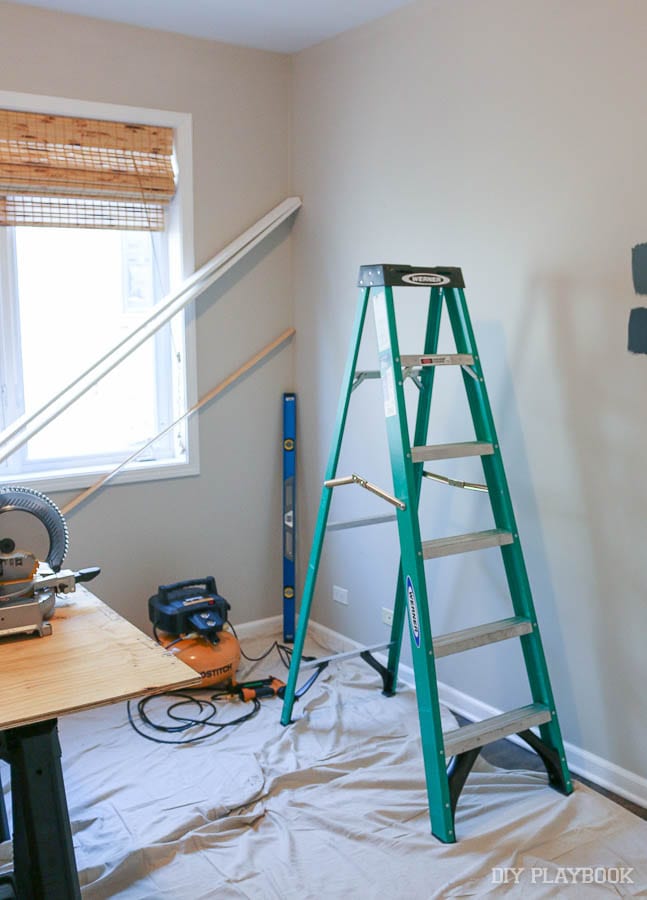 The night before Bridget came over, Finn & I prepped the room. We removed everything, and I put down drop cloths, set up our power tools, and created our little workstation. Then when she arrived in the morning, we were all ready to go!
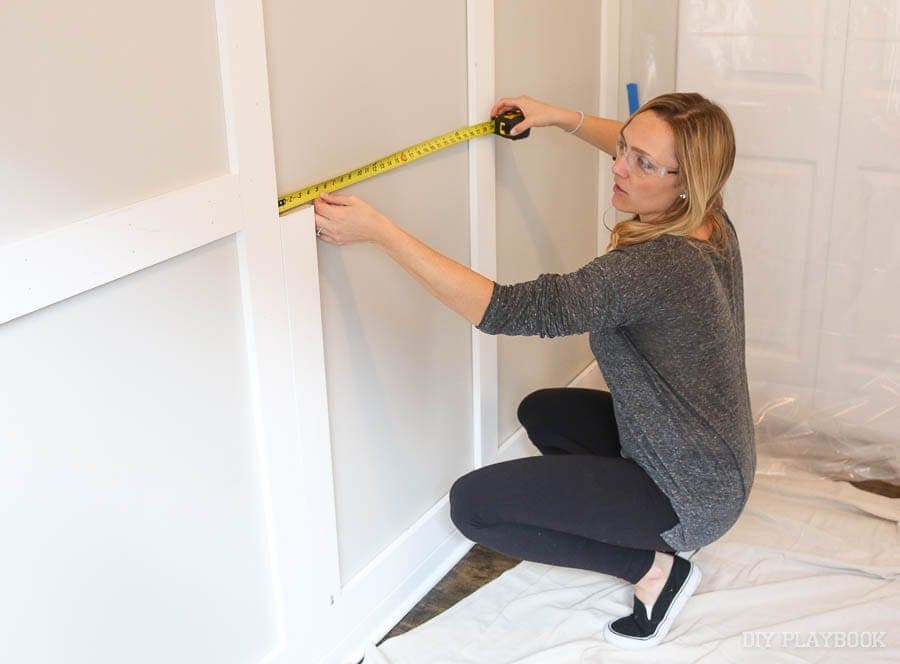
 Even though we had our measurements figured out ahead of time, we knew we would still have to measure as we went because the floors aren’t level, the walls aren’t level, and the boards aren’t all perfectly straight. Because of this, things could change from .25 inches up to even about 2 inches. So we measured along the width of the wall along the base, and got ready for our first cut.
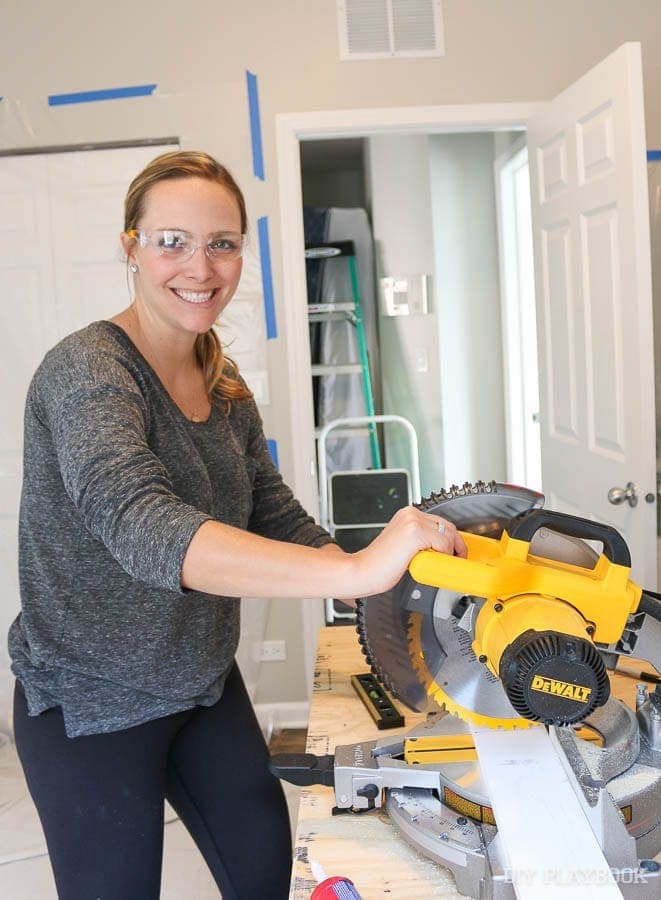
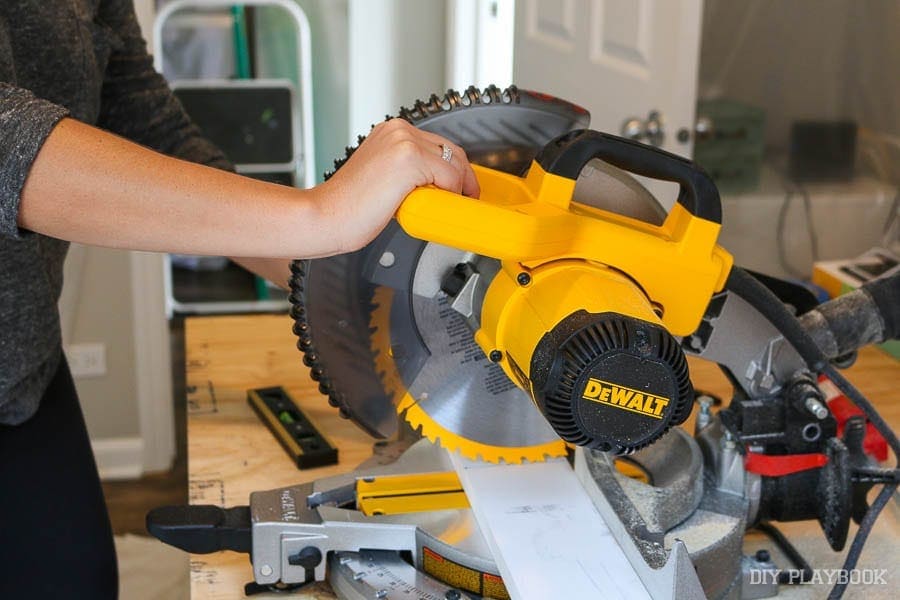 Here’s where the saw comes into play. Honestly, this thing is intimidating. Even after using it all day, it can still be a little scary to use. But we think that’s kinda a good thing because it forces you to pay attention, go slow, and be extra cautious. And that’s our advice to you. Don’t be too scared to use a saw, but always pay attention even after you get the hang of it.
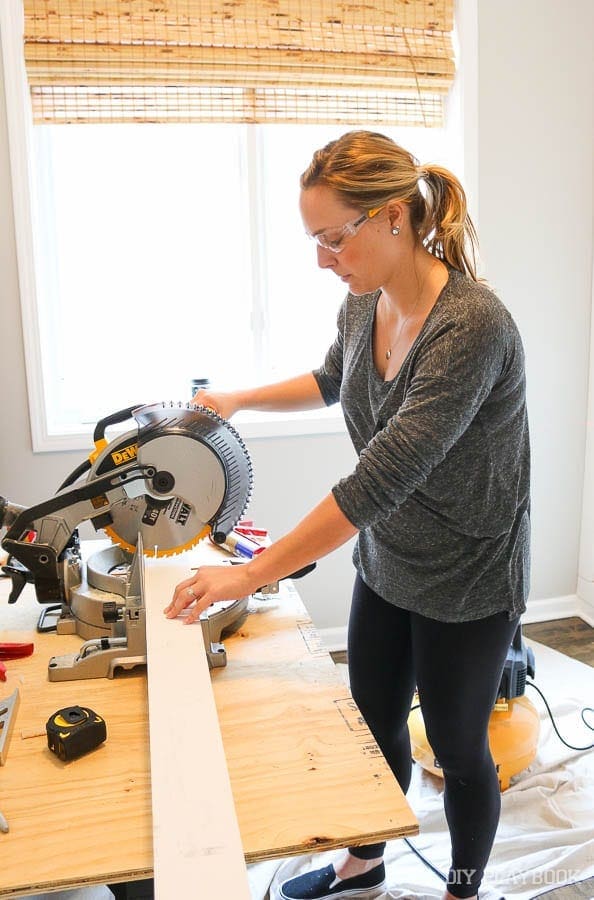 But with that being said, it’s also important to be CONFIDENT in your cuts. That means that when you go to make the cut, don’t hesitate. Go down swiftly and with the blade and right back up. If you hesitate, your cut might not be too great. Again…just something we learned along the way.
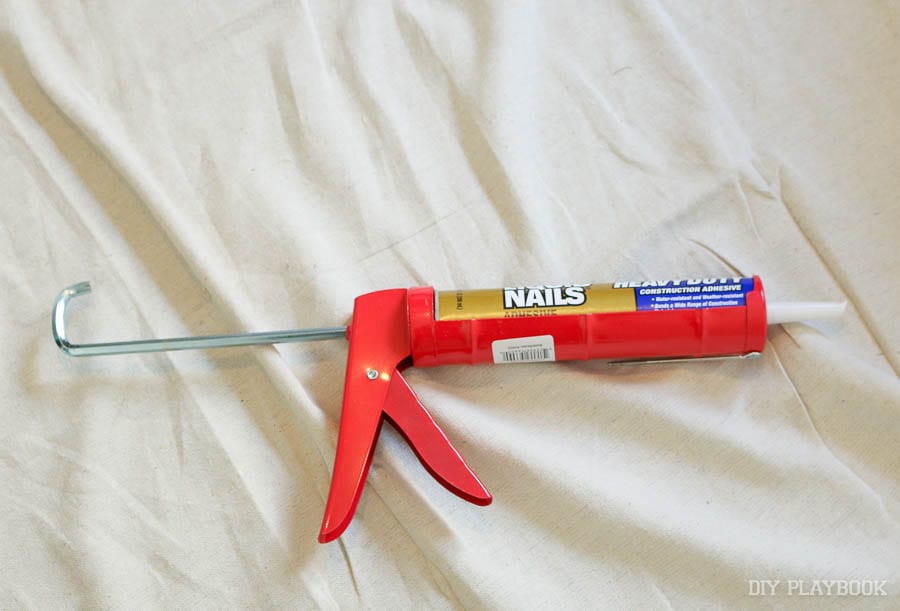 We measured out our bottom board, cut the wood, and then got ready to secure it to the wall. We ended up using both liquid nails and the nail gun on all of the wood. All we did was put a bead of the liquid nails on the back of the board, push it into place (there is some wiggle room here, so make sure you get the board level), and then while one of us held the wood the other would go in and nail the board across every 6 inches or so.
 As for the nail gun, it’s a sweet power tool. If you’re using an air compressor (like we did), know that it is going to make A LOT of noise when it is first filling with air. We were both taken aback when we started it up for the first time. Then, just apply a firm pressure to the wall when you nail it in. Also, be safe when you load it up with more nails and unplug the unit altogether.
With our bottom piece nailed in we had 1 piece up and 14 to go!
We went through the same steps for the top piece of wood, although this one was a bit harder since only one of us could hop on the ladder to hold up the piece of wood. But we eventually got it into place.

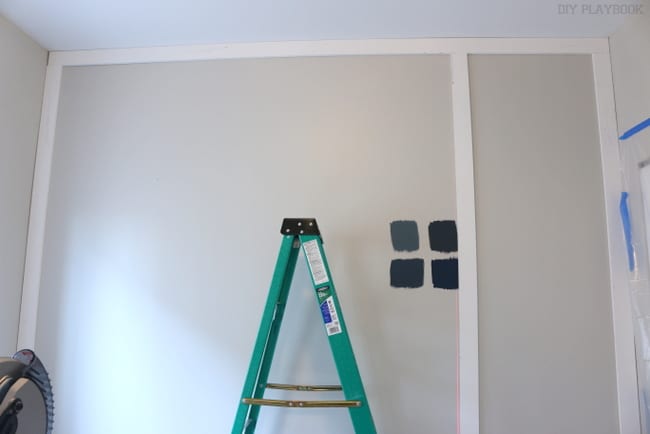
Then we completed the outline of the wall and put up a piece on each side.
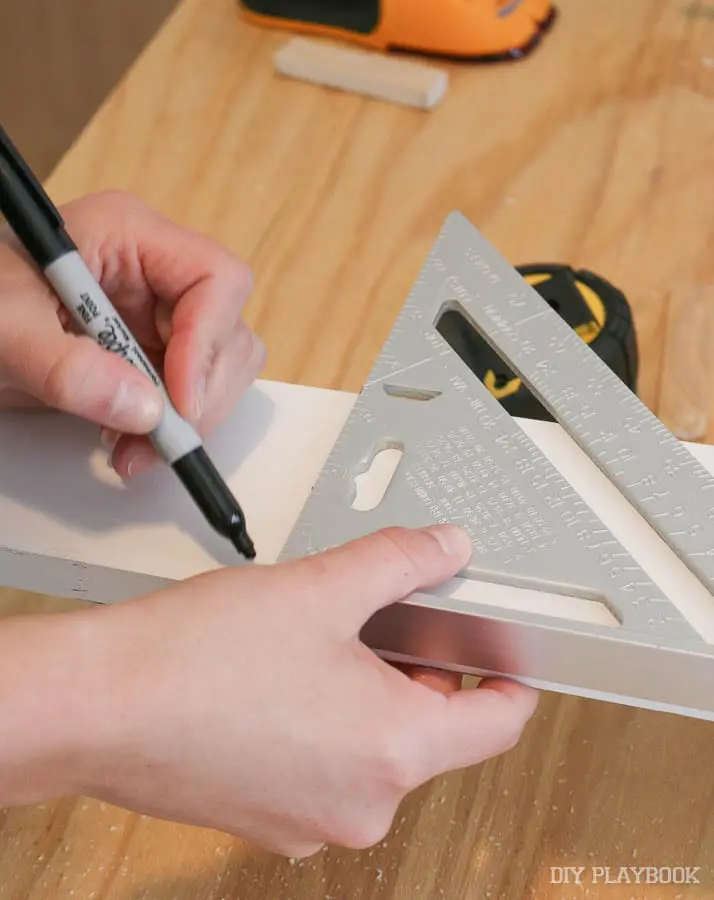 Rookie Tip: When marking our boards, we used a speed square to draw a straight, level line for the cut. This definitely came in handy! Also, be sure to account for the width of the blade. You’ll want to bring the blade down to make sure it’s hitting your line perfectly before making your cut.
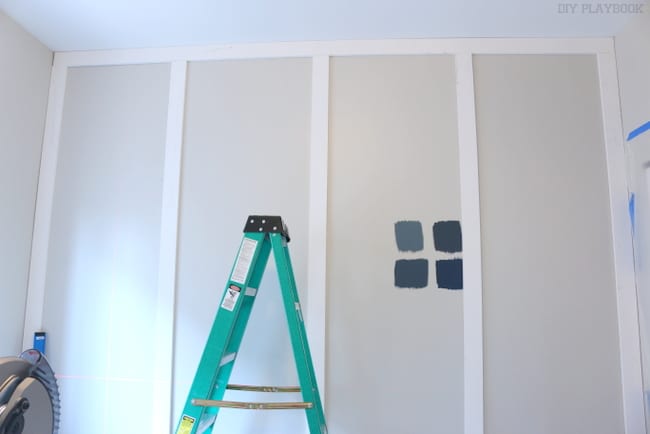
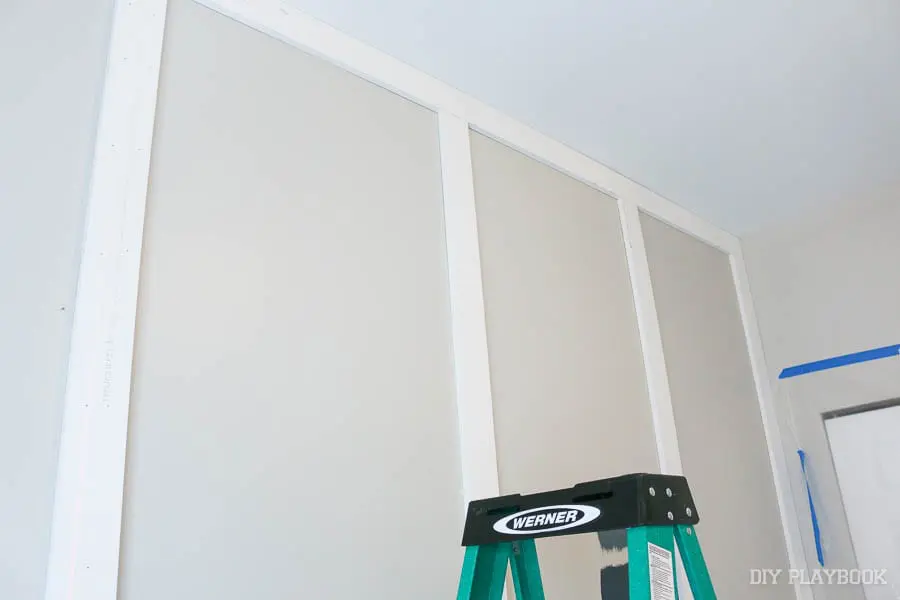 Now it was time for some math (our least favorite part!). We measured the width of the wall (in between the 2 boards on the ends) and divided it by 4 to come up with the number of inches that would need to be in between each vertical board. You still with us here? Okay…good.
 Then, we created a spacer so we could easily add the wood to the wall without measuring.
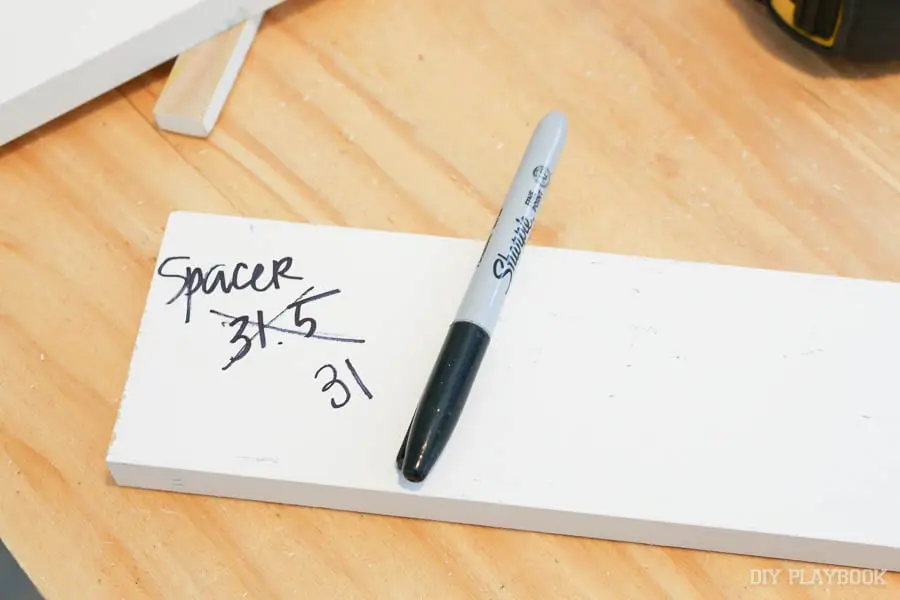 Rookie Tip: When you create your spacer, write on it and include the exact measurement. We made a few spacers along the way, and it can get confusing with all of the small pieces of discarded wood. So to avoid accidentally nailing your spacer to the wall…write on it with a sharpie.
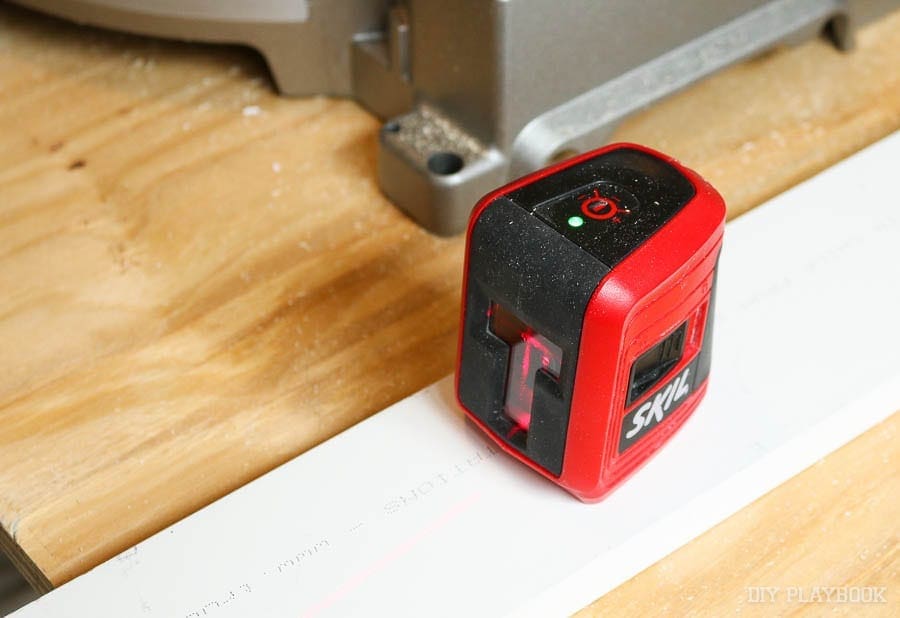
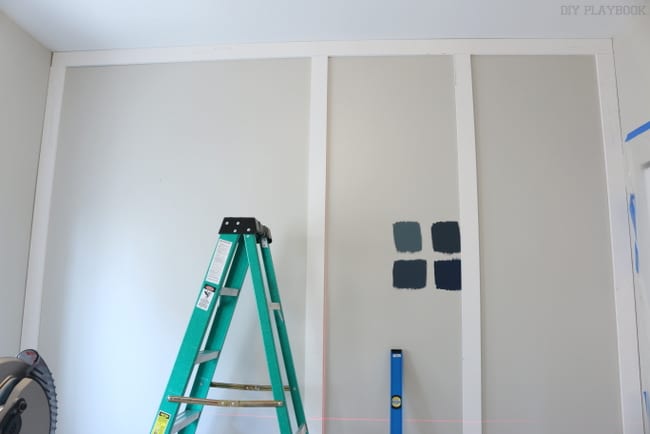
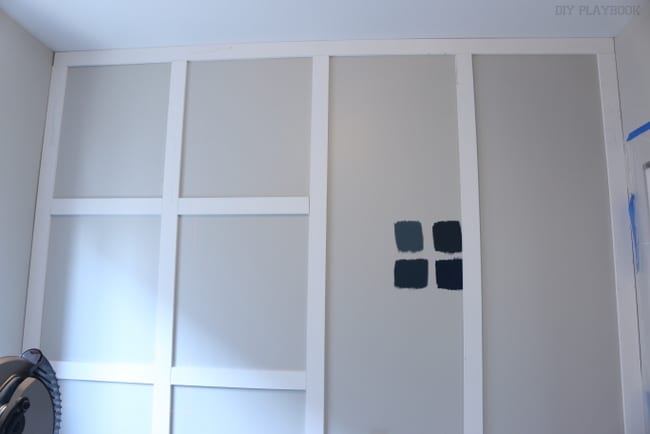
 With our spacer in tow, it was easy to get the remaining 3 vertical boards in place on the wall. Make sure you’re leveling as you go. We used a laser level, but also found it best to double check our work with a regular ol’ level. You don’t want to secure a board to the wall only to see that it isn’t straight.
 Now, time for smaller cuts. Not gonna lie, we were on a roll at this point and thought we could make these 8 cuts easily. But, these were a bit trickier than we anticipated. We would measure a piece, only to find that it was a tiny bit too short, or a tiny bit too long. Ugh, hate when that happens.
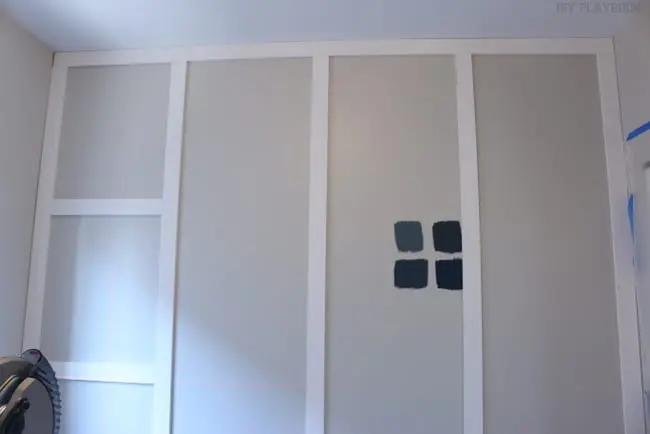
 So we decided to always err on the side of too long instead of too short, that way we could dry fit the board, mark it directly, and then shave off a bit on the end.
 Rookie Tip: Making these small cuts (ones less than about 2 inches or so) are by far the scariest cuts to make. The little piece of wood will shoot up and out at you (that’s why you gotta rock the stylish safety glasses!), and you can easily get a little scared when cutting it. Again, be confident in your cut and bring that blade down like a boss!
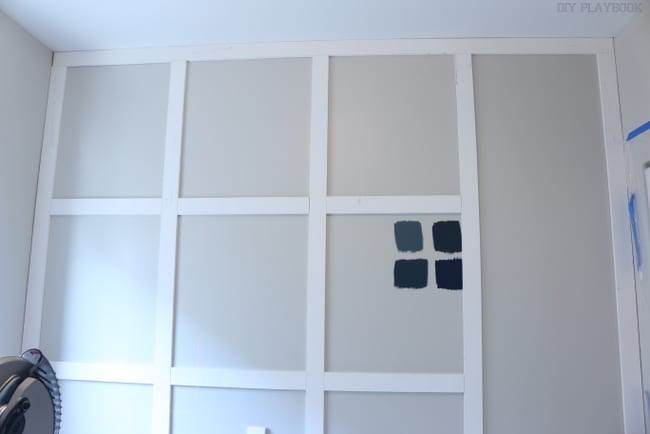
 After lots of measuring, cutting, and nailing…we had our wood all up on the wall. Such a beautiful sight!
And that’s where we’re going to end today’s post. Next week, we’ll be back to discuss the finishing touches on the wall (filling in nail holes, caulking, etc.) But before we go…. one more look at the before & after: 

Let us know if you have any questions. We’d love to know if you plan to tackle a similar DIY in your home!
Pssst….head on over to THIS POST to see the 2nd part of this project.
Bridget&Casey


