DIY Built-Ins Part 1 – Installing Cabinet Base
We made it through the first big step of our built-in project and lived to tell the tale. I know, I know…I’ve been talking this project up like it’s the hardest thing in the world. It’s funny because Finn and I keep saying that people can build skyscrapers, so surely we can install DIY built-in cabinets?! And we’re doing it, albeit very slowly and carefully. We’d definitely be fired by now if we were hired to work on a real skyscraper.
How to Install DIY Built-In Cabinets
Anyway, I’m here to share all of the details for the very first step of our DIY office built-ins. I want to be sure that I break it all down so you can recreate this in your own home. Of course measurements and rooms will be different, but if you can walk away with the big key takeaways (and a realistic budget) you’ll be ready to tackle this project yourself!
Gather Your Supplies
 First, I made a big list of supplies to pick up from Lowe’s. We’ve built quite the tool collection over the years (you can find our list of basic tools here and favorite power tools here), so luckily I didn’t have to buy too many extra things. Here’s what you’ll need…
- Safety Gear
- Unfinished Base Kitchen Cabinets
- Toe Kick
- Filler Pieces
- Utility Knife
- Crowbar
- Mallet
- Oscillating Saw
- Tape Measure
- Level (long & short)
- Power Drill & Bits
- Countersink Bit
- Cabinet Screws
- Recessed Wood Screws
- Wood Shims
- Miter Saw & Stand
- Clamps
- Cordless Shop Vac
- Liquid Nails & Caulk Gun
- Nail Gun with Air Compressor
- Jigsaw
- Pine Panels for Countertop
- Circular Saw
- Wood Filler & Joint Knife
- Sanding Block
 Finn and I always like to buy all of our supplies and set up our workstation the day before we begin our project. That way, we can wake up on DIY day and get started! I highly recommend this, especially the shopping part! We usually hit up Lowe’s on Friday nights when it’s less crowded, and then we have everything we need on Saturday morning.
Make a Design Plan
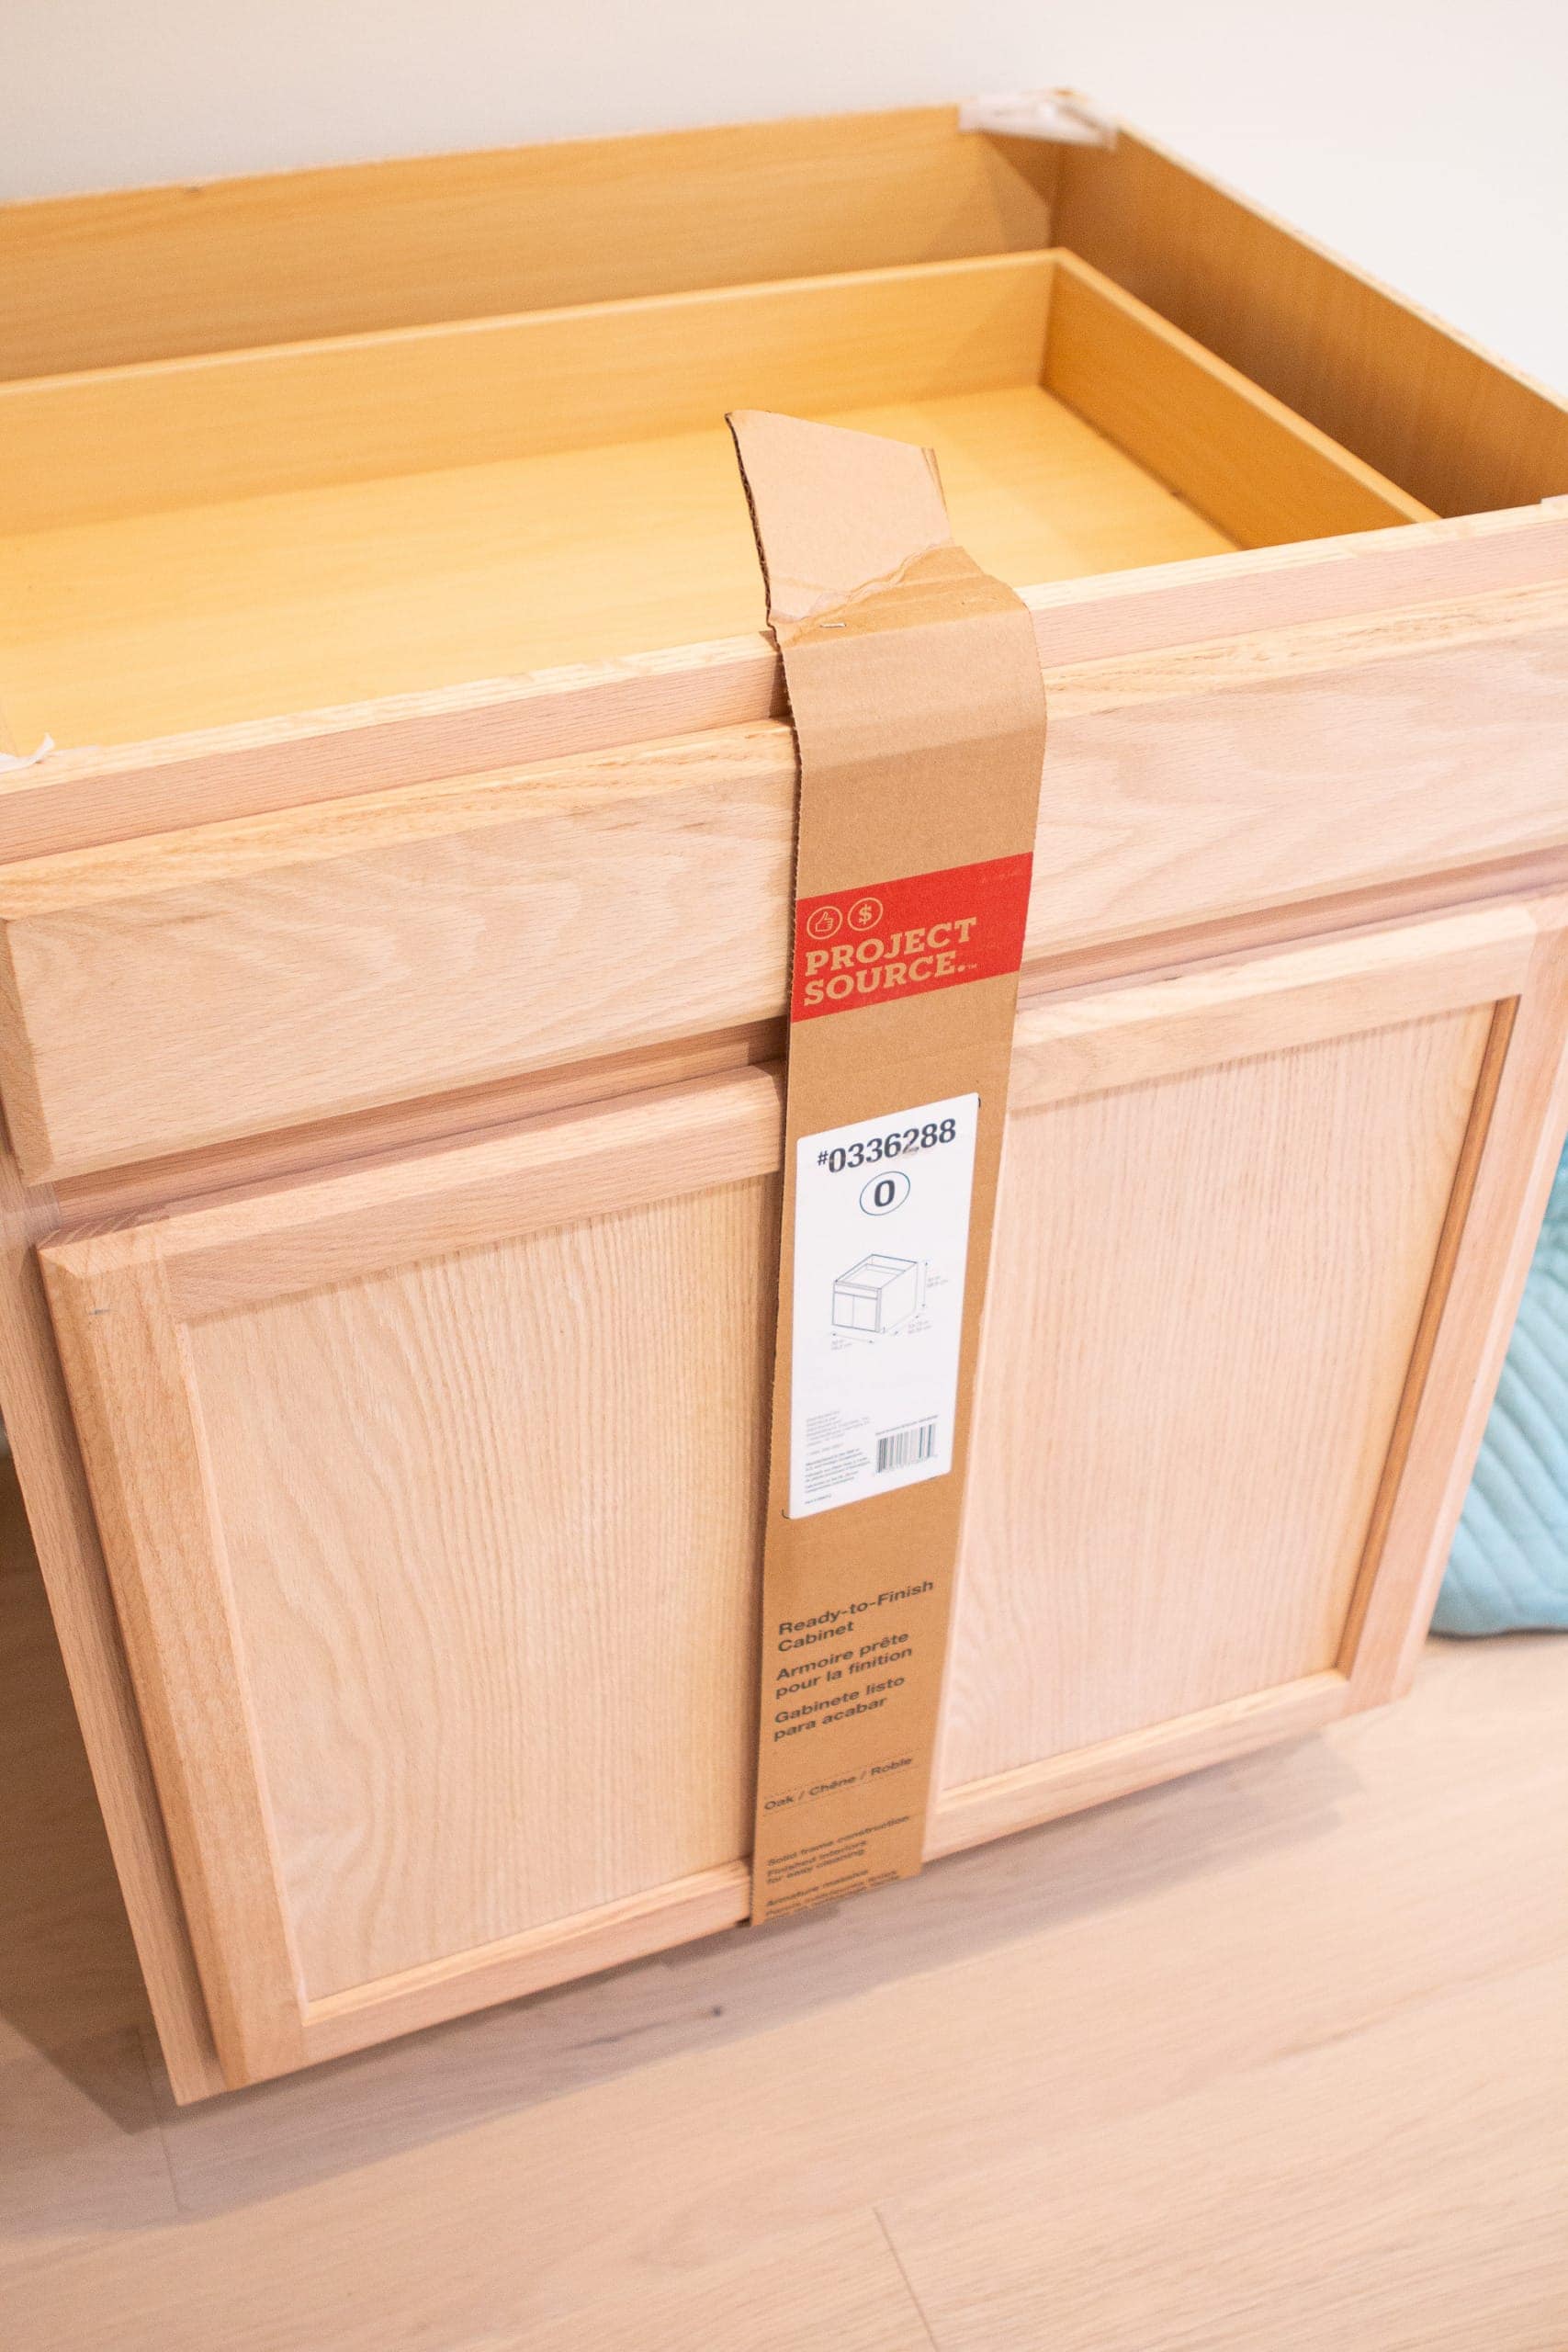
As I mentioned in this post, we decided to go with base kitchen cabinets in this room. A majority of the tutorials I read for built-ins used upper kitchen cabinets because they’re shorter and shallower. However, we have the room for depth here and I liked the idea of having a drawer for storage. 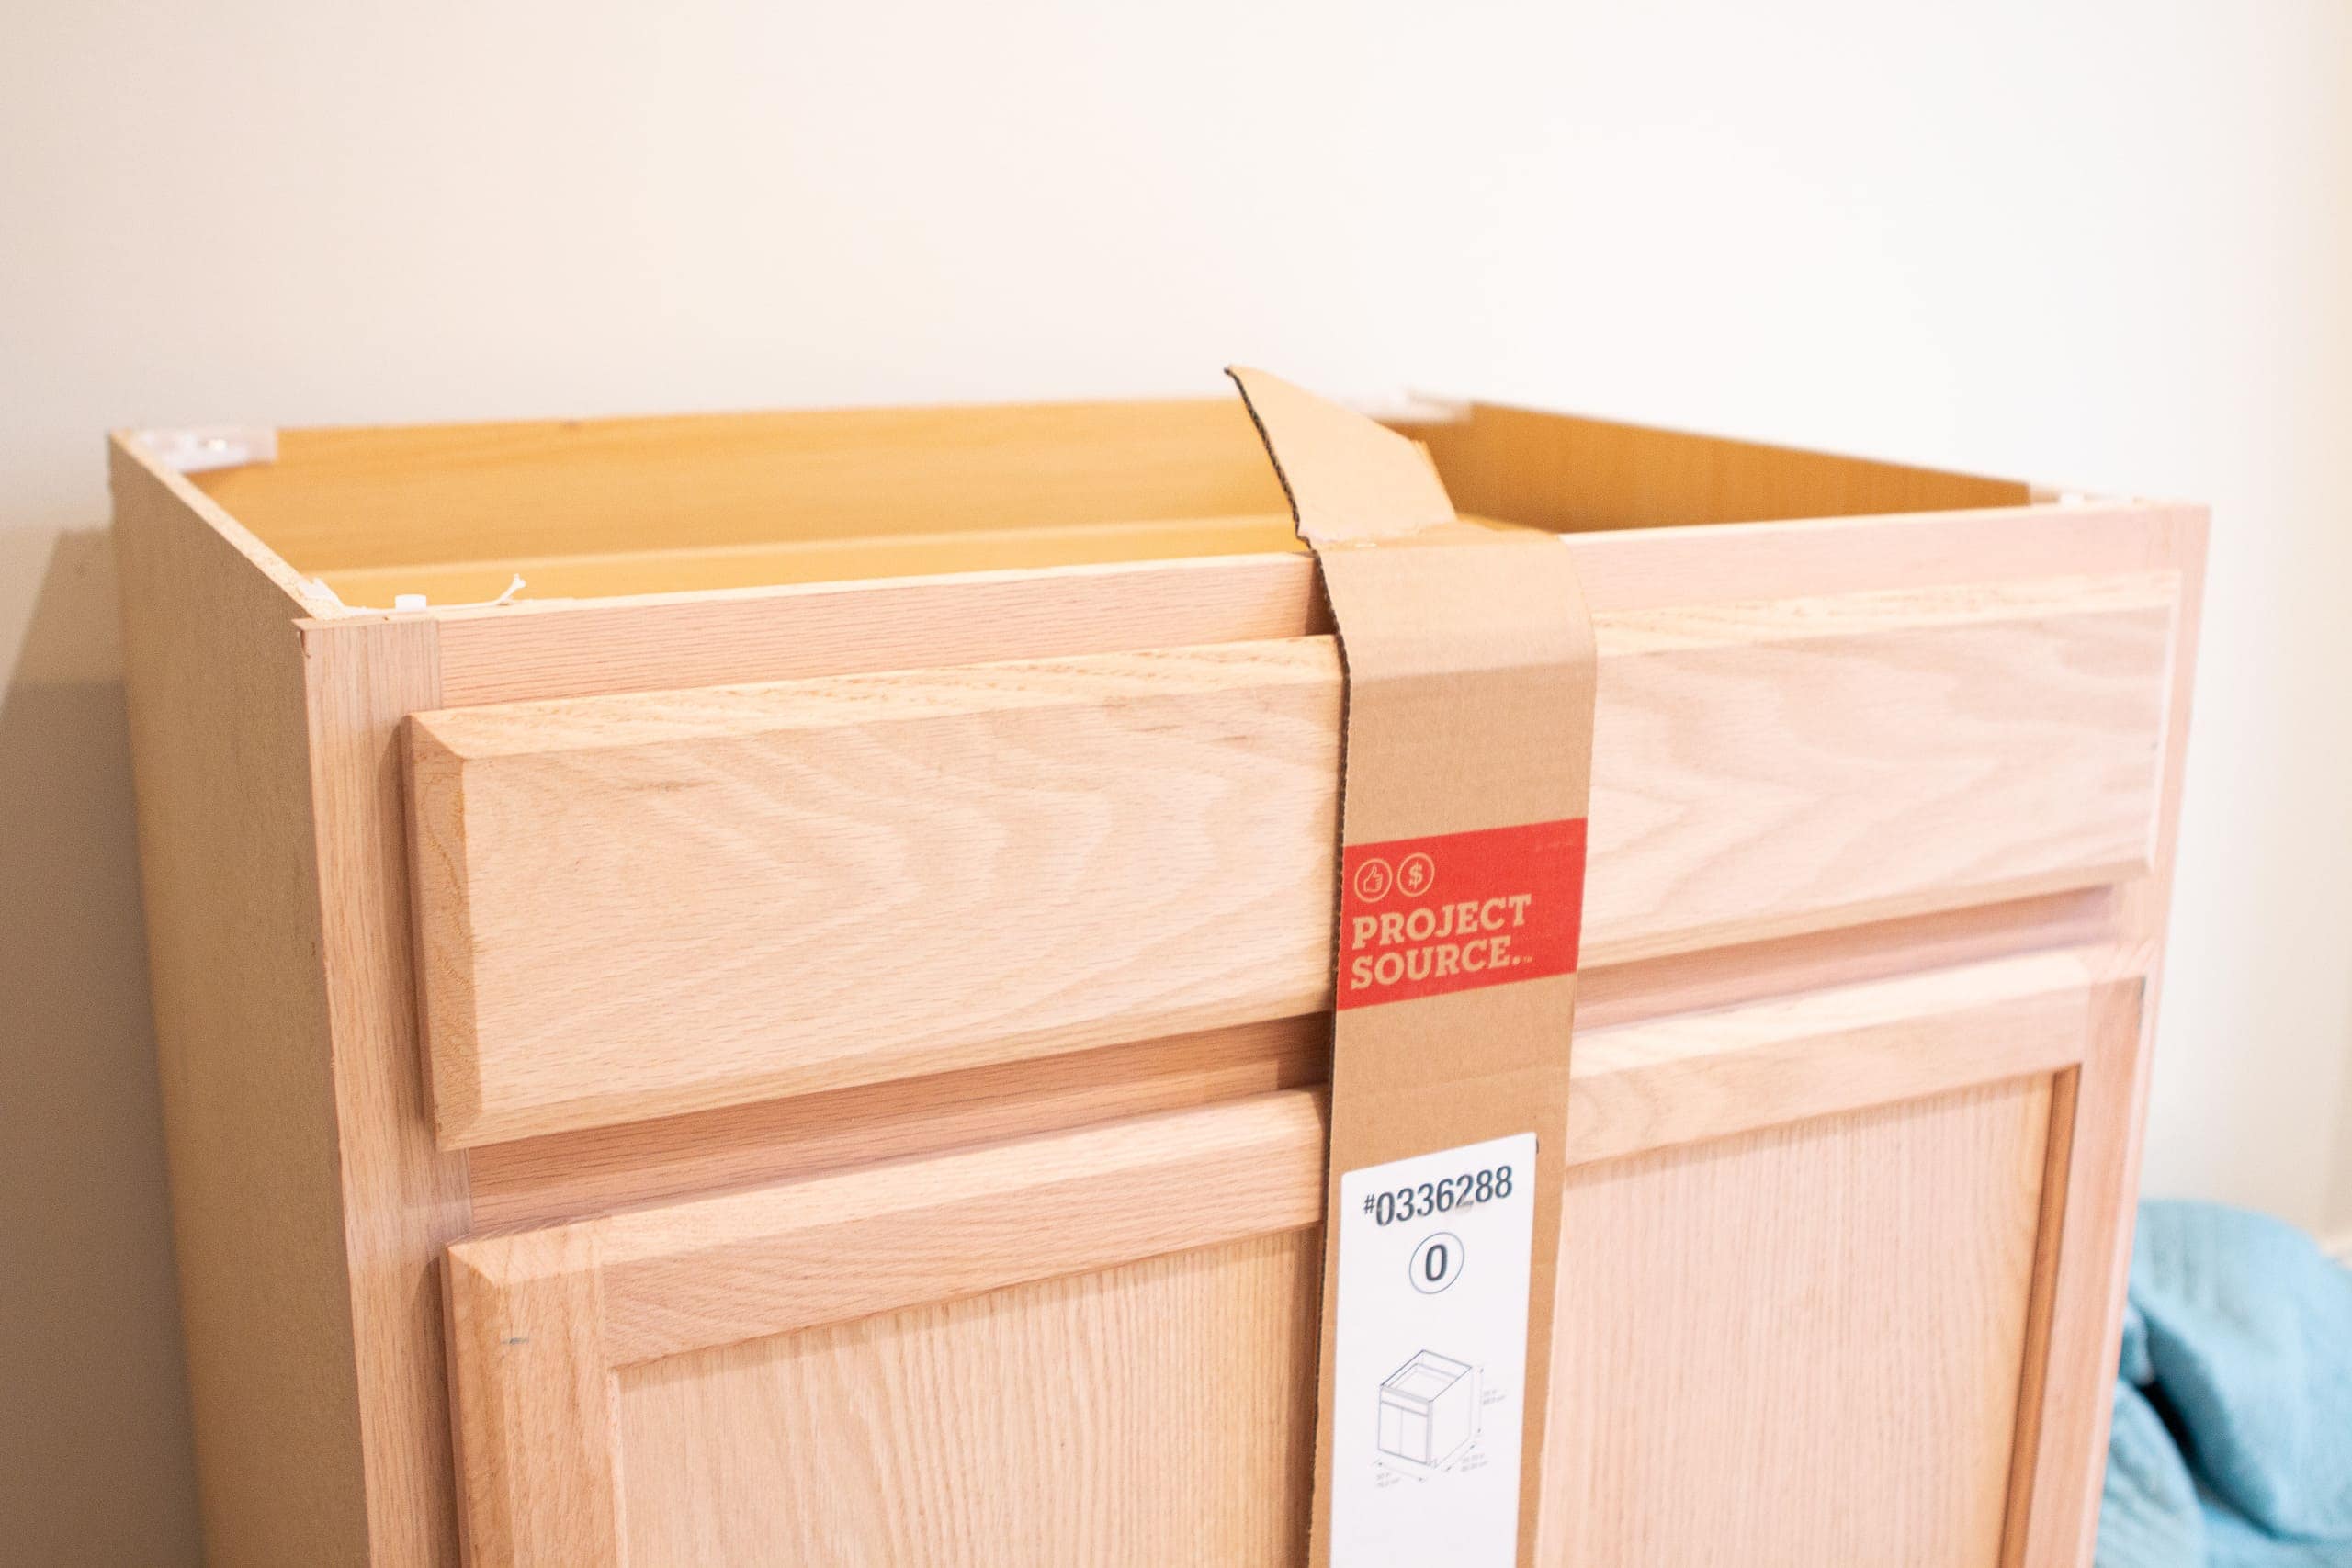
After measuring our wall, I purchased four of these unfinished base kitchen cabinets. They’re super affordable (a must for this budget-friendly project), so they are not premium quality, but once they’re all installed and painted, you won’t be able to tell that they’re less expensive. With four of these cabinets, we have eight extra inches of dead space along the wall. We planned to split the difference, so we needed four inches of filler on each side.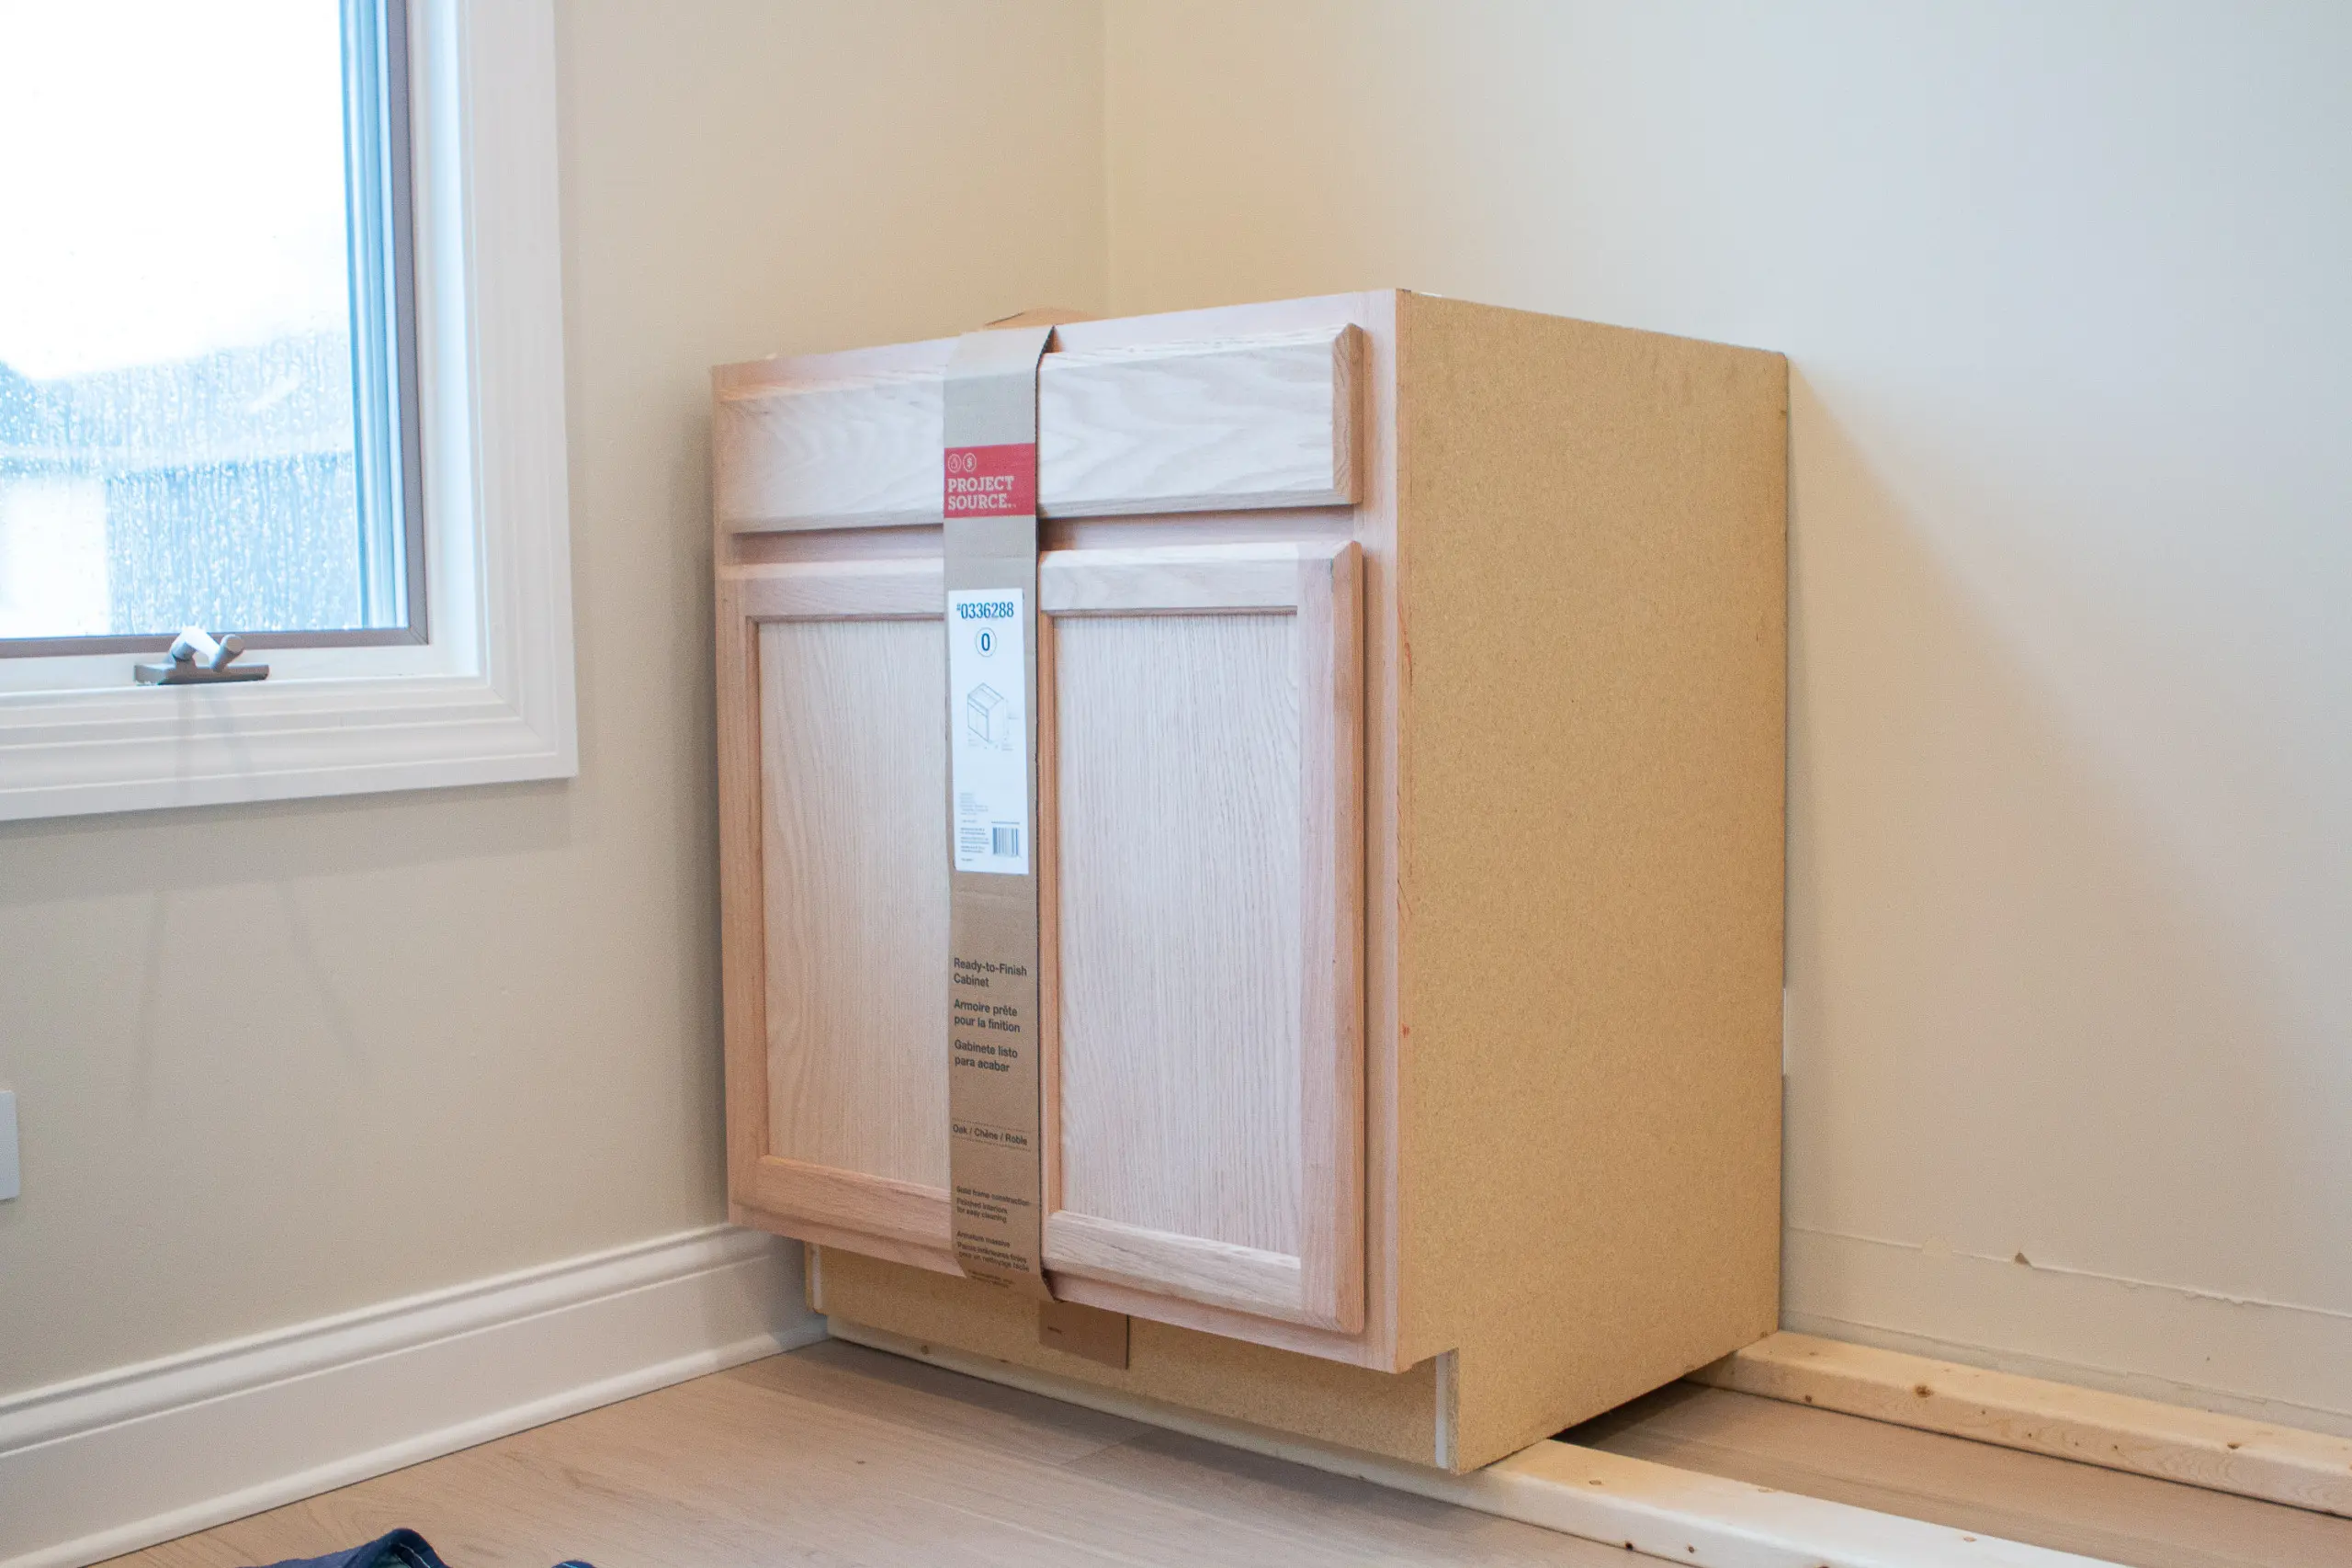
Most of the tutorials I read start with building a frame on the ground to prop the cabinets up so they’re in line with your baseboard. That was our original plan here and we even bought the wood for it. However, after propping them up, we realized that the cabinets just felt too high. We didn’t want the cabinets to take up half of the wall, so we pivoted and decided to nix the wood frame and install the kitchen cabinets directly on the floor. This meant we wouldn’t be able to line them up with our baseboard, but we could still use a nice looking toe kick to get that finished look.
Remove the Baseboard
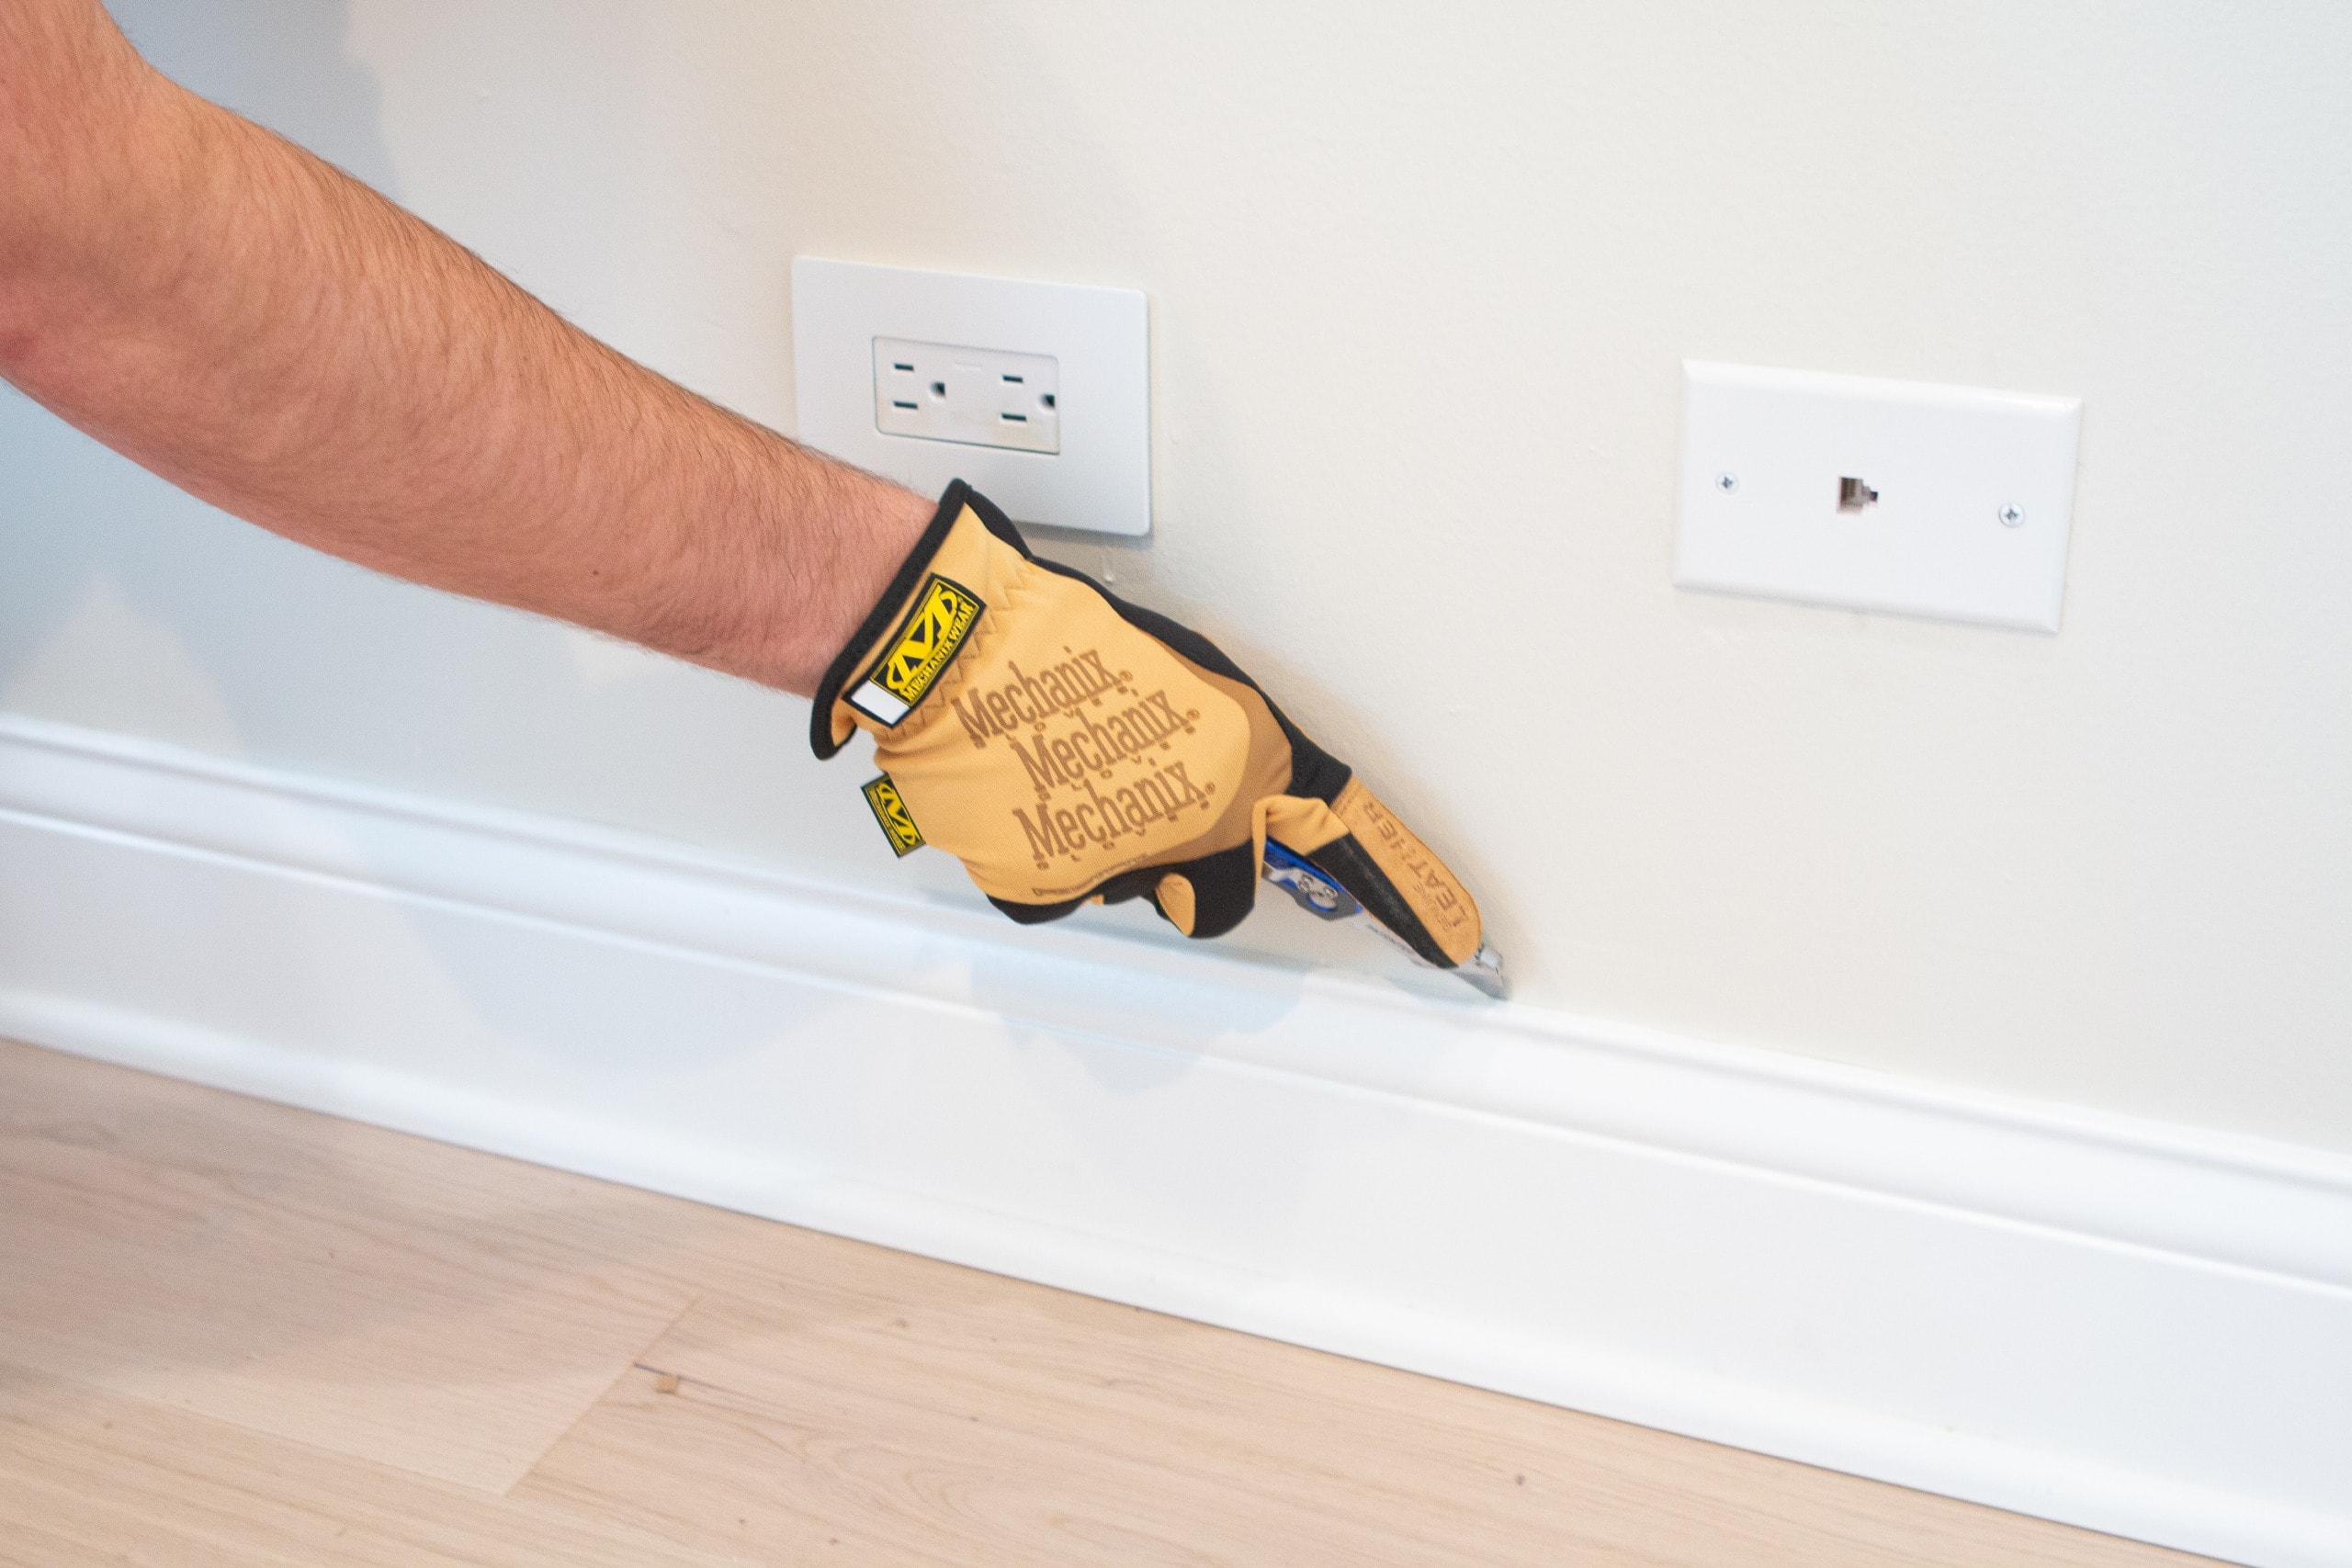
With our plan in place, it was time for step one…removing the baseboard. You want your cabinets to sit flush against the back and side walls so you’ll want to do this first. First, score the caulk line on the top of your baseboard using a utility knife. This prevents the drywall and paint from peeling when you remove the baseboard. 
Next, take a crowbar and wiggle it behind the baseboard. You can use a mallet to drive it closer to the floor. Tug towards you and you should be able to get the baseboard off. 
For the side baseboards, we didn’t want to remove the full pieces. Instead, we only wanted to get rid of about 1/3 of each one – the parts that would be covered by the cabinets. We purchased this oscillating saw to cut a straight line in the baseboard and holy smokes, it’s the best invention ever. Why did we wait so long to buy this thing?!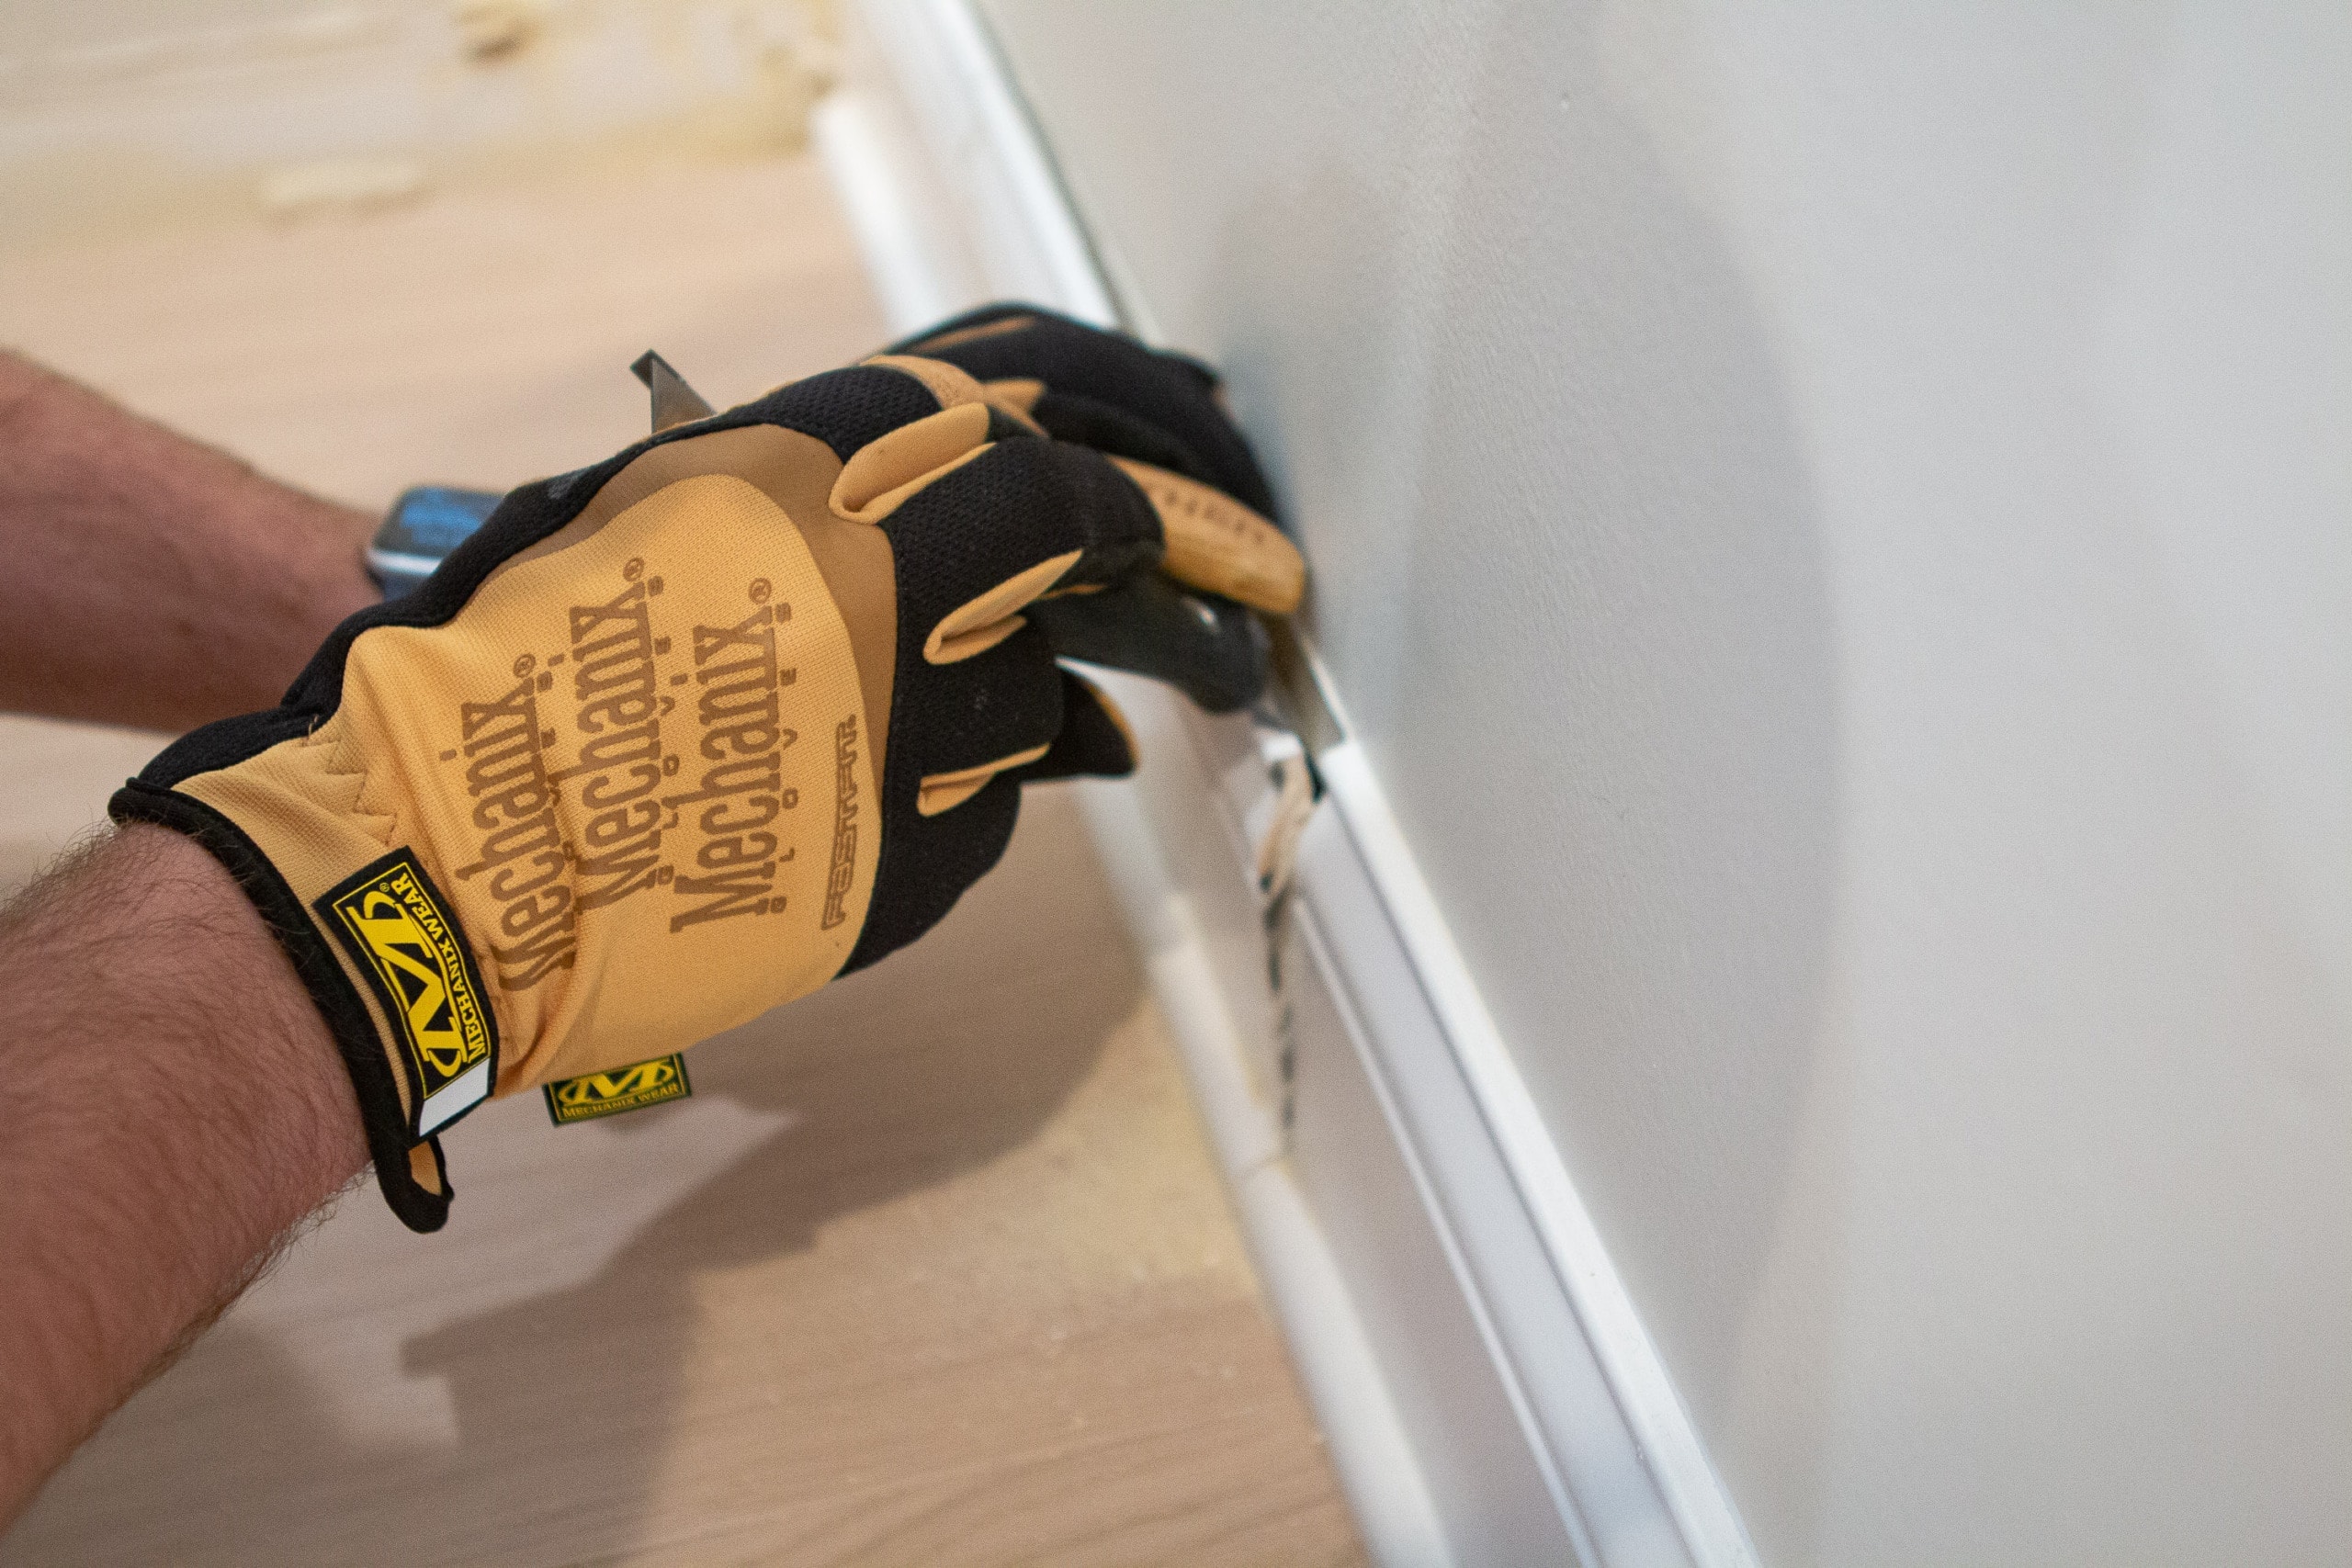
It cut a straight line through the baseboard like butter and we then pulled it off easily, without damaging the remaining baseboard. This tool is sooooo worth it!
Draw a Level Line and Mark Studs

With the baseboards removed, we pushed all four cabinets up to the wall to see what we were working with. It was then that we realized that our floors were pretty uneven and our wall had a big bow in the middle.  I found the highest point in the cabinets and we made a straight line from that point all the way across the wall. This is the height you’ll want all of the cabinets to be when they’re installed. I then went along that line marking all of the studs. Oh, and be sure to remove the drawer and cabinet doors so you can get in there more easily.
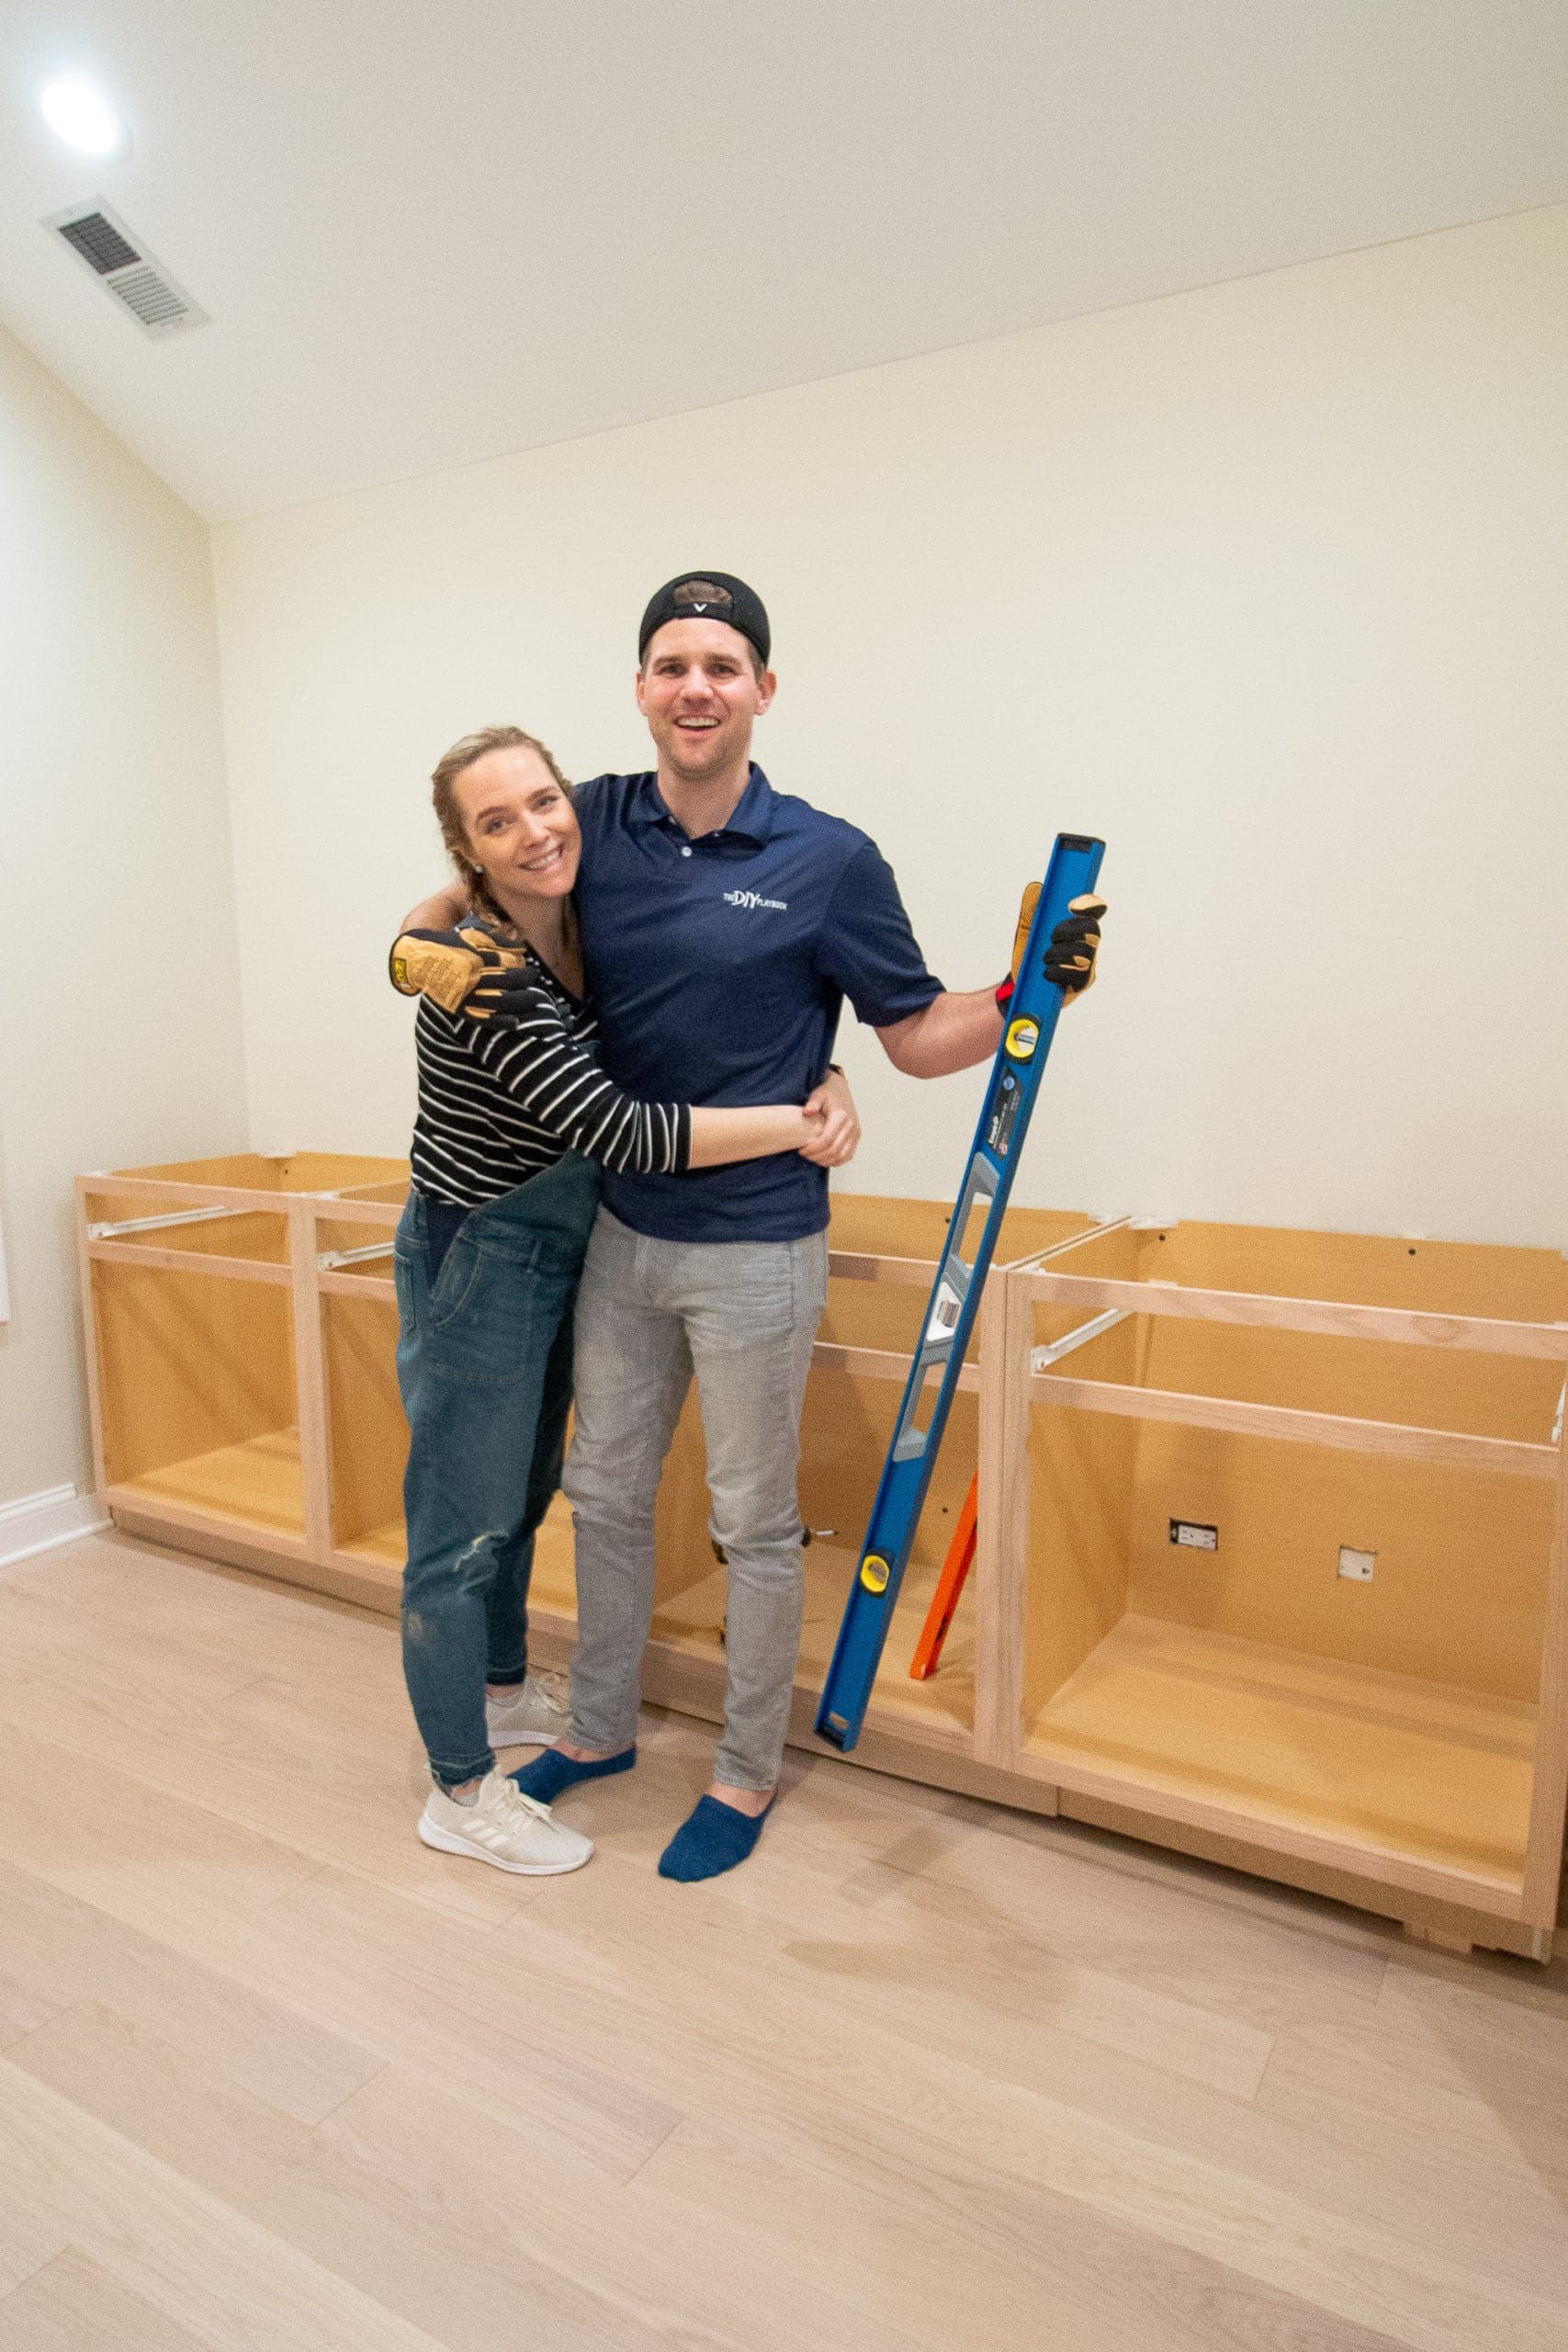
Install Cabinets
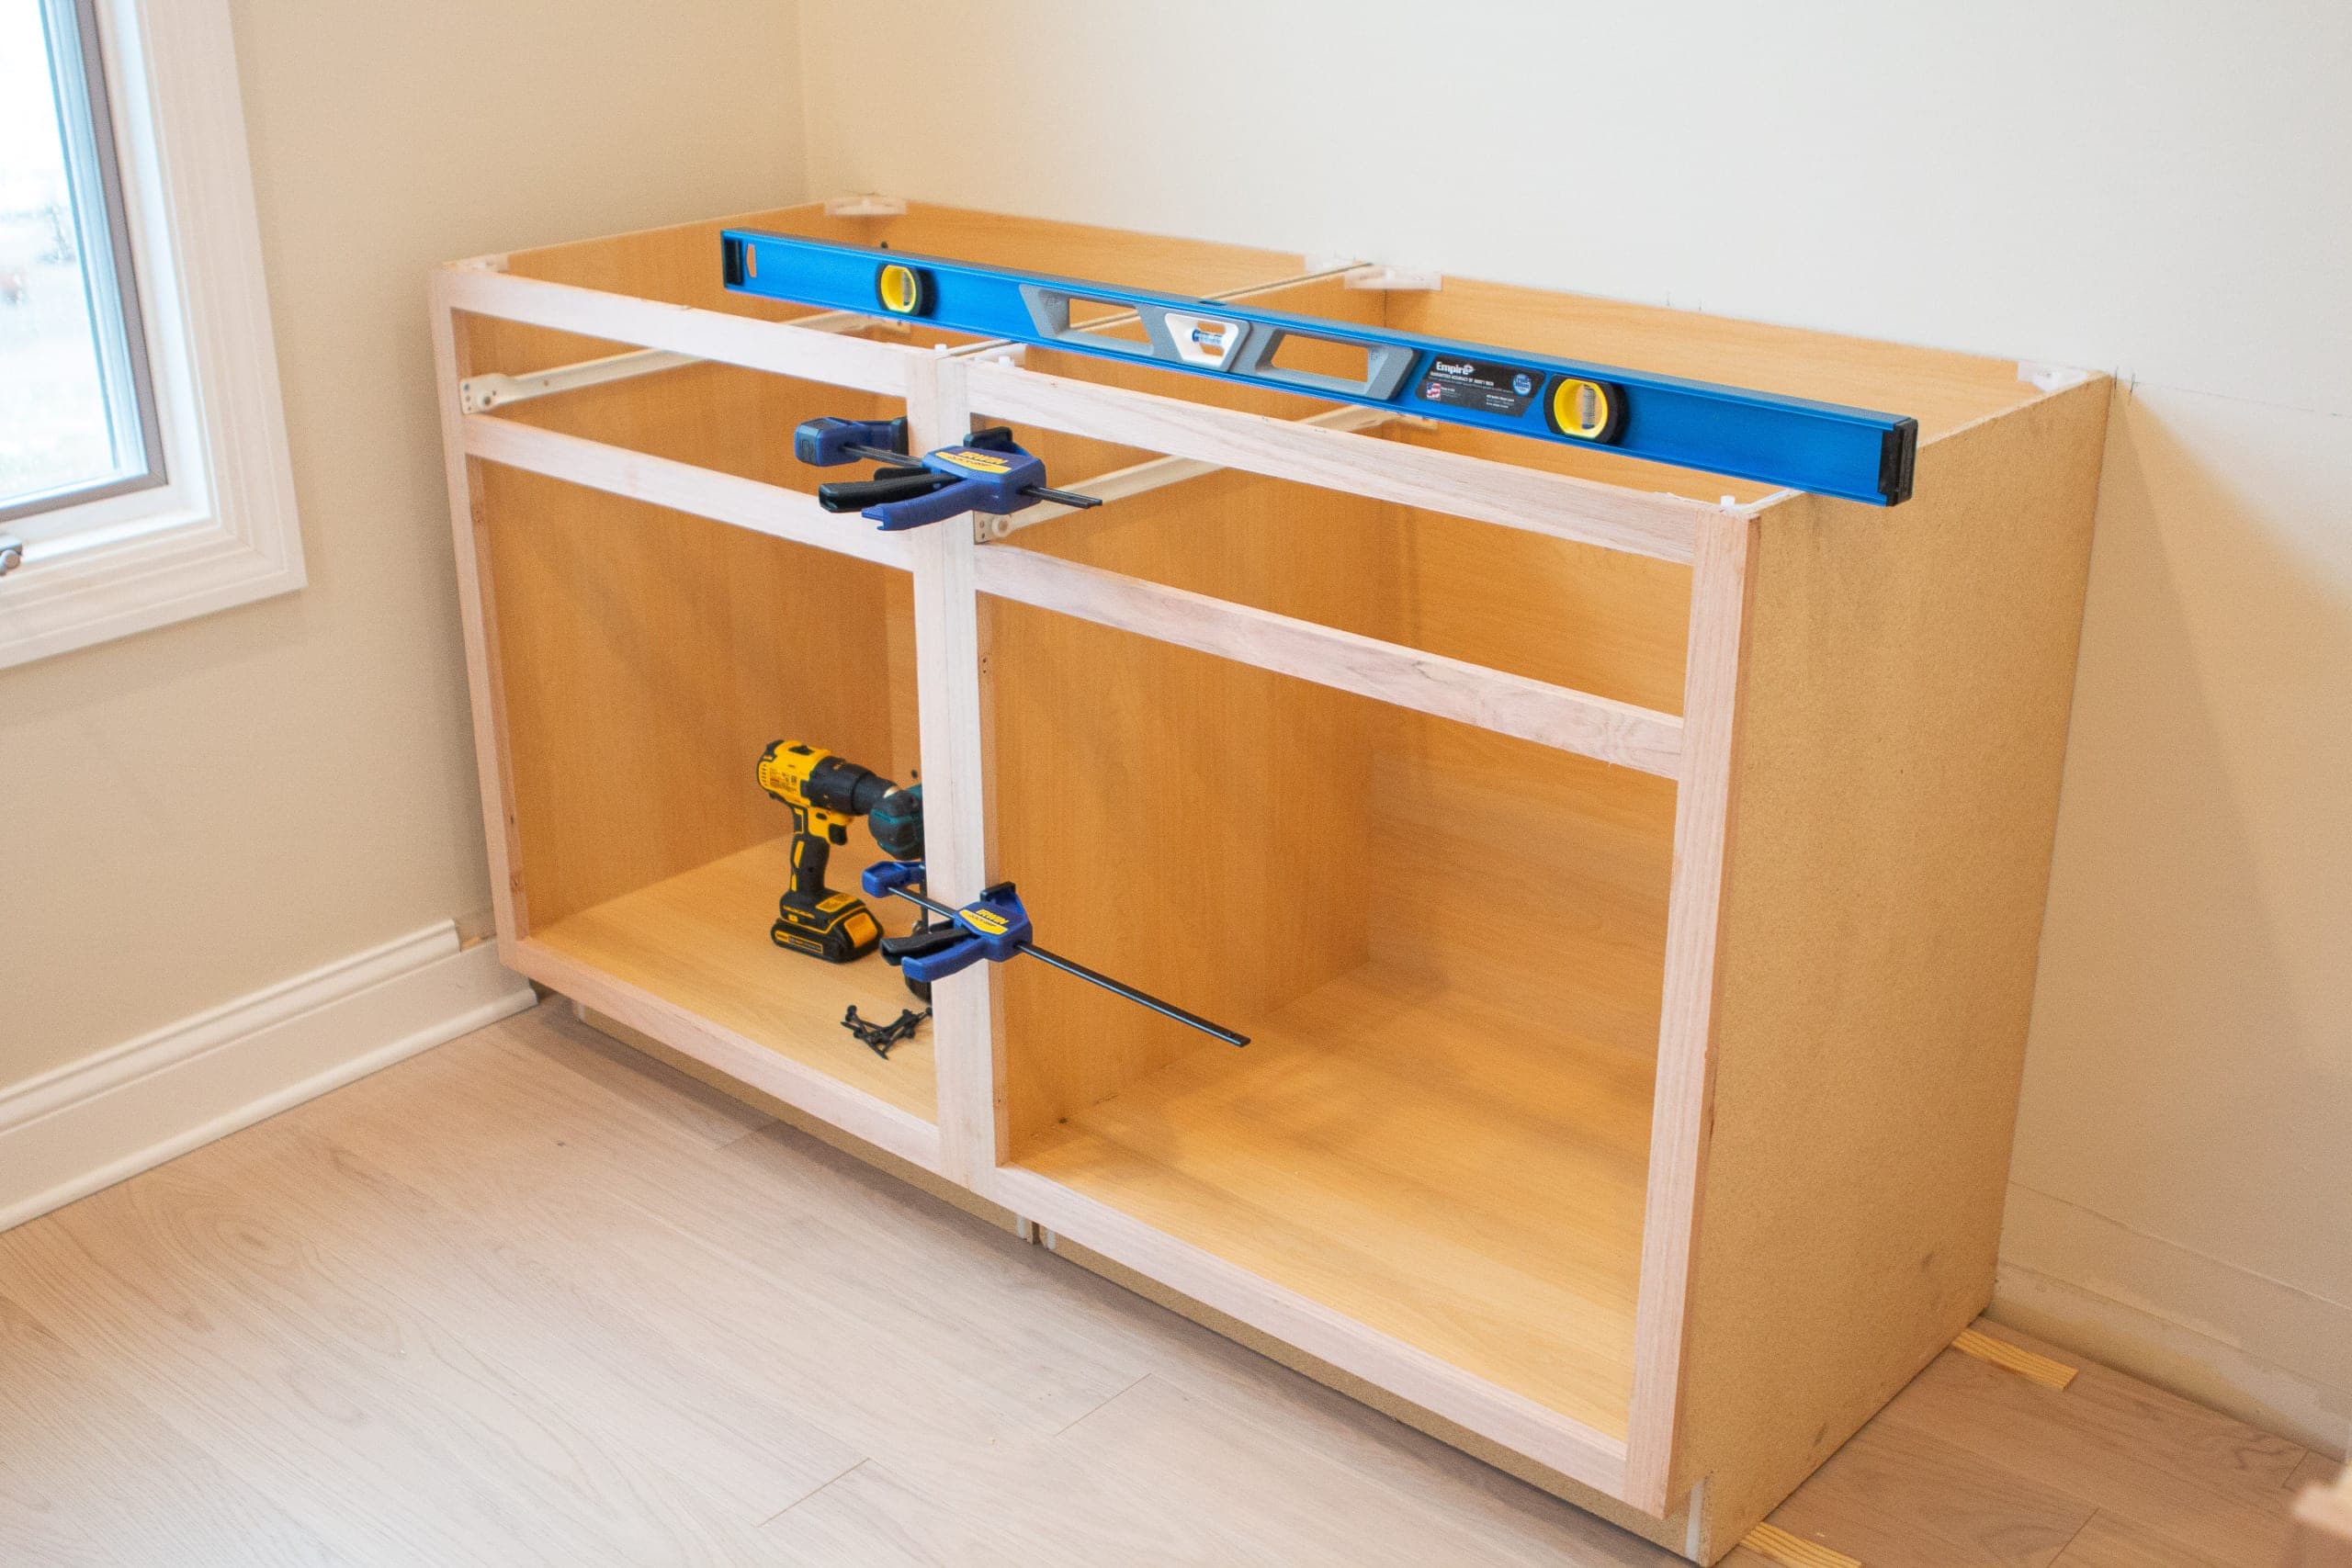
We started on the left side of our wall and installed the first cabinet. To do this, you’ll want to make sure the cabinet is level side to side and front to back. 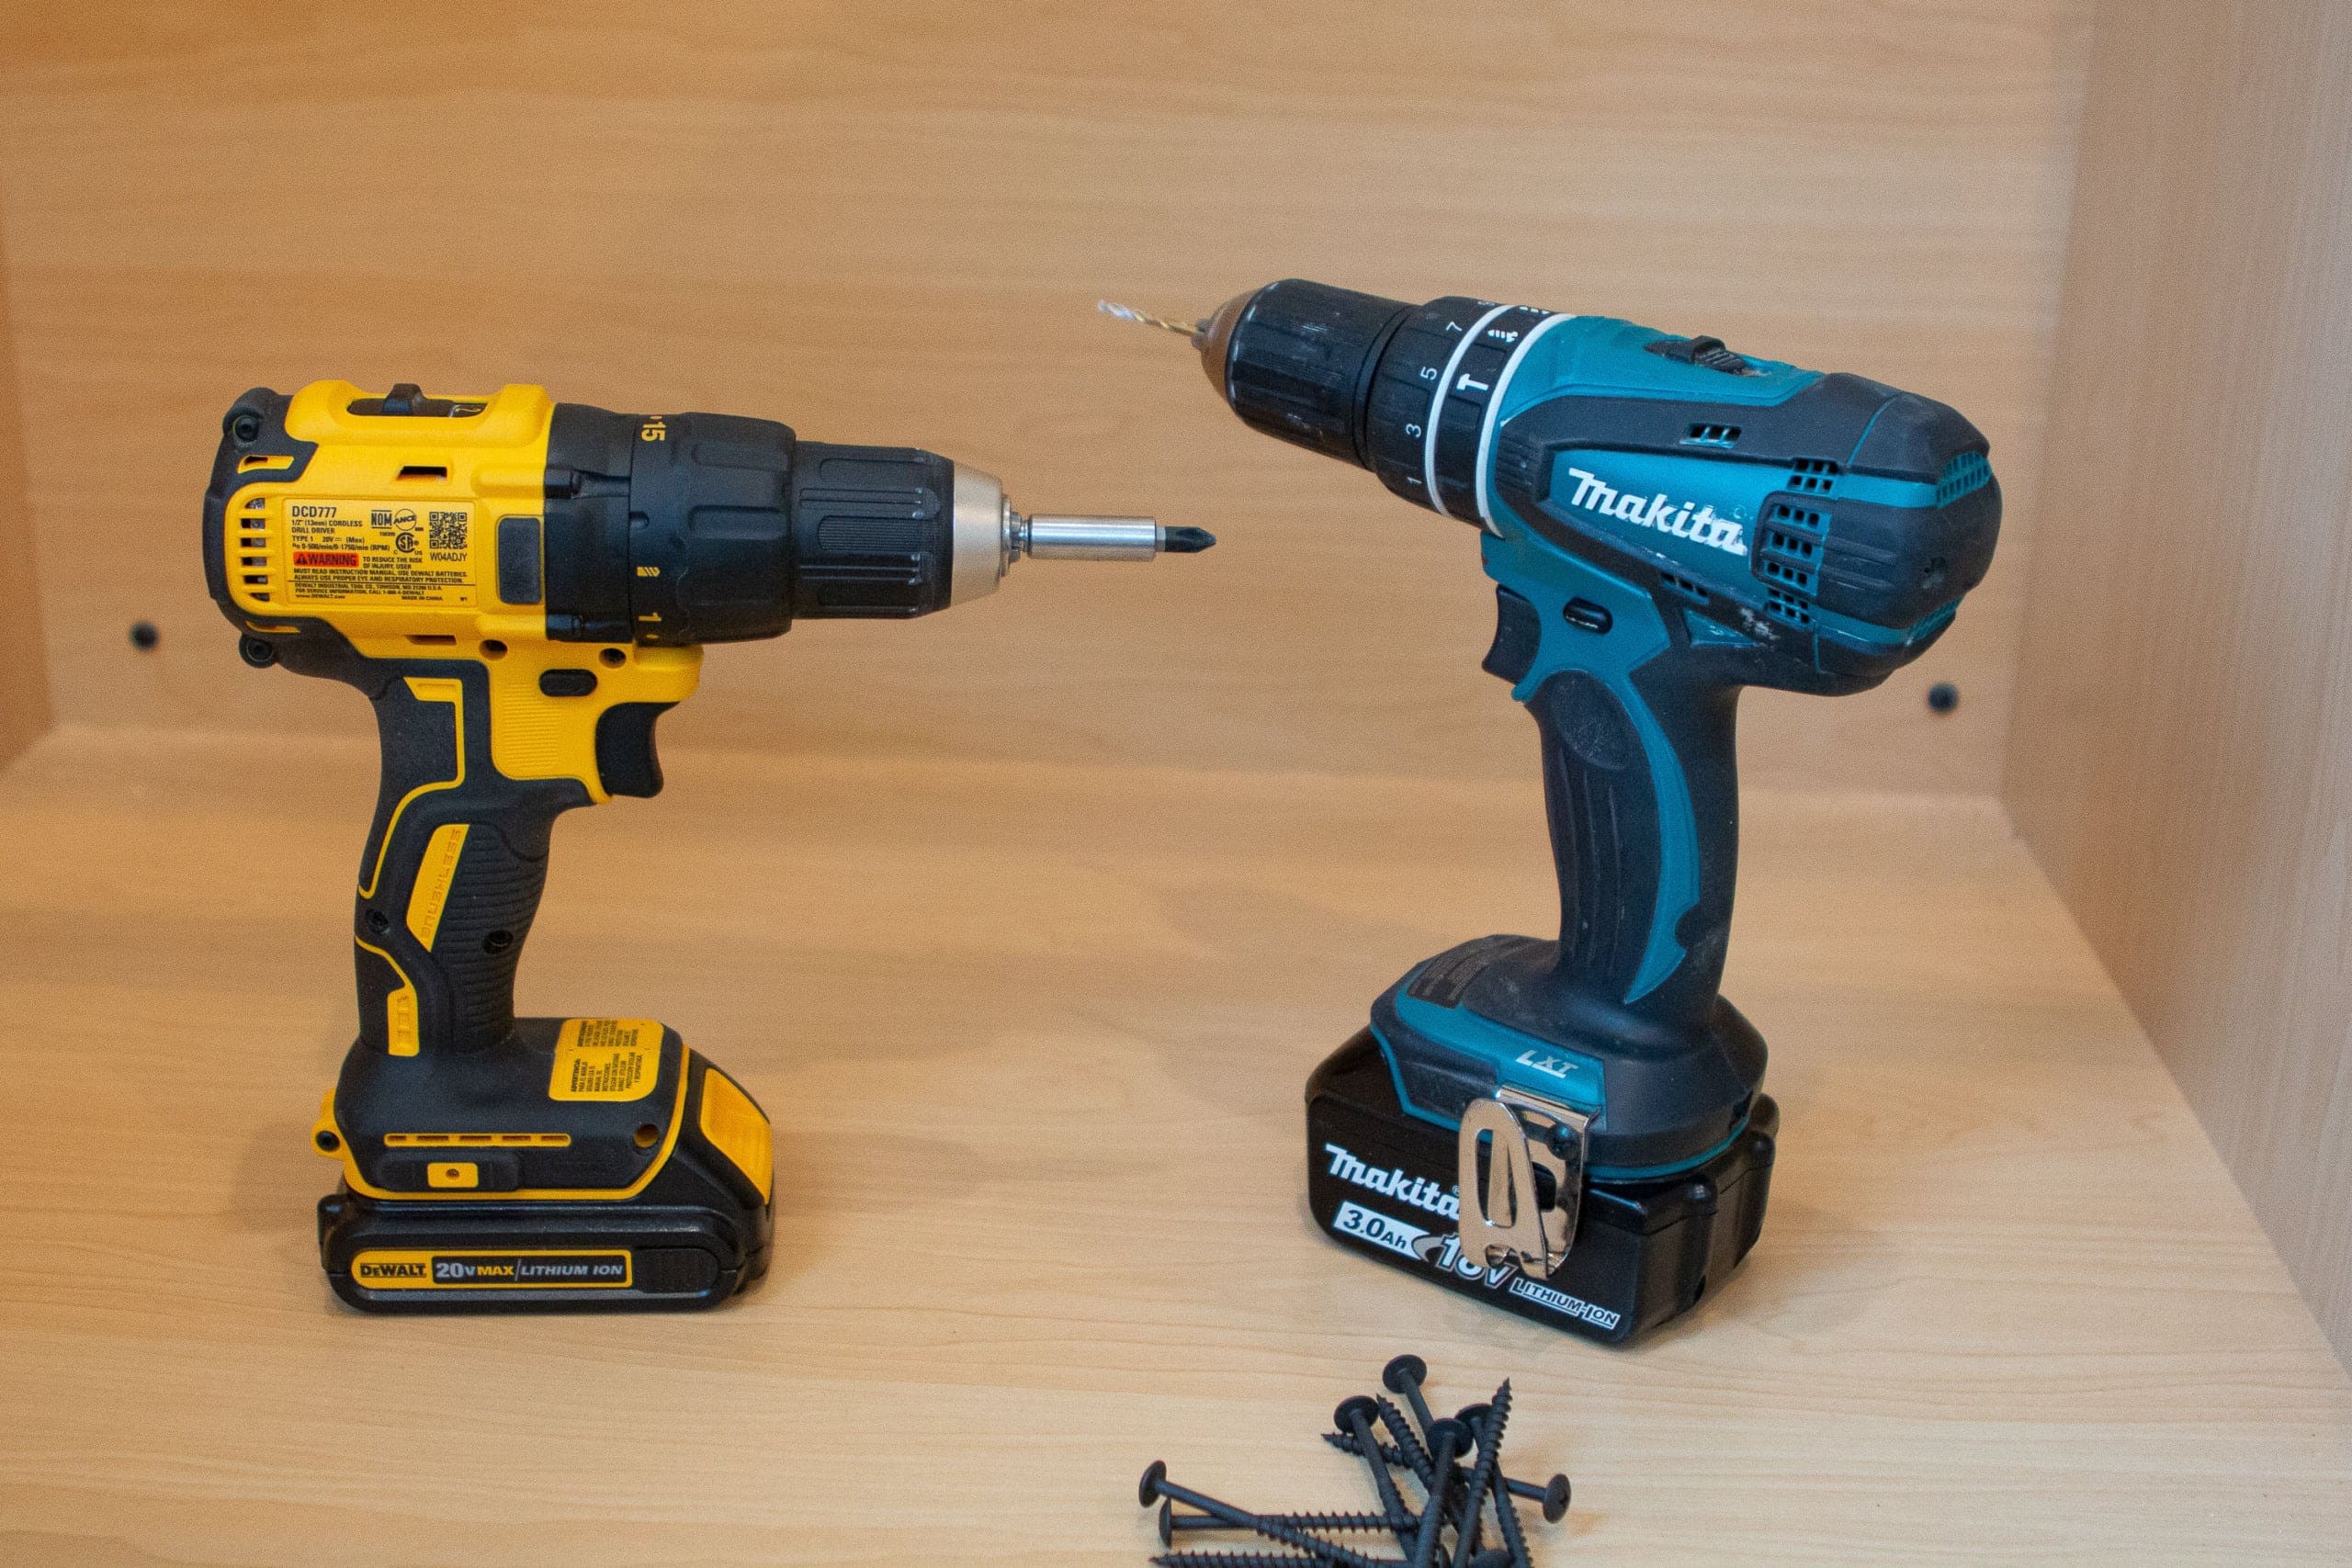
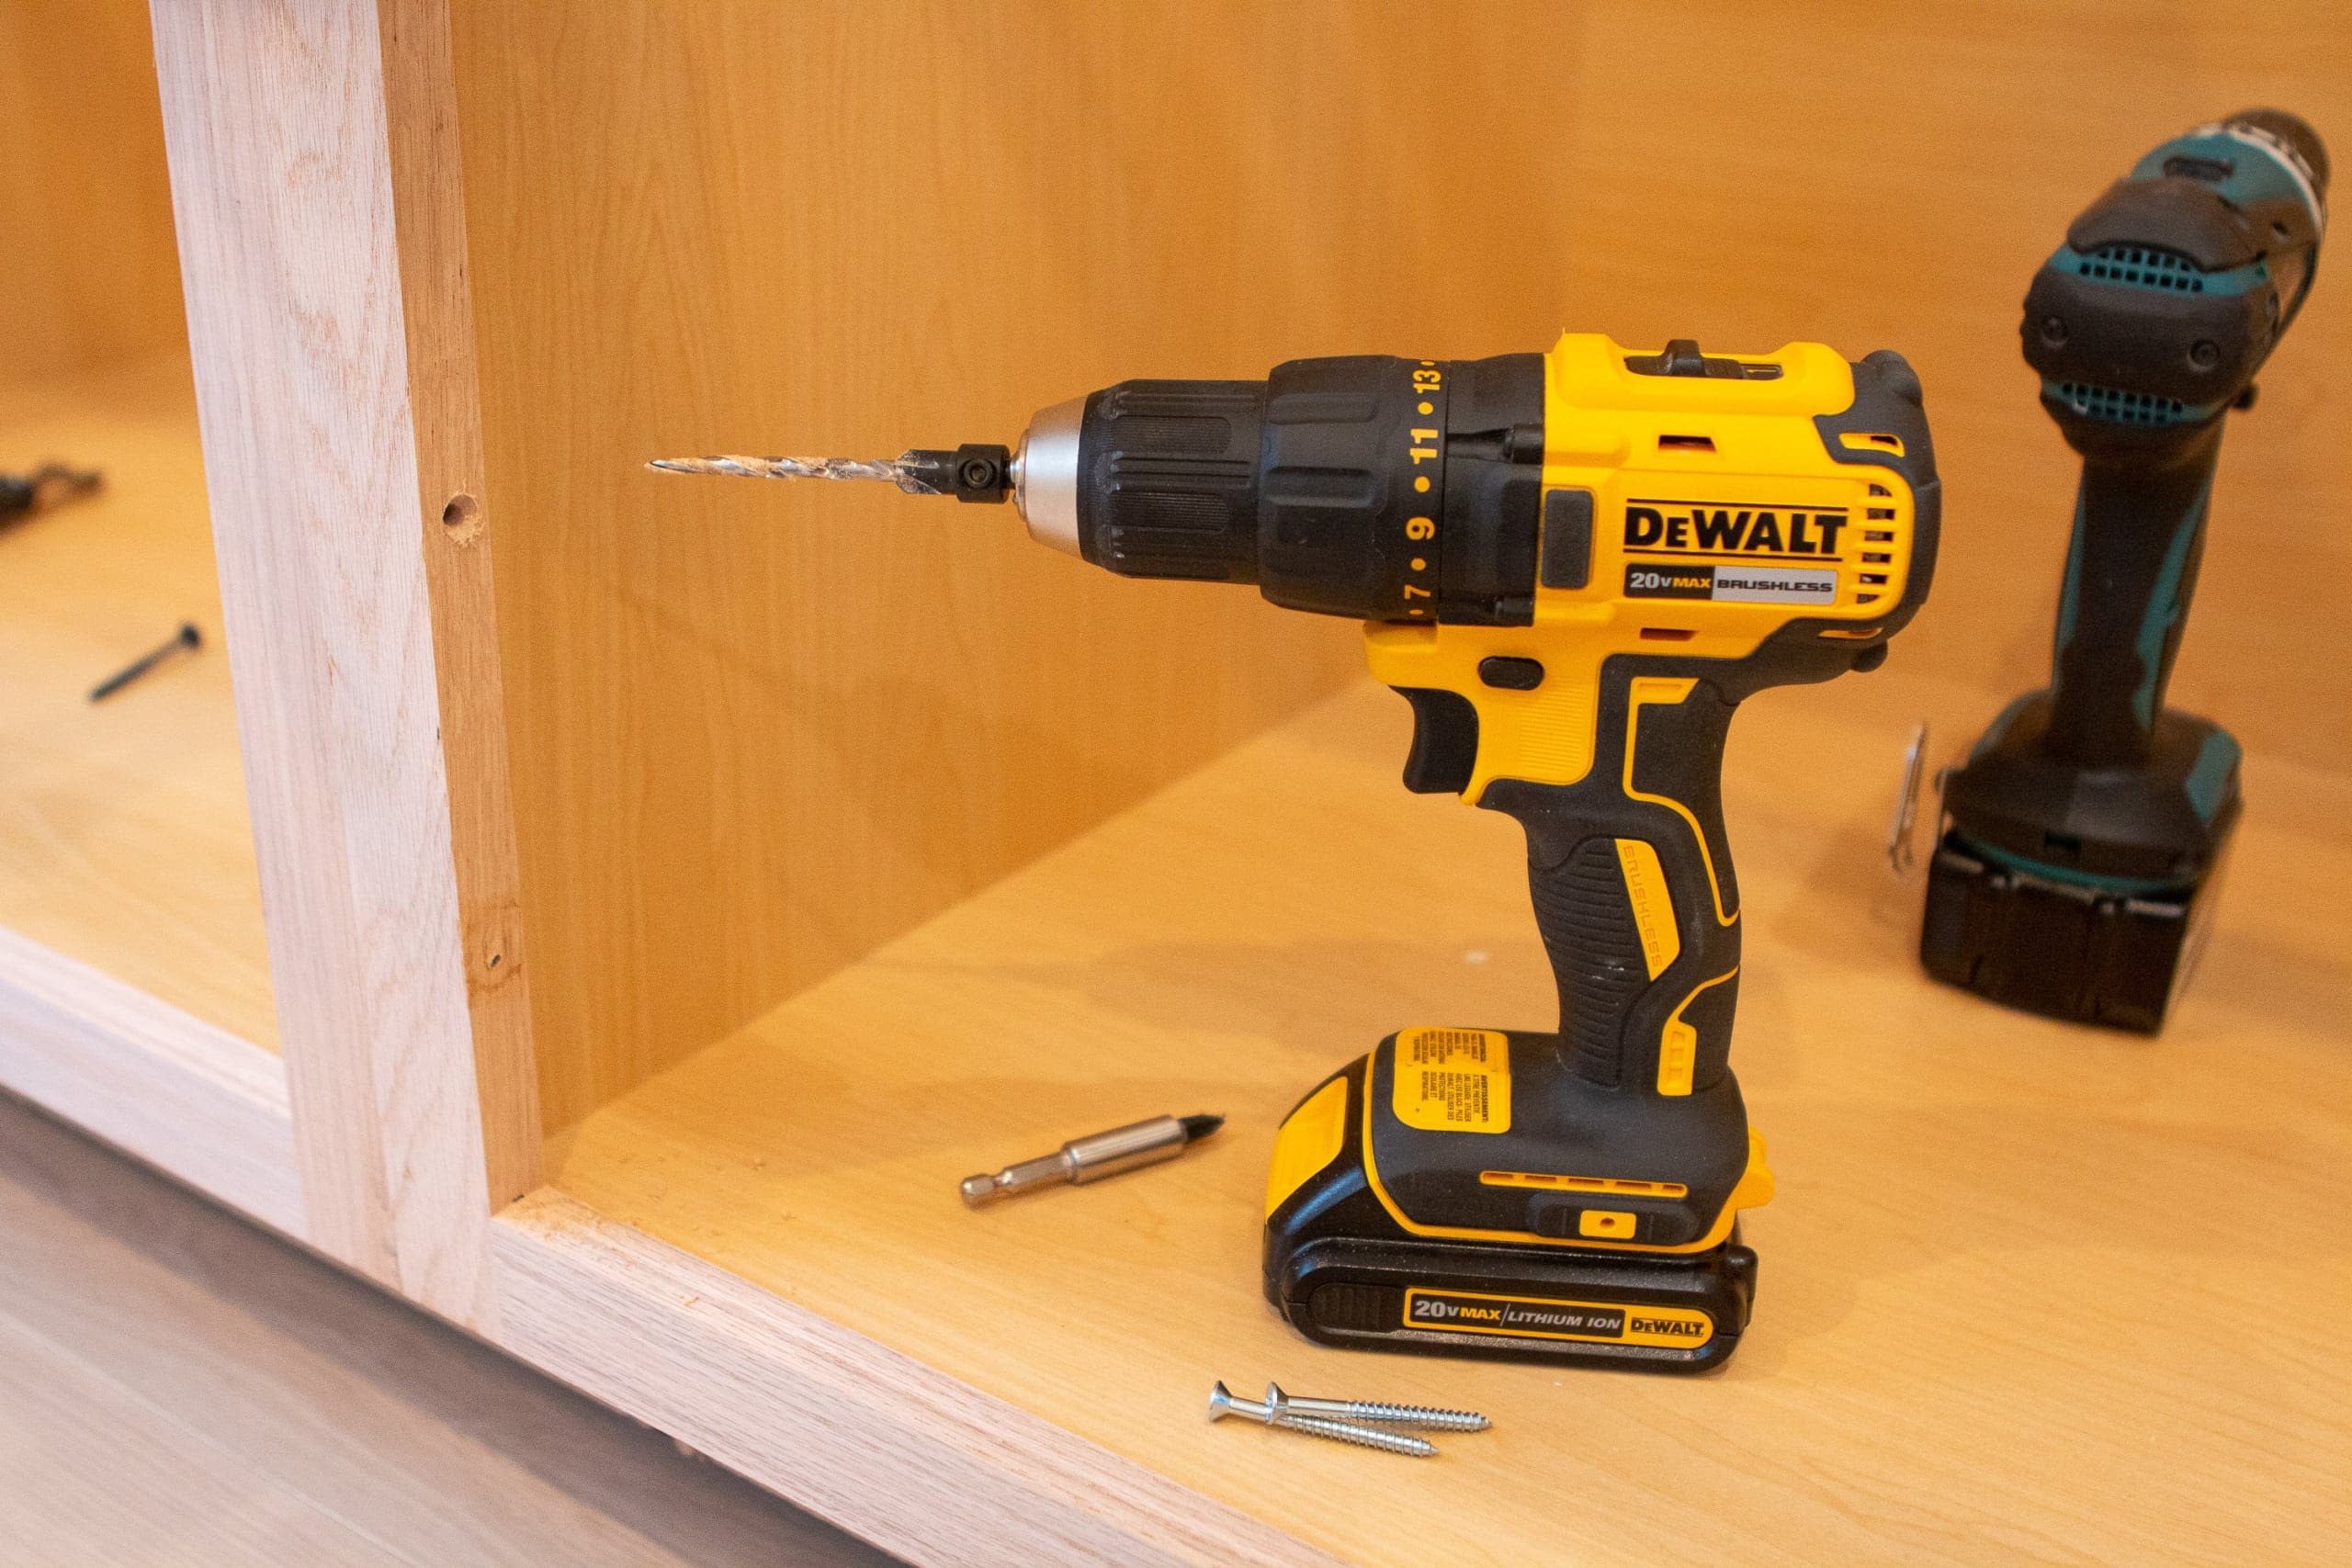
Now, ready for my favorite time-saver? If you own two drills, get them both out for this project. I ended up putting a pilot bit on one drill and a screw head on the other. That way I could drill a pilot bit with one and attach the screw with the other. It was sooooo efficient. You’ll want to drill into studs where possible and attach using long cabinet screws. 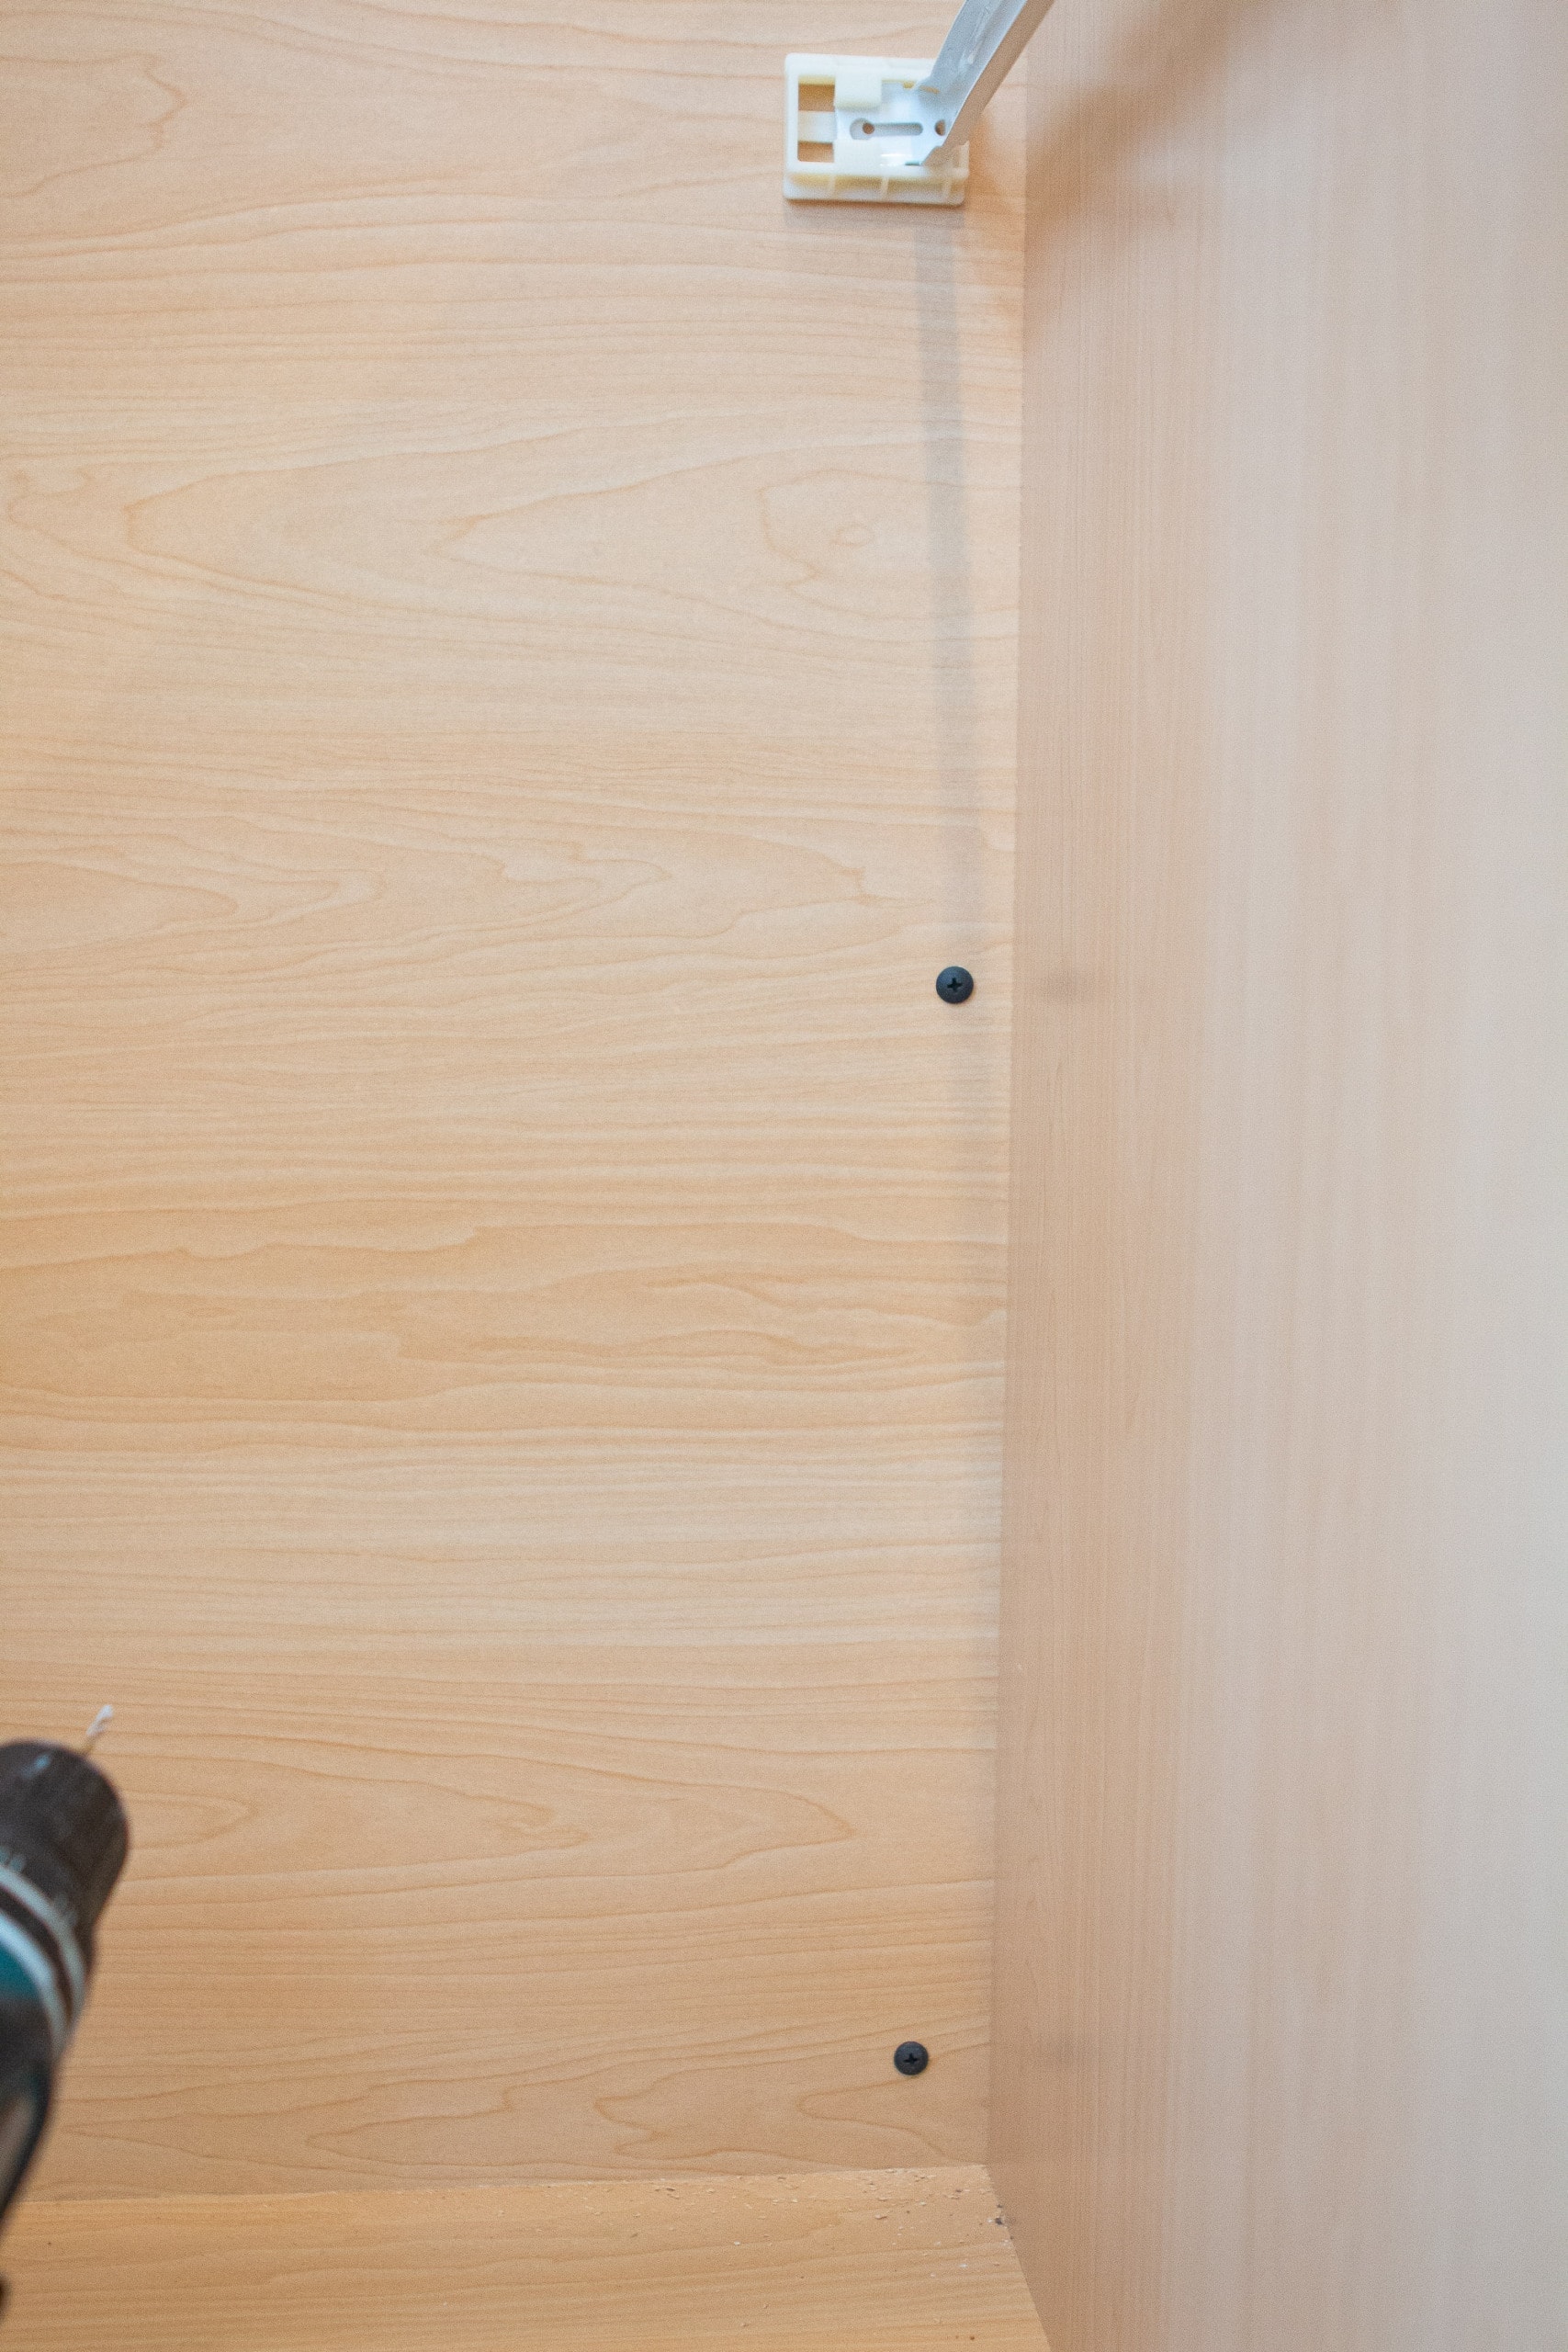
I put about 6 screws in each cabinet (top, middle, and bottom) trying to hit the stud whenever possible. If I couldn’t hit a stud, I would still add a few screws just for extra reassurance.
Use Clamps & Wood Shims
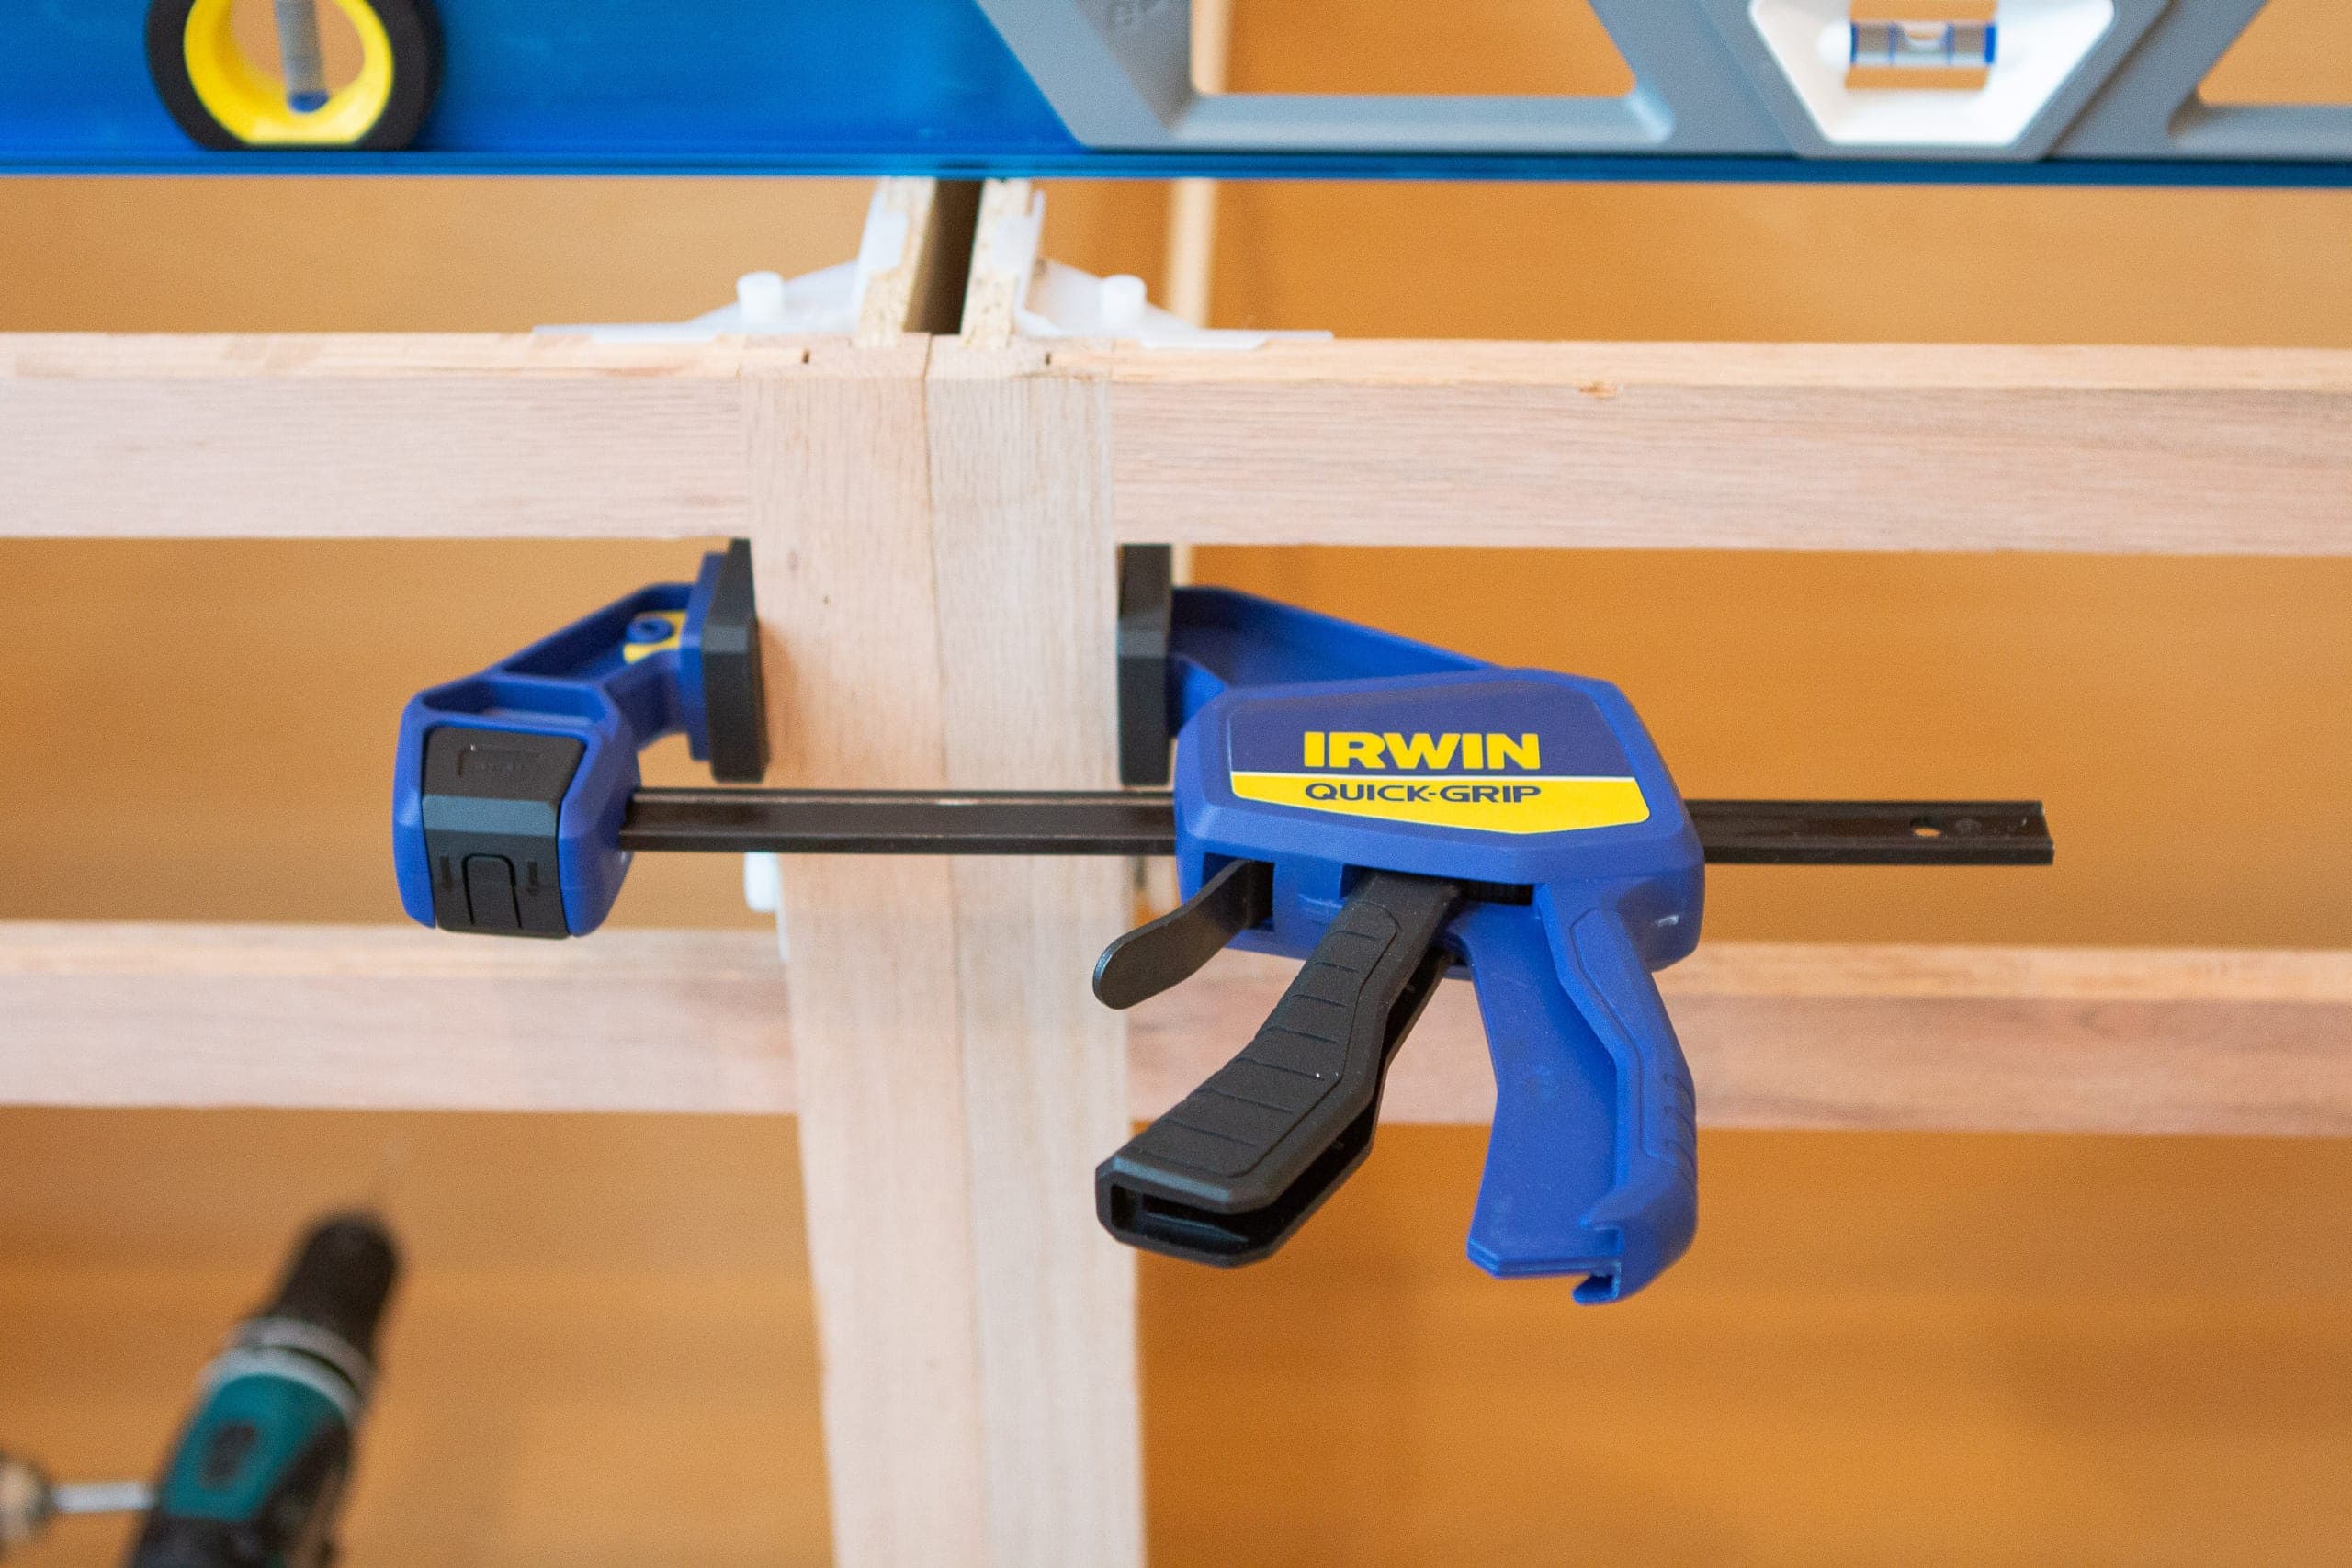
When attaching the next cabinet, you want to make sure it’s level and flush with the one next to it. Clamps are an absolute must for this project. We ended up upgrading to these clamps (they come in a set) and they were amazing. They were so easy to use and they are super strong. With your cabinets flush together, make sure they’re level from side-to-side and front to back.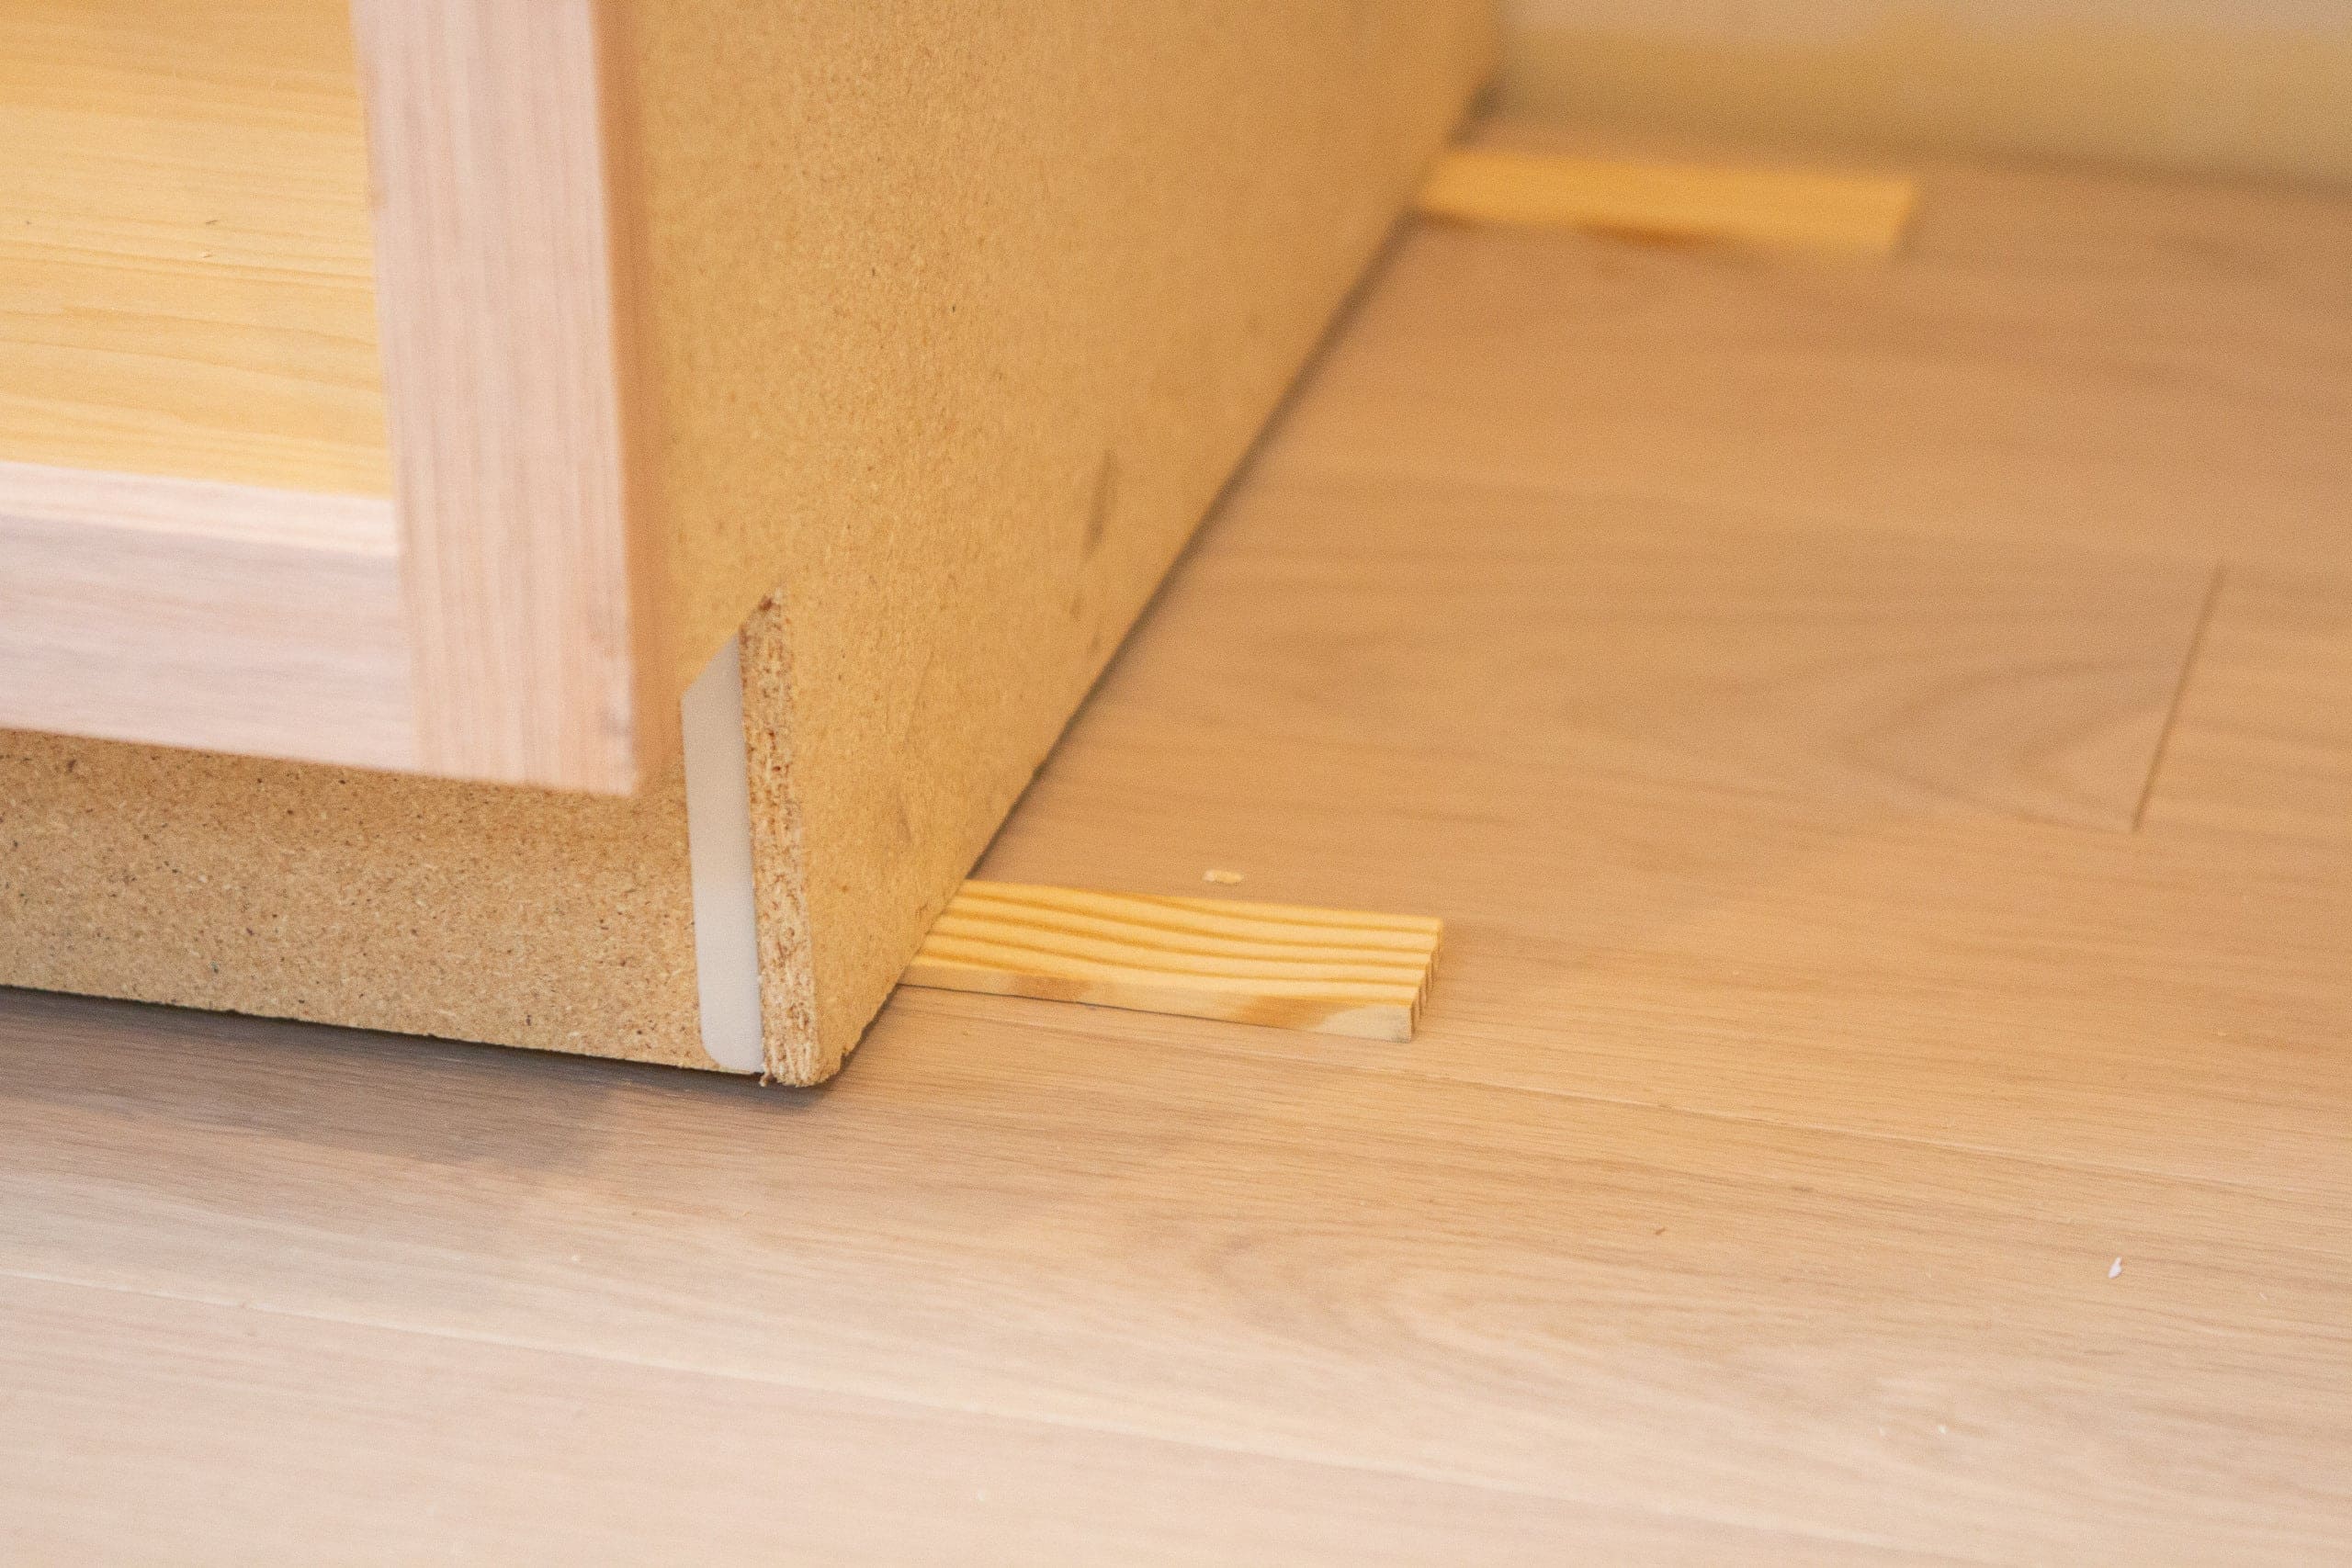
It’s likely your cabinets won’t be totally level and that’s where wood shims will come in handy. We placed them underneath the legs of the base cabinets and also in the back to make up for the indentation in the back of the wall. 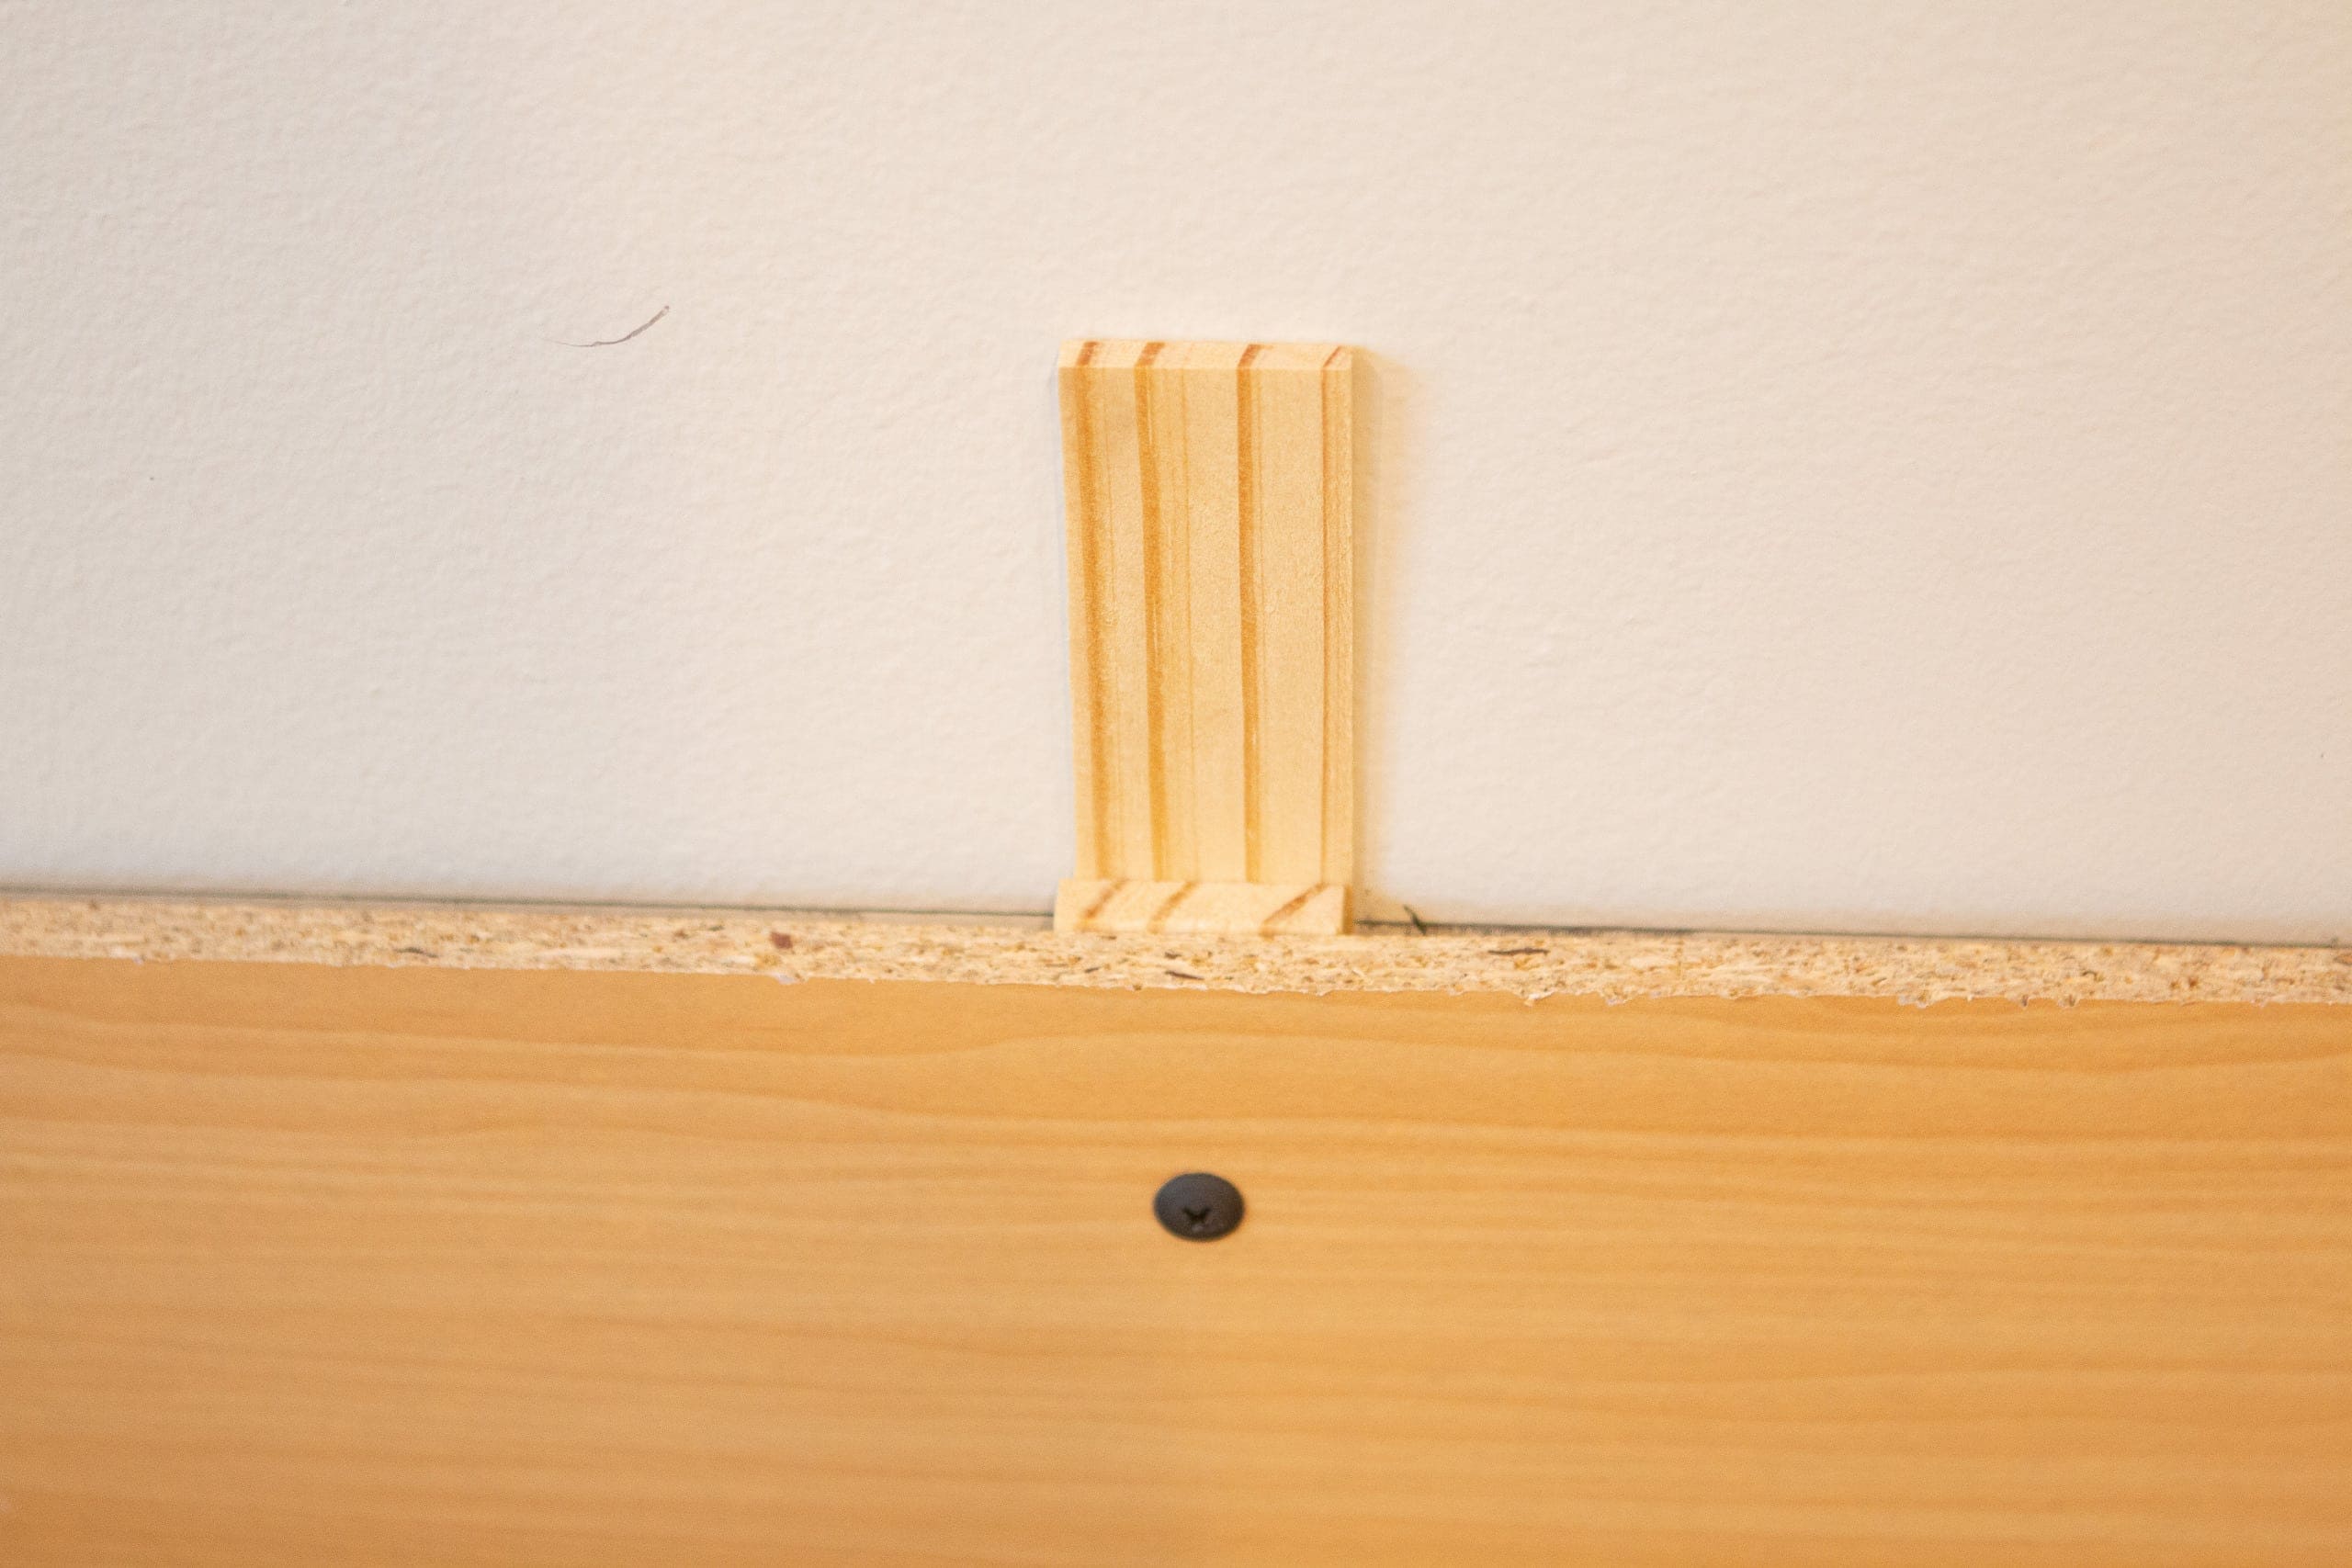
You’ll want to buy a lot of wood shims (they’re super cheap!) because we actually ran out and had to make our own, cutting wood with the saw. Once your wood shims are in place, you can drill the cabinet into the wall (again, into the studs).
Attach the Cabinets Together
With the second cabinet secured into the back of the wall, you’ll need to attach it to the first cabinet. Use a countersink drill bit for this. This bit makes a sunken hole in the wood so your screw doesn’t stick out (and potentially interfere with the operation of the door).  Also, grab some recessed wood screws that go all the way through the one cabinet front and into the other (but make sure it isn’t so long that it pokes out the other side!).
Cut Out Outlets in the Back
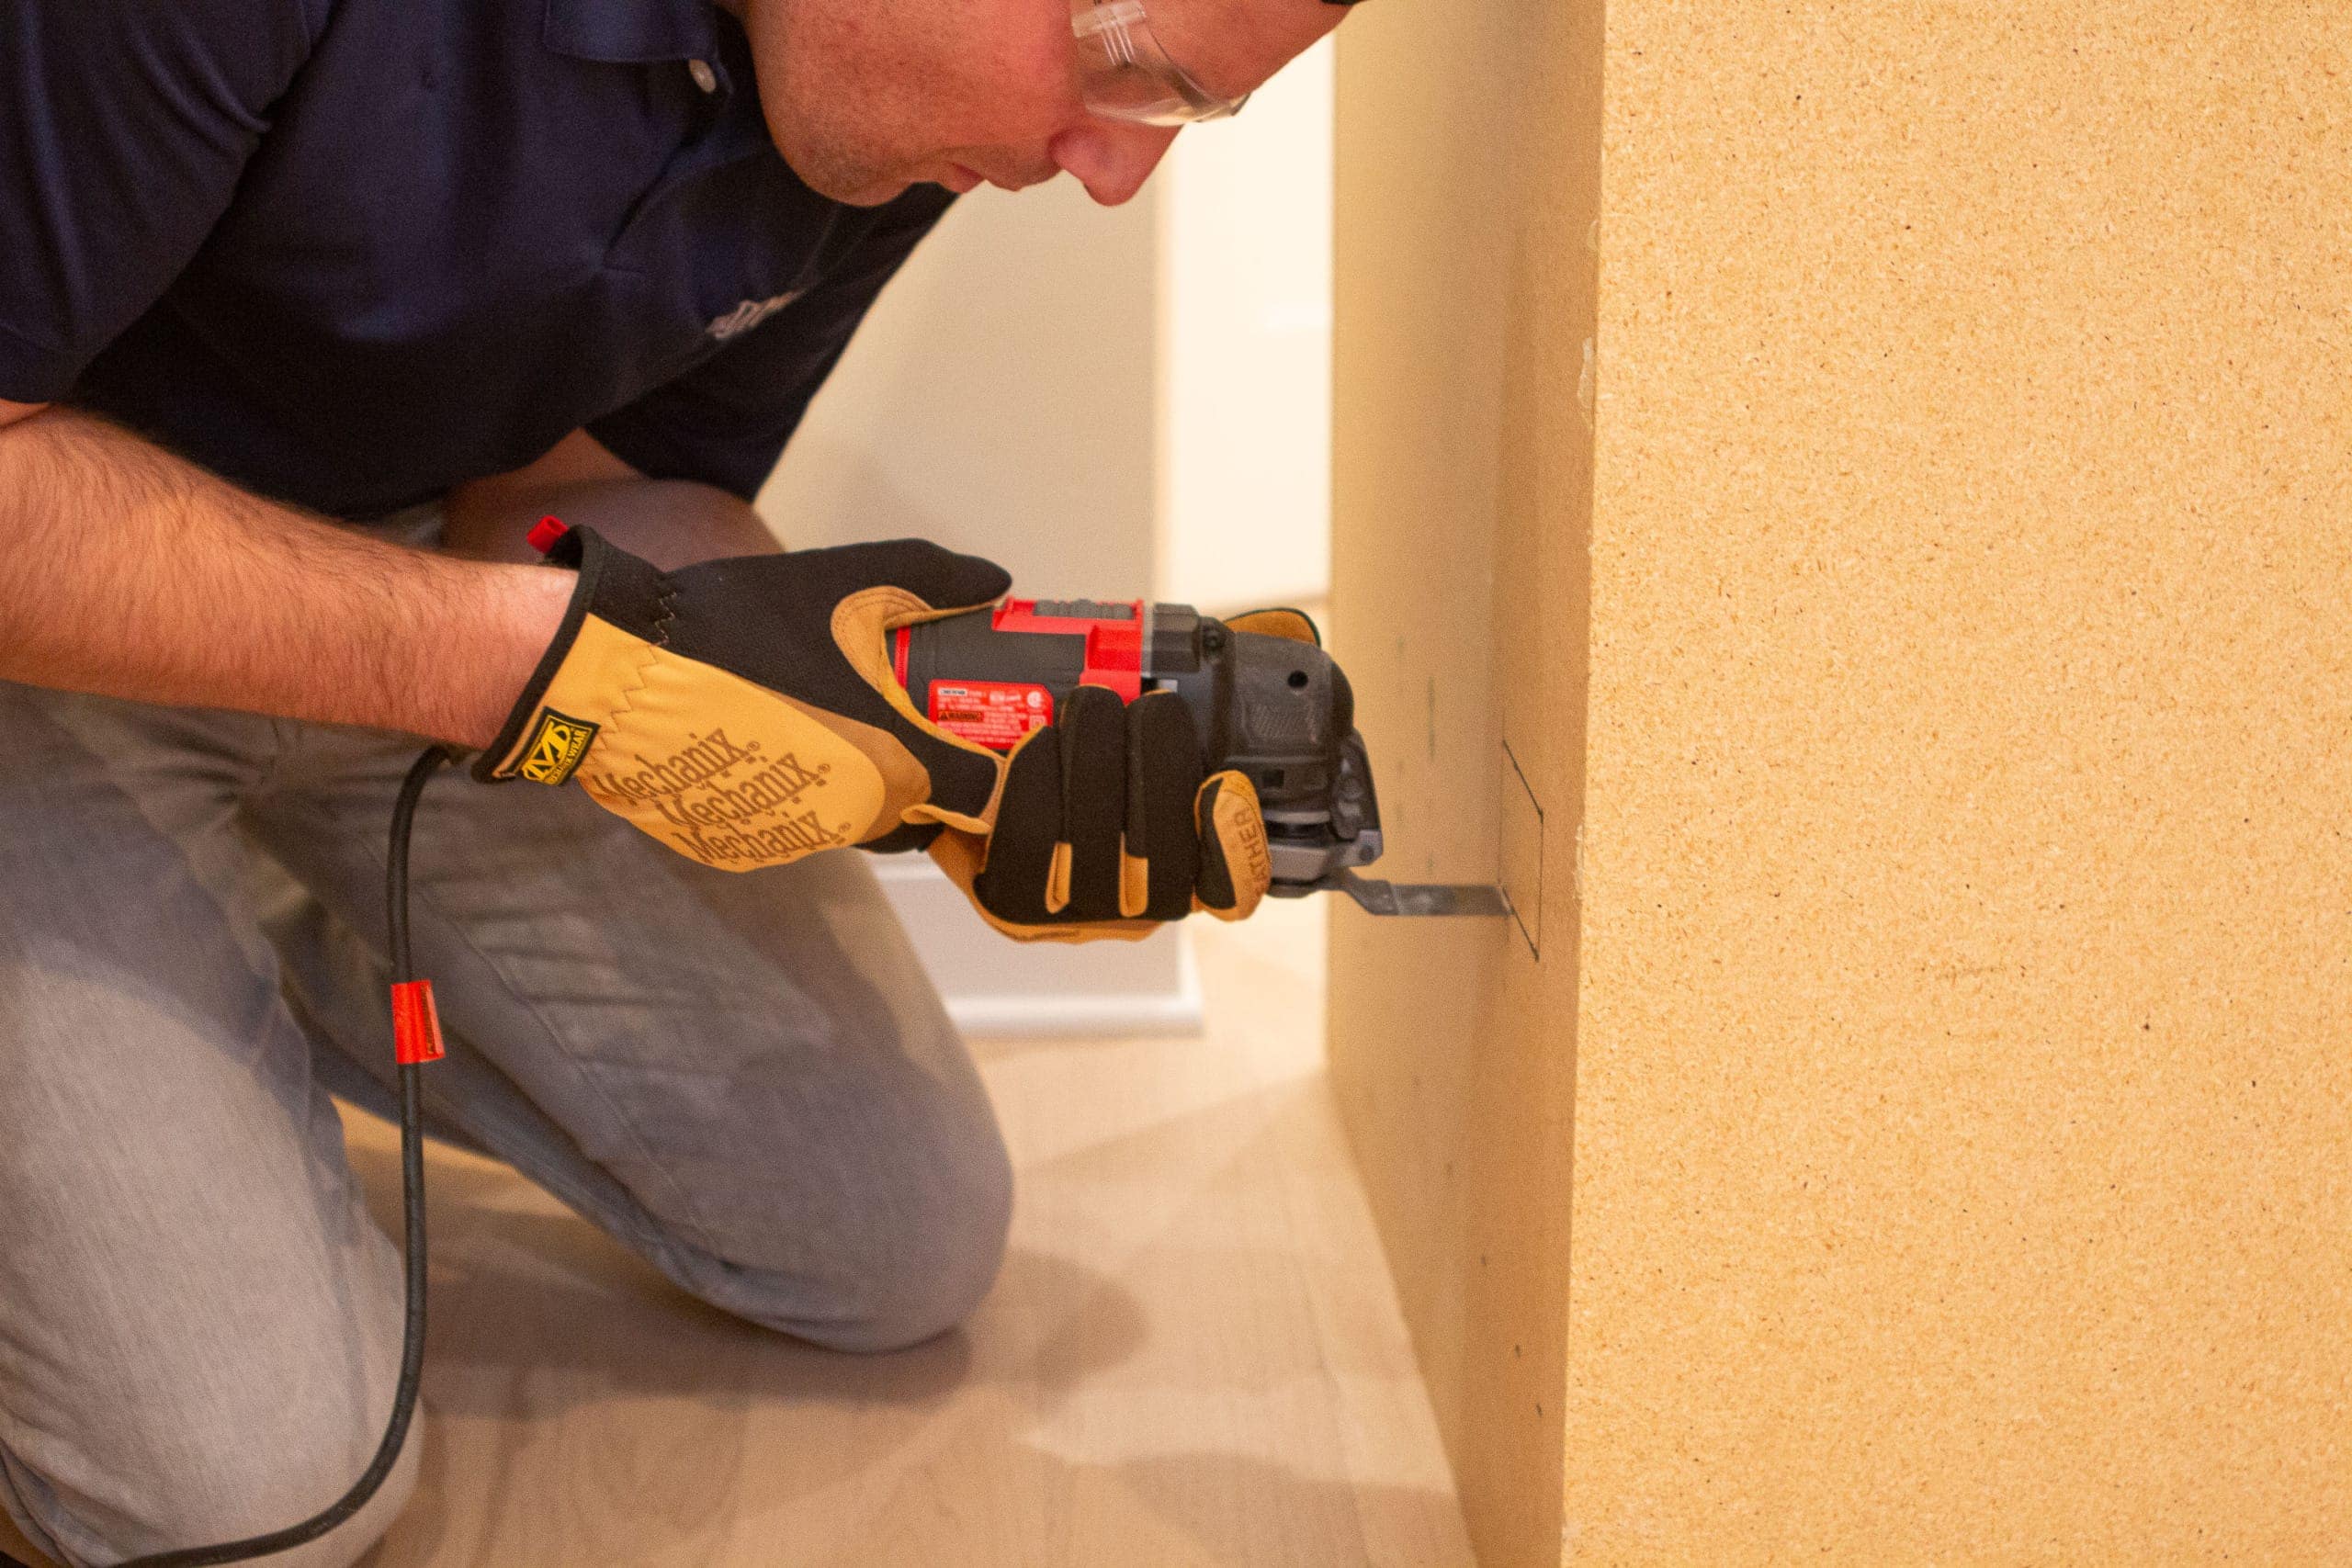
If you have outlets on the built-in wall, you’ll want to cut pieces out of the back of the cabinet so you will be able to use them. We ended up having an outlet and our ethernet in the back of the cabinet. To cut the holes, Finn again used his new favorite tool…the oscillating saw. I’m really excited to have these hidden in our cabinets because then we can plug-in our printer, chargers, and other electronic items in there. It will look cleaner and more streamlined. 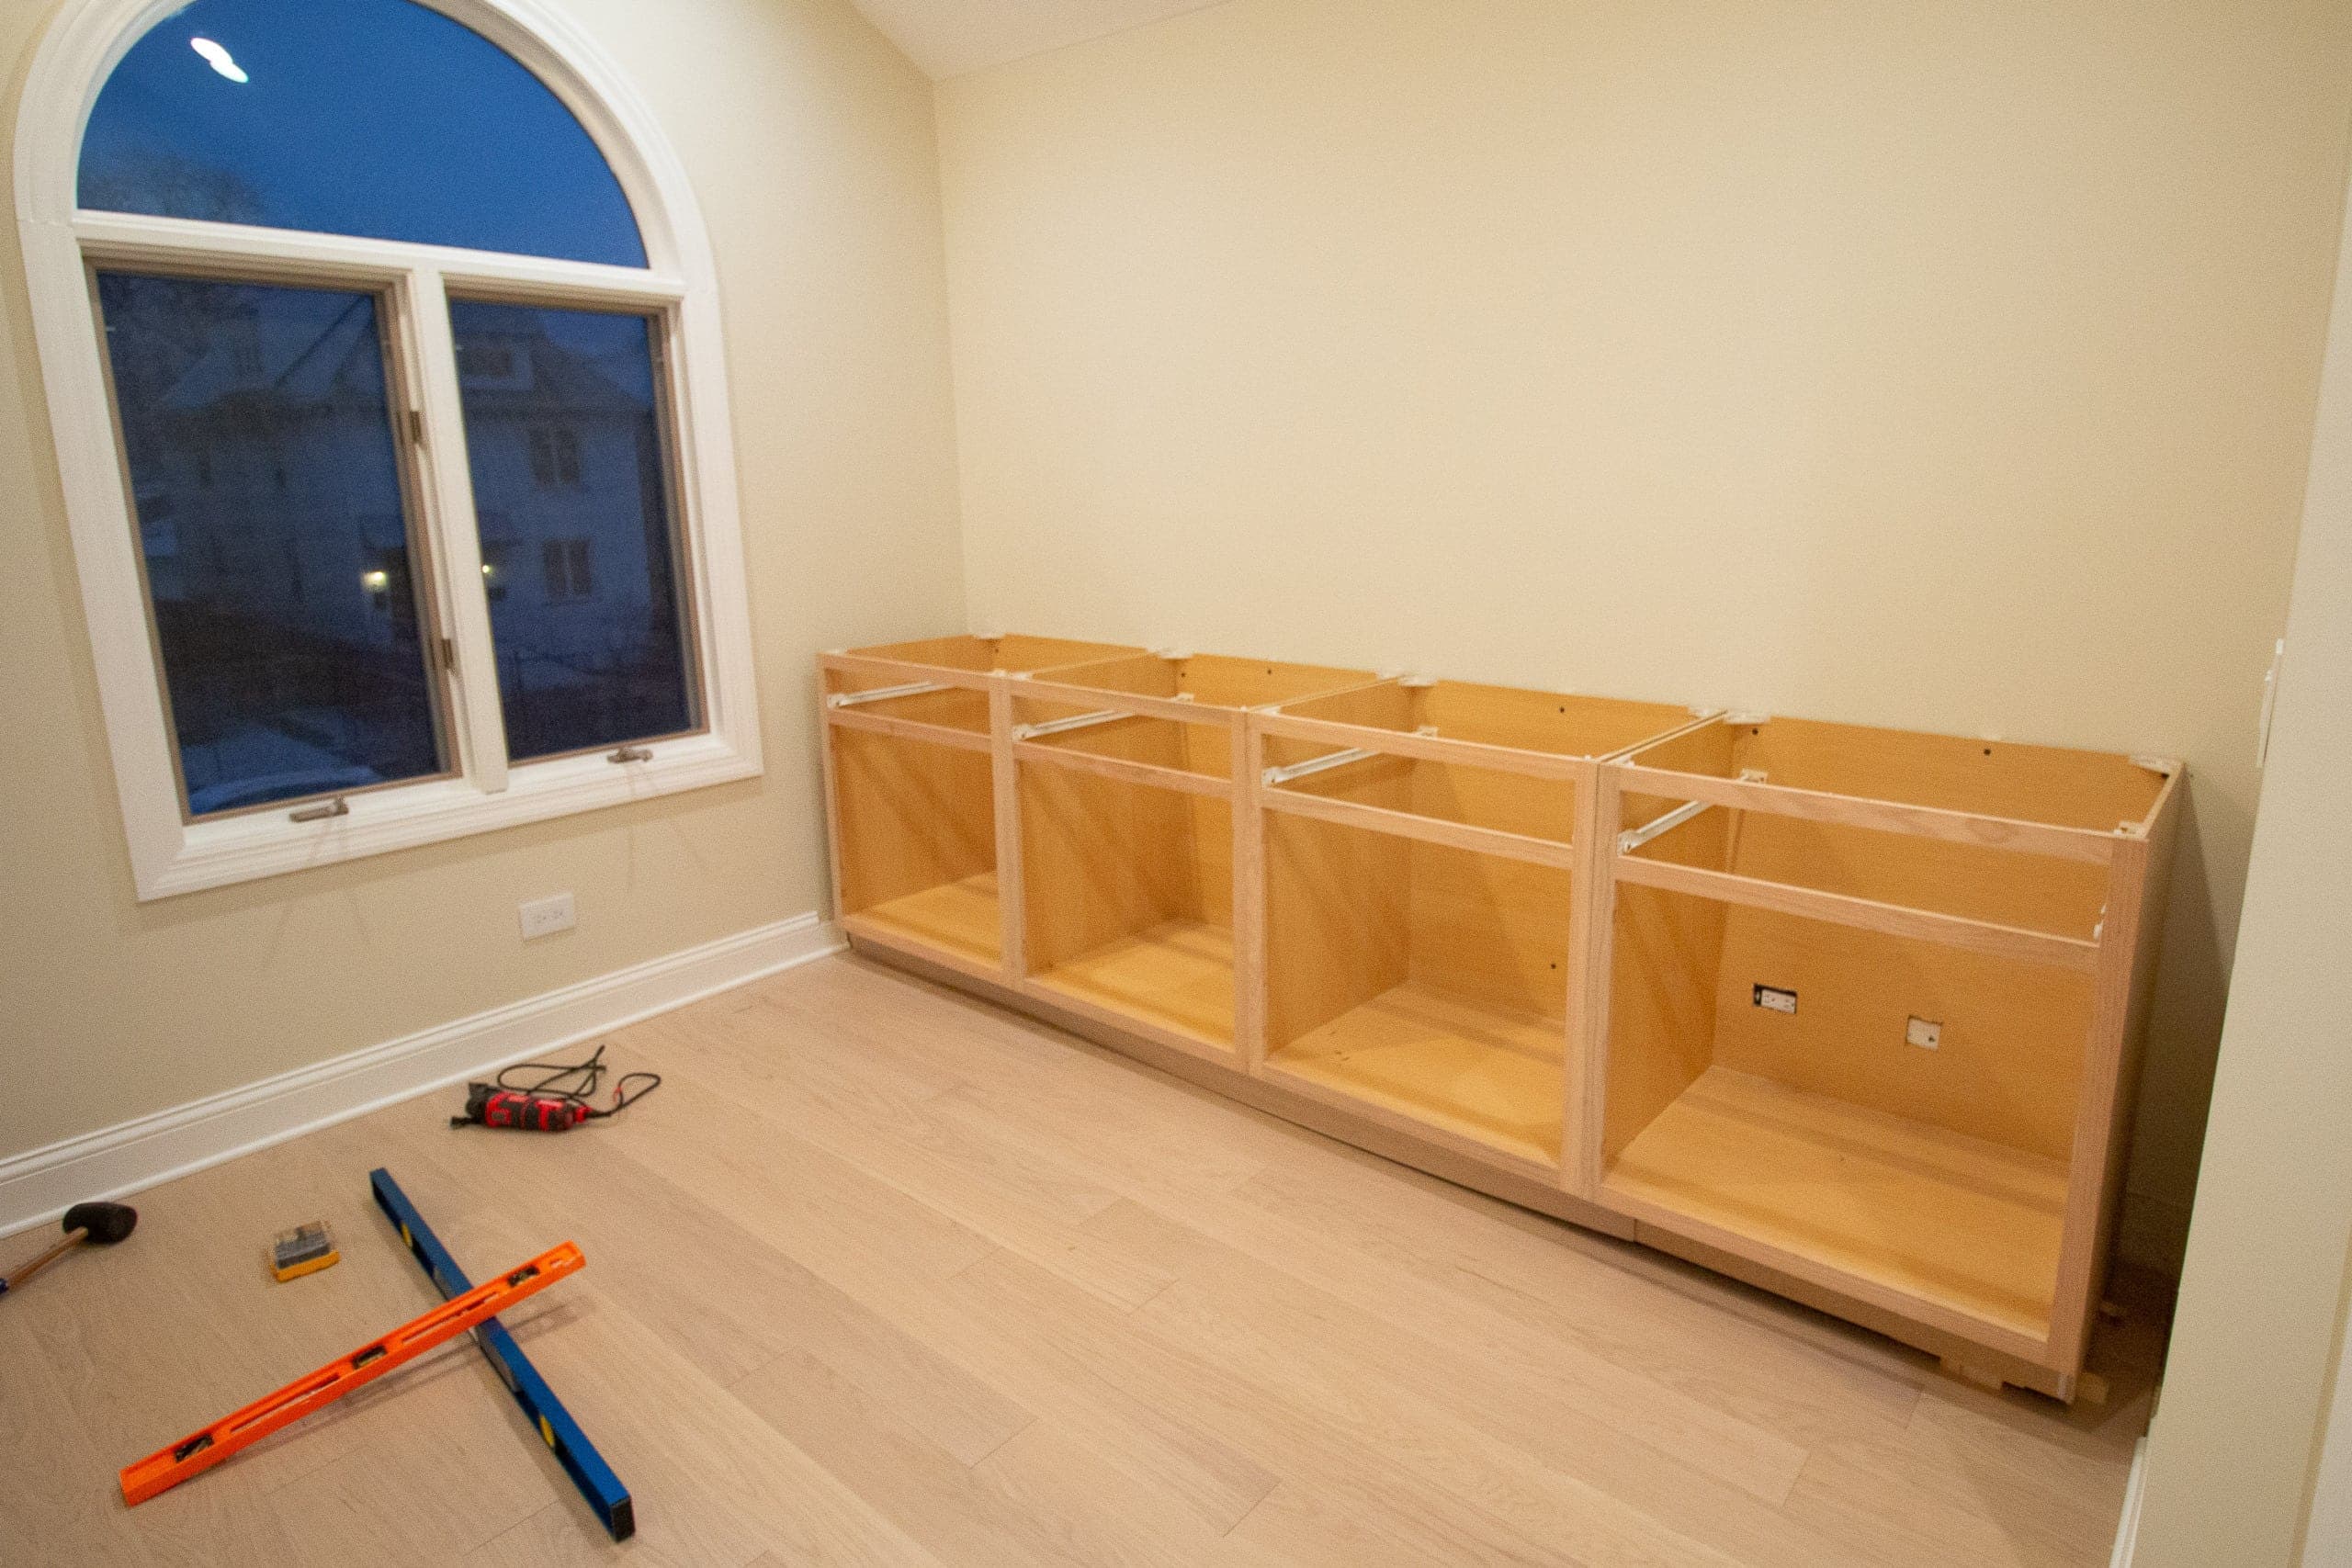 Once all of the cabinets are in and level, you can move onto the finishing touches.
Install Toe Kick
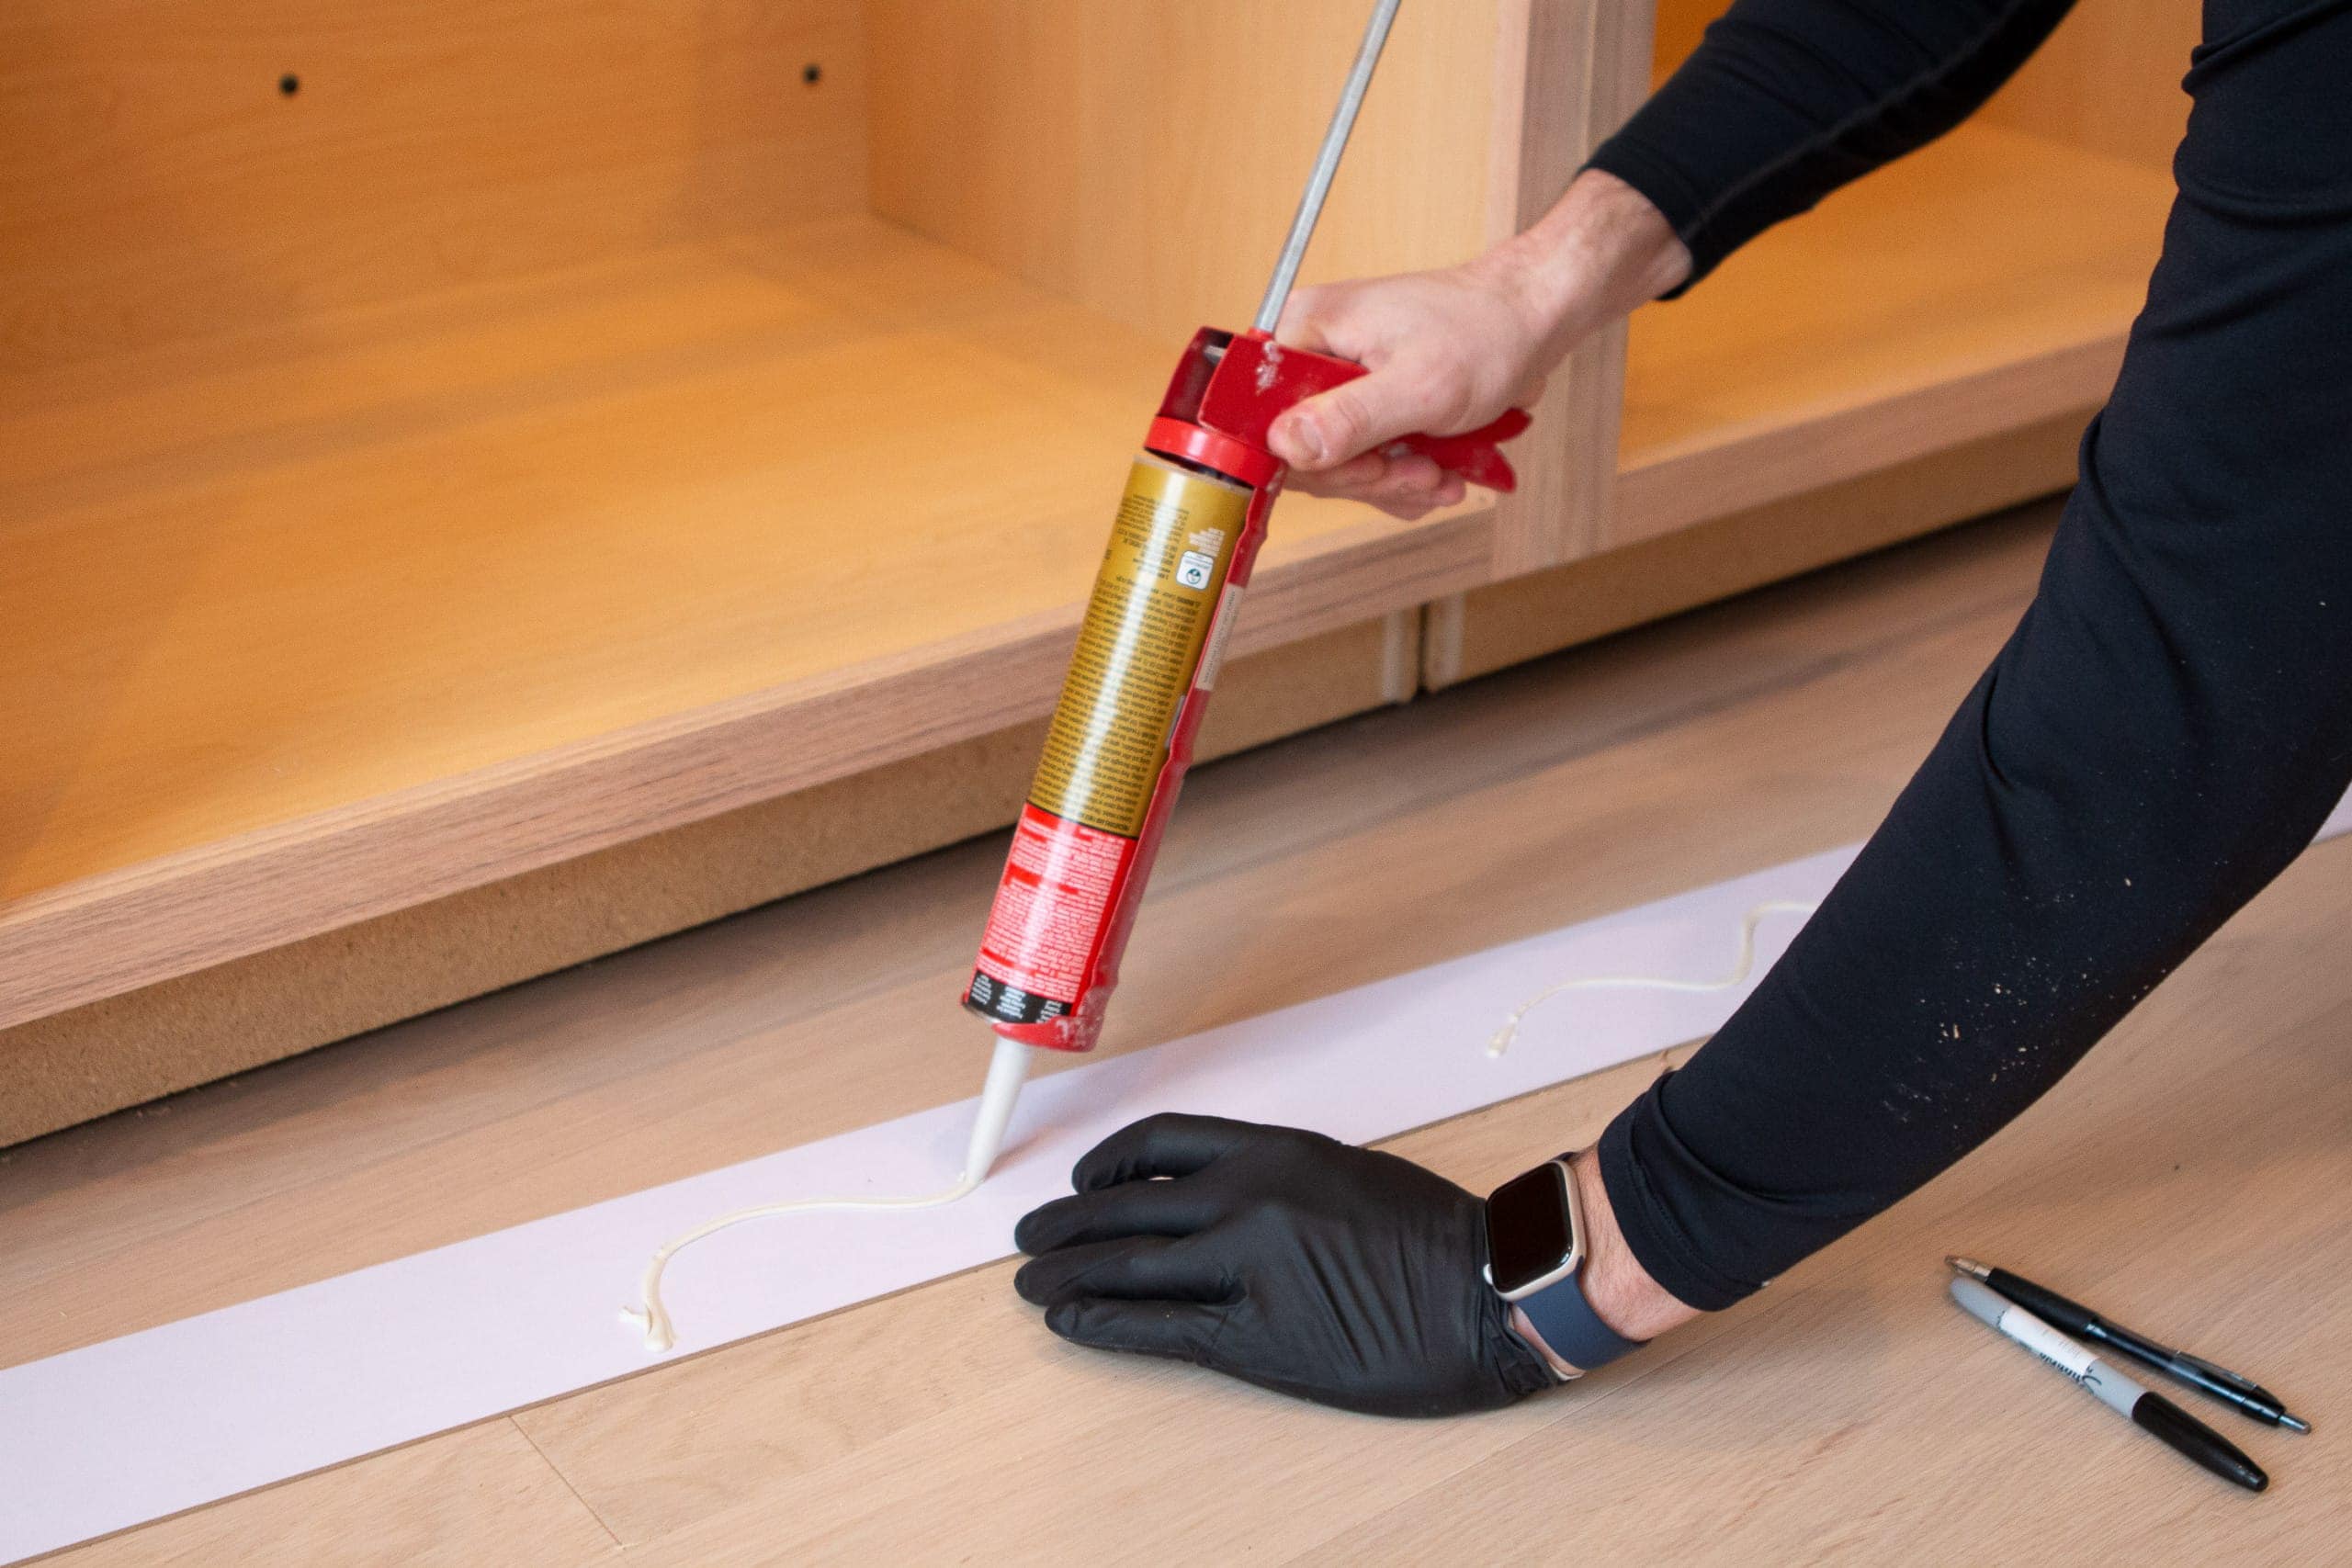
You’ll need to buy toe kick to go with your unfinished kitchen cabinets. This covers the bottom portion and makes it all look much sleeker. We bought a few pieces of this toe kick and it worked perfectly. We just cut them so they would cover the fronts (and hide our wood shims). We used liquid nails and our nail gun to attach these pieces to the front. 
The toe kick makes it look more finished and hides all of those imperfections!
Add Filler Panels
Once the toe kick was on, it was time to cover the gap on the sides of the cabinets. For this, we bought these filler pieces. Filler pieces are designed to fill the dead space so cabinets look built-in and attached to the wall. 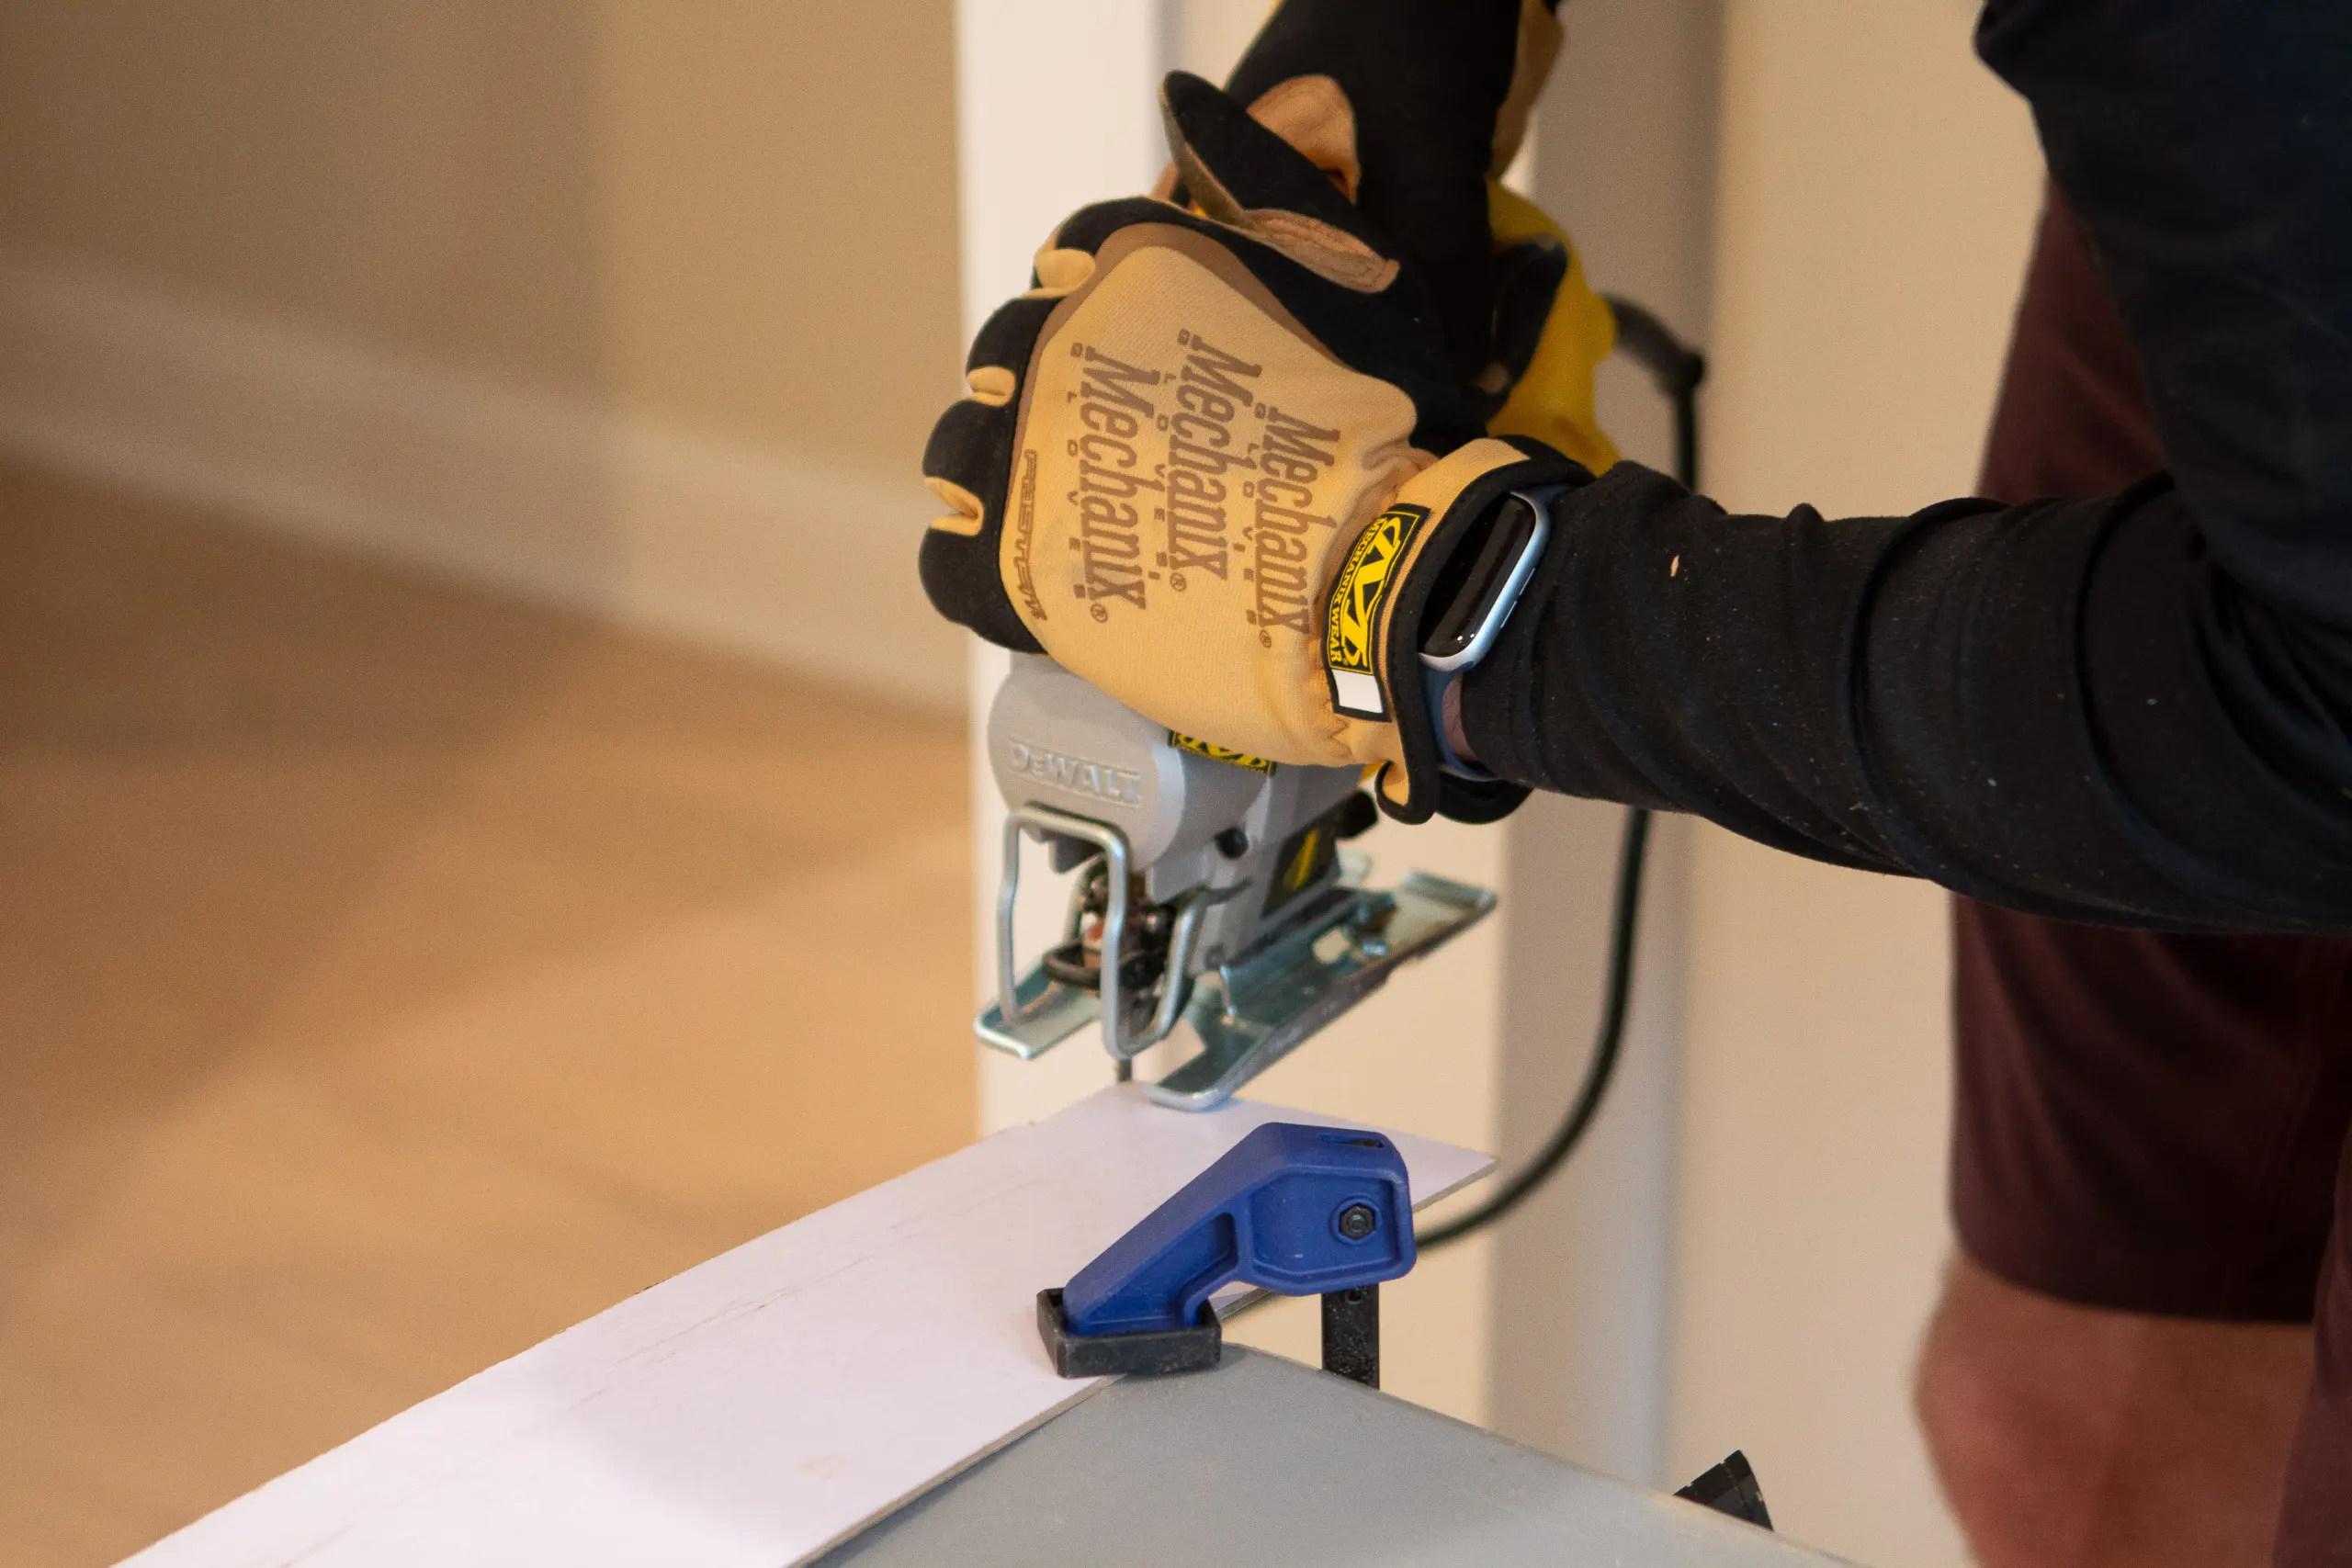
These filler pieces come in larger sheets, so we used the jigsaw to cut them down to the exact width of the gap.  Since there is nothing to attach these to (it’s a big blank space), I added three blocks of wood to the side of the cabinet. I just drilled these onto the cabinet using wood screws from the inside.
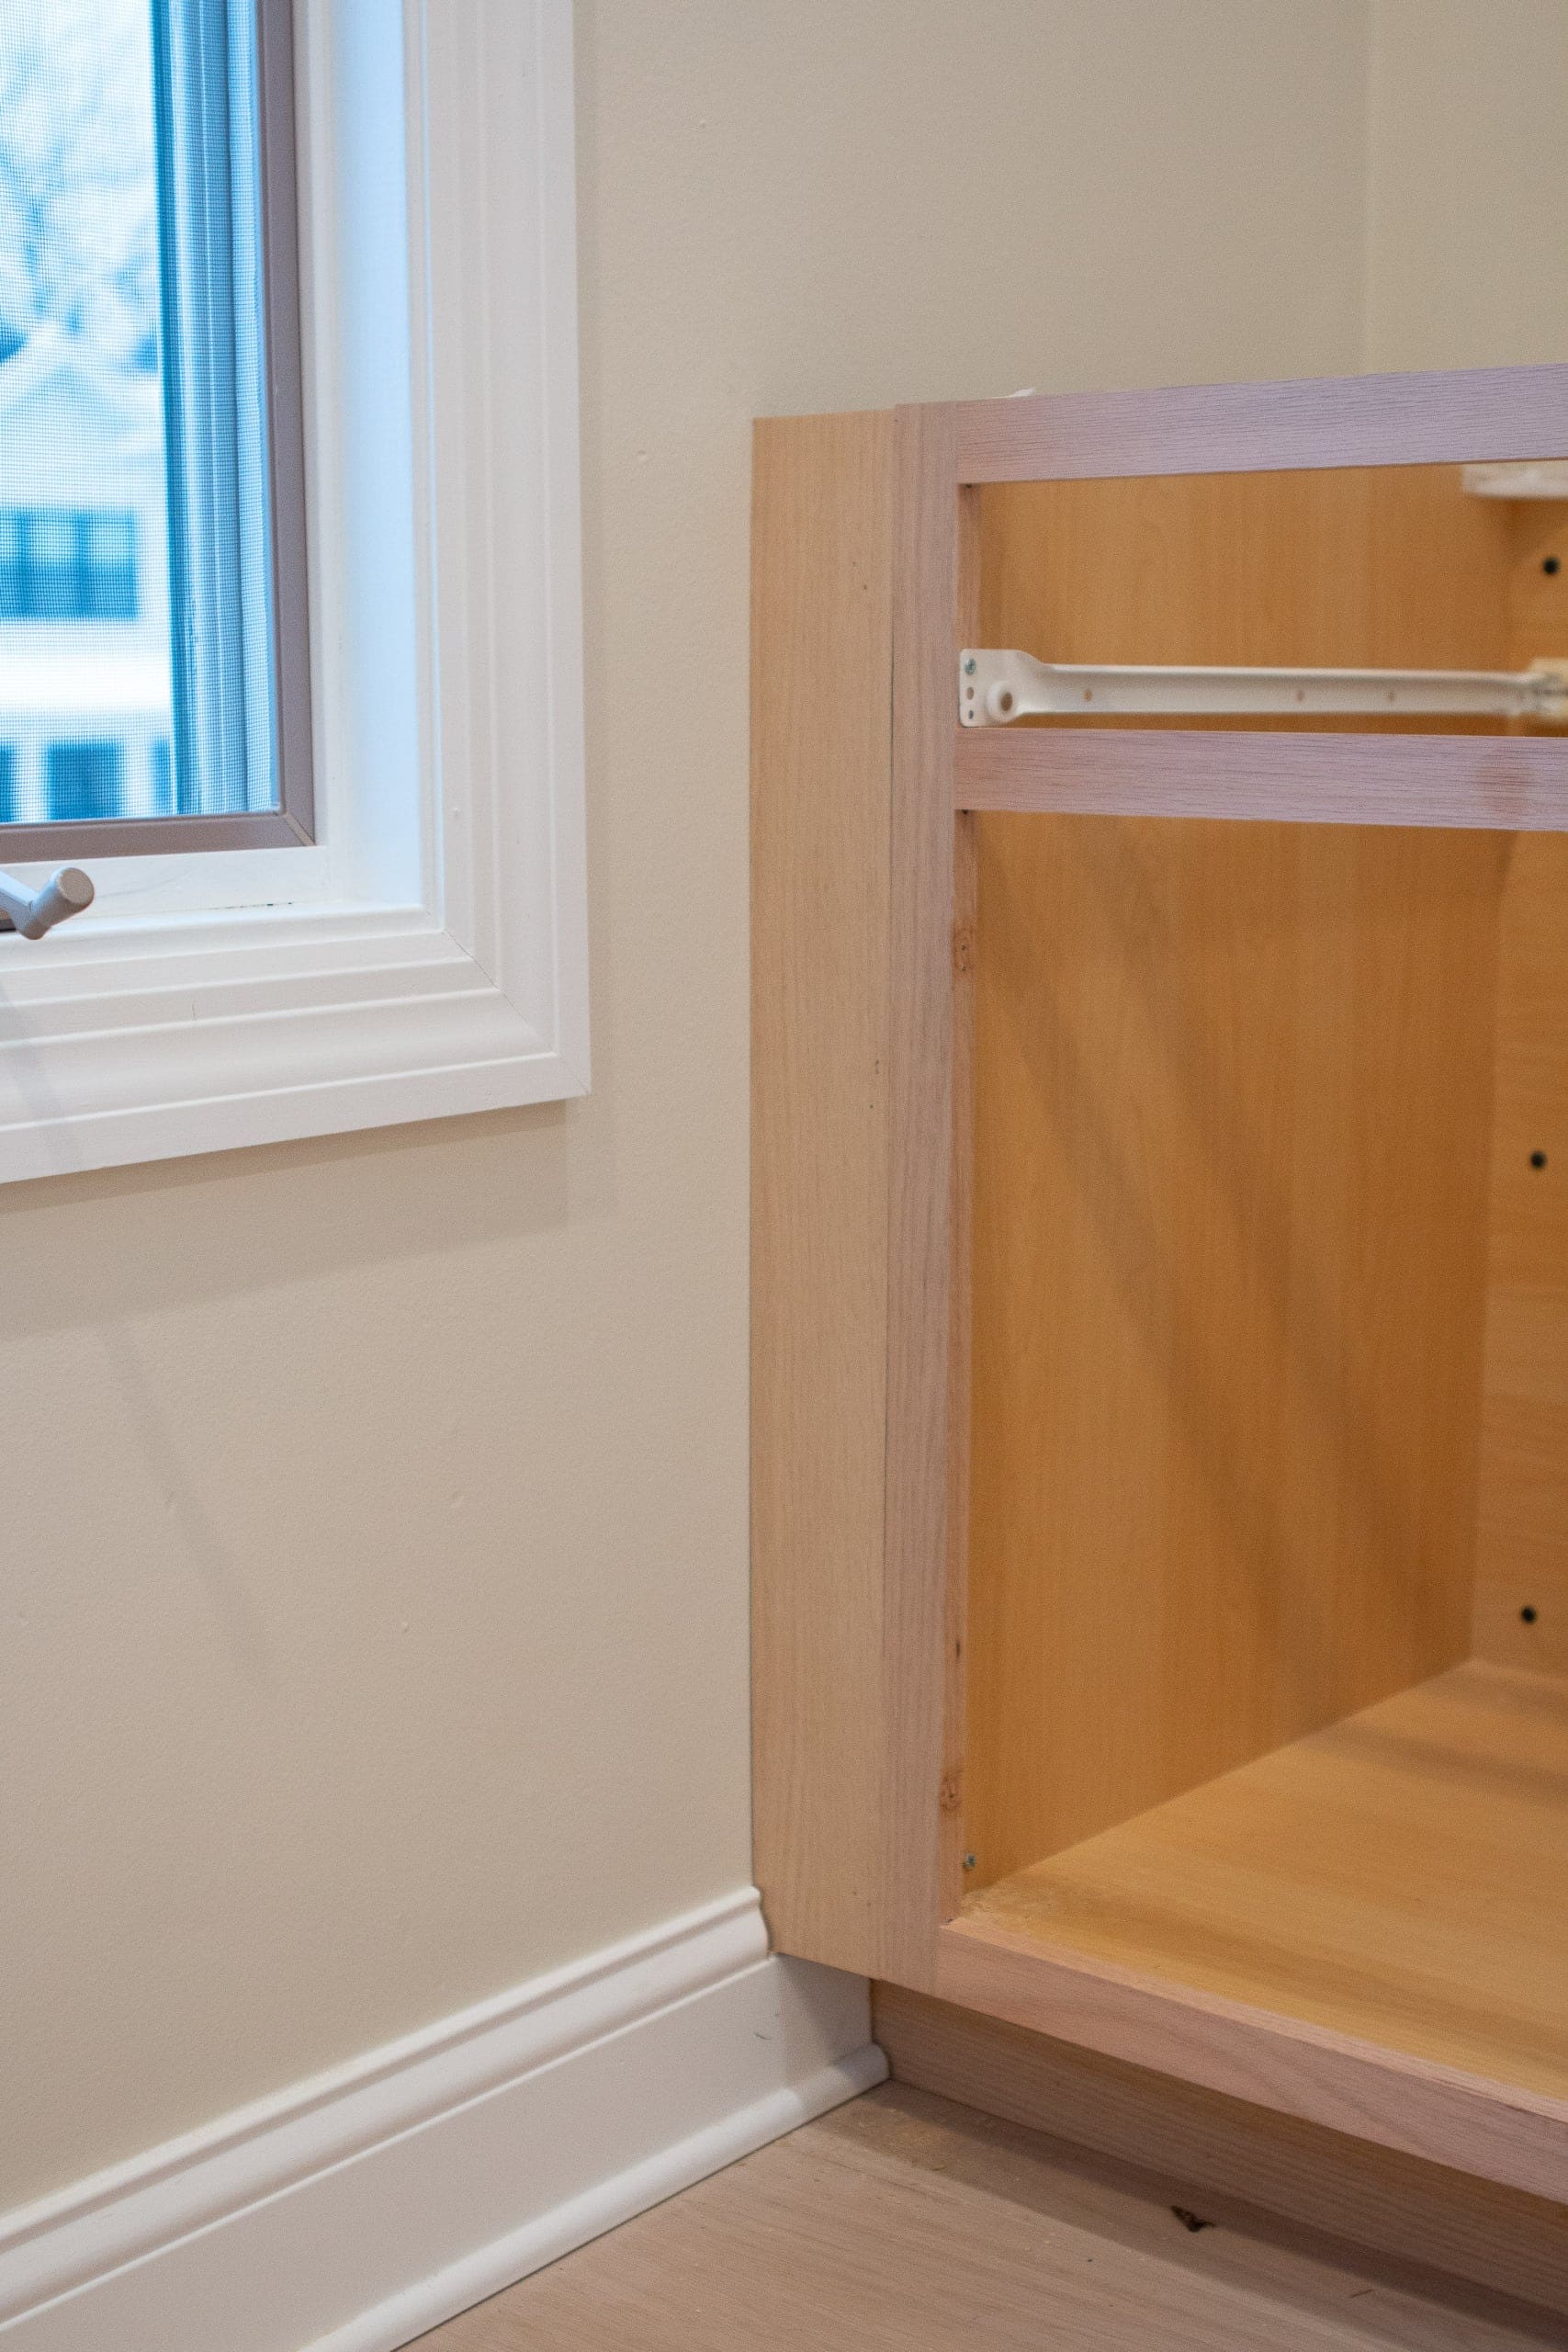
I then attached the filler pieces using liquid nails and the nail gun directly into those three blocks.
Install the Countertop

Finally, it was time to install the countertop. I considered doing a butcher block counter or another material but ended up going with two of these pine panels. They’re only $33 each, so it was a budget-friendly solution. 
Our wall is about 10 feet wide and these panels were each 6 feet, so we had some cutting to do. 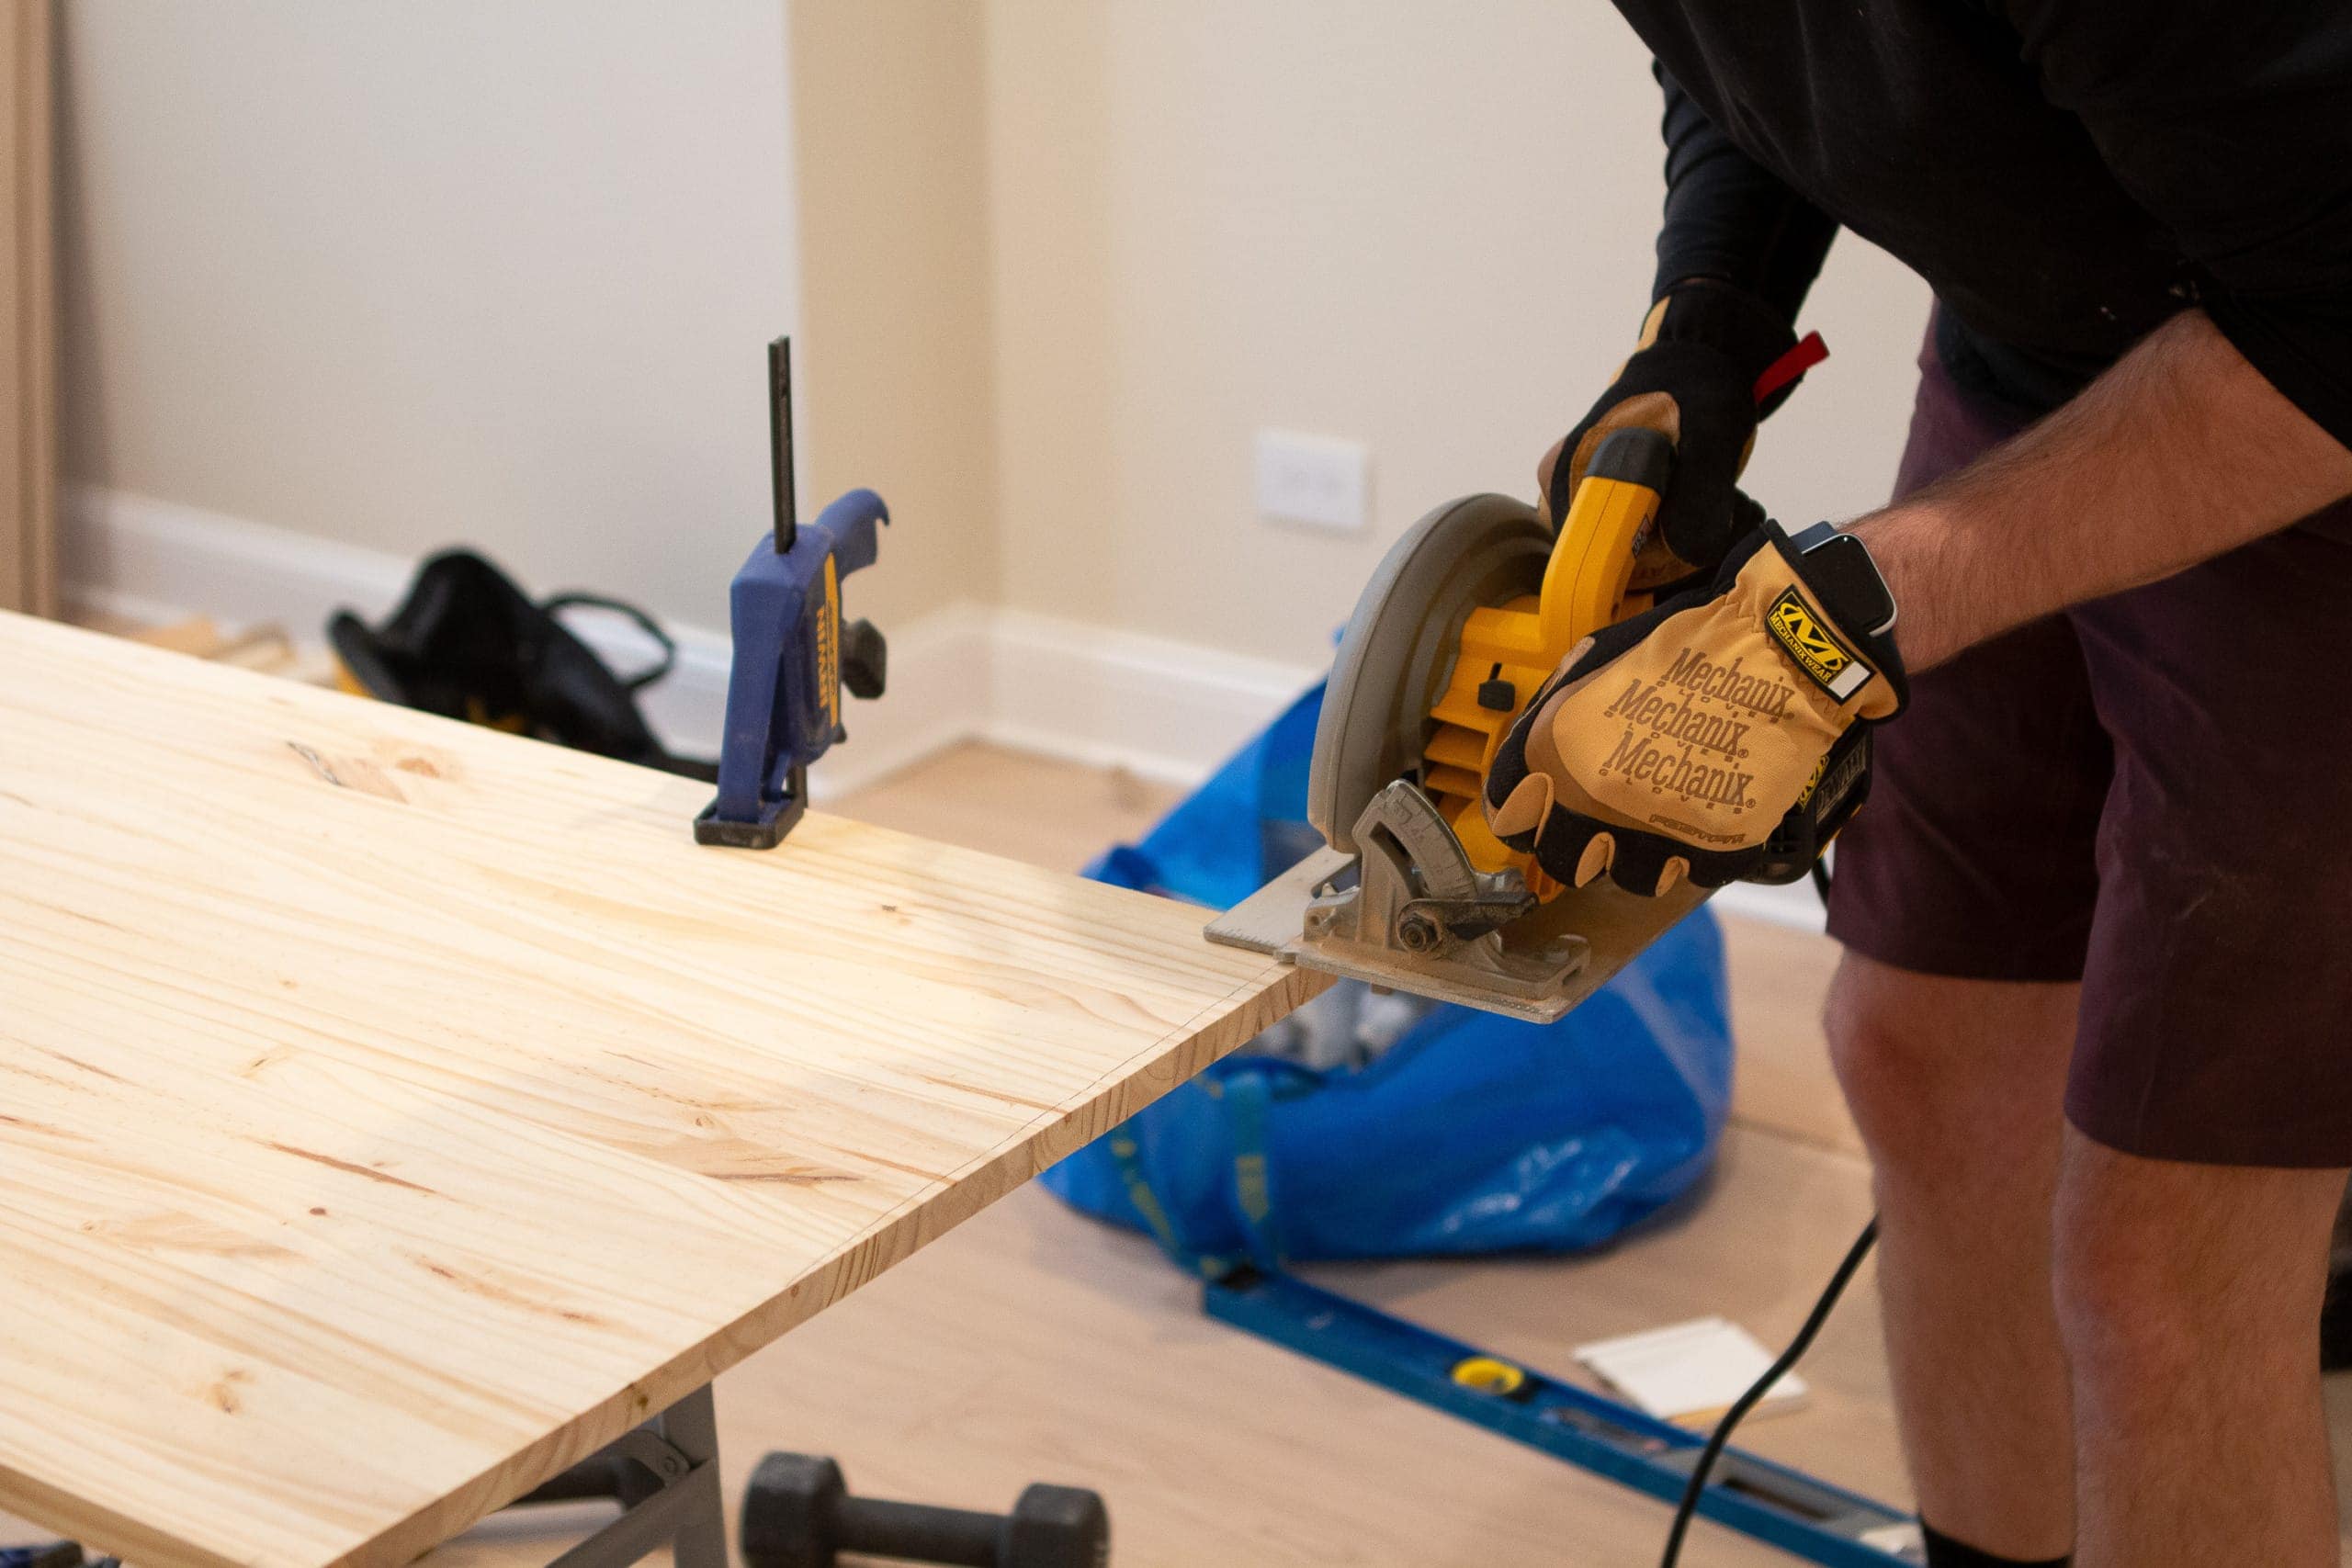 Since our walls aren’t straight, we also had to do a bit of cutting on the sides and back so it would squeeze nicely into place. We trimmed using the circular saw and made the big cuts with the circular saw too!
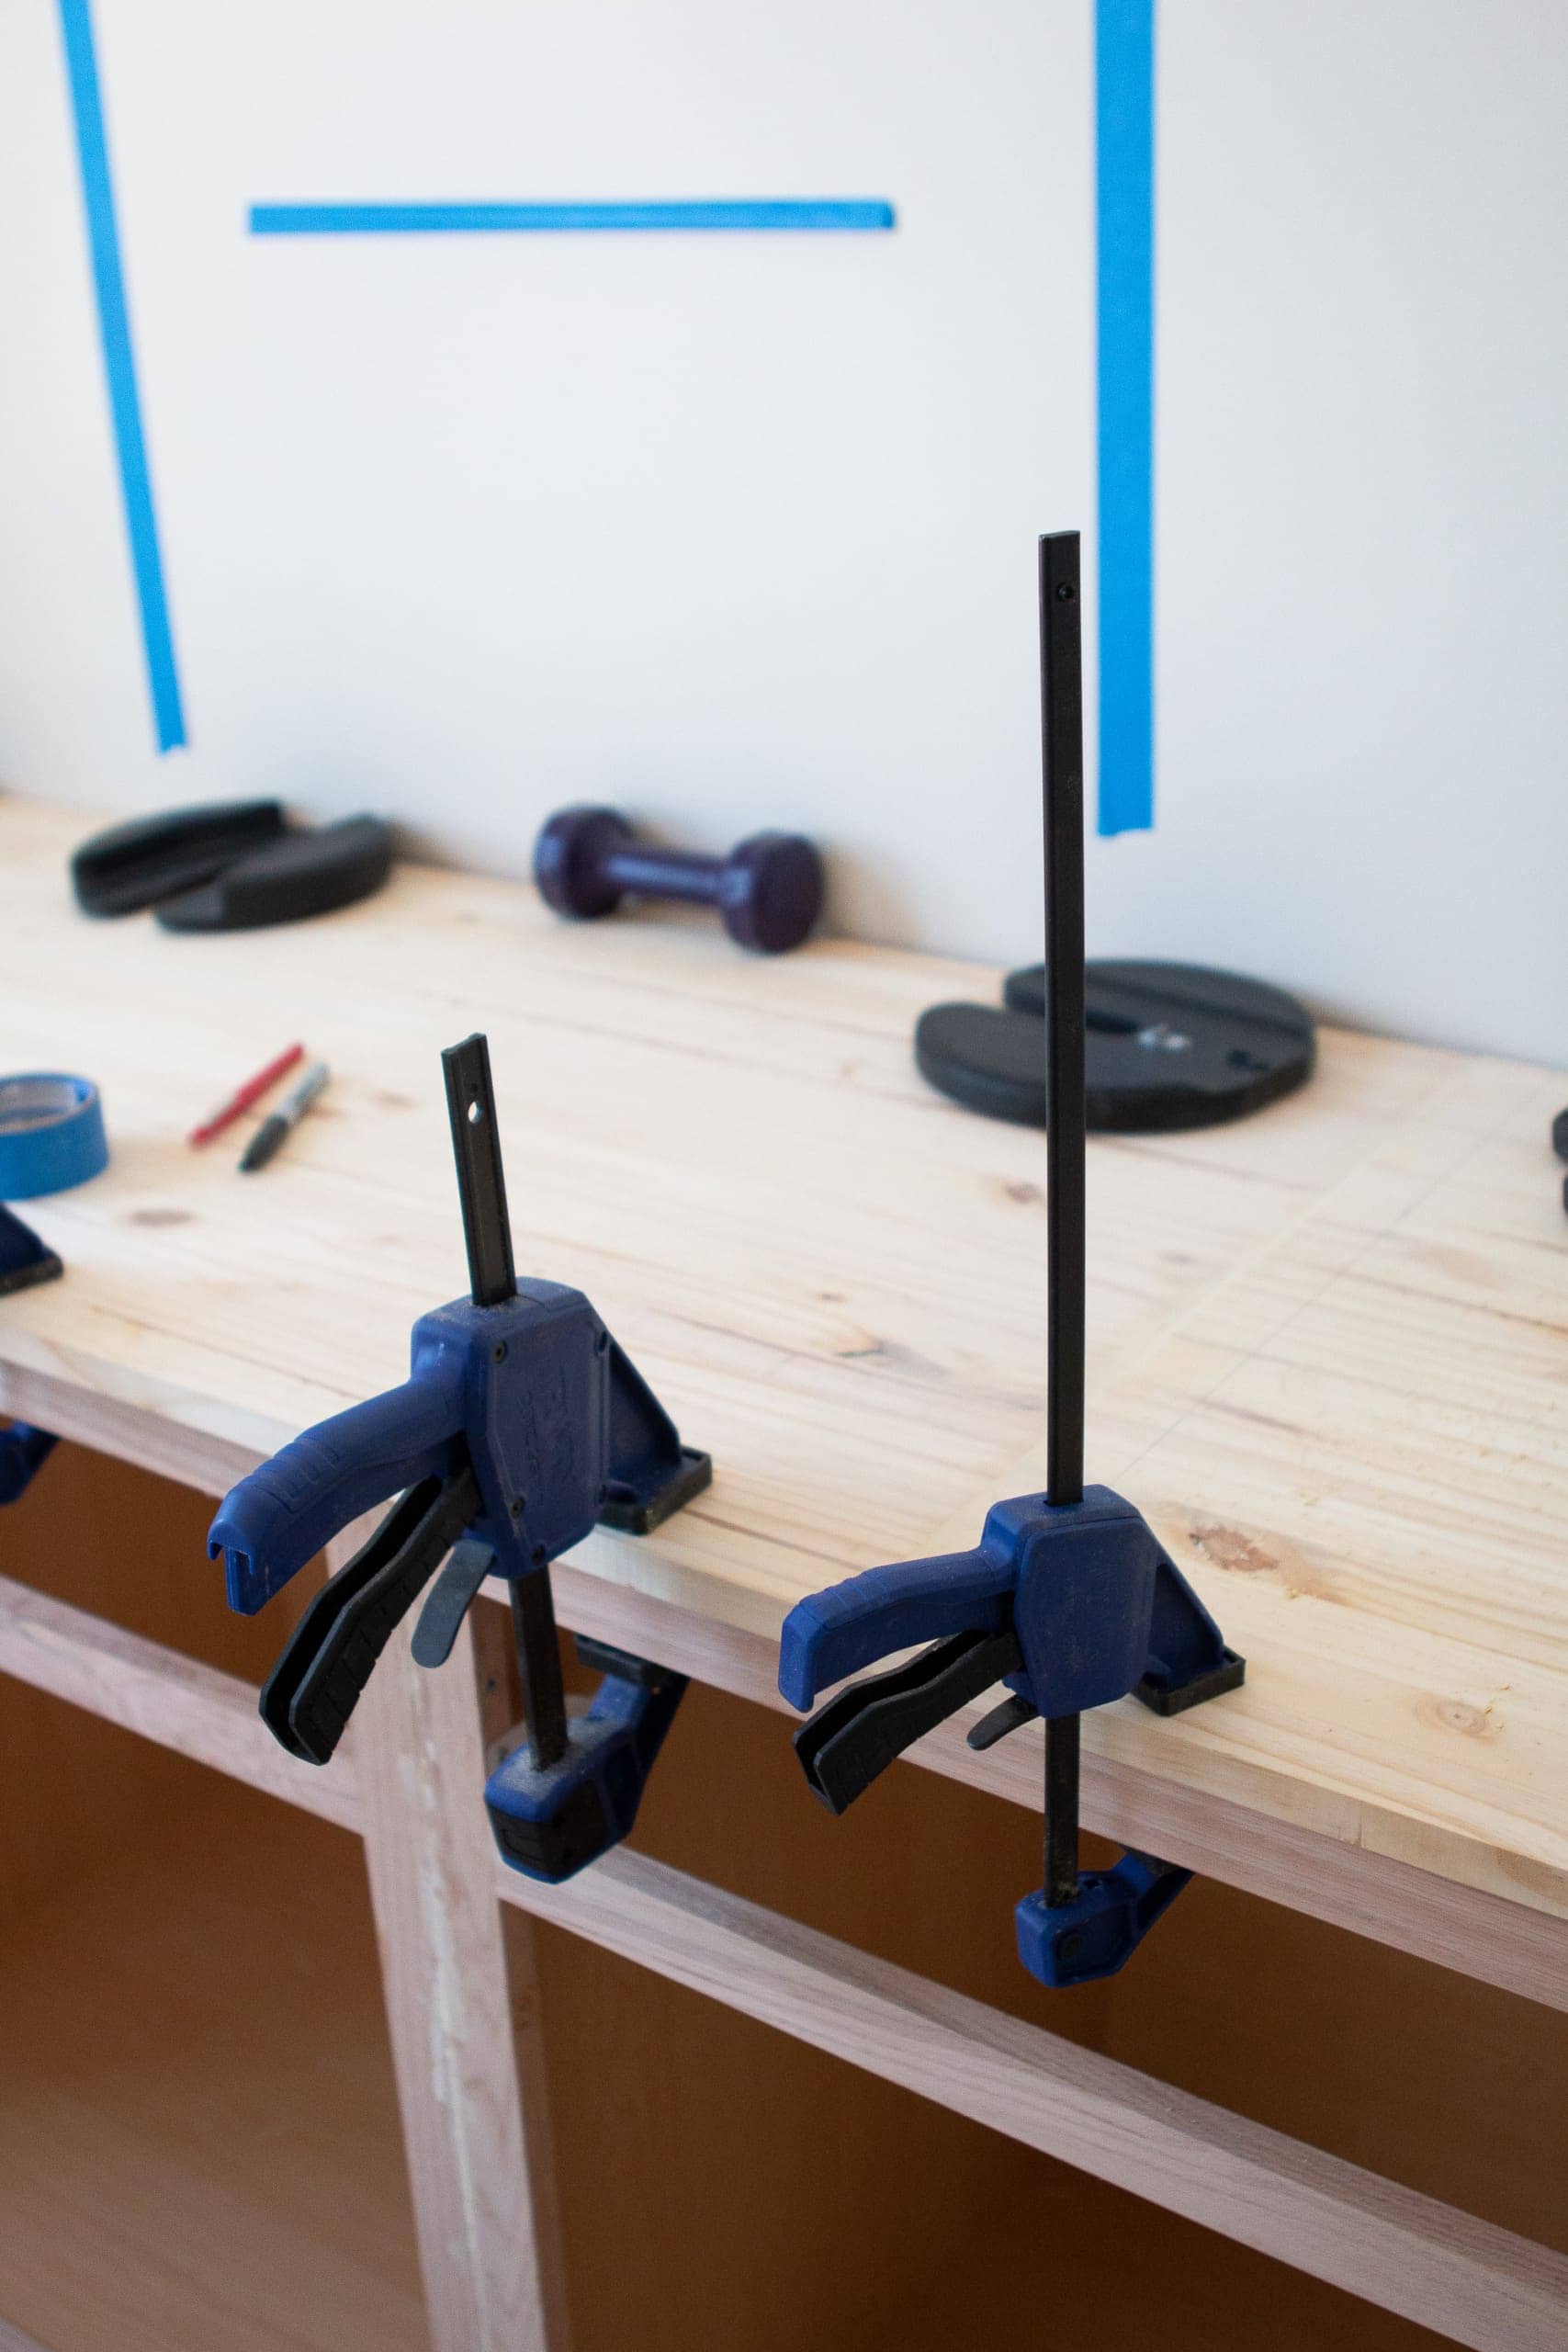
We used more liquid nails and the nail gun to attach the countertop to the top of the cabinets. We also placed weights (like all the weight we could find in our house!) on top of the counter to get it to really settle into the glue. Clamps came in handy as well!  To fill the seam where the two panels meet, I used wood filler. Just use a joint knife to smooth it on there, let it dry completely, and then sand it. This stuff is amazing and makes all seams disappear! I ended up using it on the nail holes, gaps where the filler met the cabinets, and more.
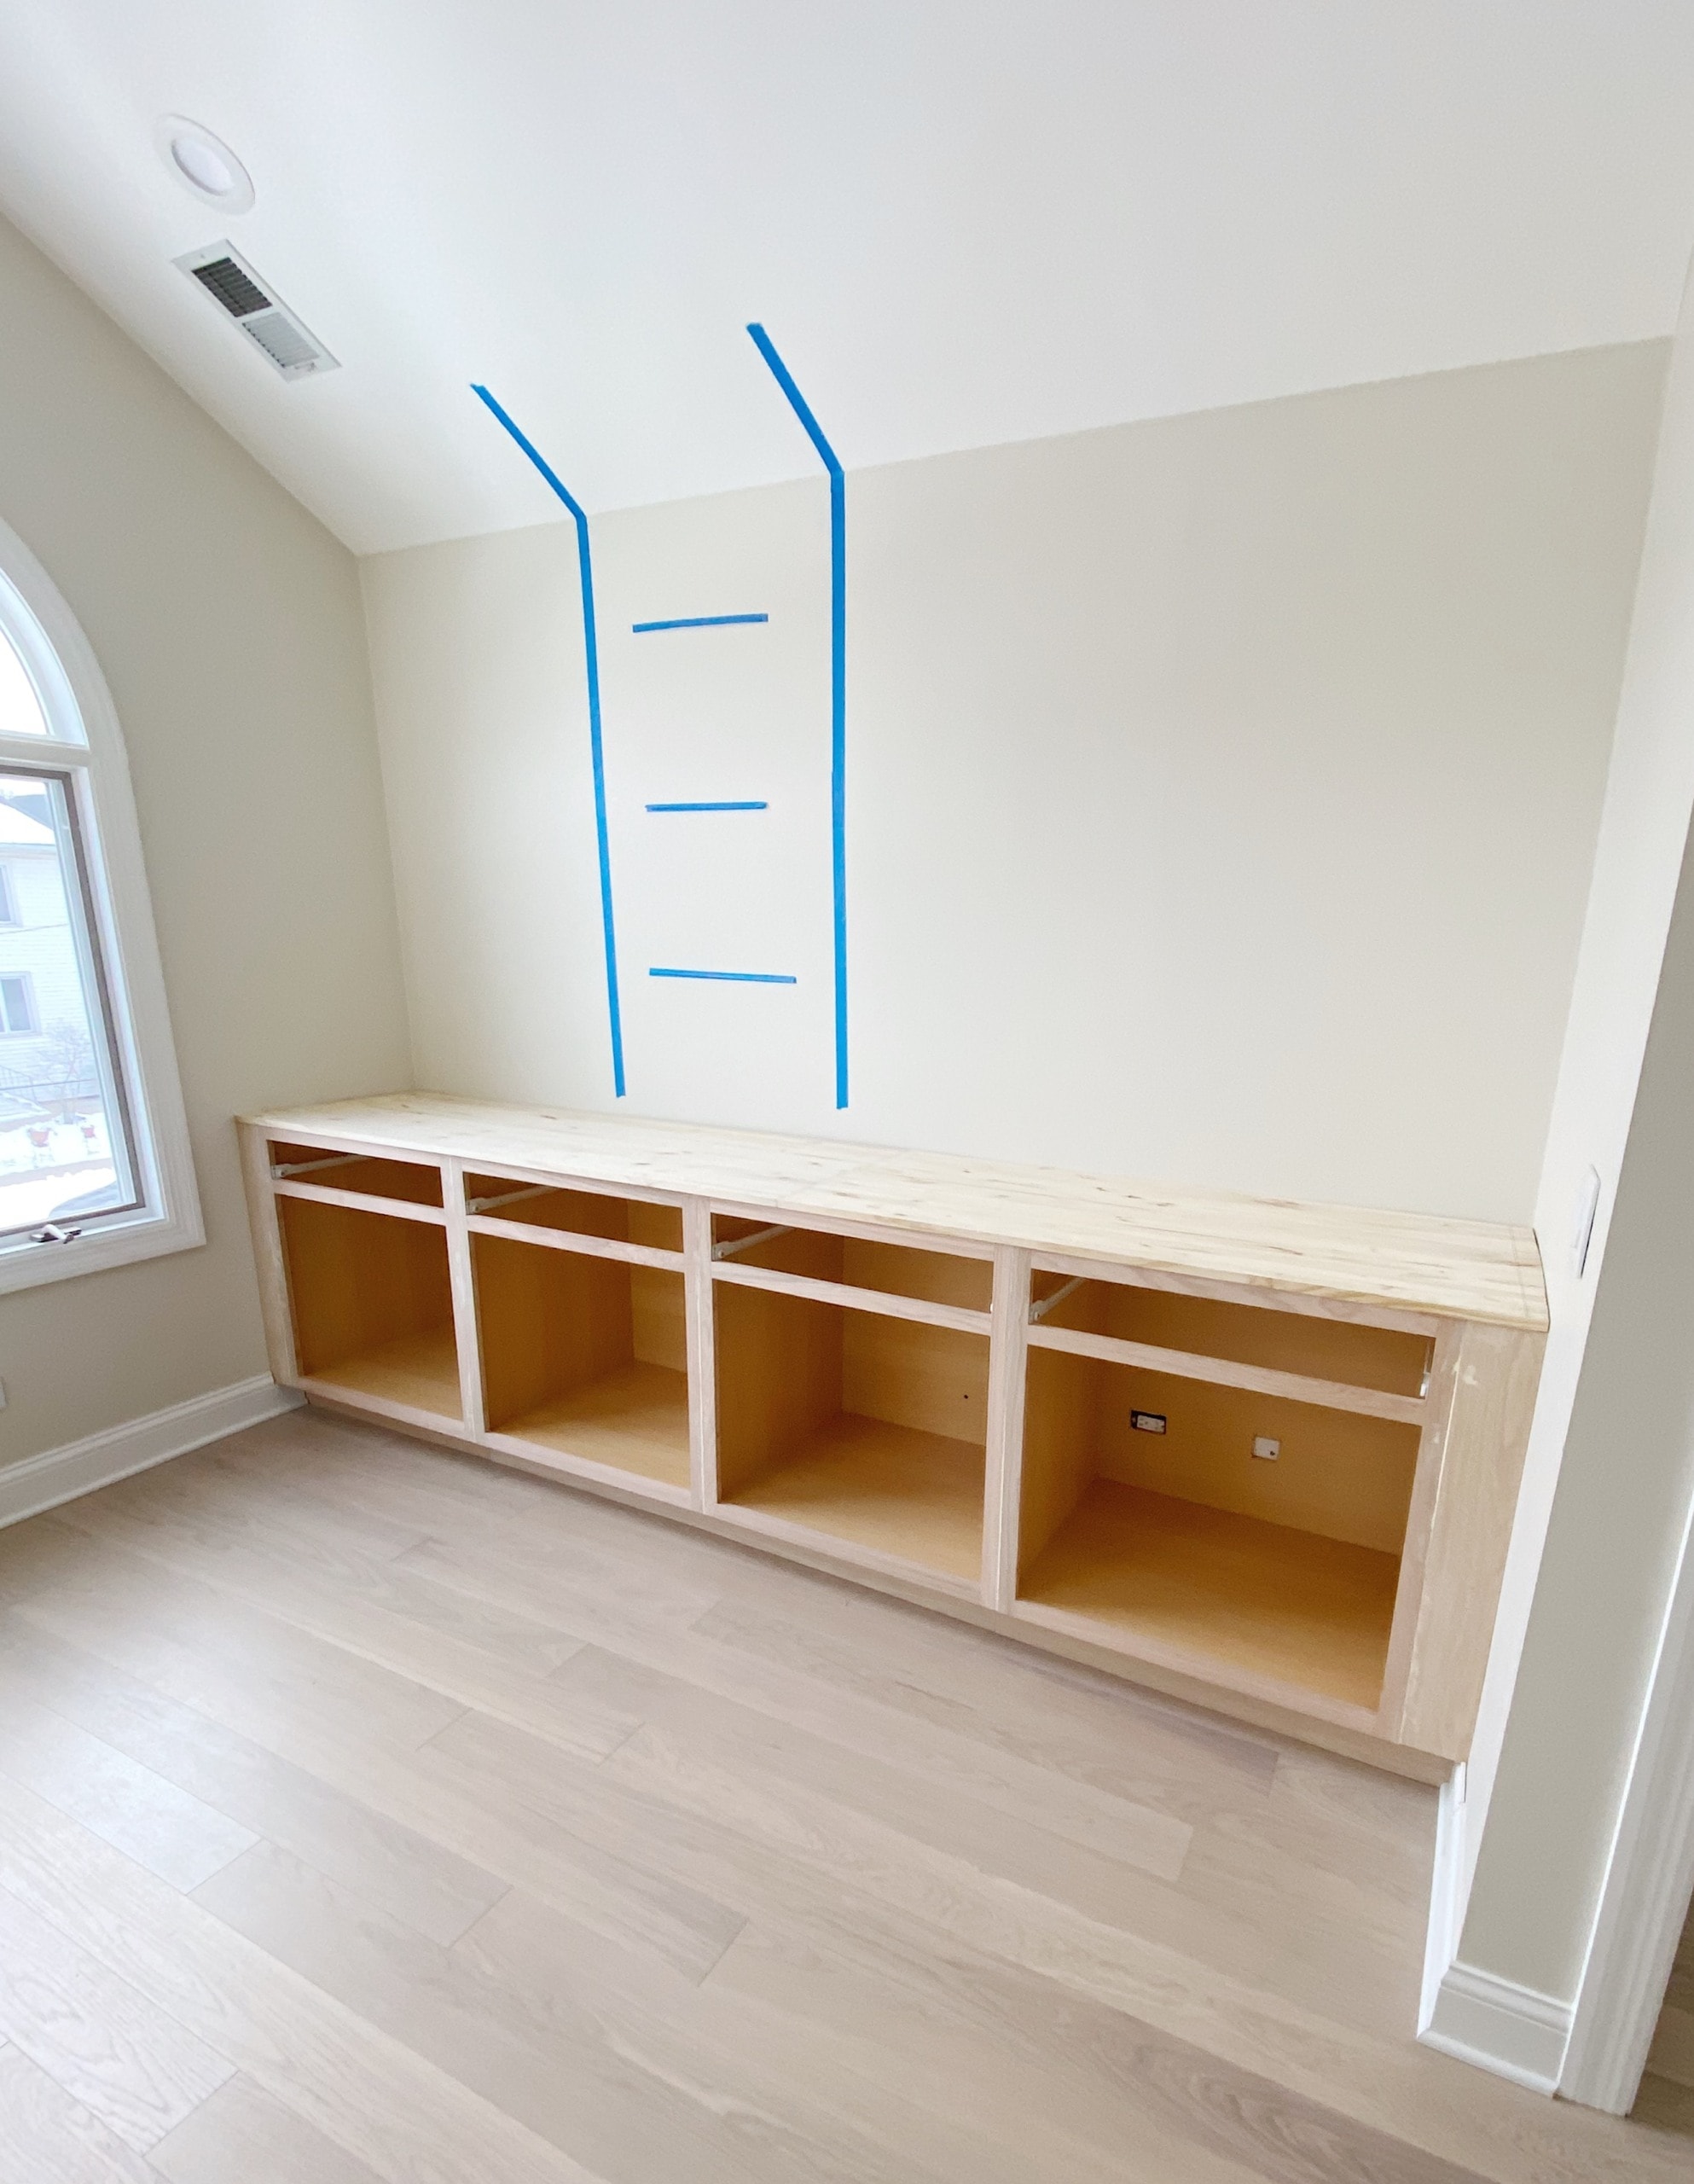
So the base of these cabinets is officially done! It was two days of hard work, but man, do we feel accomplished to have a secure and good lookin’ base.
What’s Next?
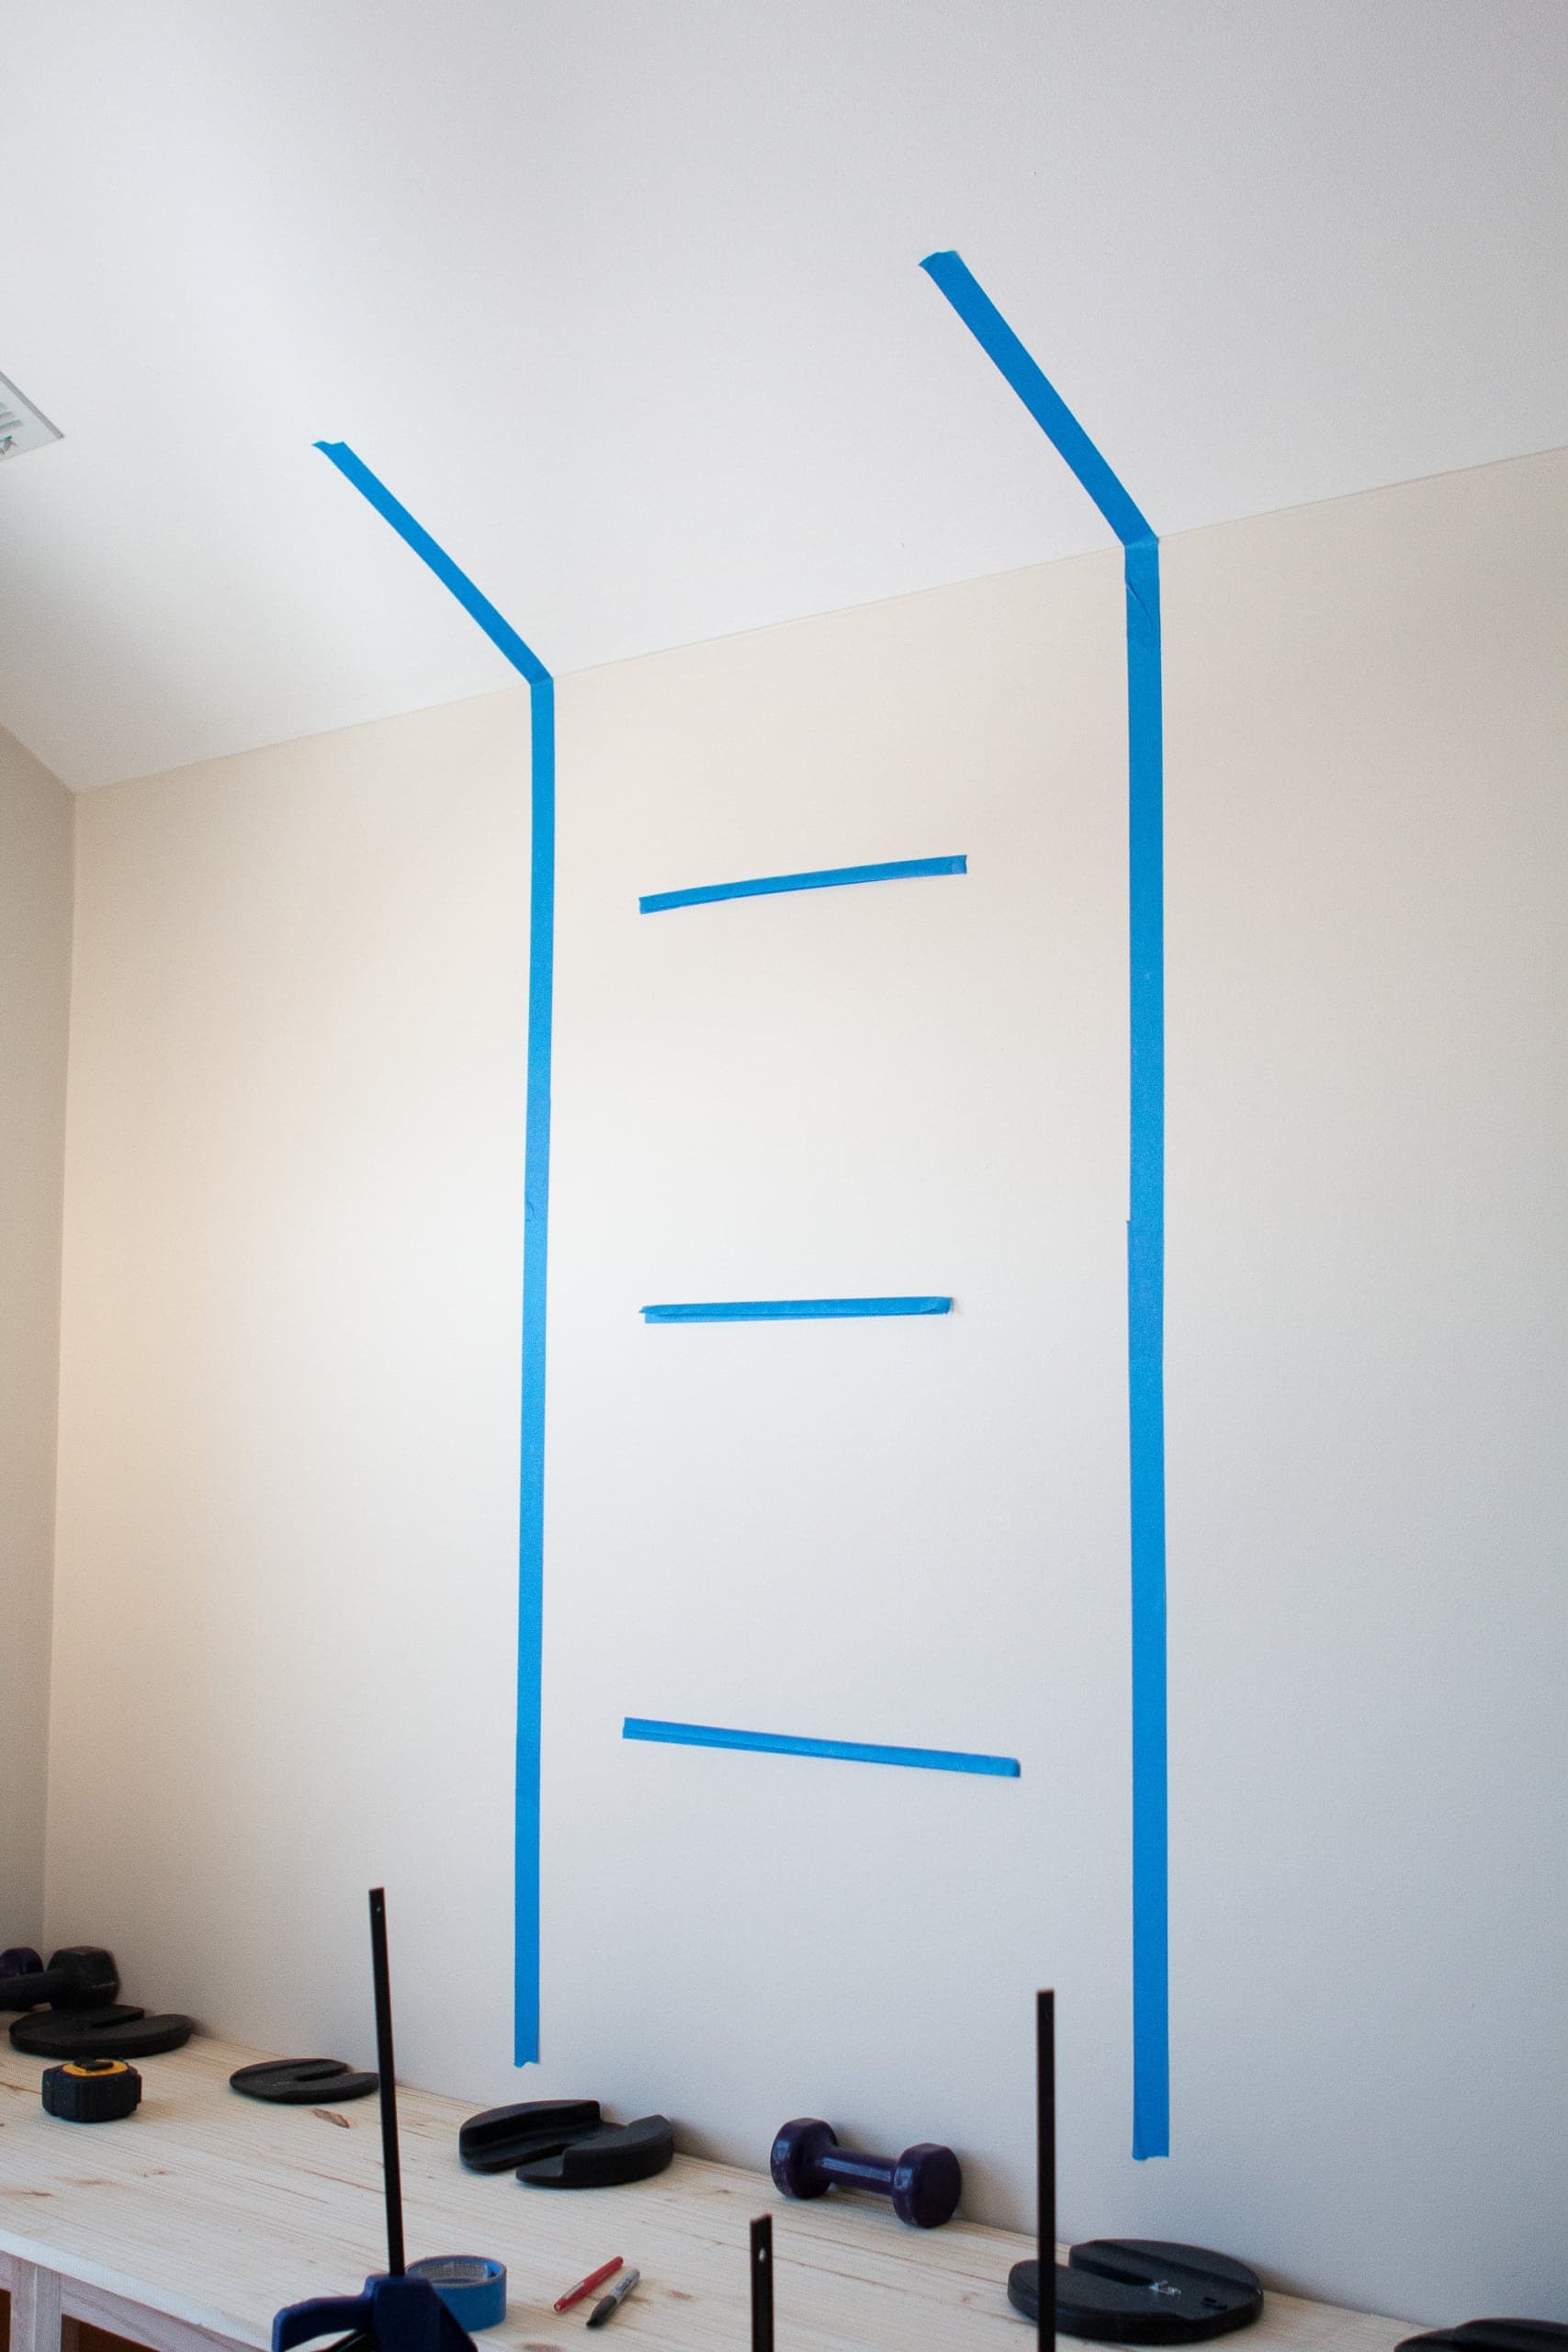
Next, it’s time to build the shelves on top of these cabinets. 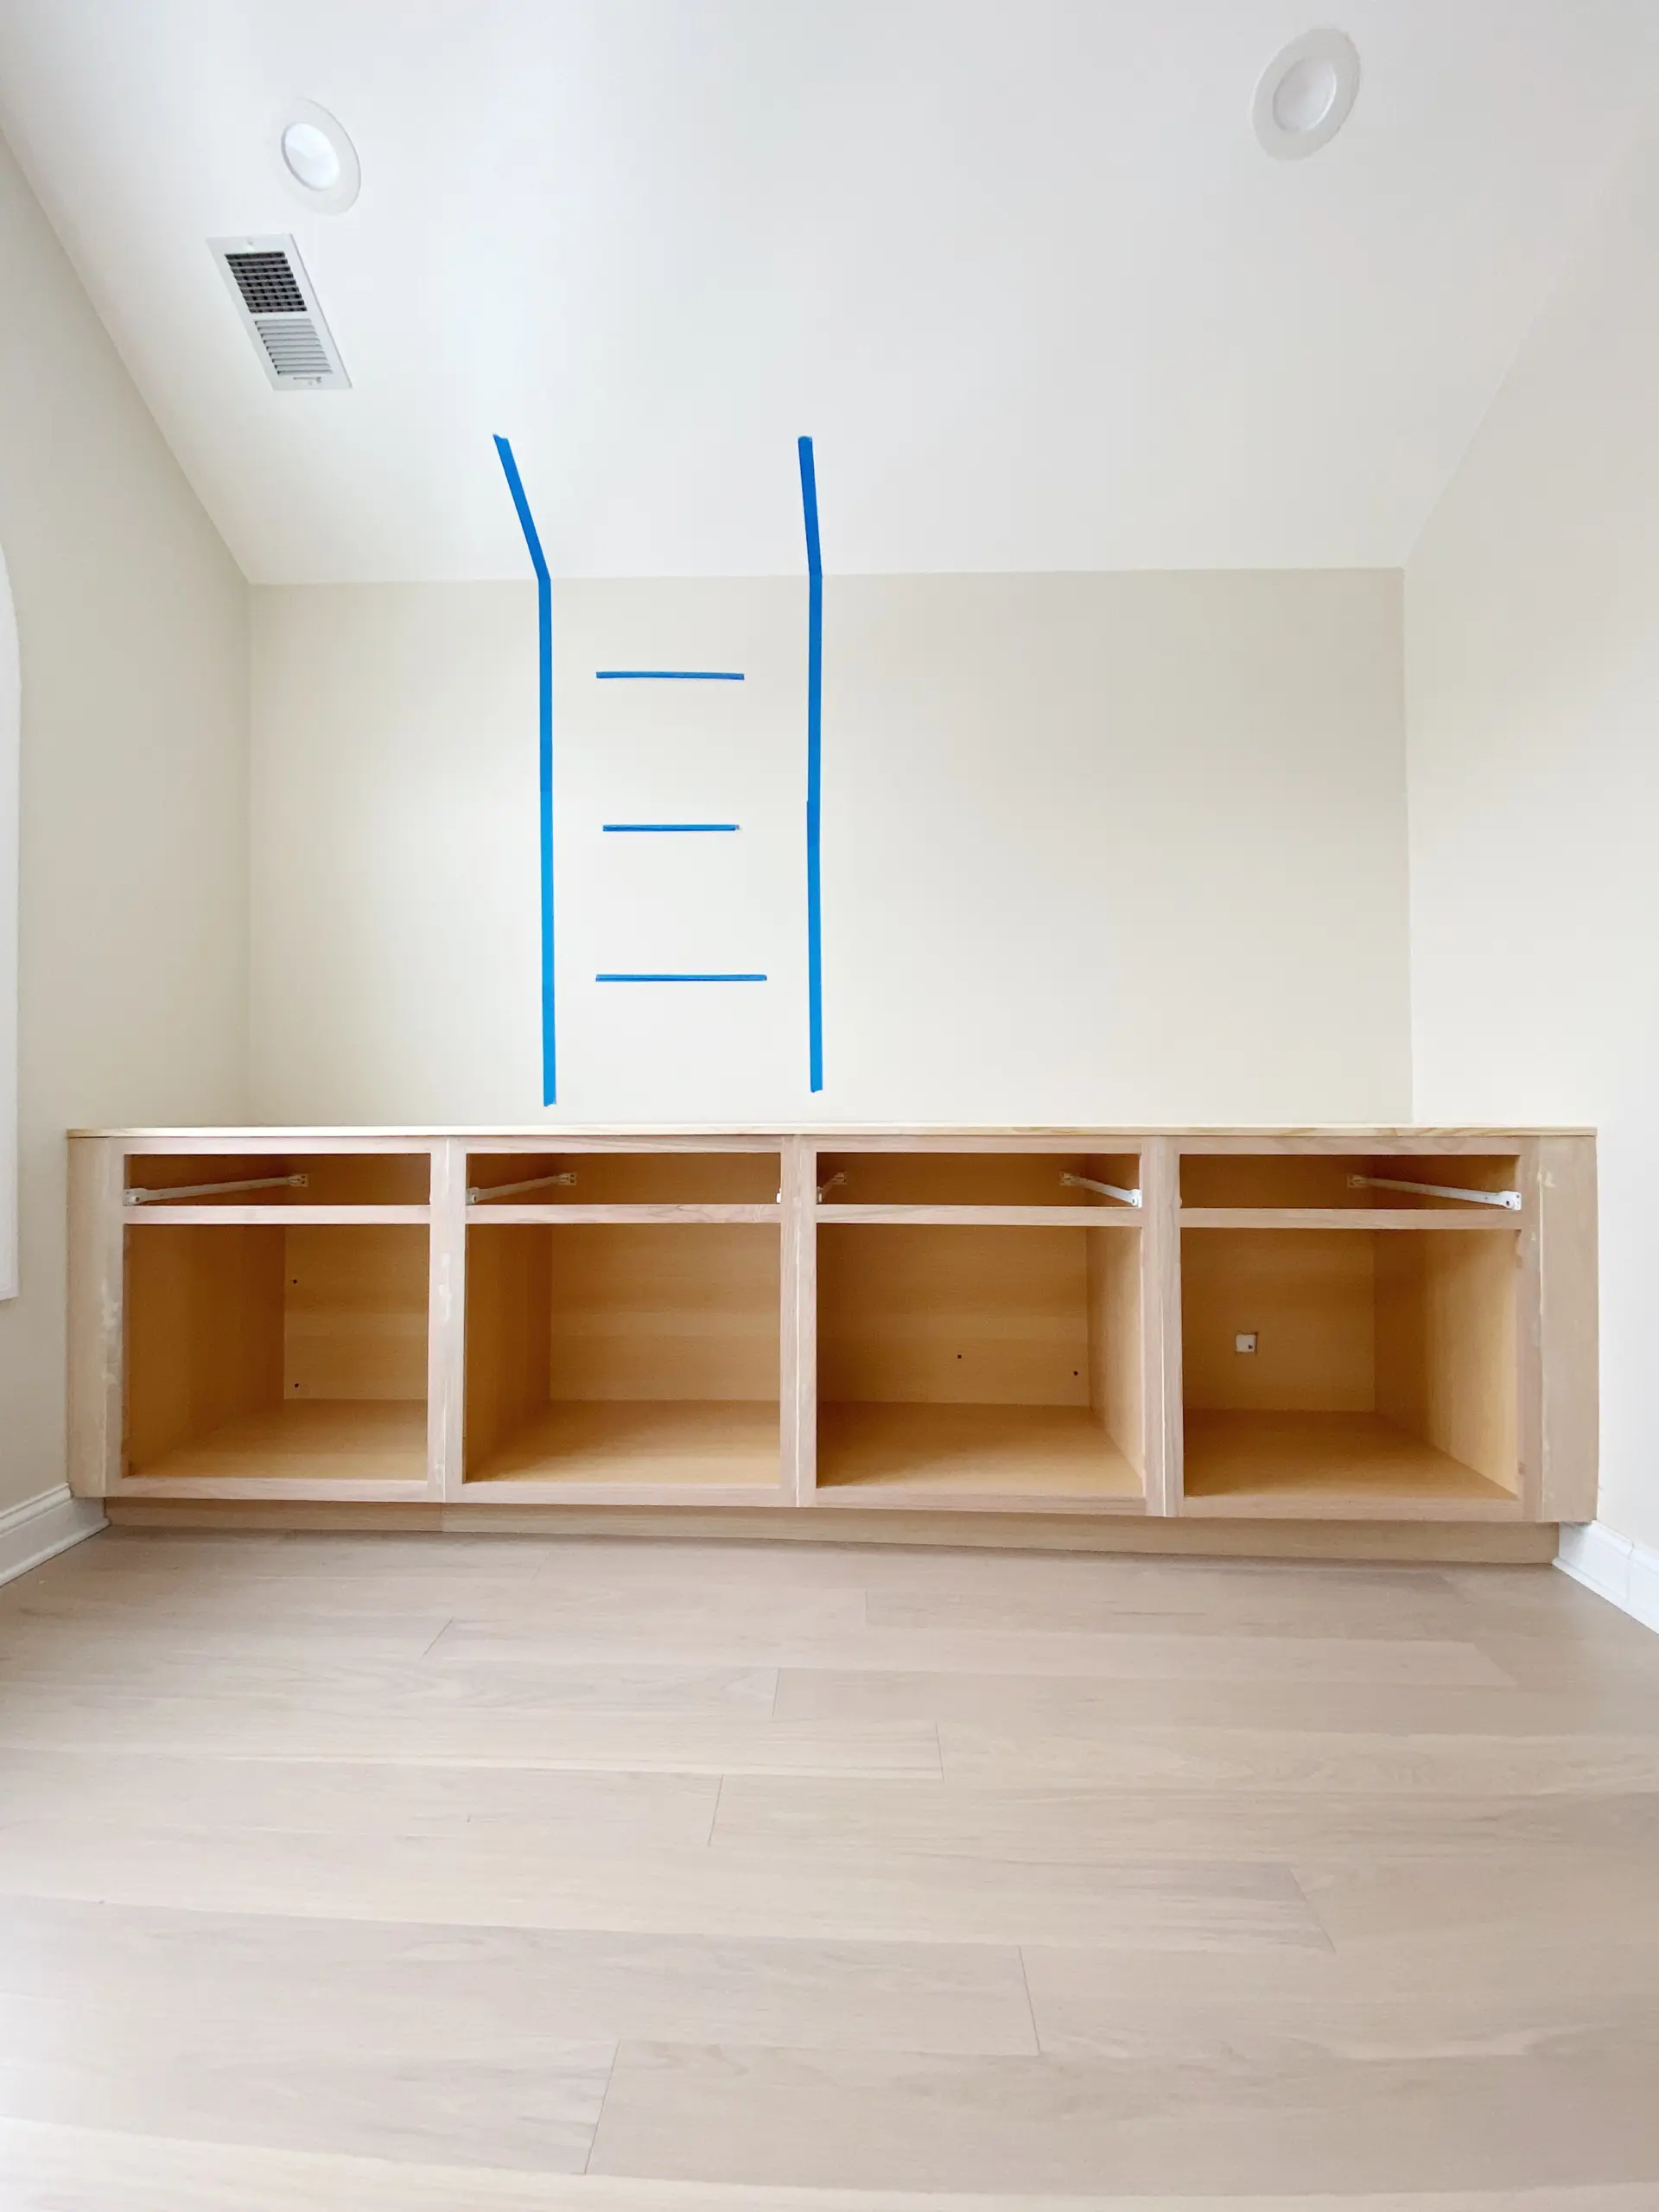 We spent time marking out the wall with painter’s tape to figure out what would look best and then Finn whipped up this Excel drawing of our gameplan (complete with icons for decor. The rubber ducky?! Ha!)

Honestly, this is the most intimidating part of the entire project to me. It’s a lot of woodworking and I want to make sure they’re super sturdy. 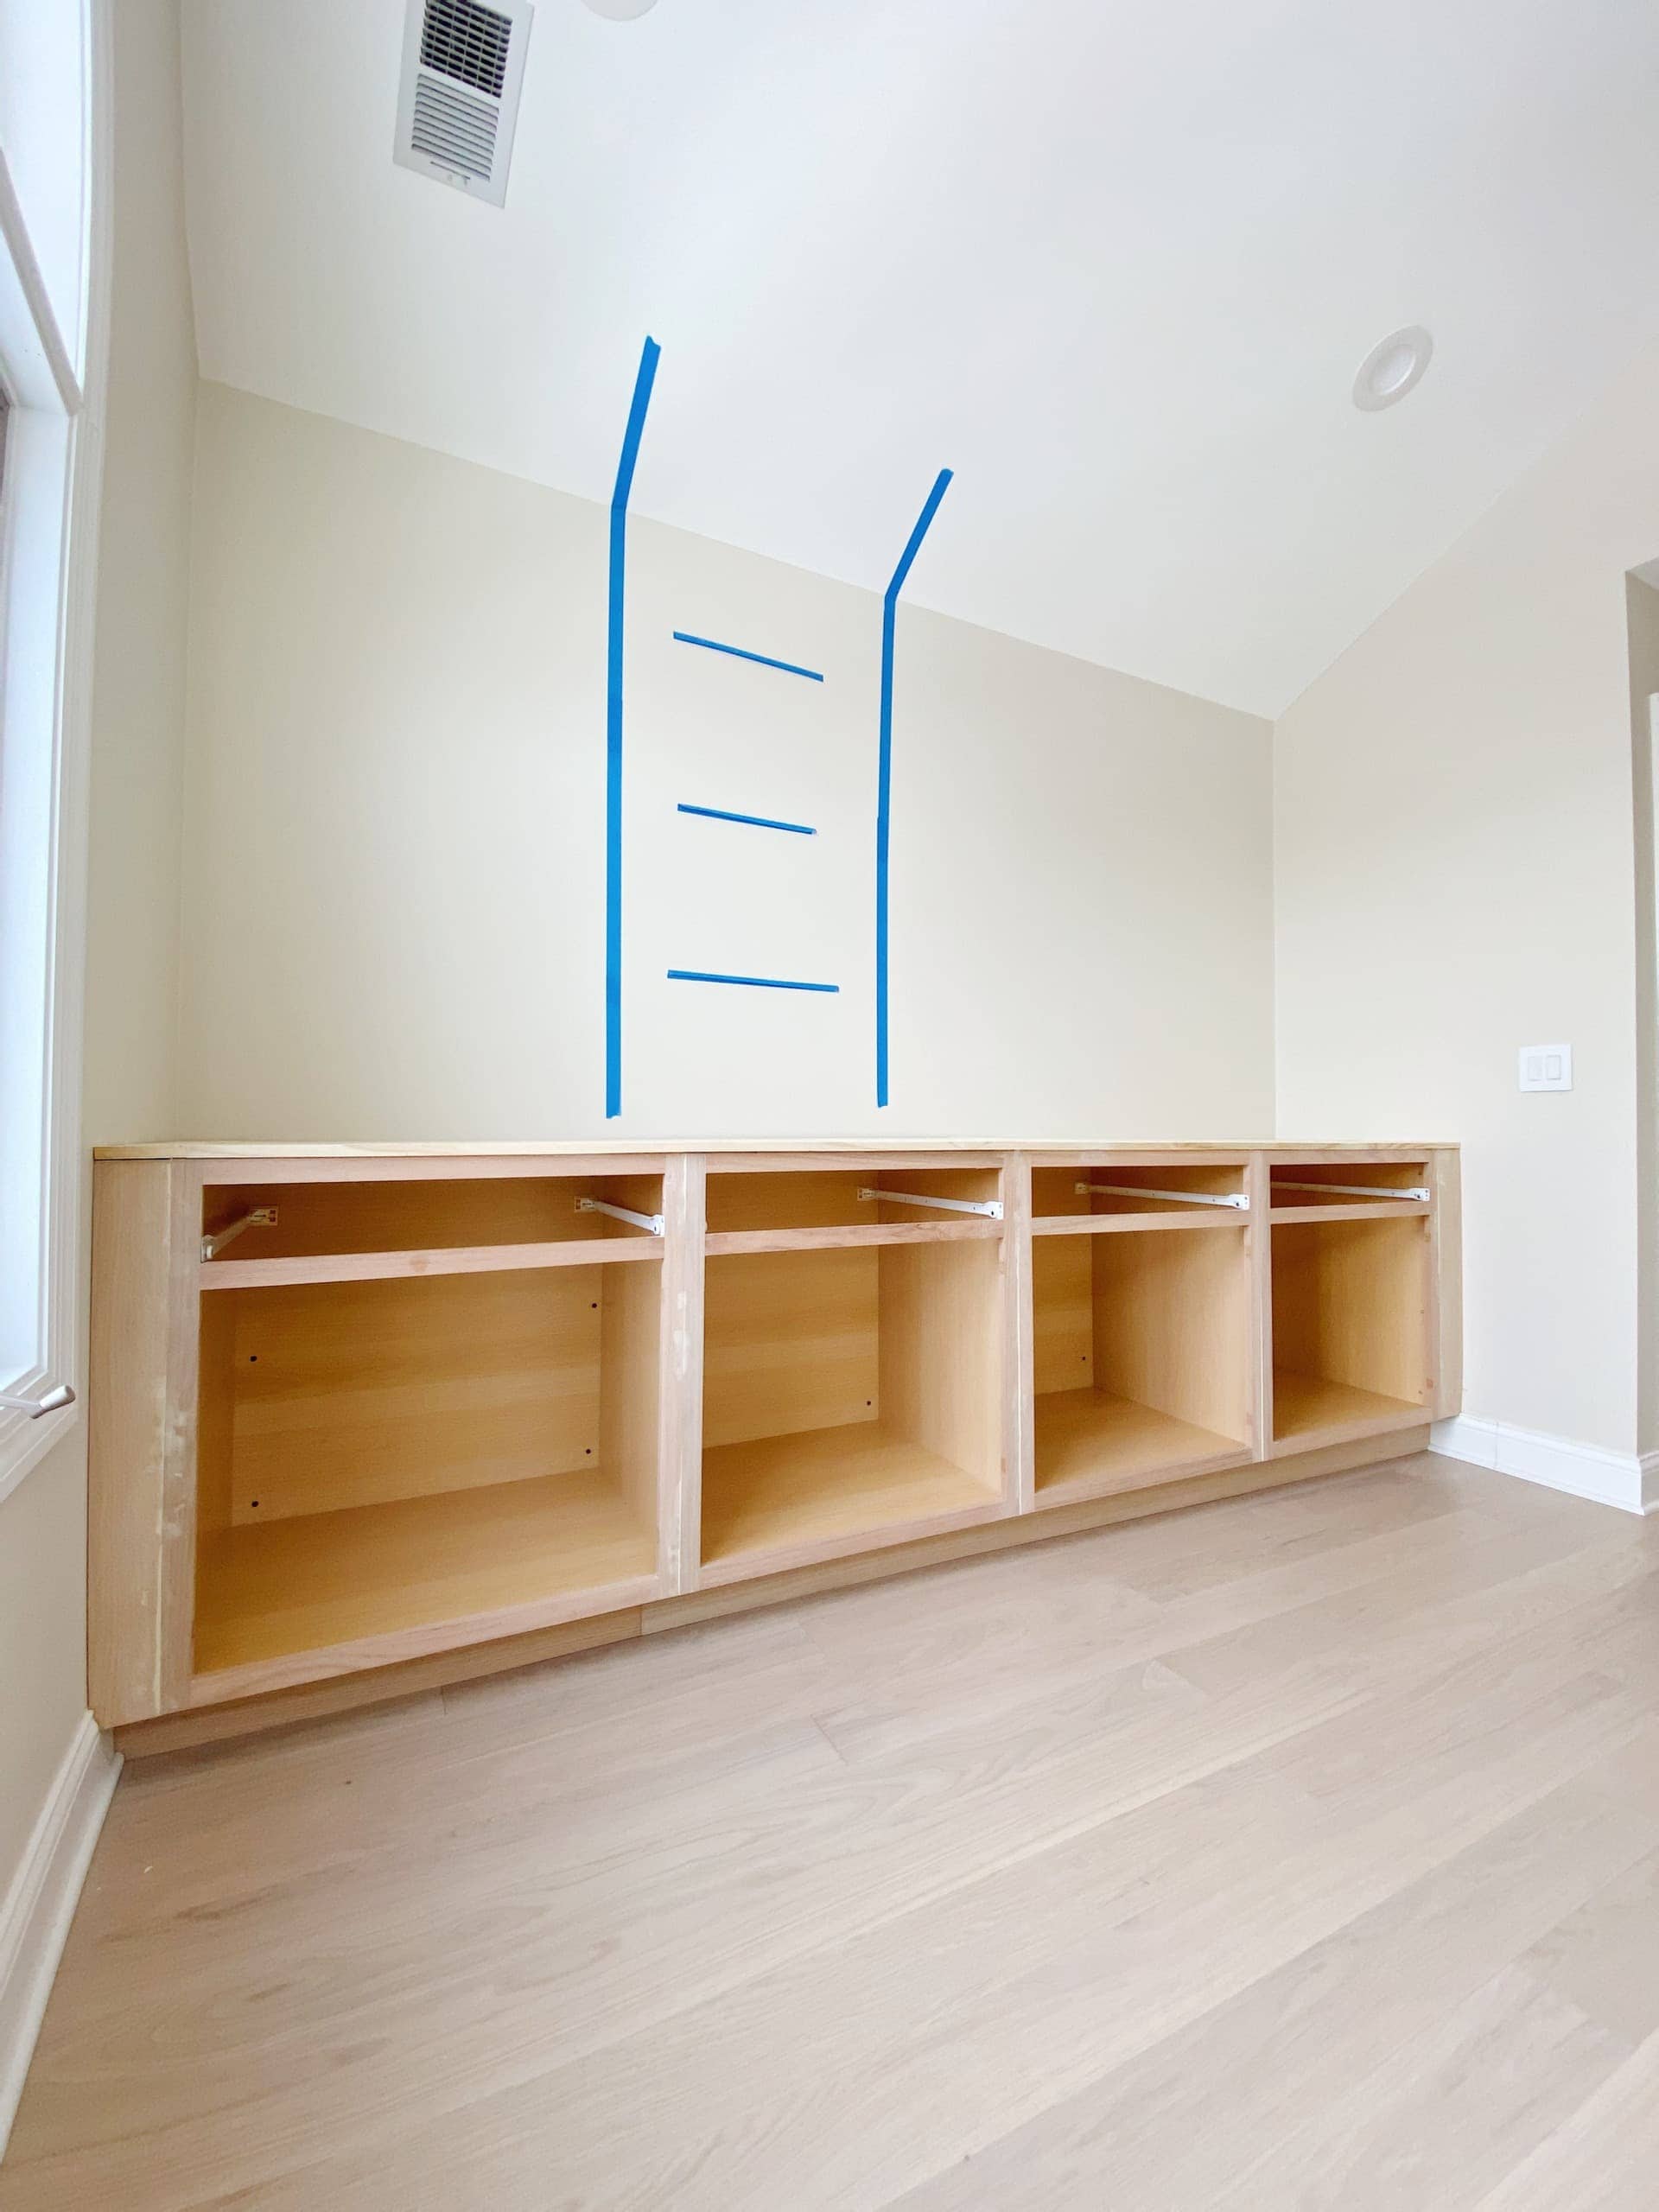 We’re buying all of the materials this week and getting started on Saturday. Be sure to watch Instagram stories for a sneak peek of our progress!

Casey