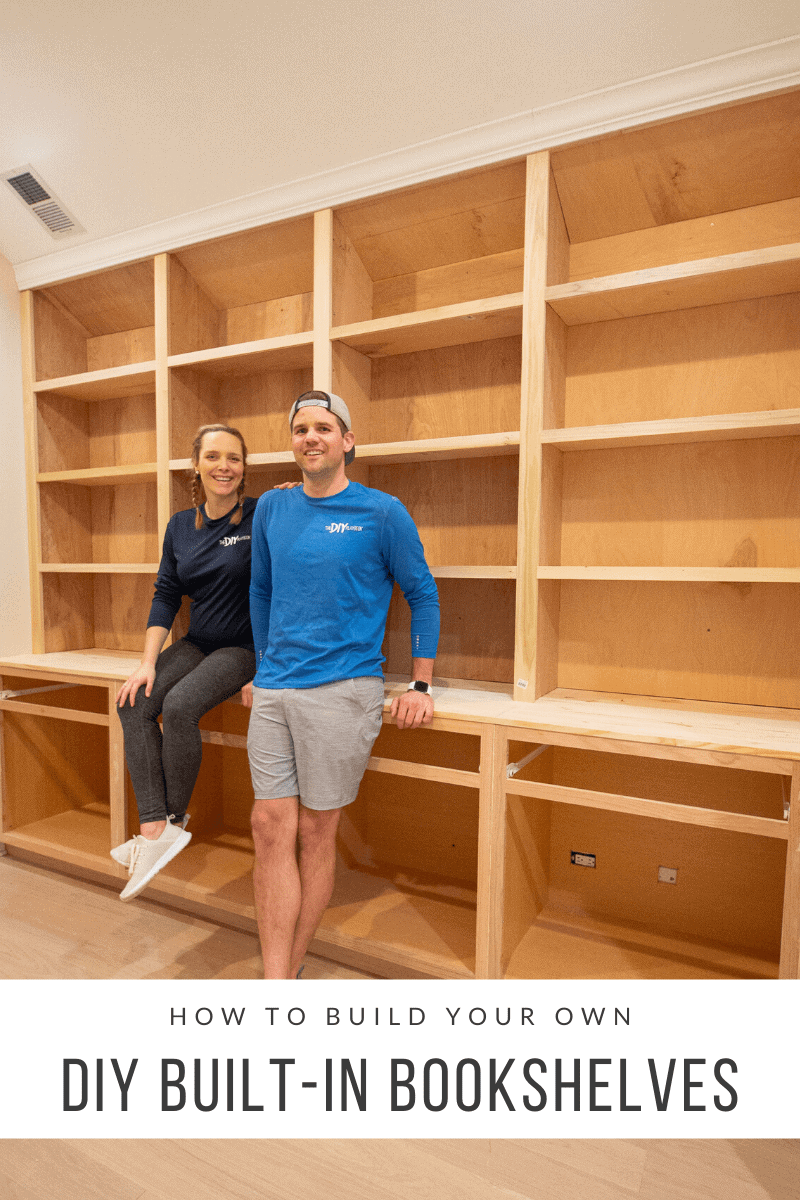
Office Built-Ins Part 2 – How to Build DIY Bookshelves For Built-Ins
Learn how we built custom bookshelves from scratch to complete our office built-ins, with step-by-step instructions and helpful tips along the way.
When it comes to most big tasks in life, it’s always best to break those tasks down into smaller, more manageable pieces. That’s exactly what we’ve been doing with our DIY built-ins.
Once we had the base kitchen cabinets installed, we sat down to make a plan for the DIY bookshelves that would sit on top of them. We took measurements, drew up a plan for how we wanted them to look, and made our supply list.
I highly recommend doing this instead of trying to plan everything from the very start of a project. It’s funny because my mom keeps asking me about the next step of the project. “How will you paint them? Do you know the color? What will you use?” And I always tell her, “I don’t know yet.”
I’m taking this DIY project one step at a time and if I get ahead of myself I get overwhelmed. 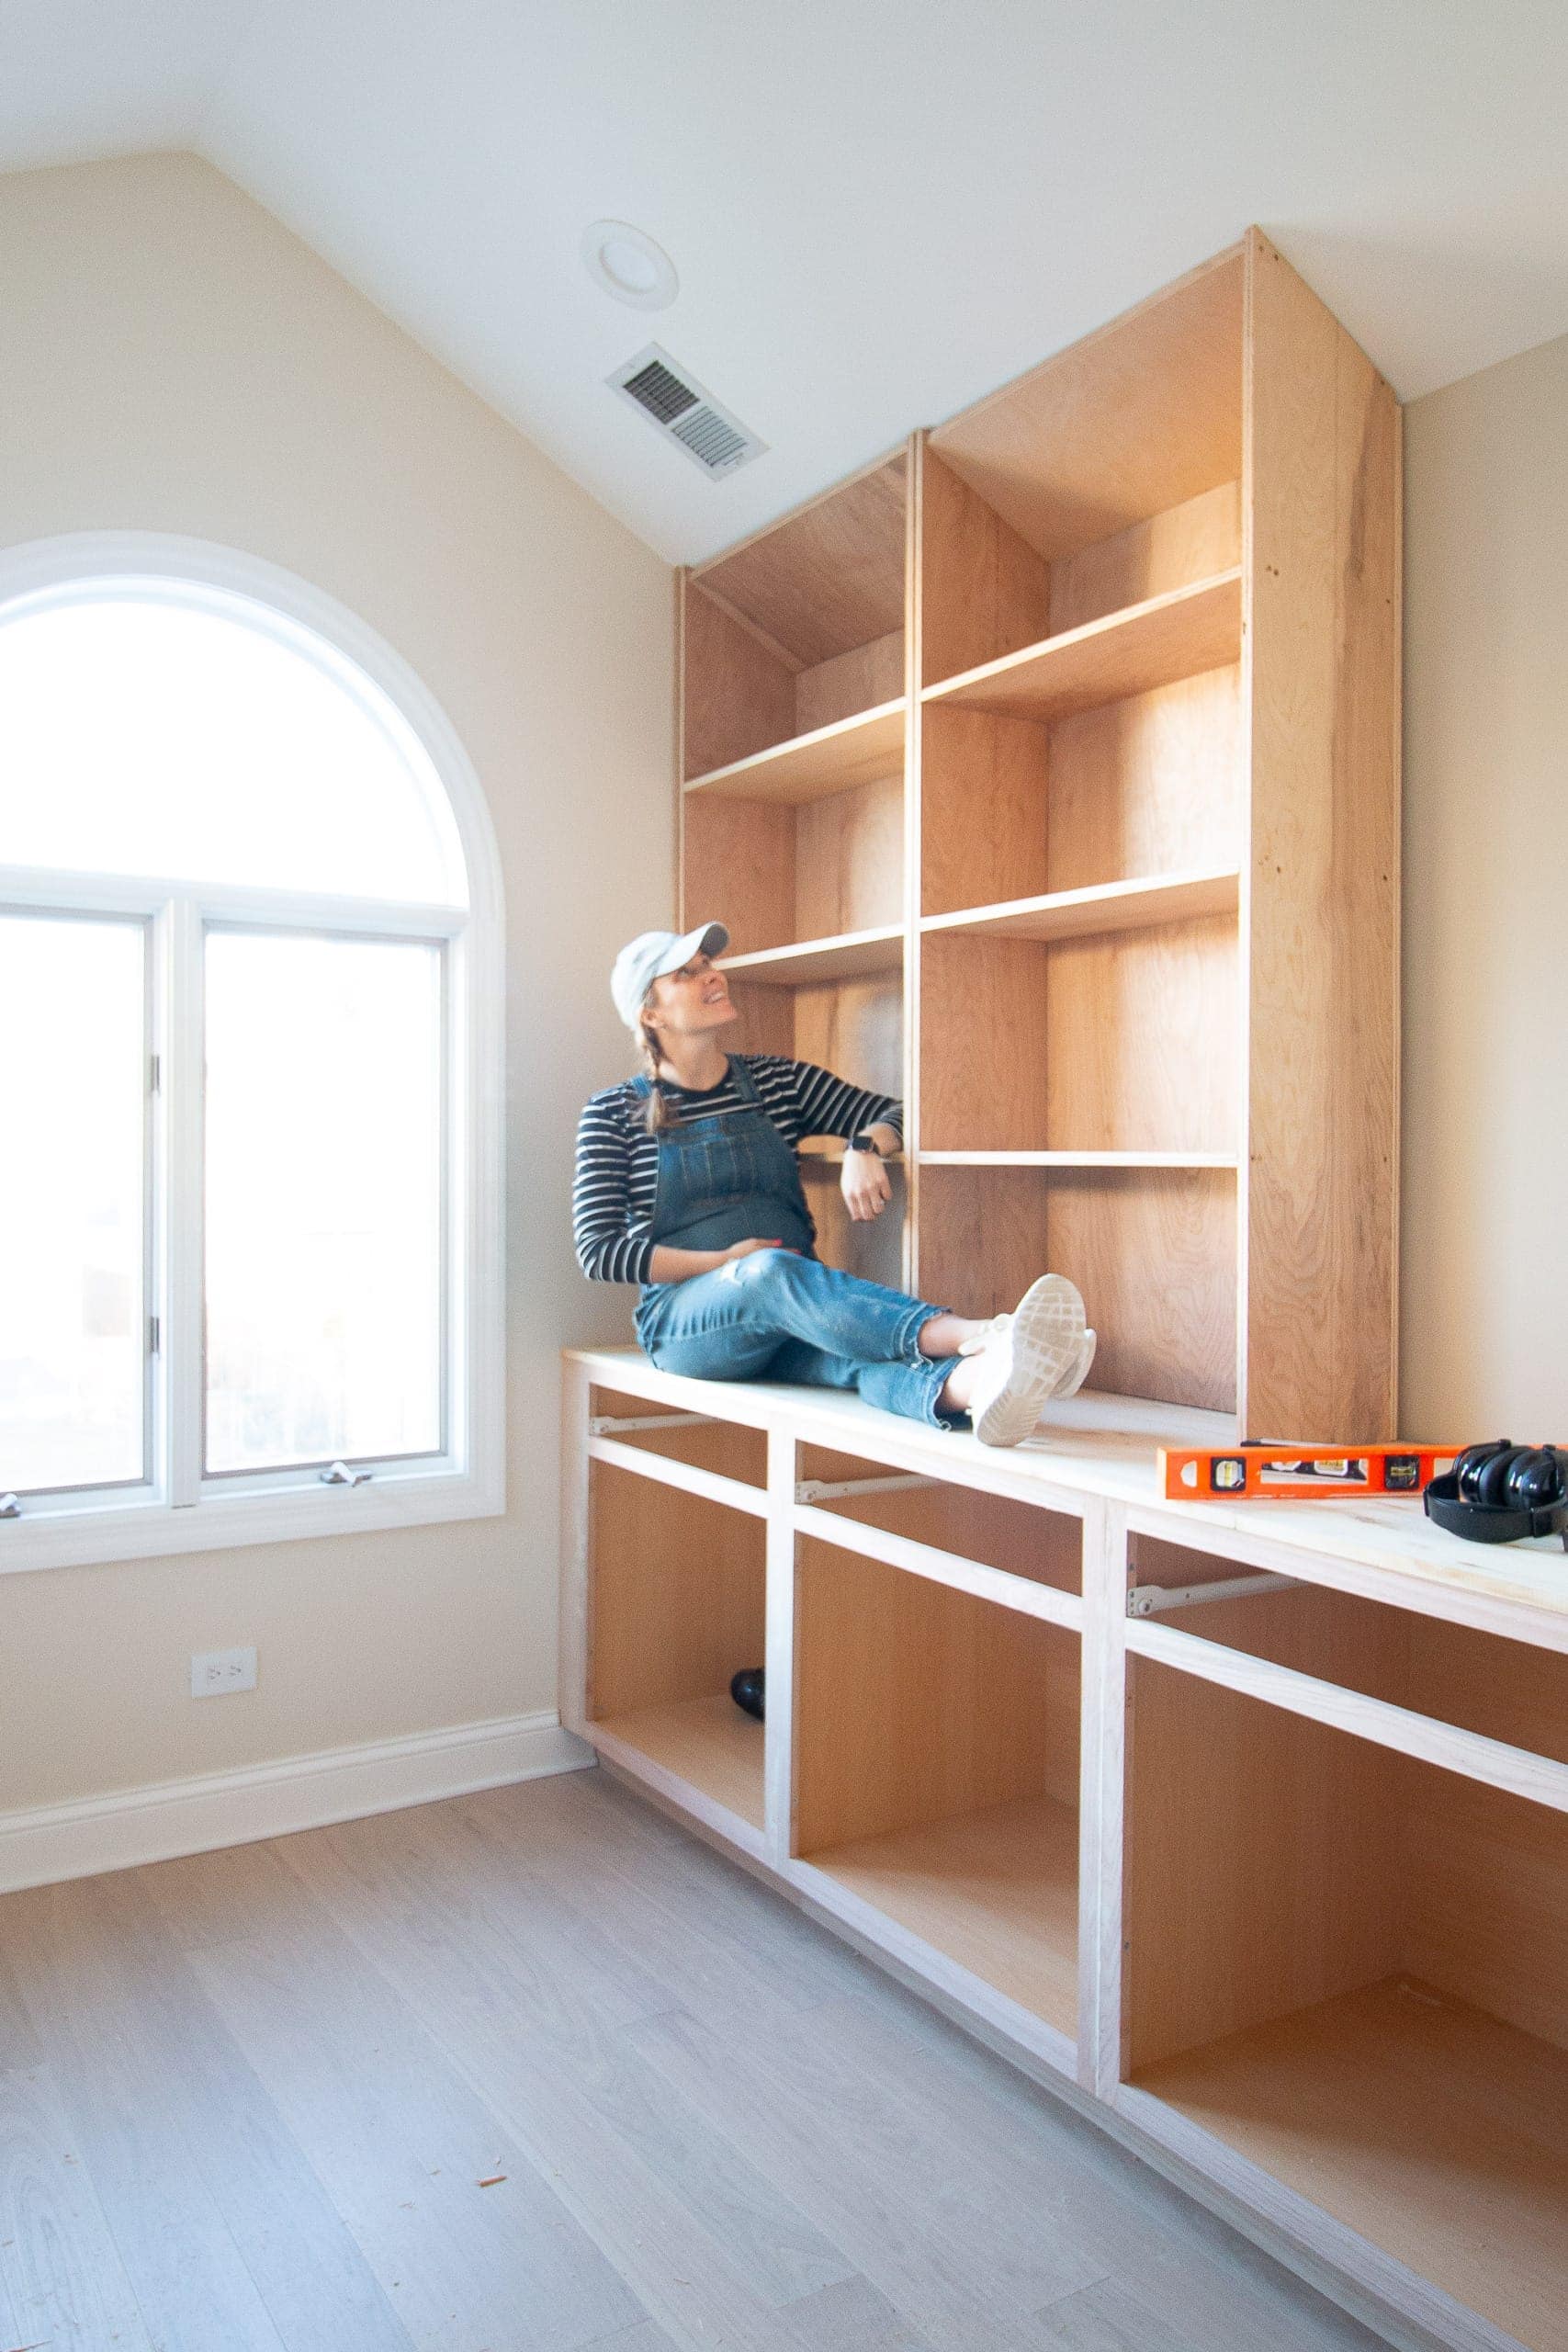
From the start of this room makeover, the most intimidating part of the entire project was building the DIY bookshelves for this space…from scratch. A few people asked me why we decided to do that and it’s because we wanted them to be totally custom to the room.
We have a vaulted ceiling and it would be super tricky to try to hack existing bookshelves or IKEA cabinets for this space. Plus, building everything from wood is a hell of a lot cheaper! And we just used IKEA cabinets in our laundry room and were up for a new challenge (or we’re just crazy people. That could be it too!).
We want our built-in shelves to have a seamless look, so we’re going with the more difficult option. However, we won’t have adjustable shelves going this route. So that was one feature we were willing to lose.
Read Part One
Now, before you get started on these DIY bookshelves, make sure you go and read part one of this project. We used stock cabinets to add closed storage to the bottom portion of the shelves. The pre-built cabinets weren’t too difficult to install and then we added a toe kick and panel on top. This step-by-step tutorial will walk you through the entire process for this first step.
How to Build DIY Bookshelves
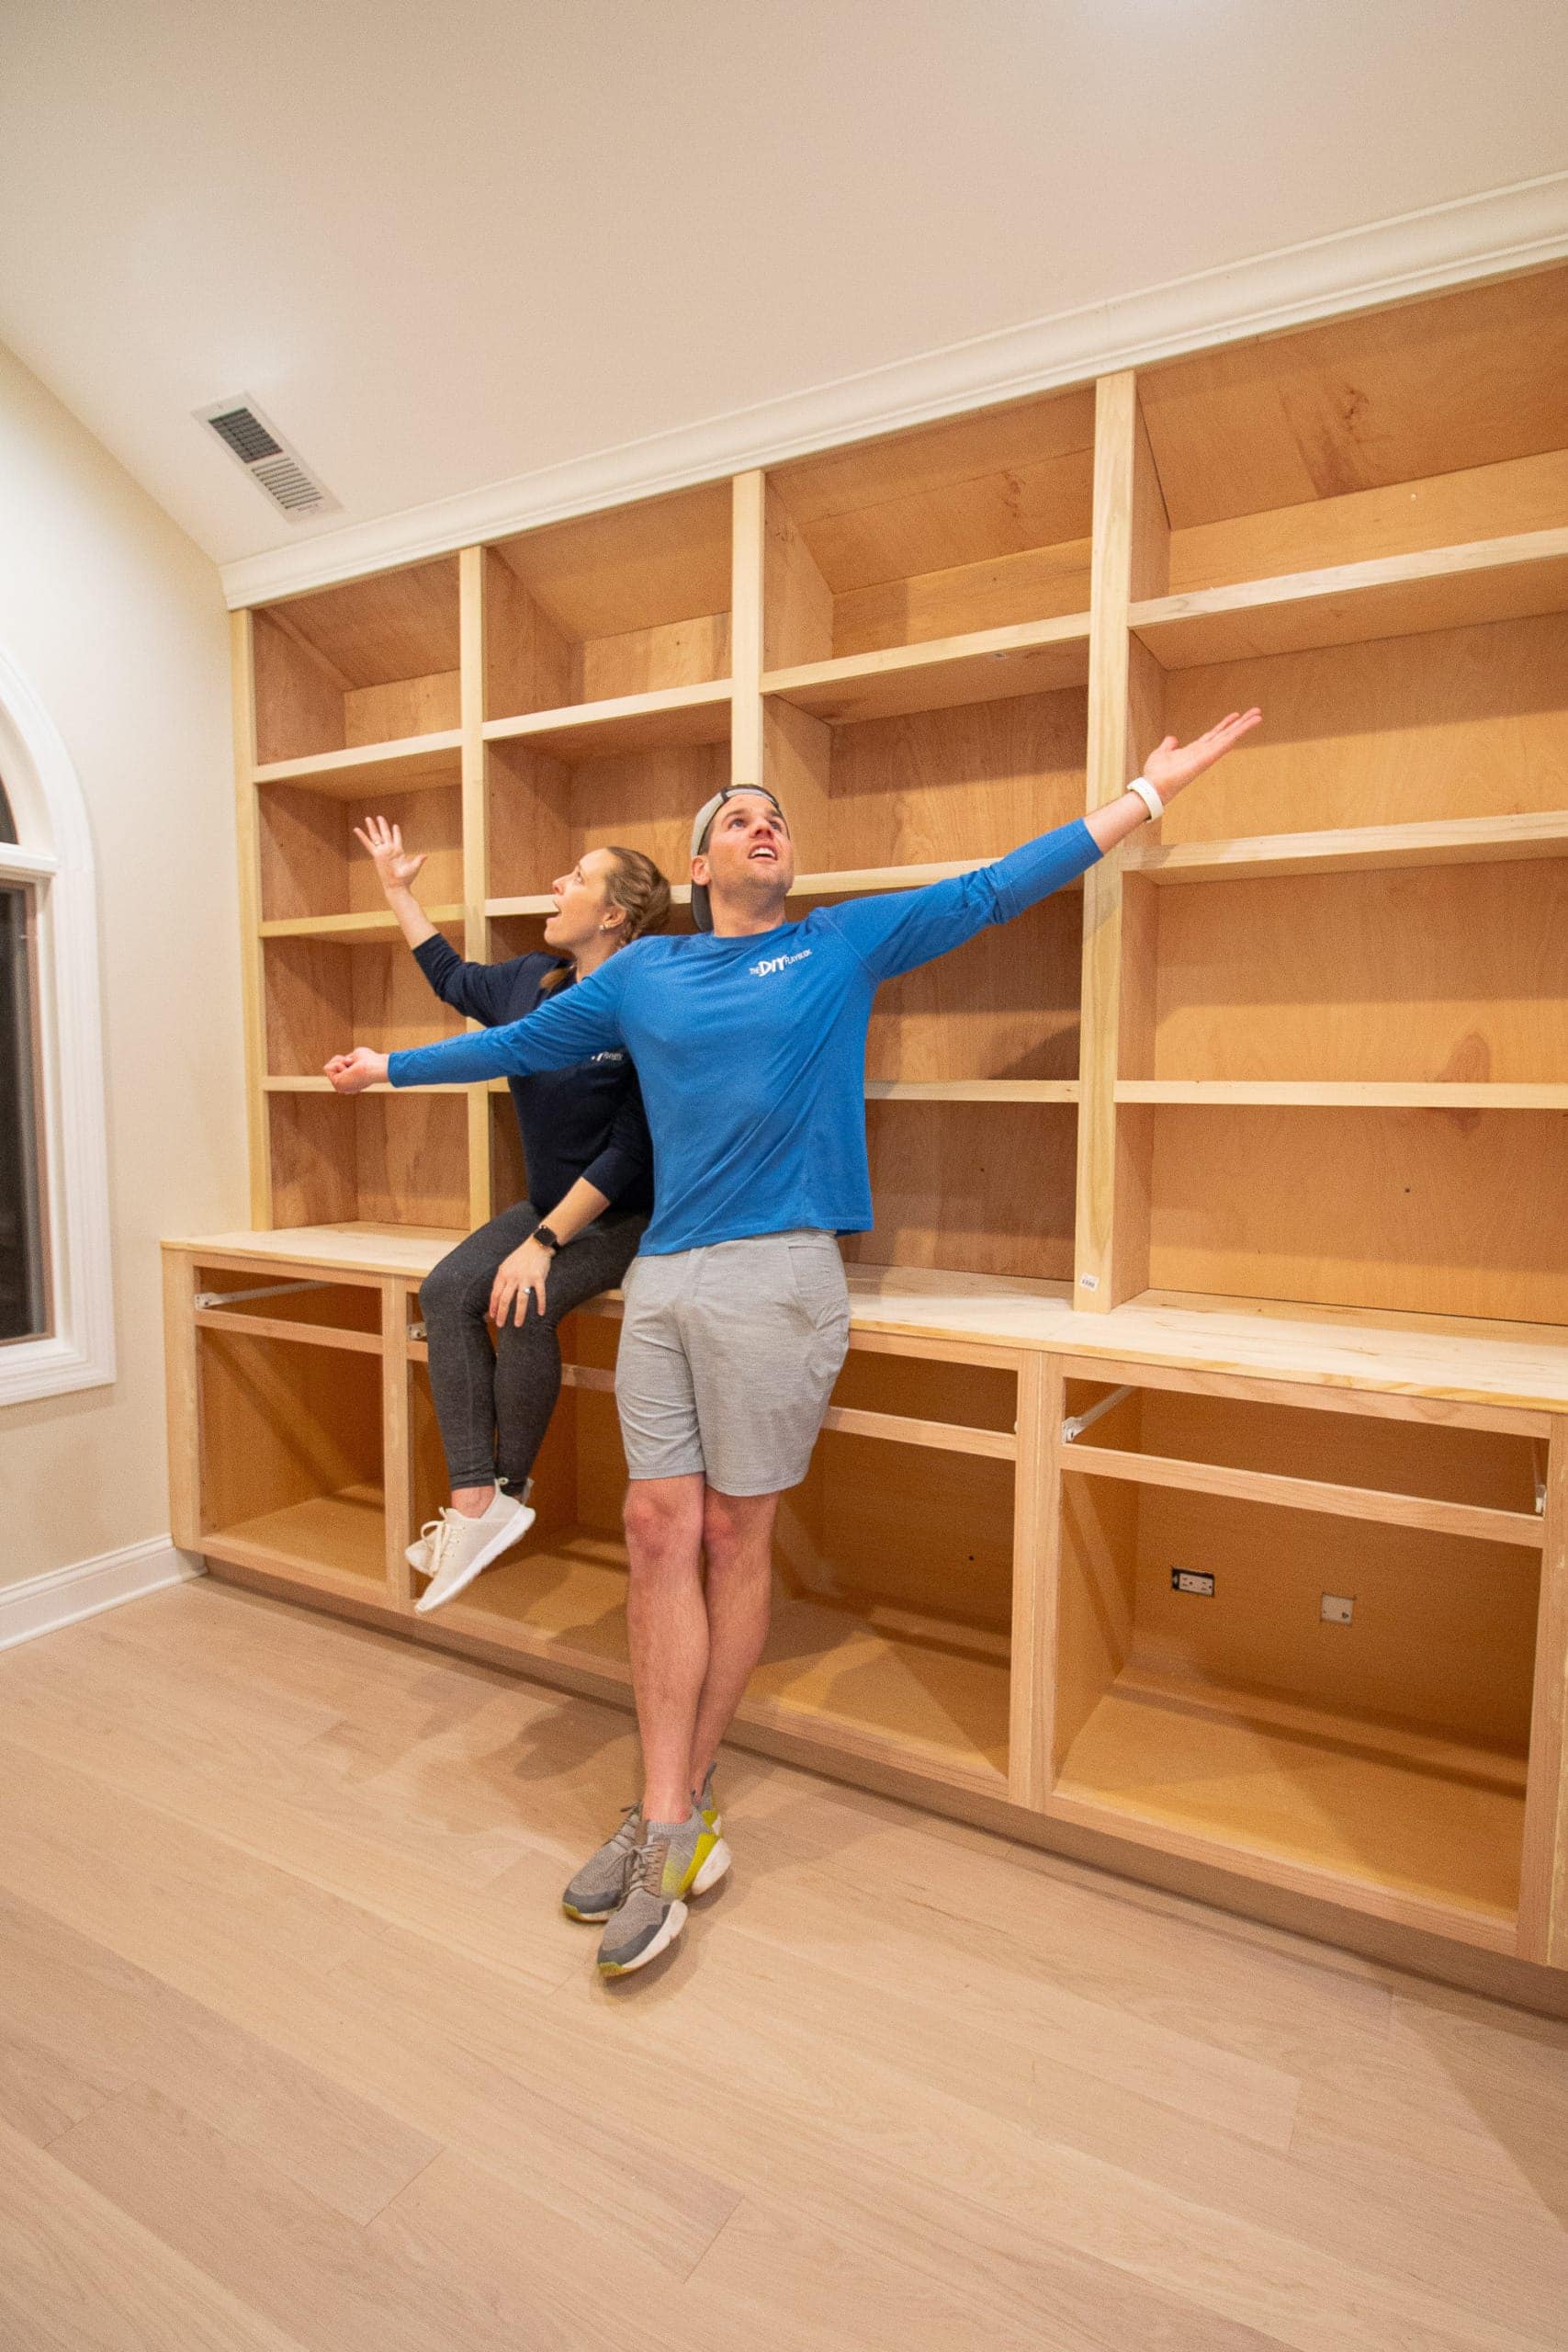
I’m happy to report that the DIY bookshelves are up and standing and we are so proud of ourselves! Let’s dive into my step-by-step instructions to build these yourself at home.
Make a Built-In Bookcase Plan
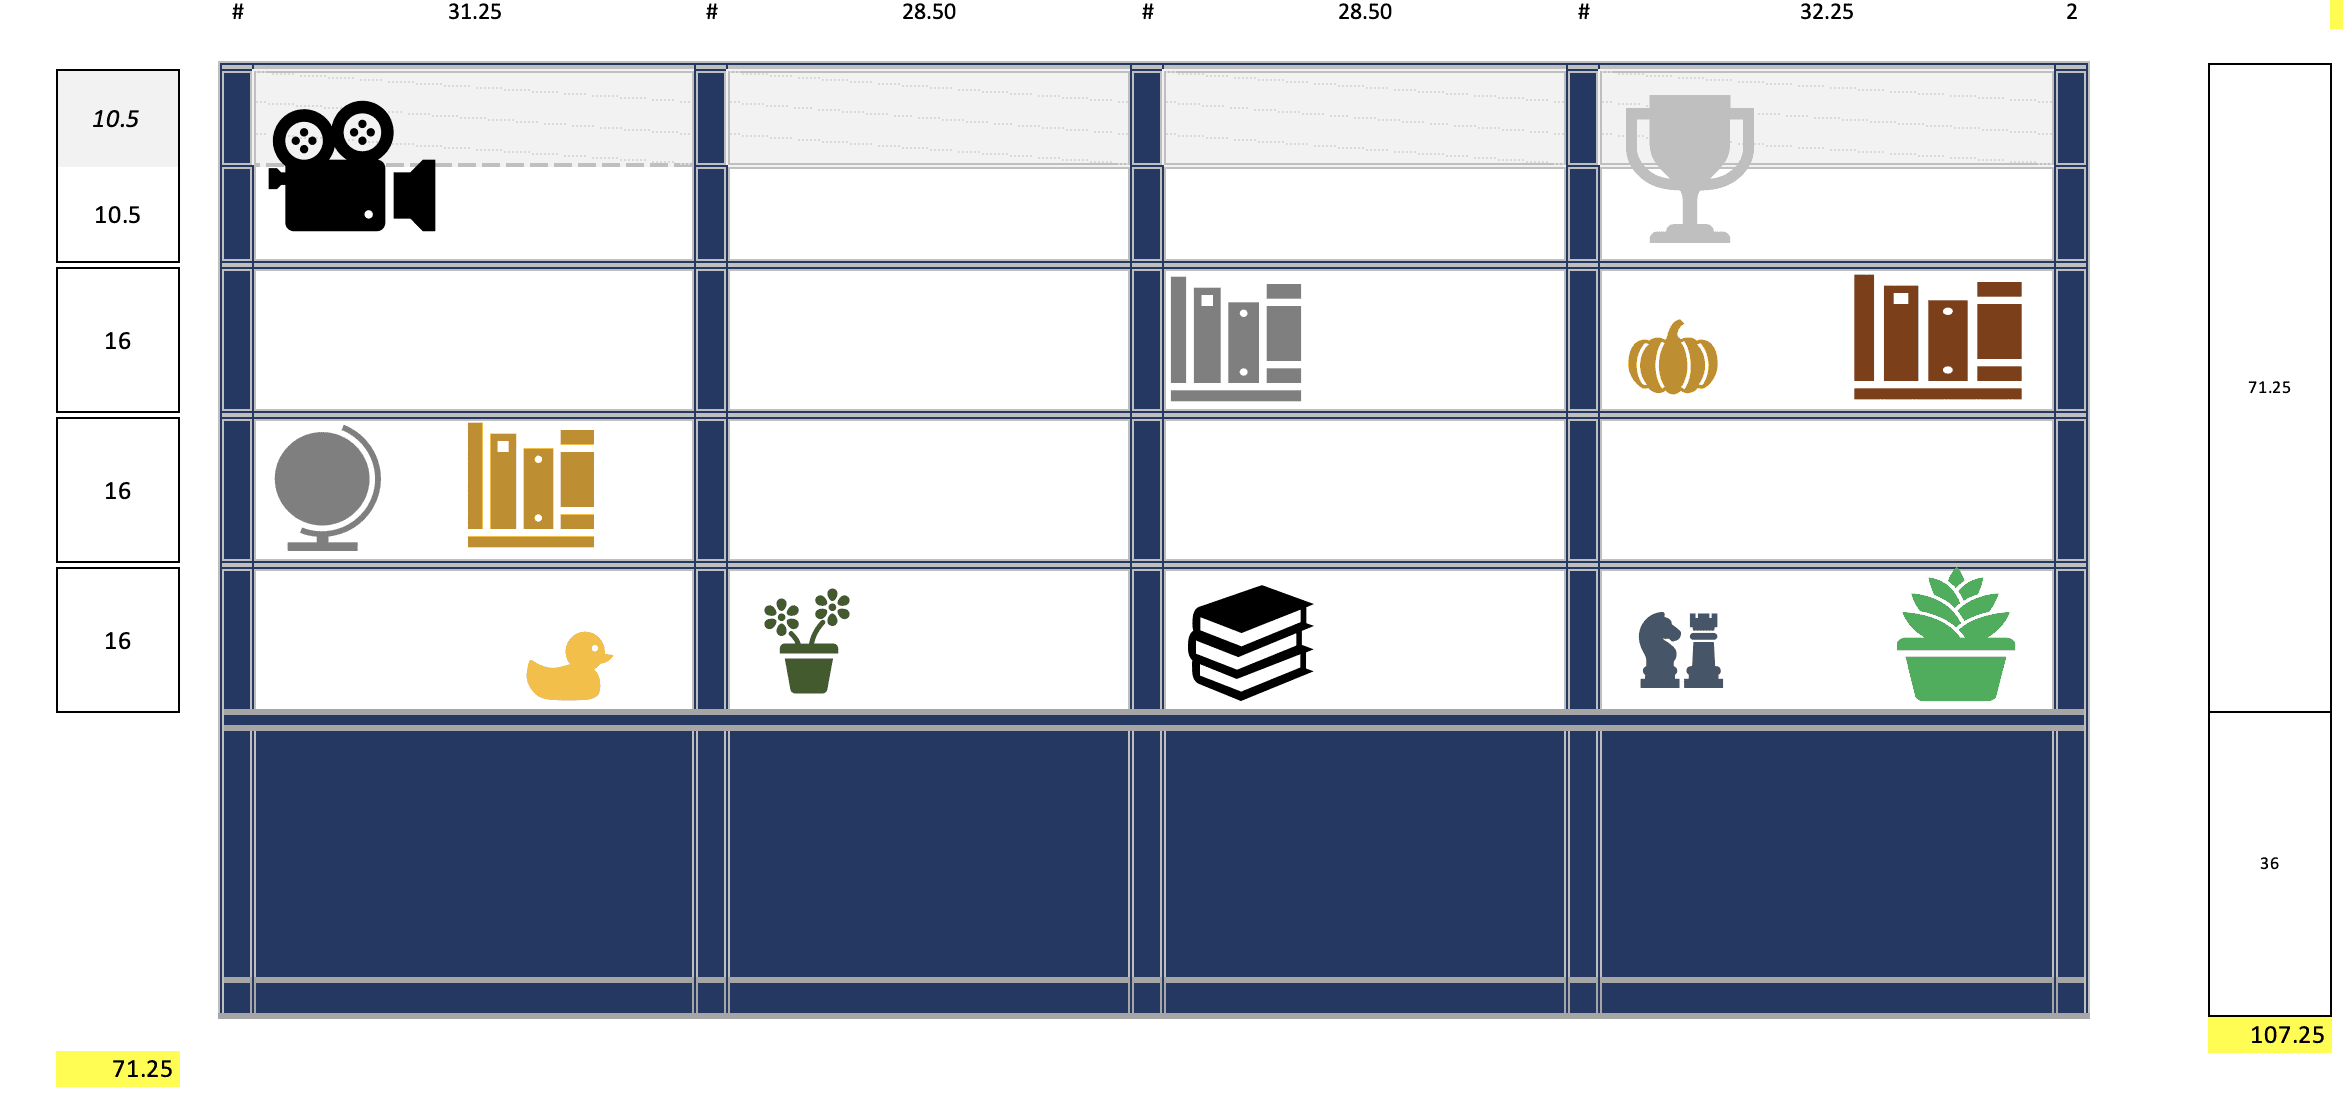
After taking lots of measurements, Finn and I came up with the above design. You can see the numbers on the side and top of the graphic. Our shelves would be 12 inches deep and we wanted about 16 inches of space in between each shelf. I even got out some decor to make sure I could fit some of my favorite items within those measurements. They fit!
So many of you asked about creating a design plan like this. I’ve heard a lot of great things about the program SketchUp, but I’ve never actually used it myself. Finn uses Microsoft Excel all day, every day, at his job, so whipping something up like this only took him about fifteen minutes.
Gather your Supplies
As I’ve mentioned before, we always like to make our list ahead of time and head to the hardware store during the week before our project. That way, the store is less crowded and you can get in and out faster. Plus, we had a lot of cuts we needed them to make for us in the lumber department and the last thing we wanted was a big line behind us.
- Birch Plywood (3/4 of an inch thick. We bought both 2×4 and 4×8 boards)
- Poplar (1x2x8; 1x3x8)
- Crown Molding (similar)
- Safety Gear
- Tape Measure
- Level (long & short)
- Power Drill & Bits
- Countersink Bit
- Wood Screws (1 1/4 inch, 2 inch, and 2 1/2 inch)
- Wood Shims
- Miter Saw & Stand (similar)
- Clamps
- Cordless Shop Vac
- Wood Glue
- Nail Gun with Air Compressor or Cordless Brad Nailer (similar)
- Jigsaw
- Circular Saw
- Corner Clamps
- Straight Edge
- Protractor
- Stud Finder
You need so much wood for this project. Even though we just bought an SUV that has a huge trunk, we were nervous about fitting it all in one trip. My mom was kind enough to go with us and bring her own SUV. We ended up having the associate at Lowe’s cut down some of our wood so we could fit it in the cars.
We thought we could squeeze 4’X 7′ foot boards (we cut a foot off) into the cars, but they were still too big. We hung our heads in shame and walked back into the store with all of our wood to have it cut all over again. Thankfully, the employees were so sweet and they happily obliged.
Sort Your Wood
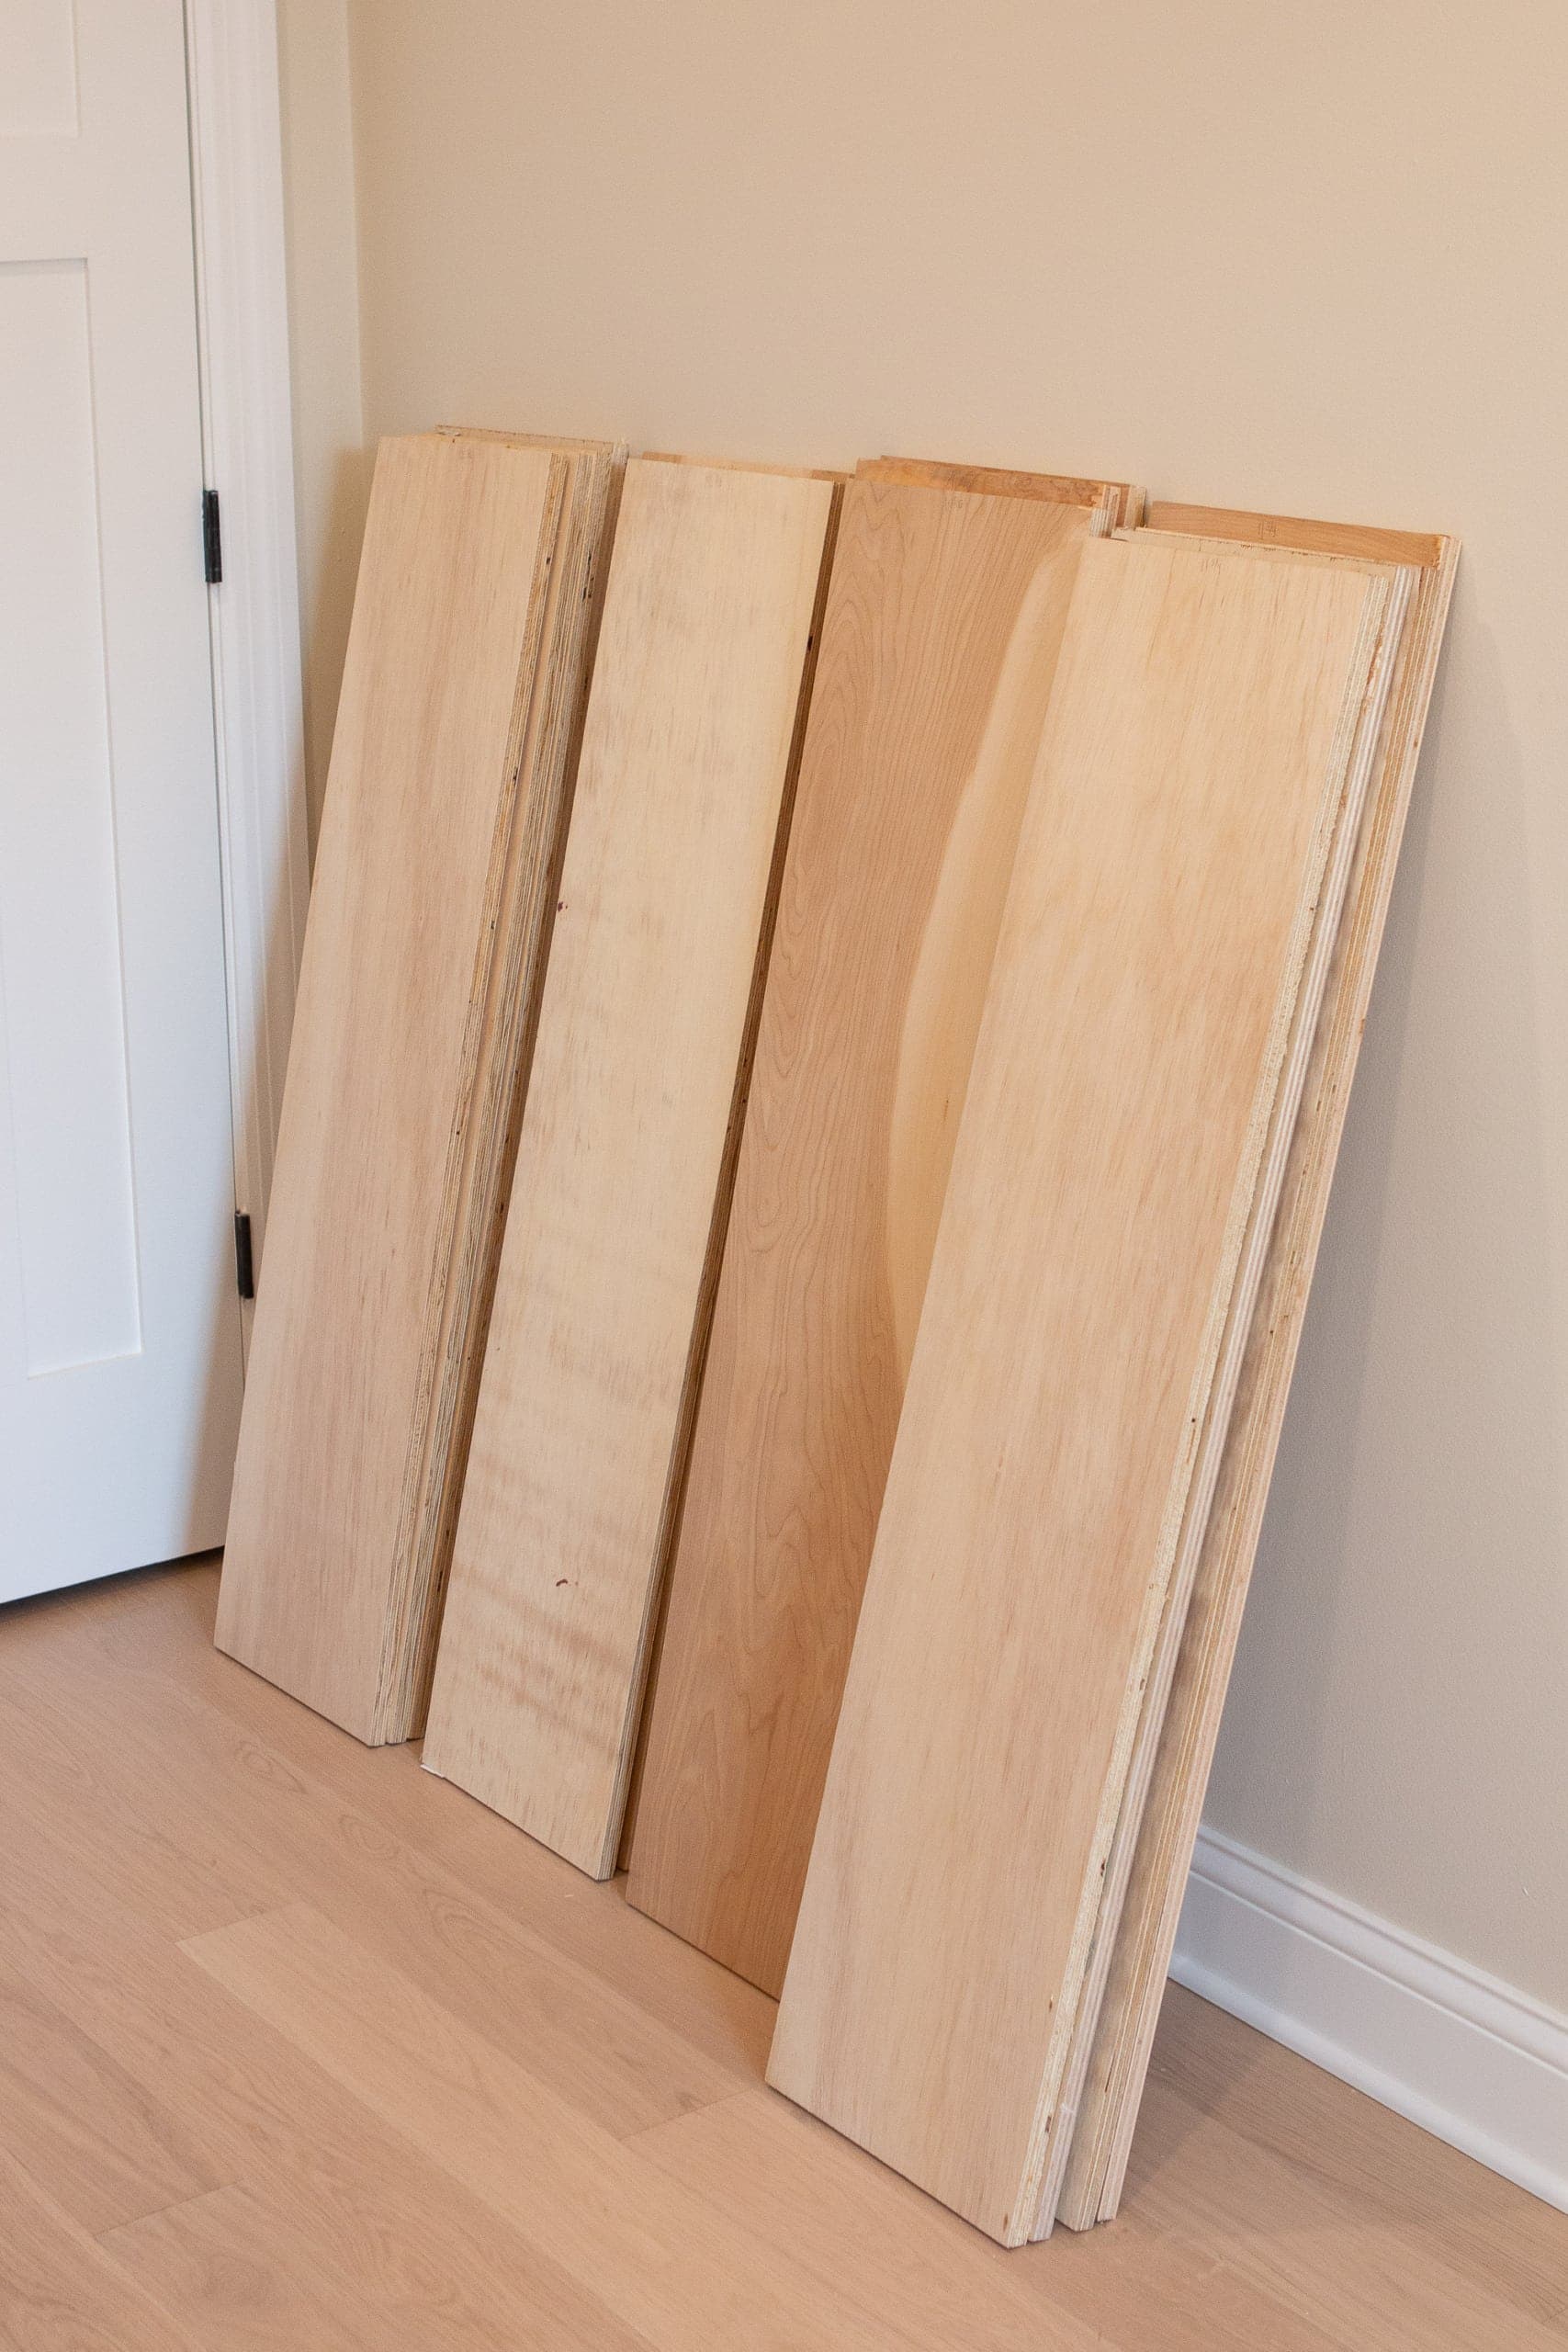
Here’s where we first realized that we made a BIG MISTAKE. Because we knew we wanted the depth of each shelf to be 12 inches, we had the employee at the store cut down most of our boards to measure 12 inches wide.
We figured this would save us time, but we forgot that the cuts at the store are ROUGH cuts. What that means is that the Lowe’s employee is helping us out so much by cutting the boards down, but it’s not his job to make EXACT measurements.
When we went to start our project, we started measuring the boards and they were all off just a little bit. Some were too big and some were too small. 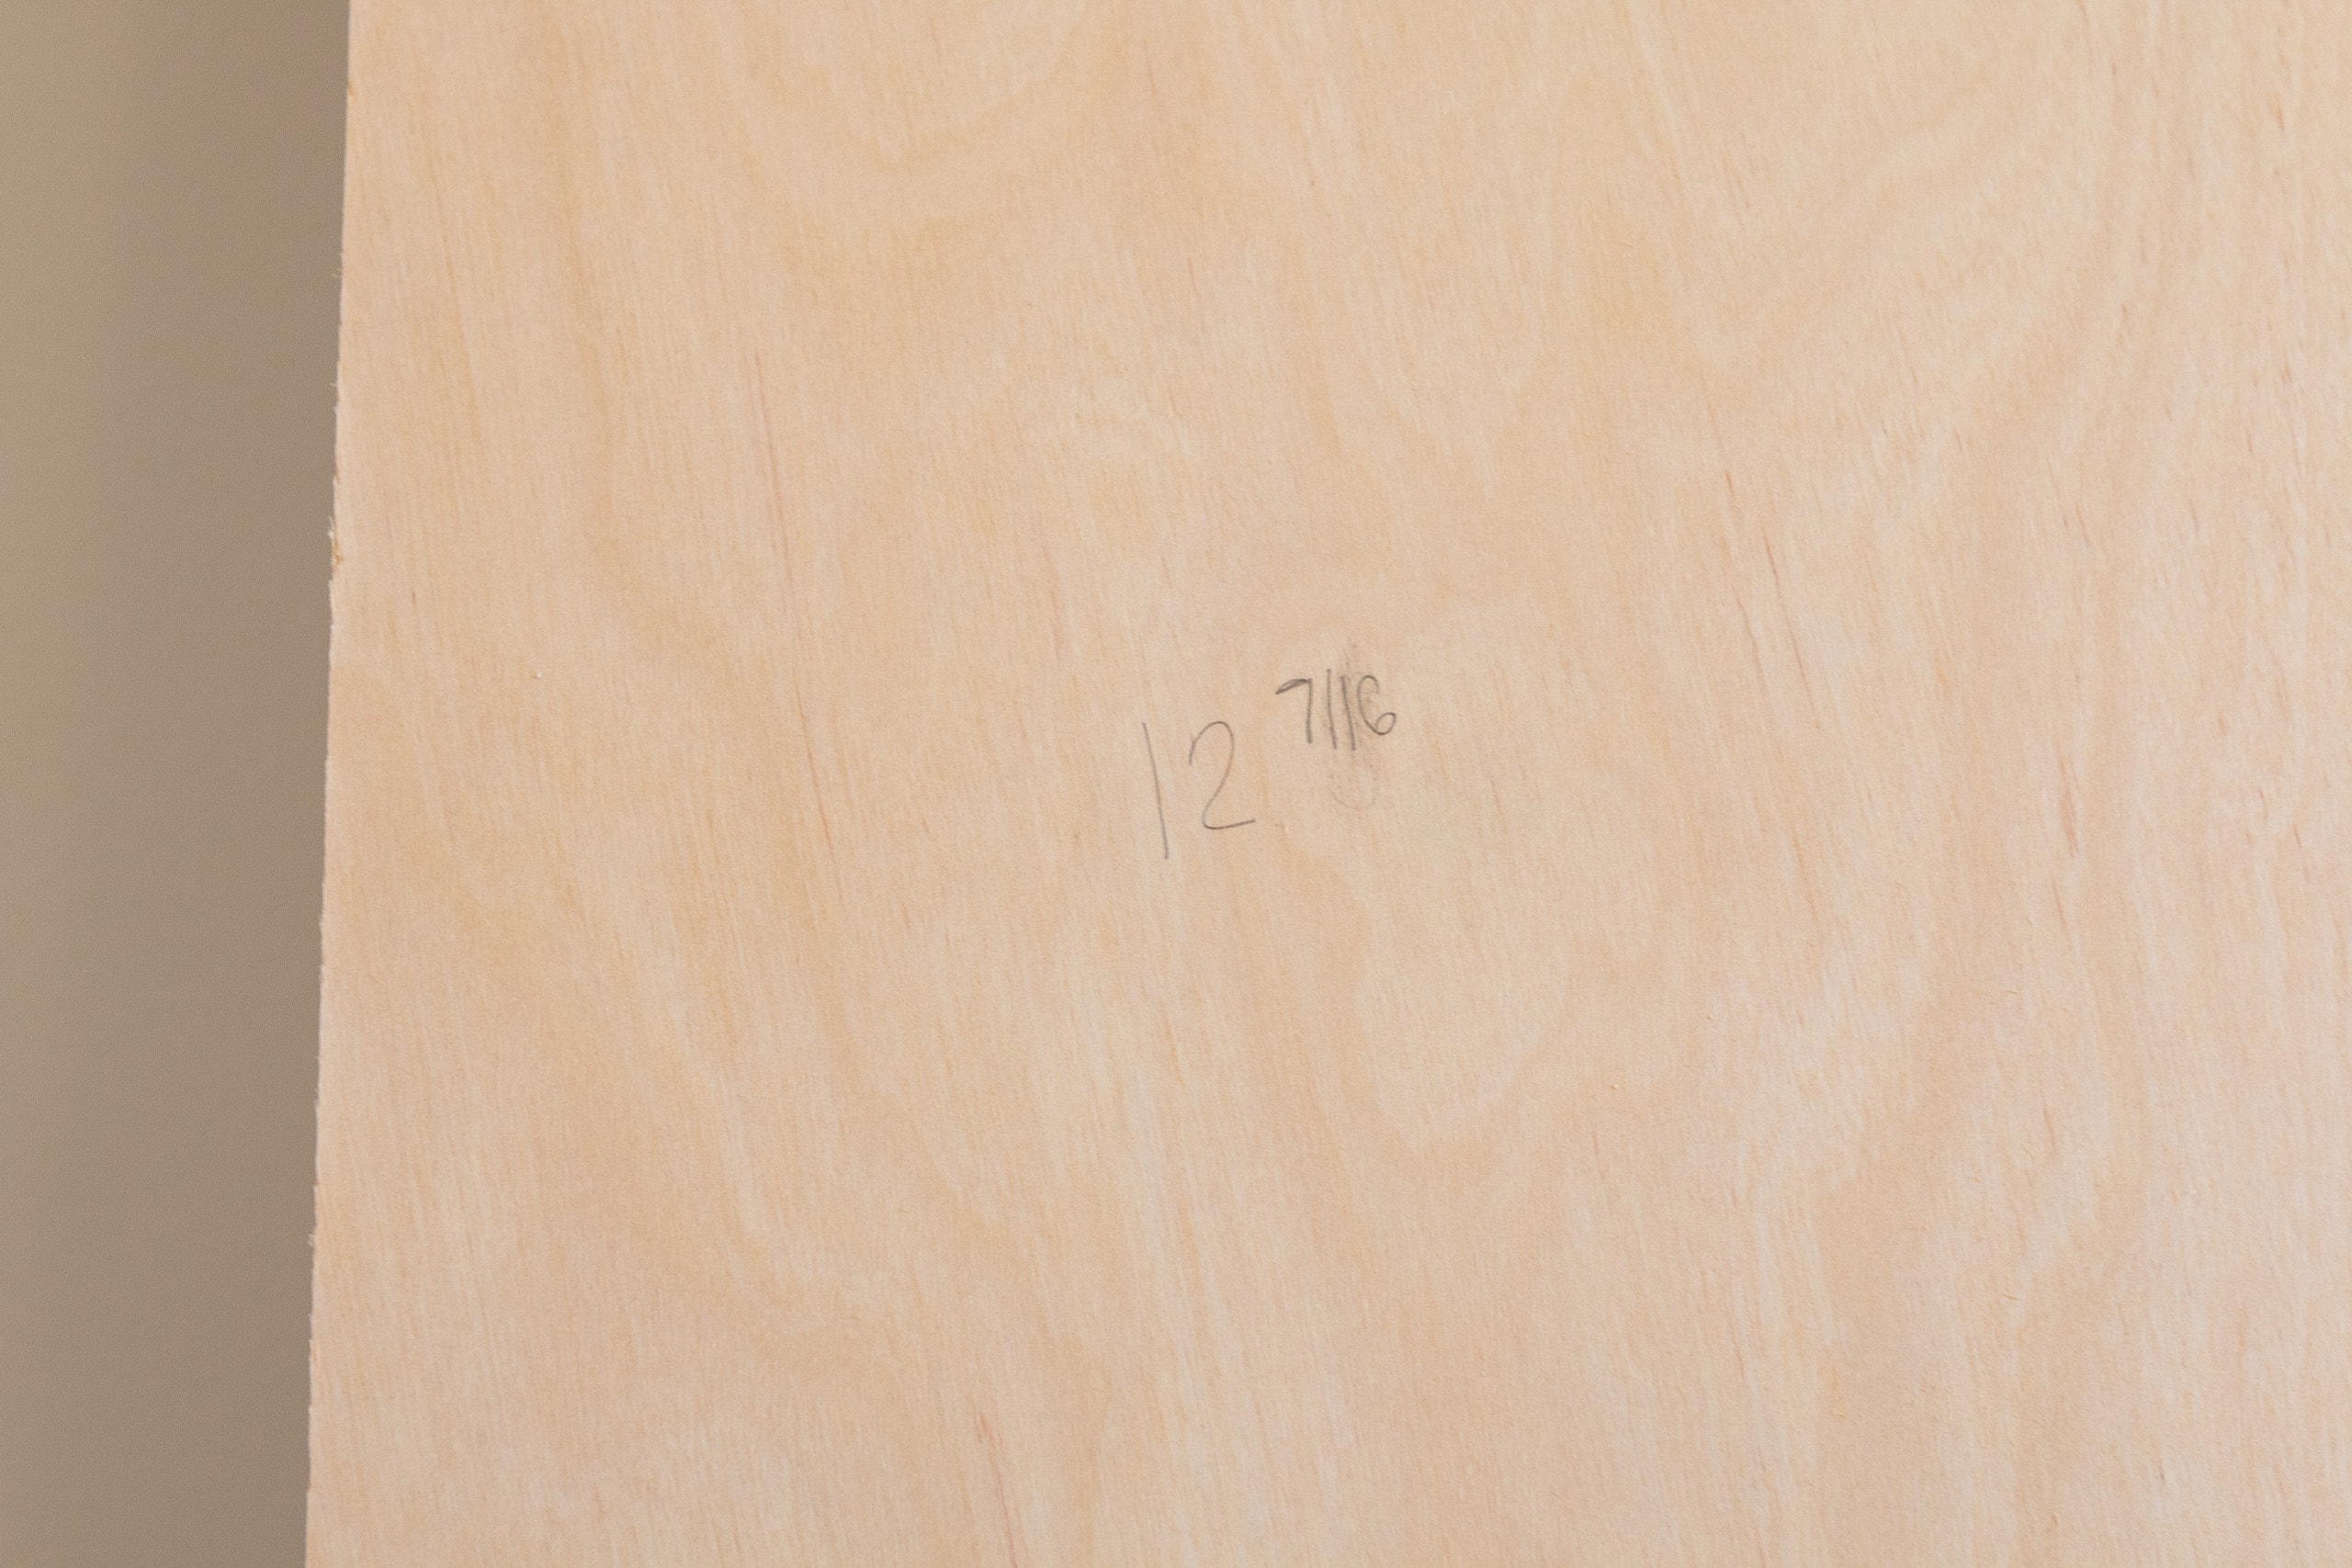
We marked each one, made piles, and came up with a new gameplan. Our shelves would have to be 11 3/4 inches deep and we would have to cut every single piece ourselves to make sure they were all perfect. In fact, we found that a lot of the boards had no straight edges (they were cut on each side), so we had to cut every side in order to get straight edges again.
This was such a time suck. If we had to do it all over again, we would have just had him cut off some excess so we could fit it into the car and then made all of our own smaller cuts at home or we would have rented a truck to get the full boards home. Lesson learned.
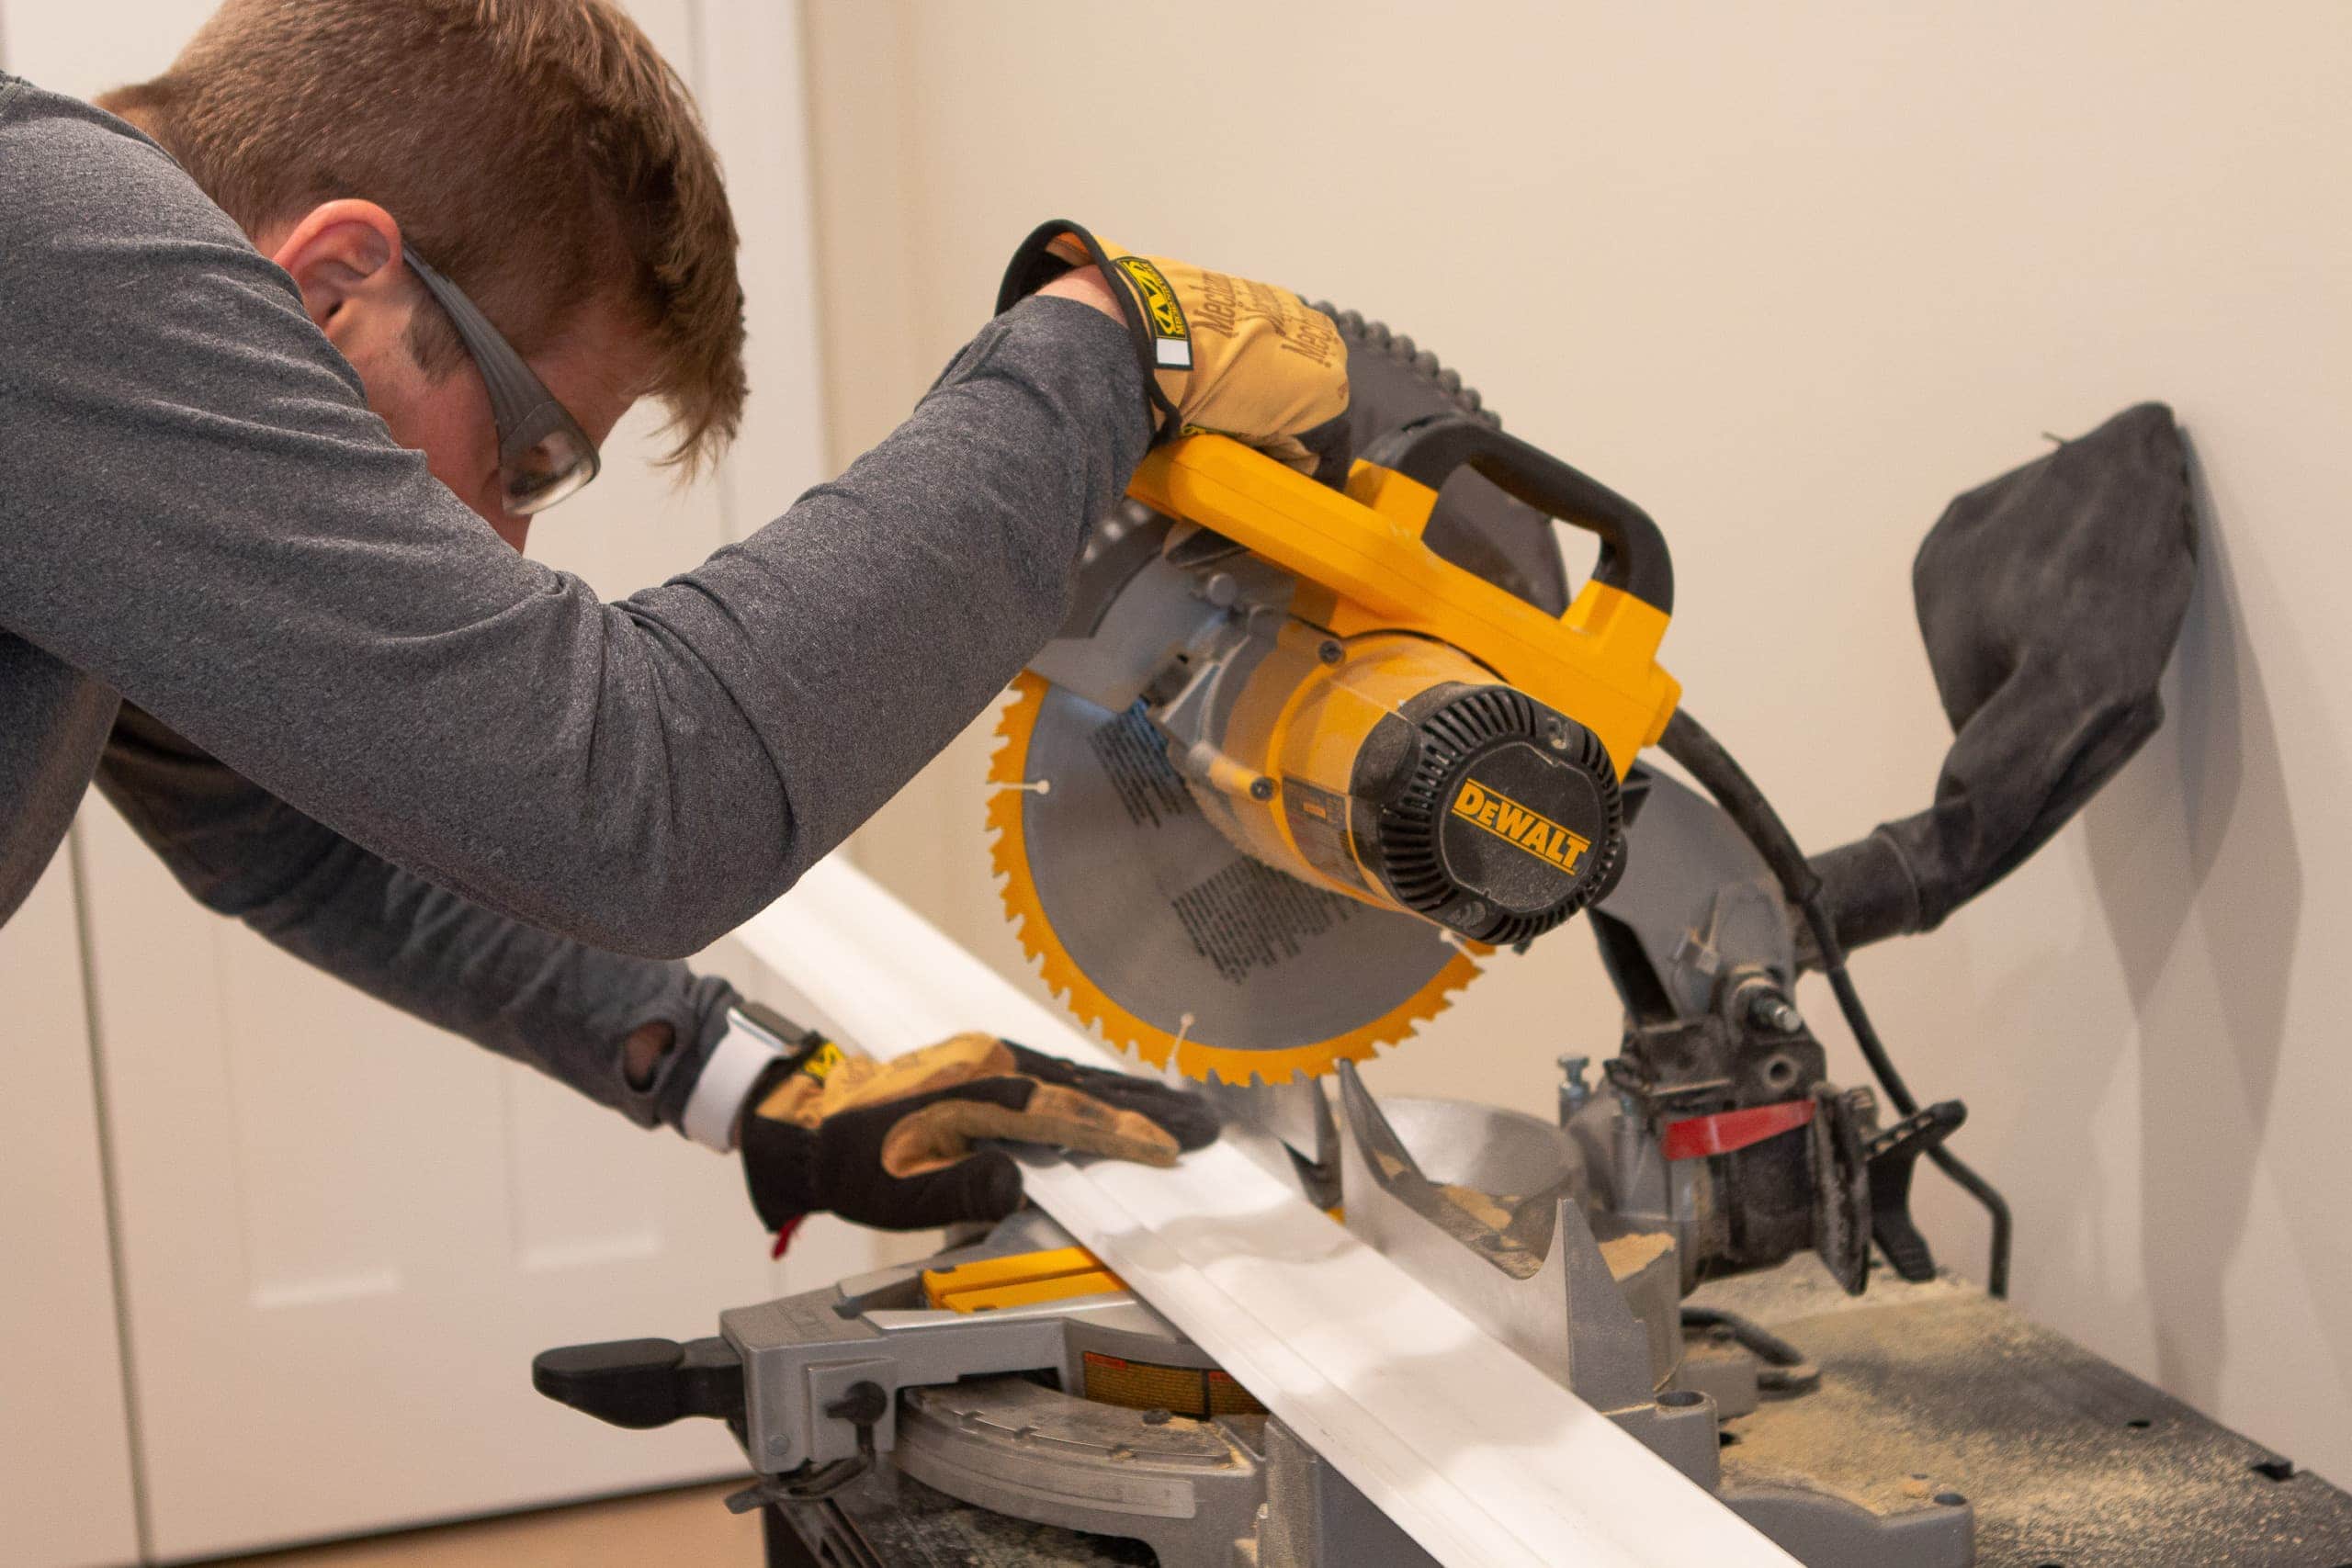
Cut Your Vertical Pieces
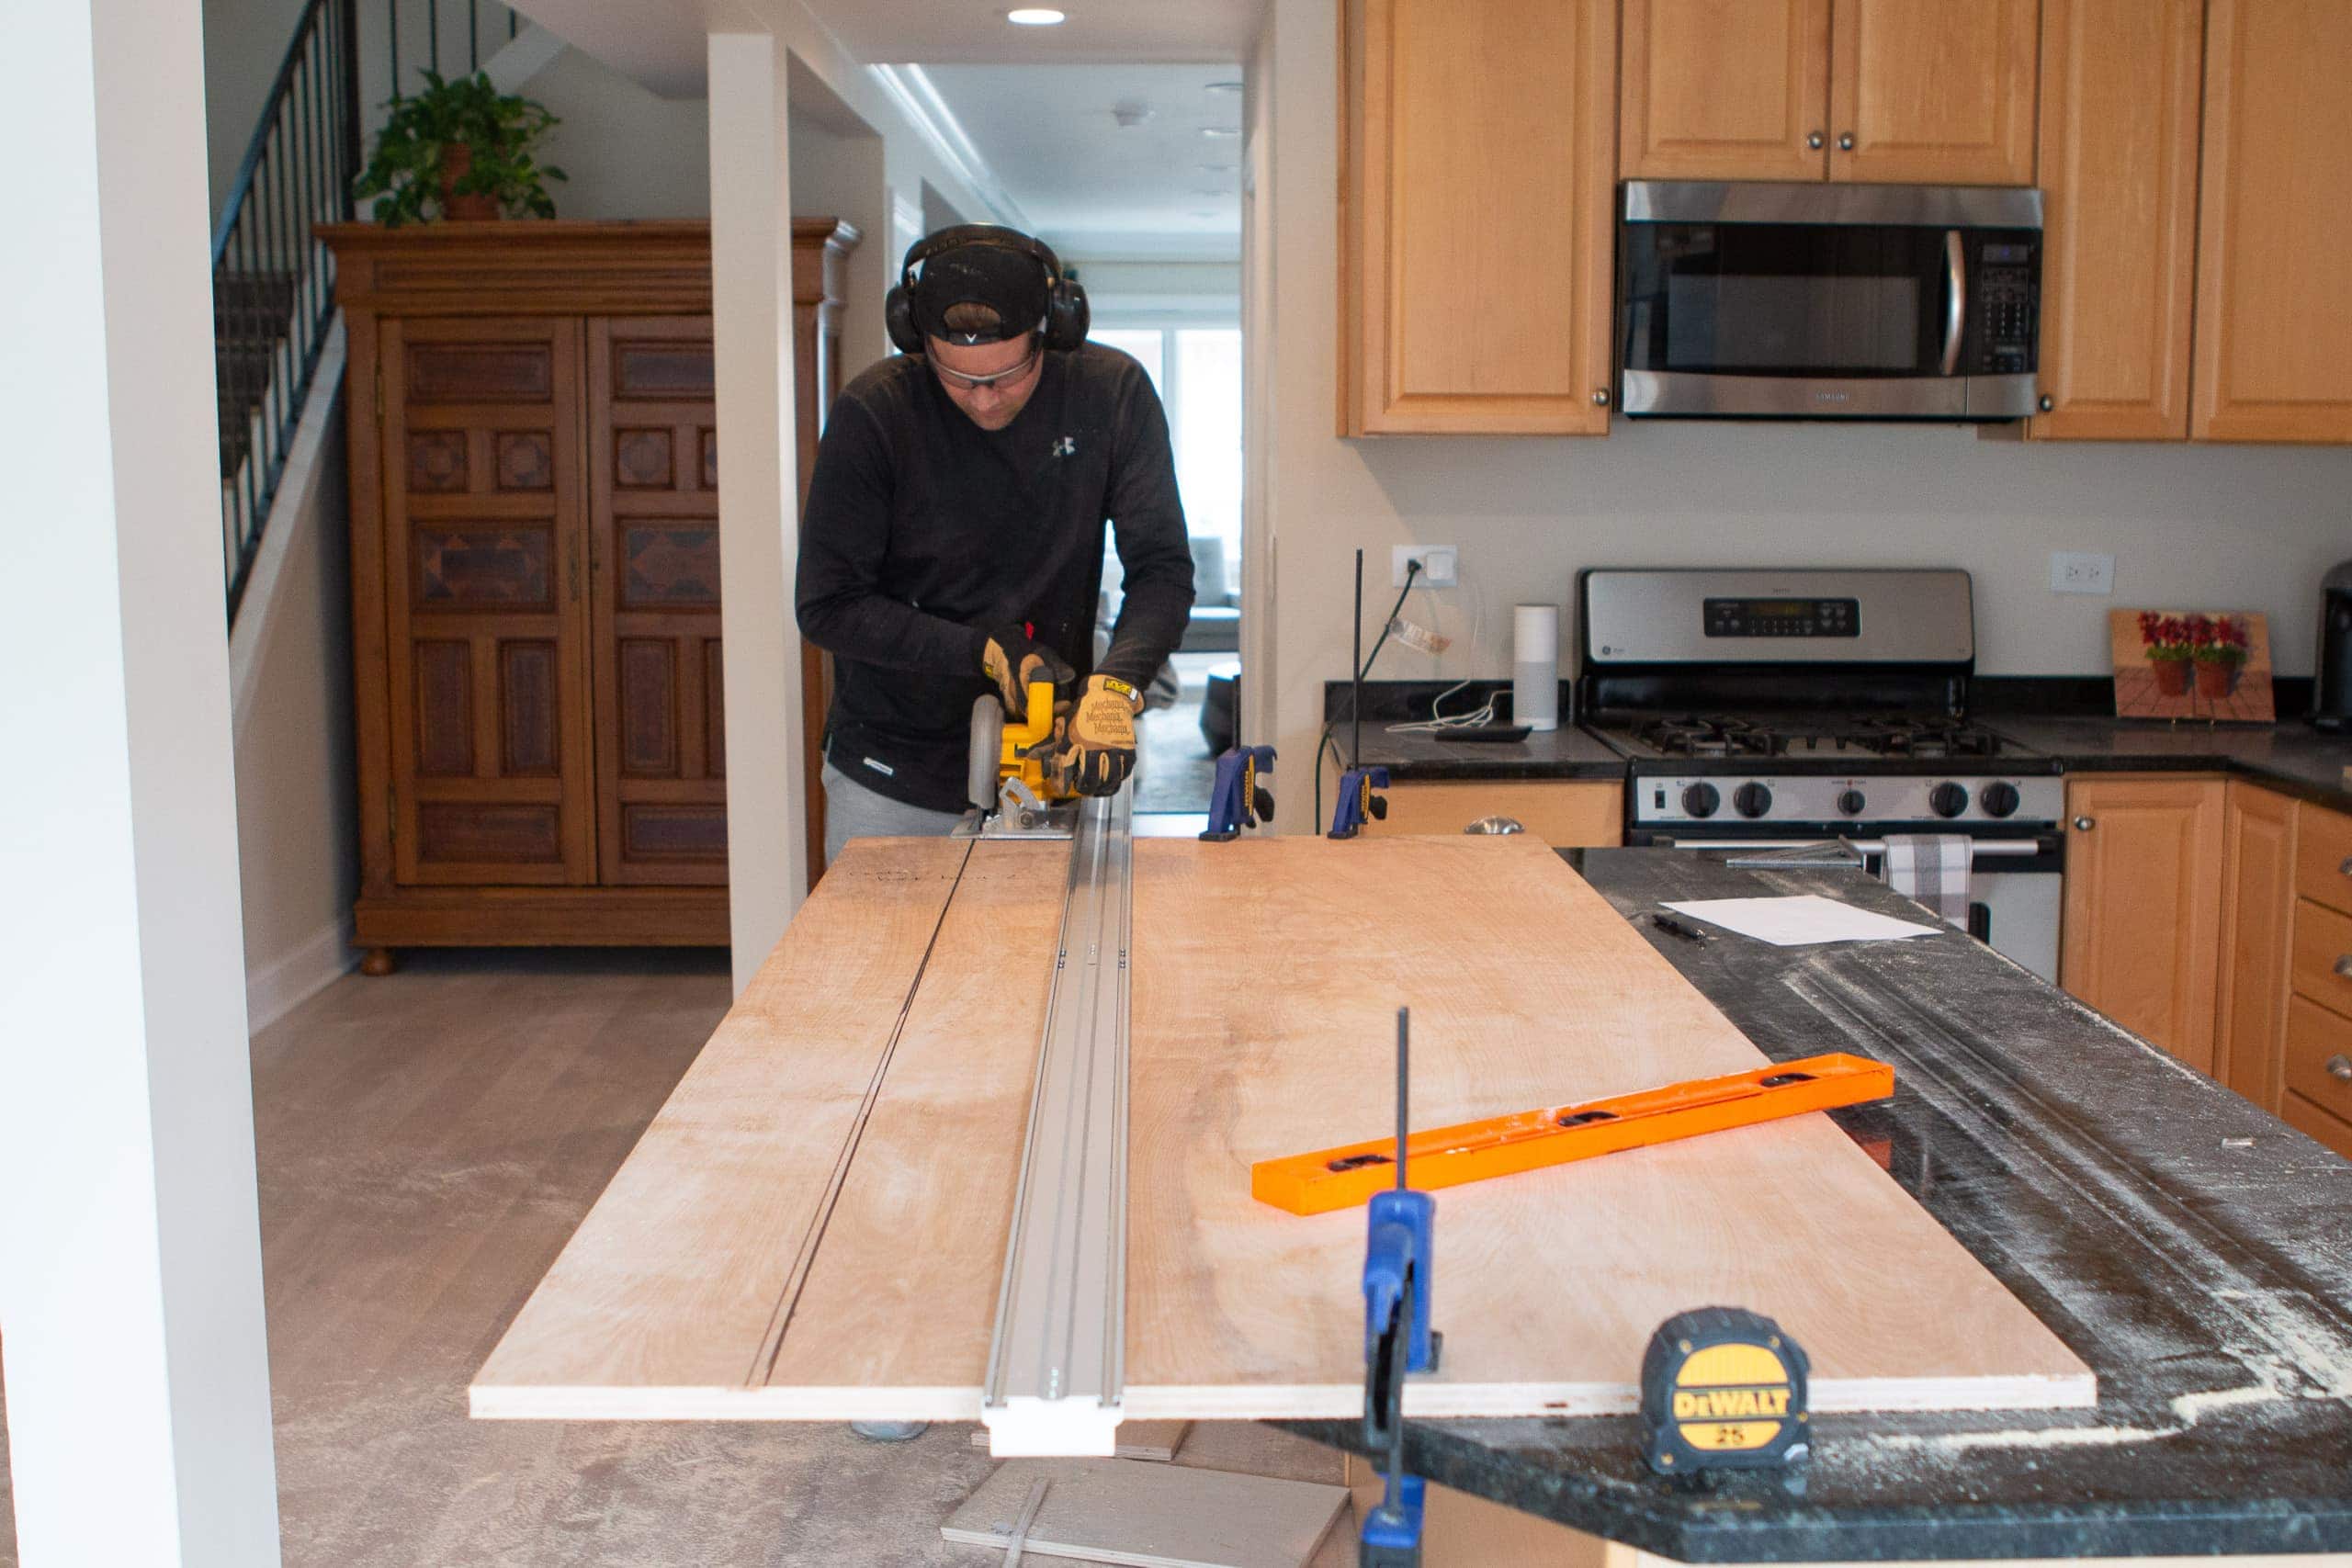
We ended up doing all of our cuts on the kitchen island because we were cutting such long and heavy boards and needed a really secure surface. For cuts, you’ll need a circular saw (or table saw), tons of clamps, and a really good straight edge.
We ended up buying this straight edge for the project and it was a lifesaver. Finn ripped the long boards down to 11 3/4 inches wide and then we made some measurements upstairs for the angled top. 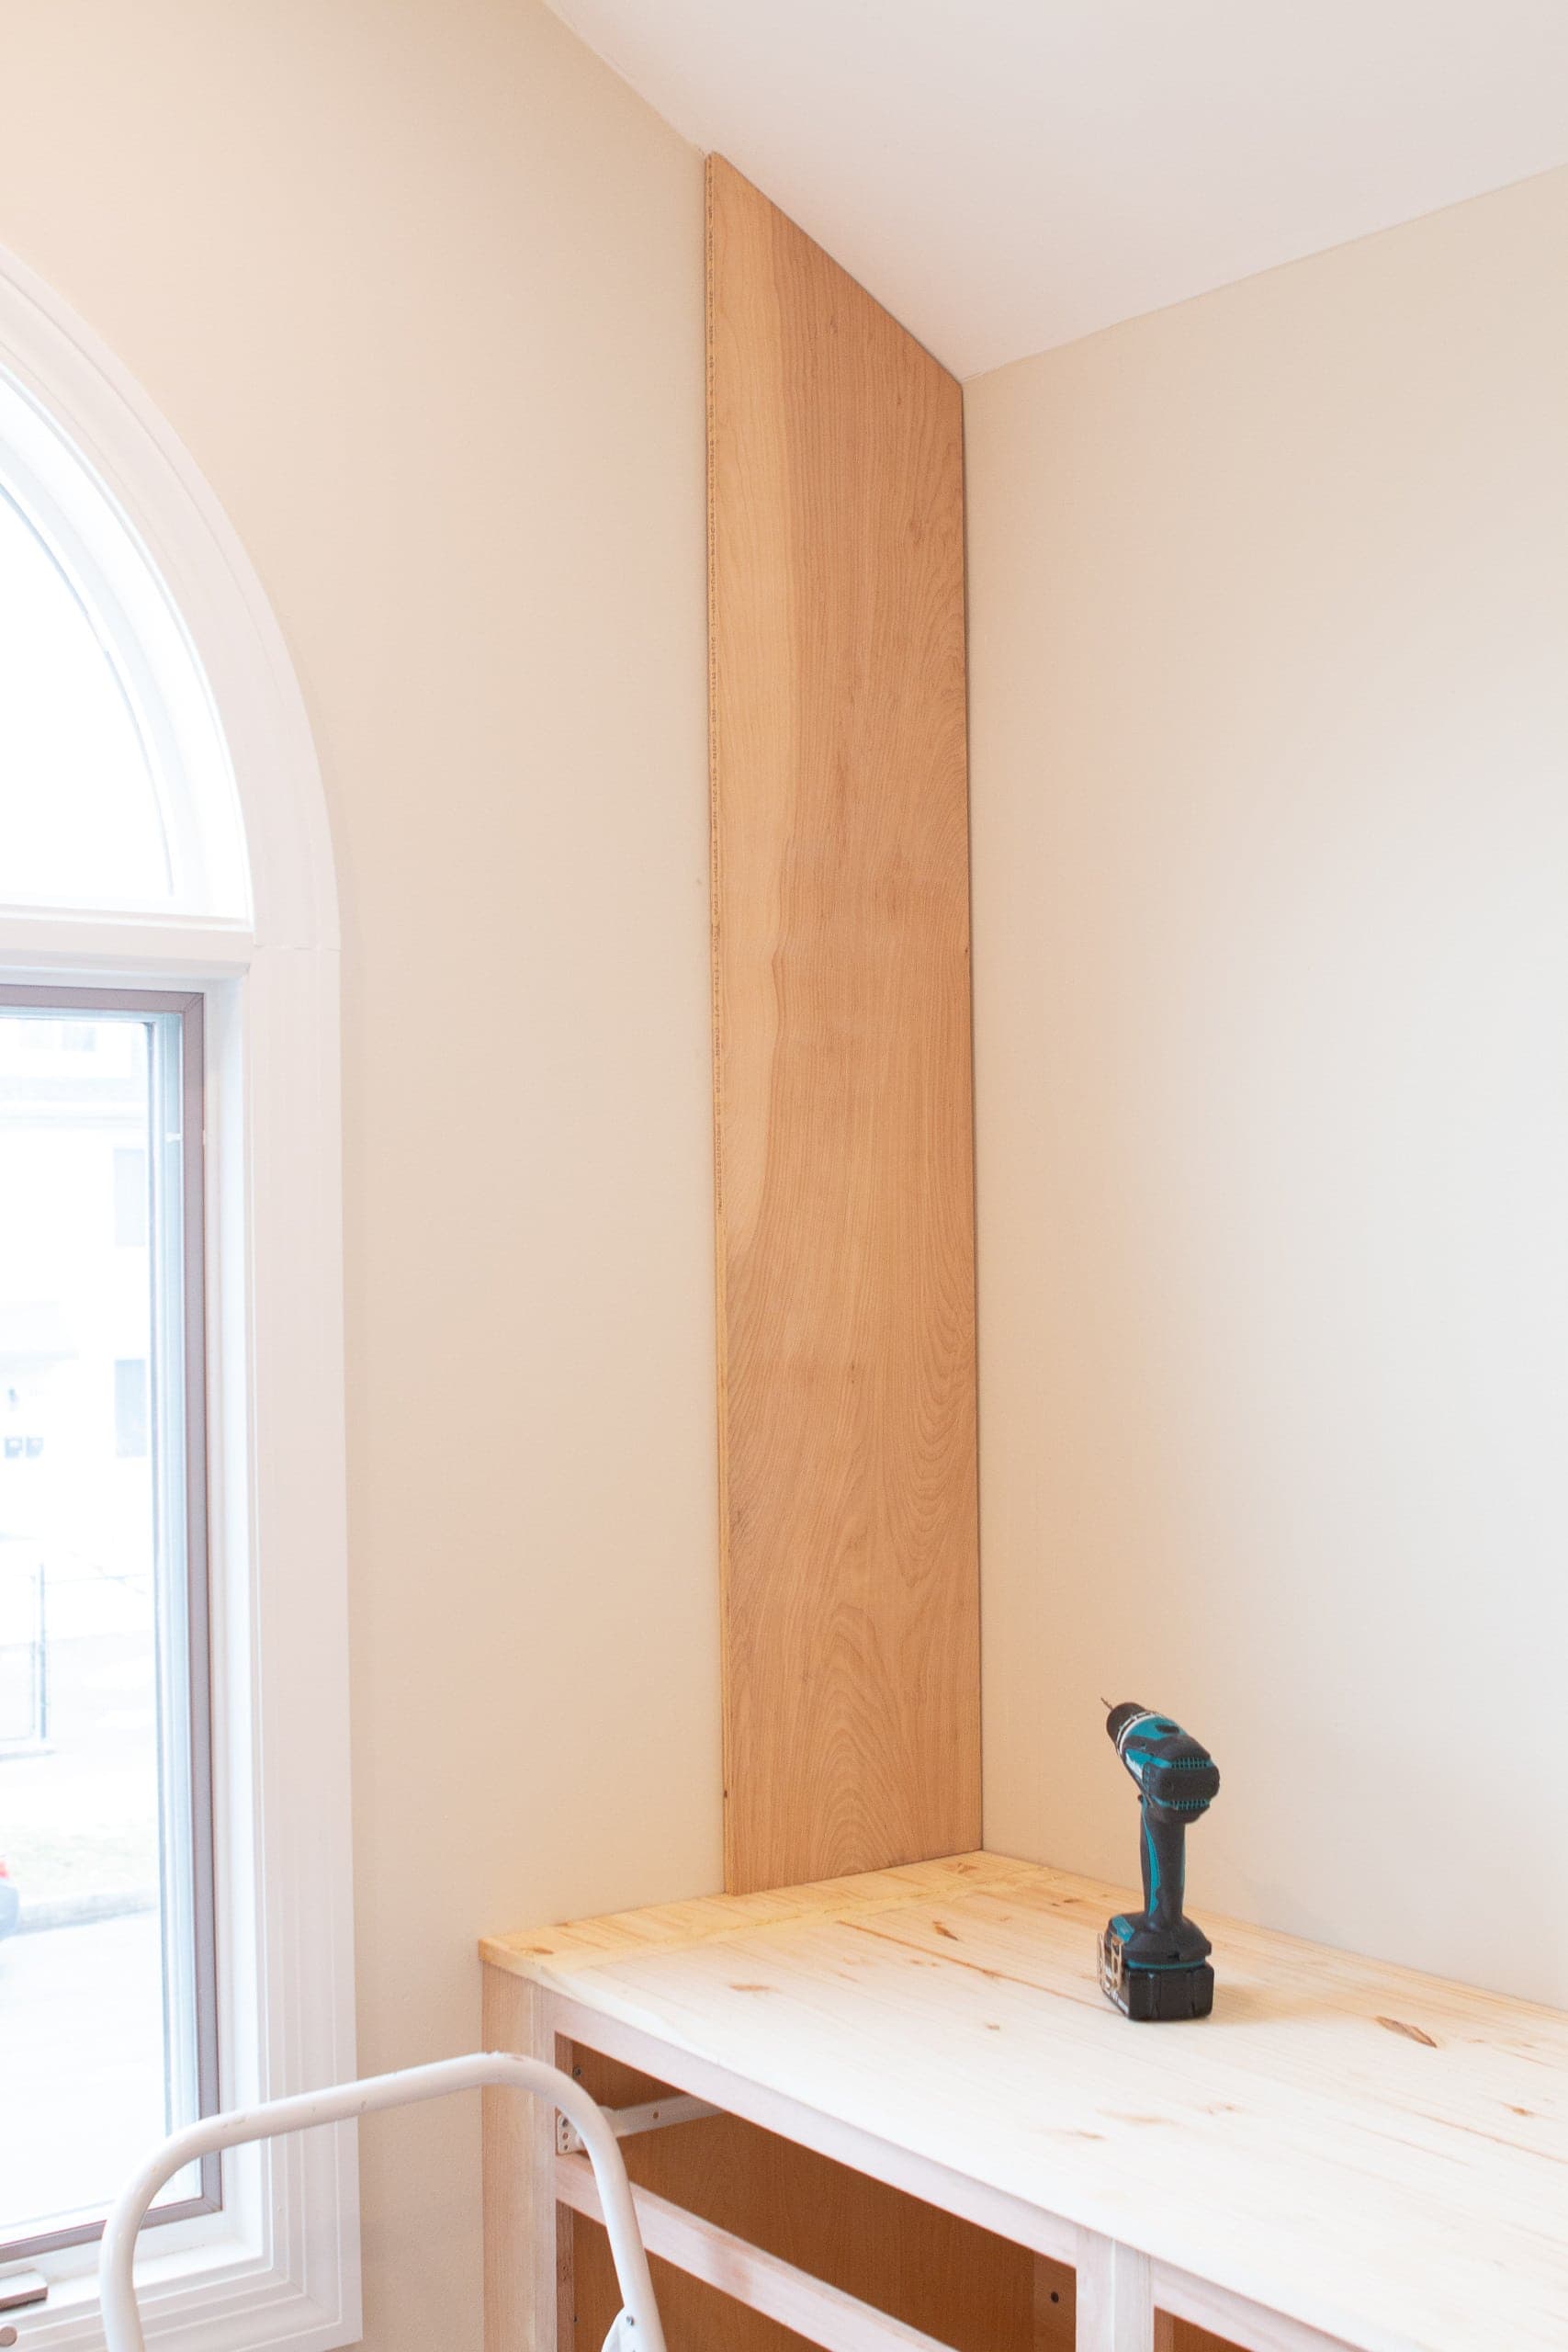
To make the angled cut on top, we measured the ceiling height at the wall and then the height 12.5 inches out from the back wall. This made the correct angle so our wood would follow the same line as the ceiling.
You’ll notice that we added extra vertical pieces onto the side walls on the left and right sides of the bookshelves. We did that in order to make the ends 1 1/2 inches thick, so they would match the other verticals on the bookshelves (this will make more sense once we get to the section about adding the poplar trim piece). Don’t forget to add these side panels.
These pieces were also 3/4 inch wider than the other vertical pieces (because they don’t have a backing like the bookshelves do). I just screwed these pieces directly into the wall studs using 2 1/2 inch wood screws. 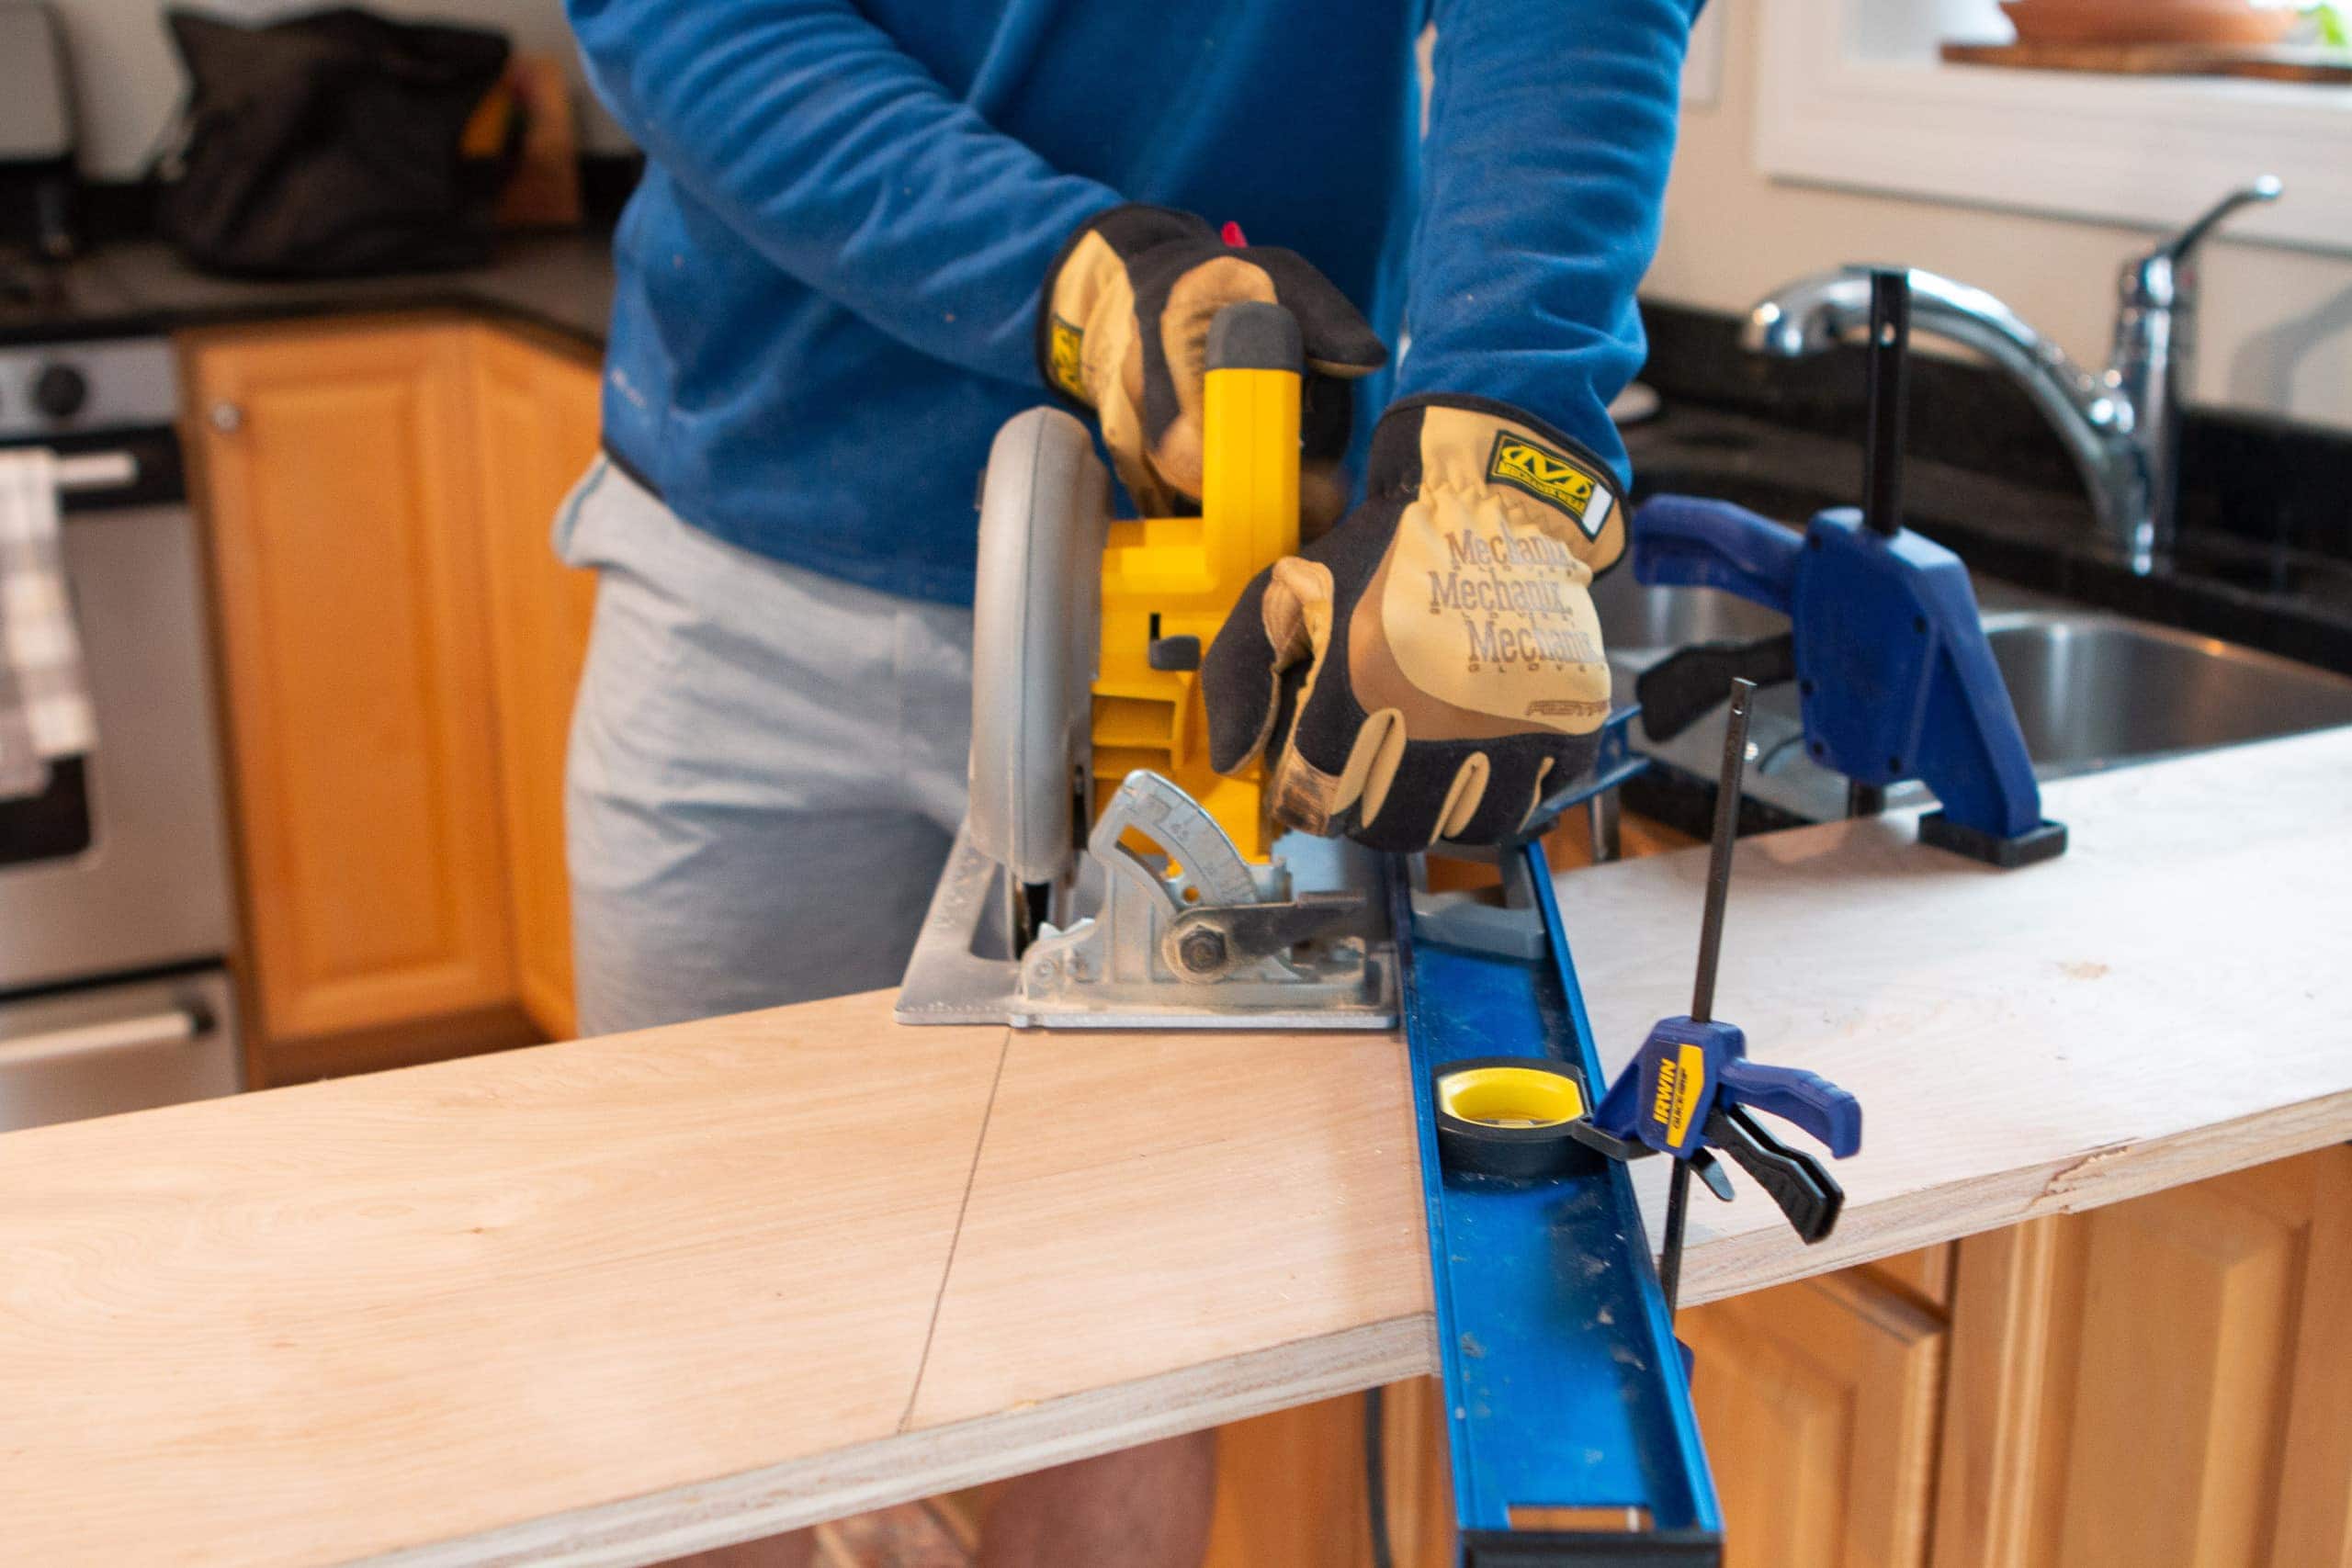
Finn then made two more vertical pieces for the frame of our bookshelves with the angled tops. And then he cut three straight shelves at 11 3/4 inch deep.
Build your DIY Bookshelves
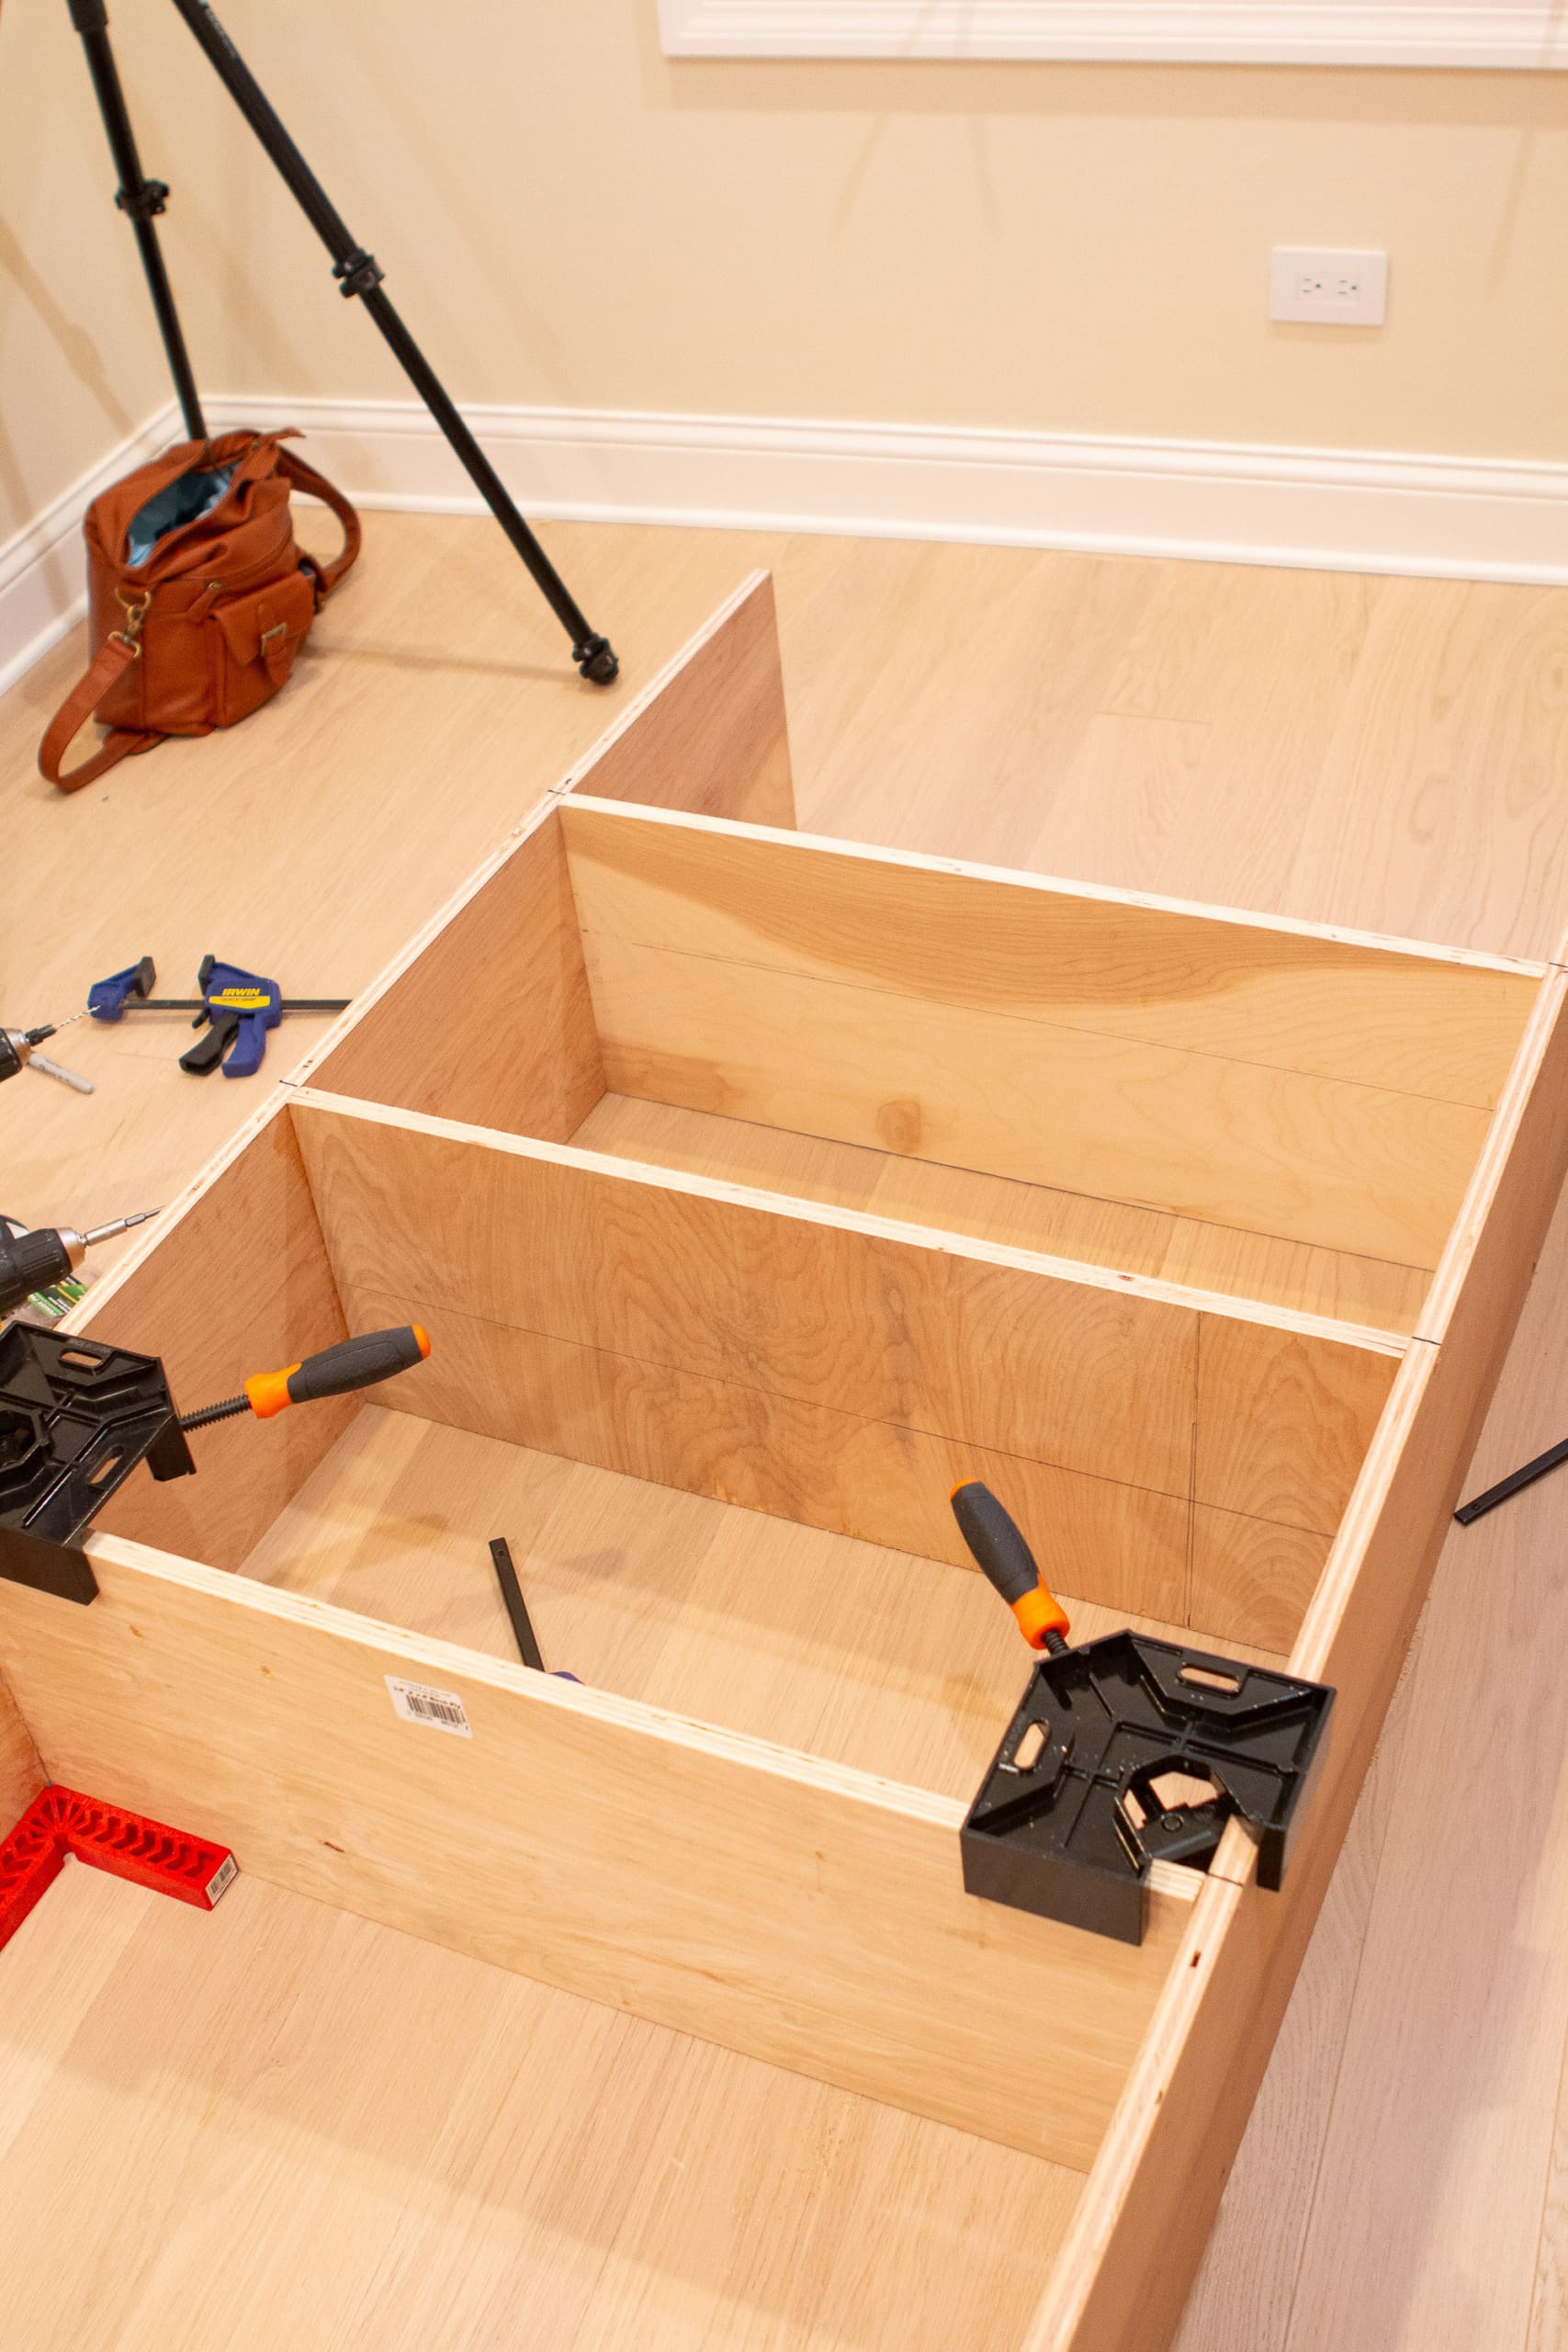
While Finn did the cuts, I handled the building. Once the five first pieces were cut, I got to work assembling them. I marked the distance for each shelf and then used corner clamps to hold the shelves in place as I attached them. 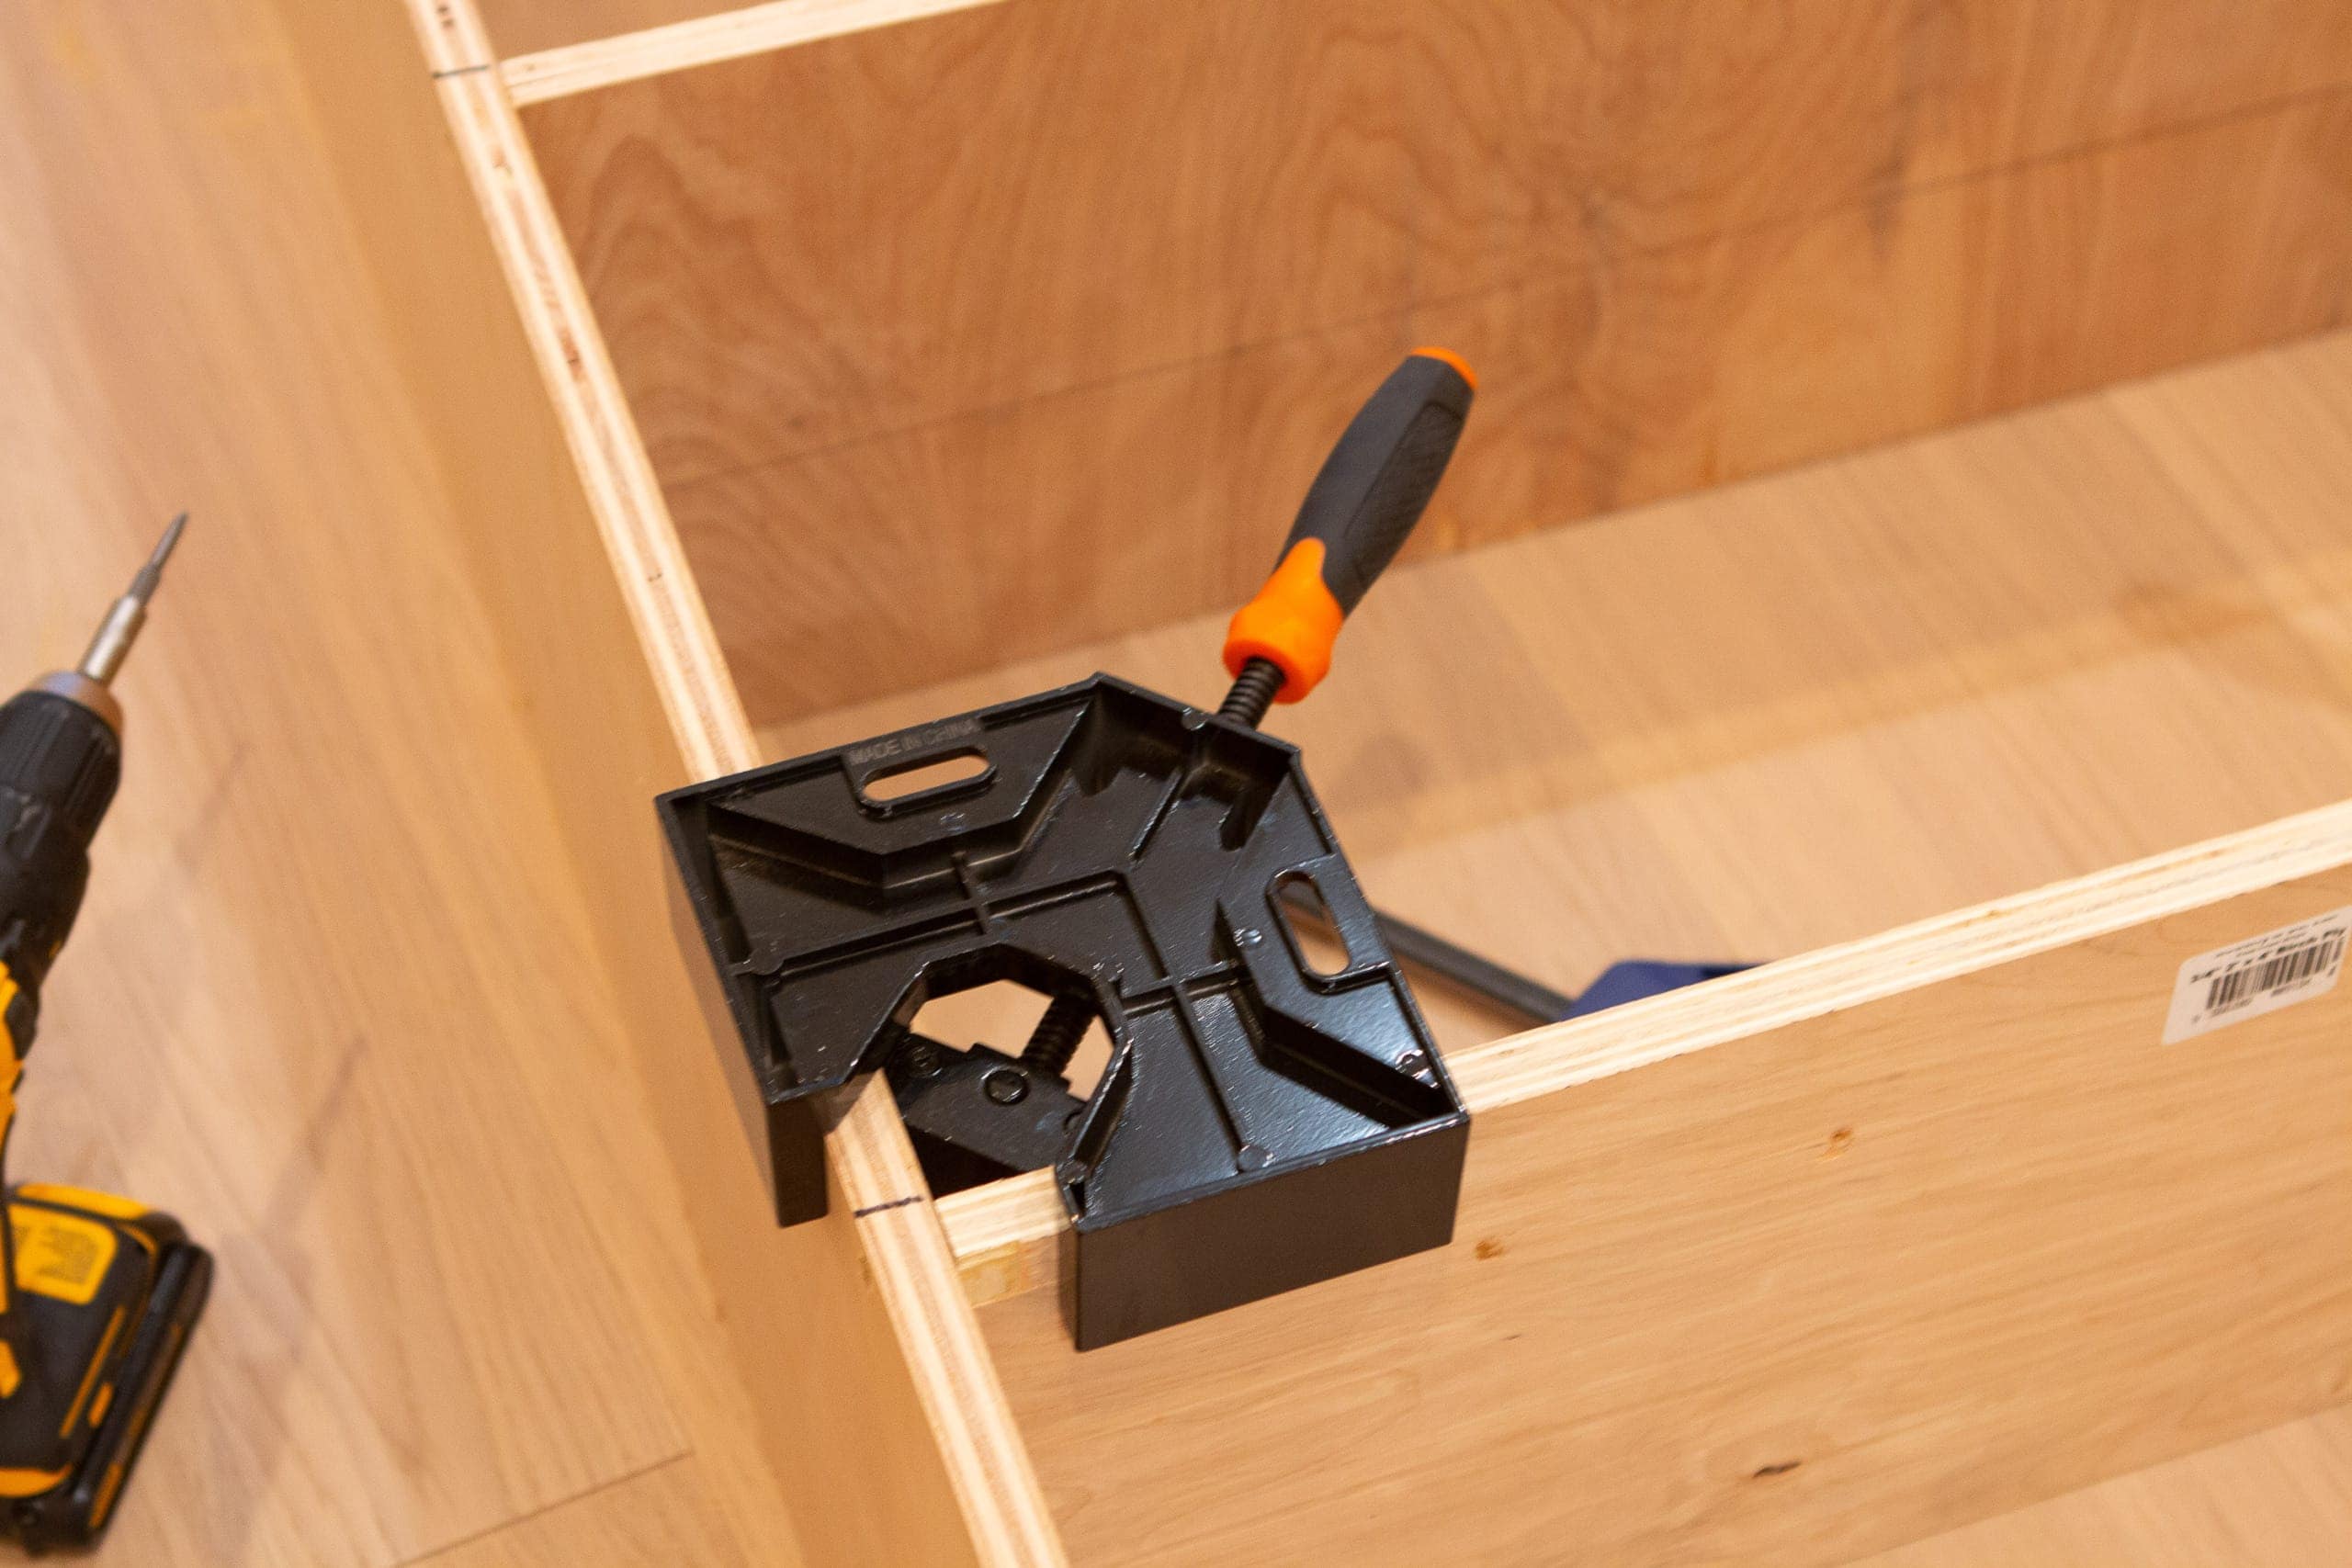
These clamps are a must for this project. I honestly don’t know how you would build these without them. They create a perfect 90-degree angle and hold it securely in place so you can assemble it. 
I ended up using Gorilla Glue on the edges of each shelf for extra hold. 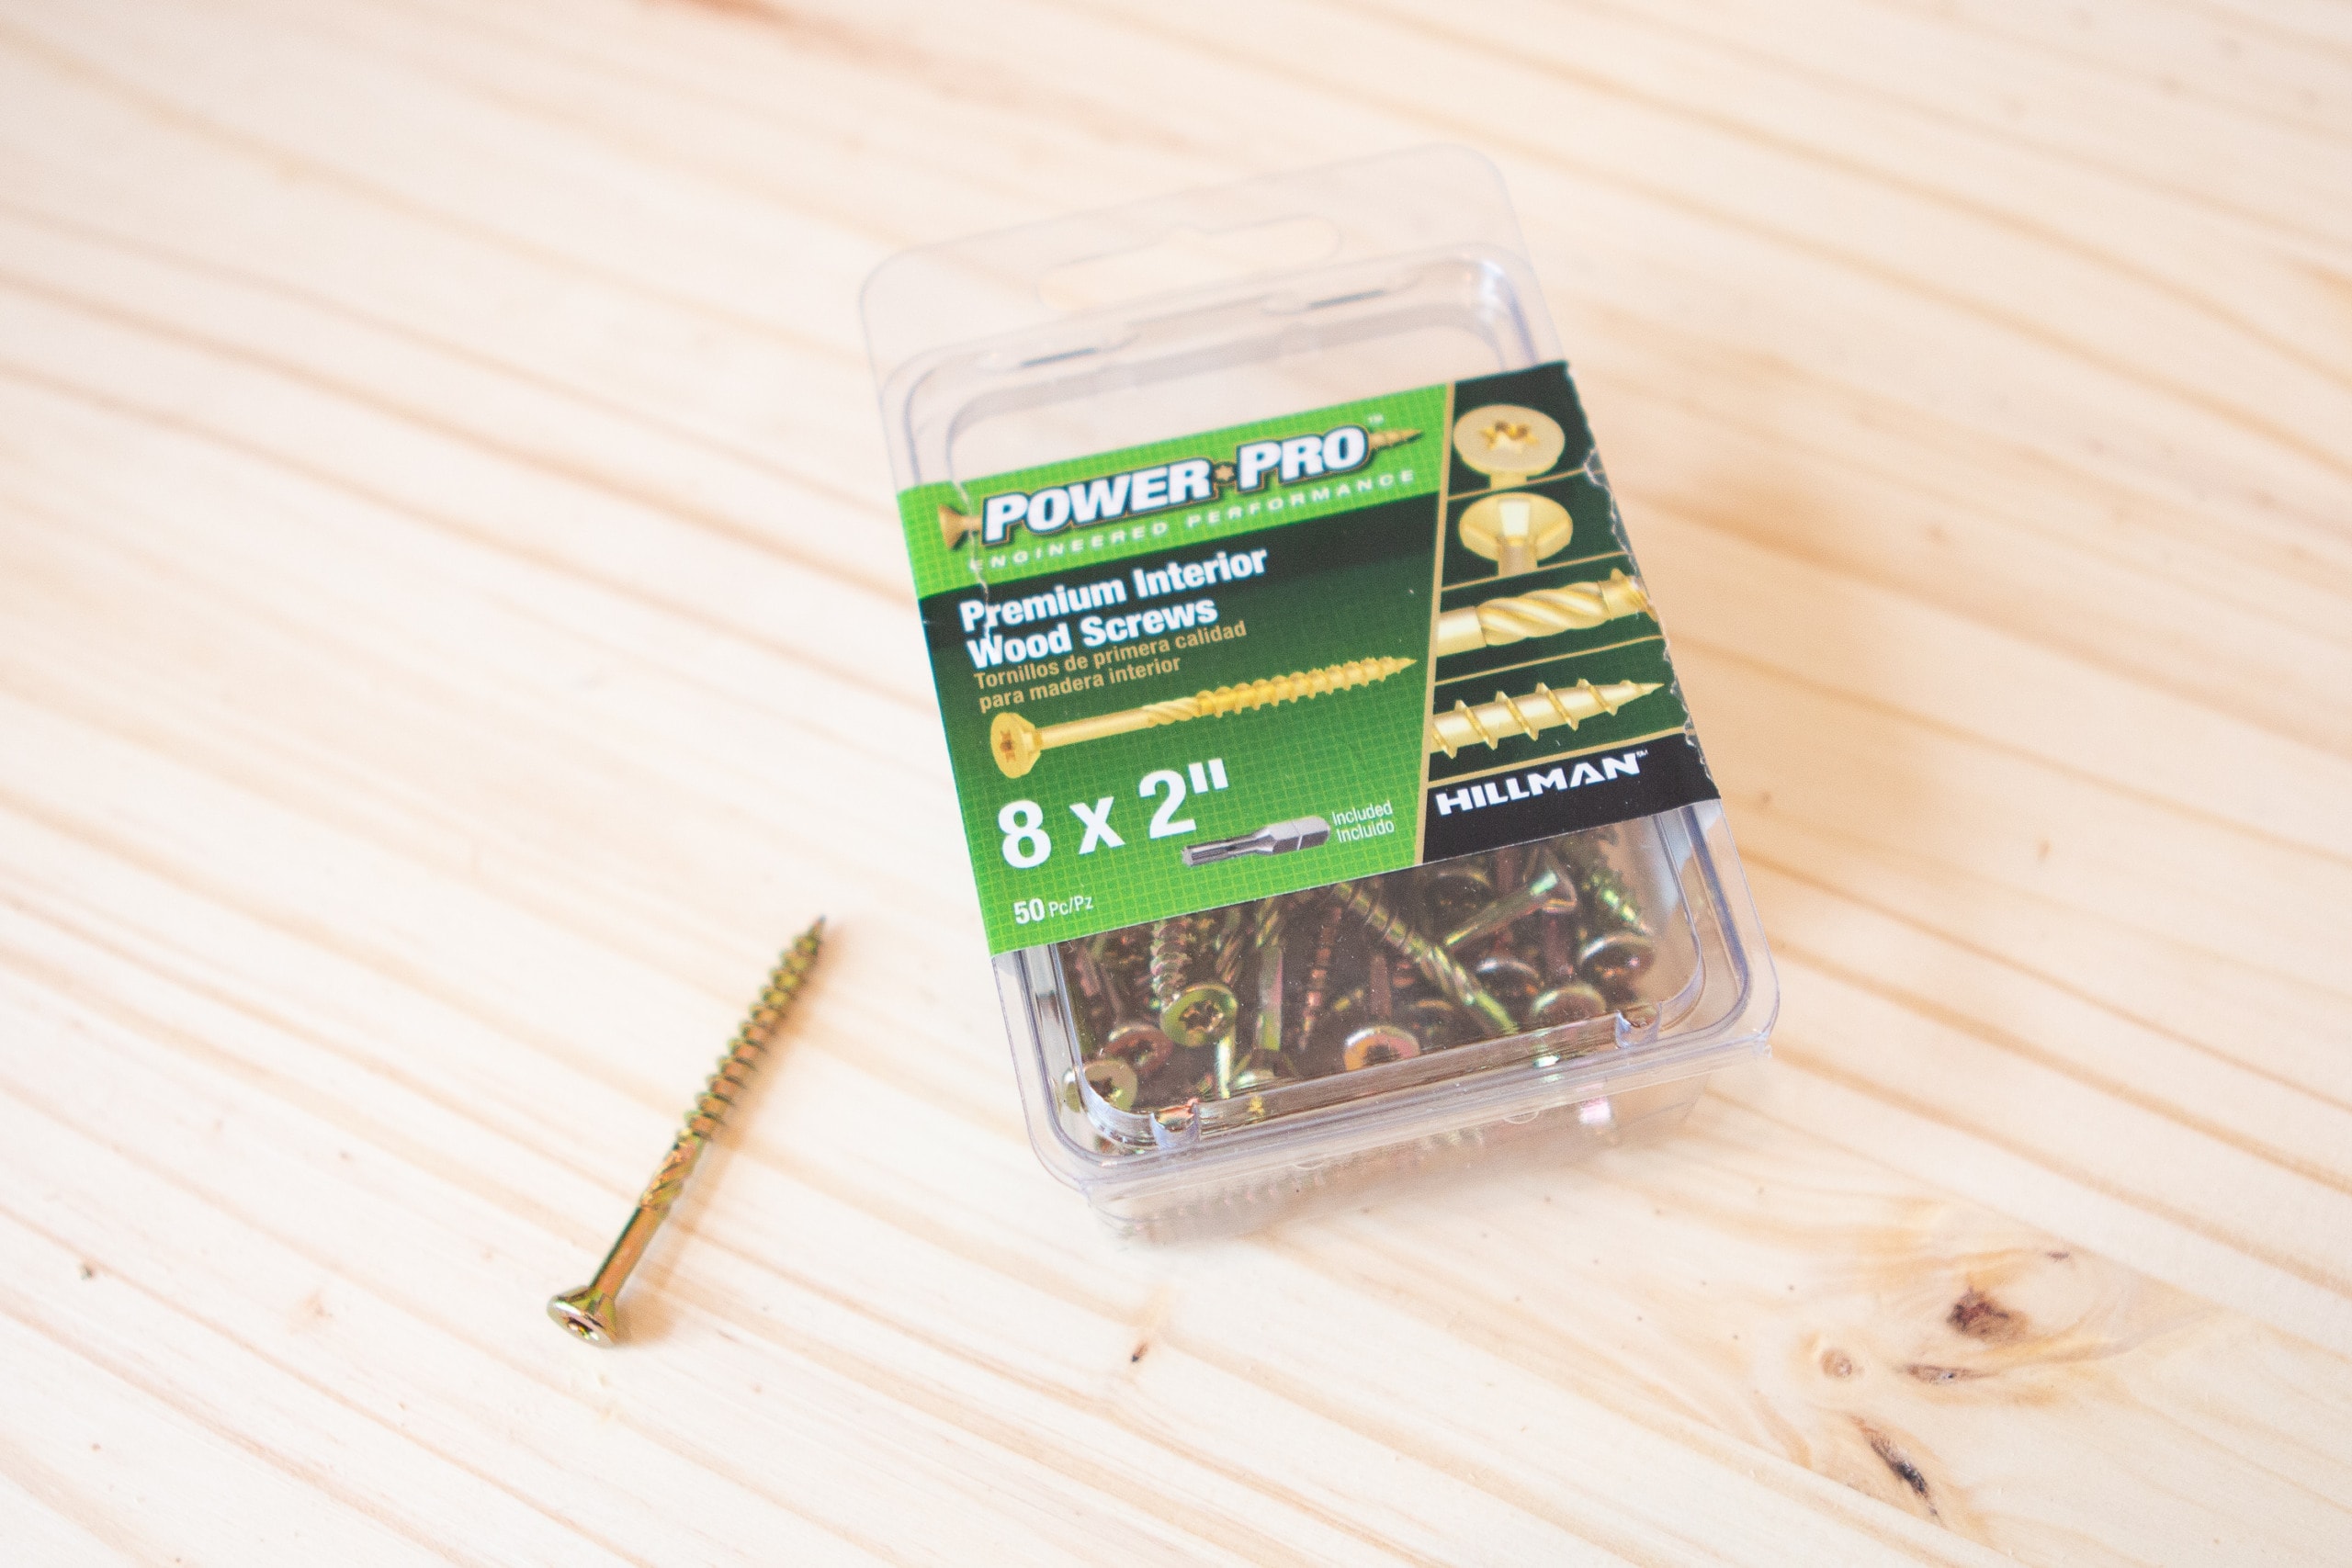
Then, I drilled in these two-inch wood screws to hold it in place. I installed two on each side for each shelf. 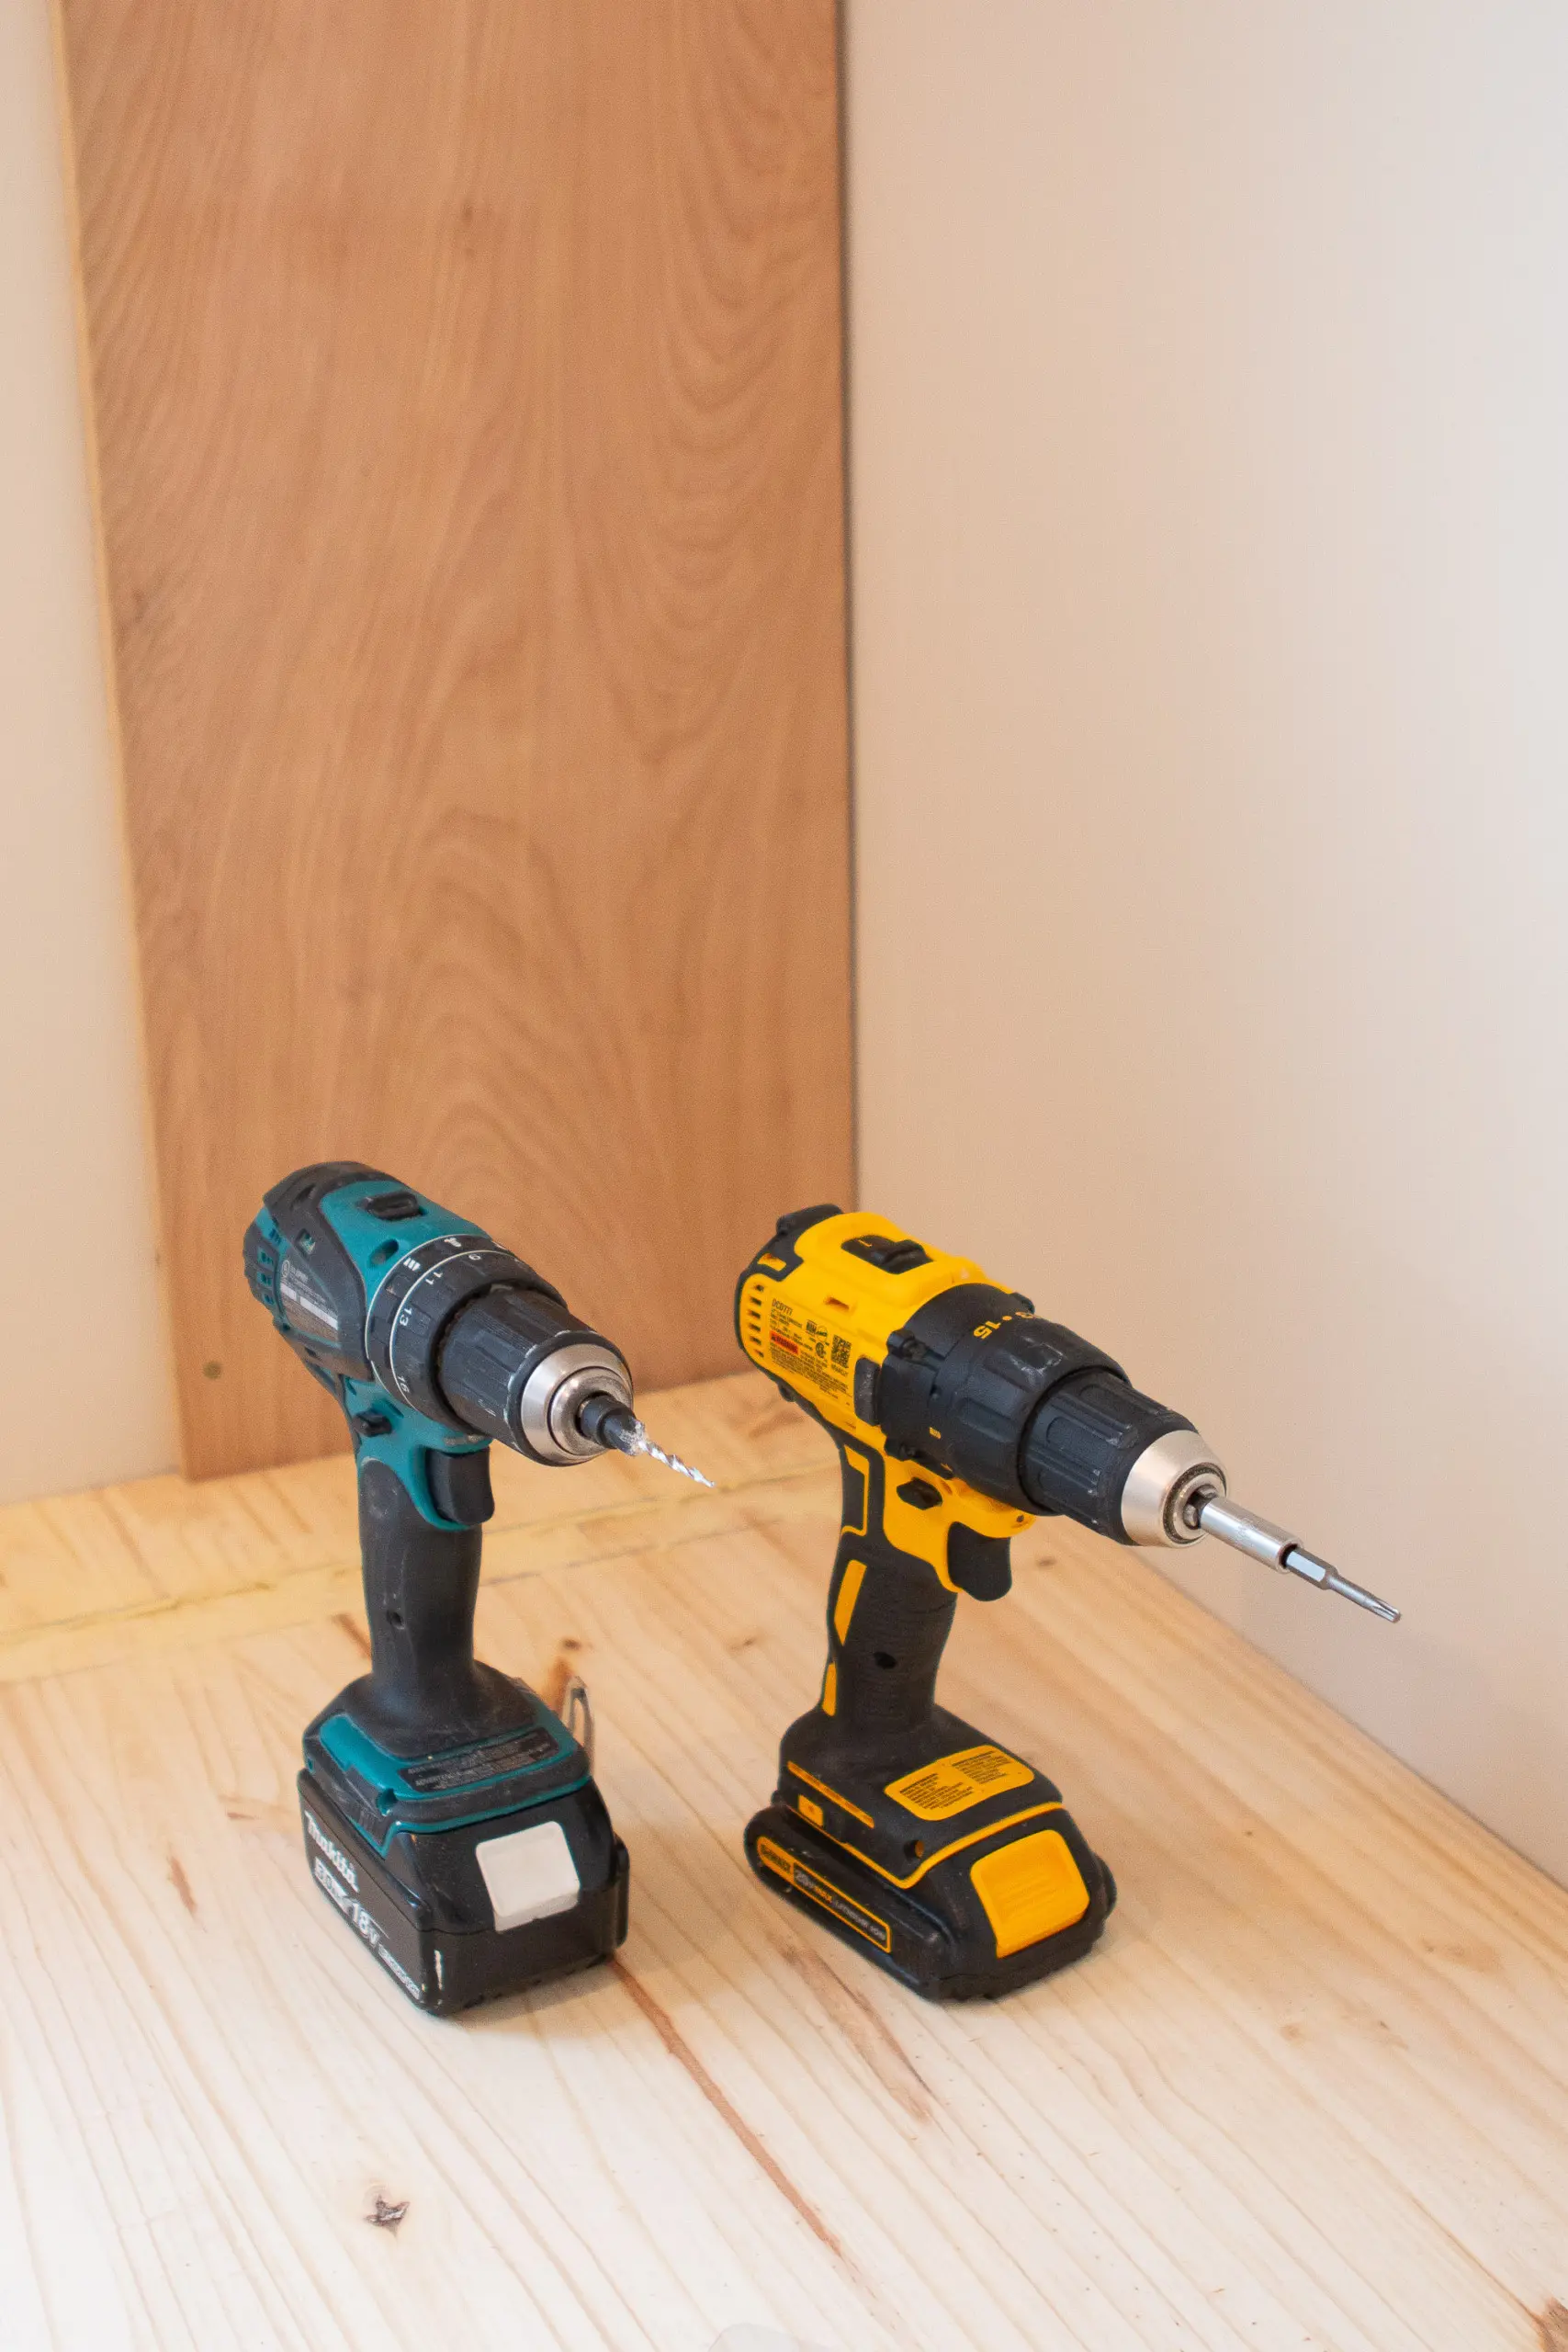
As I mentioned in part one of the built-ins, it’s smart to have two power drills on hand. I had one with a countersink bit on it and the other had the tip so I could easily drill in the screw. This saved so much time. 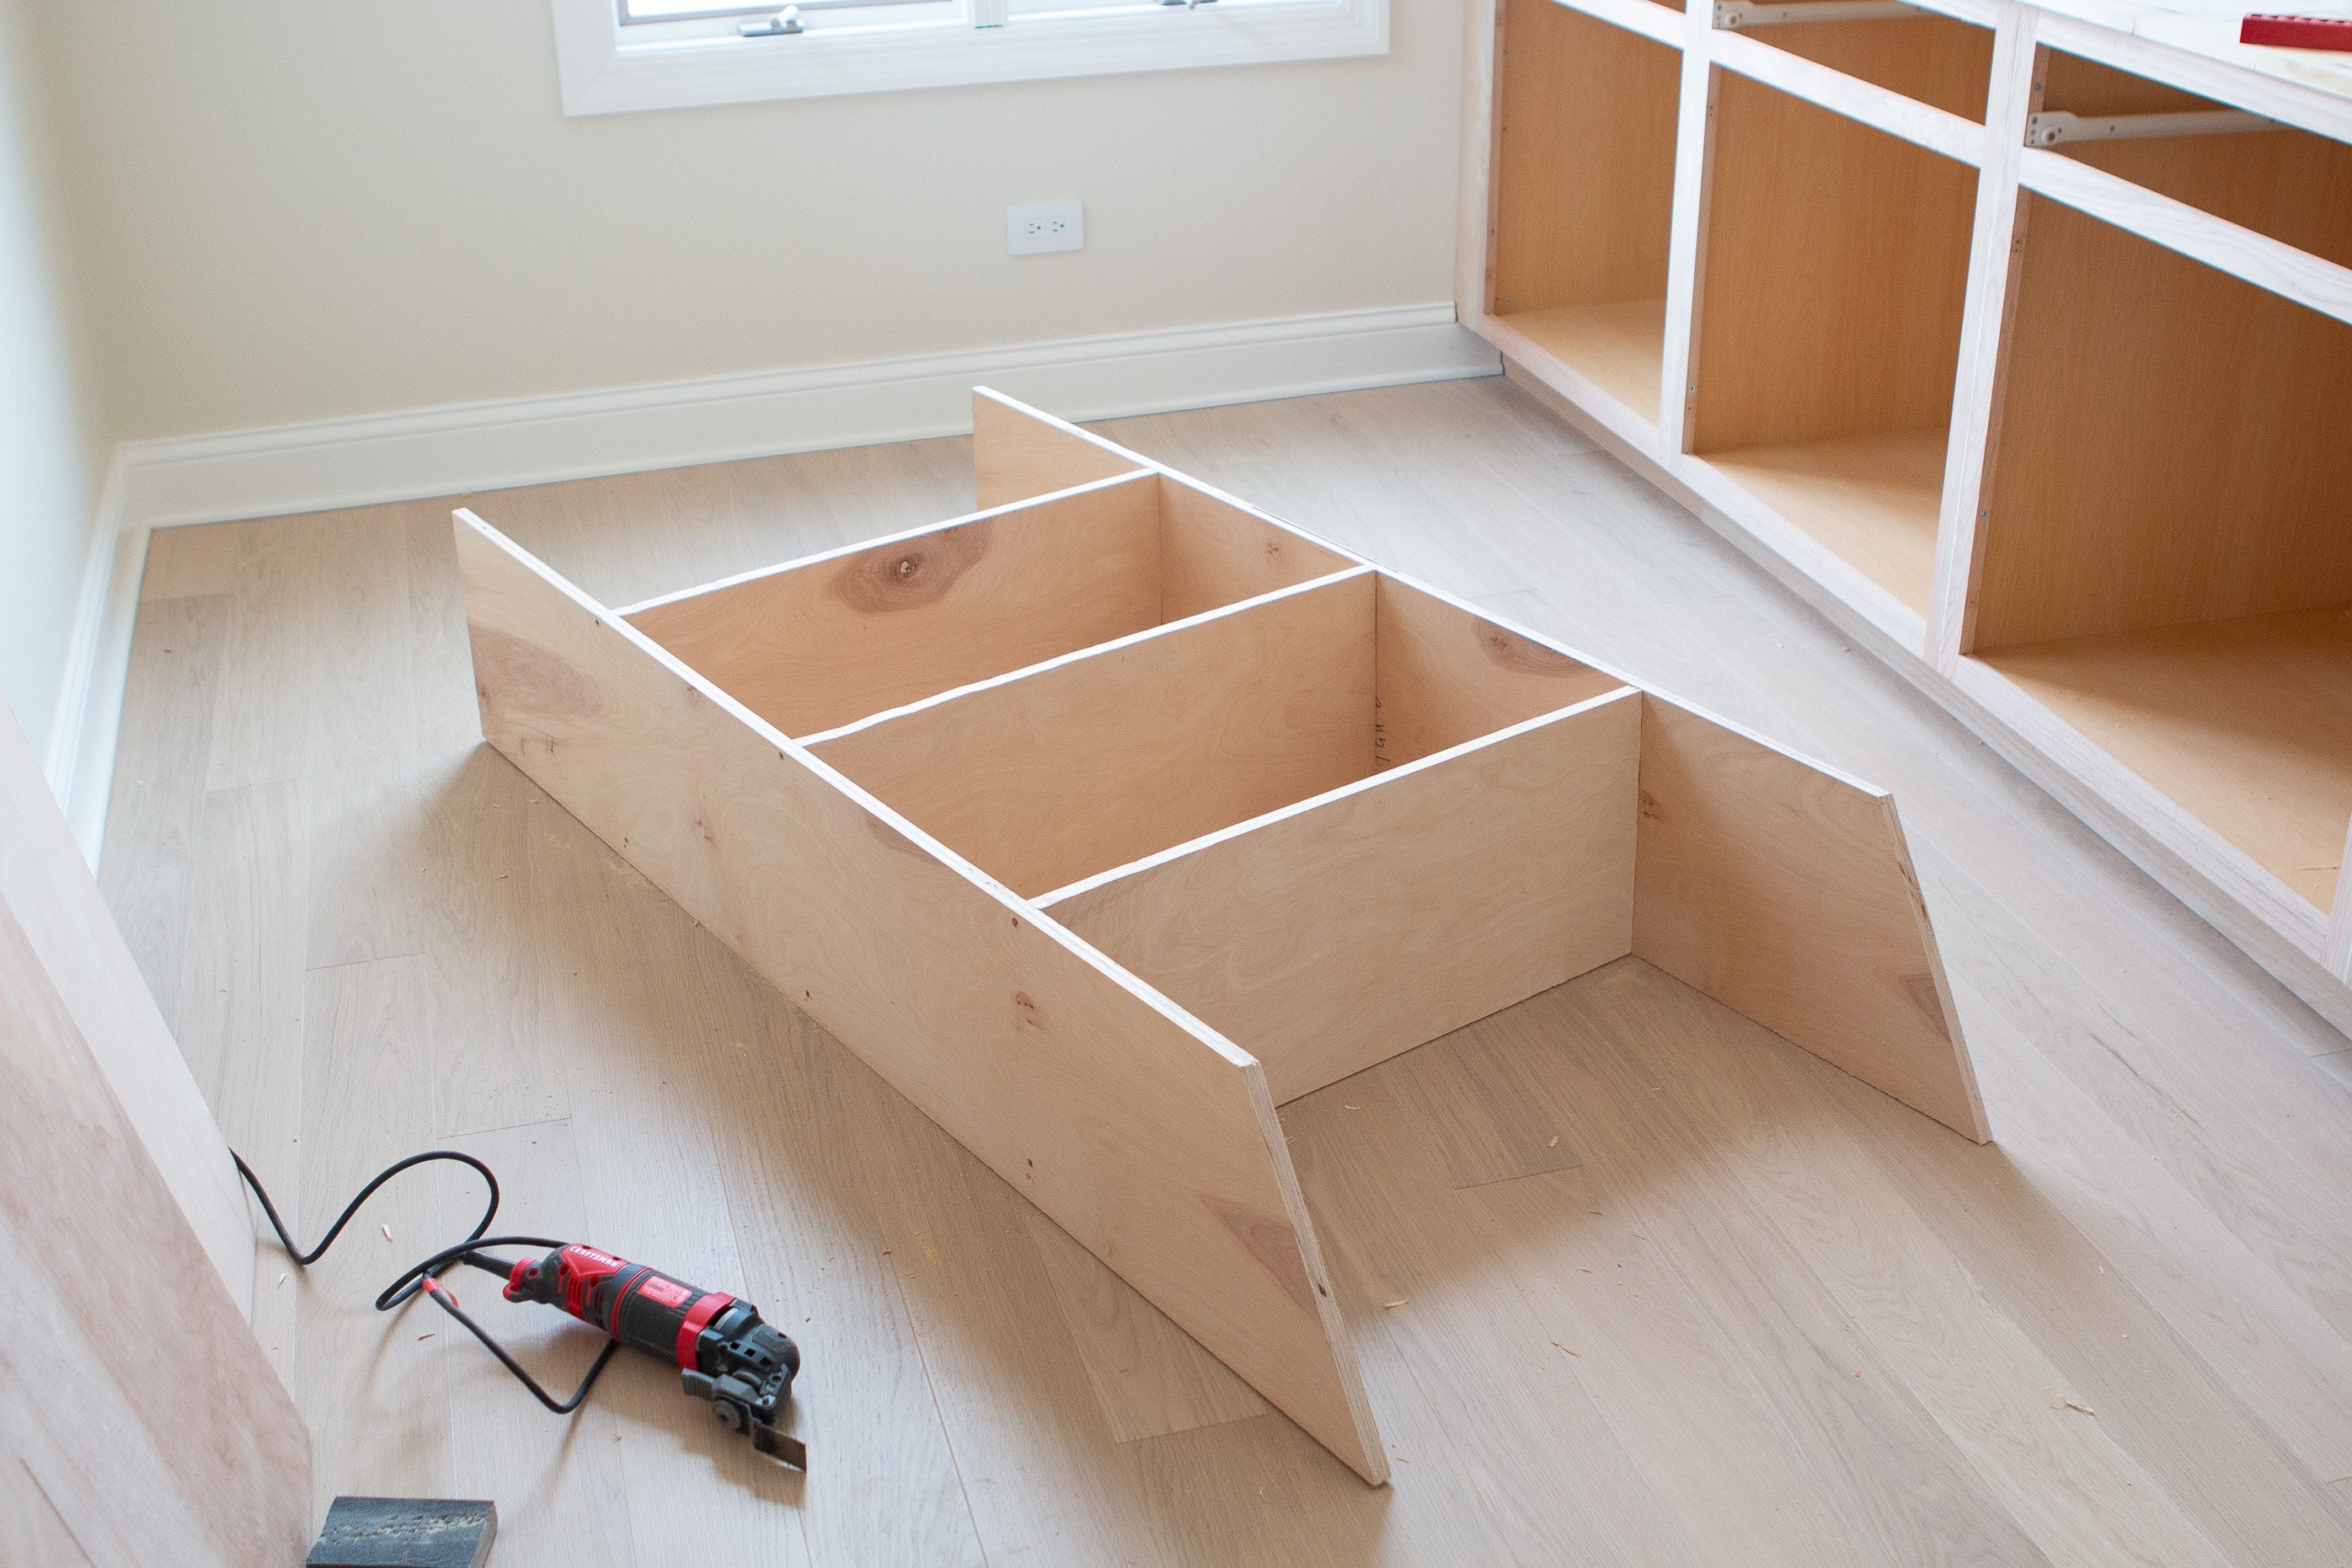
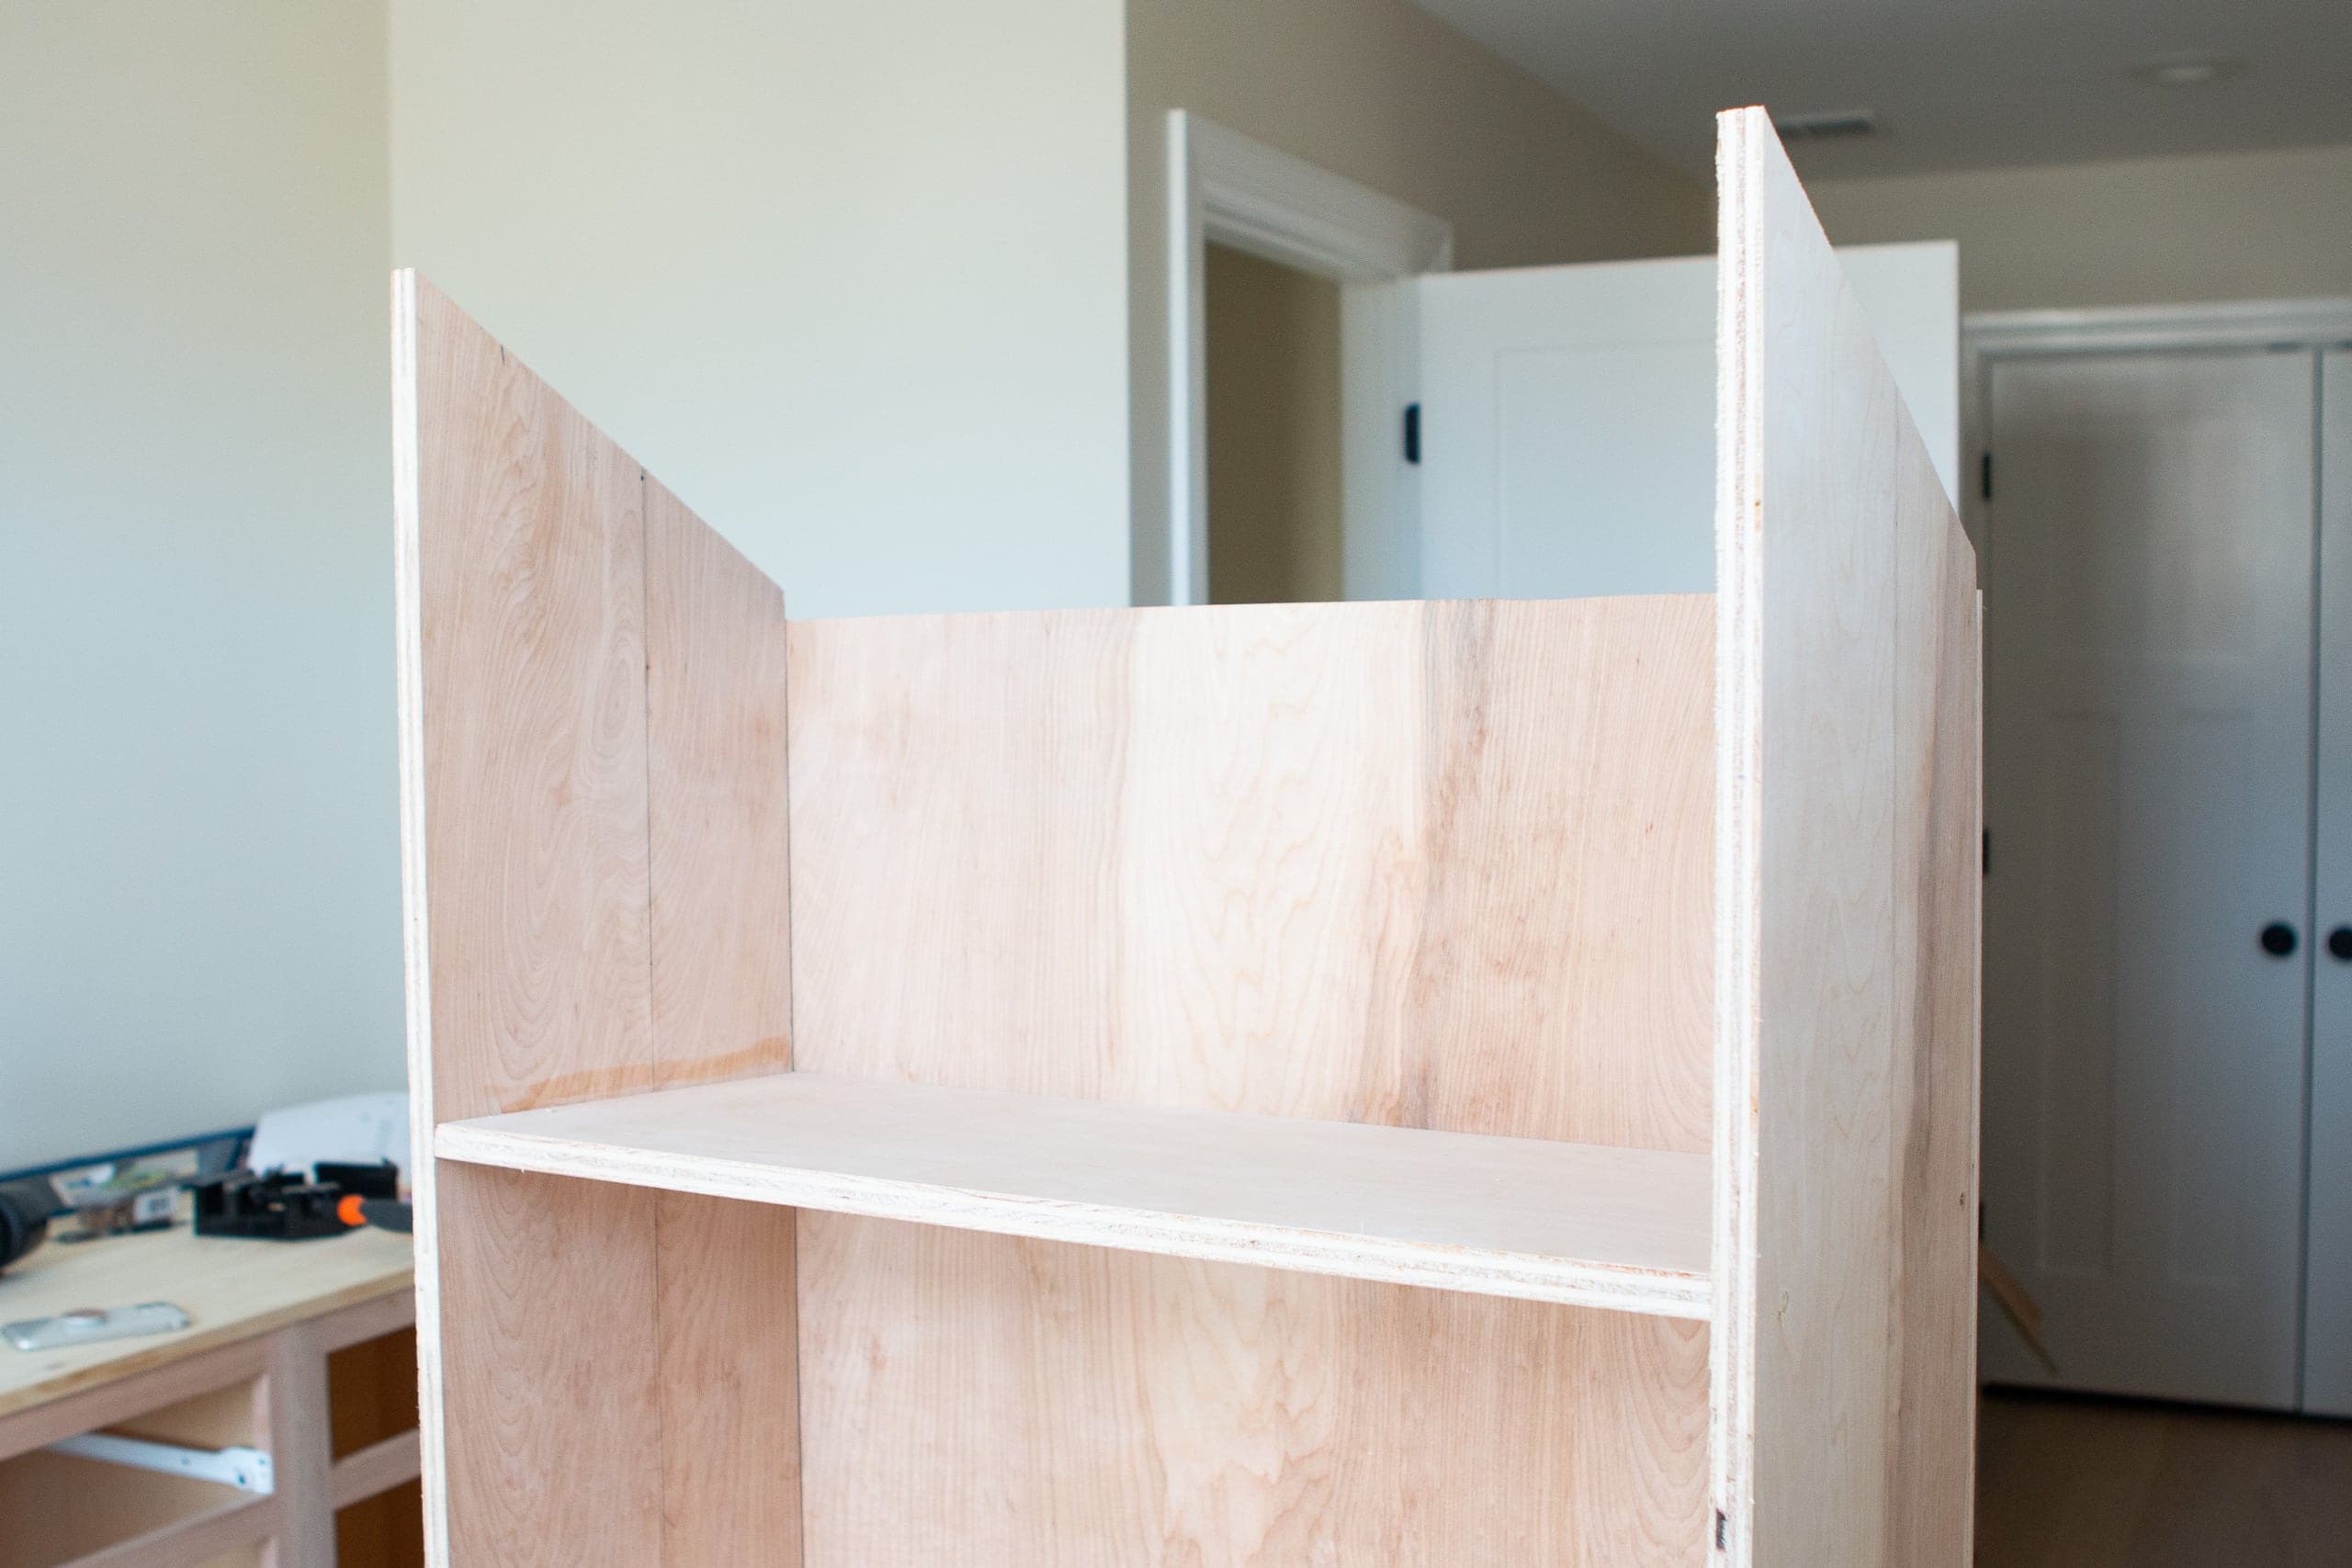
With the shell of the unit built, Finn then measured the back of the bookshelf to cut a backing. We decided to use a backing on ours to make them more secure and stable. I attached the back just like I did the shelves, using wood glue and screws. We then sat it upright, making sure each shelf was level.
Make an Angled Cut
Once we had the back on, we could measure for the top portion of the back that would cover the ceiling. This was the same length as the shelves, but a longer depth and with angled ends. We found the angle on the ceiling using a protractor and then matched the front and back cuts to that (you can set the angle on the circular saw). At first, it was a bit of a brain teaser but we eventually got there.
Place Bookshelf On Cabinets & Repeat
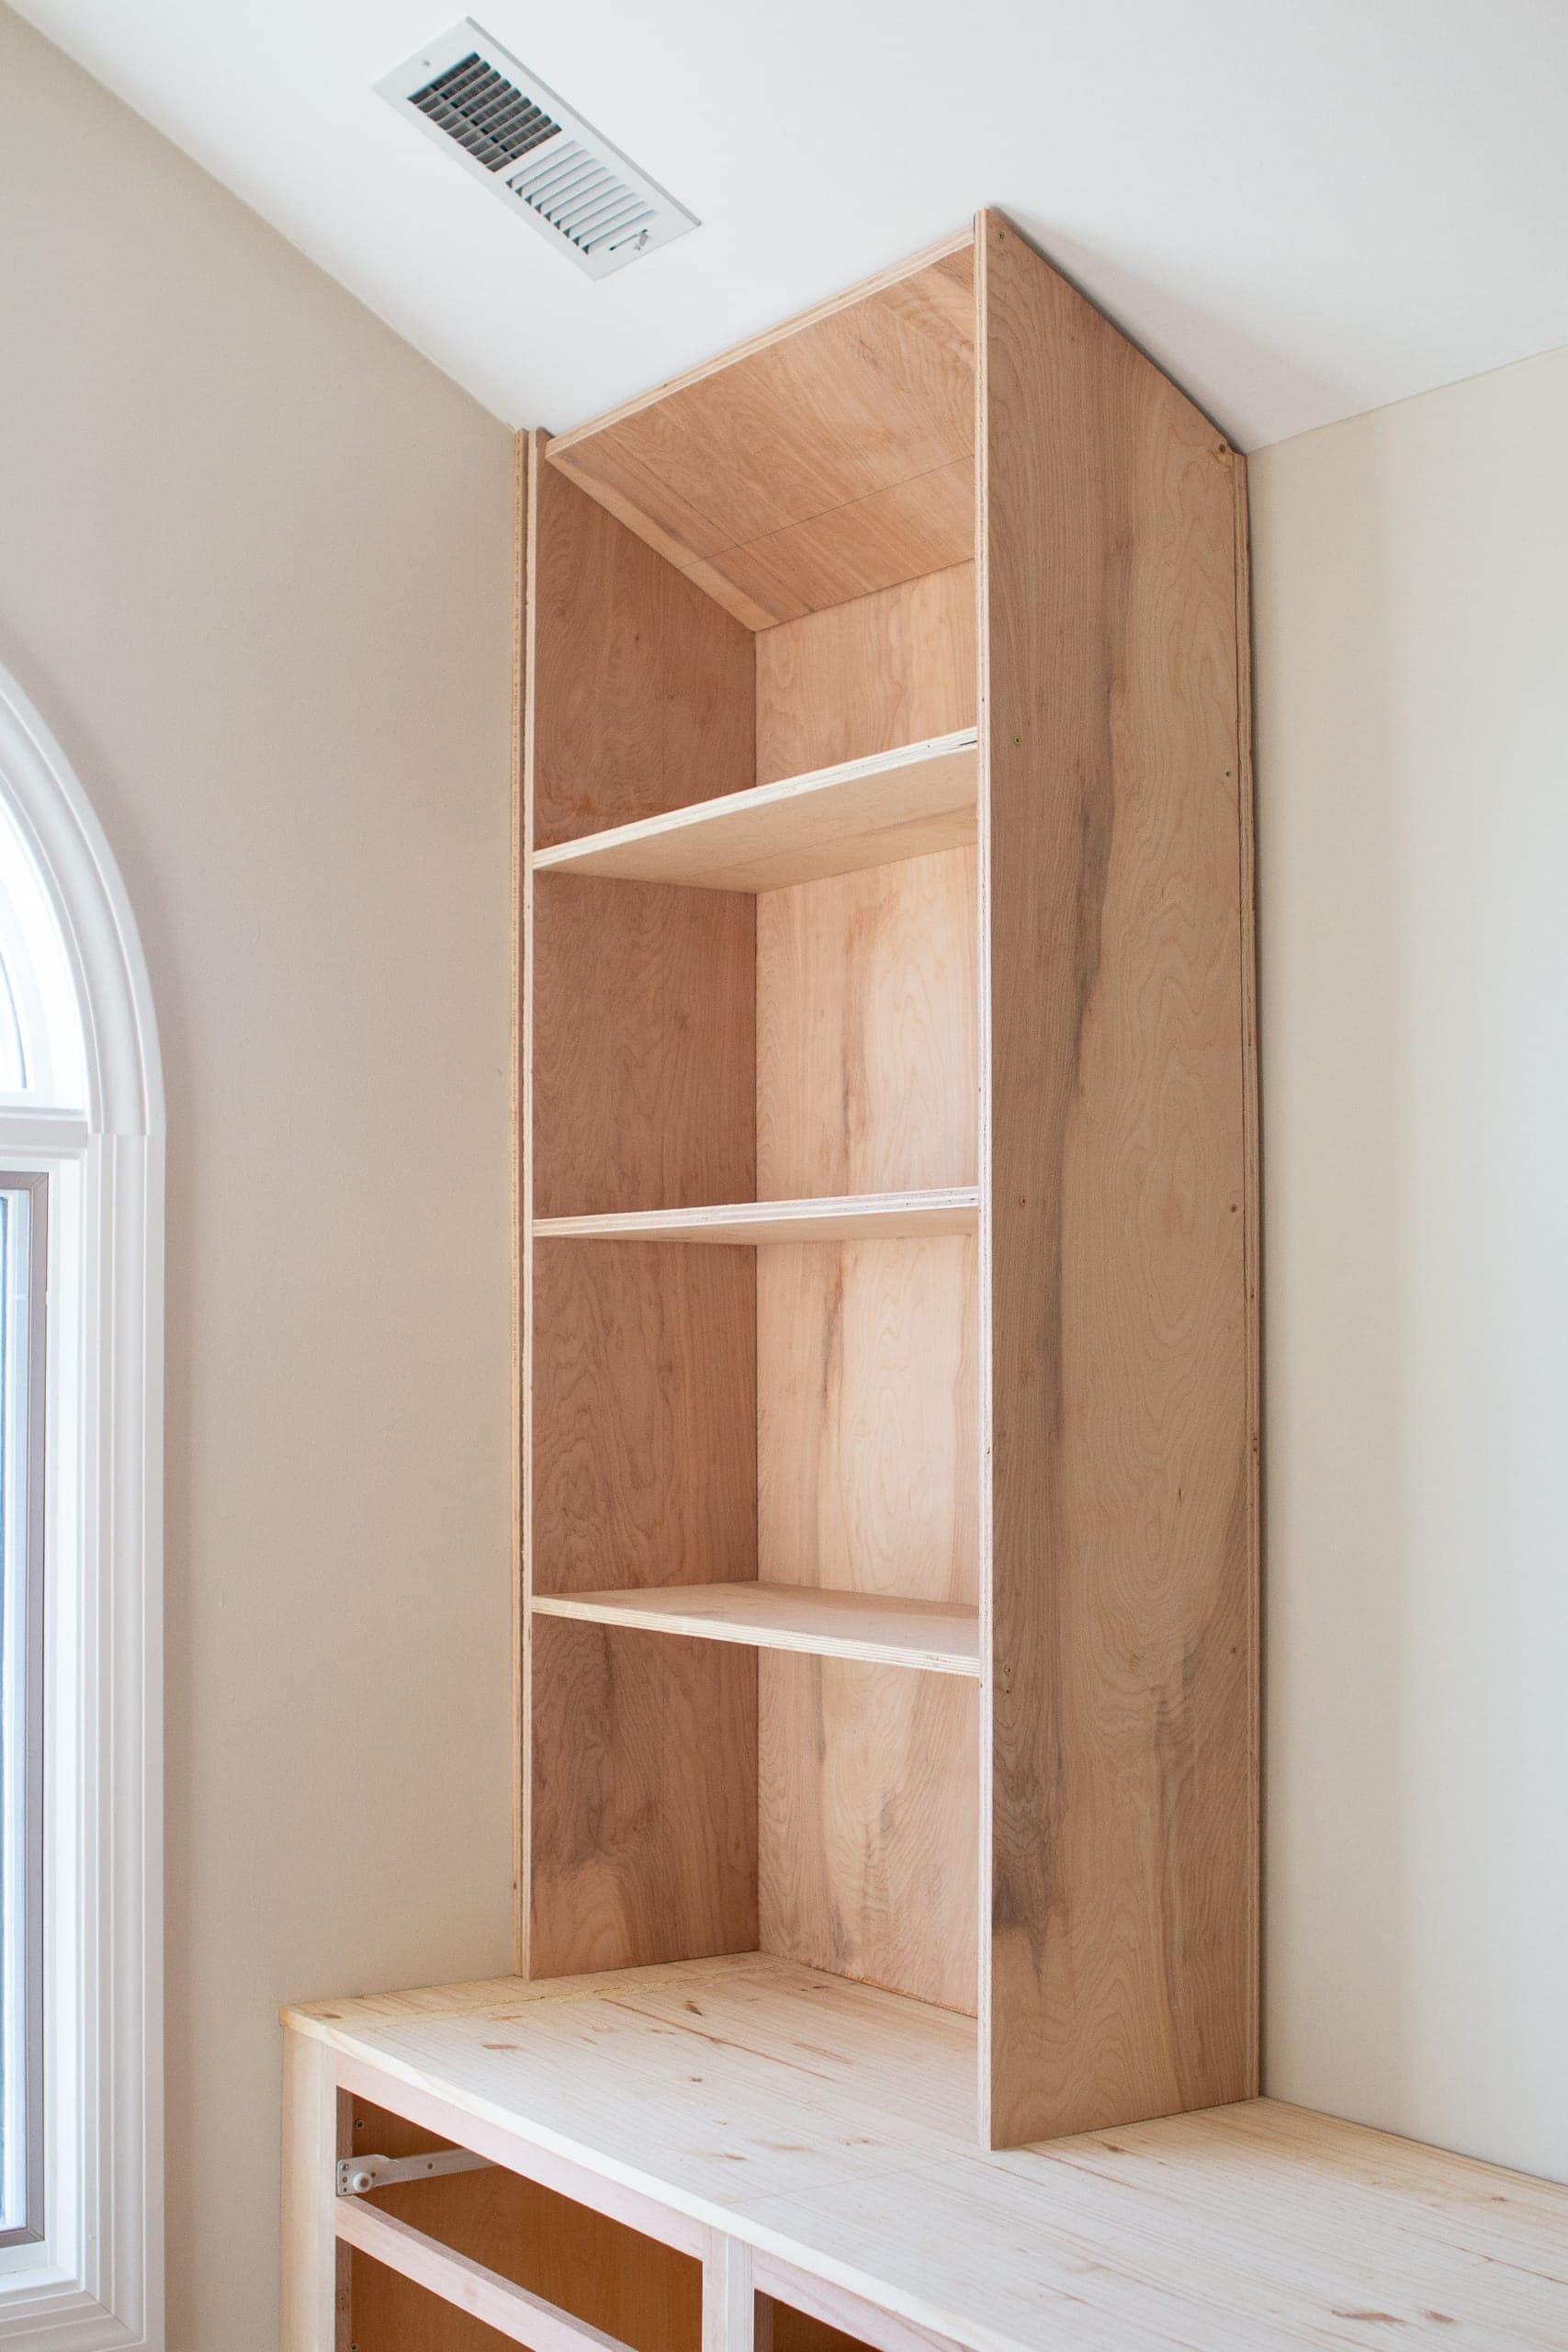
Once we had that first bookshelf done, we measured for the second and got to work.  I highly recommend measuring as you go for the vertical pieces because your ceiling may not be perfectly straight and you need those angles to be correct for your wood to fit.
It ended up taking us three full days to build all four bookshelves, but we did it! I may be finding sawdust in our home for the next year though…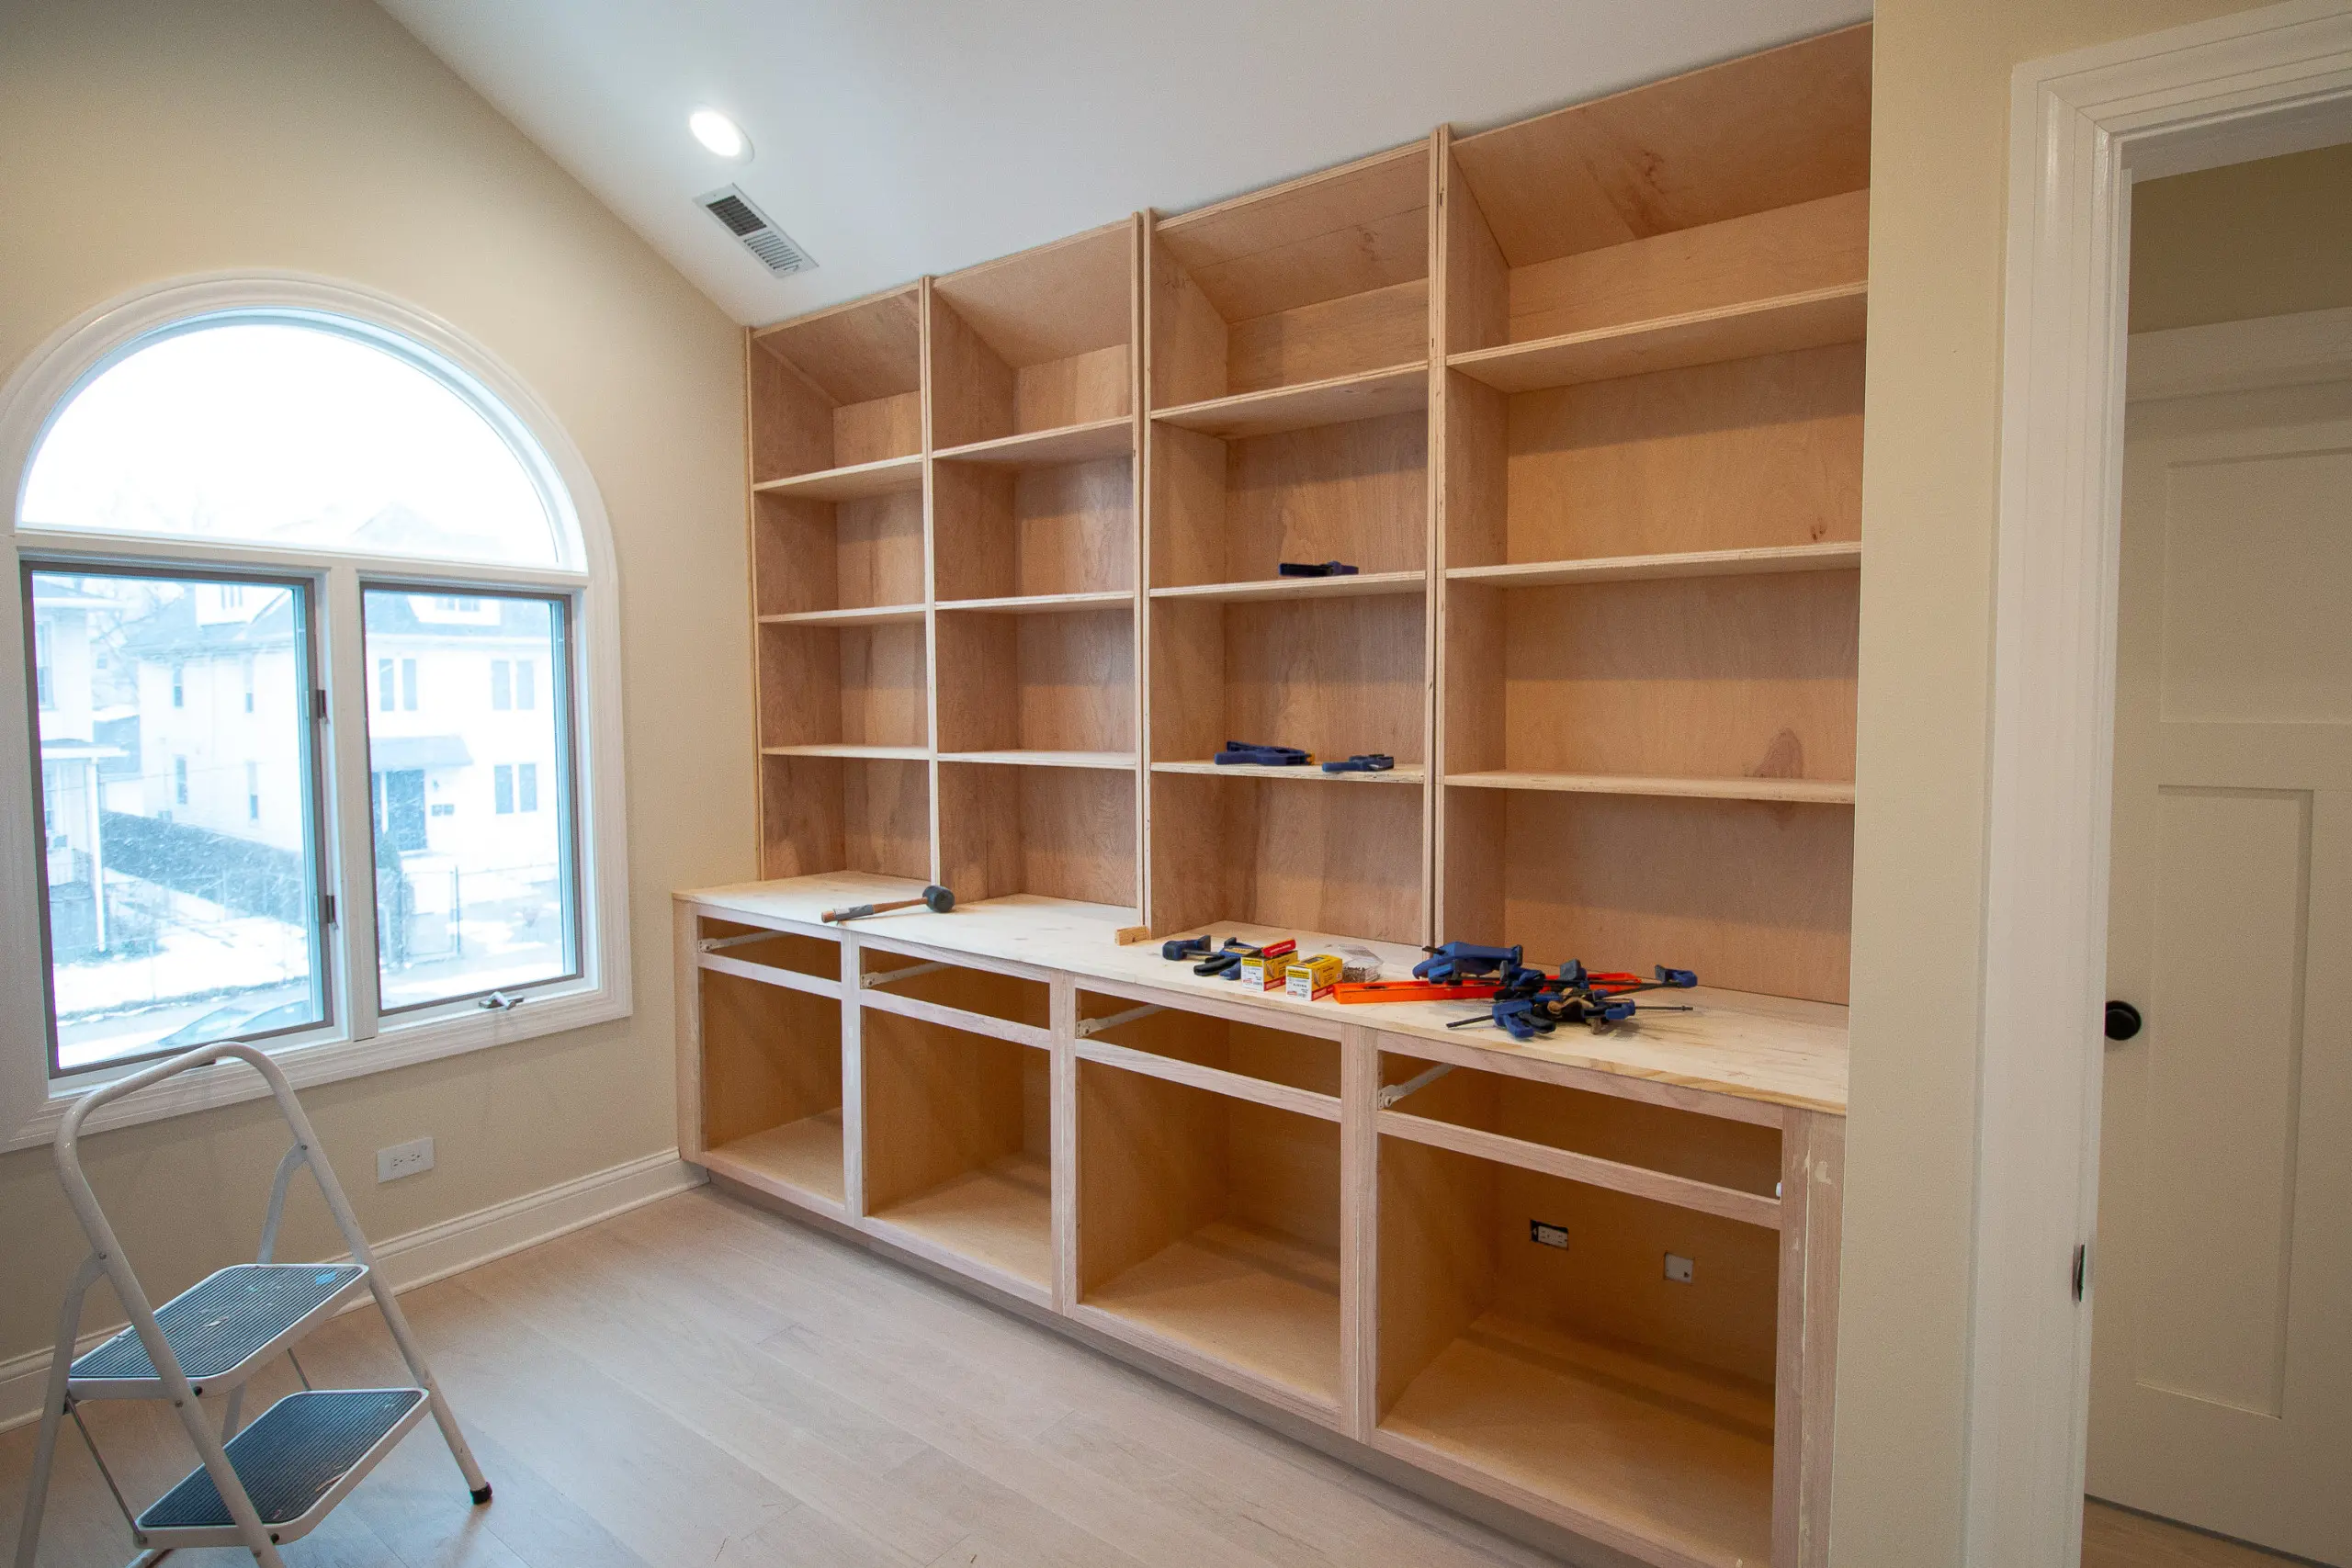
Attach your Bookshelves
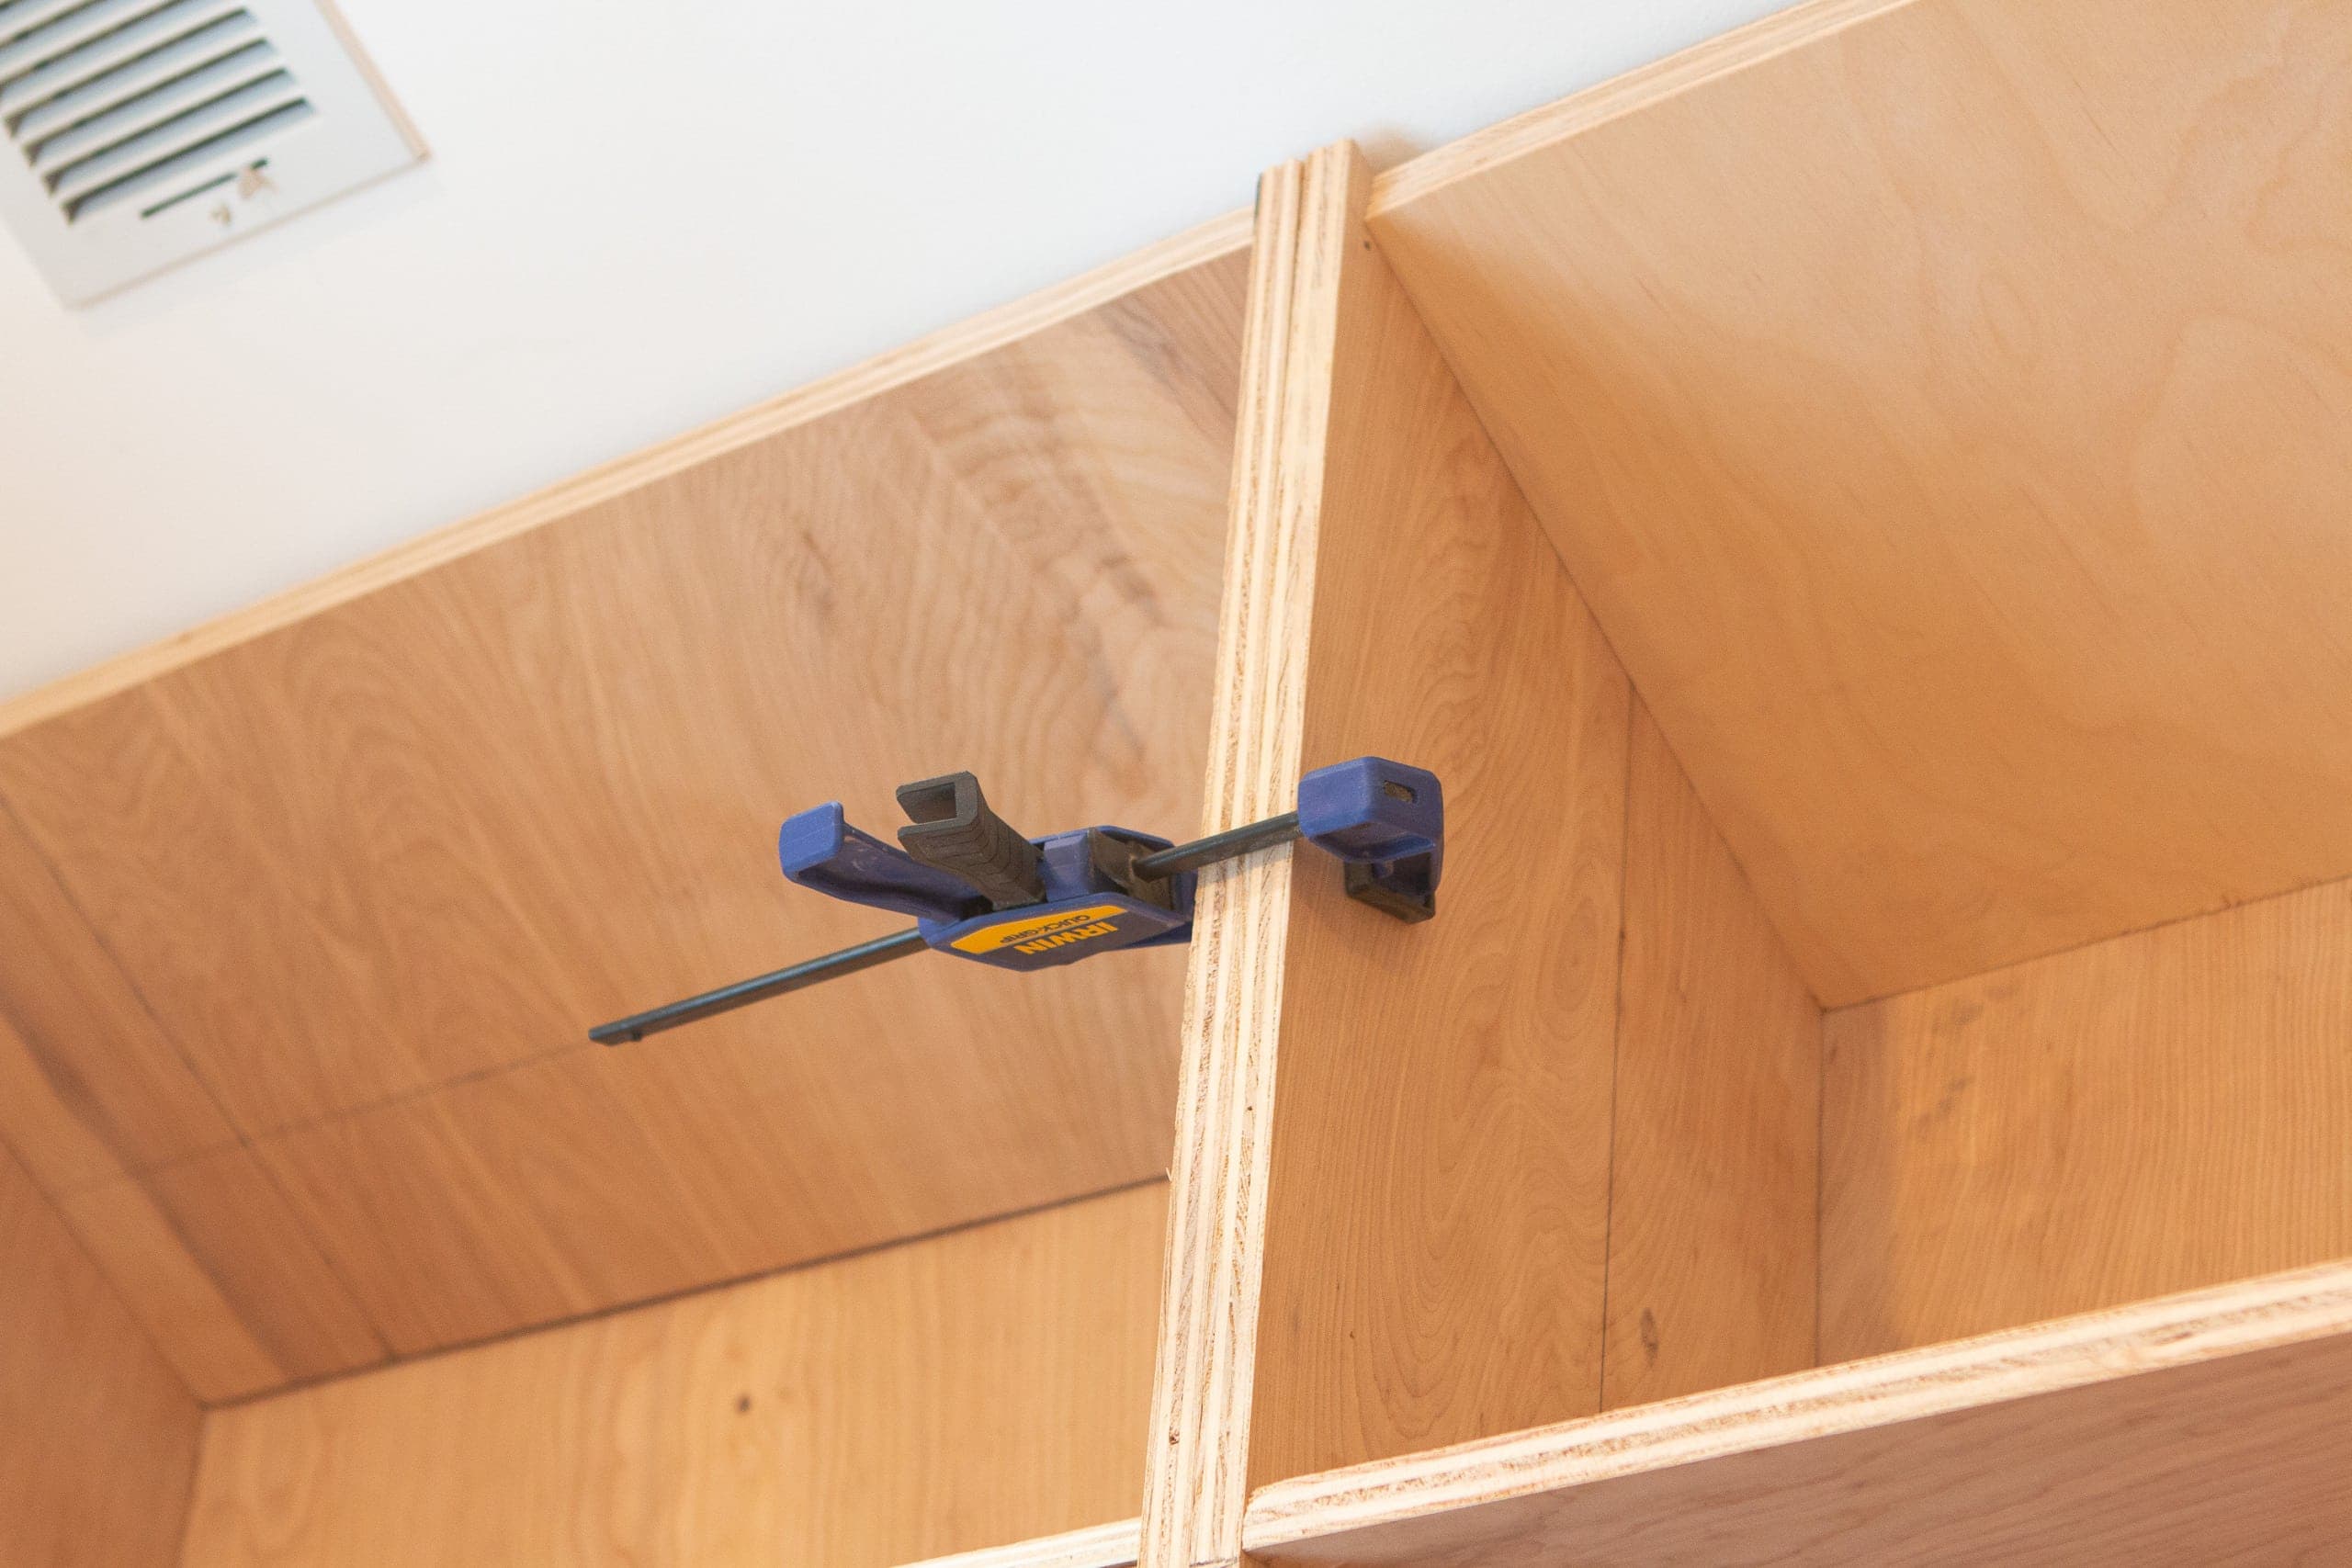
With everything built, it was time to attach the DIY bookshelves to the wall and to each other. We started on the left and worked our way to the right. We used clamps to clamp each bookshelf together and also used wood shims throughout. This was necessary for our situation to keep things level and straight. 
We used 2 1/2 inch screws on the side pieces and into the studs on the back of the bookshelves. To secure them to each other, we only used 1 1/4-inch screws. This ensured that the screw wouldn’t poke out the other side!
Add Poplar Fronts
To hide our plywood seams and make everything look much more finished, we used poplar boards. We used 1x2s for all of the horizontal shelves, and 1x3s for all of the vertical pieces and the very top where the shelves met the ceiling. 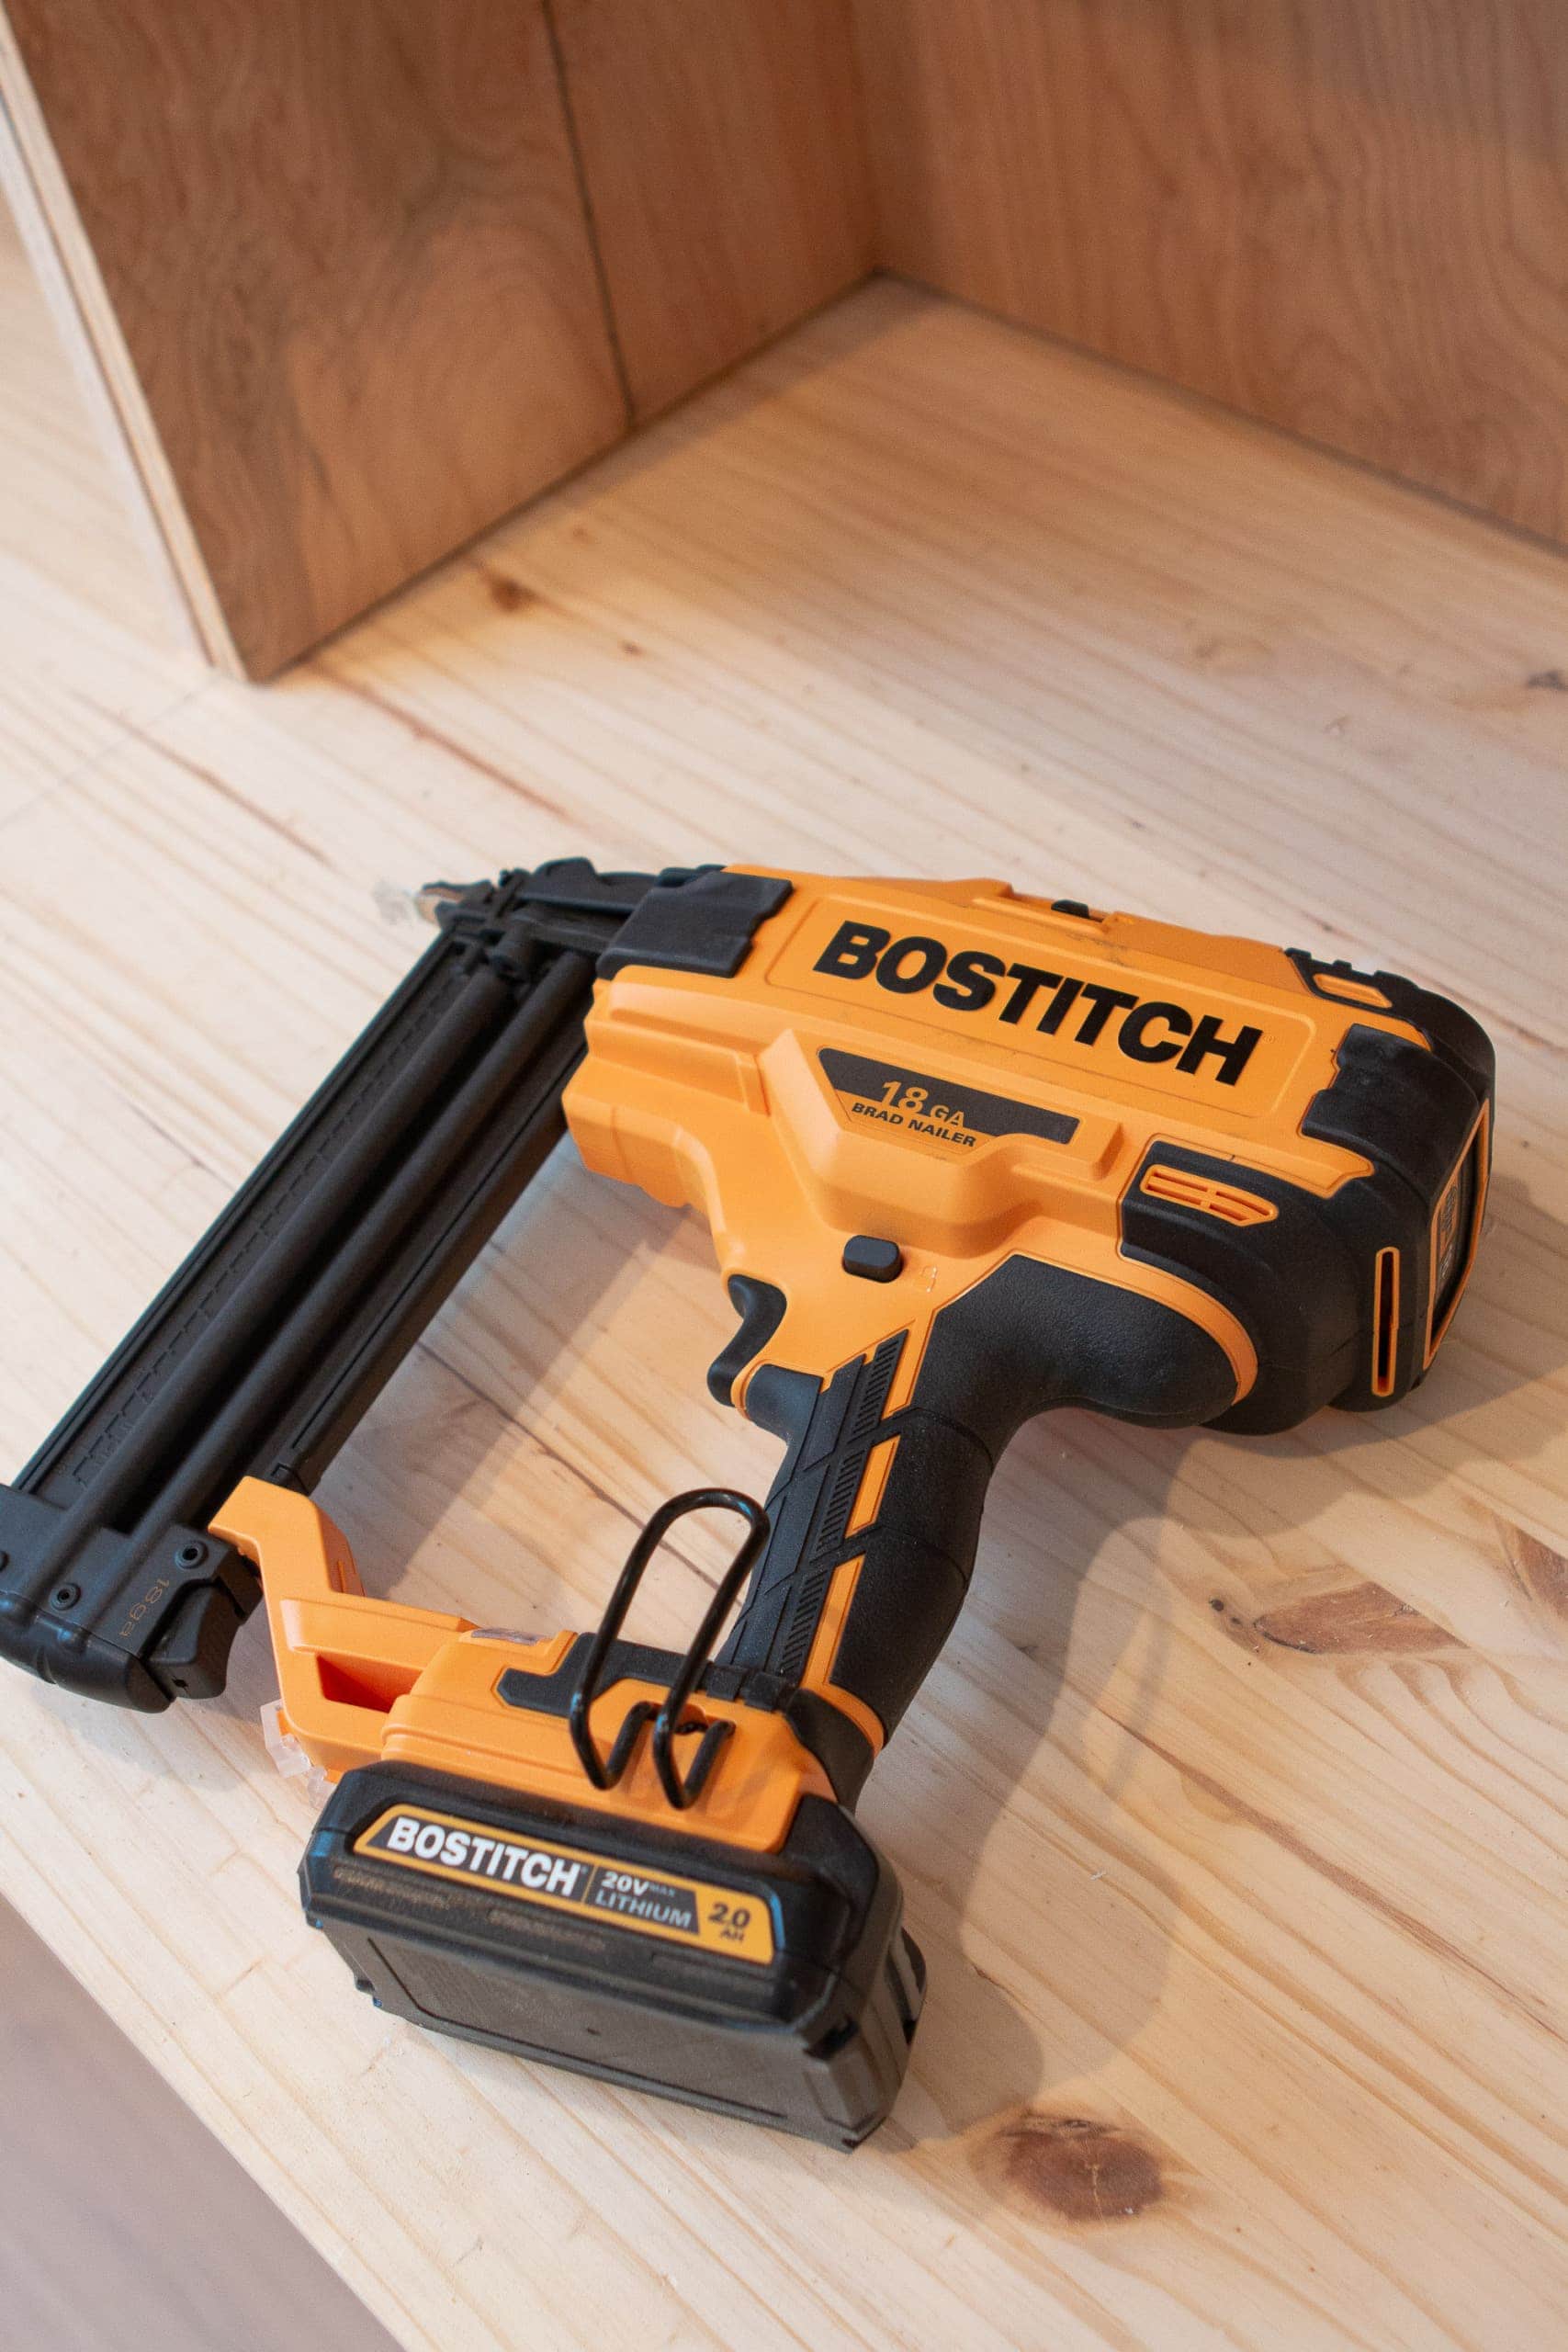
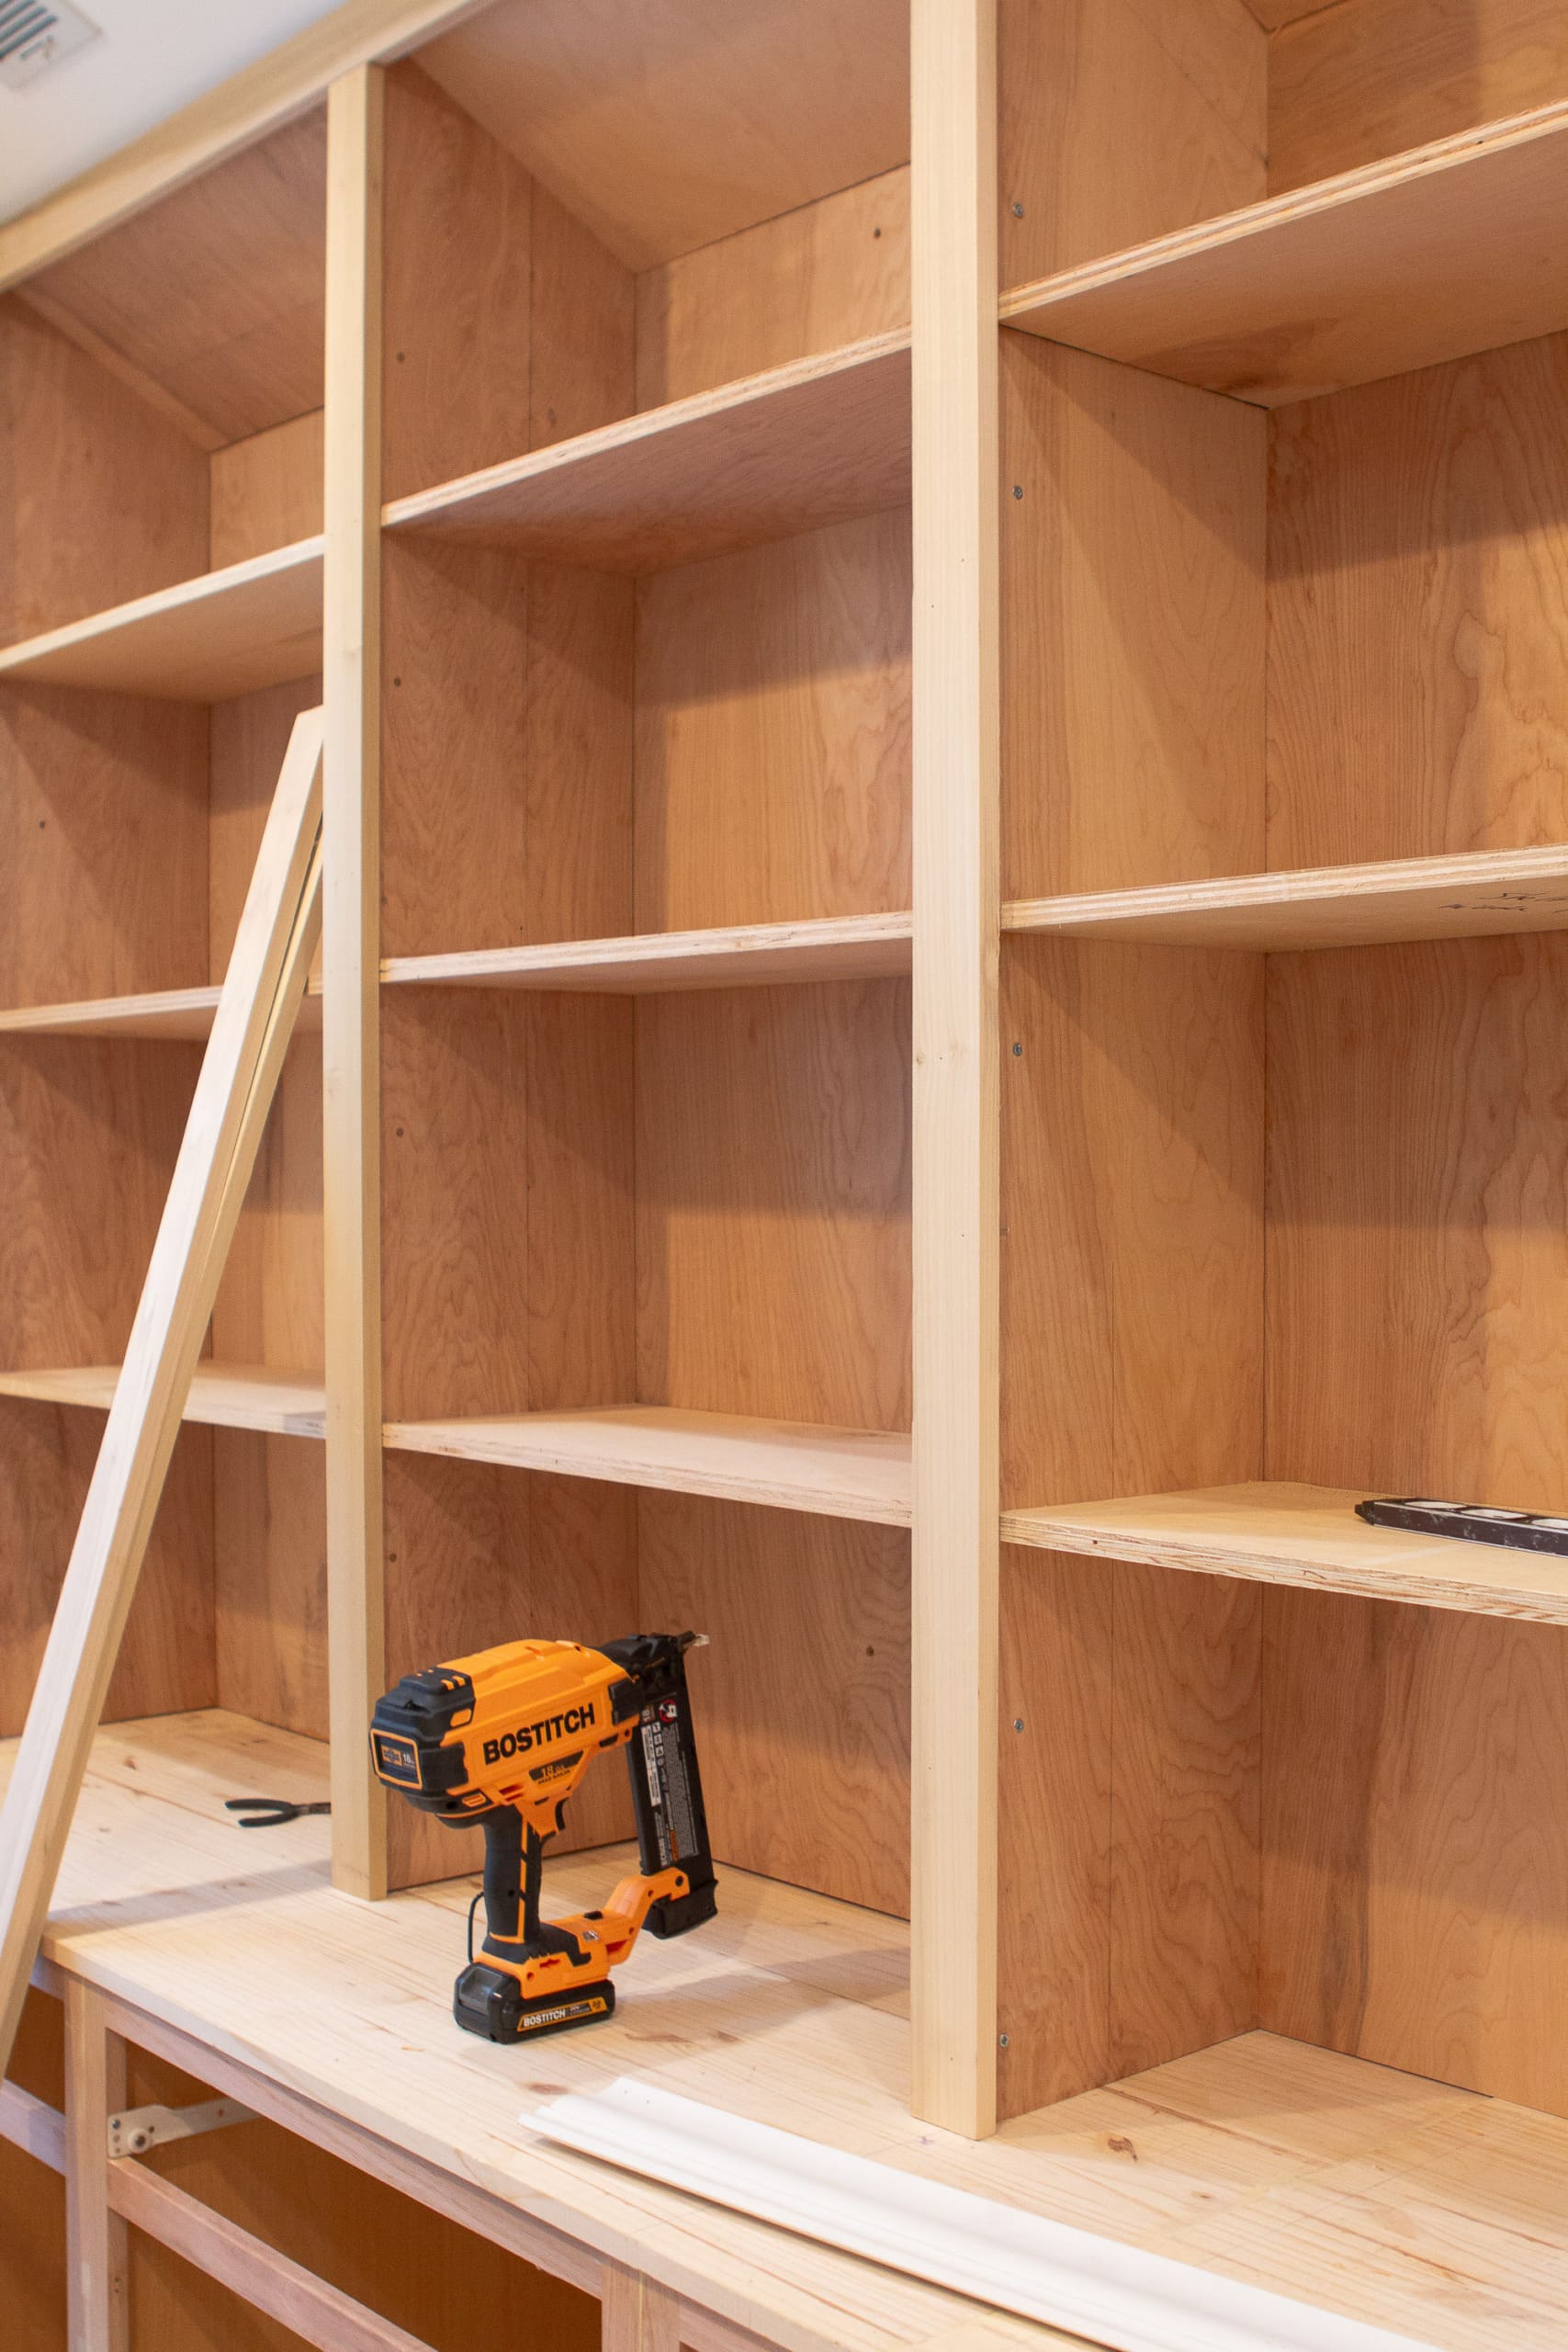
Our new Brad nailer came in handy for this step! We would cut the poplar to size on the miter saw, wood glue it to the front, and then shoot in a few 1 1/2-inch nails with the cordless nailer. This actually went pretty fast!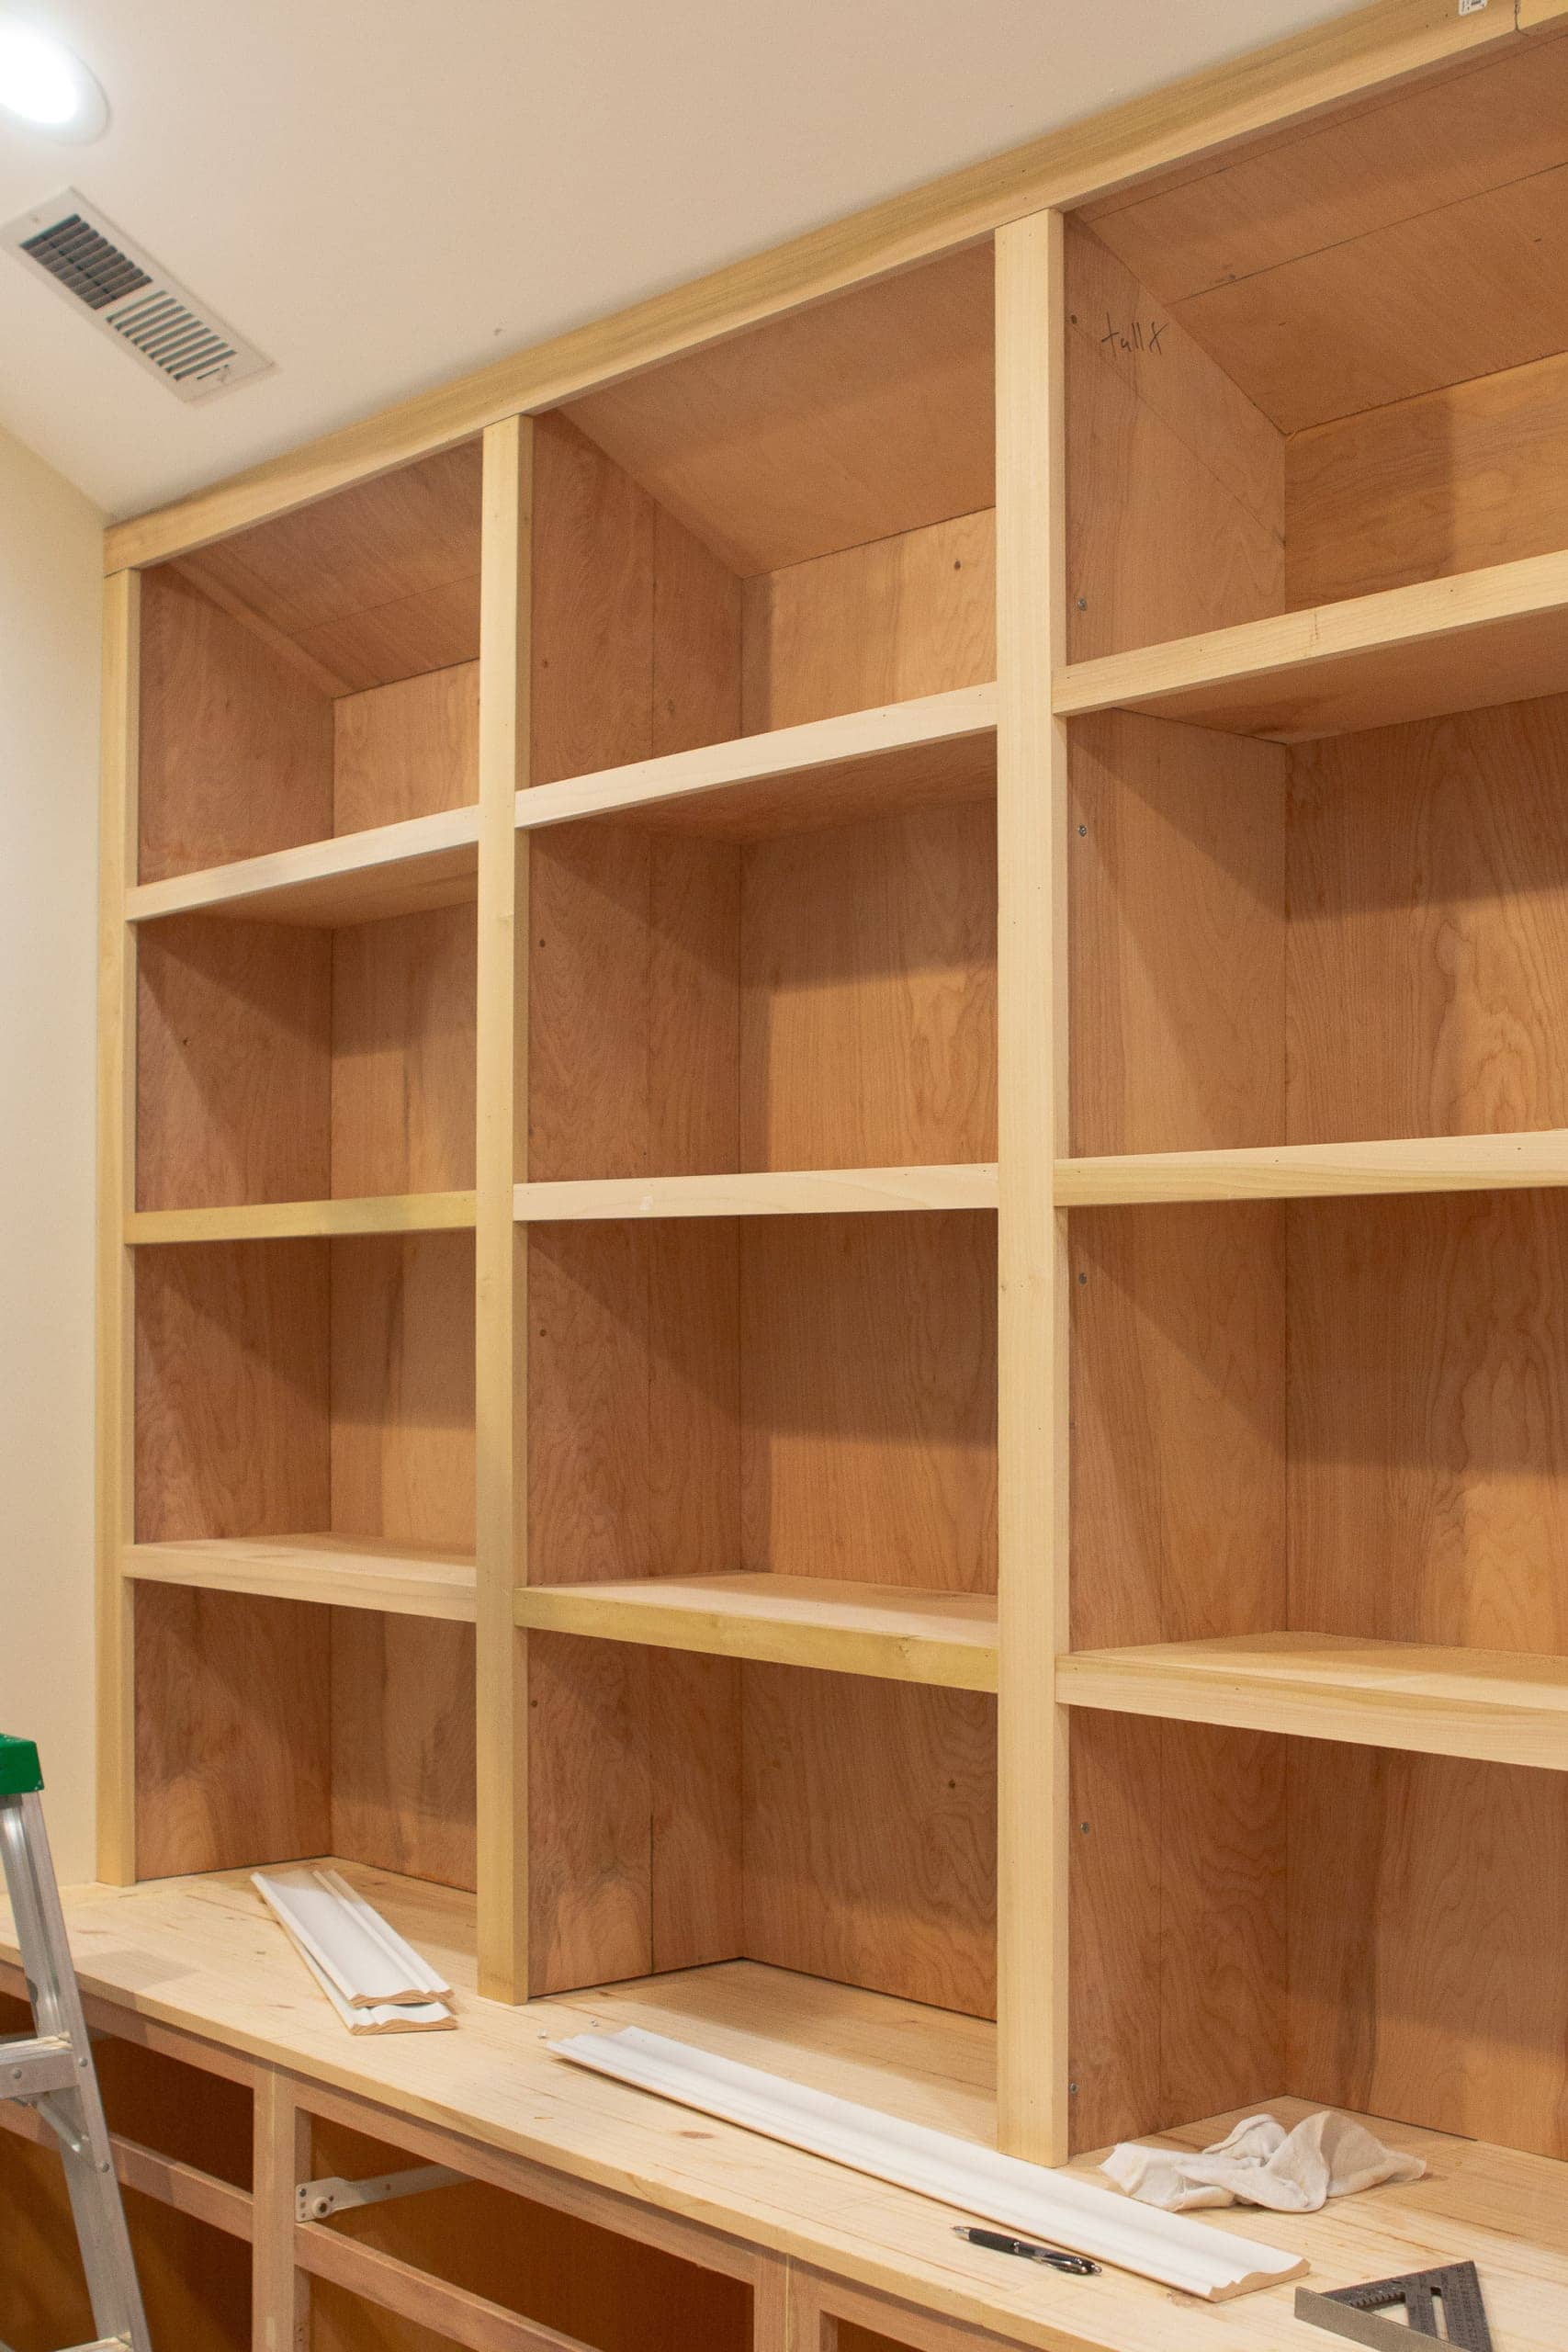
Add Crown Molding
Finally, it was time for the crown molding. We added it to the very top of the DIY bookshelves to create a finished look. We attached this the same way we did our poplar…with wood glue and a nail gun.
The Woodworking Is Finished!
I’m not gonna lie, this was a really tough and time-consuming part of the project. I would guess it took us four full days to build the DIY bookshelves, trim them out, and add the crown. We went slow, took our time, and made some mistakes along the way, but holy smokes, I can’t even tell you how satisfying it was to finish this part of the project. 
It’s wild to think that we built this entire piece…from scratch! Every night we worked on this project, we went to bed exhausted and covered in sawdust, but it was just so very worth it. That’s my favorite part about DIY…the feeling you get when you accomplish something. It’s the absolute best.
And man, how about all of that extra storage we’re gonna have in my home office?! Yes!
What’s Next?
Now that the heavy lifting is over, I’m ready for the next part…PAINTING! I will be filling nail holes, caulking, sanding, priming, and then finally painting these. I’m spraying them with a paint sprayer (which means I’ll have to cover the rest of the room realllllly really well), so we will see how that goes. Little by little, we are getting there!
Want To See The Built-In Bookshelves Now?
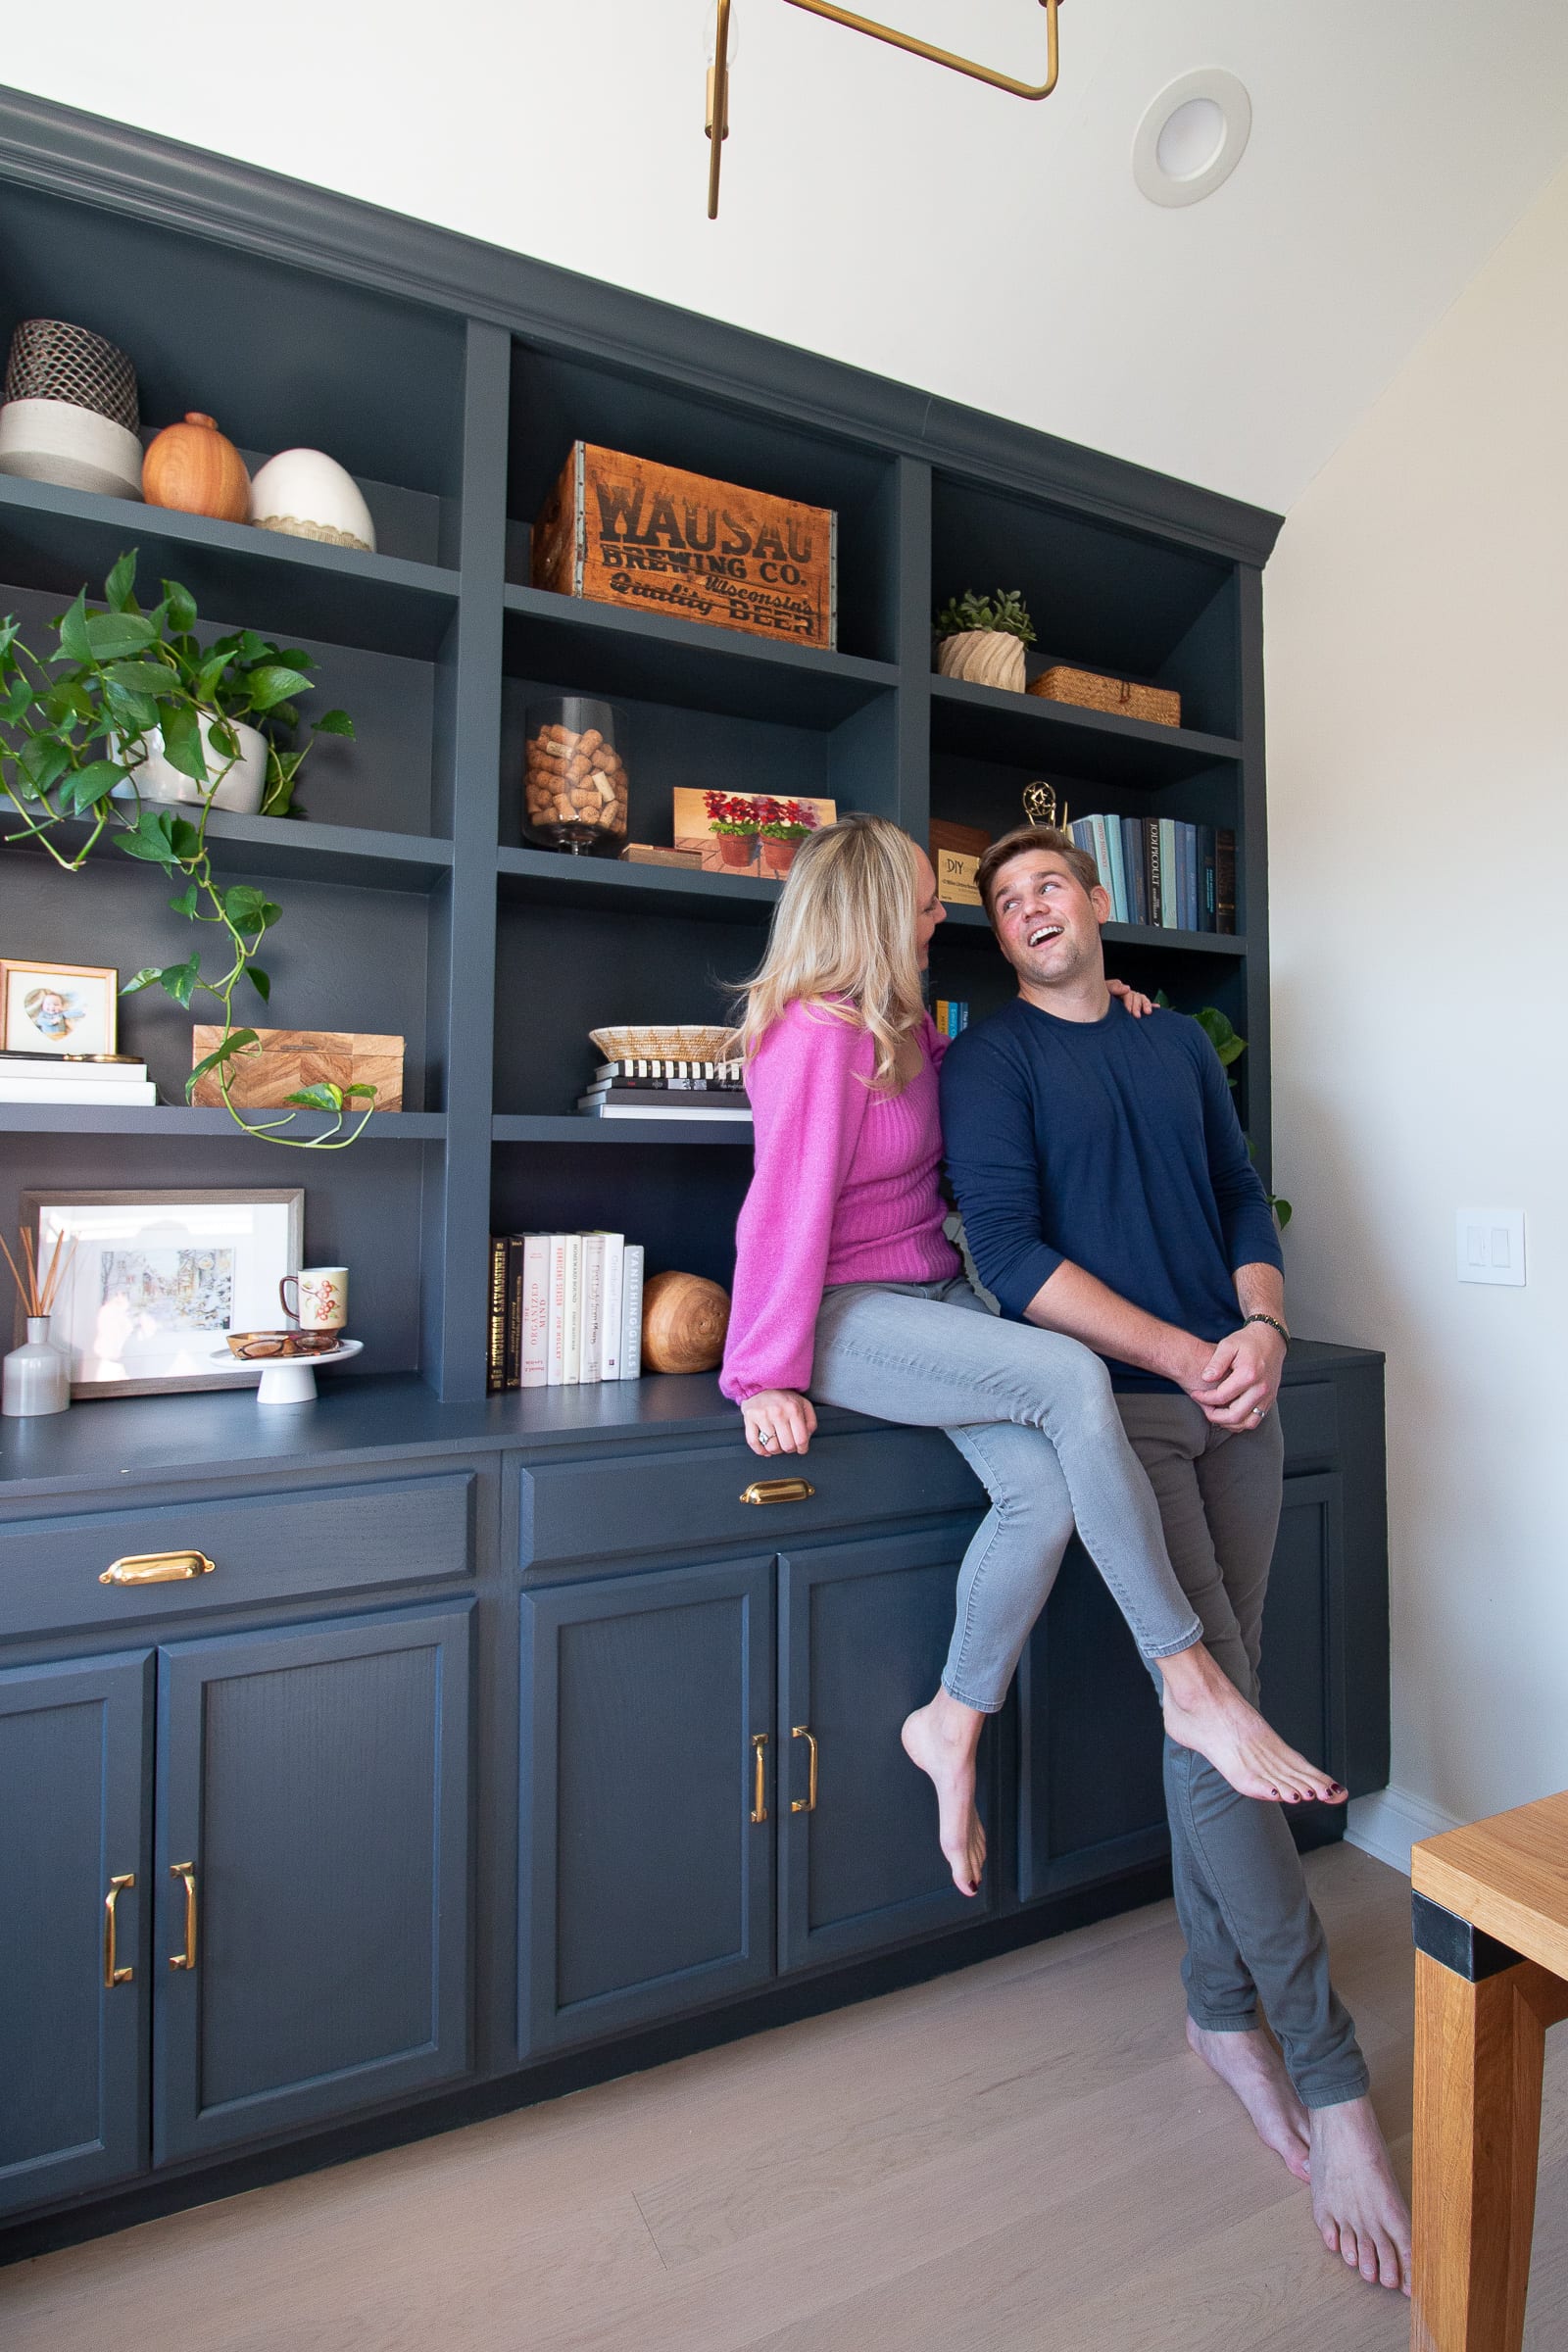
Here’s the finished product! You can read more in this built-ins reveal post right here, while this blog post highlights how I styled them.
Built Ins Tutorial, From Start to Finish
- Built-Ins Part 1: Installing the Base Cabinets
- Built-Ins Part 2: Building DIY Bookshelves
- Priming & Painting Built-Ins
- Built-In Reveal & Budget Breakdown
- Styling the Built-Ins
Not Ready To DIY Built-Ins? I’ve Got You Covered

Additionally, if you’re looking for tips to take care of your home and stay on top of home maintenance tasks like this, check out Your Home Playbook. It’s a digital guide to keep your home running smoothly.

Casey


