7 Baby Steps Towards Nursery Progress
Can you guys believe the last time I checked in with nursery progress was December 1st?! Eek… I’m so sorry! I know you guys are just as excited as me to watch this space come to life, but with the holidays, other house projects, and a crazy busy schedule, the nursery updates were barely crawling along (pun fully intended haha).
Nursery Progress
But the good news is that I have six updates to share today and plan on checking in once a week with nursery updates until this room is done. Sound like a deal?! Awesome.
And now let’s finally get to the reason we’re all here — the updates.
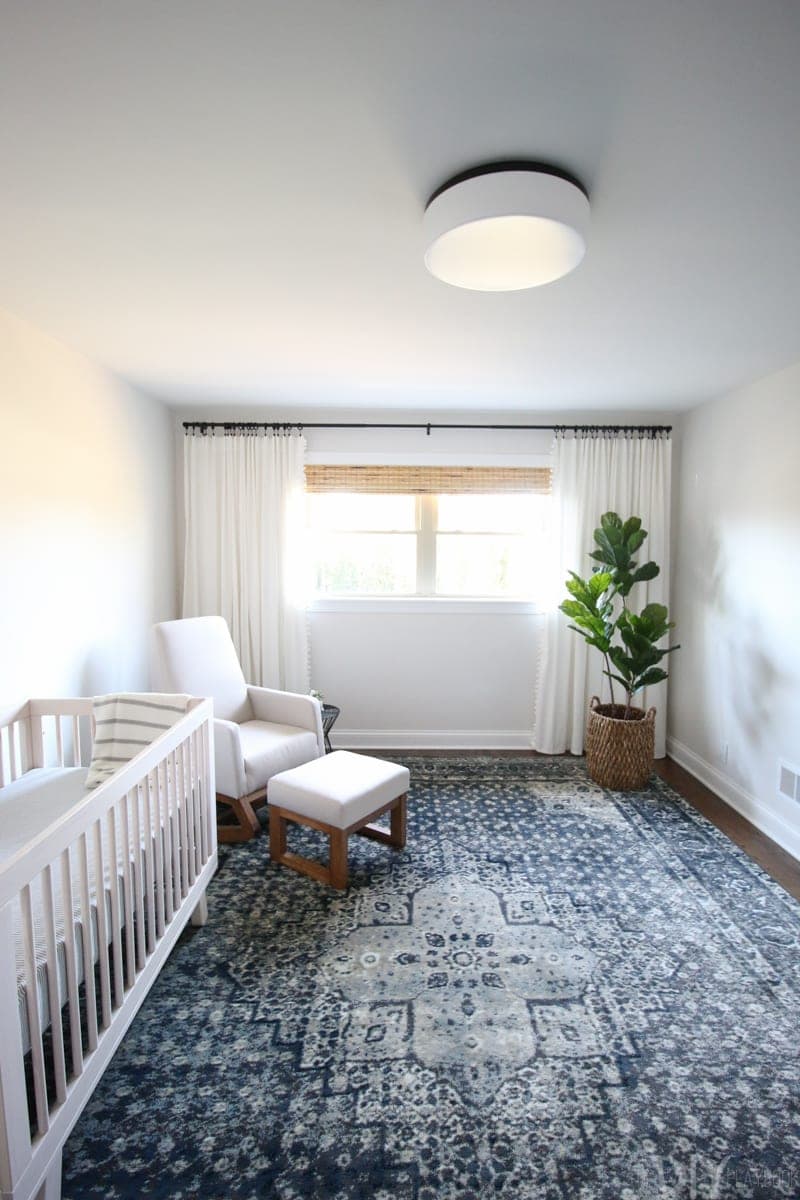
1. Bought A New Rug
I mentioned in November’s Happy Hour how I was eyeing this rug but wasn’t sure if it was ‘me’. The truth is, this rug is way outside of my comfort zone, but I decided to take the plunge anyway. For a few reasons actually.
 First, I knew I wanted the room to be pretty neutral. Usually, I default to a neutral rug because I have learned from experience (read: design regret) that loud, bold rugs are not for me. I love to look at them but I can’t live with them… they’re just personally too much for me. BUT, I knew if I went with a neutral rug in a neutral room the whole space would feel washed out and maybe even a bit feminine, which is not exactly the look I was going for.
 The second reason I ultimately went with this rug was the price. I needed a 10×14 rug (BIG, right?!) and most rugs at this size cost $1,000+. Yikes! When this one came in under $235 on sale, I wasn’t as nervous to take the plunge and give it a try.
 Boy, am I glad that I stepped outside of my comfort zone because I LOVE this new rug so much. I bought a rug pad to go under it (mostly to protect our new floors) and these layers together instantly made the rug feel extra comfy and cushy. The whole room instantly felt cozier and the navy is the perfect way to add a hint of masculine without feeling too “little boy nursery”.
Plus, I hope the dark navy is a good choice for the long run. I’m sure this rug will see lots of wear and tear over the years (and maybe even some stains), my thought is that the dark navy will hopefully be more forgiving than the neutral runner-ups.
2. Decided On a Crib
I’m not sure why, but I always loved the natural wood-tone cribs. I toyed with the idea of a white crib (you can’t go wrong with white, right?) or gray (especially after finding out it was a boy) but for some reason, always came back to the natural.
 So I decided not to overthink this decision and go with this 3-in-1 Hudson Crib from Babyletto in Natural. And I’m so glad that I did because I LOVE it. One thing that I really wanted to avoid in the nursery is buying a set of “matching furniture”. The natural was an easy way to avoid this because it coordinates with just about any color without matching it.
 I also love that this natural-color crib can work for a baby girl someday. Not that I’m rushing ahead or expecting a little girl someday, but it’s always nice to plan for the long haul just in case.
 Oh, and did I mention that this crib was SO easy to put together?! Like 20 minutes and Matt and I had the whole thing put together. Then we saved the Allen wrench using this organizational system so we can easily drop the mattress as the little guy grows.
3. Added A Rocker
Right after I say that I don’t want “matching furniture”, then I bring in a natural colored rocker.
 I’m okay with this “matching”, natural color rocker because I do want to keep the overall feel of the room light, bright and cozy and I thought this rocker fit the bill more than any of the other ones I looked at. I love the shape, style, color, and size. A lot of you reached out on InstaStories and asked about the comfort level.

I think it’s comfortable, especially with the ottoman, but it is a bit firm (which I actually like). My sister’s rocker is very cushy, like a La-z-Boy. This one is not, but I think it’s still comfy in a different way. But I will definitely get back to you after spending lots of time in it over the next few months. Hopefully by then, I’ll have all the scoop on whether I would recommend this to new moms. So far, I’d say yes!
4. Hang Bamboo Shades
I’ve gotten so many questions about these bamboo shades on Instagram so I’m dishing all the details here. I bought these bamboo shades at Lowe’s and they’re amazing!!
I measured our windows and took these measurements to Lowe’s. Then I picked out these bamboo shades and had them cut down for free in-store to the exact widths we needed. The box suggests that you get the shades cut down a little less than the actual dimension of your window (1/2 inch to be exact) so that they have room to be pulled up and down.
 Matt and I brought our shades home and had them hung in about a half hour. This was our first time tackling this project and it was a lot easier than I expected. Then I used Casey’s tutorial to shorten the bamboo to fit the windows’ length perfectly. That step was also a lot easier than expected!! <– love when that happens.
 Are they black-out? No. But they have a privacy shade on the back of the bamboo, which makes the room a lot darker than I anticipated. I’m actually really happy with the amount of darkness but it’s not black-out. If this is a problem down the road, I may look into adding a blackout shade as well. But with the bamboo paired with the curtains, I’m happy with the light situation so far. Which brings me to…
5. Customize Curtains
Pom-poms or no pom-poms? This was the question. I was OF COURSE on team pom-pom and Matt, who rarely ever voices his concerns about decor, was a bit more hesitant about this design detail.
 Over time I convinced him that this little detail would be perfect in Baby Mac’s nursery and also reassured him that as the little guy grew up, we could always take them off. He was eventually convinced (he’s the best, isn’t he?!) and pom-poms it was!
 I found these white pom-poms at Hobby Lobby and bought $11 worth. Then I had a friend sew the pom-poms on the curtains (you can do this at most cleaners too), although you could easily add the pom-poms without sewing via Heat Bond as well. When I got them back from her, I had these Anthropologie-inspired curtains for a FRACTION of the cost. The curtains, the rod, and the clips are all from Lowe’s and I bought them online.
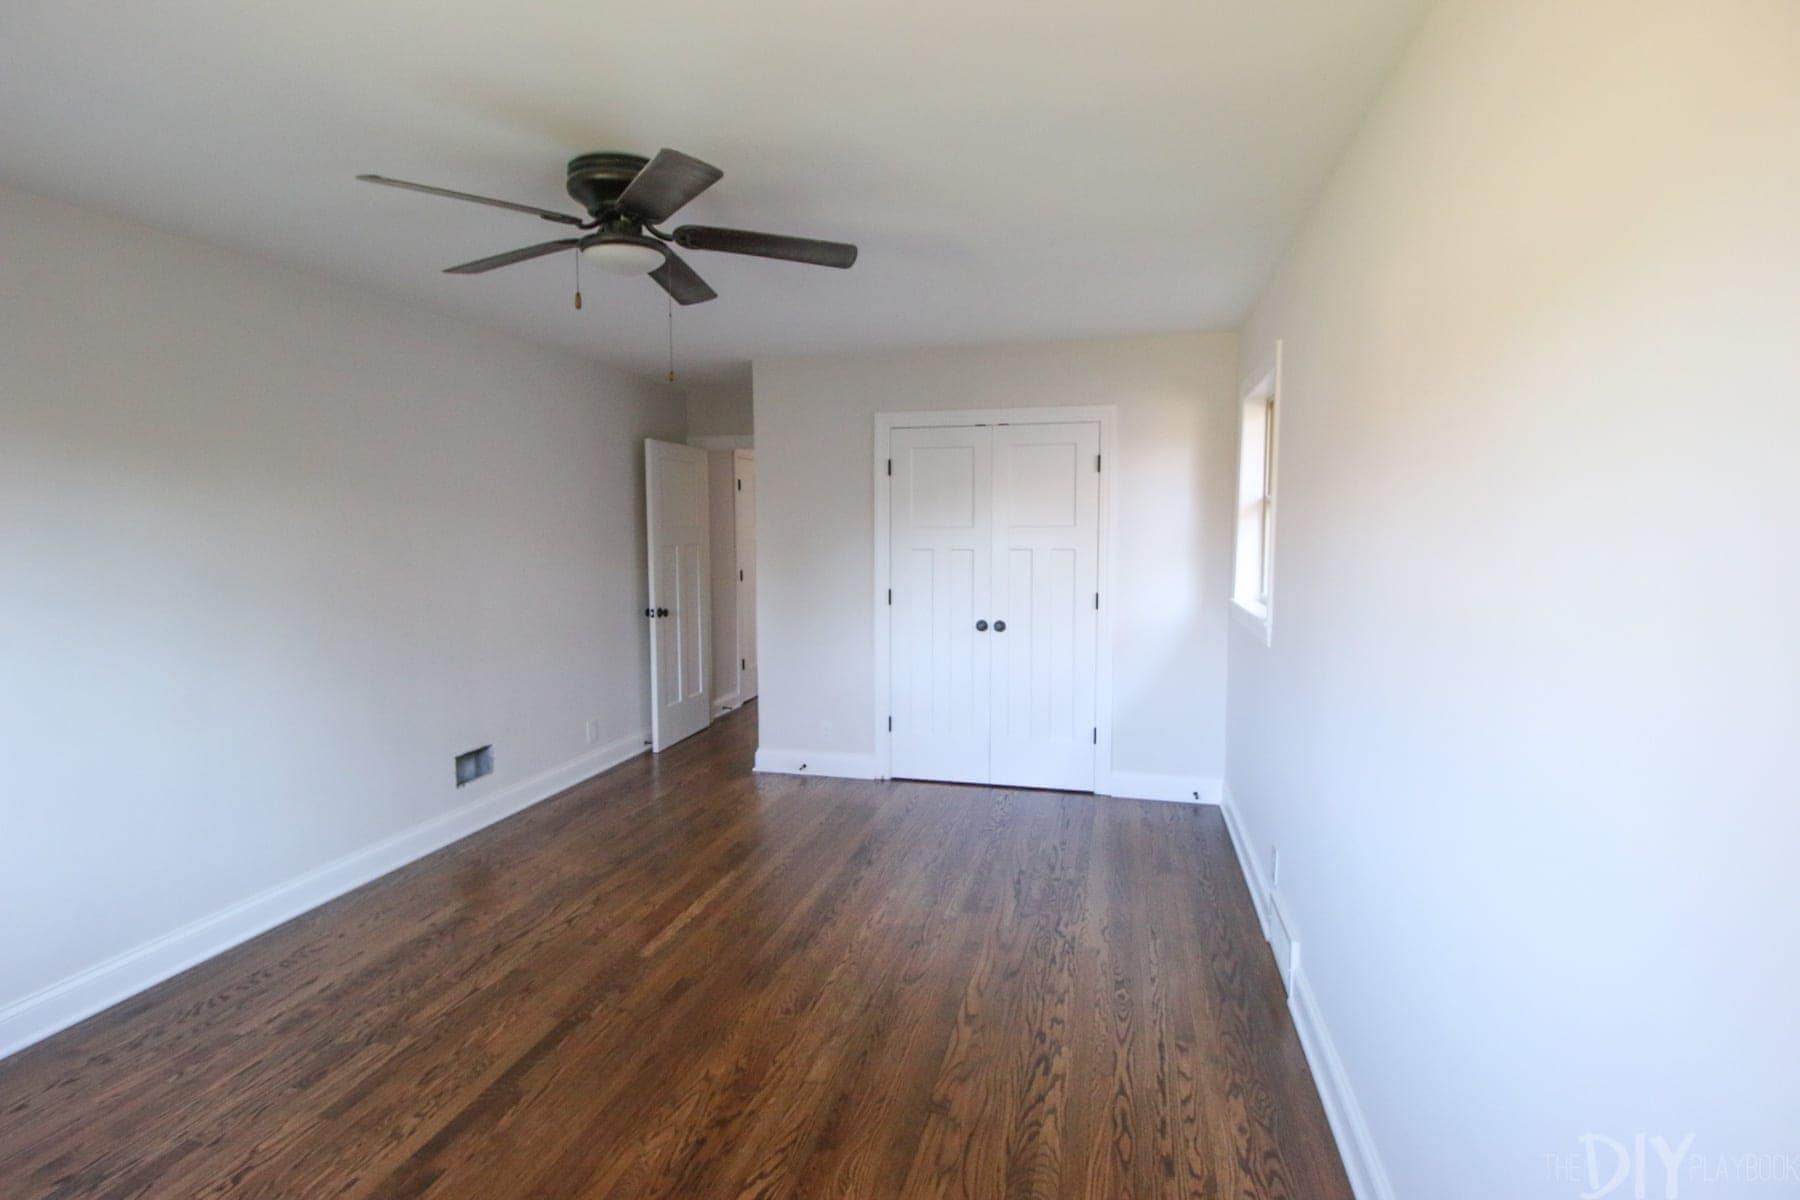
6. Swapped Out Fan
 Goodbye dark, dusty fan… hello bright, beautiful flush mount! I ordered this flush mount online at Lowe’s and am so, so happy with how bright it is. Honestly, this may be the brightest flush mount I have ever installed.
 Well, technically Matt installed this new light because my dad made me promise that I wouldn’t do ANY electrical work while pregnant but it’s up and that’s all that counts, right!?
 One thing that I do think is worth noting (because I was a bit surprised when I opened the box) is that this light fixture doesn’t require any light bulbs. The incandescent lights are built into the fixture and adding your own bulbs is not an option. I don’t mind because I really like the temperature and brightness of this gorgeous light, but it’s something to consider if you’re looking to buy this item.
7. Added a Faux Fiddle
Last but certainly not least, what DIY Playbook room is complete without some greenery?
 I needed some height in this corner of the room and some color, which brought me to this faux fiddle leaf fig. Of course, a real one would be wonderful, but a pot of dirt inside a someday toddler’s room didn’t seem like a great mix.
  So this faux option it was. I’m actually super happy with the addition because it looks so real (my sister was convinced it was real and probably thought I lost my mind for adding this potential mess into a little boy’s room)! Now I just need to follow the rest of the tips from this post to really convince people!
So… What Else is Left?
- Hang Art/Decor
- Build Book Ledges, Shelves… or maybe both?
- Accessorize Shelves
- Choose a Dresser
- Organize Closet
- Add finishing touches
- Make it functional (add baby necessities, especially monitor)
- Bring Home Baby Mac! *hopefully in this order… haha!
 I PROMISE to keep you all updated far more often from here on out. I’m making you a deal that, unless Baby Mac makes an unexpected arrival, I’ll be checking in every Tuesday with nursery updates until this space is done. Sound like a plan? I hope you’re as excited to see this space come together as I am… let’s do this!
Bridget