Installing Blackout Nursery Curtains
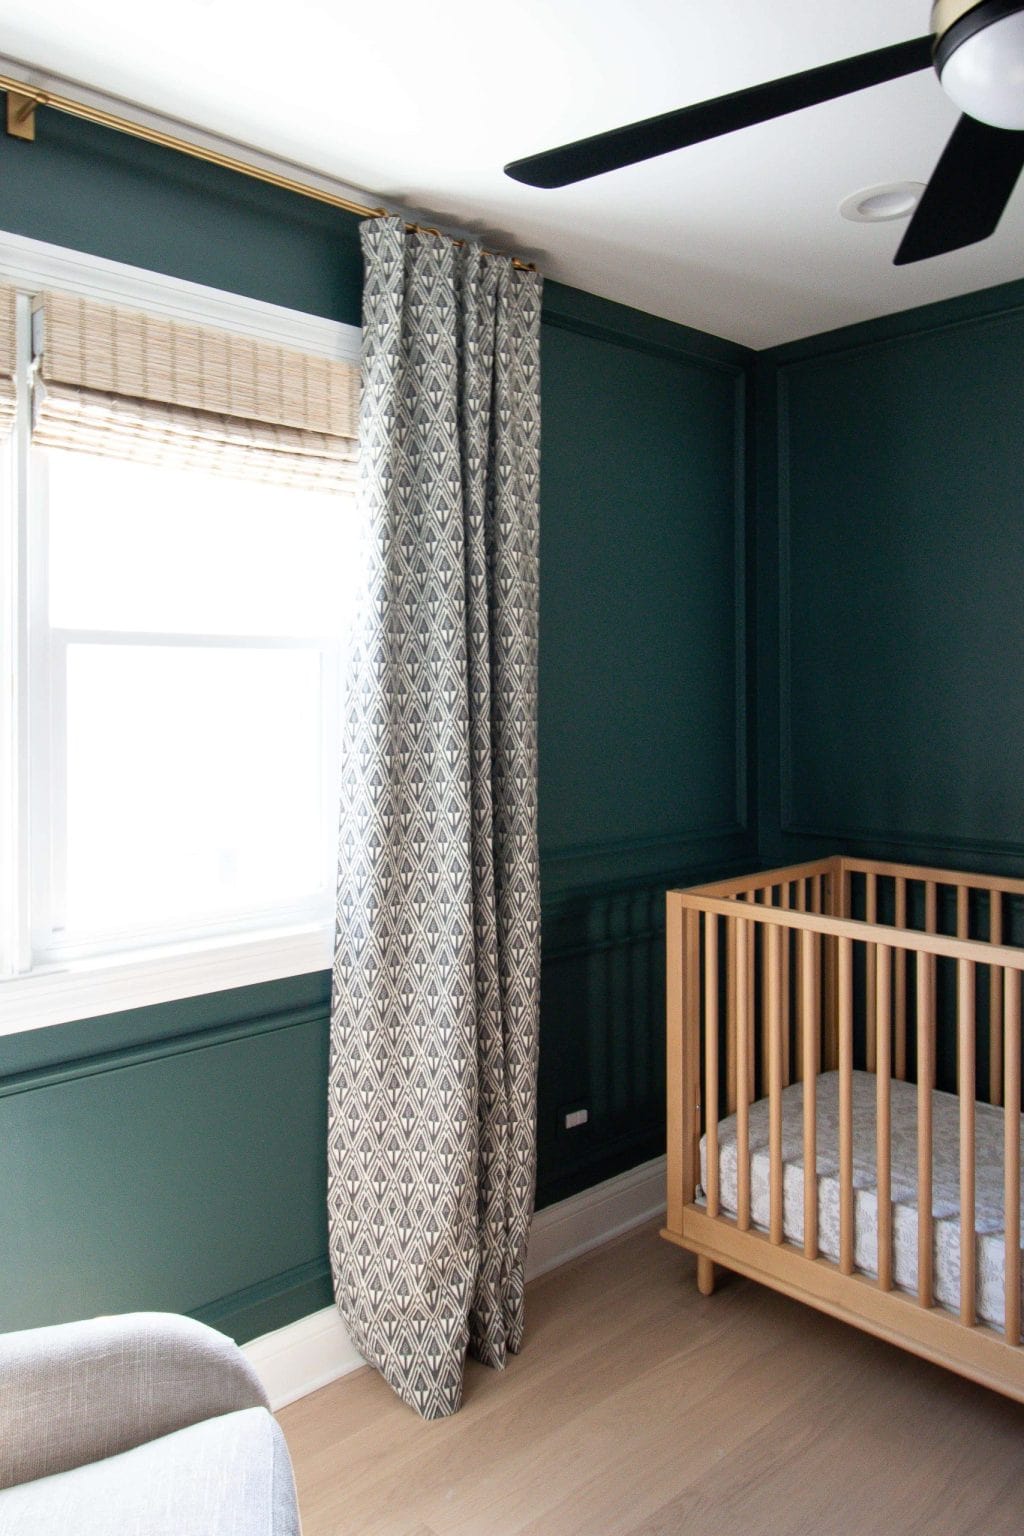
It’s been a few weeks since we chatted about Baby Boy’s nursery, but that doesn’t mean that the room has been neglected. Instead, I’ve been spending my spare time working on the room so we can hit my deadline of getting it ready by September. Most recently, I added blackout nursery curtains, and although they’re bold…I love them!
Our Current Bamboo Shades
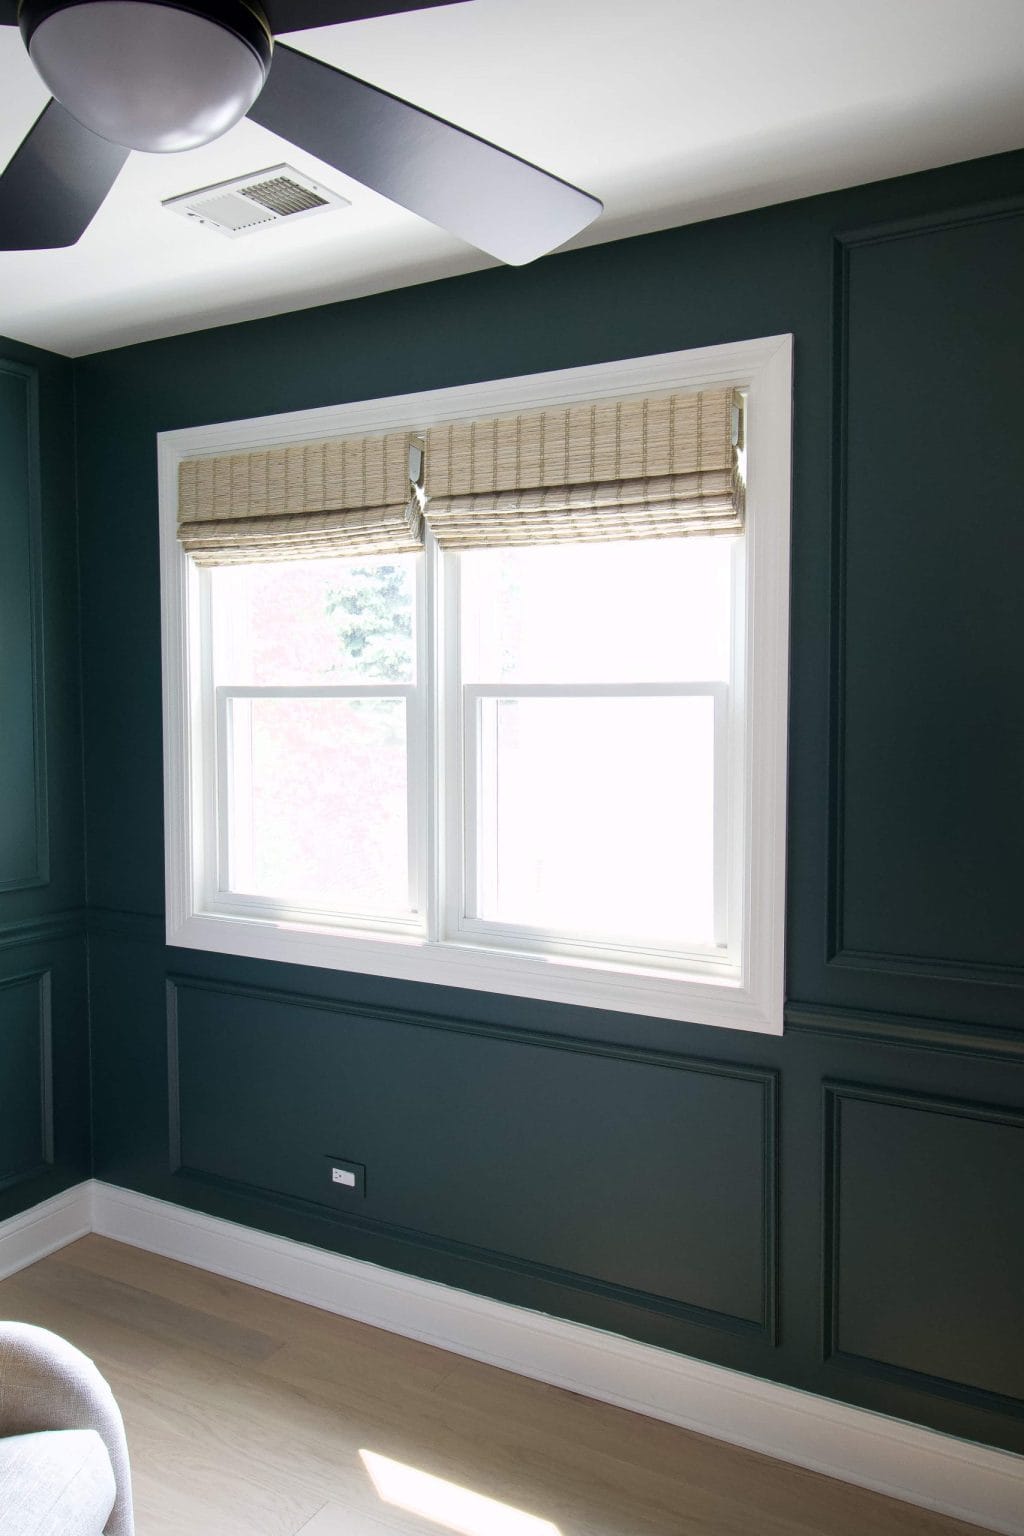
When this room was a guest room, I added these blackout bamboo shades, in the color “jute natural”, to the windows. They’re great and add lots of texture to the room. And while they do darken the room, they don’t make it completely blackout because some light leaks on the sides. I’m all about creating the darkest room possible for my babies (Rory loves a dark, cold room with the sound machine on high!), so I knew that I wanted to keep the bamboo shades, but also add some blackout nursery curtains for even more coverage.
Finding Blackout Nursery Curtains
I really didn’t know what I wanted to do in terms of the design of the curtains. Would I do something more neutral and classic? Or go with bold? It wasn’t until my mom and I were shopping at the local Pottery Barn Outlet, in Joliet, that I spotted the perfect curtains for the nursery.
They were down deep in a big bin and marked on clearance. They were long enough (108″ long); they were already blackout so there was no need to add anything to them; and the pattern was so dang cool. I bought them immediately. The ones I ended up getting are no longer sold.
Hanging Curtains – My Best Tips
I’ve hung a lot of curtains over my years here on The DIY Playbook, but I always think it’s a good idea to review the basics when it comes to hanging them correctly.
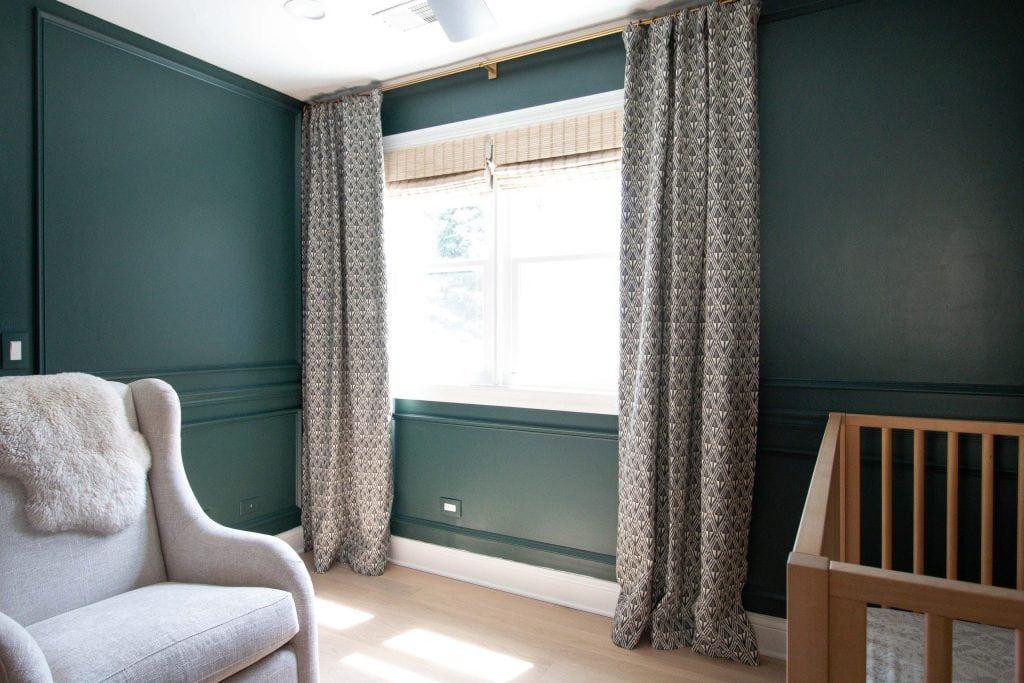
- Opt for “high and wide”: I often go 8-12 inches off the window and a few inches below the ceiling when it comes to mounting the curtain rod. This makes your ceilings and window look bigger! Be sure to buy a rod that is long enough to achieve this. (I got this one in the large size.)
- Buy enough panels: If you’re going wide off the window, you want to make sure you have enough panels to cover the window completely. I used two for my windows.
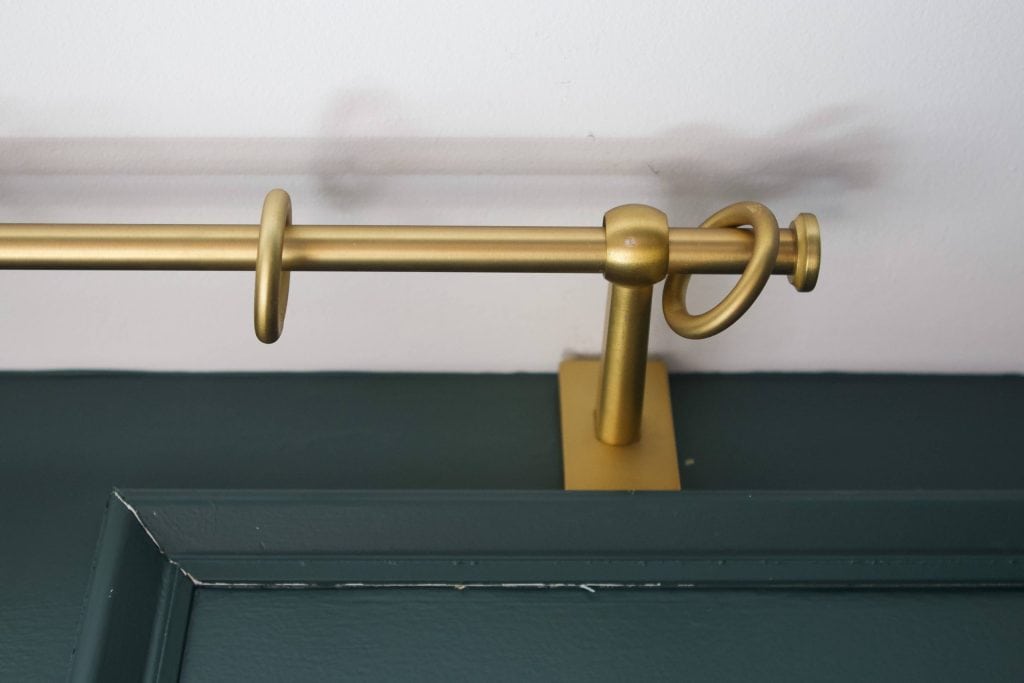
- Don’t forget the hardware: Often times you’ll have to buy all of the hardware separately. The curtain rod, the curtain rings, and then the finials. (Those are the little pieces that go on the ends.) I like to order all of those from the same retailer, so the finish matches.

- Kiss the floor: I like my curtains to kiss the floor or perhaps puddle a teeny tiny bit. Make sure yours aren’t flooding! I’m no seamstress, so I took mine to the cleaners to be hemmed and the experience came with quite the saga…more below.
- Keep one ring on the outside: Keep one curtain ring on the outside of your rod bracket. This prevents the curtains from pulling too far into the center of the window when you close them.
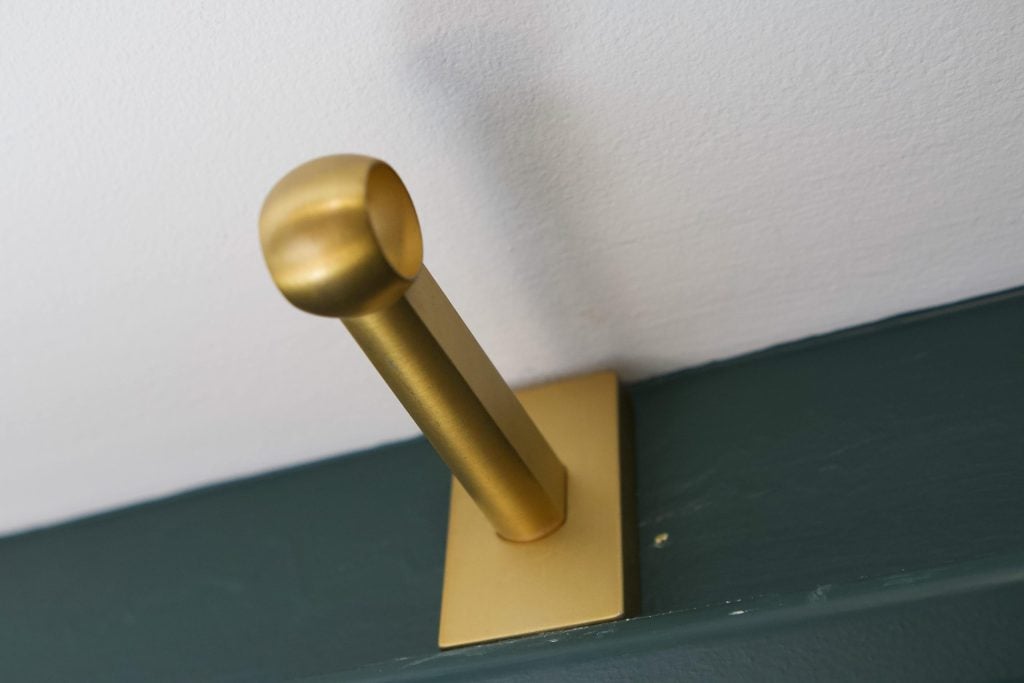
Installing the Hardware

My best tip, when it comes to installing curtain rod hardware, is to make a template. Really, it’s something I do whenever I install any type of window treatment. I take a piece of the cardboard from the box and mark where I’ll need to drill holes for anchors, pushing the cardboard flush with the ceiling. That way, I can use that same template over and over again and I don’t need to whip out the tape measure every single time. If you need to visualize this a bit better, you can watch this video about how I installed solar shades. (It is the same concept with the template.)

I also ditch the cheapo anchors – the plastic ones in the image above – that come with the hardware, and use my own. For this project, I opted for these self-dripping metal anchors. They work like a charm!
One Tiny Snafu
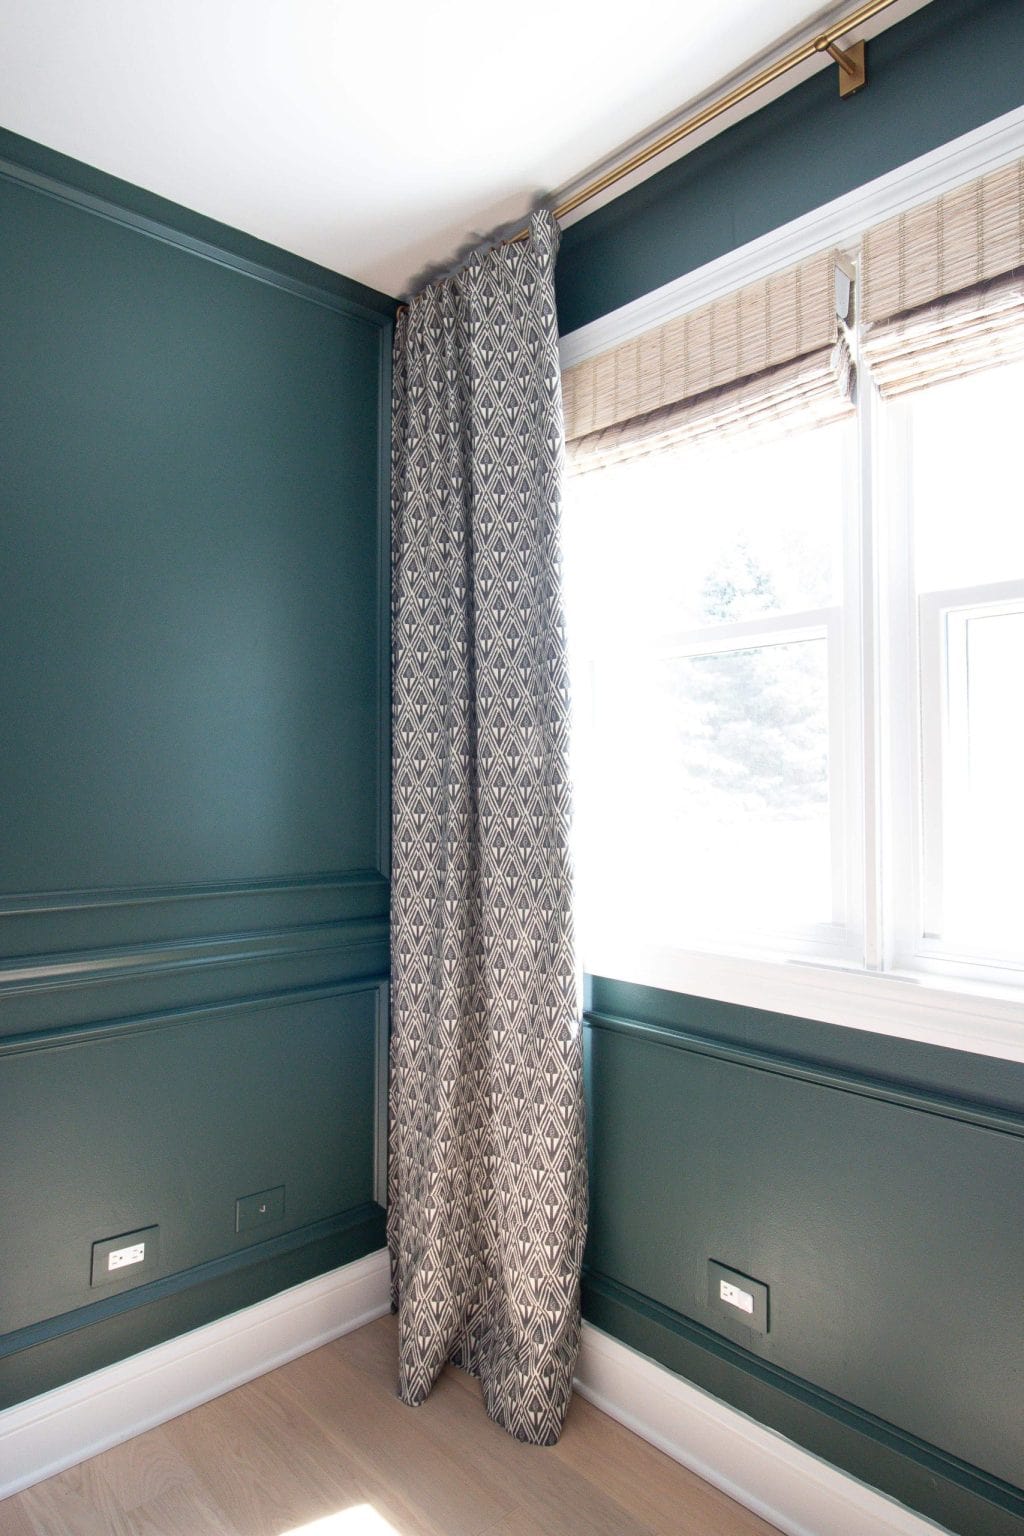
Because I had the picture frame molding to the right of the window, I ran into a bit of a problem when it came time to install the curtain rod bracket. The molding was in the same spot where I would typically install a bracket (three inches down), so I was forced to go above it. That made it extra tricky to get into place. In the end, I had to remove that top piece of molding, install the bracket, and then re-install the molding. It worked out a-okay, but I didn’t see it coming!
Another Snafu…
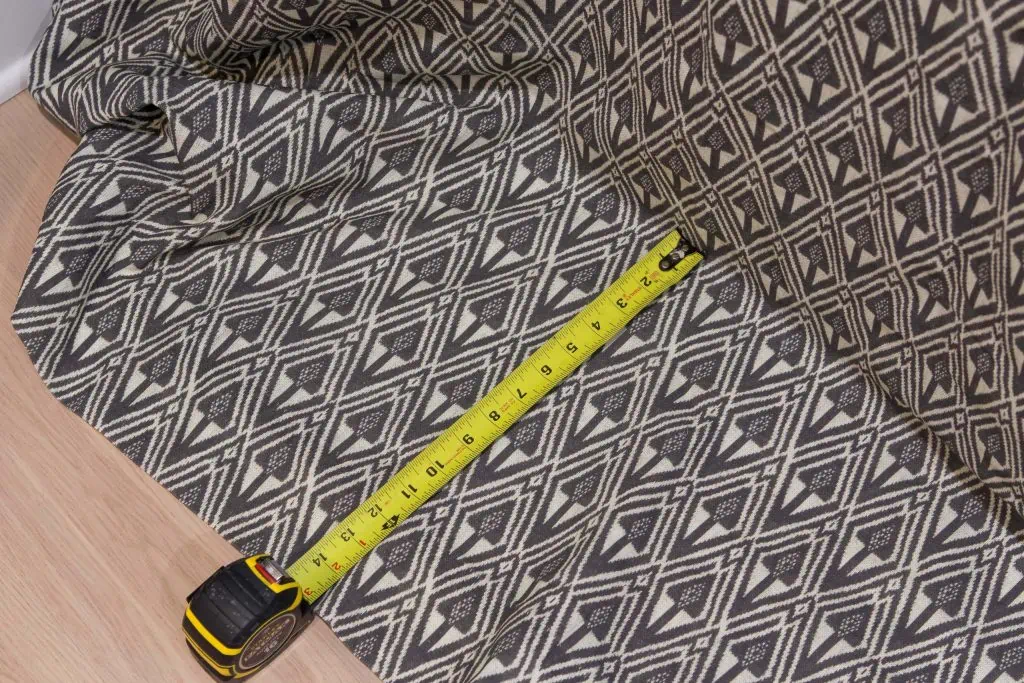
As I mentioned above, I’m no seamstress, so I always take my curtains to the cleaners to be hemmed and they do a great job. Well, my plan was to take off 14″. I got the curtains back and went to hang them and they had accidentally taken off 40″!!! The curtains hung about halfway down the wall and then stopped. I rushed back to the cleaners to figure out the problem, and the seamstress was so apologetic and horrified at her mistake. We had both written down 14″, so it wasn’t faulty communication.

Luckily, she still had the fabric and was able to work her magic and add it back on. With the pattern, you can’t even tell there is a seam. If anything, it makes for a good story now!
Opt for Drapery Hooks
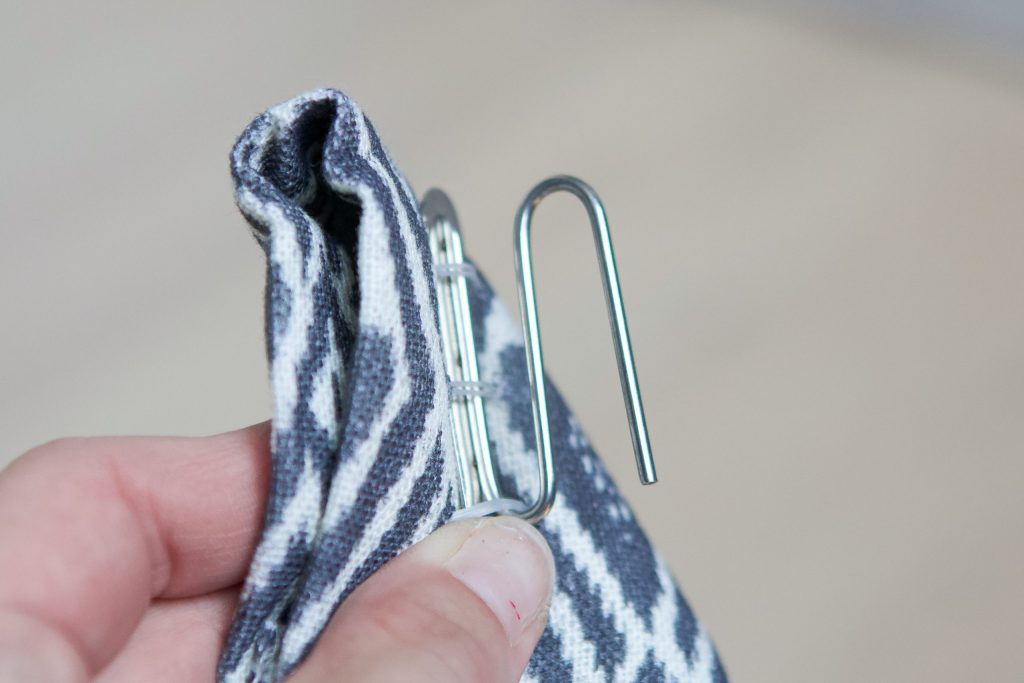
Lately, I’ve been a big fan of drapery hooks for a clean and tidy look. My curtains actually came with drapery hooks, but you can buy your own. (I used these ones in our living room.)


You still have to use the curtain rings, but you can remove the clips that come with them. Instead, the drapery hook will connect directly to the ring. I think this creates a really polished look up there!
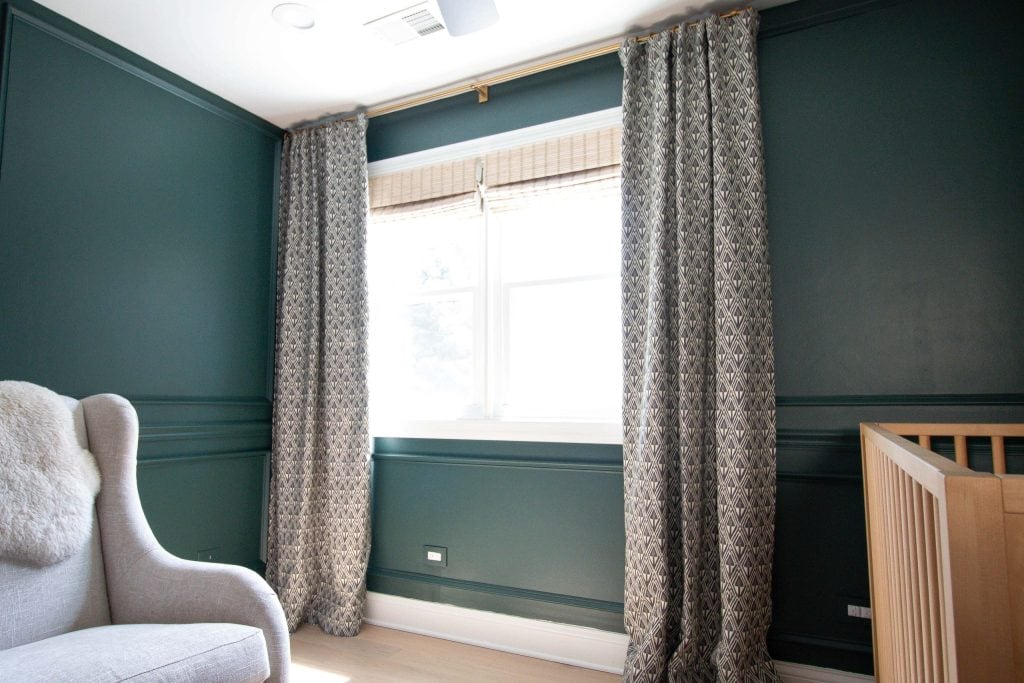
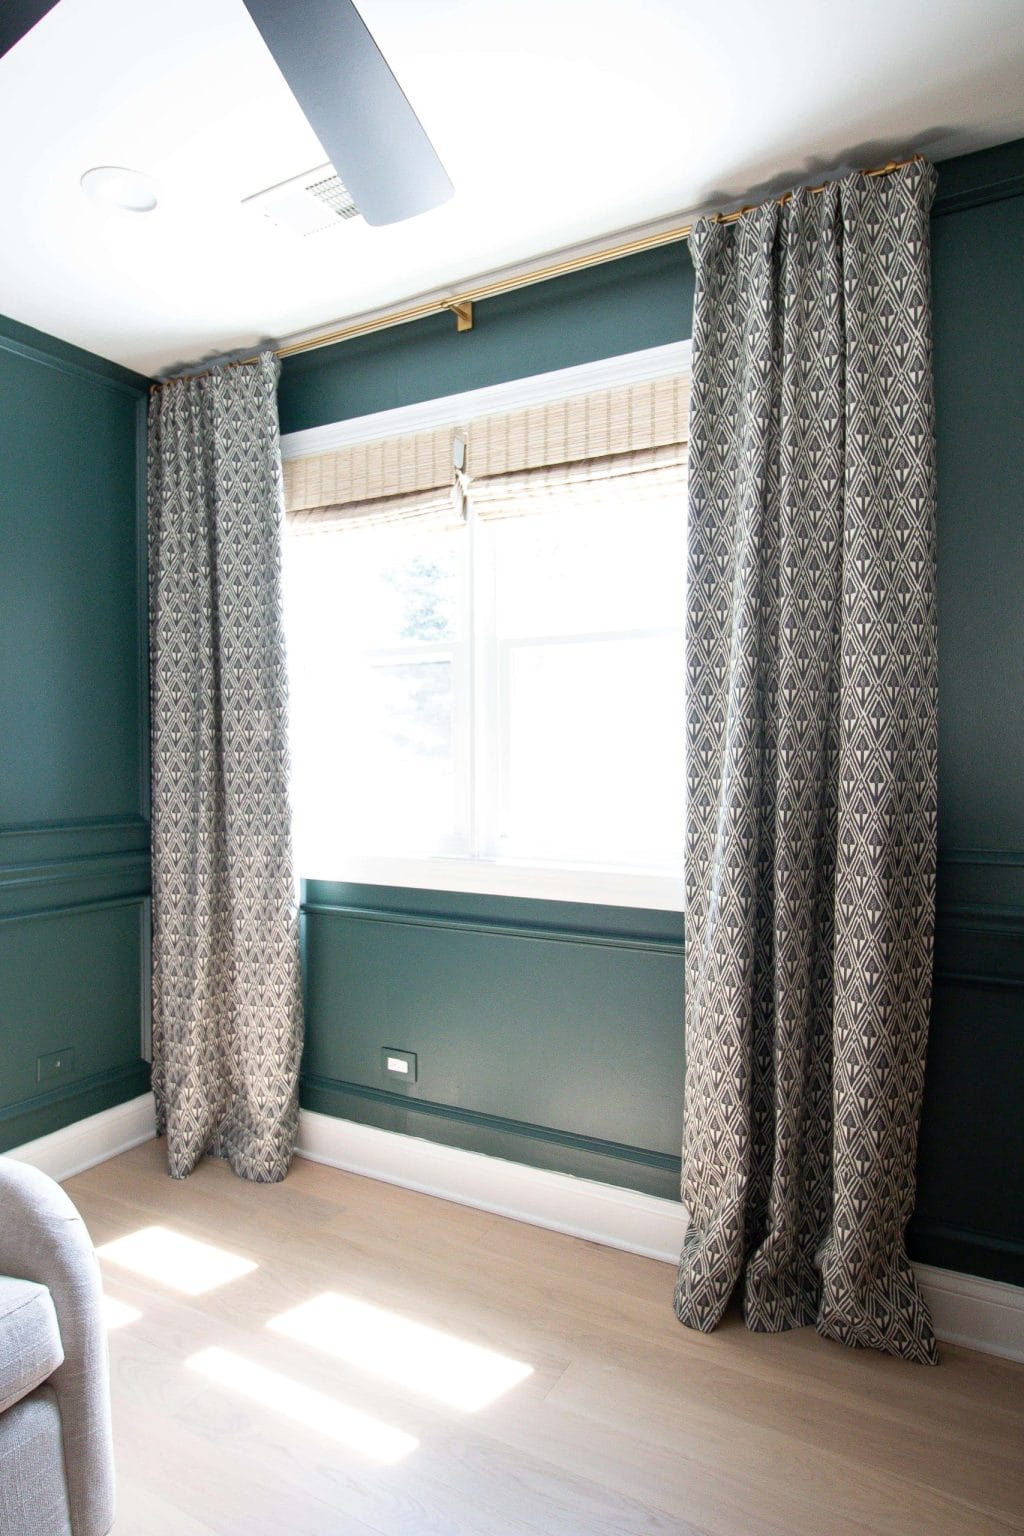
Our New Blackout Nursery Curtains
Nursery Sources
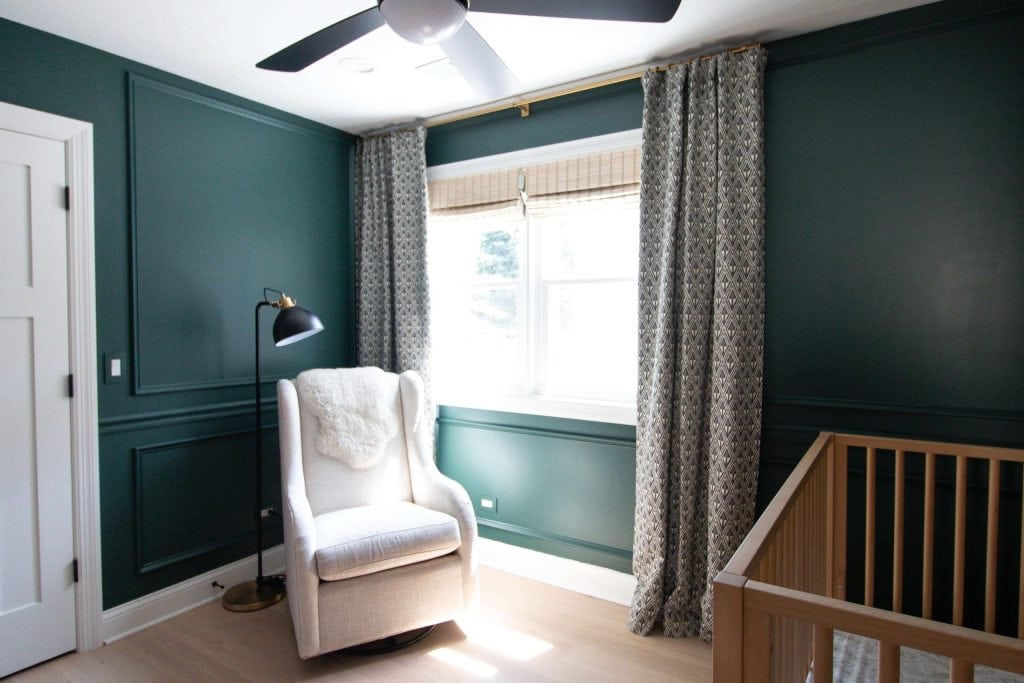
Wall Color, Benjamin Moore “Tarrytown Green” // Picture Frame Molding Tutorial // Bamboo Shades (color: “Jute Natural”) // Curtains (no longer sold) // .75″ Large Curtain Rod // Small Curtain Rings // .75″ Finials // Window Information // Crib // Glider (from Crate & Kids, no longer sold) // Black Lamp
What’s Next?
Later this week, I’m planning a little nursery progress report. Items have been arriving and we’re slowly putting things together, like the crib you got a sneak peek of in this post! Then, I think it’s just about the fun stuff, which is the decor, and hanging things on the walls. I am feeling pretty good about our progress so far…
Casey