My Best Paint Sprayer Tips + Our New “Greige” Basement
Over my holiday break, I was finally able to paint the basement and whoa, I am so happy to have that monumental task off of my list. Our basement isn’t huge, but every single surface needed new paint. On Wednesday, I shared my best tips for painting interior doors and the saga of painting all of them down here. And I also recruited my mom to help me paint the ceilings. The only thing left on my to-do list were the walls, stairwell, and bulkhead areas. For these, I decided to use a paint sprayer.
Why Use A Paint Sprayer?
Now, you may be questioning my choice to use a paint sprayer for a job like this. And honestly, while working on this project I questioned myself too. Ha! I wanted to use a paint sprayer for a few reasons. First, Finn got to use one for projects in our office and Rory’s room and he had an absolute blast with it. I was pregnant at the time, so I didn’t get to participate. I really wanted to give it a try myself! I enjoy learning new DIY skills and trying out new-to-me tools.
Second, because I was going to be painting the stairwell, bulkhead, and some of the ceilings in our basement I knew it would be tough to do all of these nooks, crannies, and hard-to-reach areas by hand. Lots of cutting in with a brush and moving a ladder around didn’t sound very fun to me. Instead, I figured a paint sprayer would make those spots easier to paint, and, as you’ll read, it really did make it easier!
Painting & Masking Supplies
Unlike a traditional painting job, the bulk of my time was spent prepping the space and “masking” areas that I didn’t want to be painted. The same goes for supplies. Instead of spending my money on rollers and brushes, I spent it on paint-spraying suits, masks, plastic, and more. Here’s a list of my supplies for this project…
- Painter’s tape
- Masking tape
- Pre-taped plastic sheeting
- Rosin paper
- Protective carpet film
- Paint coverall
- Reusable respirator
- Gloves
- Glasses
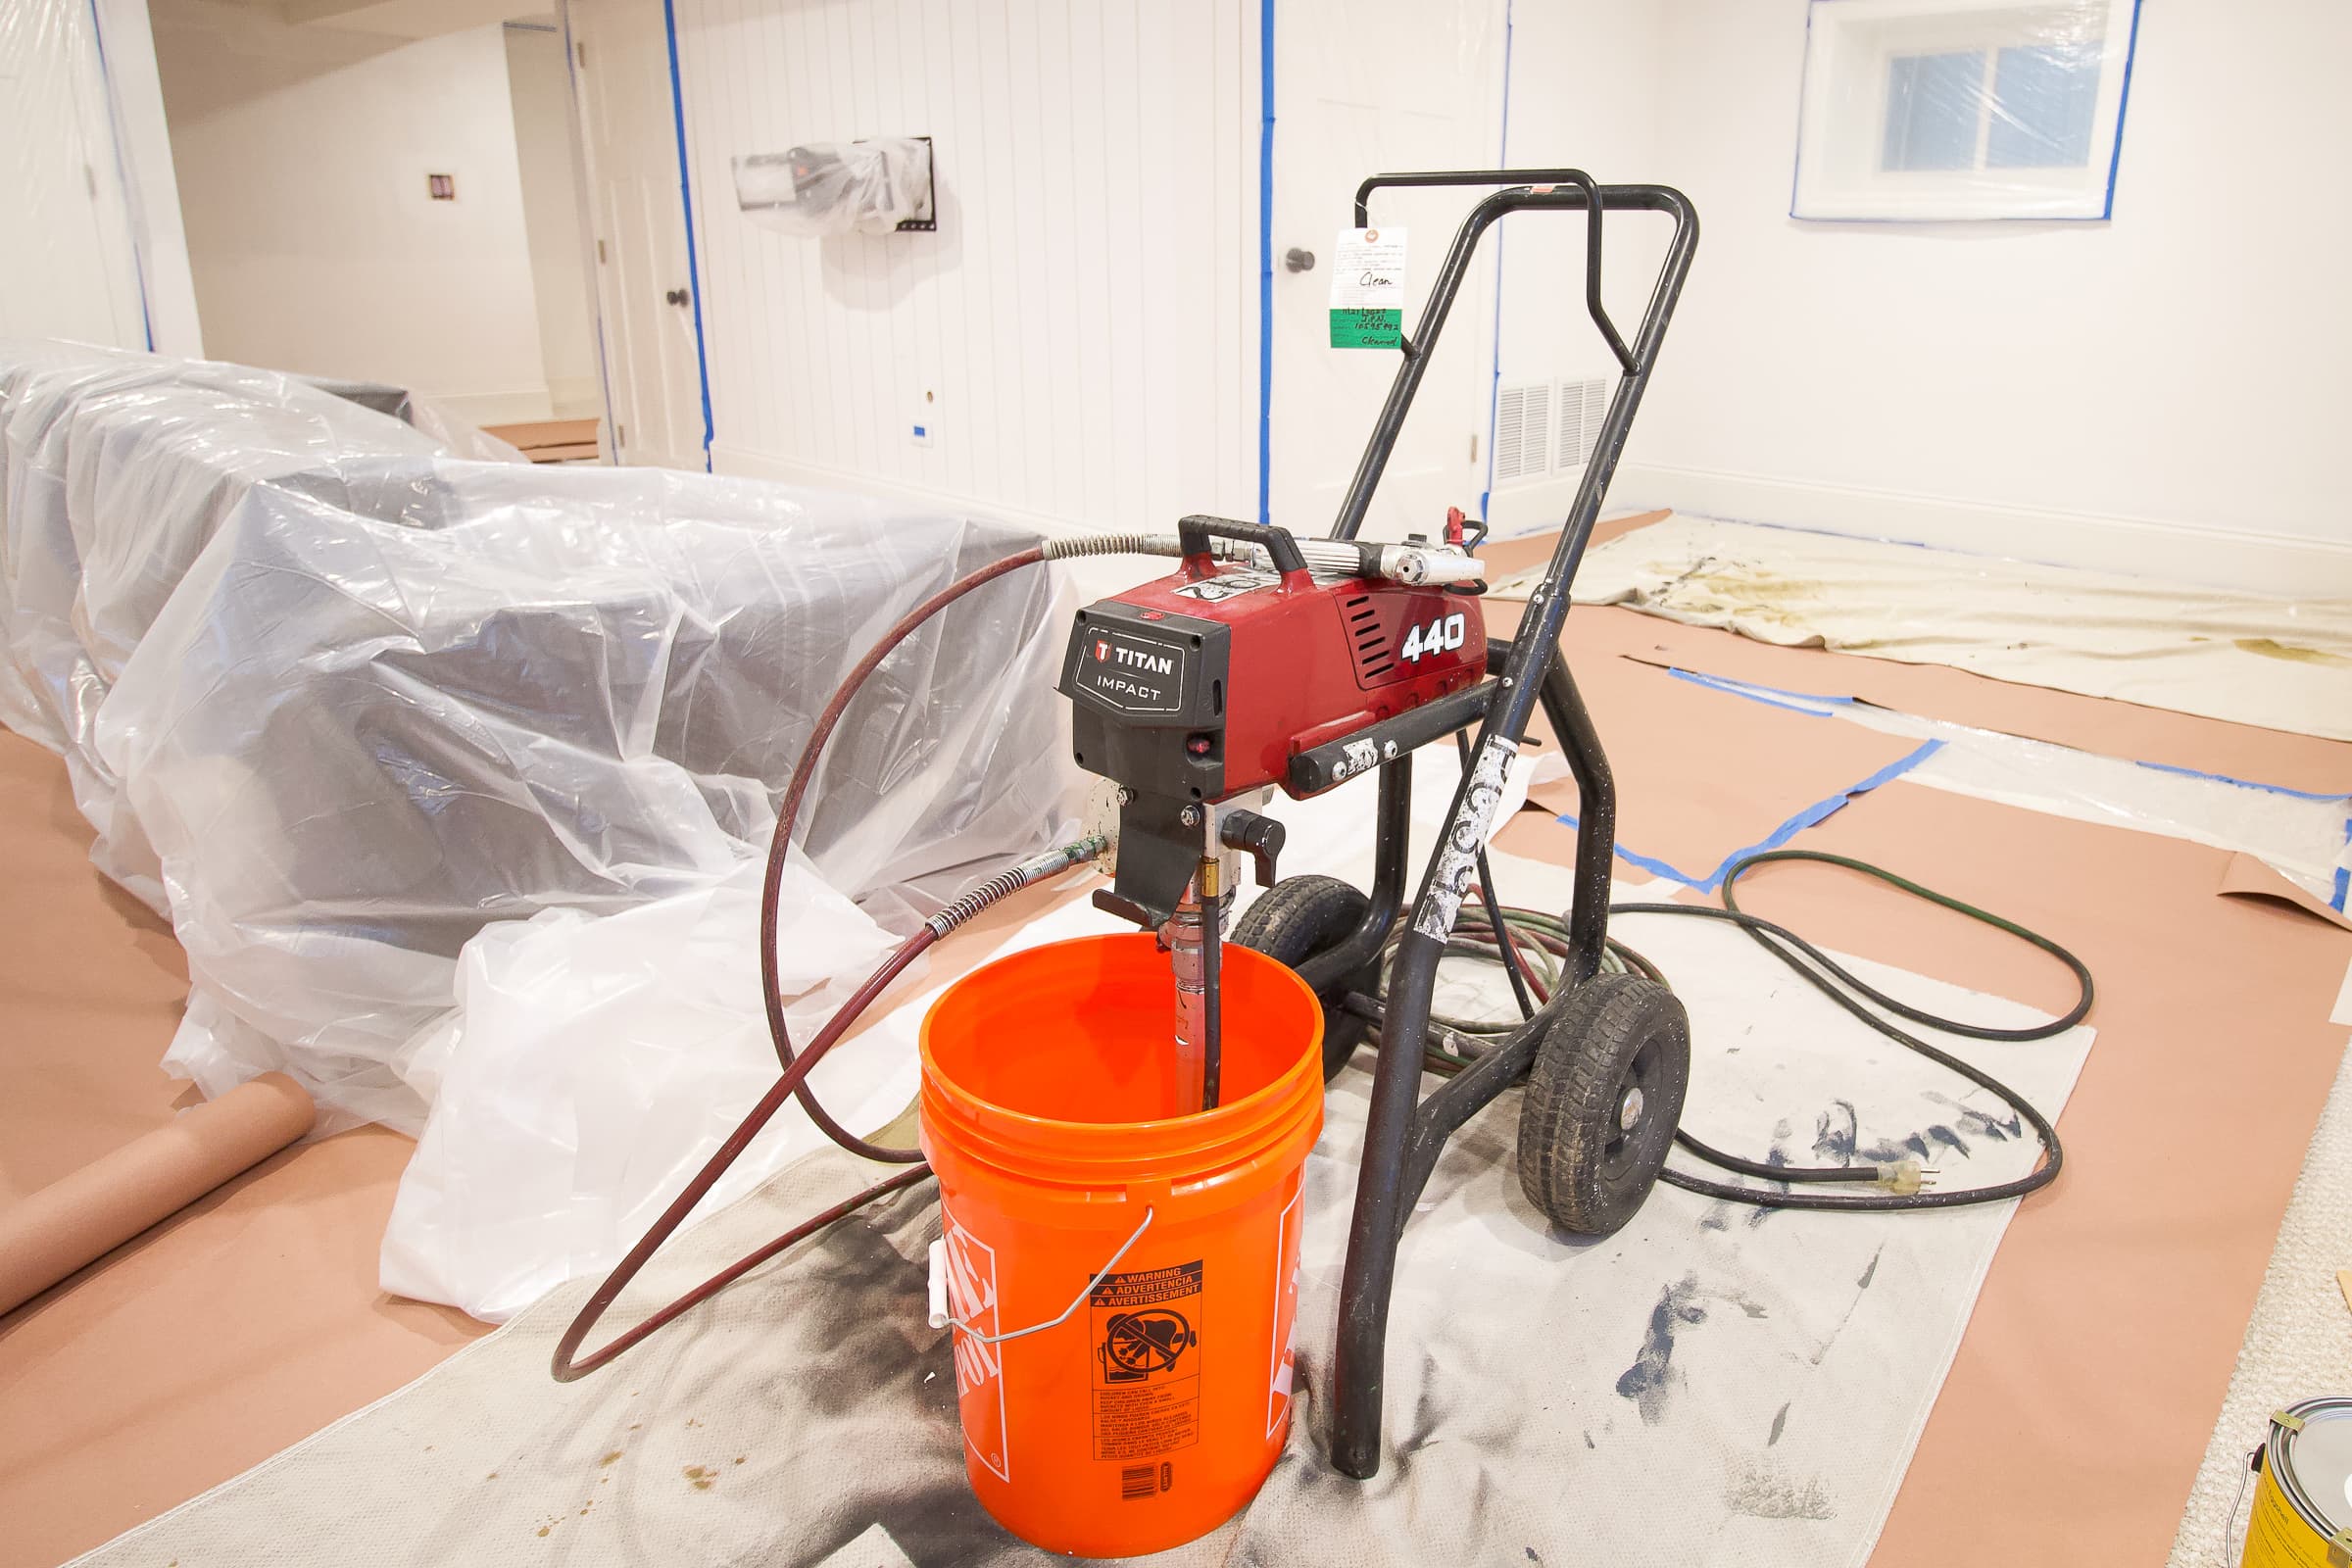
- Paint sprayer (I rented this one from Sunbelt Rentals)
- 5-gallon buckets (at least 2-3)
- Paint (I went with Clare “Greige” in an eggshell finish)
- Putty Knife
- Drop cloths (multiple)
- Contractor bags
- Paint brush
My Best Paint Sprayer Tips
I learned a heck of a lot with this project and I would definitely do a few things differently the next time around. So, I’ll be sharing my best paint sprayer tips so you can learn from my mistakes!

Prep The Walls & Surfaces

Before you even begin thinking about painting, you need to make sure your walls are all ready to go. You can follow my tutorial to fill small nail holes and fix any divots or marks in your drywall. It’s also important to get any dust or dirt off of your walls and molding. I took a rag and made sure to get everything super clean before using the paint sprayer. Oh, and don’t forget the ceilings. I took this long duster to make sure I scooped up any dust bunnies up there!
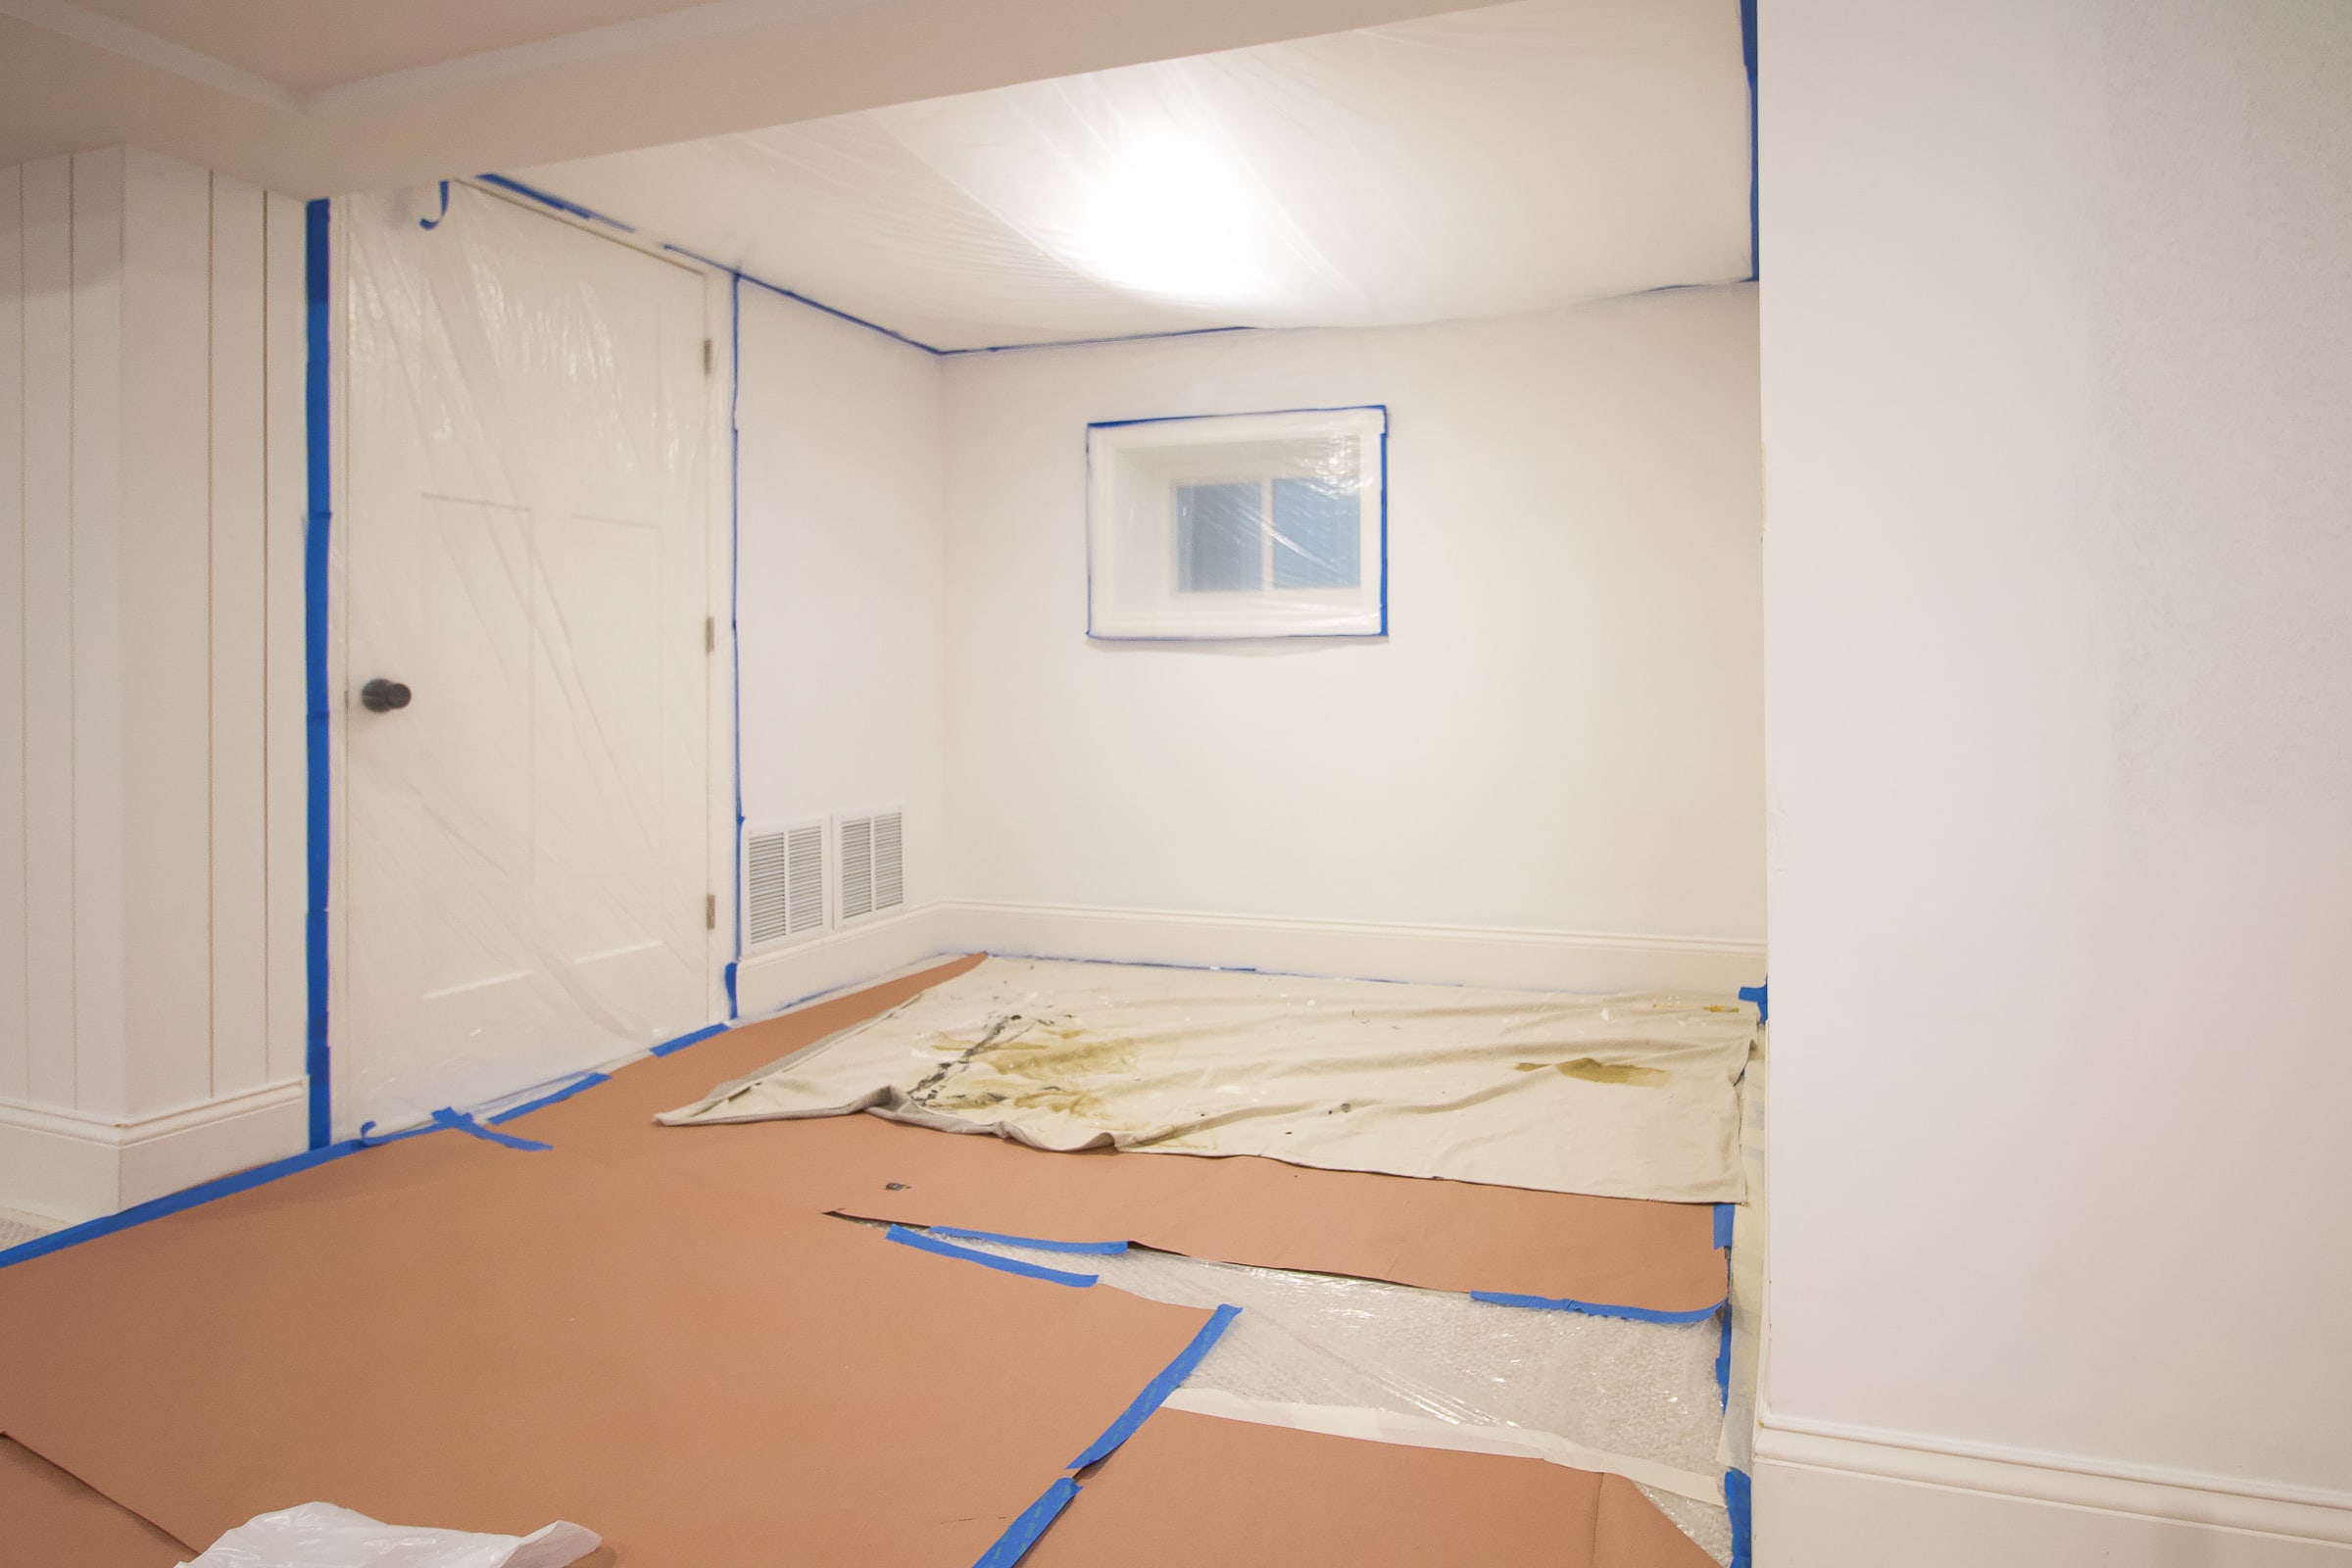
Spend Time “Masking”
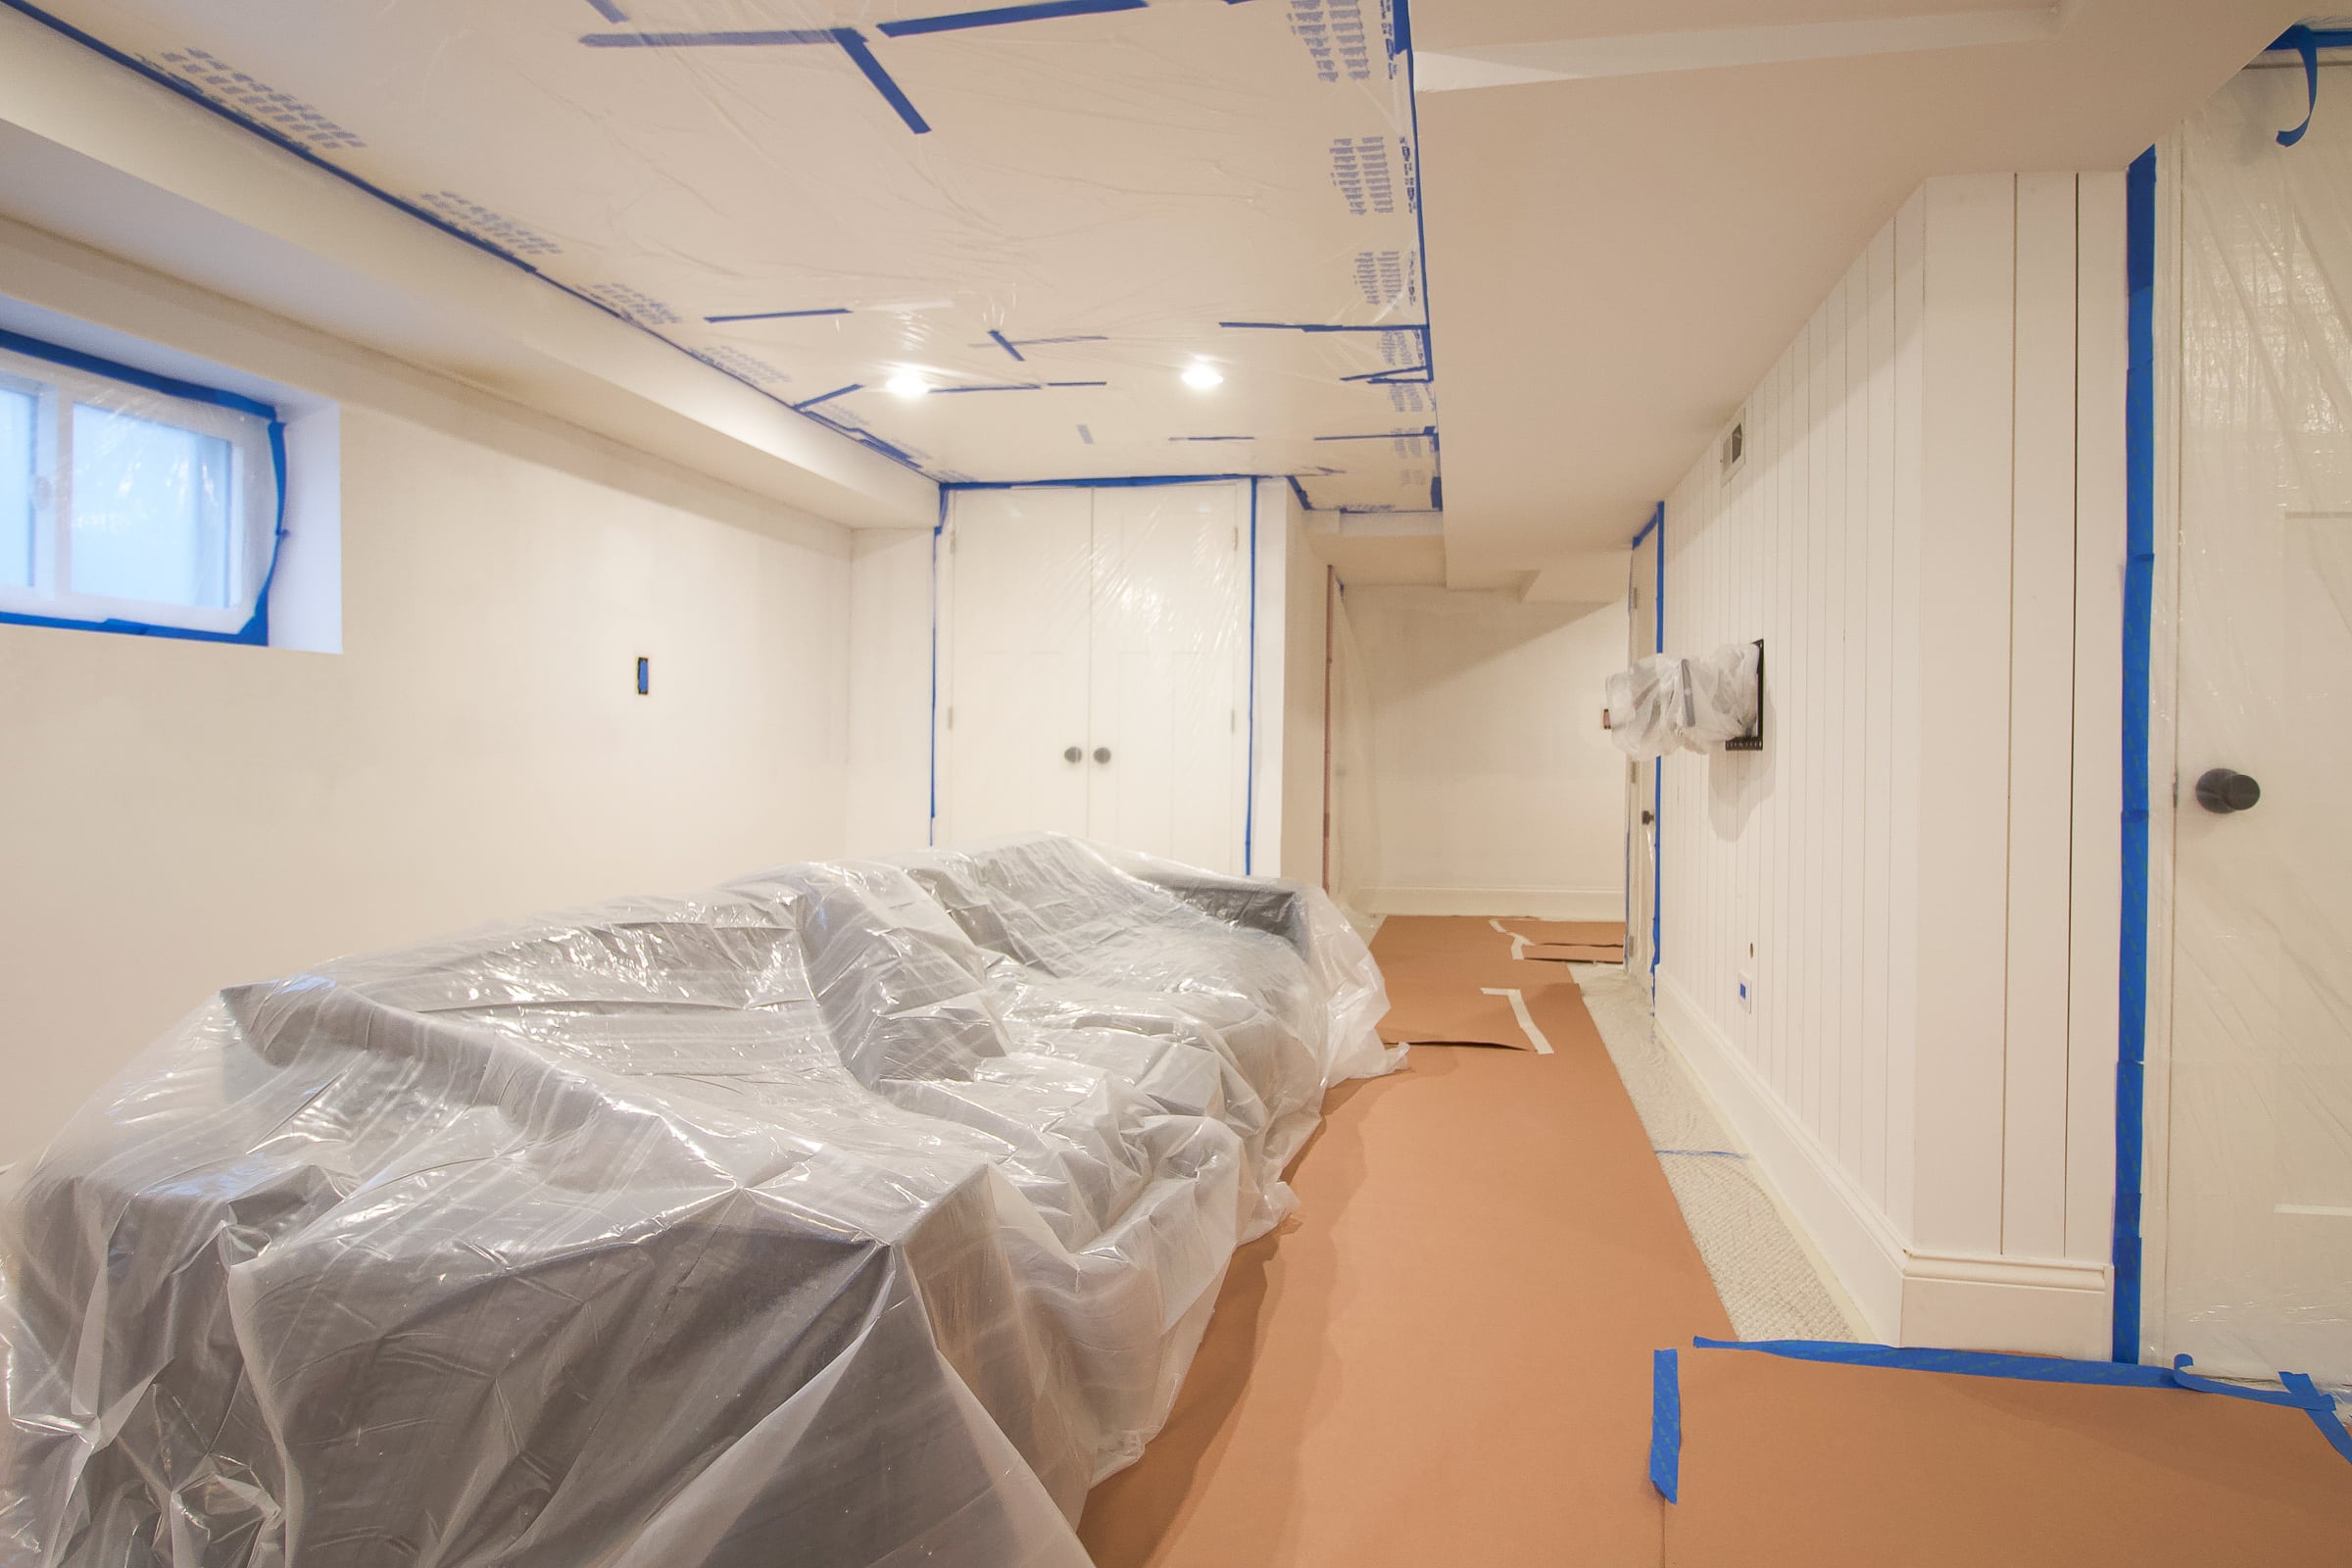
The majority of the time for this projet was spent “masking”, which basically means covering up anything in the room that I didn’t want painted. This is, by far, the most time-consuming part of this project. I would guess that I spent at least six hours masking the space and I also tapped my mom and Finn to help for a few hours, here and there, too.
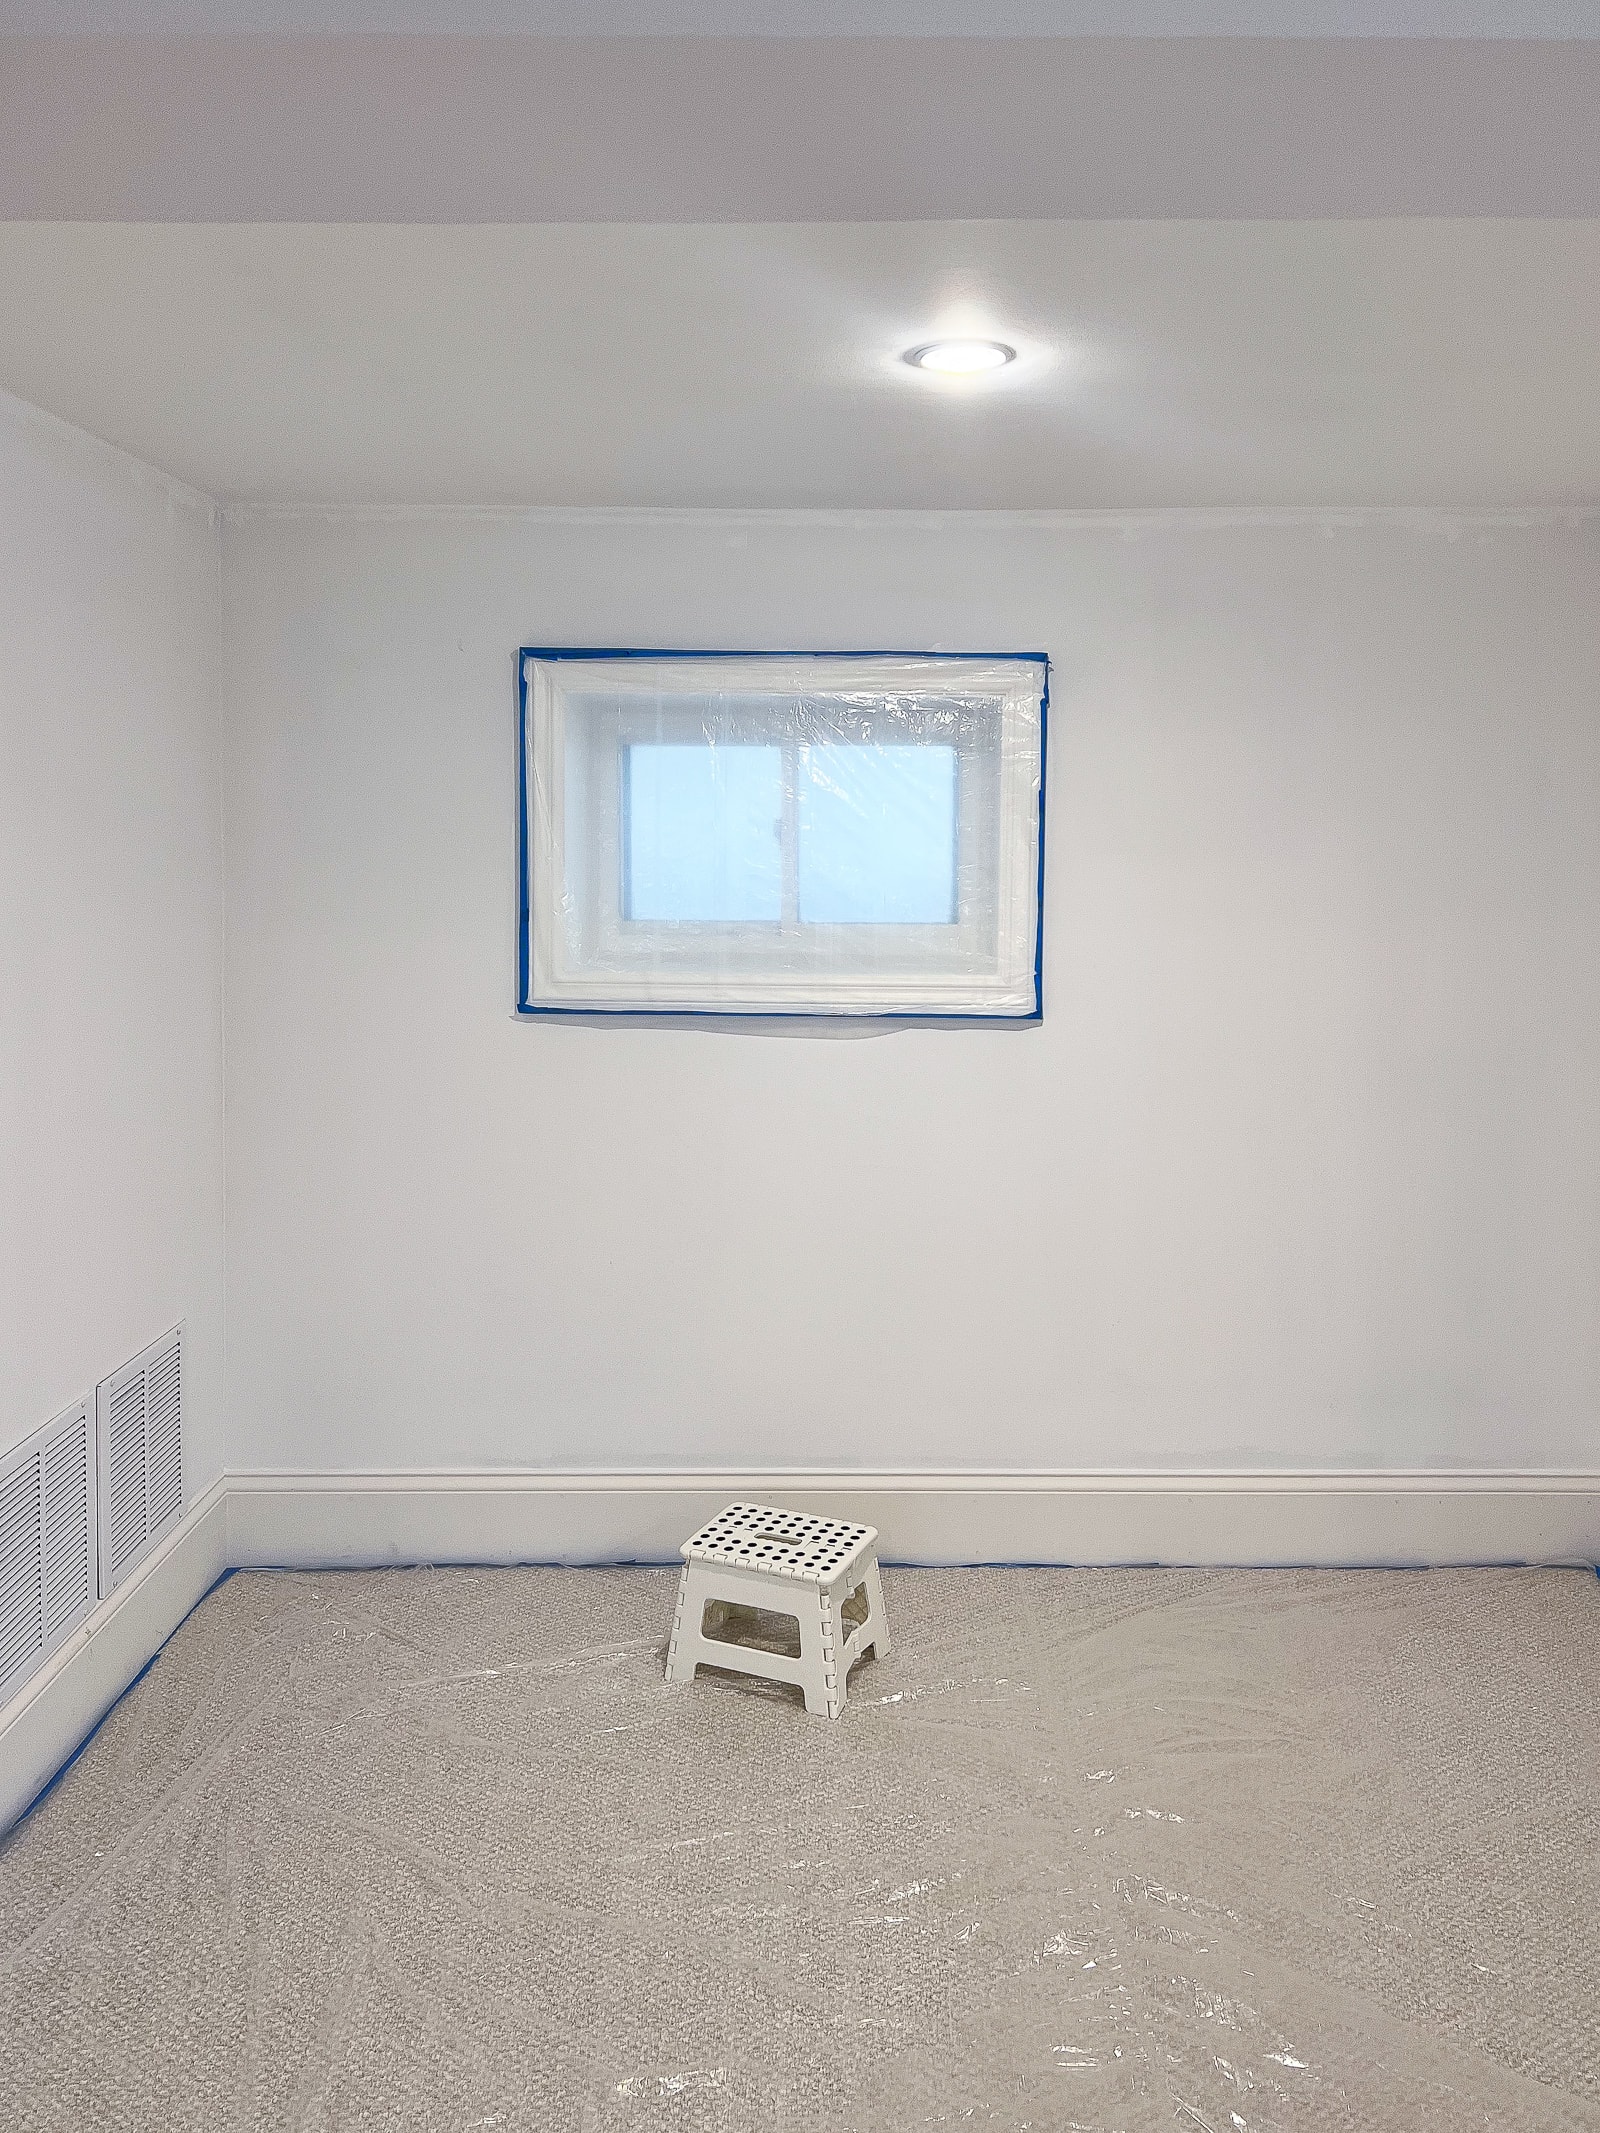
I had to cover the ceilings, doors, windows, light switches, and floors throughout the entire basement.
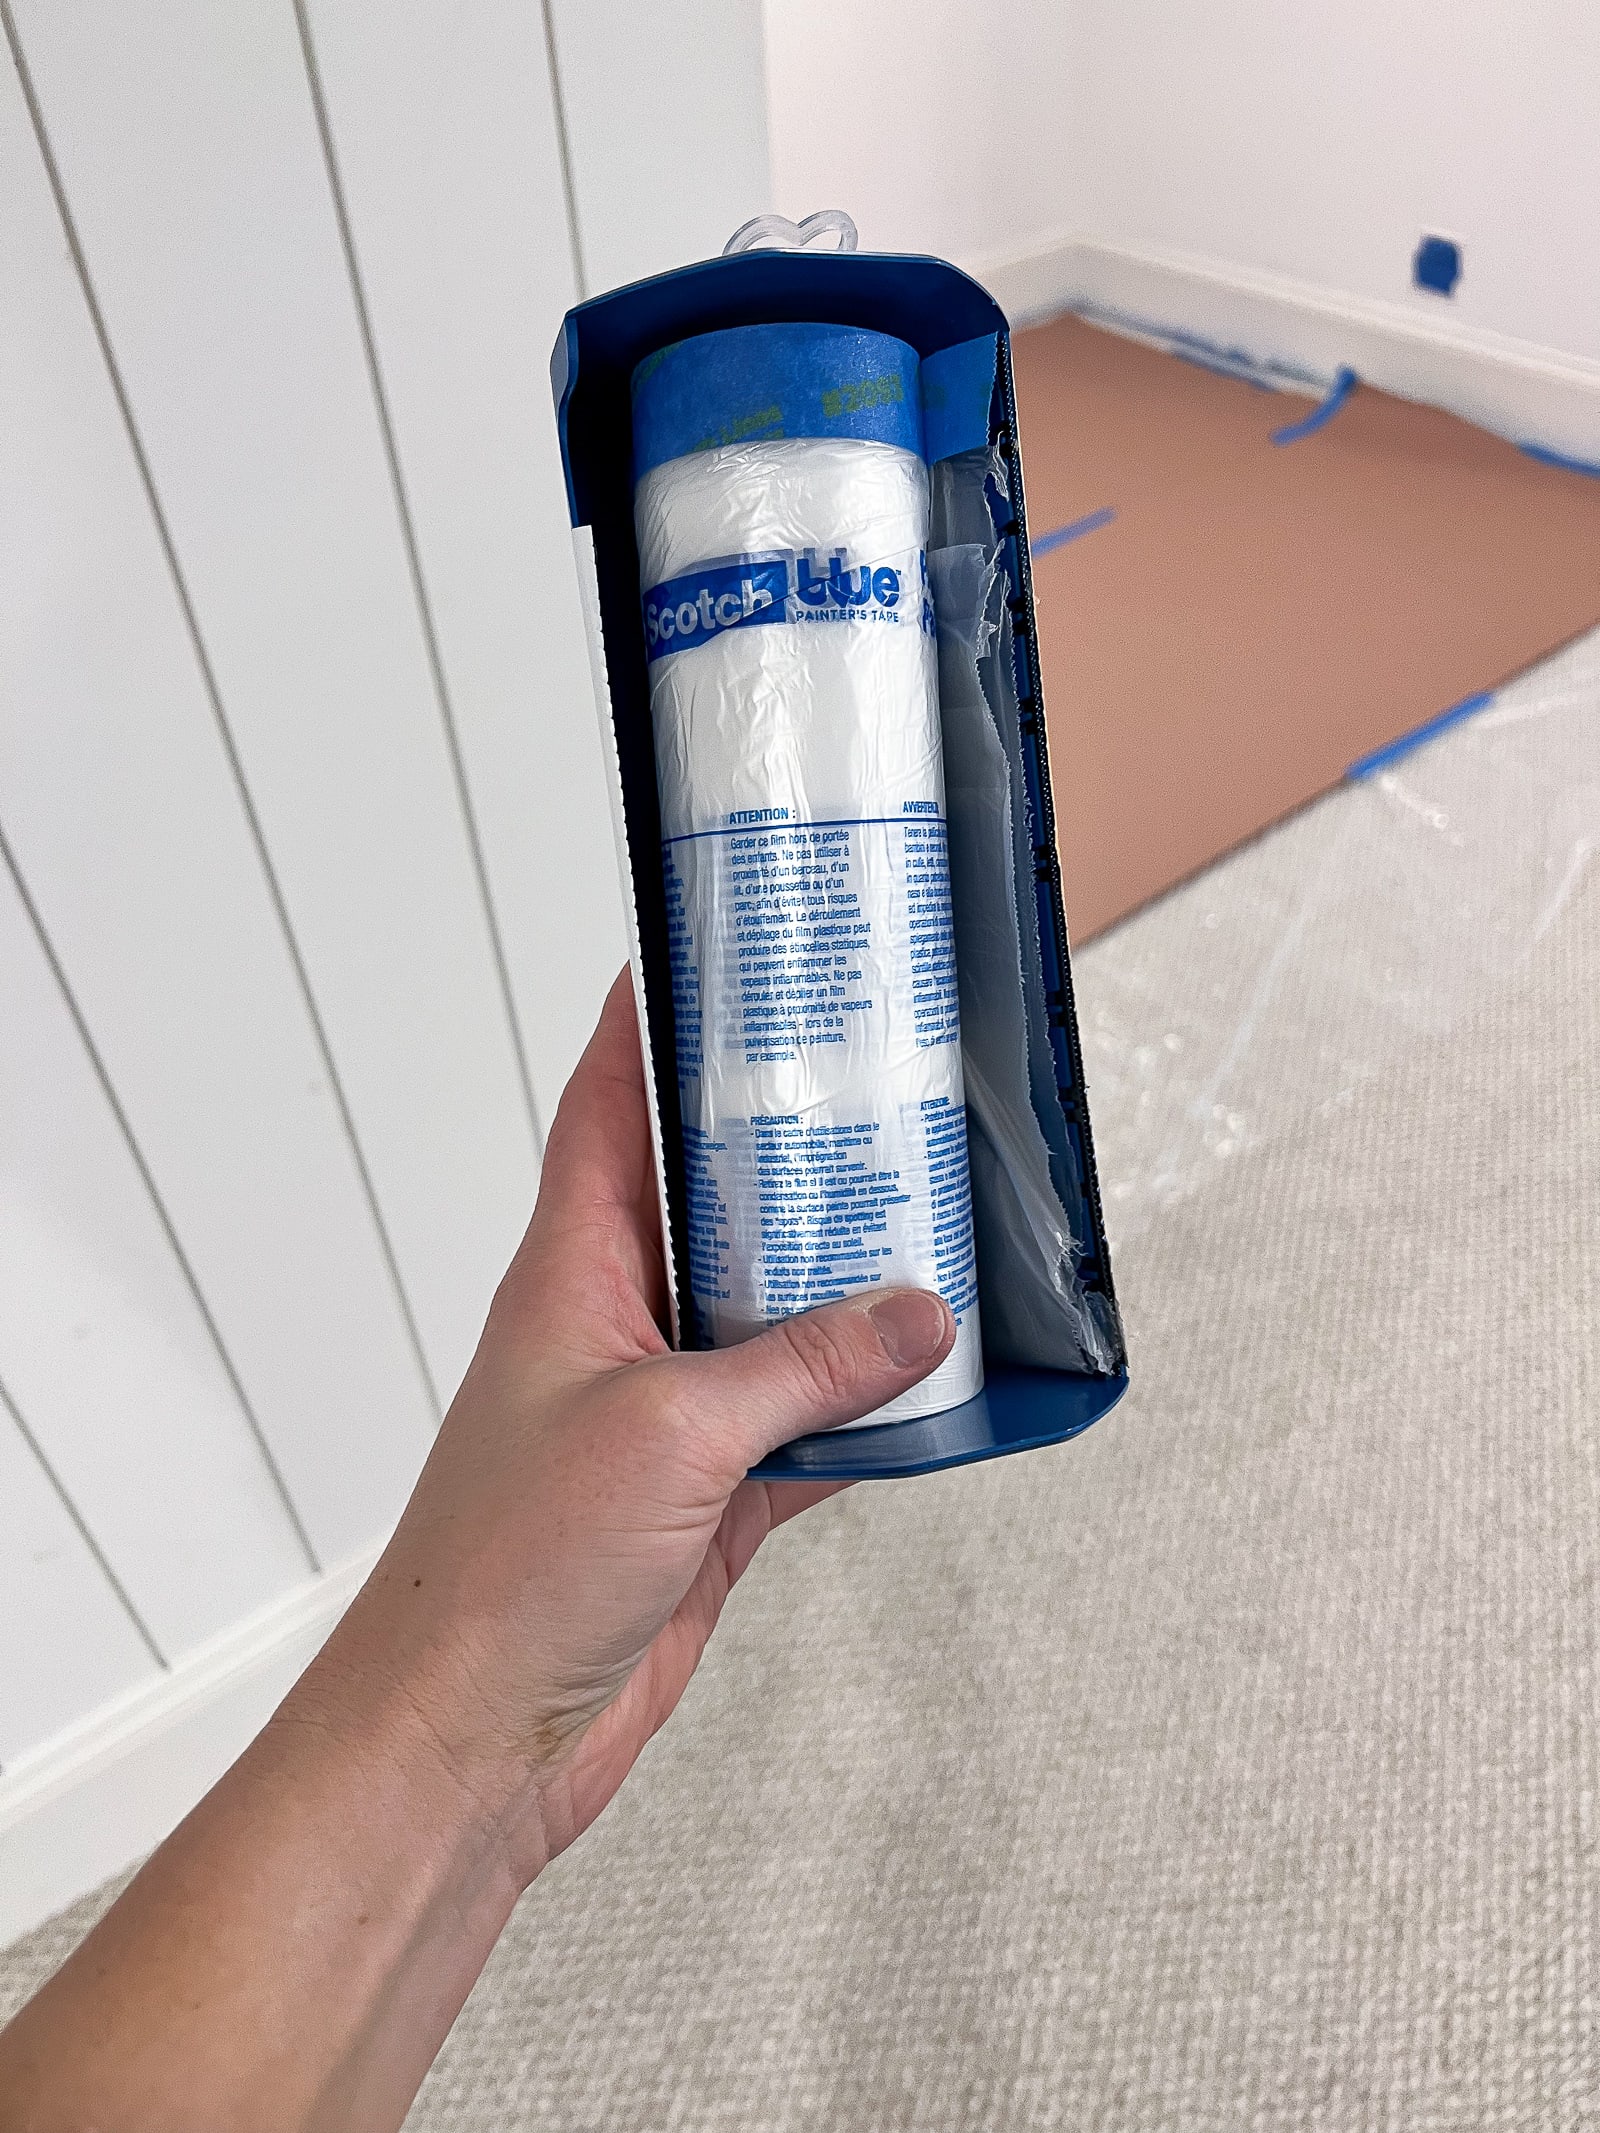
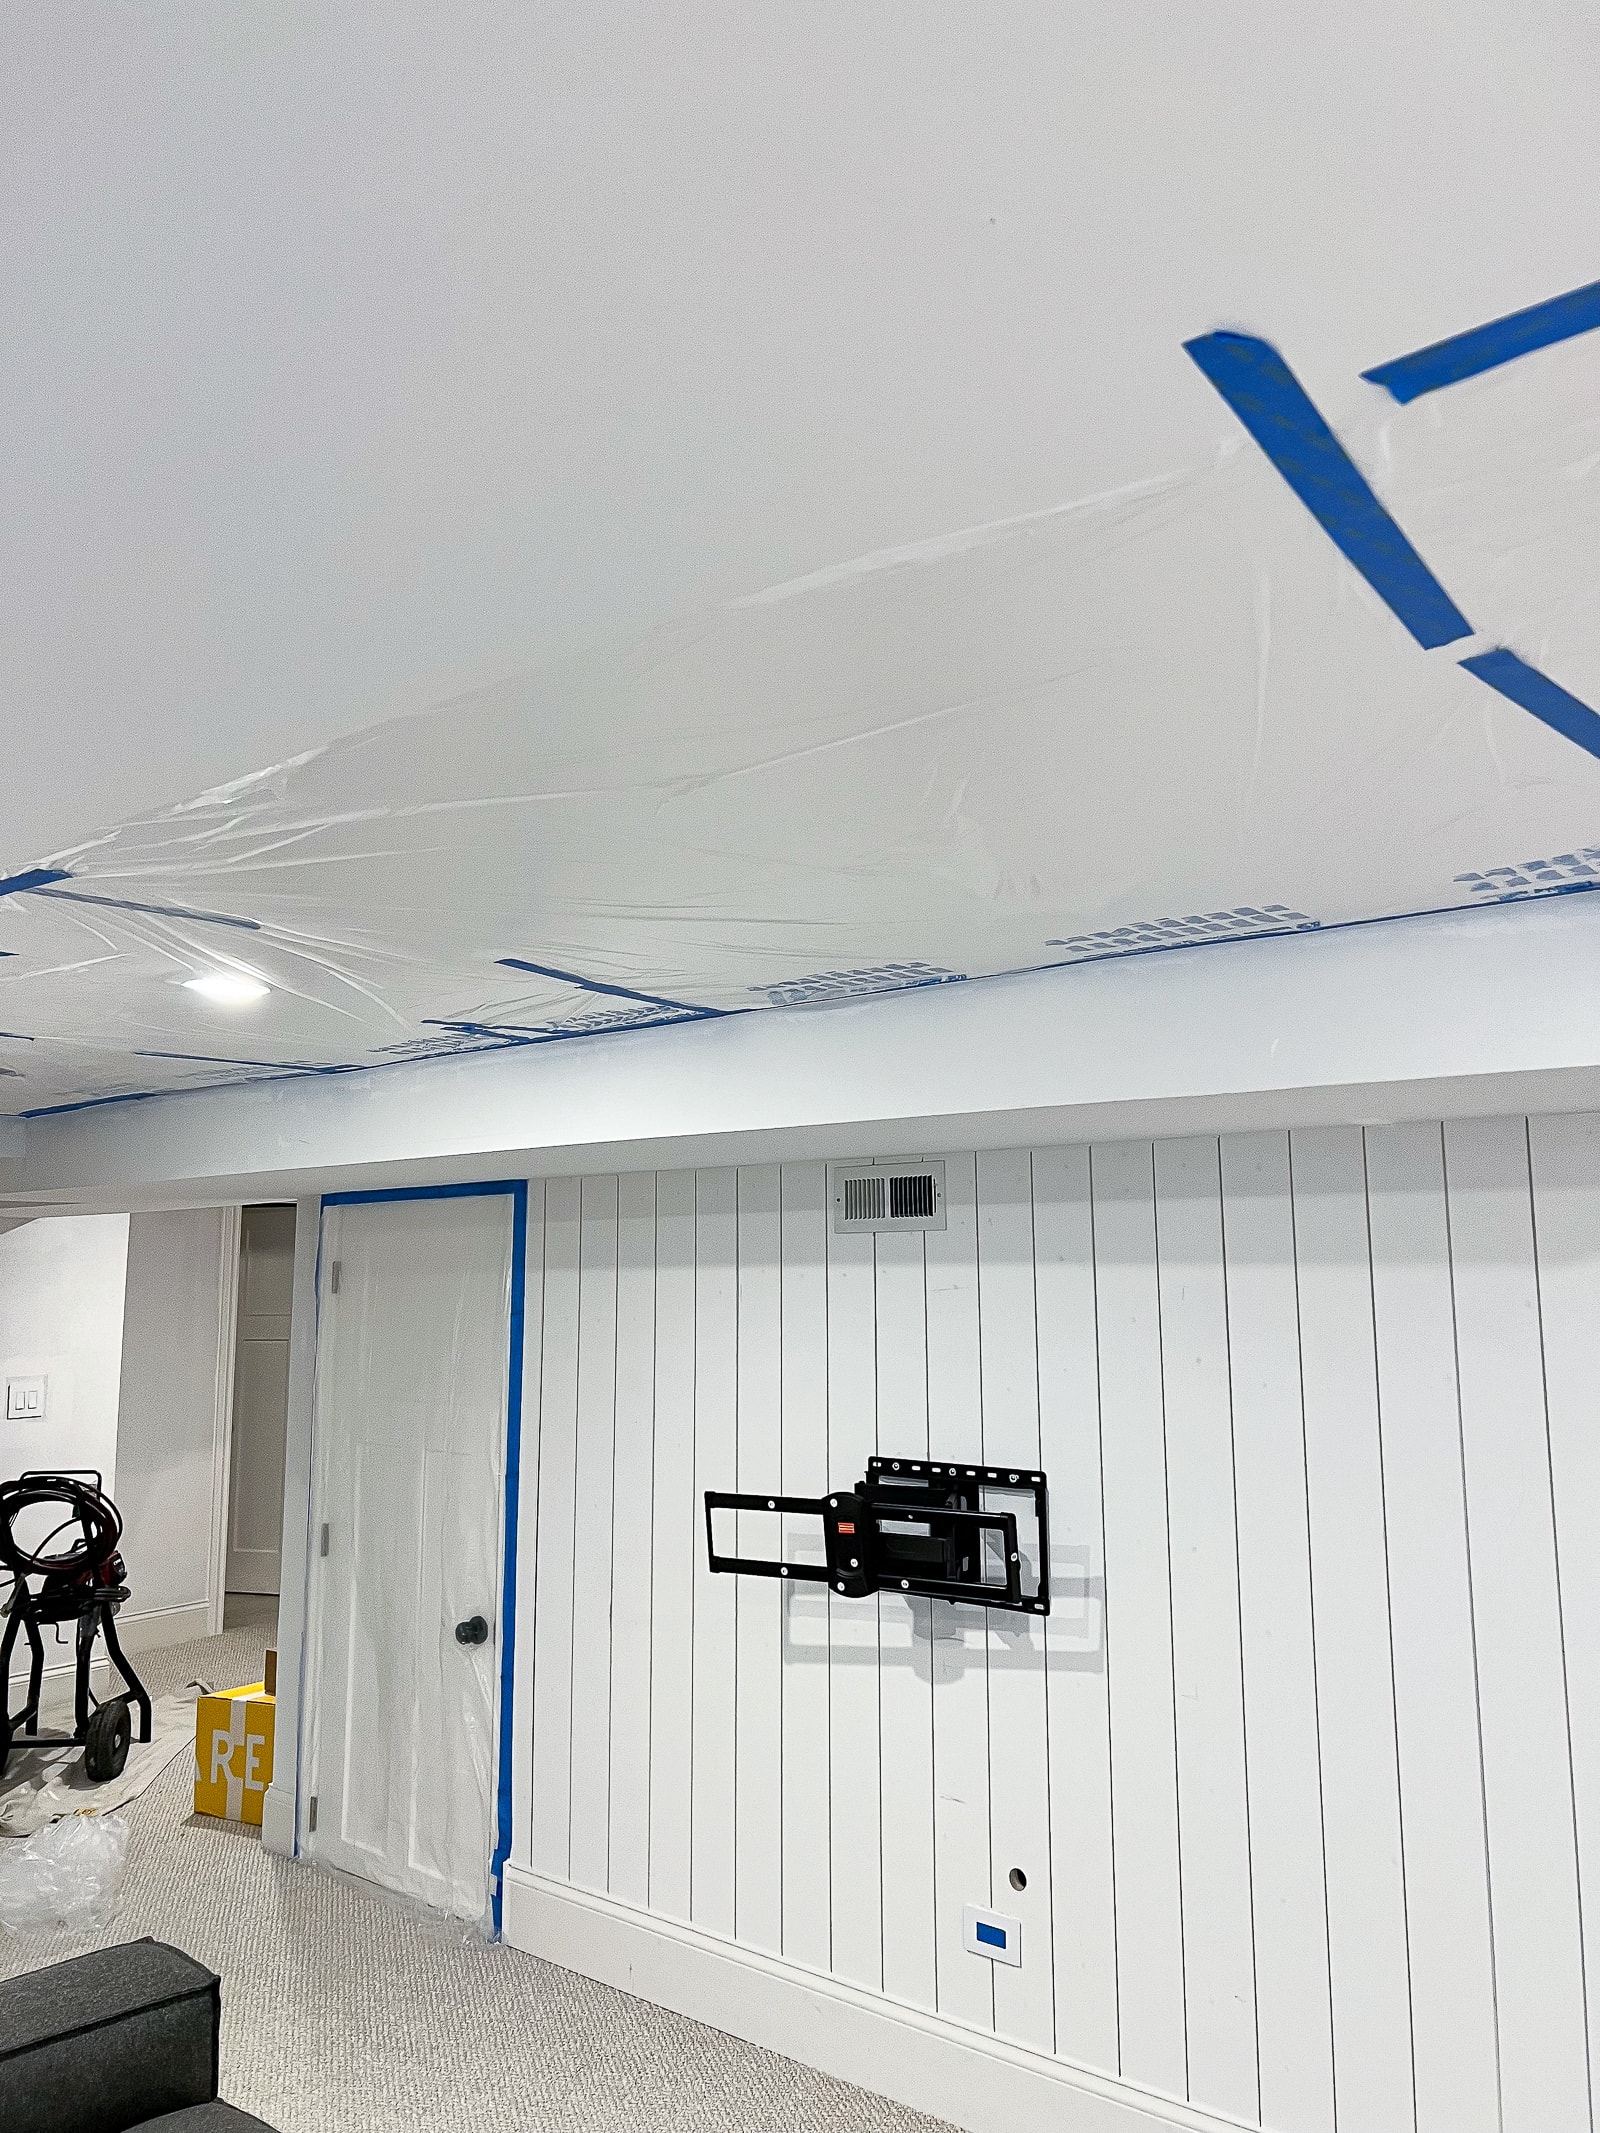
For the ceiling, I first started with lightweight plastic and painter’s tape and it was a pain in the butt to cut to size and stick up there perfectly. Then, I found this pre-taped plastic sheeting and it was much easier for the remainder of the ceiling and doors. I highly recommend splurging on something like this to help with your masking efforts!
Cover Your Carpet Well
We just put brand new carpet in the basement and I was very worried about getting paint on it. My mom and I started by putting painter’s tape underneath the baseboard with a putty knife and then taping down plastic on top of that. We quickly realized that this didn’t work and the tape came up super easily. Not good.
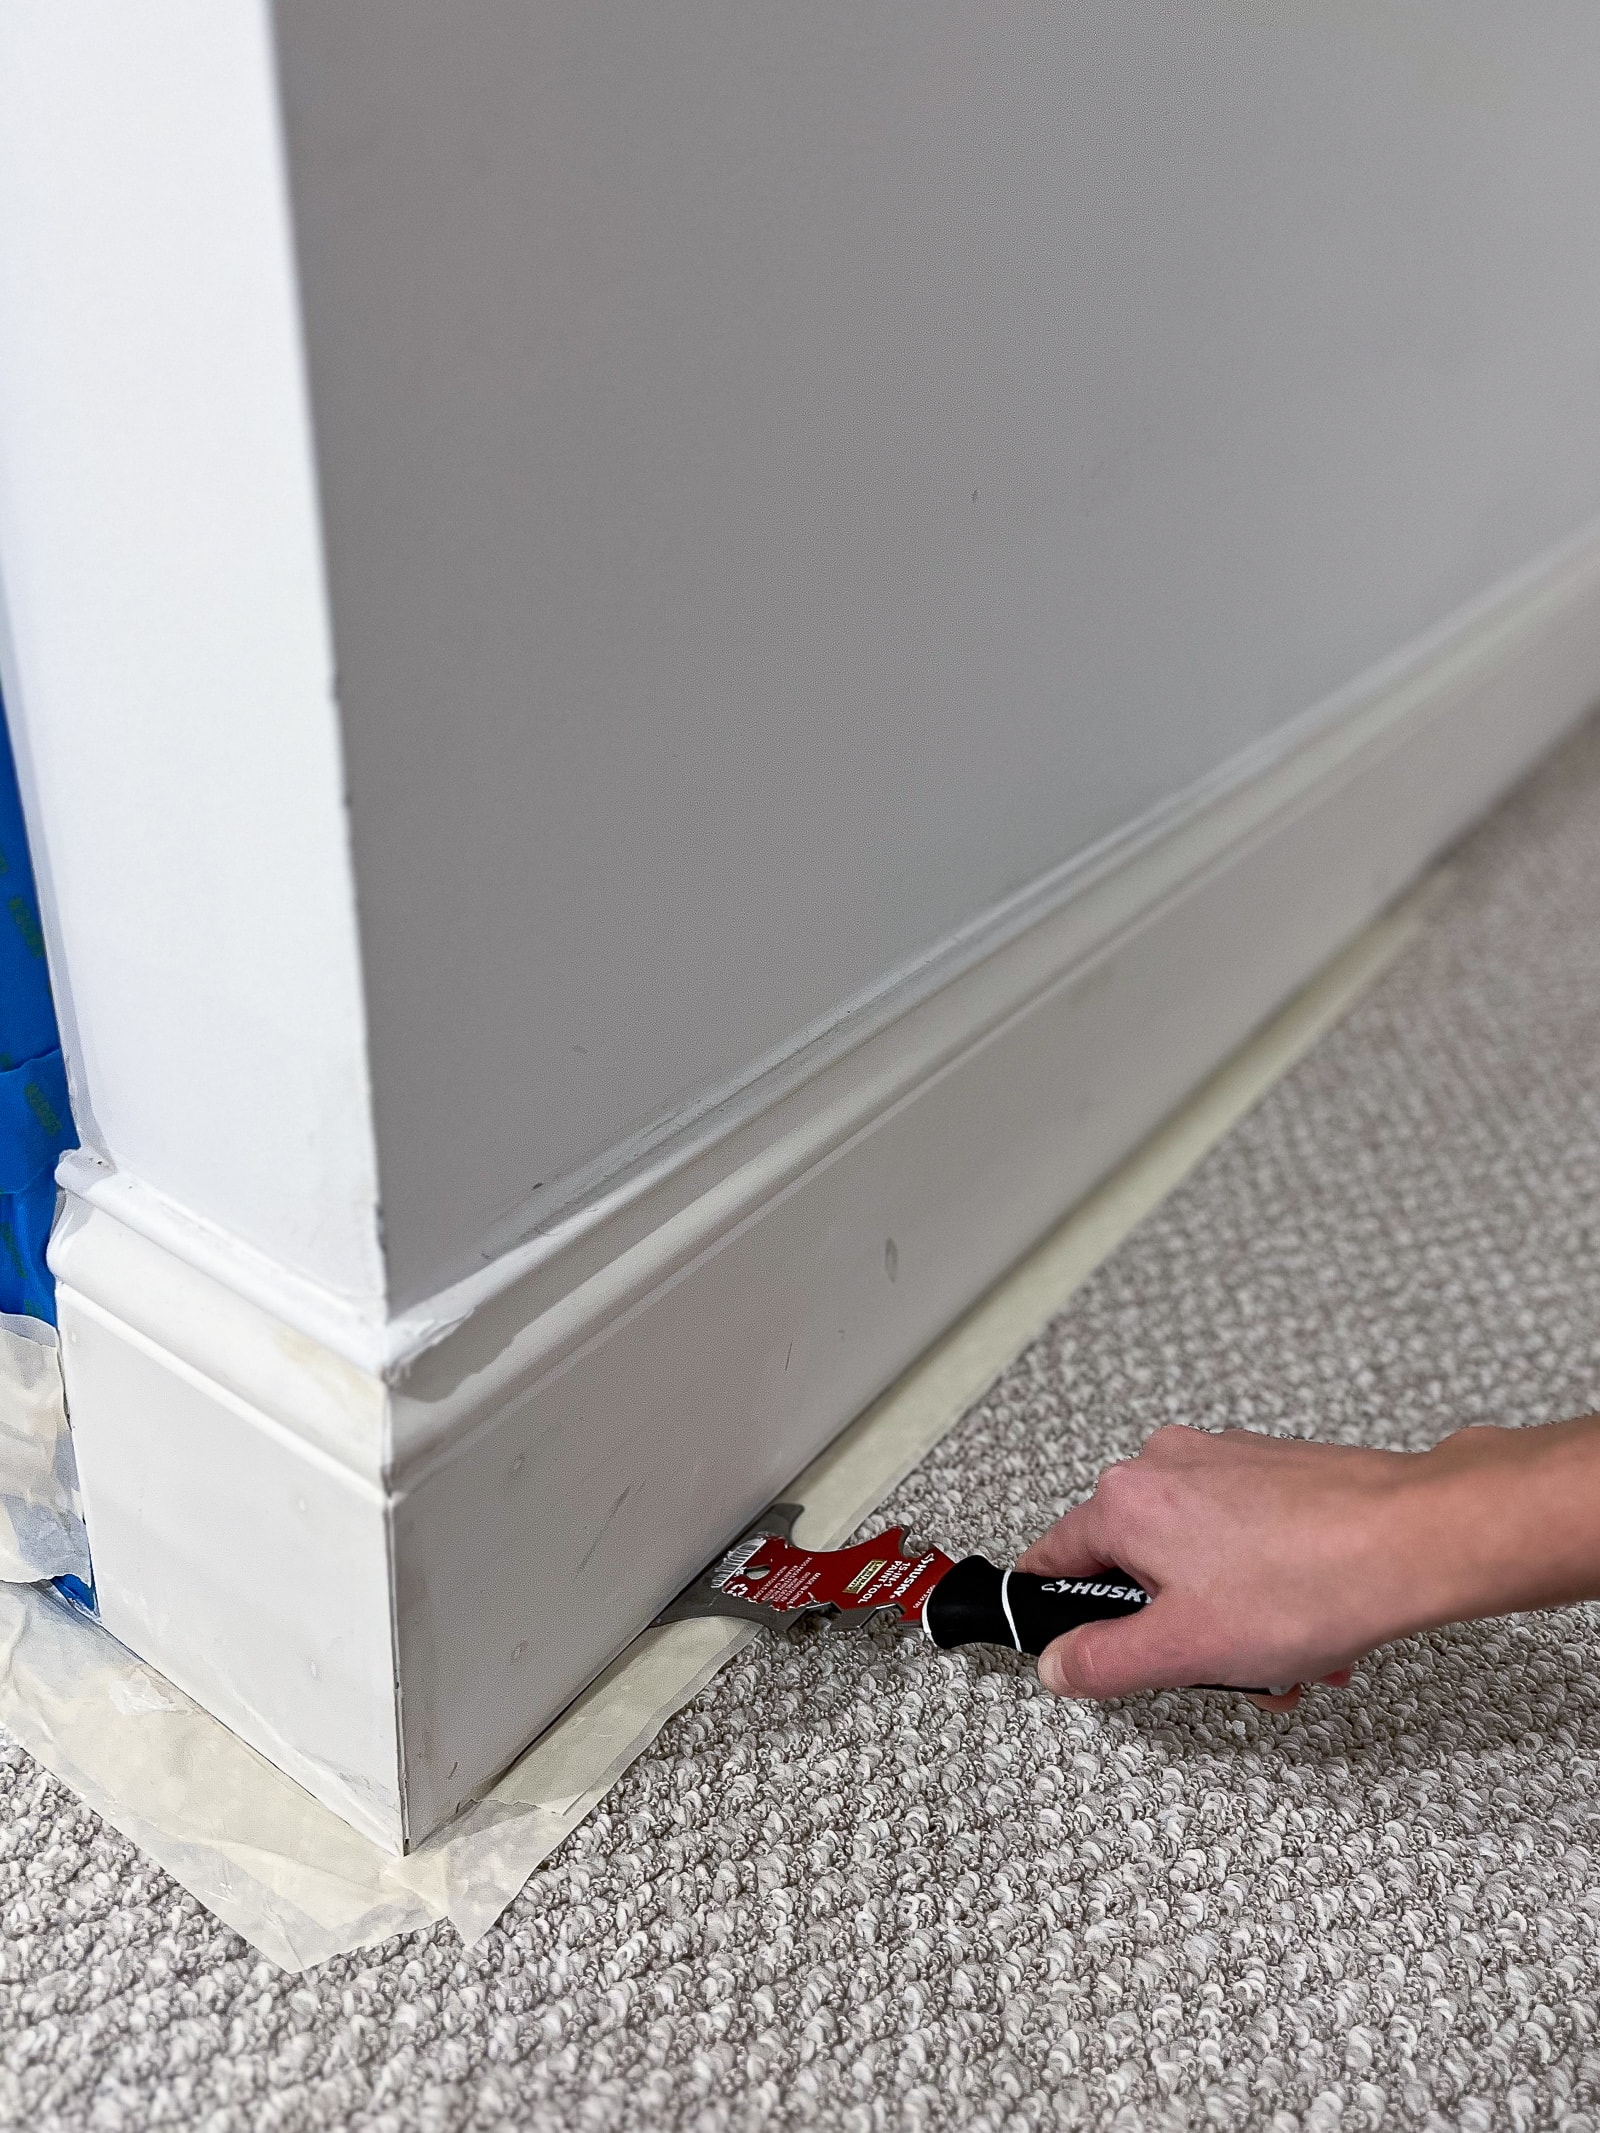
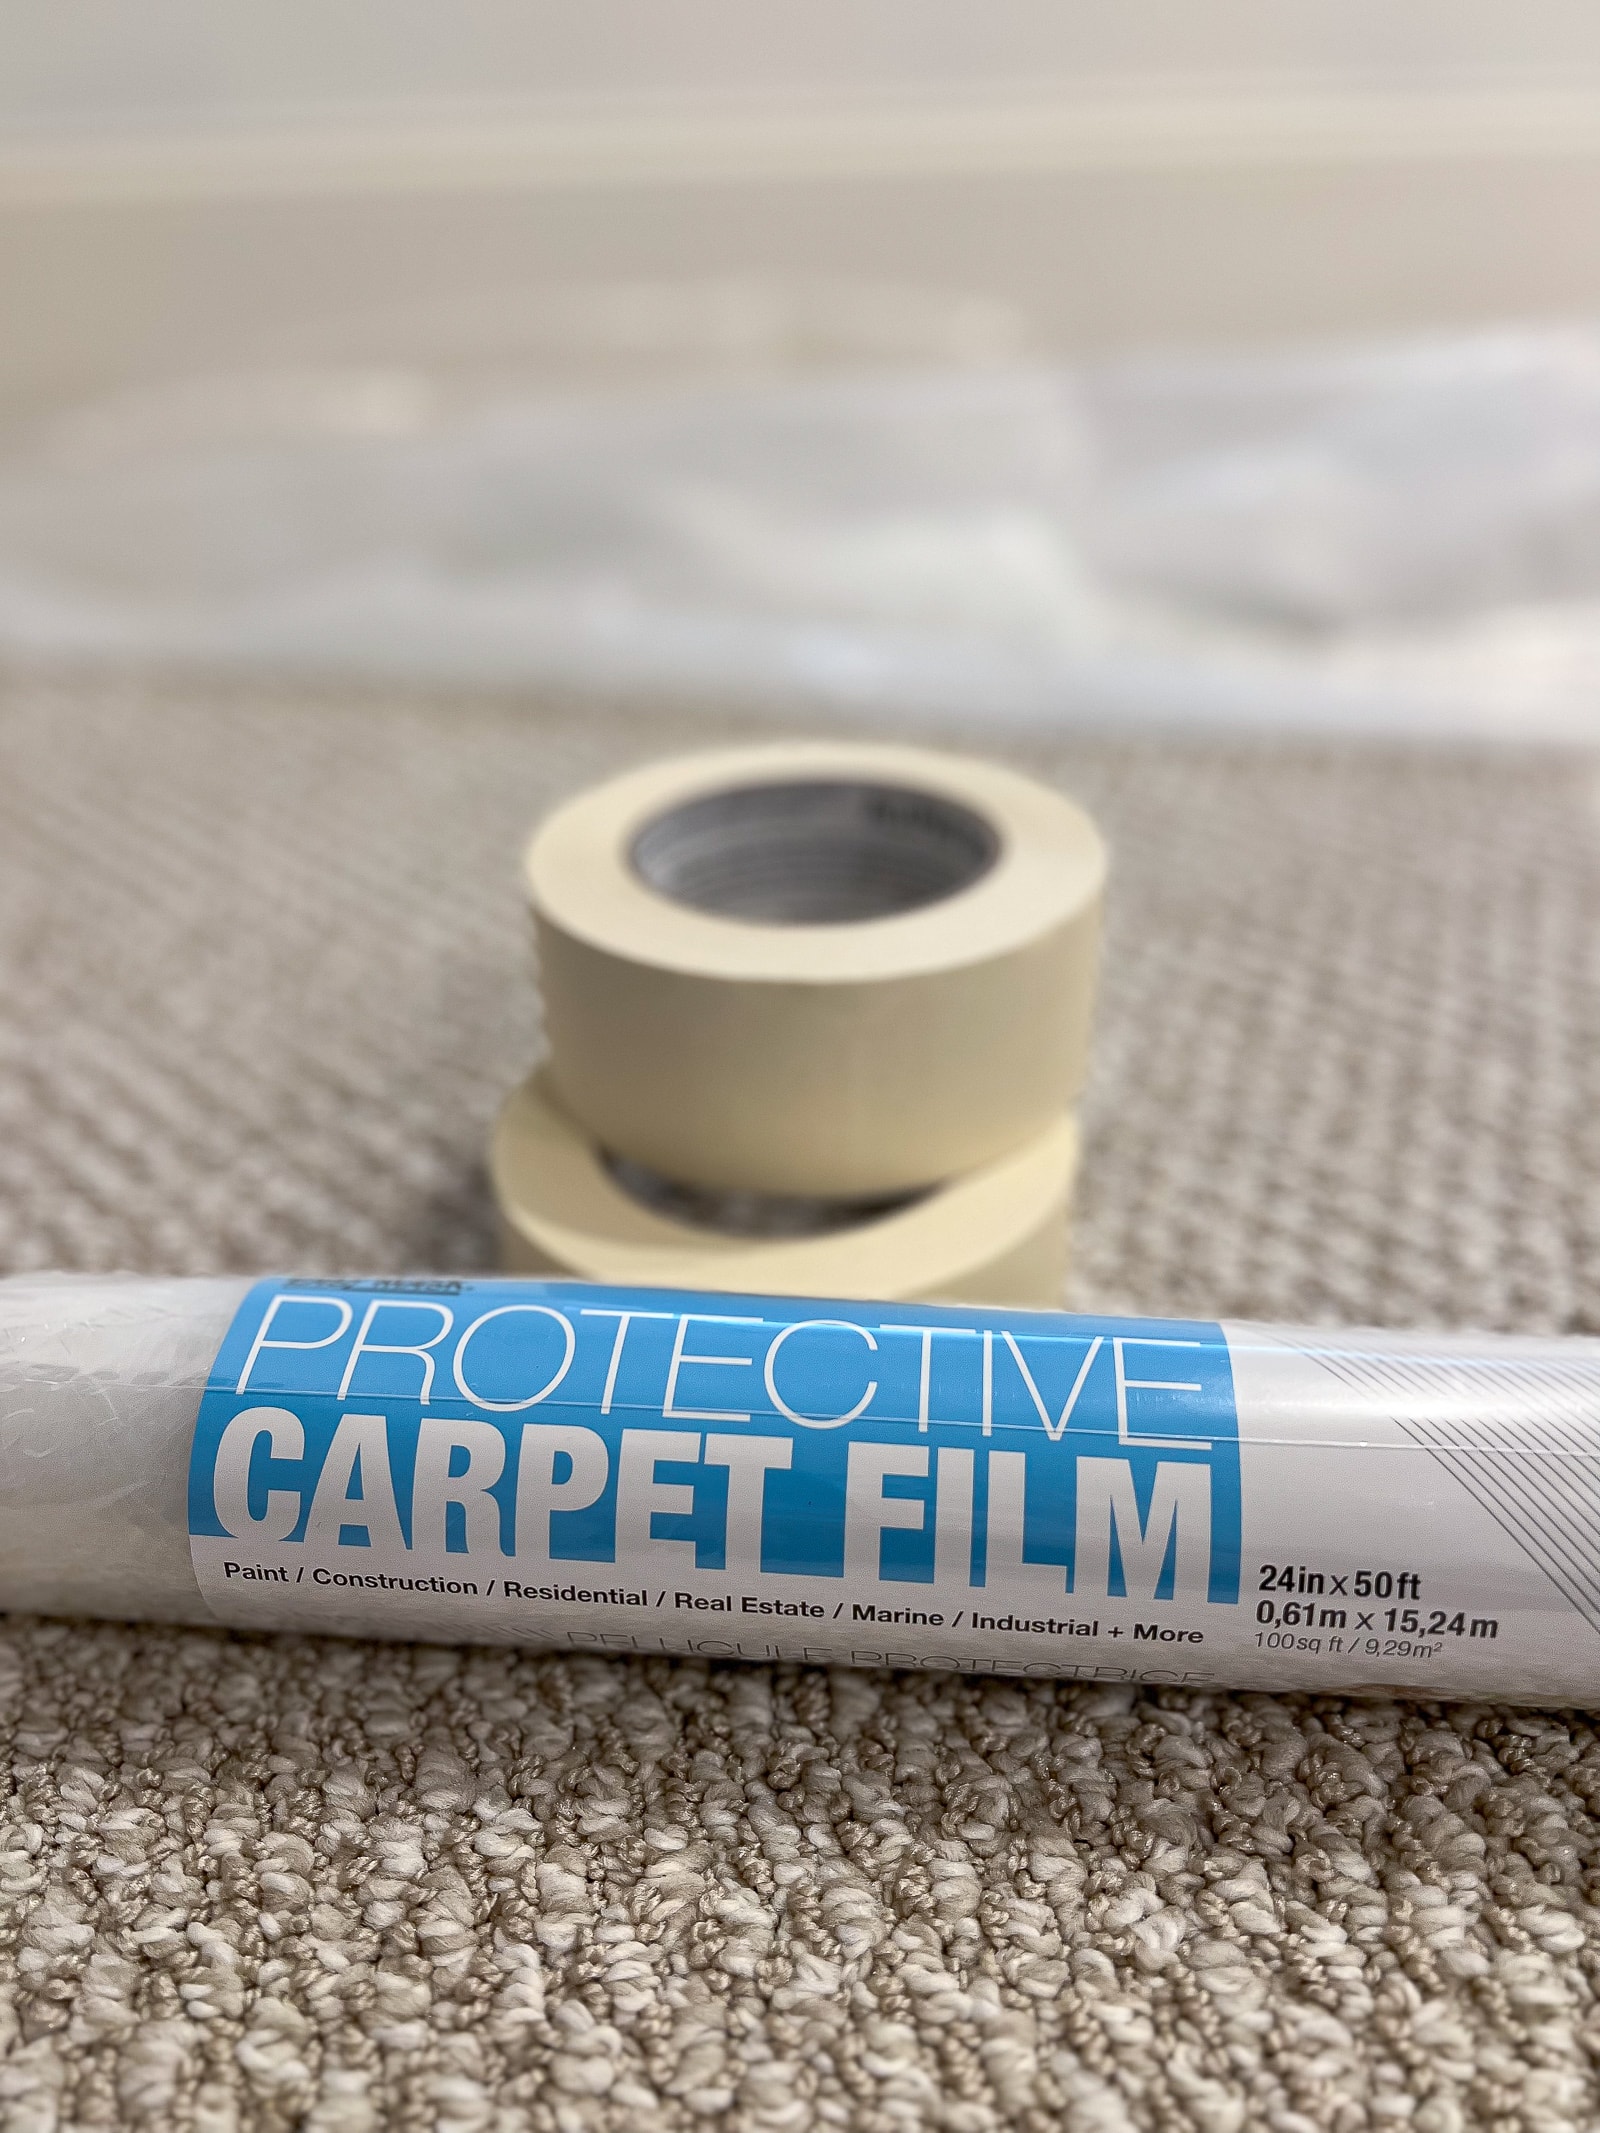
Plan B? Masking tape! After speaking with a few pros at my local paint store, ( I always recommend doing this if you’re doing a paint project), I learned that regular ol’ masking tape works much better at sticking to carpet than painter’s tape. We ended up using 2-inch masking tape and we used a putty knife to stick it underneath the baseboard. We then put another line of masking tape on top of the first.
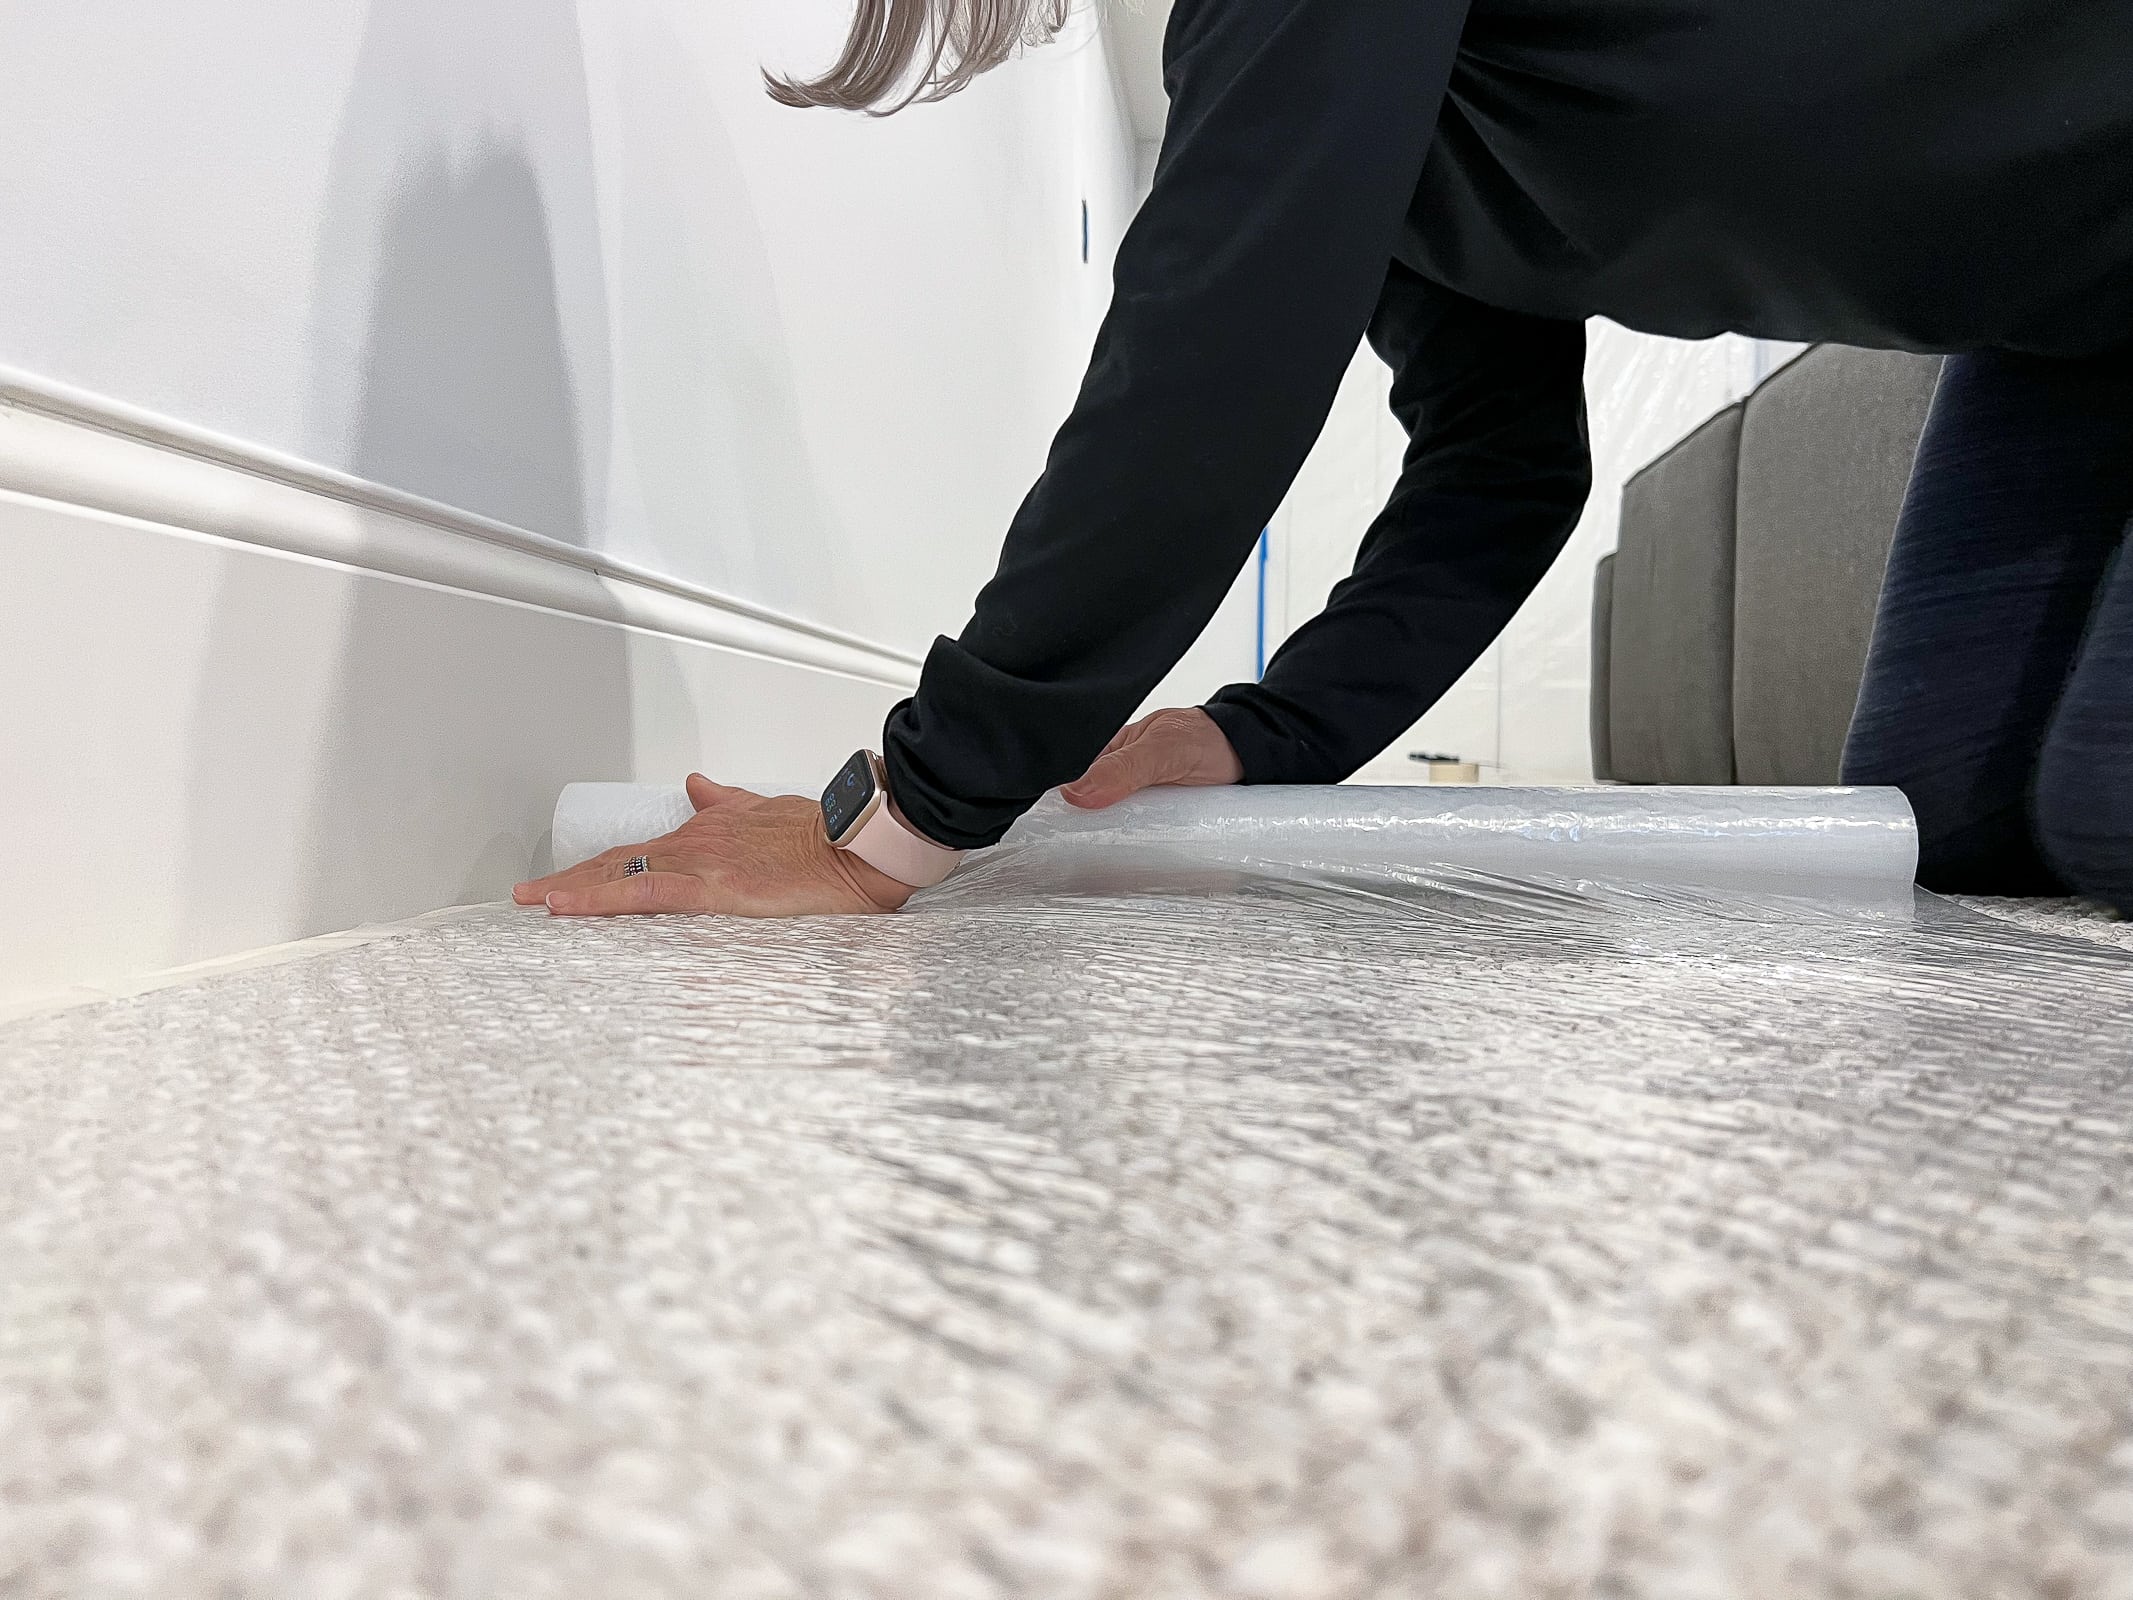
Finally, I found this protective carpet film that is suuuuper sticky and goes right on top of your carpet. We ended up placing it on top of the masking tape, all the way around the room.
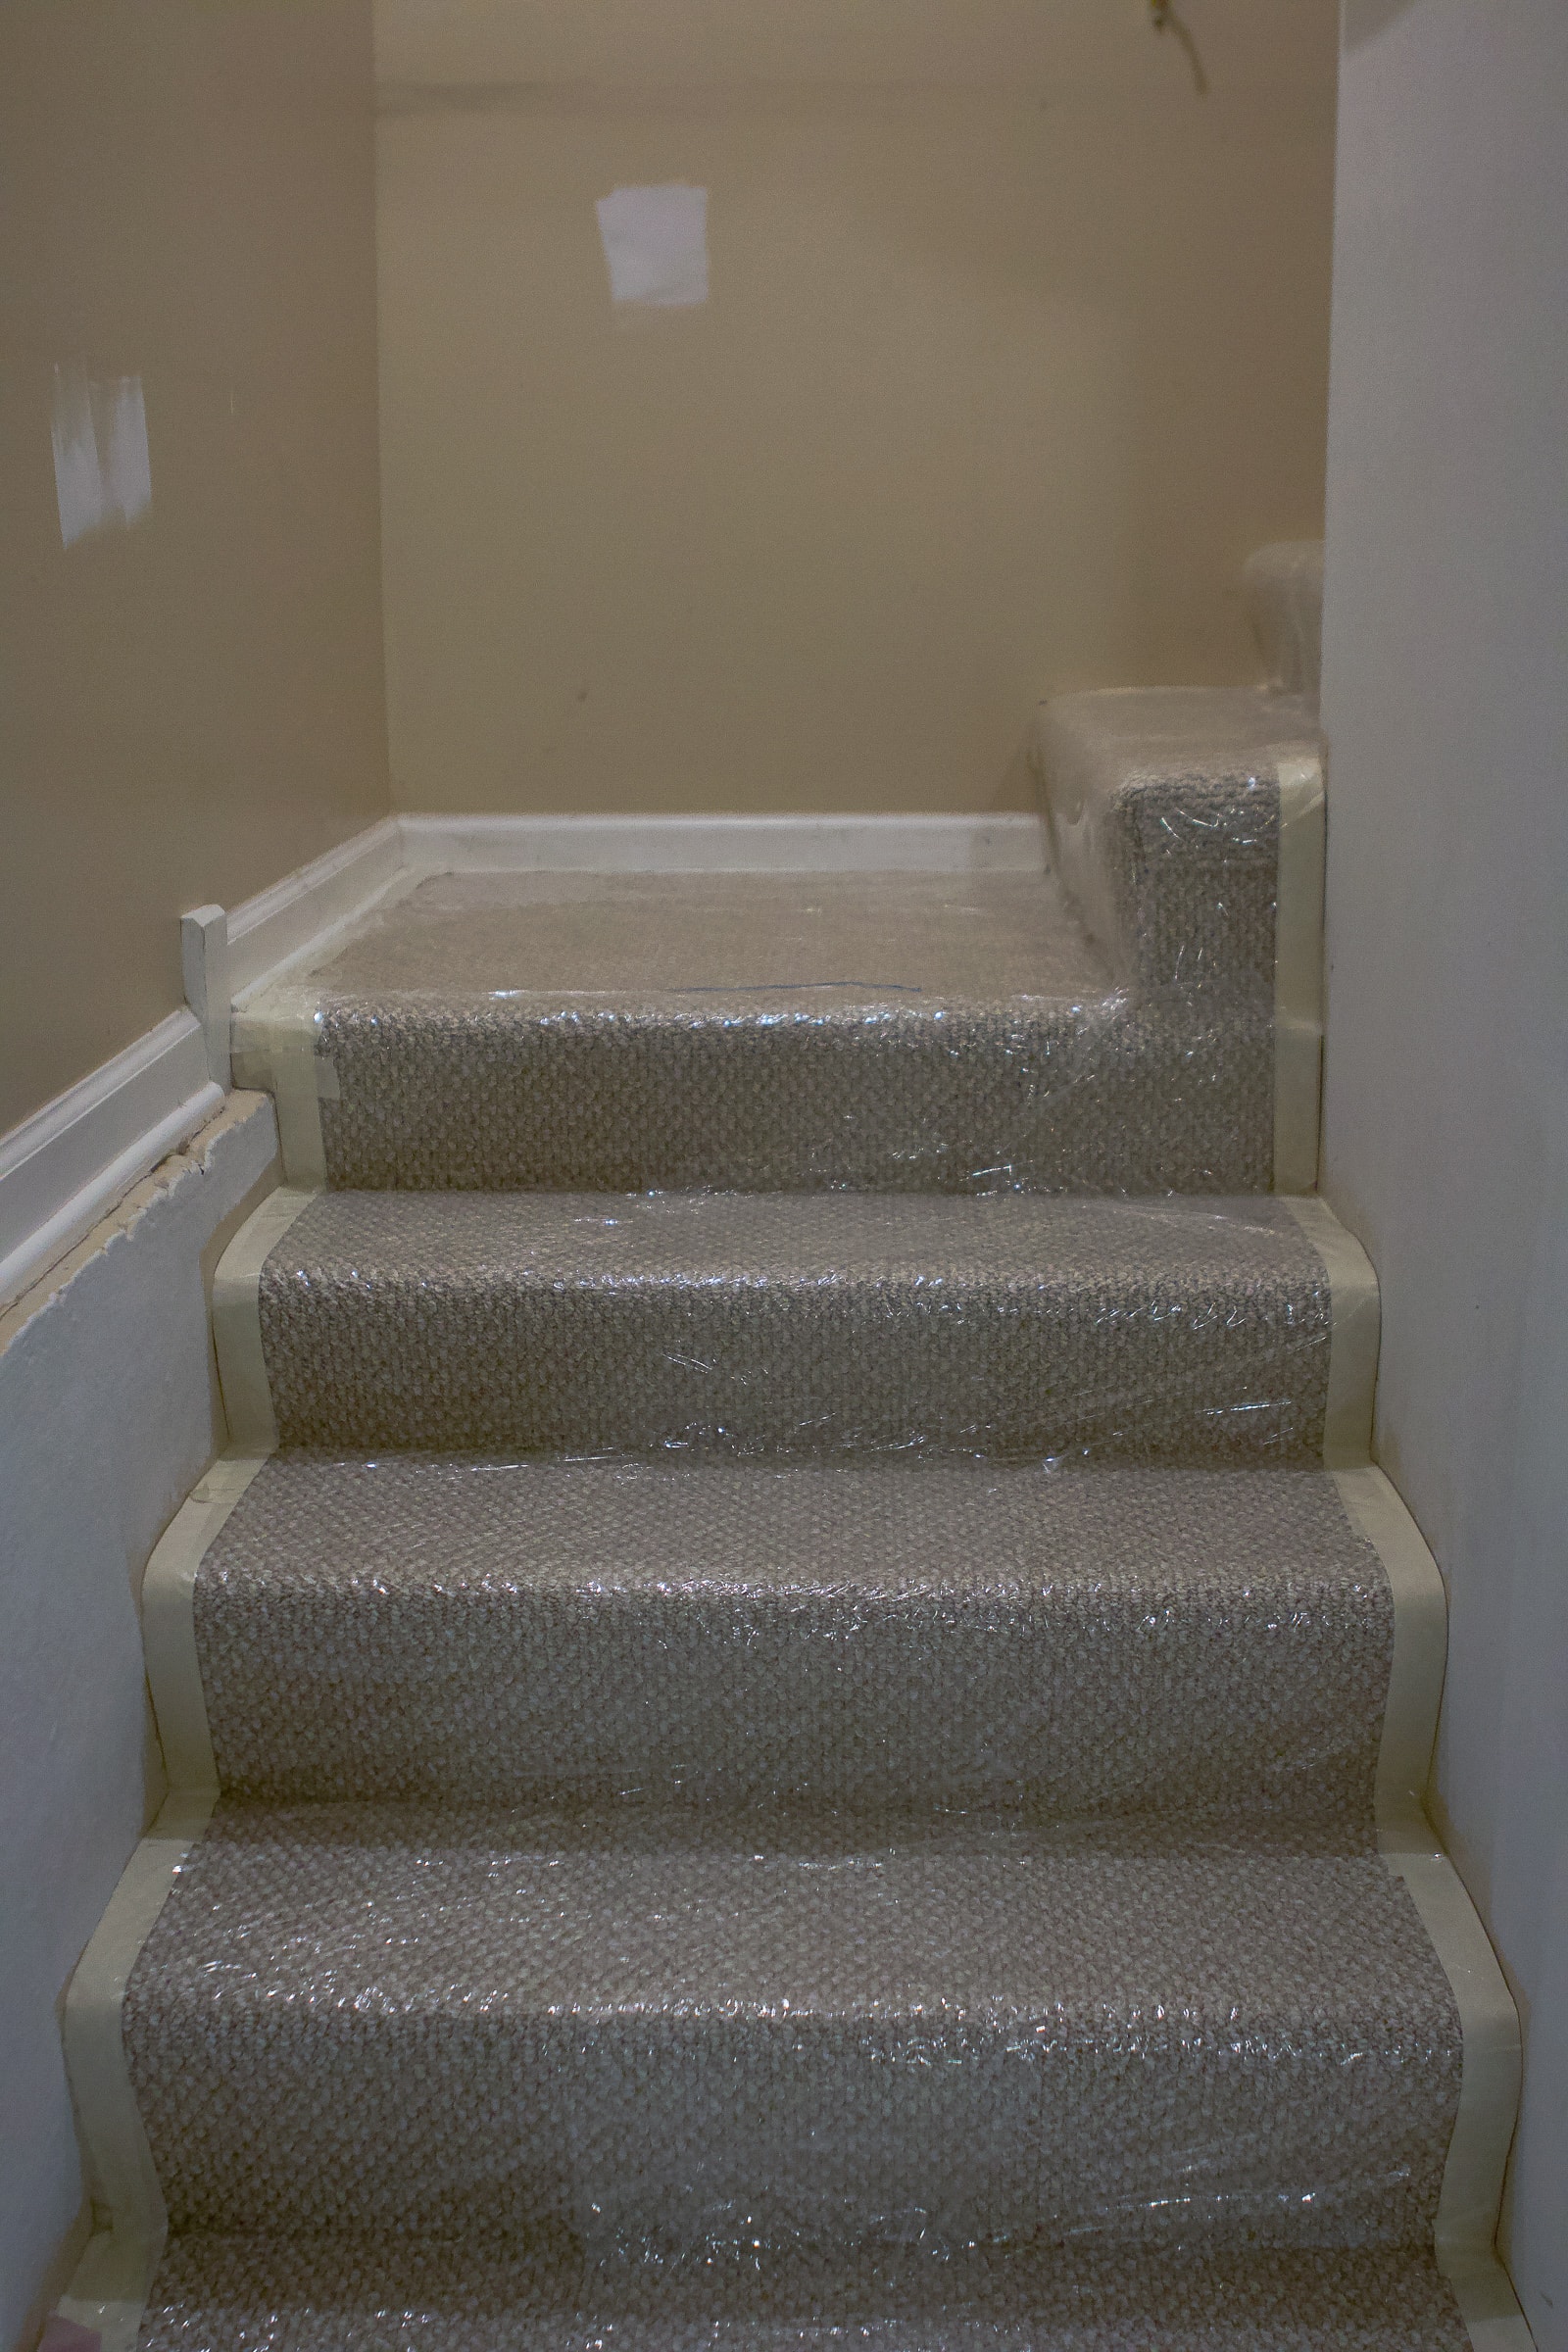
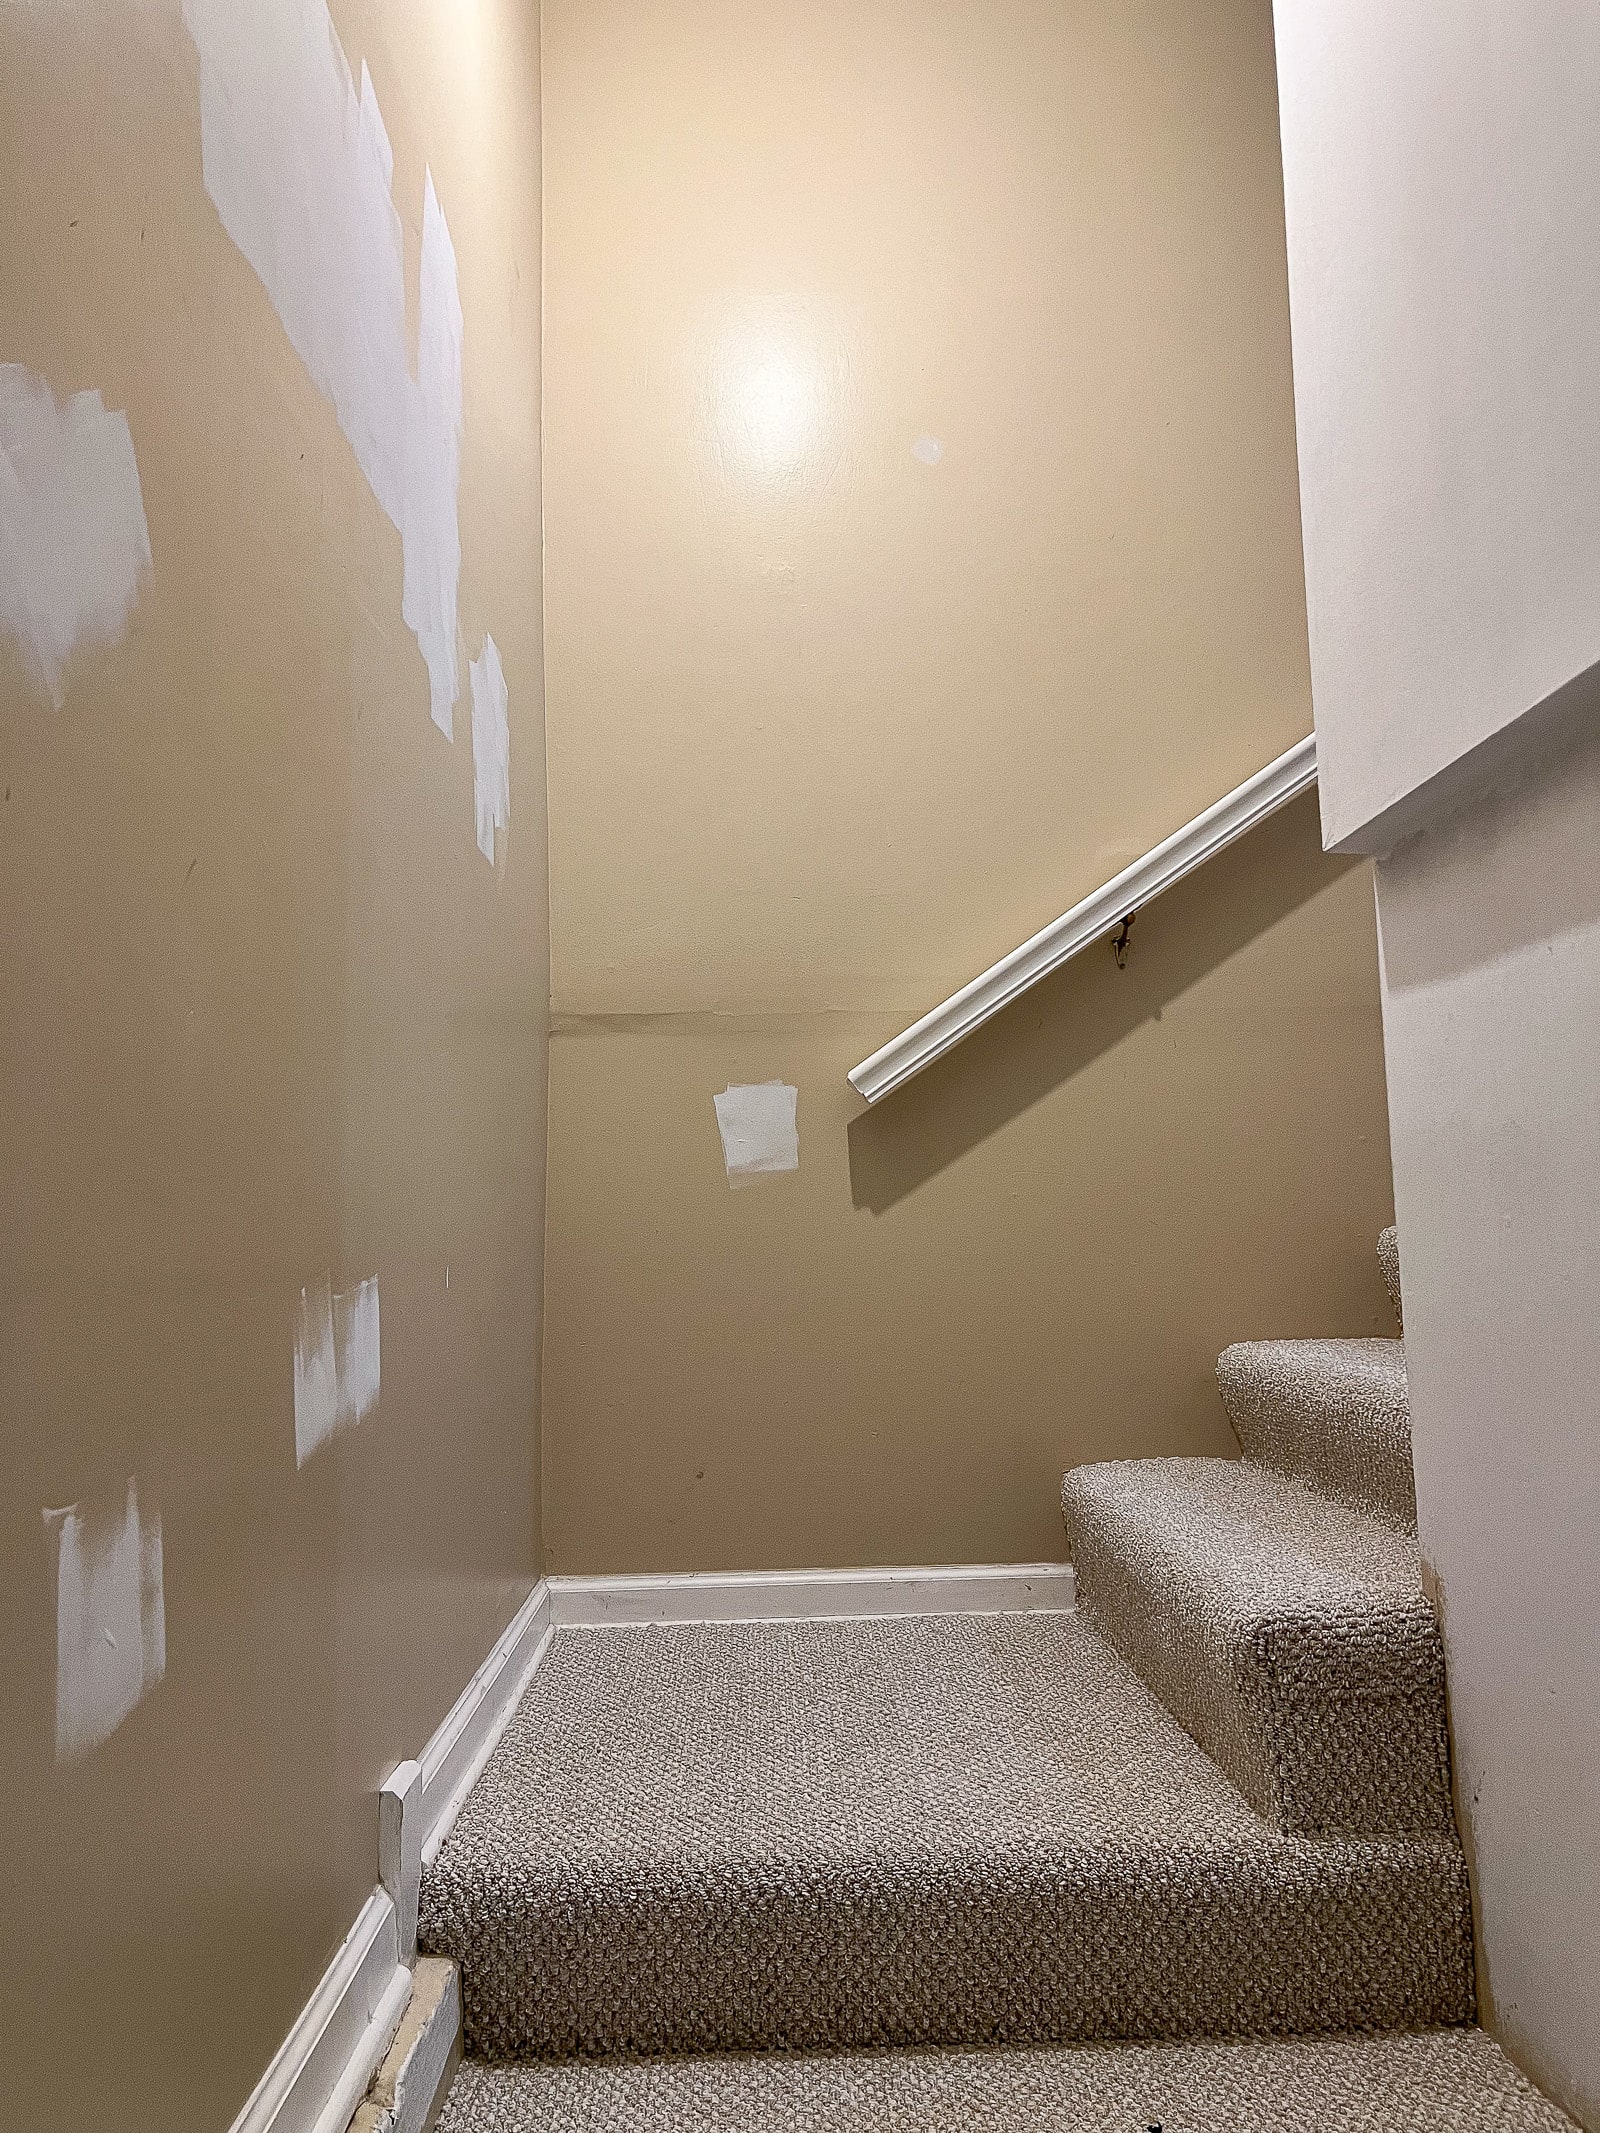
This was especially helpful on the stairs, to completely protect the carpet.
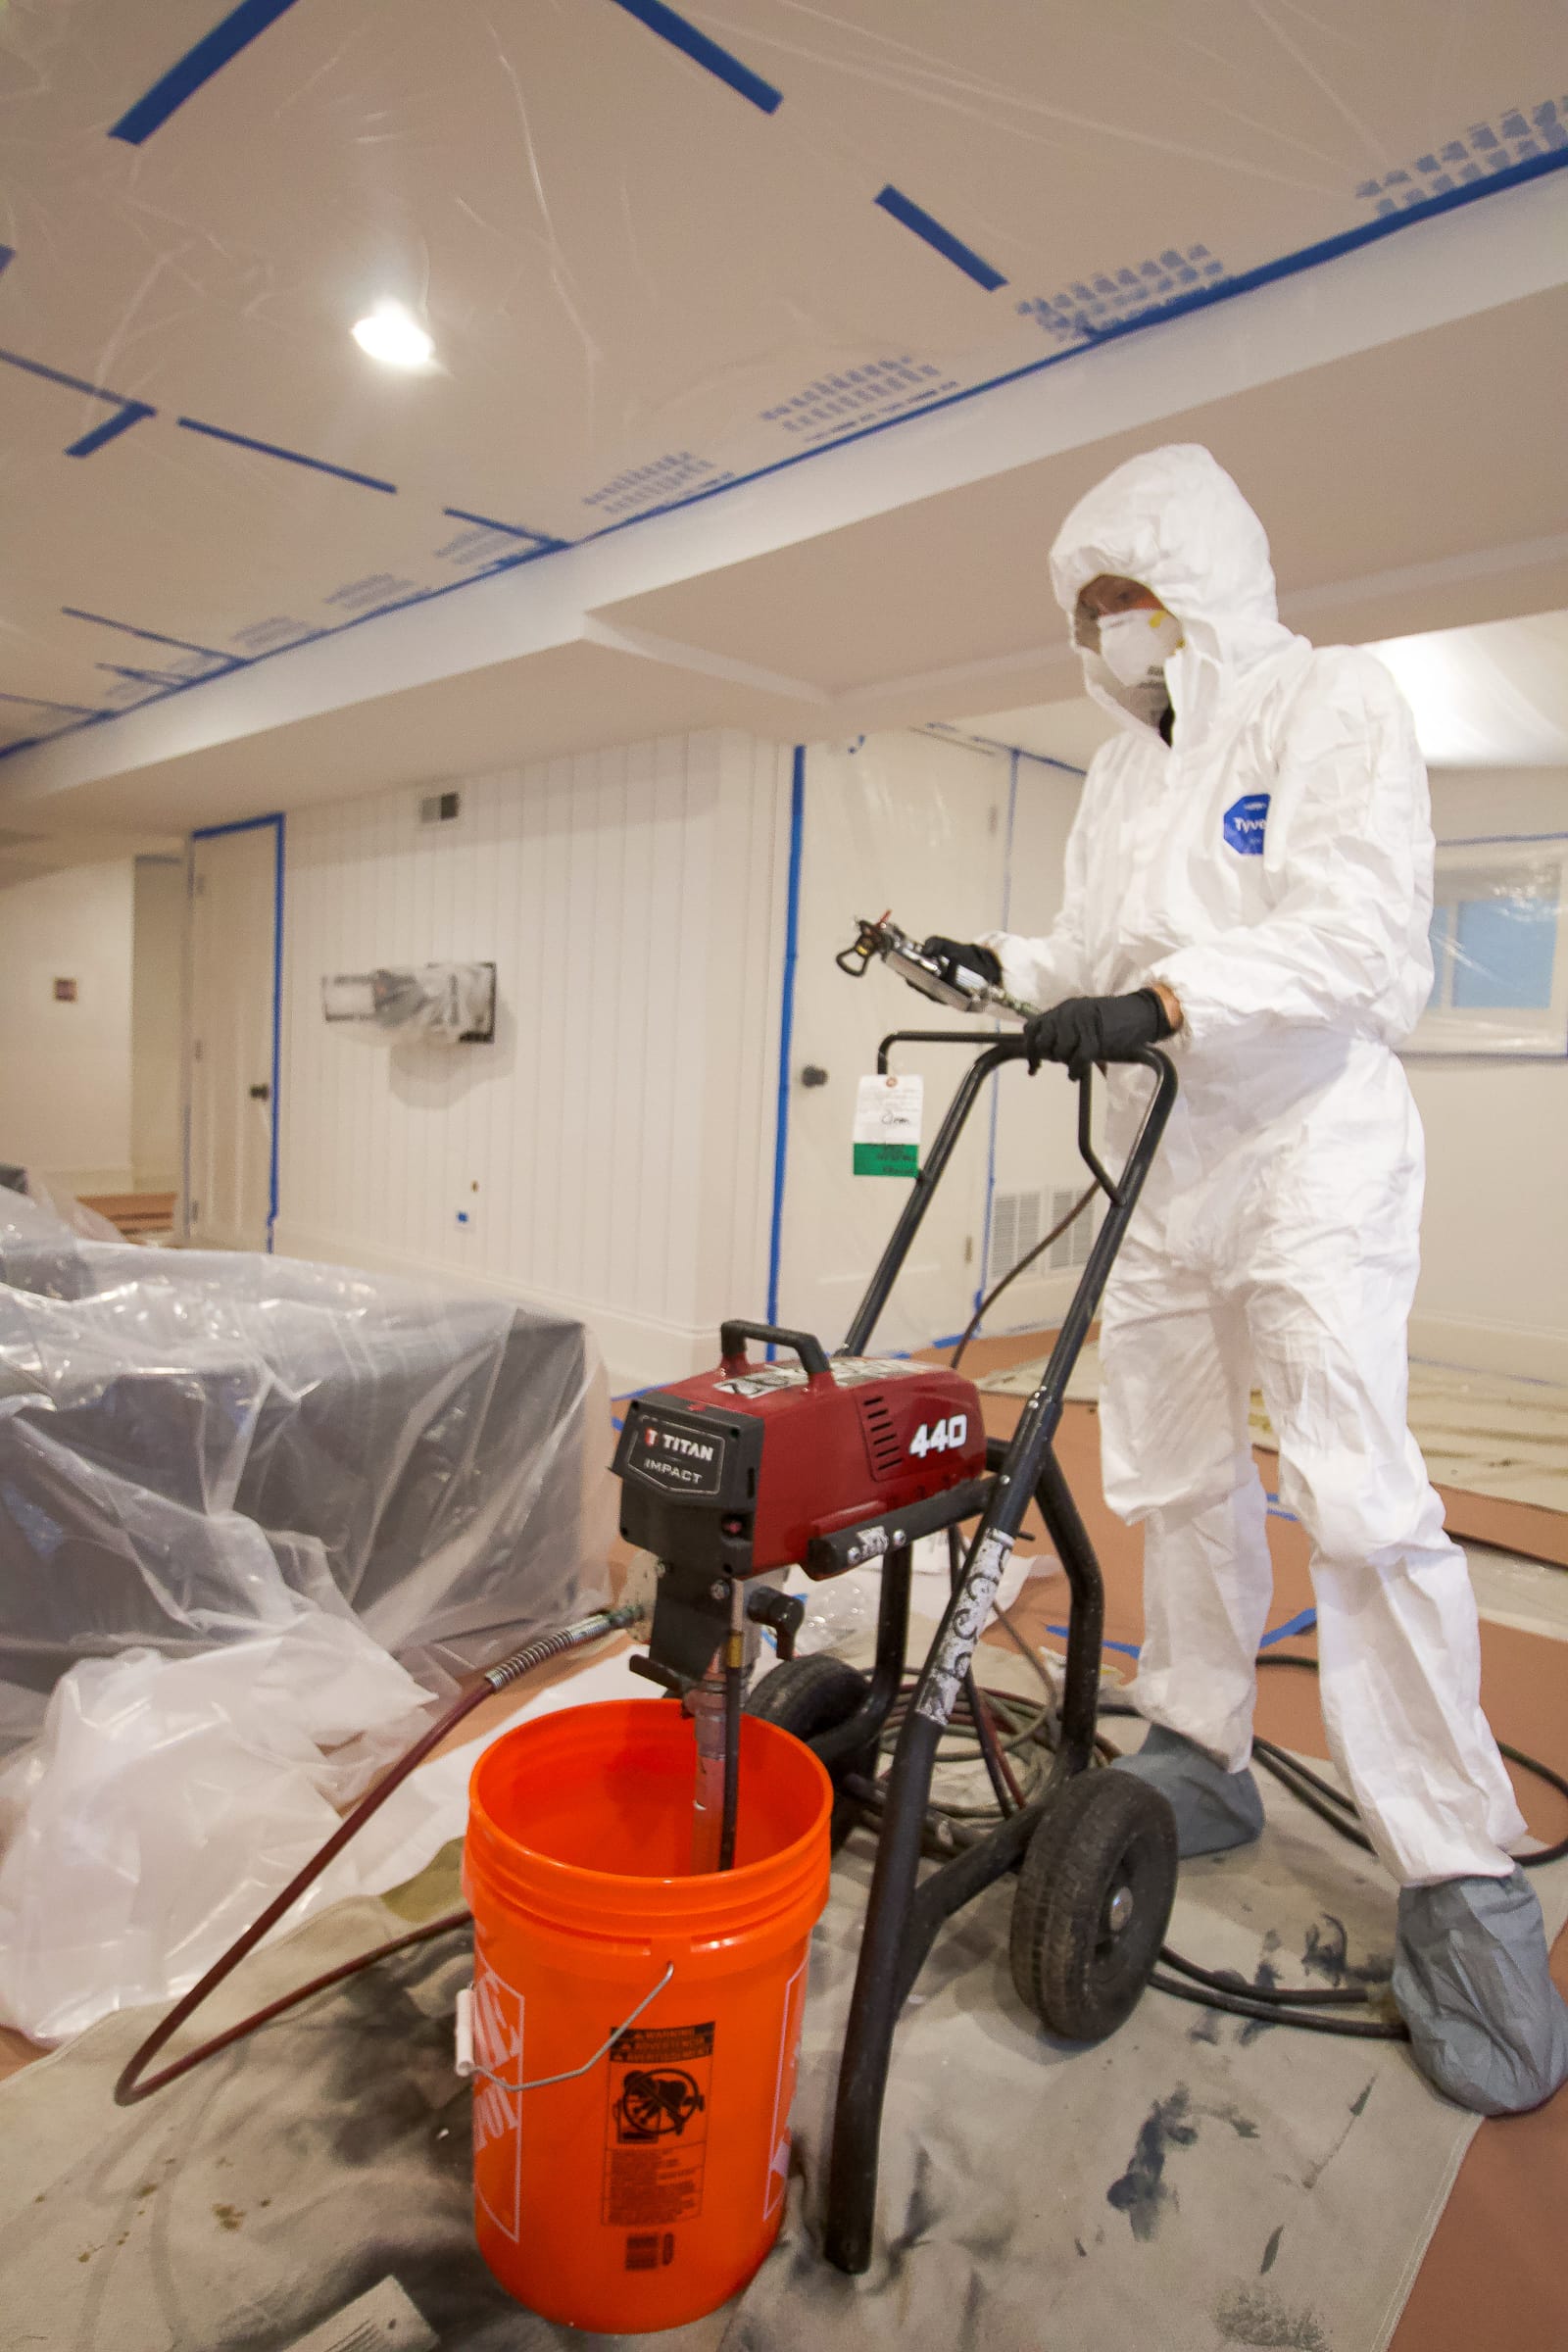
Suit Up

Once the room was masked up, it was finally painting time! For this, you’ll want to buy some protective gear. I bought a few of these coveralls that I zipped over my clothes to protect my entire body and head. On my face, I went with safety glasses and a mask. You could also upgrade to a reusable respirator like this one.
Then, be sure to buy lots of plastic gloves. I bought a pack of 10 and ended up needing more because I kept getting my hands all dirty and full of paint. Even with all of this on, I still managed to get paint in my hair and on my face, so just know that this is a messy project!
Prep The Paint Sprayer & Practice

I rented the paint sprayer from Sunbelt Rentals and watched a few video tutorials before I got started. Each machine is a bit different, but you’ll have to prime the sprayer to get it all ready for paint. The paint goes into a clean five-gallon bucket, so I would definitely buy a new one, so it’s ready to go. Grab one to two extras because you’ll need them as your “waste” buckets throughout the project.
We actually bought our own paint sprayer a few years ago, but a few of the parts got damaged by the basement flood and replacements weren’t going to arrive in time for my project. Renting ended up working out great because I got to use a heavy-duty, and professional, paint sprayer.
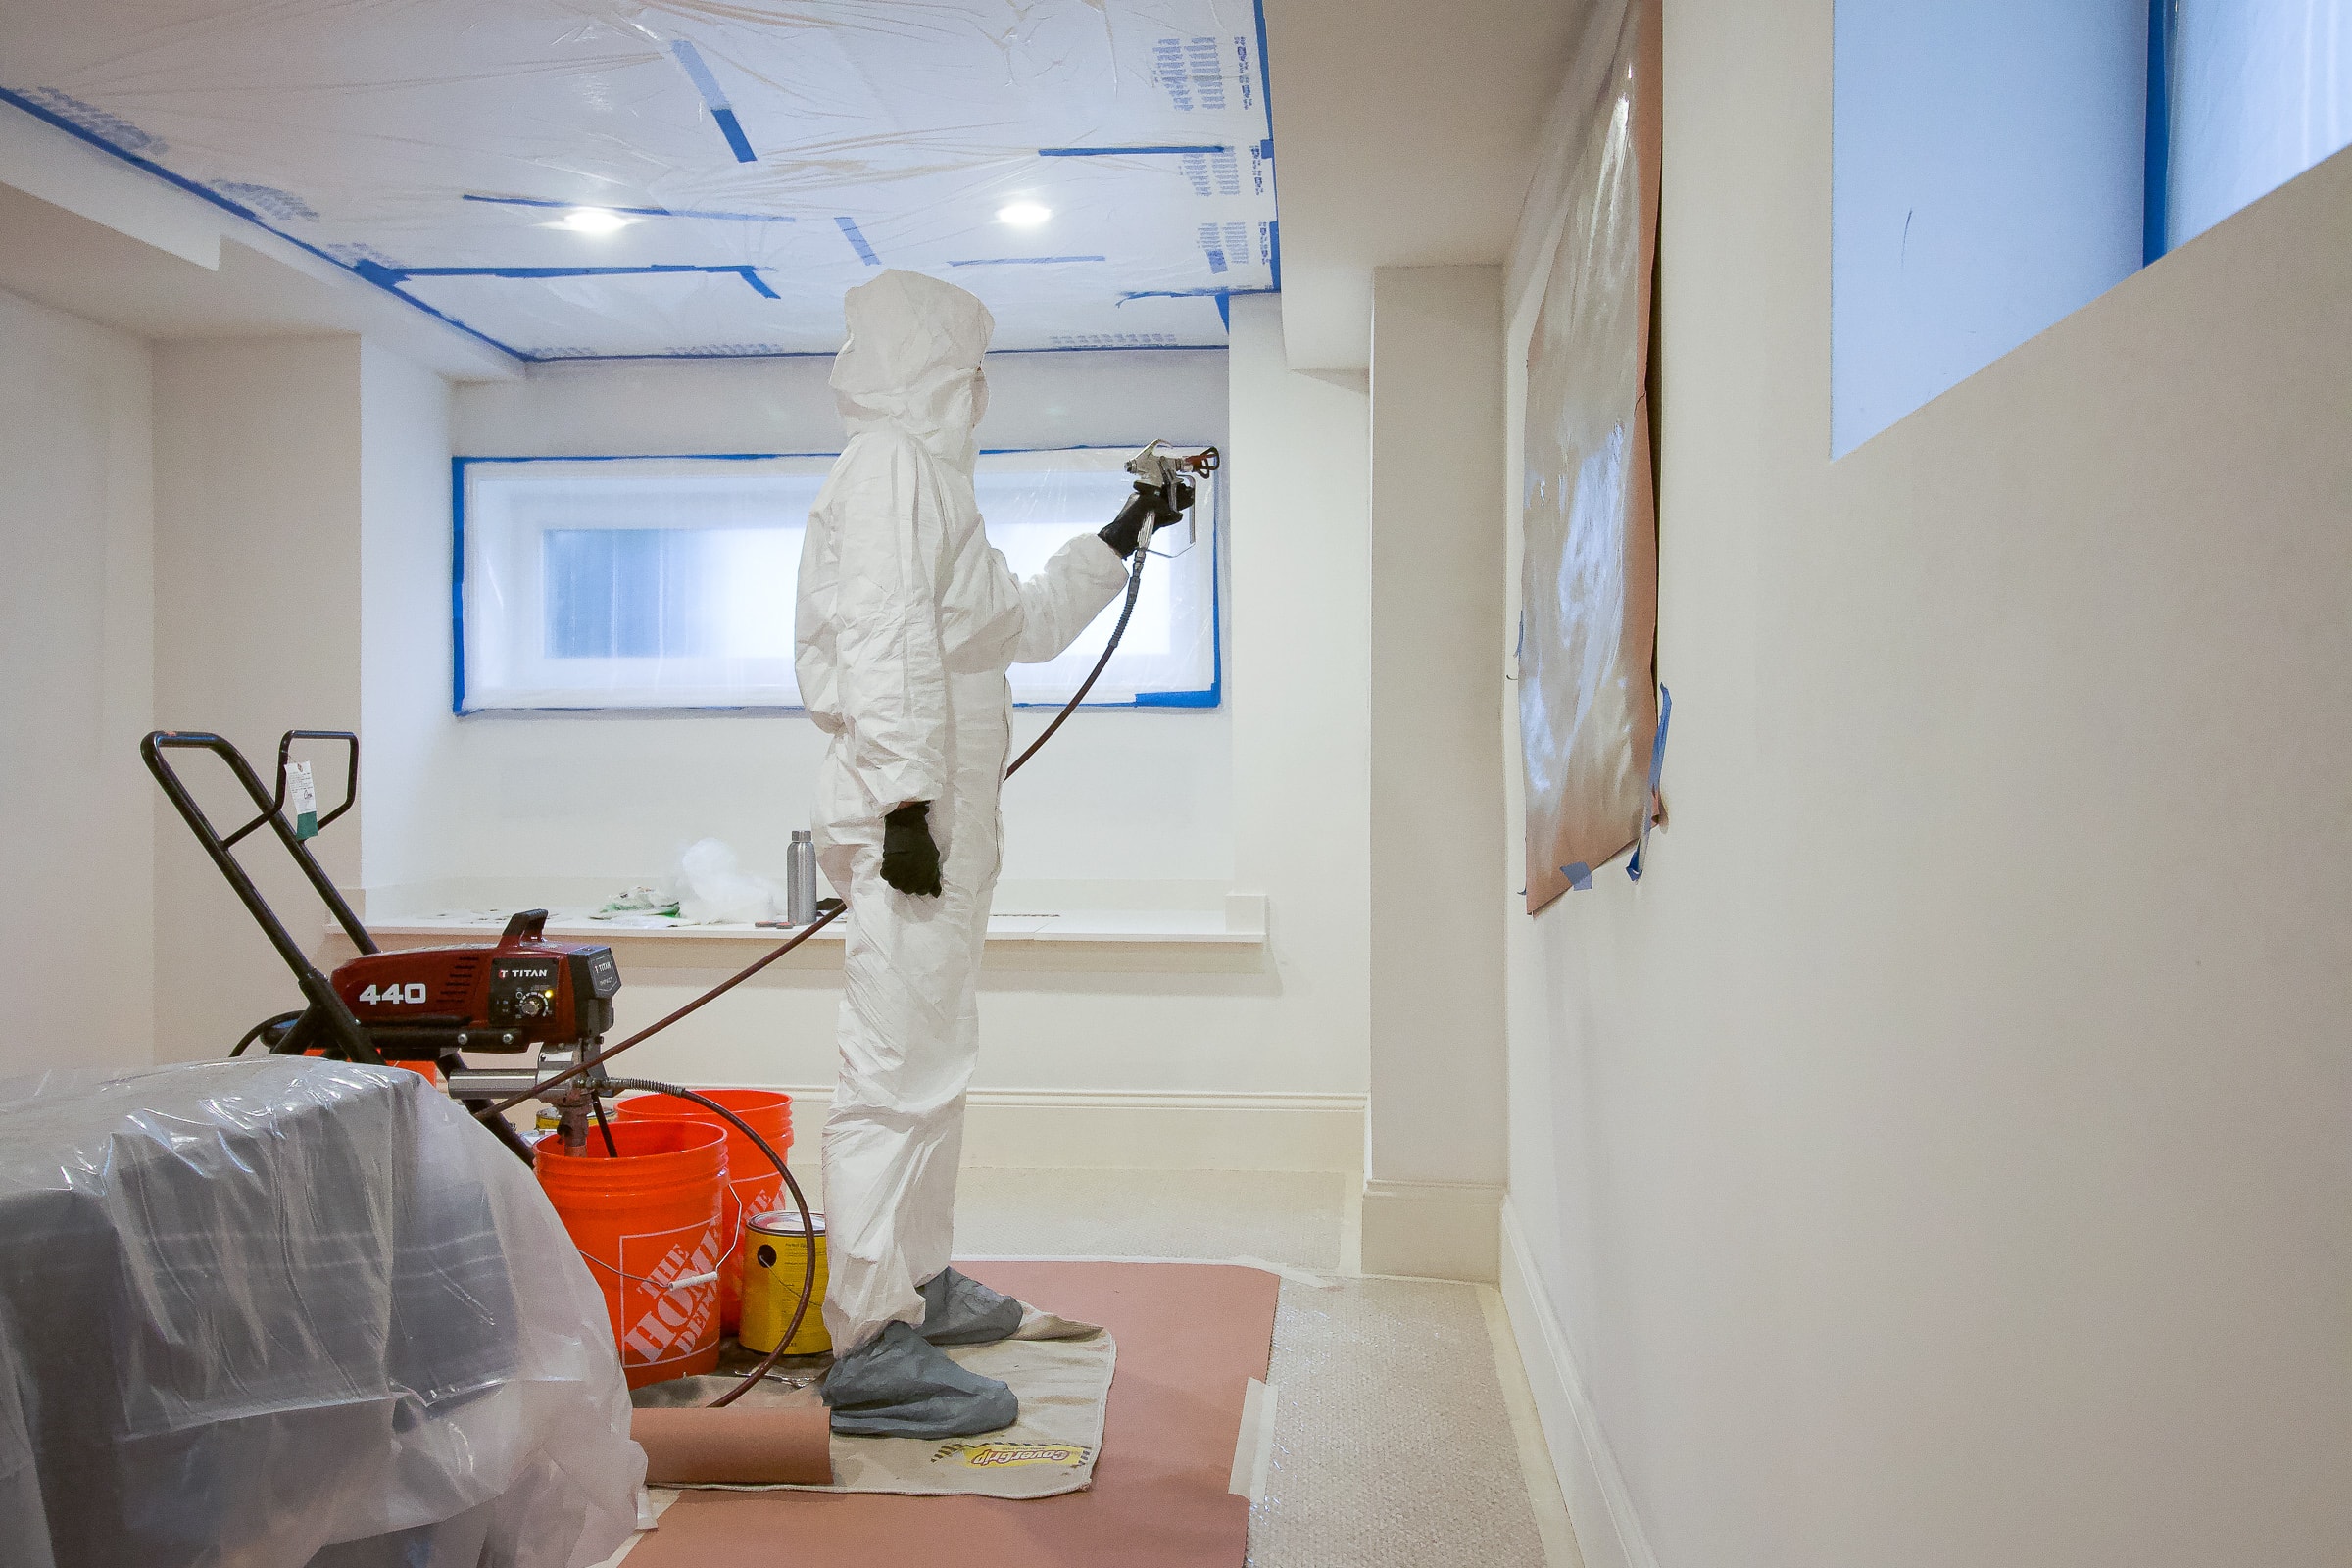
I set up some rosin paper on the wall to practice with the sprayer and make sure it was coming out smoothly and evenly. You’ll definitely want to do a bit of practicing on paper or cardboard before you start painting your walls. This was really helpful as I adjusted the pressure of the sprayer until it was coming out nicely.
Keep The Paint Sprayer 12 Inches Away

When spraying, the worst thing you can do is spray too close too the wall. It will get messy and drippy very quickly! You’re much better off going with more lighter coats than fewer heavier ones. I found that keeping the sprayer about 12 inches away from the wall resulted in a nice even coat on my walls.
One Snag…
Once I started spraying, I was so excited to just get going and get the walls painted! All that prep work and it was finally time! I did the first wall super quickly and then looked down and realized that the protective carpet film was somehow (?!?!) flying up at the edges. Guys, this film was so freakin’ sticky, I have no idea how it could even come up off the carpet. I’m not sure if it was on for too long and lost its stick or if the “wind” from the sprayer somehow blew it up, but I got a few spots of paint underneath my beautiful masking job. I was horrified and then super vigilant for the remainder of my project.
In hindsight, maybe it would have been best to do the masking tape, carpet film, and then the rosin paper over that? It seems like a lot of excess work, but also it would be worthwhile to have peace of mind. Since I was already in the painting process, I ended up just taking drop cloths with me as I moved around the room. They got very wet with paint as I went, but they kept the floor under me free from paint.
Get Air & Ventilate The Space
Because my doors and windows were covered with plastic (to prevent them from getting paint on them), I was essentially trapped in the basement once the painting began. This wasn’t ideal for ventilation, since there was no fresh air coming in, so I tried to move fast to get the walls near the windows done first. That way, I could unmask the windows and open them up!

I also waited until the last-minute to cover our storage room door, so I could get to the outside for fresh air as much as possible. At one point, I felt a tad dizzy, so I took an hour-long break for lunch and to get away from the fumes. If you’re working on a large space, as I was, be sure to take frequent breaks and try to ventilate the space as well as possible. Once I was able to open up the windows, I felt much better!
Do 2-3 Coats
I ended up doing three coats throughout the room, which may sound like a lot, but it gave me even coverage throughout. By the time I made it from start to finish in the basement, the beginning was dry again. So I was able to move through the entire basement pretty quickly.
I went through six gallons of paint and then had to open up a seventh for touch-ups with a brush after my paint spraying was complete. I think the paint sprayer uses a tad more paint than traditional painting methods, so keep that in mind.
Remove Your Tape Quickly
Whenever I paint, I always try to remove the tape when things are still wet. This prevents the paint from peeling on the edges. Once I got my final coat on, I grabbed a contractor bag and started taking everything down, being careful not to get any wet paint on the carpet.
It was so satisfying, cleaning it all up and seeing the beautiful new color next to my crisp white doors and windows!
Prepare For Cleanup & Touch-Ups
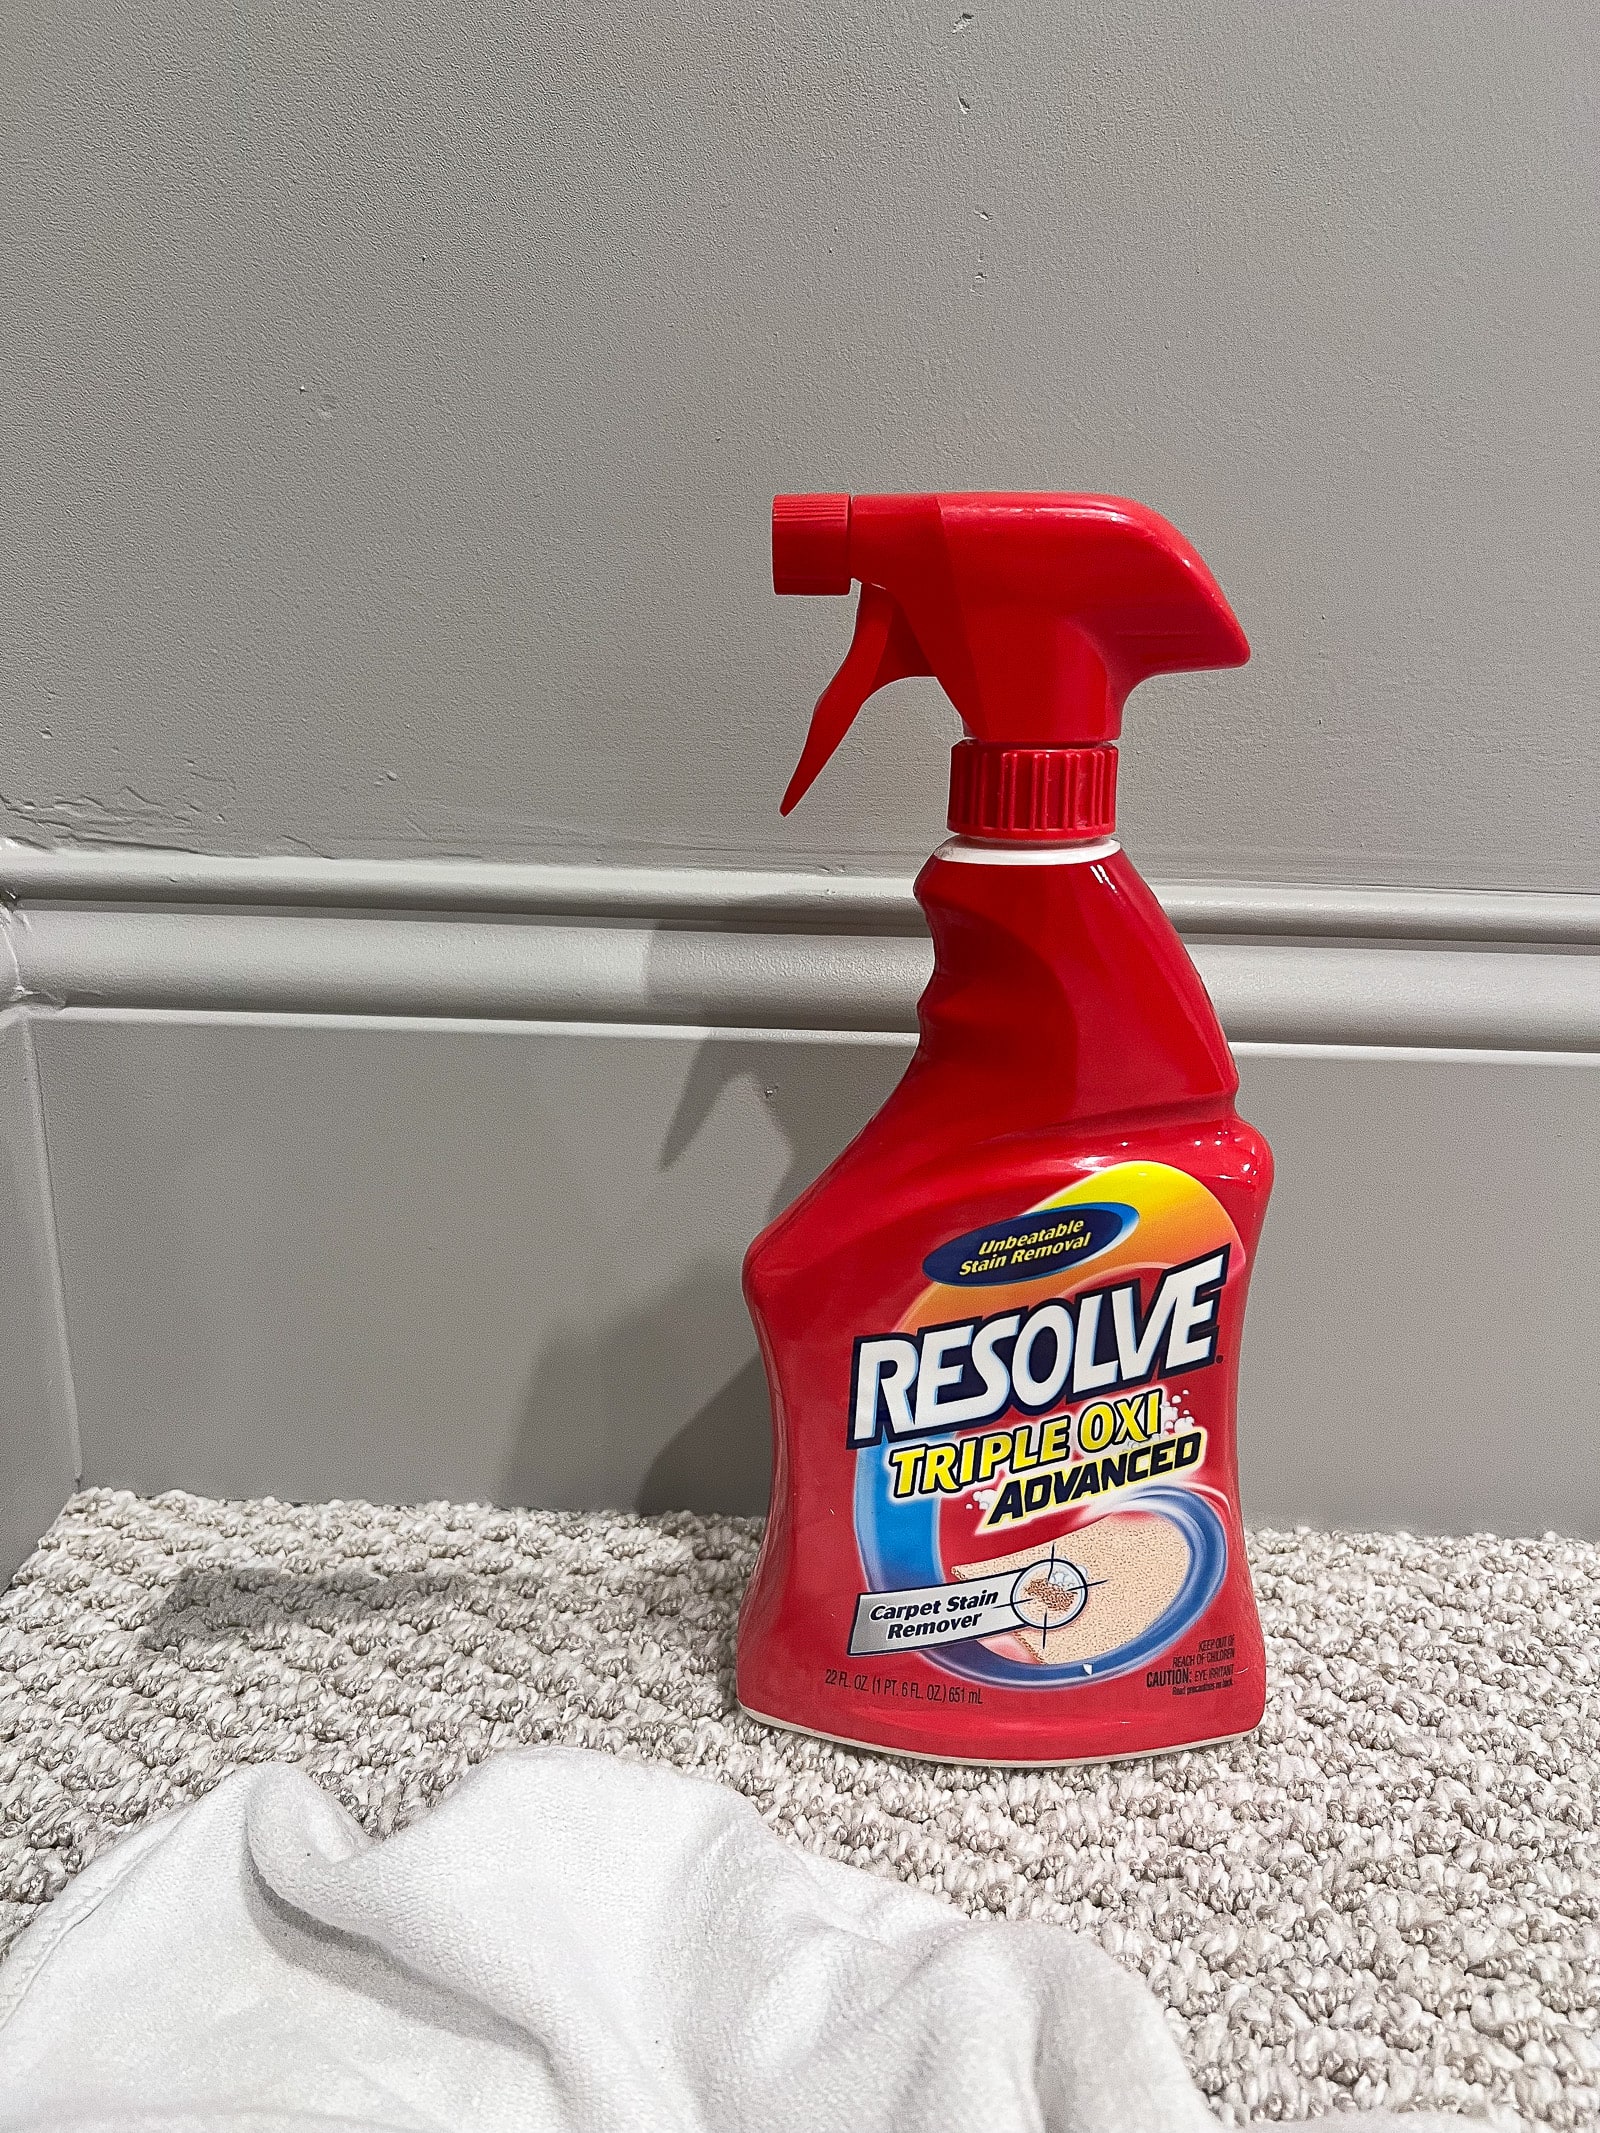
As mentioned, I got a small amount of paint on the carpet in that first area. For this, I ended up using this Resolve carpet cleaner and it worked great to get it out! I was very nervous that my carpet was ruined, but, thankfully, this worked well.
I also had a few areas on the ceiling and doors that needed touch-ups. For this, I just took a brush and went around, touching up the ceiling and trim paint. No matter how well you mask, this is bound to happen. So just prepare ahead of time and make sure you have your other paint colors ready to go!
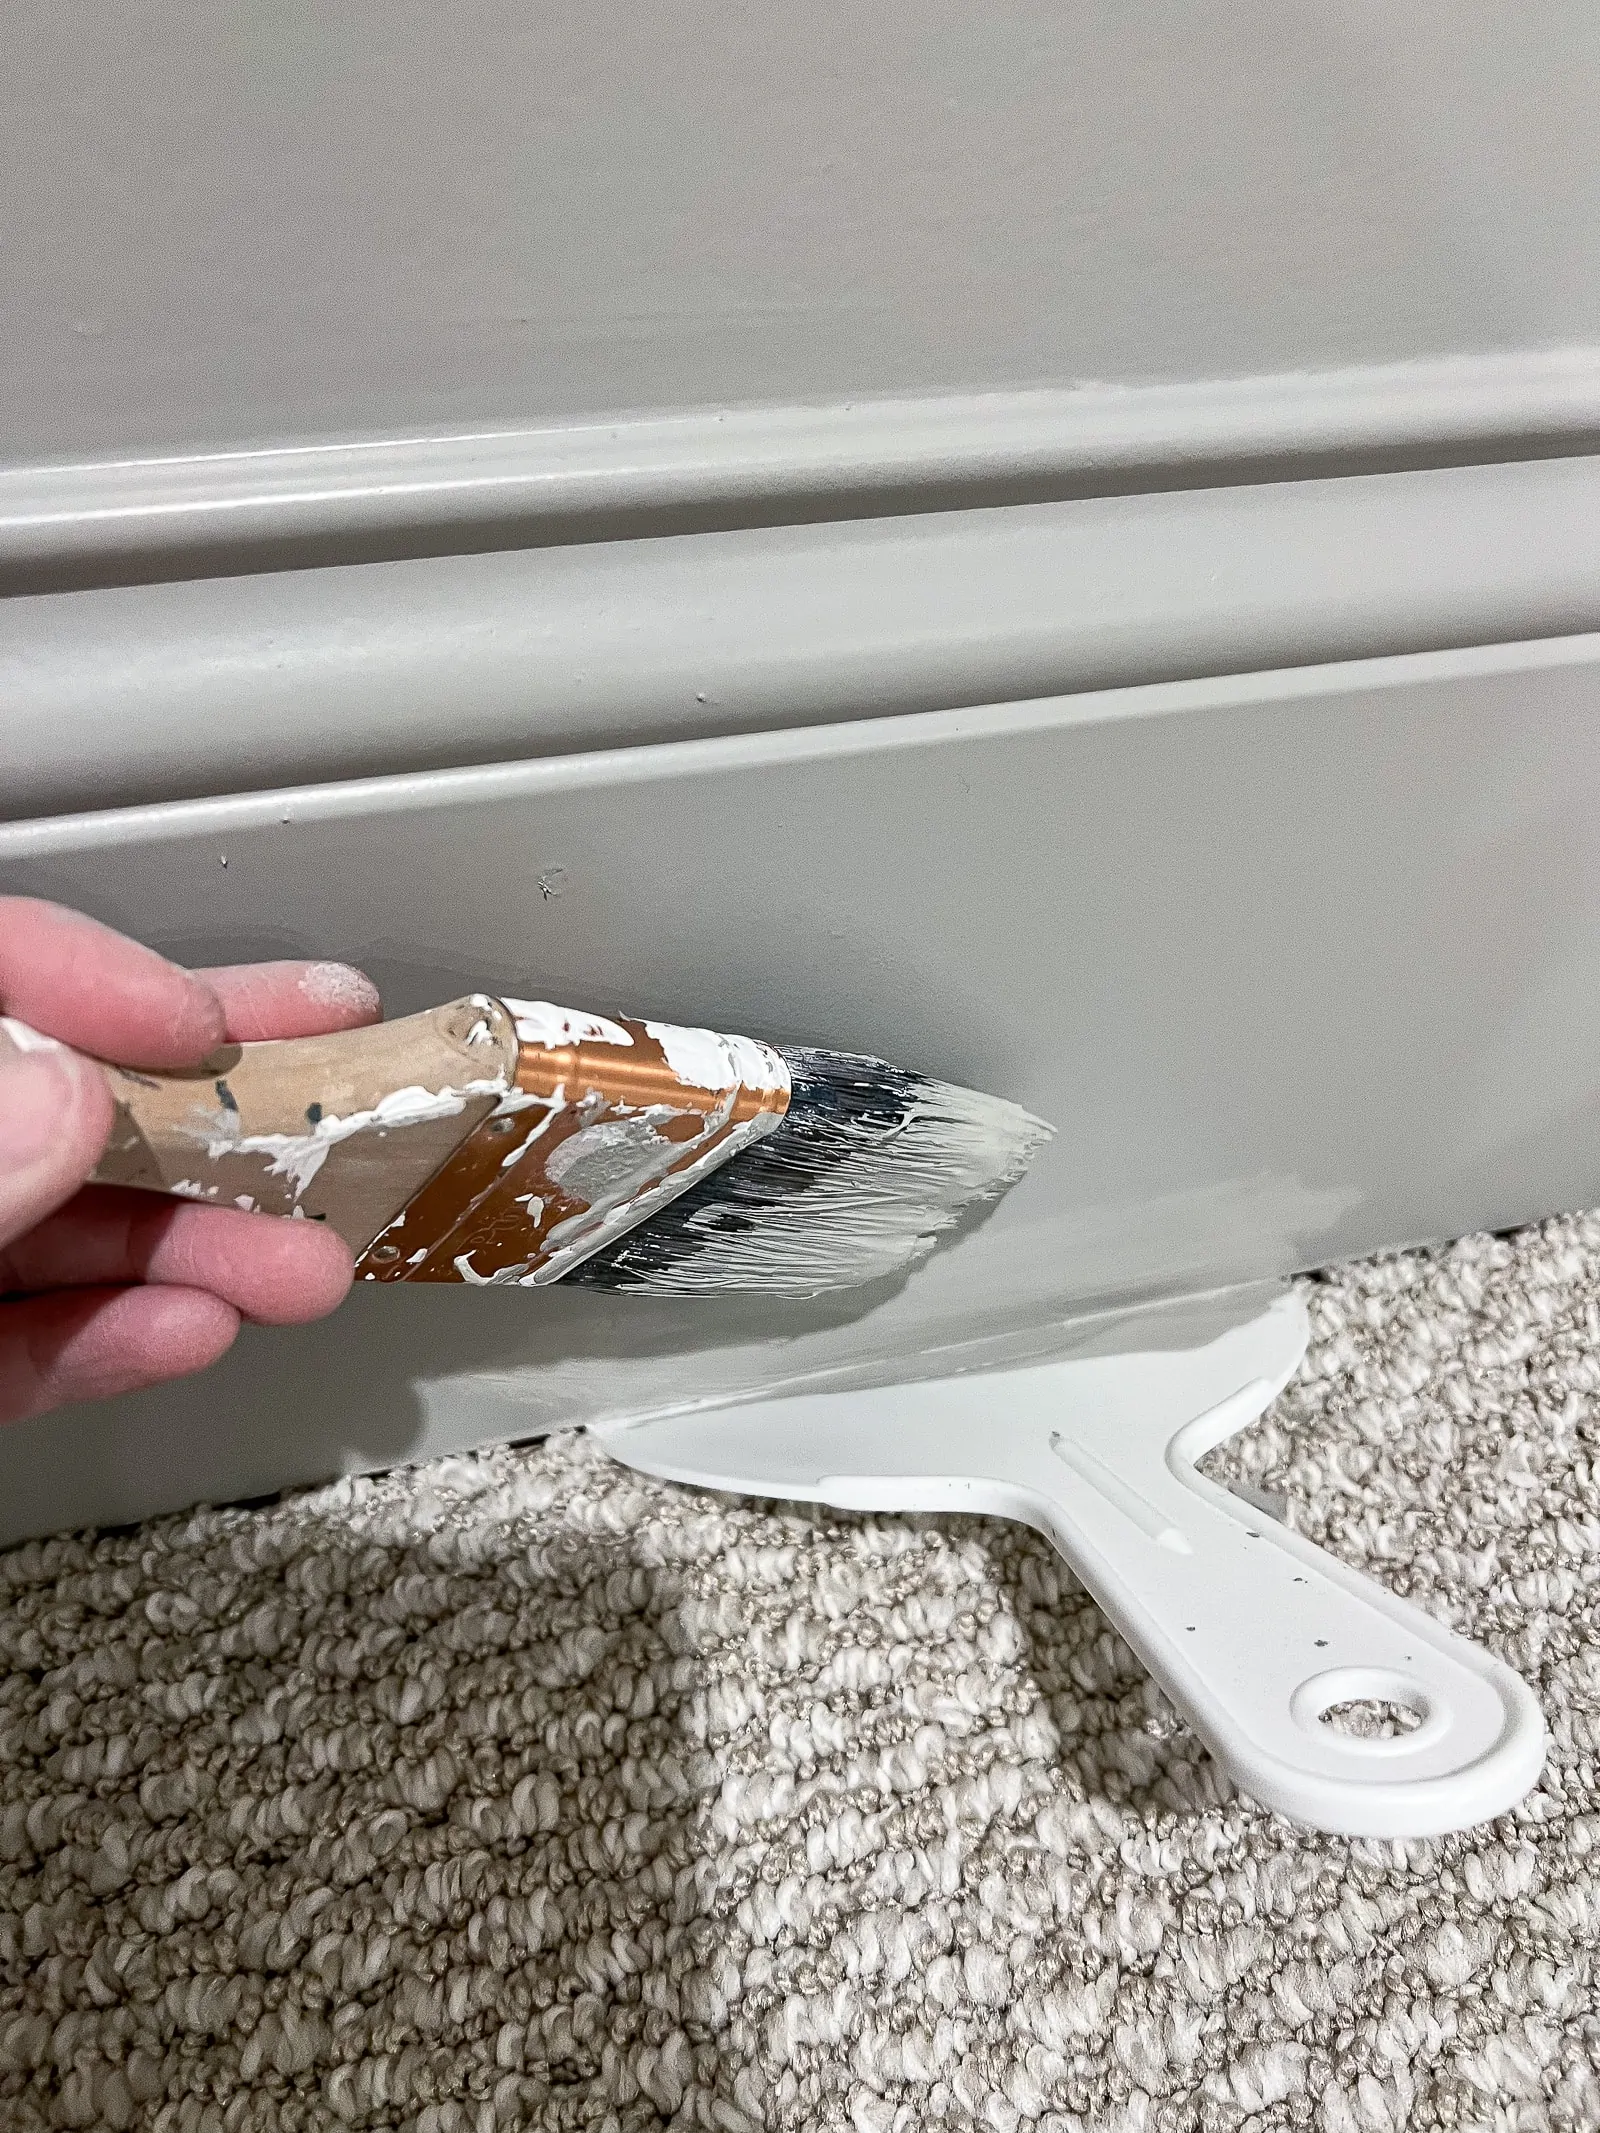
There were also a handful of spots on the baseboard that didn’t get paint all the way at the bottom. For these areas, I took my putty knife, jammed it under the baseboard to protect the carpet, and swiped on some paint. It worked beautifully.
In hindsight, I should have waited to paint the doors and ceilings until after I did the walls. It all worked out in the end, but if I could re-order my operations, I would have done the walls, then the ceilings, then the doors.
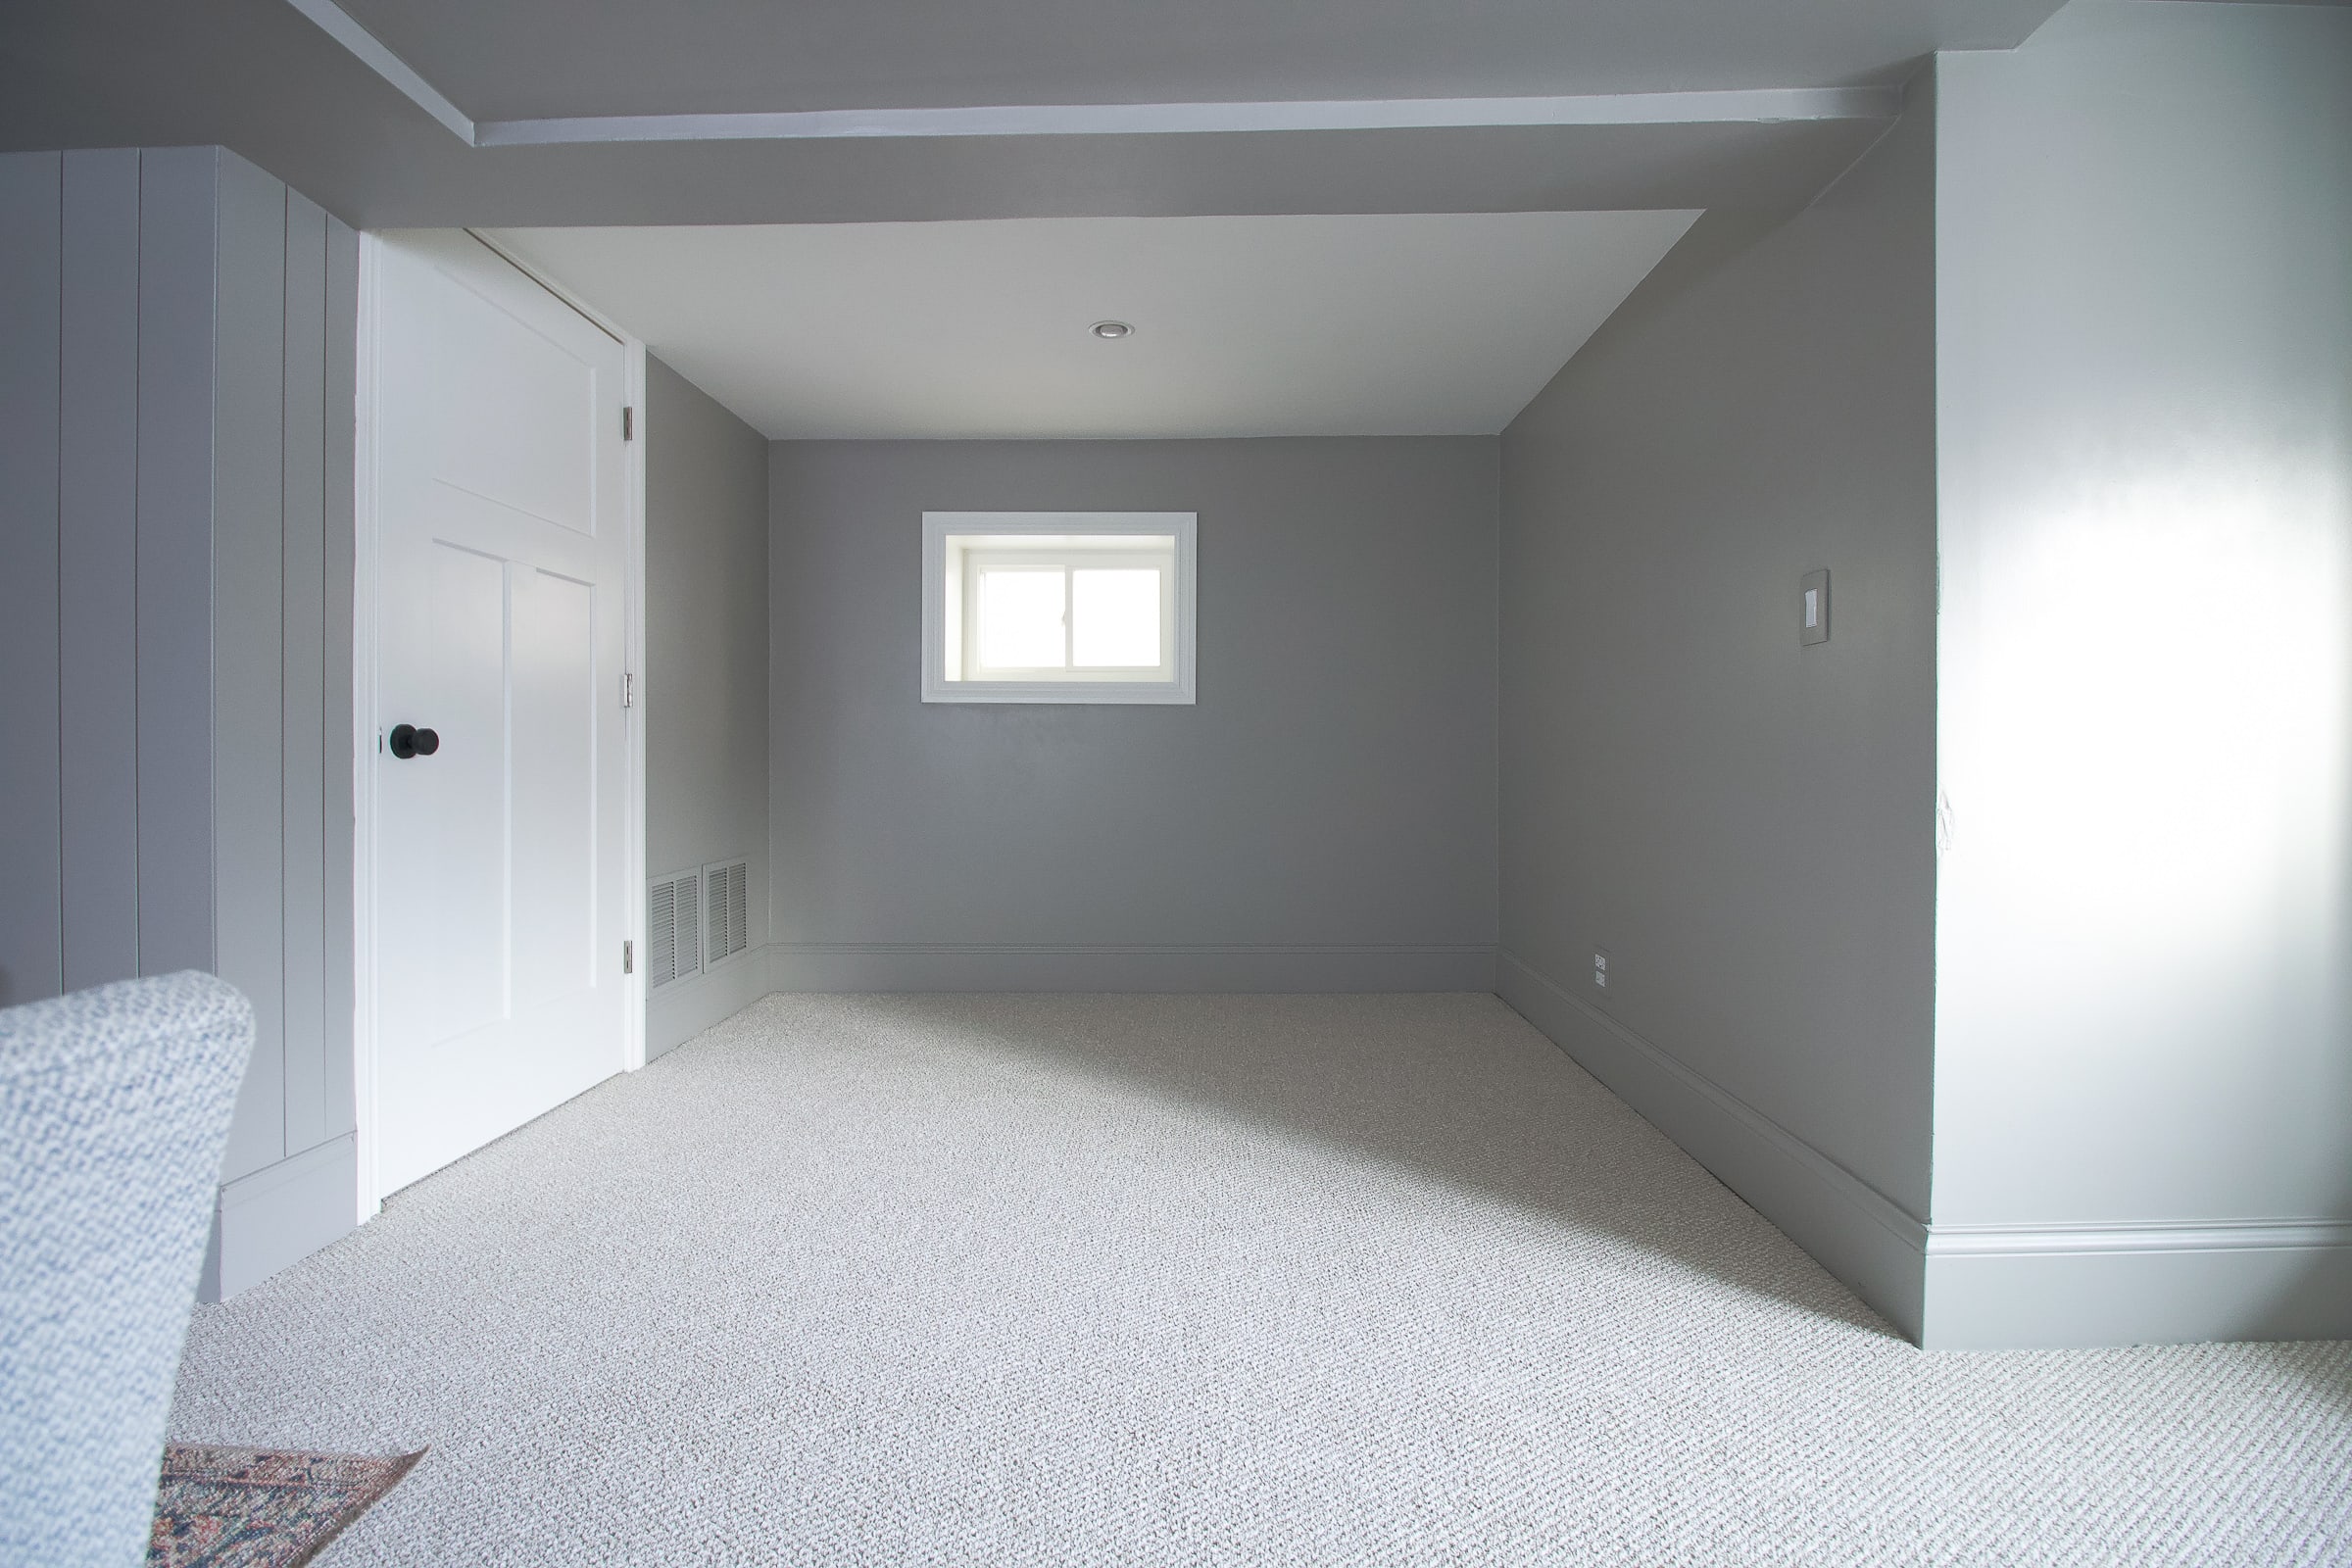
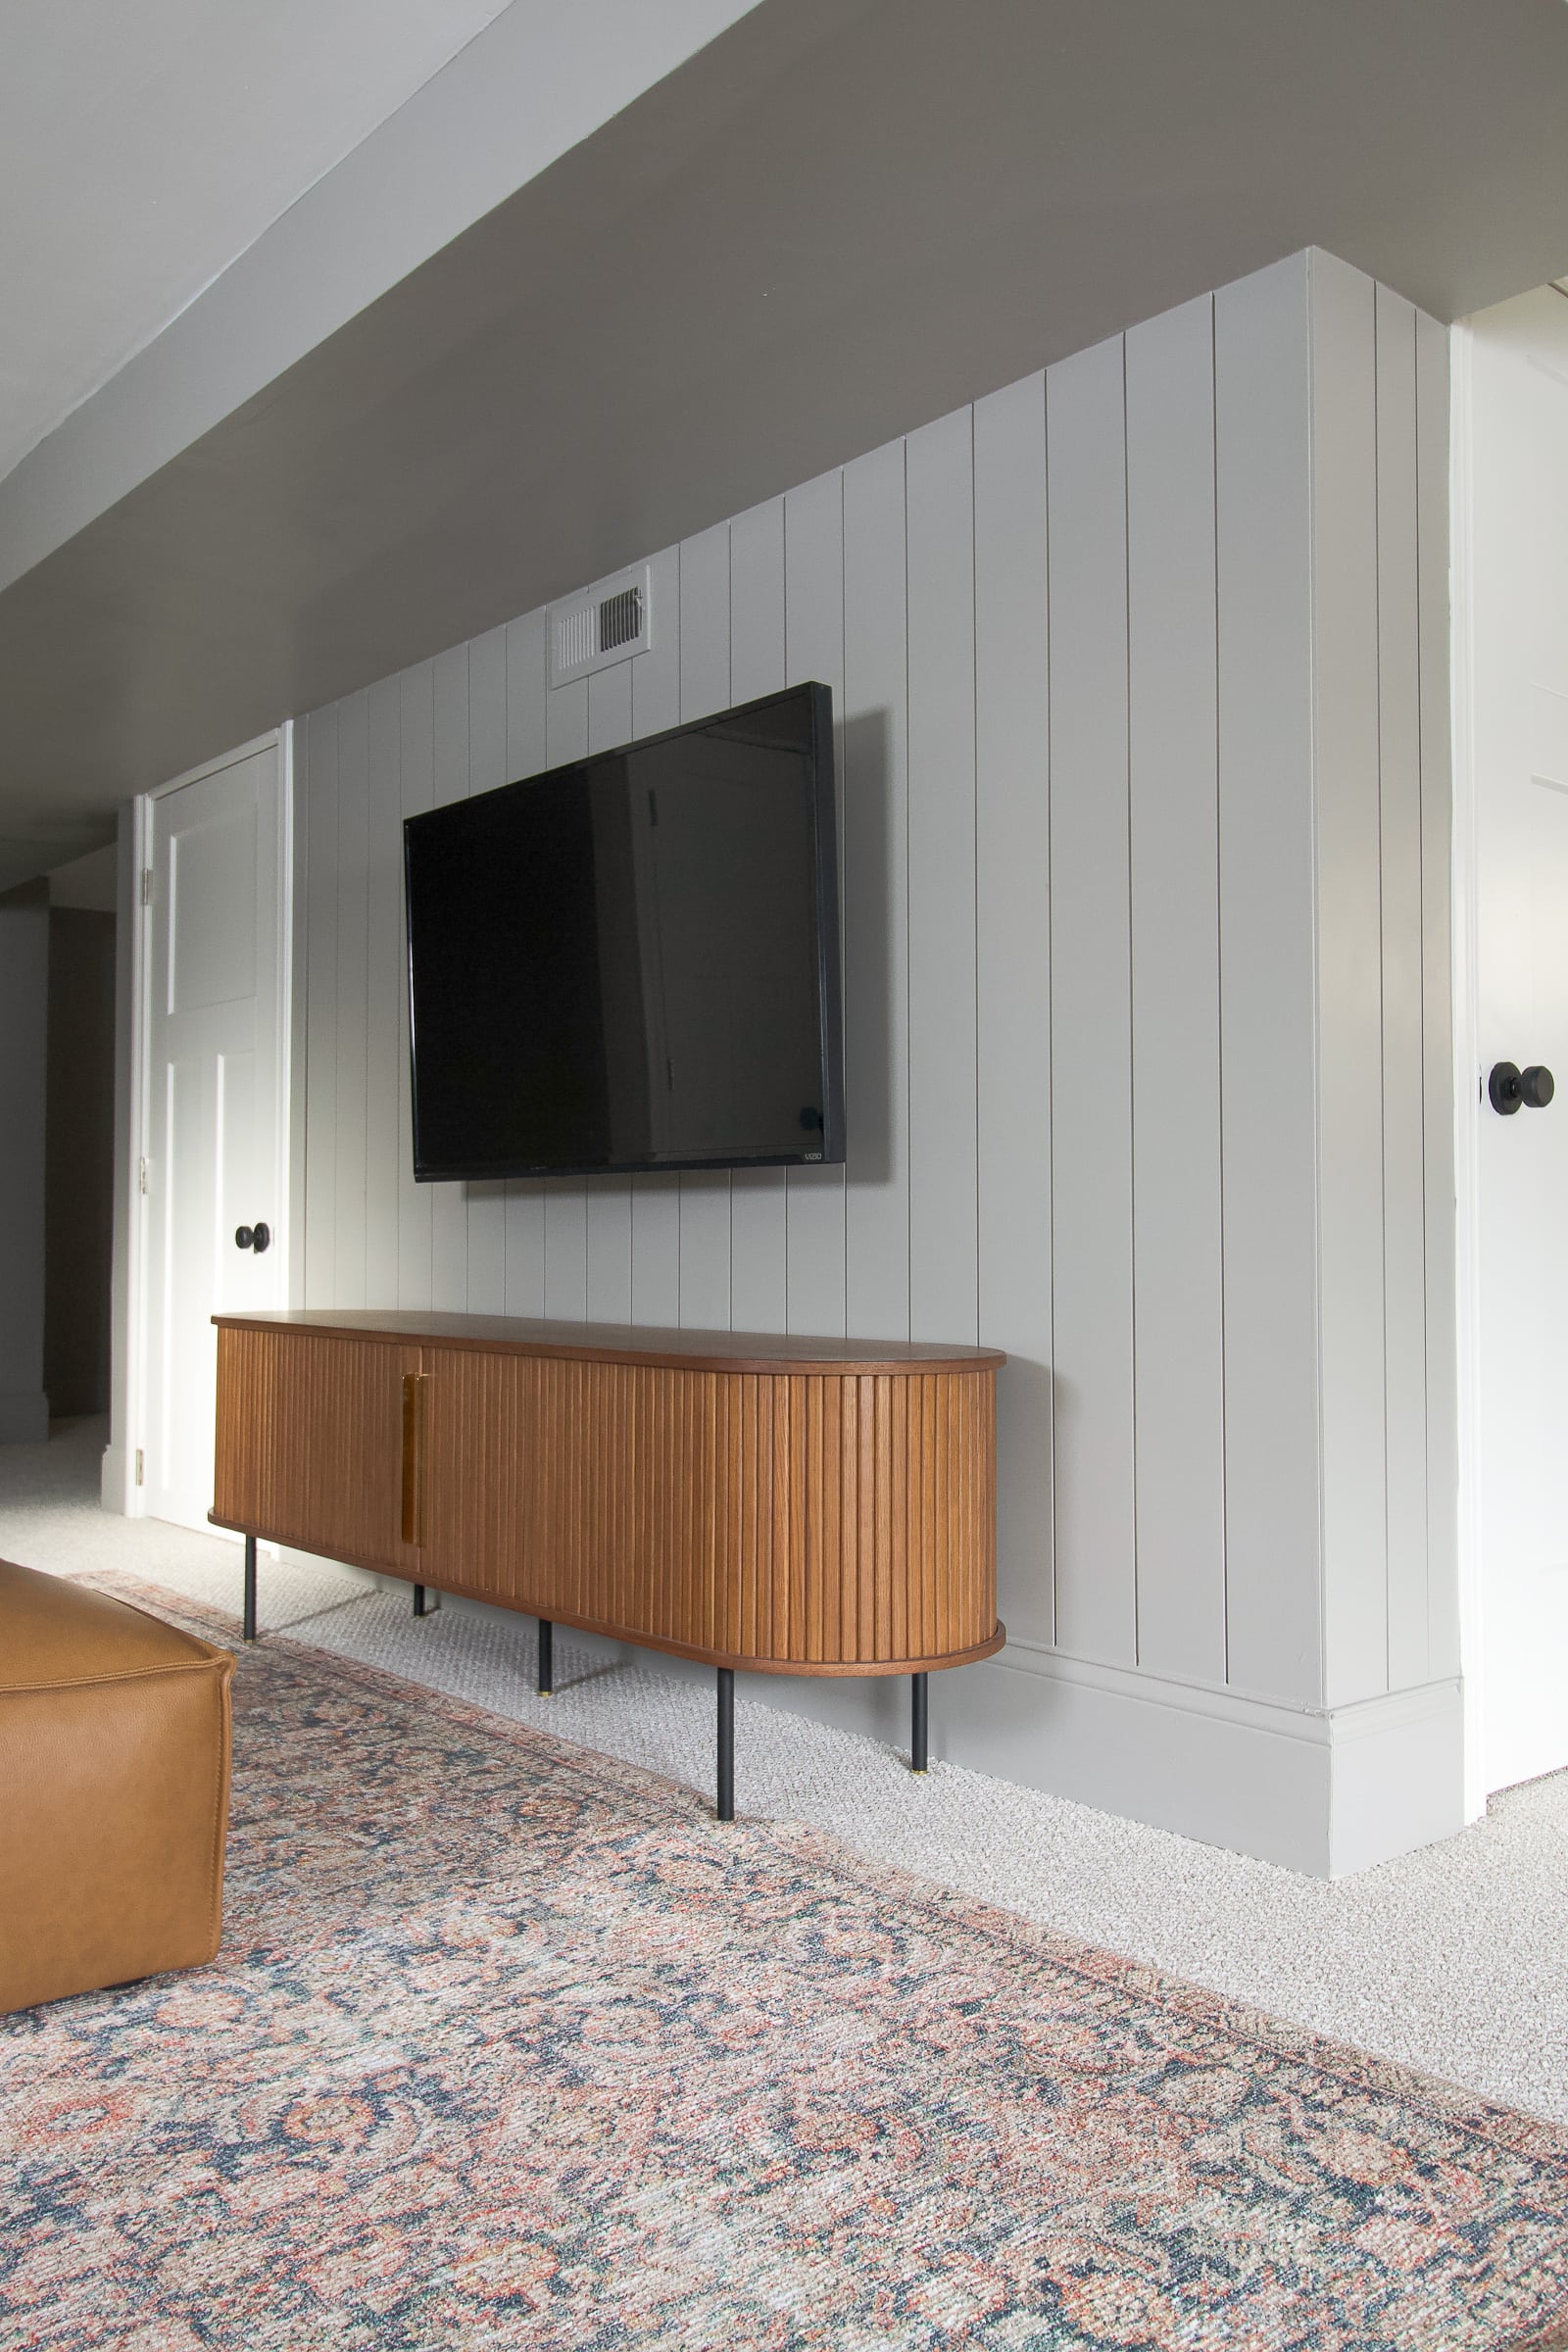
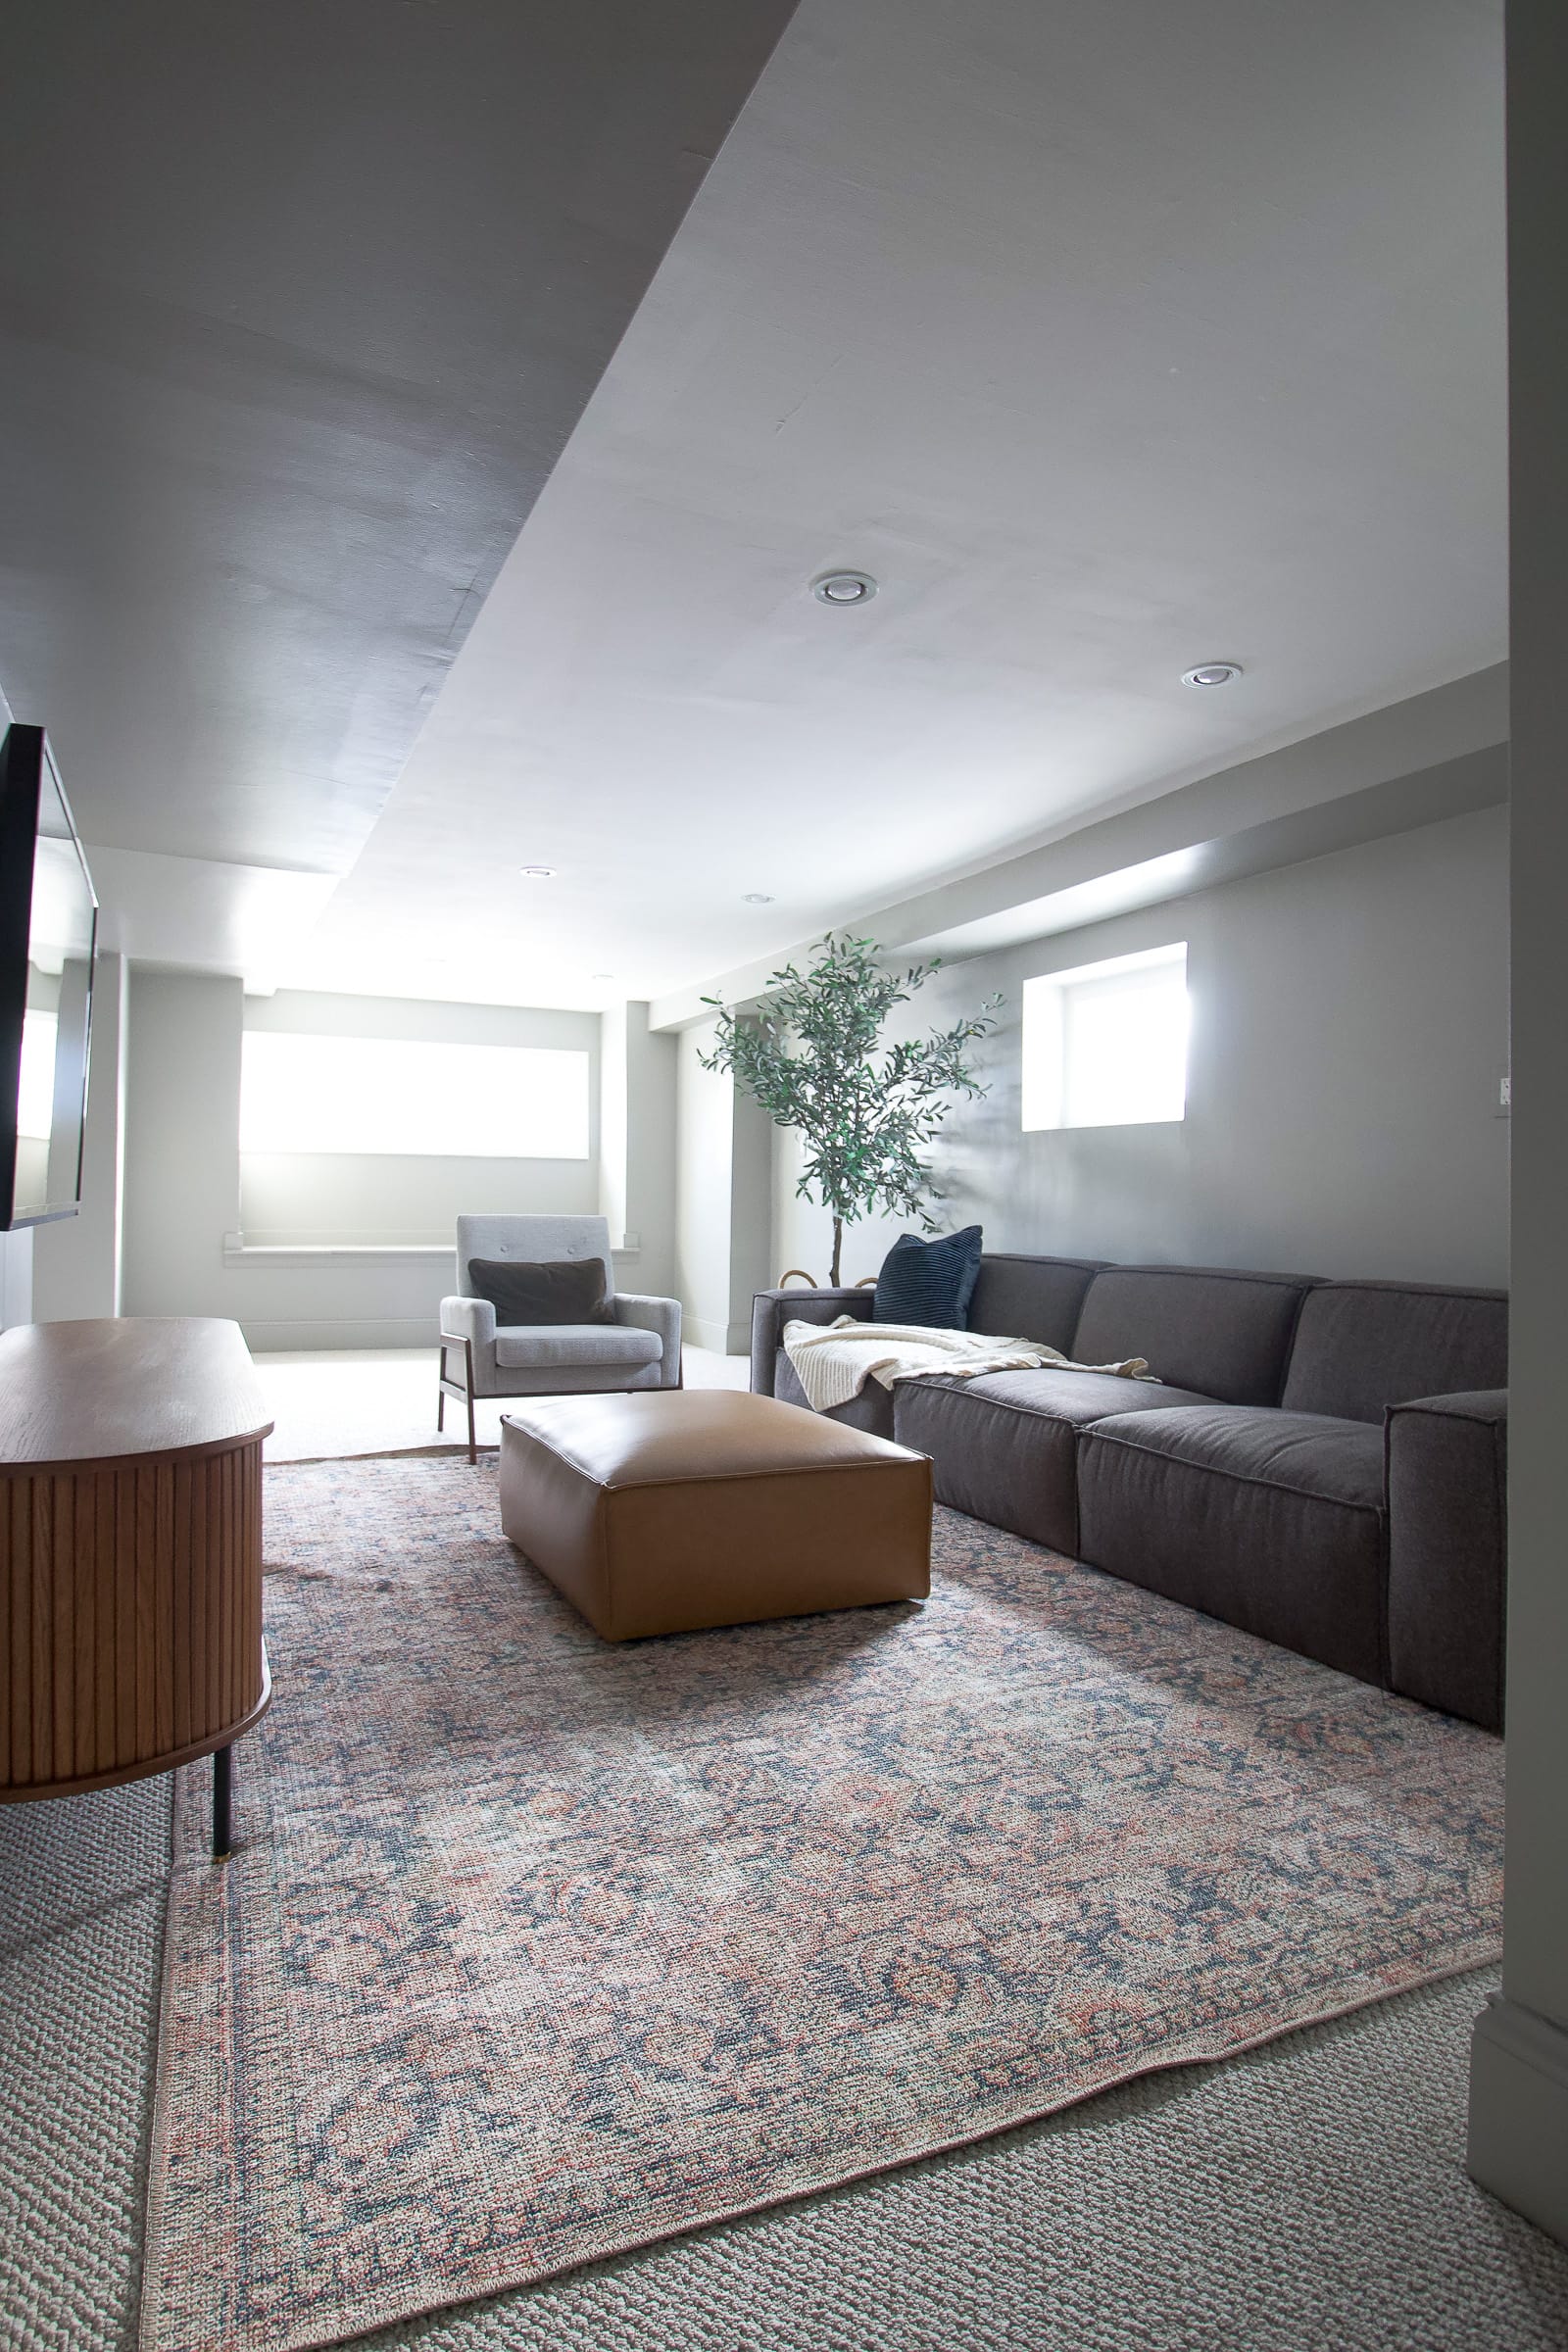
Our New “Greige” Basement
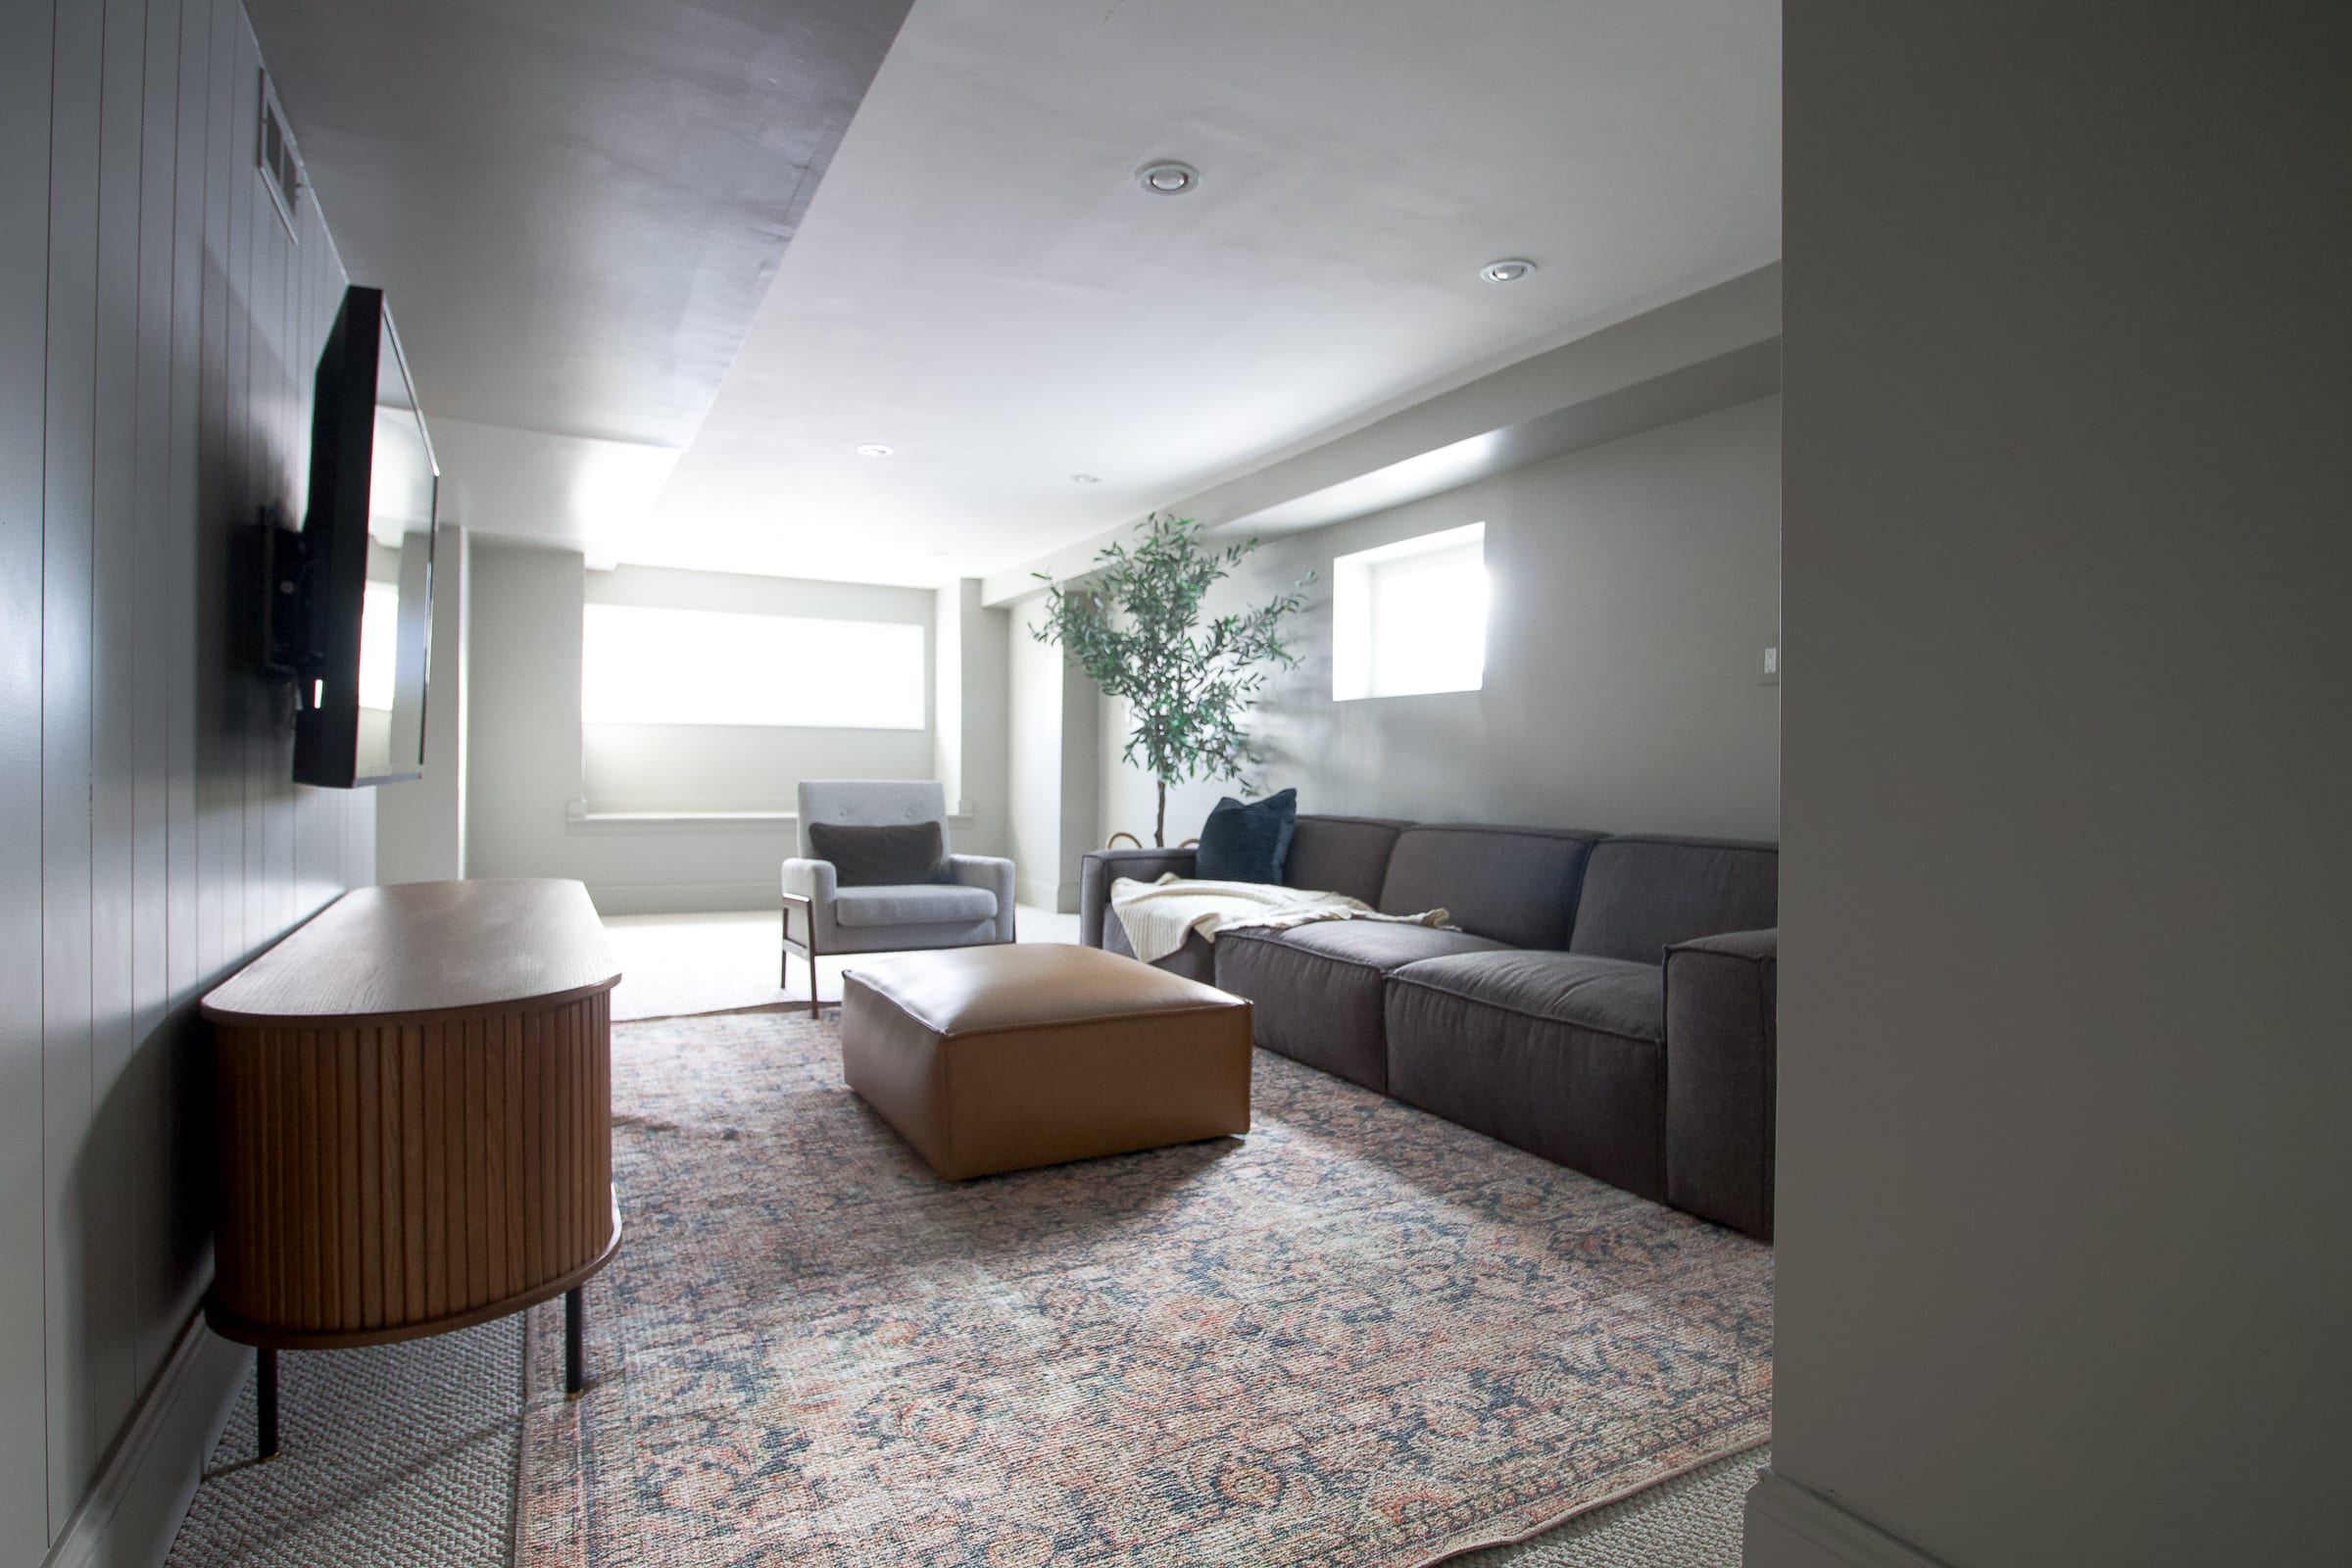
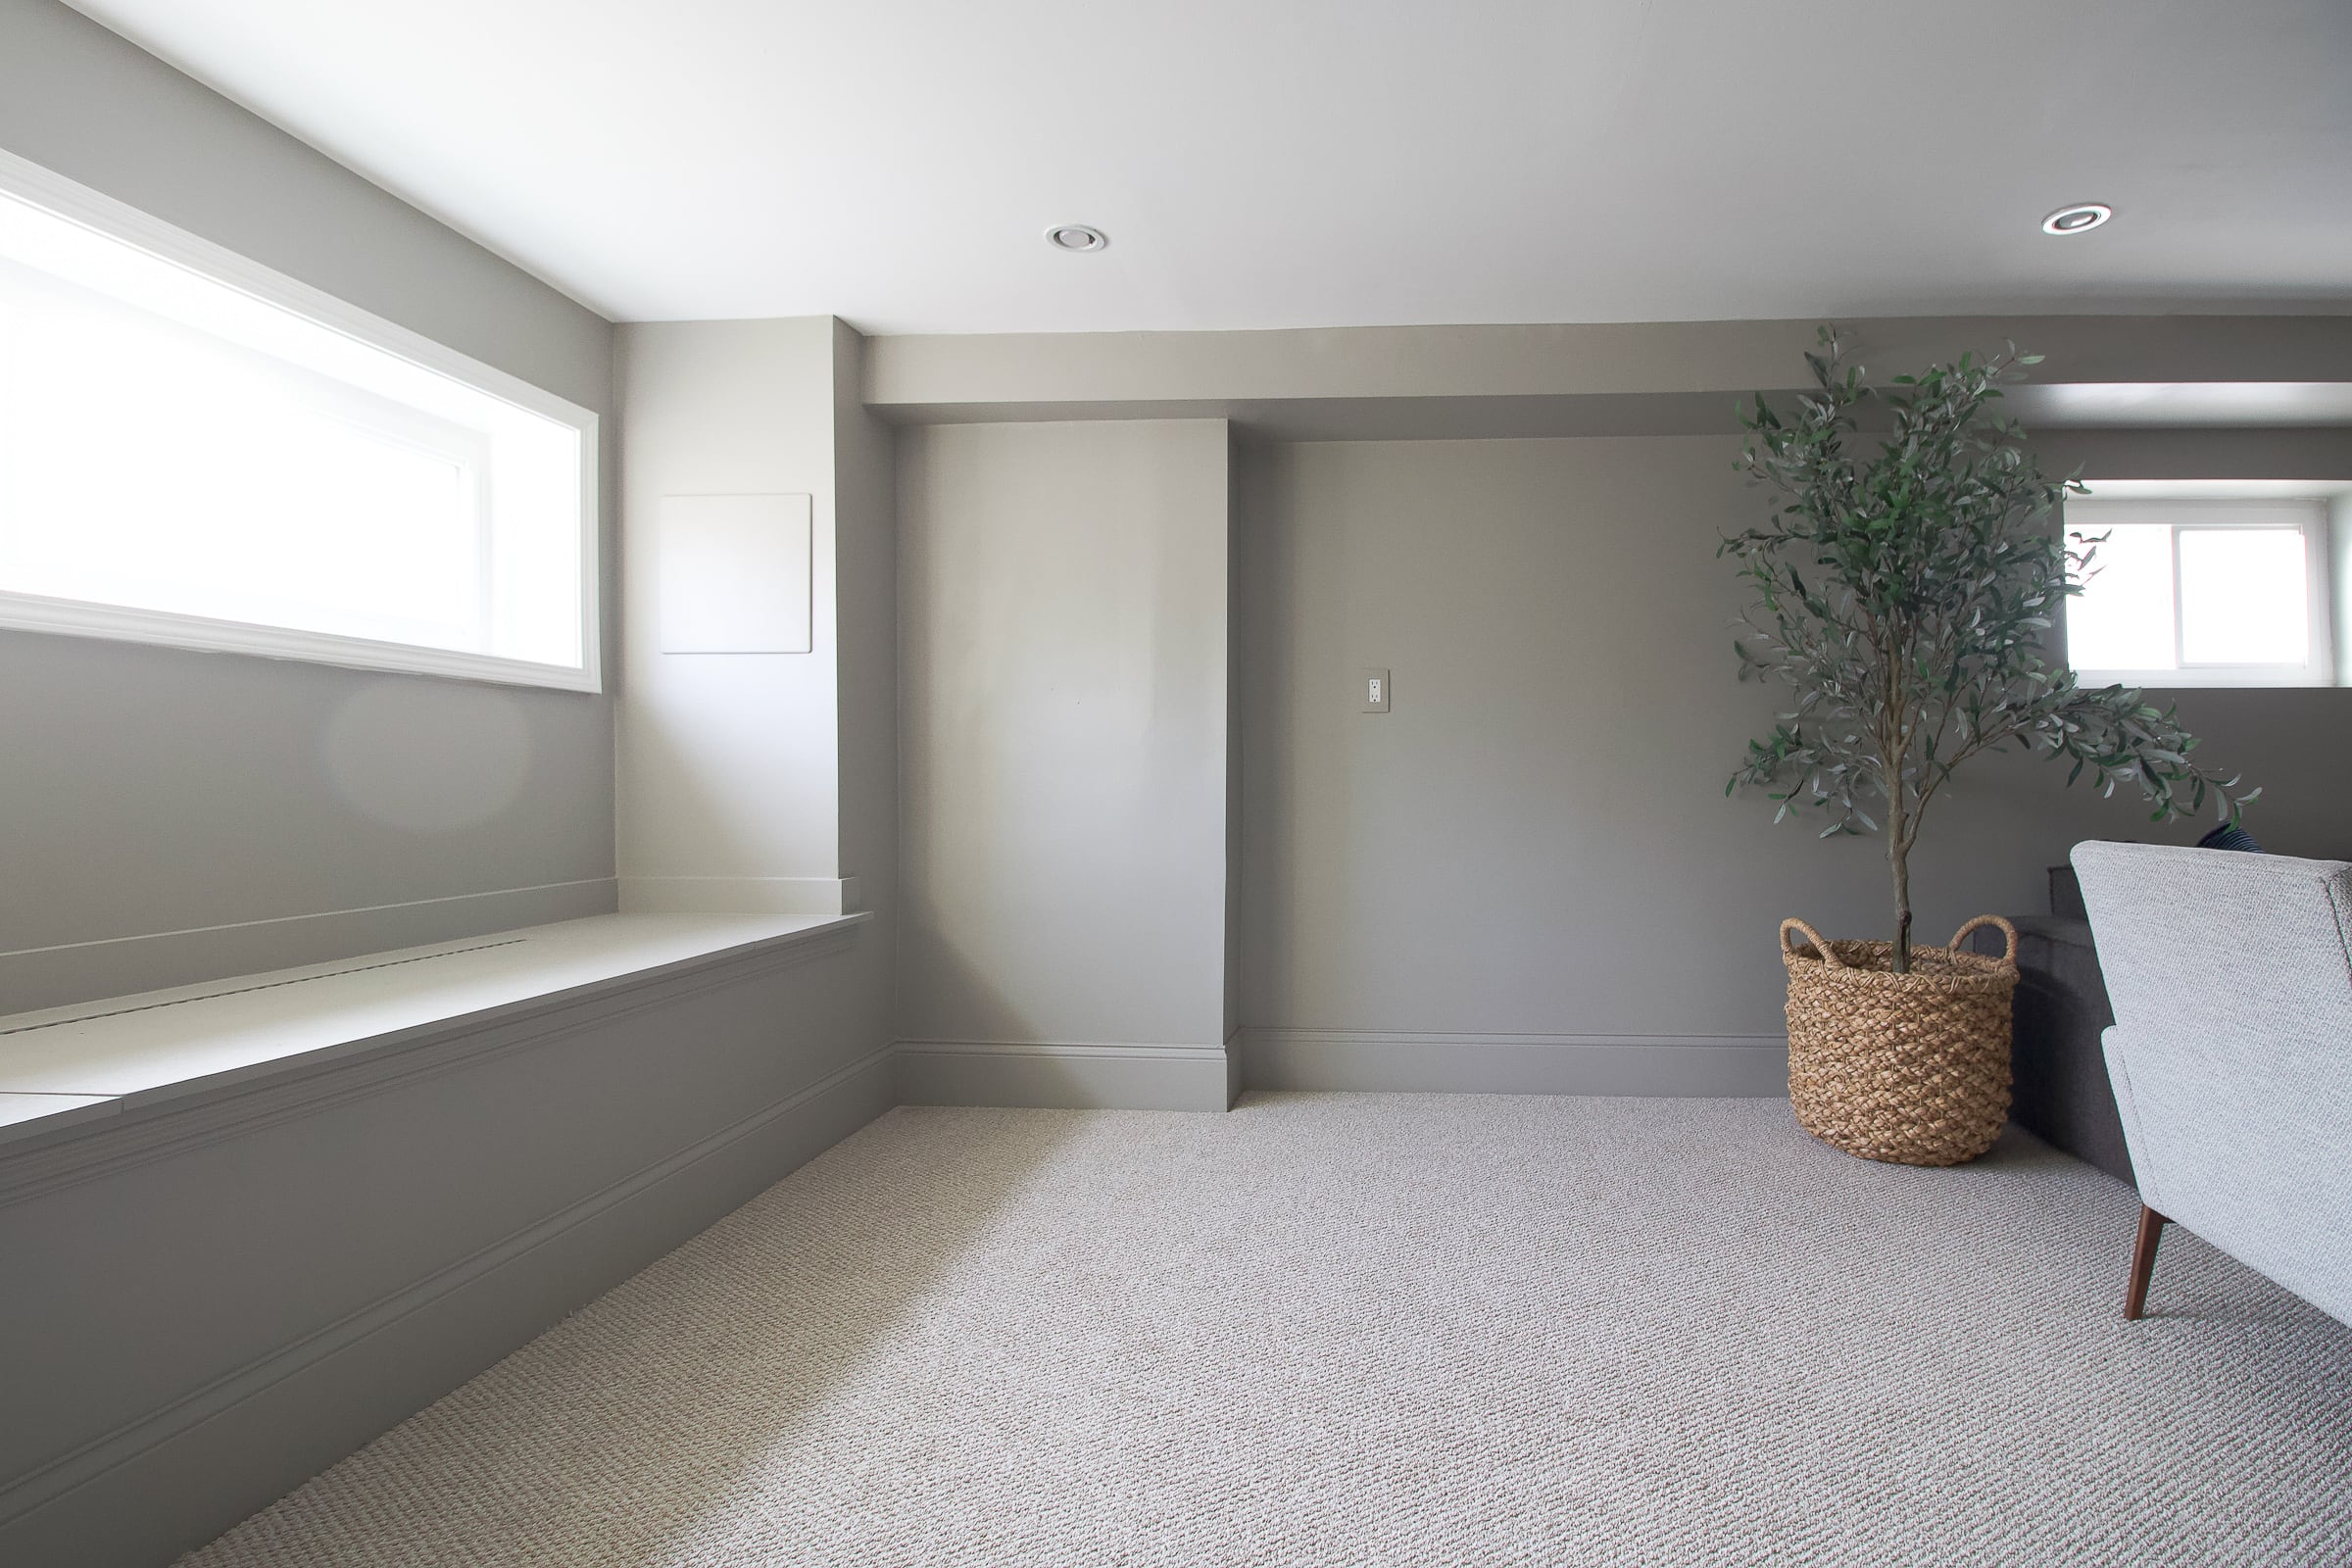
Here’s our new “Greige” basement! Isn’t she a beaut? I love the color because it changes throughout the day.
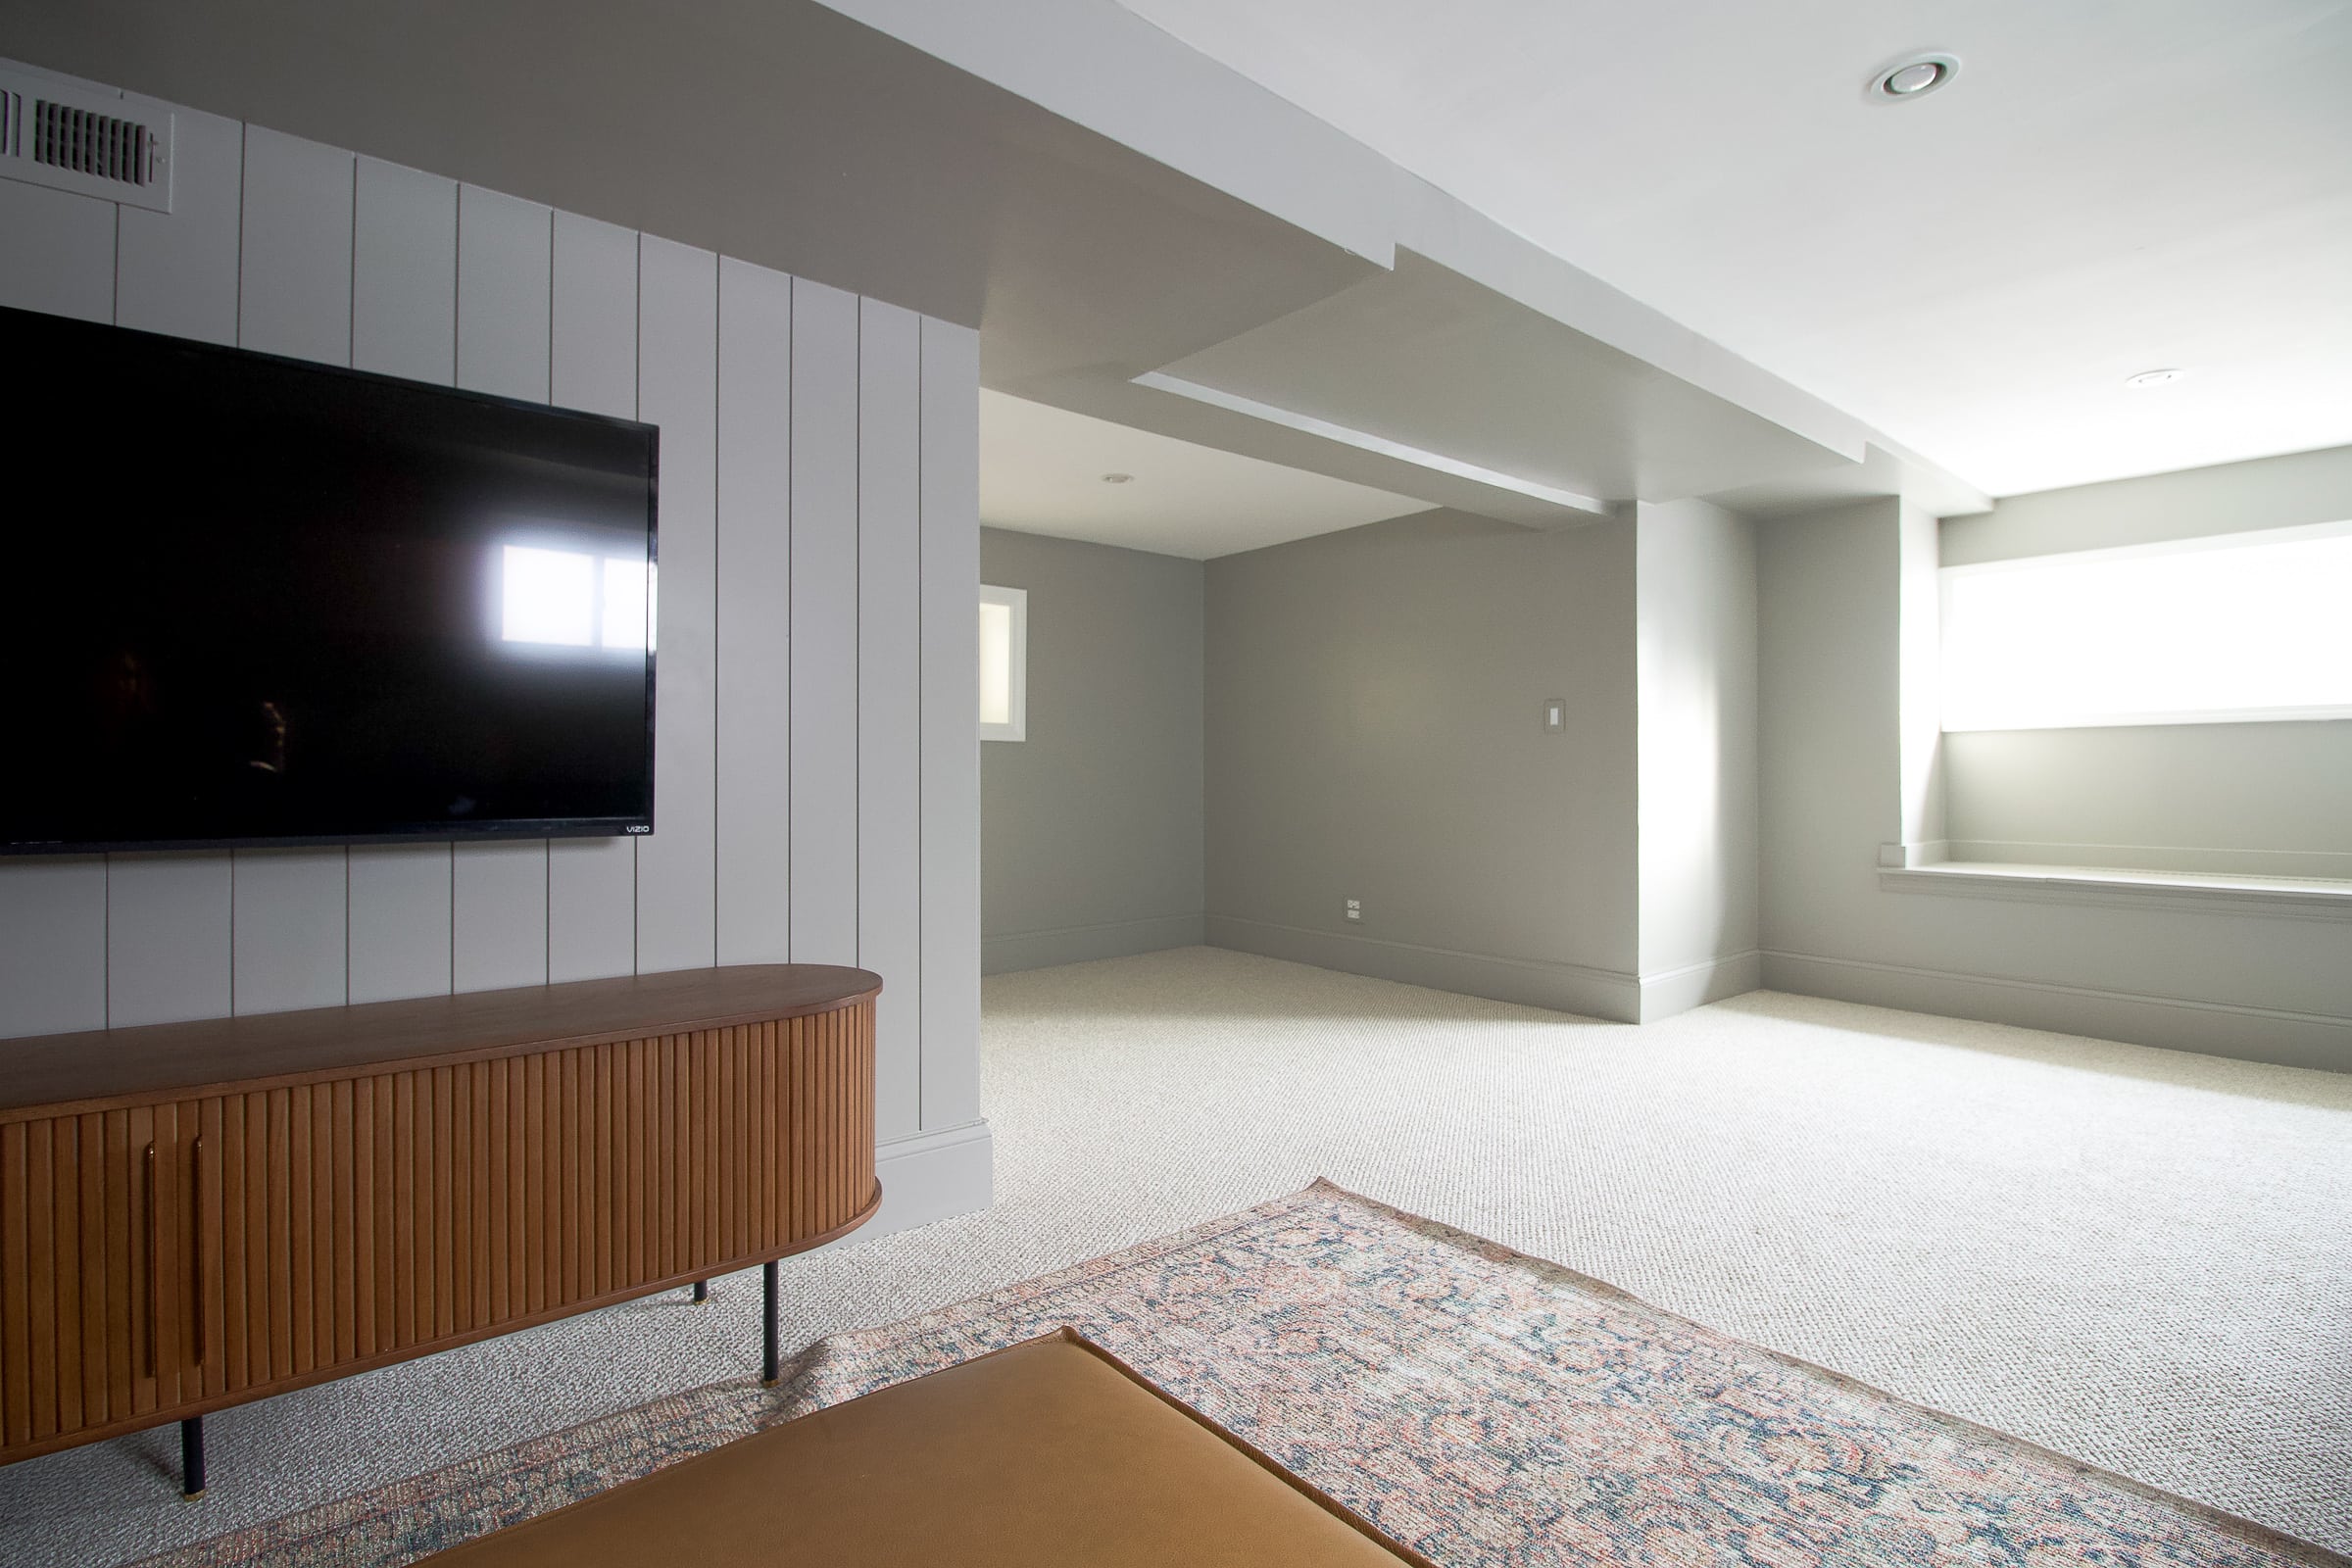
It’s a nice medium warm gray, with some green undertones. It’s so beautiful and it really elevates the space.
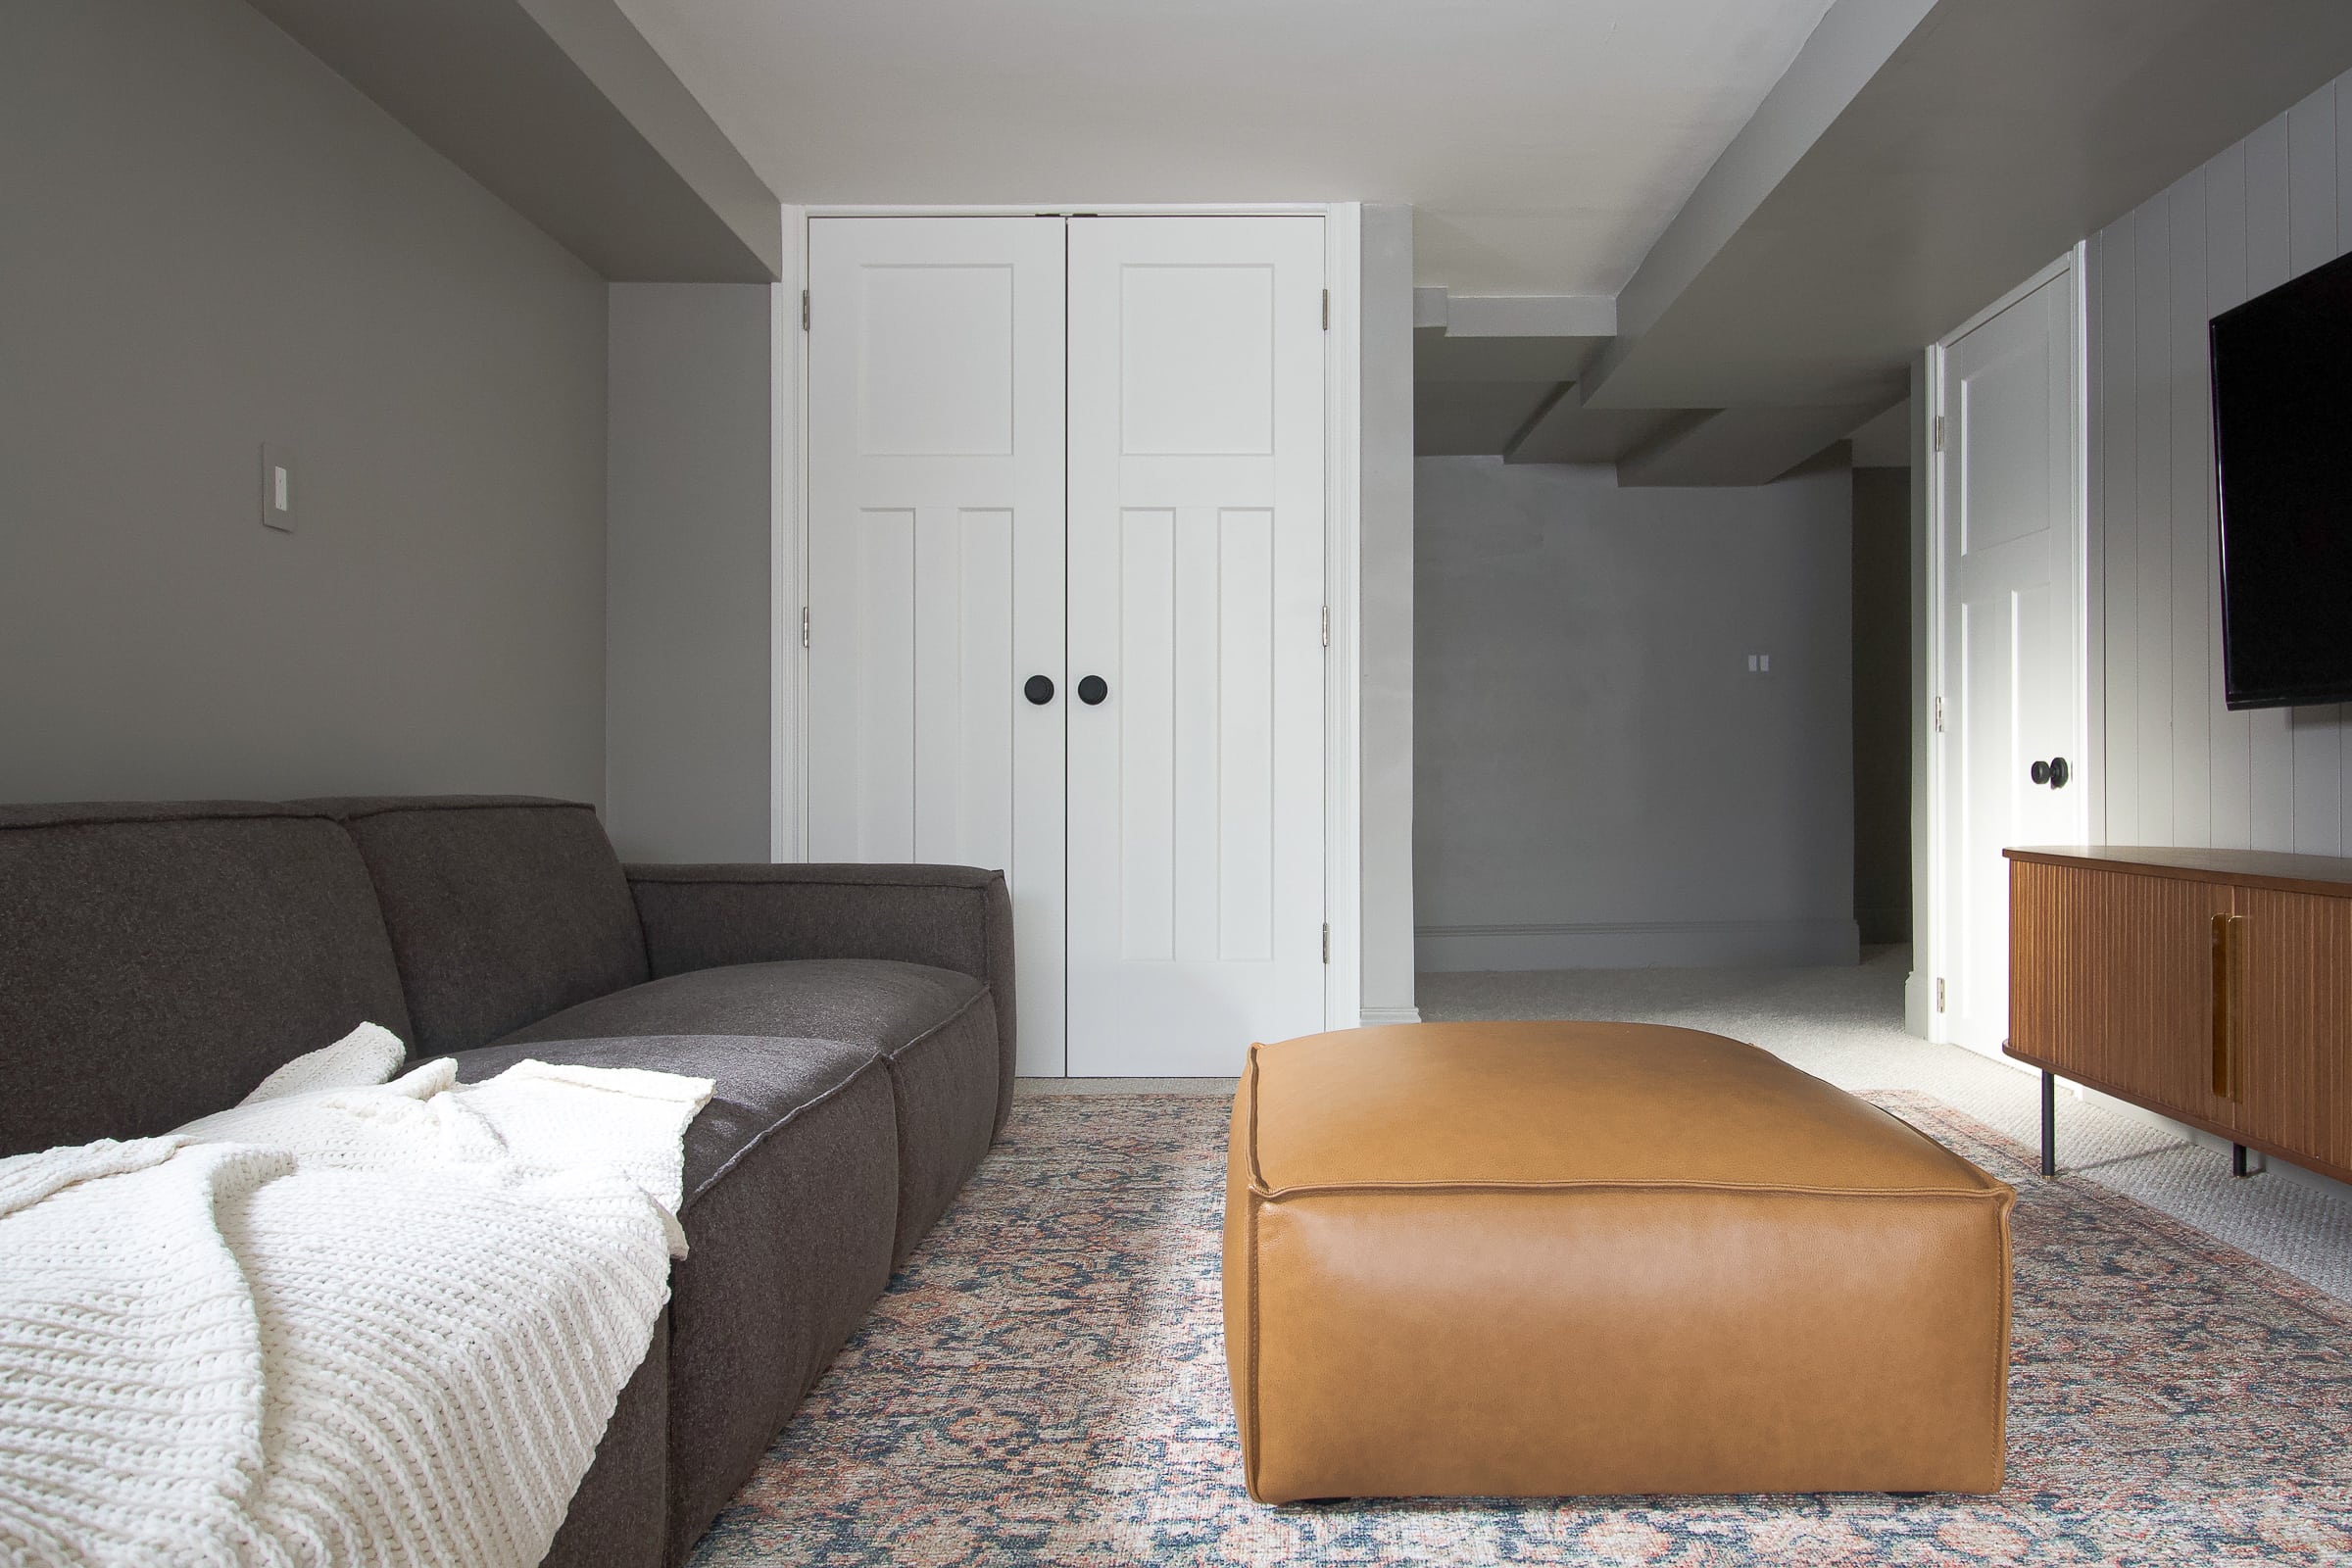
I’m also thrilled that I painted some areas of the ceiling, the baseboards, and the bulkhead with the pretty “Greige” color. It makes the room feel bigger and it camoflauges the bulkhead down here. All in all, I’m a big fan of this color, if you’re looking for a new one for your own space.
Basement Sources
The basement is nowhere near complete, but here are sources for the items we have down here right now…
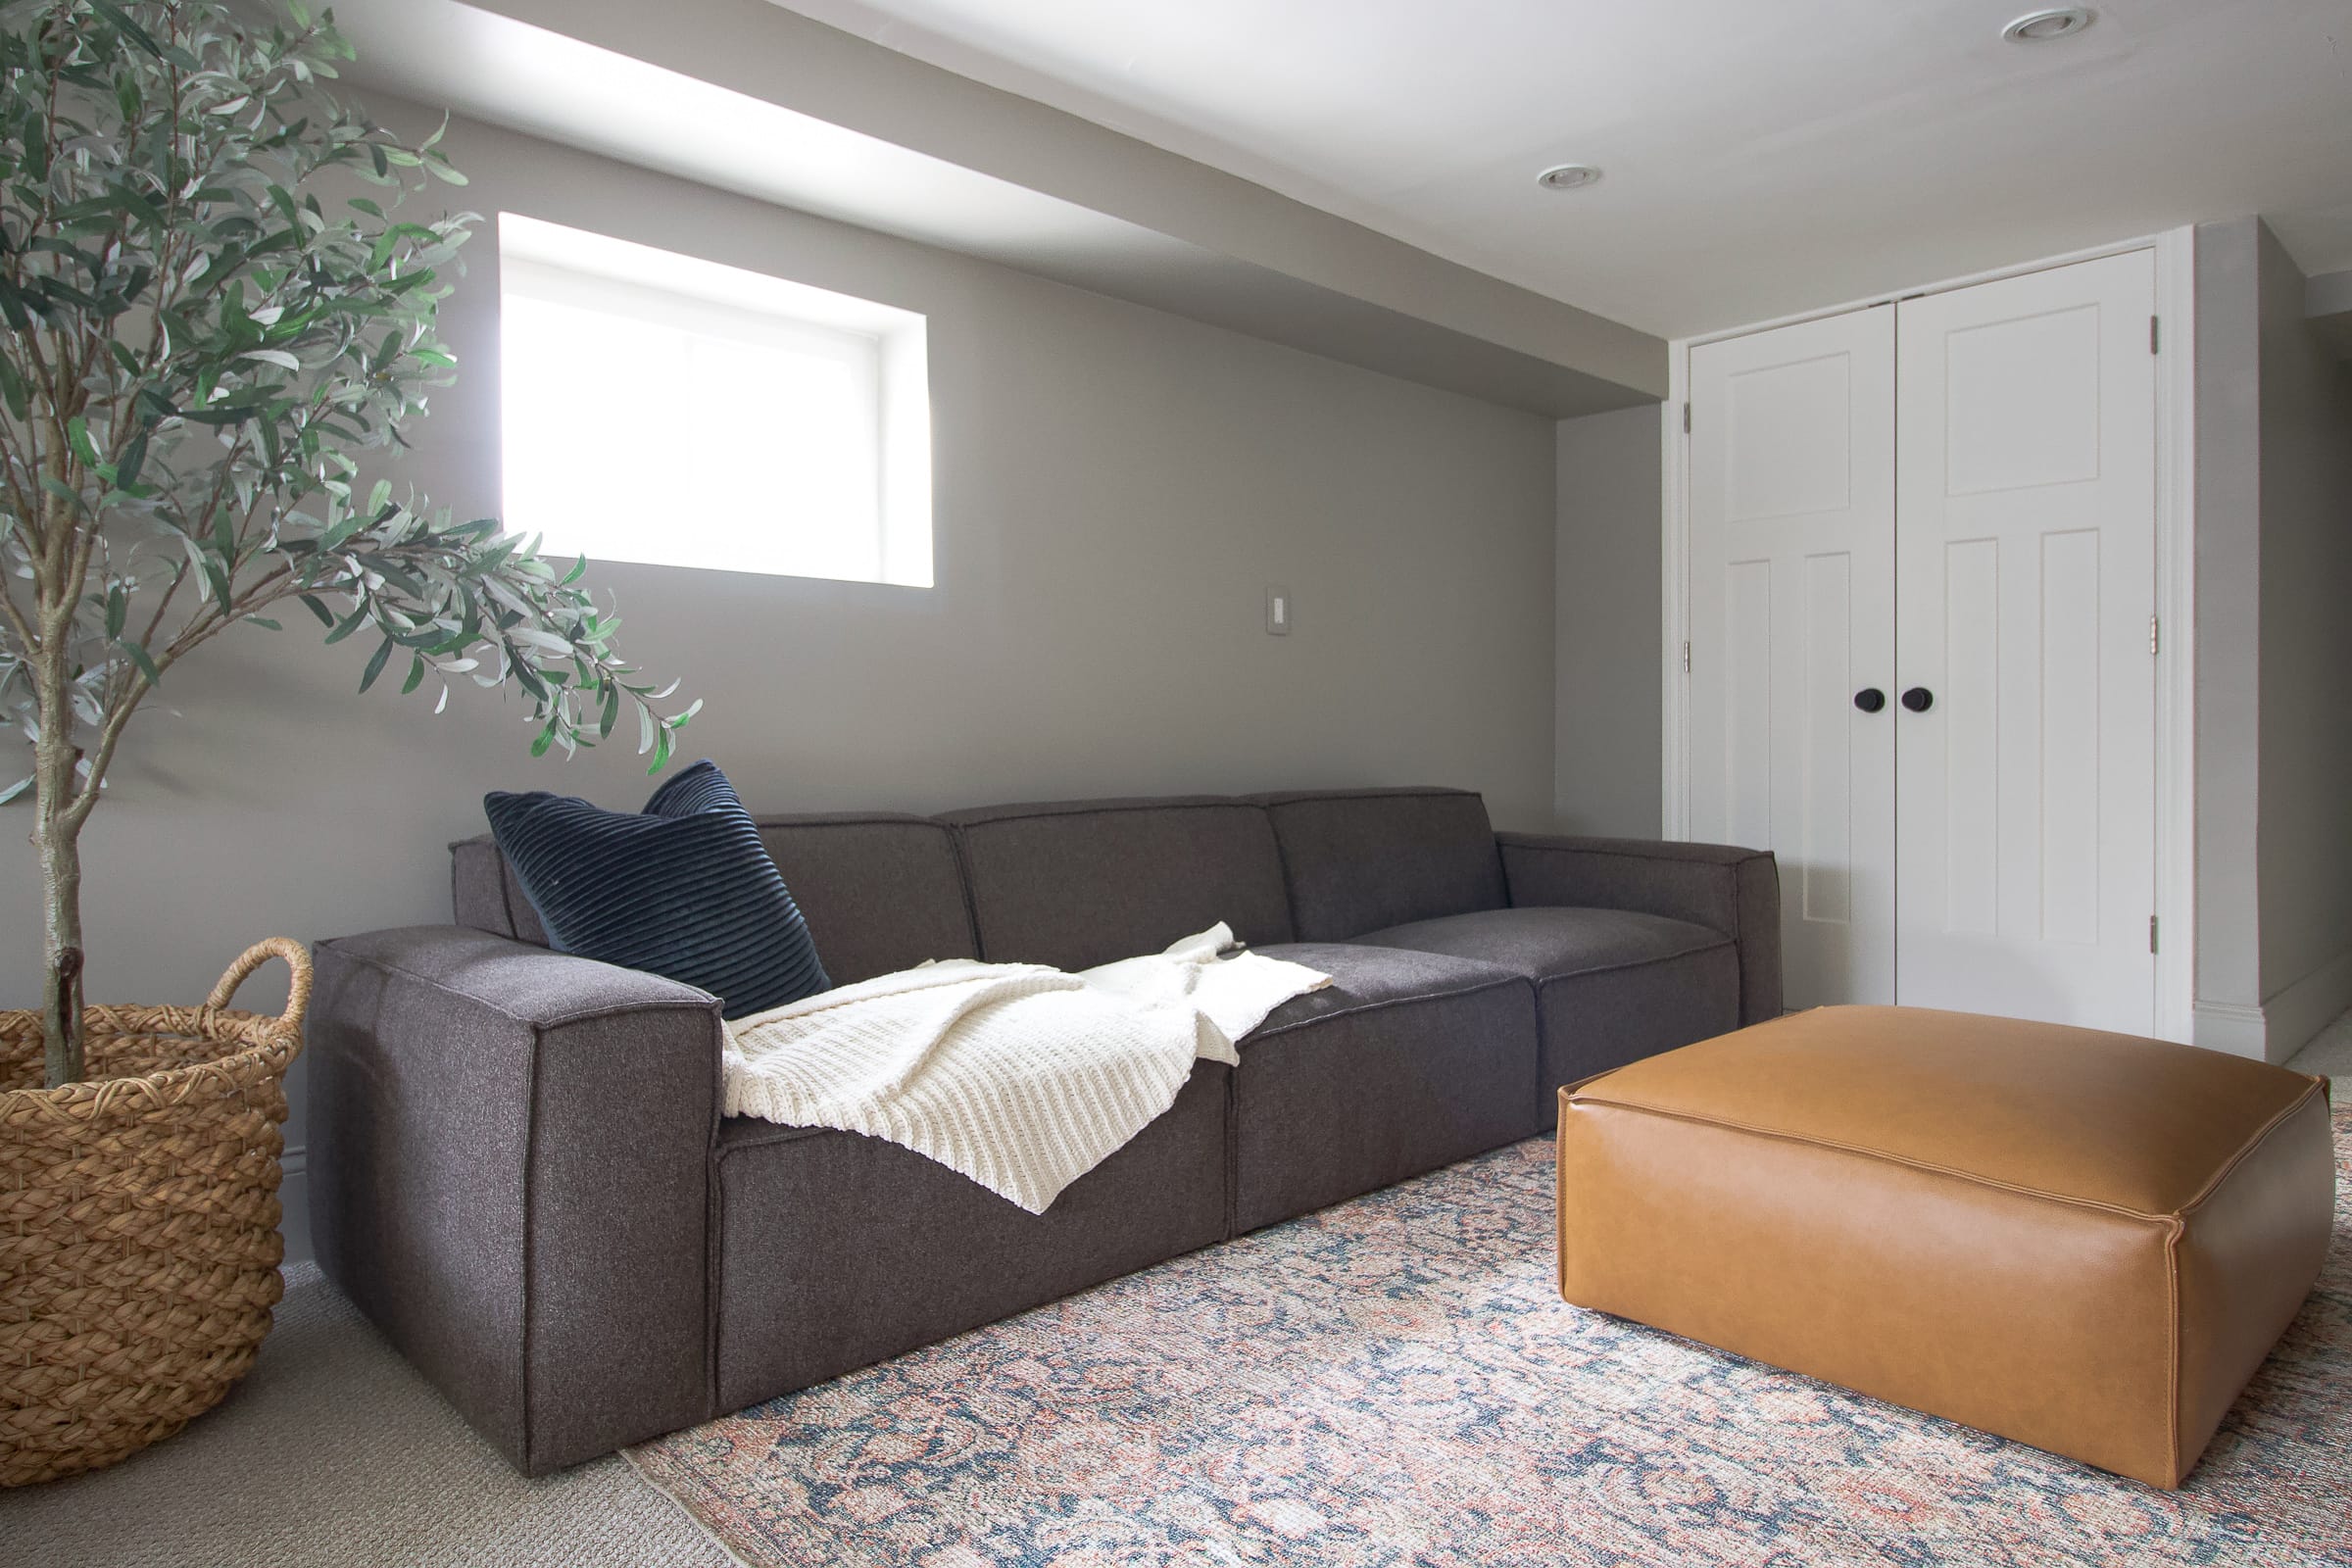
Clare Paint “Greige” in eggshell // Doors, Benjamin Moore “Simply White” // Rug // Chair // Olive Tree // Basket // Carpet, Dreamweaver in “Gold Rush” Couch // Leather Ottoman // TV Stand
What’s Next?
While I love this gray on the walls, I am very excited to add a bit more color and life down here with wallpaper! The main wall is getting the most gorgeous panoramic display with hints of cream, green, and blue. It’s going to be beautiful! That hits the blog on Monday.


