Painting our Main Bathroom Vanity
Disclaimer: This post is sponsored by Rust-Oleum.
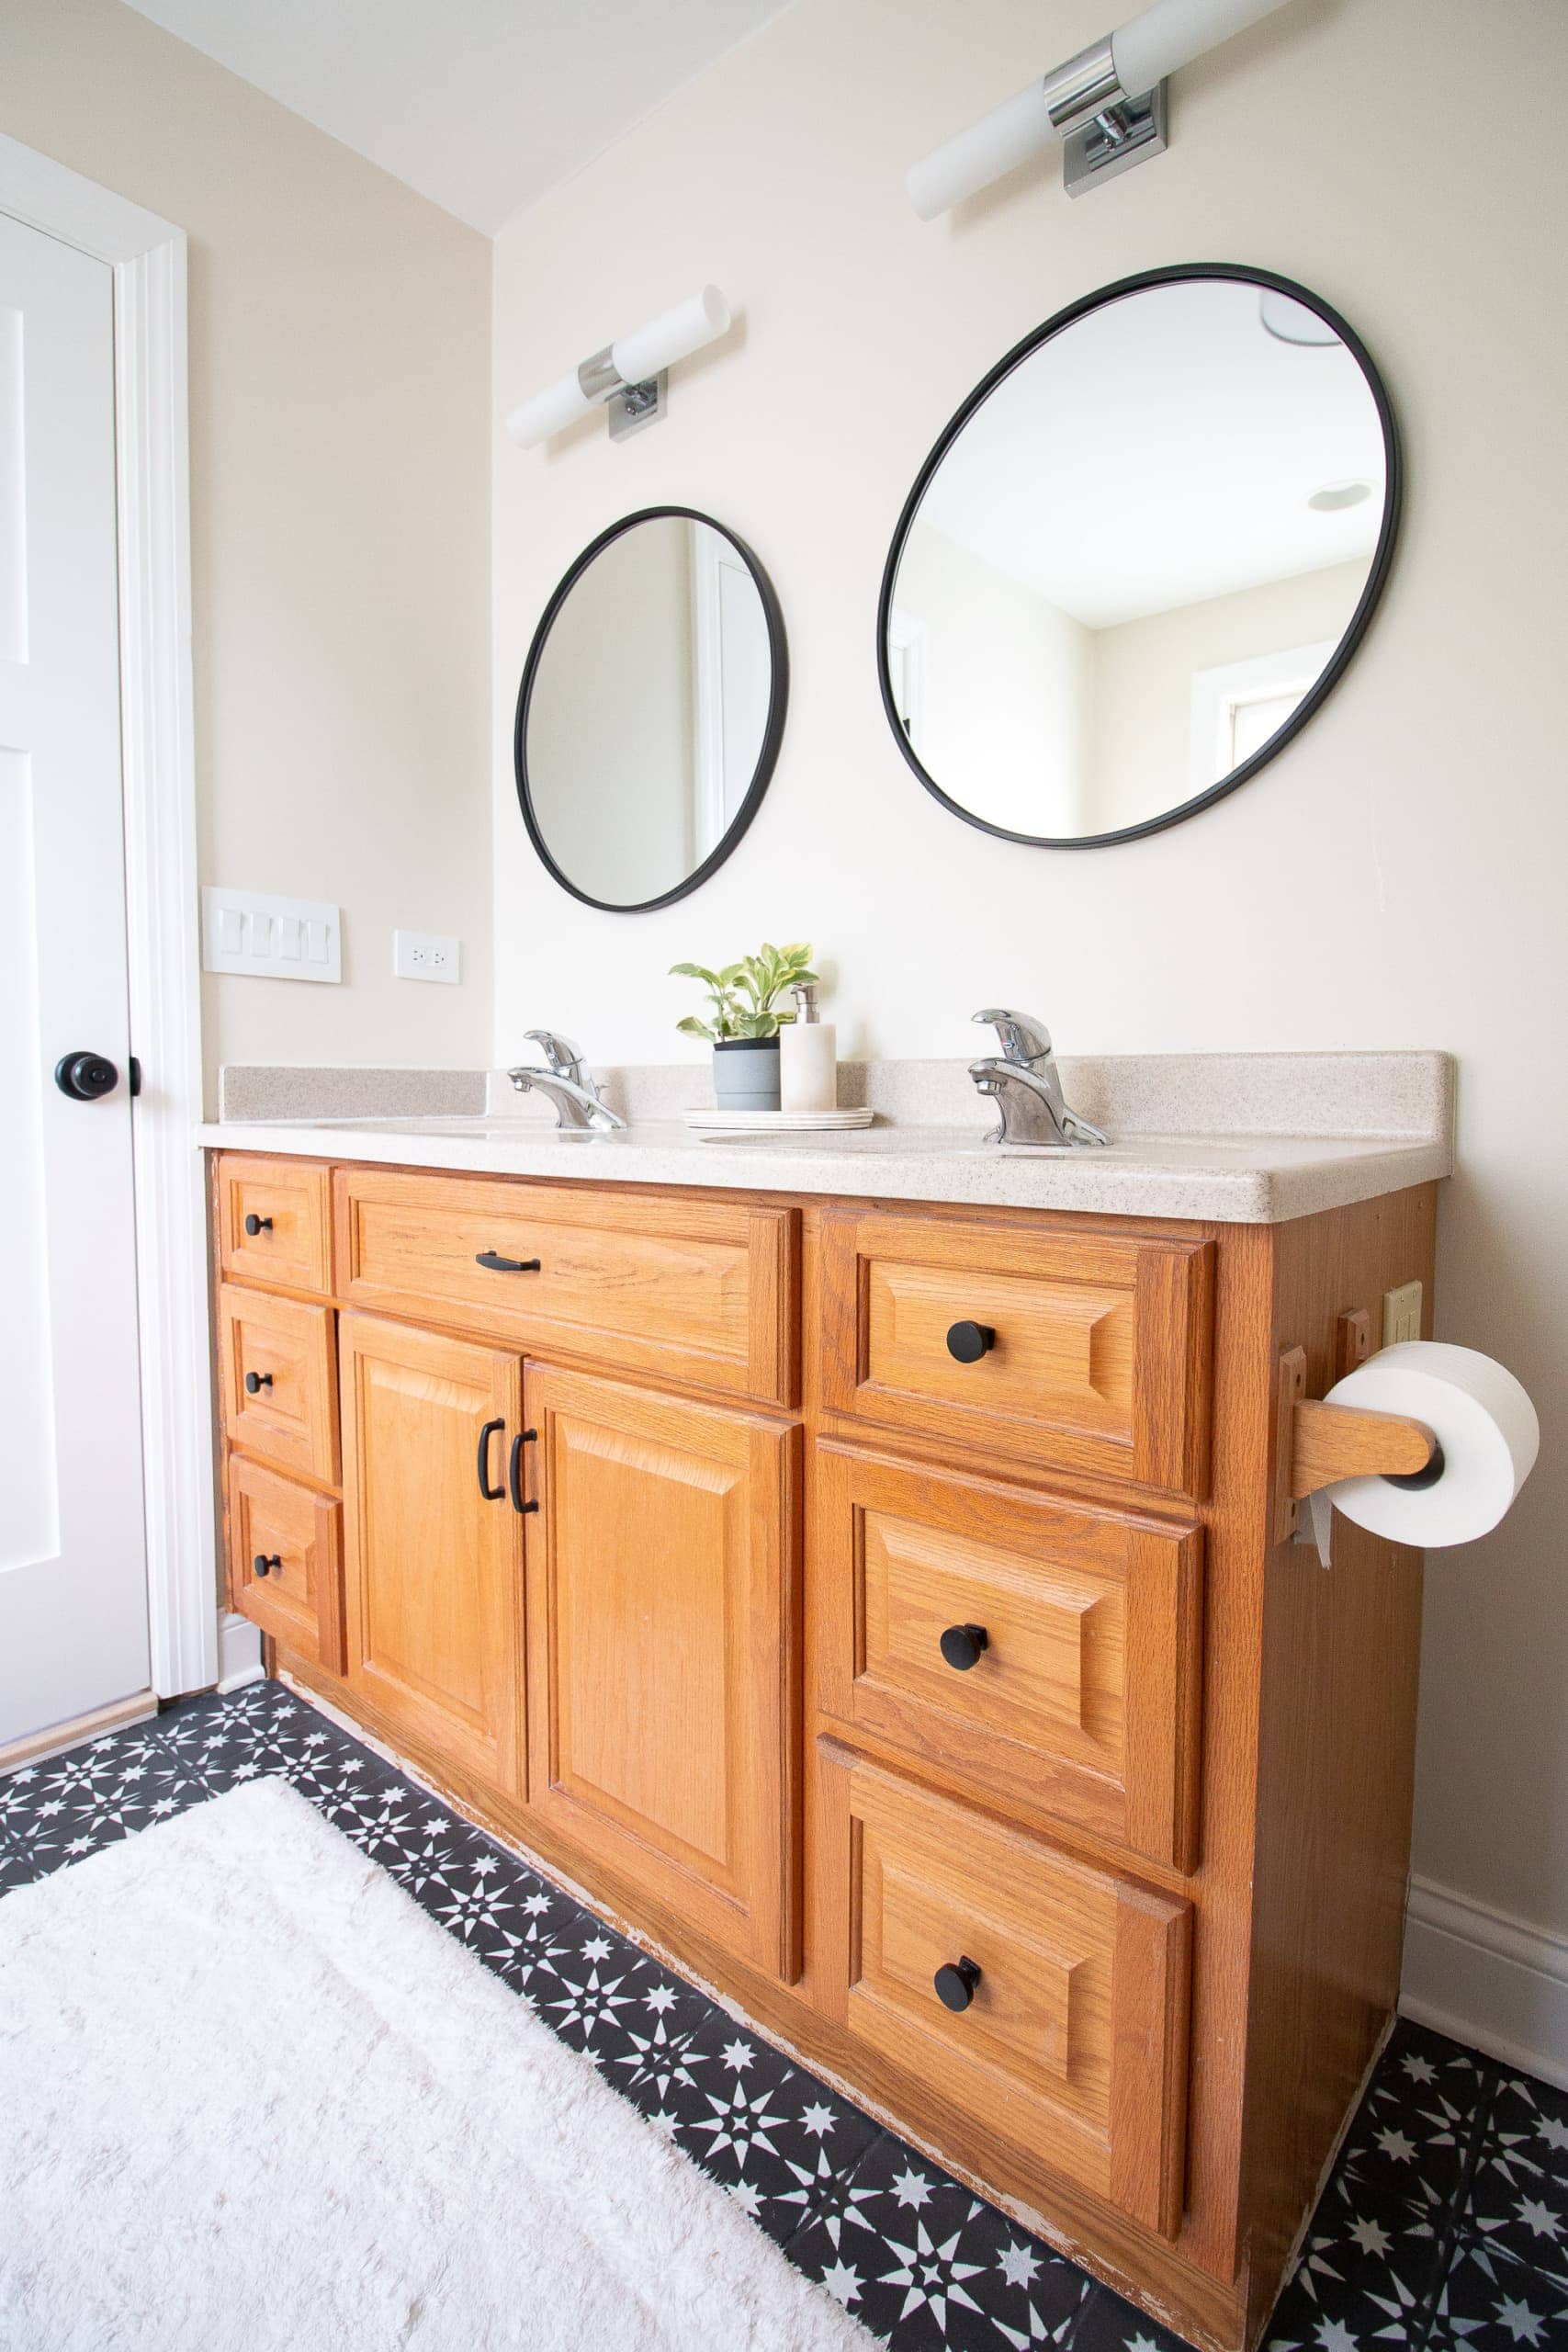
Remember back in the fall when I painted the floors in our main bathroom? In that post, I mentioned that the vanity was probably the next item on my to-do list because it was sticking out like a sore thumb next to the newly painted floors.
And, when I worked on the floors, I accidentally peeled off some of the faux wood finish on the toe kick of the vanity with painter’s tape. Oops.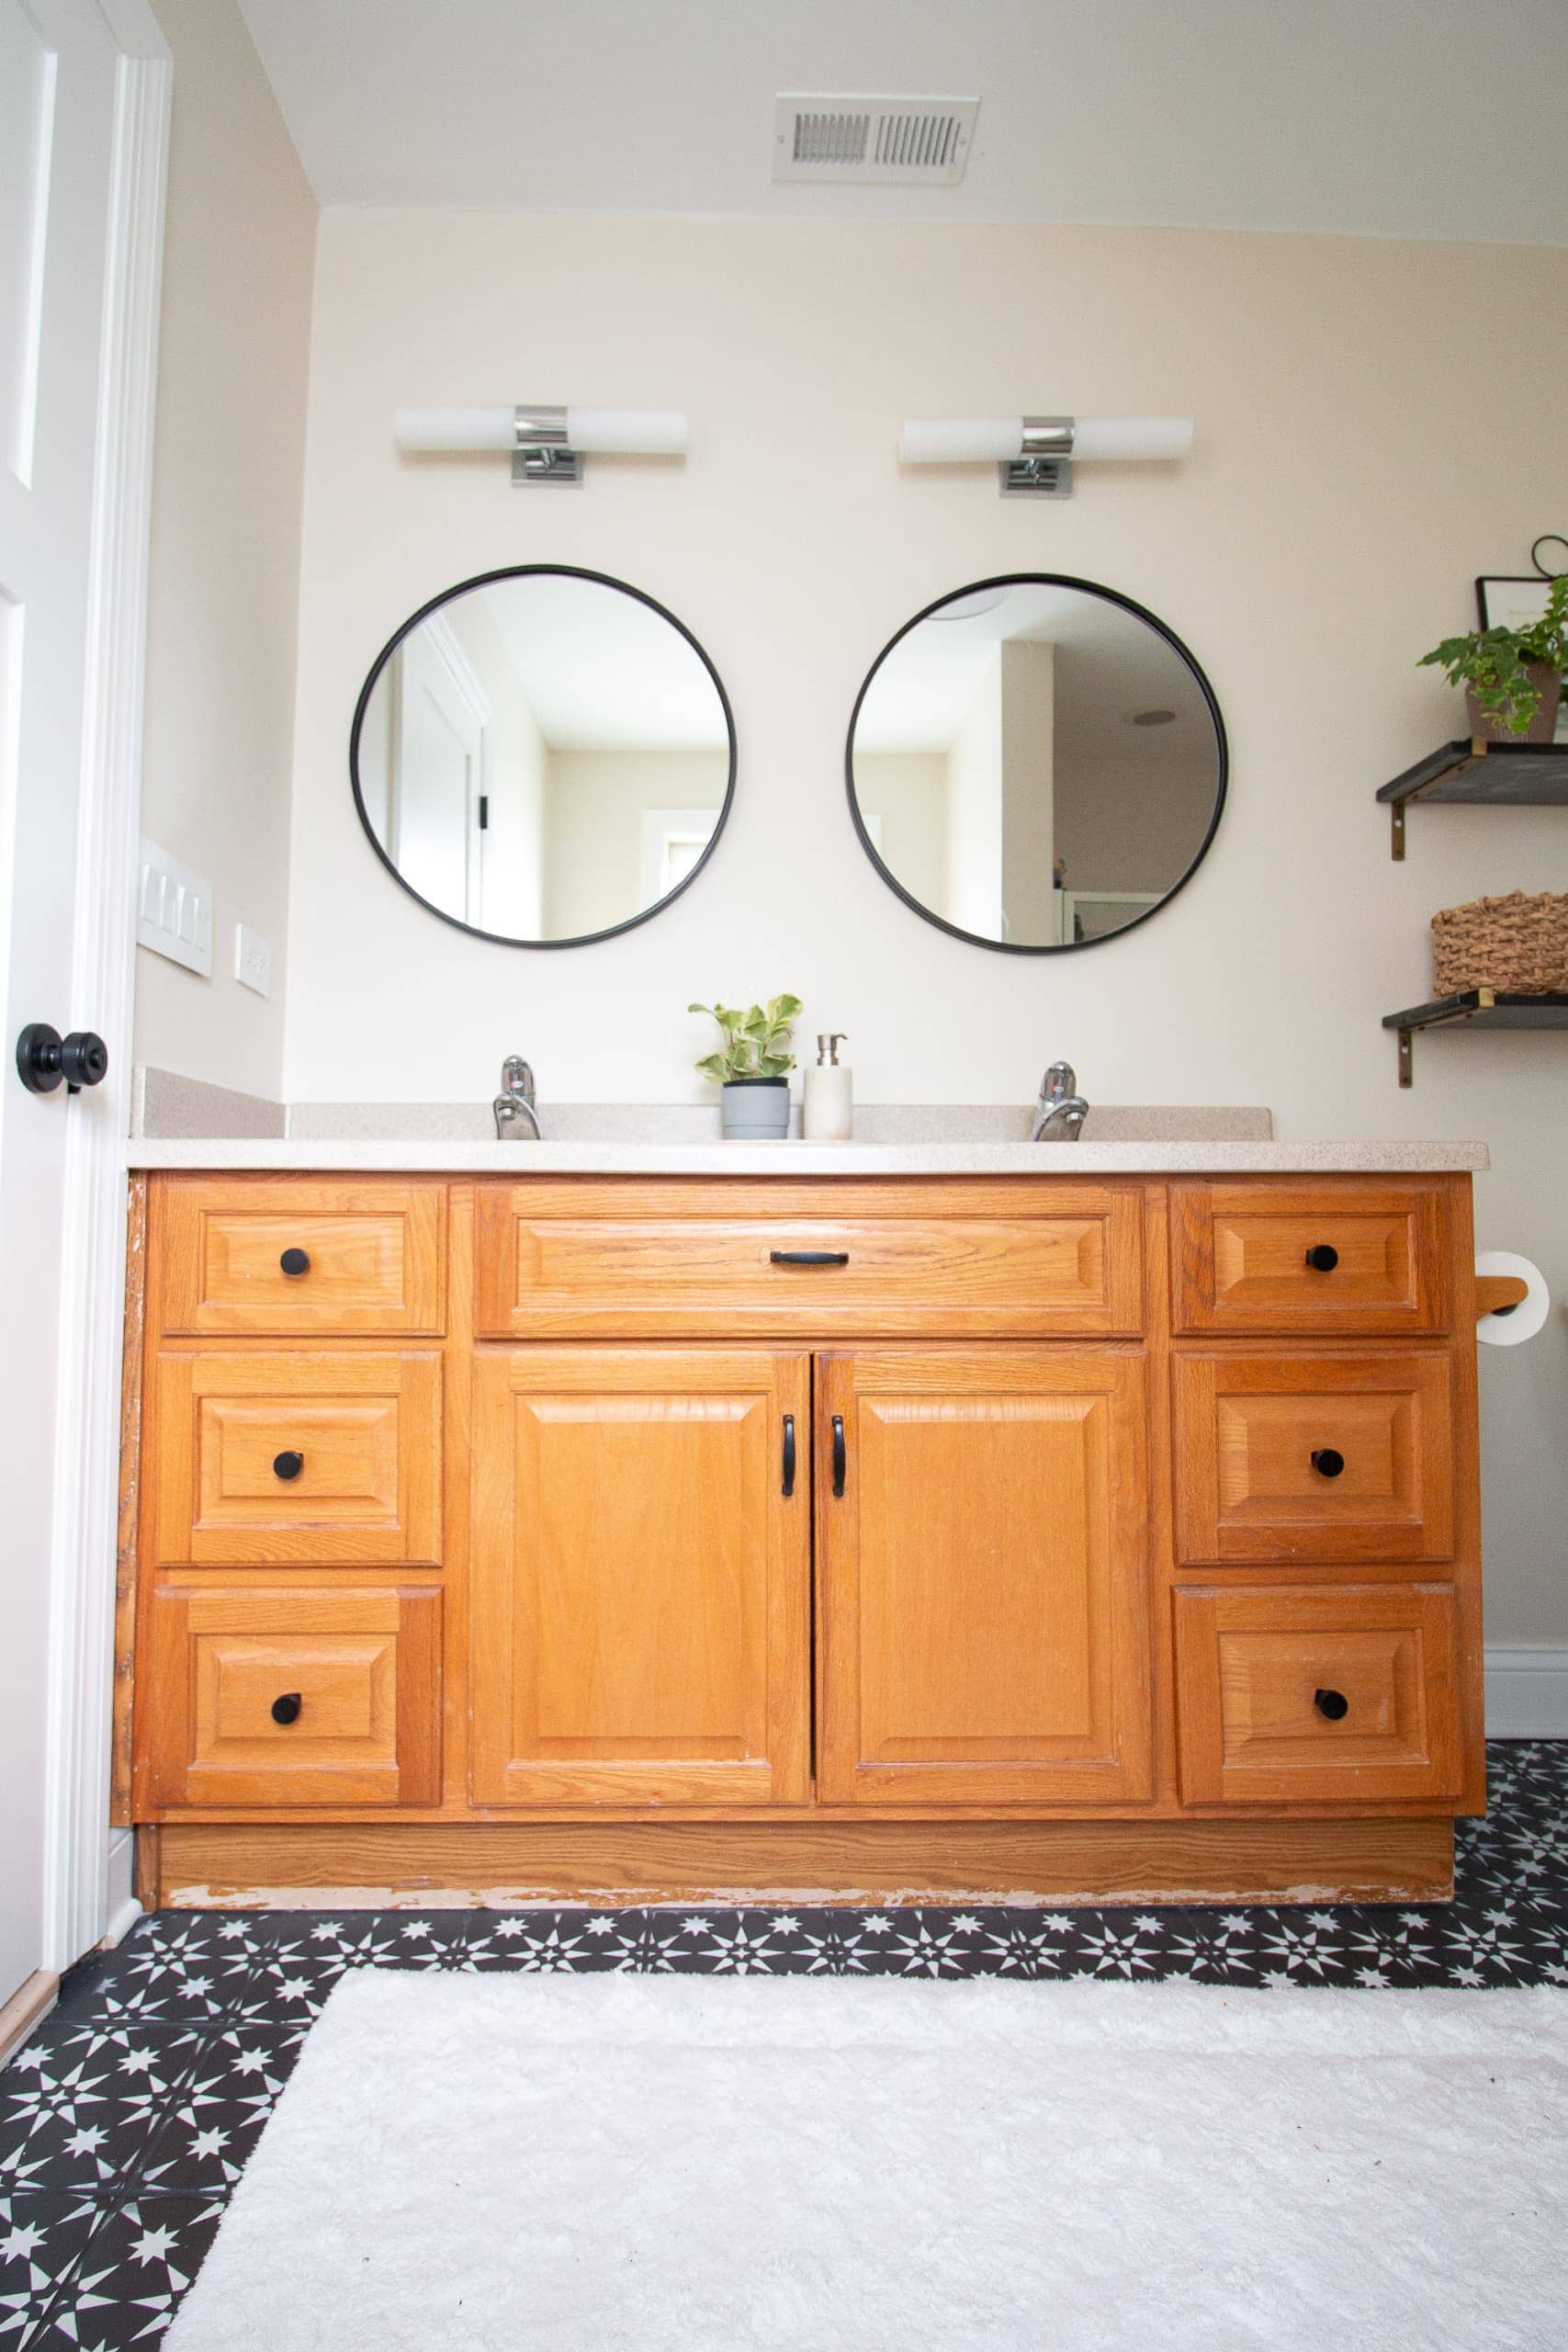
Anyway, I finally got around to painting that vanity, and I’m really happy that I did! Even though we have plans to renovate this bathroom, hopefully next winter, I hate to live with something I don’t love when it’s an easy fix to make it look better. Not to mention, I was excited to try out the Cabinet Transformations kit from Rust-Oleum.
Painting Vanities – Past Projects
I actually painted the other vanities in our house last year (guest bathroom and basement bathroom), but when I re-did those I ended up sanding and priming them before painting. I was eager to try the Rust-Oleum Cabinet Transformations kit because there’s no stripping, sanding, or priming! You just clean really, really well, and then paint.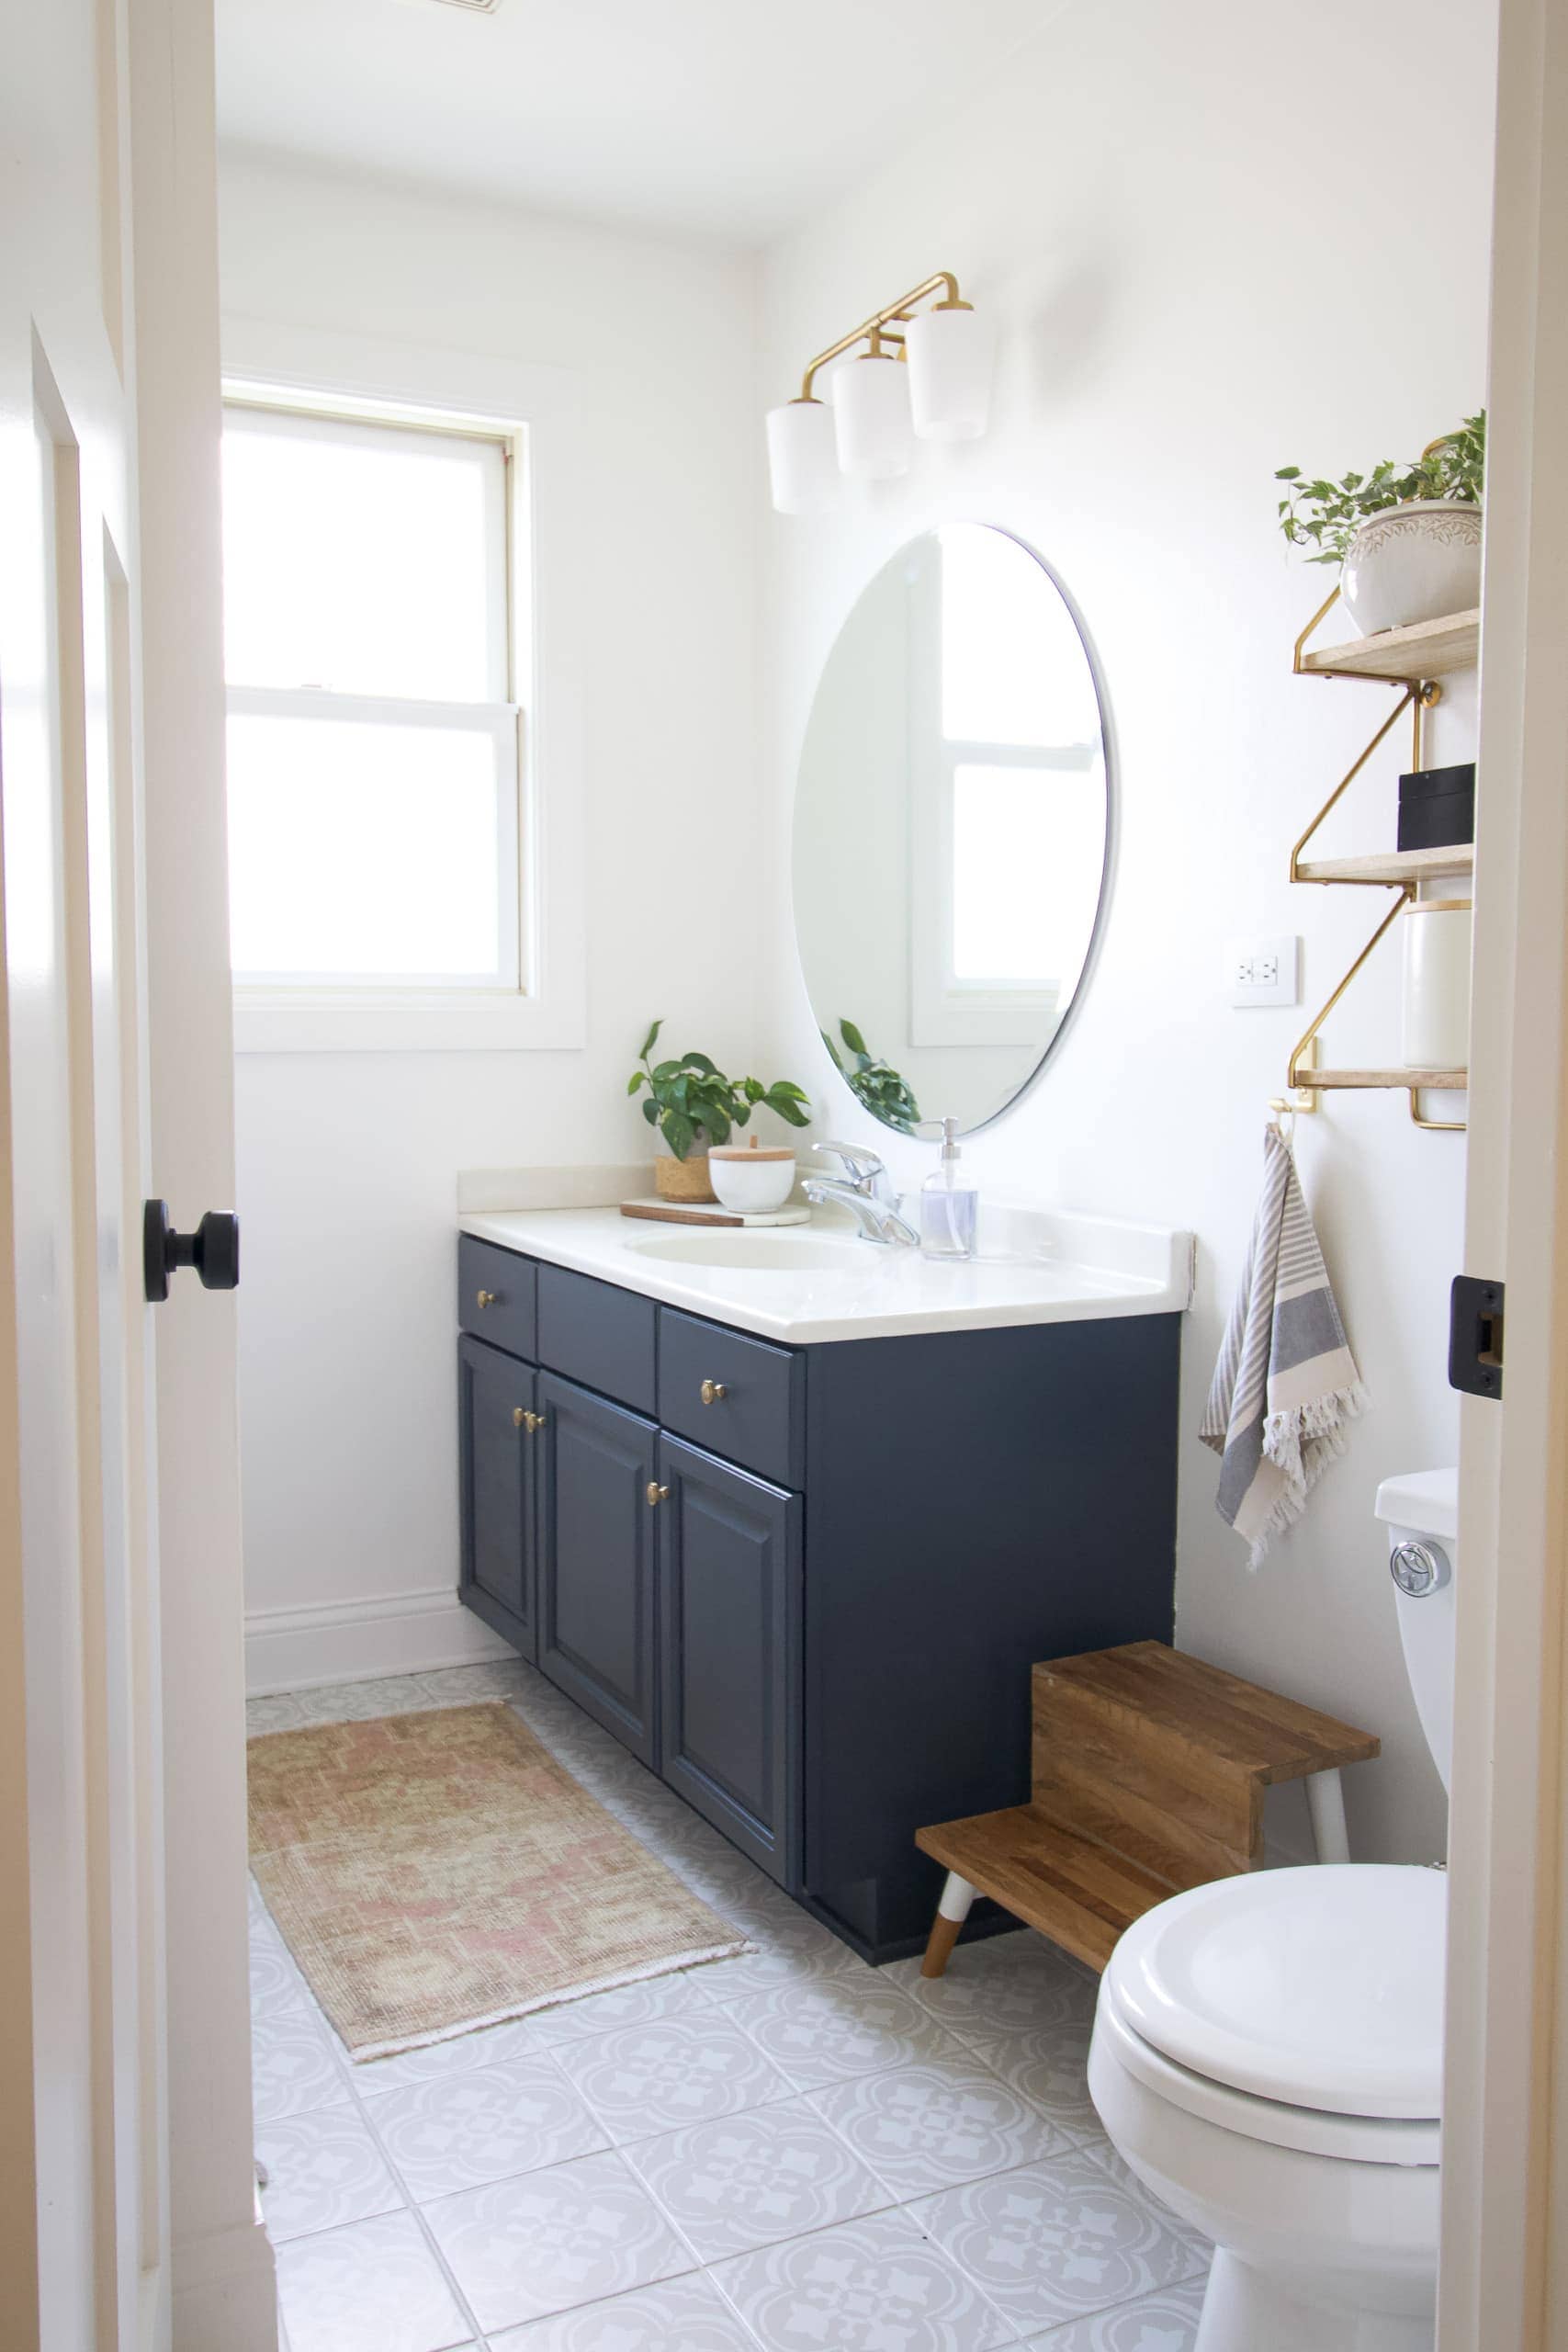
In the past, I used regular wall paint on the vanities. That paint worked and they still look fine, but I was eager to find out if a paint specifically formulated for cabinets would offer a more durable and lasting finish.
How to Paint a Vanity – Video

I ended up creating a video showcasing the step-by-step process for this project. You can view it below or over on YouTube right here.
I sometimes find that it’s easier to share a more detailed DIY project via video, so if you want to recreate this project, I highly recommend giving the video a watch! I share lots of helpful tips throughout.
Cabinet Transformations Kit
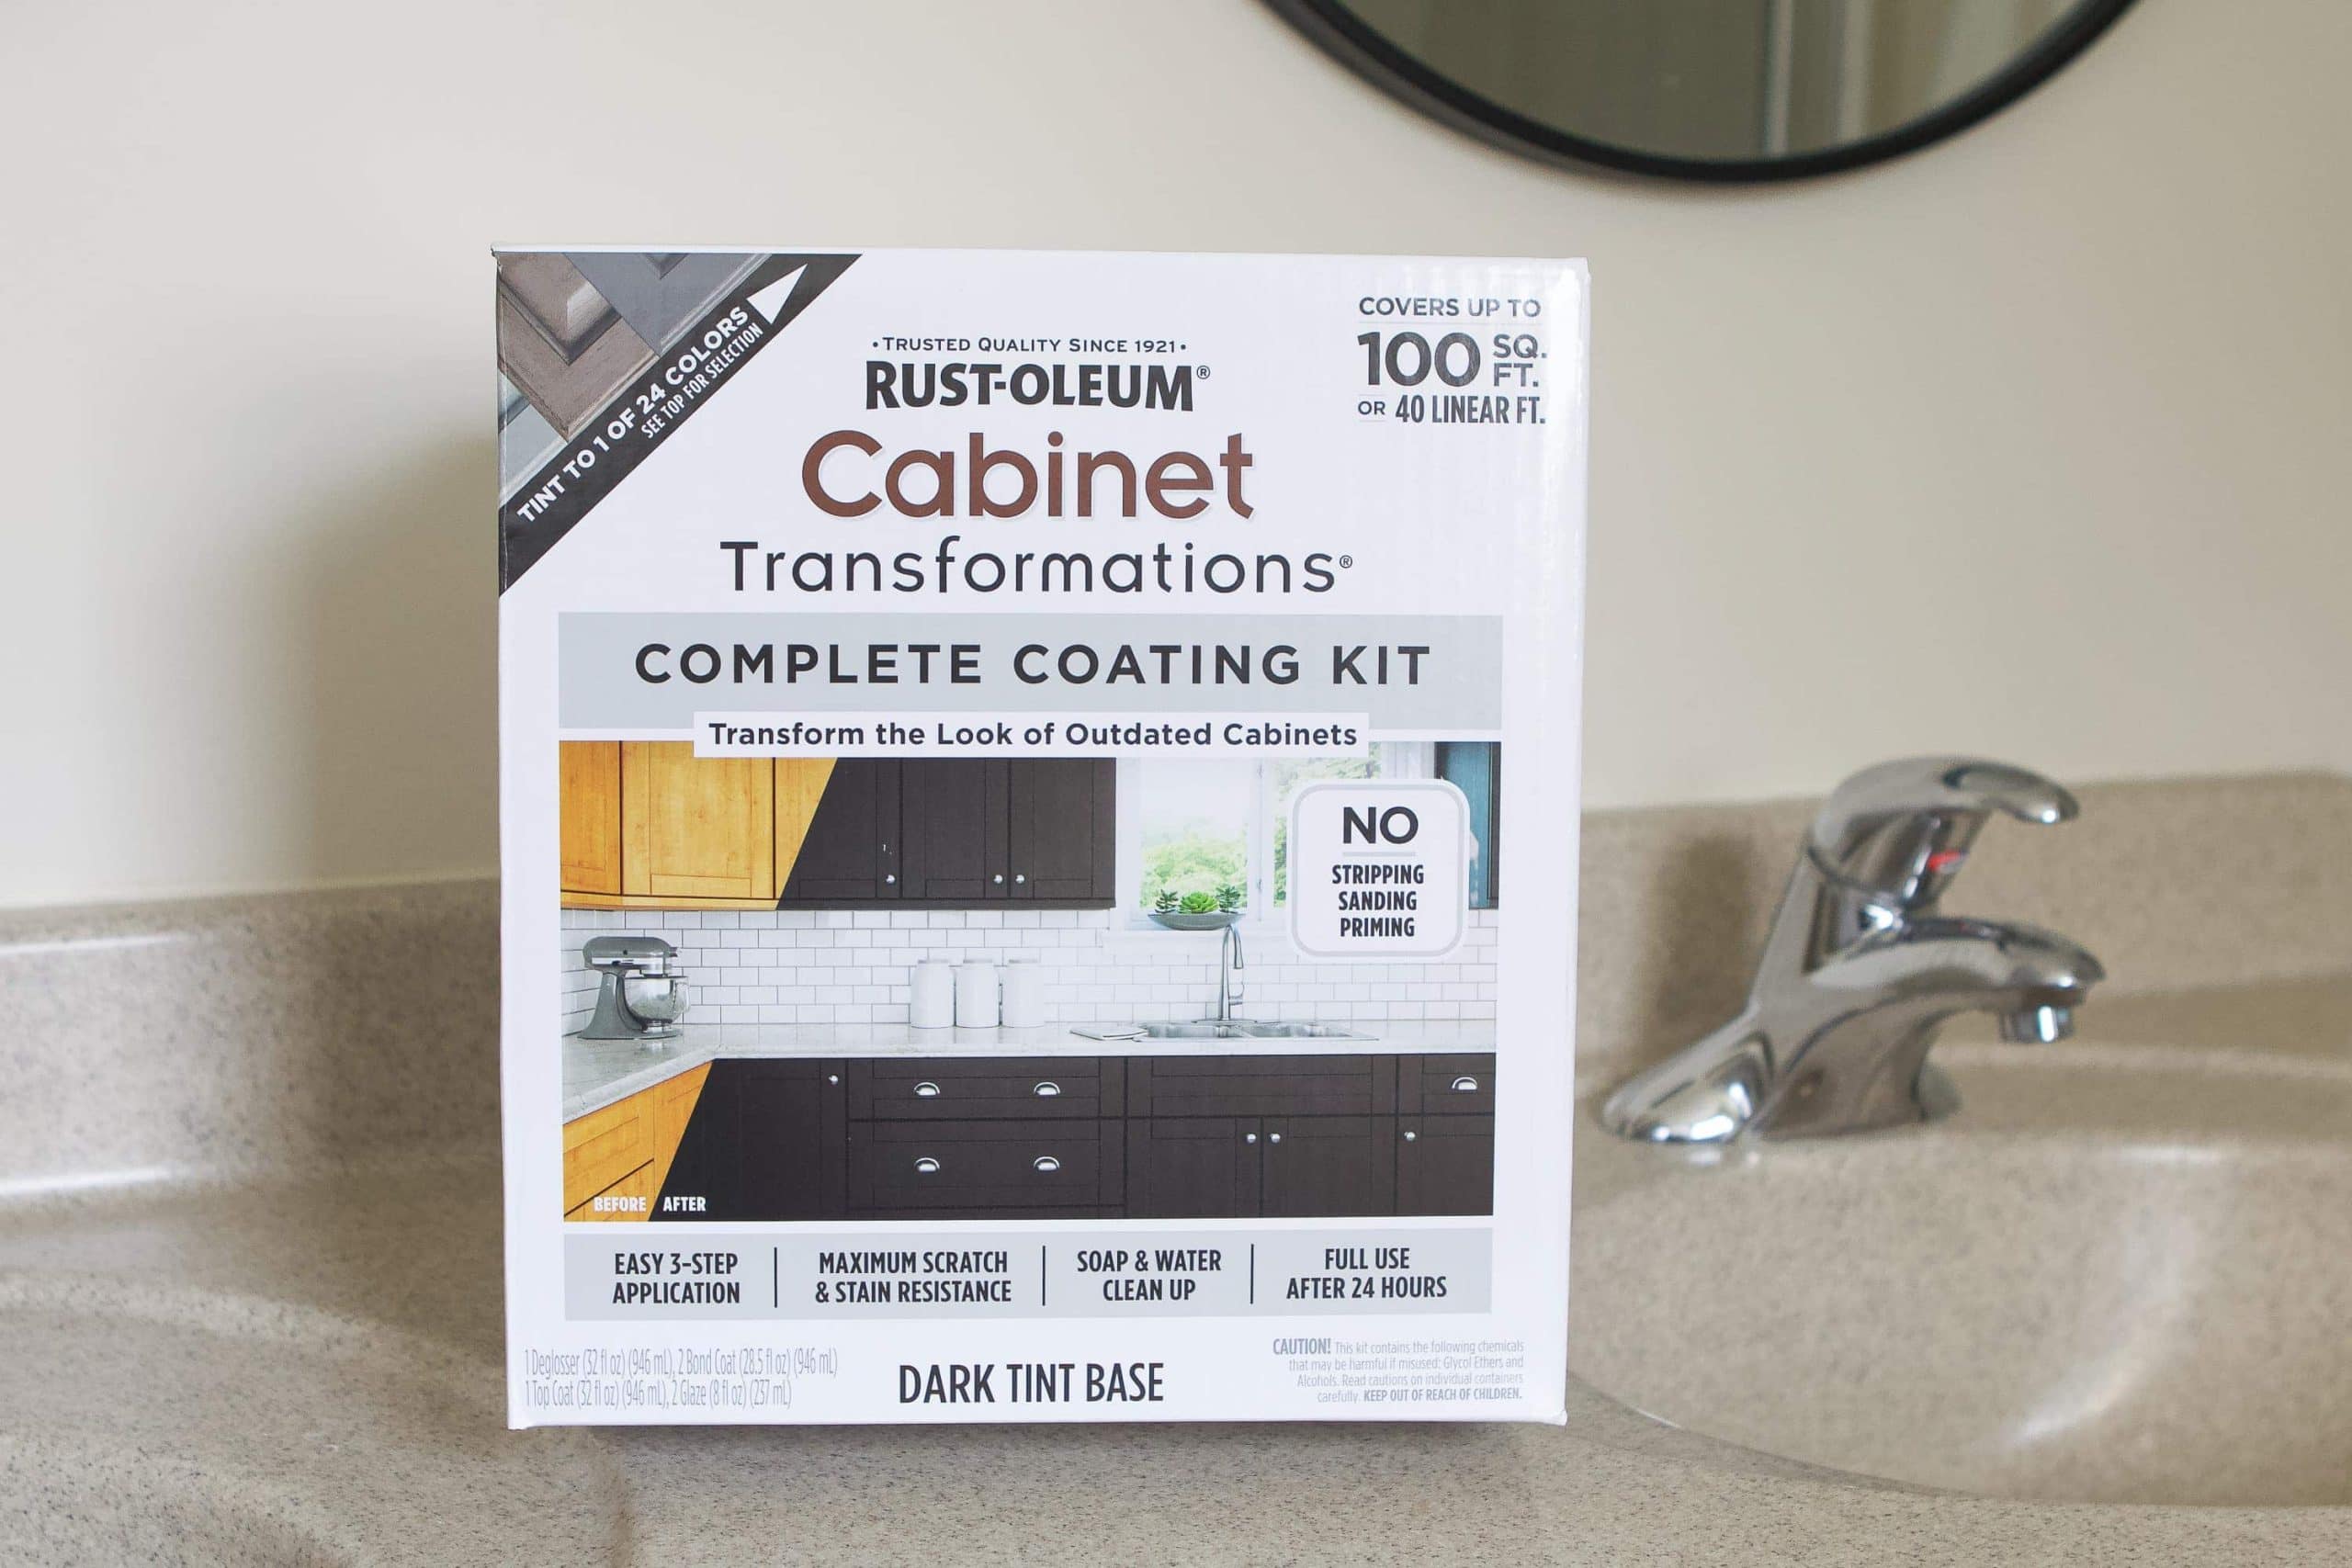
I ended up buying one kit for this project. Many people use this product to paint their kitchen cabinets and I’m sure it works great for that type of project, but if you have a large kitchen you might need two kits. The box has details which specify how much it covers, so check that out before buying.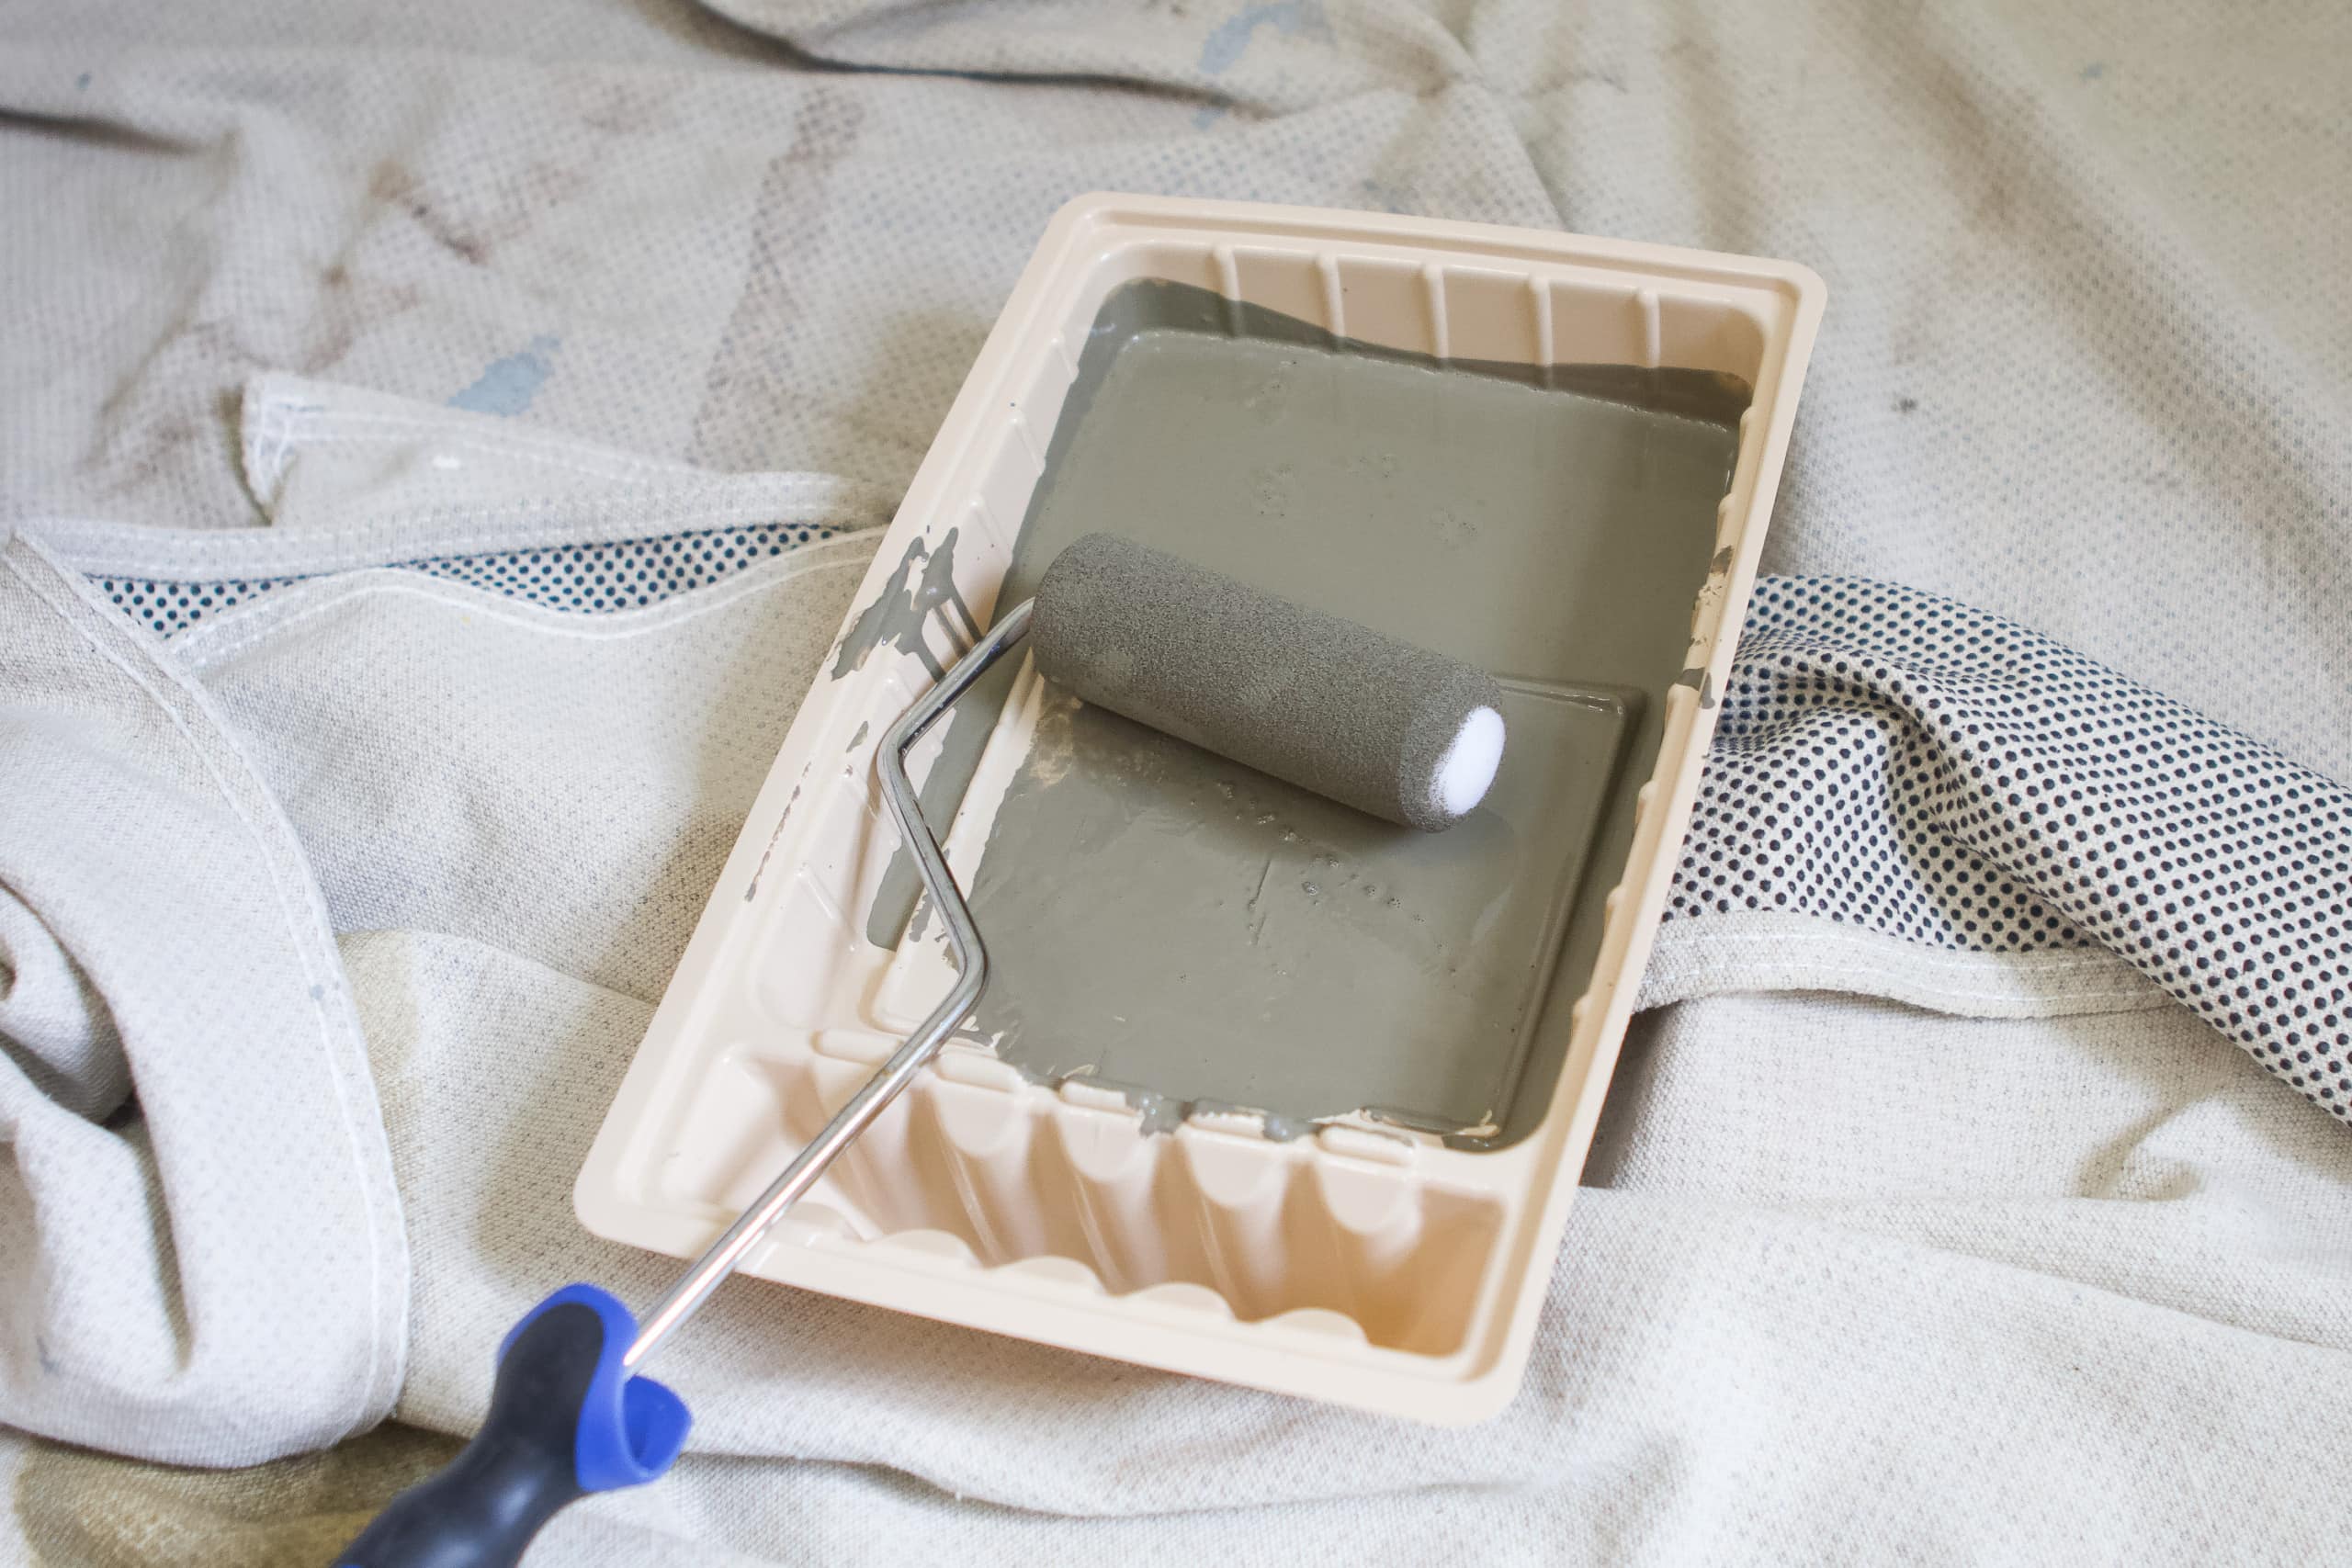
You can also buy a dark tint base or a light tint base. I decided to go with the color “Bayleaf” (a grayish-green color) and that was in the dark tint family. There are many colors to choose from and you can buy a specific color directly from Rust-Oleum or at select retailers. They’ll even tint the paint to any color you want right at the paint counter!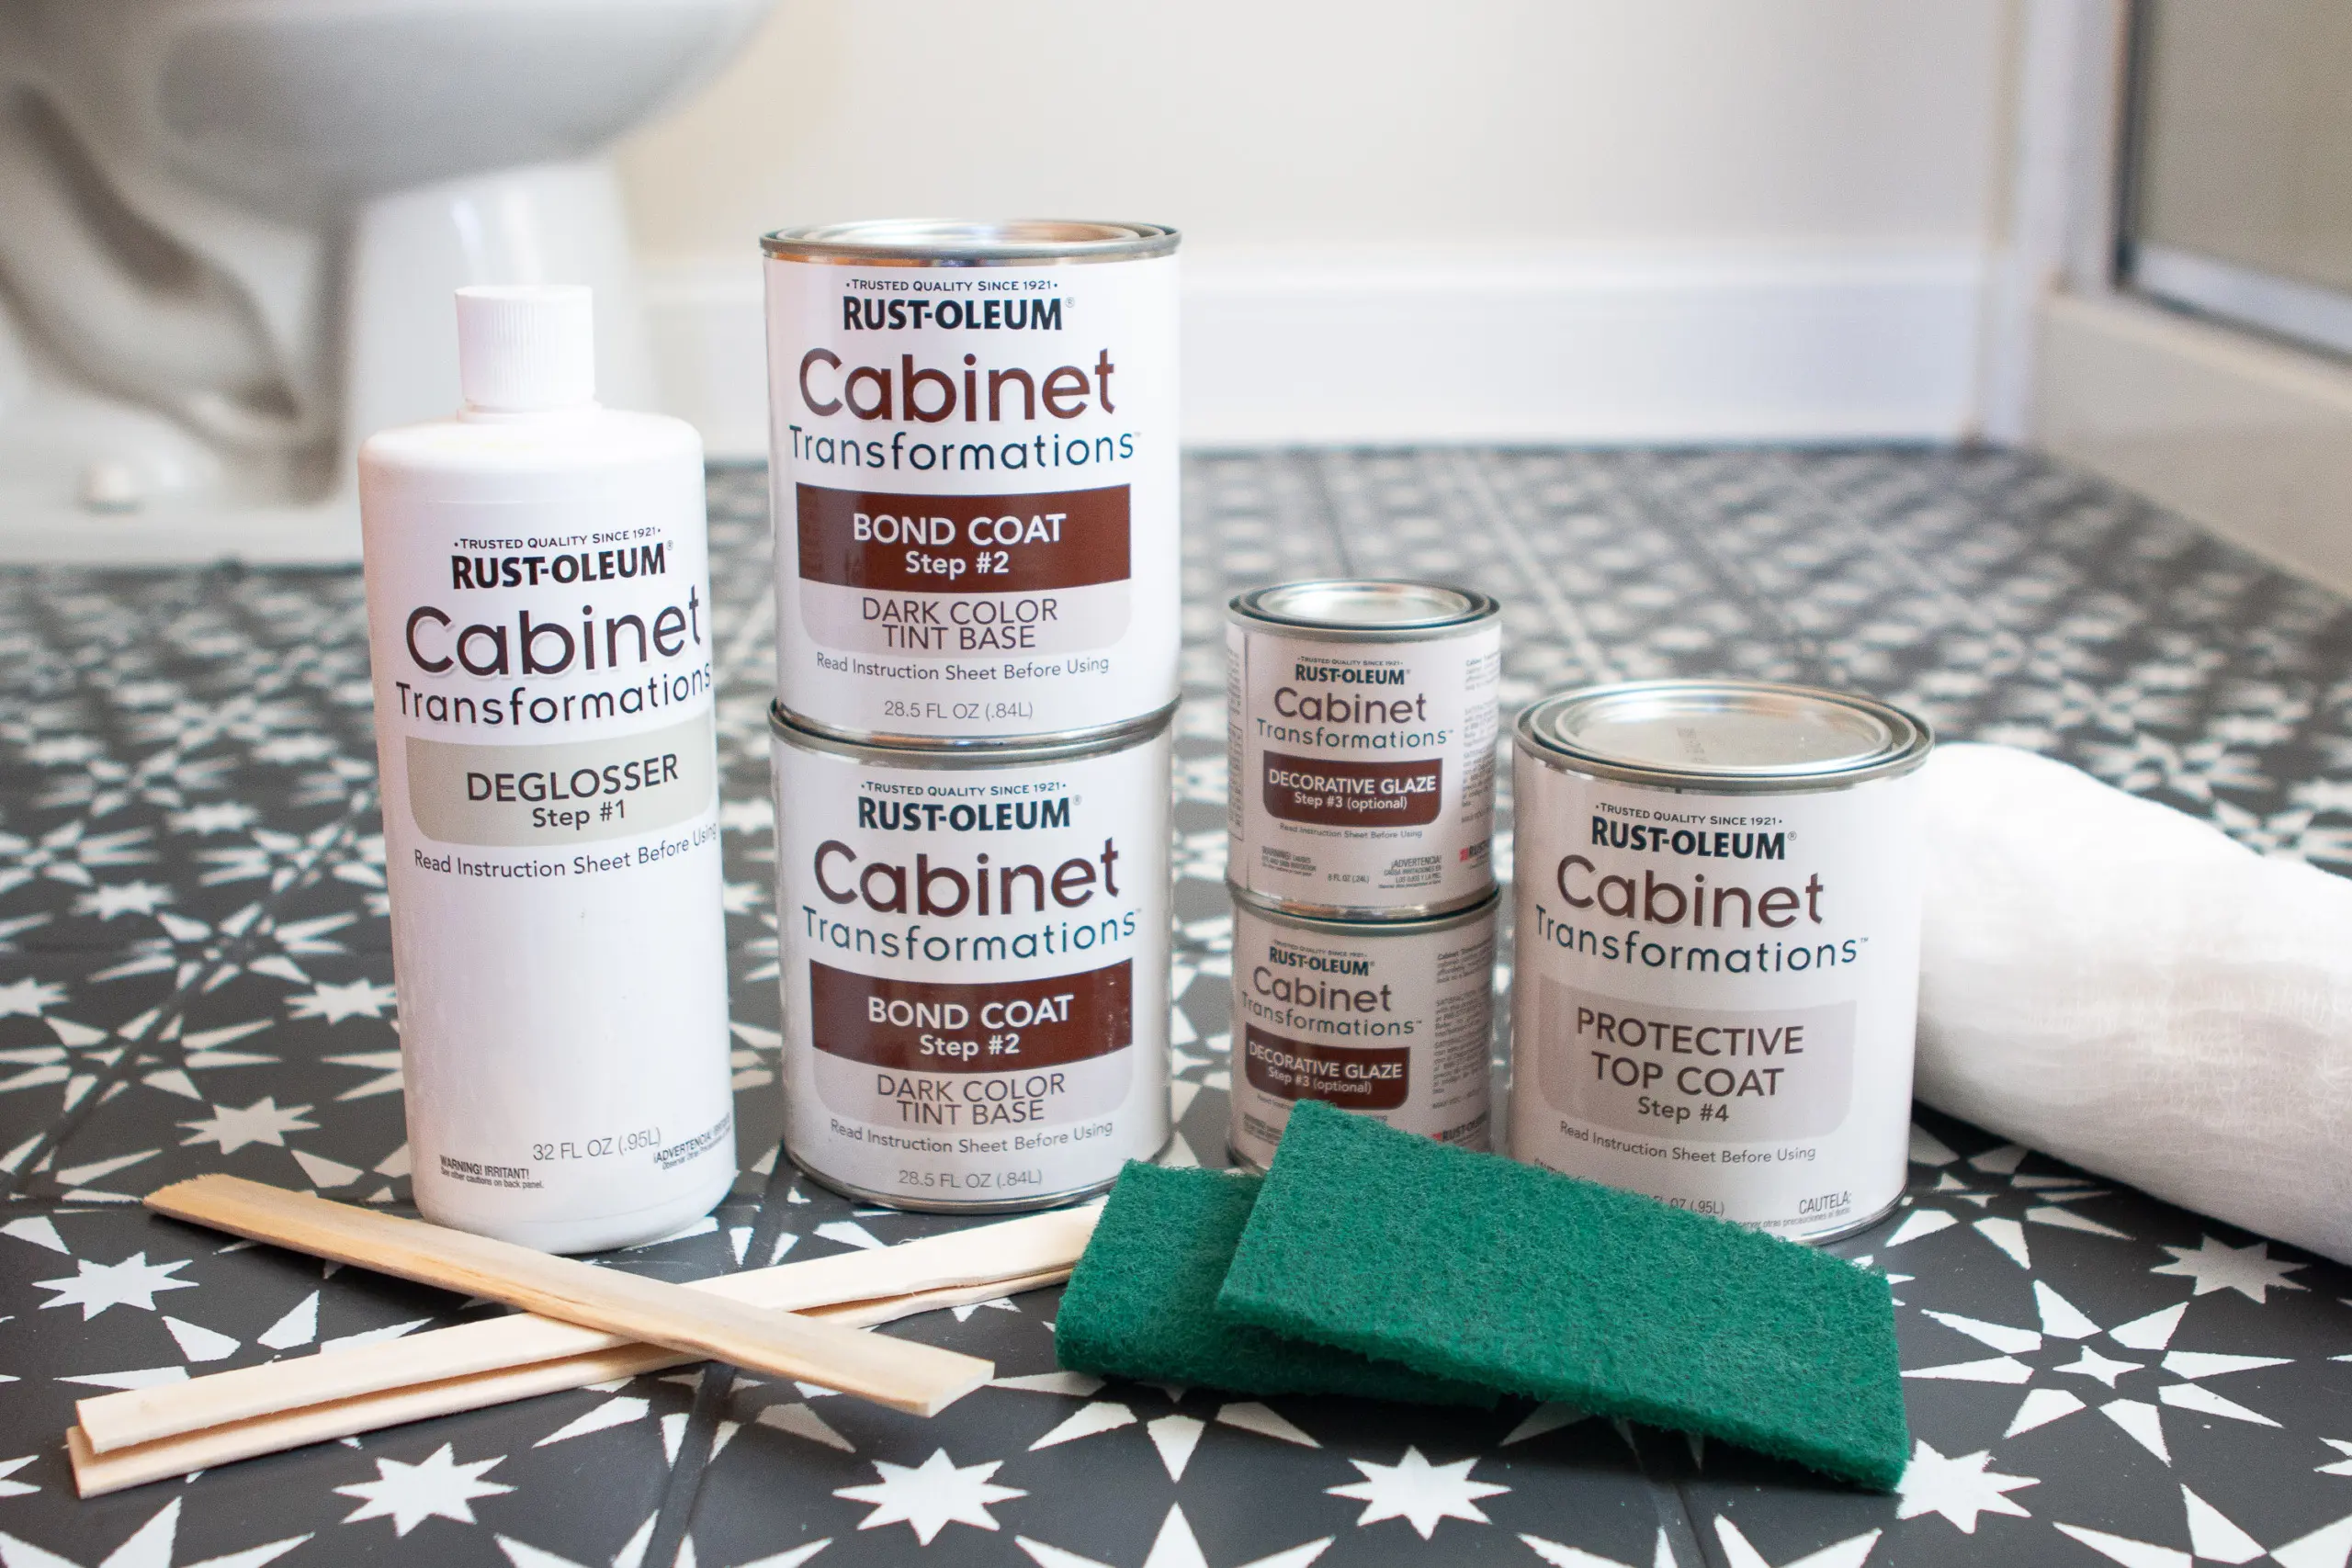
The kit comes with a deglosser and two scrub pads, along with two cans of the tinted base coat, an optional decorative glaze, and the protective top coat.
Painting a Vanity – Supplies

Once you have your kit, you’ll need to grab a few more supplies…
- Painter’s Tape
- Drop Cloths
- Gloves
- Paint Brushes
- 1/4 inch Nap Rollers
- Paint Trays
- Drill
- Plastic Bags (to hold hardware and hinges)
- Work Table
- Painter’s Putty or Wood Filler (if you have holes to fill)
My Best Tips to Paint a Vanity

The video walks through the exact steps, but I’ll highlight some key takeaways. I think the biggest one is that it’s really important to thoroughly clean the cabinets. Wear gloves and scrub, scrub, scrub! Especially if you’re painting kitchen cabinets, you’ll want to ensure that all of the grease and grime are off of the surface.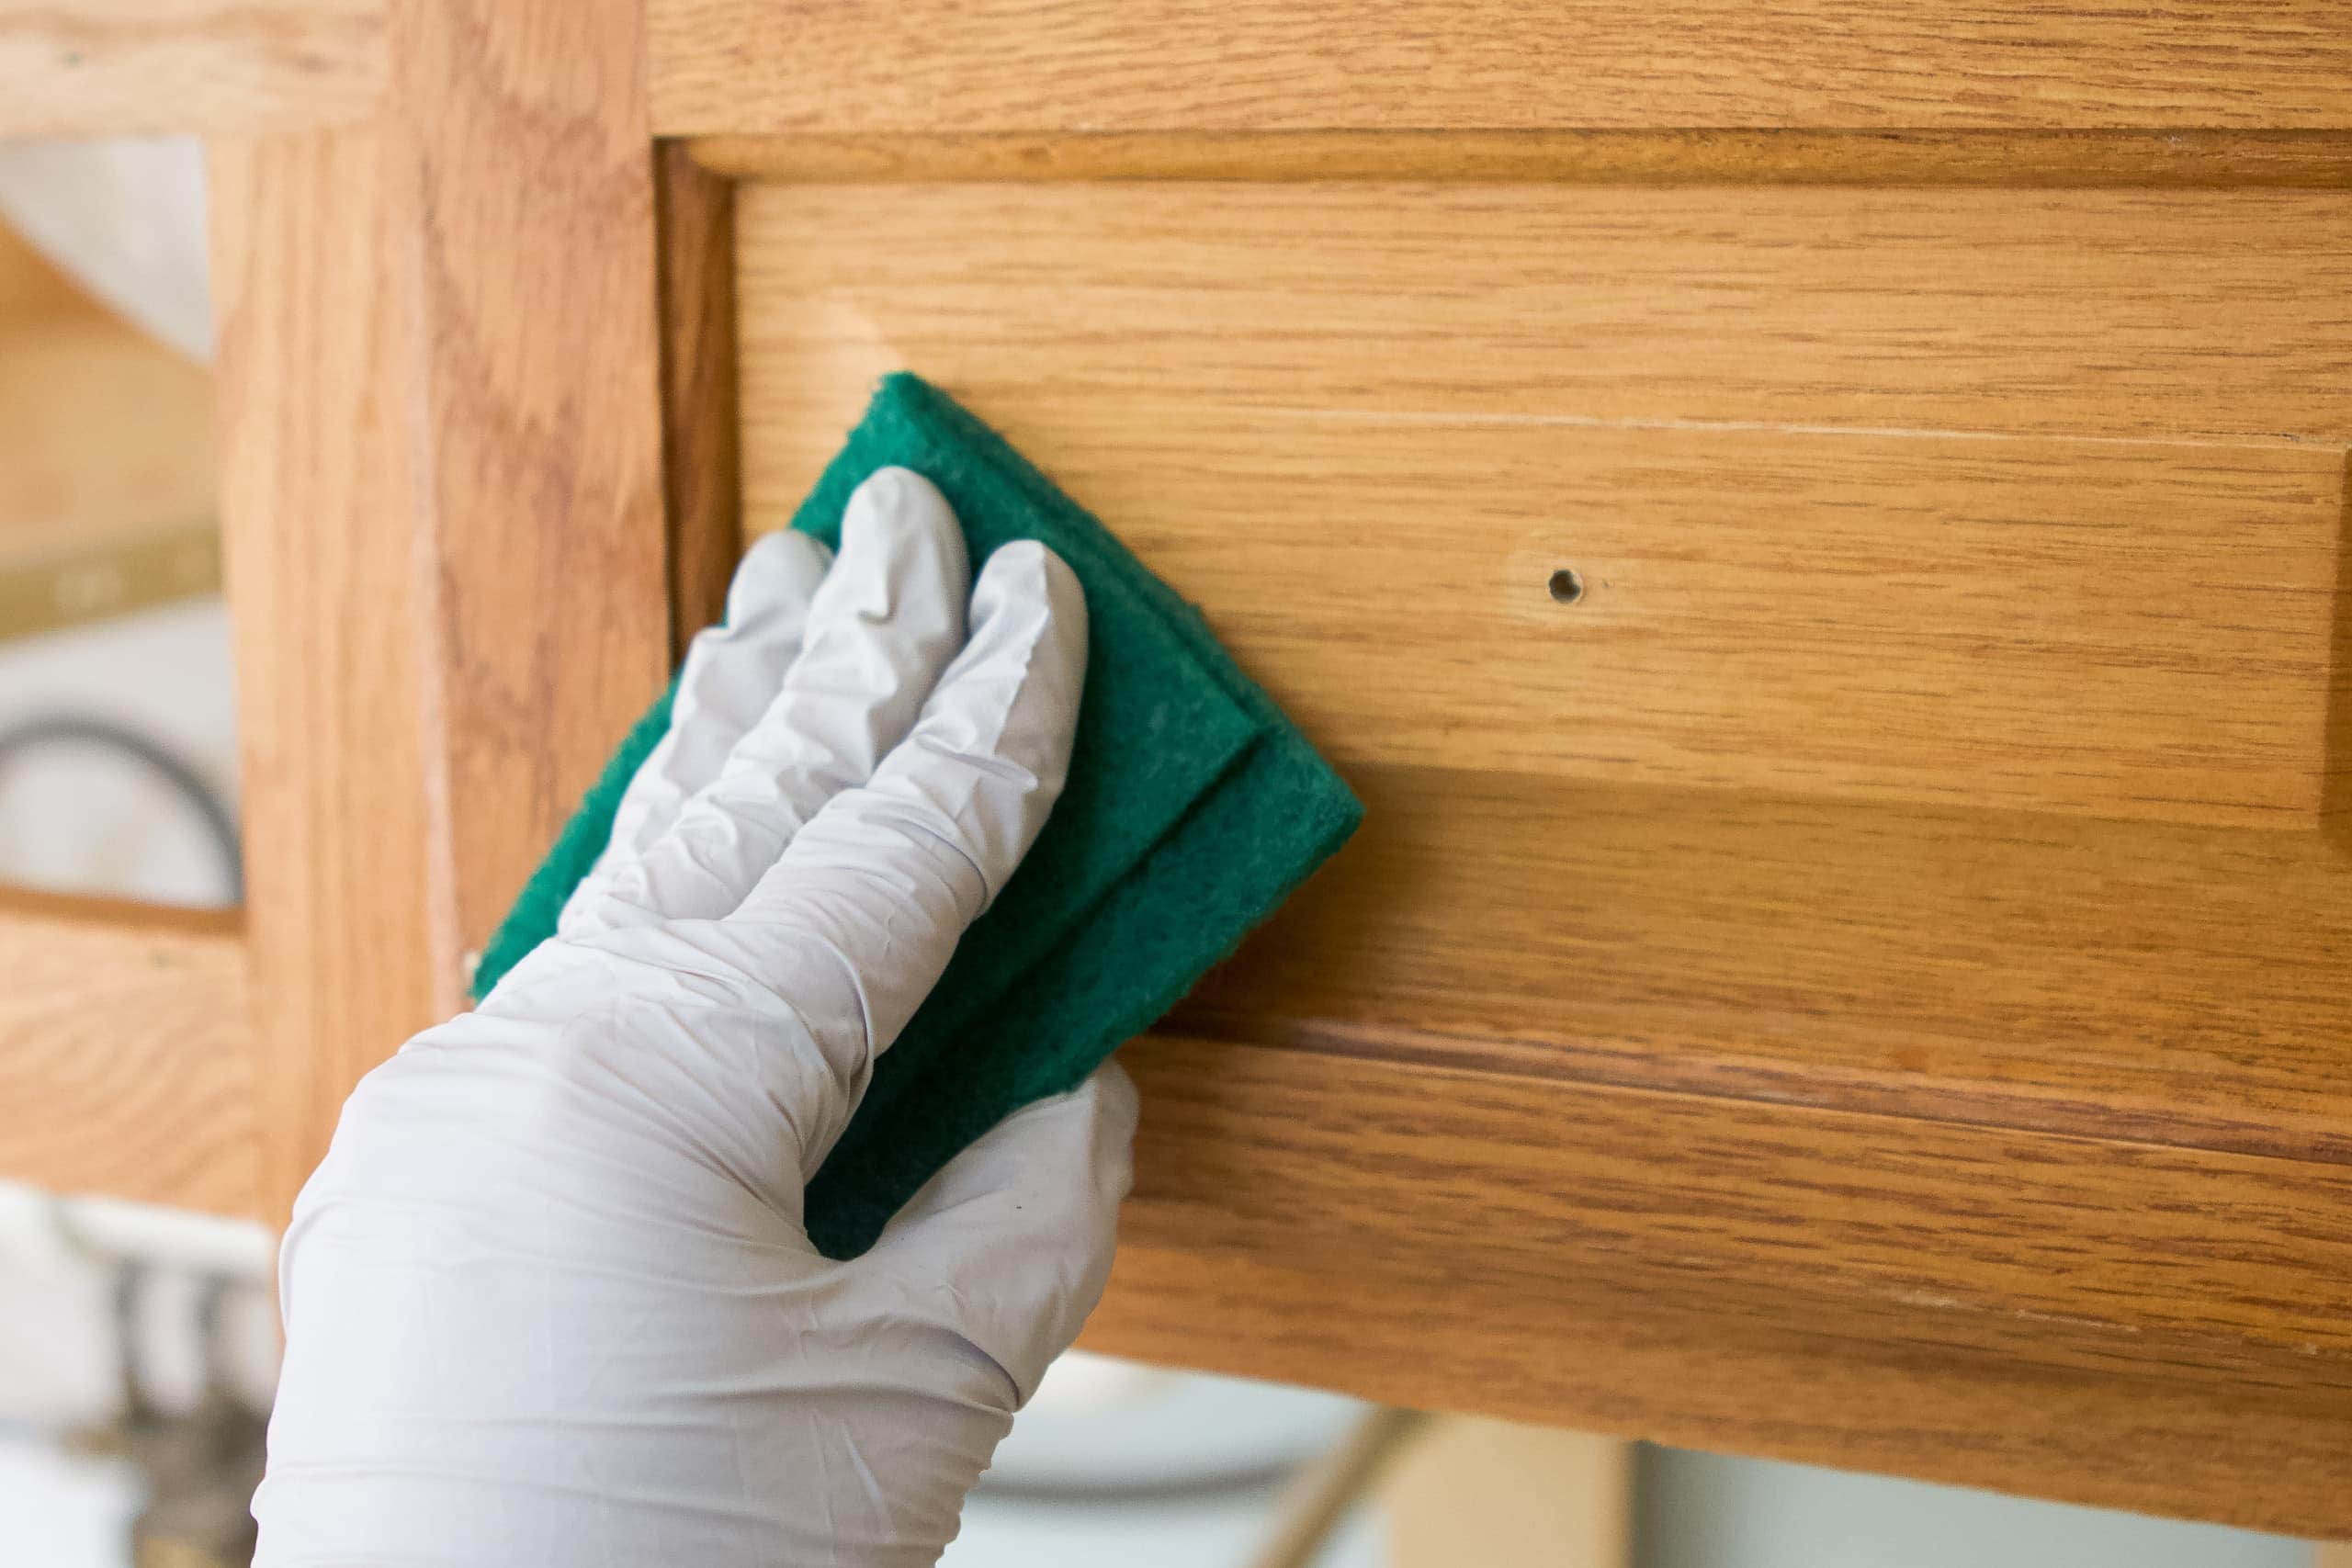
The deglosser and scrub pads work great for this step, but just make sure you’re really thorough. The cleaning step takes place of any priming, stripping, or sanding, so it certainly saves a lot of time, but you need to do it well.
When it came time to painting, the paint went on really smoothly and I found that using a paint brush worked best for me. You can use a 1/4 inch nap roller if you want. That’s what I have used in the past when painting vanities, but for some reason, I found the paint went on really nicely with a paint brush.
Don’t Overbrush the Top Coat
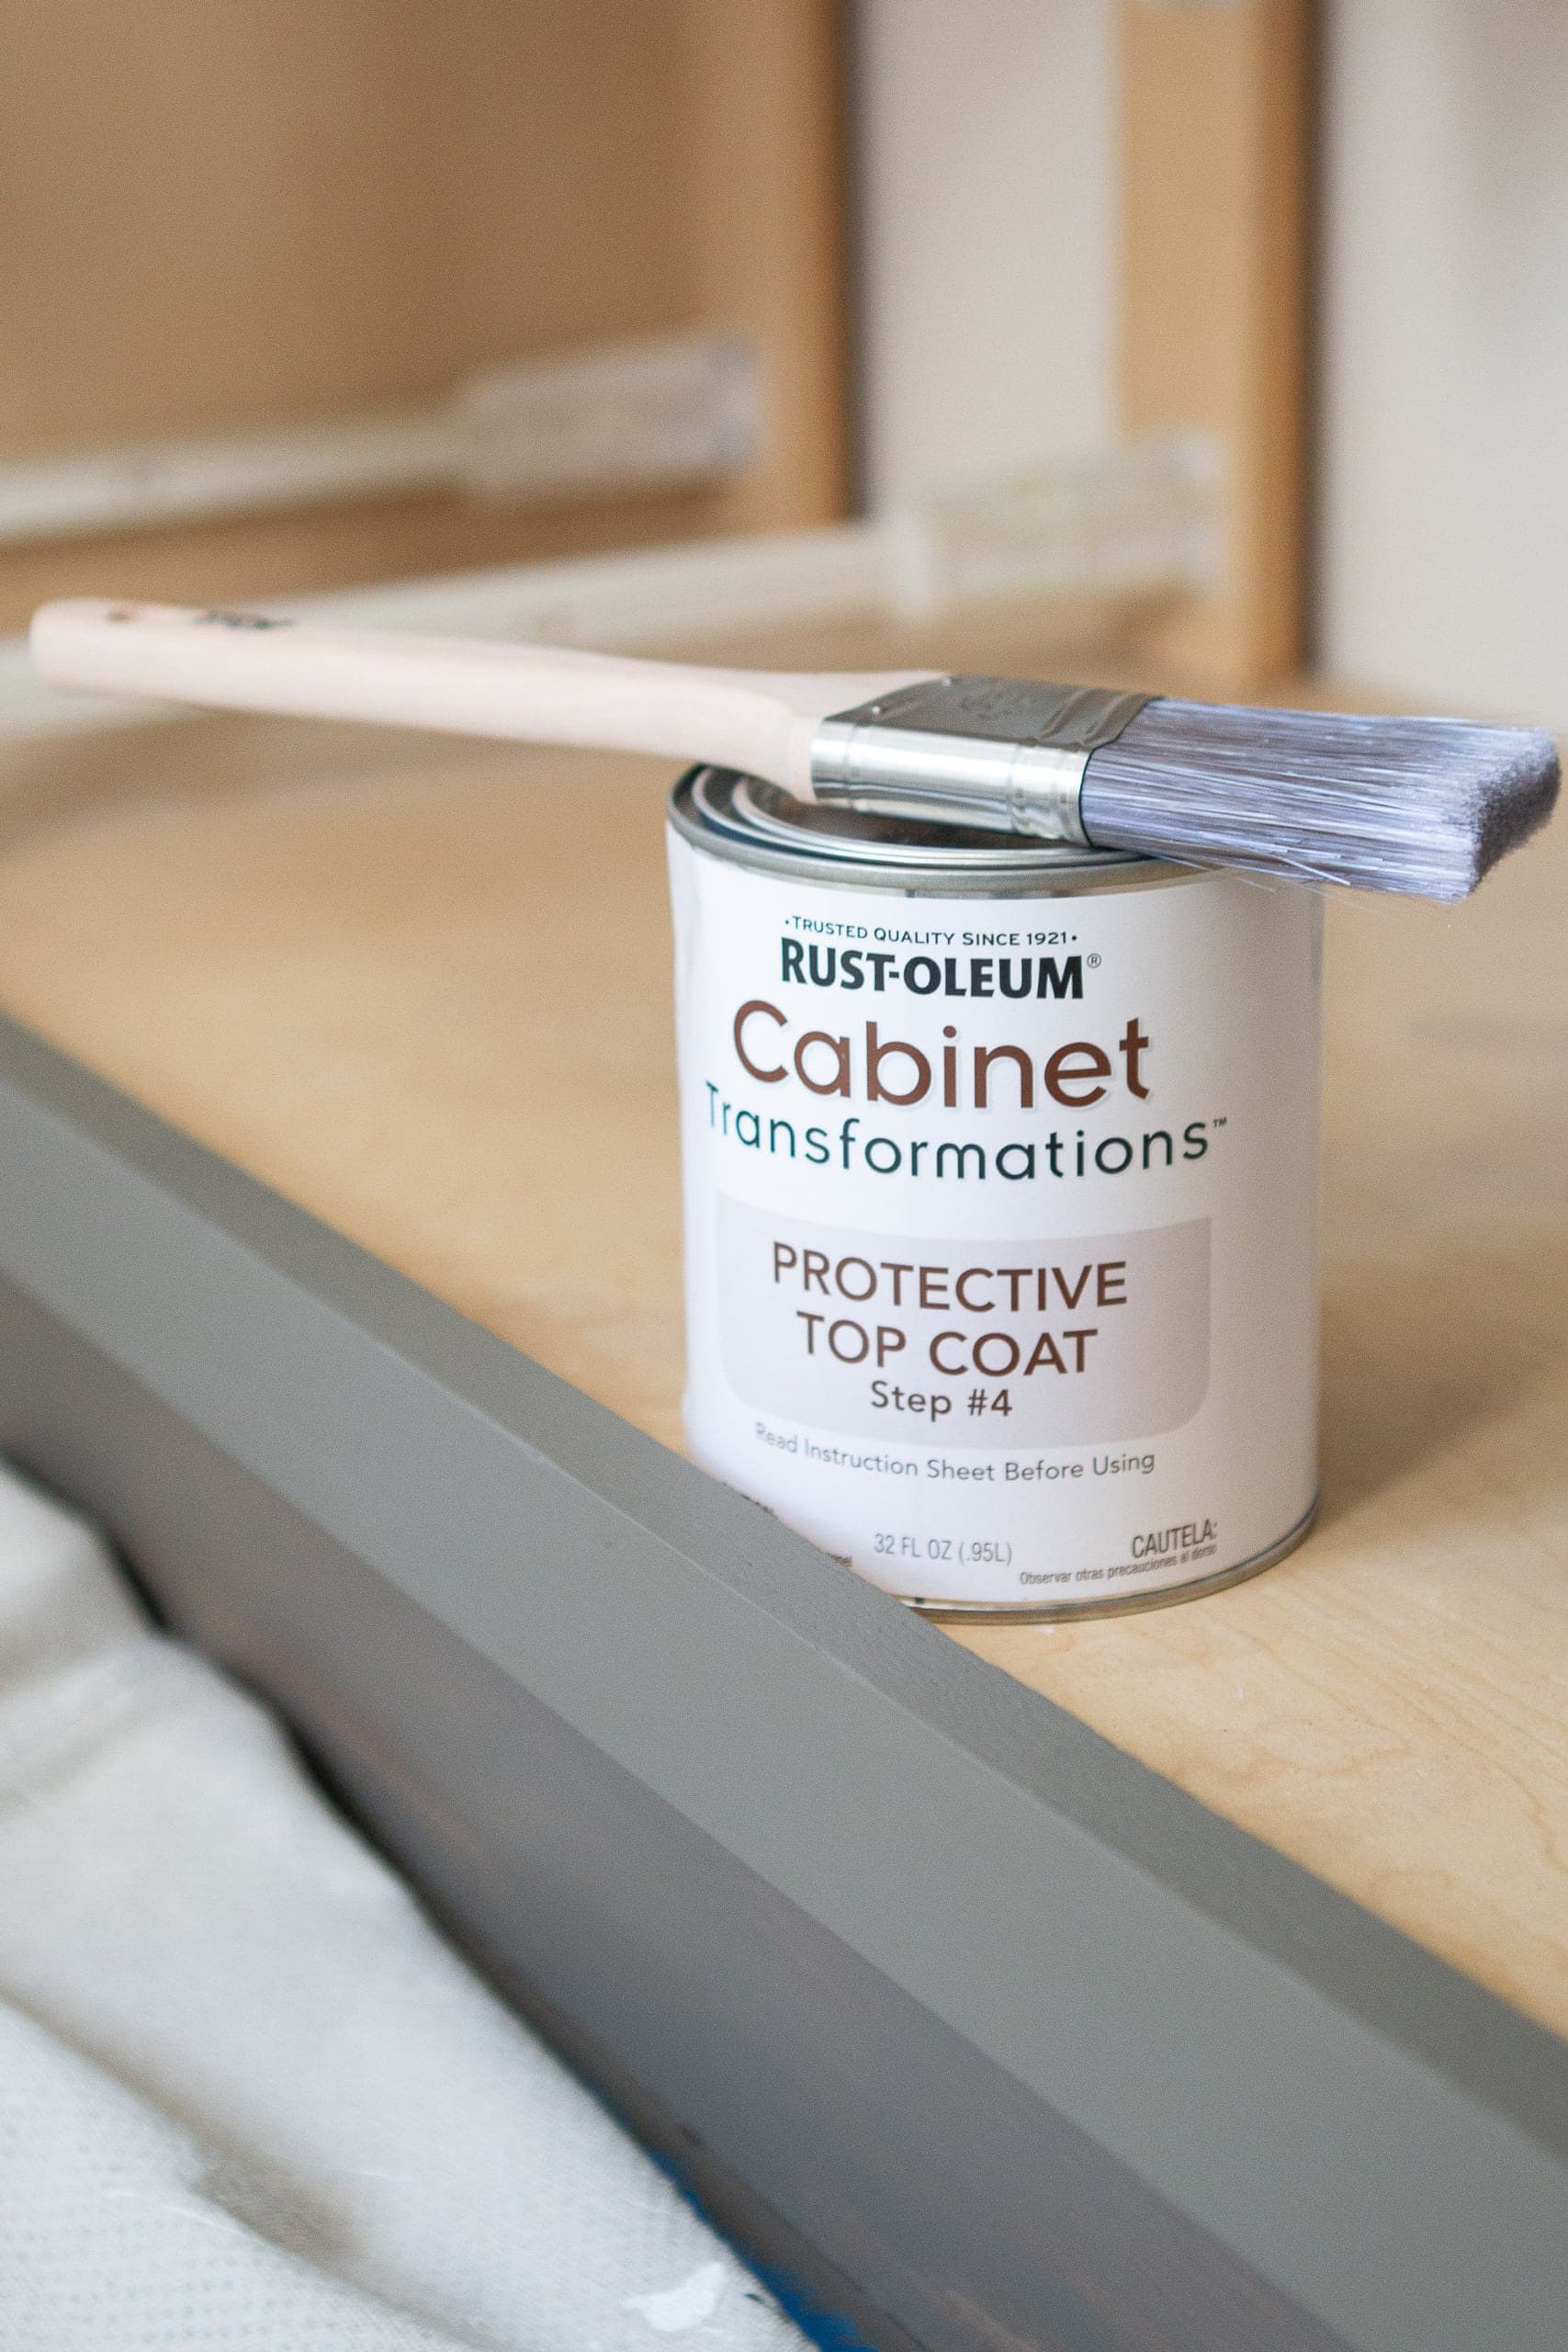
The protective top coat is key because it provides a durable finish that is stain and scratch-resistant. It looks like a clear liquid and you simply paint it right on the cabinets. 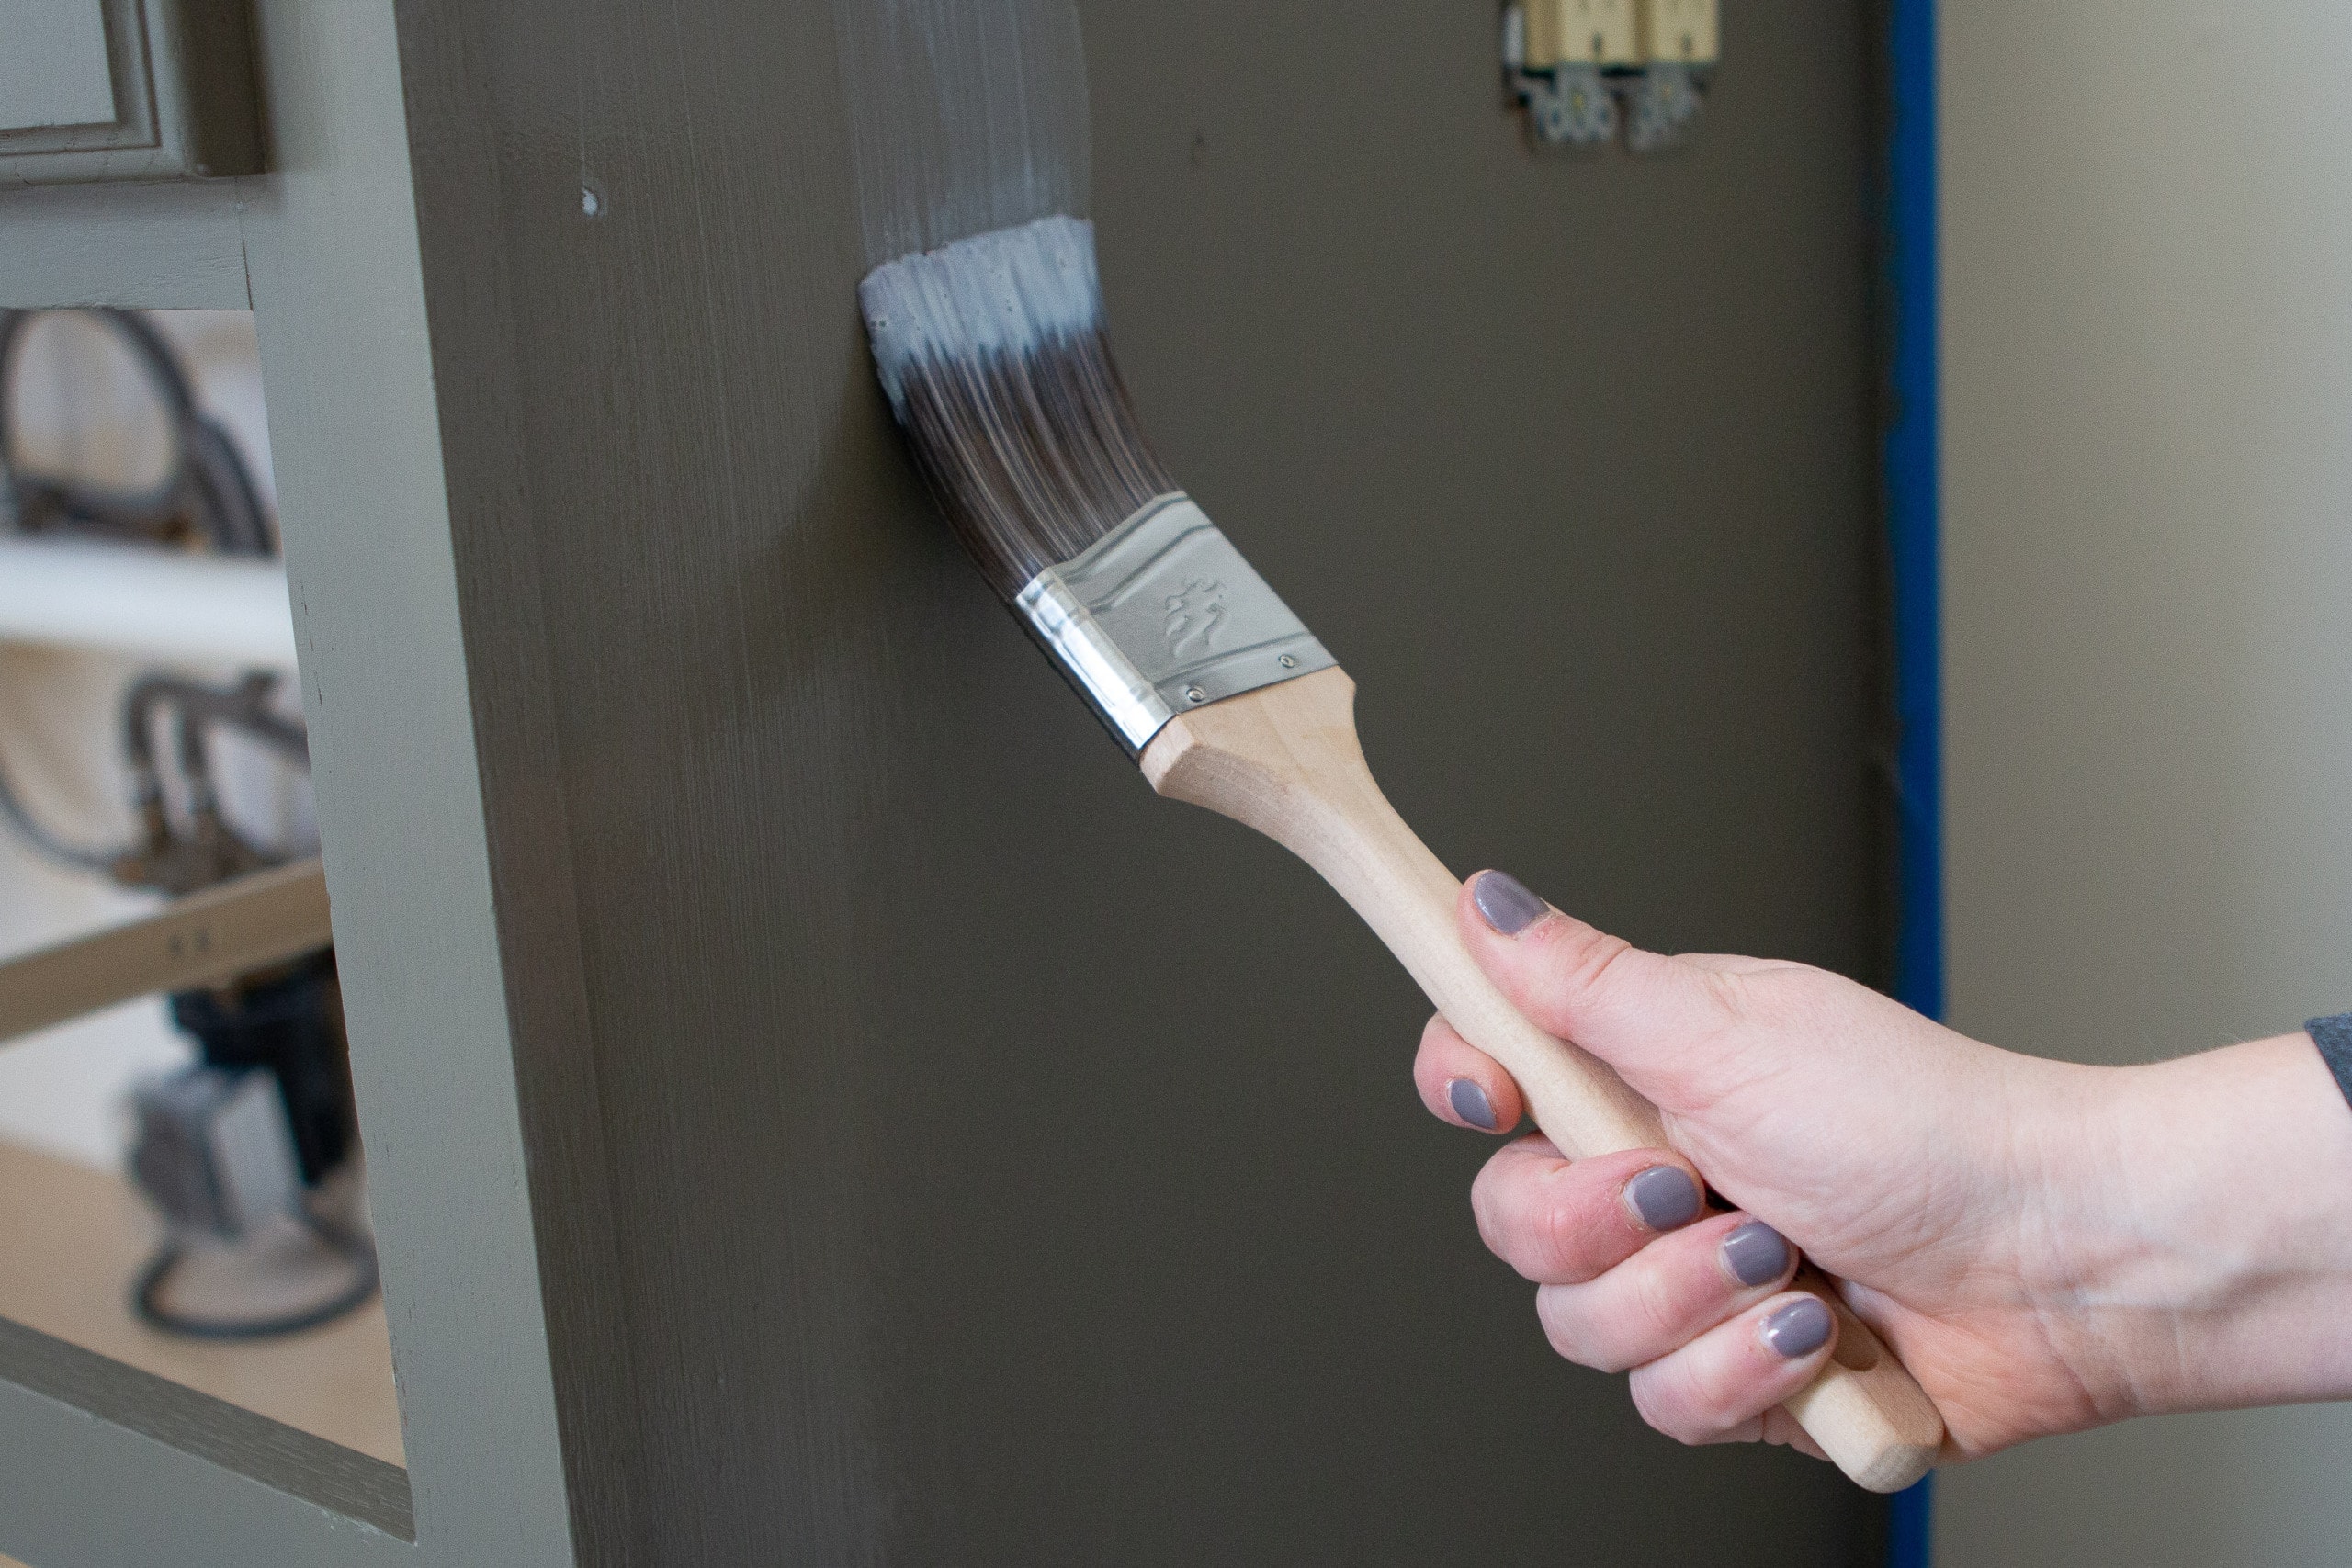 It dries fairly quickly, so try your best to avoid going back over a spot once it has started drying. Just brush it right on there and don’t go back over it again!
Follow Dry Times Closely
Dry times are also crucial. Here’s a quick rundown.
- After Deglossing: Wait 1 Hour
- After First Base Coat: Wait 2-3 Hours
- After Second Base Coat: Wait 2-3 Hours
- After Top Coat: Wait 12 Hours (before adding drawers and cabinets back on)
- After Top Coat: Wait 24 Hours (before normal use)
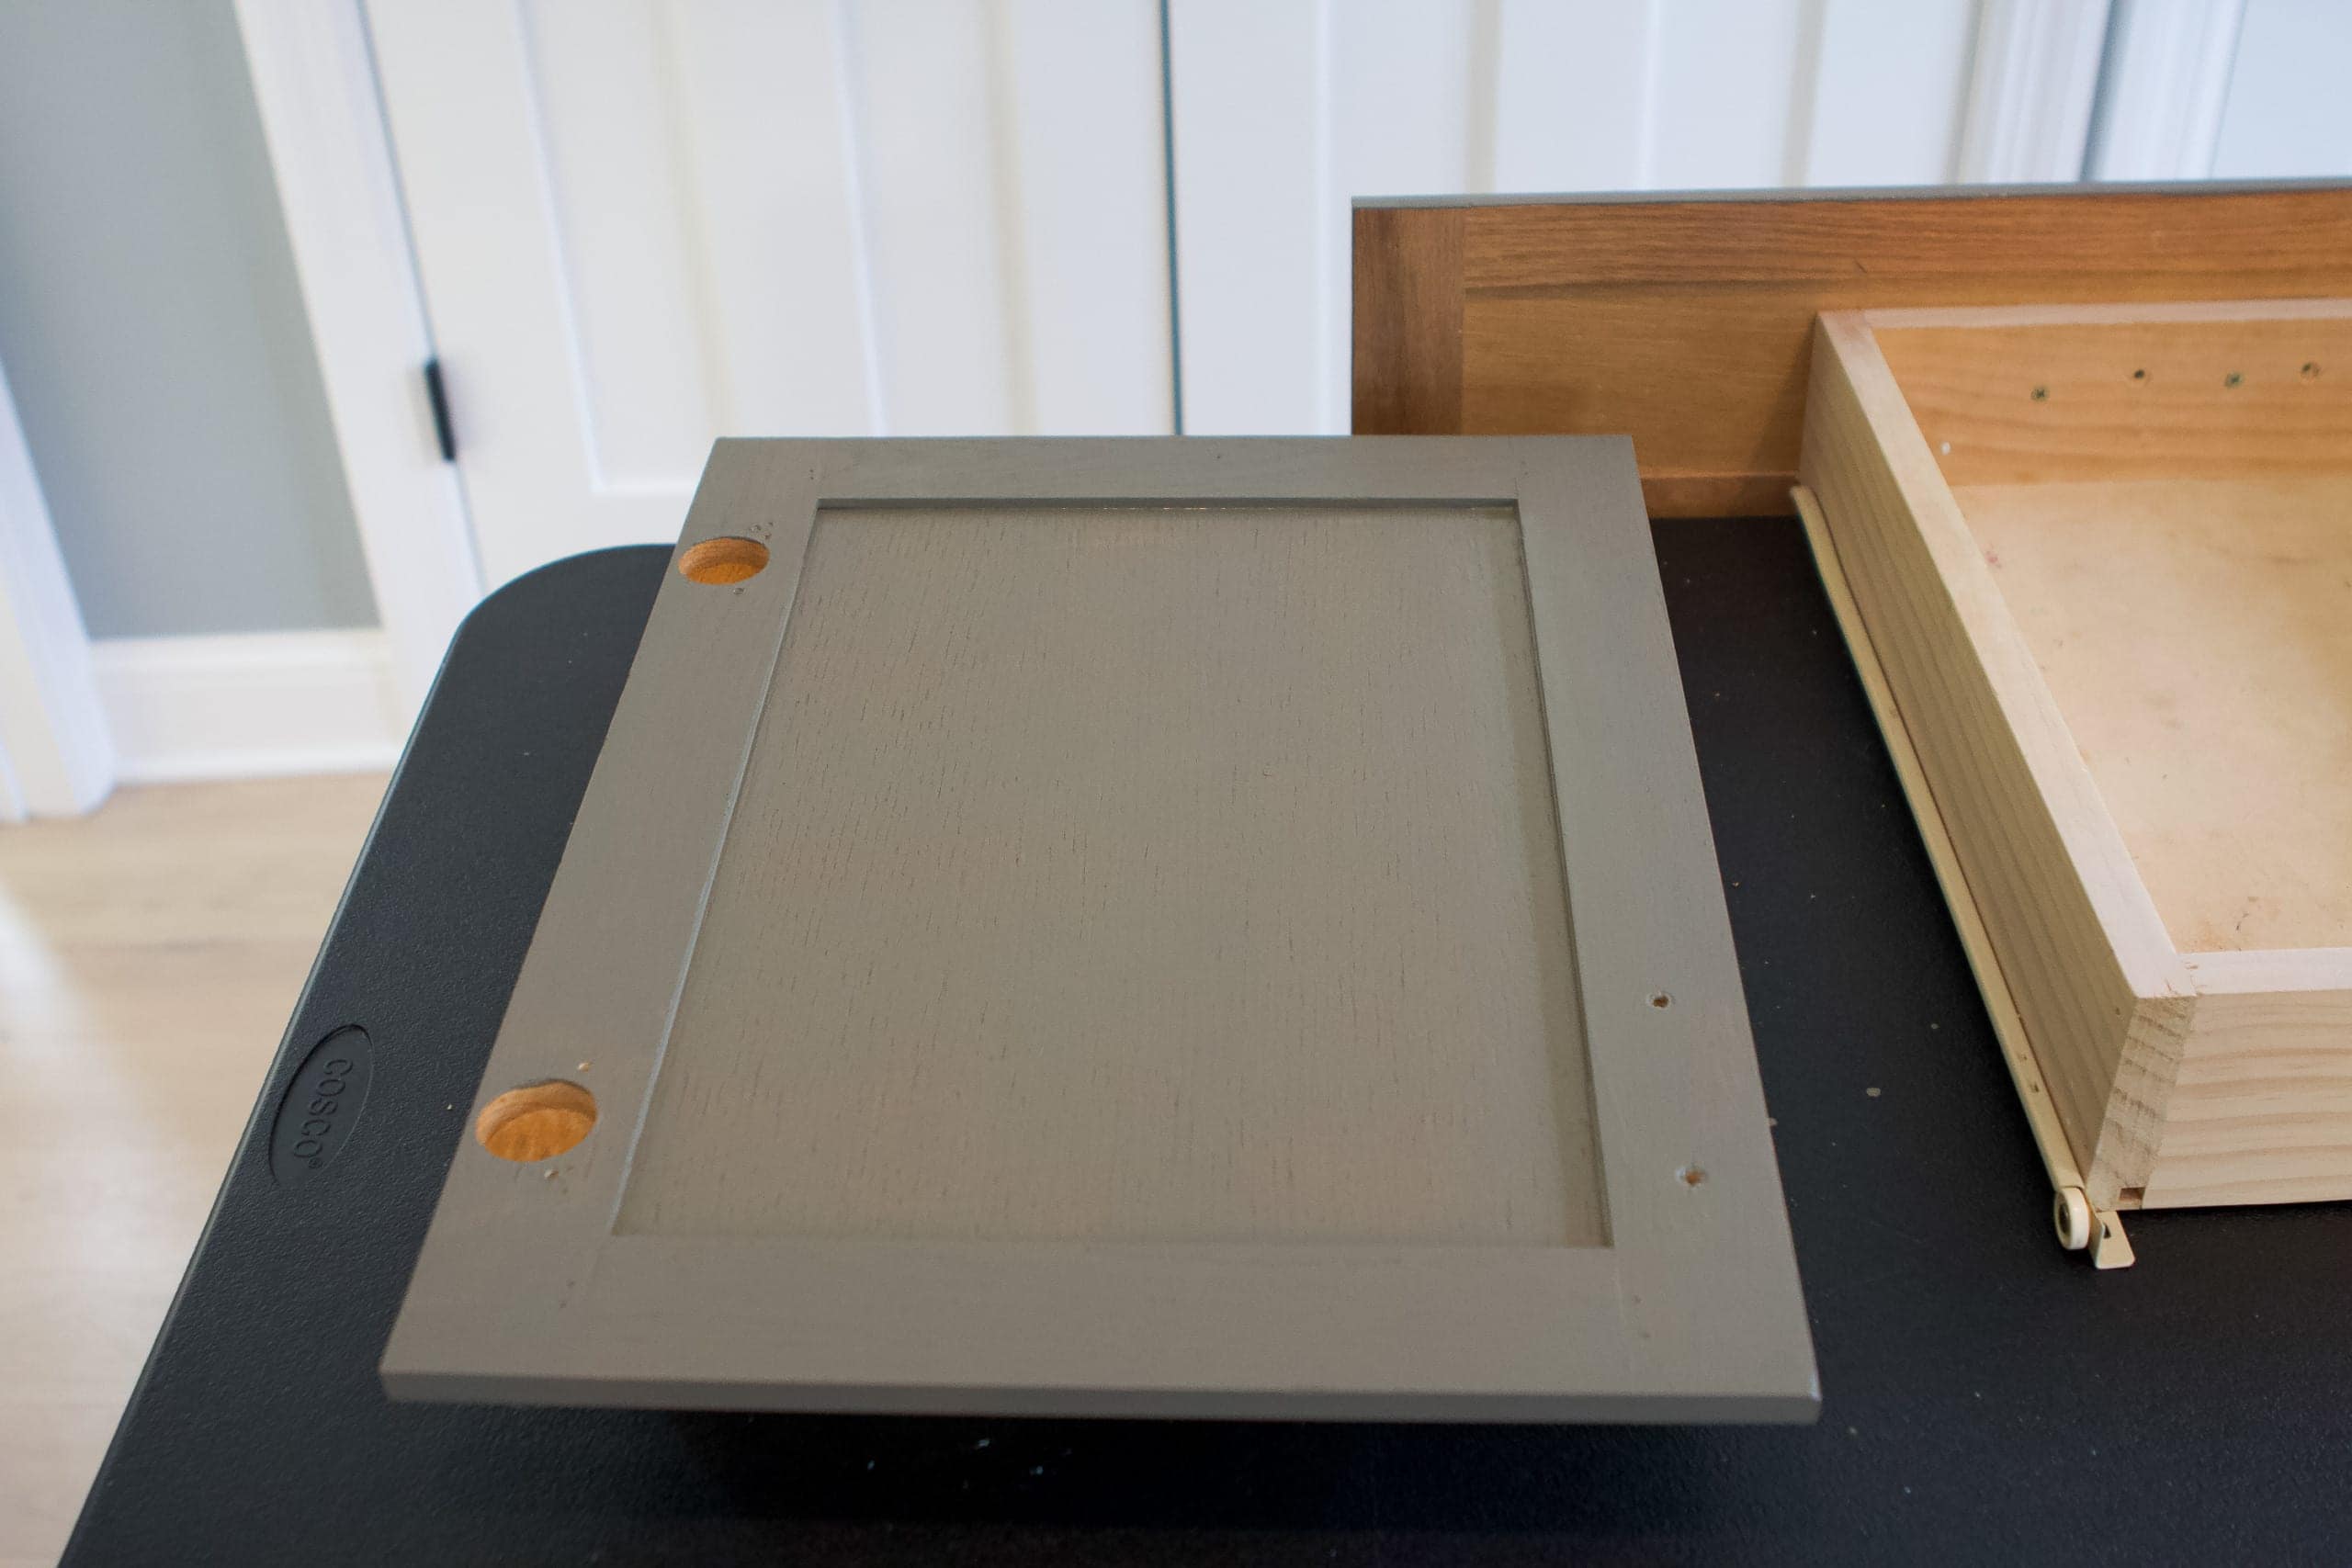
I started really early in the morning and was able to get all of the work done in one day. I waited to put the drawers back in and the cabinet doors on until the following morning. It takes seven to ten days to fully cure, so just be gentle with the cabinets until then.
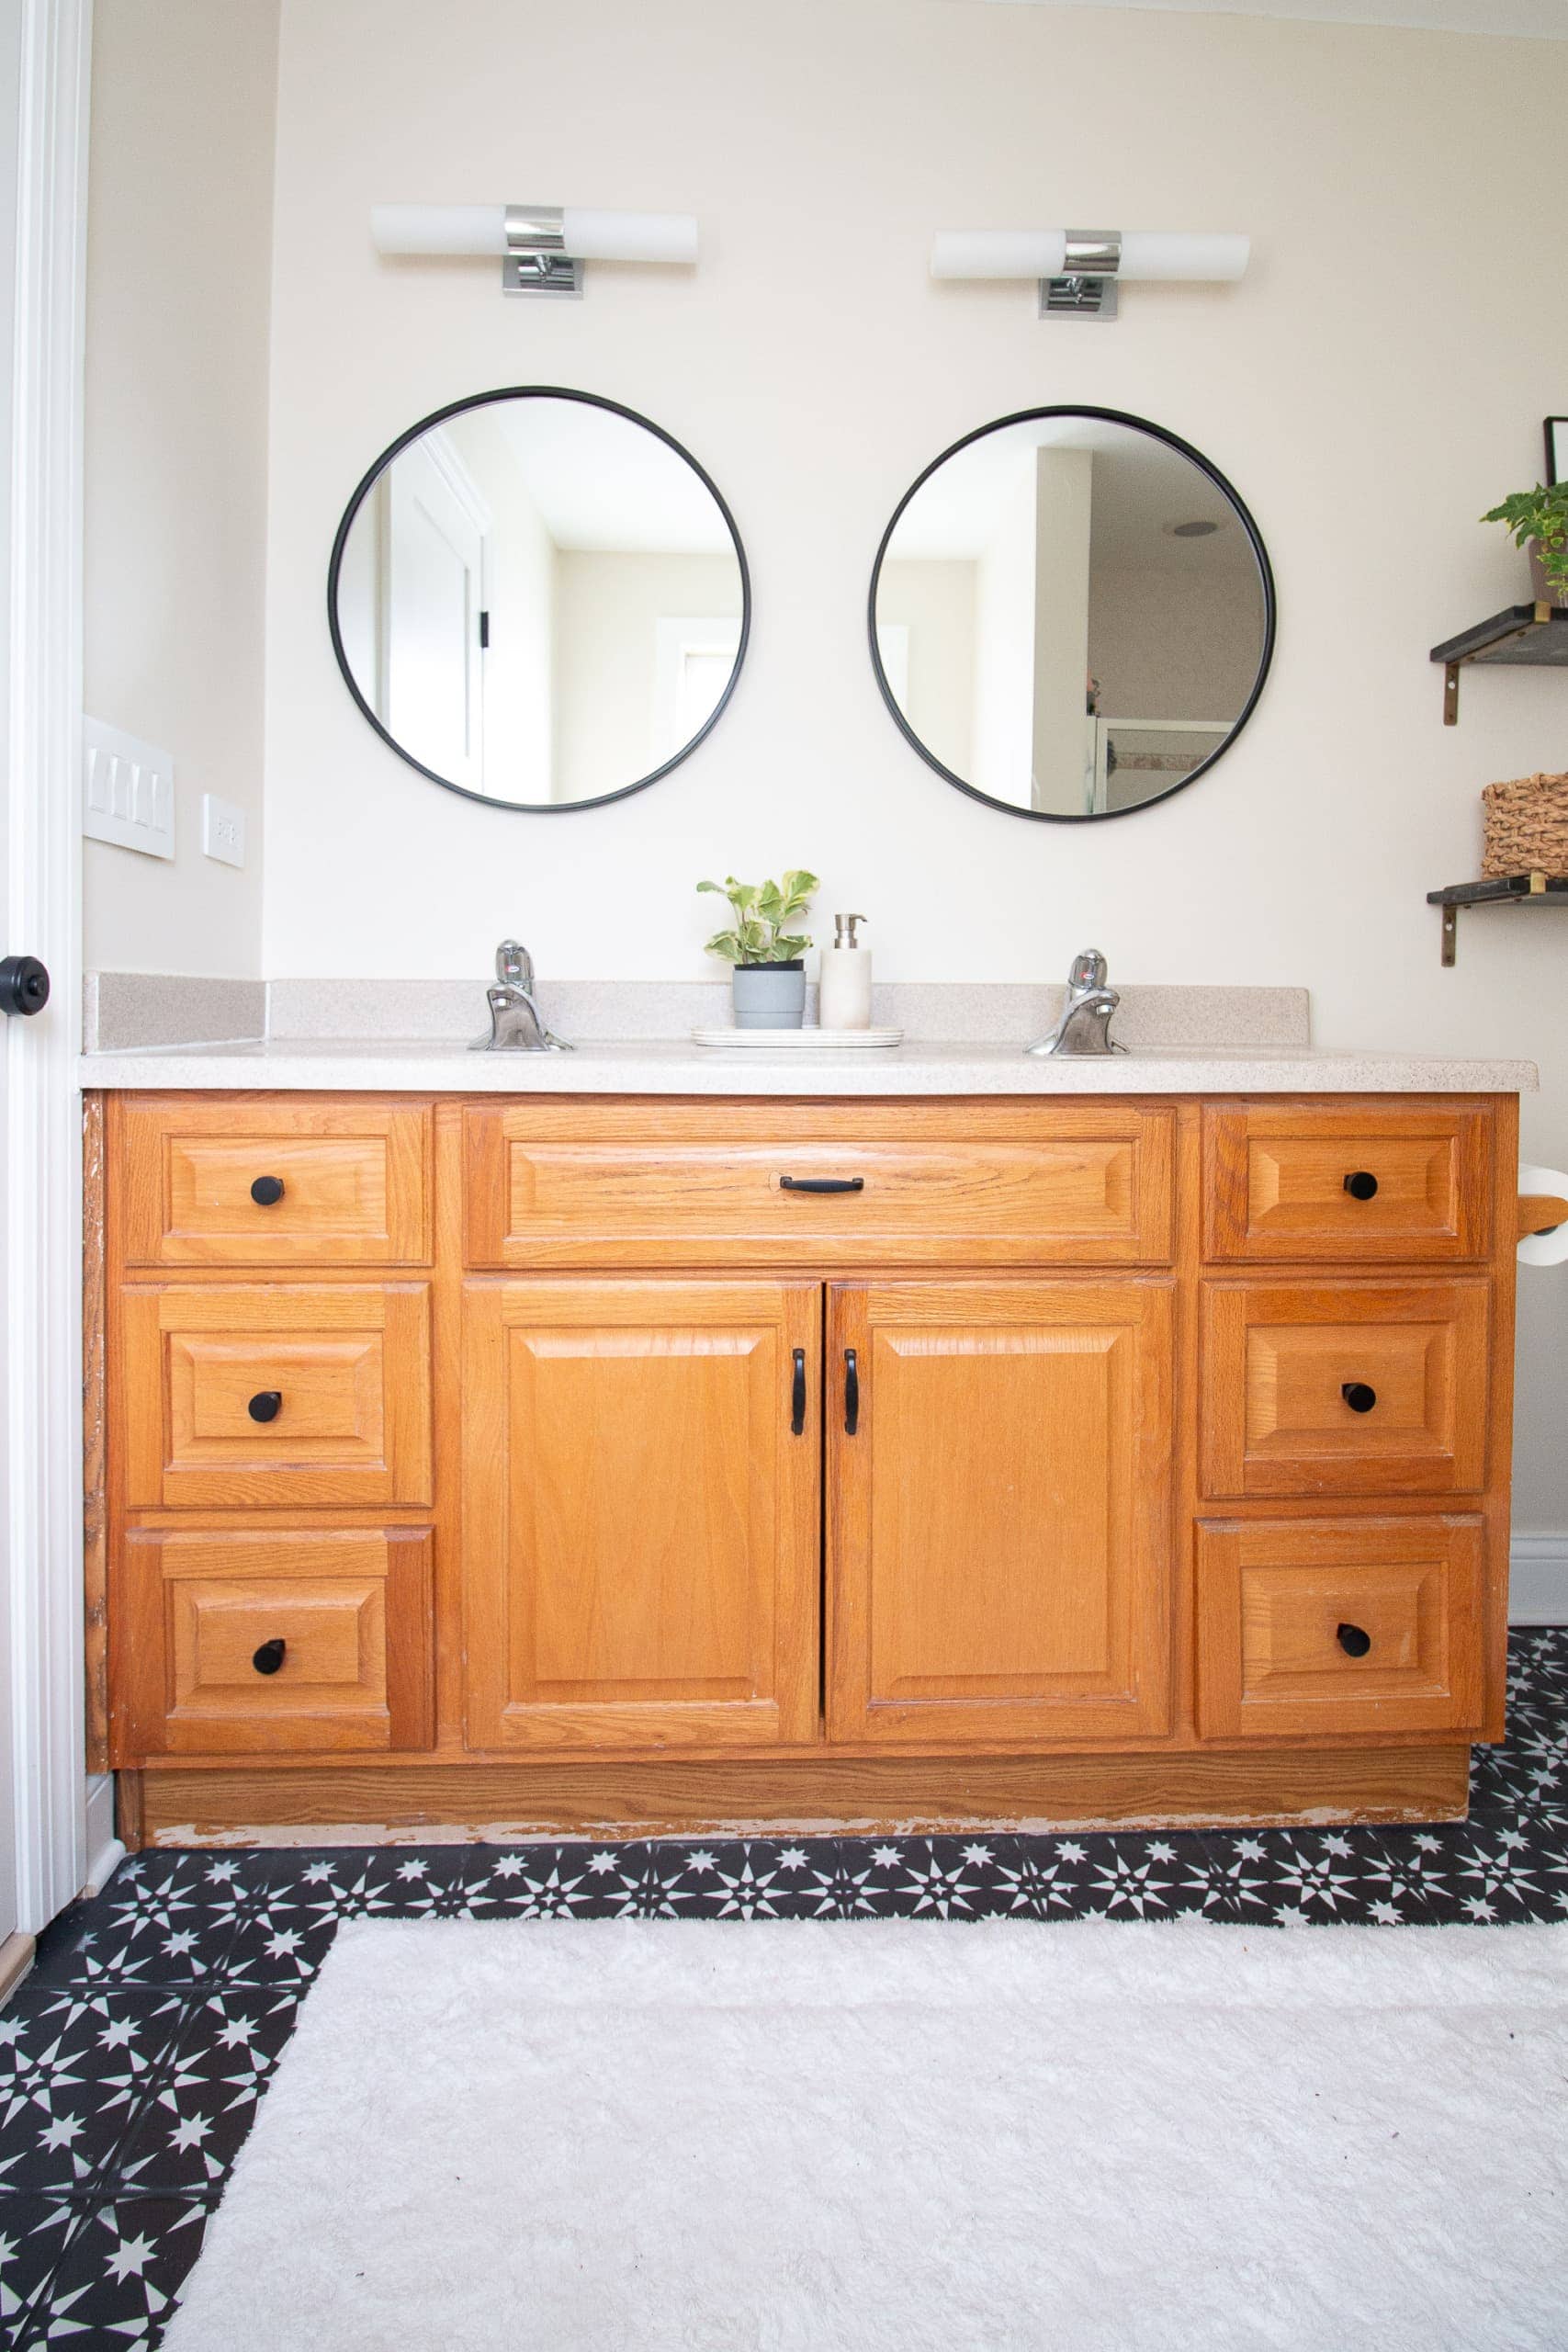
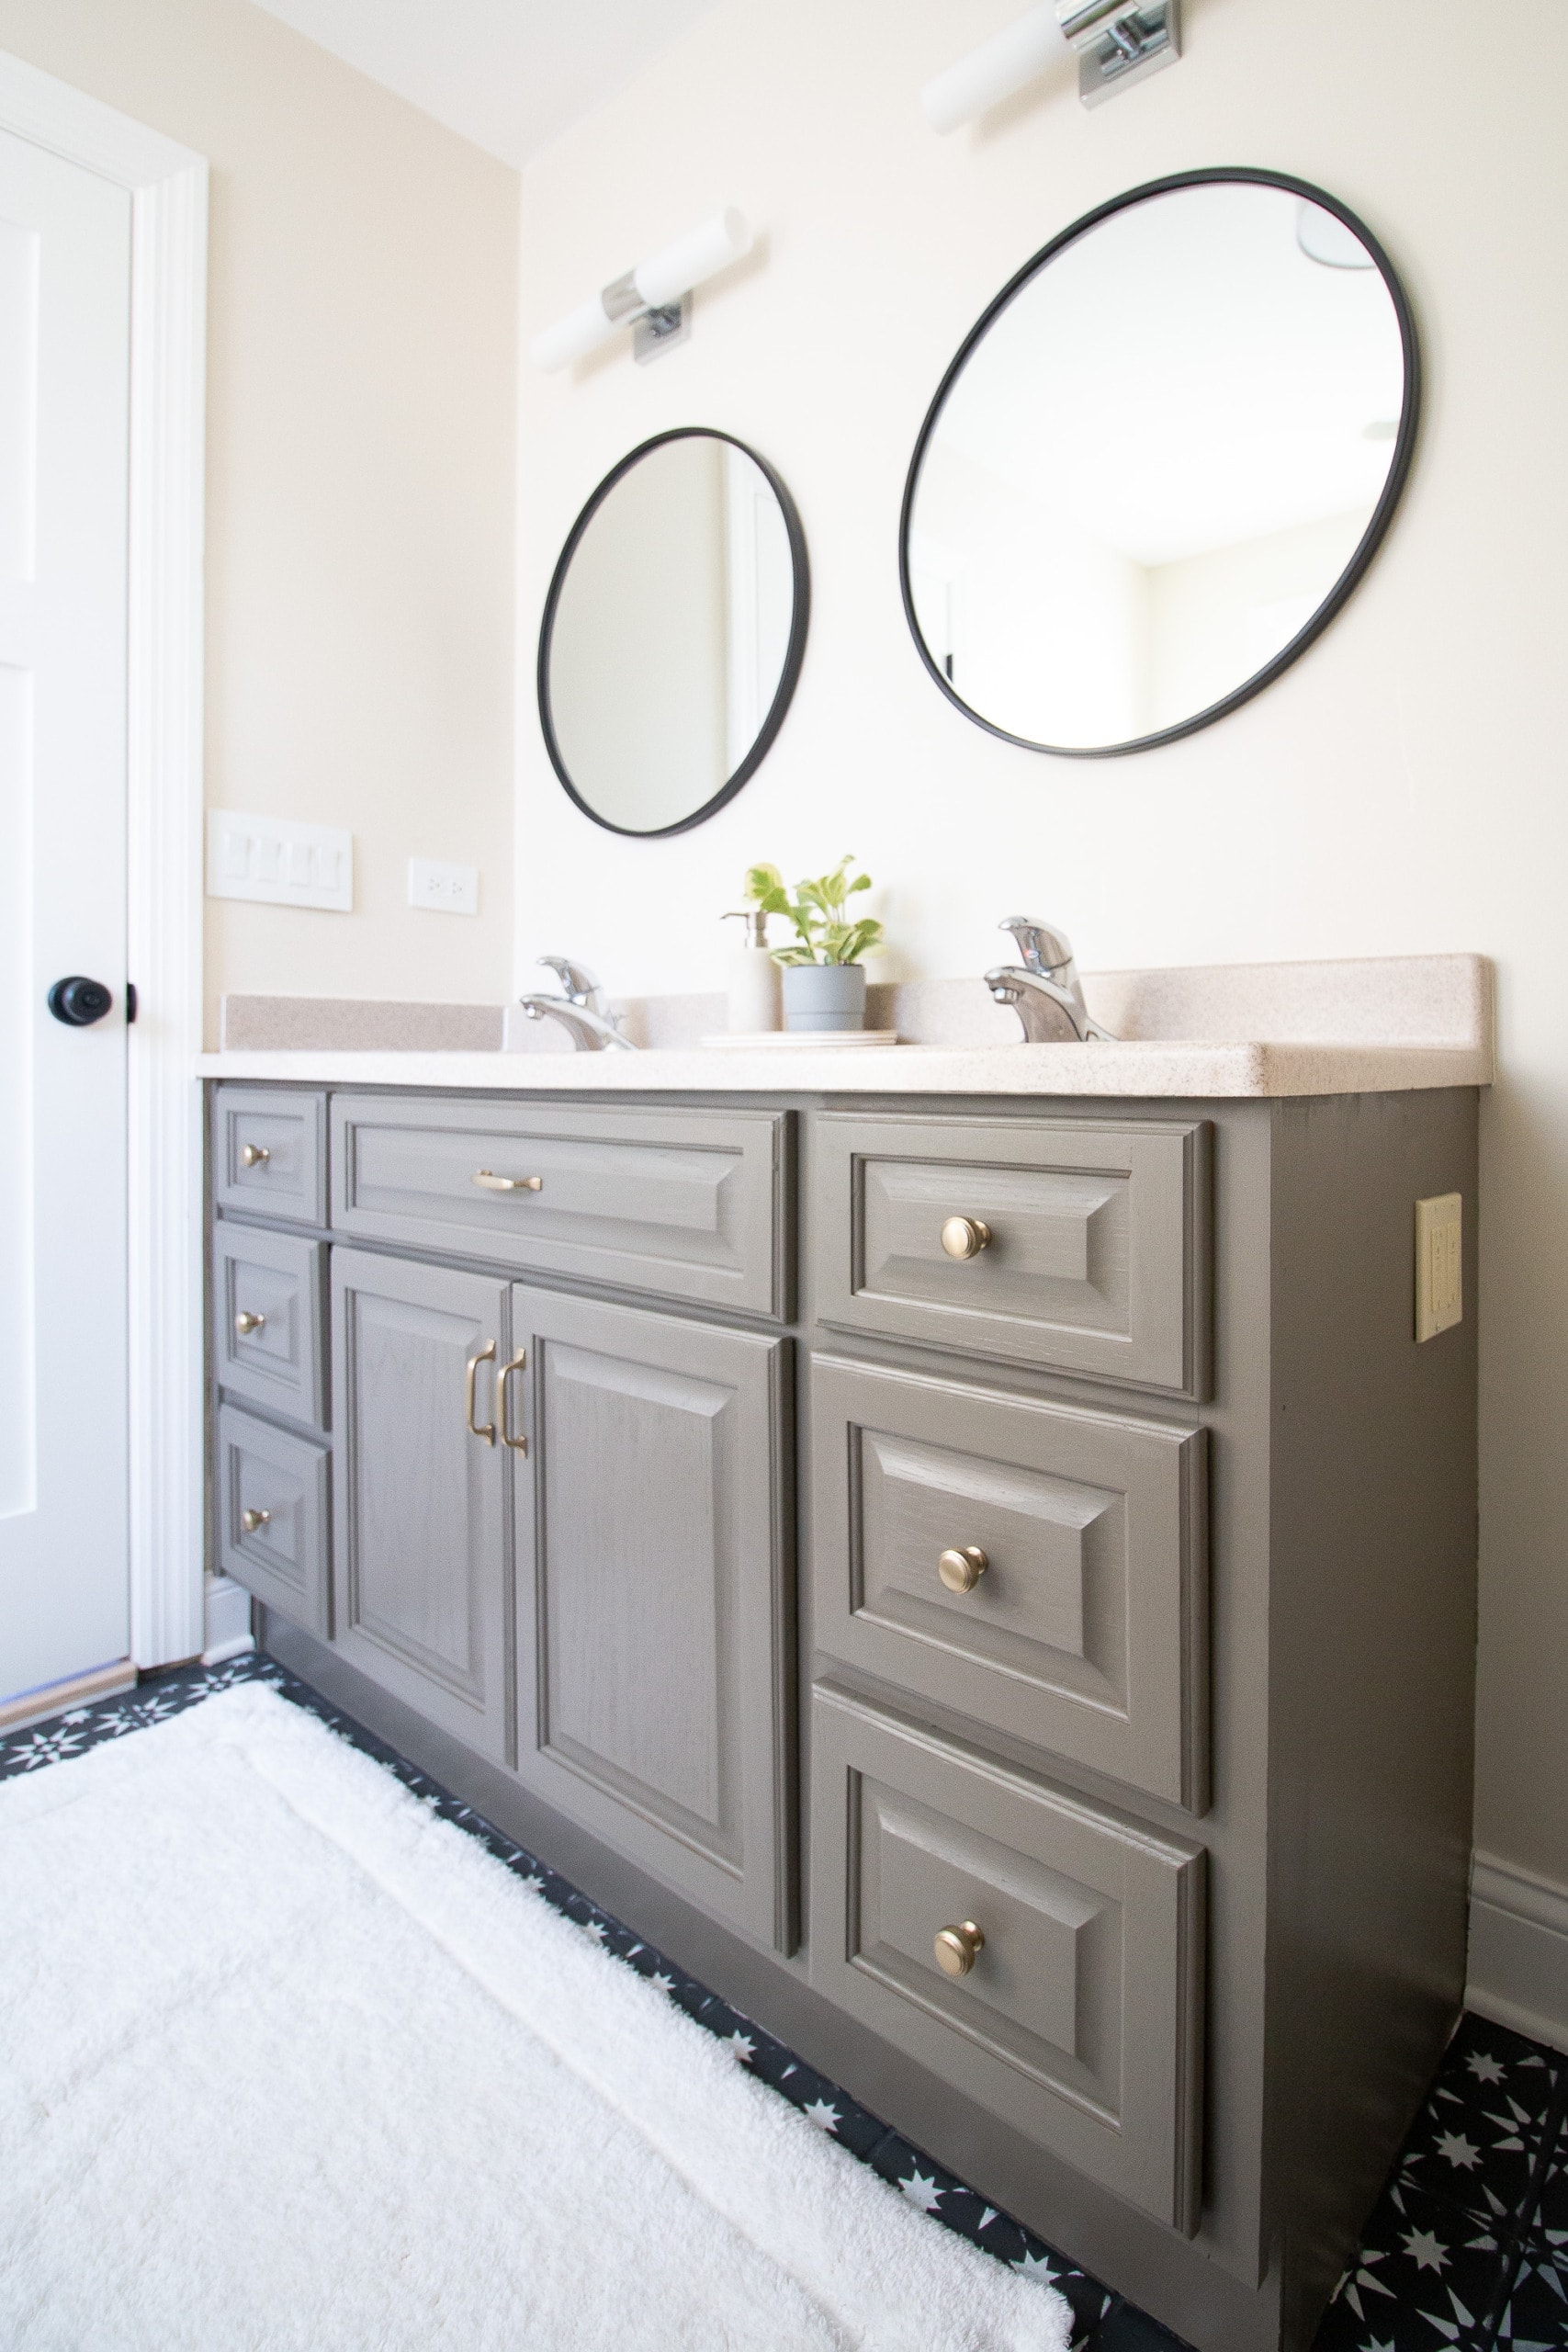
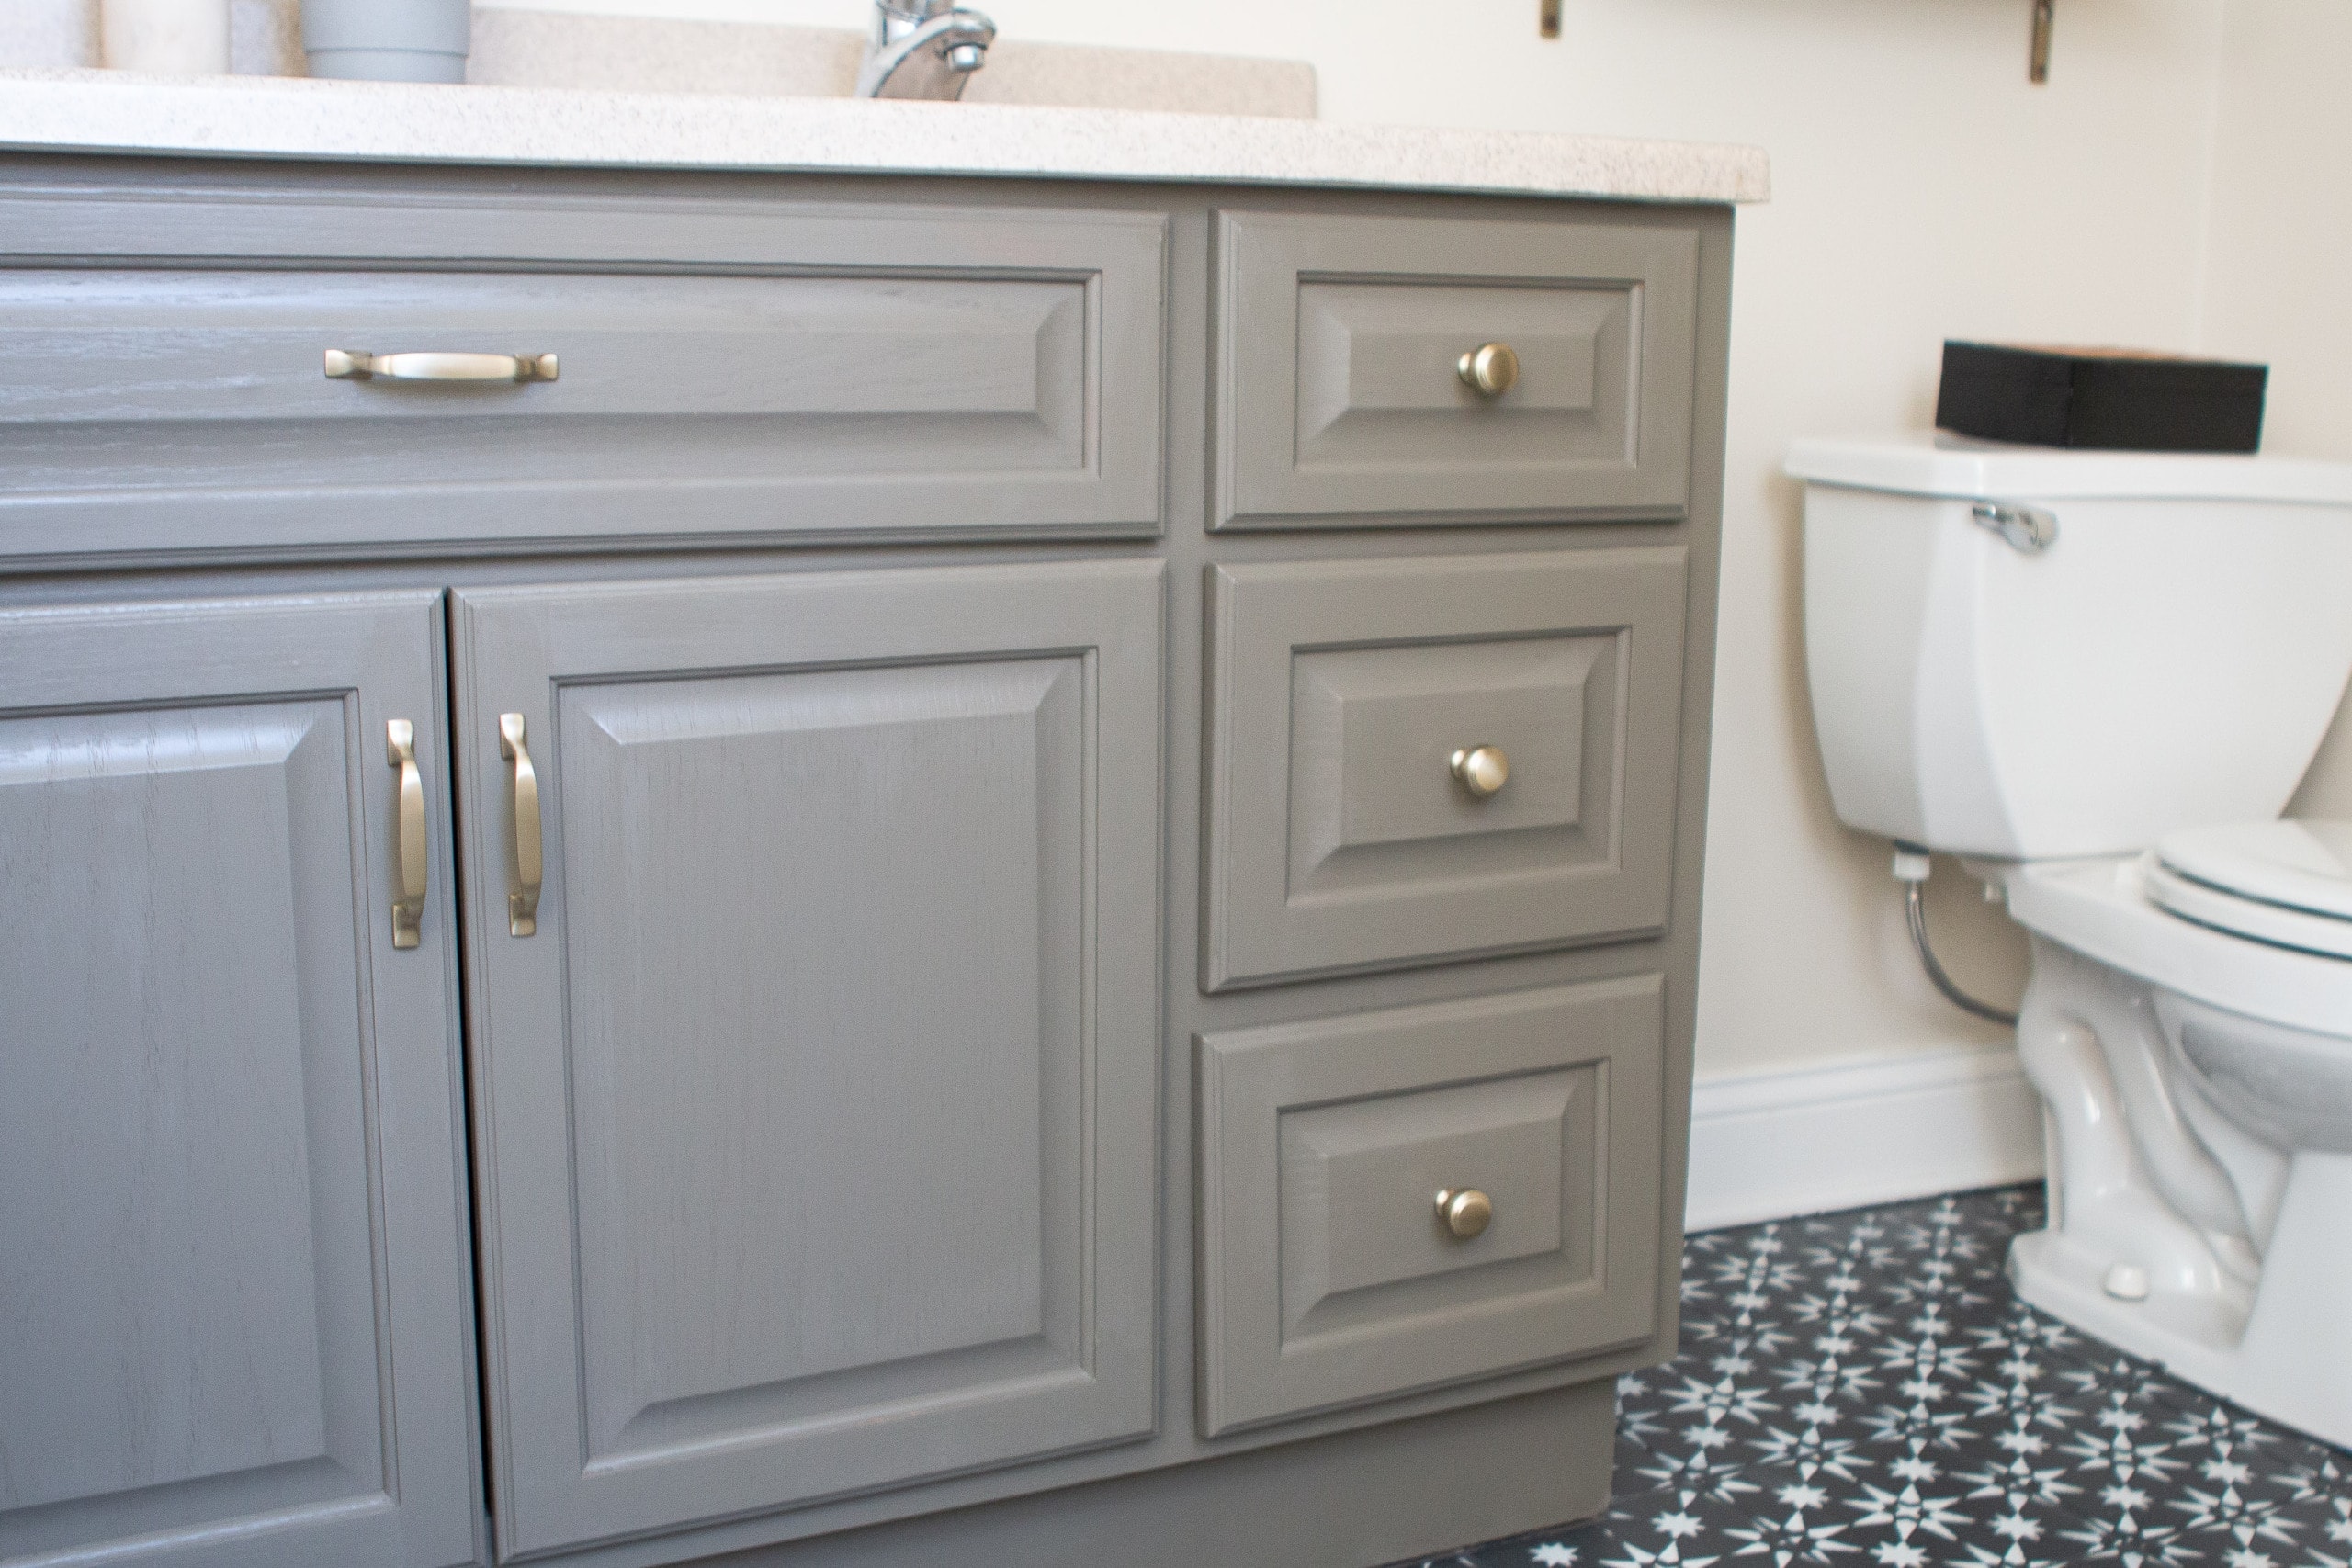
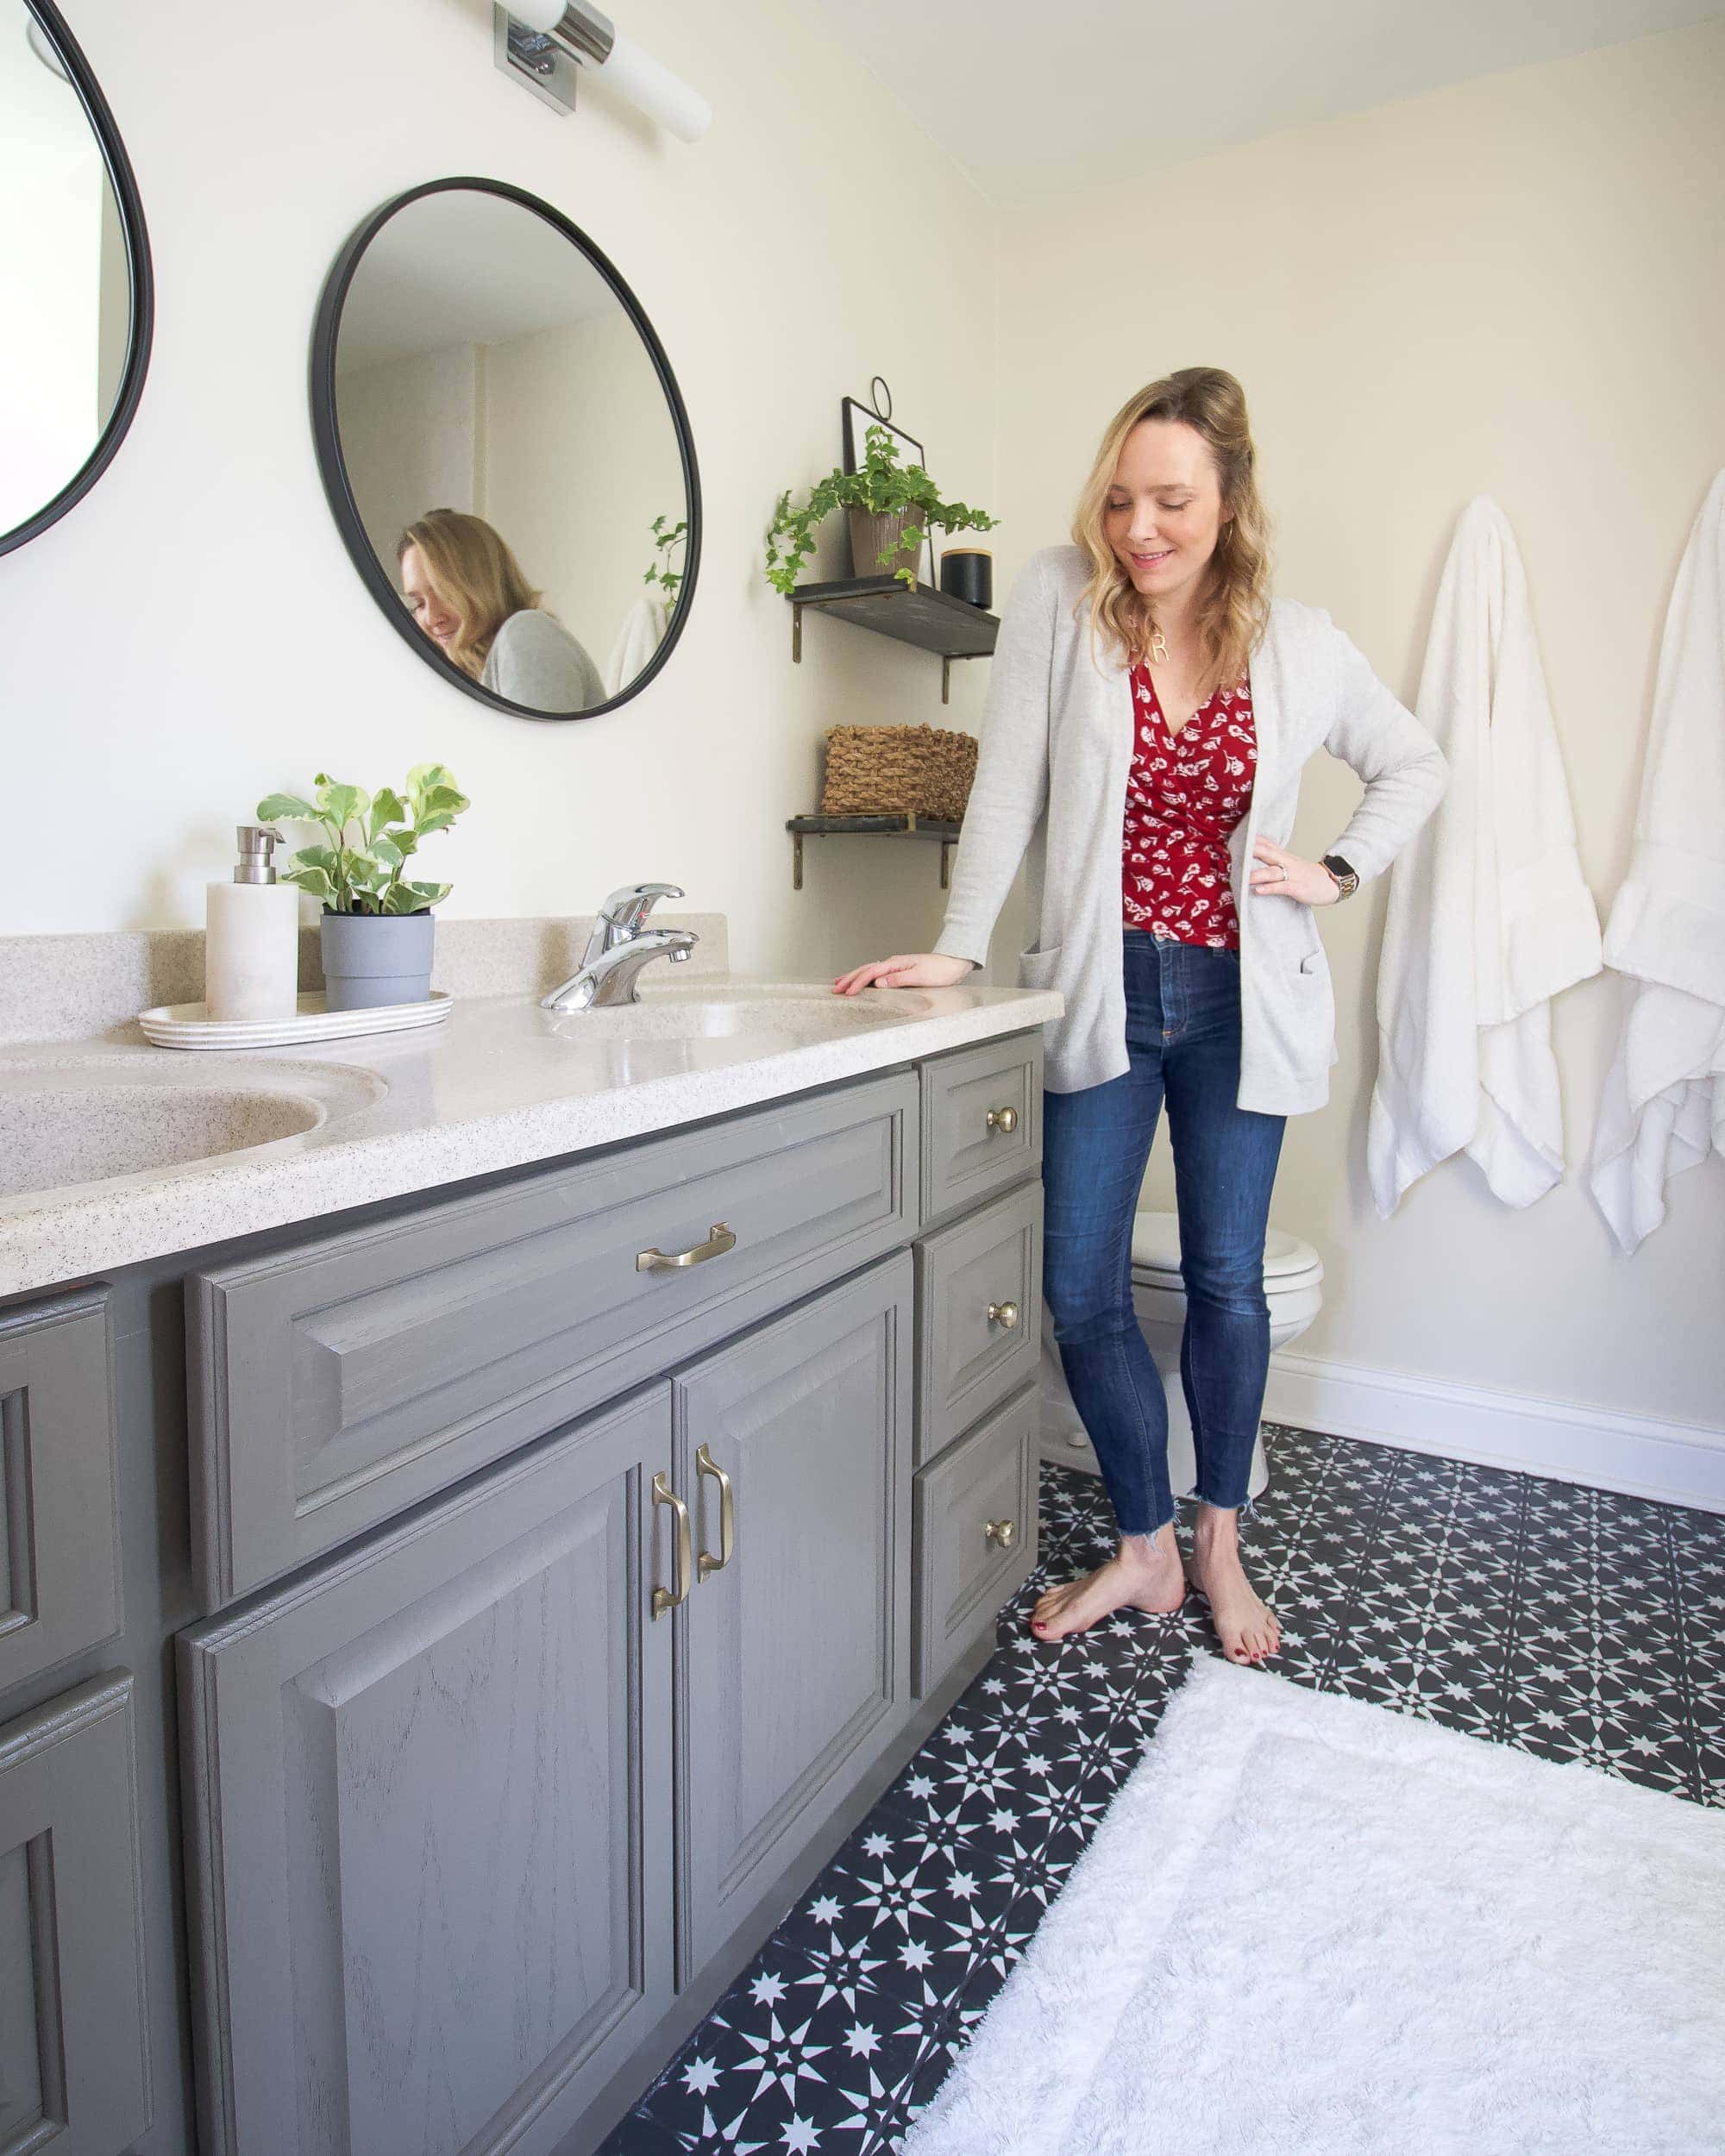
Bathroom Vanity – Before & After

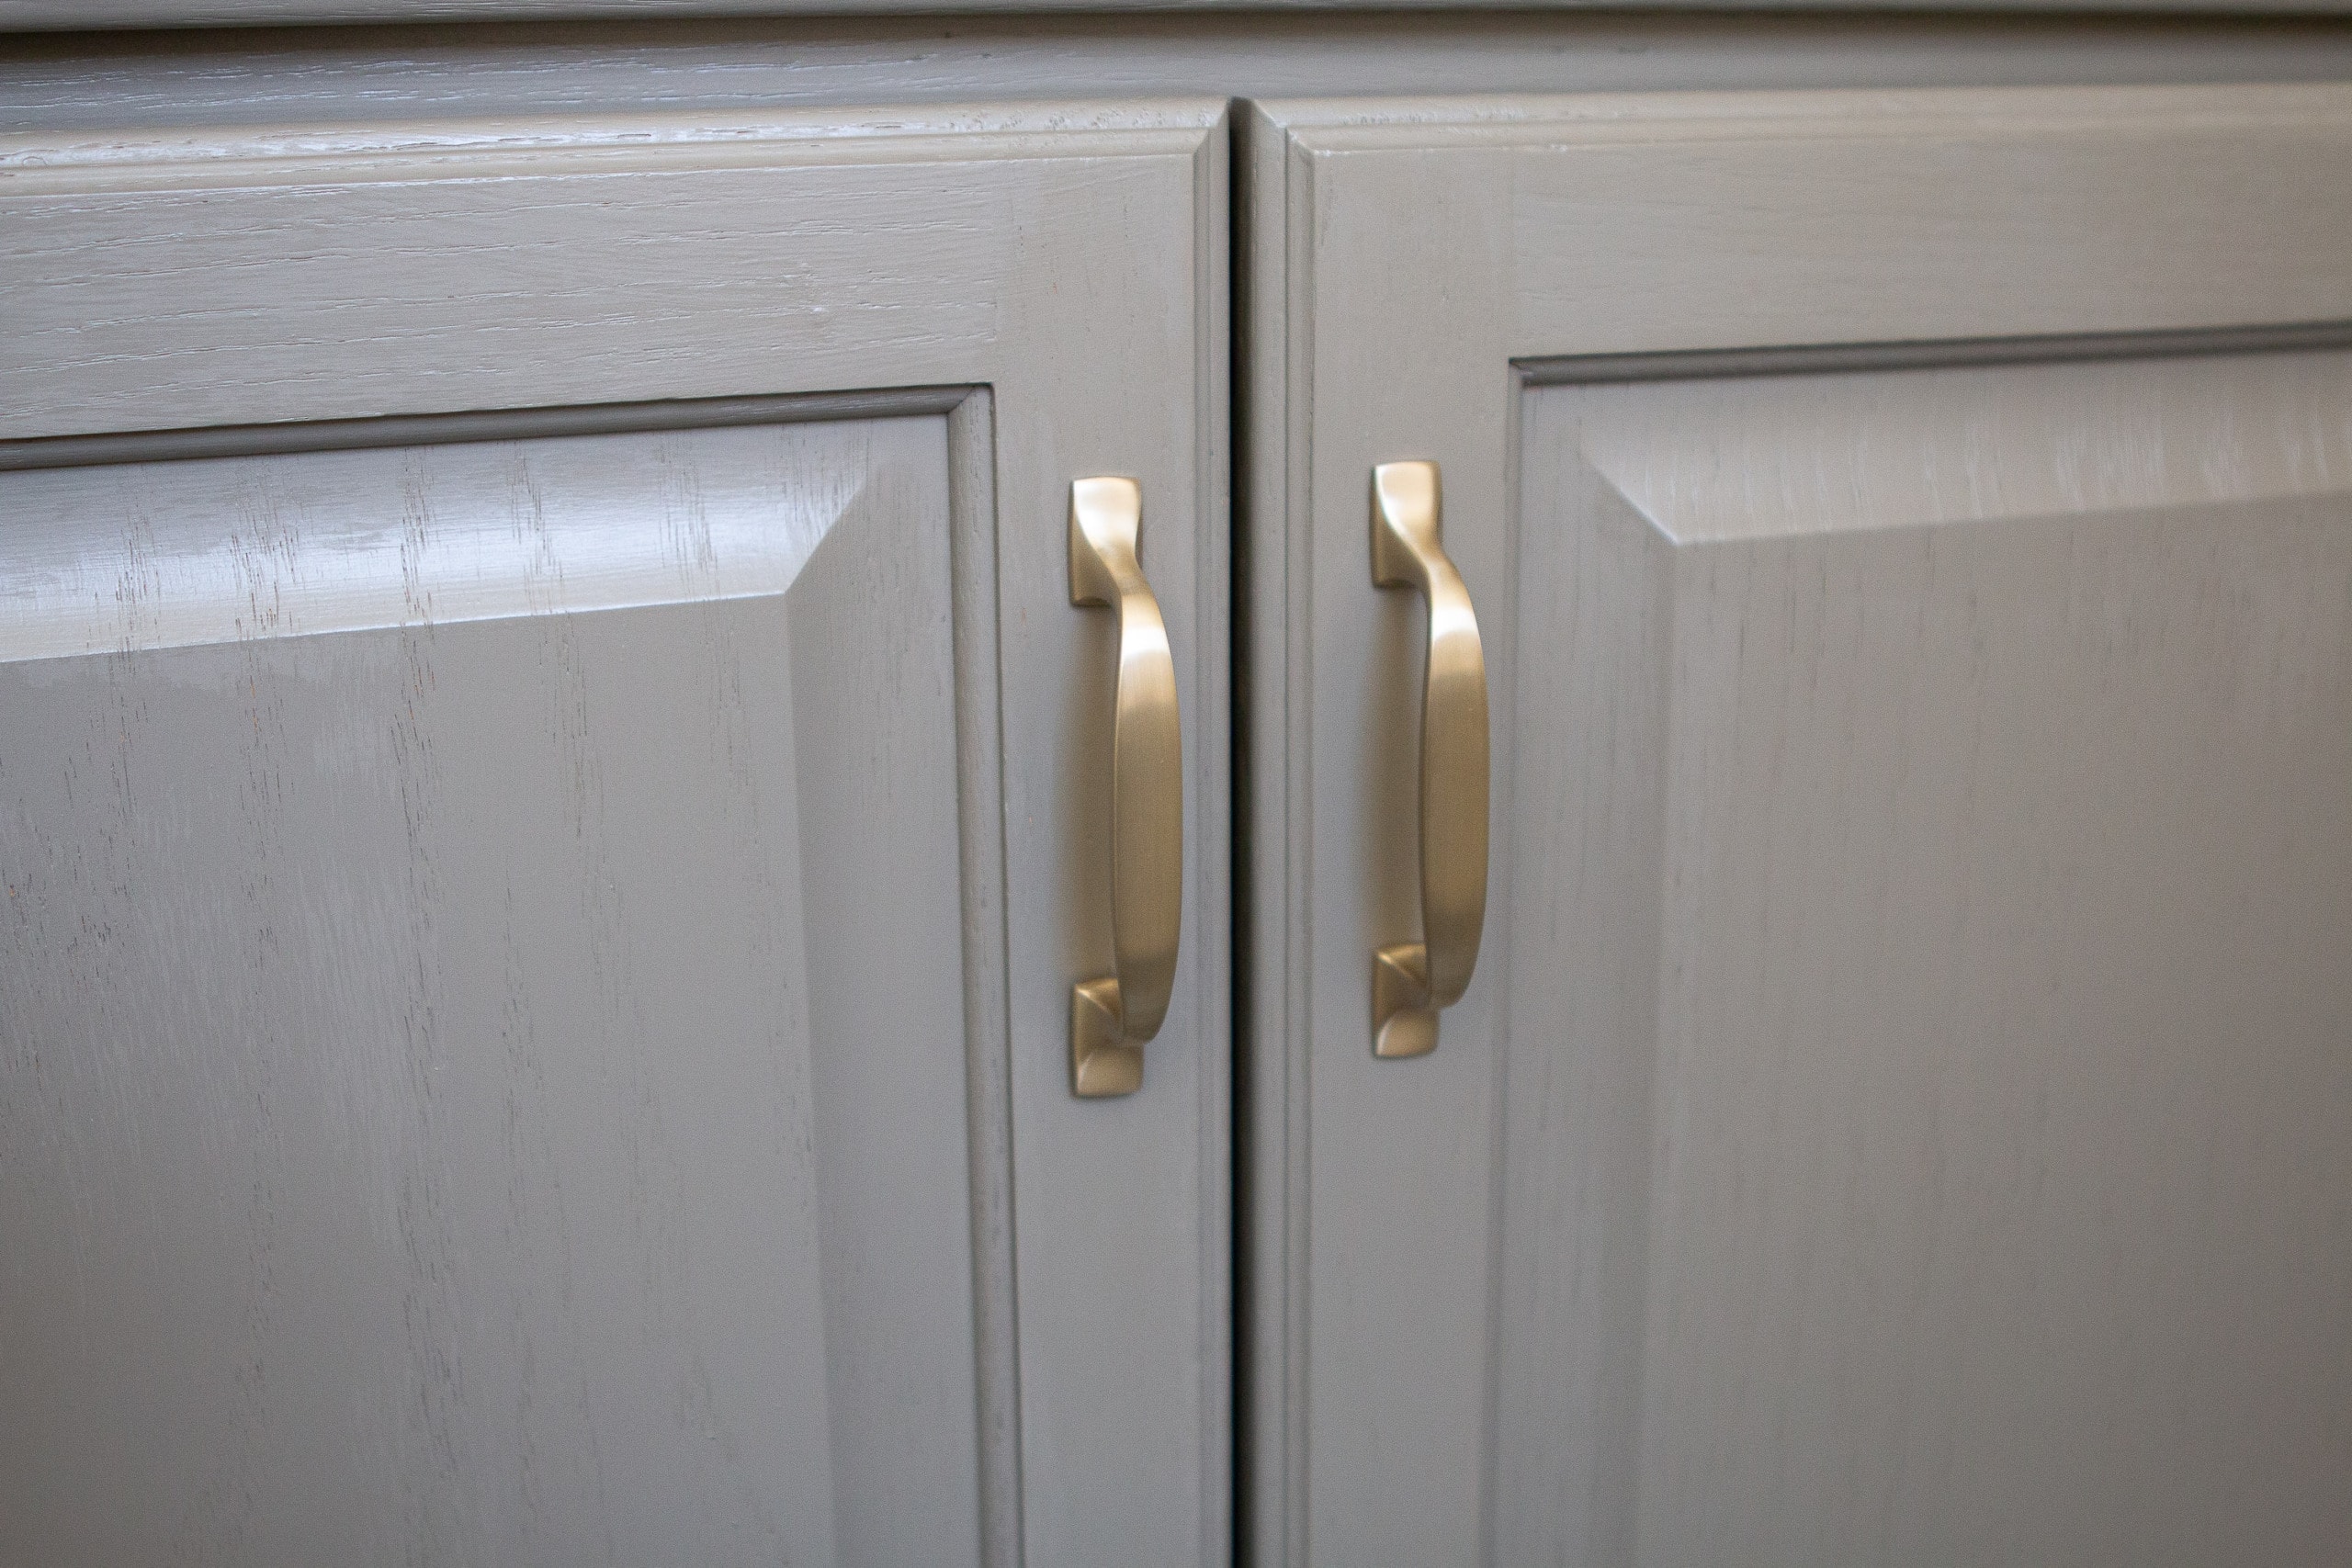
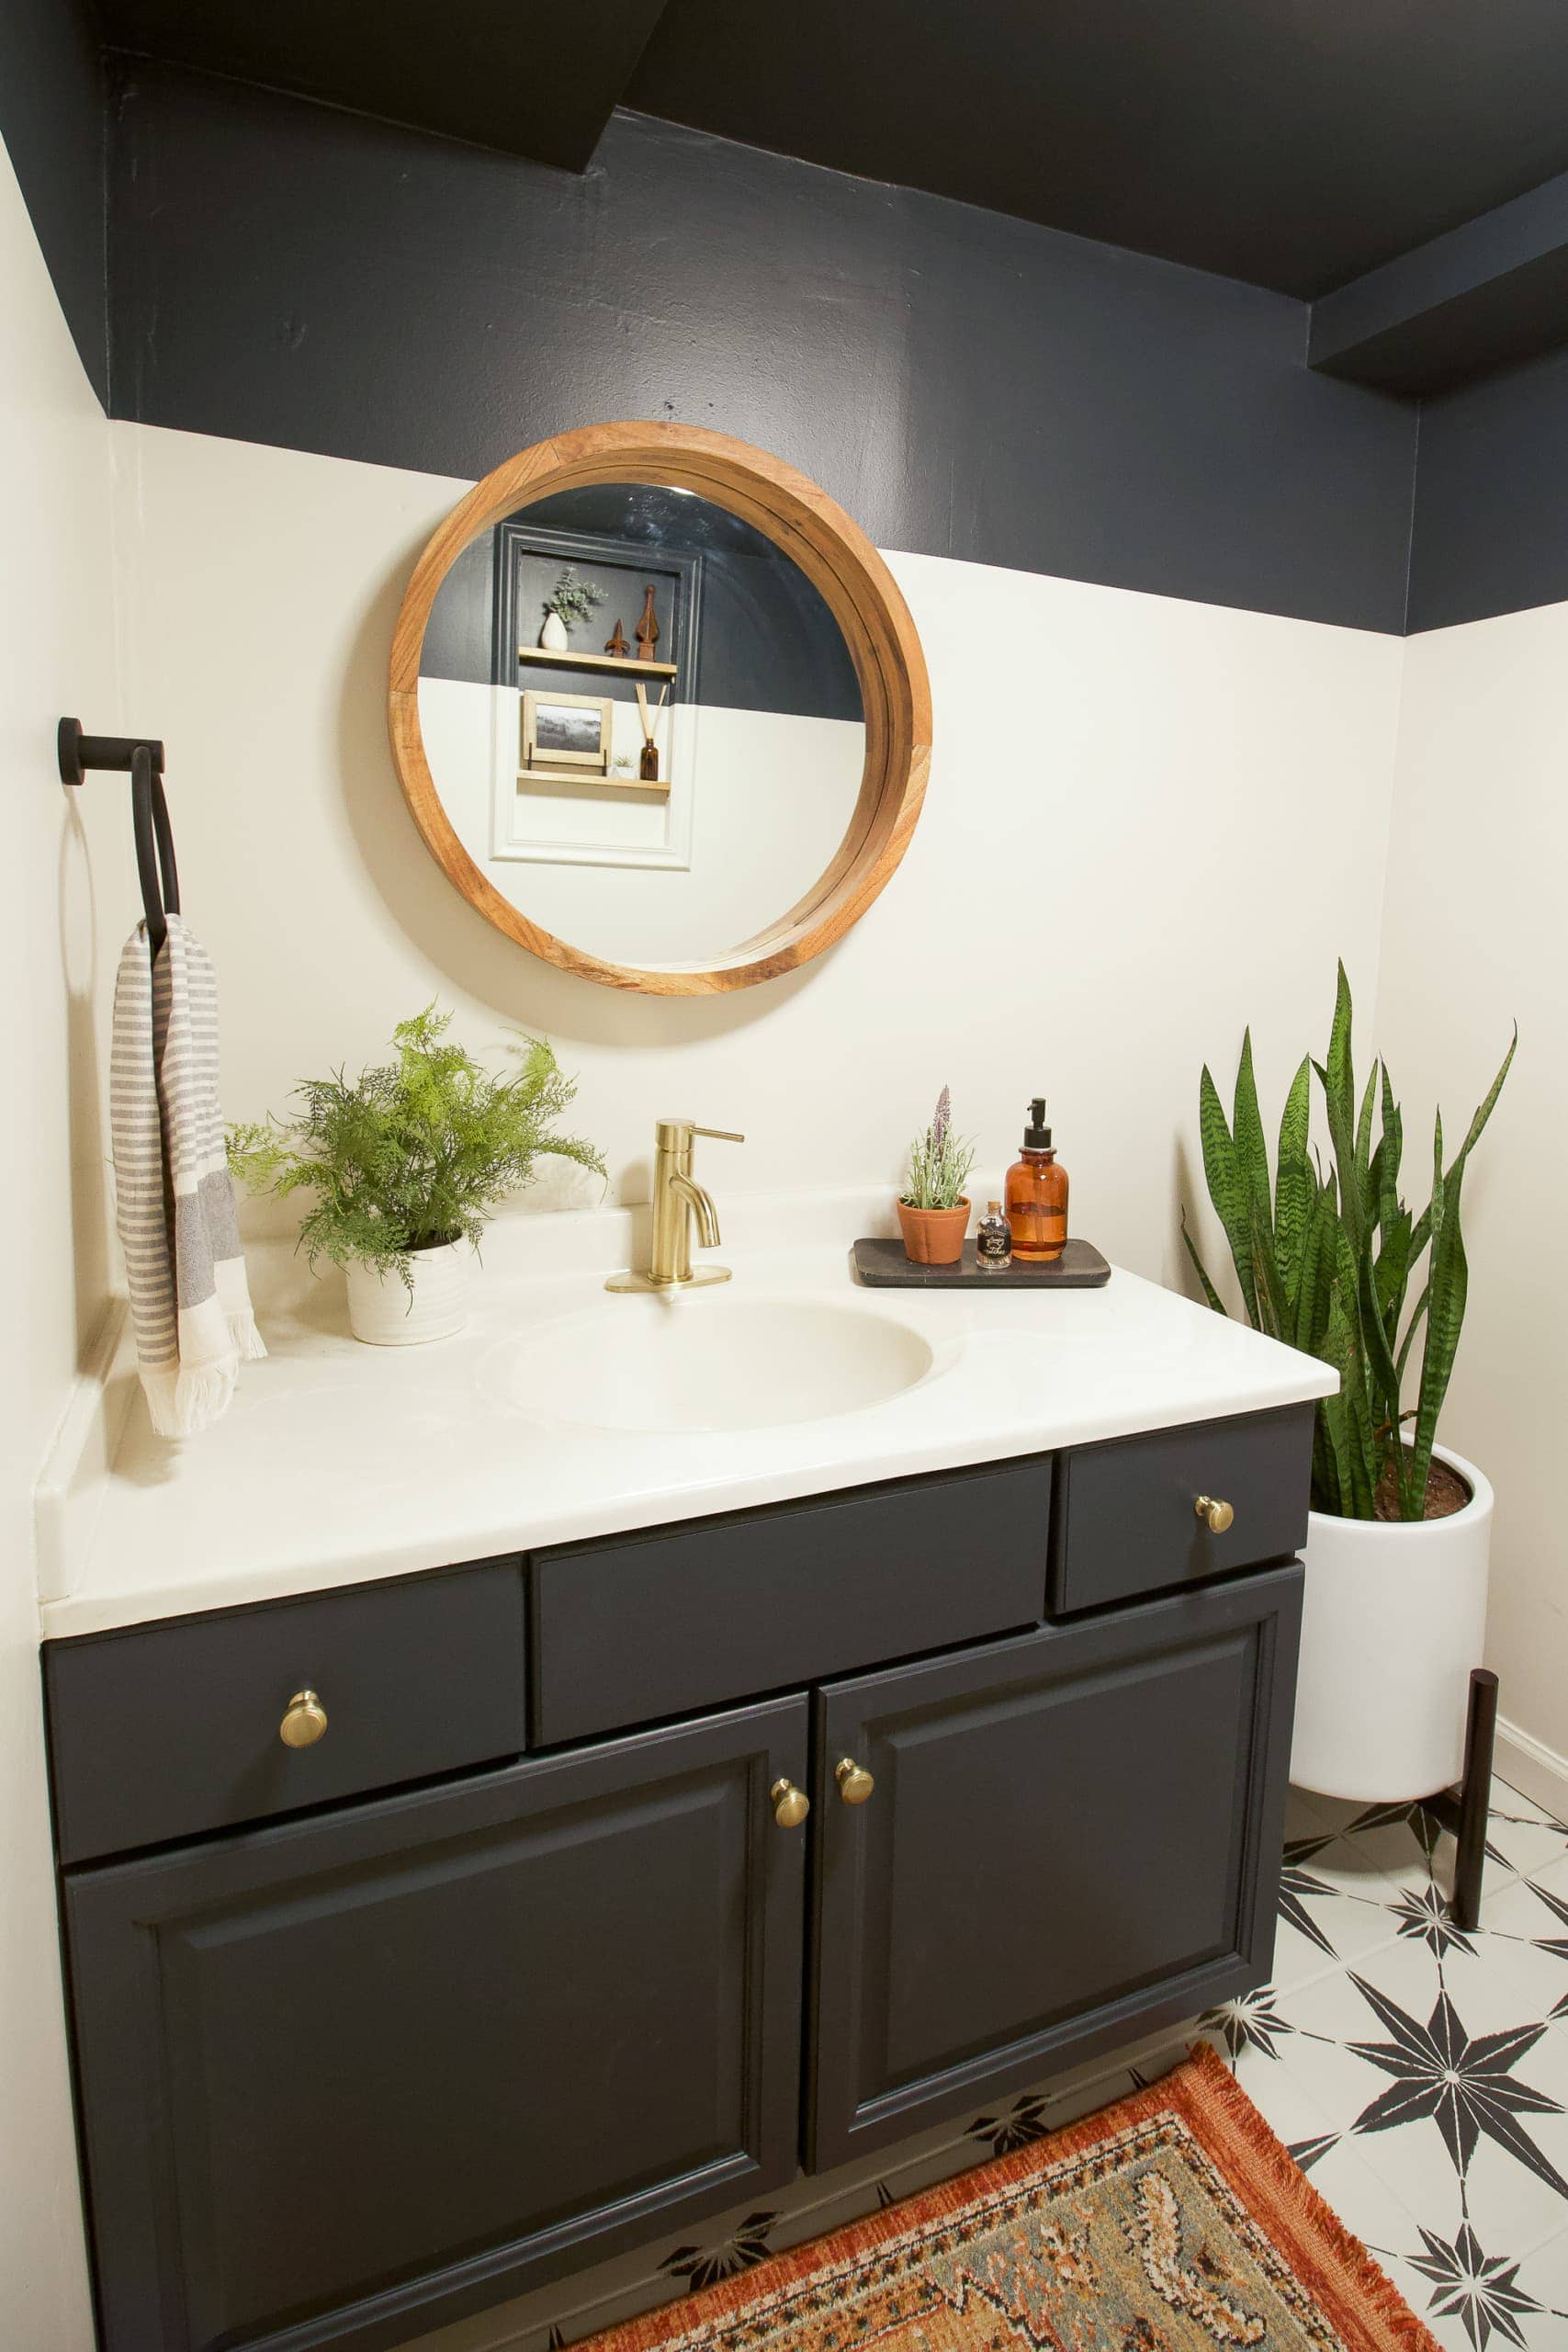
I ended up swapping out the hardware with these pulls and these cabinet knobs. They might look familiar because it’s the same hardware that we have in our new kitchen. 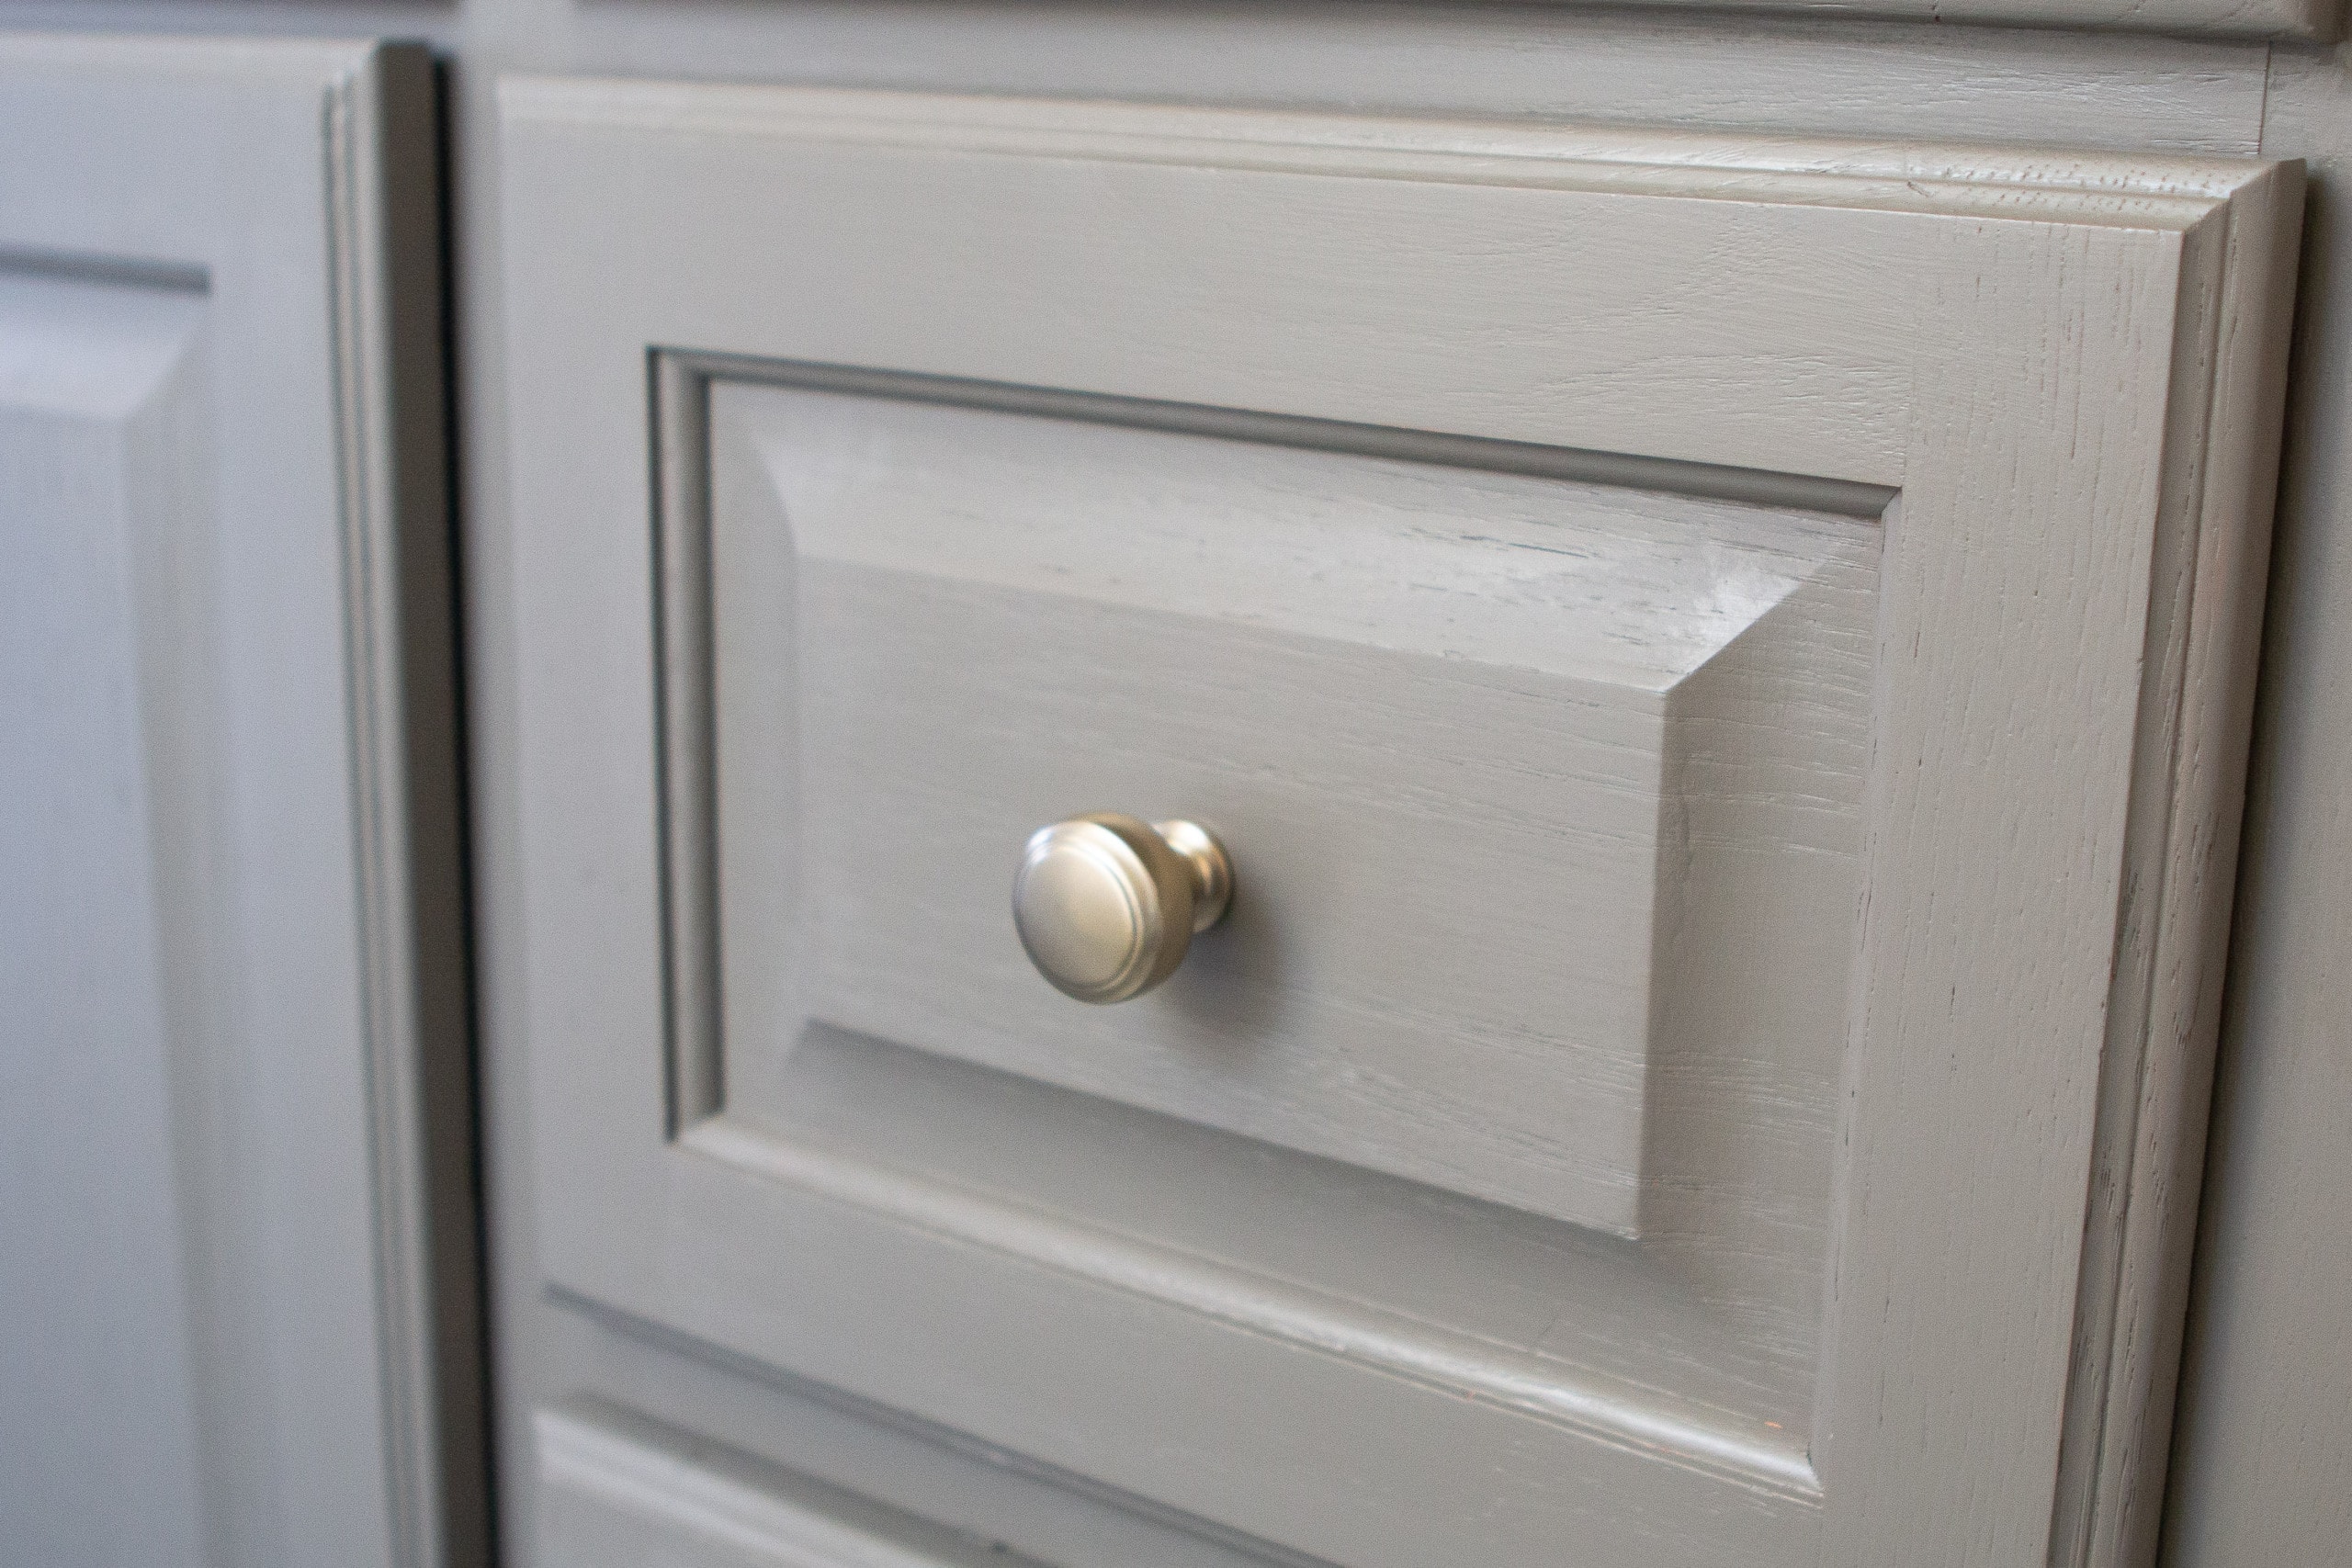 I always like using the same elements in different spaces to make a home feel more cohesive. Plus, I think the gold pops against the sage green color.
A Color Do-Over?
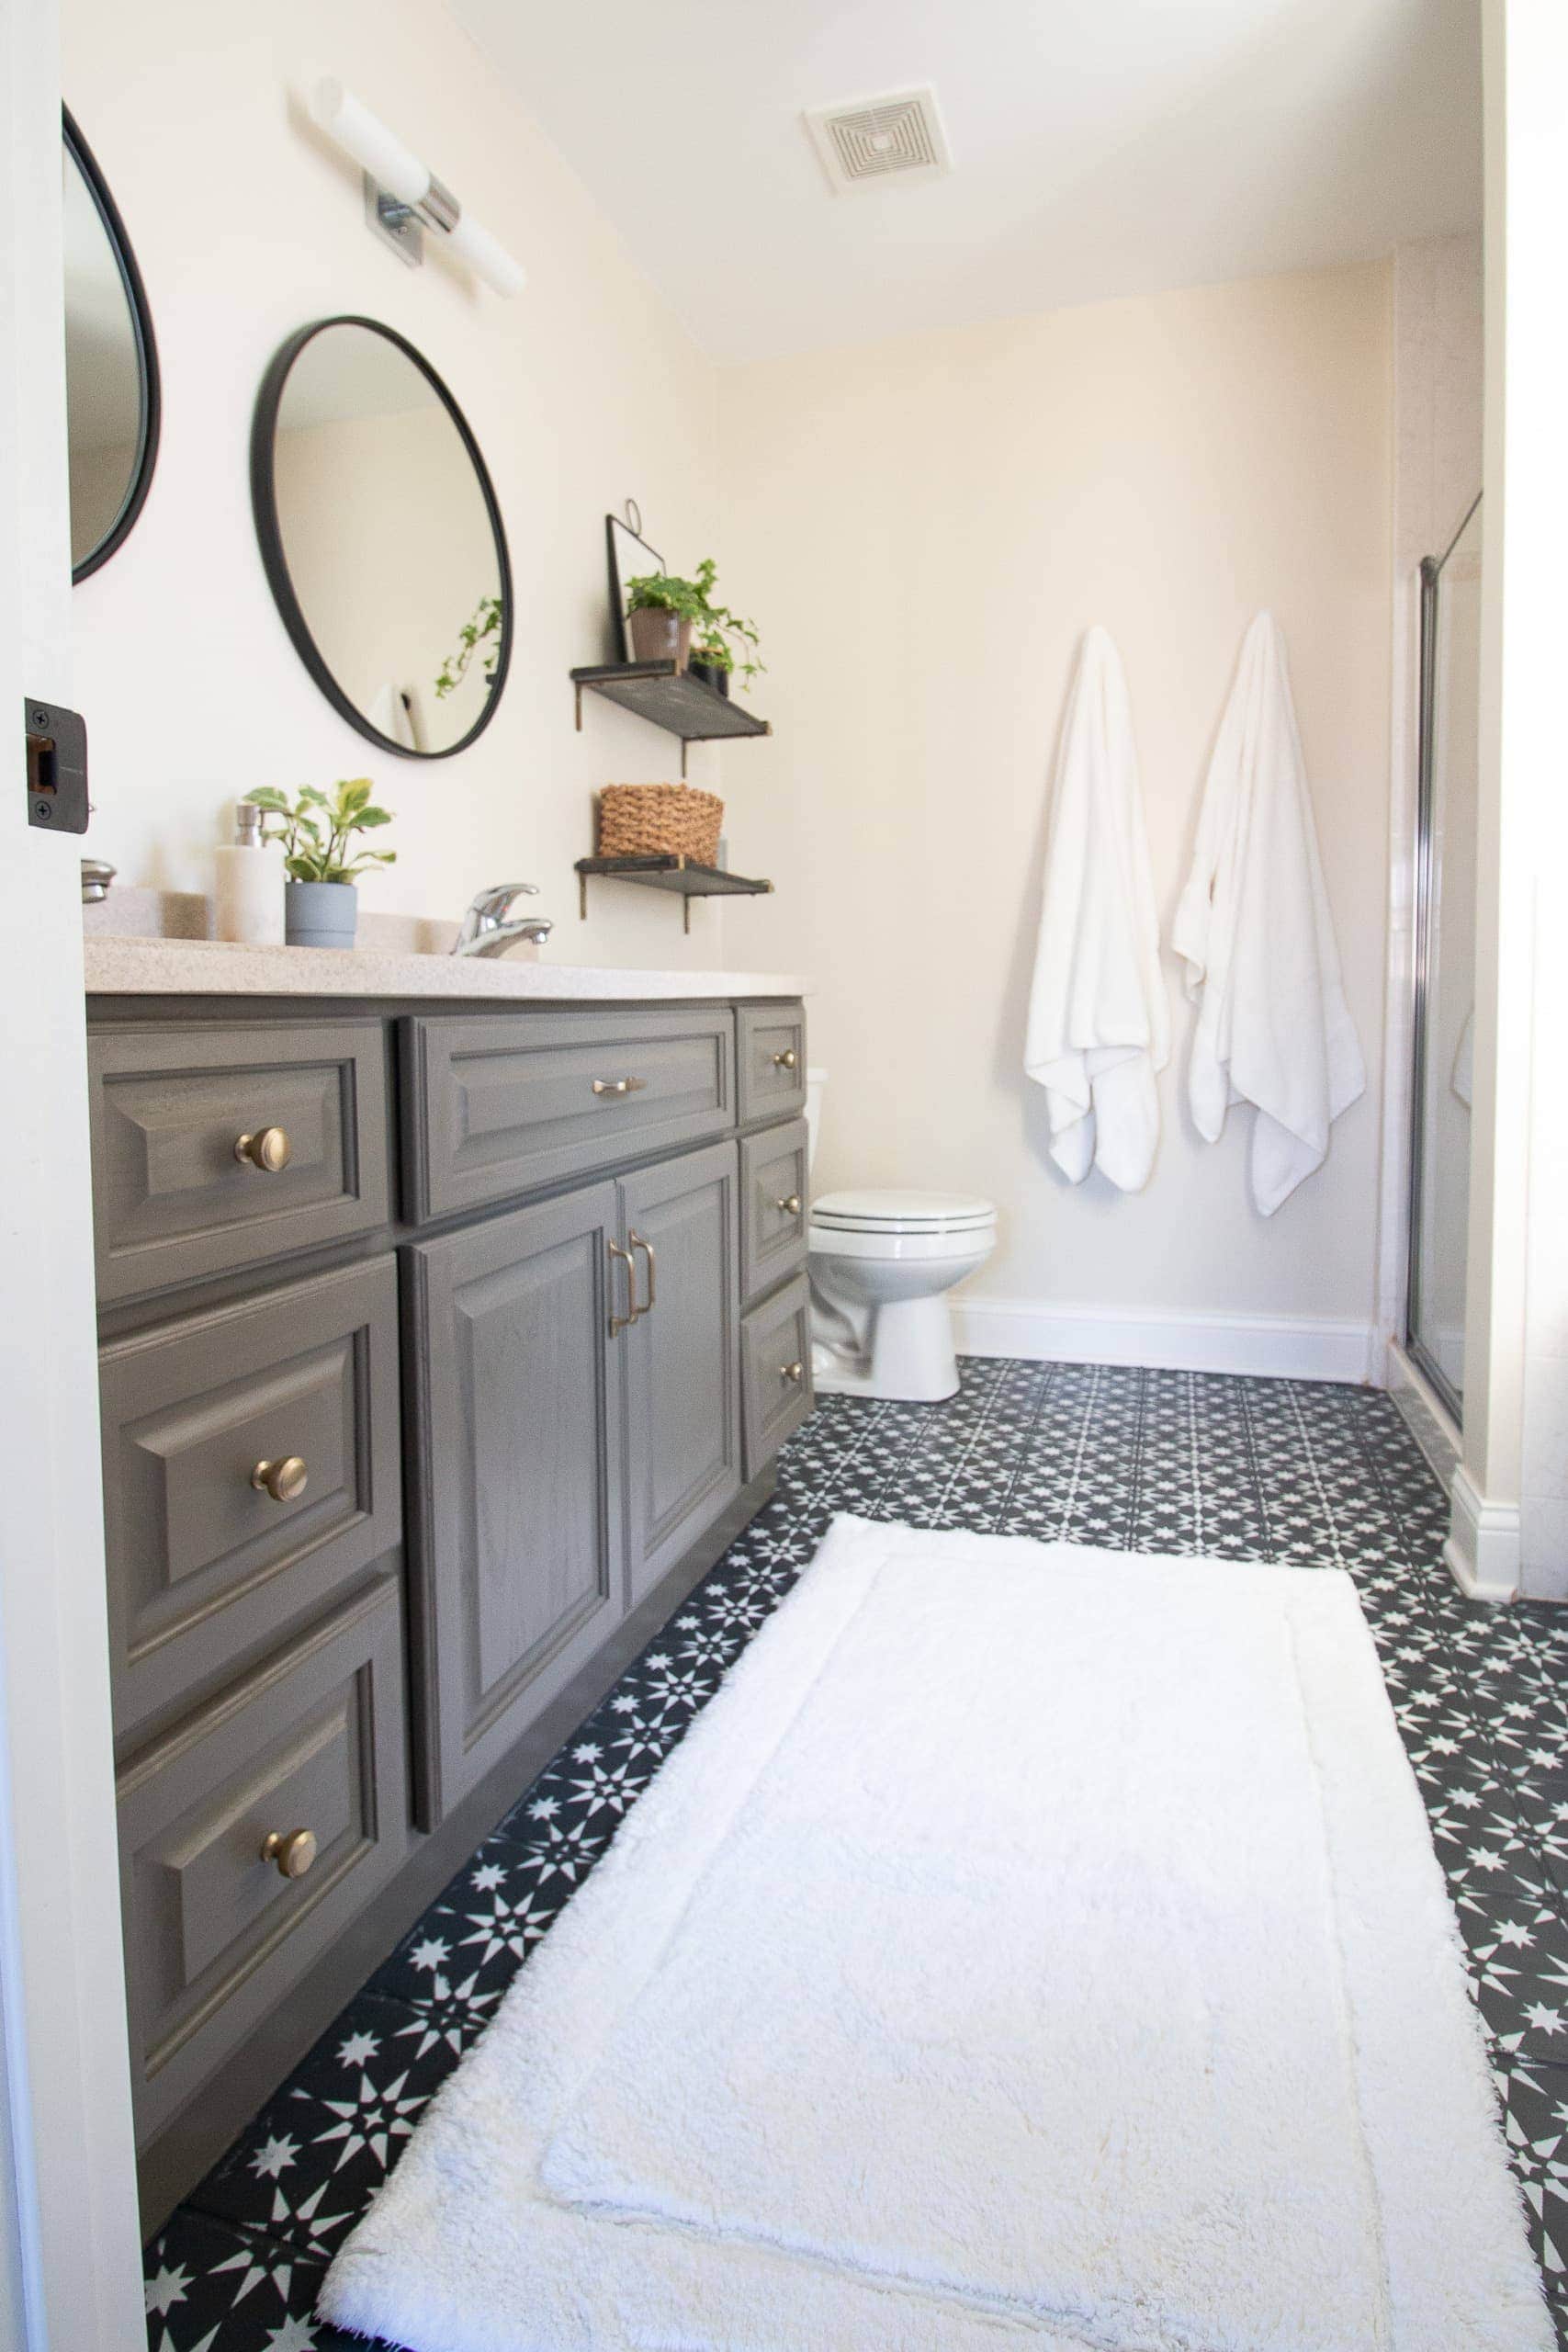
I absolutely adore the “Bayleaf” color. It’s a warm gray with a green undertone. Sometimes it reads sage and sometimes a bit more grayish taupe. It is a beautiful color all around. However, I don’t necessarily think it was the best choice to go with my black and white tile. This color probably would have been better with the painted tile that I have in our guest bathroom. That cream and white would look pretty against it.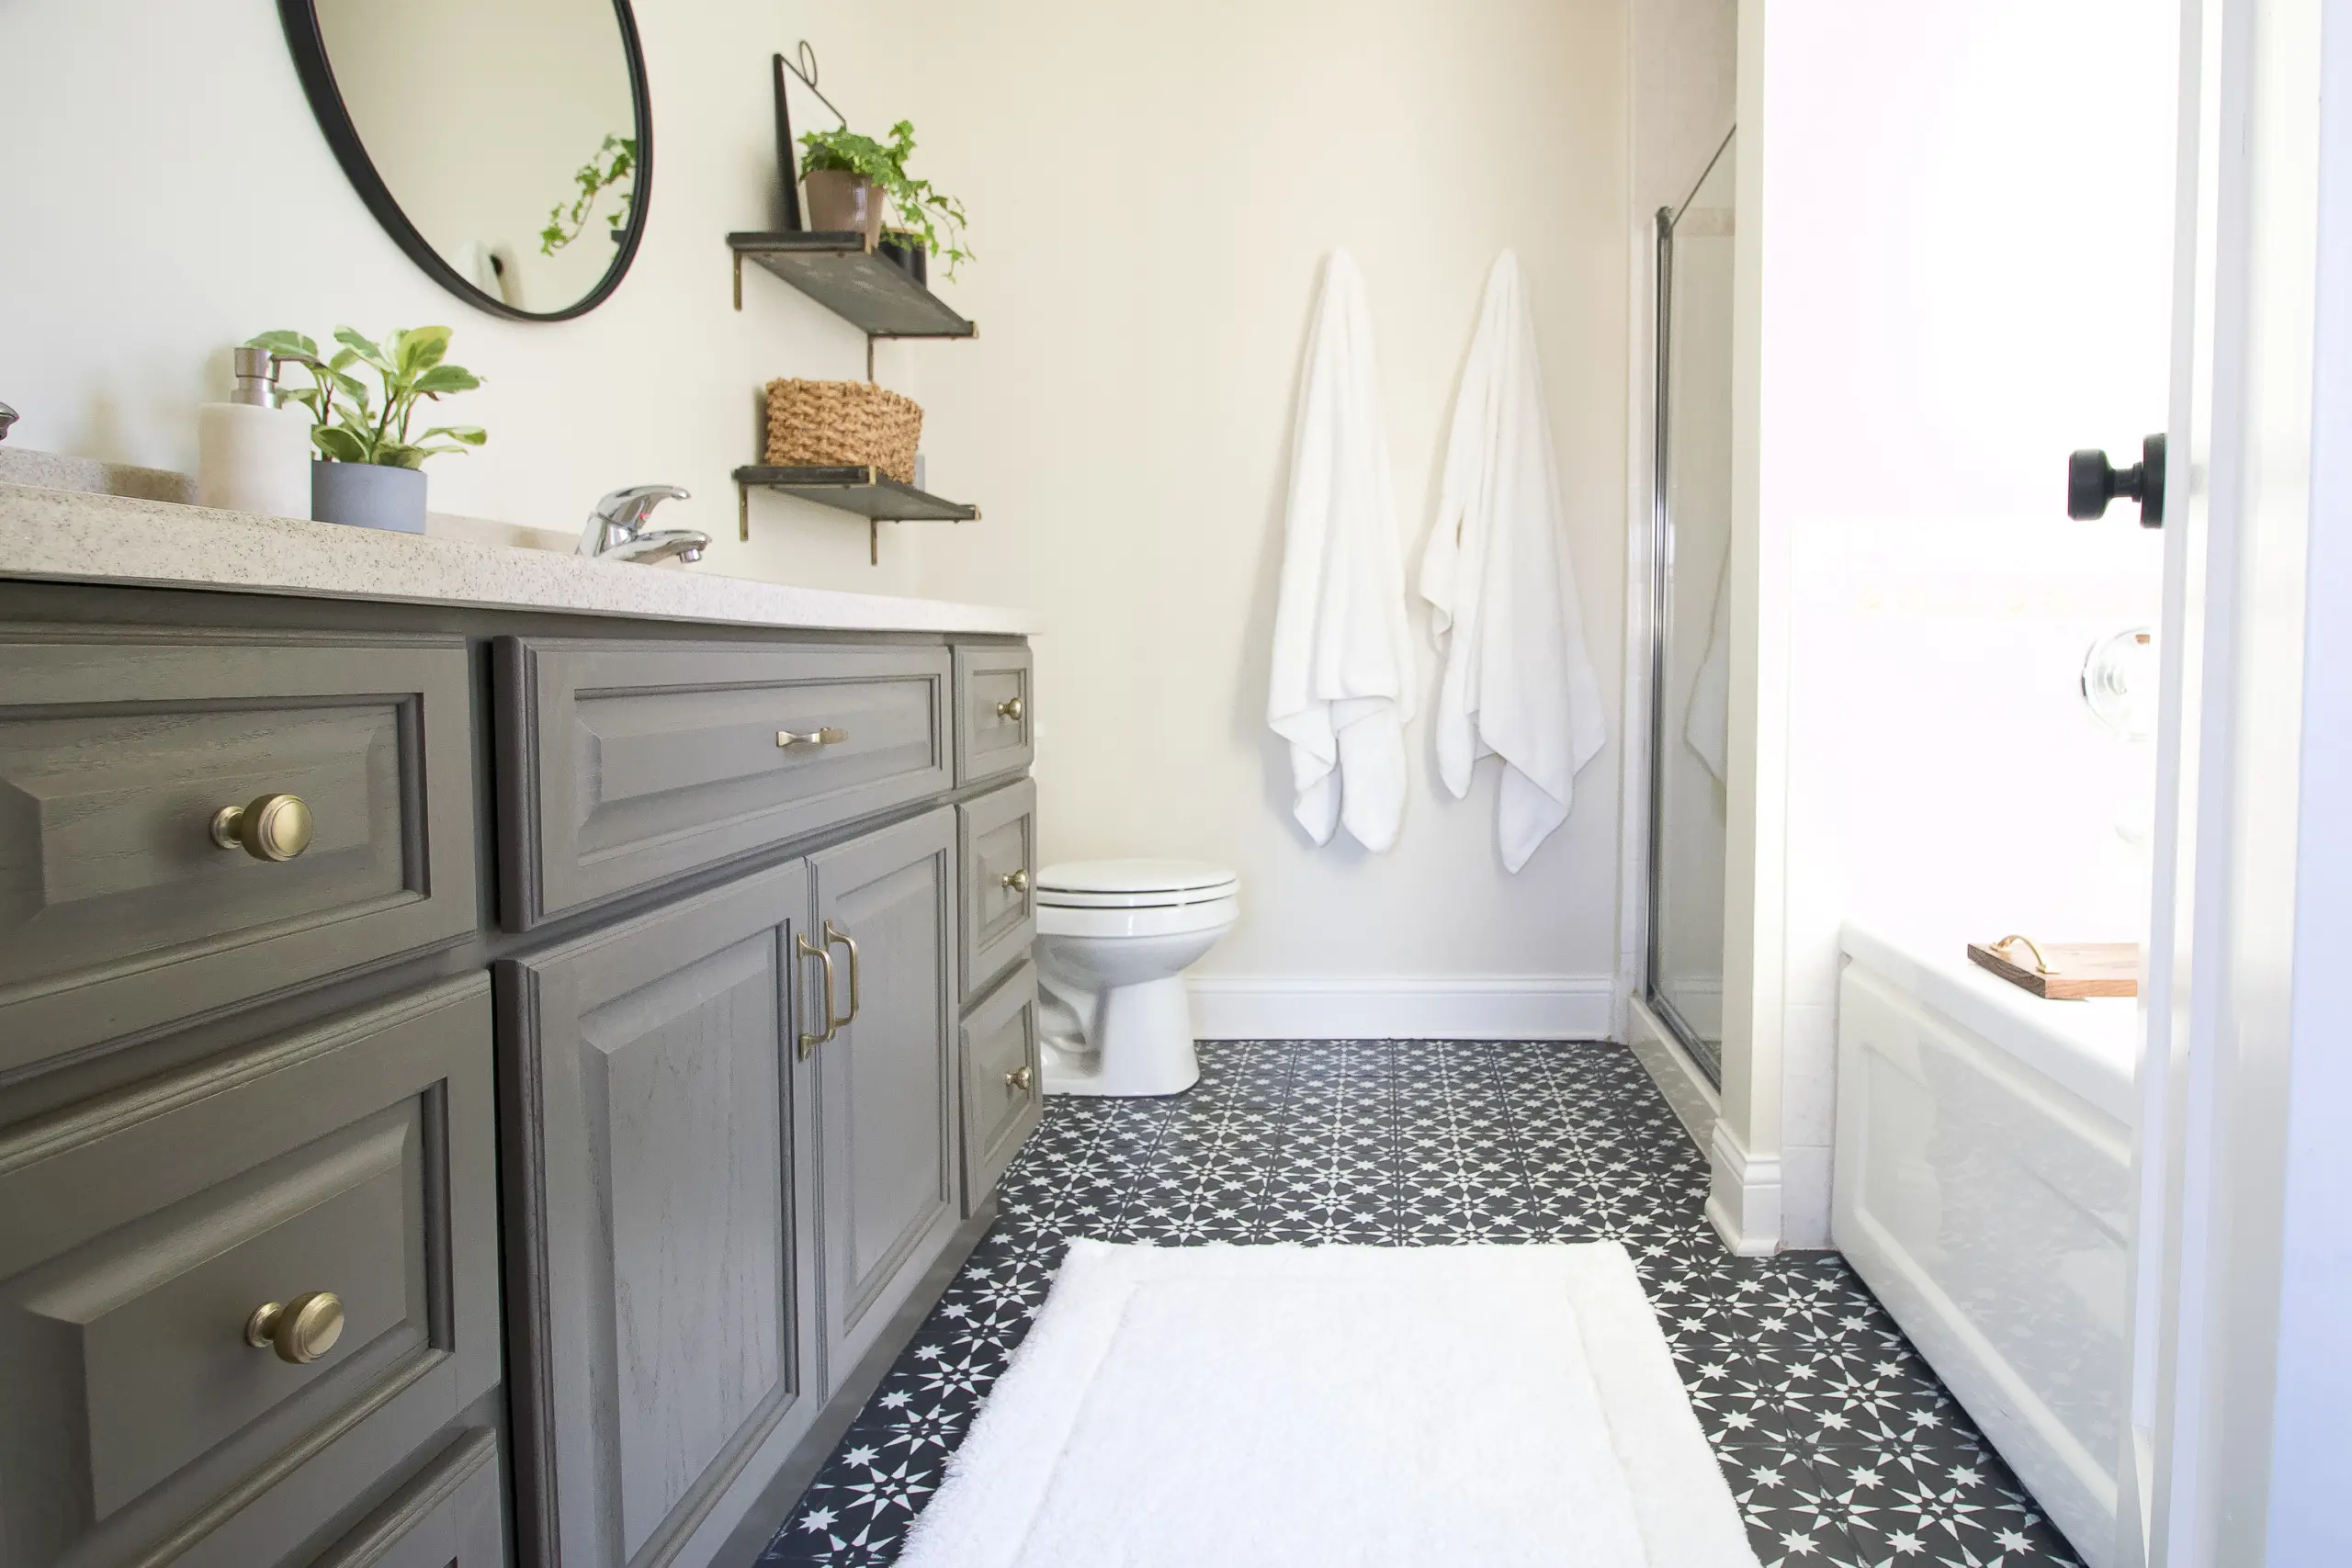
If I had a color do-over, I probably would have gone with an emerald green, similar to our laundry room cabinets. But isn’t this 1000x better than that orangey peeling wood vanity I had before? Ummm yes! I’m so happy that I did it.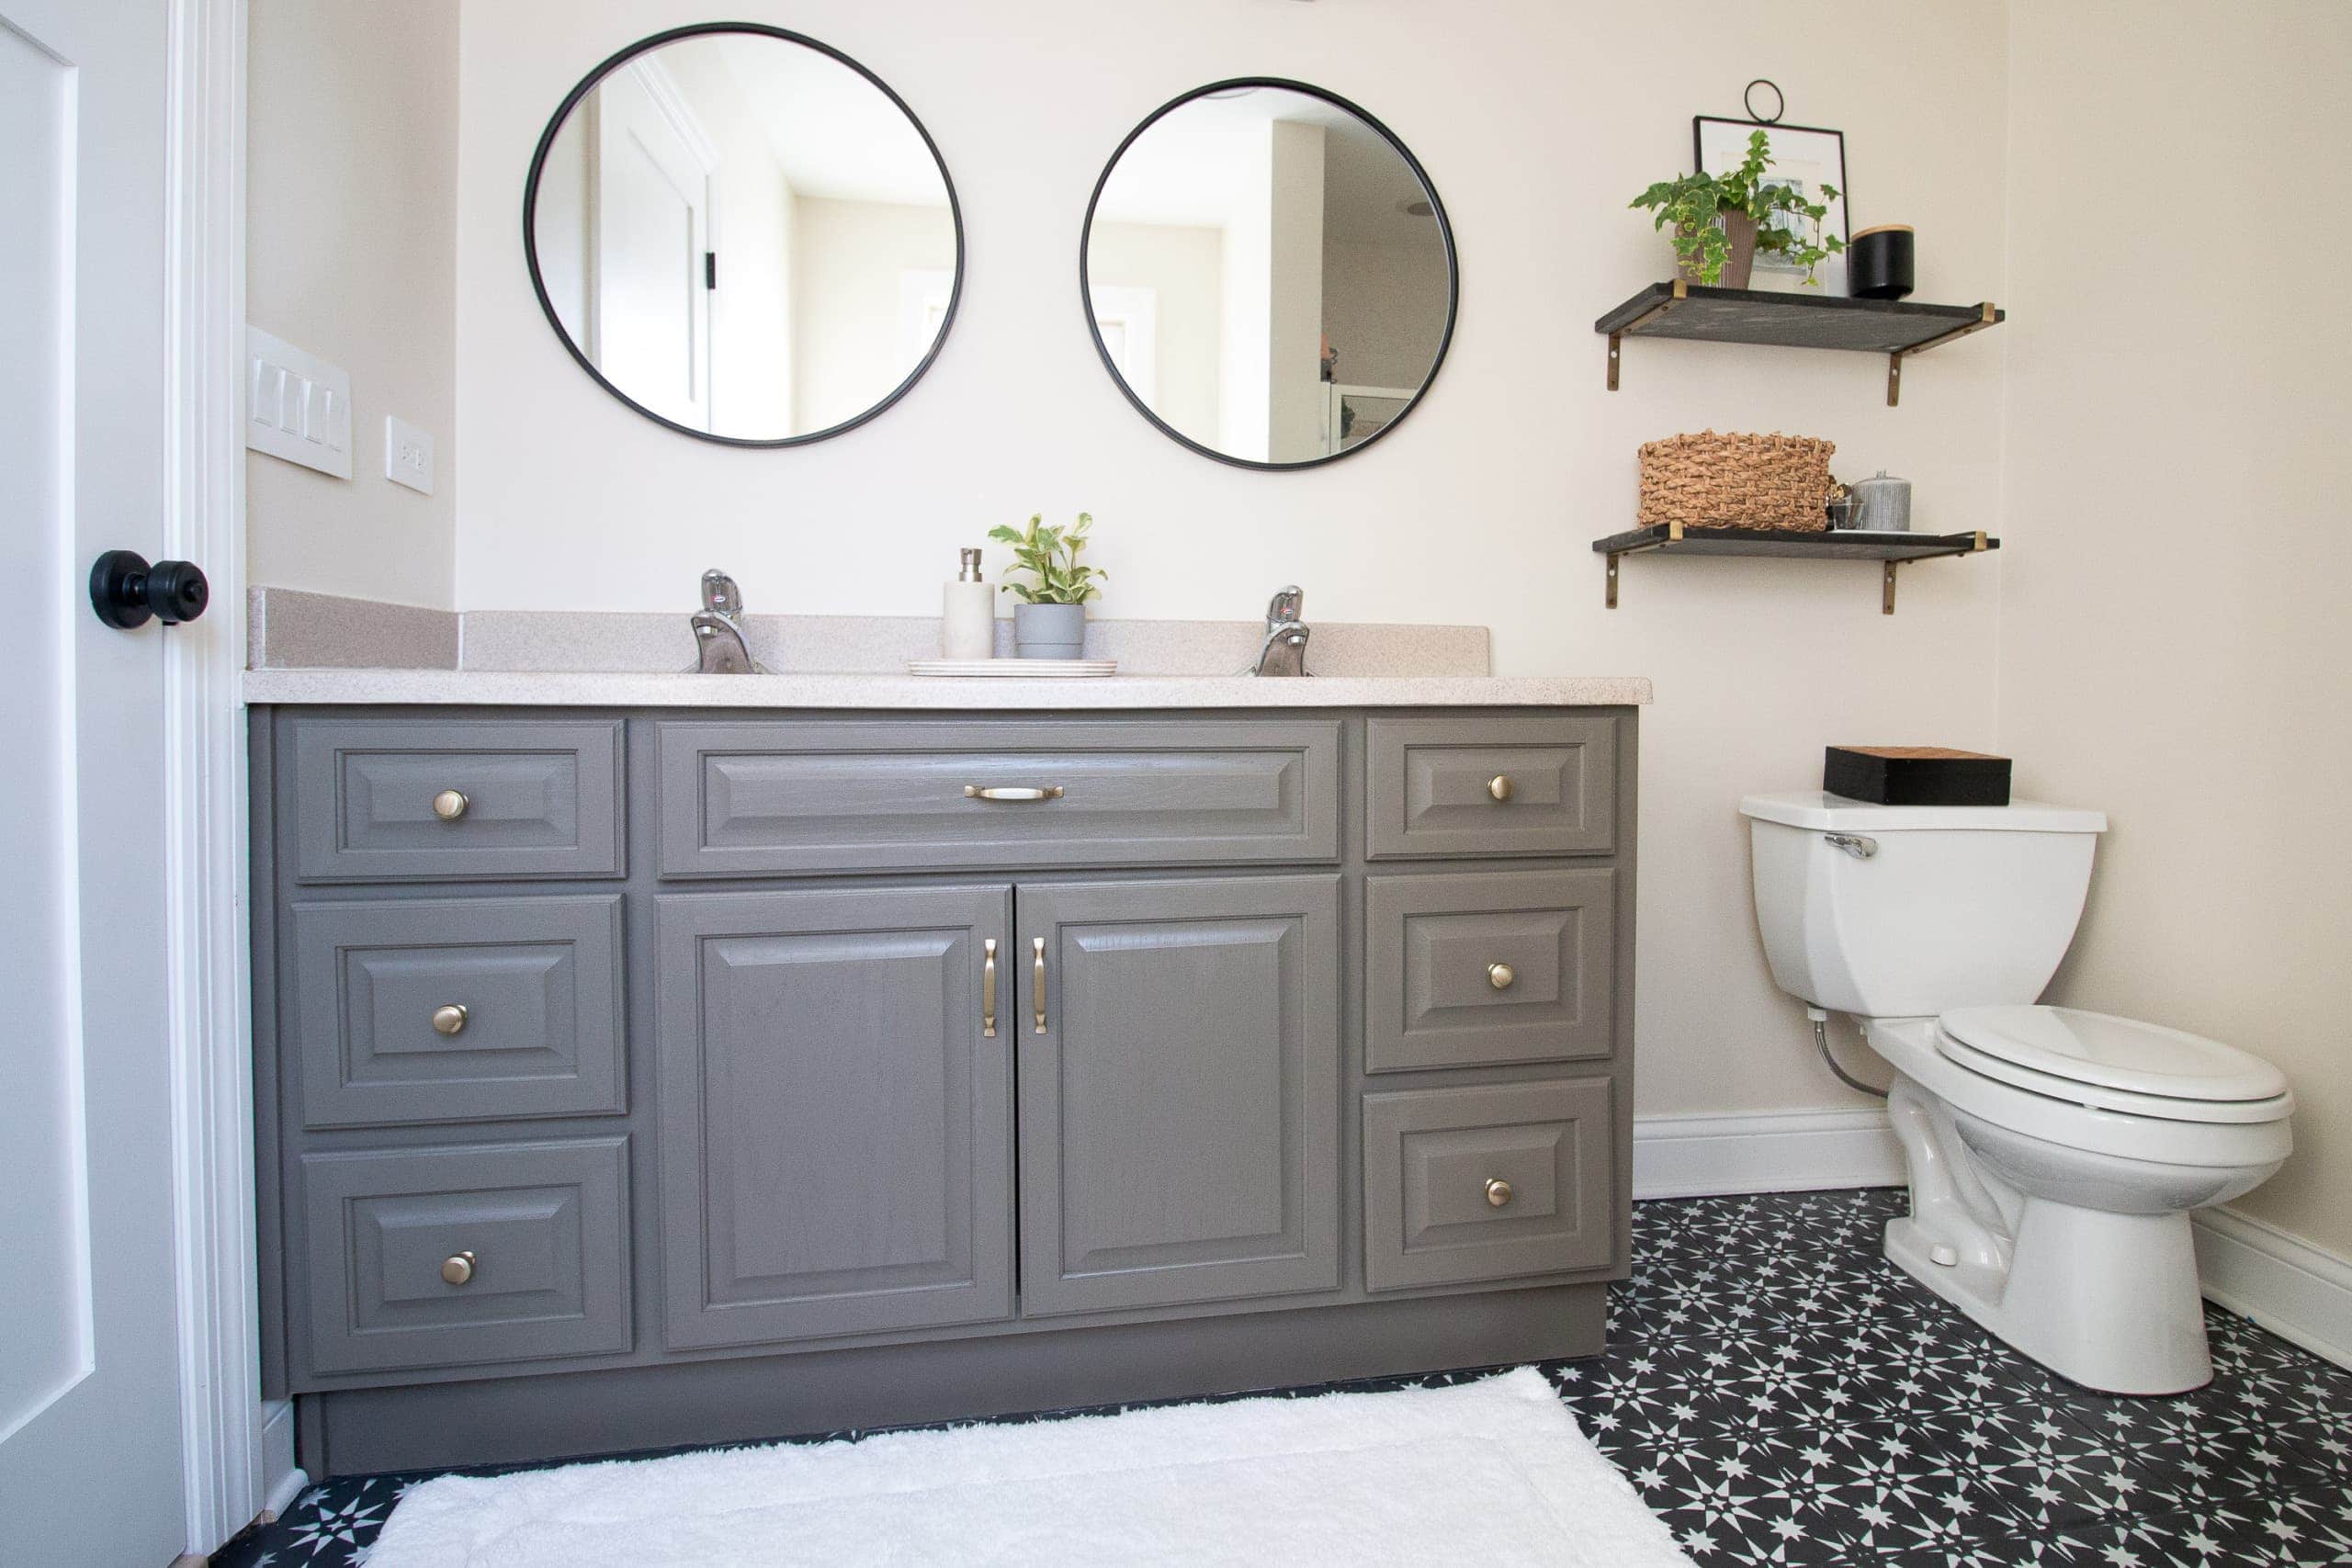
As for this painting experience and using the Cabinet Transformations kit, I have to say that I liked this method way better than my previous vanity projects. Sanding always creates a huge mess and priming is a big step in itself but with this method, I didn’t have to do either of those. Just having to clean the cabinets with the deglosser saved me a lot of time. Plus, the top coat provides a nice extra layer of protection to prevent any nicks in the cabinets.
Main Bathroom Sources
Paint Color: Benjamin Moore “Ballet White”; Trim Color: Benjamin Moore “Simply White” // Mirrors // Vanity Lights // Flushmount // Floor Tile Project // Gold Knobs // Gold Pulls // Black Shelves // White Rug // White Towels
What’s Next?
Well, I think Phase 1 of this space is officially done. I’m going to enjoy this space until it’s time to renovate and reconfigure it entirely. Timing on that is still a bit up in the air, but I’ll keep you posted once we know more. Right now, I am loving this new look!
Casey