The Mudroom: Shopping for Tile and Choosing the Winning Option
Disclaimer: This post is sponsored by Floor & Decor. All opinions and photography are our own and are not influenced by Floor & Decor. Thank you for supporting the brands that help support this blog!
The mudroom makeover continues with another exciting step of the design process– choosing the perfect flooring!
My Initial Plans
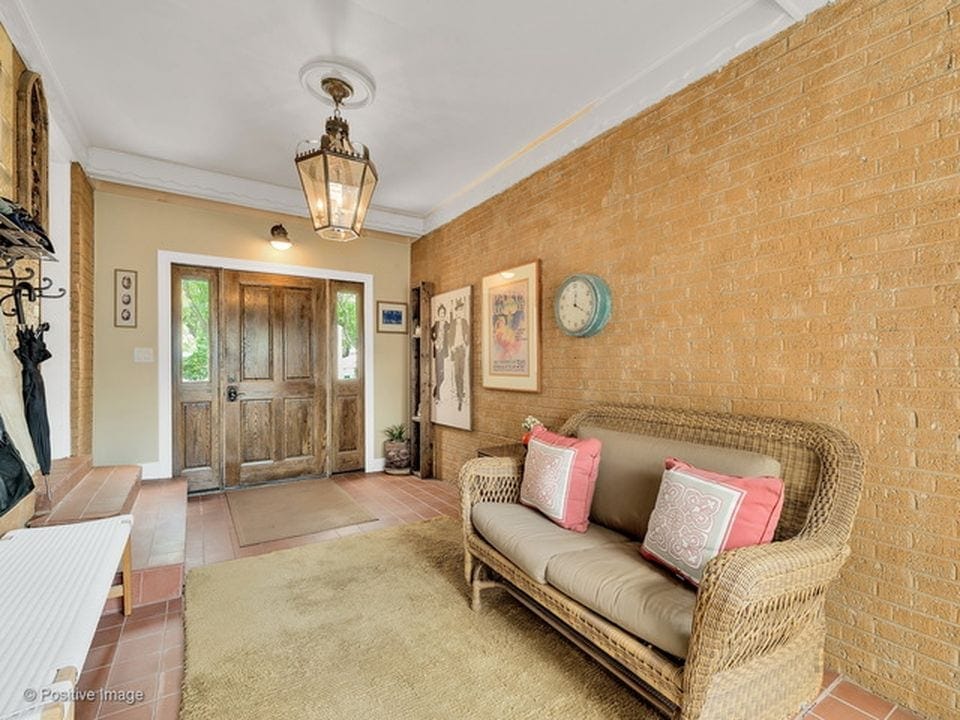
When I initially walked into the mudroom, I immediately started thinking of the potential for this space and the first thing on my mental to-do list was to rip out the clay tile. I imagined that this project would finally be our first big tiling adventure here on the blog and I was SO excited for the chance to give it a shot.
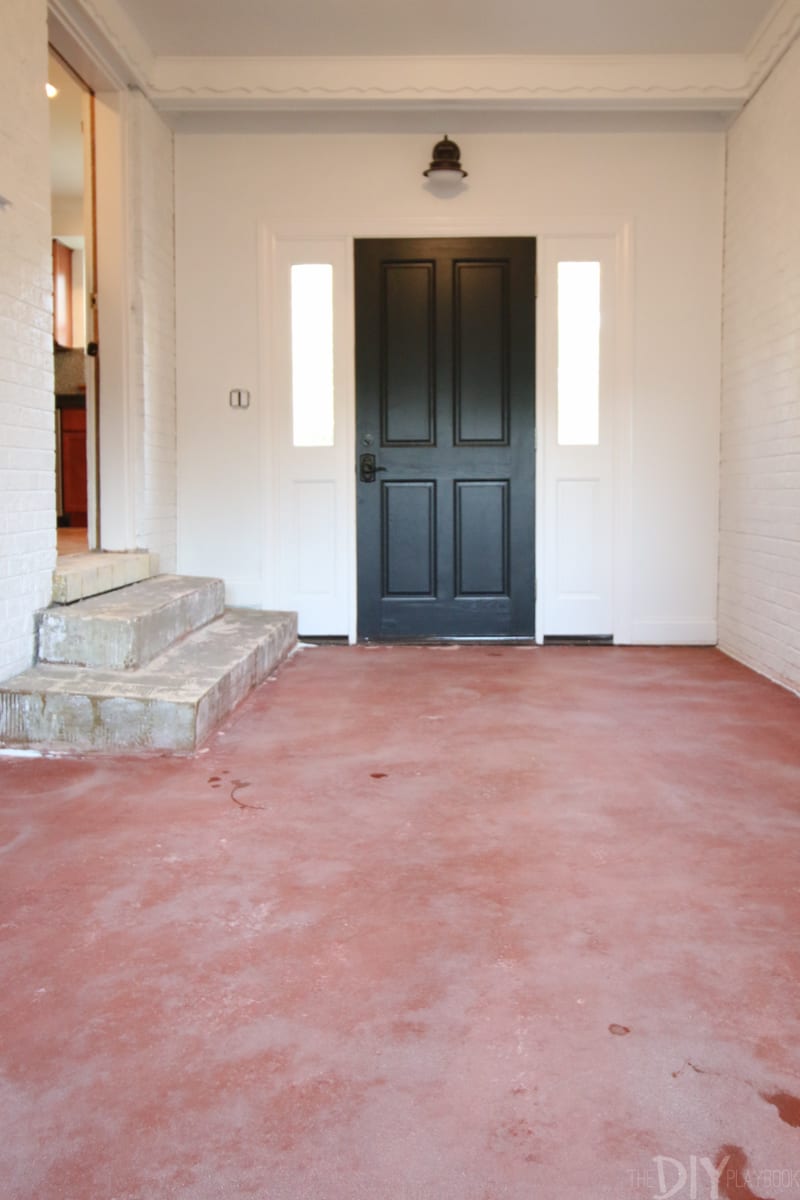
 That’s until we moved in and learned a little more about the history of this room. Like I mentioned in the design plans for this space, the mudroom was not always a part of the house. Instead, the garage and the house were detached and we came to find out there was probably a patio and a deck of some sort in this small area. Remember my dreams of DIY-ing this room’s tile?
 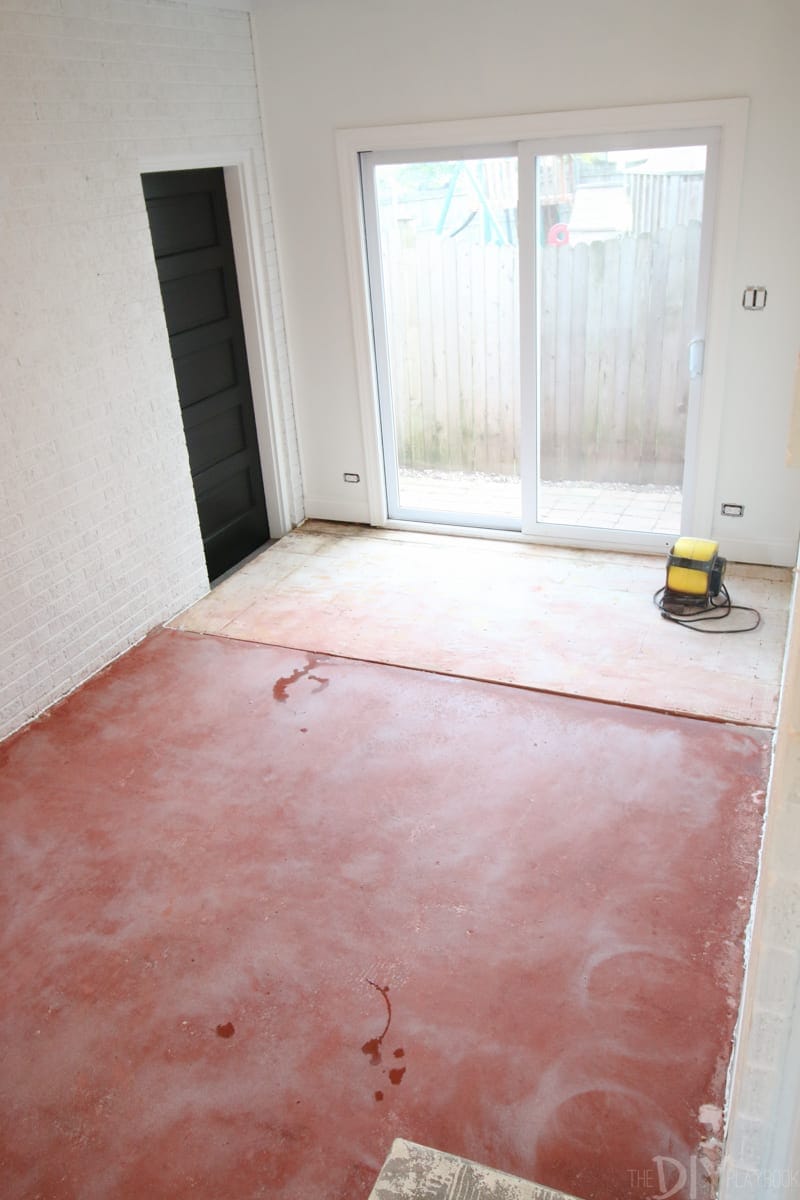 Well, they were pretty quickly crushed when we found out that the subfloor lurking under this tile was half cement and half wood. Through the year’s of ground movement, the floor was very uneven and needed A LOT of attention from a professional… or what turned out to be a whole team of professionals.
The bad news is Casey and I couldn’t DIY this project because it was far too complex for two tiling rookies. The good news is that I have three bathrooms begging for two eager tilers to give them a little love in the future. Bottom line: DIY tiling is still gonna happen…someday.
Tile Shopping at Floor & Decor
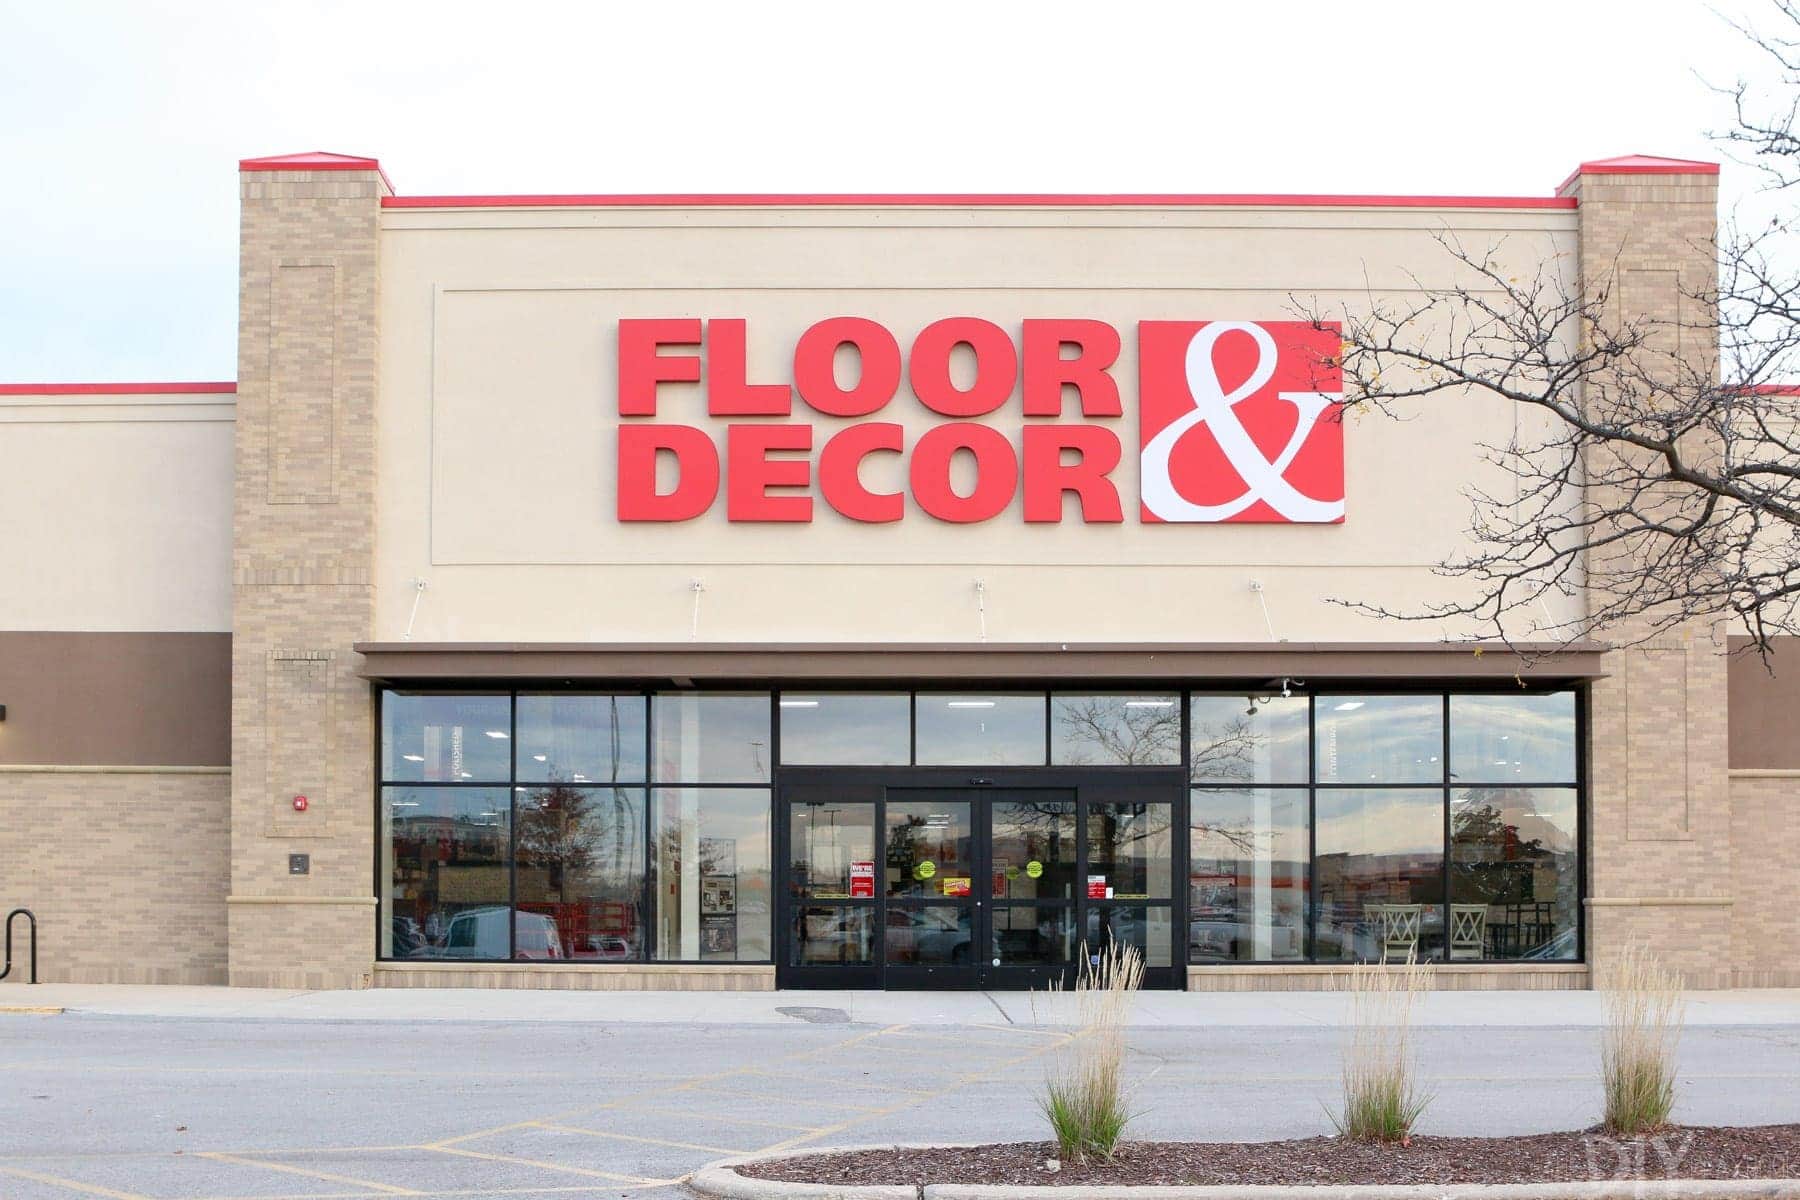
But back to the mudroom tile and my vision for this space. The first place Matt and I visited to find new tile is the Floor & Decor store that opened near our house last year. It’s literally an entire store dedicated to the flooring, tile, and stone of ALL kinds. Plus it’s right down the street!
 Marble tile, hardwood floors, ceramic tile, long planks, small penny tiles, countertops, bathroom tile, even sinks… this place has so many options at affordable prices so we were excited to explore. We’ve been there “window shopping” quite a few times before, but never had a need to actually buy until now, which made the process a lot more exciting (even for Matt)!
Pattern Tile Options
I originally thought about adding pattern tile to the floor in here, especially after the walls were white and bright. The contrast, the pattern, and the fact that this was a mudroom made me think that the pattern tile would be a really great option.


Let’s be honest, how cool are these prints?!

I almost went in that direction, but the room is 200 square feet and I was nervous that the pattern in such a large room could become too busy looking. I probably would have gone with one of these options if the room wasn’t as spacious, but decided to go a little more neutral because of the large room.
Marble Goals
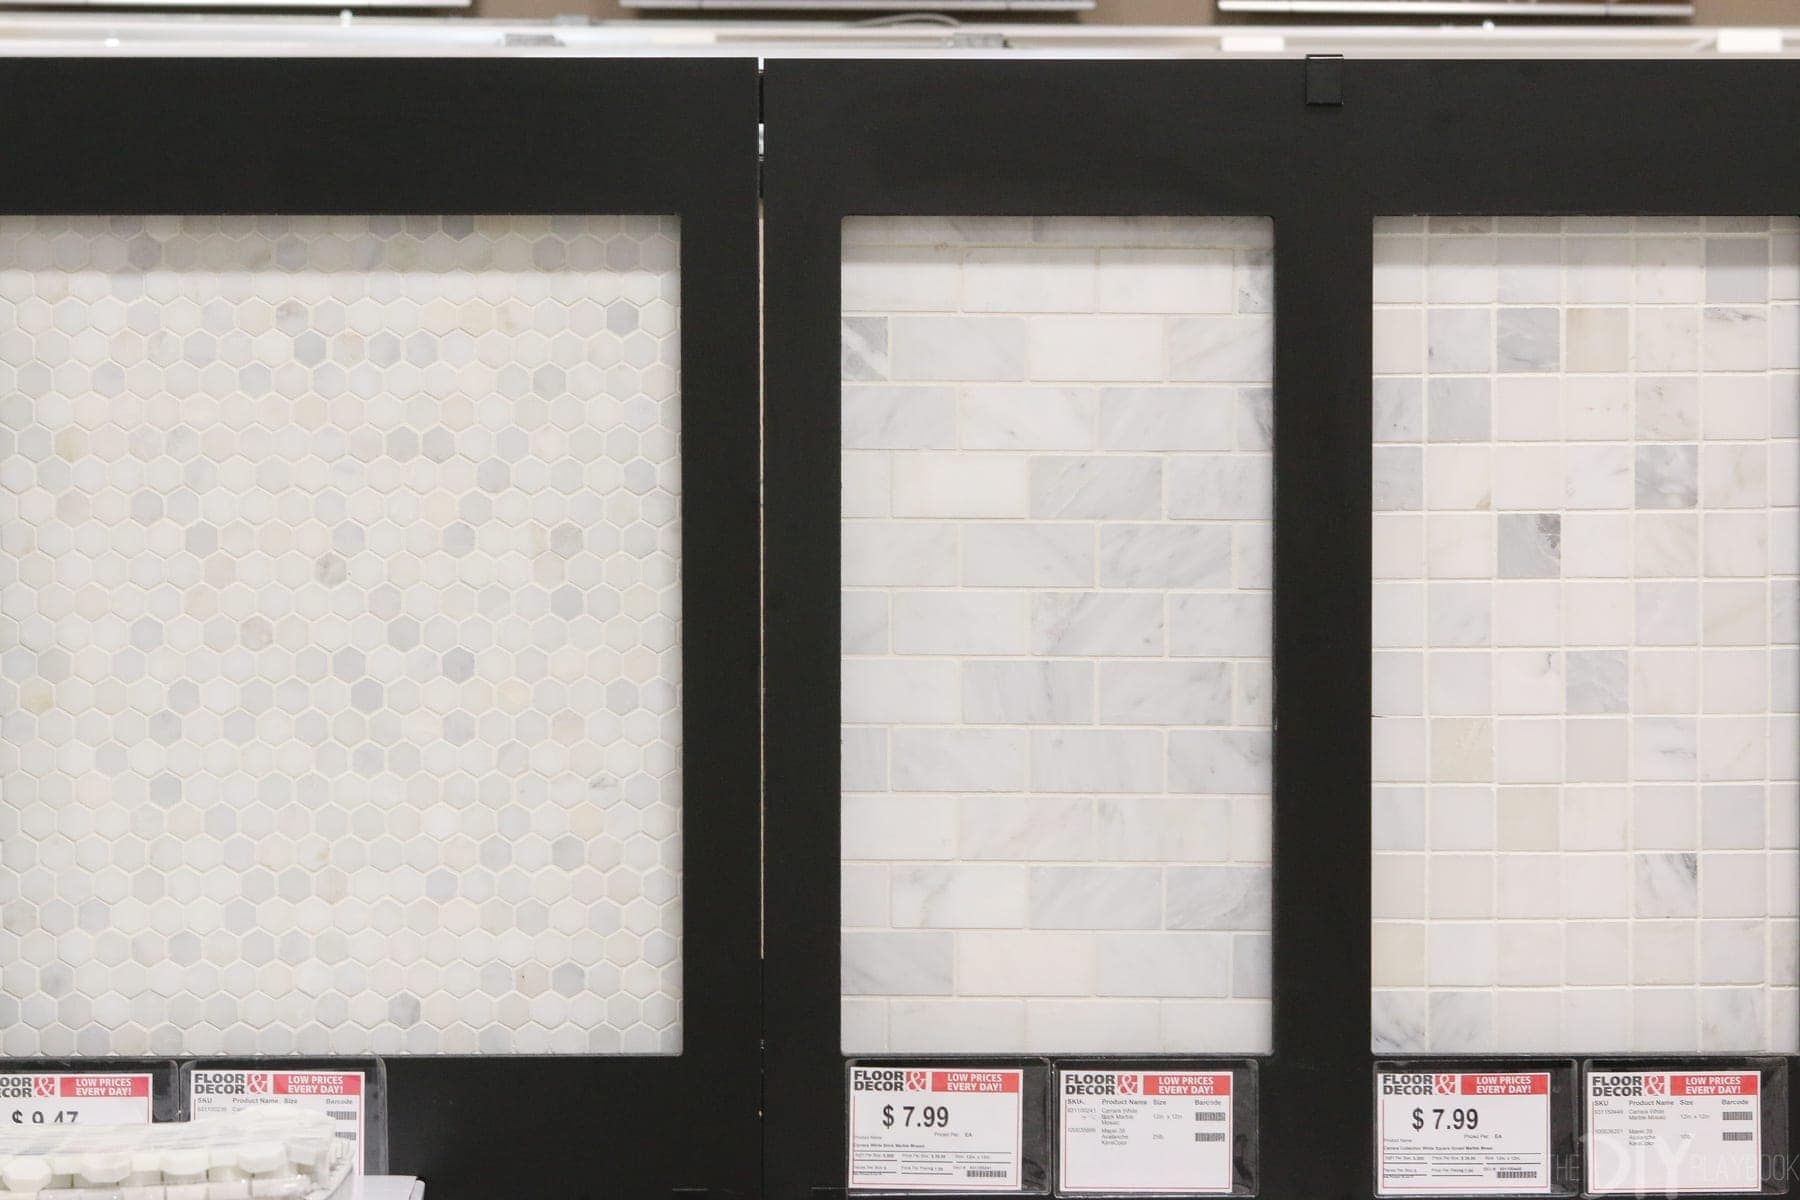
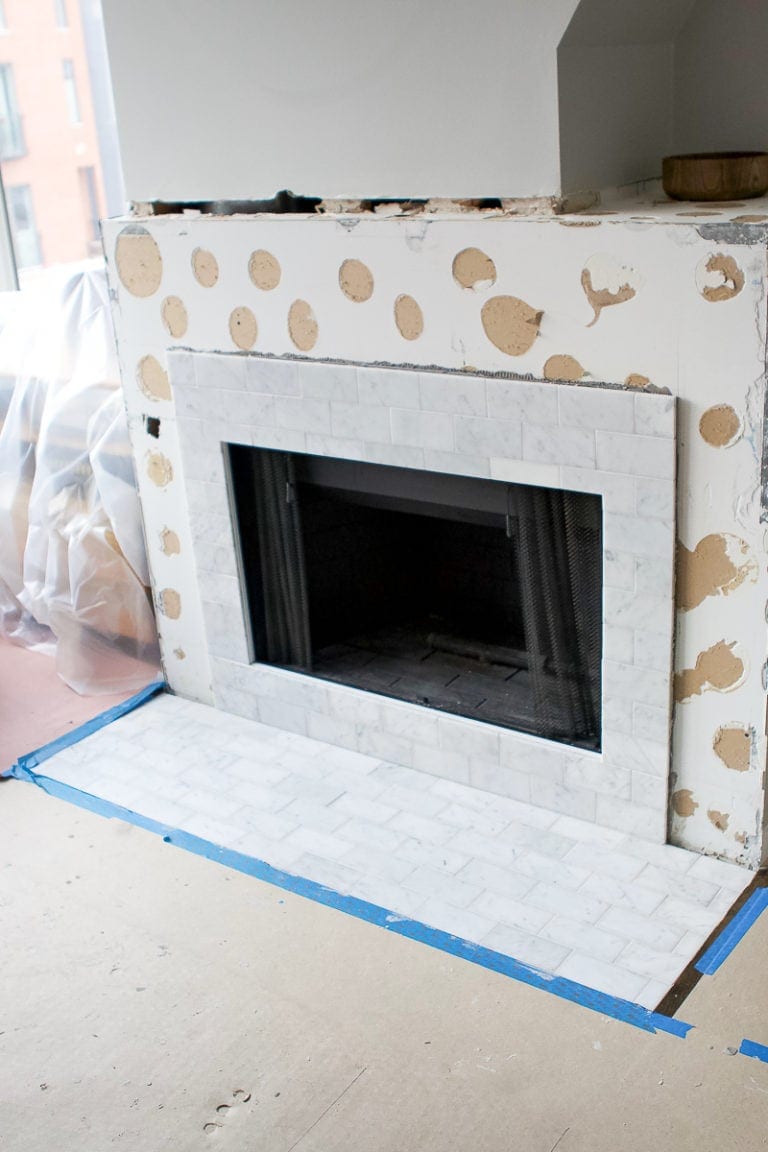
I love the marble tiles and penny tile at Floor & Decor, but the mudroom was too big and could potentially become too wet for a slippery tile like these. Although I had to pass on these for the mudroom, I was able to sneak one of these options into my cart for another tiny tiling project we have in the works. (I’m looking at you old, red fireplace!)
Floating Hardwood Floor

Since the subfloor had some serious issues, I also thought about doing a floating hardwood floor. This option would have been more forgiving over time since it could slightly “move” with the ground if the ground continues to shift over time. But since there are stairs in this room, the floating floors were not an option for this specific space. If you’re in the game for a floating floor or hardwood floors in general, definitely check out Floor & Decor — the selection of wood was huge, and affordable when compared to many competitors.
Faux Wood Ceramic Tile

The next option we considered, and ultimately ended up choosing, was a ceramic tile that looked like wood, but would be more tolerant to the elements/traffic this room will see over time. I have always loved the look of this option and REALLY love that the price tag is a fraction of real hardwood floors.  But boy oh boy, I had no idea how many different options there were when choosing wood-looking tile. WOW!


Floor & Decor literally had two full aisles of options. It was good for rookies like us because they clearly labeled which tiles could be “indoor/outdoor”, which is what we tried to narrow in on since the floor may see snowy boots or wet umbrellas. Our contractor also preferred we chose a tile that had pillowed edges because these were more forgiving on an imperfect floor than the rectified edges.
Bringing Samples Home

Just those requirements helped narrow down our options quite a bit (thank goodness!). The last thing I wanted to definitely do was bring home a few of the tiles and put them into the space to see how they would look in the mudroom… just like I would with paint samples.  We bought 5 pieces of each to get a good sense of what they would look like. Floor & Decor is pretty awesome about this because you can buy as many pieces as you want and bring them back to receive a full refund, as long as you have the receipt and you return them within 30 days.
The Winning Tile!

We ultimately loved this tile when we brought home the different samples. The light color and subtle grain were exactly what I had in mind.
The Cost Breakdown
We bought 200 square feet of this ceramic wood-looking tile and I can’t WAIT for you to see how it turned out. The tile was on sale for just under $3 a square foot, making the cost of this tile a little over $600. We also bought the grout and all of the other supplies in the store, so our total came out to be a little over $700, which was actually a great deal when comparing other comparable options!
Lesson Learned

One (of the many) things I learned when choosing tile is to make sure you pick out the grout color you love. Floor & Decor had over 40 color options! Seeing each sample color right next to the tile was really helpful in choosing the grout color that would work for us. I wanted to make this tile look as close to wood as possible, so I chose a grout color that would blend in. I also talked to our contractor and made sure he was allowing for small grout lines. Just some conversations to keep in mind before you get started.
Progress Updates Soon!
Hopefully, by Monday, I’ll be back with a whole post on how this space looks with the new tile (spoiler alert: so different and SO good)! You guys have been so supportive all week about the mudroom, thank you. I can’t wait to show you the next step because it’s the BEST step yet.
Until then though, happy weekend friends!
Bridget