Kicking Off Our Backyard Renovation
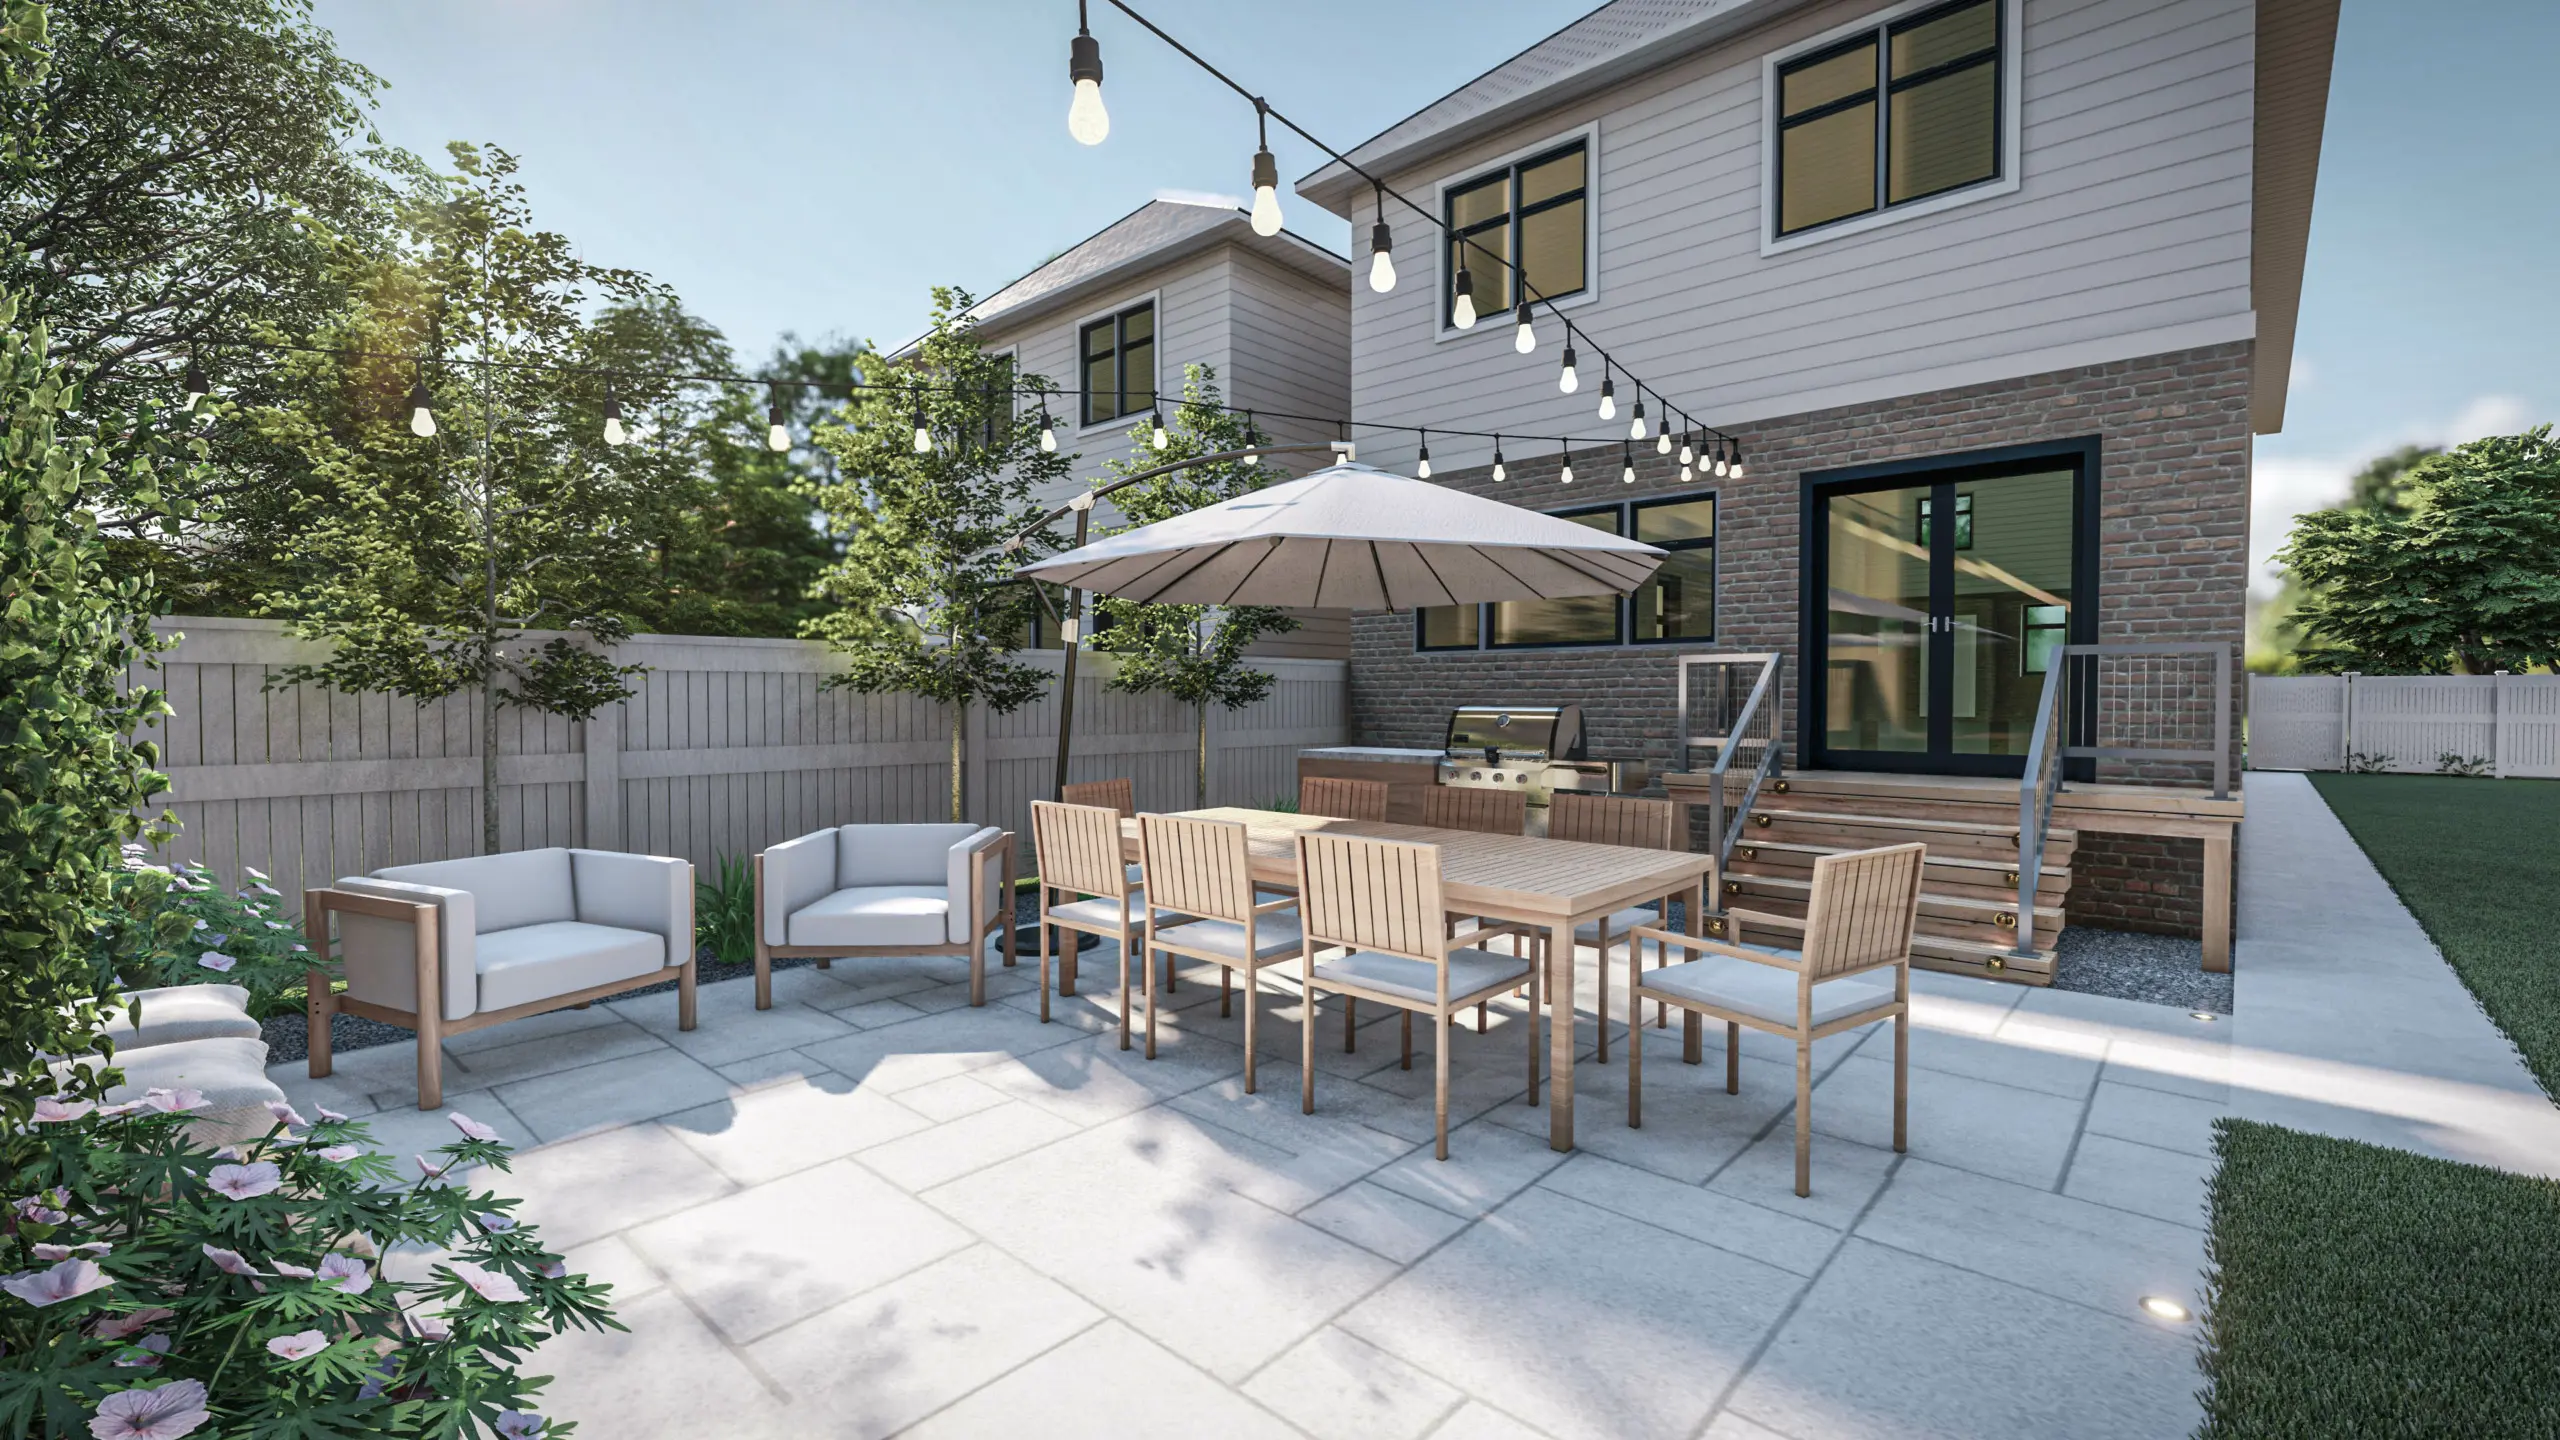
At the beginning of March, I showcased the vision for our backyard that Yardzen created for us. The response from you guys was unbelievable. Clearly, everyone is excited about some outdoor inspiration! 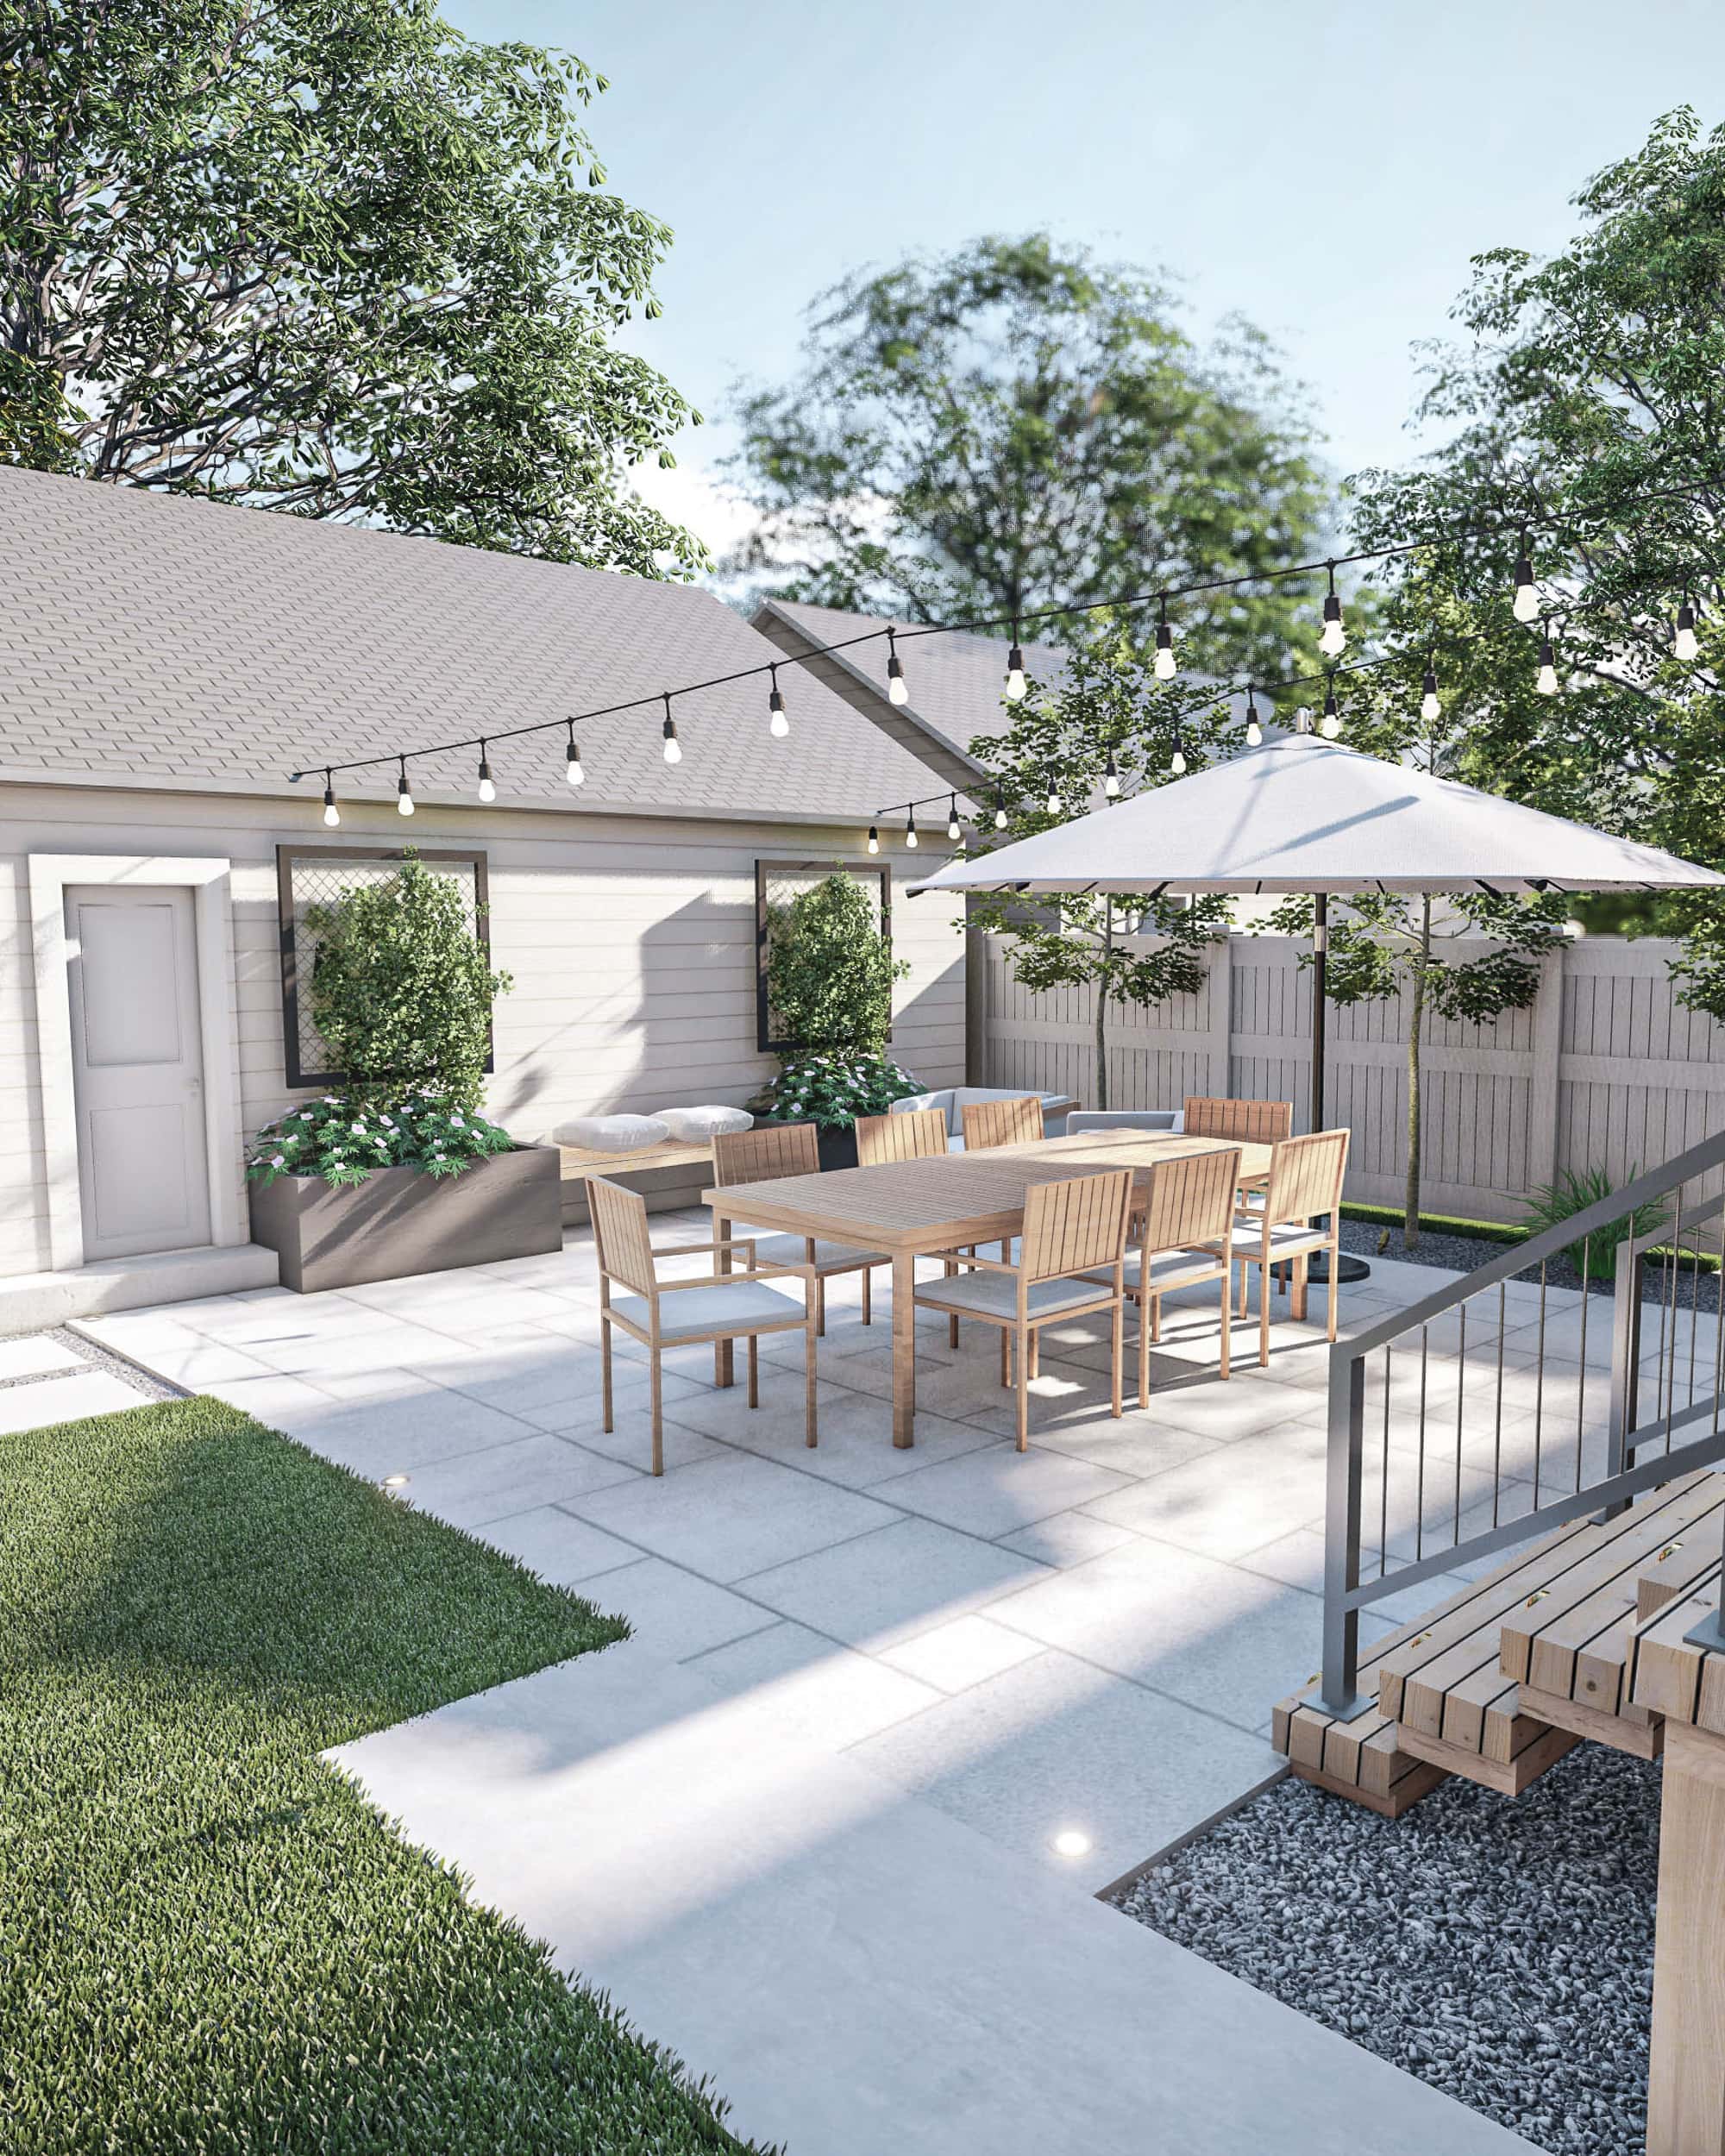
But creating those designs was just the first step of this backyard renovation process. Once we had those drawings, it was time to actually figure out how the heck to implement them.
Interviewing Landscape Architects & Contractors
Yardzen provided us with some local landscape architects and contractors and we also did some research of our own. This is a big project, so we really wanted someone who understood our vision, clearly communicated with us, and would be able to really bring our dream backyard to life. While we have a go-to contractor for our interior projects, and we love him, this is a bit out of the scope of what he normally does, so sadly he wasn’t on our list of contenders. 
We met with some of the contractors recommended by Yardzen, along with a few of our own, and we actually ended up going with a family friend, John, who has done lots of landscaping for my dad’s homes and my brother’s home over the years. We know him well and he was really excited about the project. Not to mention, he is a talented landscape architect and knows everything about plants, trees, flowers, etc. Since that’s not our expertise (at all!), we were excited to have a pro who could finalize the perfect landscaping plan for us.
His company, JGS Landscape, is able to provide both the hardscaping – the pavers, deck, etc. – and the landscaping. Because his company is all inclusive, it made things a lot easier for us. We now have JGS Landscape overseeing the entire project, instead of having both a contractor and landscaper trying to coordinate and work together.
Tweaking the Design
We met with John a few times to review our Yardzen designs, tour the backyard, and come up with a final gameplan for the backyard renovation. He loved the design we came up with but had some ideas of his own, which we really appreciated. After lots of back and forth and walking through the space, we ended up making a few changes to the initial design plan. Let’s review them…
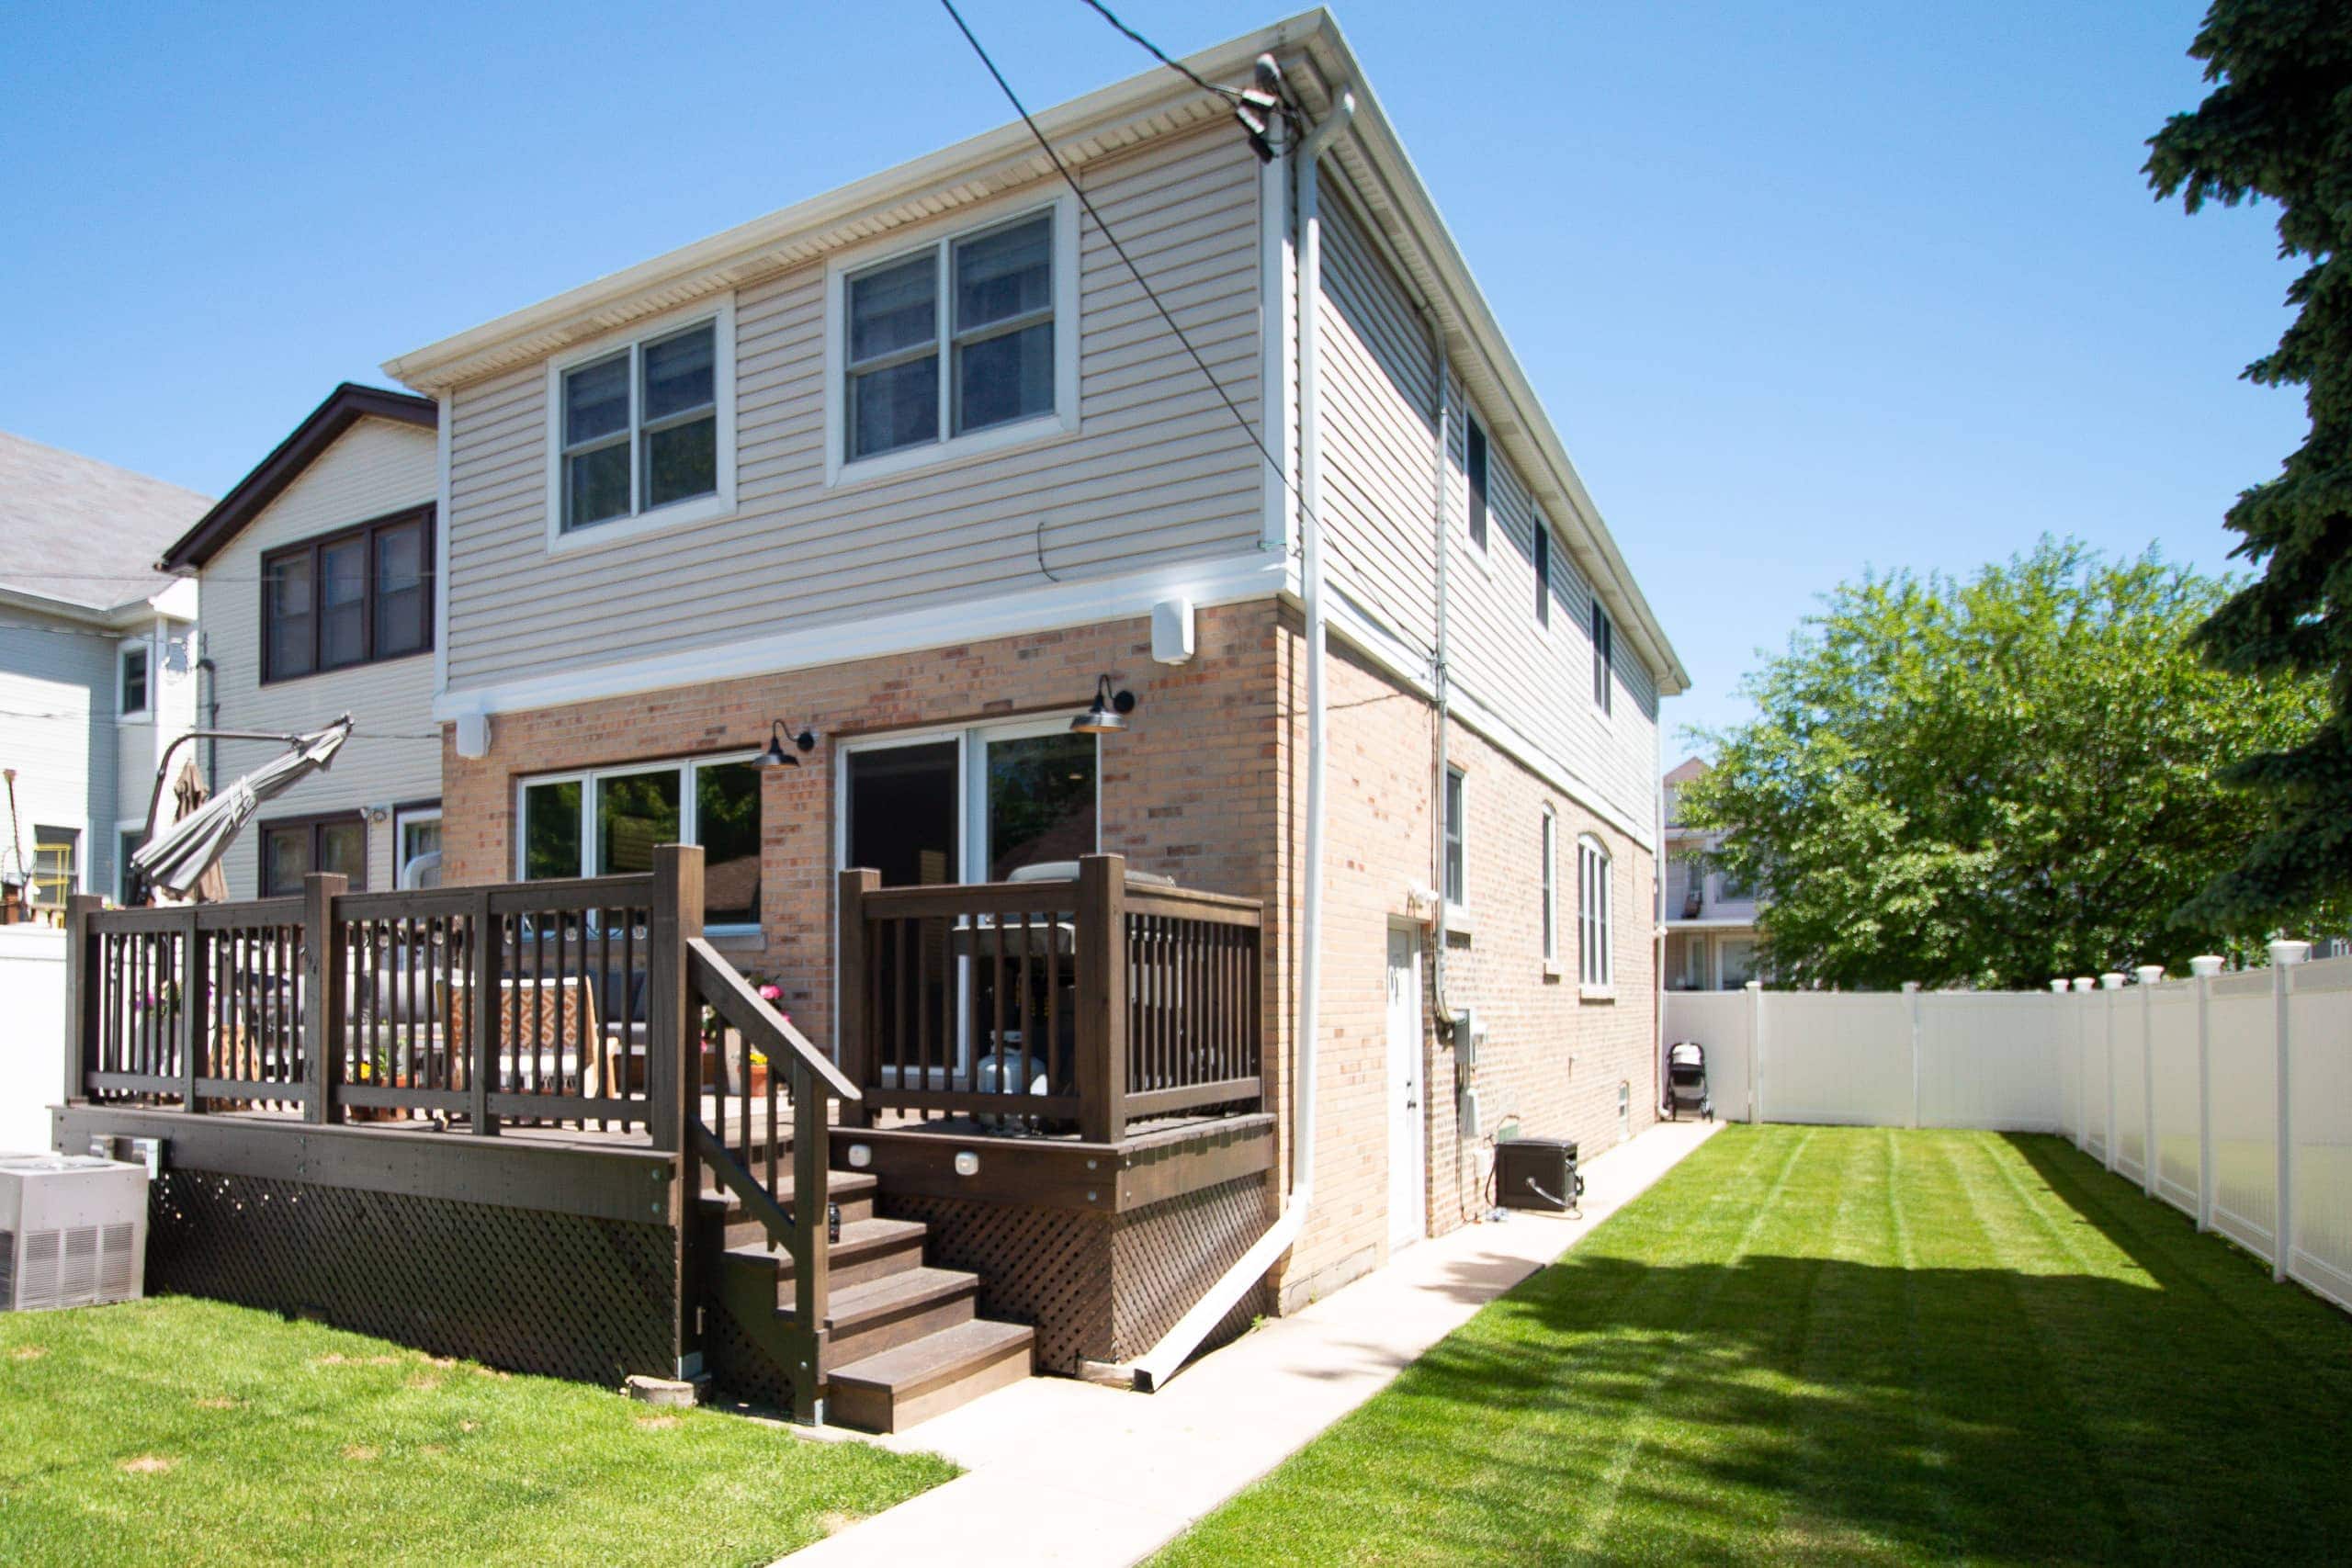
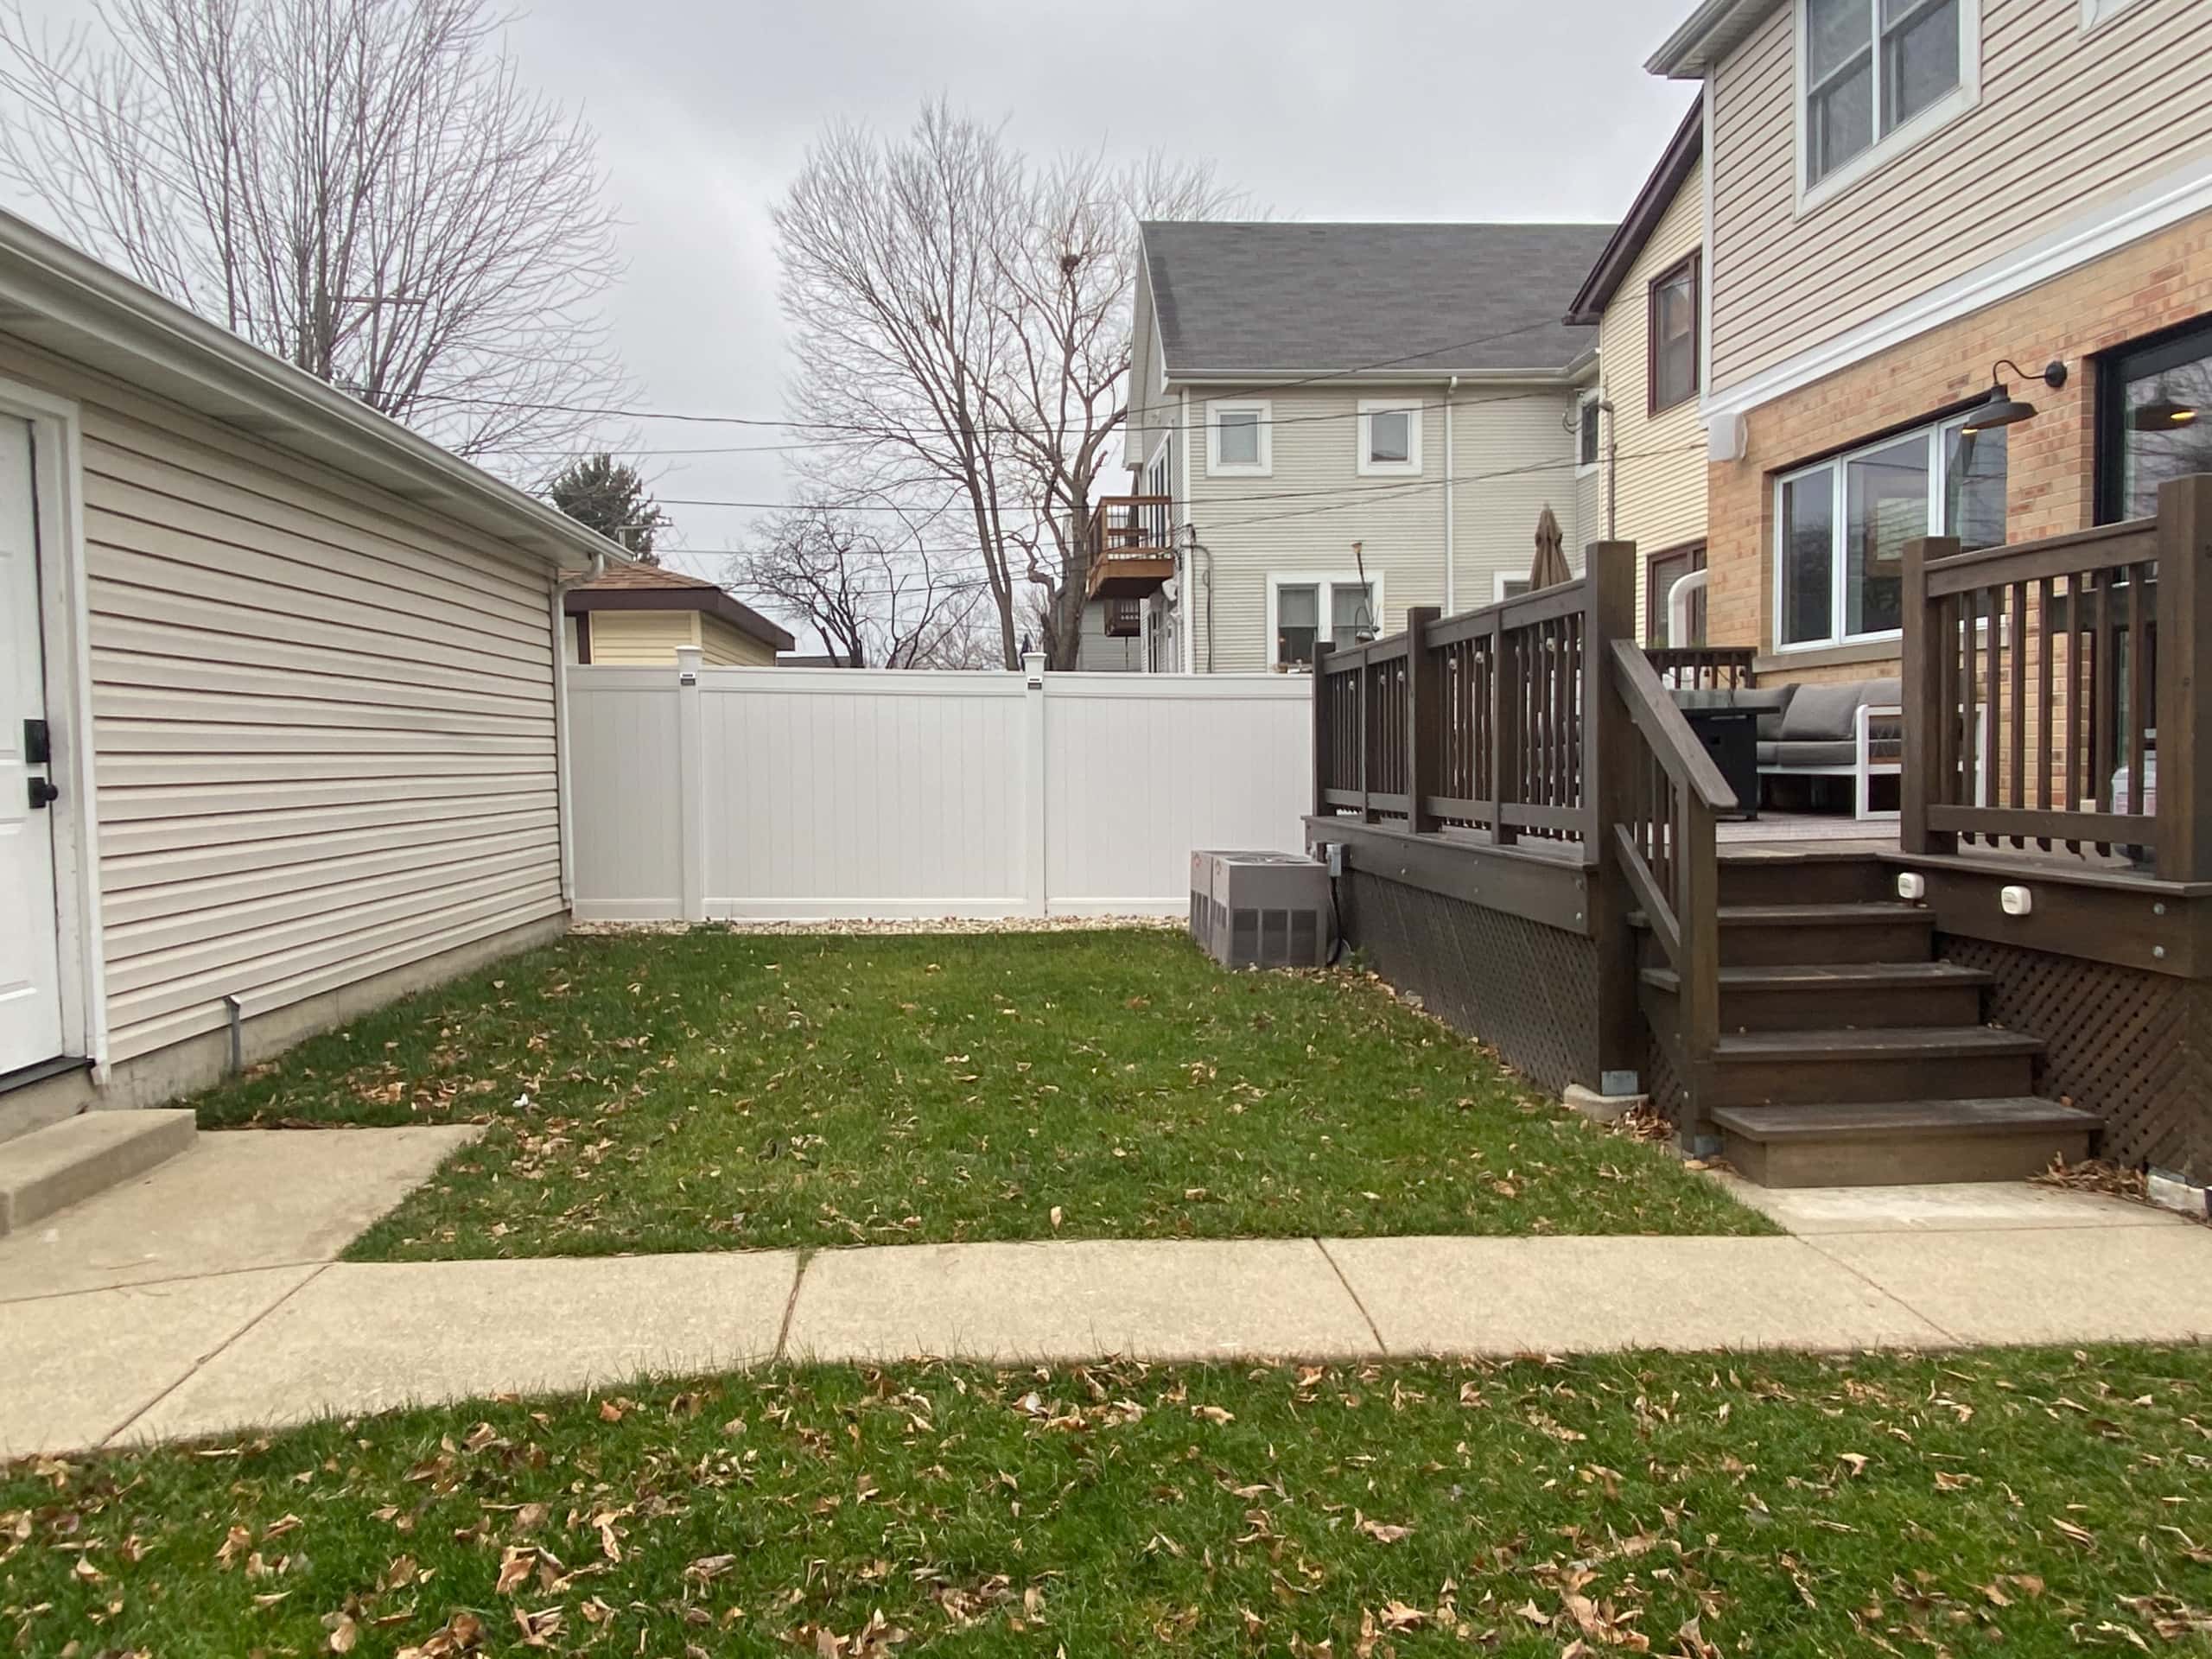
The Deck/Stair Area
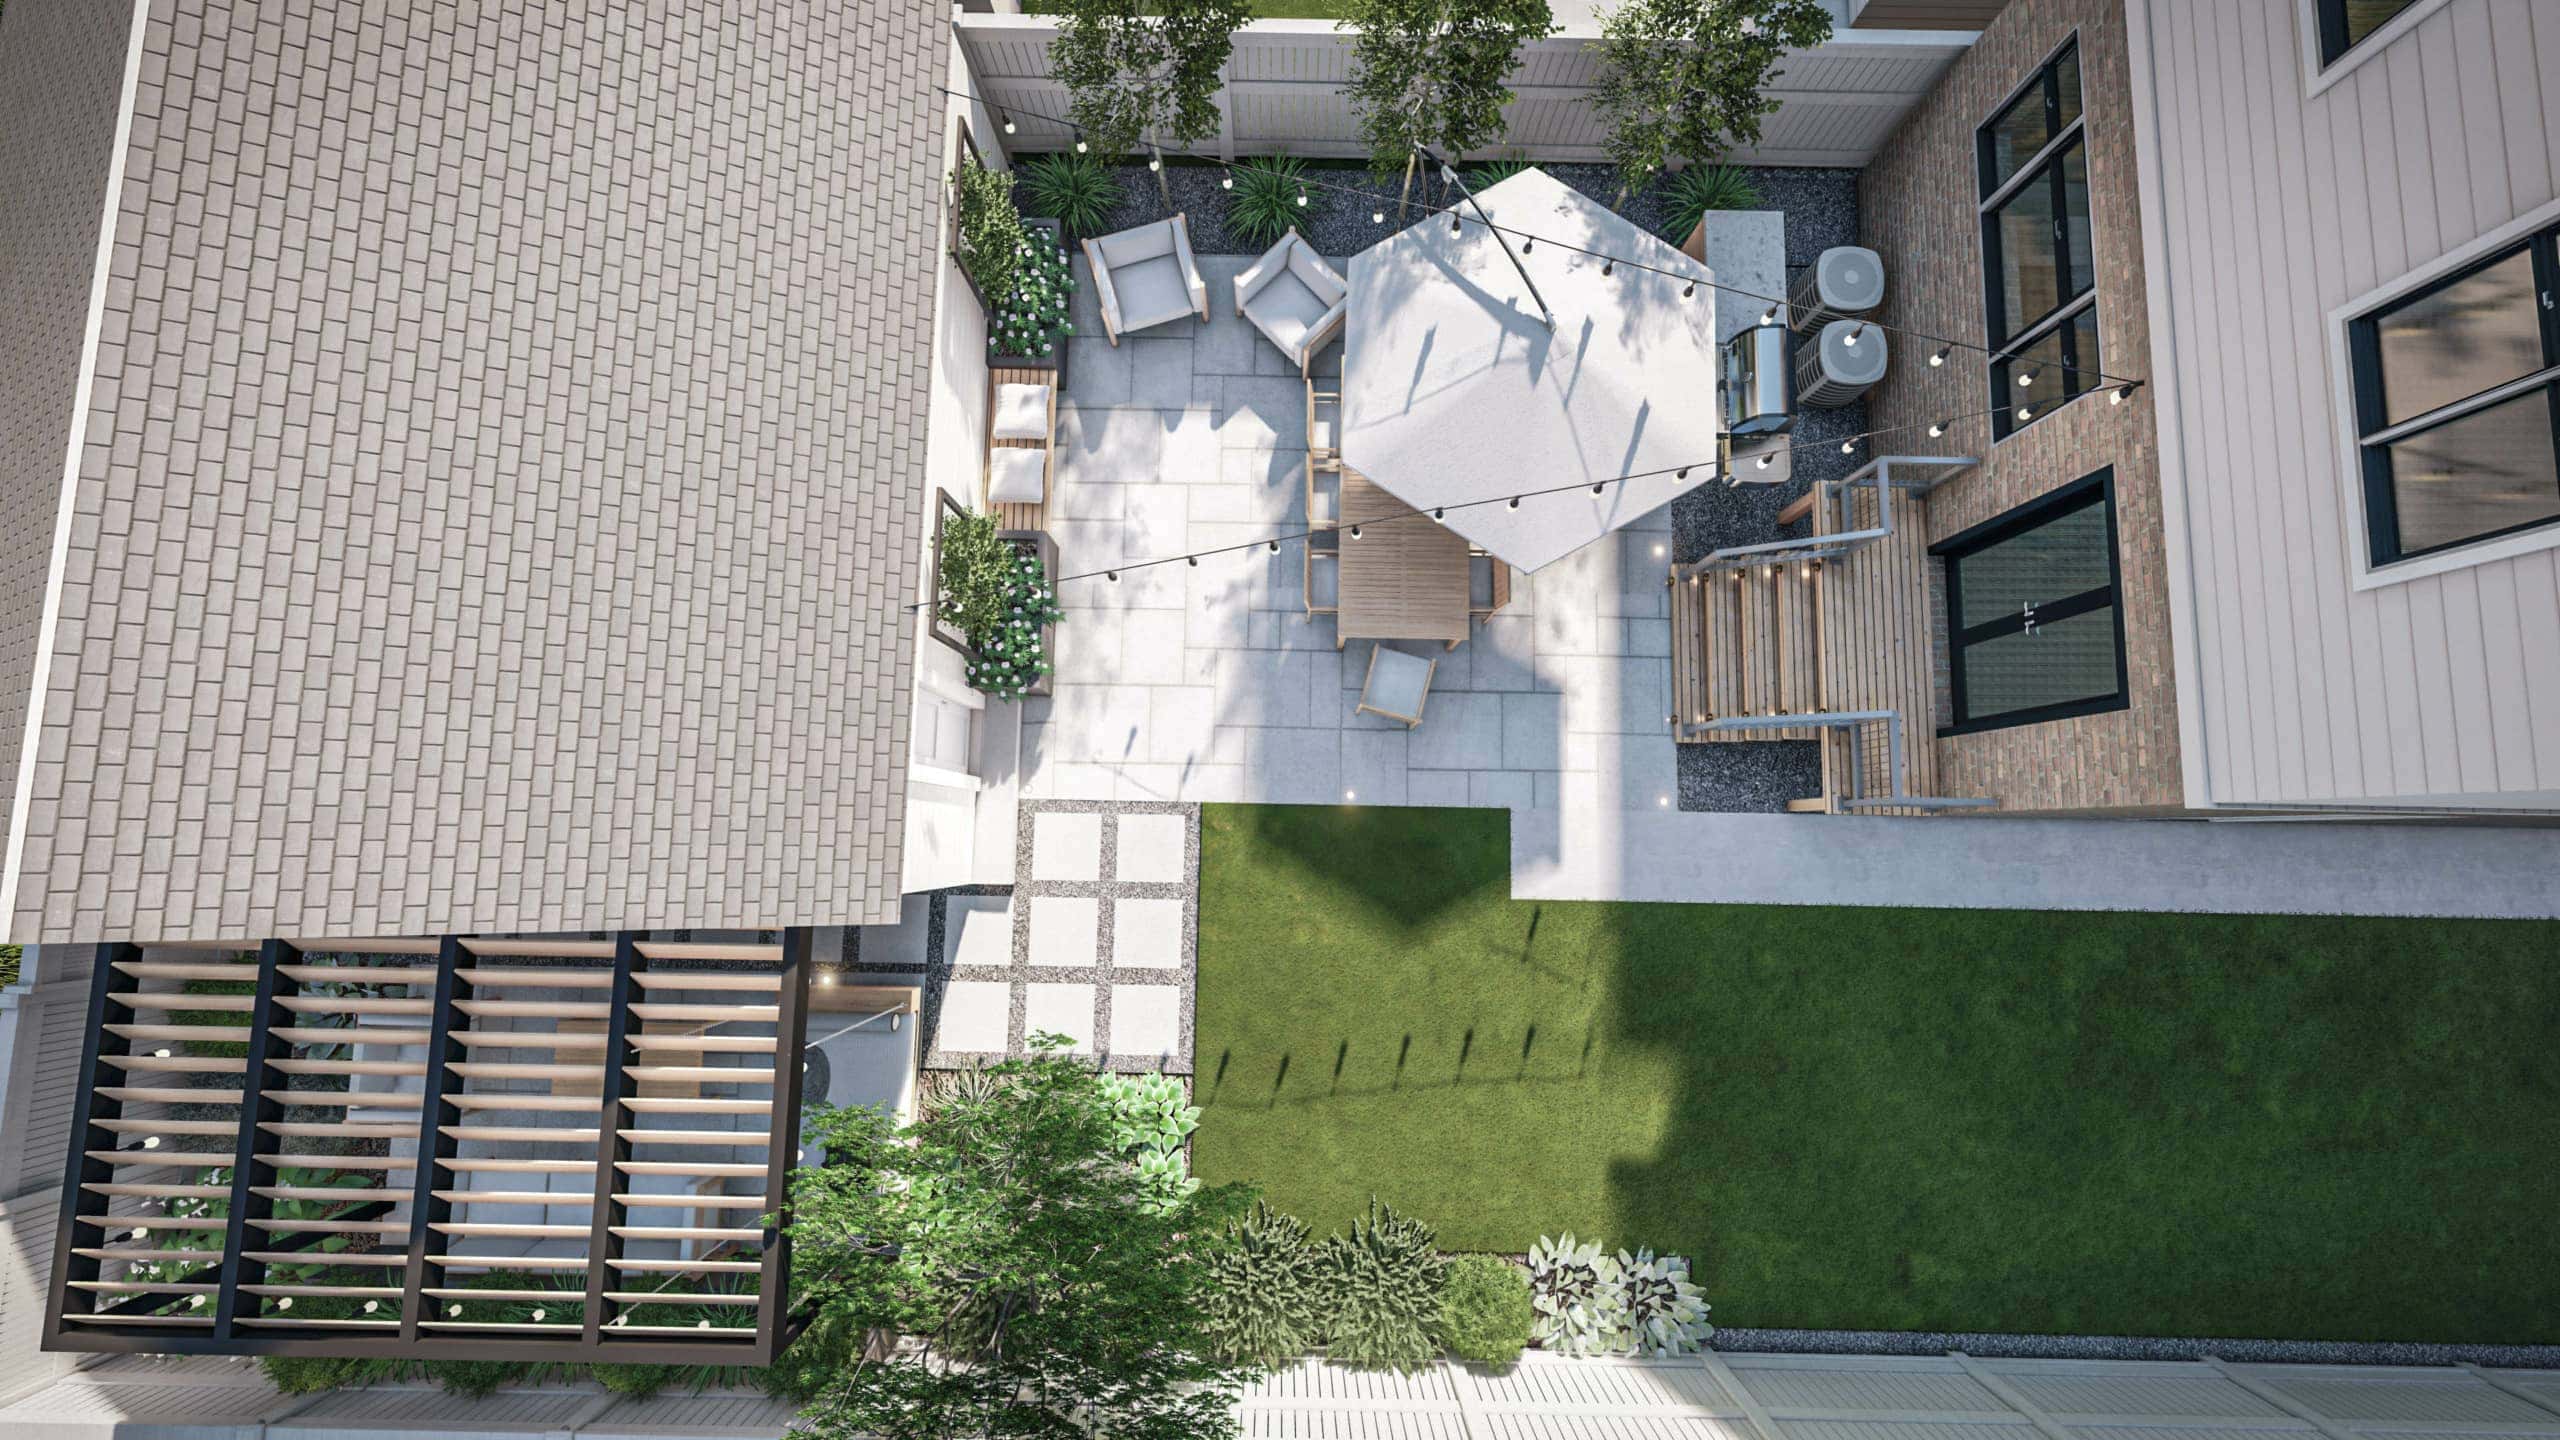
This is probably where we’re making the biggest changes from the original design. Before, our drawings created stairs going down to the patio with the grill area down below. After chatting with John, we decided to enlarge the deck so it spans the entire back width of the house.  This will allow us to move the grill up on the deck, so it’s right off the kitchen doors, which will make it easier for Finn when he is cooking and going in and out of the house. We’ll then have really large and wide stairs going down to the patio. This will allow those stairs to act as “stadium seating” when we have a larger crowd over and it will be visually appealing because it will be wide and open down to the patio. The A/C units will still be placed next to the house, near the fence, and they will be hidden by the deck.
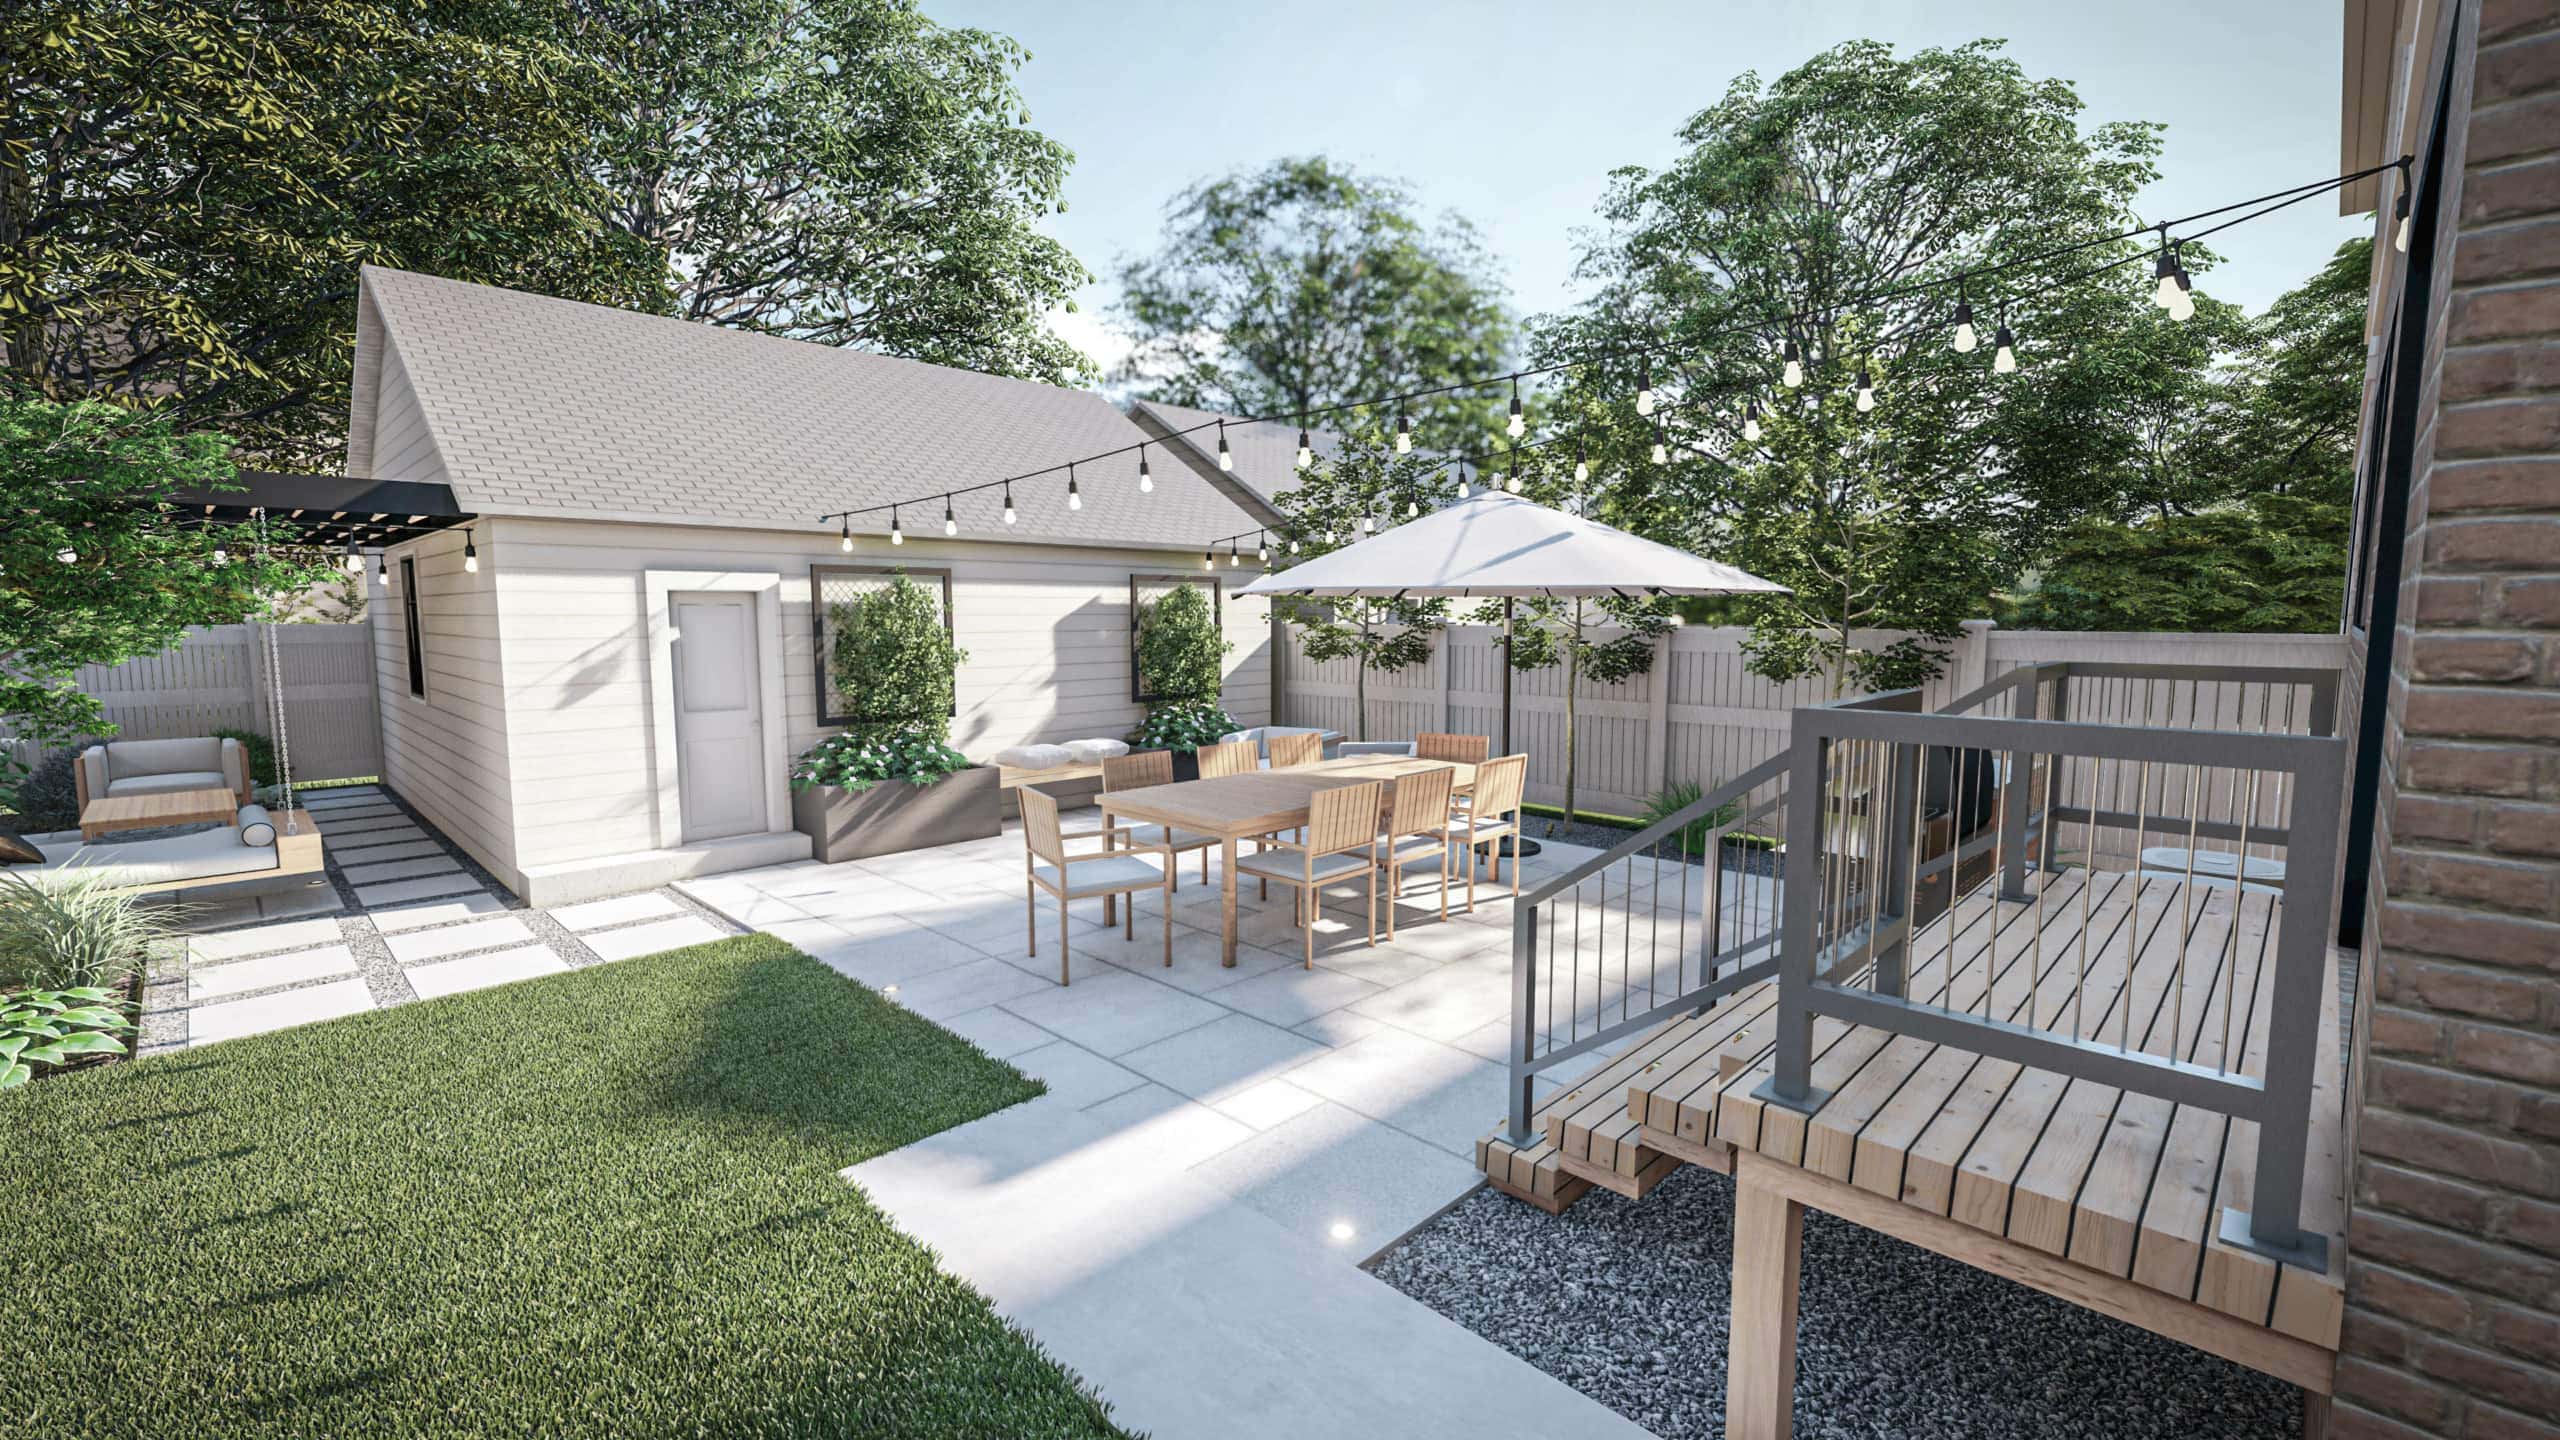
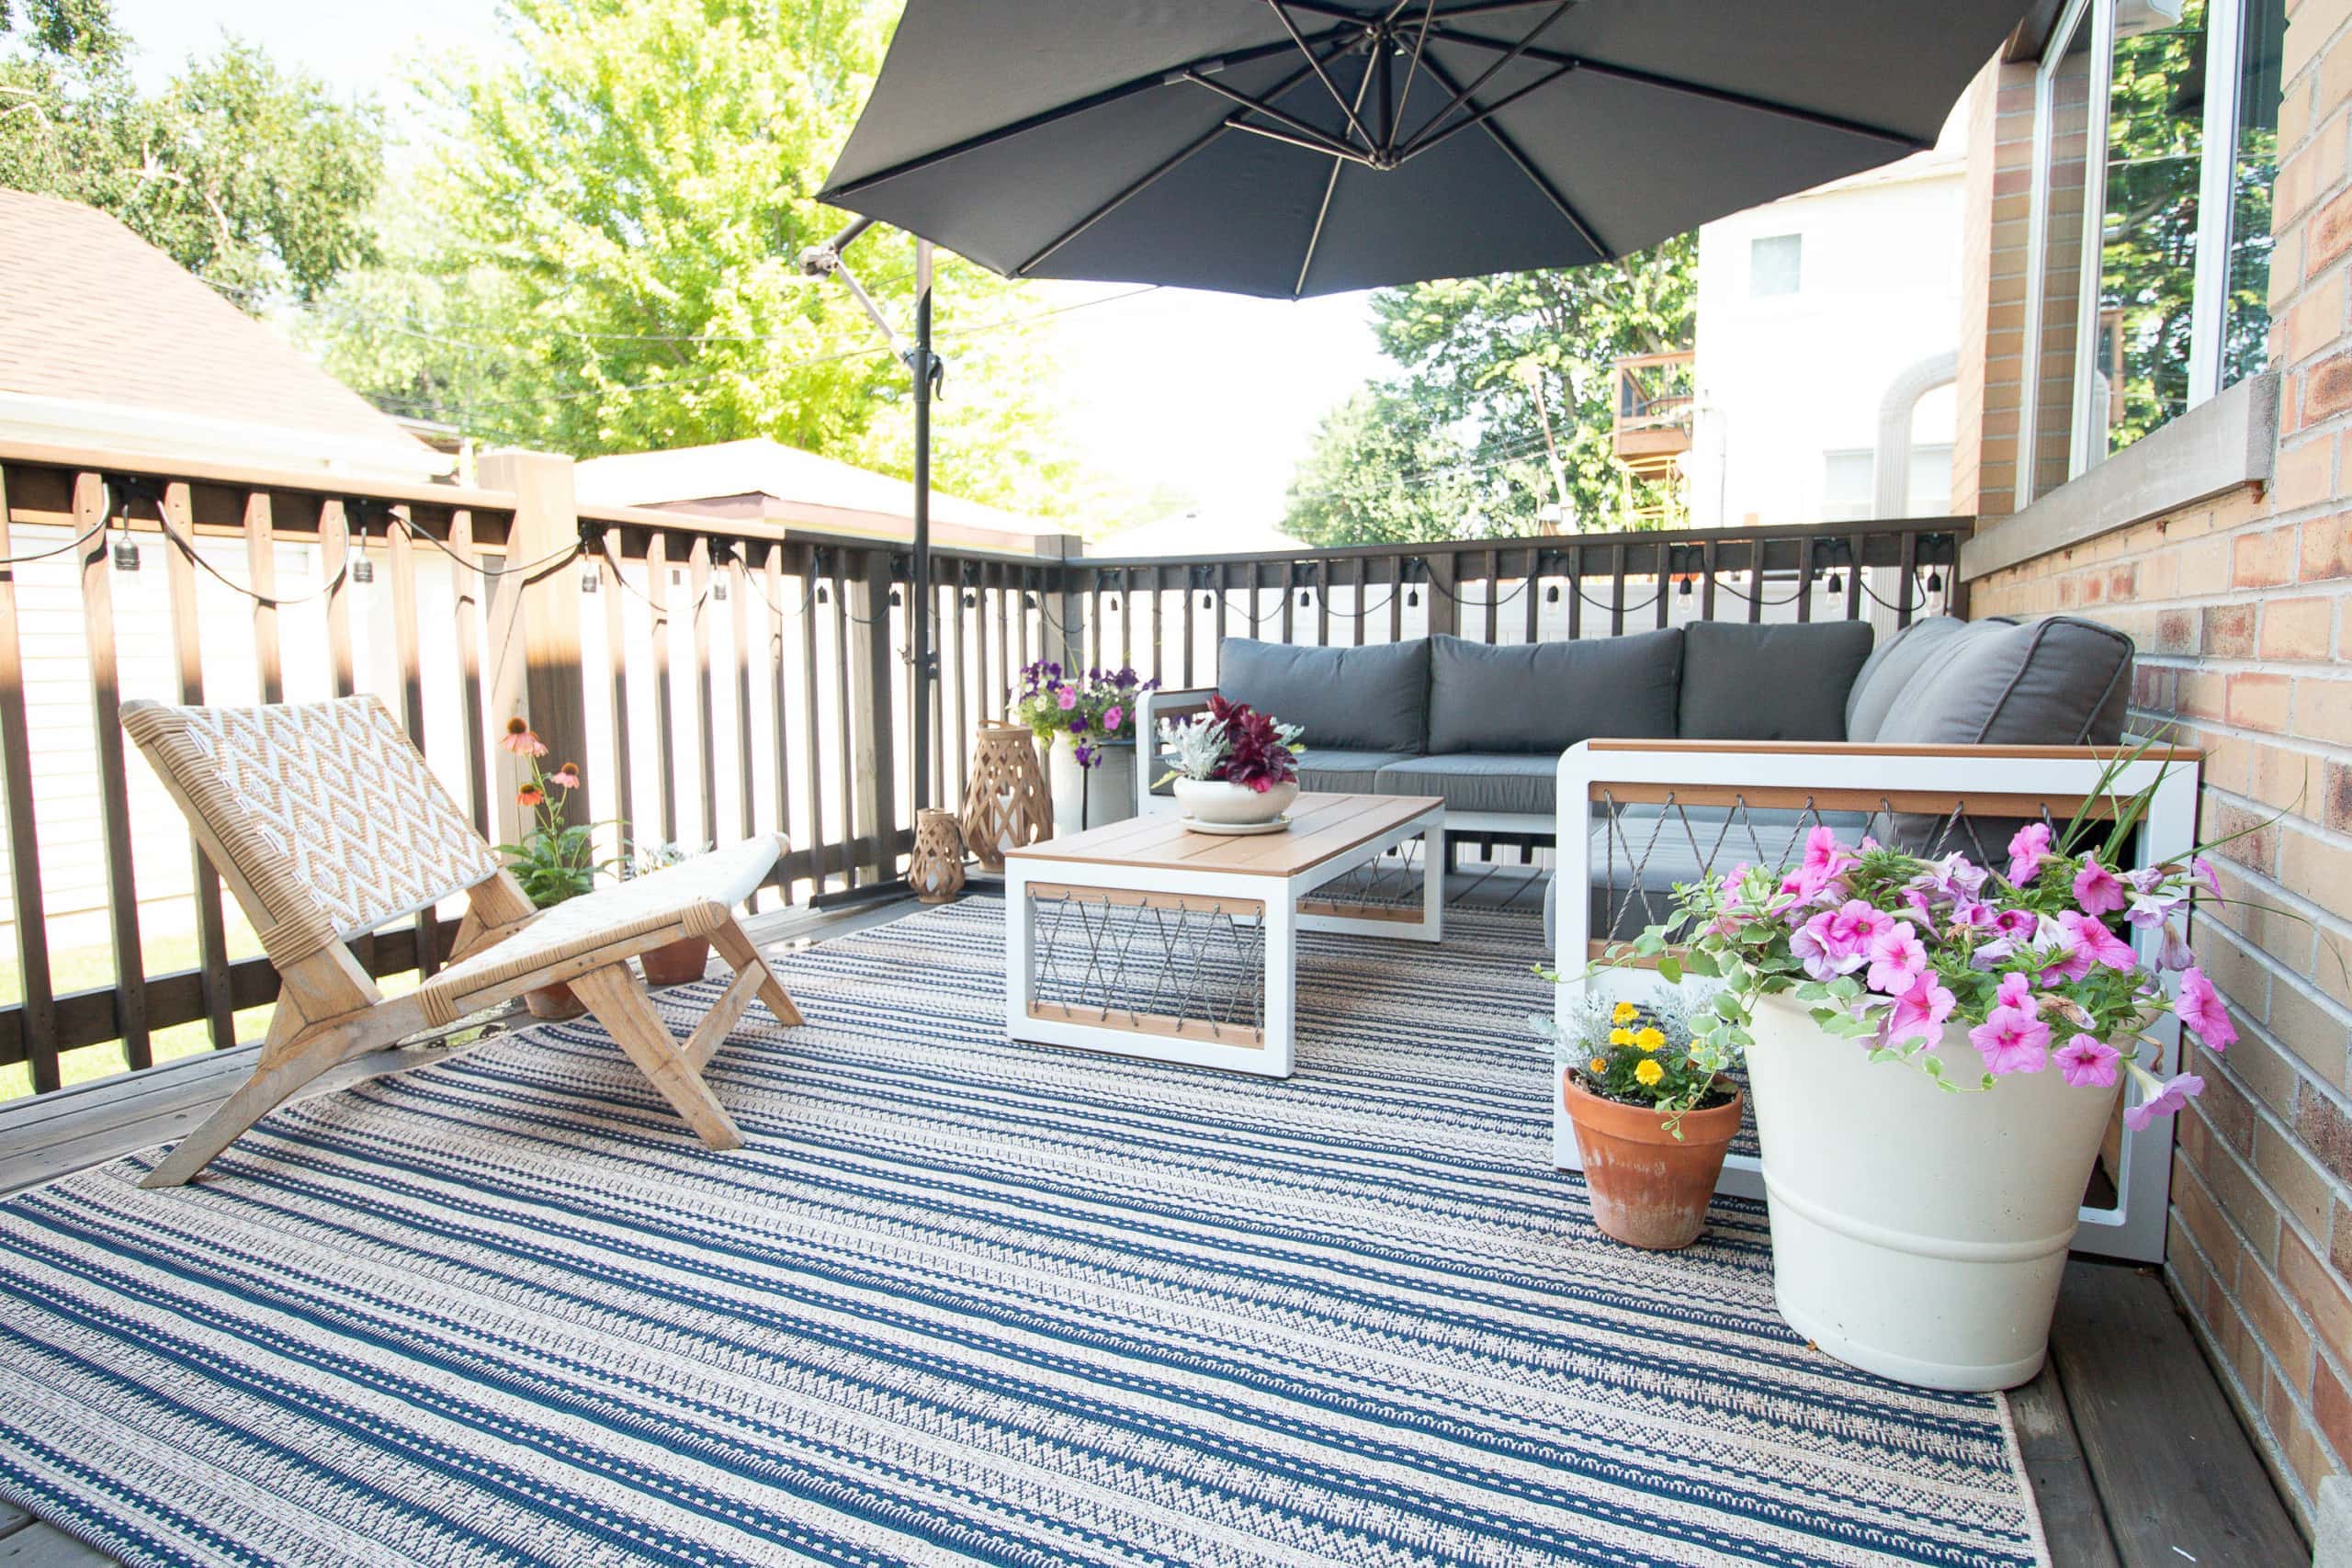
In terms of the length of the deck, how far it will come out from the house, it will be similar to the Yardzen design, but possibly a tiny bit longer. We don’t want it intruding too much on the patio. Our biggest pain point with our current deck is that it’s an awkward size – not too big and not too small. It feels kind of awkward and we can only fit a few people up there at a time. Our new deck won’t really be the hangout spot, but we might add a bistro table or something up there to cozy it up.
Choosing Long-Lasting Deck Materials

Here’s a look at our deck stairs. Yikes. They’re chipping, peeling and they look horrible, even though I just stained the stairs and deck two years ago. 
We’re going to use TimberTech for the decking material instead of using regular lumber. (The colors above are “Teak” and “Pecan”.) Composite decking was a must for us with the climate here in the midwest. Keeping a wood deck looking good in Chicago is a lot of work, requiring regular sanding, staining and sealing, and that’s just not something we want to do year after year. I’m excited to use a durable and long-lasting material that will still look natural.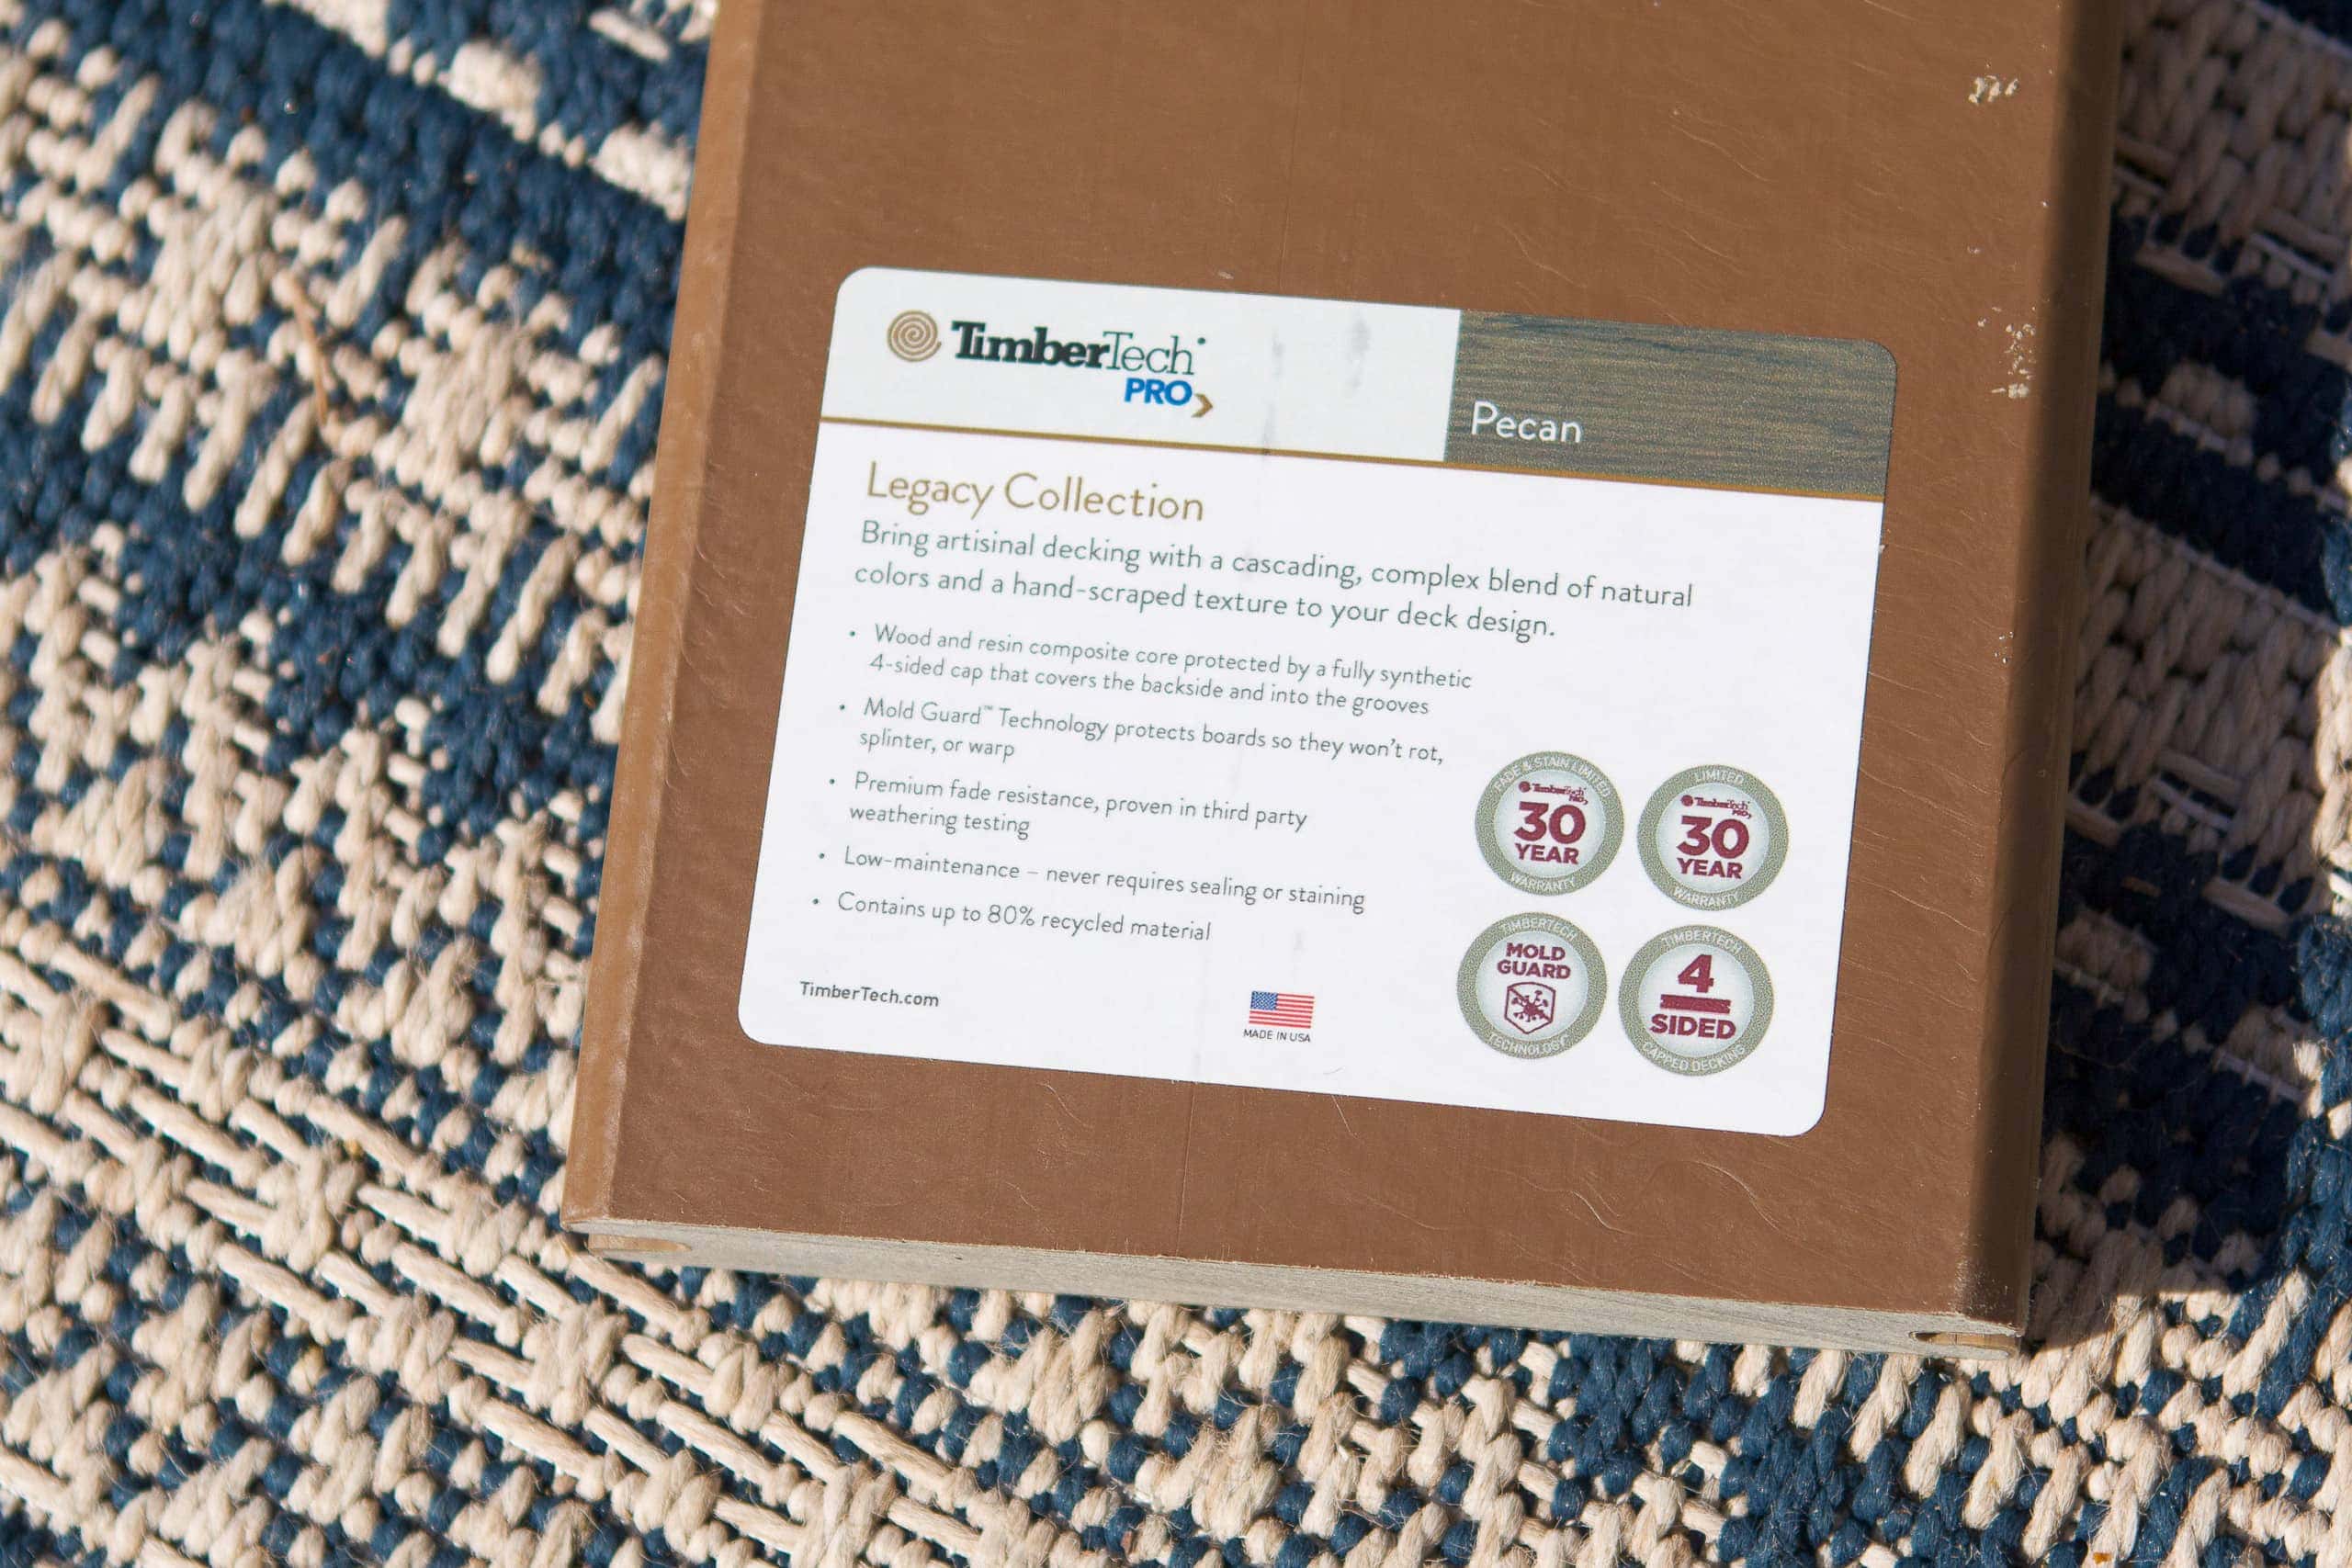
After ordering tons of samples, we decided to go with the color “Pecan”. It’s a pretty light brown and I think it goes well with our design aesthetic and the style of our home. We’re also getting our railings from TimberTech and we’re going with a black contemporary railing with a cable rail. I’ll have a blog post all about the deck process, so be on the lookout for that soon.
The Patio Area
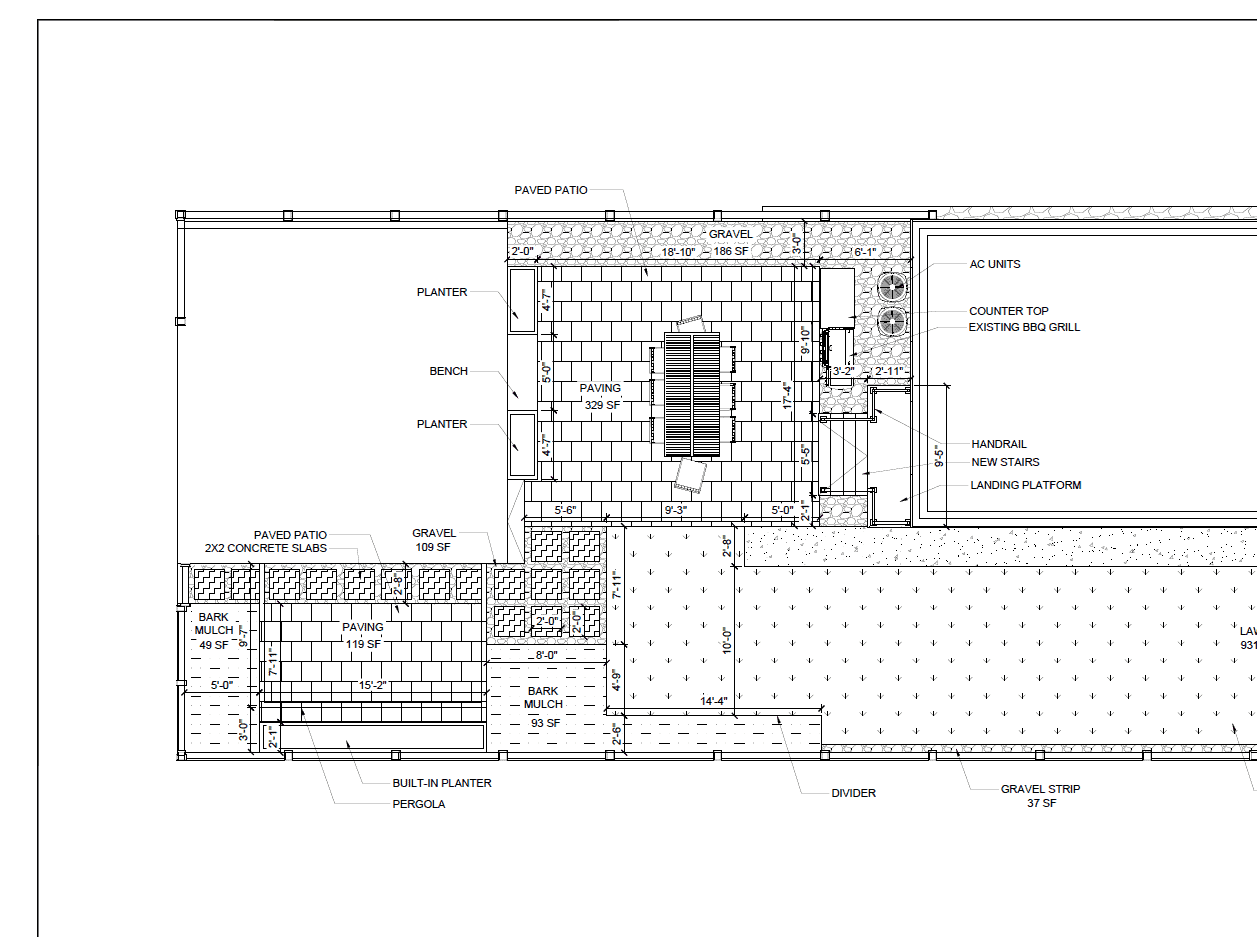
The area in between the house and the garage will be very similar to the Yardzen rendering. We’re doing the hardscaping with a large dining table, rocks and trees along the fence, and then we’re going to DIY the planters/bench/trellis area along the garage. We’re actually planning to put an outdoor TV on the garage wall in between the two planters too!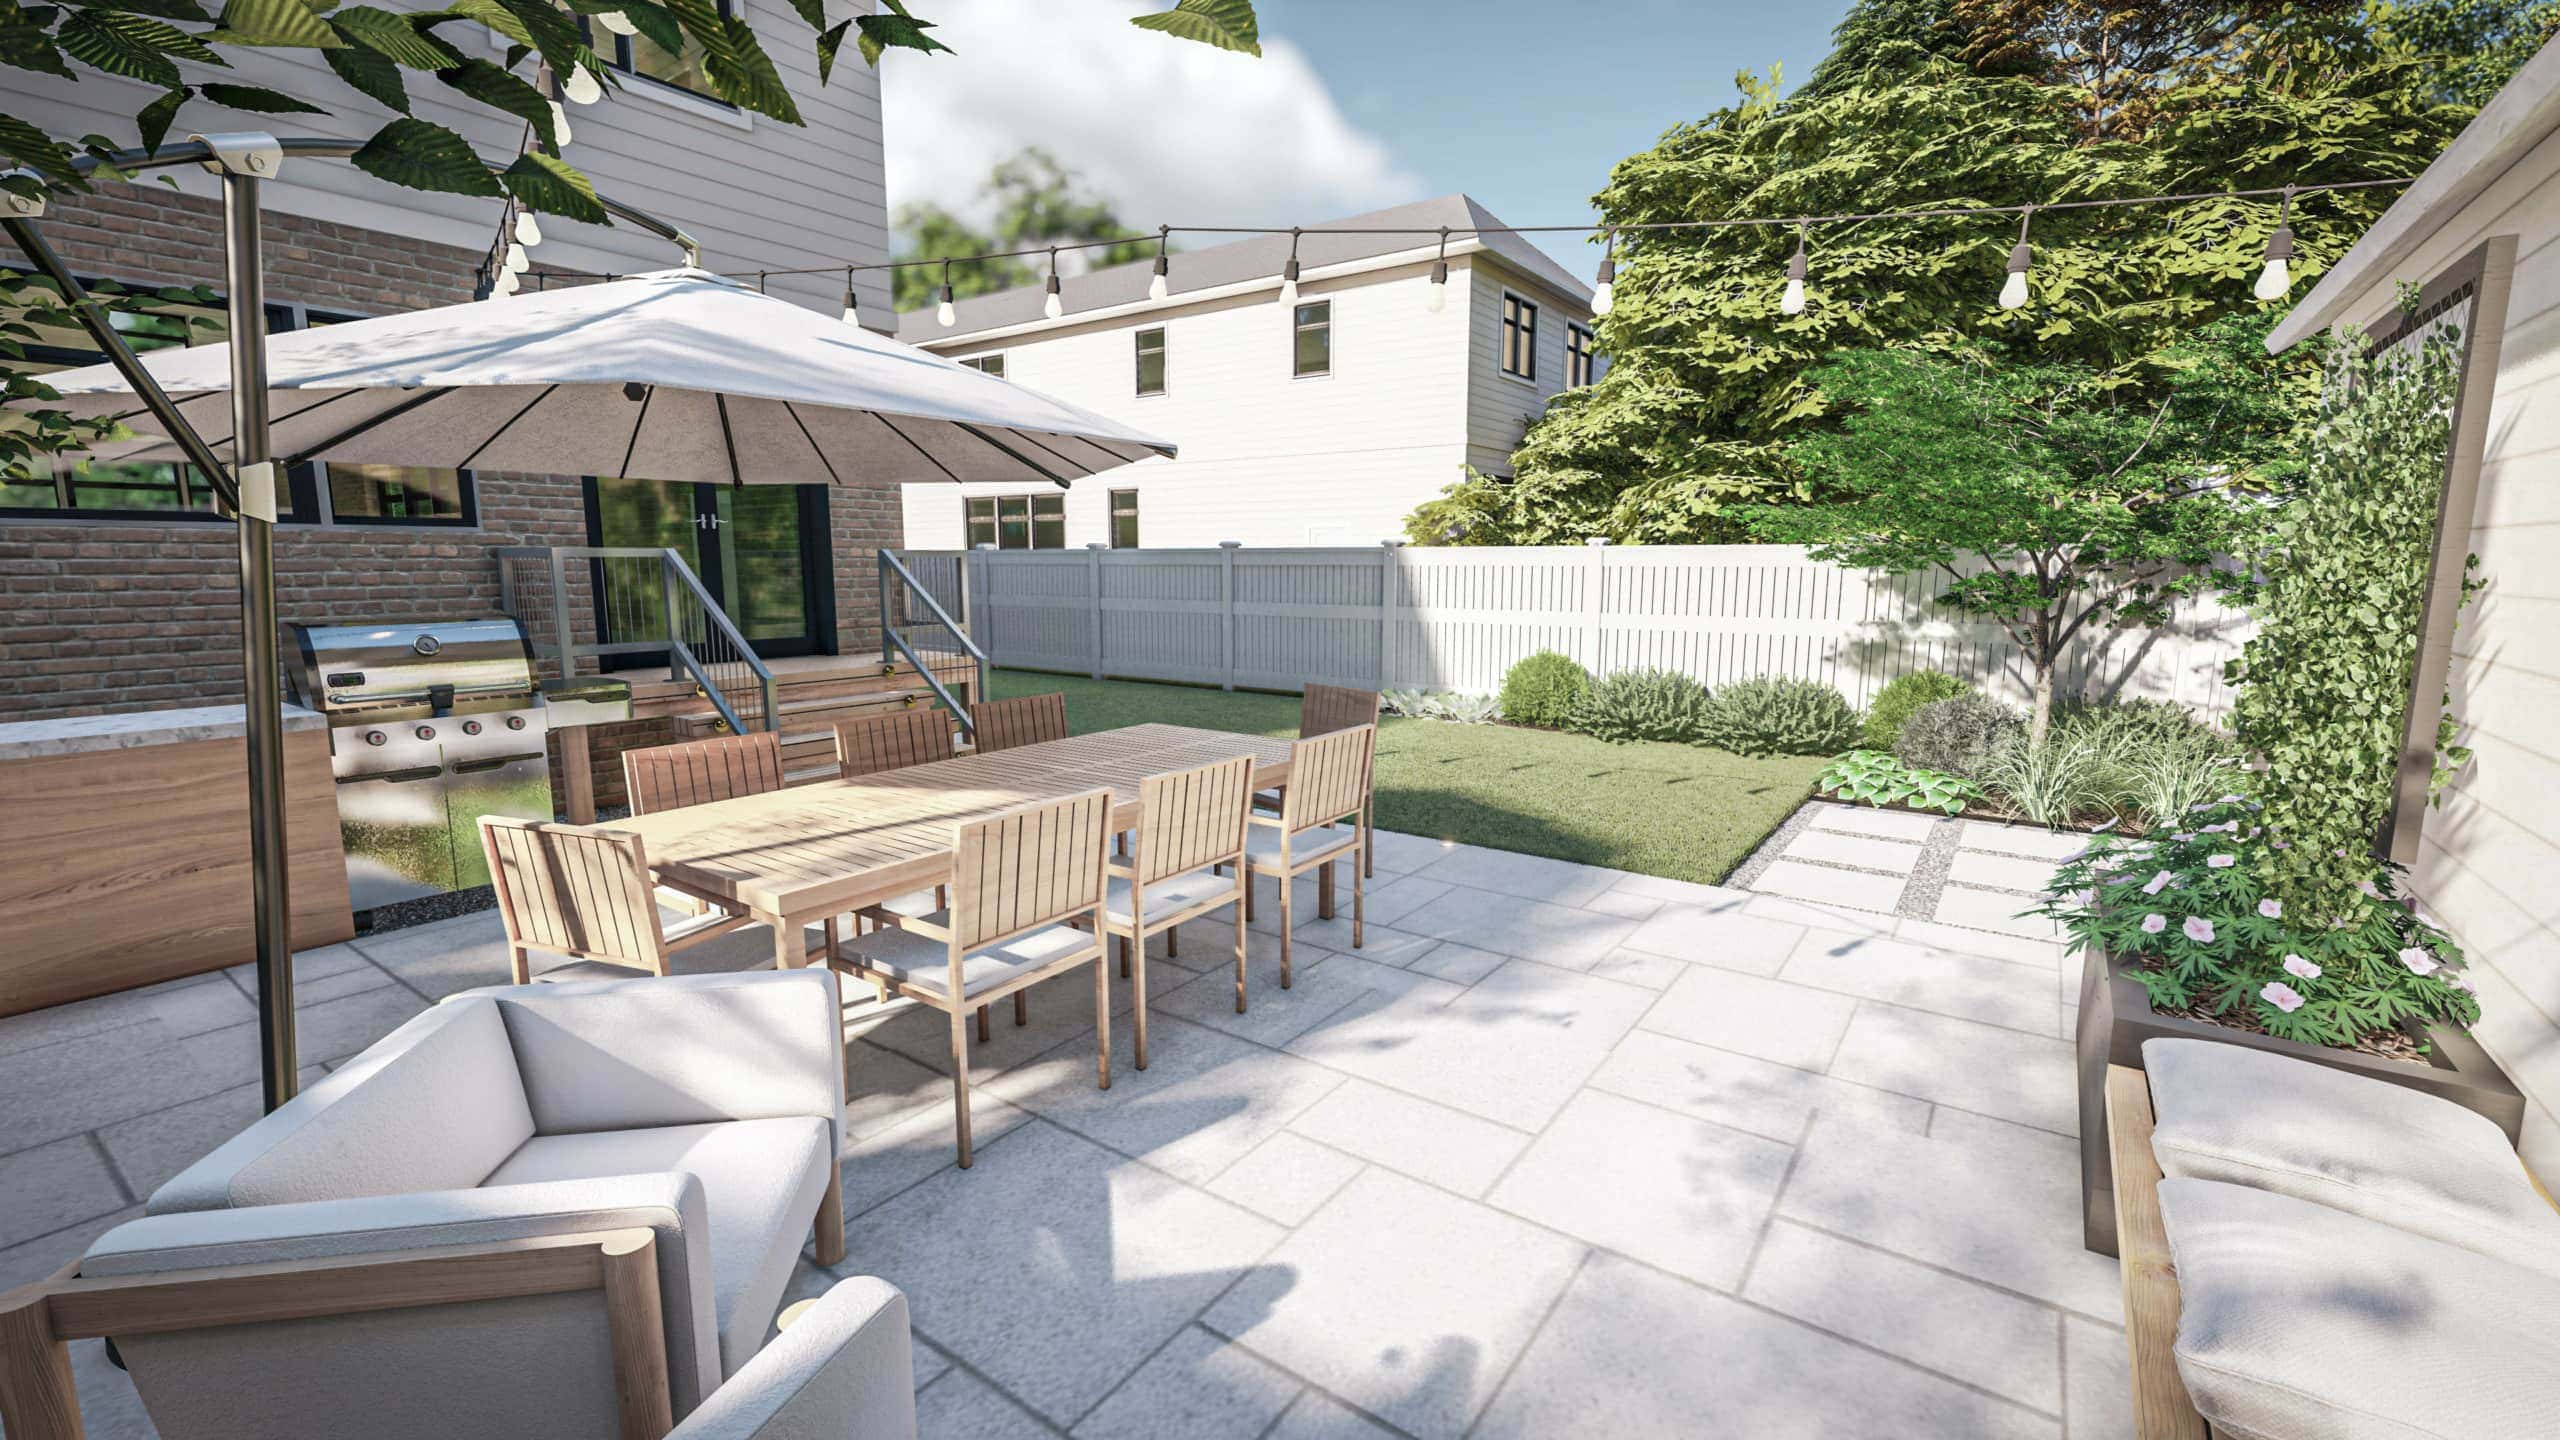
As for the material, we looked at lots of different companies and settled on the brand Techo-Bloc. We’ll be using this patio stone in “greyed nickel.” We like the look of this with various sizes and coloring throughout. I think it will be really pretty!
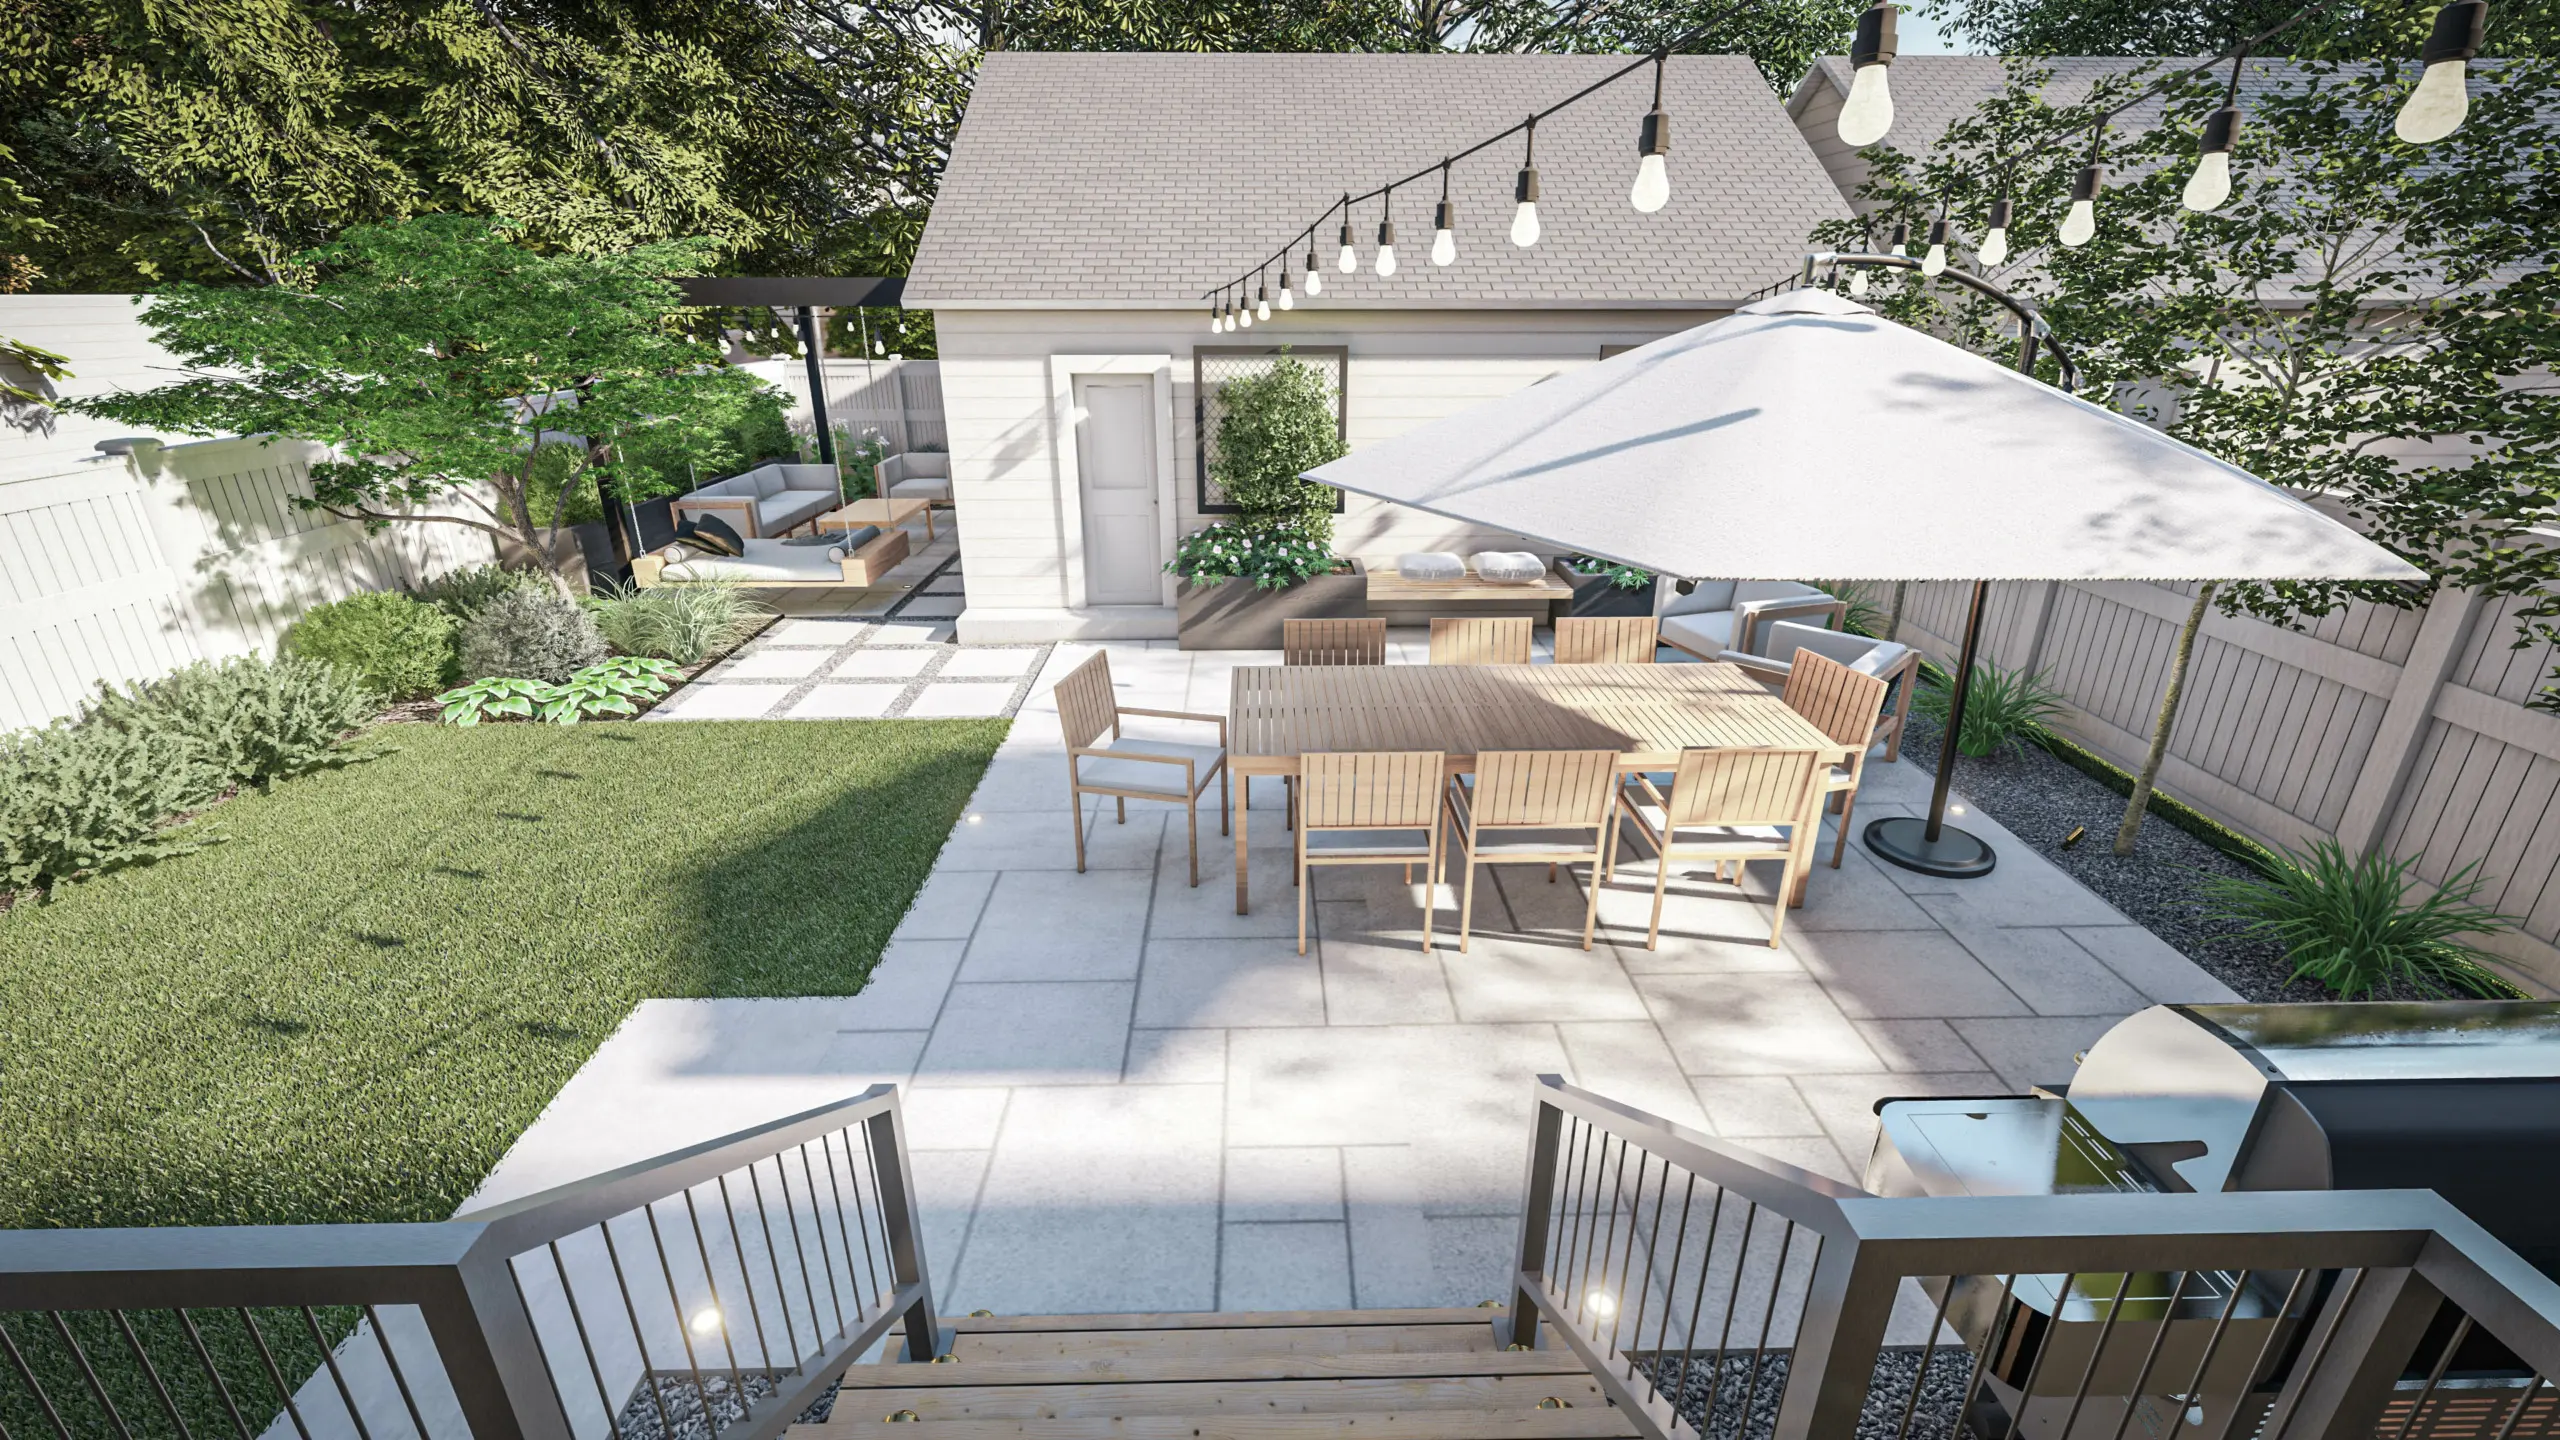
Pergola or No Pergola?
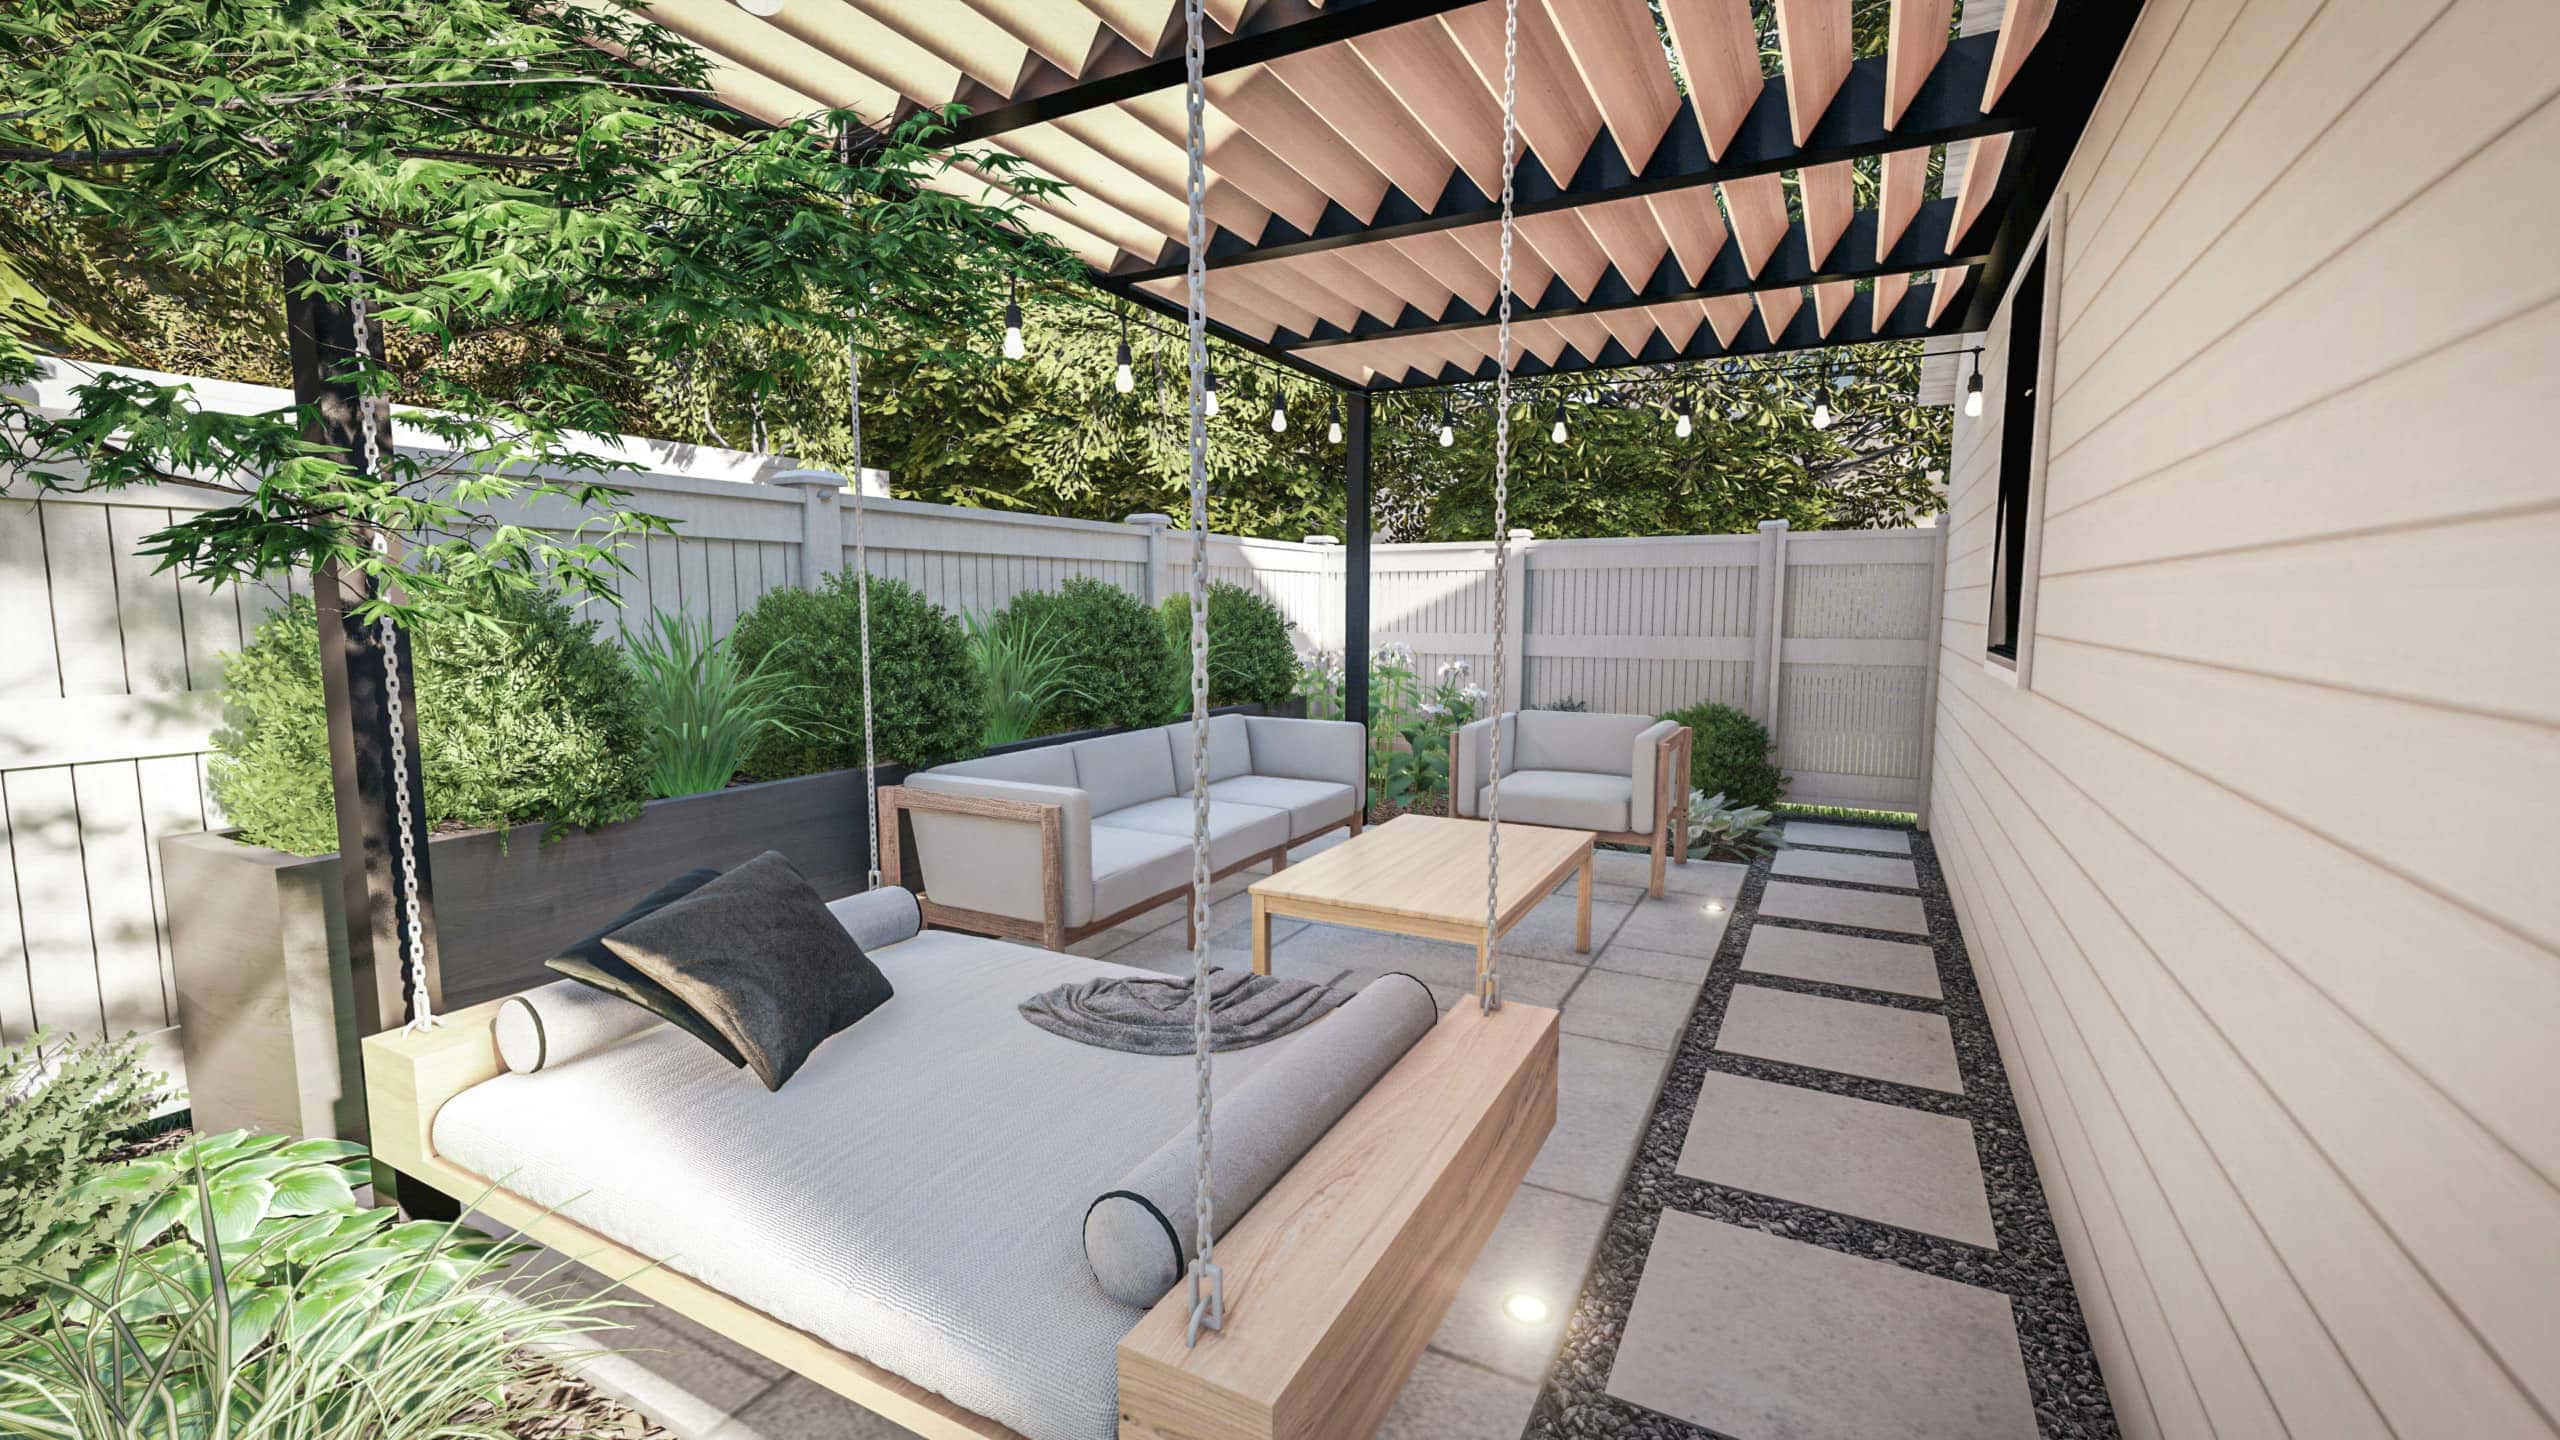
Last, but not least, let’s discuss the area next to the garage. In the original backyard renovation plan, we had a large pergola covering a casual seating area. After chatting with lots of contractors/architects, we realized that this is by far the most expensive part of this project (and it’s already a pricey one!). While we loooooove the look of the pergola, we’re not going to pull the trigger on it just yet. John mentioned that this is something we could always add on in the future if we wanted to. 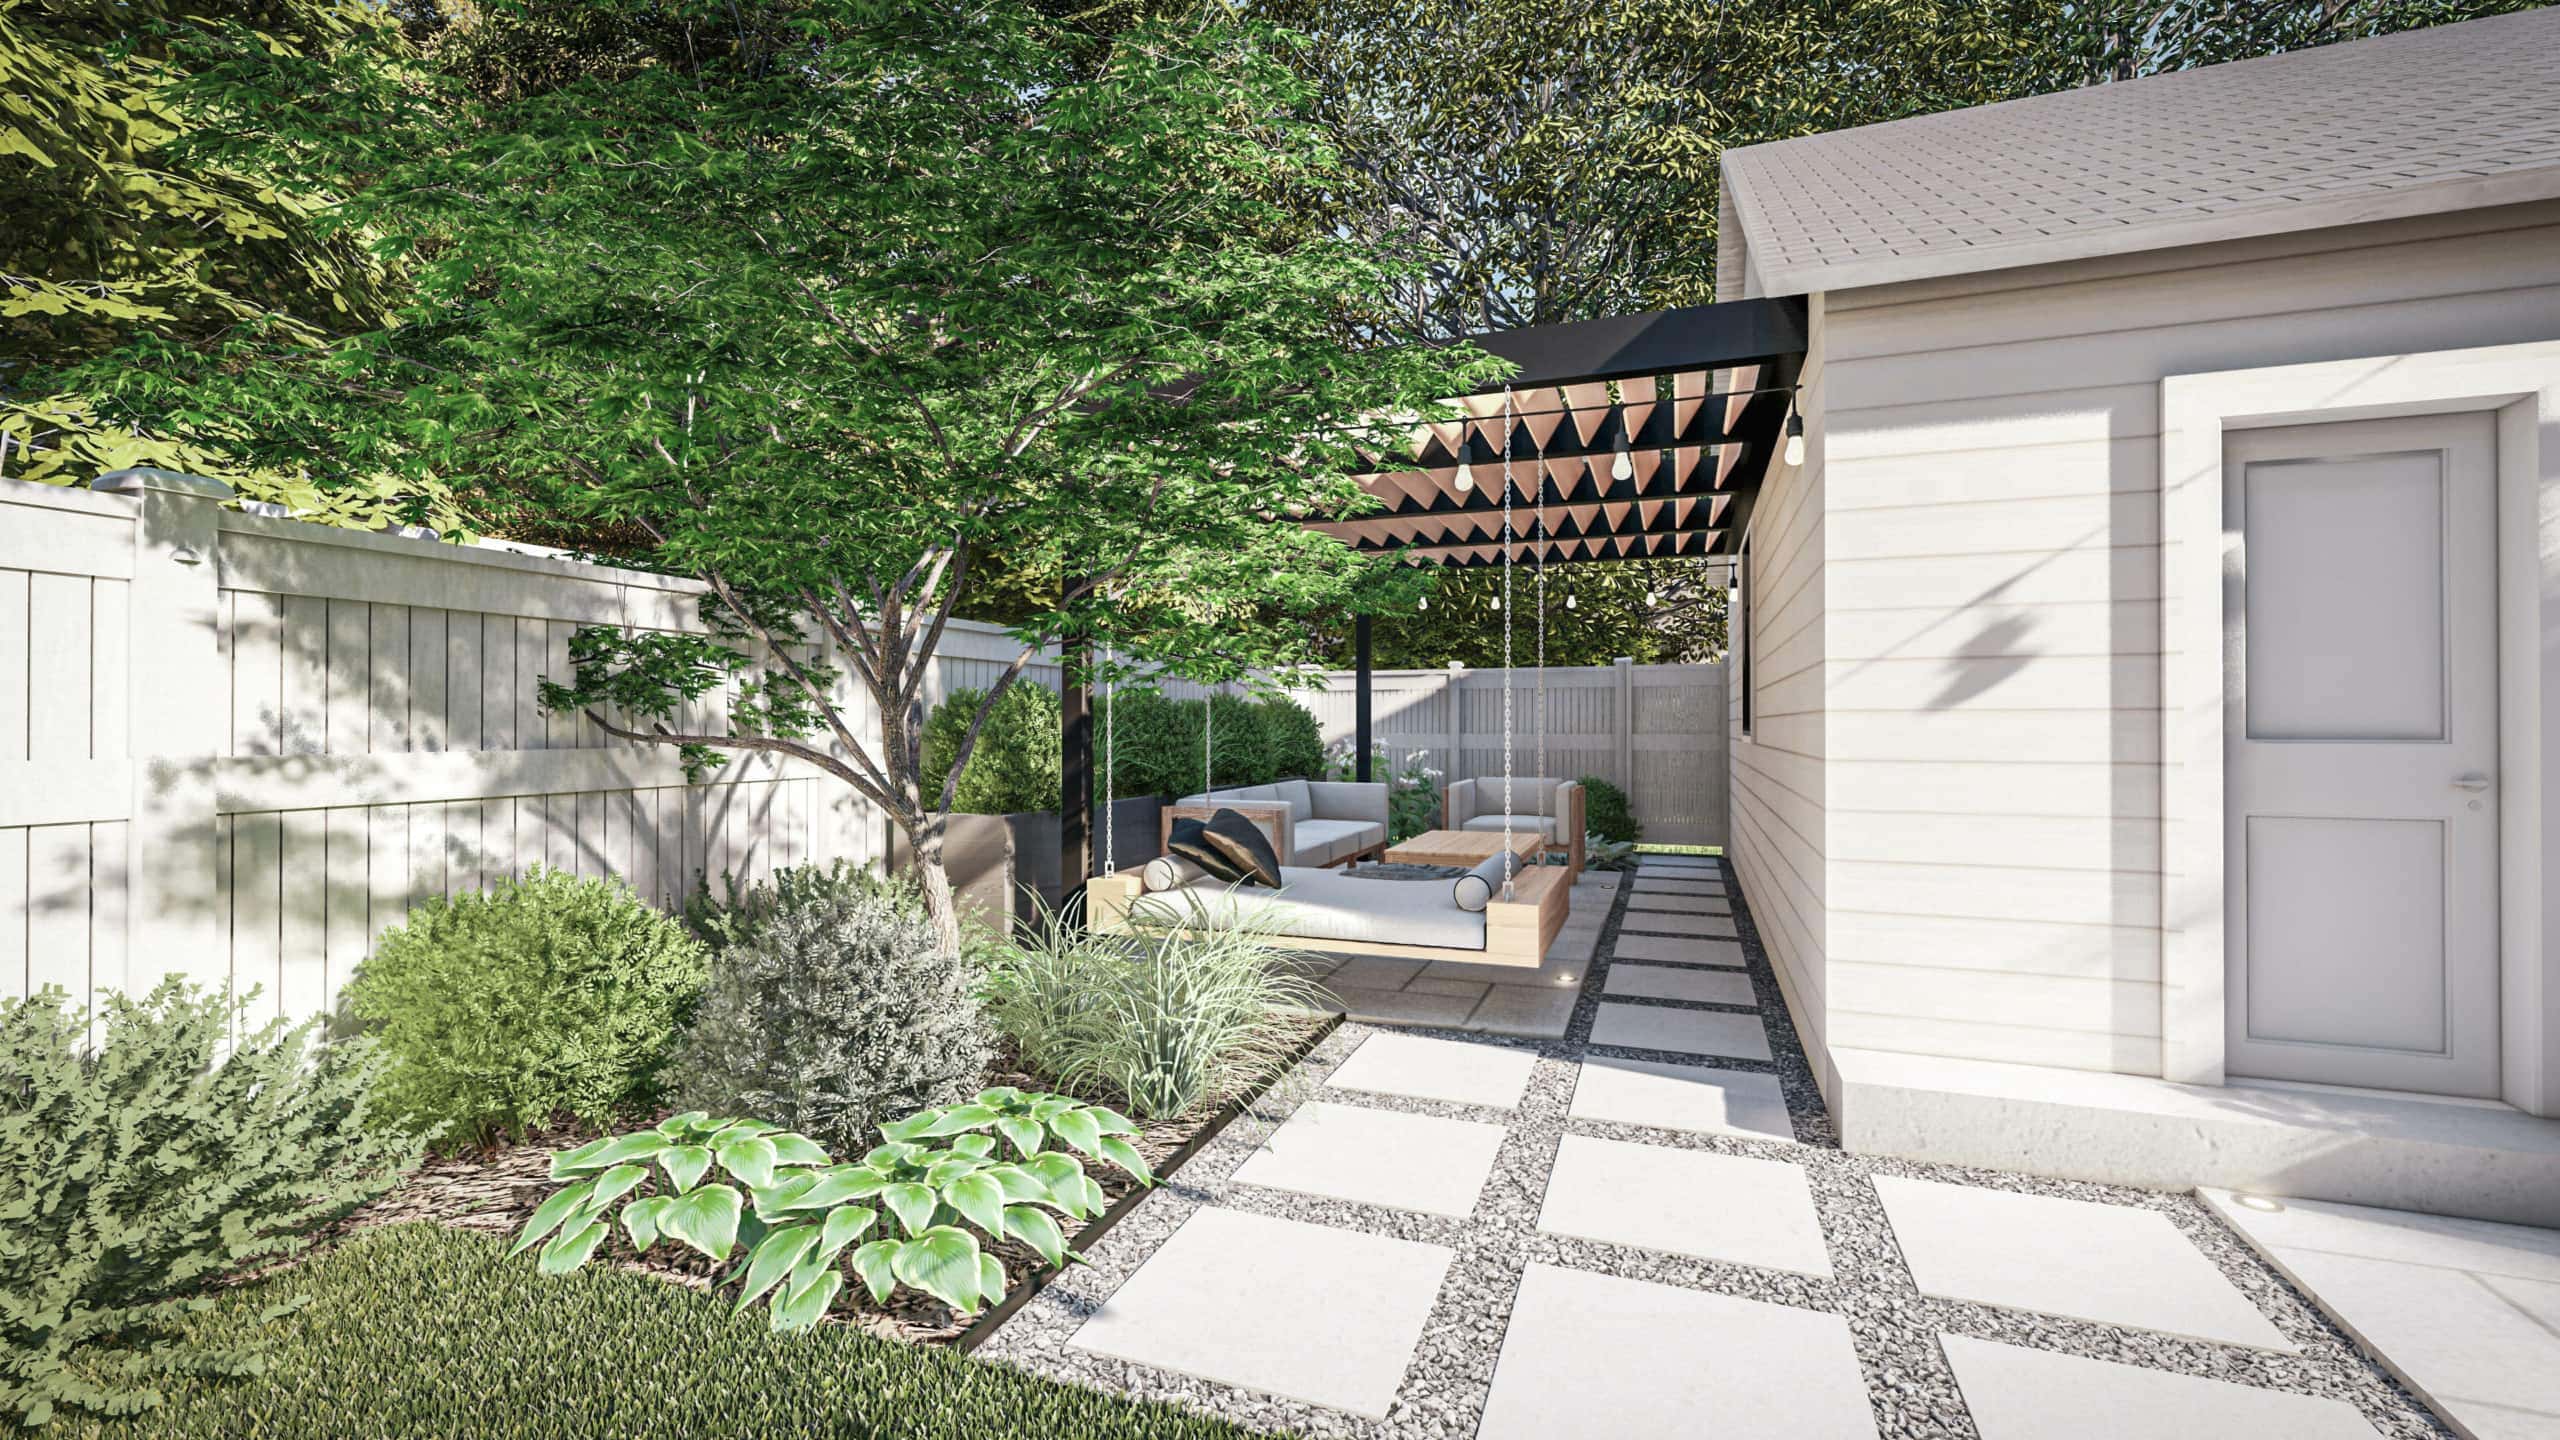
For now, our plan will be to do the hardscaping in this area as the base, a large tree and landscaping, and then some DIY planters. We’ll also make this a casual seating area with a couch, coffee table, and more.
What The Pros Will Handle
The professionals will handle removing our old deck, building the new deck, laying all of the hardscaping, electrical work, and installing all of the new landscaping. These are skills outside of our expertise and we’re more than happy to hand those tasks over to the pros.
What We’ll DIY
Once the heavy lifting is complete, we’ll spend the rest of the summer working on DIY projects to personalize the space. We’re planning to build all of the planters and benches ourselves, along with the trellises along the garage. While the pros will hardwire the backyard for electrical, we’ll come in and add the landscape lighting, deck lighting, and string lights ourselves. Plus, of course, the actual decorating and personalizing will be handled by us!
Our Timeline
The demo is set to begin next week and John says it should take about four weeks to complete. We’re hoping we’ll have a working backyard by June – fingers crossed! Of course, we always try to be prepared for unexpected issues, and since it’s an outdoor project, we’ll have the weather to deal with, as well.
Once the main work is done, then Finn and I can slowly work to finish things up over the rest of the summer. With Rory around, we’re a tad slower when it comes to our big DIY projects, so we’re not putting pressure on ourselves to get it all done by a certain date. We’ll go slow and do it right!
The Budget

It’s still a tad early to share complete numbers for the project, but just as I did for our kitchen renovation, I’ll share a detailed budget breakdown of the project once we’re done. We’ve been saving as much as possible to put towards this project so we think we’re in a good position to bring our vision to life! (More about how we figure out the finances for large renovations in this post.) But as I mentioned above with the pergola, there were some things that we had to eliminate from our original design in order to save some money.
Let’s Do This!
I can’t wait to share all of this with you. Once we “break ground” back there, I’ll be sure to touch base and take you along for the ride during our big backyard renovation! For now, I’m just going to imagine sitting back there, with my feet propped up, watching Rory run around enjoying the lush, beautiful space. Sigh. Heaven!
Casey
Catch Up On Our Backyard Renovation
- Yardzen Design Plans
- Backyard Renovation Kickoff
- Backyard Renovation Progress (2 Weeks In)
- Our New A/C Units
- Deck Progress
- Painting the Garage Door
- How to Install String Lights
- Backyard To-Do List
- Backyard To-Do List: Progress
- How to Protect Teak Furniture
- Our New Outdoor TV
- Backyard Landscaping Details
- Our Outdoor Furniture
- The Big Backyard Reveal
- Backyard Renovation Lessons We Learned