What I Learned From Our Backyard Renovation
First of all, thank you for all of the love on Tuesday’s backyard reveal post. I didn’t anticipate I would be revealing our completed backyard when it’s practically fall, but such is life. I’m just so happy that the space is completed and we can enjoy it as much as possible before the dreaded Chicago winter arrives…
Backyard Renovation Lessons

I always like to write a blog post after a really big project reveal to share what I’ve learned along the way.

Tuesday’s post was already jam-packed with lots of information about the process, before and after shots, sources, and more, so I figured I needed an entirely new post to chat about the backyard renovation lessons we learned this summer.
Start Early
The pandemic has really changed the game when it comes to home renovation projects. I used to plan and order items a month or two out, but now I’m thinking about projects at least six or more months ahead of time. It’s wild!
The first step of the backyard process was creating a design plan with Yardzen, and I sent over all of my materials to them in December. I then received a design plan a month or so later, and we talked to our landscaper in February. We wanted to start in April, but he wasn’t free until the end of May, so we got on his calendar as soon as we could.
If I could do it all over again, I would have started a few months earlier than that, which seems wild, but this is the new reality! We are planning to do our main bathroom renovation early in 2022, and I’ve already gotten the design plans finalized and I’m on my contractor’s schedule to start in February. (Don’t worry, I’ll be sharing every single step of the way!) So, I think it’s never too early to start planning and plotting for your really big projects!
Have Materials Before You Start
My go-to contractor for the interior of our home is all about having every single item on hand before he even starts demolition. This can be really tricky, but it makes sense. He doesn’t want to have to take his team off the project because material has not yet arrived. I’ve always followed this plan when working with him, (he did the work on our kitchen) and it is such a smart way to renovate.

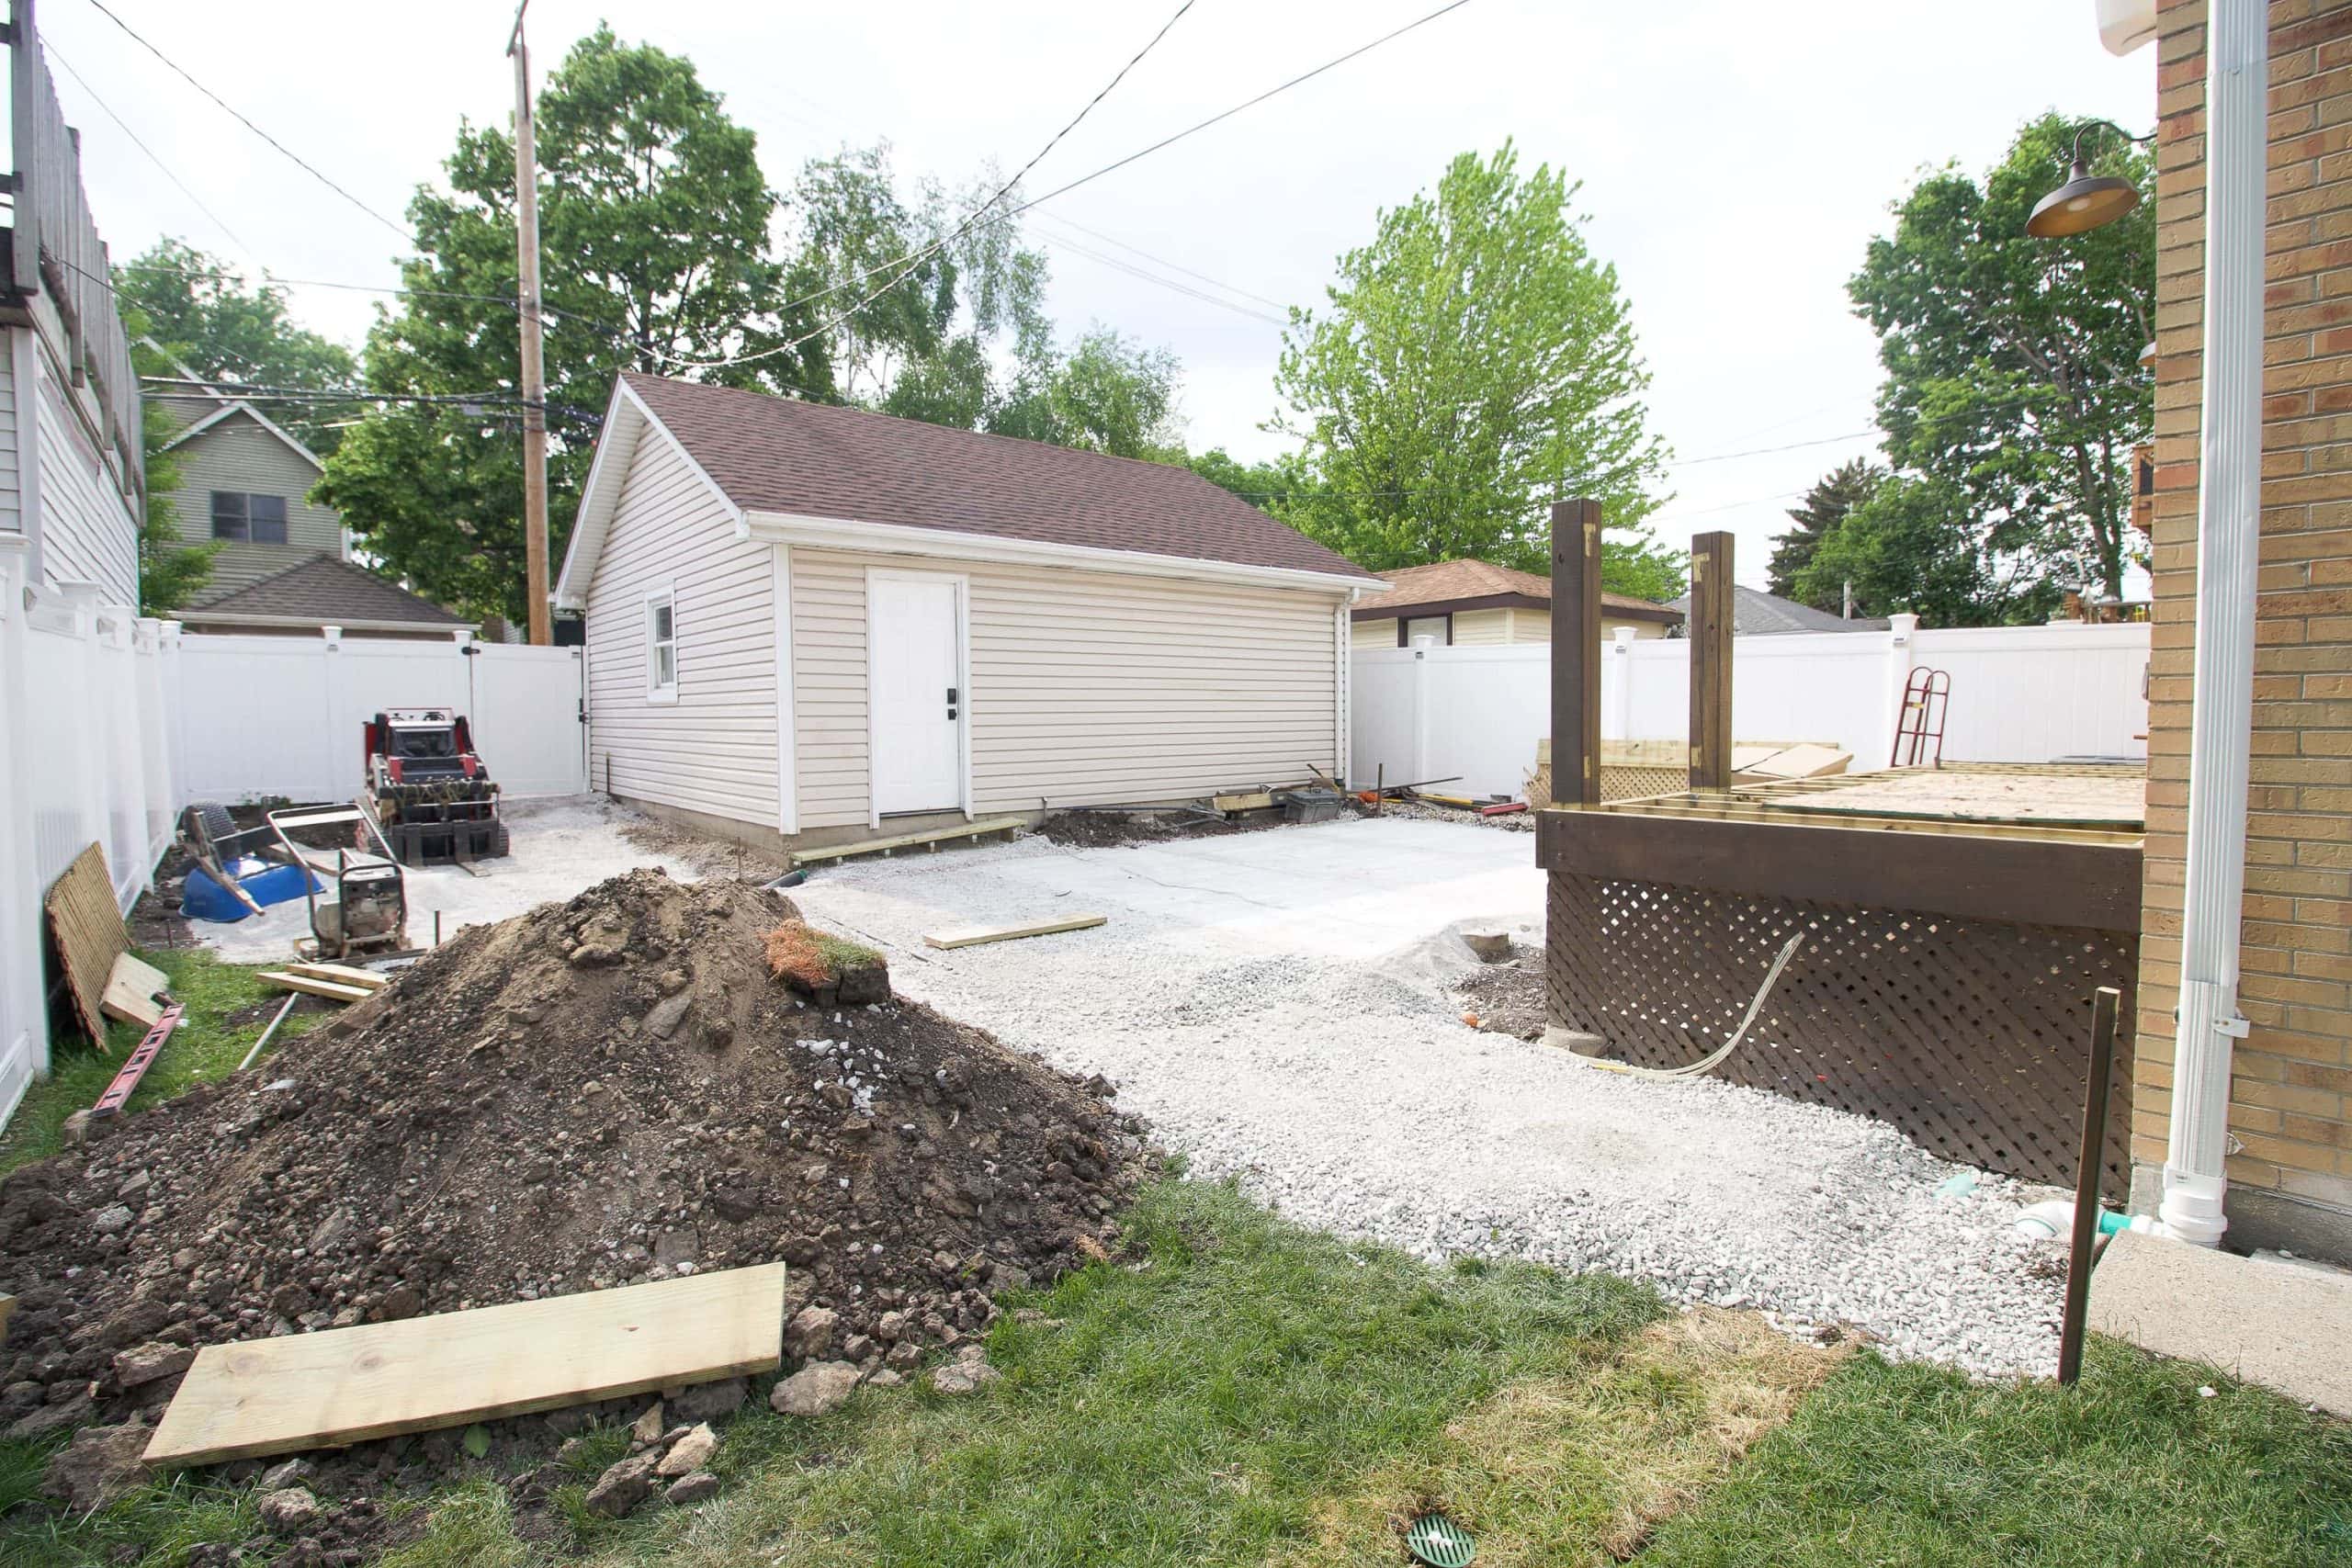
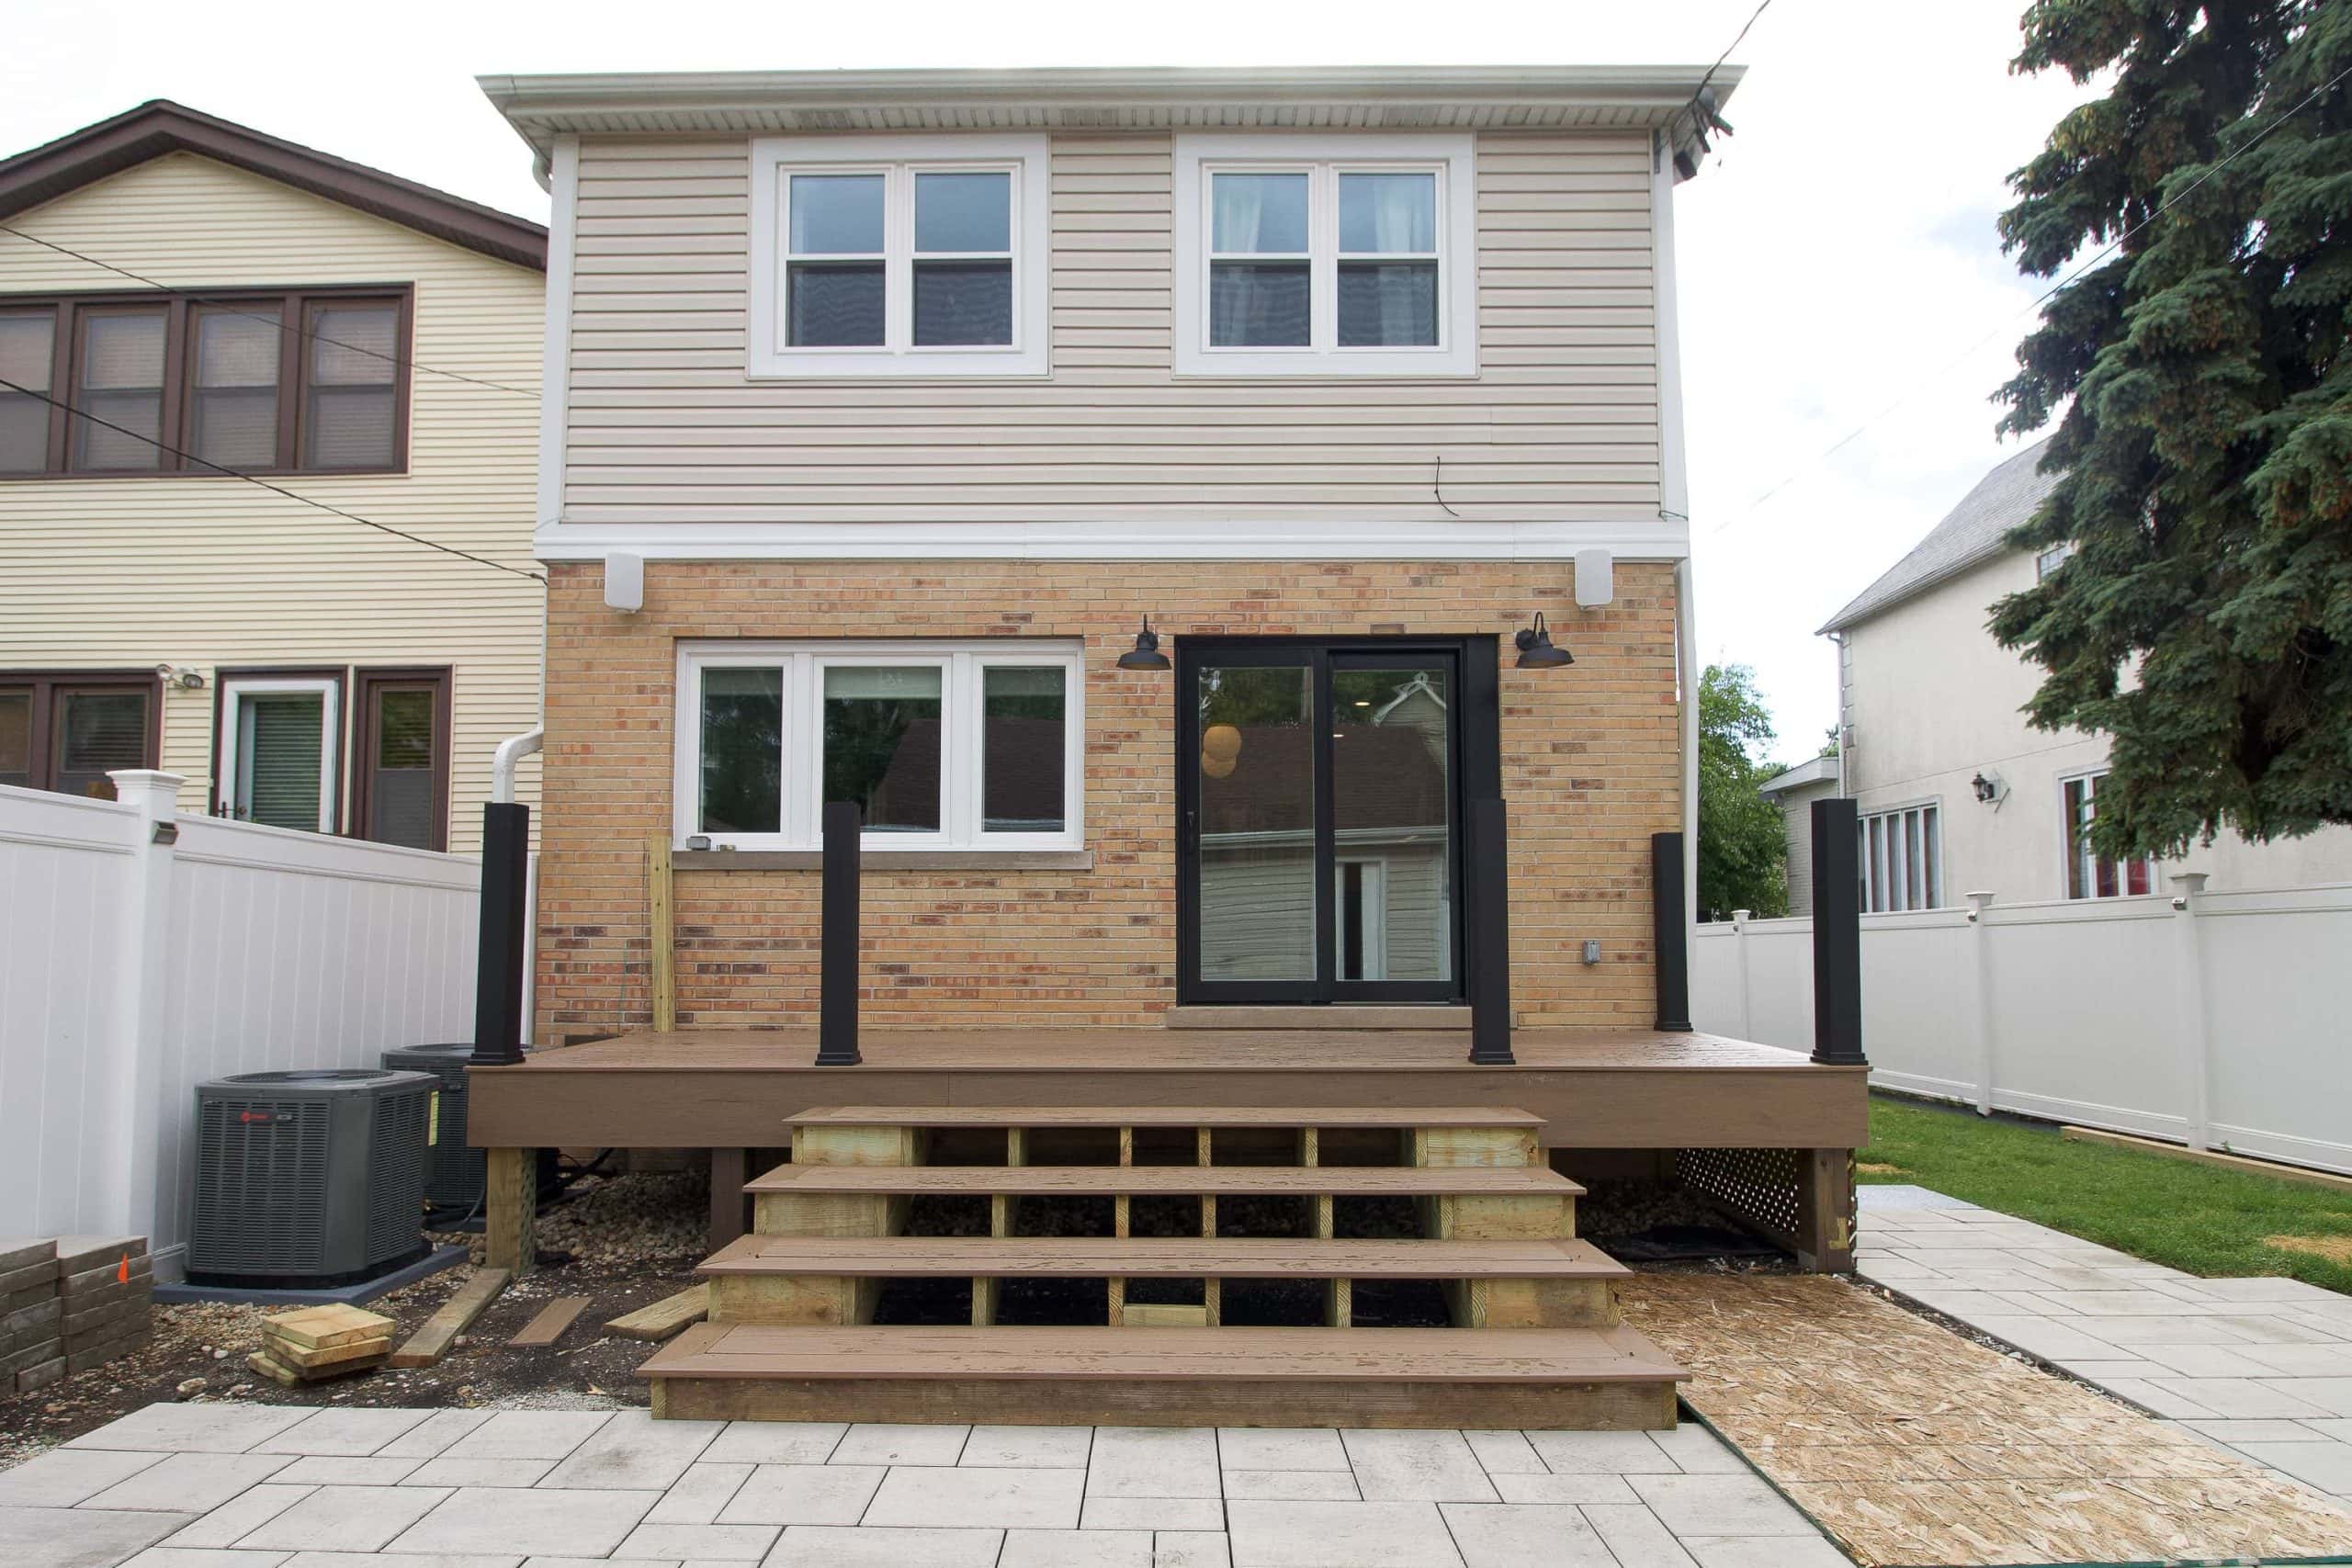
With this project, we tried our best to have the materials on-hand, but it didn’t work out that way. I tried to get our deck material on-site by early May (for a mid-May demolition), but it didn’t arrive until mid-June. We then had to wait an additional four weeks for the railings. In hindsight, I wish we would have waited to demo until we had all of the decking materials in our hands.
Manufacturing, shipping, and delivery of building materials are slow-moving these days, so try to get everything well ahead of time. In fact, this is making me realize that I need to get a move on and start choosing bathroom materials for our February project! Even if things hang in our garage for months, it’s better to have everything available for that first day of the project!
Research Plants & Trees Ahead of Time
This was our first outdoor project, so we had no idea what the hell we were doing when it came to trees, plants, and all things landscaping. Of course, it’s always a good idea to consult your landscaper, but we like to be a bit more hands-on than that. Ha!
Finn did so much research when it came to the trees and plants he wanted for the yard. He then presented a list of ideas to our landscaper and together they narrowed it down to the contenders. However, we didn’t really come up with this list far ahead of time. Instead, our landscaper would say he needed the final list of trees and we would scramble to go through the options and finalize them. It would have been better if we would have created a well-thought-out gameplan ahead of time, so we could have handed the list over and relaxed.
Think About Furniture
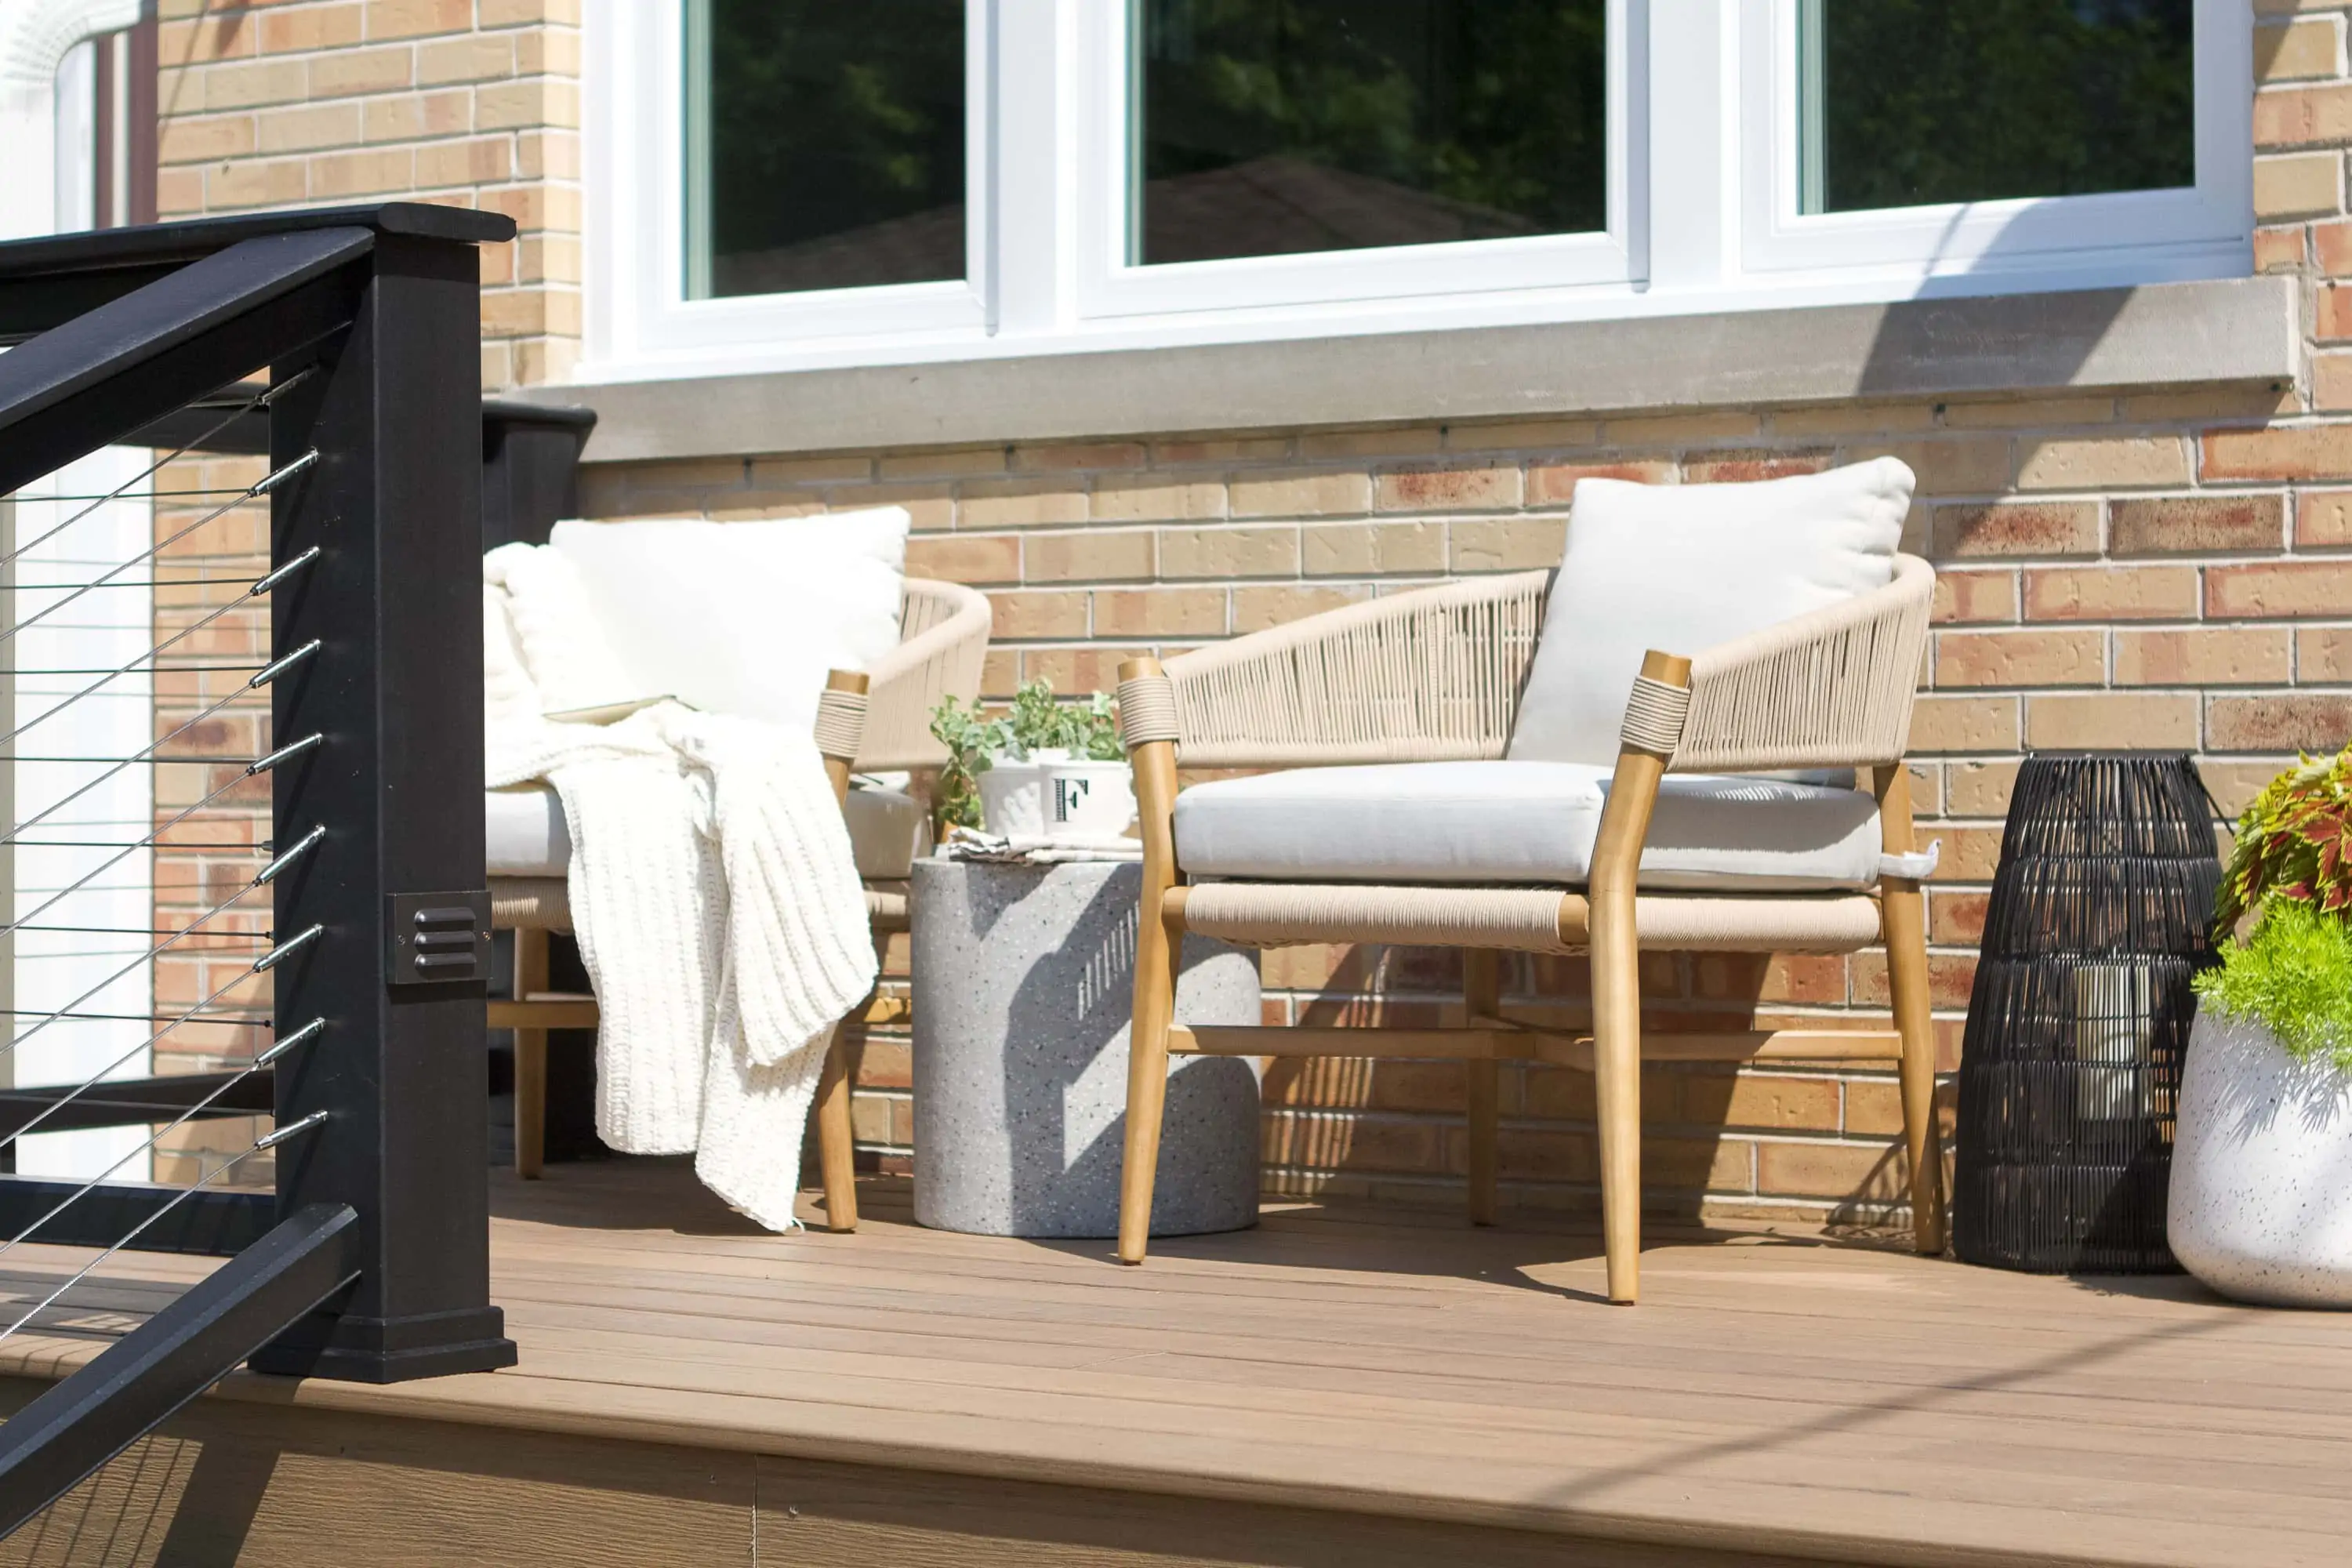
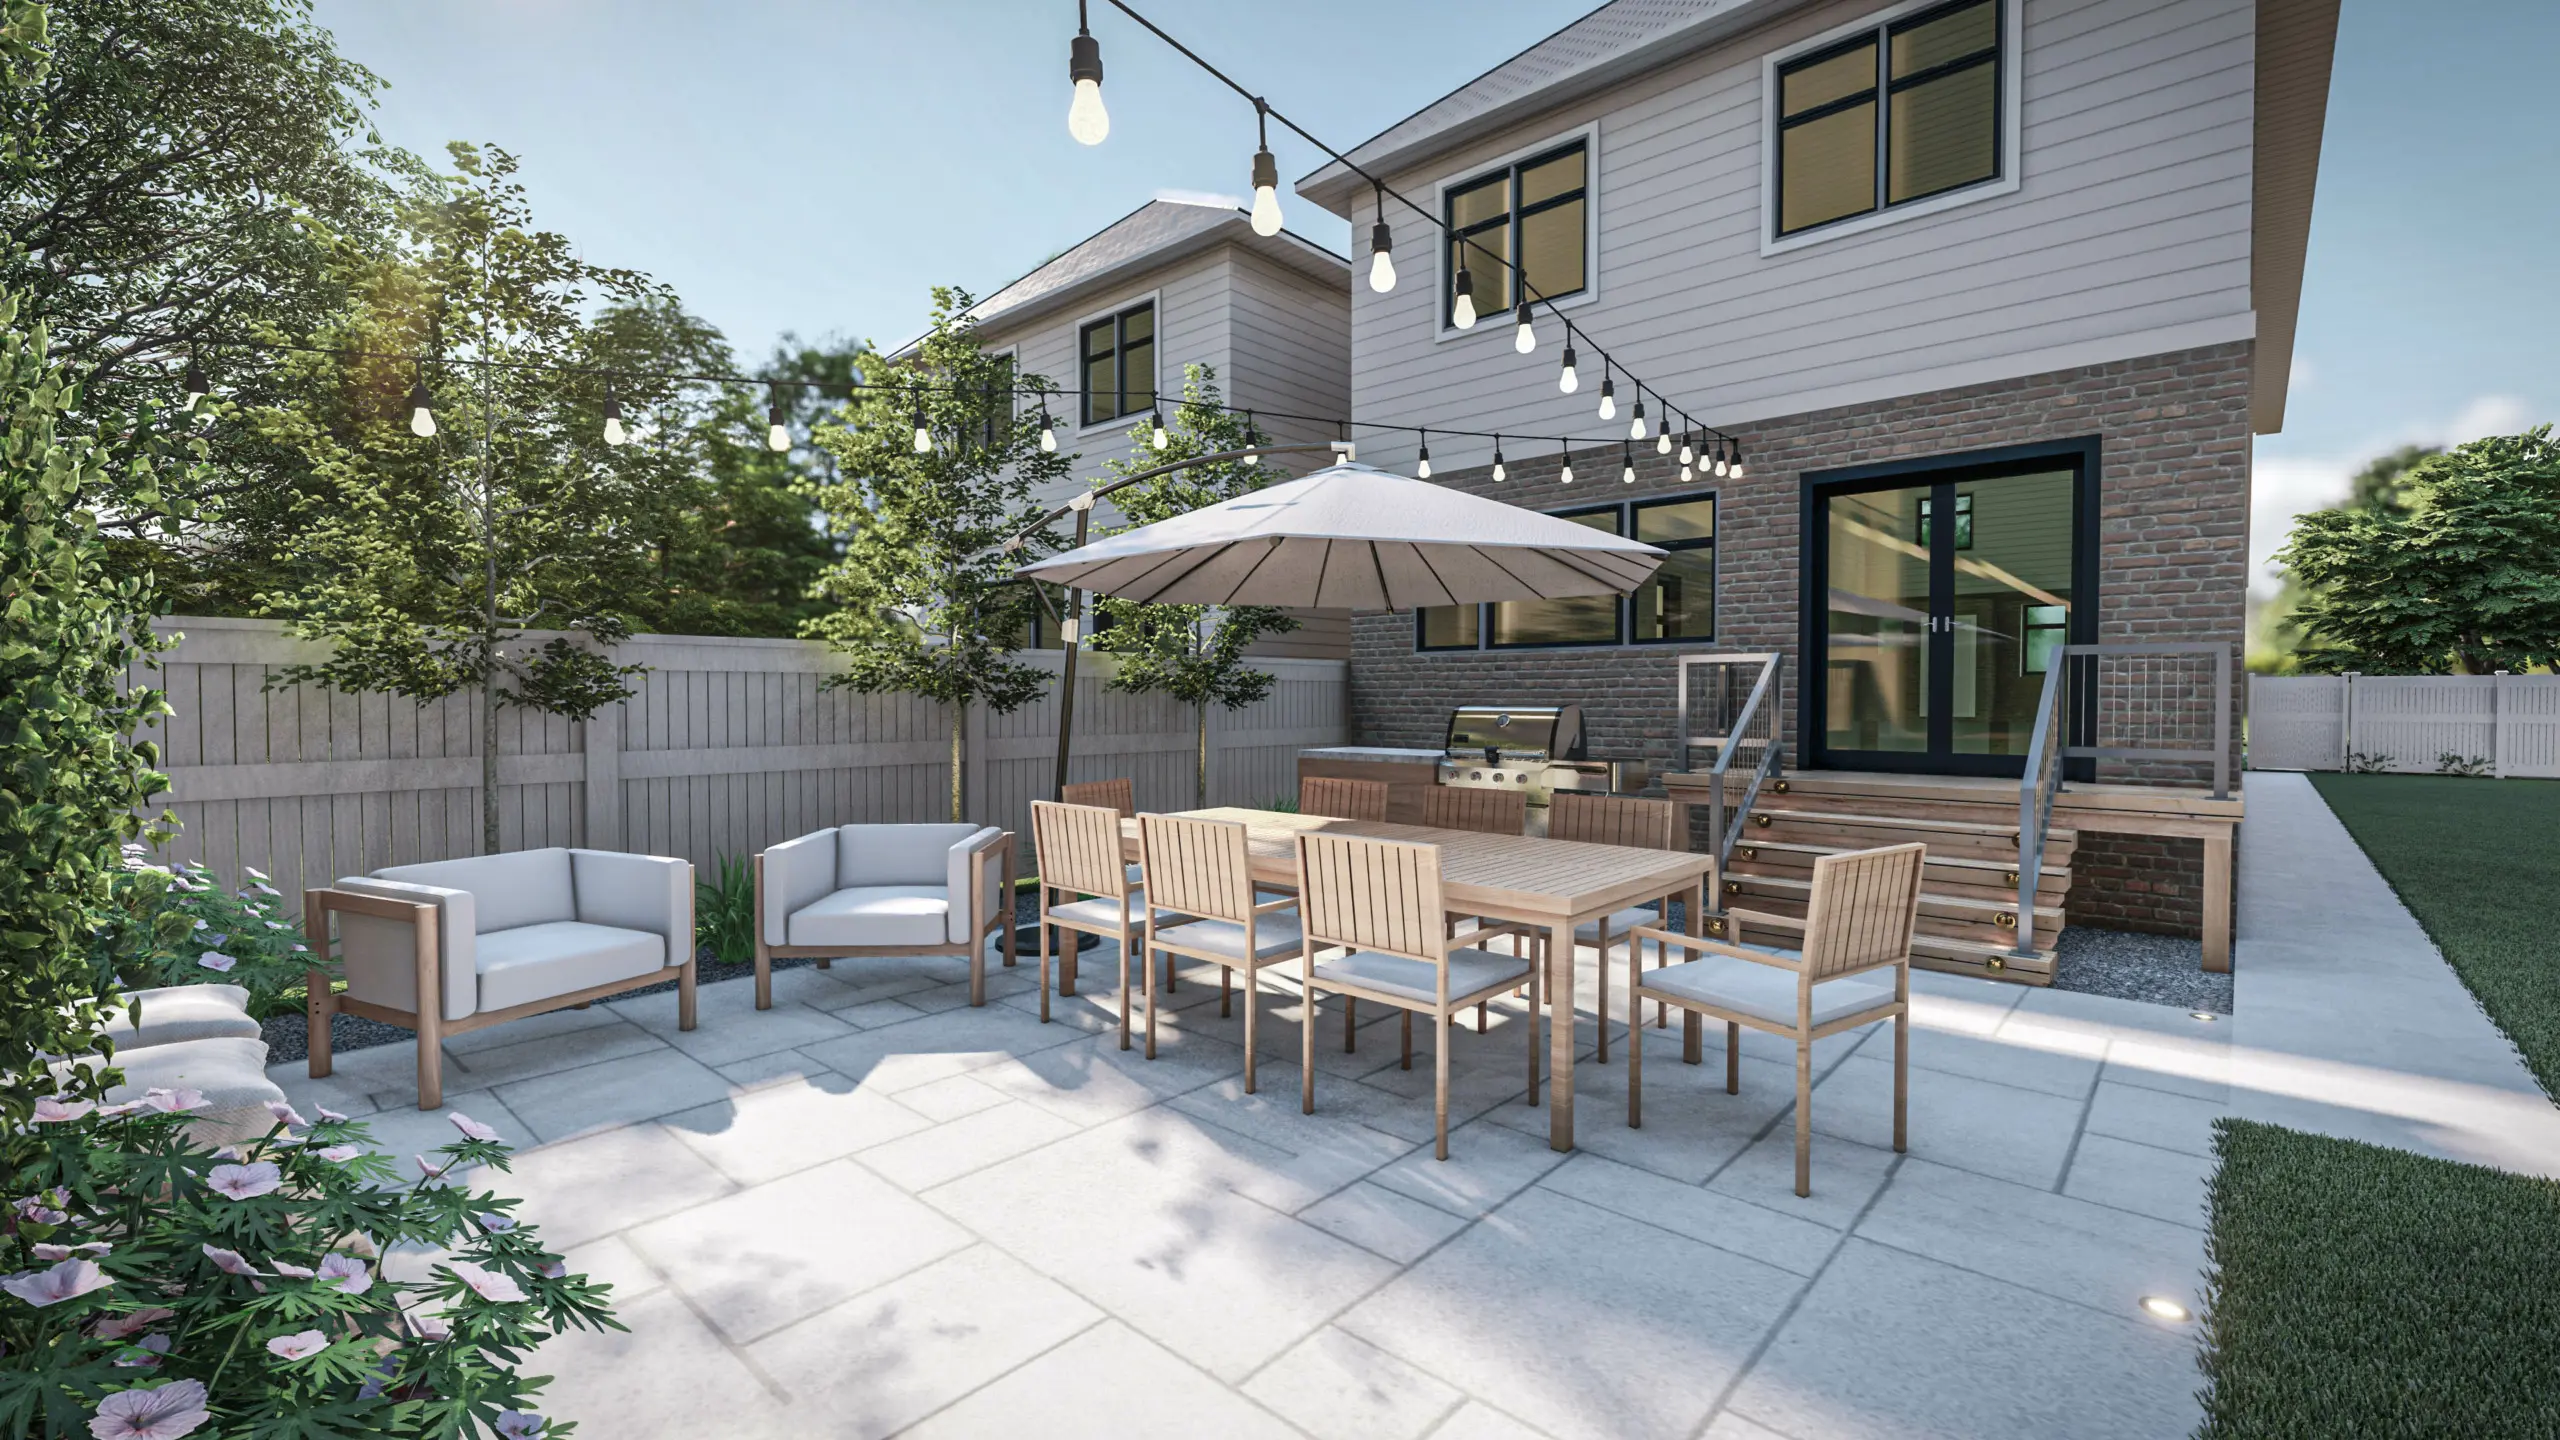
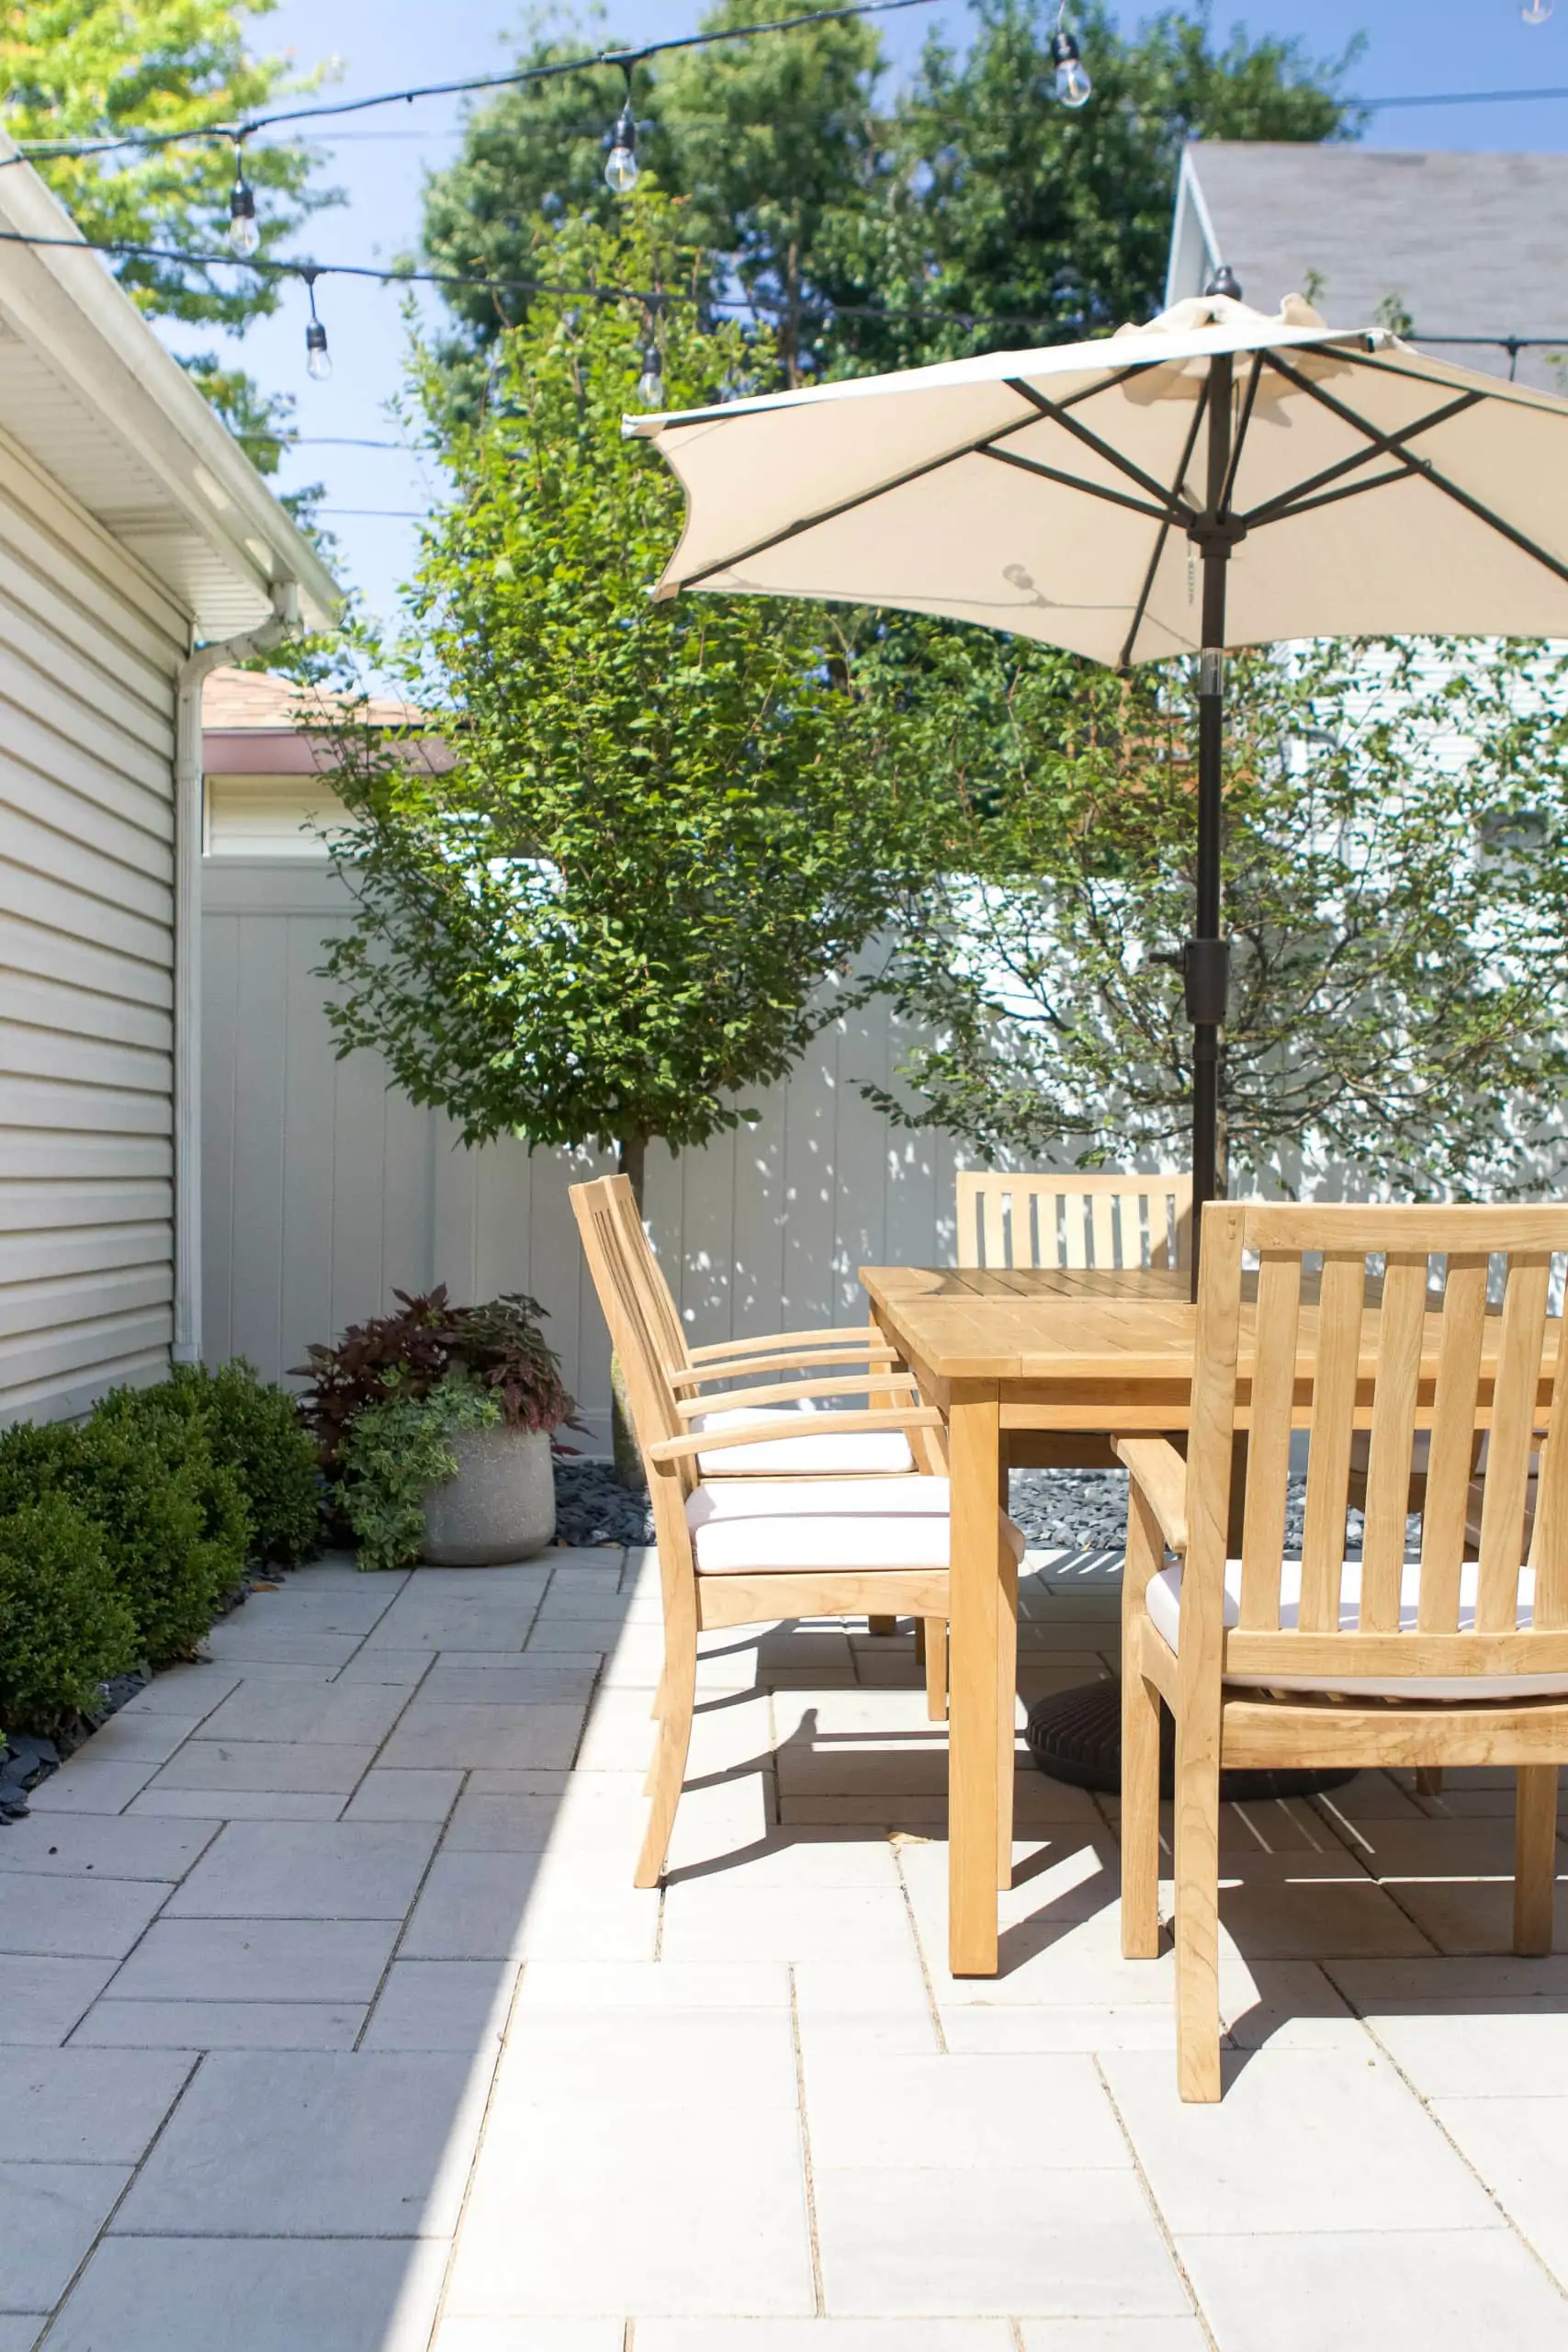
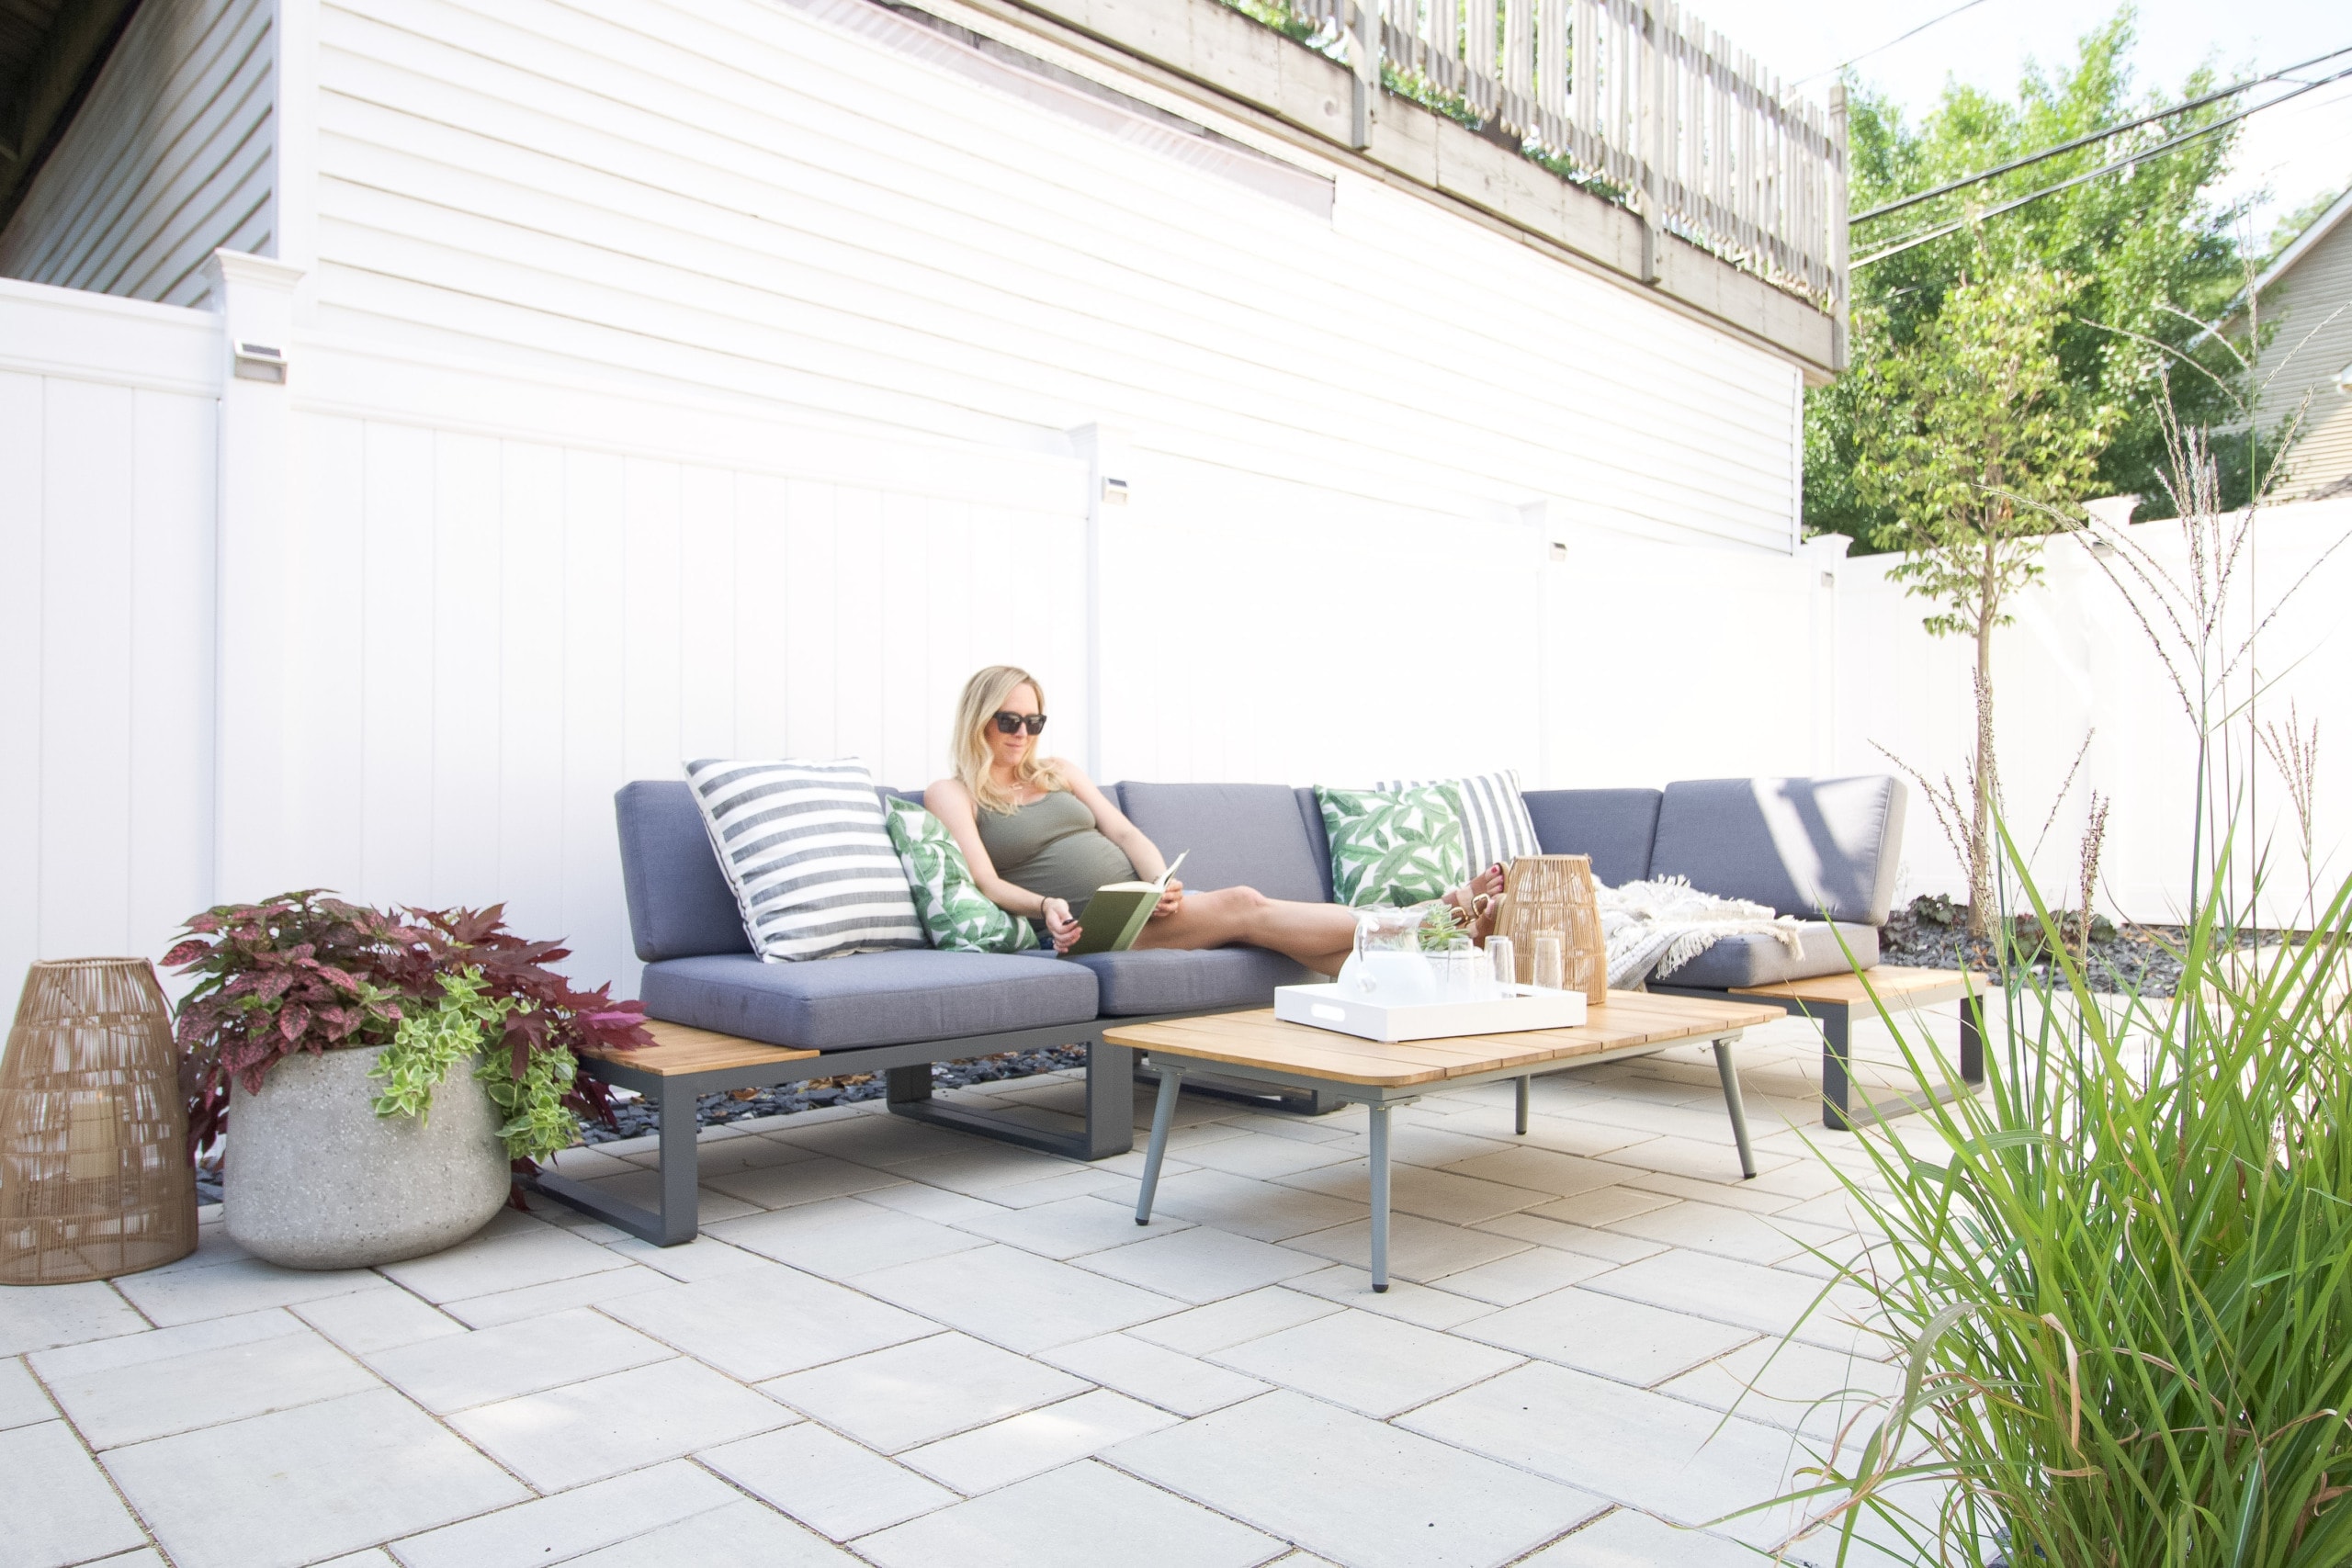
When I design a room, I often like to have the “bones” of the room finished before I start planning out what will go in it. If I jump the gun, I can sometimes make design mistakes. With the backyard, I didn’t have a great idea of what furniture I wanted to buy and I didn’t even order anything until the very end of June. I wanted to see the space and measure it myself before ordering.

Lead times for patio furniture have been pretty bonkers, so we had to wait quite a while for everything to arrive. It was fine because we were able to use our old sectional for most of the summer, but I feel like everything just came together in the last two weeks or so.
DIY During Downtime
Because we were waiting on materials, our crew would work for a bit and then not be around for weeks. It was frustrating, but understandable. They had other jobs to do and if they couldn’t keep moving quickly on our project, it made sense to pivot to another client.
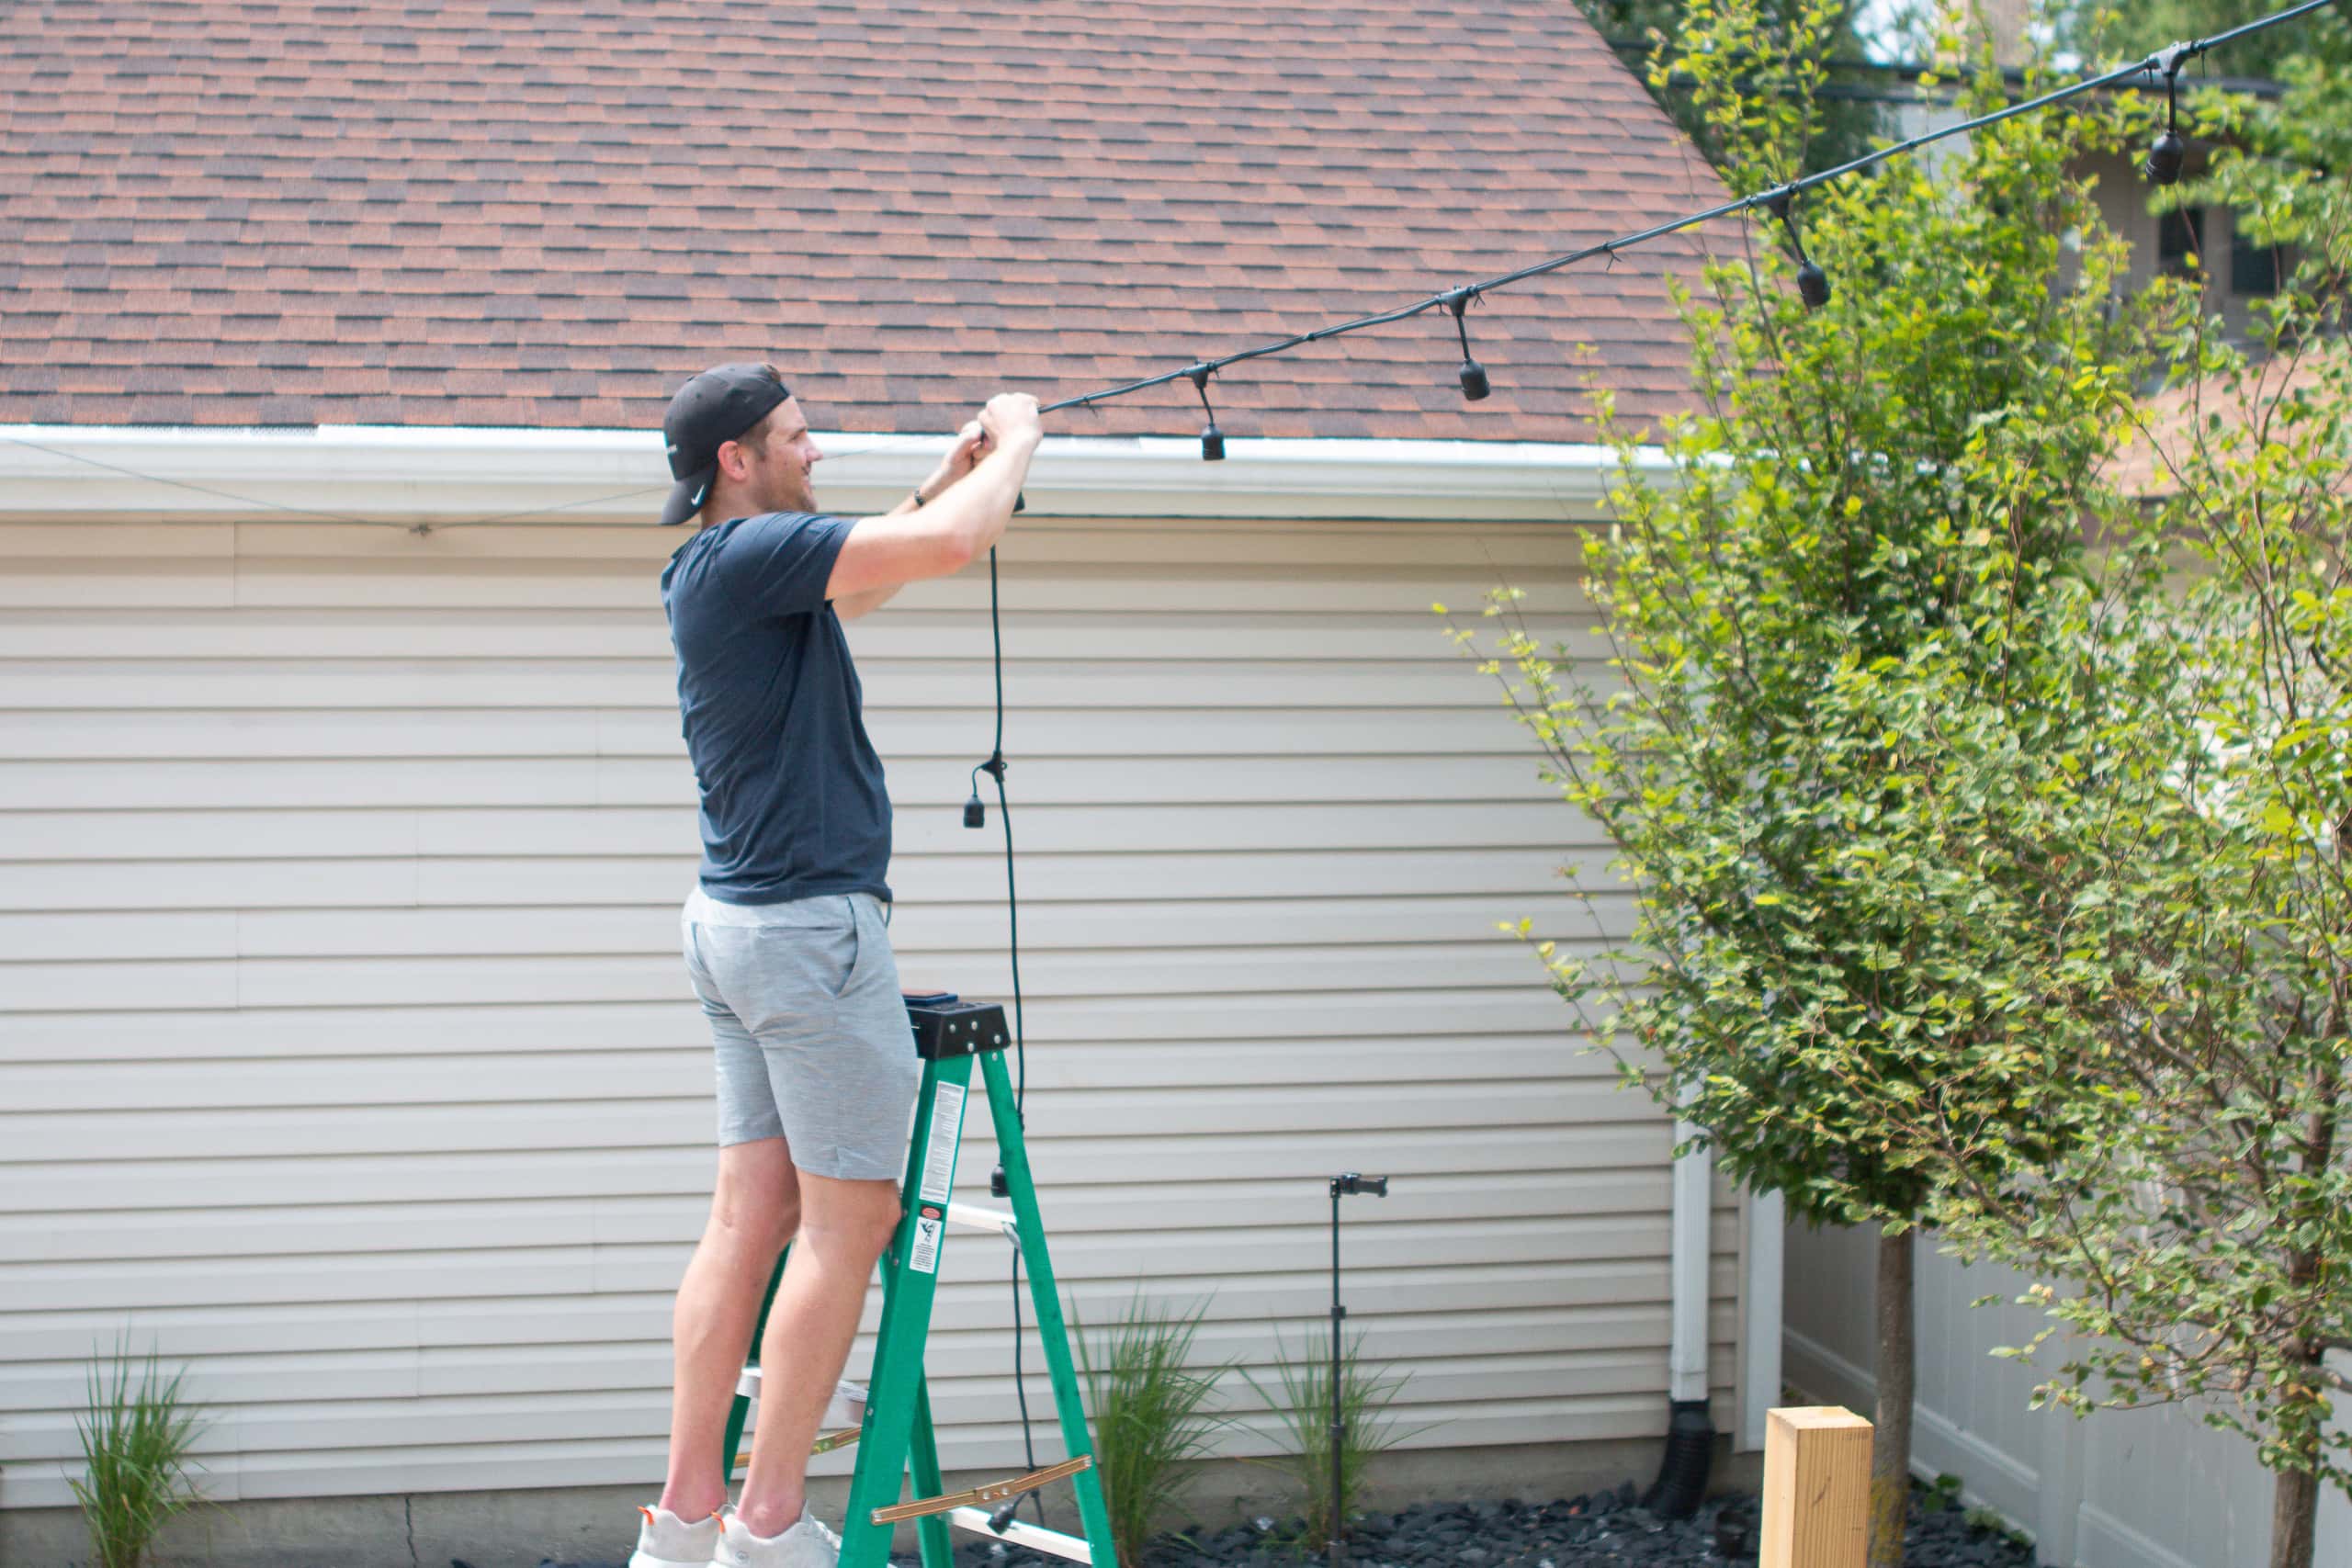
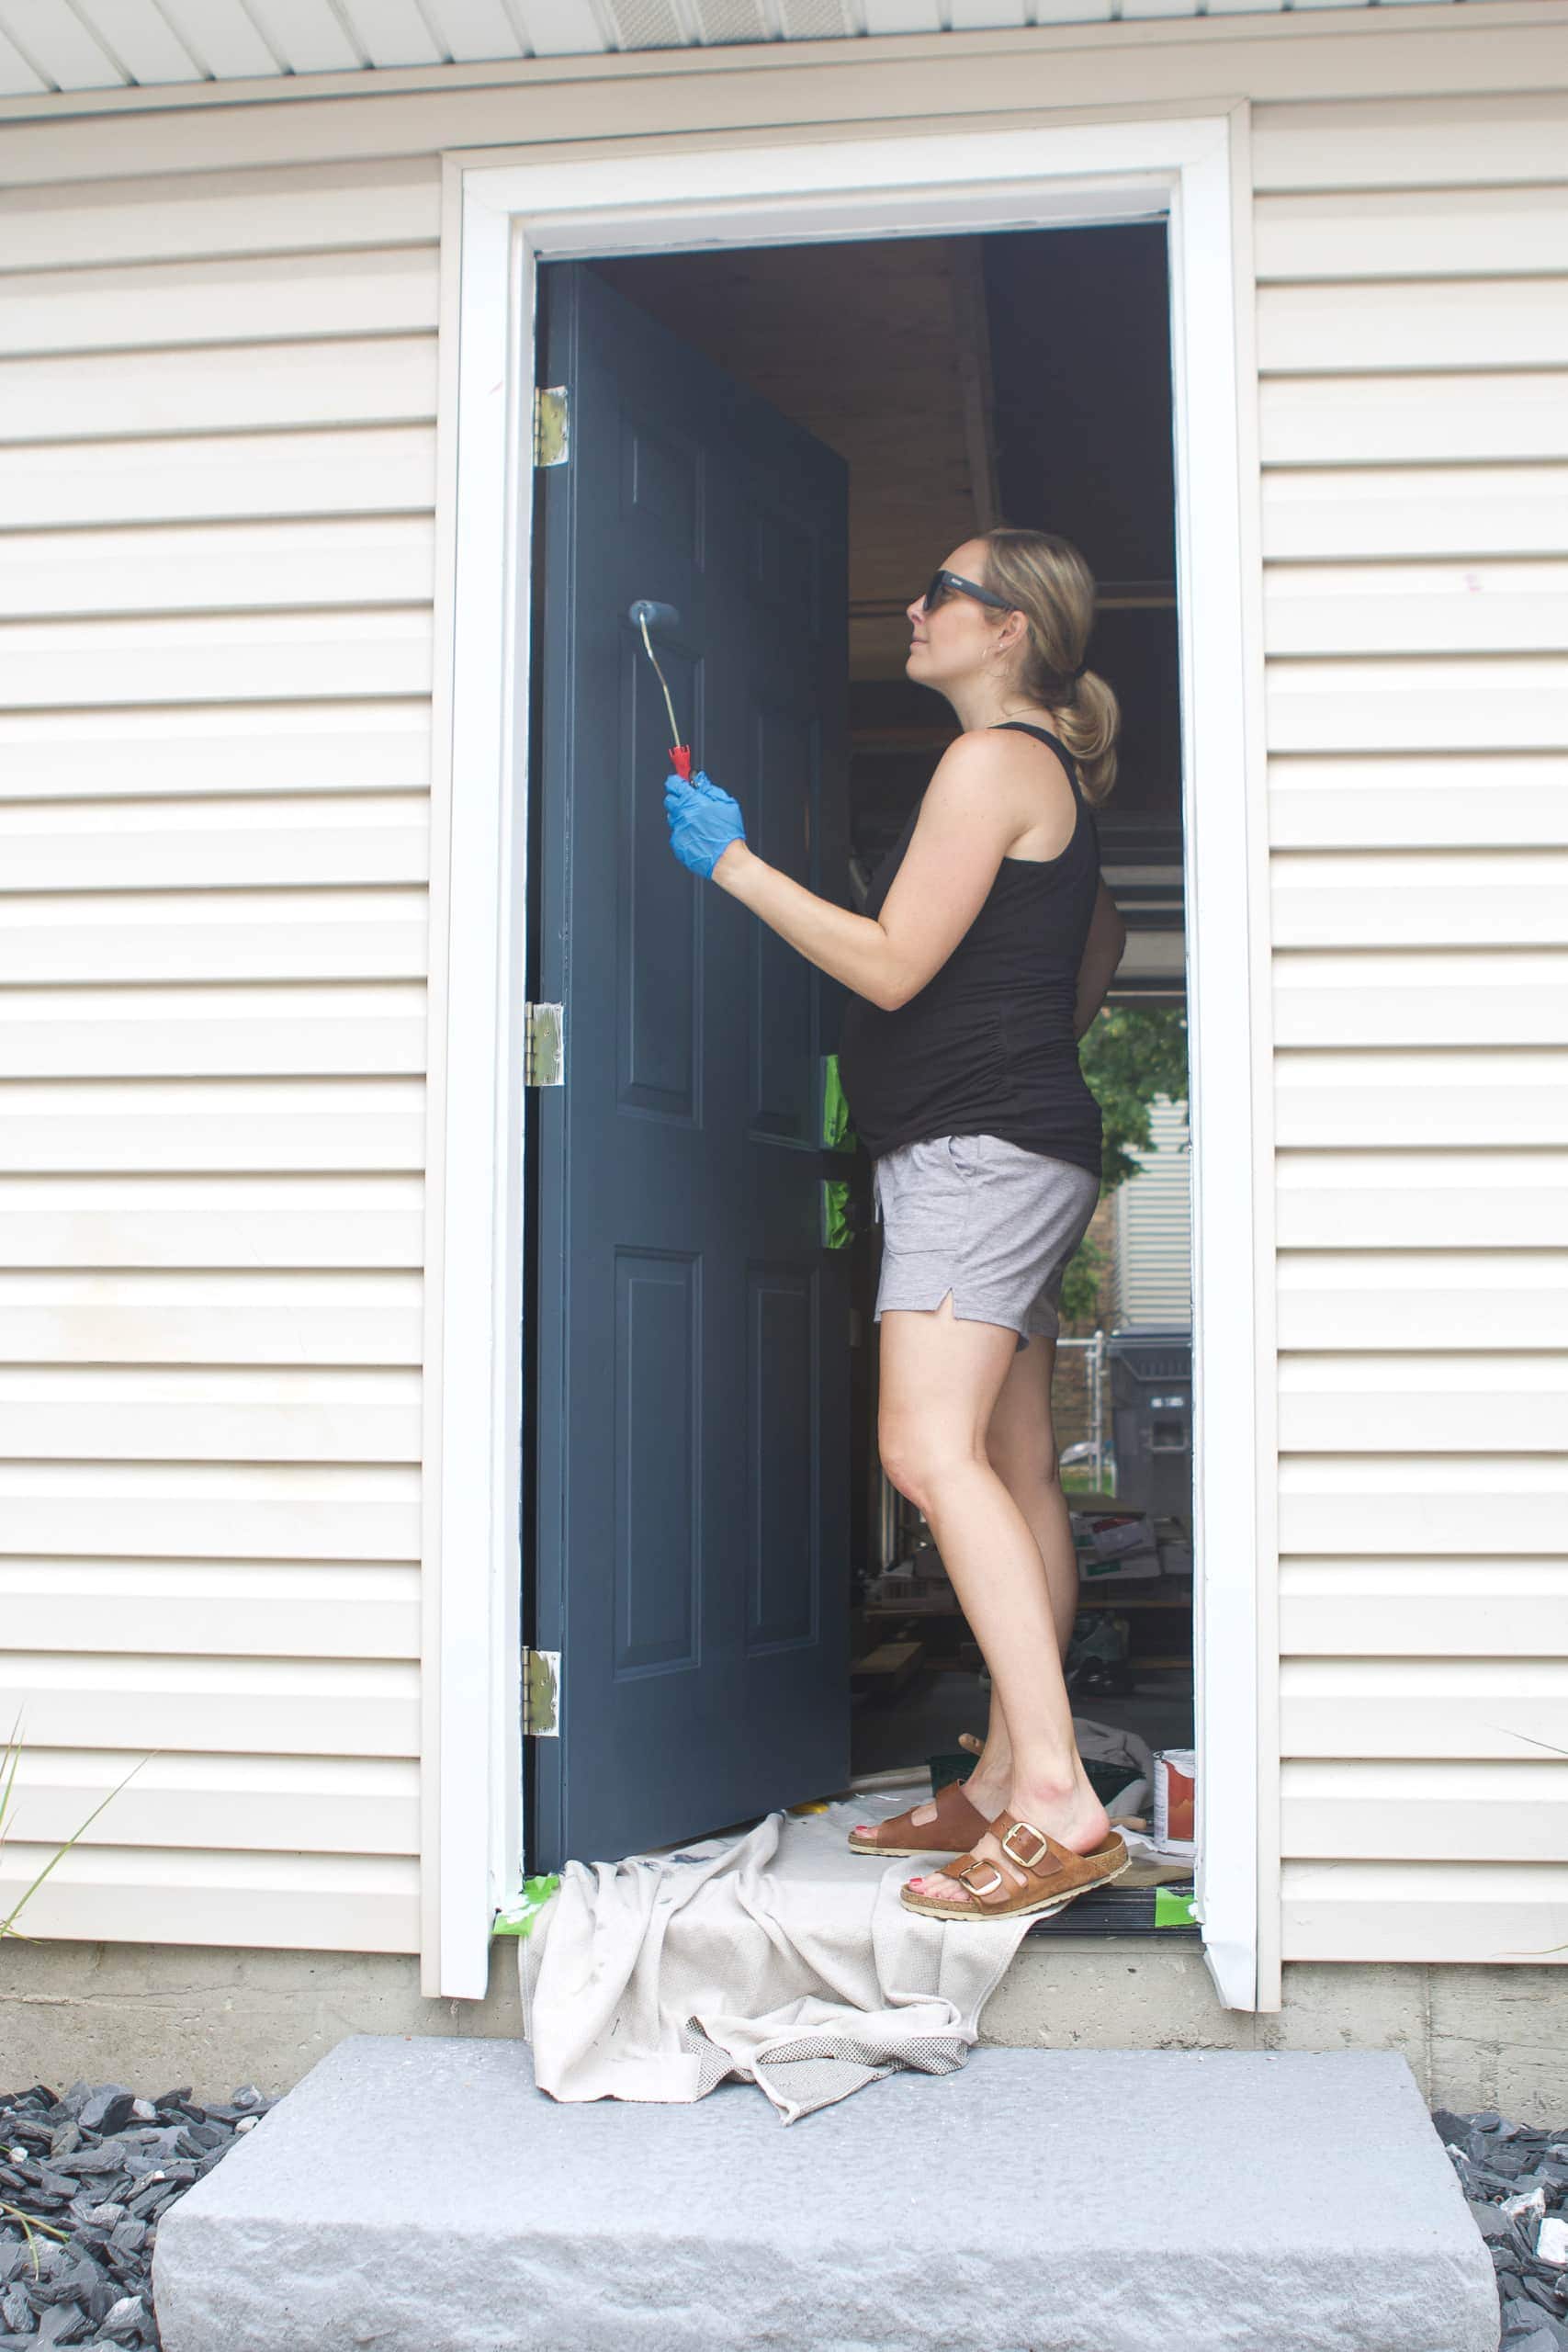
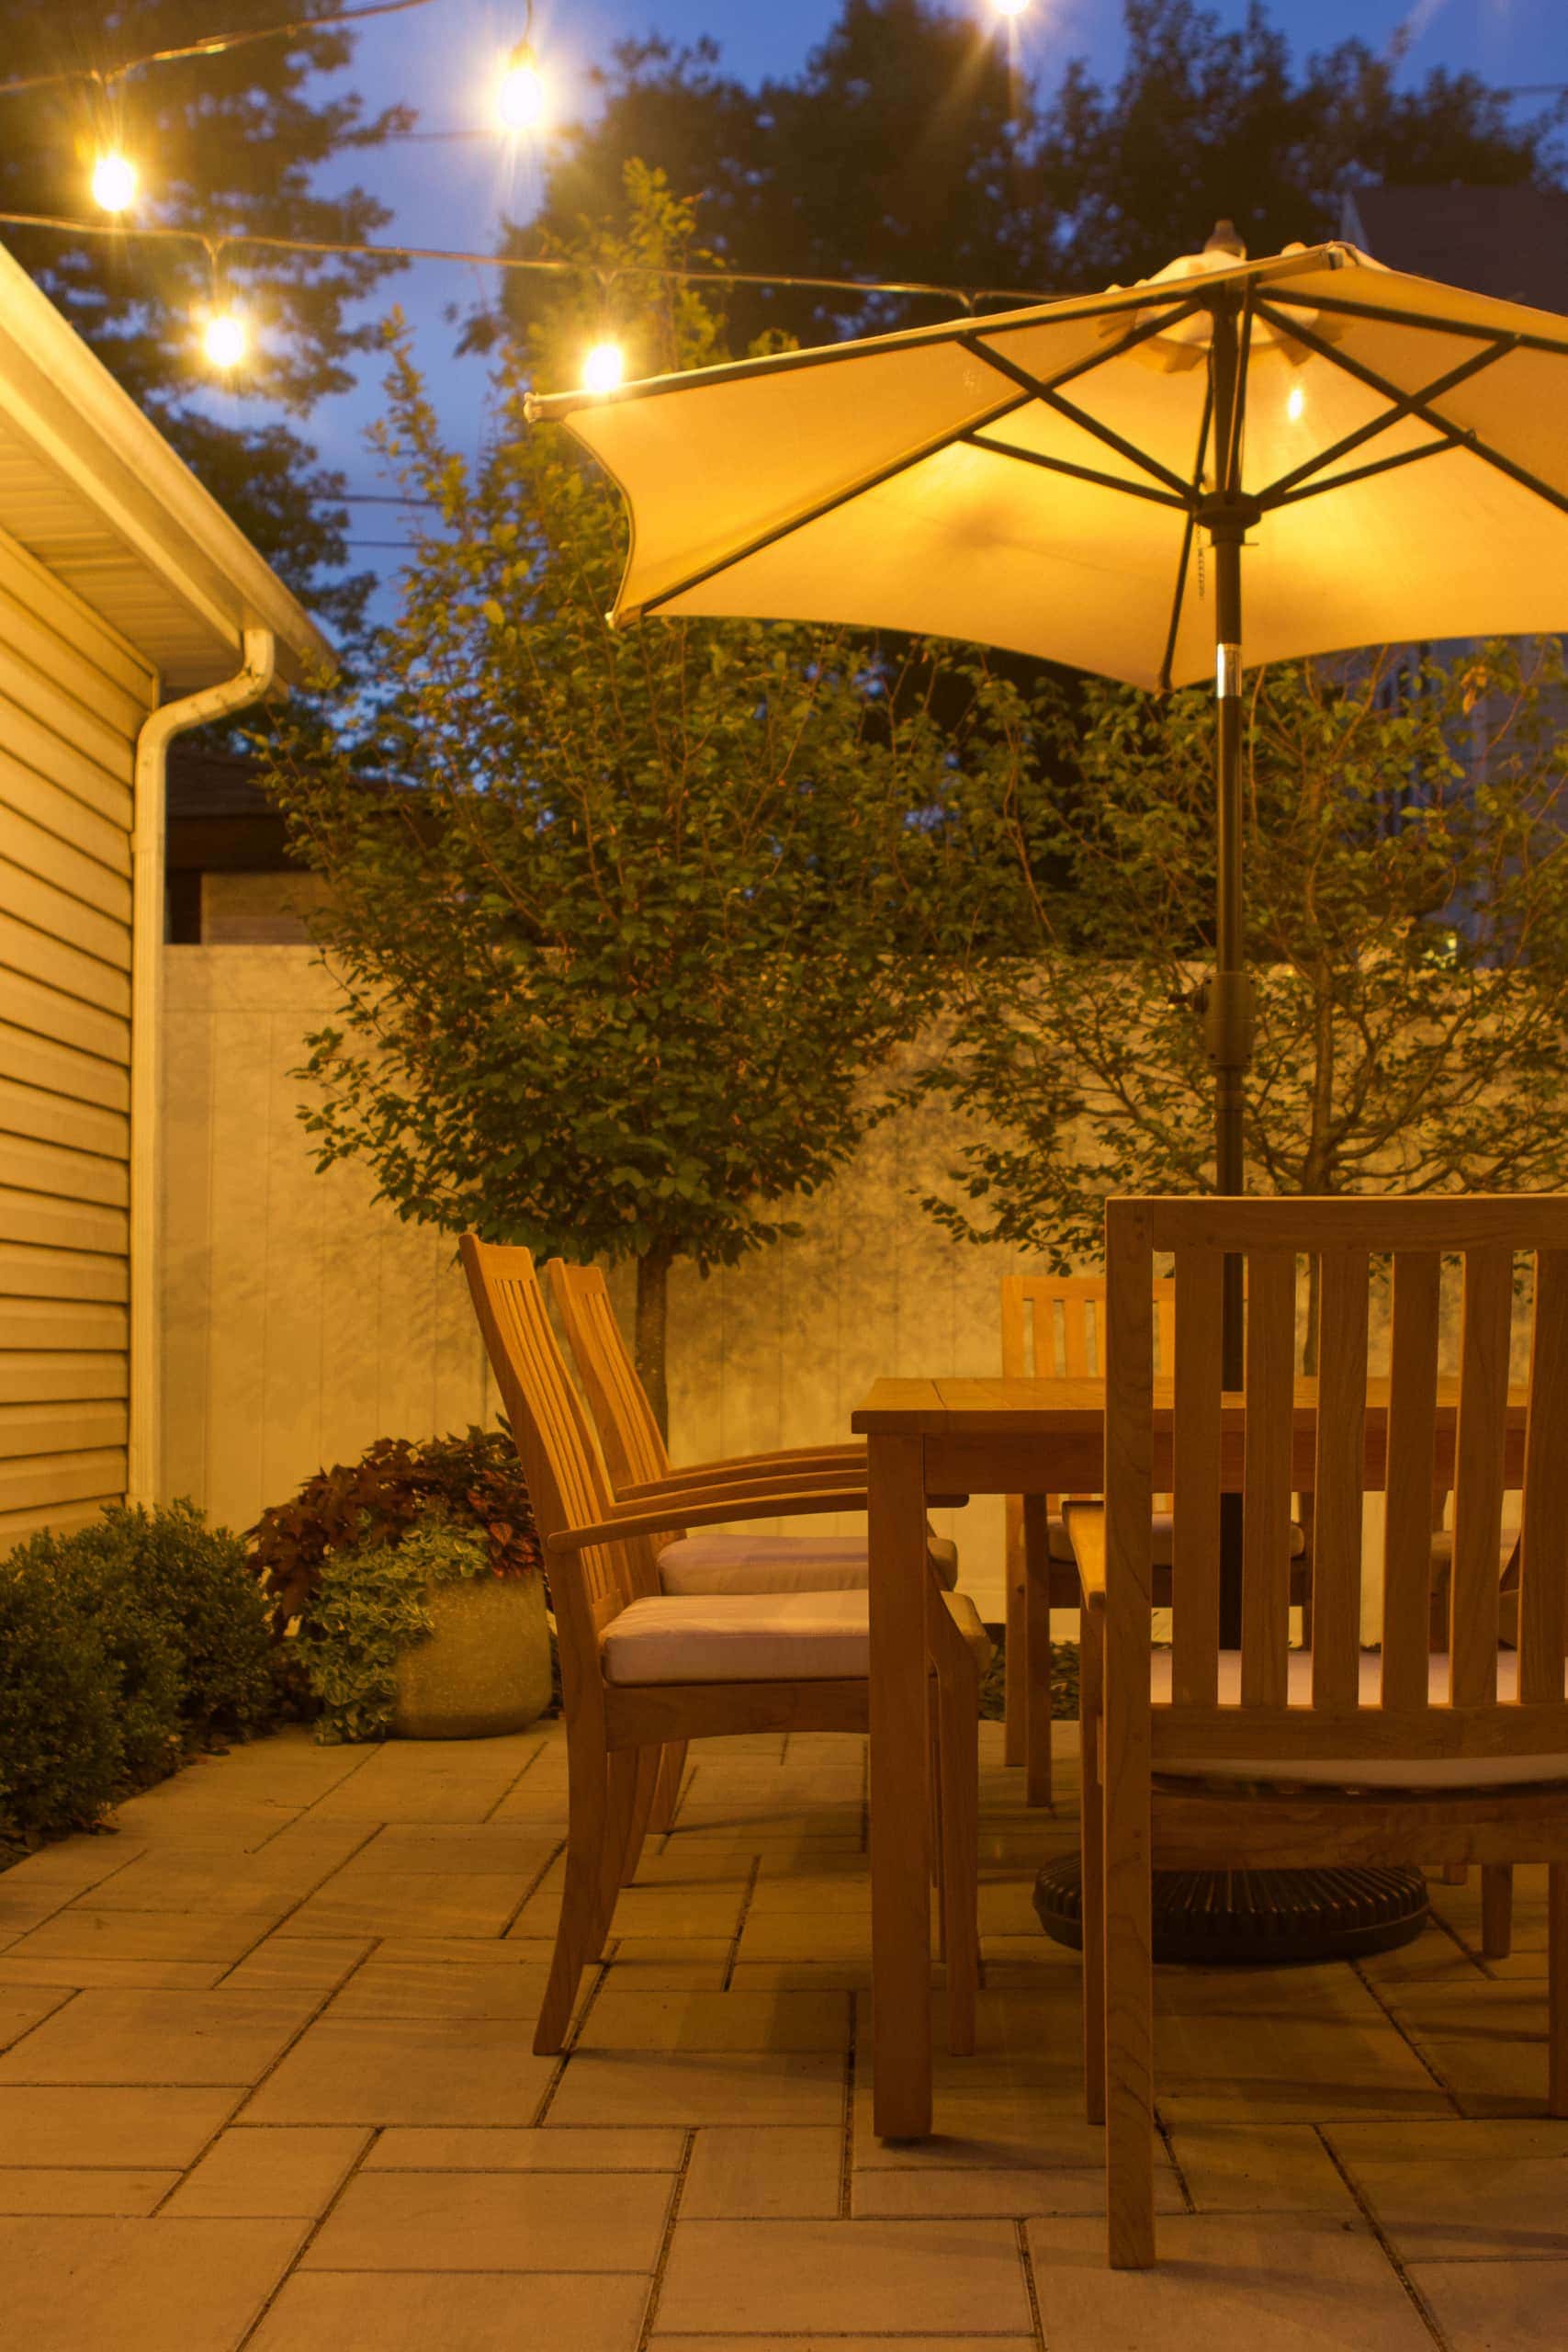
Through most of July, not much work happened, and it would crush me to look out the door at our half-finished backyard. By August, I decided to take control and tackle our own list of tasks we wanted to DIY out there. I painted our garage door, we hung string lights, hung our TV, and more. Taking advantage of the downtime made me feel more in control and we were able to accomplish a lot while we waited for the pros to come back and finish up their work.
Be Flexible with the Timeline
One of the biggest backyard renovation lessons I learned was to be flexible. I’m someone who likes to plan things well ahead of time and that just wasn’t possible with this project. In fact, I naively thought we could host a 4th of July party, because our backyard would be finished. Ha…not even close.
I guess my biggest tip to you is to just be flexible and enjoy it even when it’s not 100% finished. And just like the inside of your home, don’t wait for everything to be perfect to love your space. Finn and I got out our firepit and made s’mores many times…even in our half-finished yard. I had a friend over for wine night (water for me), while we were still waiting on landscaping. Then, the day we finished and all of our furniture arrived, I had my family over to celebrate my brother’s birthday. We did our best to enjoy our backyard every step of the way and I would urge you to do the same for any home project you dive into.
Two Things I Would Do Differently…
Of course, every project comes with a few things that you would do differently if you could do it all over again. Here are a few of mine for the backyard…
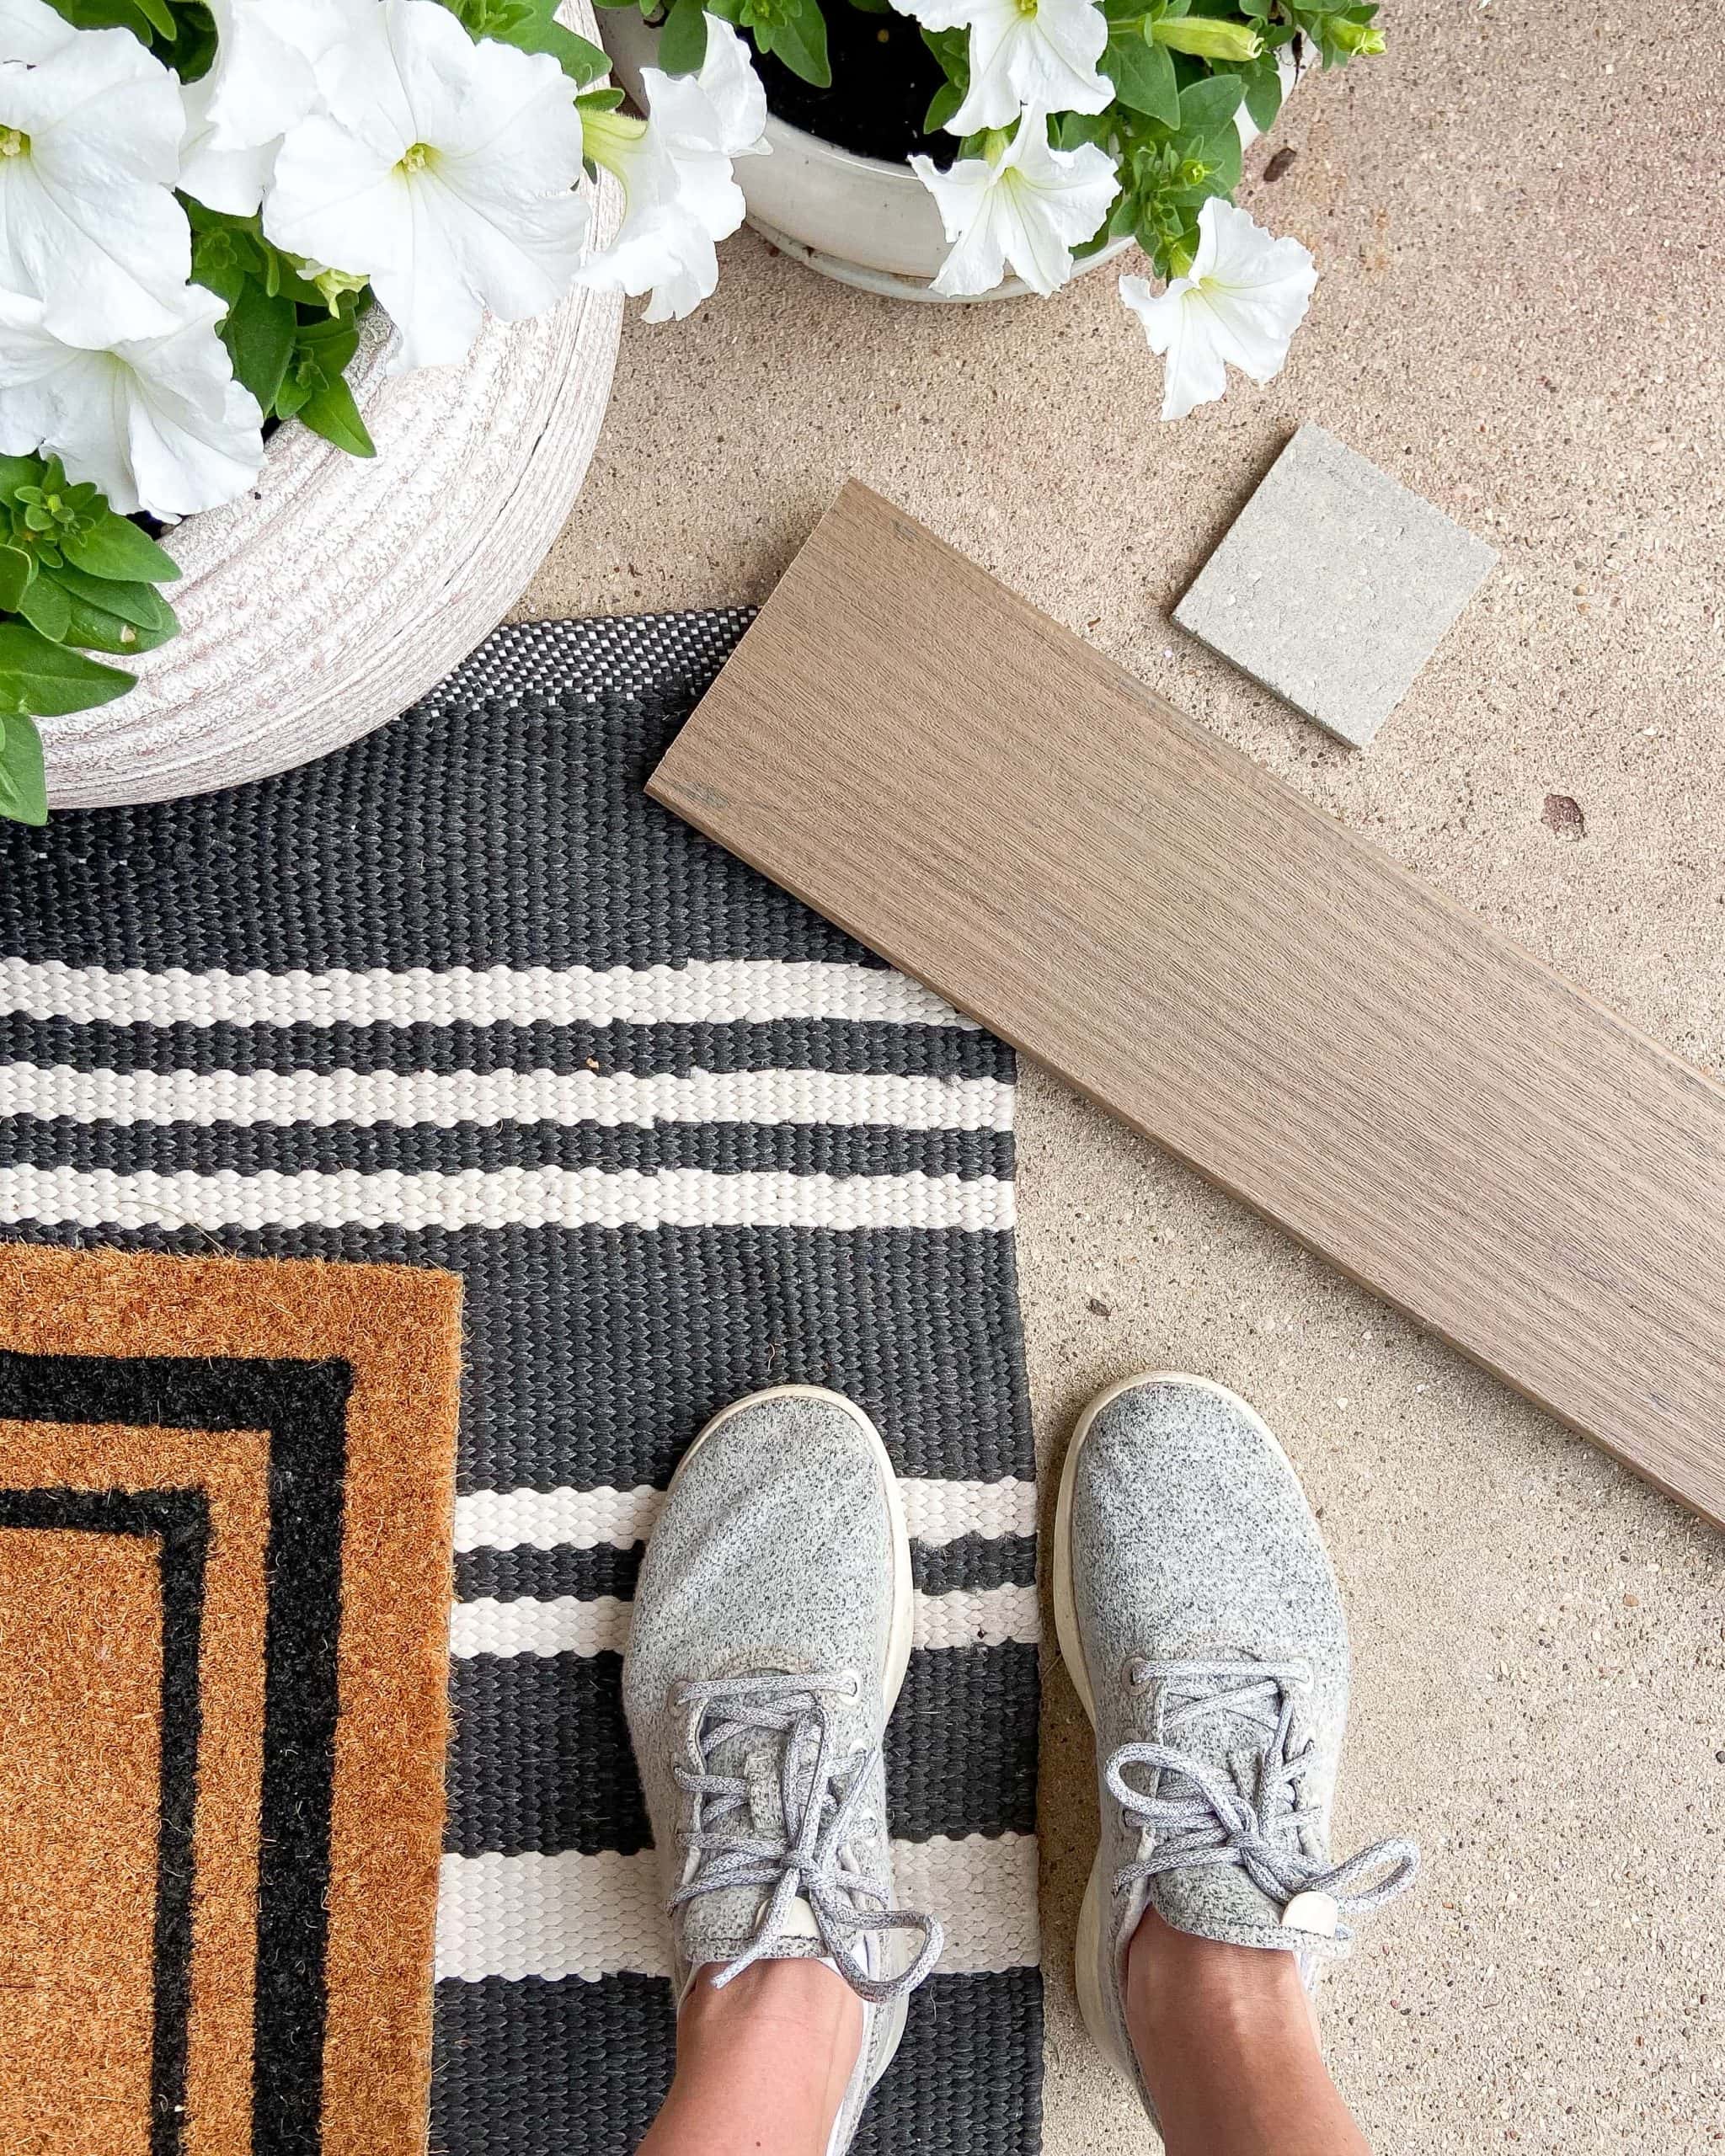
- Different material between pavers: Oh man, we’ve really struggled with the material between the pavers. First, our landscaper put down gray sand and it made a huge mess of our yard when it rained and kinda flushed out. Then, he put down a gray-colored gravel. This, too, got messy and washed out. Finally, he added a tan sand. And I’m not gonna lie, it’s been a bit of a mess and isn’t my favorite look but I’ve given up for this year. From the start, we wanted to use this polymer but our landscaper talked us out of it. Apparently, the stone should settle for at least a season or two before adding a product like this, which makes sense. I think our plan will be to do the sealing with the polymer, ourselves, next spring.
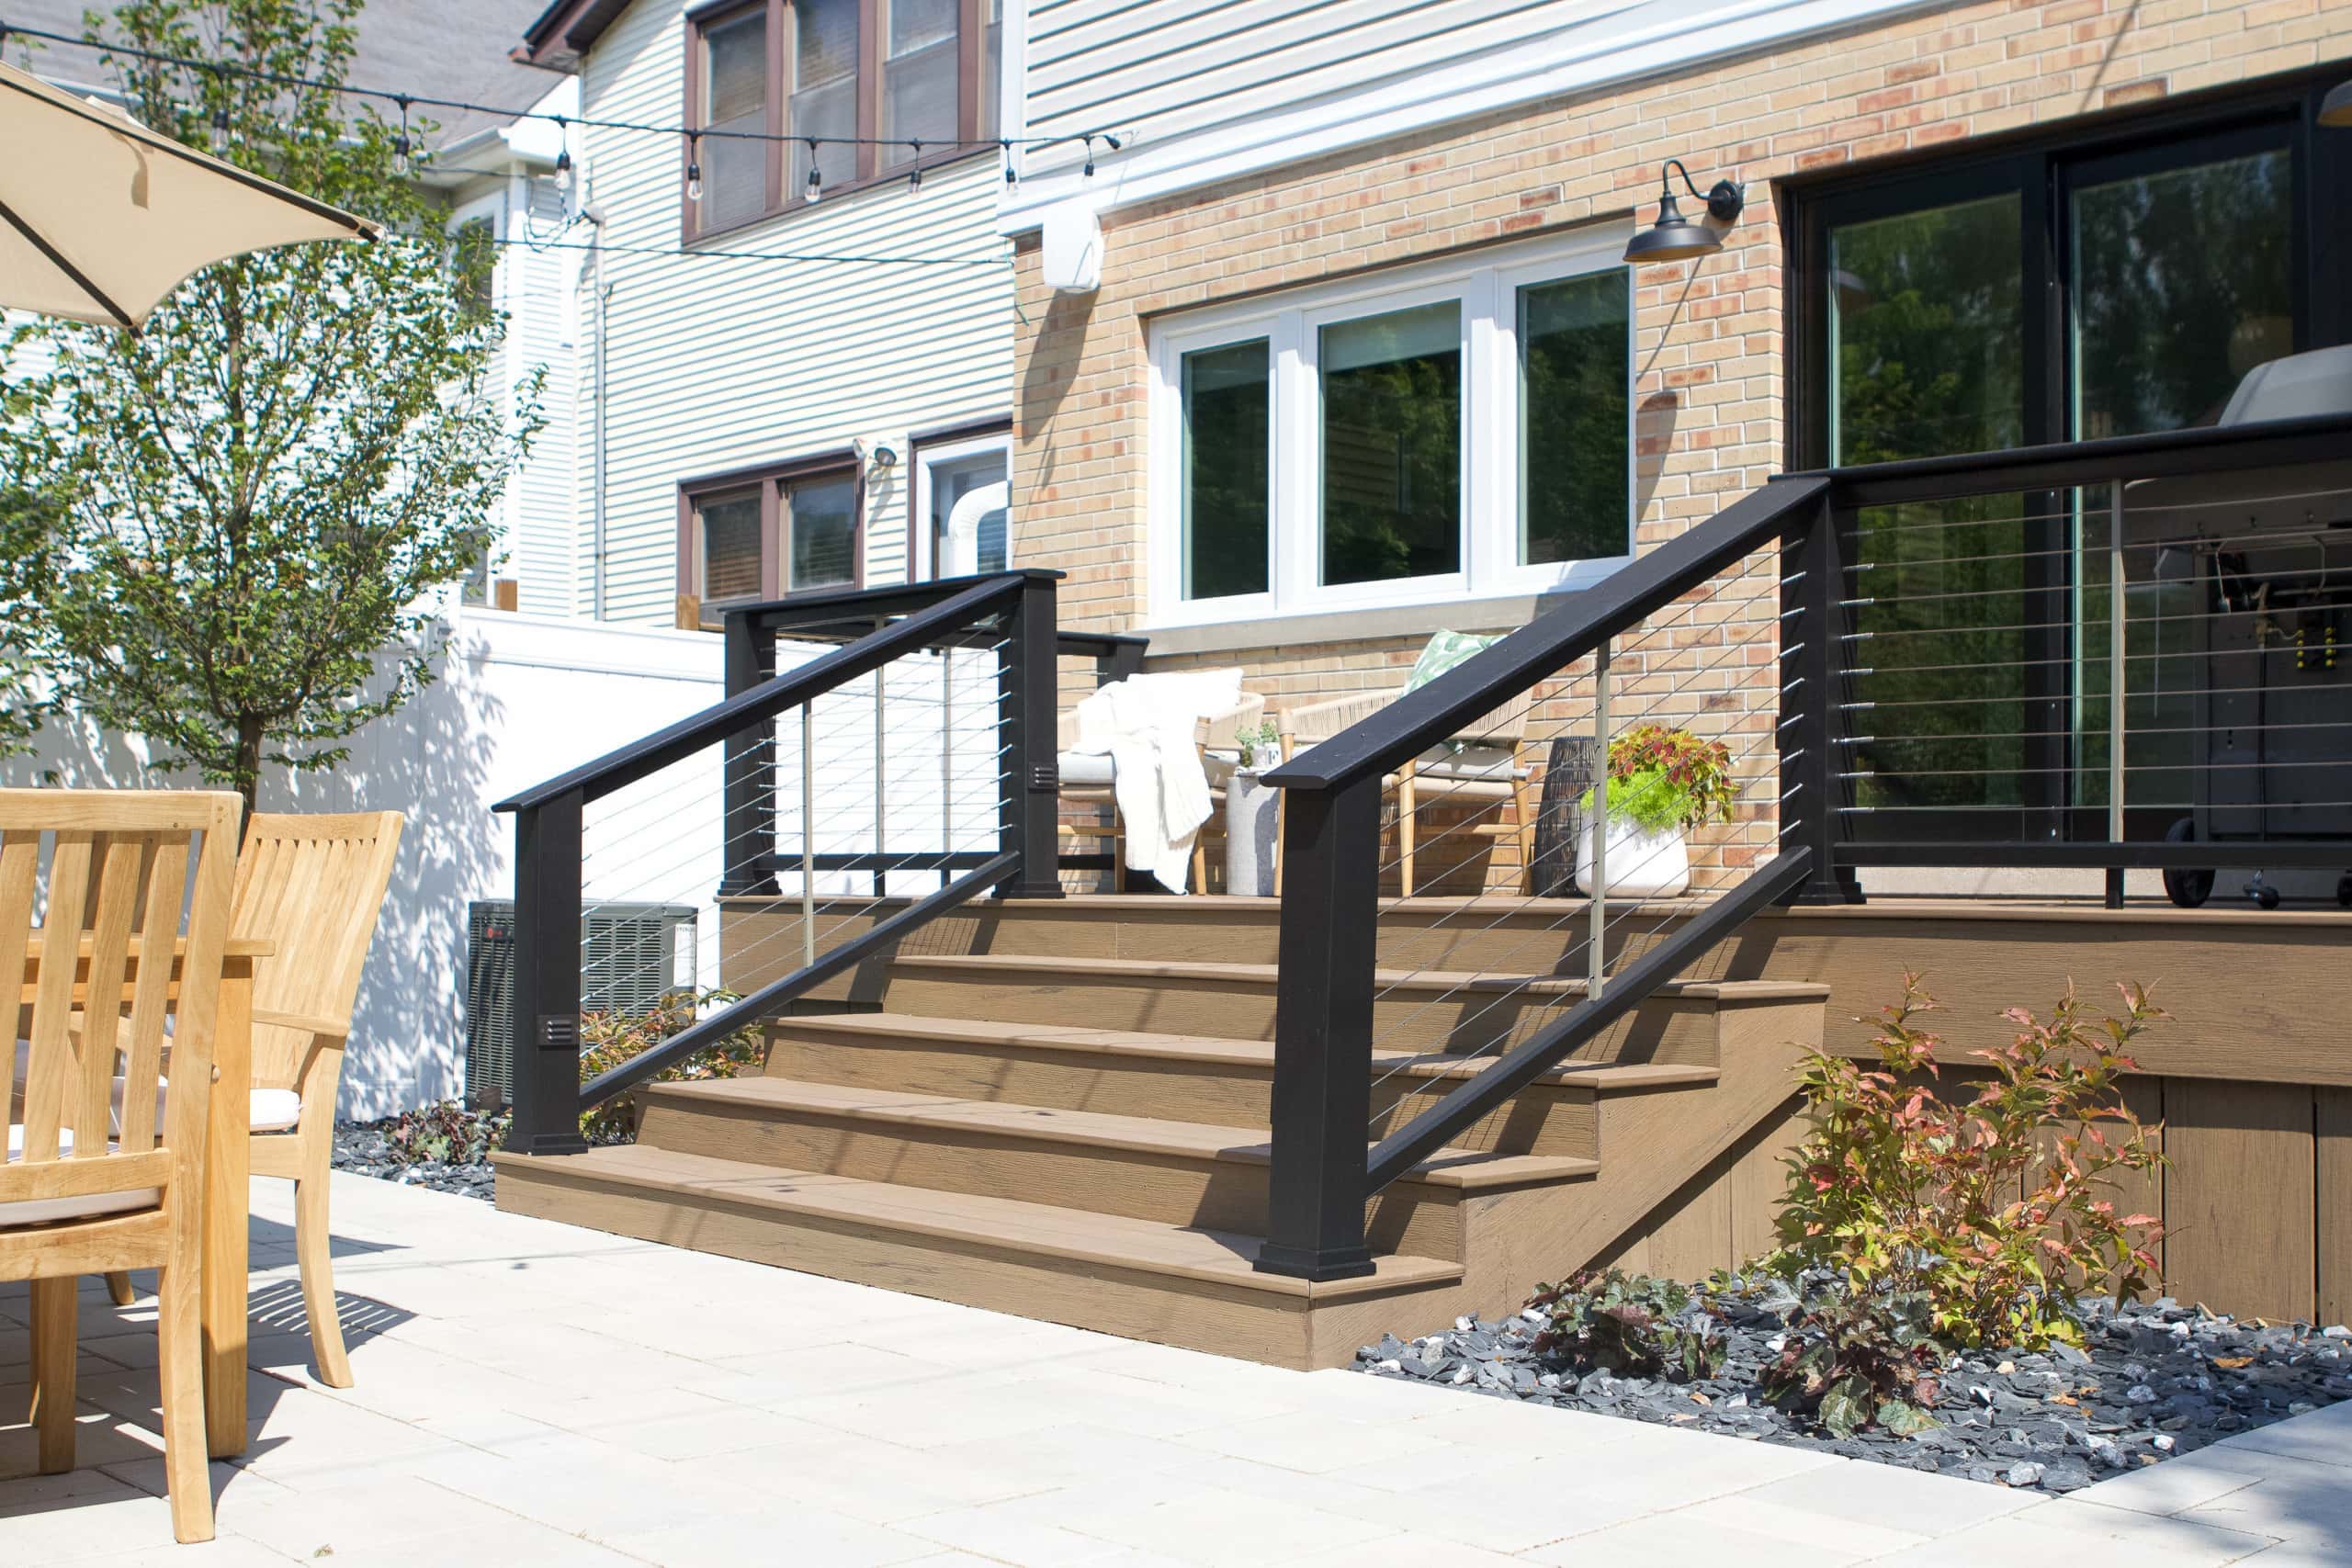
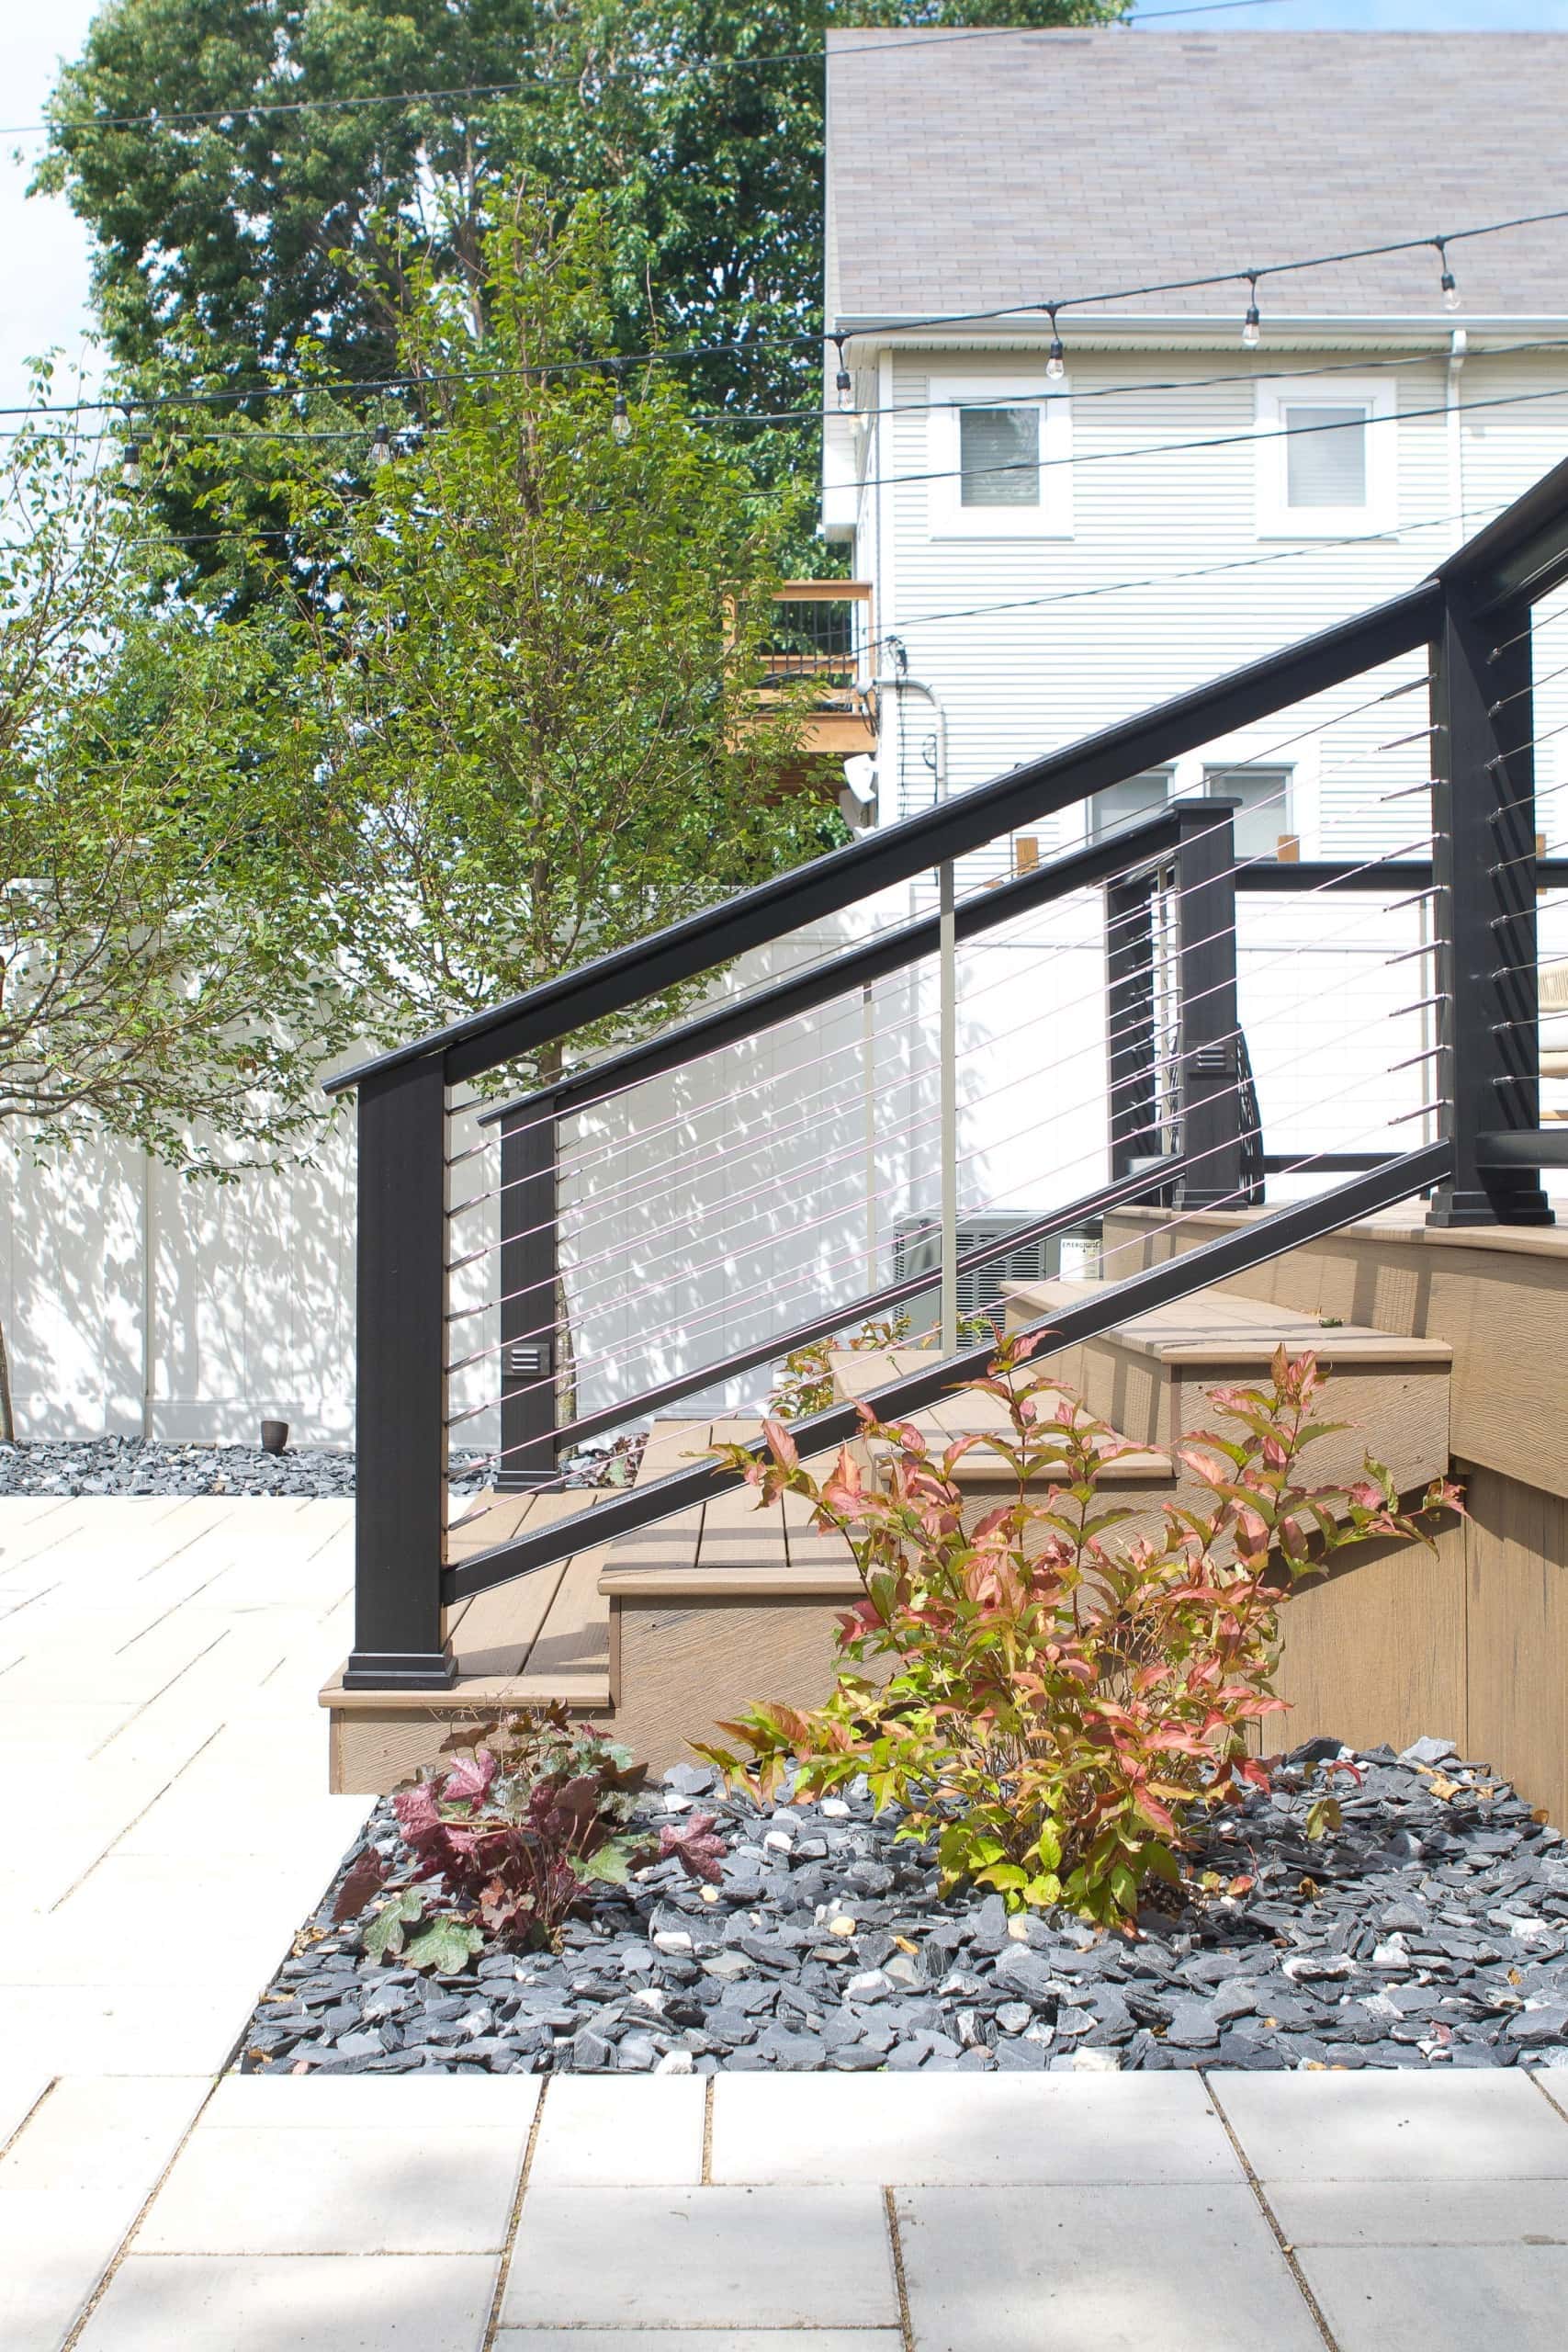
- Find the right contractor for the job: We hired one company to do it all…demo, new drainage, pavers, deck, landscaping and more. While the team has done many decks over the years, they were not familiar with the exact decking we chose, especially the contemporary railings. The finished work wasn’t up to our standards and Finn and I ended up fixing a lot of it, which took a lot of time at night and a few weekends. Of course, I wish they would have been upfront about not being familiar with the materials and that they would have passed on that part of the project. If I could do it all over again, I would have found a contractor through the TimberTech website (that’s the decking we used), who specializes in using that product. We also had some snafus with the lighting and they weren’t able to finish off the wiring for the project. We still need to have an electrician come out to finish the job.
Our Backyard Renovation Budget

Now, for the big question I have been asked over and over, “How much does this all cost?” I wish I had a clear-cut answer for you, but it’s shifted over the course of this backyard renovation. Here are some high-level line items I can share…
- Deck & Railing Materials: $9,000 (110 square foot deck, plus stairs)
- Paver Materials and Installation: $13,000 (650 square foot surface)
- Plants/Trees/Rocks: $4,000
- Additional Labor: $8,000 (demo, re-do elevation, add drainage system, install deck, etc.)
Of course, we also have our outdoor TV, patio furniture, and accessories out there that aren’t included in the rundown. But, I figured it would be helpful for you to see those high-level items if you’re diving into a similar project.
Thank you!
This project has been a slow-moving one with lots of backyard renovation lessons learned. And you guys have been cheering me on every step of the way! Thank you for the encouragement and for all of your sweet words on the big reveal. If you need any sources or information, head to the big reveal post. Or, check out the many blog posts below that I’ve written over the past few months. Now, it’s time to go outside and actually enjoy this new space this weekend!
Casey
Catch Up On Our Backyard Renovation
- Yardzen Design Plans
- Backyard Renovation Kickoff
- Backyard Renovation Progress (2 Weeks In)
- Our New A/C Units
- Deck Progress
- Painting the Garage Door
- How to Install String Lights
- Backyard To-Do List
- Backyard To-Do List: Progress
- How to Protect Teak Furniture
- Our New Outdoor TV
- Backyard Landscaping Details
- Our Outdoor Furniture
- The Big Backyard Reveal
- Backyard Renovation Lessons We Learned