How to Install String Lights From Your House to Your Garage
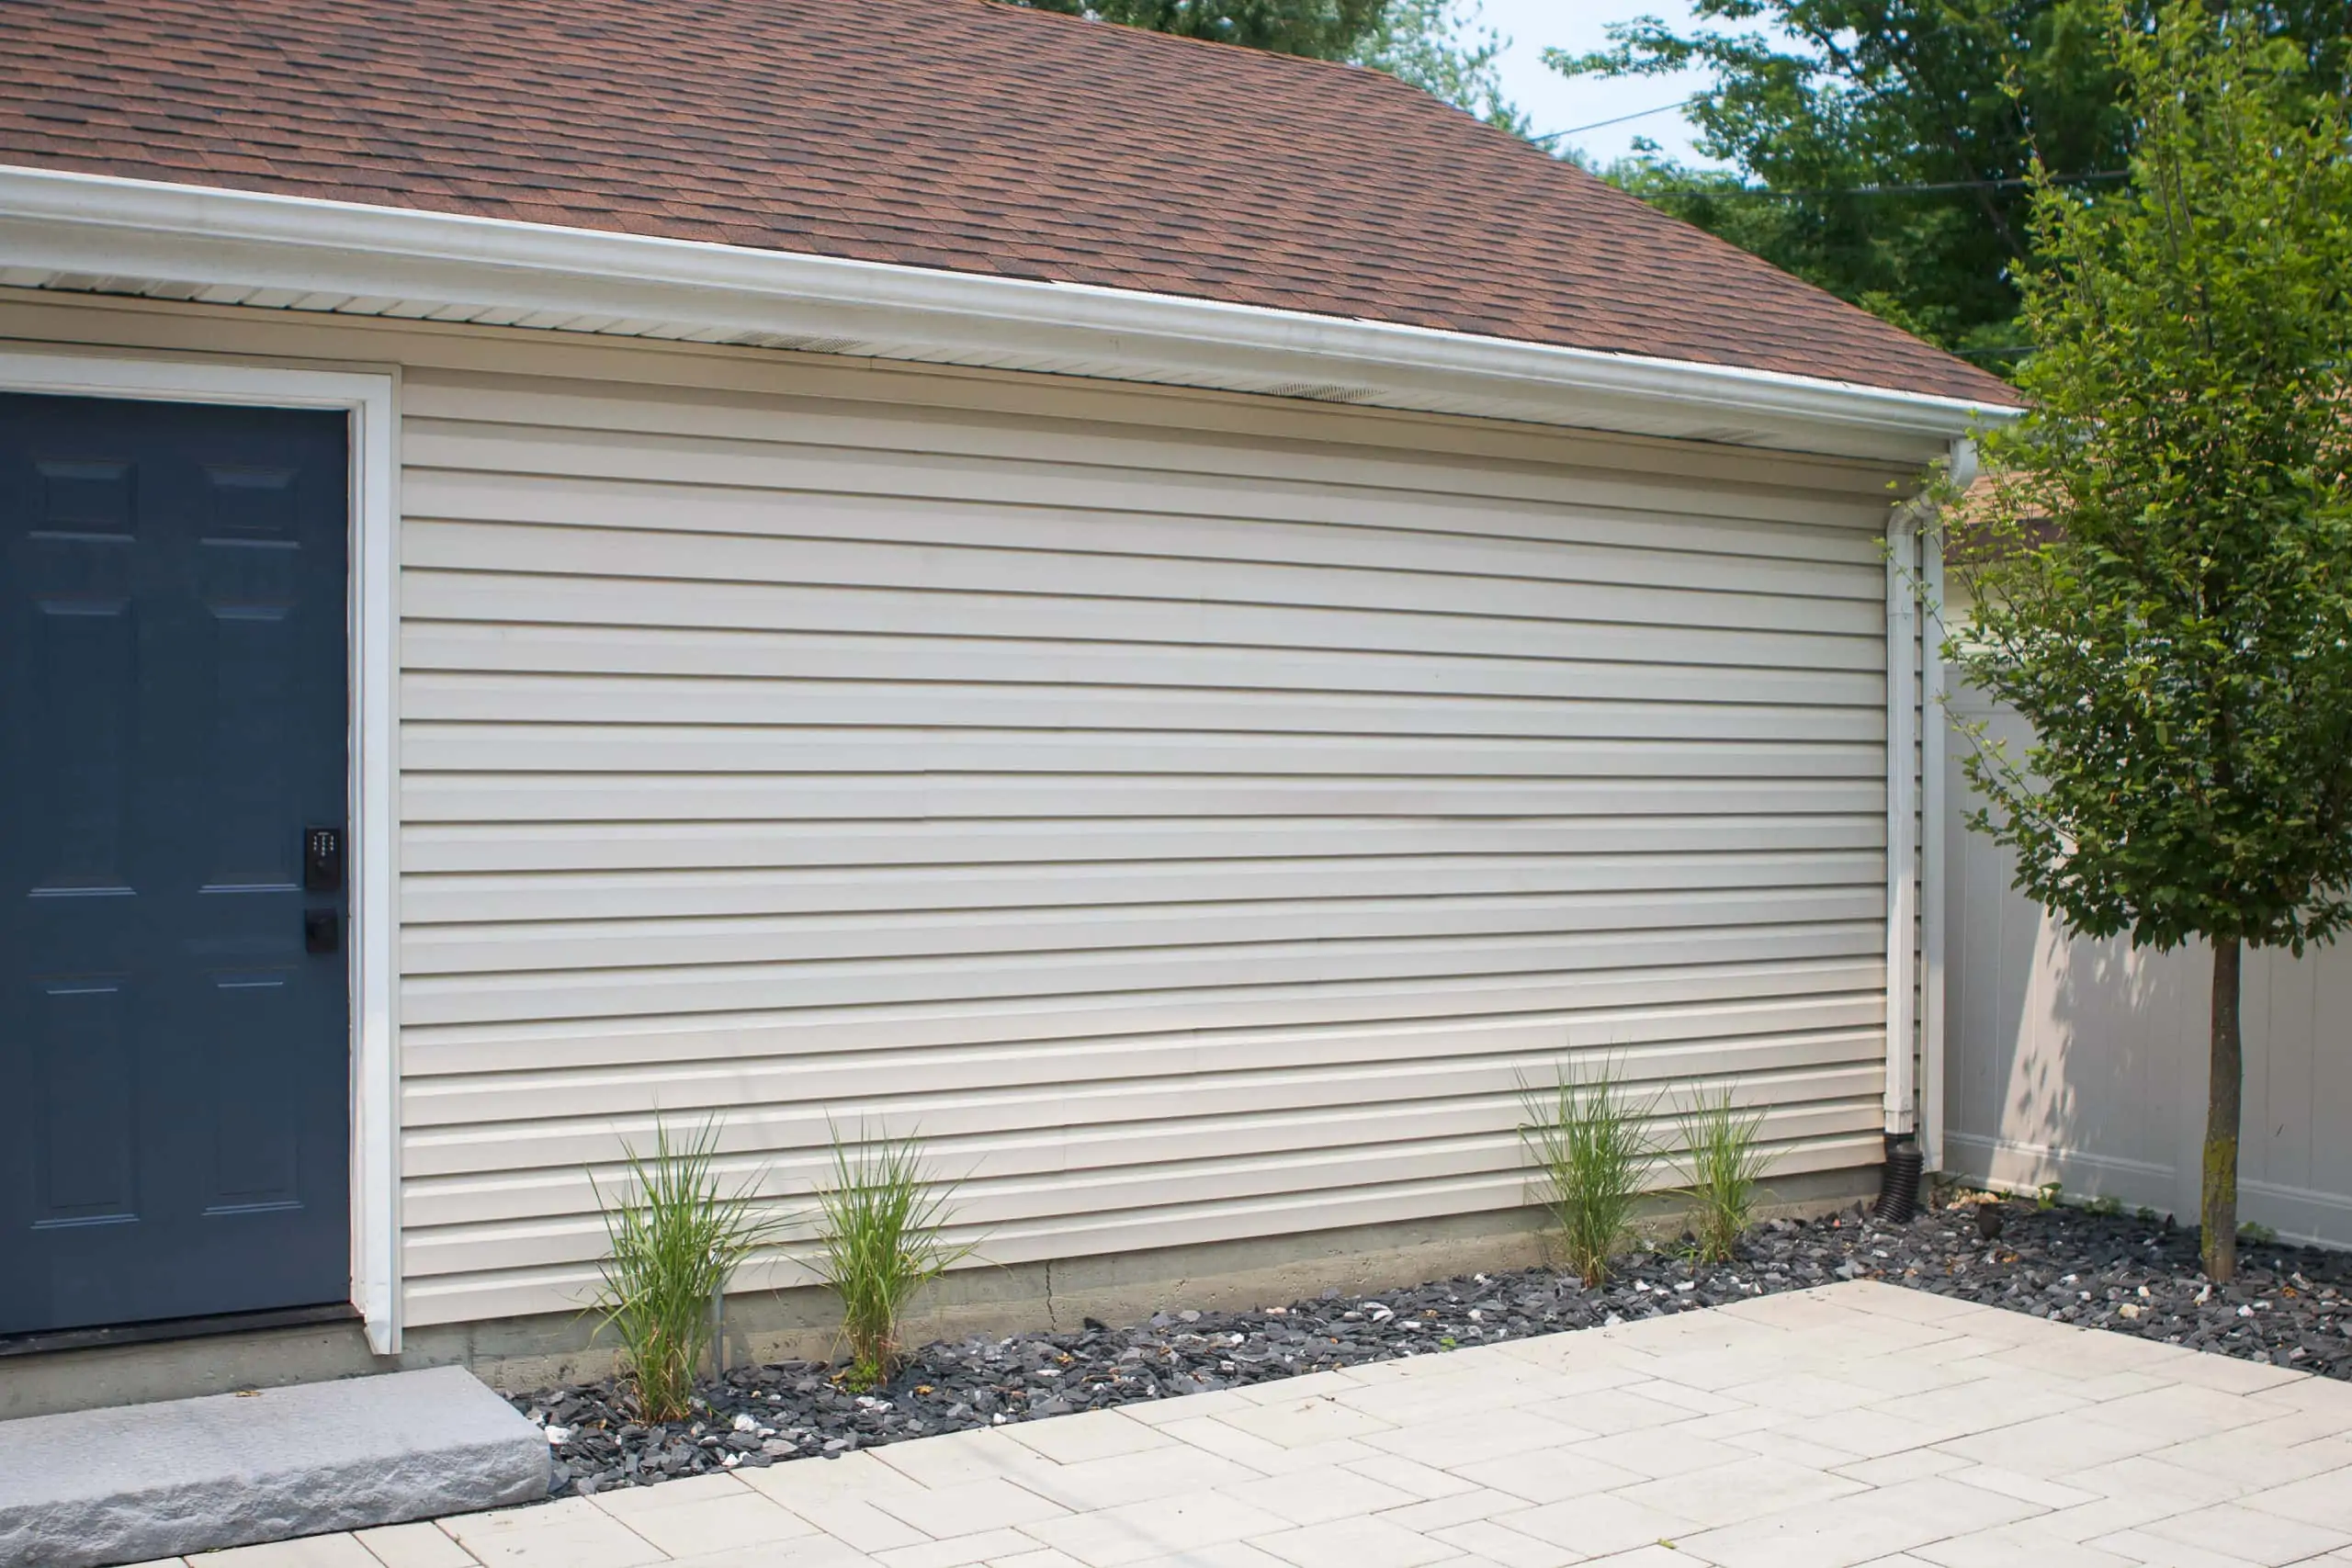
Last week, I shared my latest outdoor DIY project…painting our garage door a pretty navy! Today, I’m back with another backyard DIY, but this one is a bit more advanced. On a recent Saturday afternoon, Finn and I took a few hours to install string lights in our backyard. Our original plan was to tackle this project once the crew was 100% done with the deck and landscaping, but we finally gave up waiting on them and decided to move forward ourselves. And I’m so happy we did…
Creating a Lighting Gameplan
While we knew we wanted to add string lights to the backyard for ambiance, we didn’t really know how many we wanted and where exactly they should go. We spent a few nights hanging in the backyard, eating s’mores, and discussing the various possibilities. Our original plan was to create a “W” shape between the garage and our house with four strings of light going back and forth.
But once our trees were planted, along with their accompanying uplighting, we realized that that would probably be overkill with too much going on and a lot of light. In the end, we decided on a “V” shape, with two strings of light going from the garage to the house. When you’re planning your design, also make sure to note where you’ll actually be plugging the lights in. We have electrical in our garage, so we knew we wanted to plug in there for the cleanest look on the outside.
How to Install String Lights – Supplies

- String Light Kit
- String Lights
- Ladders
- Drill
- Self-Drilling Metal Anchors
- Black Zip Ties
- Outdoor Smart Plug Outlet
- Outdoor Extension Cord
- Multi-Tool
Our Best Tips to Install String Lights
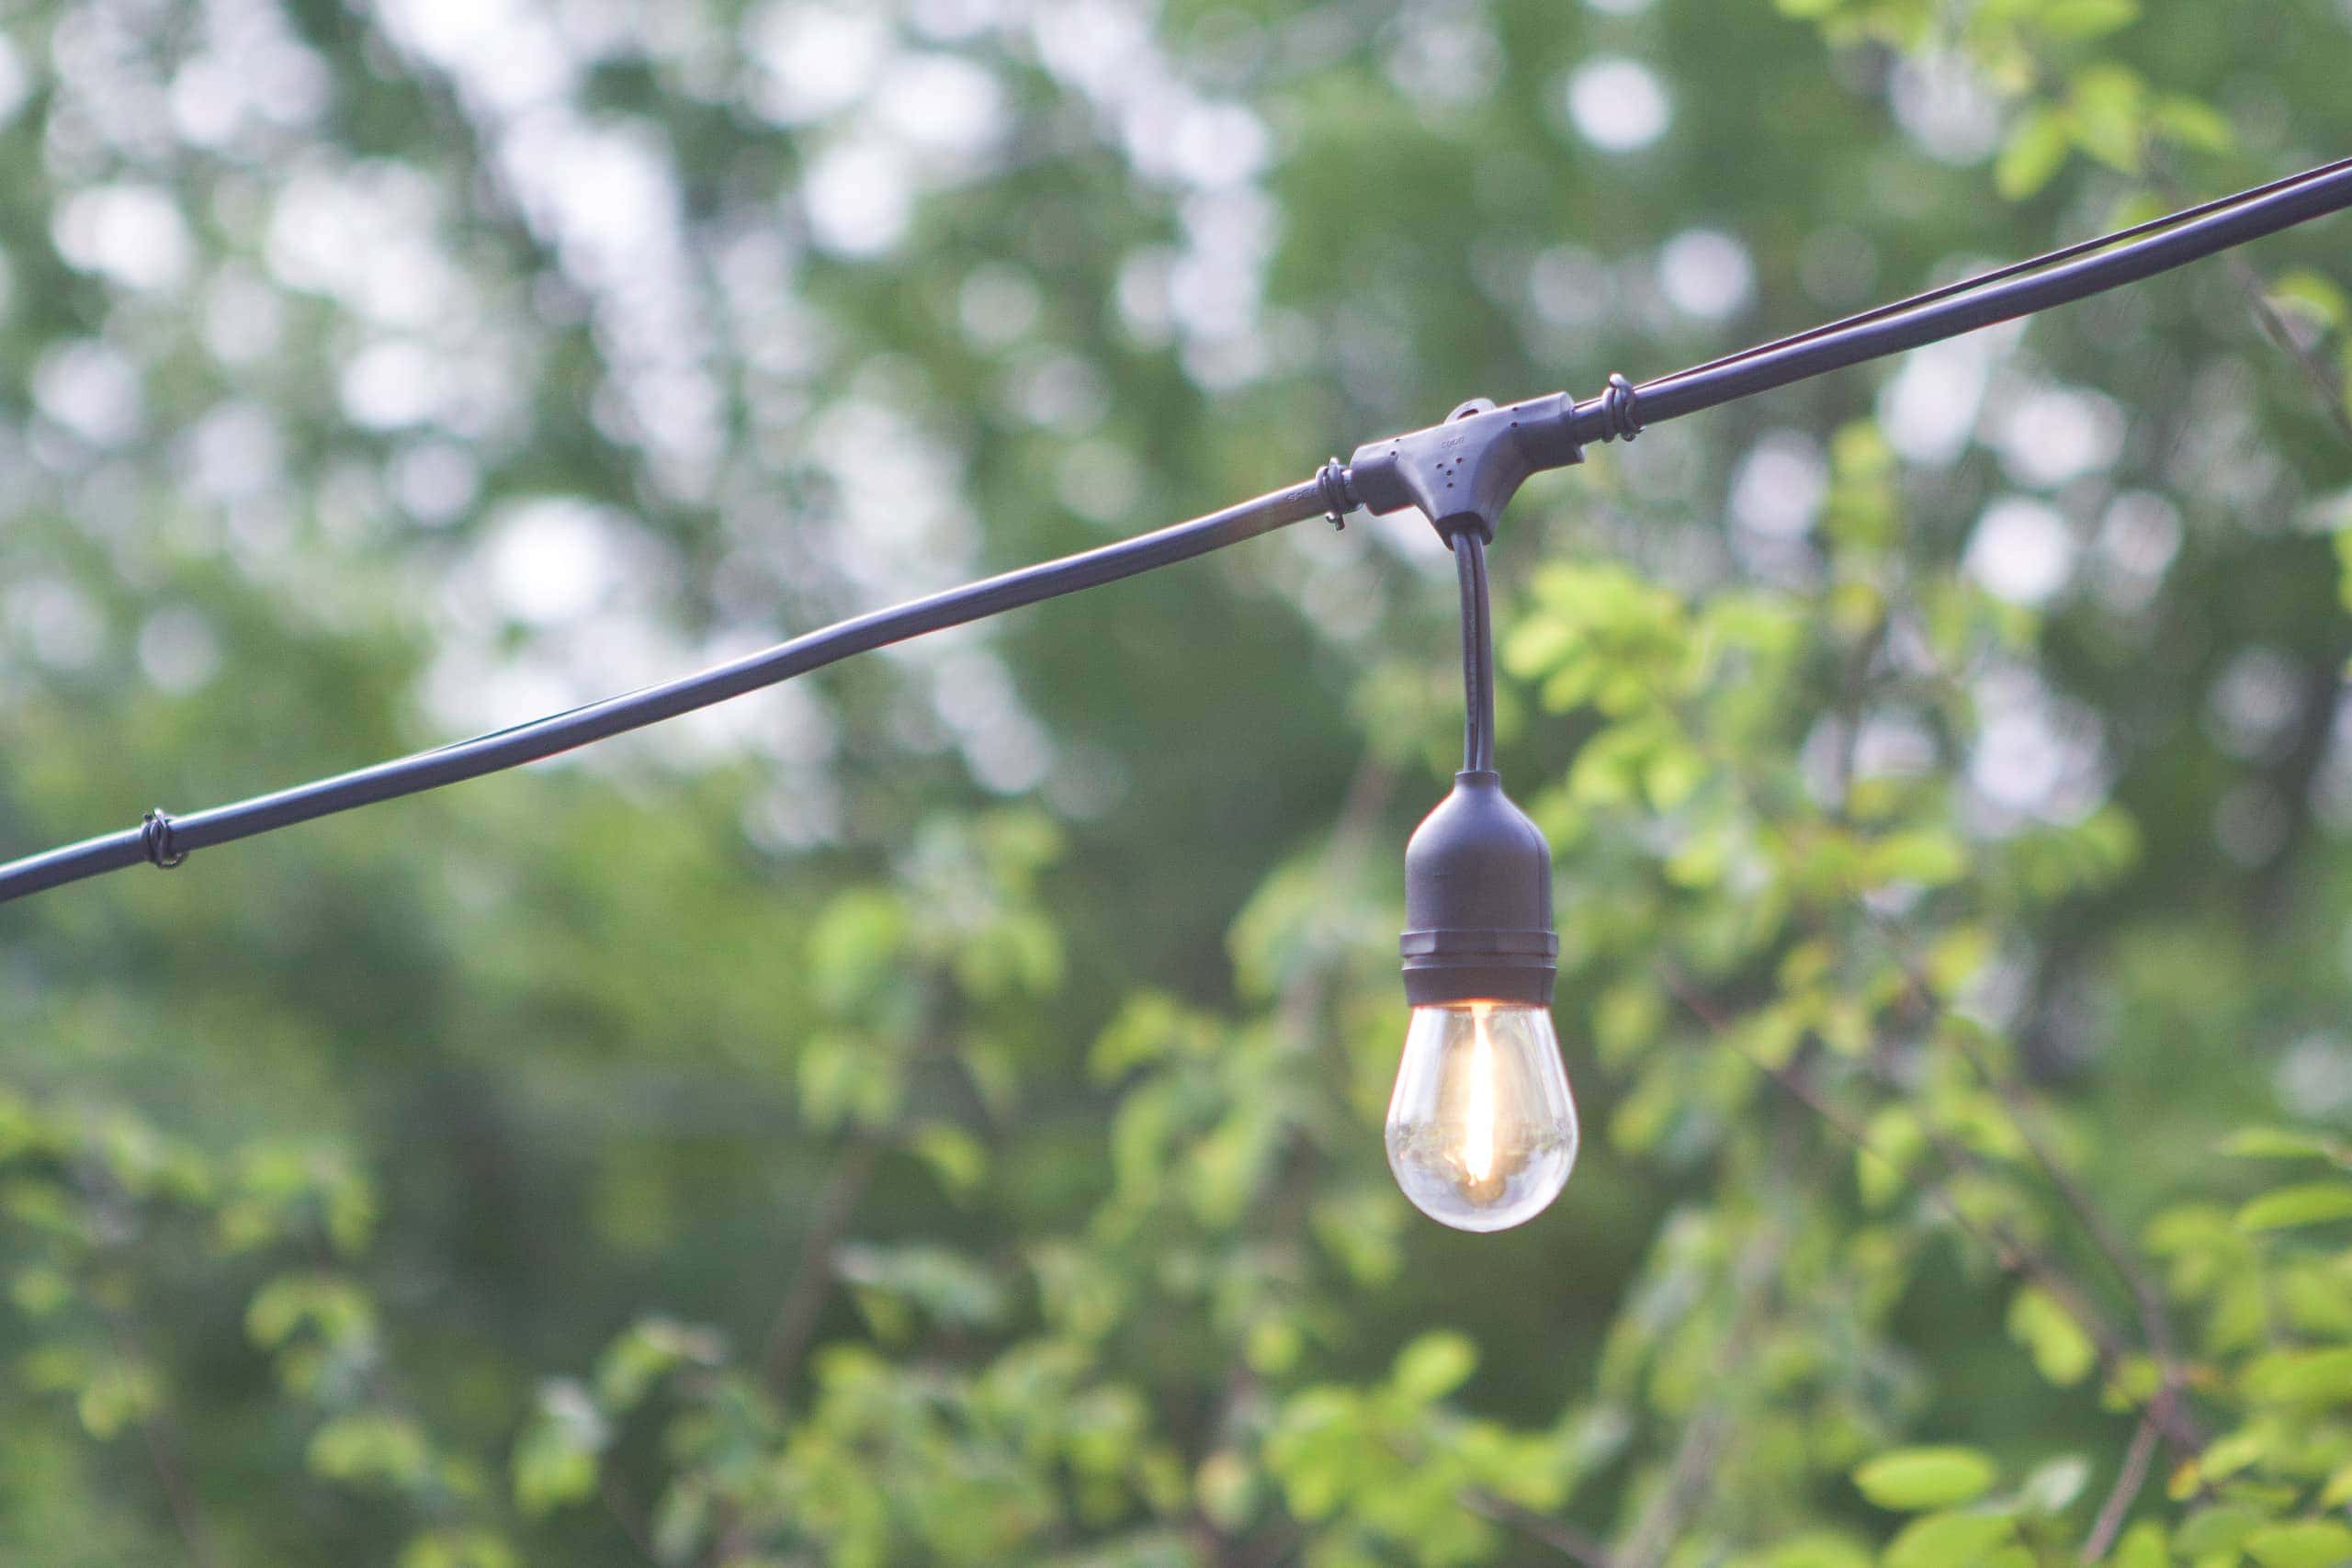
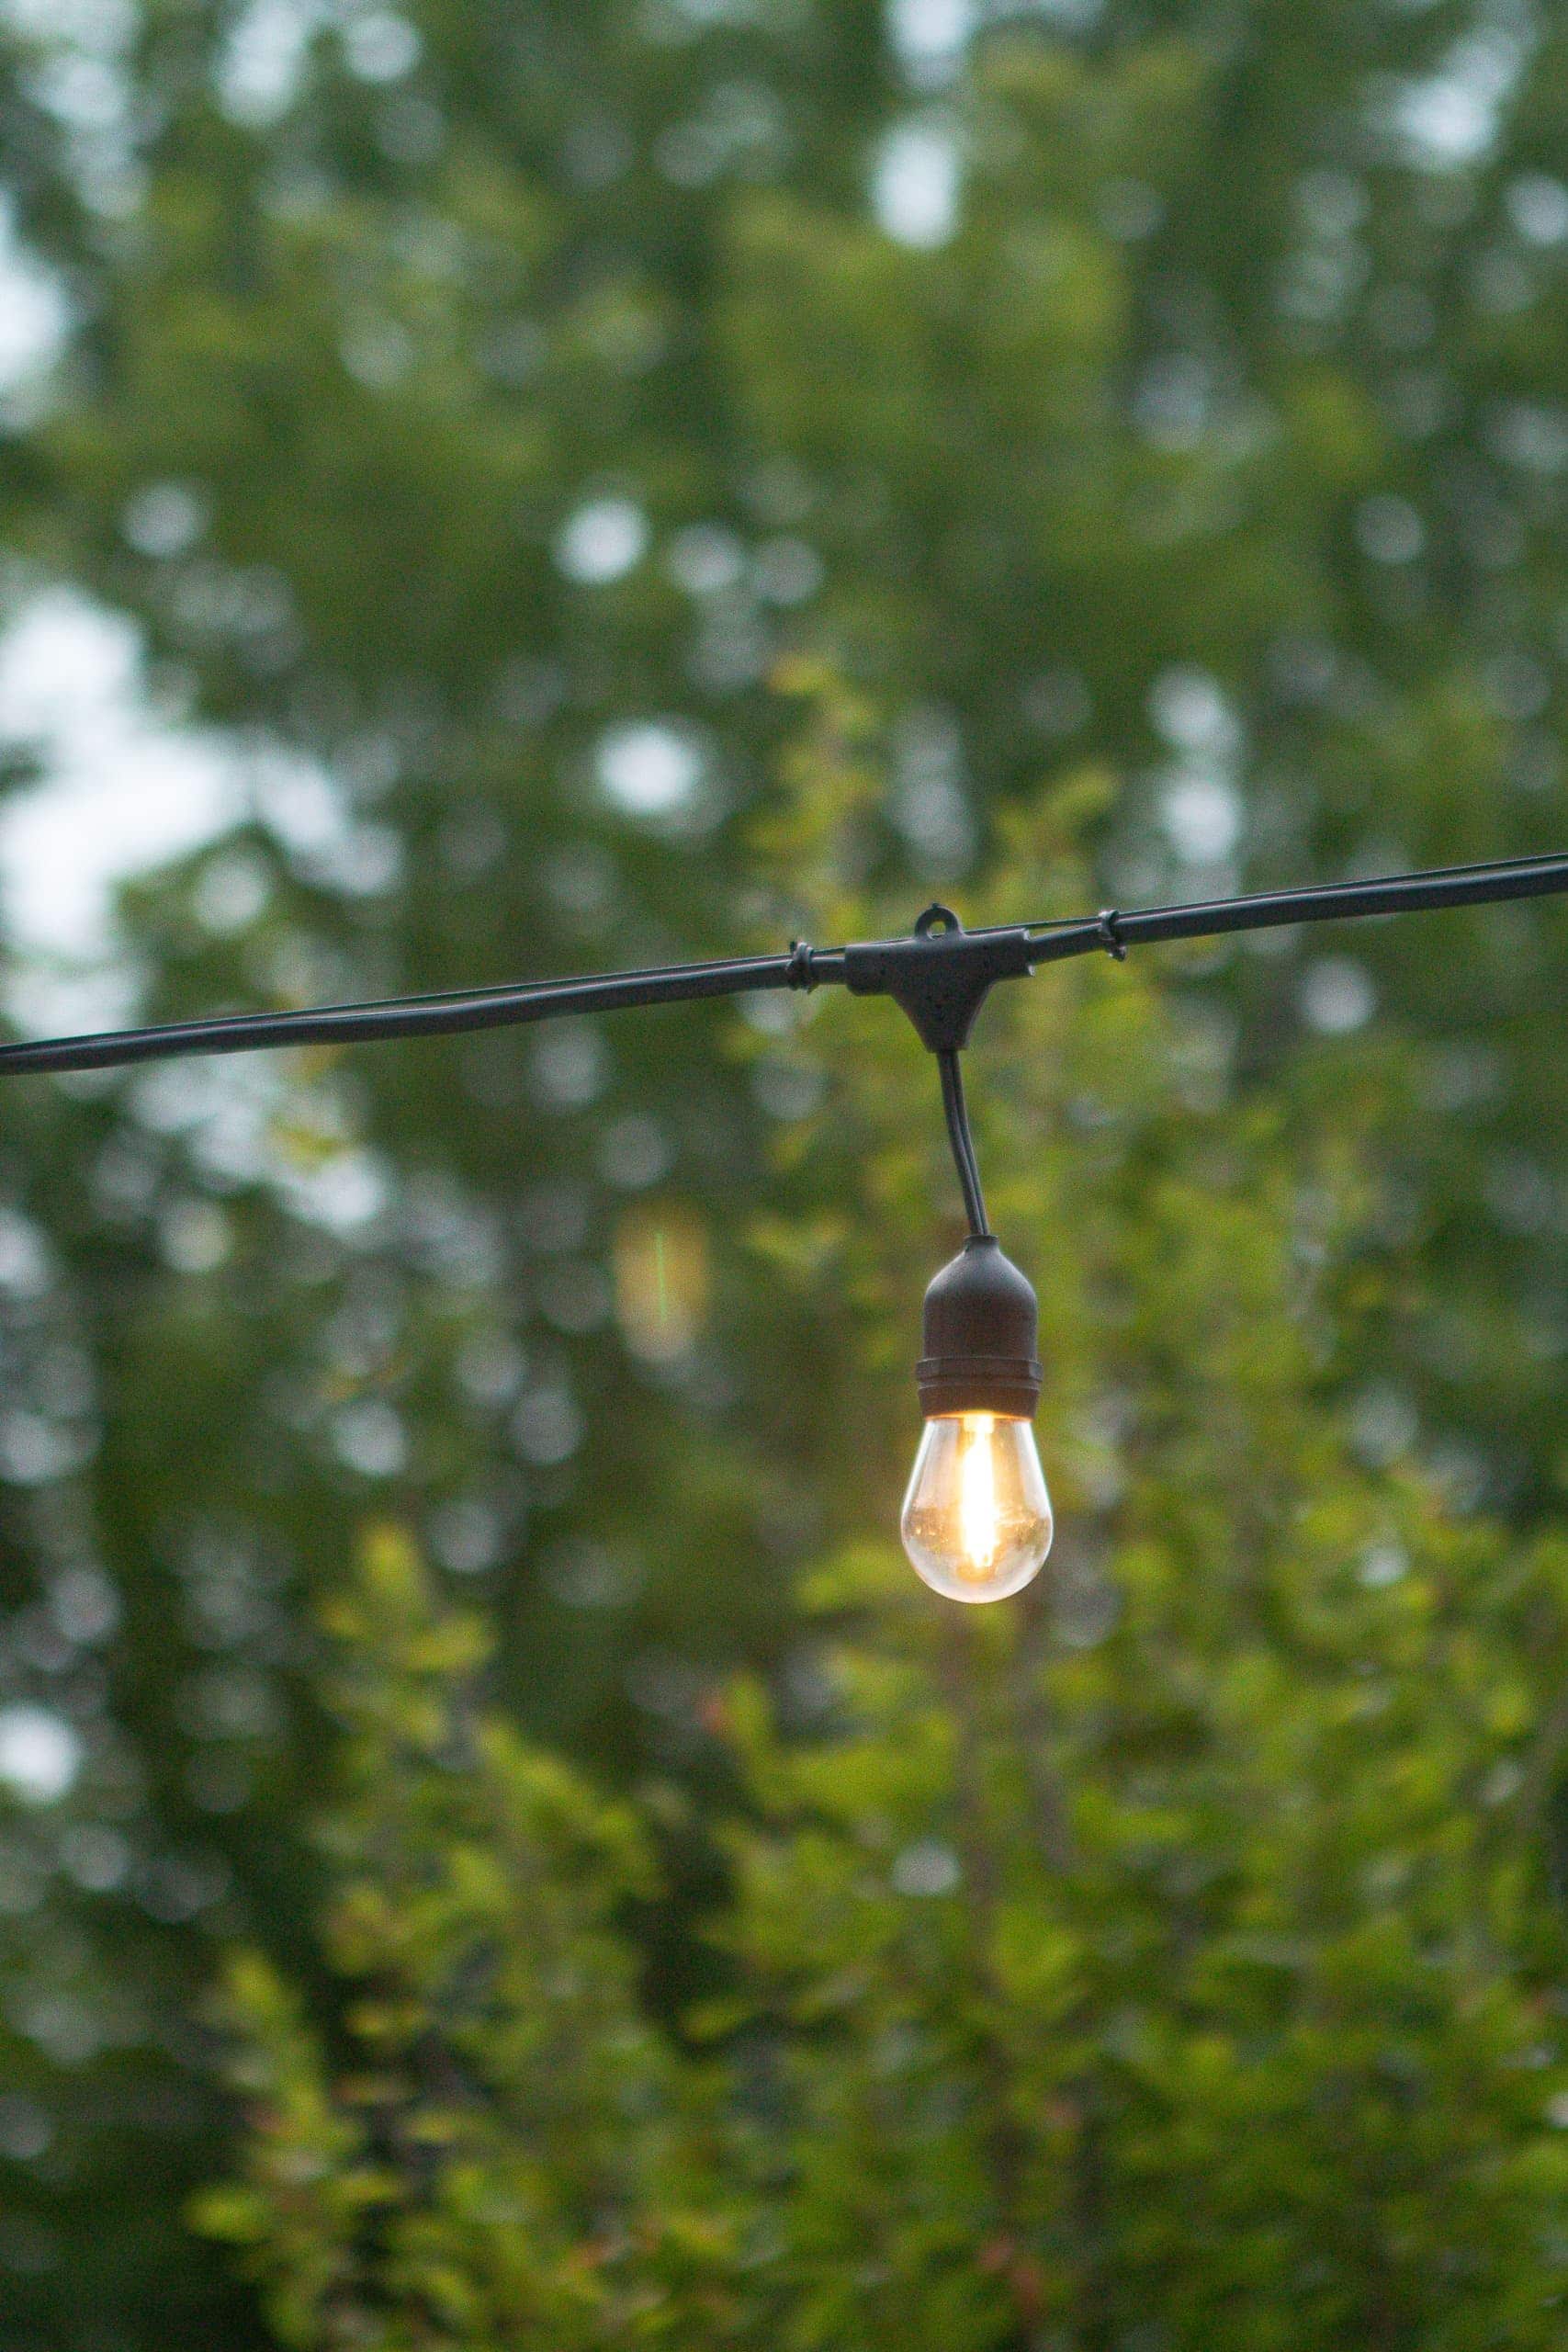
While we’ve hung string lights on our balconies and decks before, we’ve never actually strung them between two buildings. I did a lot of research for this one, and found that instead of just dangling the lights between our house and our garage, it would be best to use a wire cable and then attach the lights to the cable. This prolongs the life of the lights and makes them more secure in windy conditions and inclement weather. (Hello, Chicago!) With that in mind, I started to search for the supplies we would need.

First, I had to get the actual string lights. I bought three boxes of these 48 ft lights, but we only ended up using two boxes. These are my favorite outdoor lights. They’re super sturdy, last for years, and you can easily change out the bulbs if any burn out – which rarely happens. These are the only outdoor lights I’ll use!
Buy The Kit
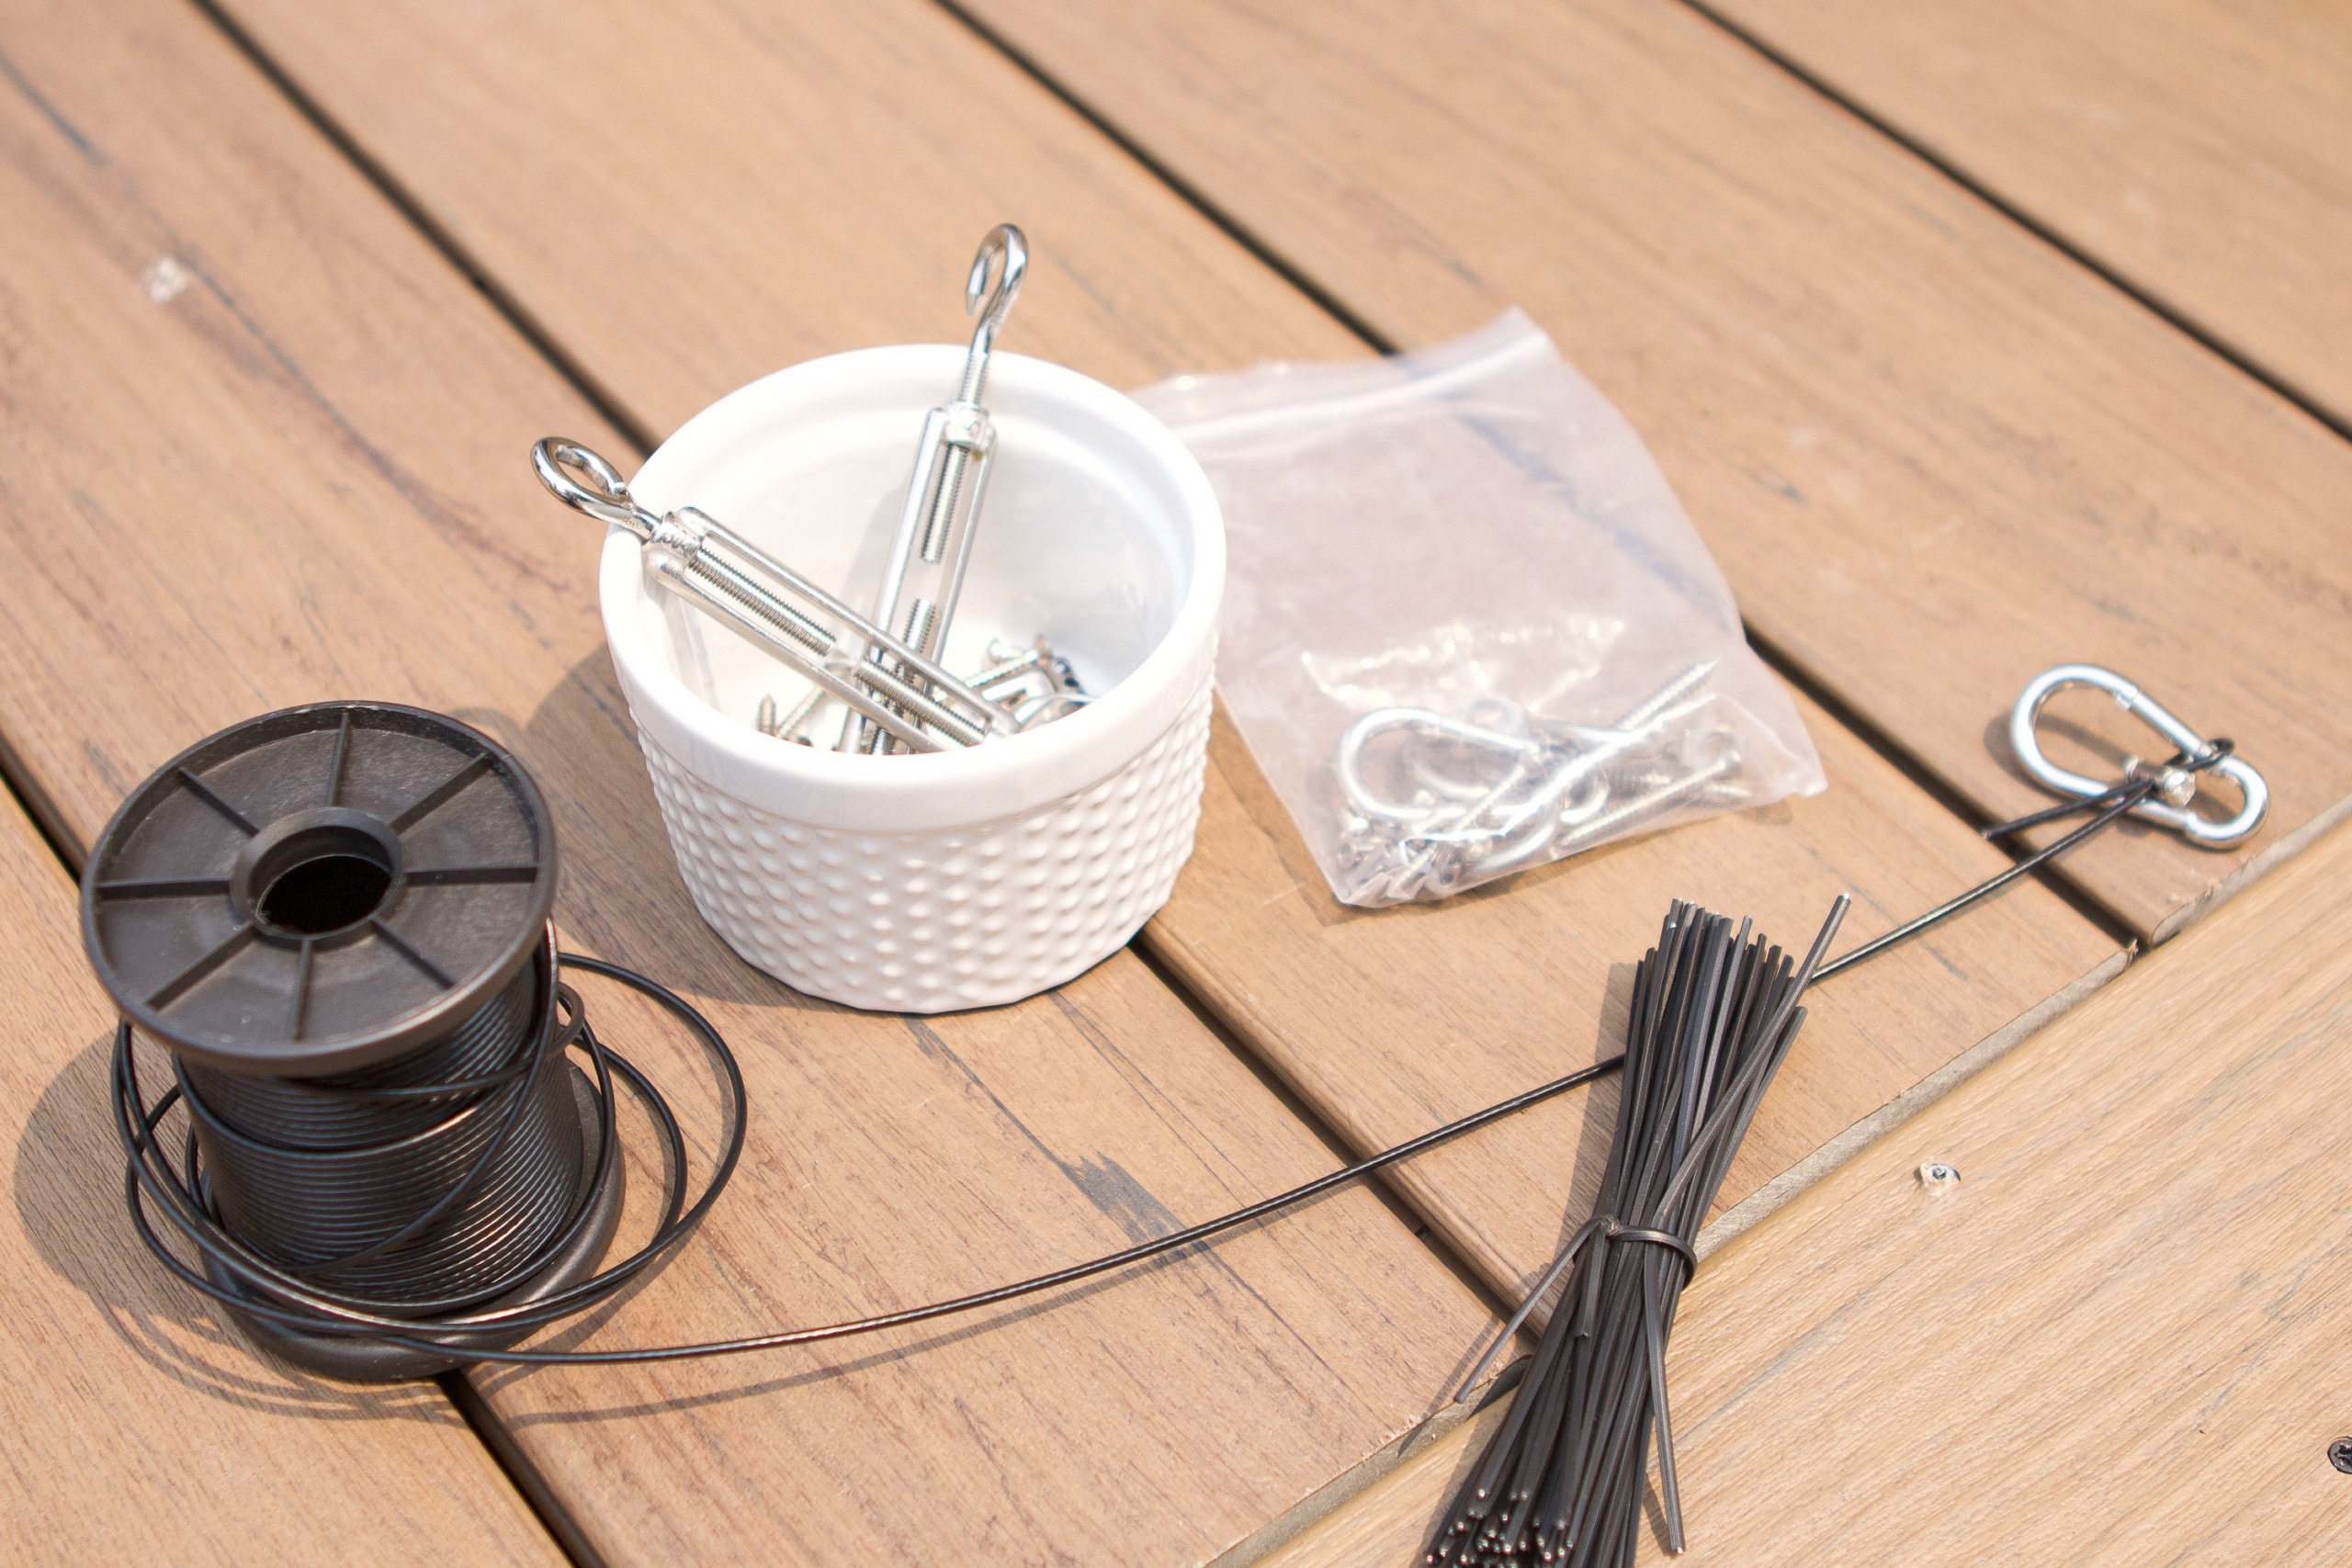
At first, I started to find supplies a la carte. But then, I found this string light installation kit on Amazon that pretty much had everything I needed. It comes with the wire, different hardware options, and twist ties to attach the lights to the wire. If you’re doing this project, I highly recommend buying the kit. It really helped us. But we did run out of twist ties and ended up having to go to the store to buy more black zip ties. So, you might want to have black zip ties on backup!
Screw In The Hardware

Since we knew we were doing the “V” shape, we found the middle of the garage and added our hardware there. The kit comes with a few different options and we ended up choosing the eye straps to secure directly to the siding on both the garage and the house.
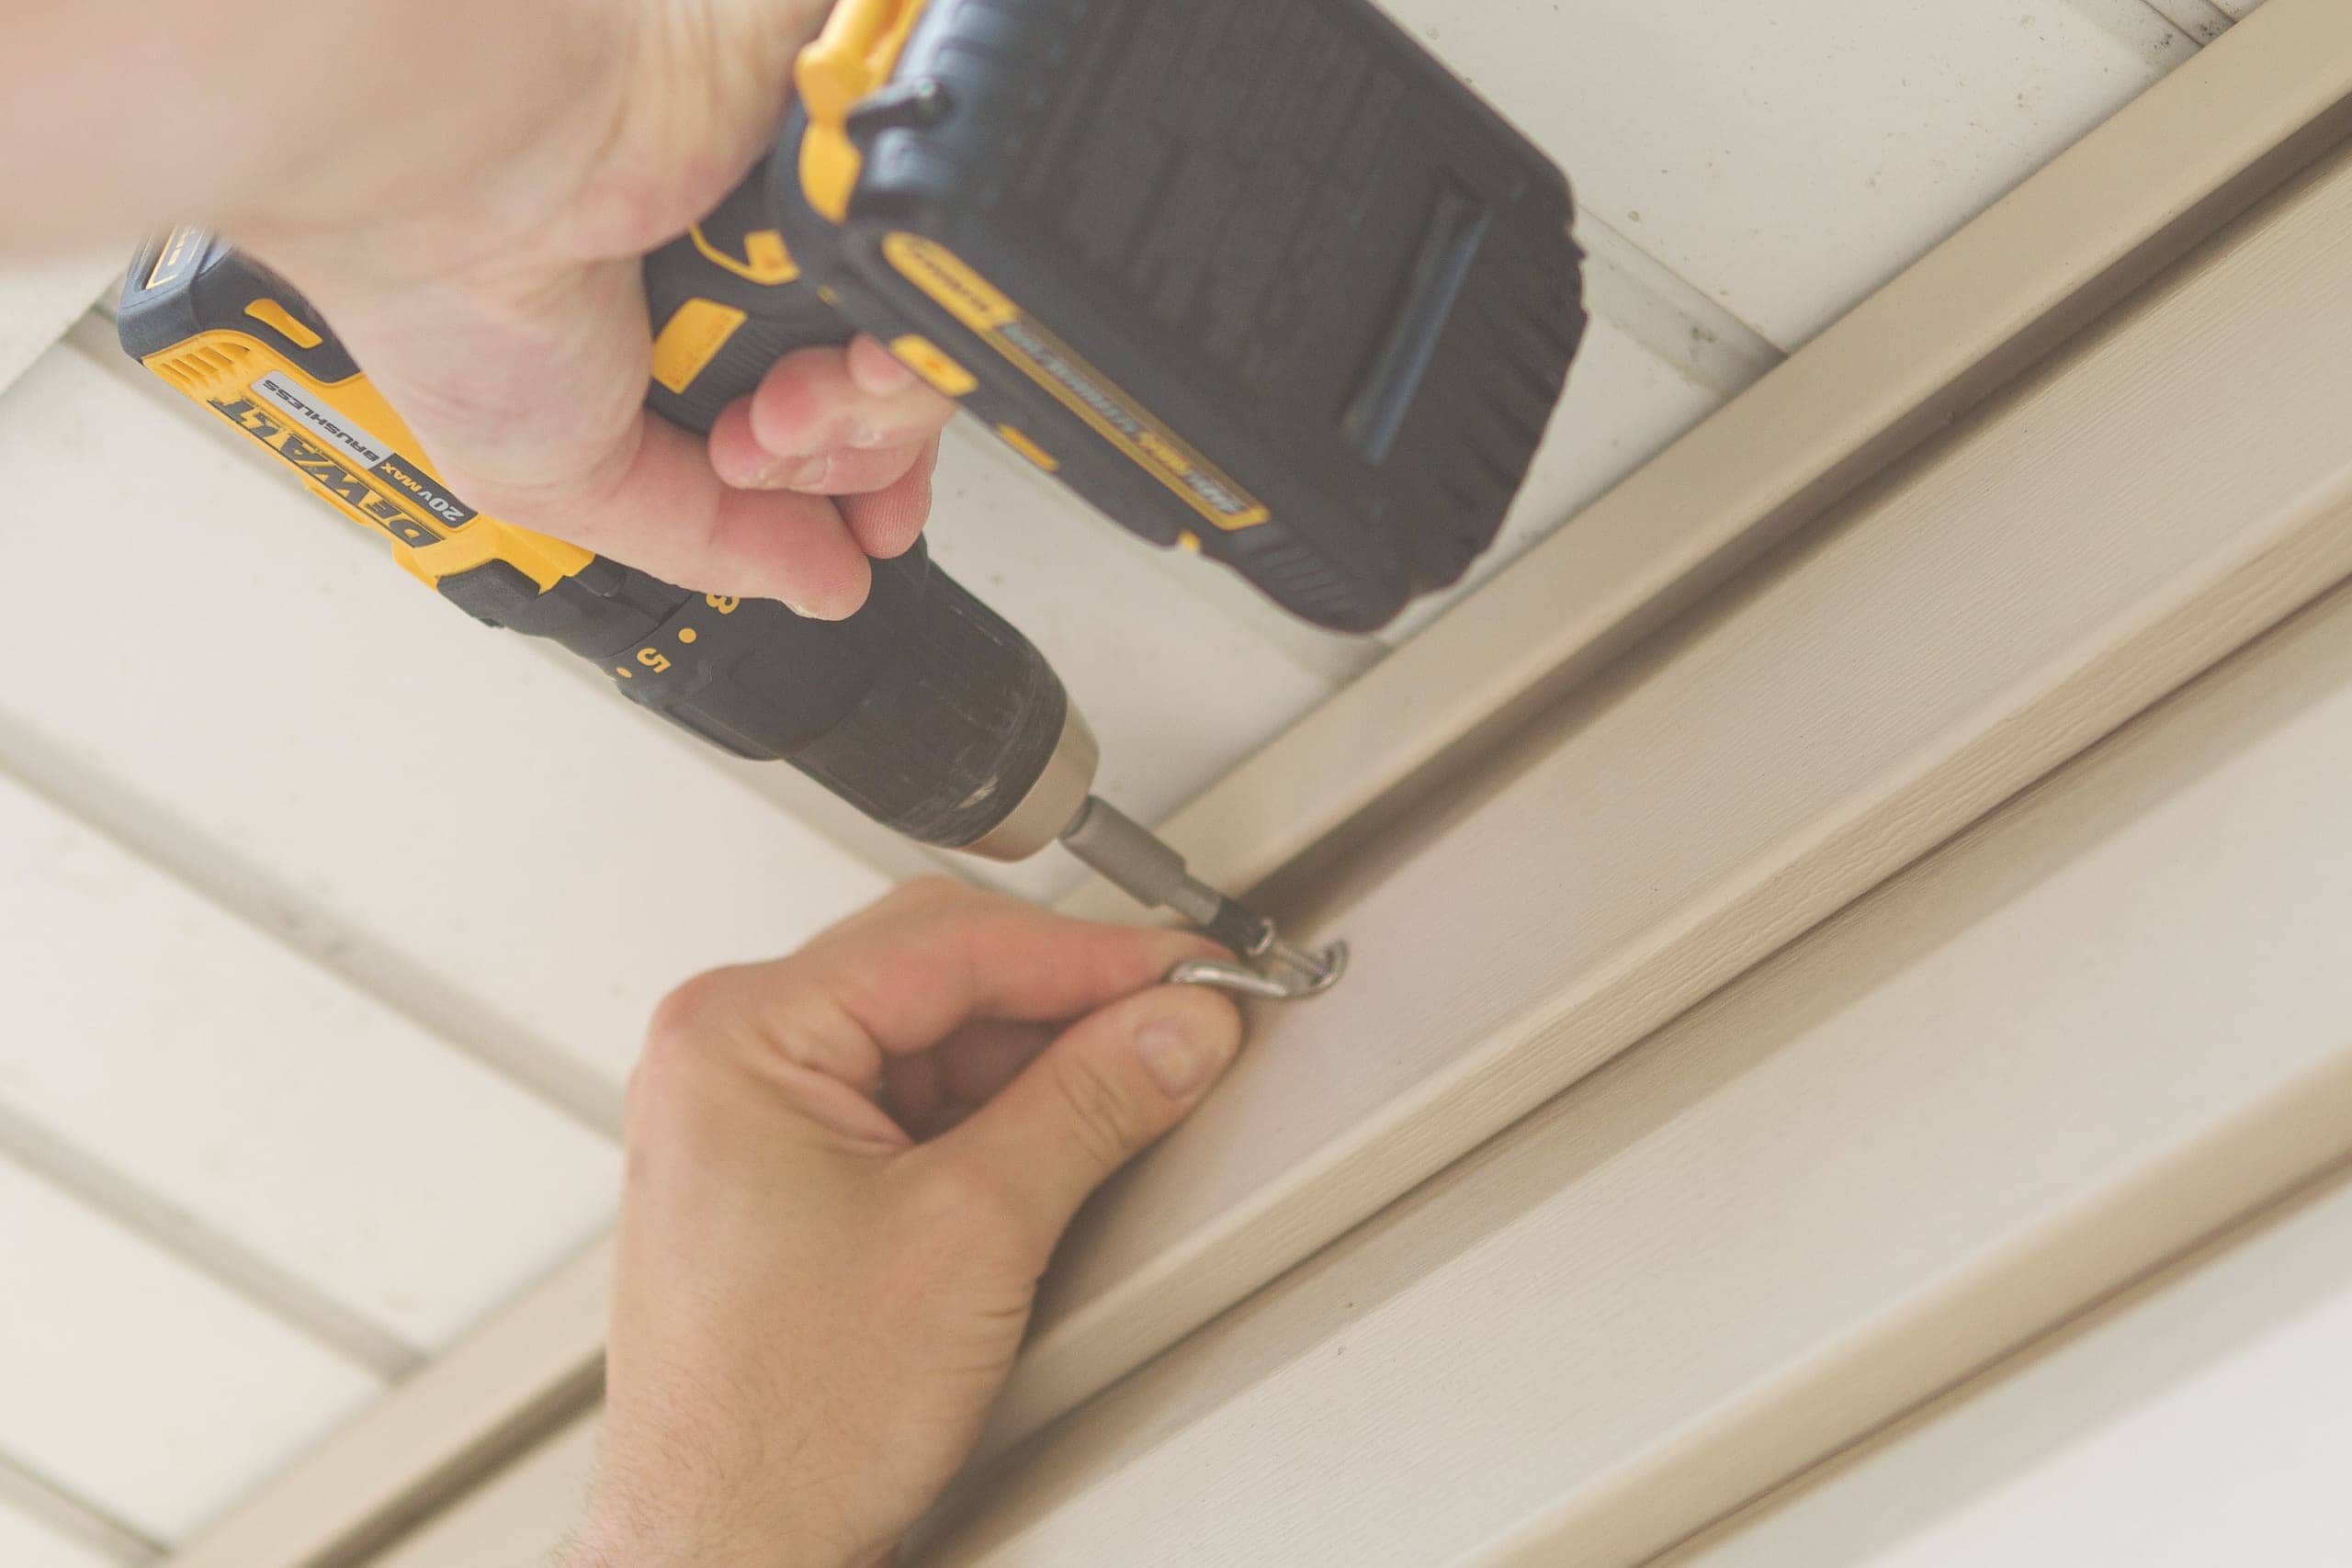
On the garage, Finn didn’t use anchors because the strap hooked through the siding, into the plywood of the garage. This created a very firm hold.

This was our first time securing anything into siding, so we didn’t know what to expect, but it worked just fine.
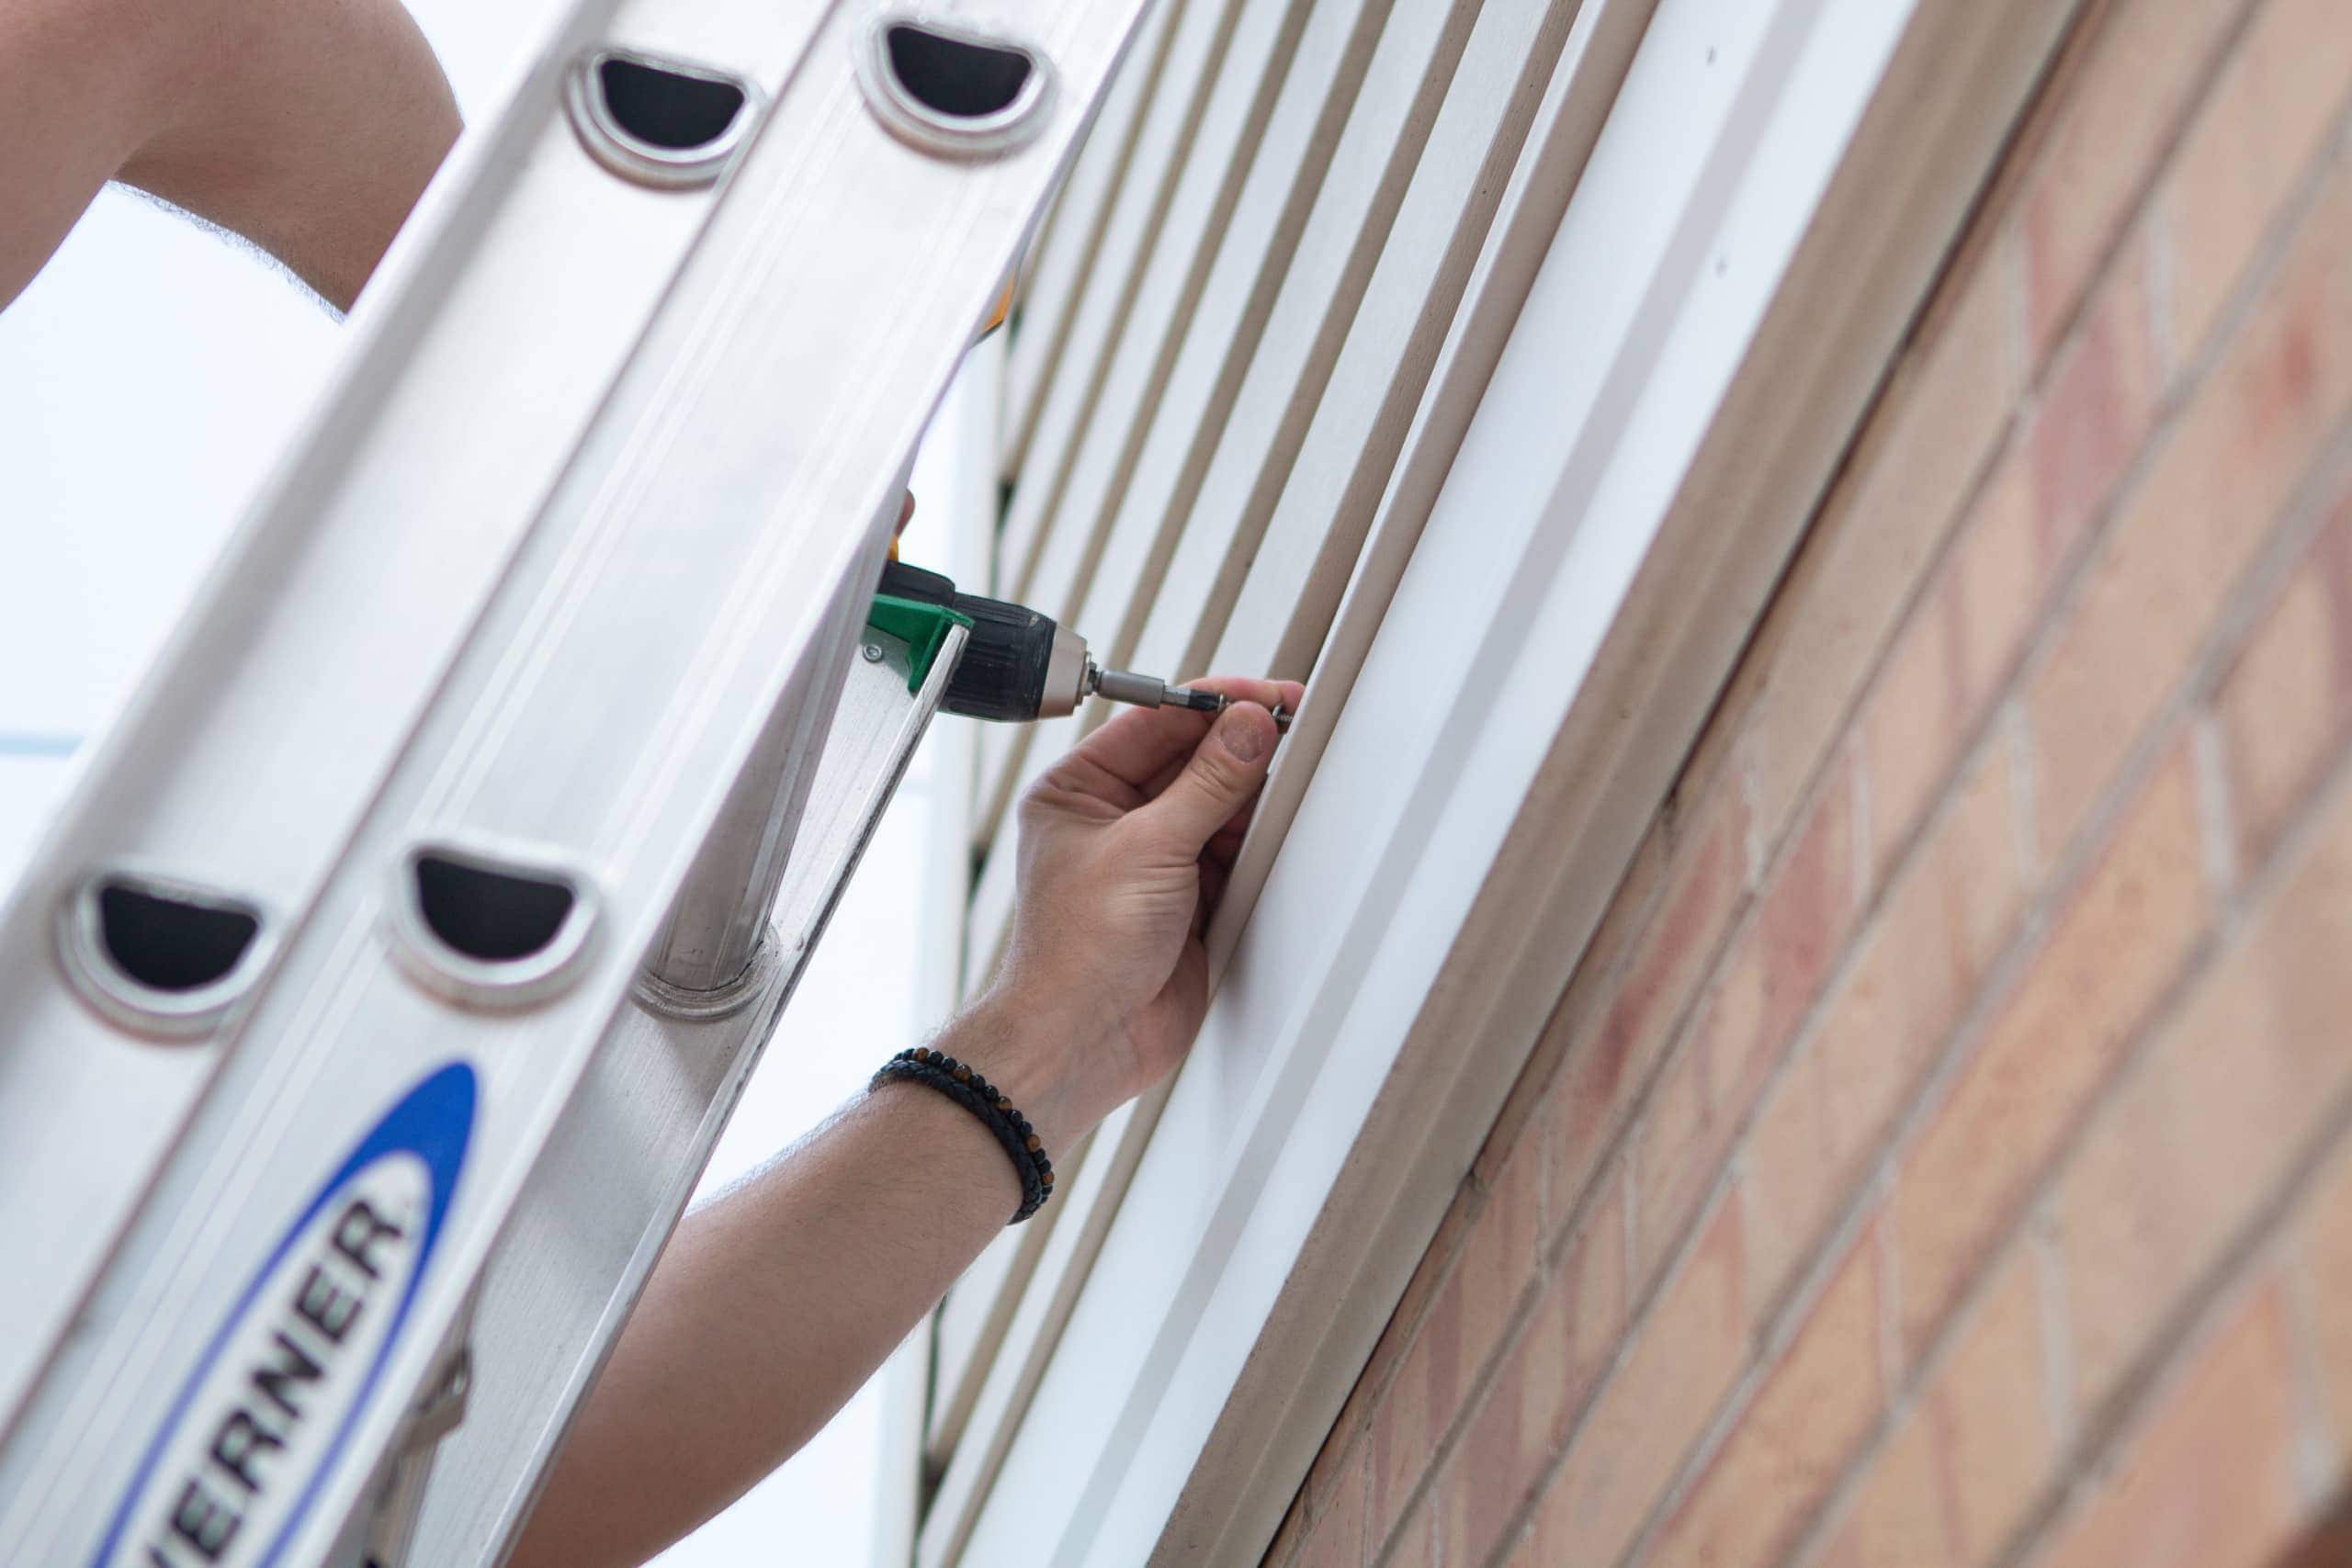
On the house, we also screwed into the siding. However, this time we needed anchors.
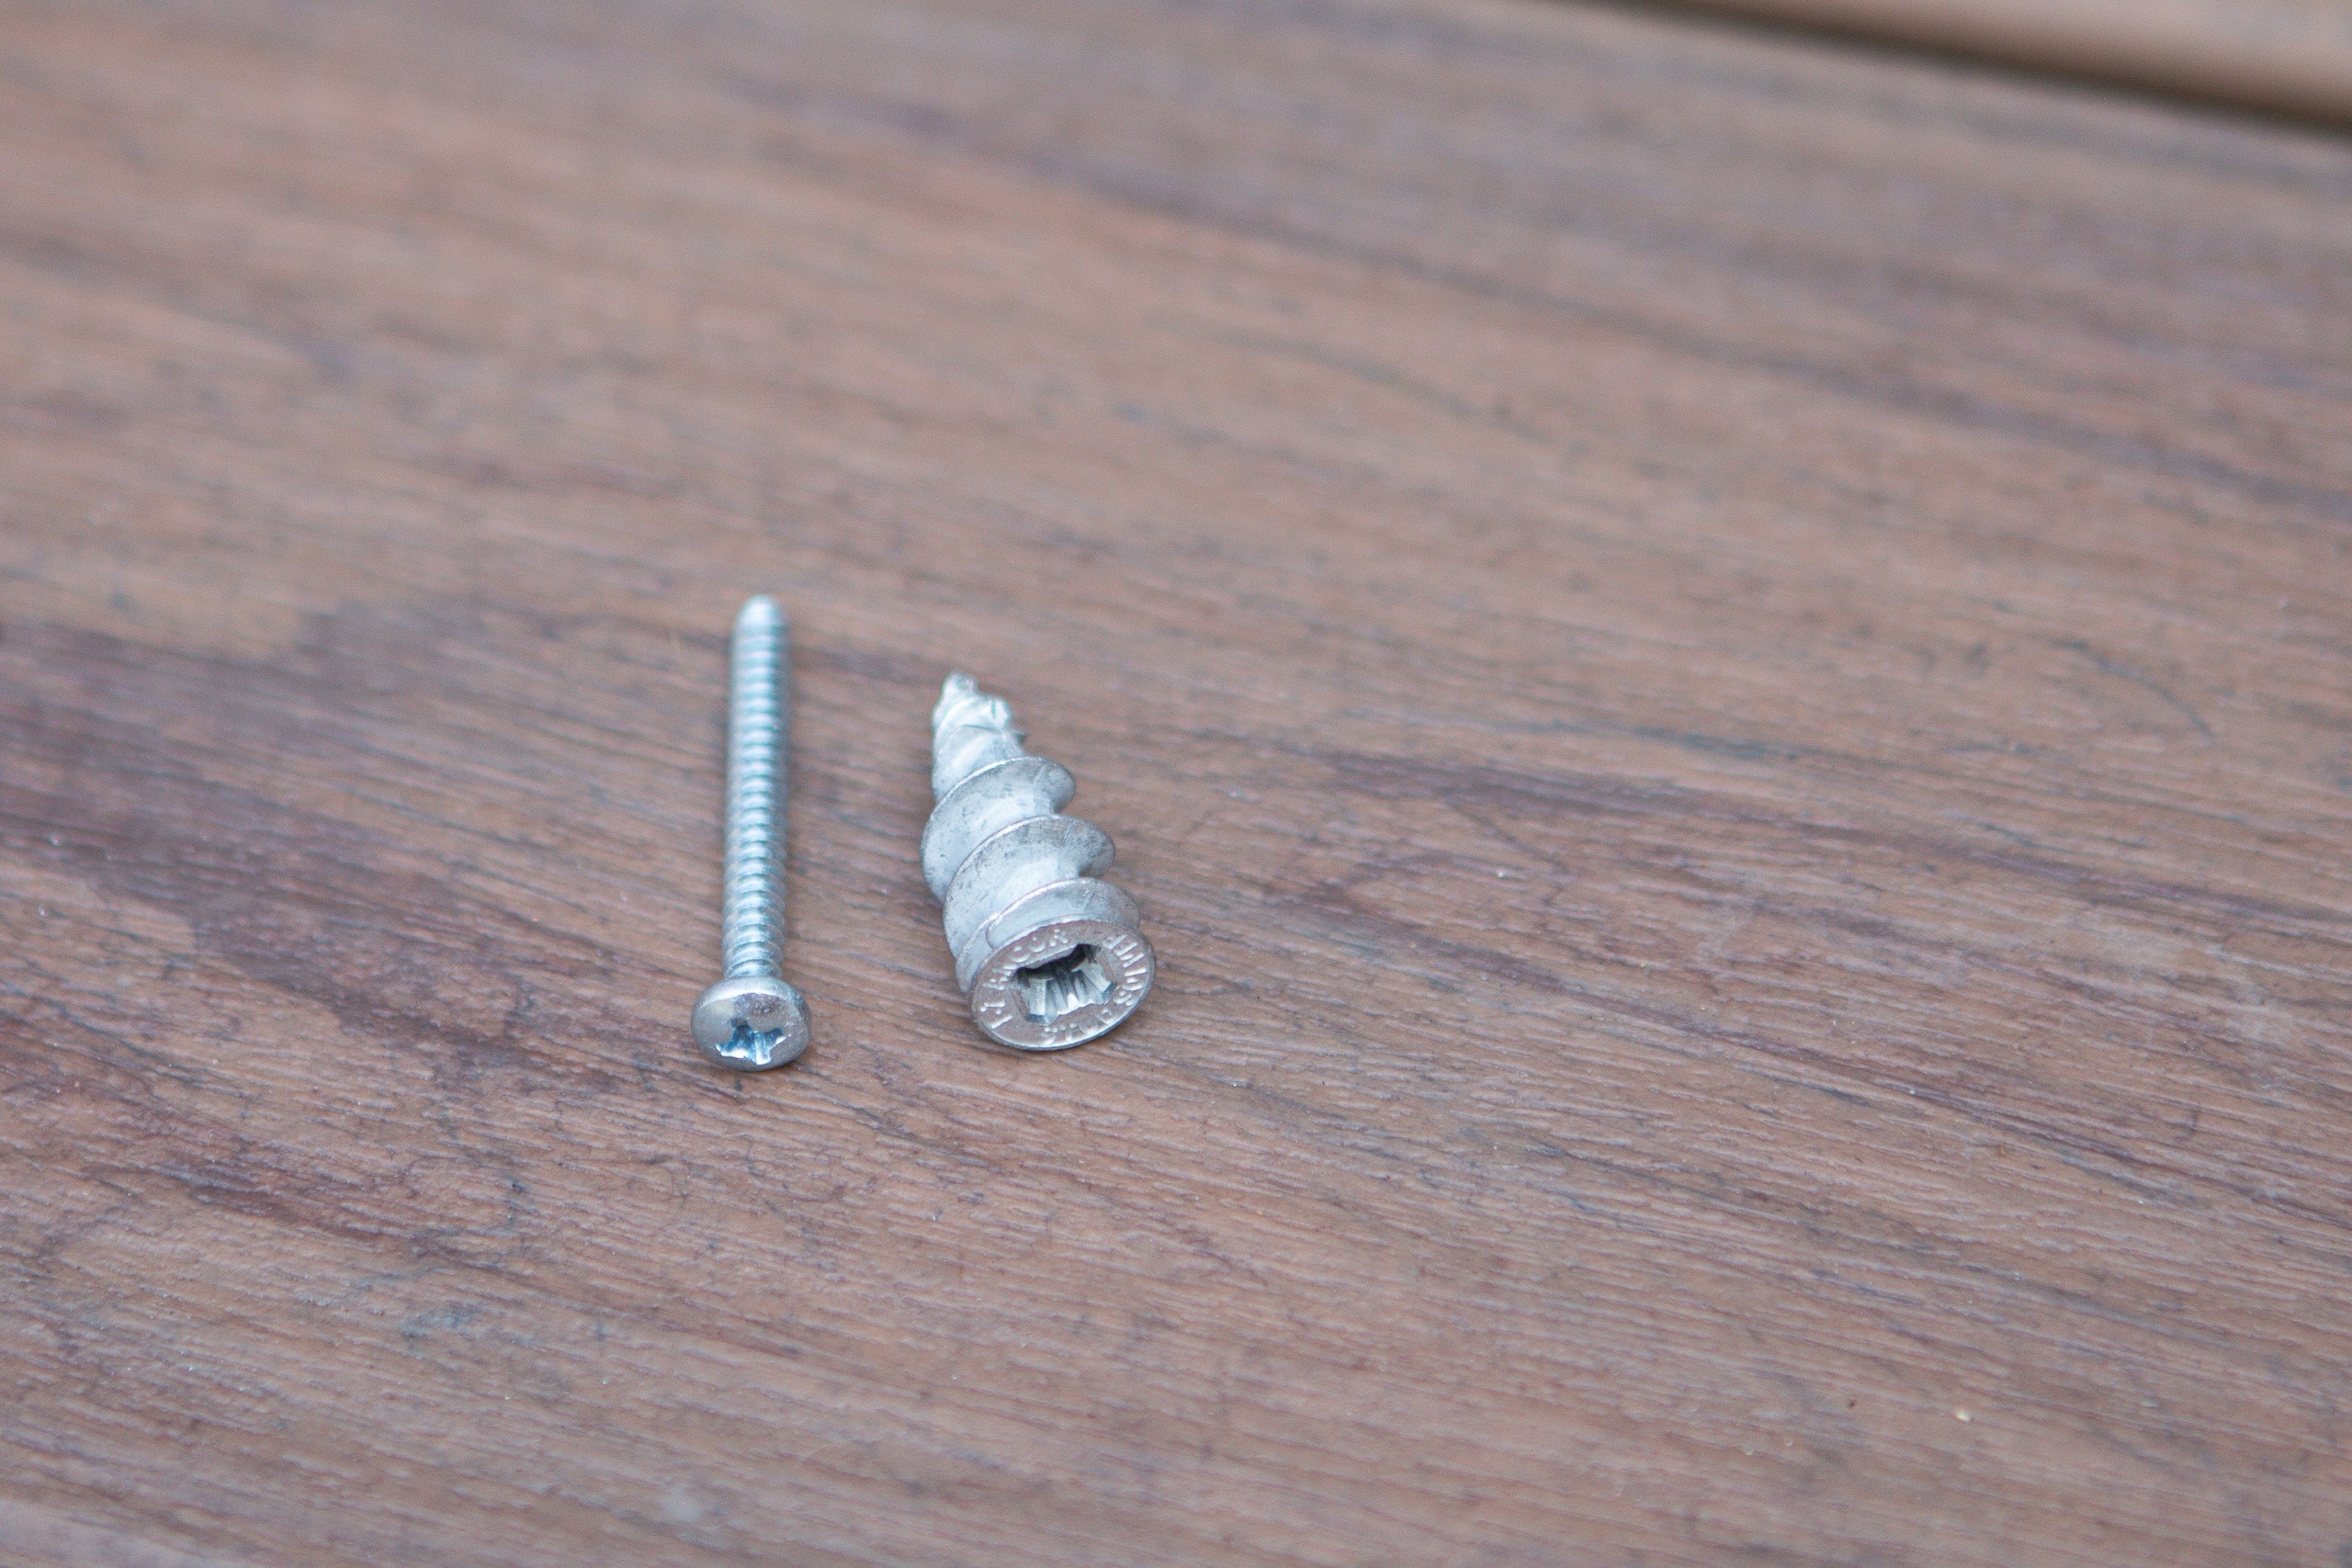
We ended up using my favorite metal anchors that I use for plaster walls. But they worked great for this job too!
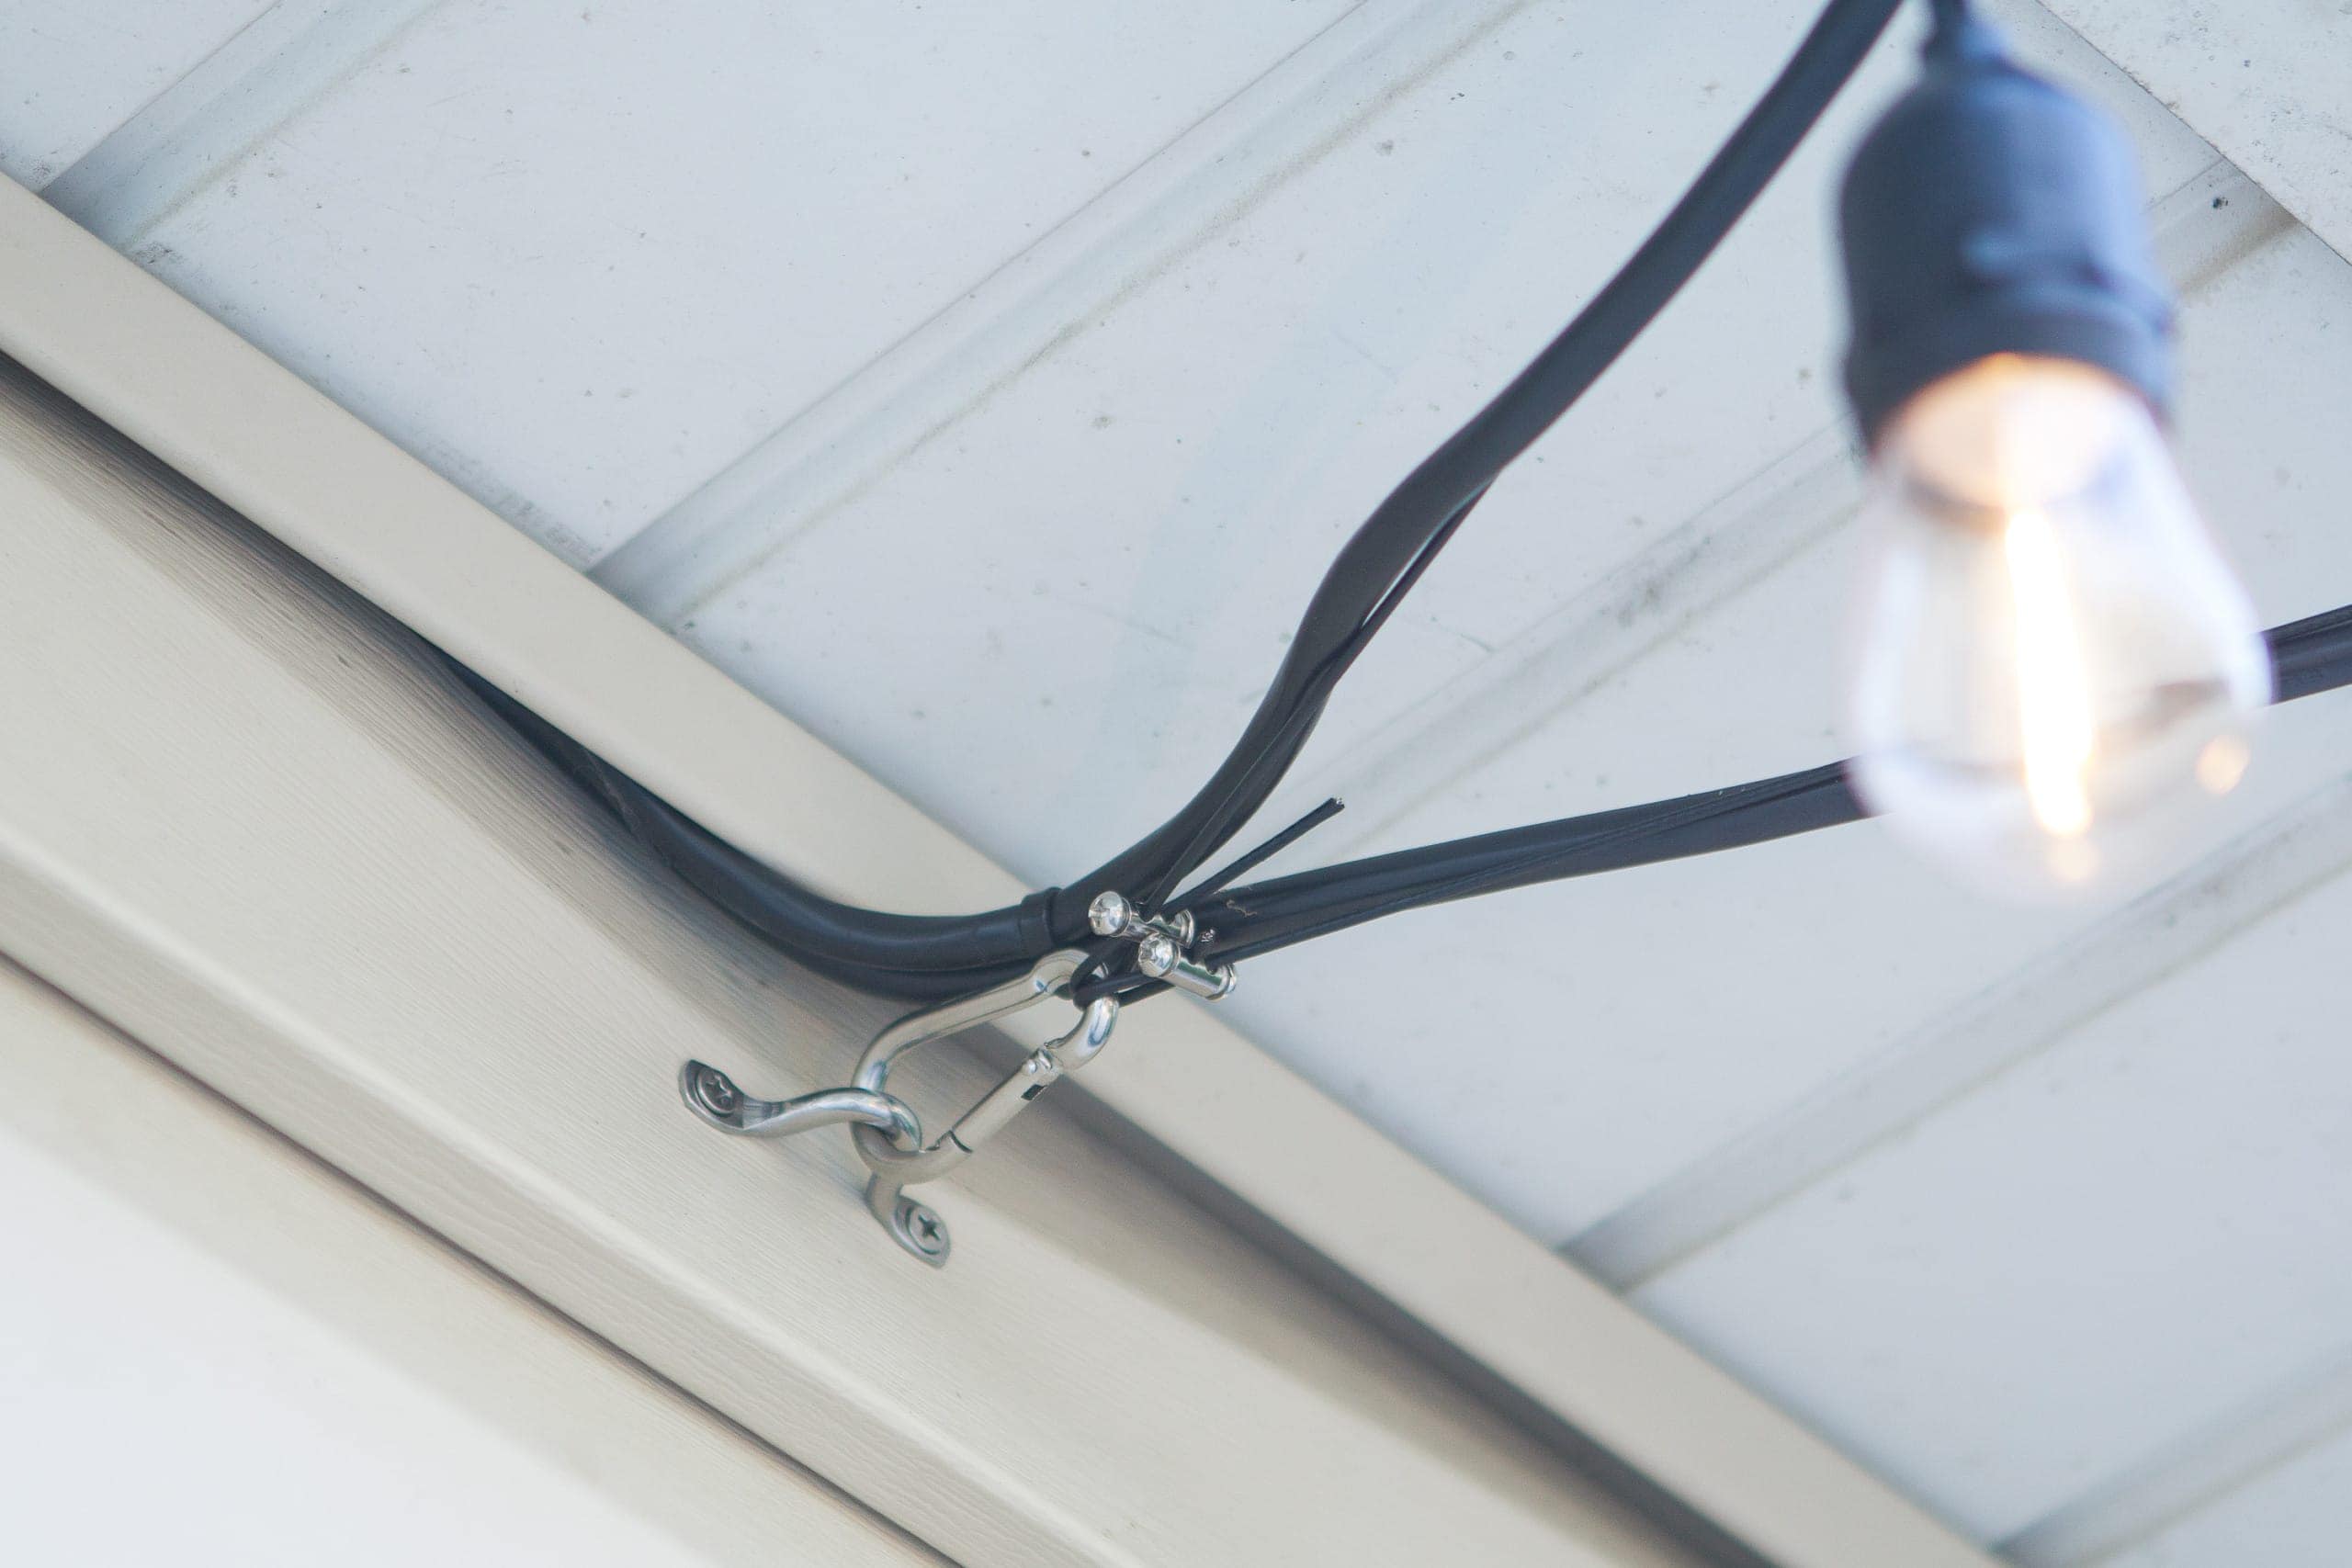
Attach the Cable

With the three eye straps installed, it was time to add the stainless steel cable across. The kit comes with small screws that you can use to loop the end of the wire. On the garage side, we used a spring snap hook and attached each wire directly to it.

The spring snap hook is great because you can hook the cables, and therefore the lights, on and off easily.
On the house side, we used the turnbuckle clips to attach directly to the eye strap. These are nice because you can tighten or loosen them and you can also easily remove them from the hook if you want to take the lights down. While we plan to keep the lights up all year round, it’s good to have the option to quickly get them down if inclement weather is heading our way!
Secure the String Lights
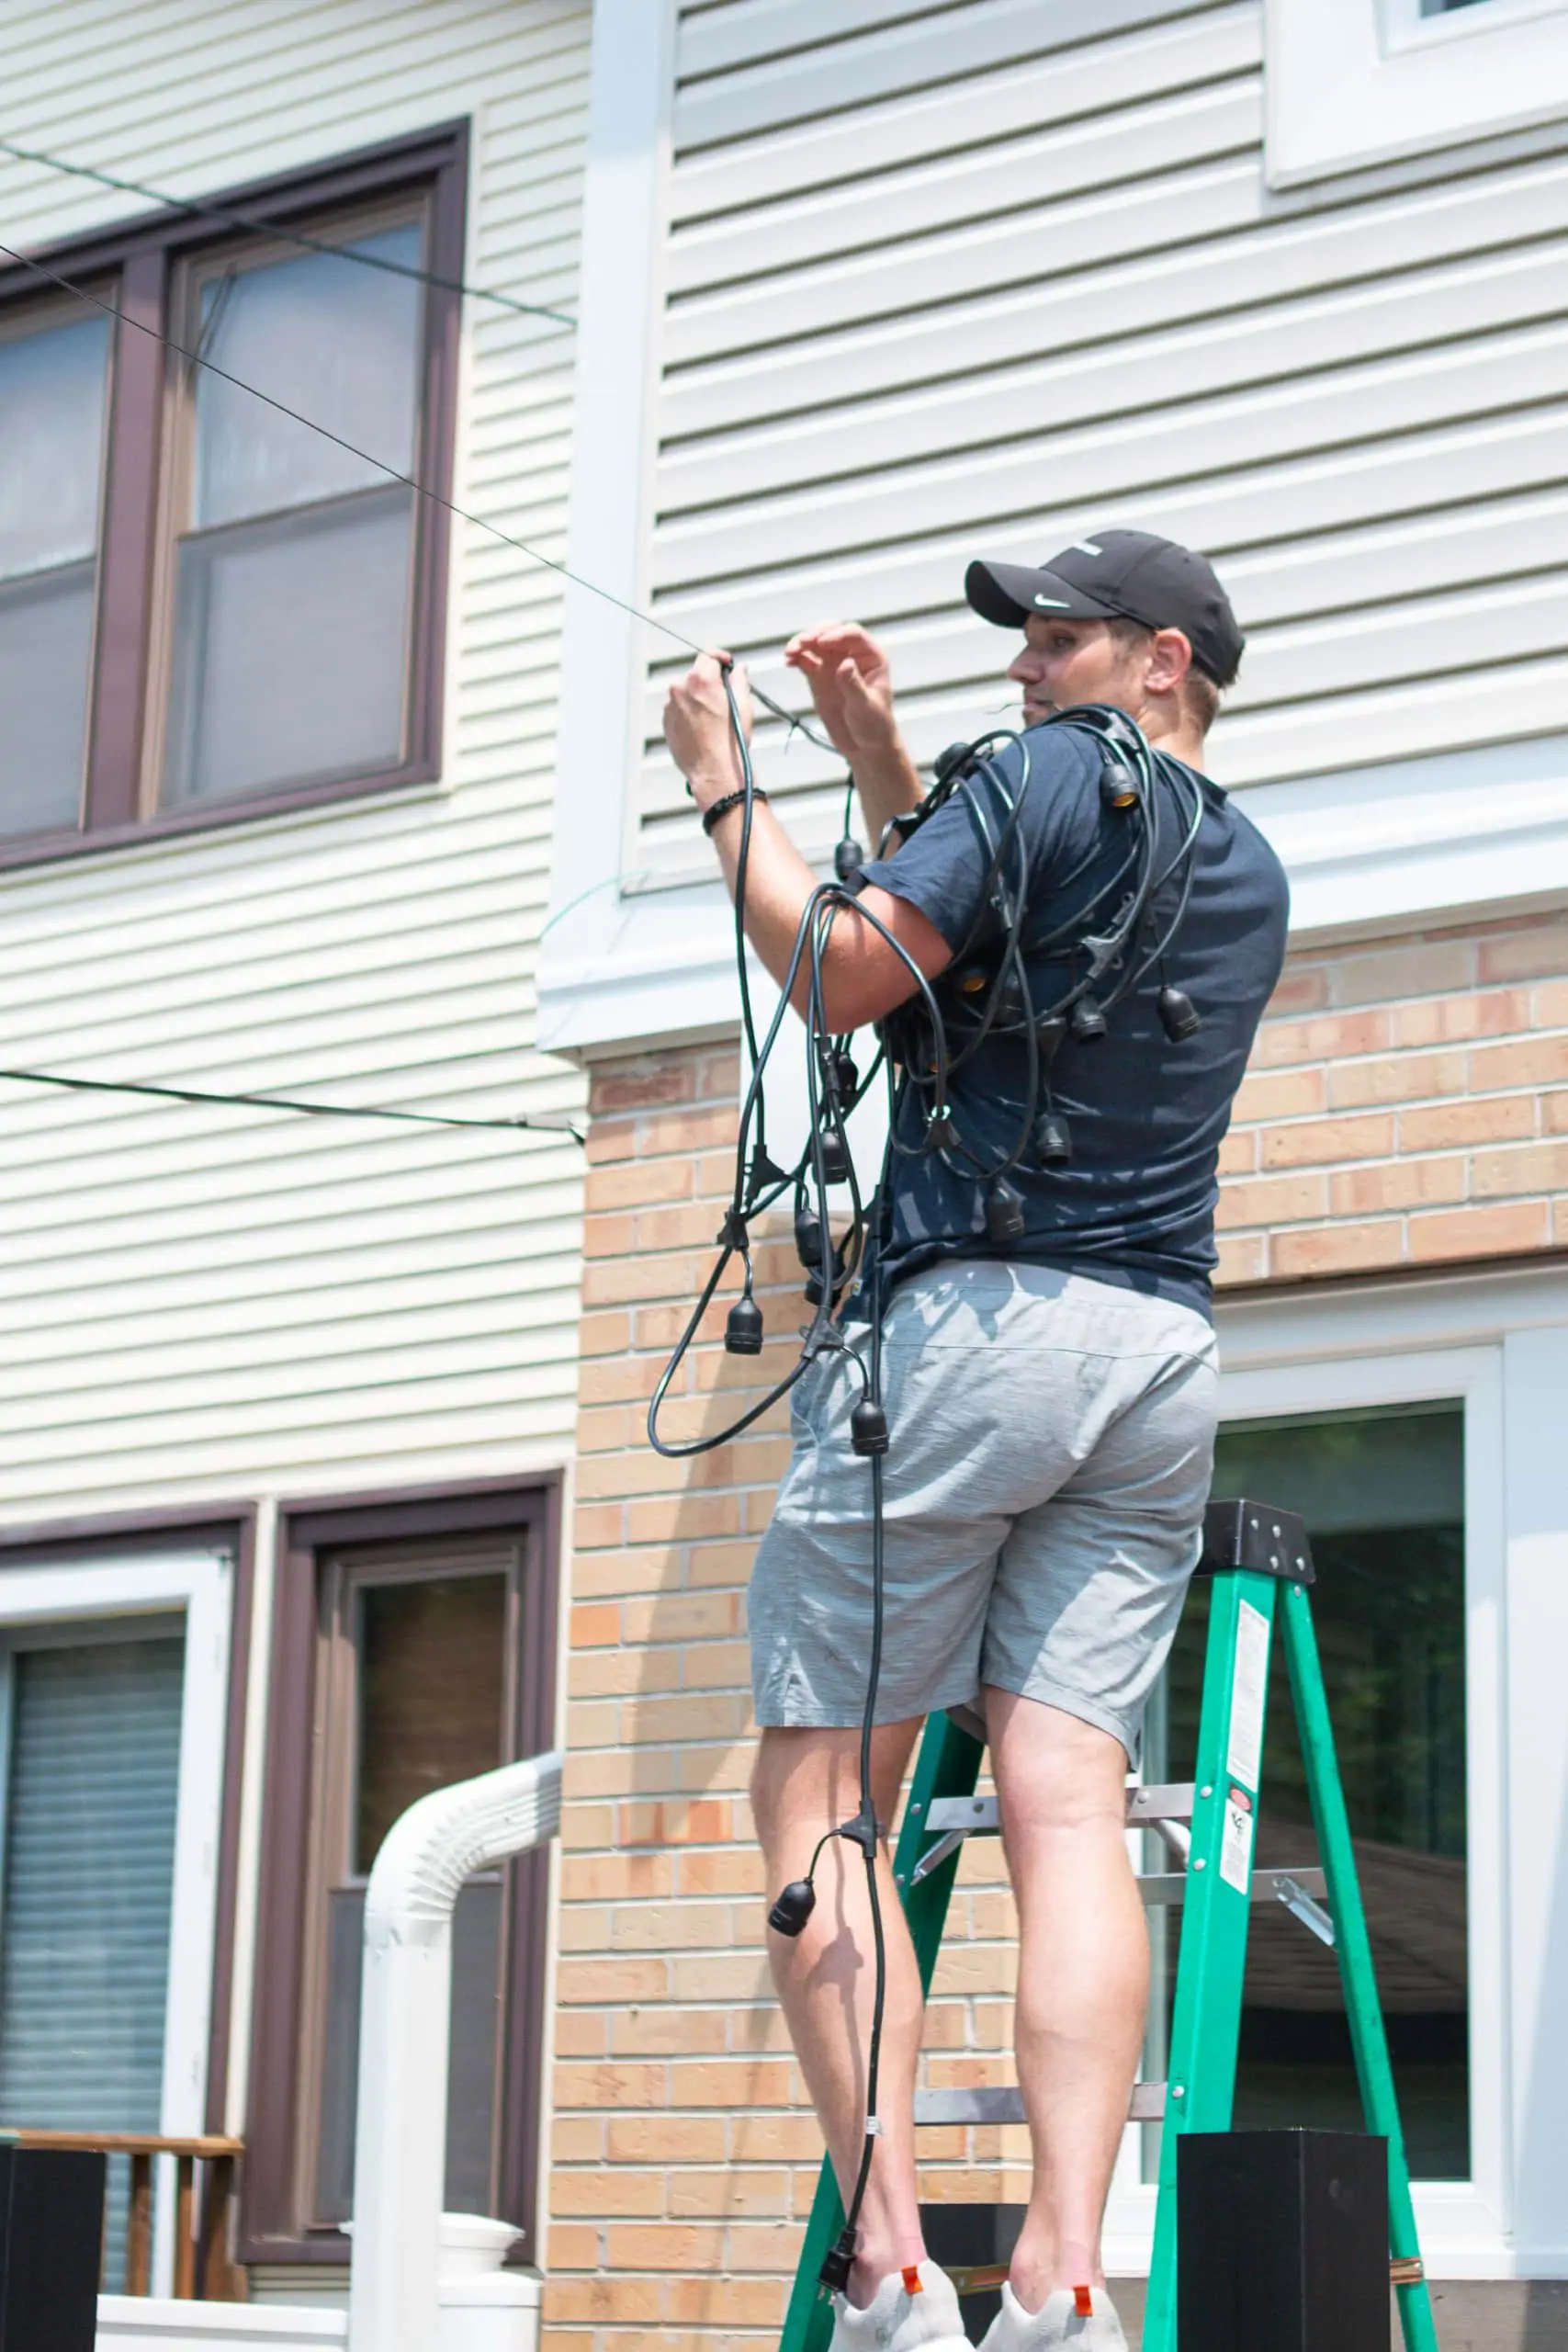
With the cables up, it was time for the fun part…the actual string lights! As I mentioned above, the kit comes with twist ties that you can use to attach the lights. These worked fine, but we ran out halfway through and switched to black zip ties. Either work, just make sure you have plenty!
Because we knew we would be plugging the lights into the garage, we started at the house with the END of the lights. That way we would have the plug on the opposite end at the garage.
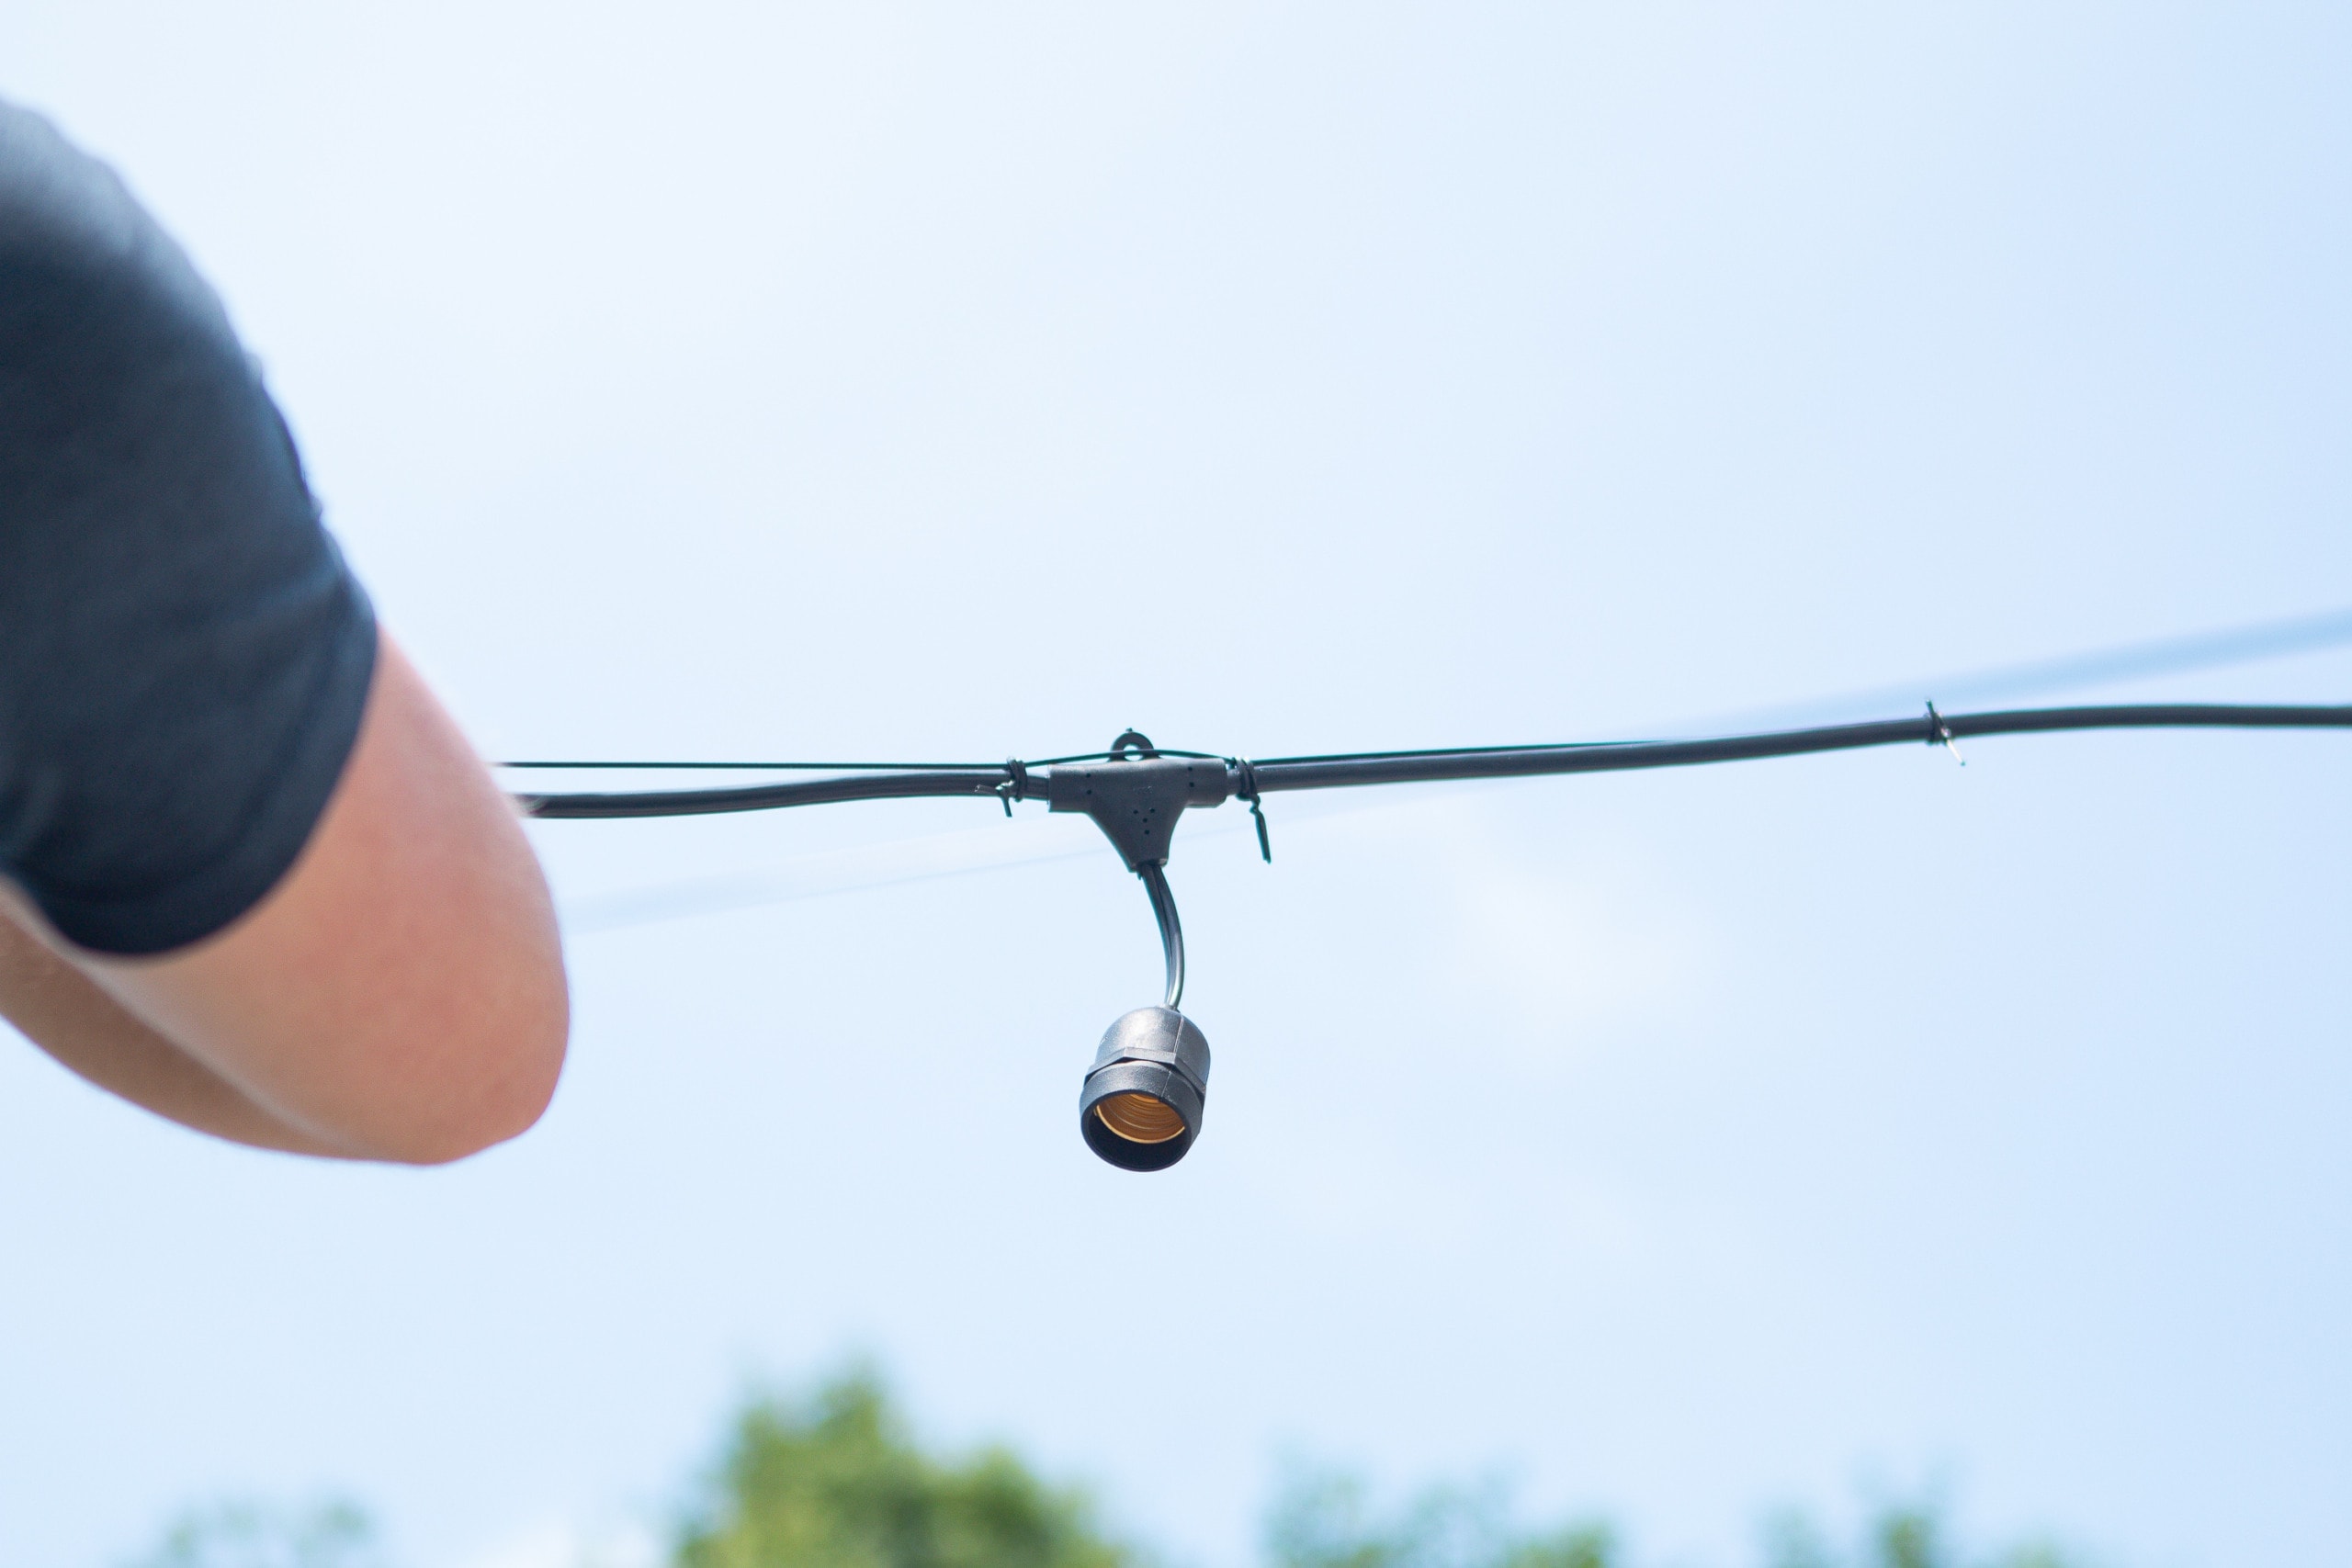
When hanging the lights, we decided to wait until the very end to add the actual lightbulbs. That way, things were a little lighter and we wouldn’t accidentally drop and break one!
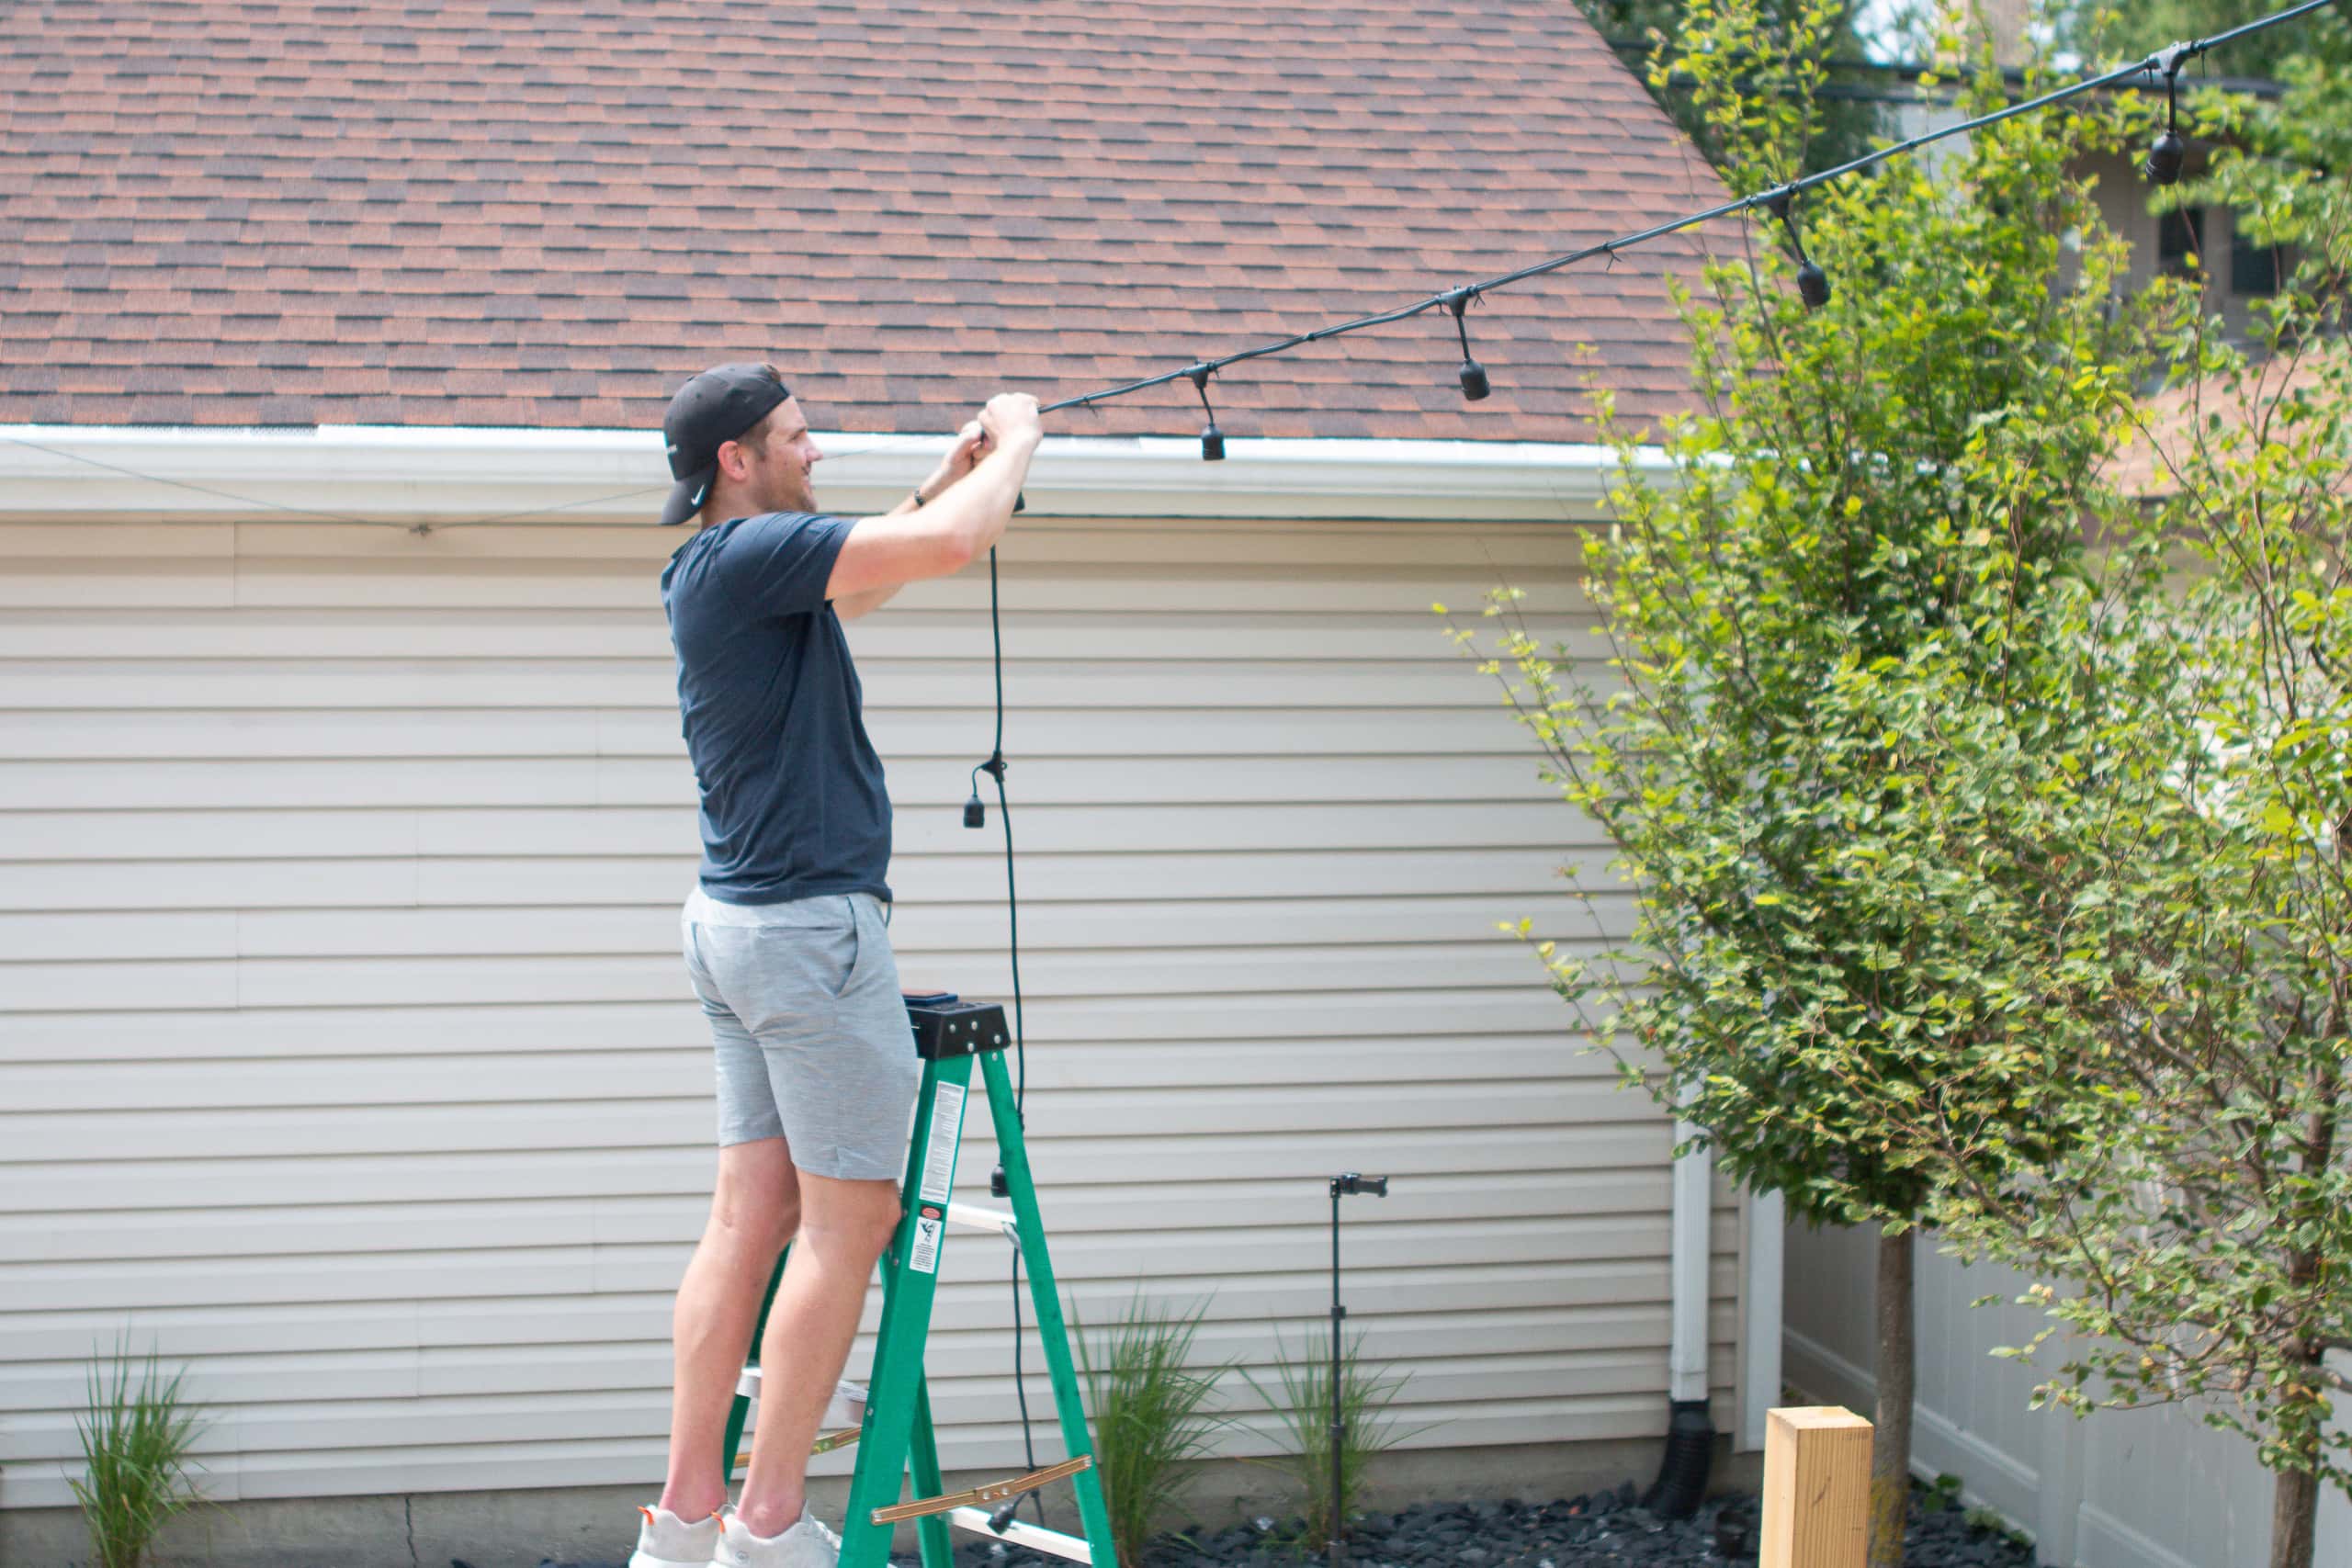
Finn wasn’t stingy with the zip ties, securing to the side of each bulb and then halfway until the next one.
Find Access to Electrical
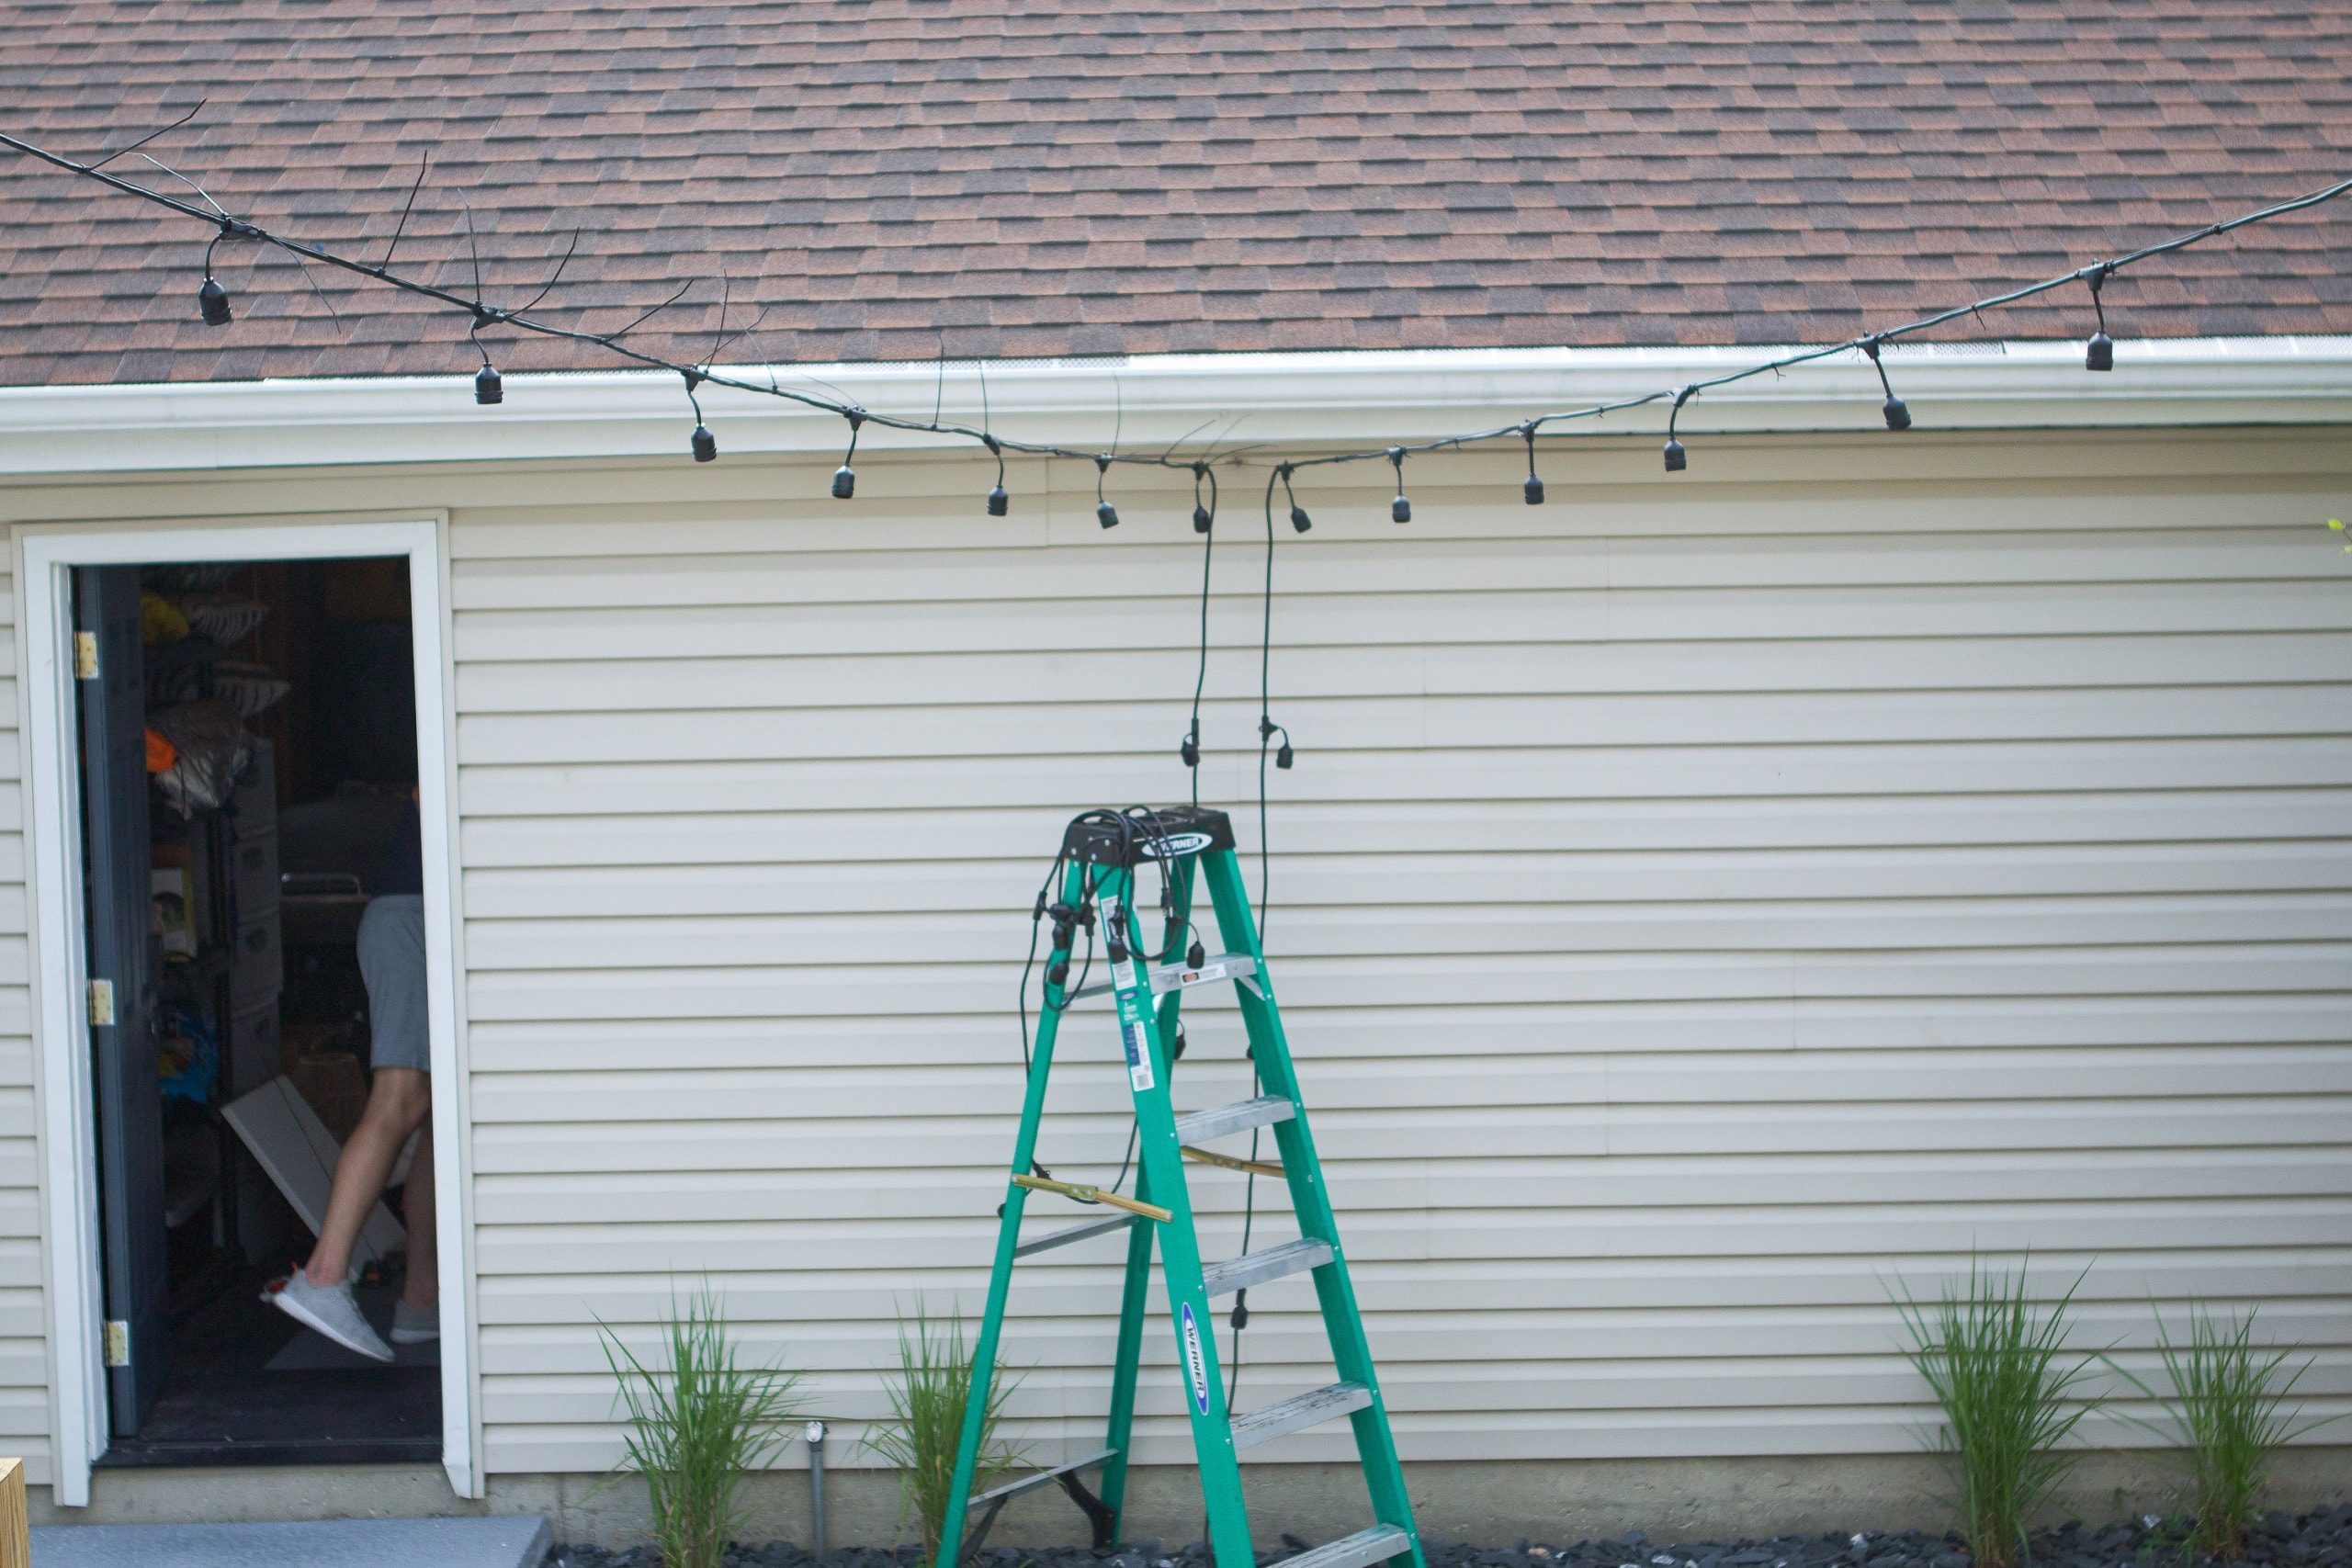
The space between our house and garage is probably around 40 feet and the lights we bought were 48 feet long. That meant we had a few feet of excess light. This was a good thing, because we still had to figure out how the heck to plug our two strings of lights into power.
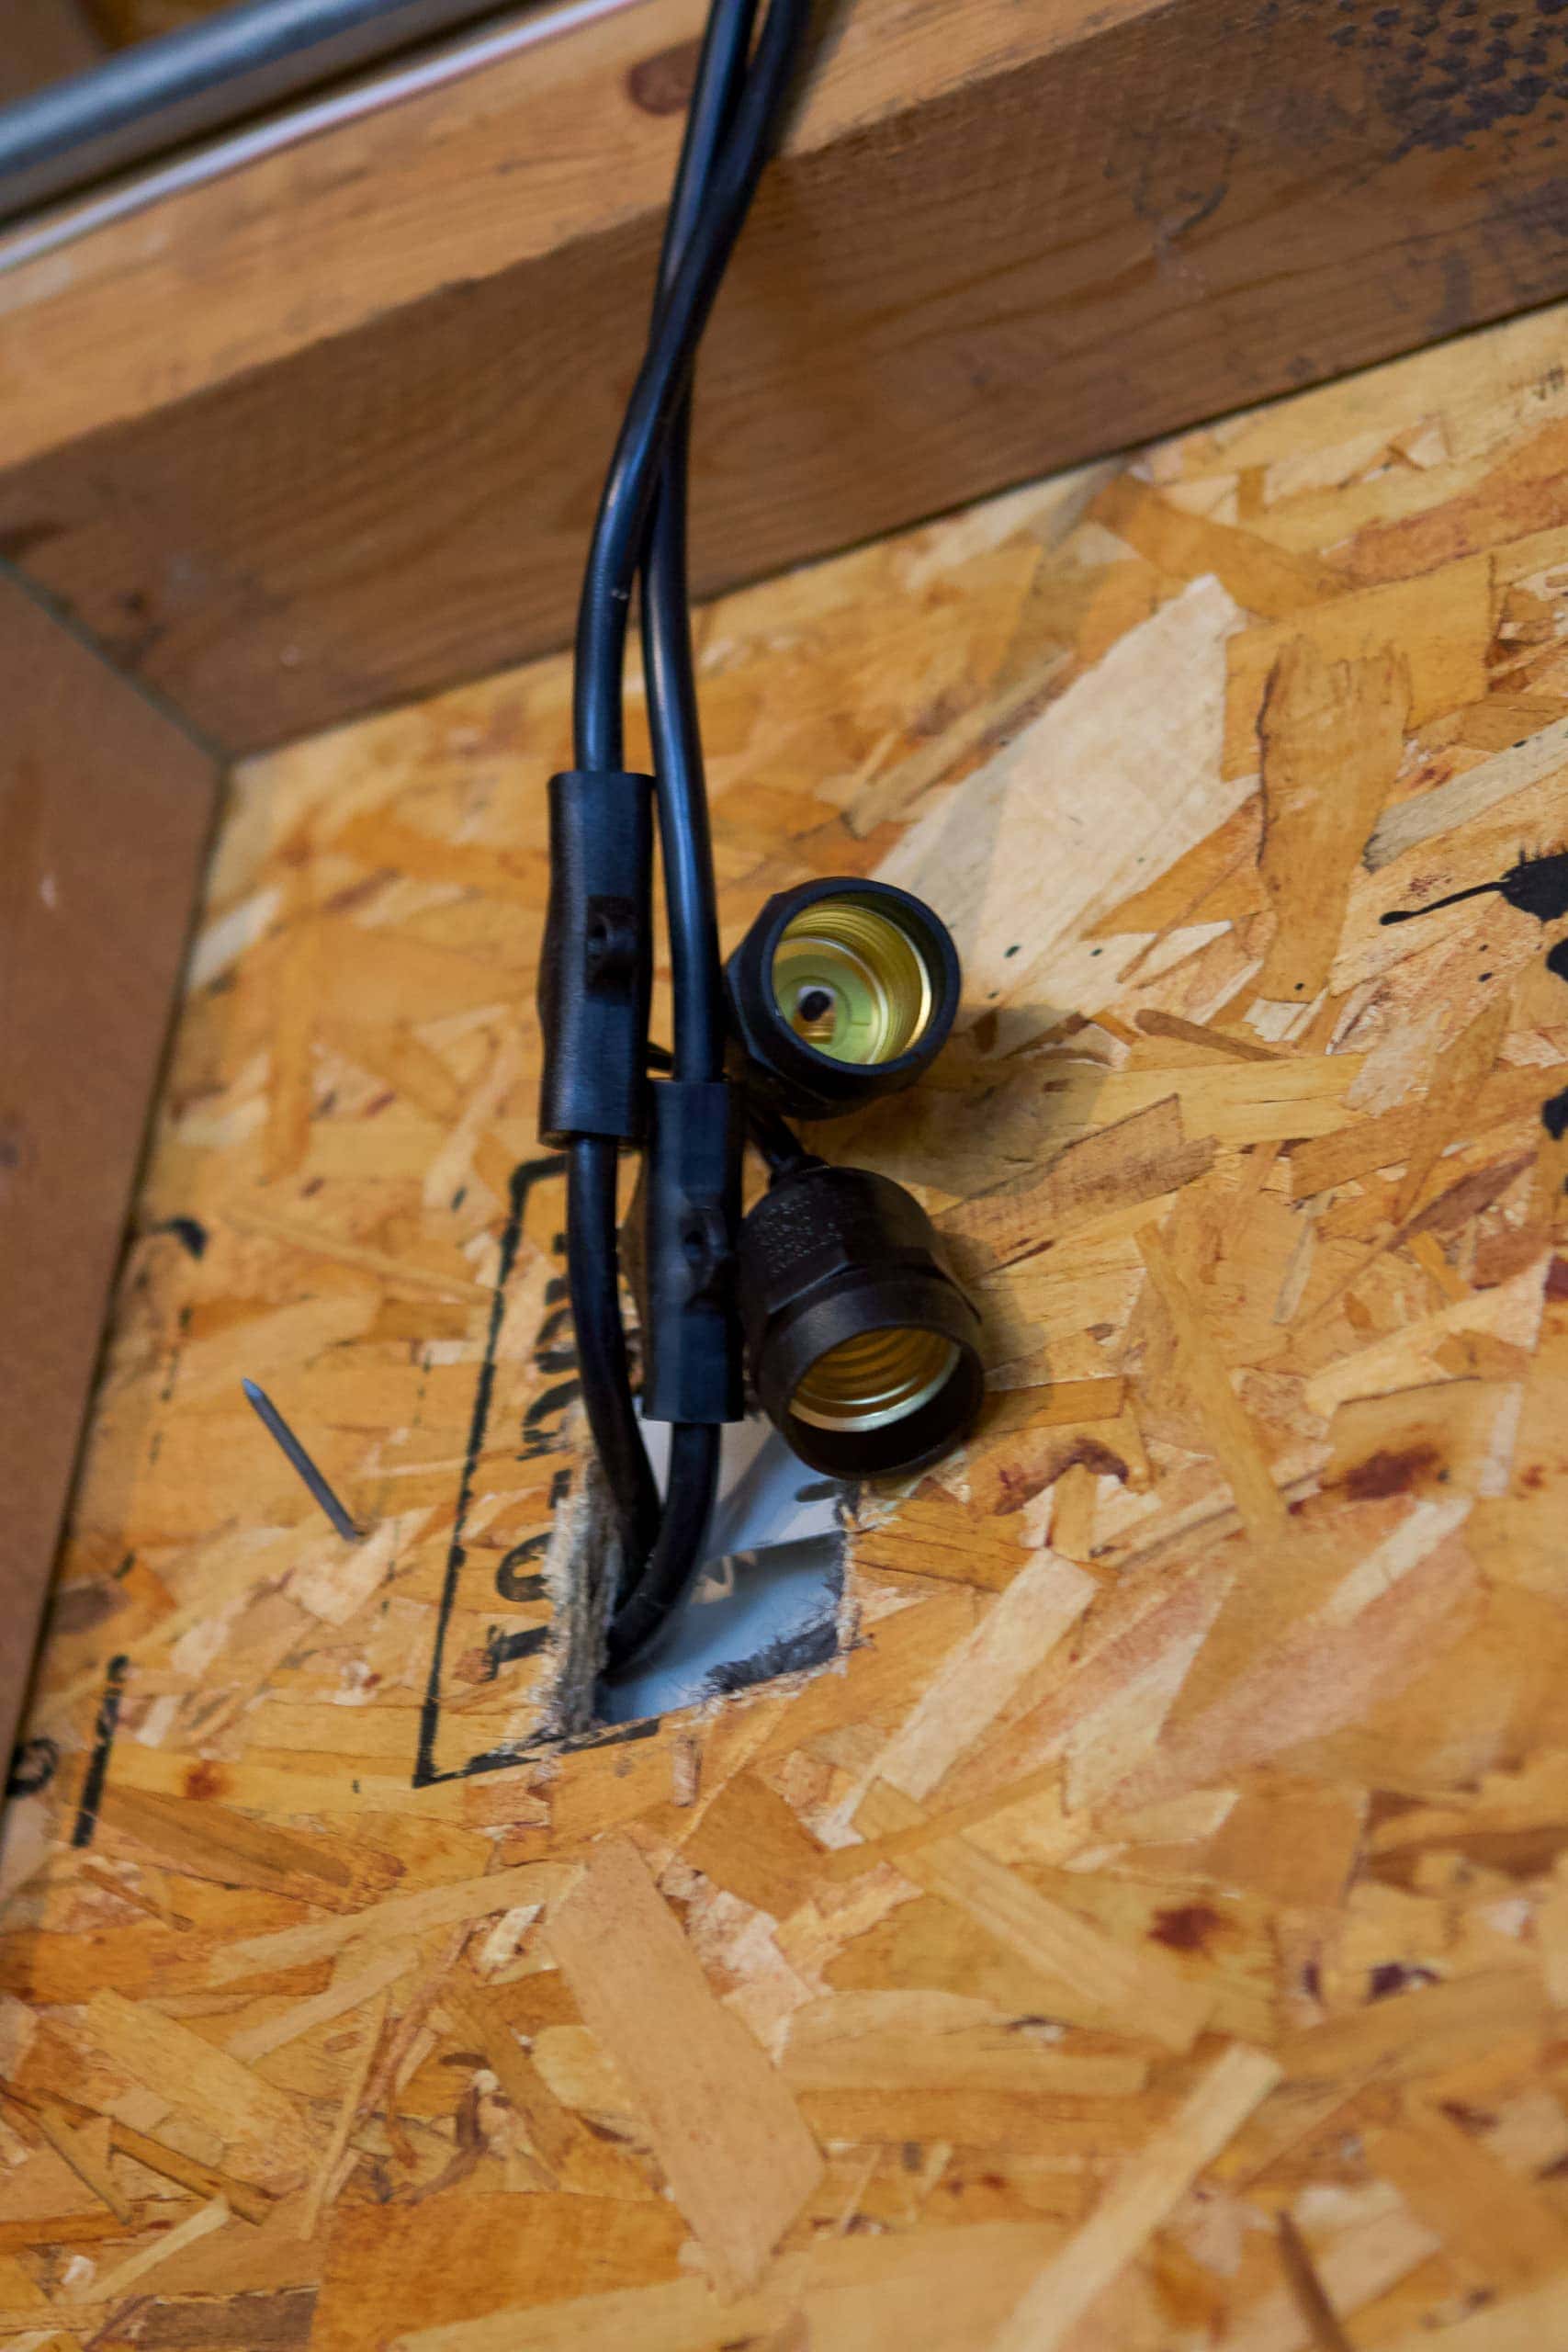
To be honest, we didn’t really have a gameplan going into this portion of the project. Thankfully, it all worked out. Finn ended up using our multi-tool to cut a chunk of the inside of the garage out, making sure not to cut the outside siding! This gave us a big enough hole to bring the lights through to the garage.
On the outside, Finn was able to lift the siding off, tuck the wires behind it, and put it back into place for a nice clean look.
Plug In Your String Lights
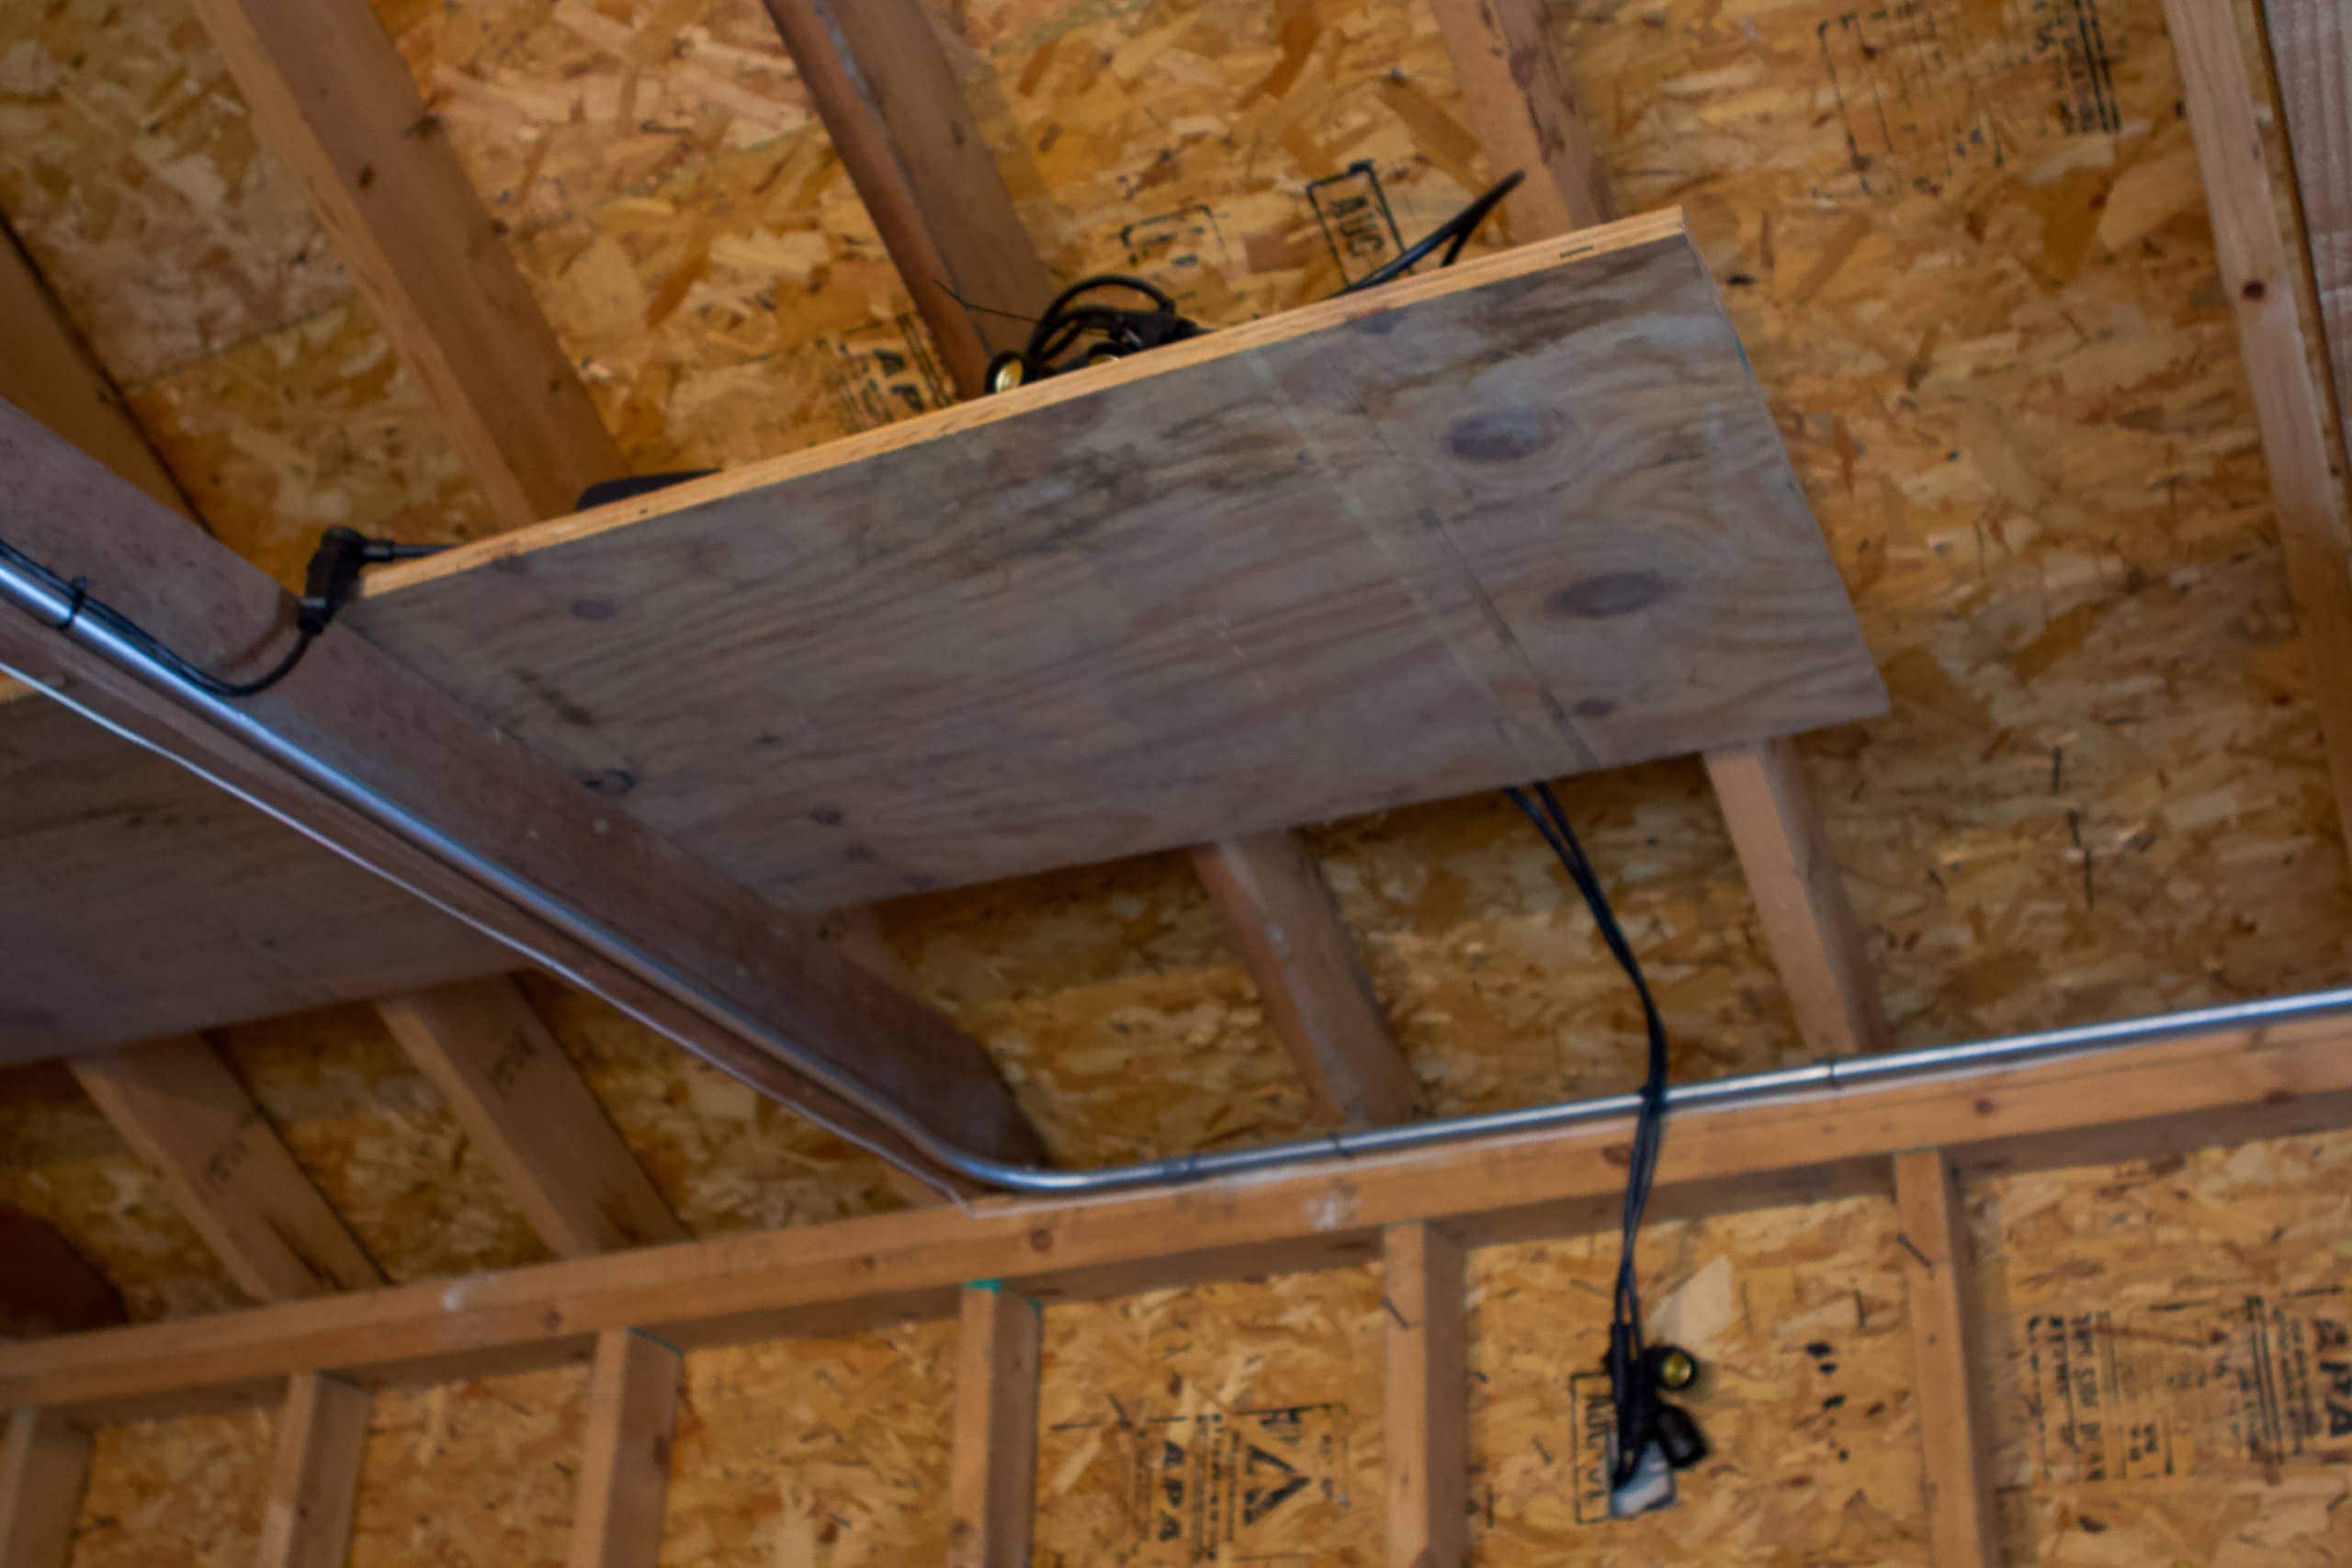
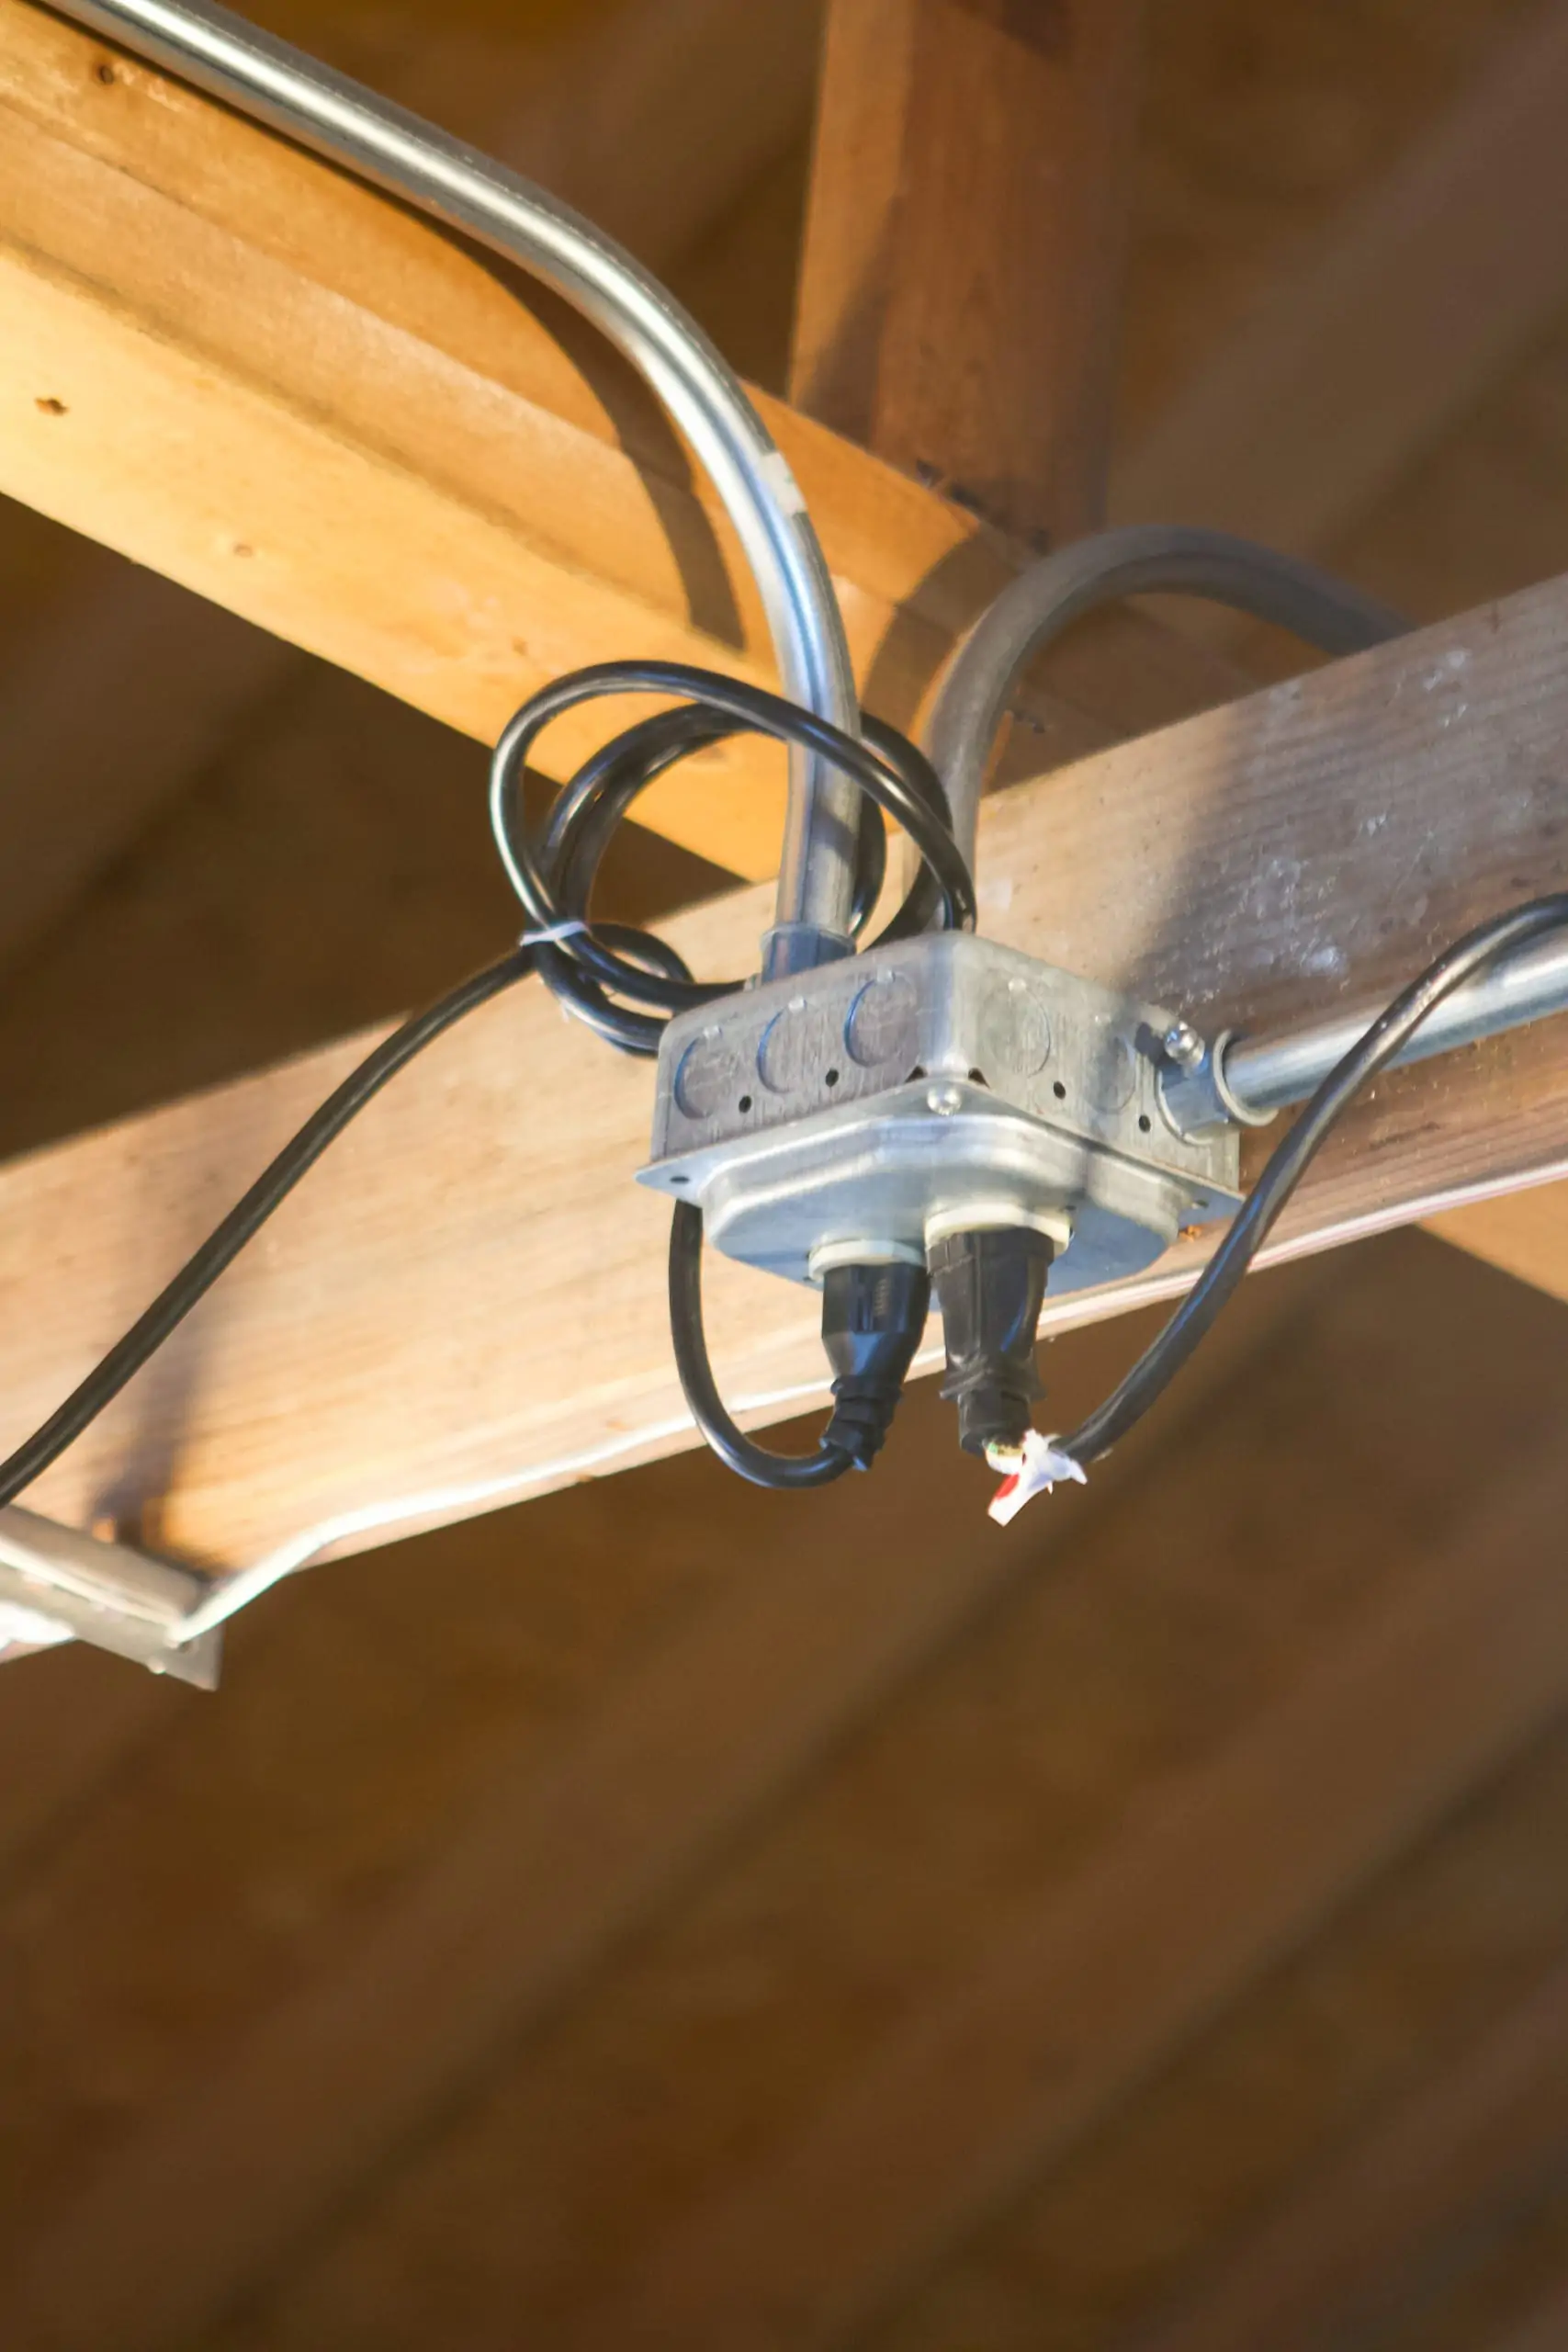
Finn then laid a piece of plywood in our garage rafters to hold the excess lights and plugged both sets into our smart plug, and then an outdoor extension cord. That extension cord runs to the outlet in the middle of the garage.
Set Up a Smart Plug
We ended up using the same outdoor smart plug that we had used previously with the string lights on our deck. This little device is great because you can create a schedule for your lights. (Ours are on from 6pm-10pm.) It also connects to your smart devices, (We can say “Alexa, turn on the patio lights.”) so you can easily turn the lights on and off.
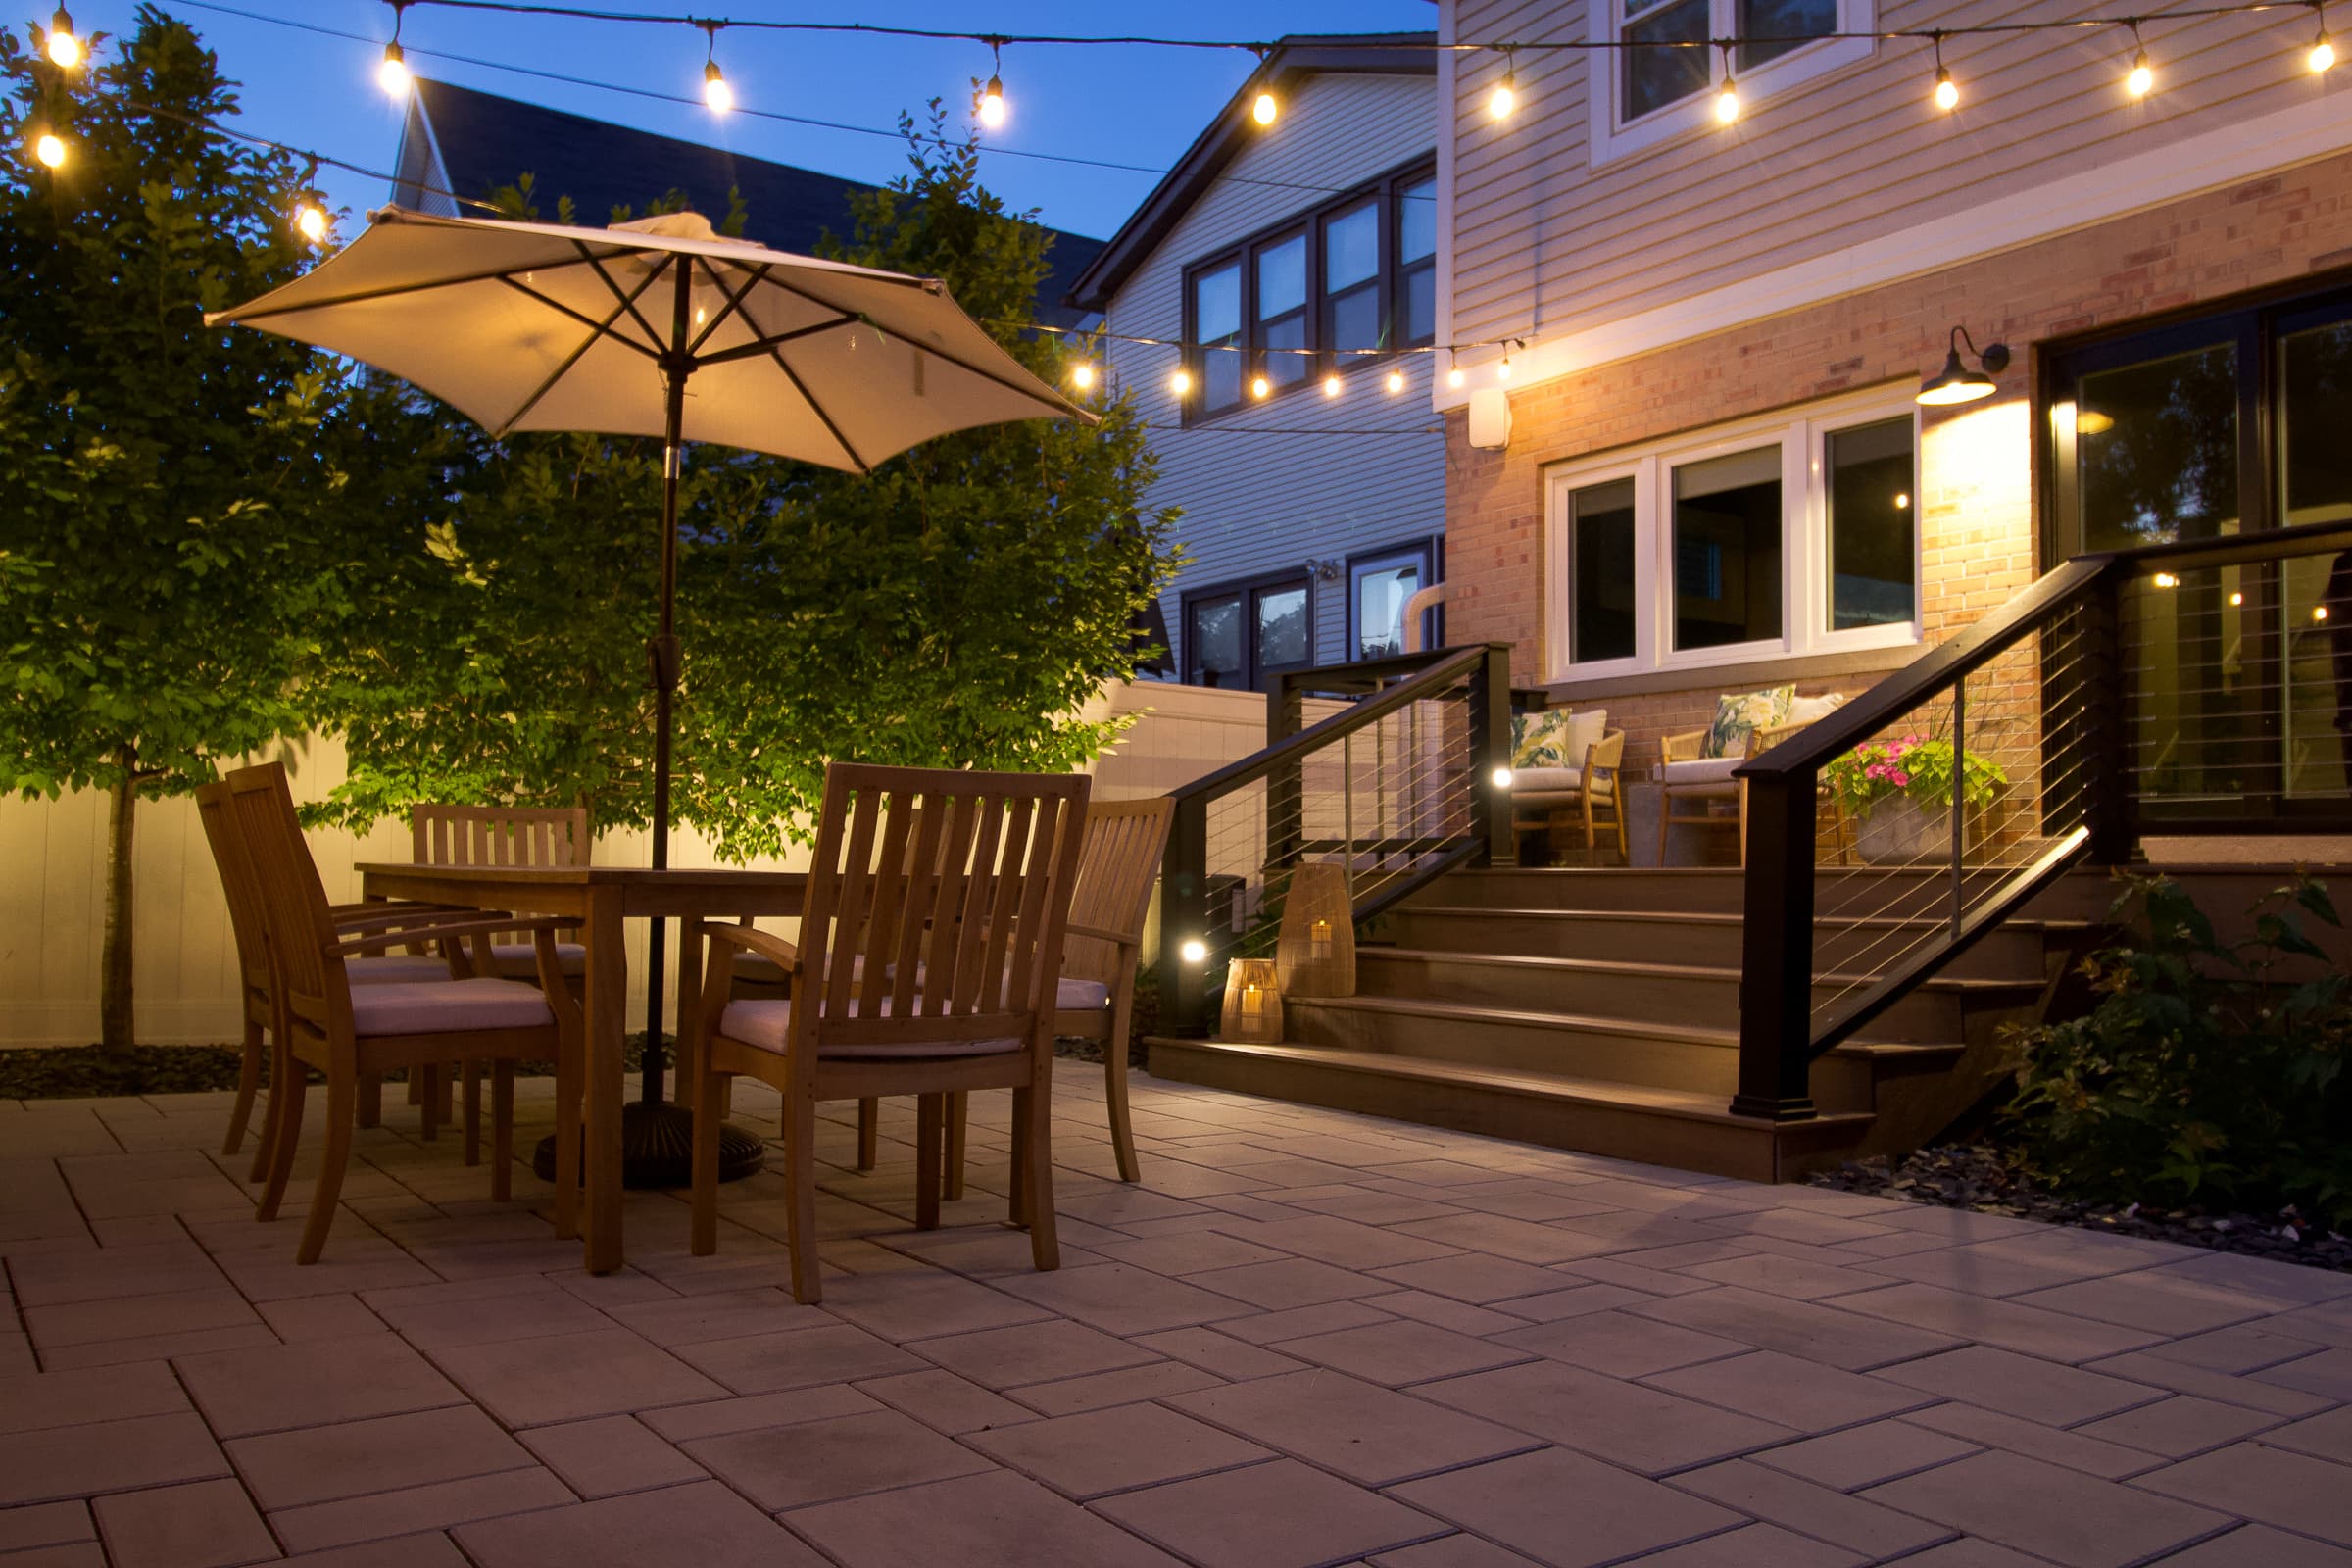
Our New Backyard String Lights
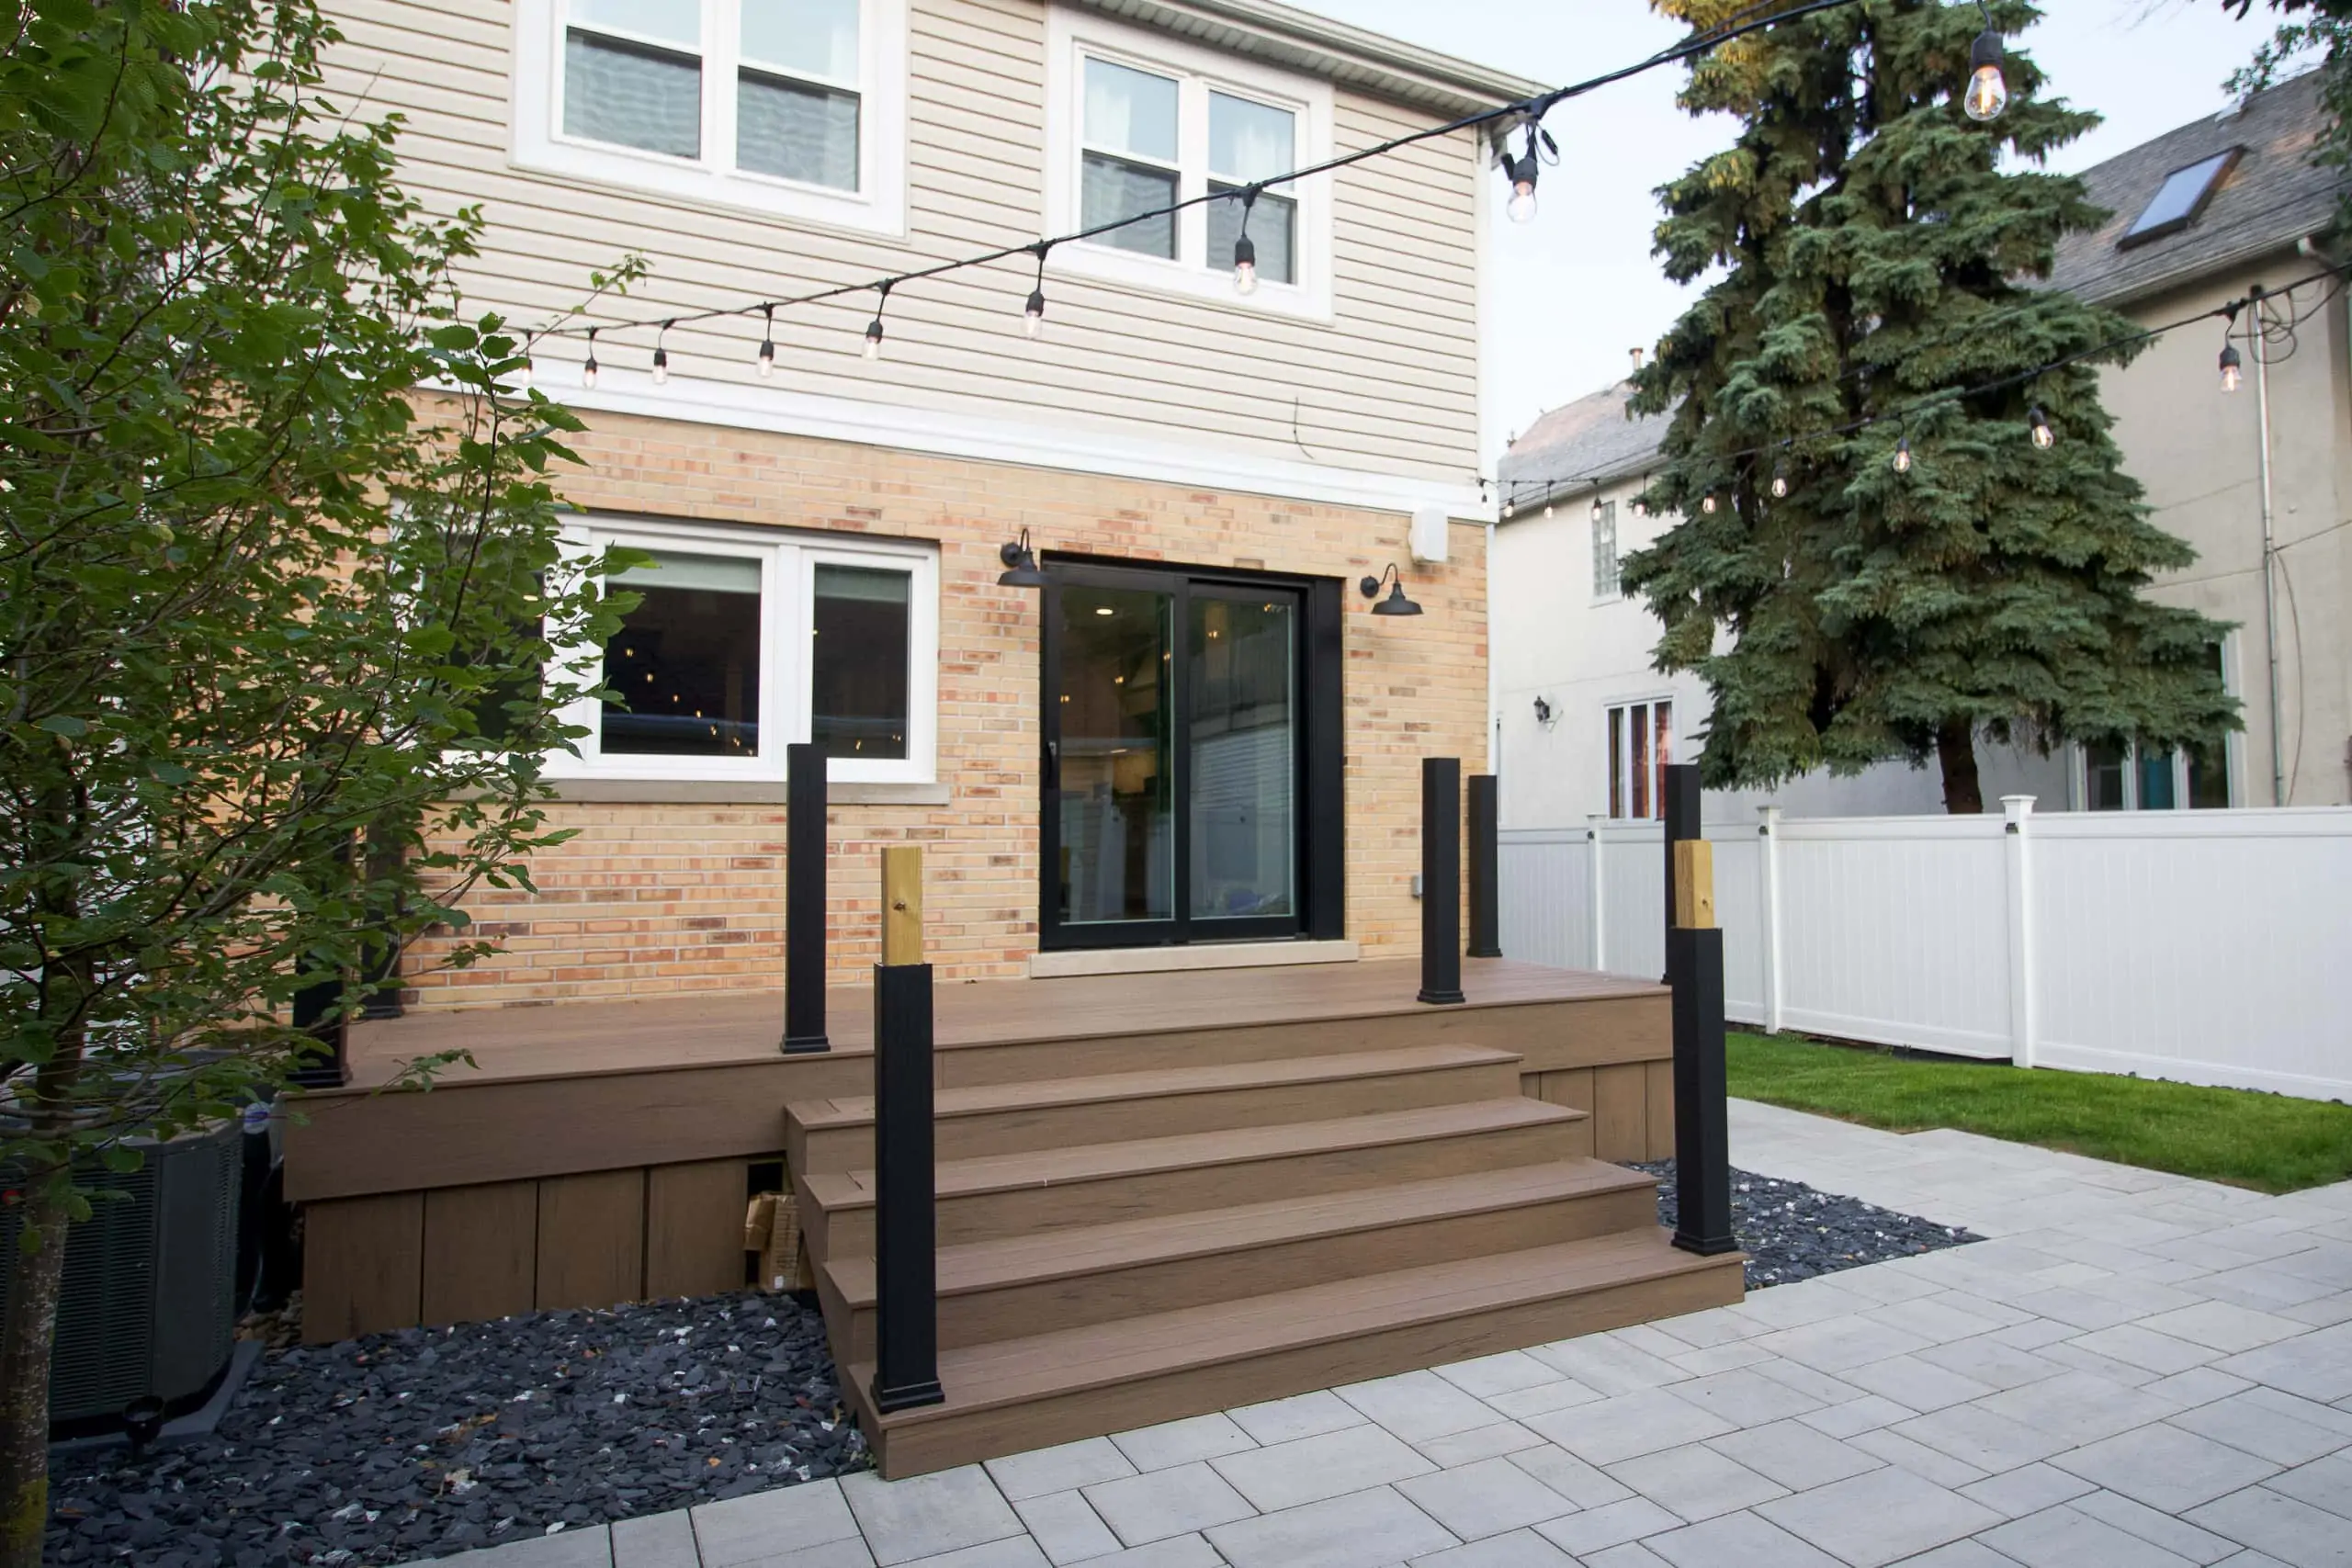

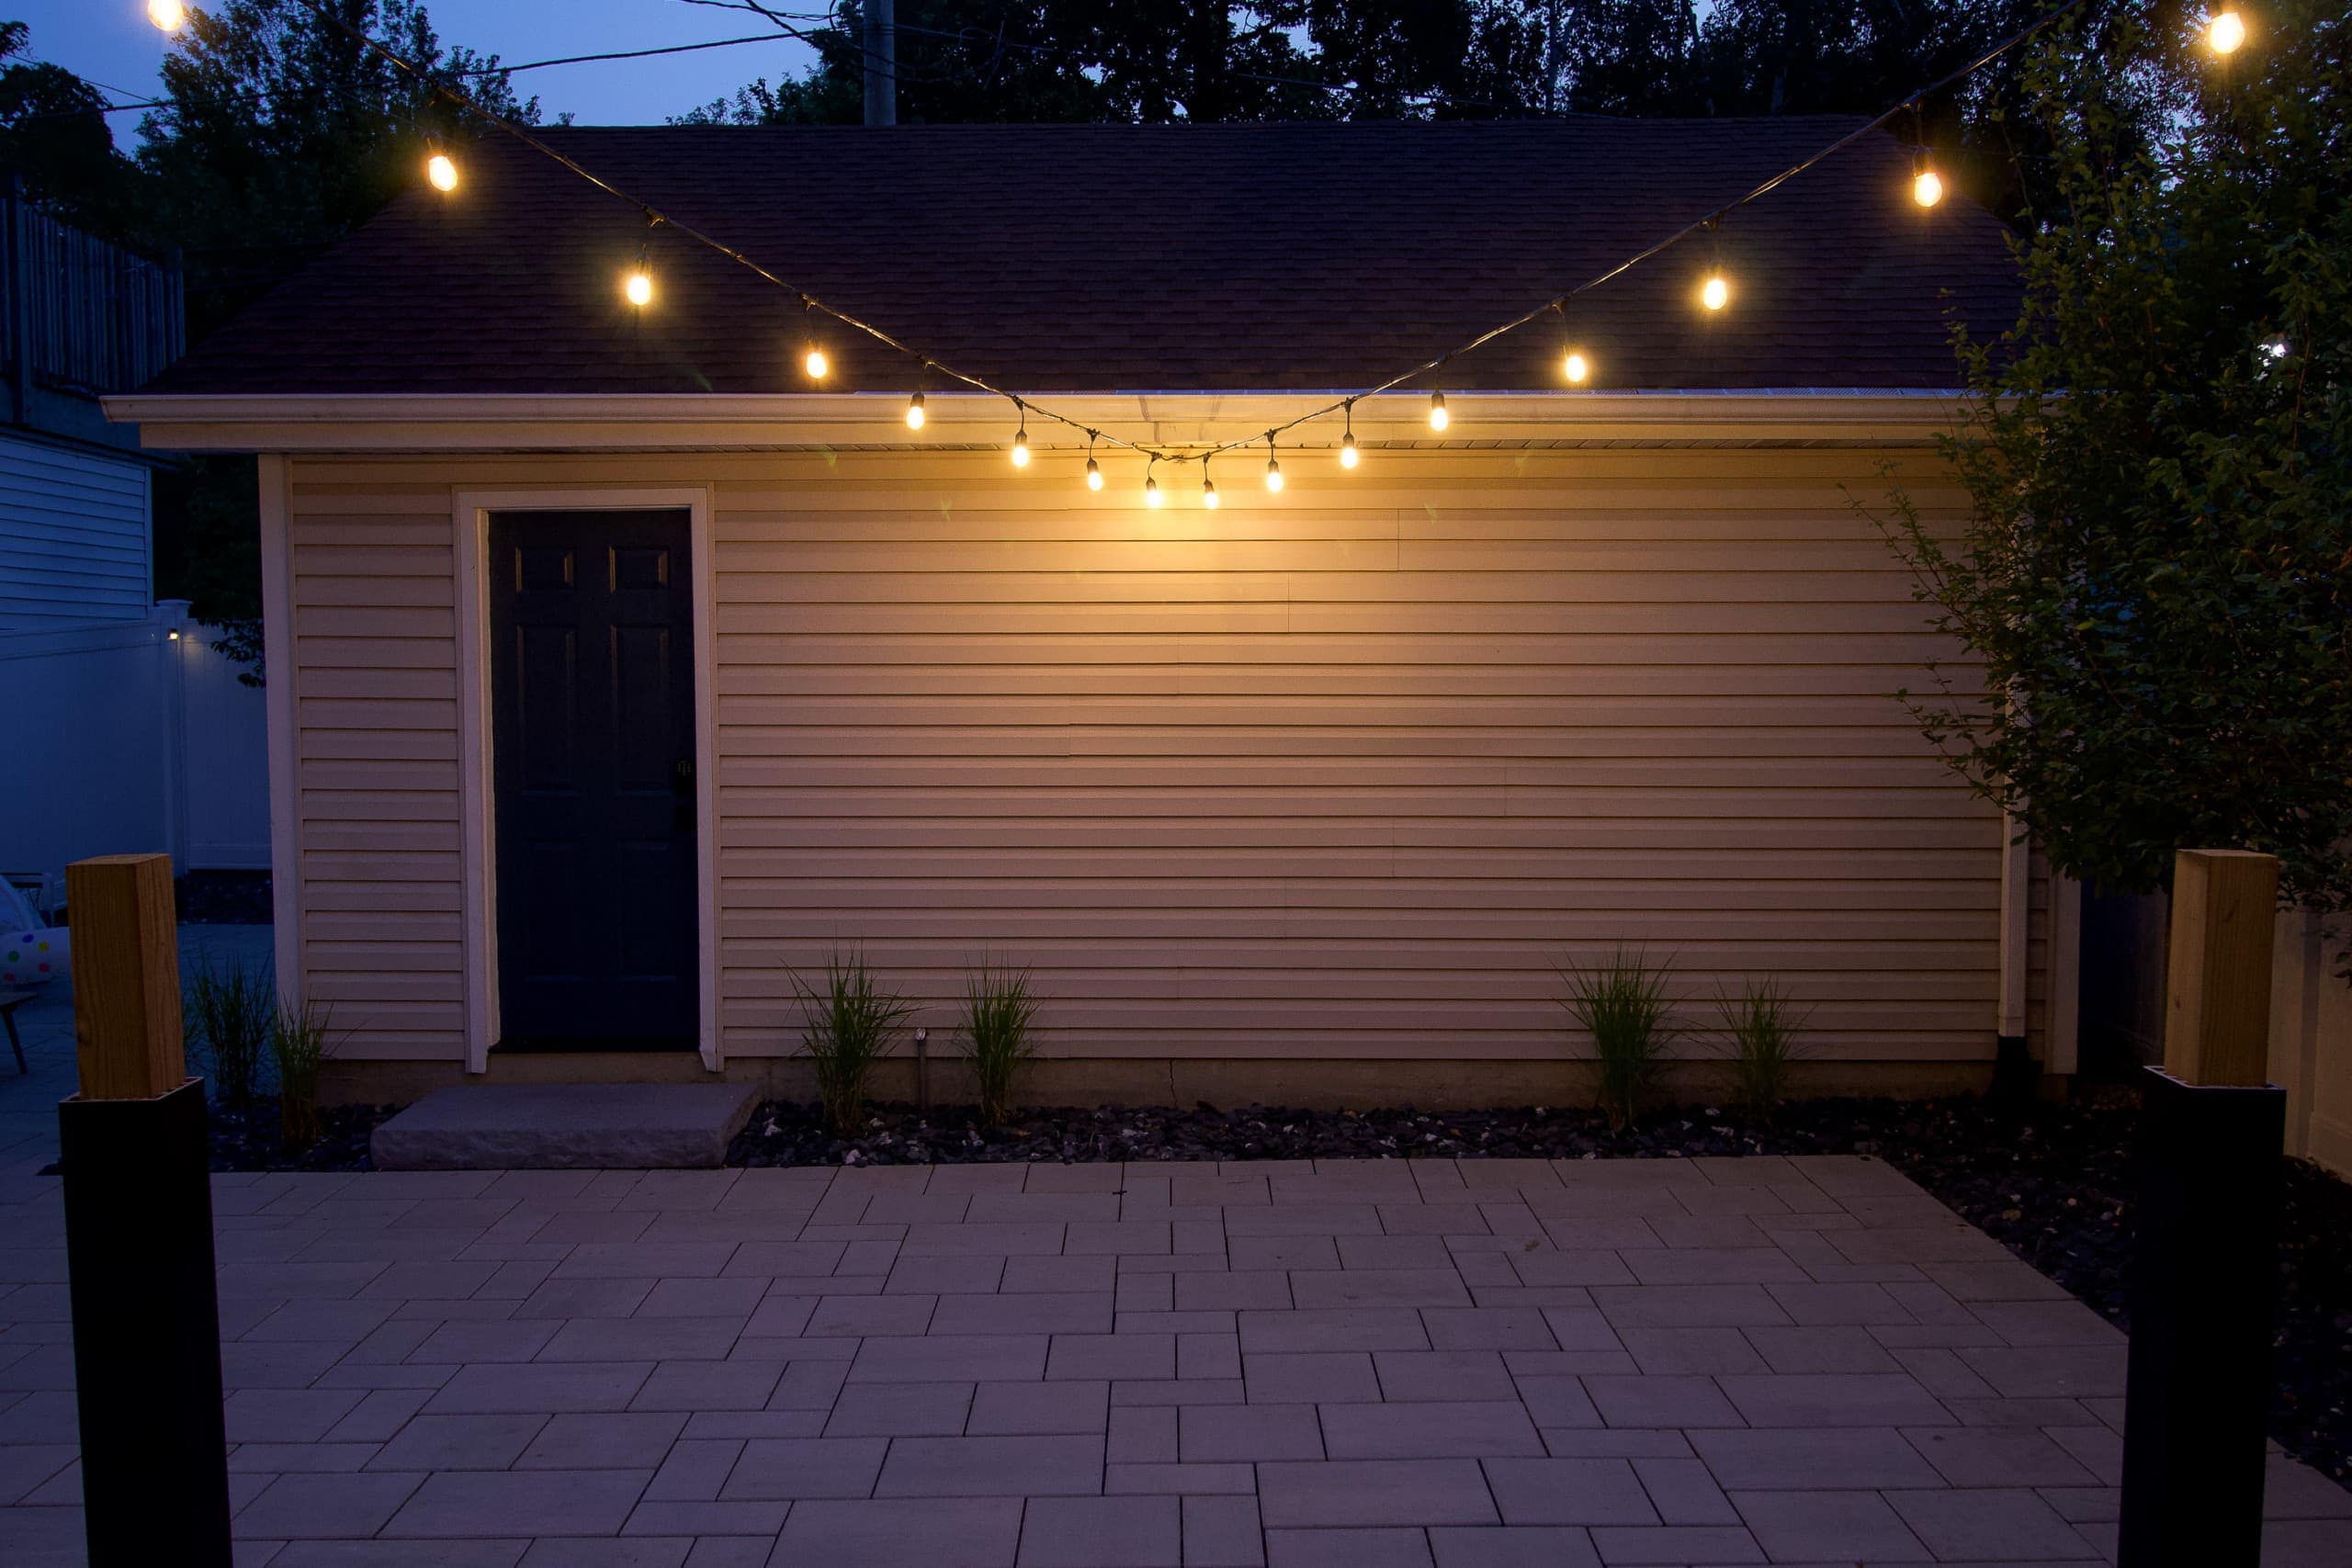

It is so freakin’ dreamy out here now! It’s wild how lighting can make such a difference in a space, whether you’re inside or outside! These night photos are with our landscaping lighting off, so I’ll have to take more evening pictures when all of our lighting is on back here. It’s pretty magical.
Tour The Space Now!
Want to see this space at night? Come tour the entire backyard during the evening right here.
T
Casey

Catch Up On Our Backyard Renovation
- Yardzen Design Plans
- Backyard Renovation Kickoff
- Backyard Renovation Progress (2 Weeks In)
- Our New A/C Units
- Deck Progress
- Painting the Garage Door
- How to Install String Lights
- Backyard To-Do List
- Backyard To-Do List: Progress
- How to Protect Teak Furniture
- Our New Outdoor TV
- Backyard Landscaping Details
- Our Outdoor Furniture
- The Big Backyard Reveal
- Backyard Renovation Lessons We Learned