My Mom is Renovating Her Bathrooms!
I’ve shared my mom’s gorgeous condo here on the blog many times over the years. She lives about ten minutes from our house in a stunning 2-bedroom, 2-bathroom space and she has transformed just about every inch of her home since she bought it a few years ago.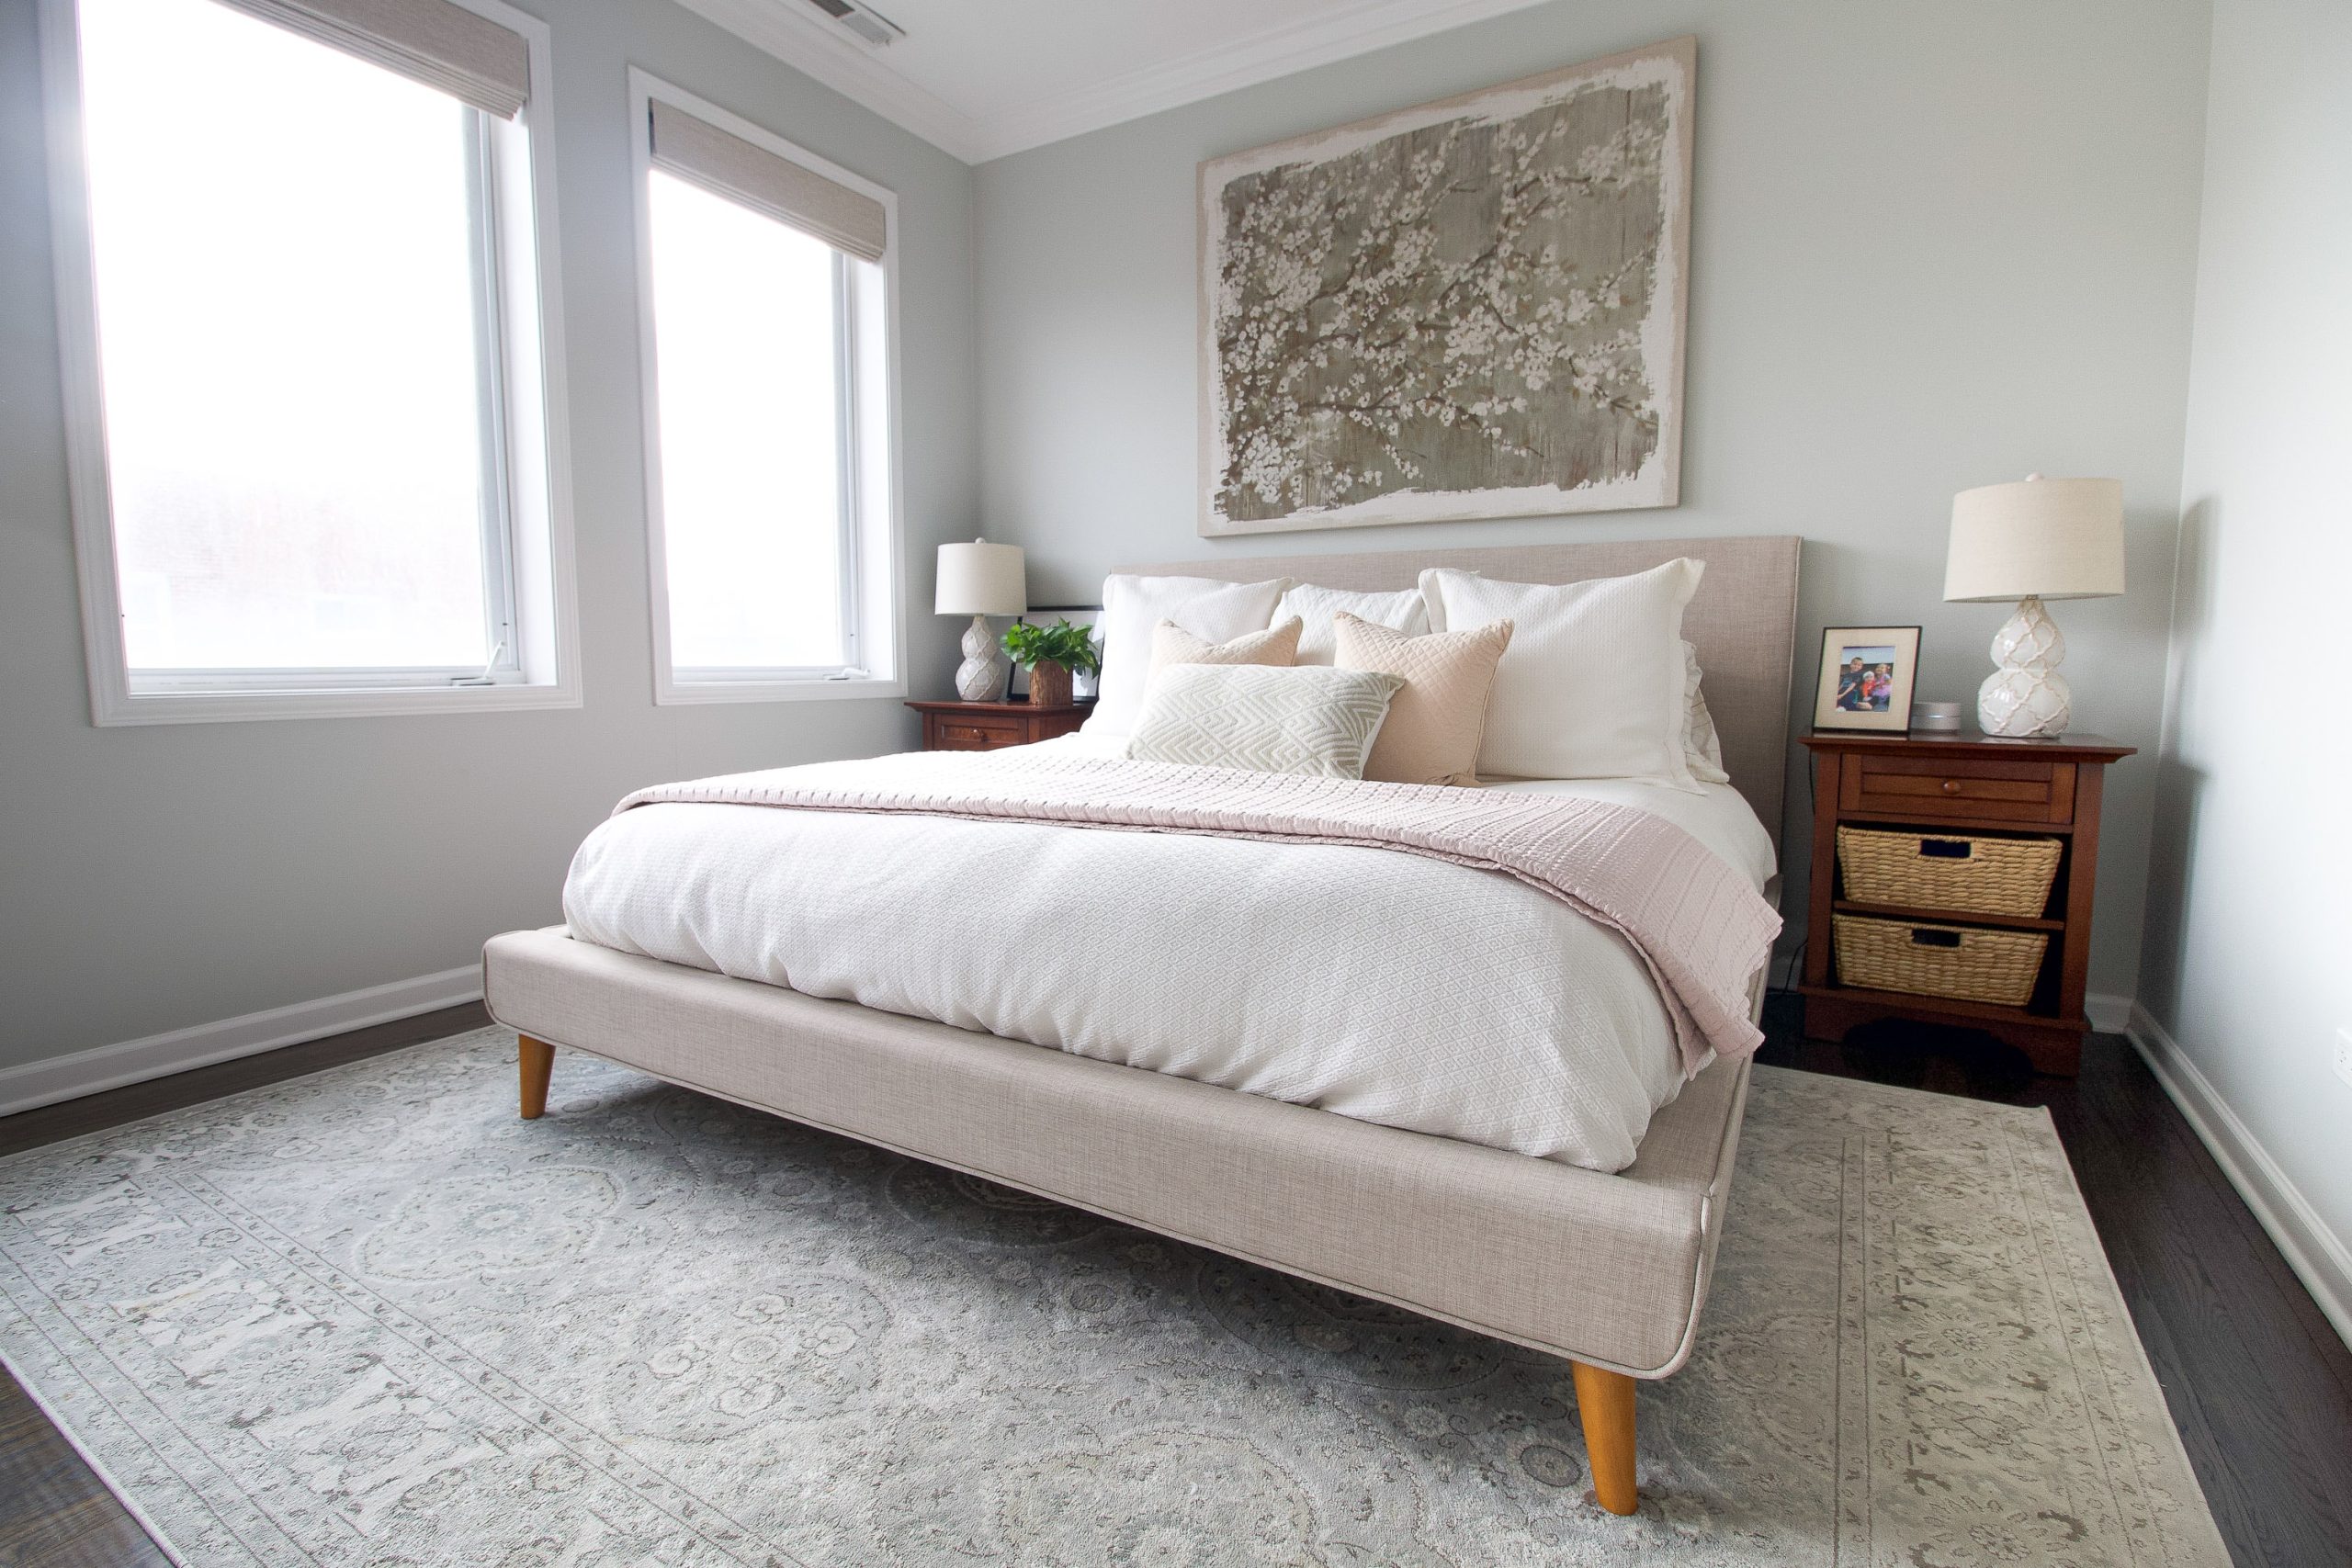
You can find the entire home tour and sources in this blog post, and I linked every blog post about her condo at the bottom of today’s post. But you’ll notice that you only see one bathroom in that home tour…her main bath that we gave some TLC about two years ago. The other bathroom hasn’t ever even been seen here on the blog…until now!
Deciding to Renovate
My mom has no plans to move any time soon and she has put lots of time, effort, and money into making her home fit her style and her everyday life. However, the bathrooms have never been her favorite spots in her home. The guest bathroom has really dark tile (as you’ll soon see) that just doesn’t go with the light and airy vibes she has in the rest of her home.
And while we gave her main bathroom an upgrade with a new vanity, mirrors, and lighting, she has always hated the tile in here and she has wanted to change it up too. She finally thought, “What am I waiting for? Why not renovate these spaces now so I can enjoy them for years to come?” She met with my contractor in January, got on his calendar for May, and ever since, we’ve been coming up with a plan to make these spaces work well with the rest of her gorgeous home.
Guest Bathroom Before
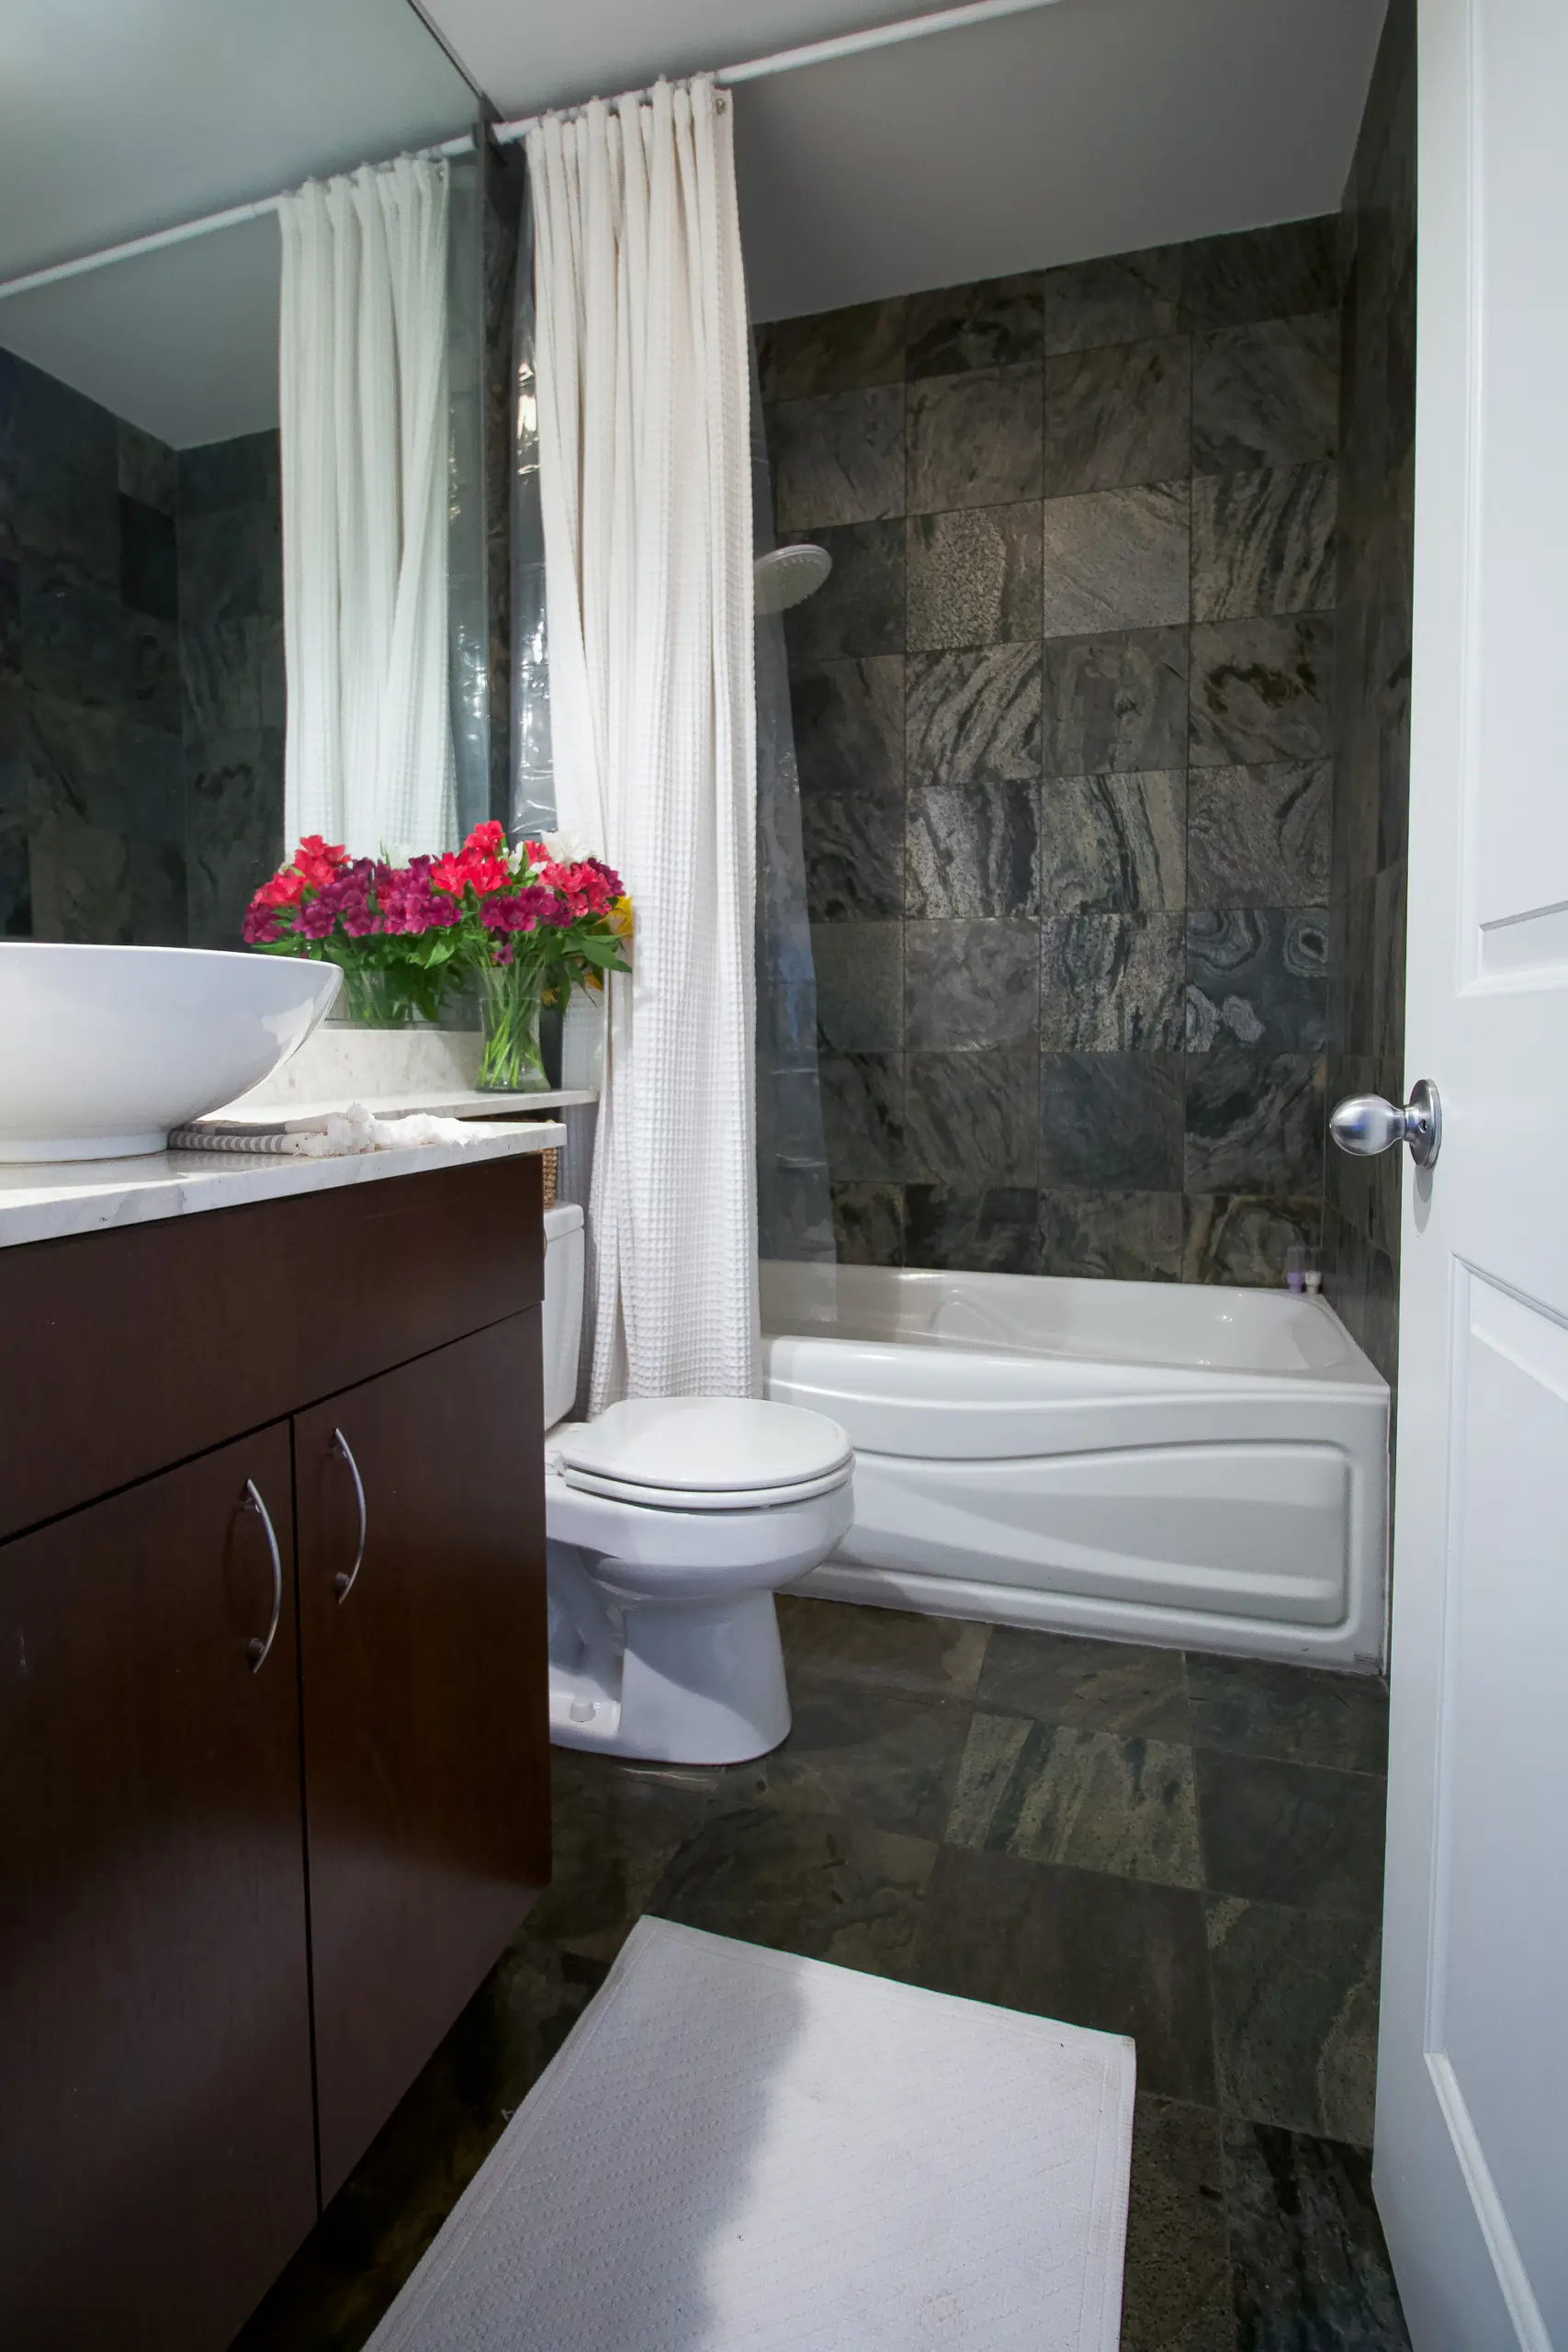
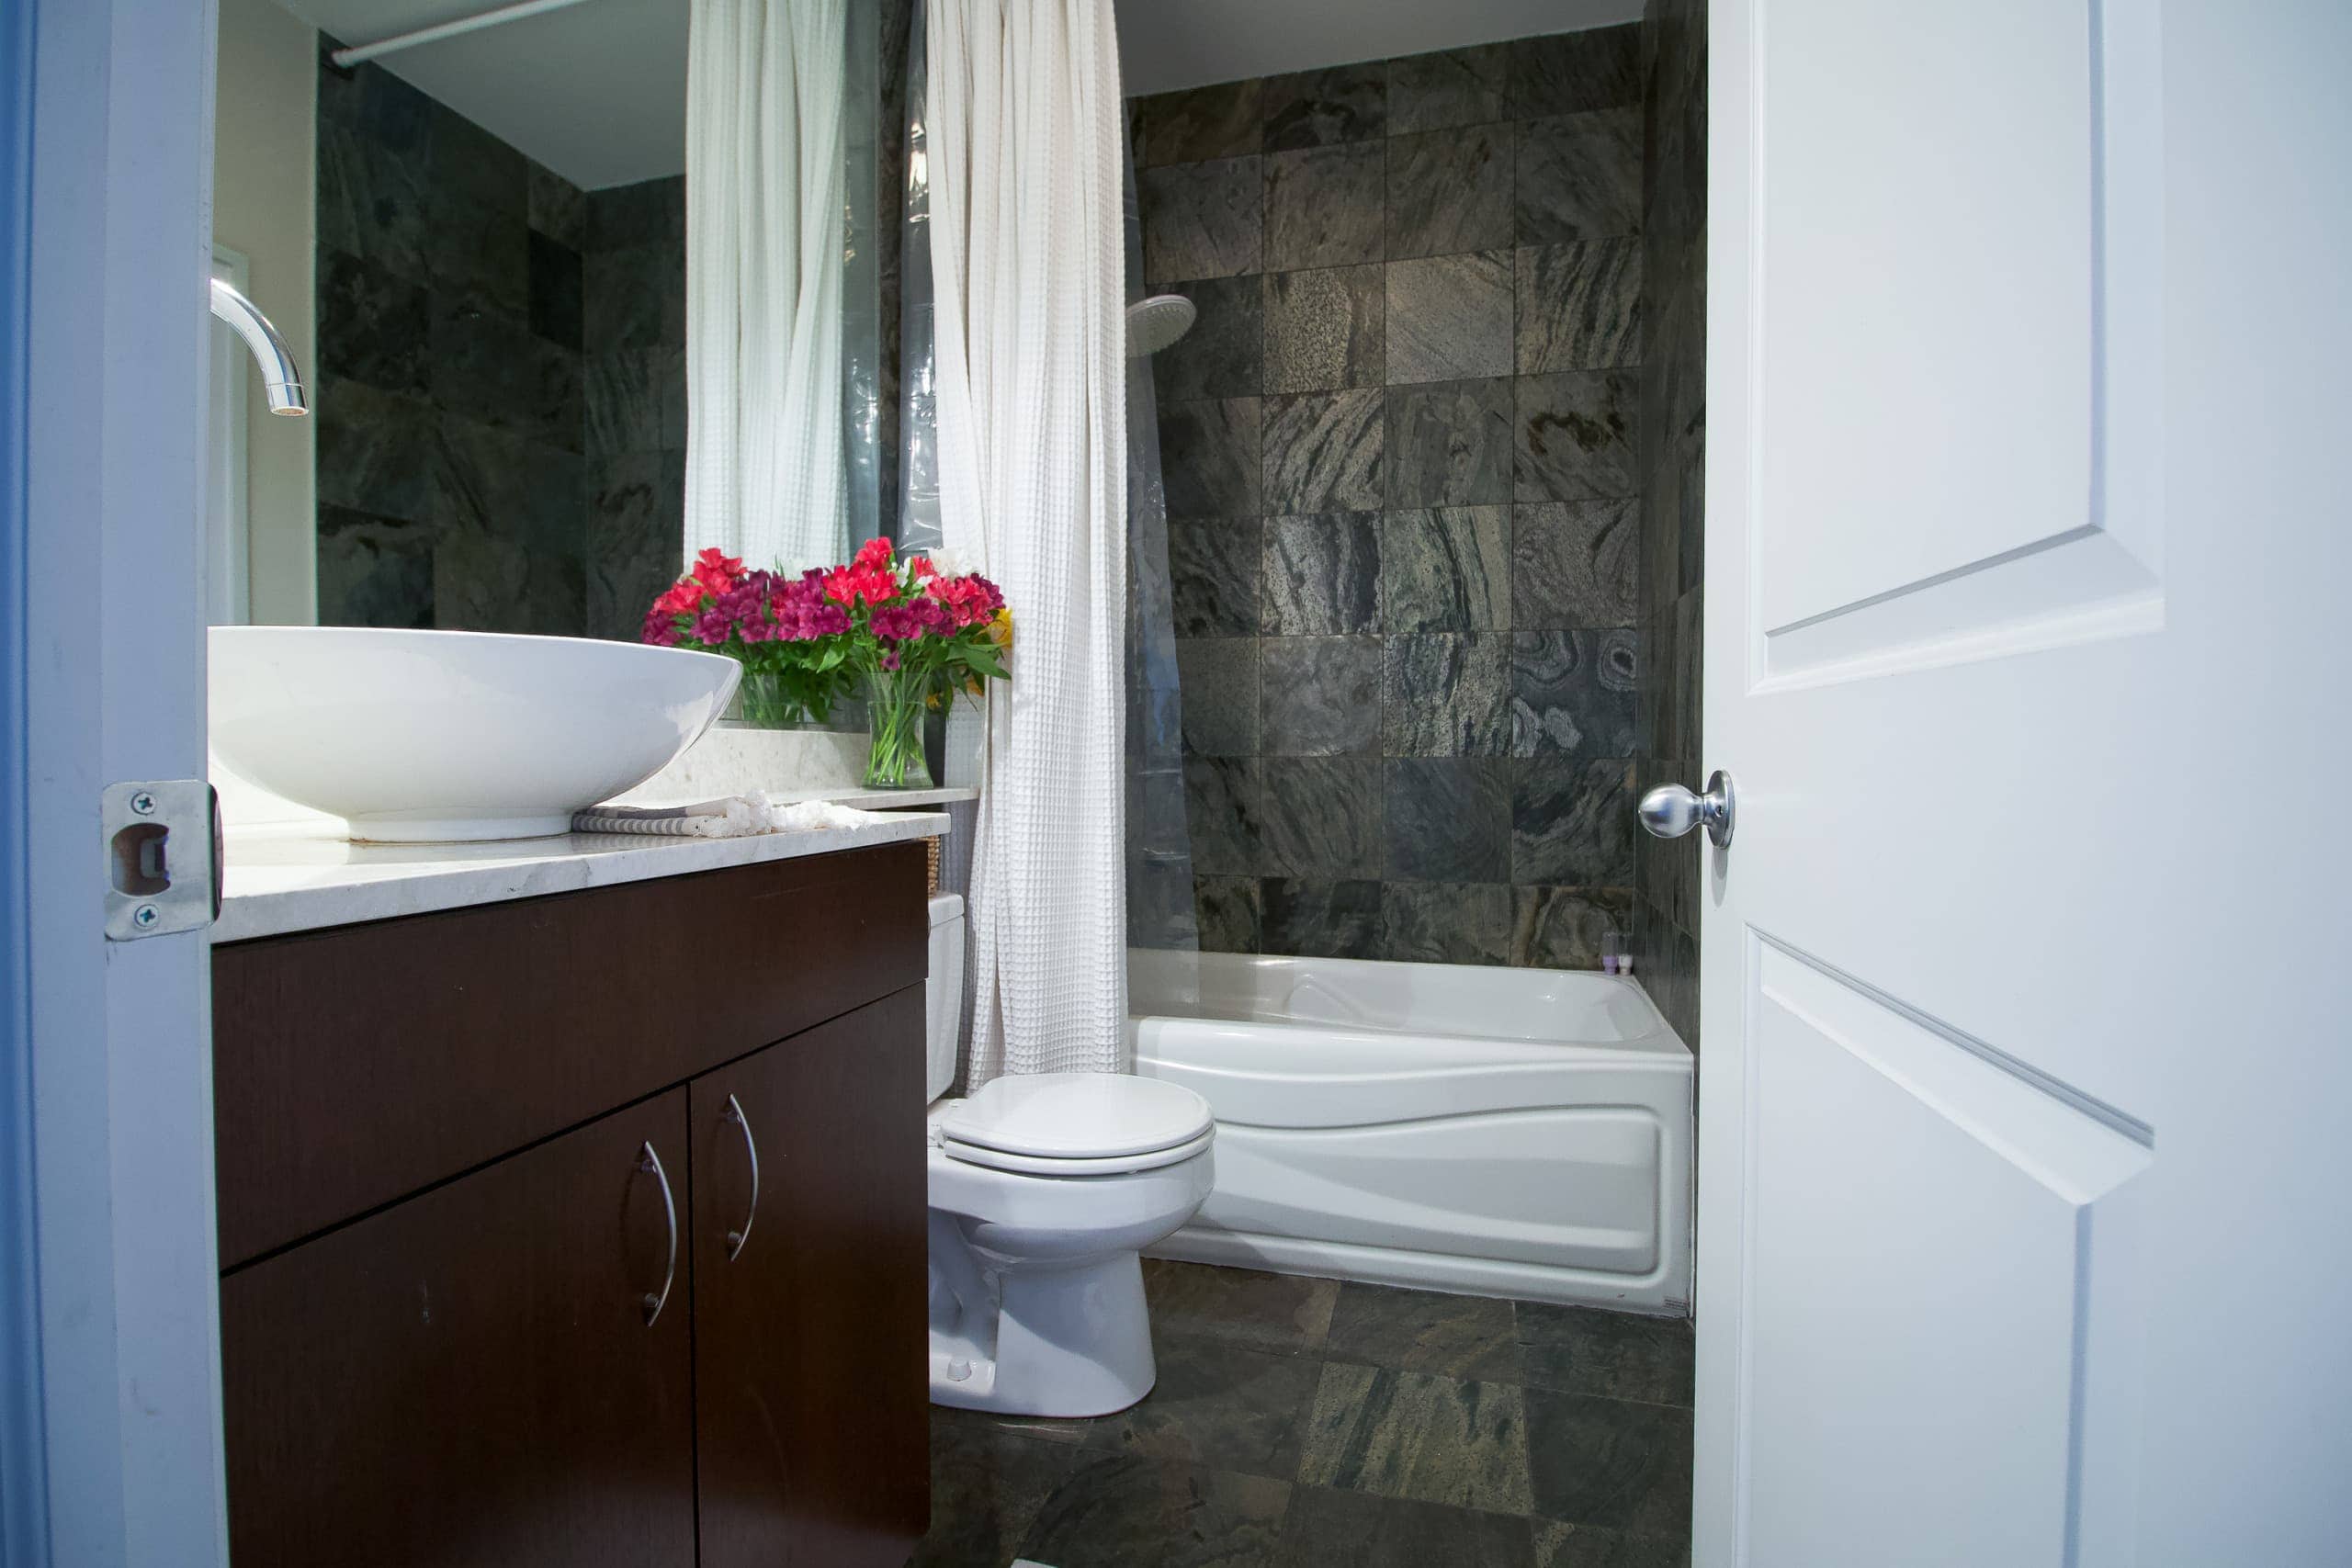
This first bathroom is near the front door and it’s a full bath with a shower/tub, toilet, and sink. It’s perfectly functional, but the style is outdated and the tile choice doesn’t work well for this small and windowless space.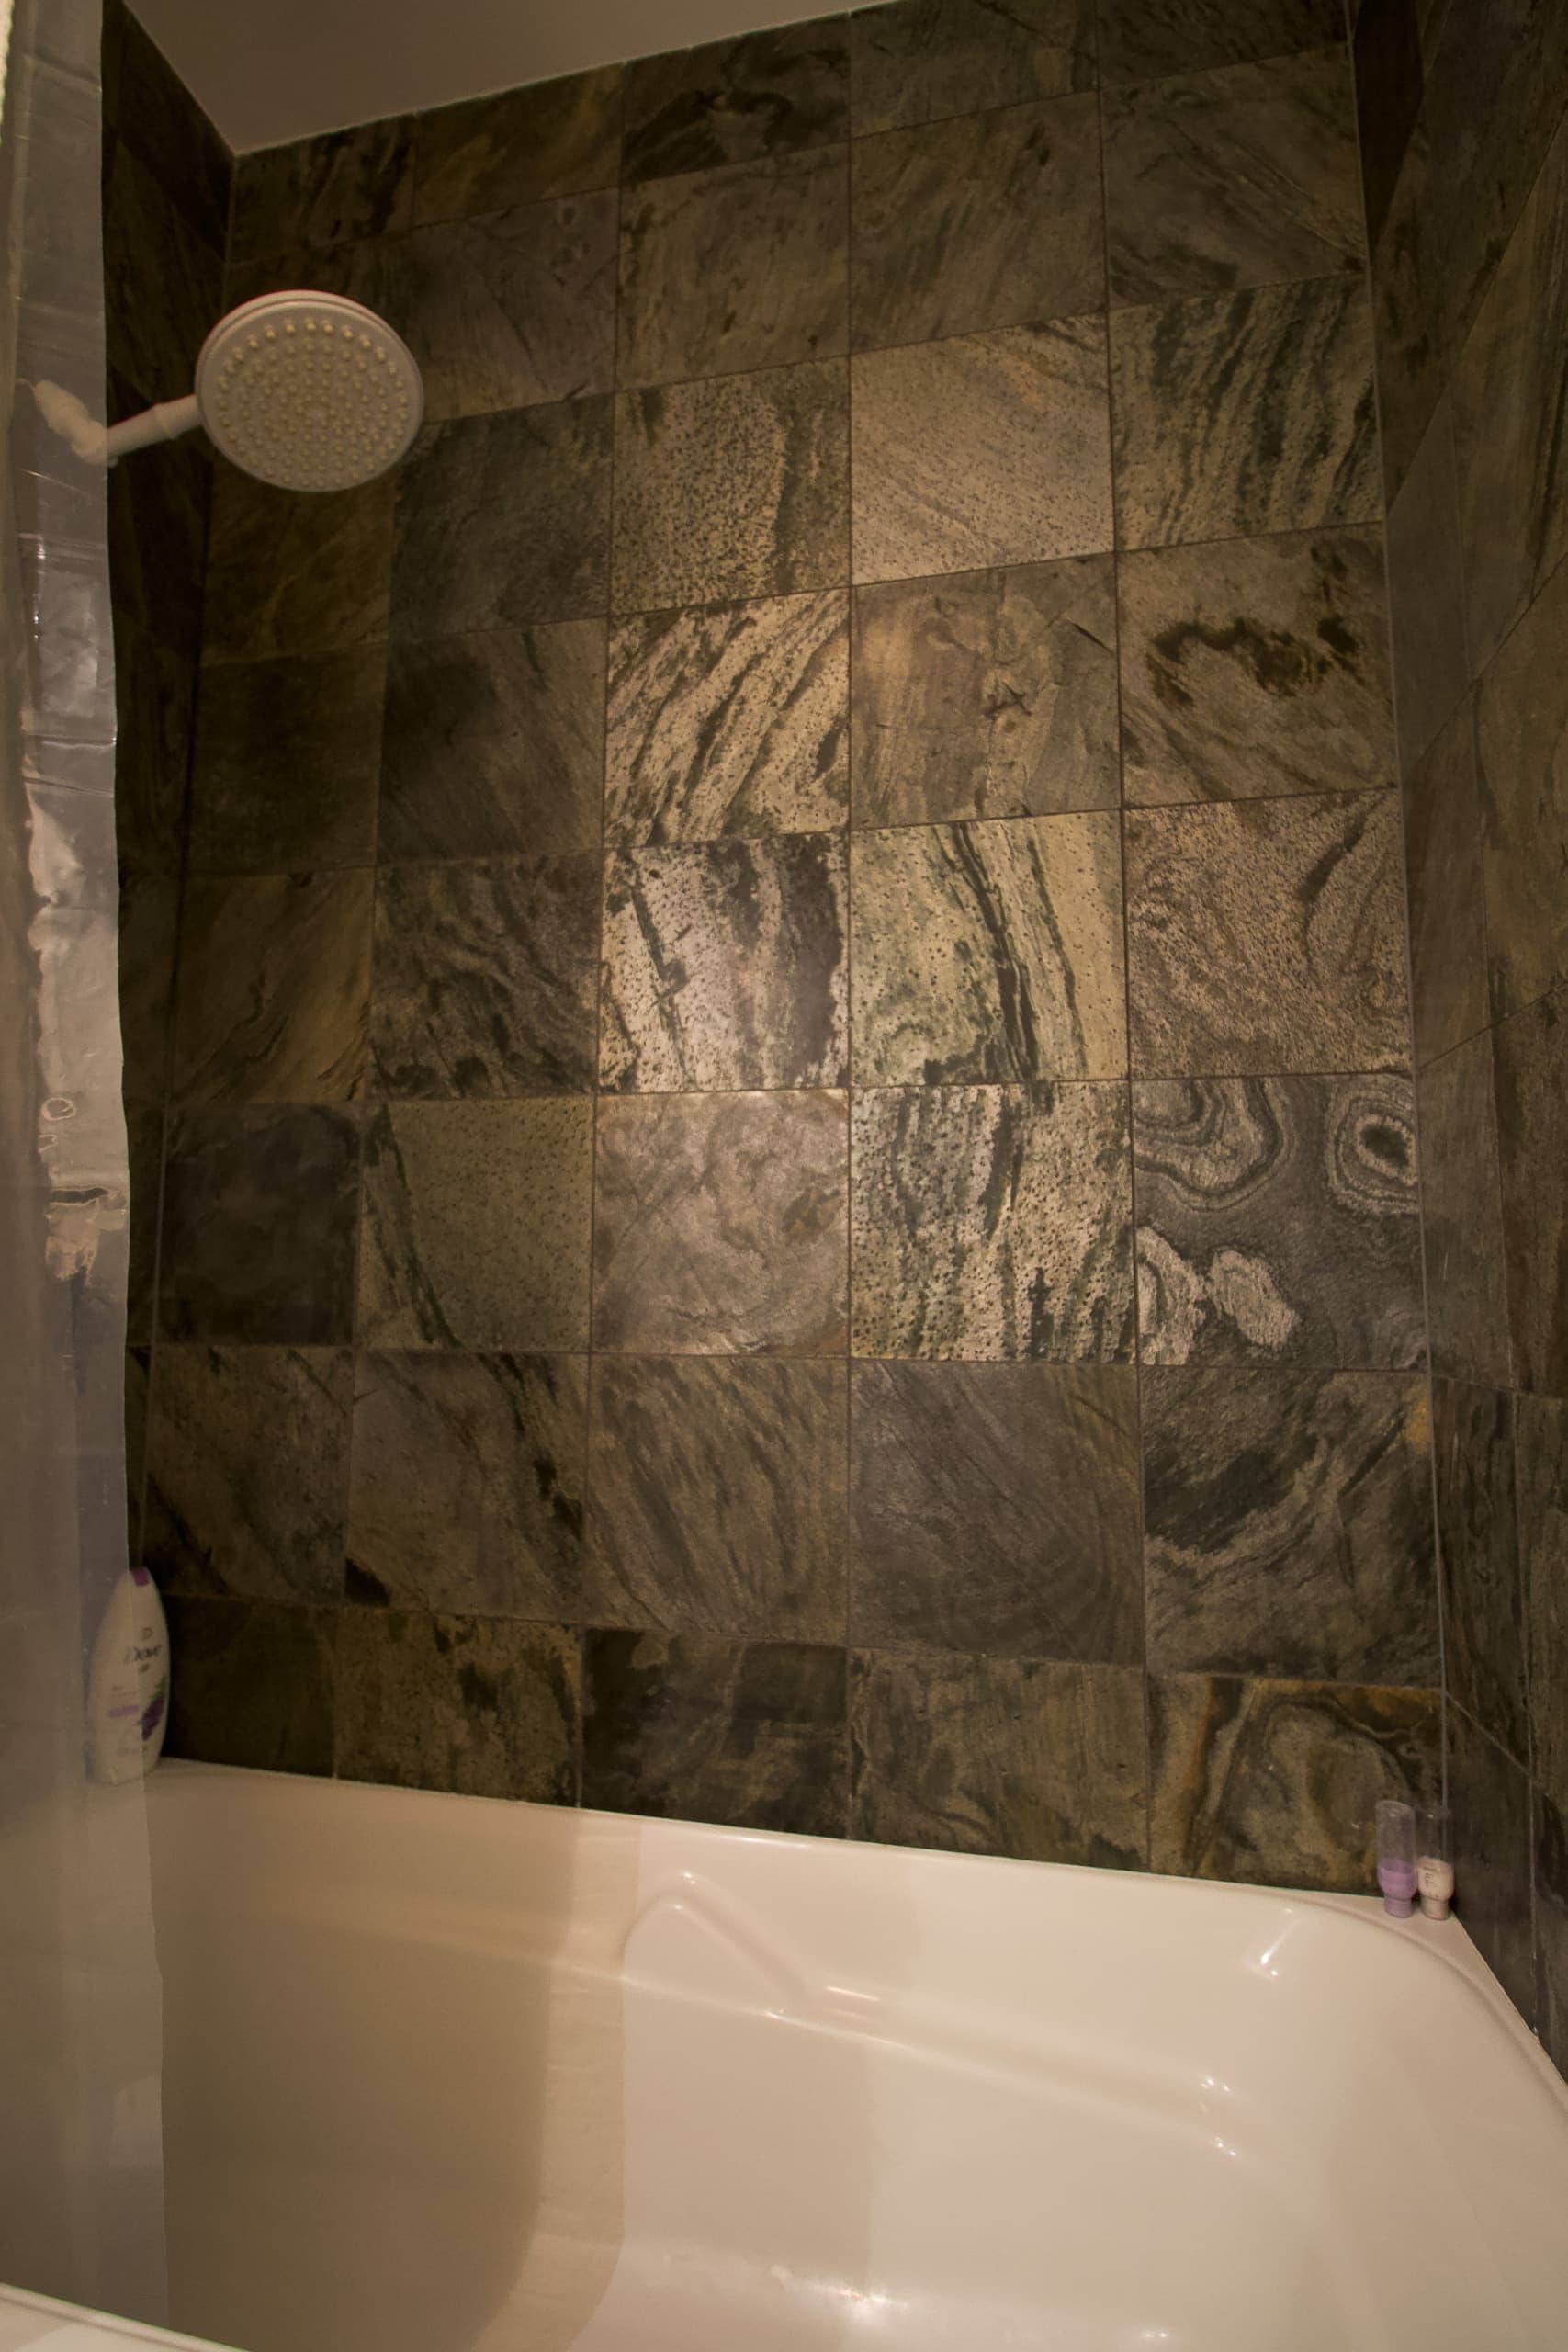
In fact, showering in this shower is super difficult because it’s so hard to see! There isn’t a light in the shower, which is so strange, and because the green tile is so dark, you can barely see when you’re washing your body. And forget trying to shave your legs! Finn and I lived at my mom’s place for three months while our house was being renovated in 2019 and we ran into this issue every day.
Besides the dark tile and the awkward lighting, she also isn’t a huge fan of the vanity and bowl sink. We actually had this same sink in our old condo, before we renovated the space, and I am not a fan of the vessel shape. It’s hard to wash your face; water gets clogged up in the sink; and it’s difficult to place anything on the sink area when you’re getting ready for the day.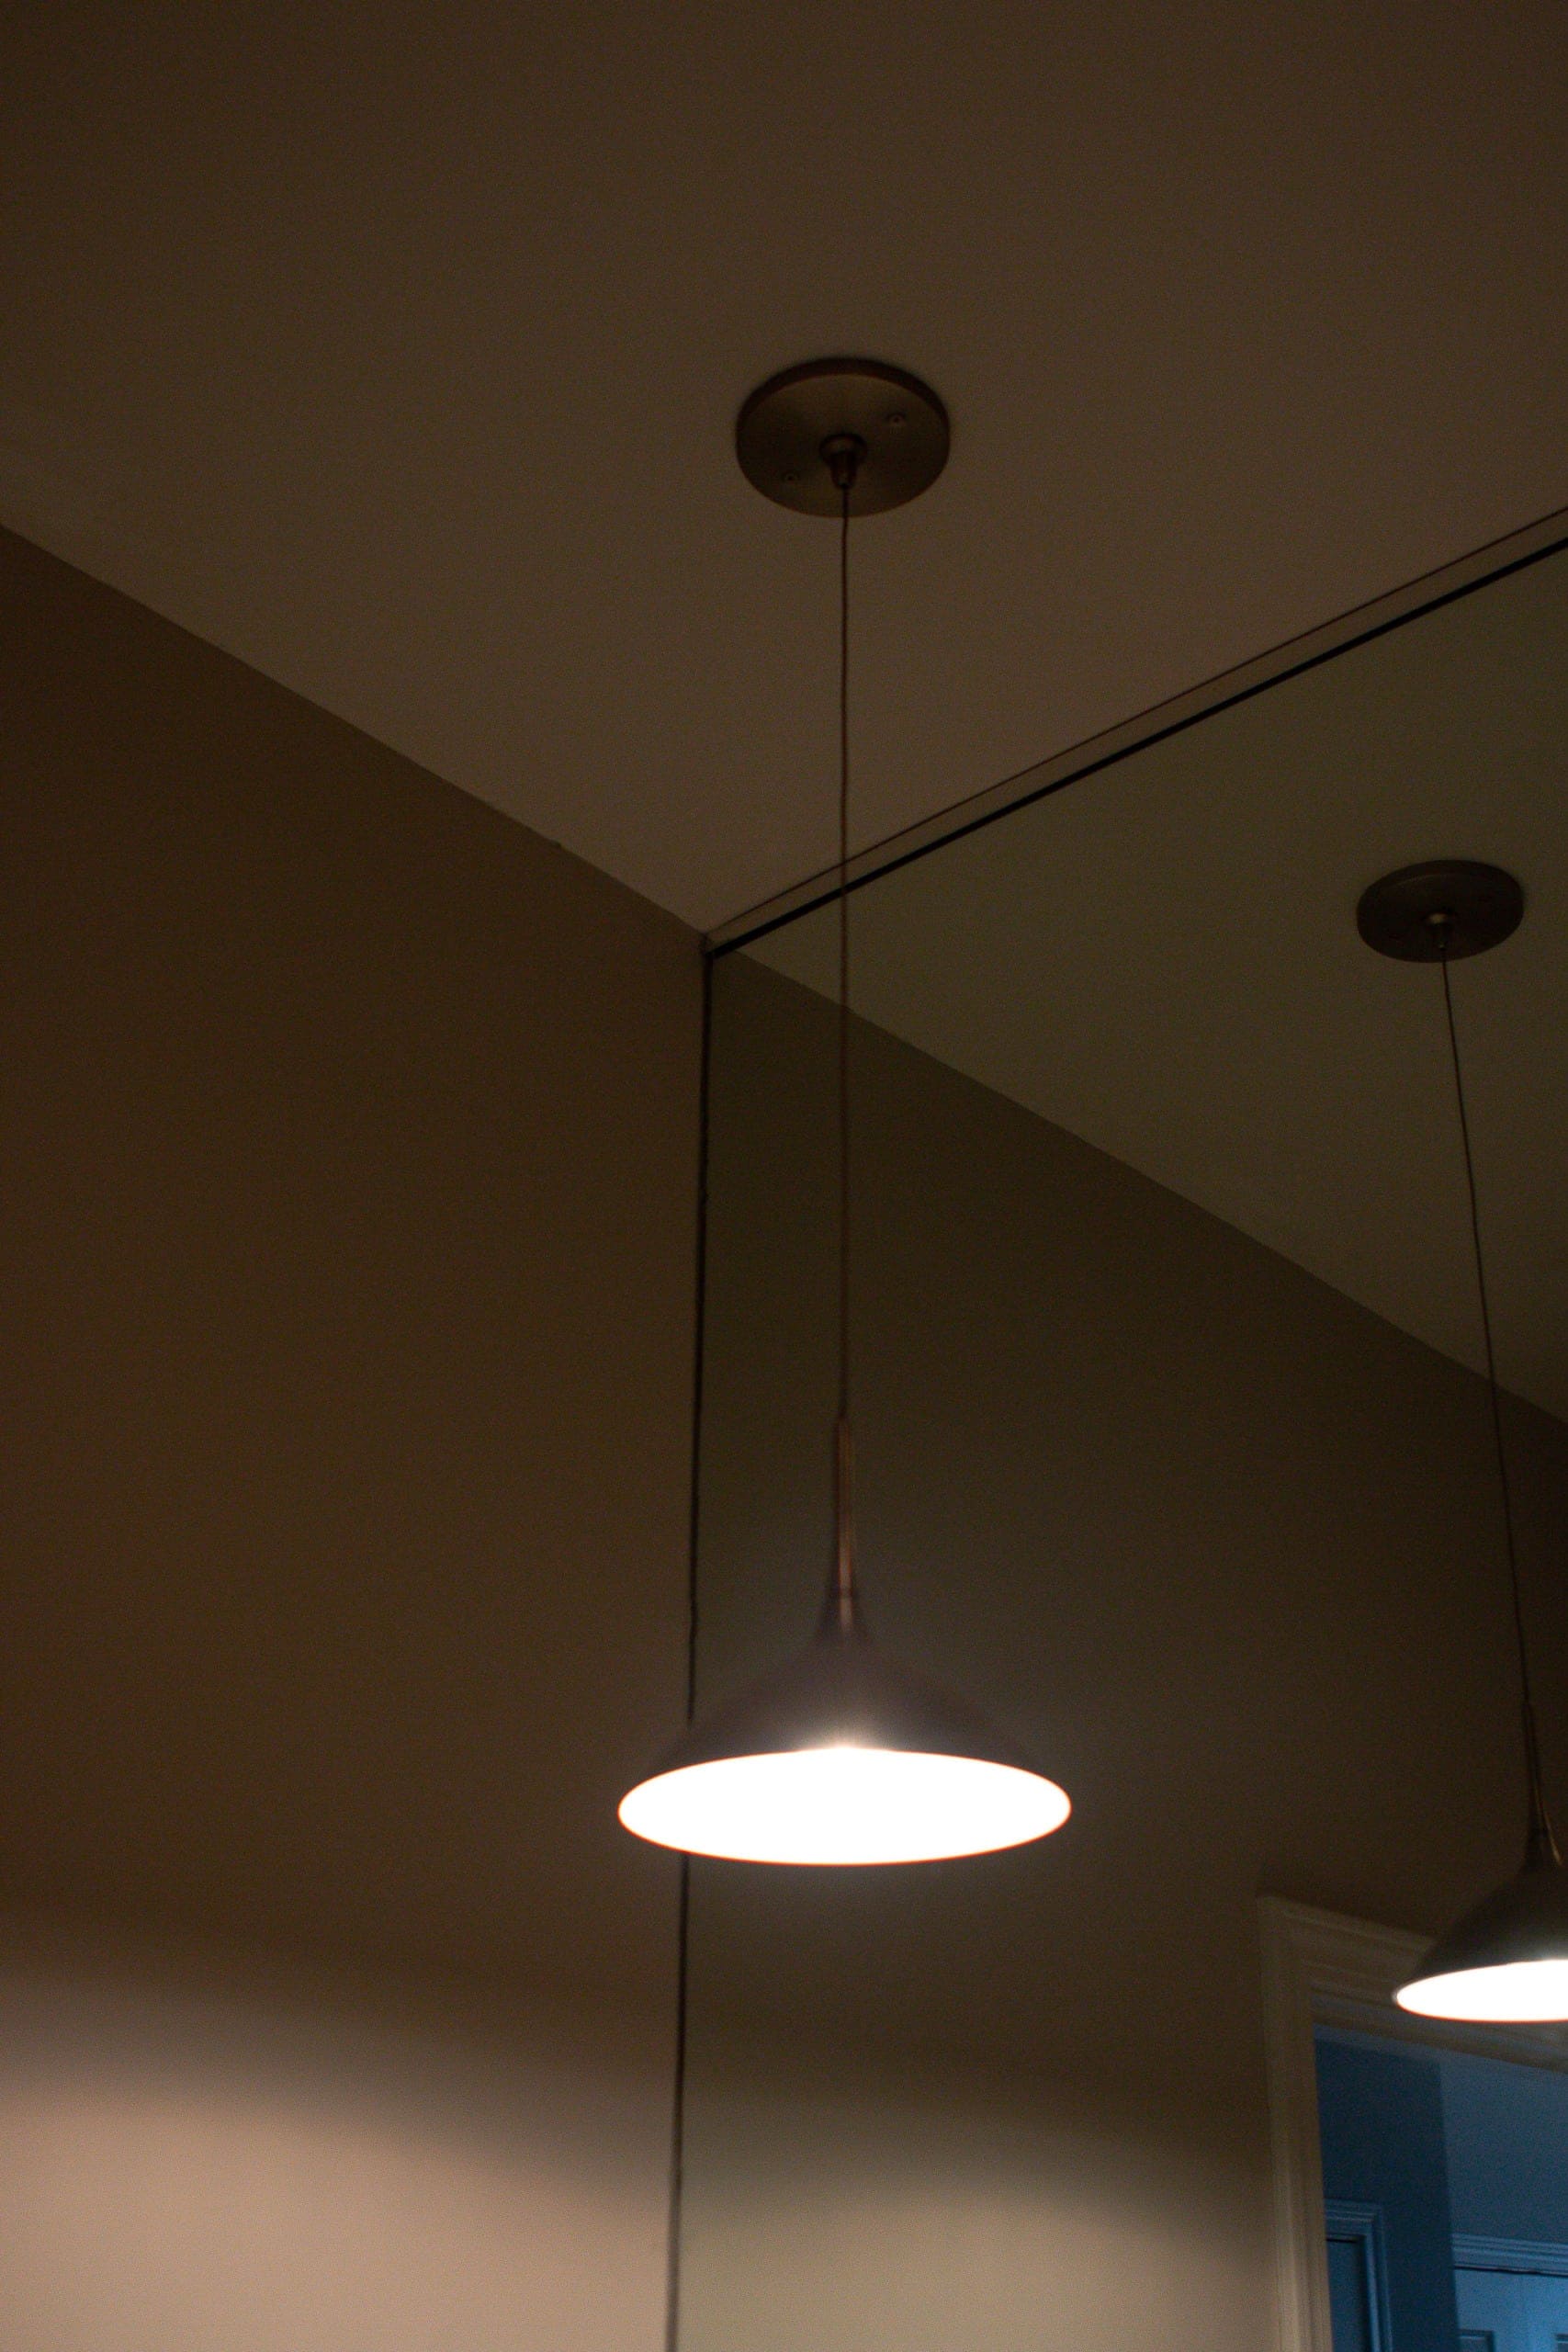
The pendant light was another bad design choice and it’s the least flattering light when you’re putting on makeup in this bathroom.  In short, this guest bathroom is ready for a new look!
Main Bathroom Before
So this bathroom has actually been on the blog before. Above is a before and after of what we did in there.
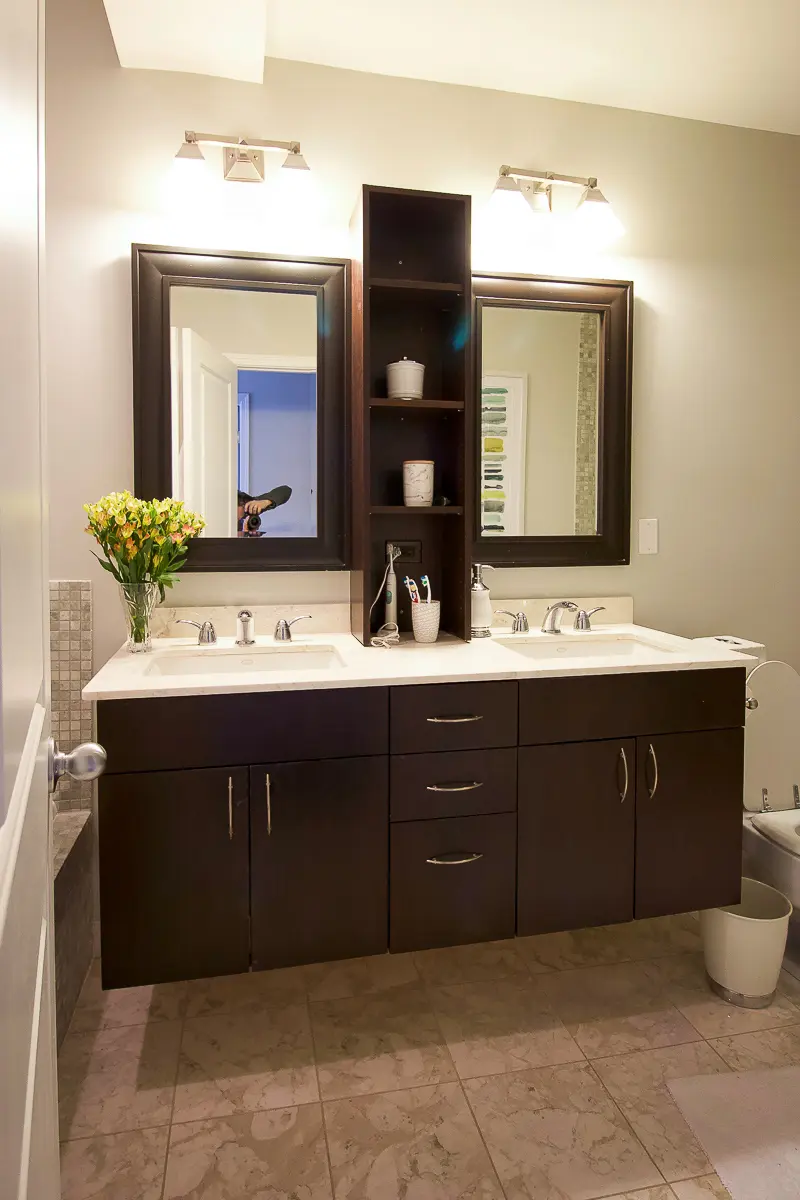
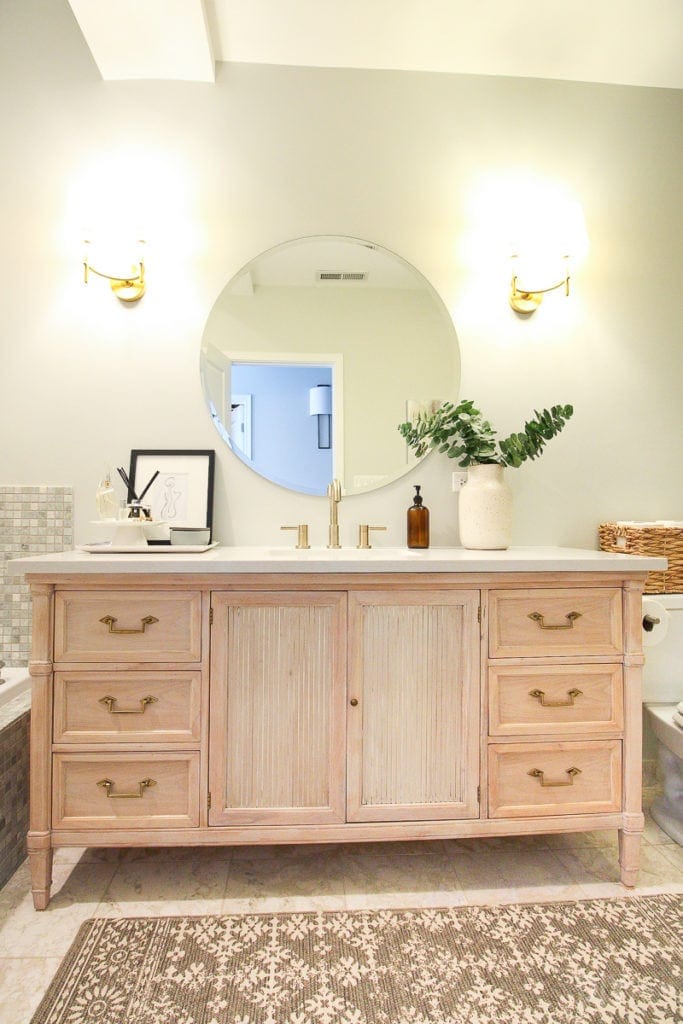
In the spring of 2019, I helped my mom swap out the builder-basic vanity and mirrors for something a little more custom. We went from a double sink to a single so she has more countertop space. I know people worry about “resale value” when moving down to a single vanity, but I fully believe in renovating a home for your lifestyle. My mom is a single lady and this works for her!
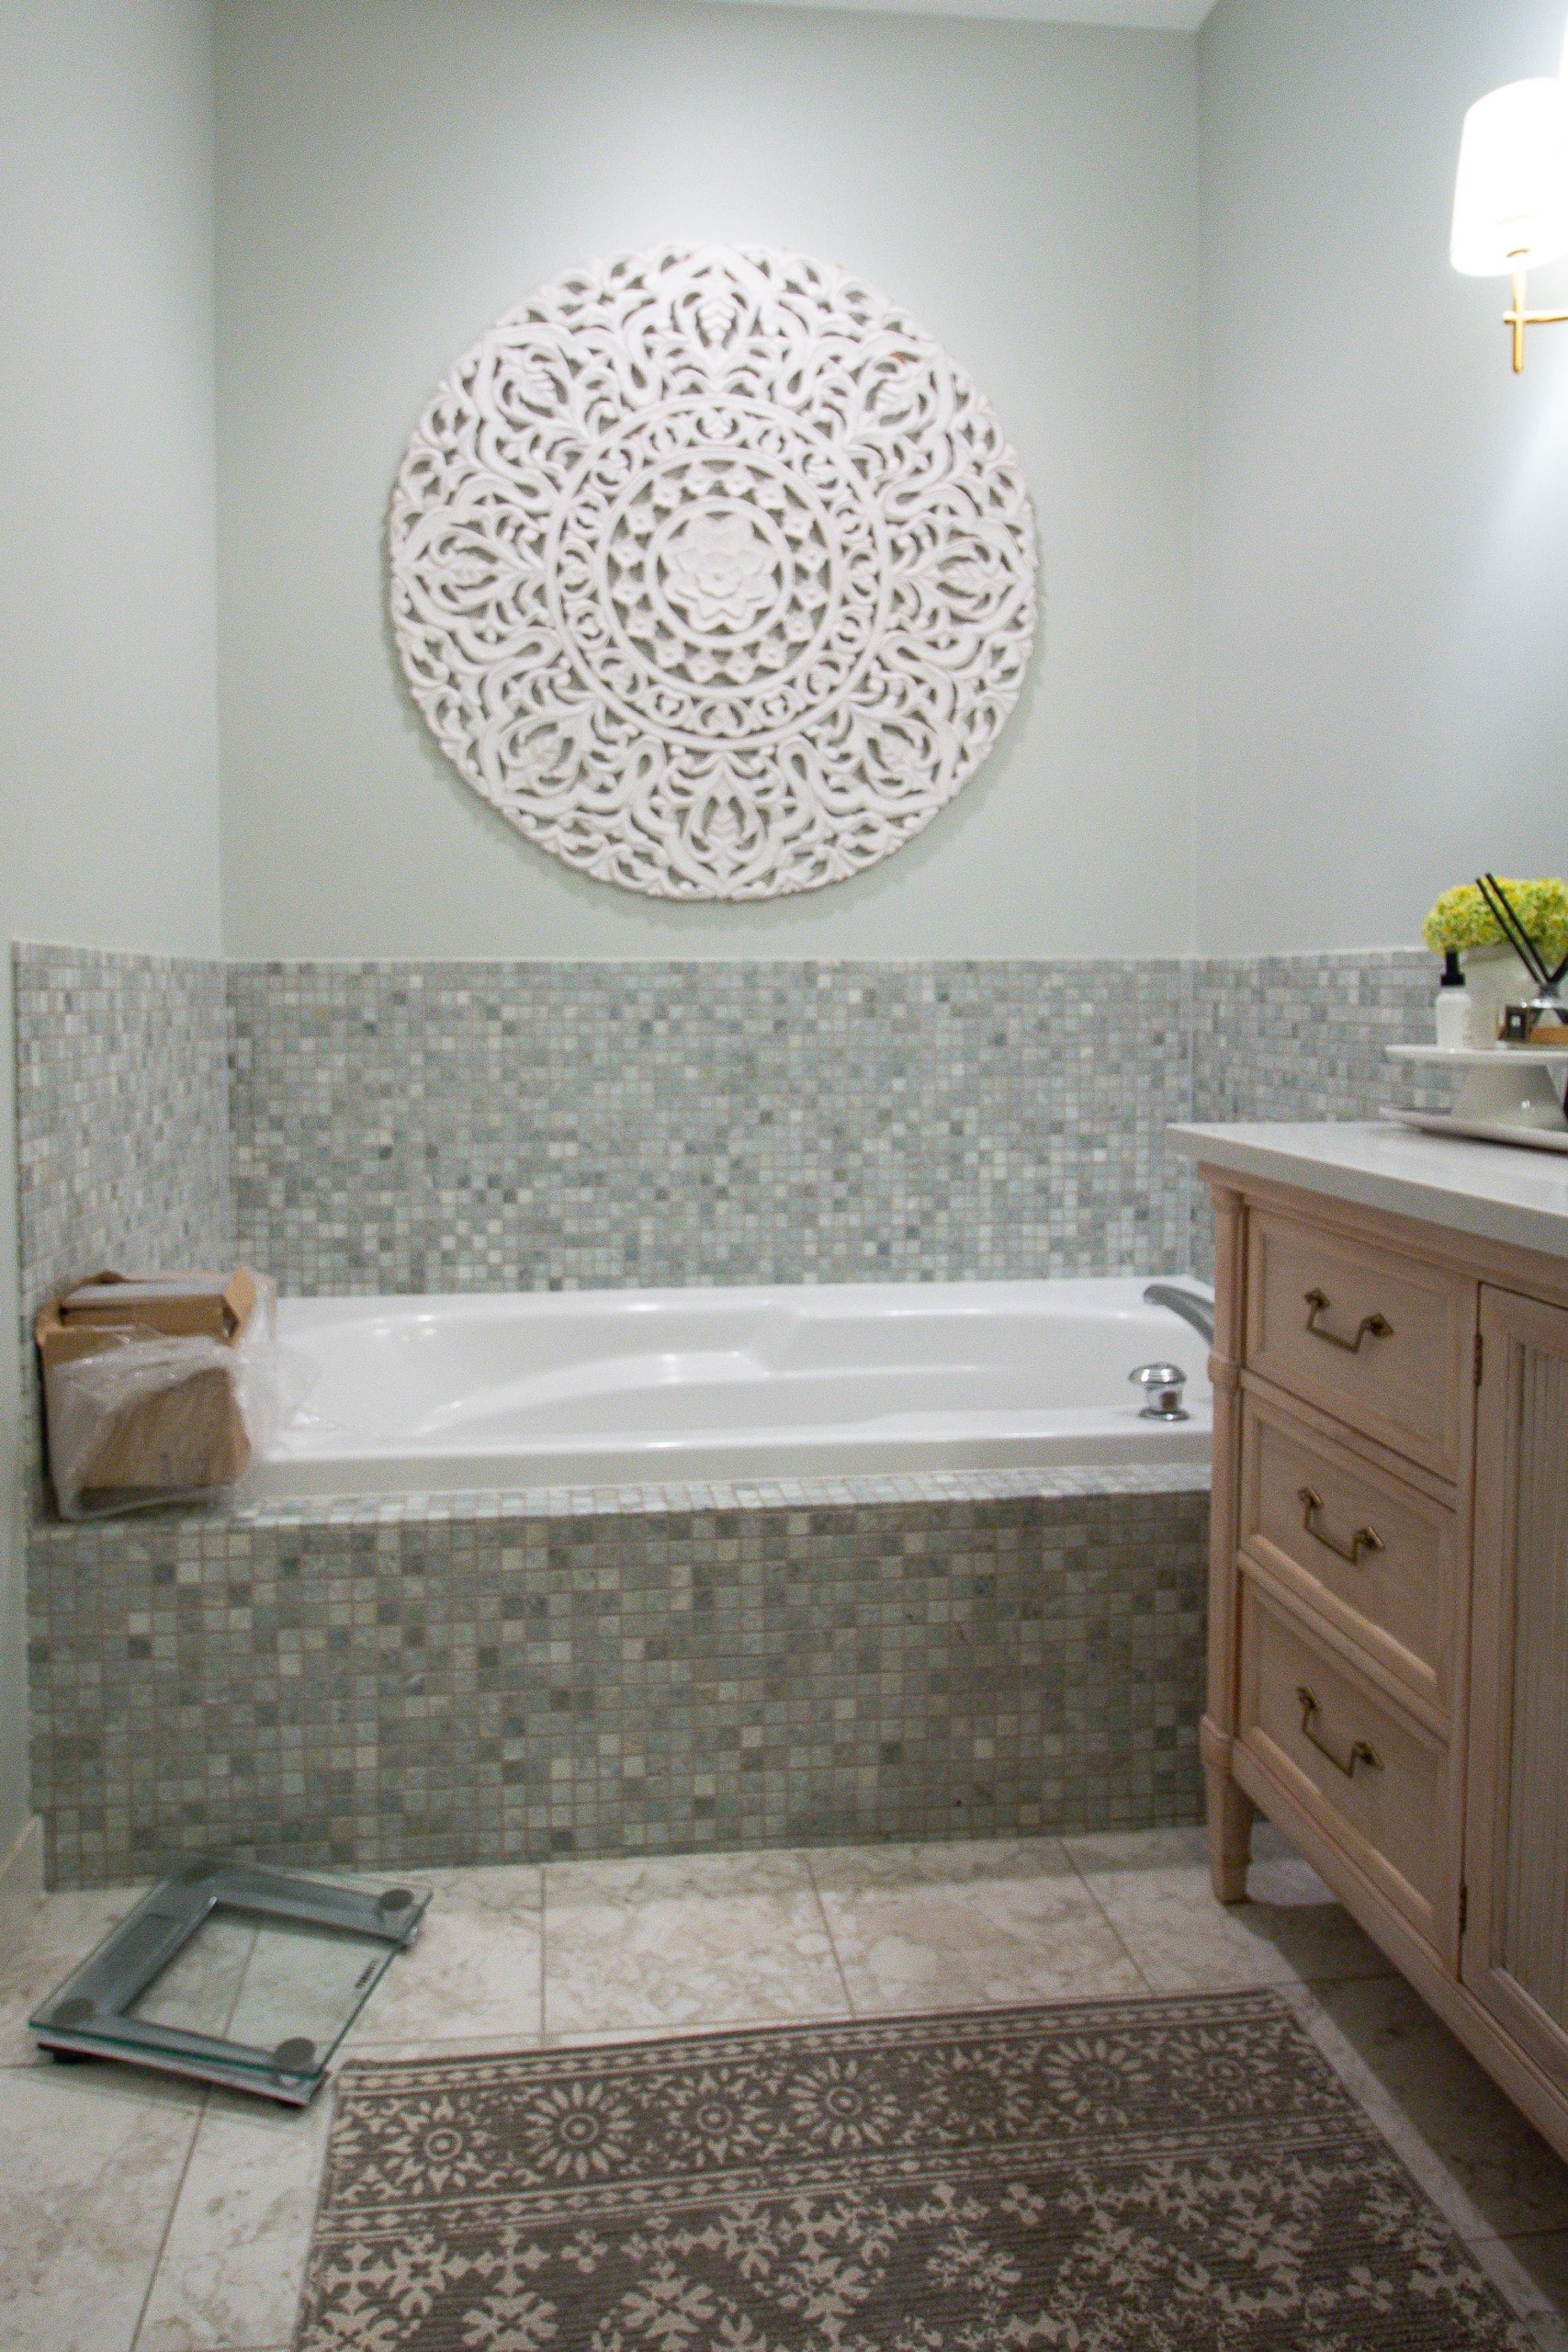
While my mom loved the upgraded look and it’s worked well for her over the past two years, the rest of the bathroom still wasn’t her style. There’s green mosaic tile in the shower and a large jacuzzi bathtub with that same tile surrounding it. Not to mention, she just never really loved the pattern on the floor tile.
I told her she might as well change it when they’re already there working on the other bathroom! I thought she should get it all done at once and she would be happy with BOTH bathrooms!
Okay, so let’s dive into the design plan for each space. My mom worked with a local designer to come up with the layout for each space. (Email me at diyplaybook@gmail.com if you’re interested in her information.) Even though we are choosing the finishes and doing all of the ordering ourselves, I find it helpful to work with a designer for kitchens and bathrooms, so they can do accurate measuring and come up with drawings to hand over to the contractor. I dive into more about the process of working with a designer in this blog post.
Guest Bathroom Layout

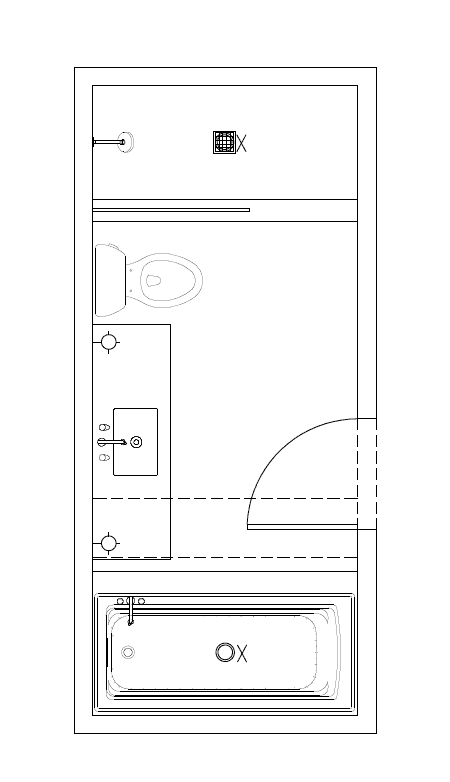
The layout of this bathroom will stay exactly the same with the placement of the vanity, toilet, and shower. Above is the existing layout. In fact, Jan plans to keep the bathtub because it’s in good shape and it’s nice to have a smaller tub for bathing the grandkids. 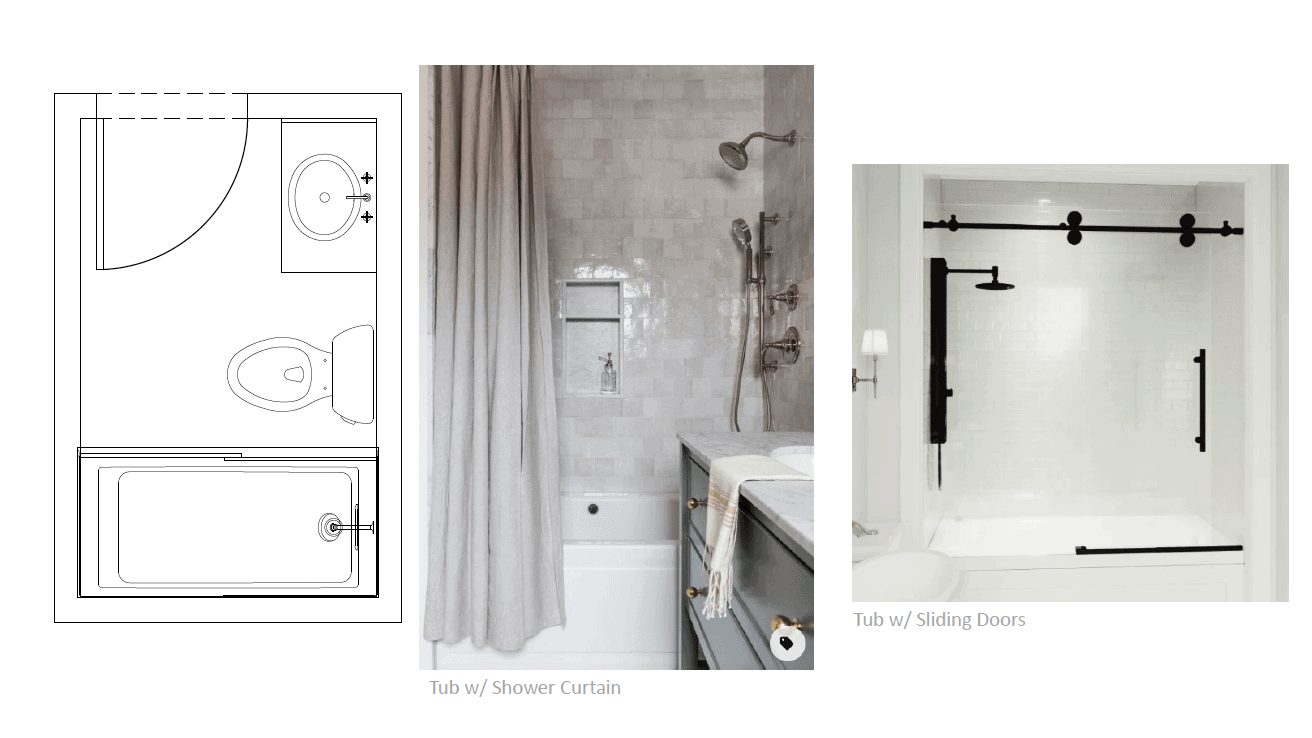
But besides the layout, everything else will be changing in here! We’ll have new floor tile, new wall tile, a new toilet, mirror, vanity light, and vanity. My mom went back and forth trying to decide whether or not to have glass shower doors versus a shower curtain and I think she decided to save some money with a shower curtain. And because the tile will be so pretty, I bet it will be open to show it off most of the time.
Guest Bathroom Mood Board
We’ve started ordering lots of the goodies for the space and here’s a little mood board of the products we picked.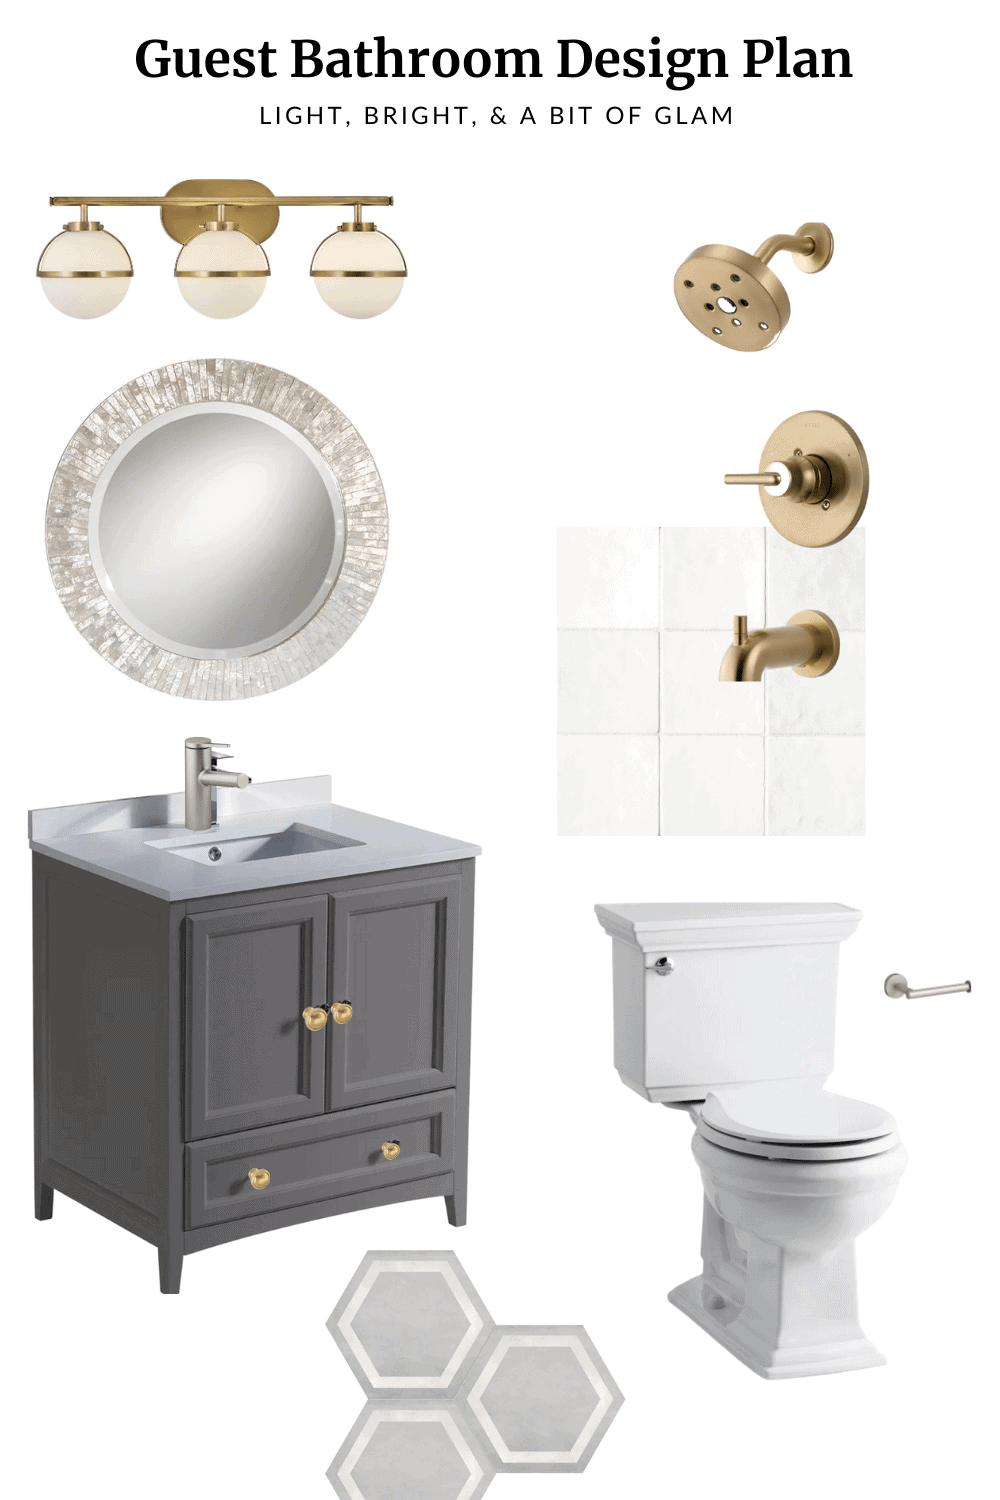
Capiz Mirror // Gray Vanity // Vanity Light // Brushed Nickel Faucet // Toilet // Shower Tile // Shower Hardware // Floor Tile // Toilet Paper Hook
My mom wanted this room to be a bit more glam than the other..so we’re going with brass shower hardware, a capiz mirror, and a pretty patterned floor tile. For the shower tile, she is going with this gorgeous white tile that is the same brand as the tile I have in our first-floor bathroom. Hers is the 5×5 size, so they’ll all be squares. We’re also mixing two metals in here…brass and brushed nickel. I always recommend mixing metals for a layered and interesting look. (More about my tips for doing just that in this blog post.)
Wall Treatment with Hooks
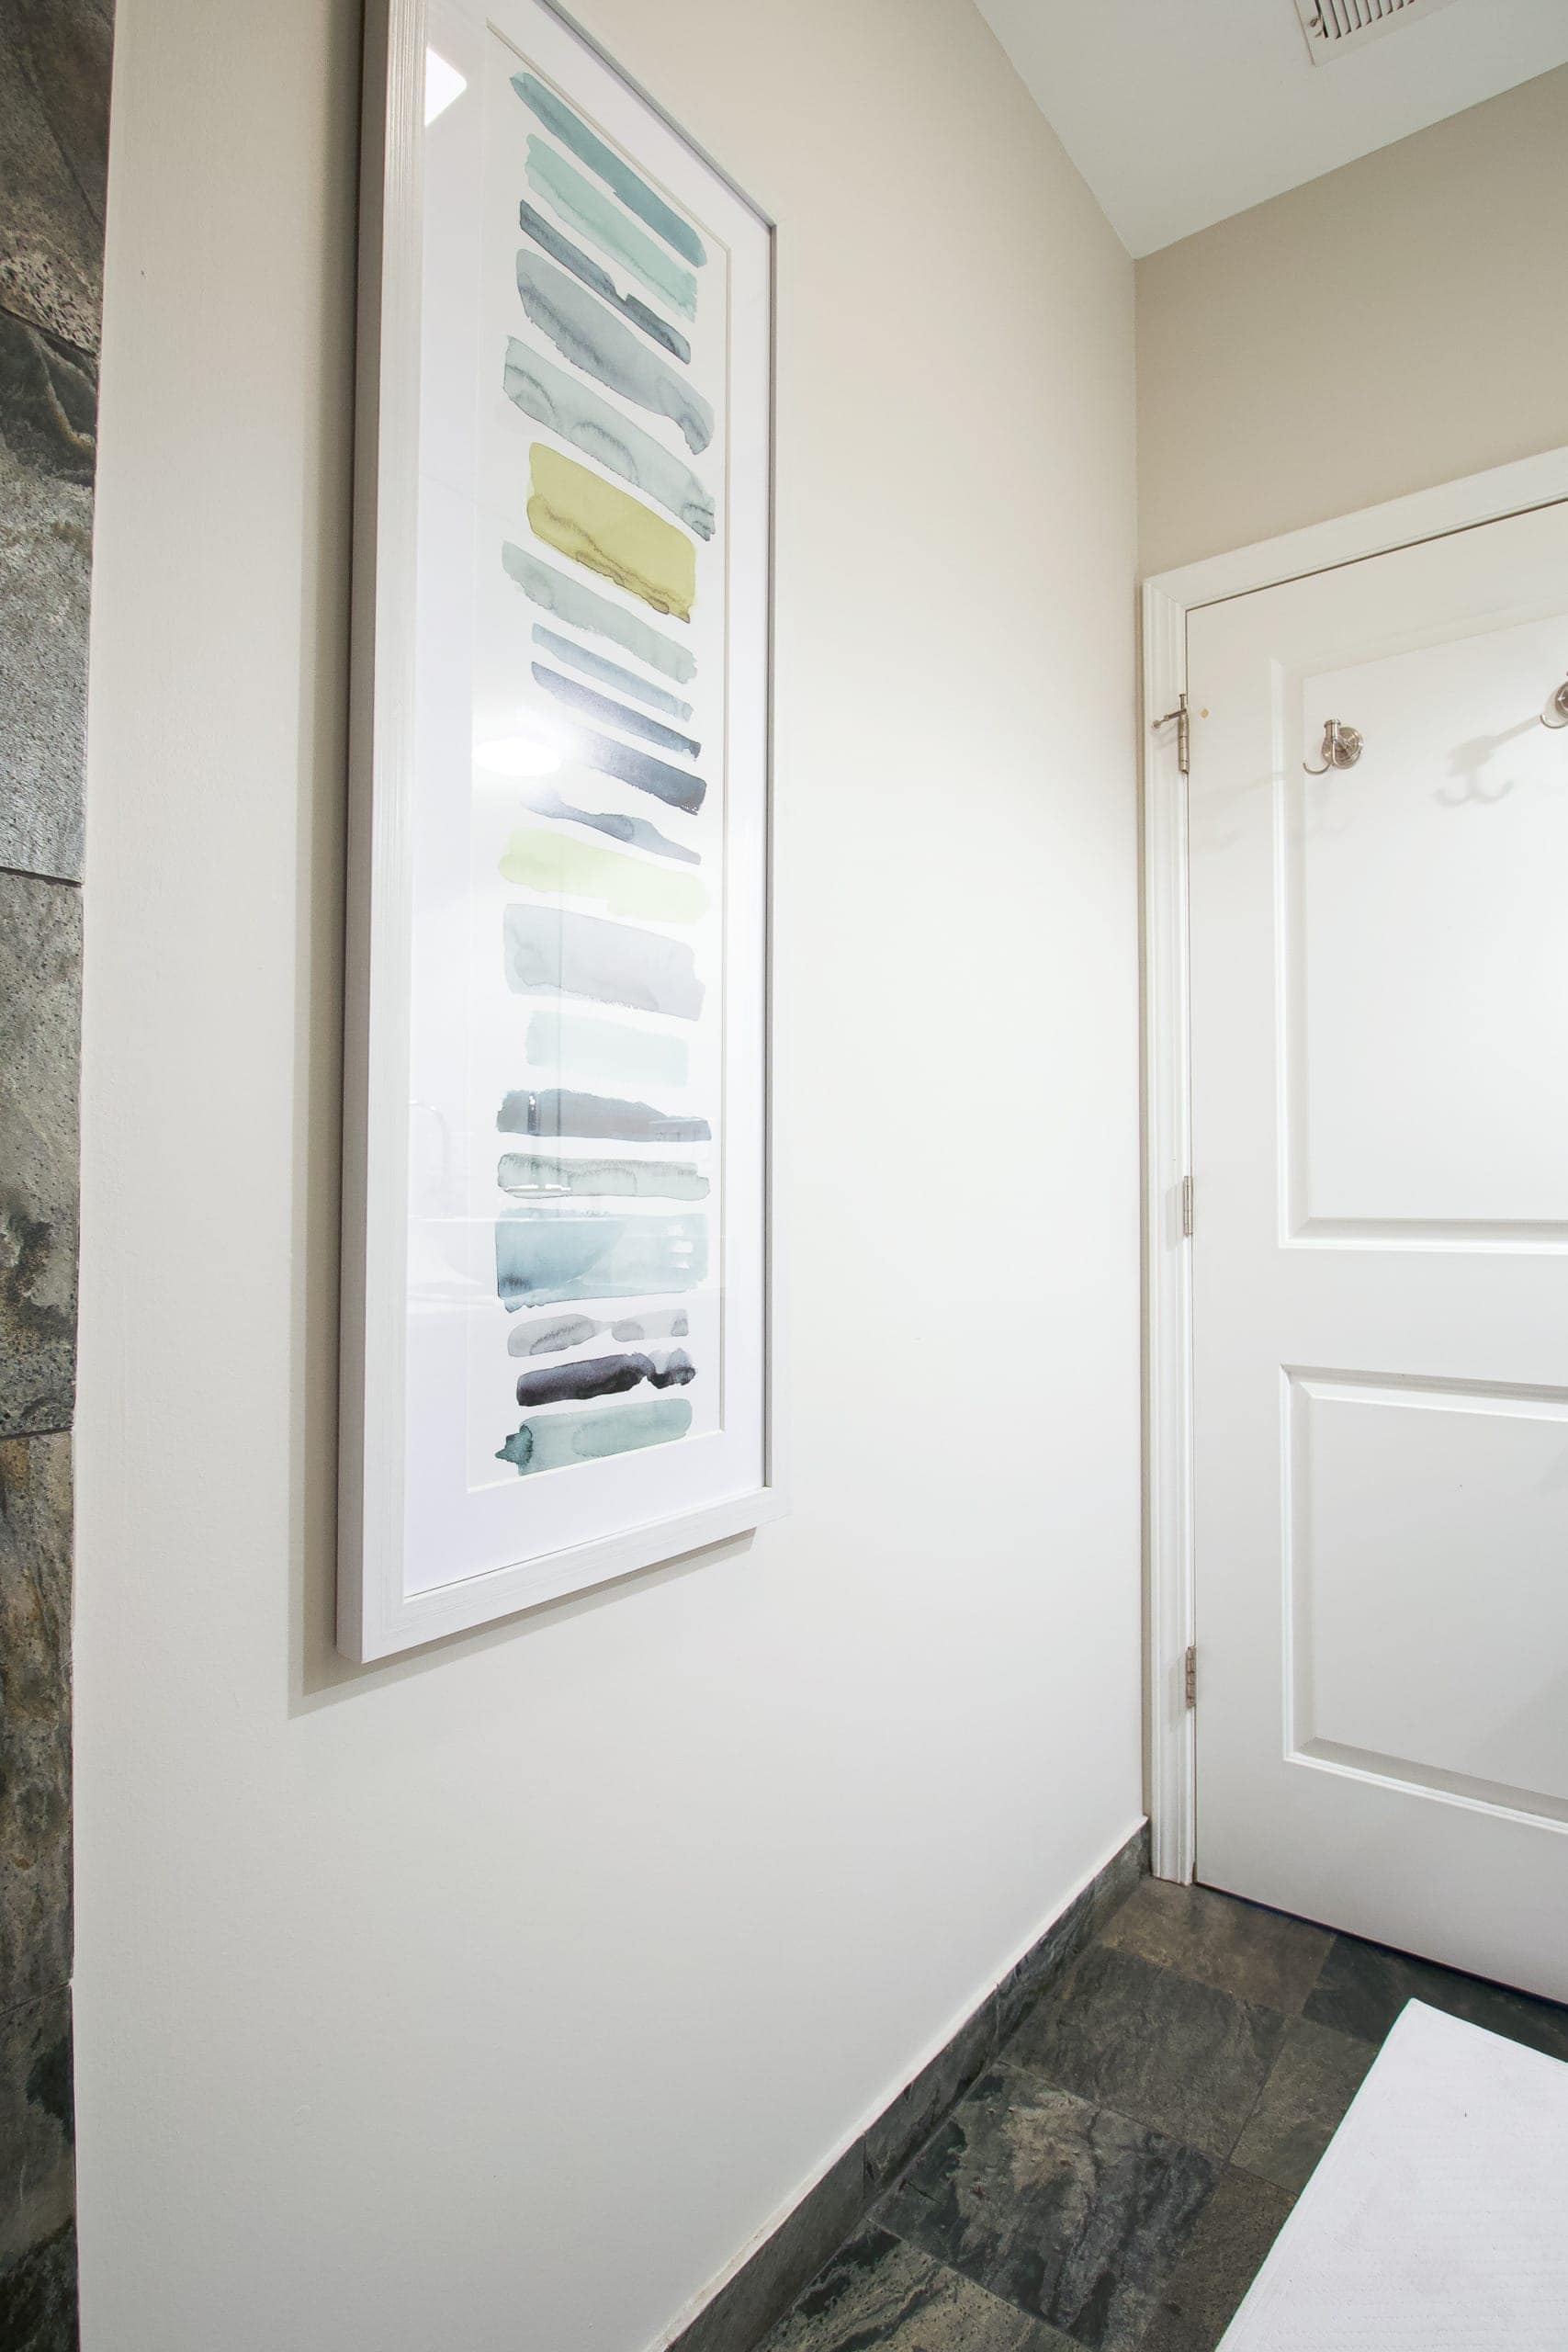
We’re also planning to take advantage of the vertical space in this room with a wood wall treatment on the wall opposite the vanity. Right now, it just has a piece of art on it, but we want to add interest and detail with paneling and some brass hooks. I think it will make the space look customized and really take things to the next level! Plus, it will be a good spot to add some color with paint.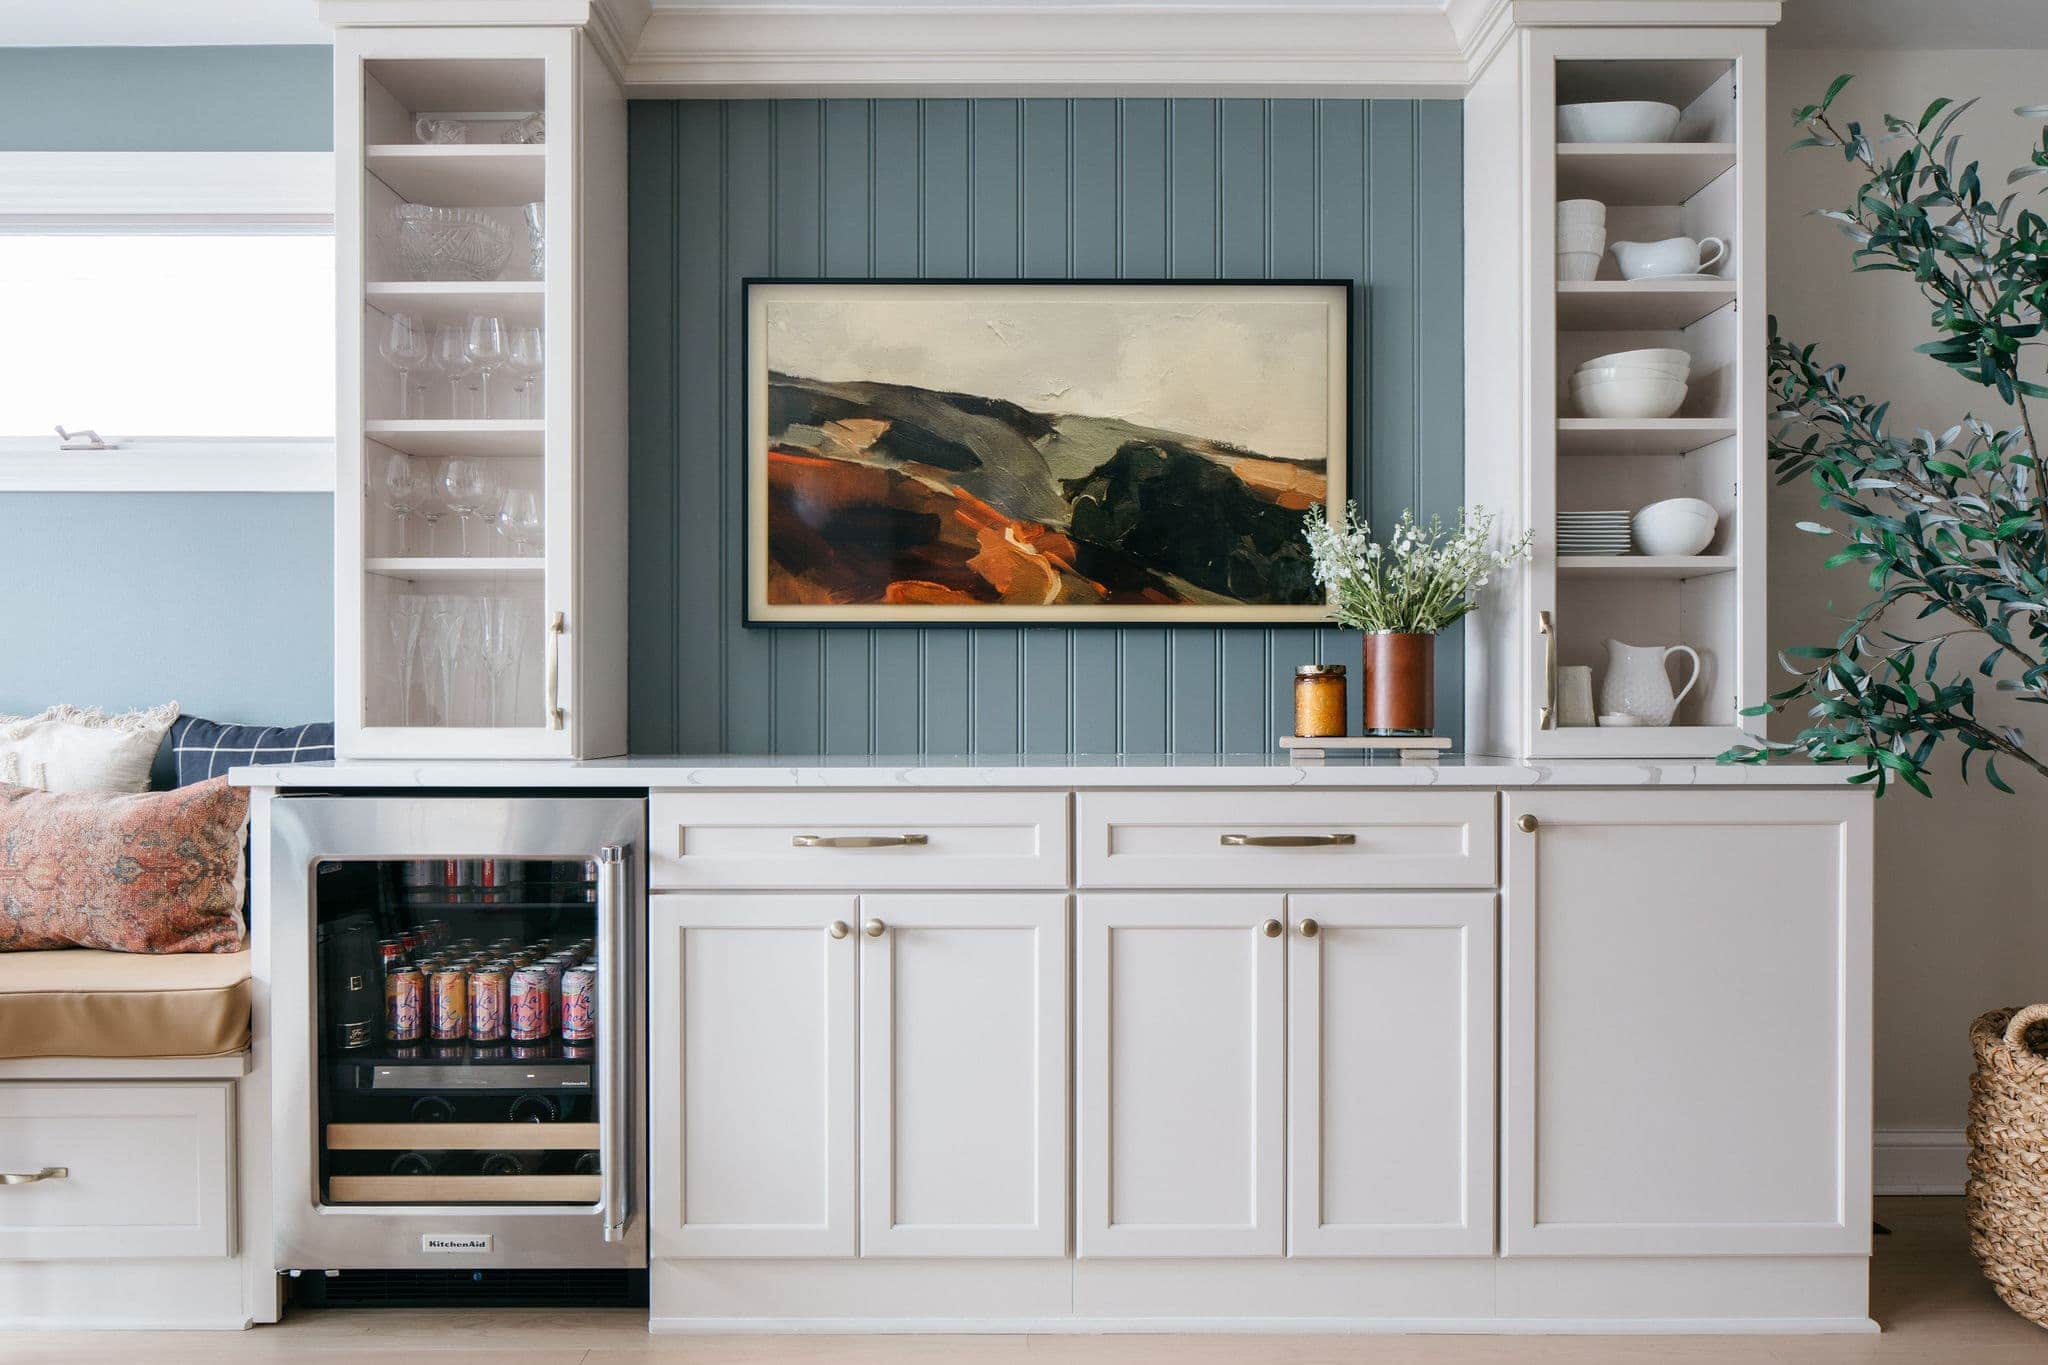
I love the idea of doing vertical beadboard (similar to what I have behind our Frame TV in our kitchen) or shiplap and then adding wood and hooks at the top for a more finished look. The inspiration photos below nail this look… 
Photo & Design via Francois et Moi

Photo & Design via Angela Rose Home
I’m not totally sure what color we will paint the shiplap in the end. I always like to see the other elements come together before choosing paint colors.
Main Bathroom Layout
Here’s an overhead look at the existing main bathroom layout. For the most part, everything is staying in the same spot. We won’t be touching the vanity/mirror/sconces since those are all new and still look great. 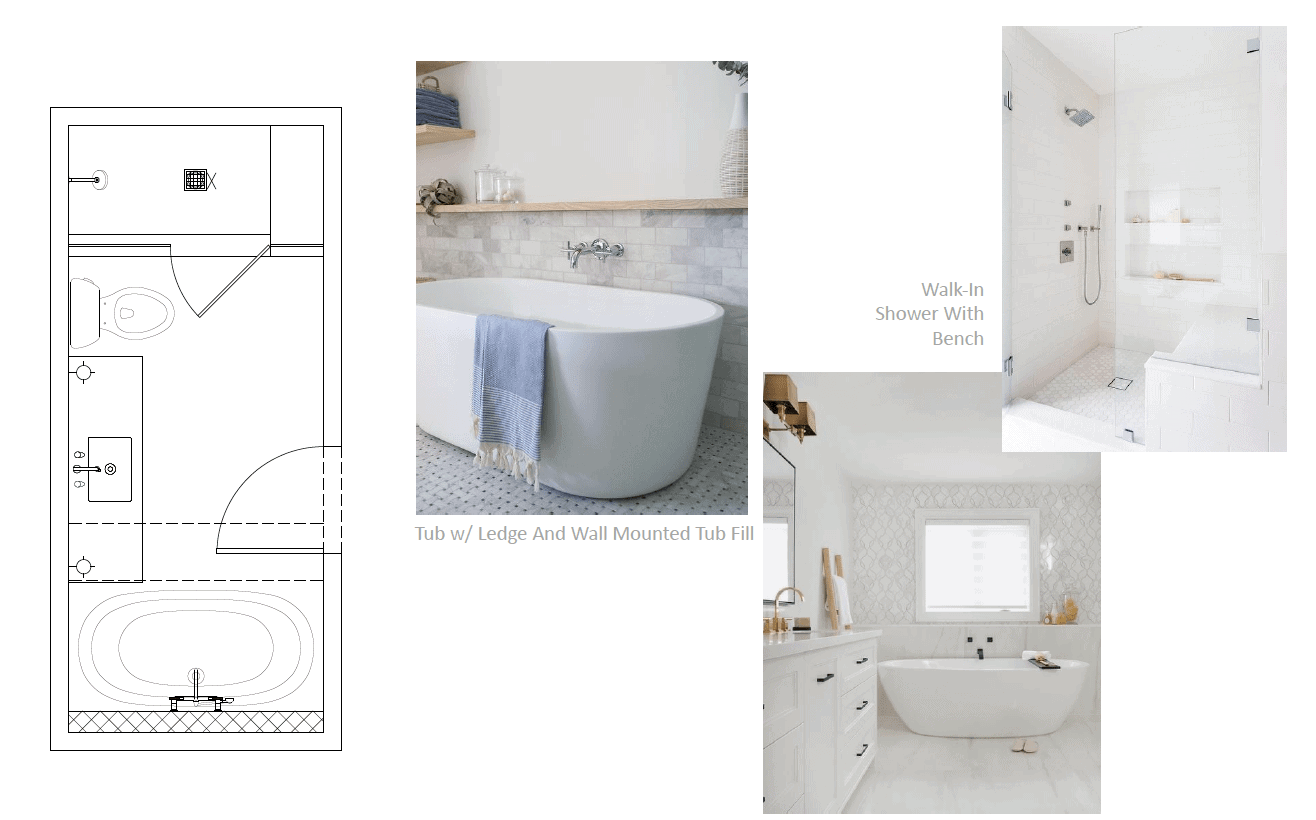
Let’s first discuss the bathtub area. We’re ripping out the jacuzzi and replacing it with a freestanding tub! I mean, how freakin’ cool is that going to be?! We’ll also do tile up the walls, with a wood ledge to match the color of the vanity, and a wall-mounted tub fill below it. I think it will look insanely gorgeous, especially with a big chandelier above!
As for the shower, the layout will remain similar to the way it is now, but we’ll have all new floor and wall tile, plus a shower niche to hide her shampoo bottles and washes. Jan is also planning to put a bench on the far right side with the shower controls above it. That way she won’t have to walk all the way into the shower to turn it on and get the water hot! Our contractor actually suggested that and it’s a genius idea.
Main Bathroom Mood Board
With the layout planned, we got to ordering new items for the main bathroom. Here’s where we landed…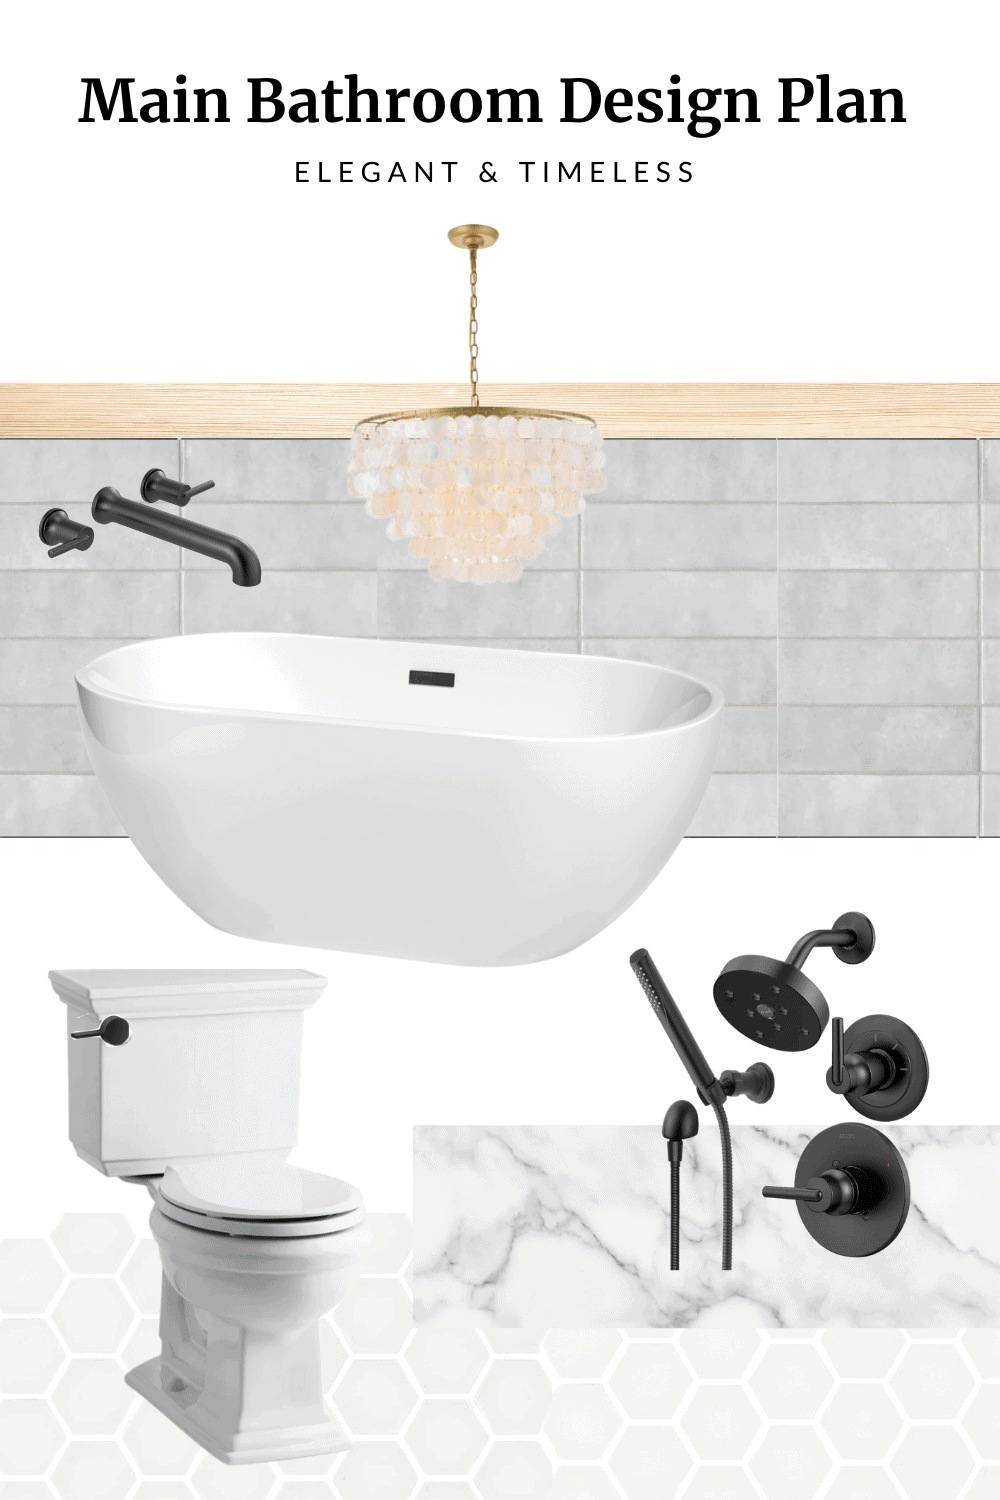
Gray Wall Tile // Floor Tile // Freestanding Tub // Bath Filler // Chandelier // Shower Hardware // Toilet // Black Toilet Lever
The wall tile is the exact same Cloe tile I have in my first-floor bathroom, except it’s gray! My mom always loved that tile, especially how each one is a little different so it’s anything but boring. That tile will go all the way around the room, around the vanity, freestanding tub, and into the shower. For the floor tile, she wanted to keep it simple and opted for this white tile. Jan will also have a marble bench and transition piece from the floor to the shower.
In this bathroom, we’re going with two metals again but we’re using brass and black. This gorgeous capiz chandelier will tie in with the capiz mirror from the other bathroom and it will look stunning over the freestanding tub. We already have the brass sconces in here, so it will tie in nicely with those.
The Timeline
The contractors are set to start demo in a couple of weeks and they say it should take about two to three weeks total, to finish both bathrooms. Since my mom will be without two bathrooms, her plan is to house crash with each of her kids during the renovation. It should be fun for her to have a little visit with all of us! We’re excited about sleepovers with Grama.
I’ll be sure to keep you guys posted as they start working on the space and hopefully, I’ll have the big reveal ready for you by June. I can’t wait to show off these gorgeous spaces.
Jan’s Condo Blog Posts

If you want more details about any of the spaces in her home, check out these blog posts below.
- Full Home Tour
- Full Home Tour – Video
- Christmas Home Tour
- Main Bedroom
- Main Bedroom Built-Ins
- Installing Bedroom Window Treatments
- Hallway Gallery Wall
- Entryway Details
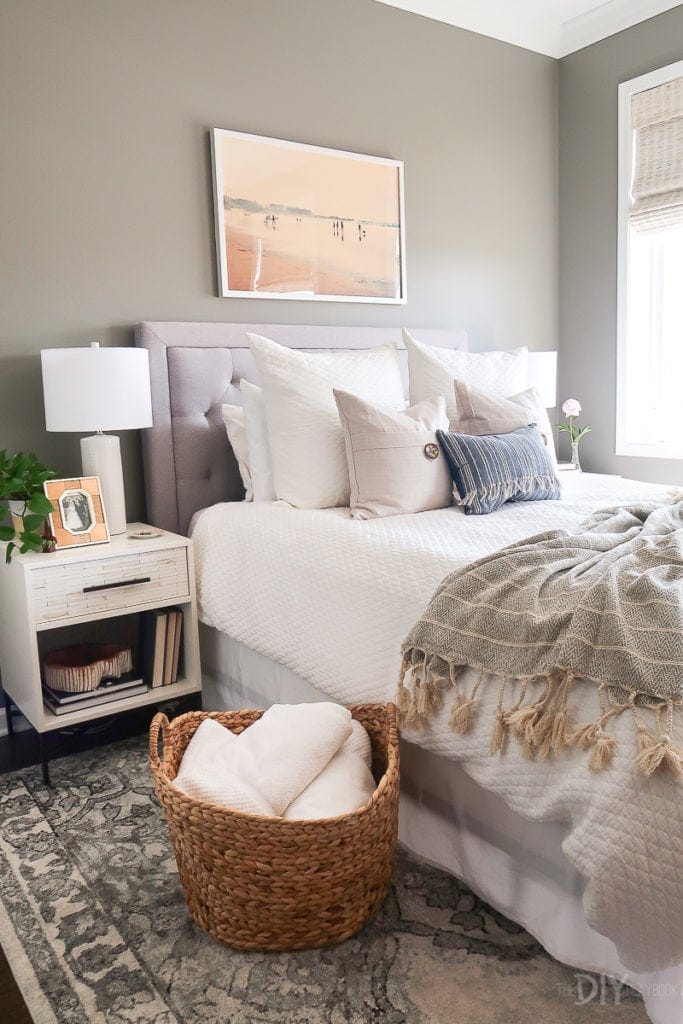
- Guest Room
- Pantry Makeover
- Kitchen Reveal
- Farmhouse Dining Room
- Blush Living Room
- DIY Guest Room Closet
- Main Bathroom Refresh
- Downsizing Part 1 // Downsizing Part 2 // Downsizing Part 3
Casey