Our Basement – The Before & Design Plan
Note from Casey: If you follow me on Instagram, then you may have already seen that our basement flooded last weekend. It’s saved under “flooding” in my highlights, if you want to see it for yourself. I’ll talk more about this in great detail in Wednesday’s blog post, as it will alter our basement plans that I’m sharing here today. I wrote this blog post a few weeks ago, so it will give you a good sense of the space, pre-flood. I thought you might still enjoy reading about my plans for the space, even though they’ll now be changed!
Well, the time has finally come to kick off our next big project…the basement! We’ve completely redone both our first and second floors, while the basement has been on the bottom of our priority list. It’s now time to tackle this space and I couldn’t be more excited to get started. But, I’m also a tad nervous because it’s going to be A LOT of work, and I’m doing most of it by myself to save money and keep it as budget-friendly as possible.
2019 – Now
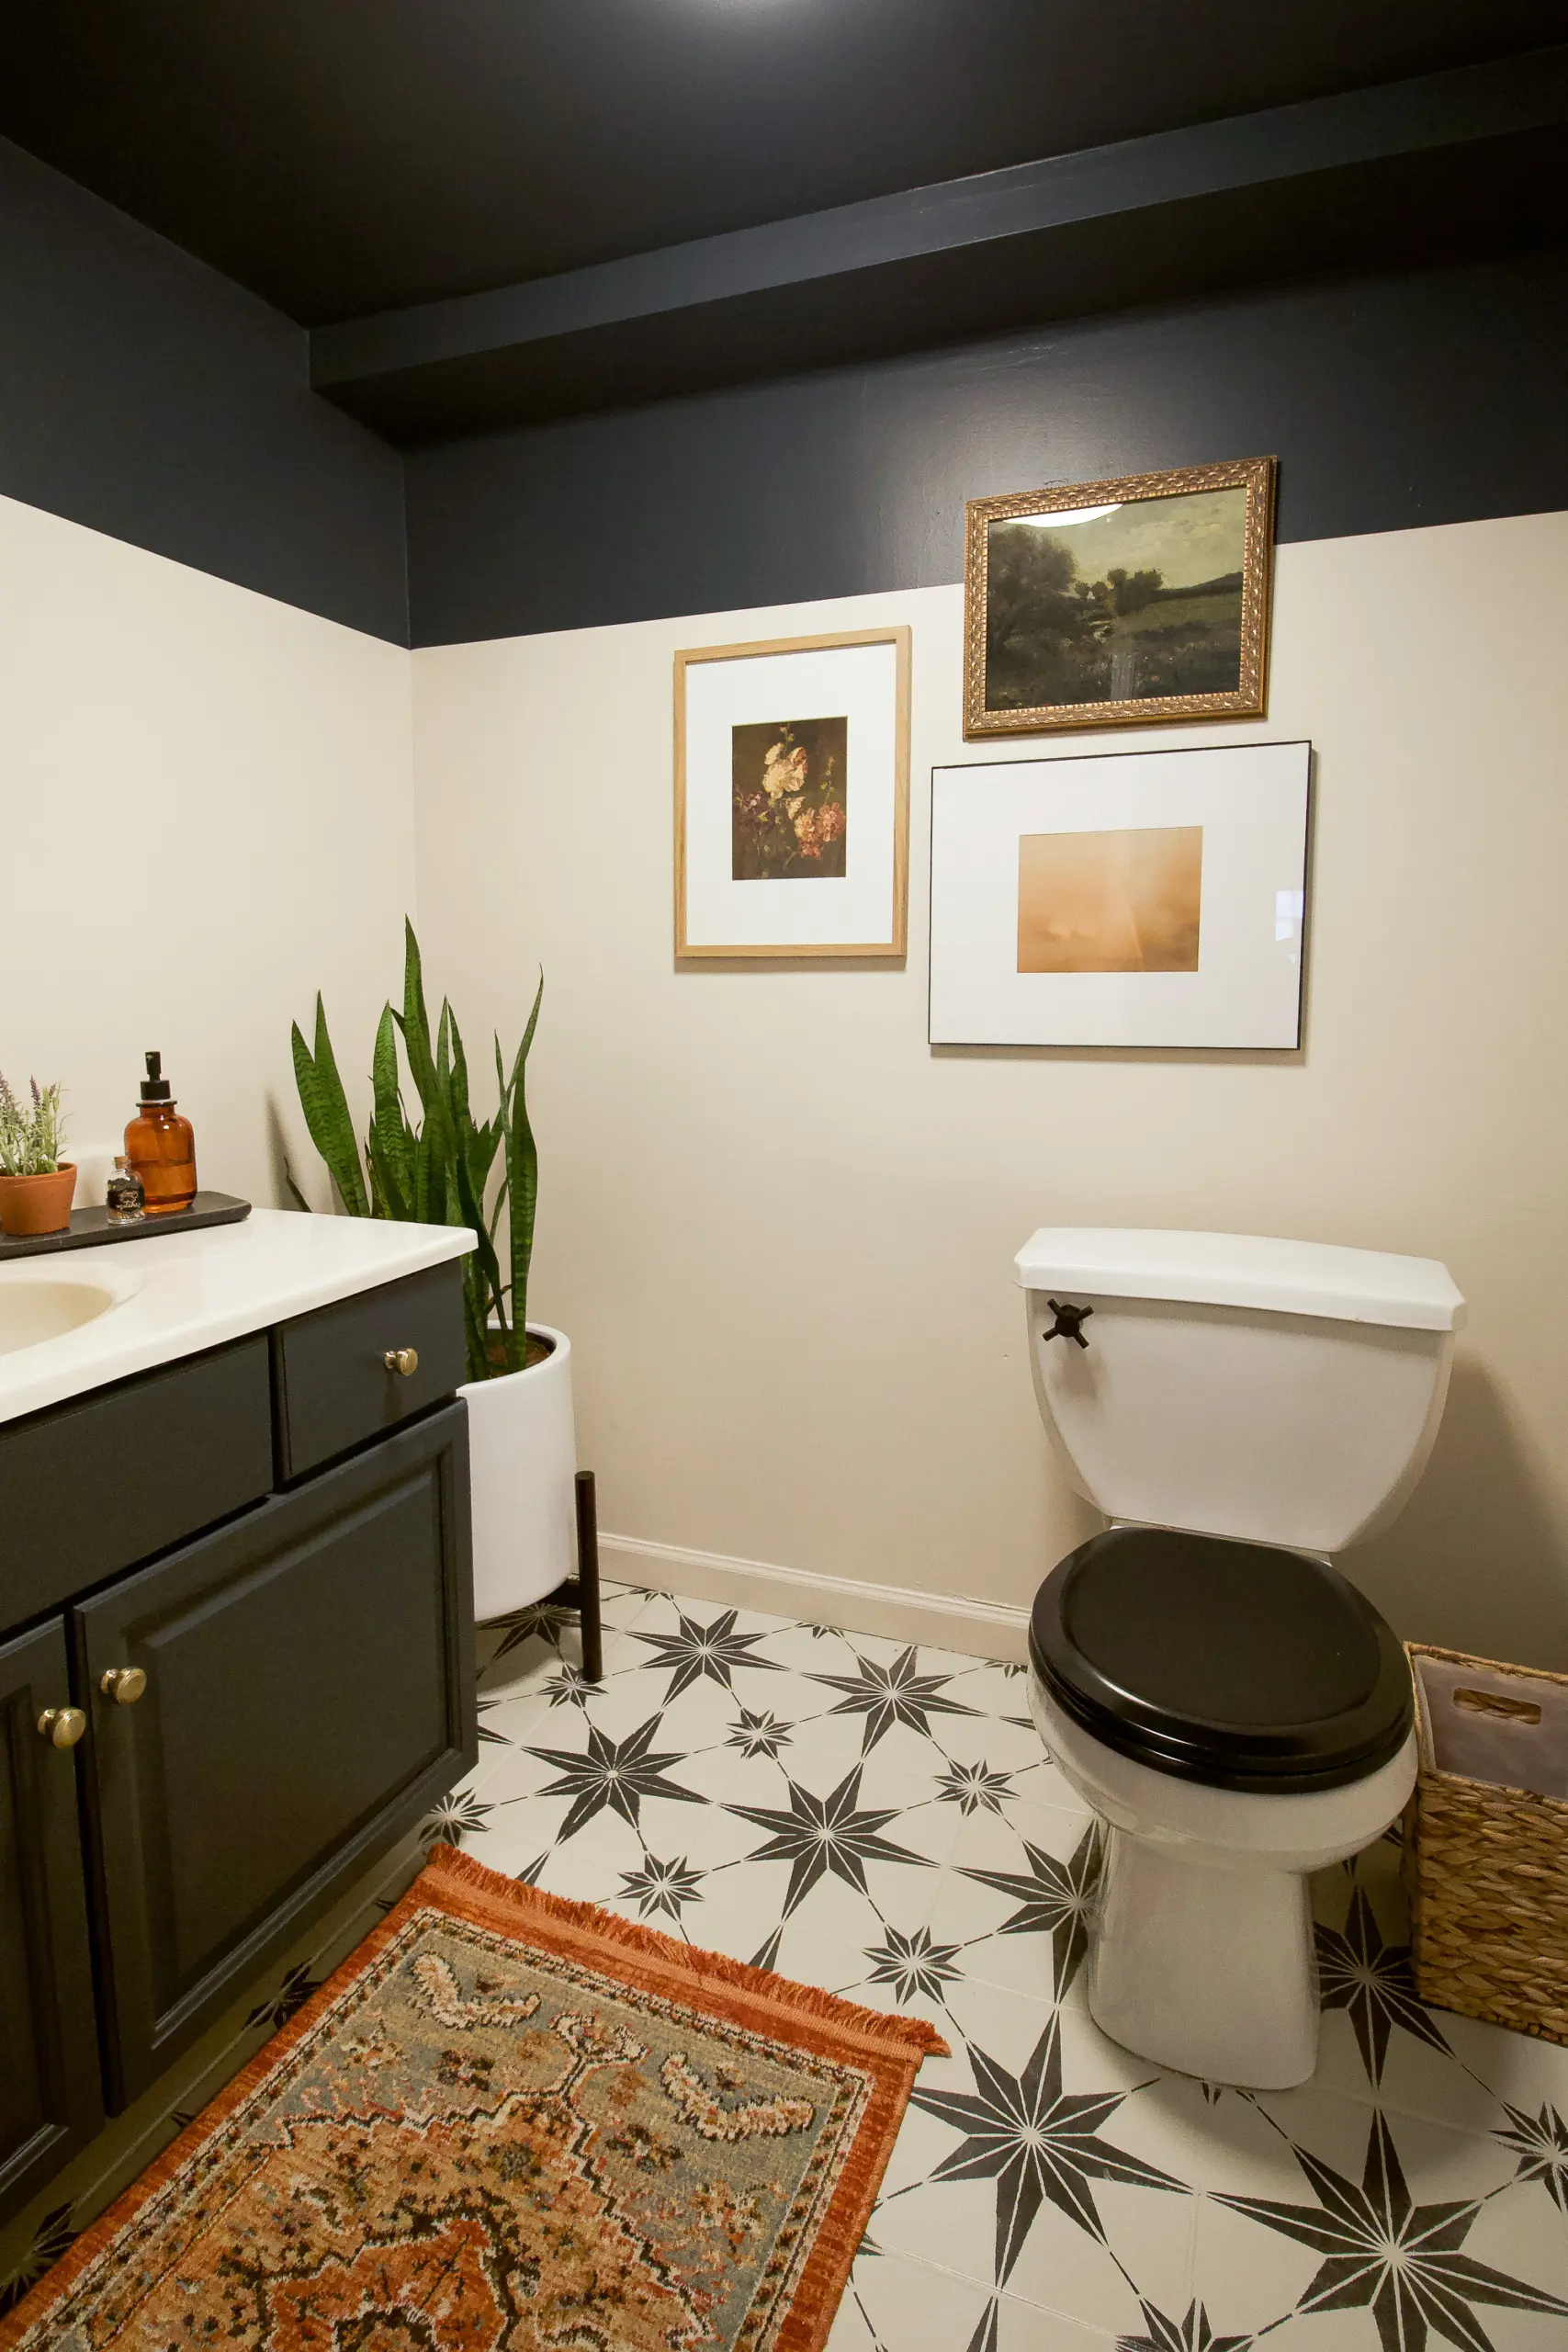
Until now, we haven’t done many projects down here. In 2020, when Finn began working from home indefinitely, I gave the basement powder room a major facelift with stenciled floors, a painted vanity, and a cool two-tone wall treatment. You can see the entire before and after right here.
We also added a large rug down here; I built simple wood shelves and I made a workstation for Finn. His “office” has shifted around the basement over the past two years as we’ve accumulated more toys and stuff for the kids.

We had all of the glass block windows replaced last spring and that was a fantastic upgrade!
Other than that, the carpet is ancient; the walls haven’t been touched, and I haven’t ever really sat down to create a concrete design plan for the space.
Let’s Walk Through The Basement Before…

I want to dive into my exact game plan for the basement and what I’ll be doing in Phase One and Phase Two of this big ol’ project. However, it’s important for you to get a really good sense of the space first, so let’s take a look at the before and I’ll walk you through it all…
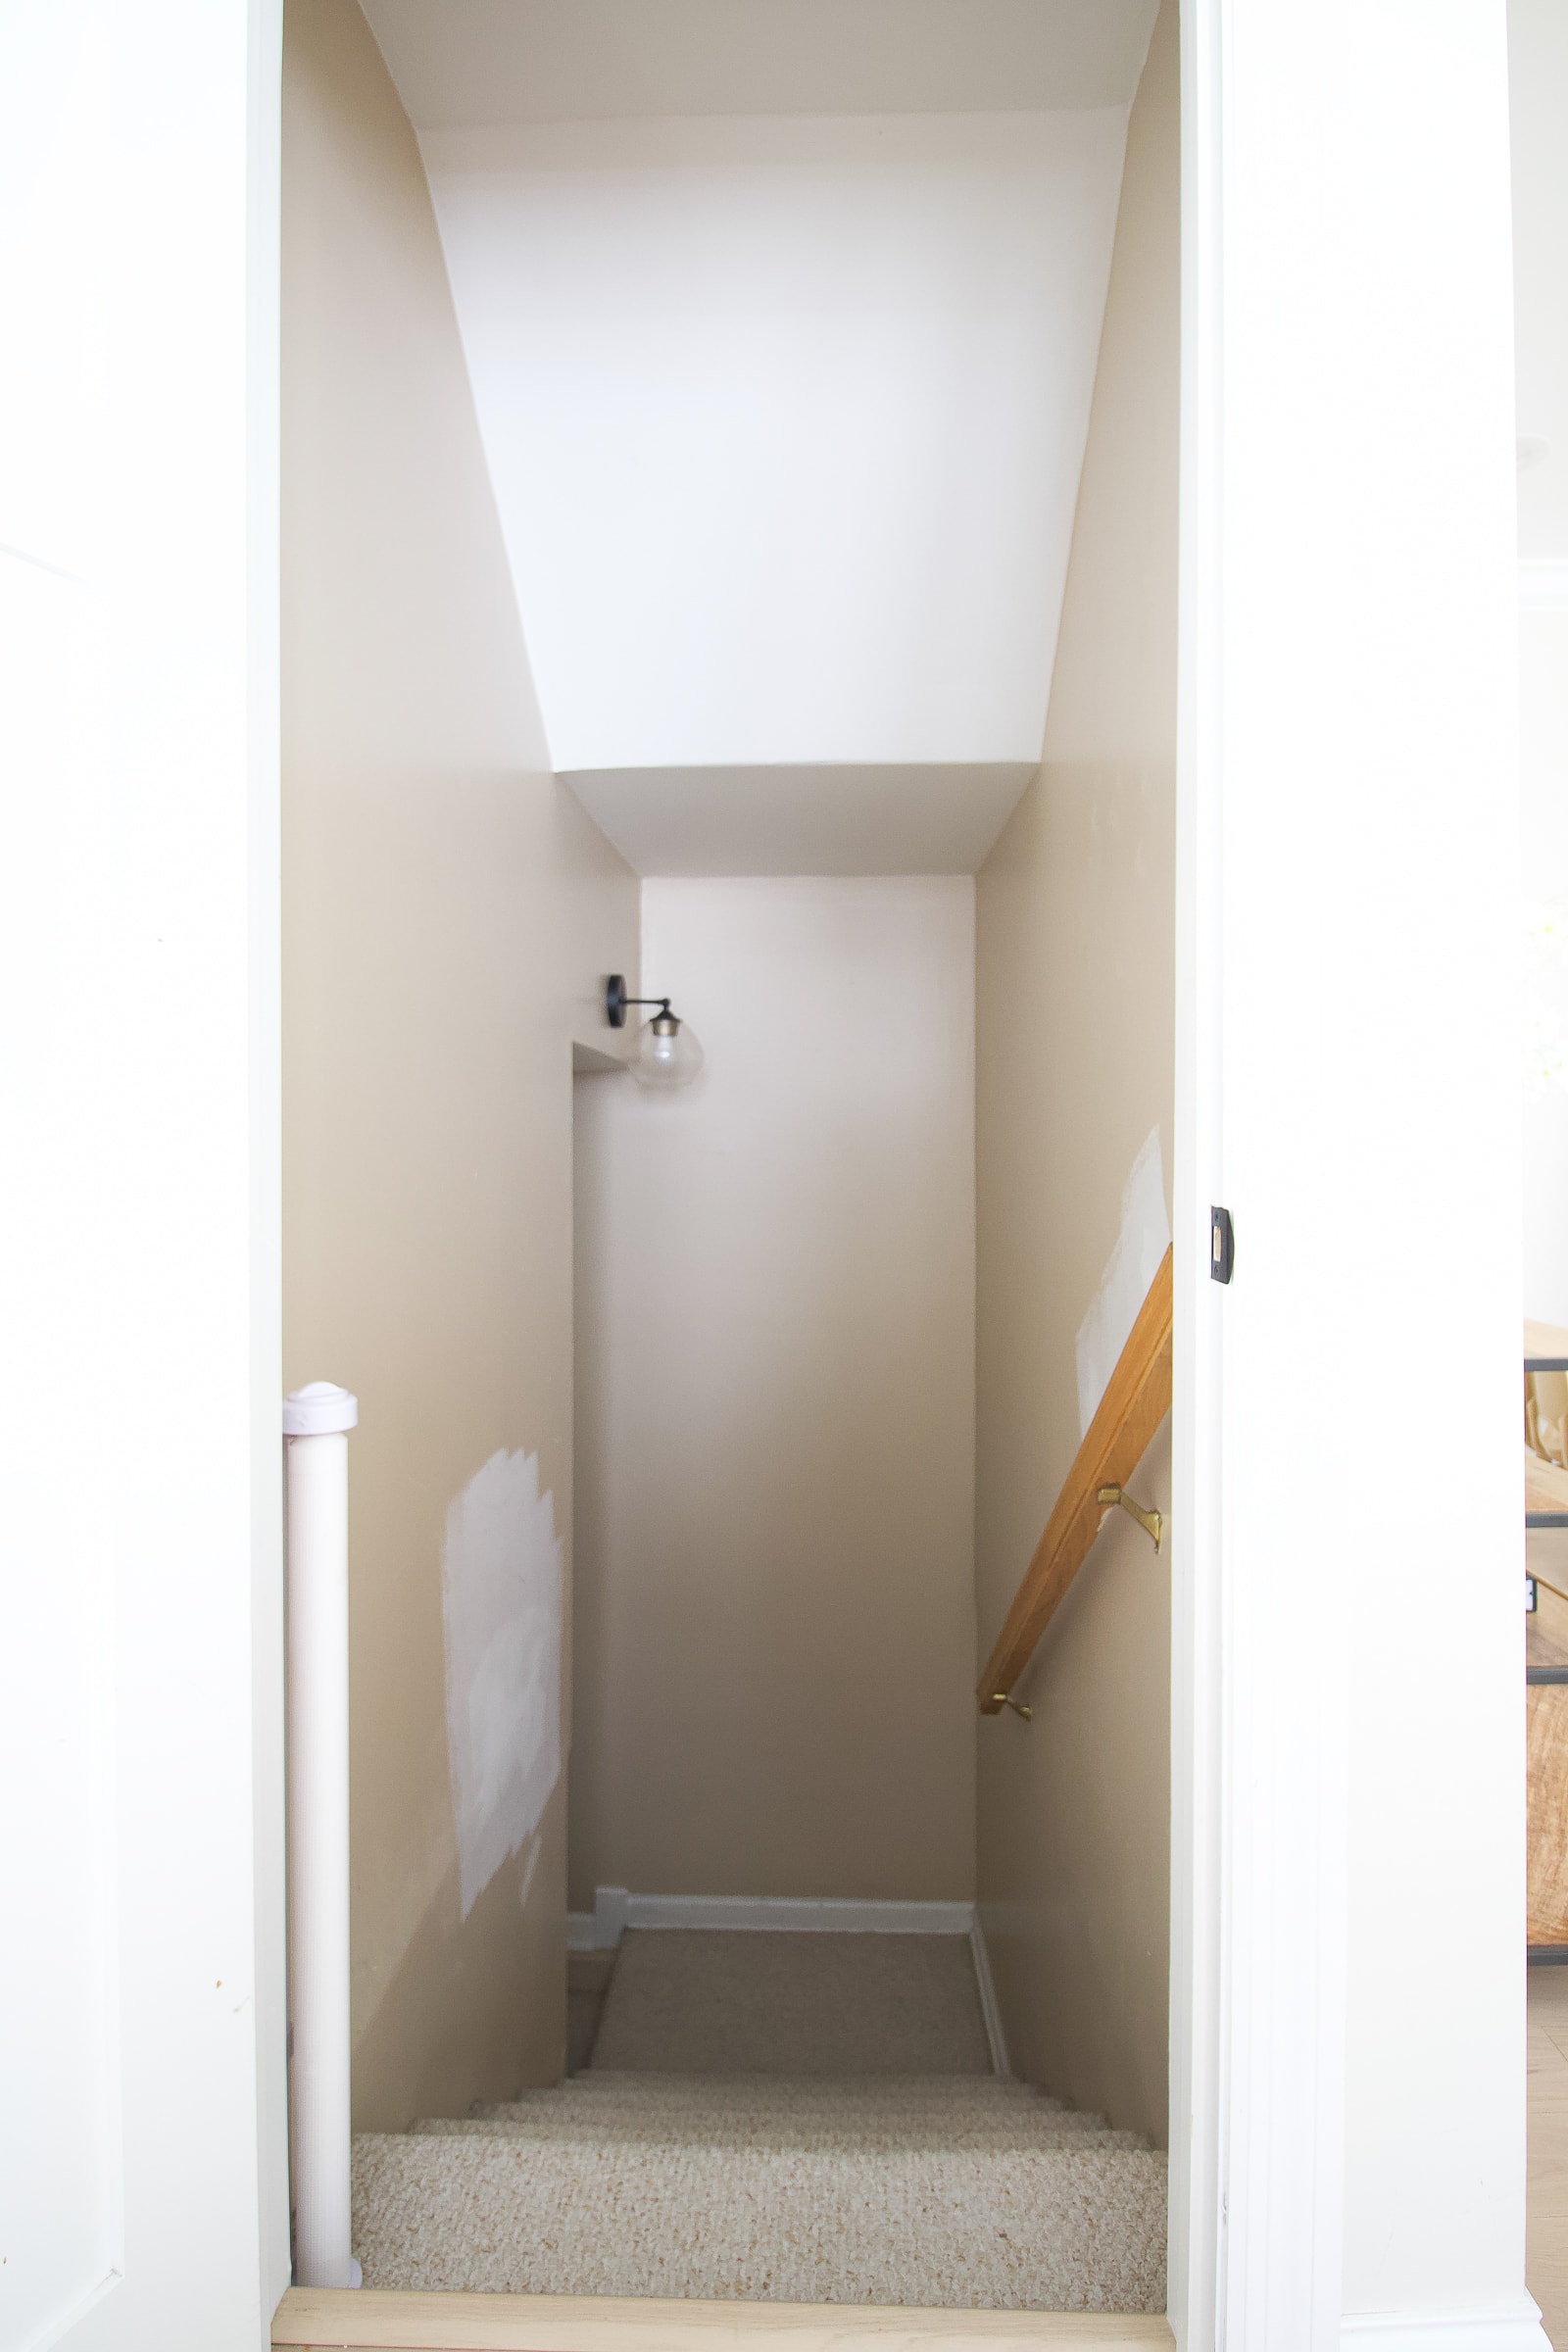
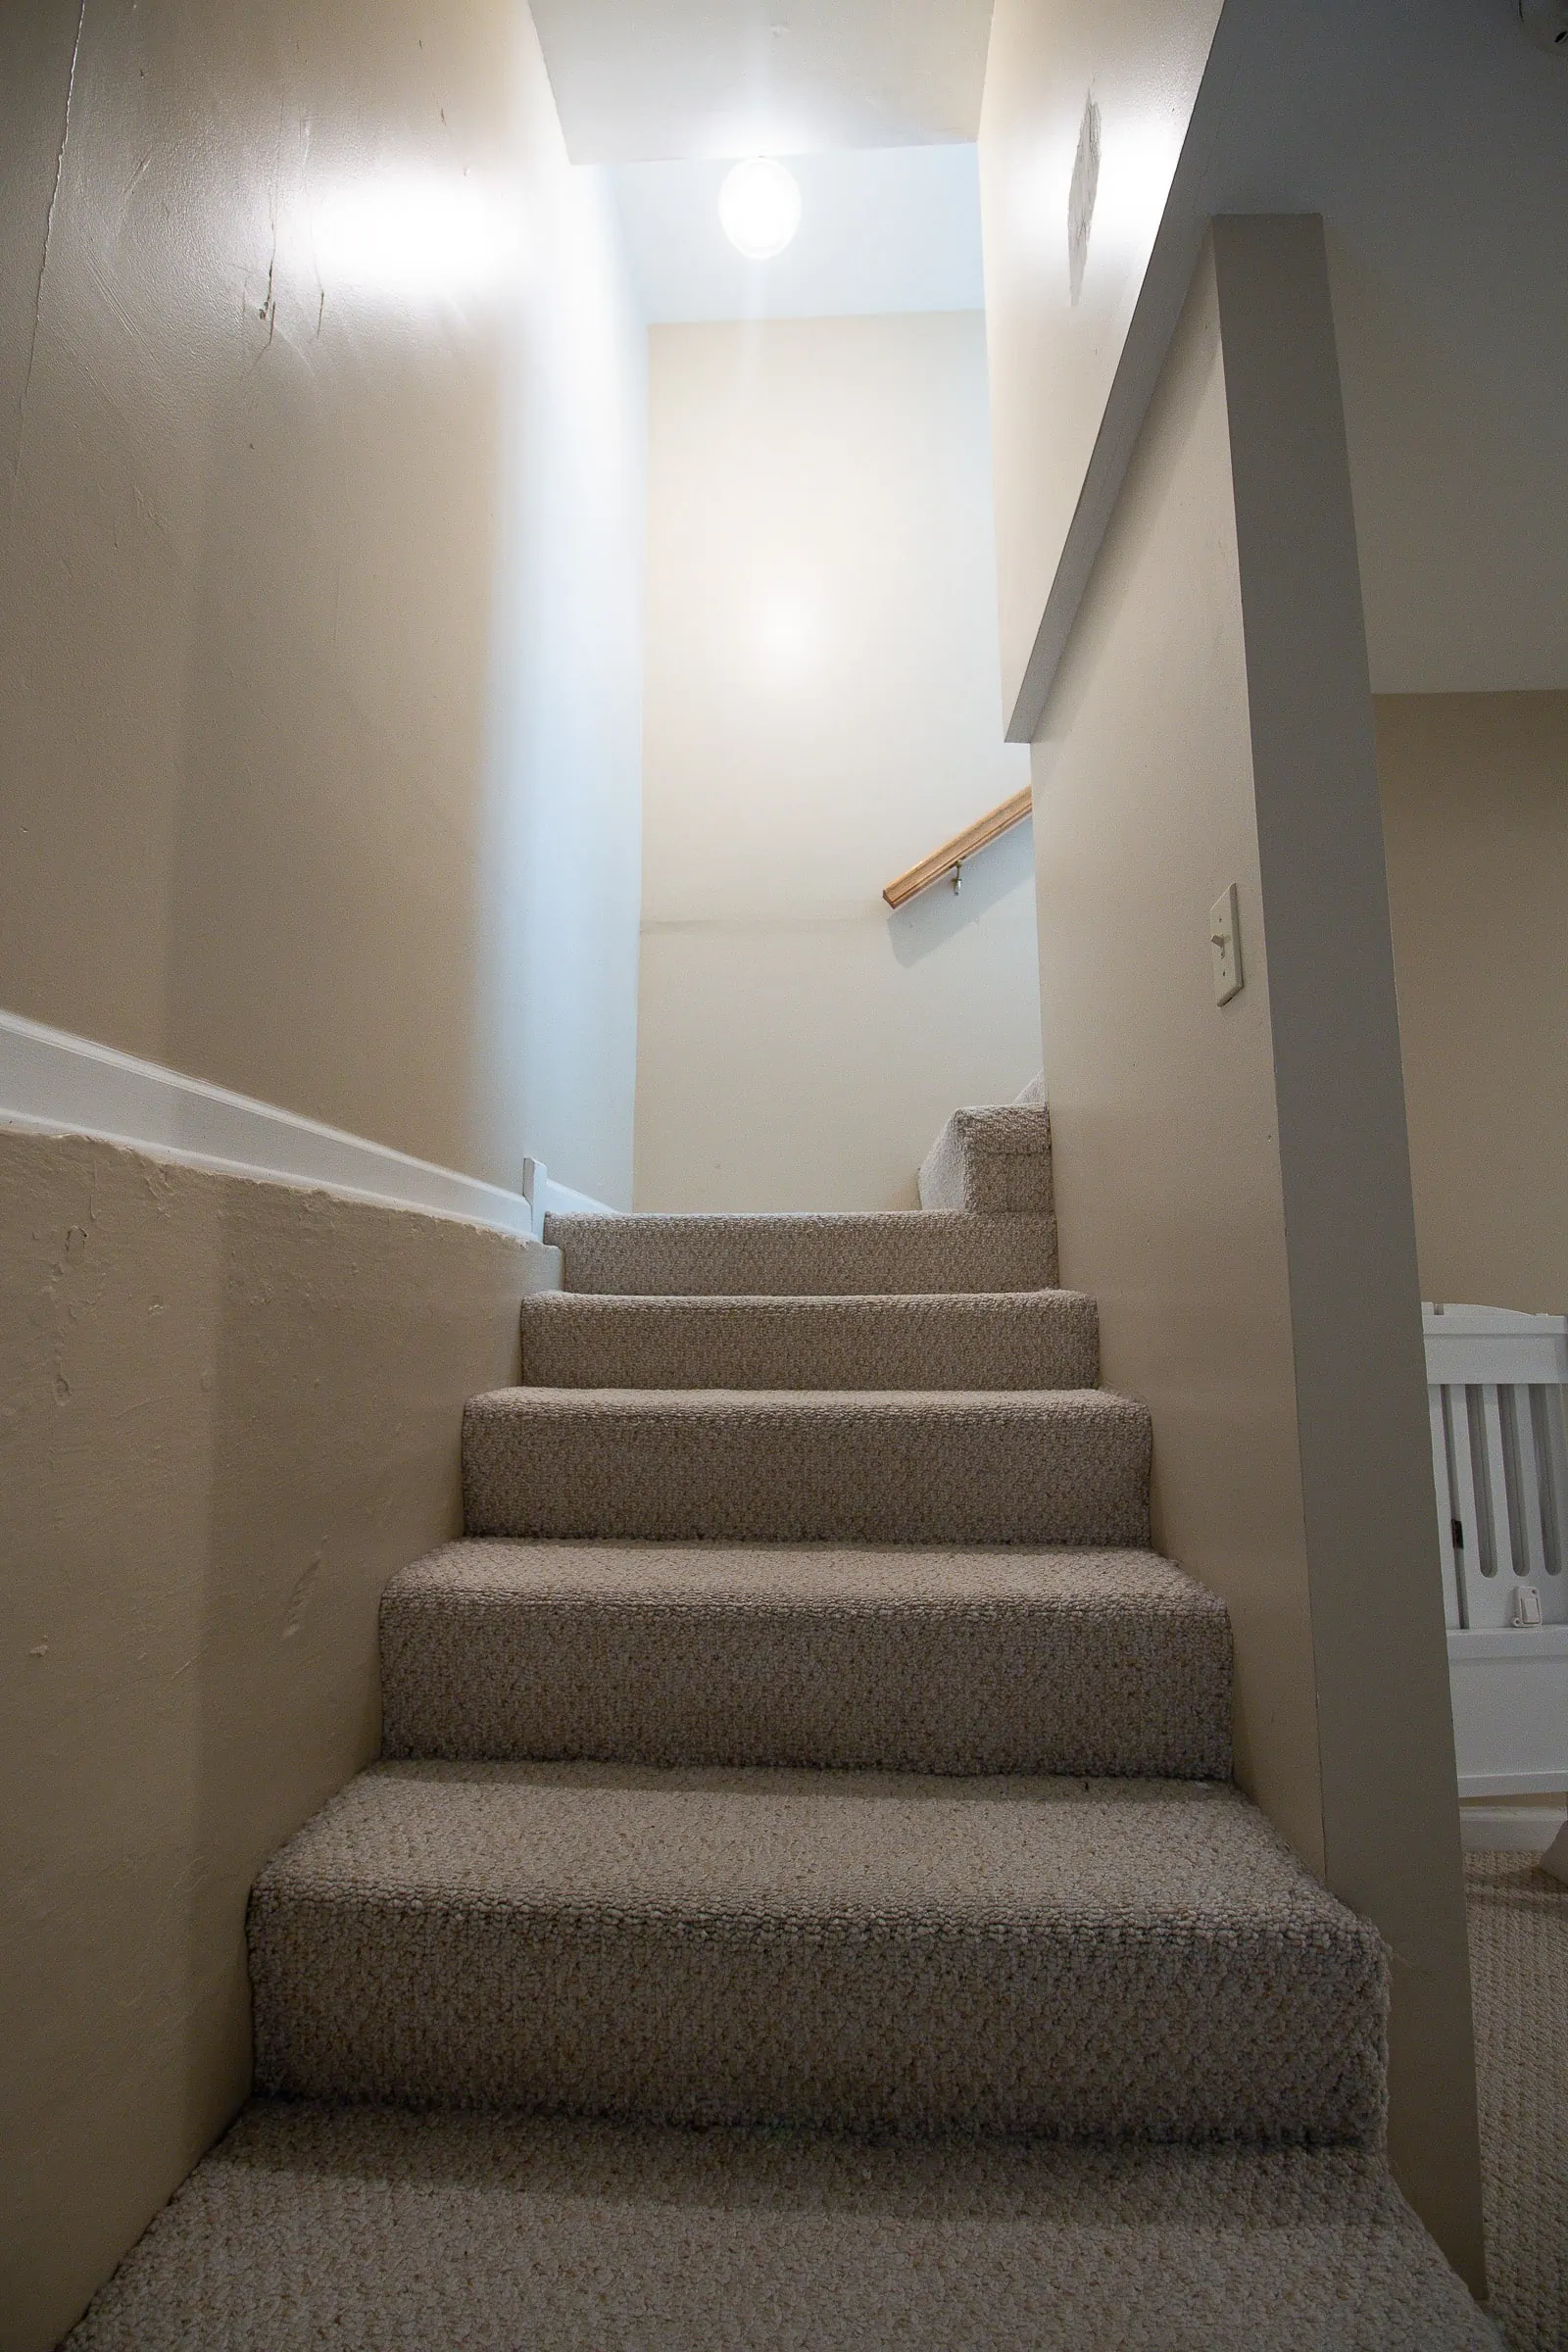
The entrance door to our basement is located between our living room and kitchen. You head down these stairs and they turn left to get you to the basement. As you can see, there are some holes in the wall that we’ve patched. We had to open things up when we were working on our first and second floors, but nothing has ever been painted.

When you come down the stairs, there’s a door that leads to the back storage room and steps out to the exterior of our house. (It’s our basement fire exit.) We also had work done on our foundation (the gray area on the wall in the above photo), so I’ll have to figure out a way to camouflage that.

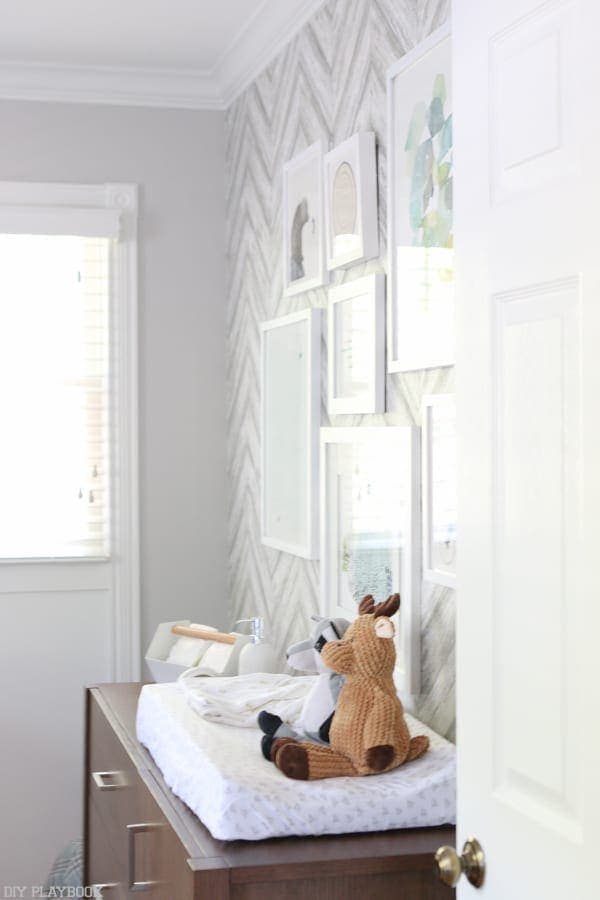
Next, you turn left and you see the basement powder room that I already refinished. That will mostly be staying the same.
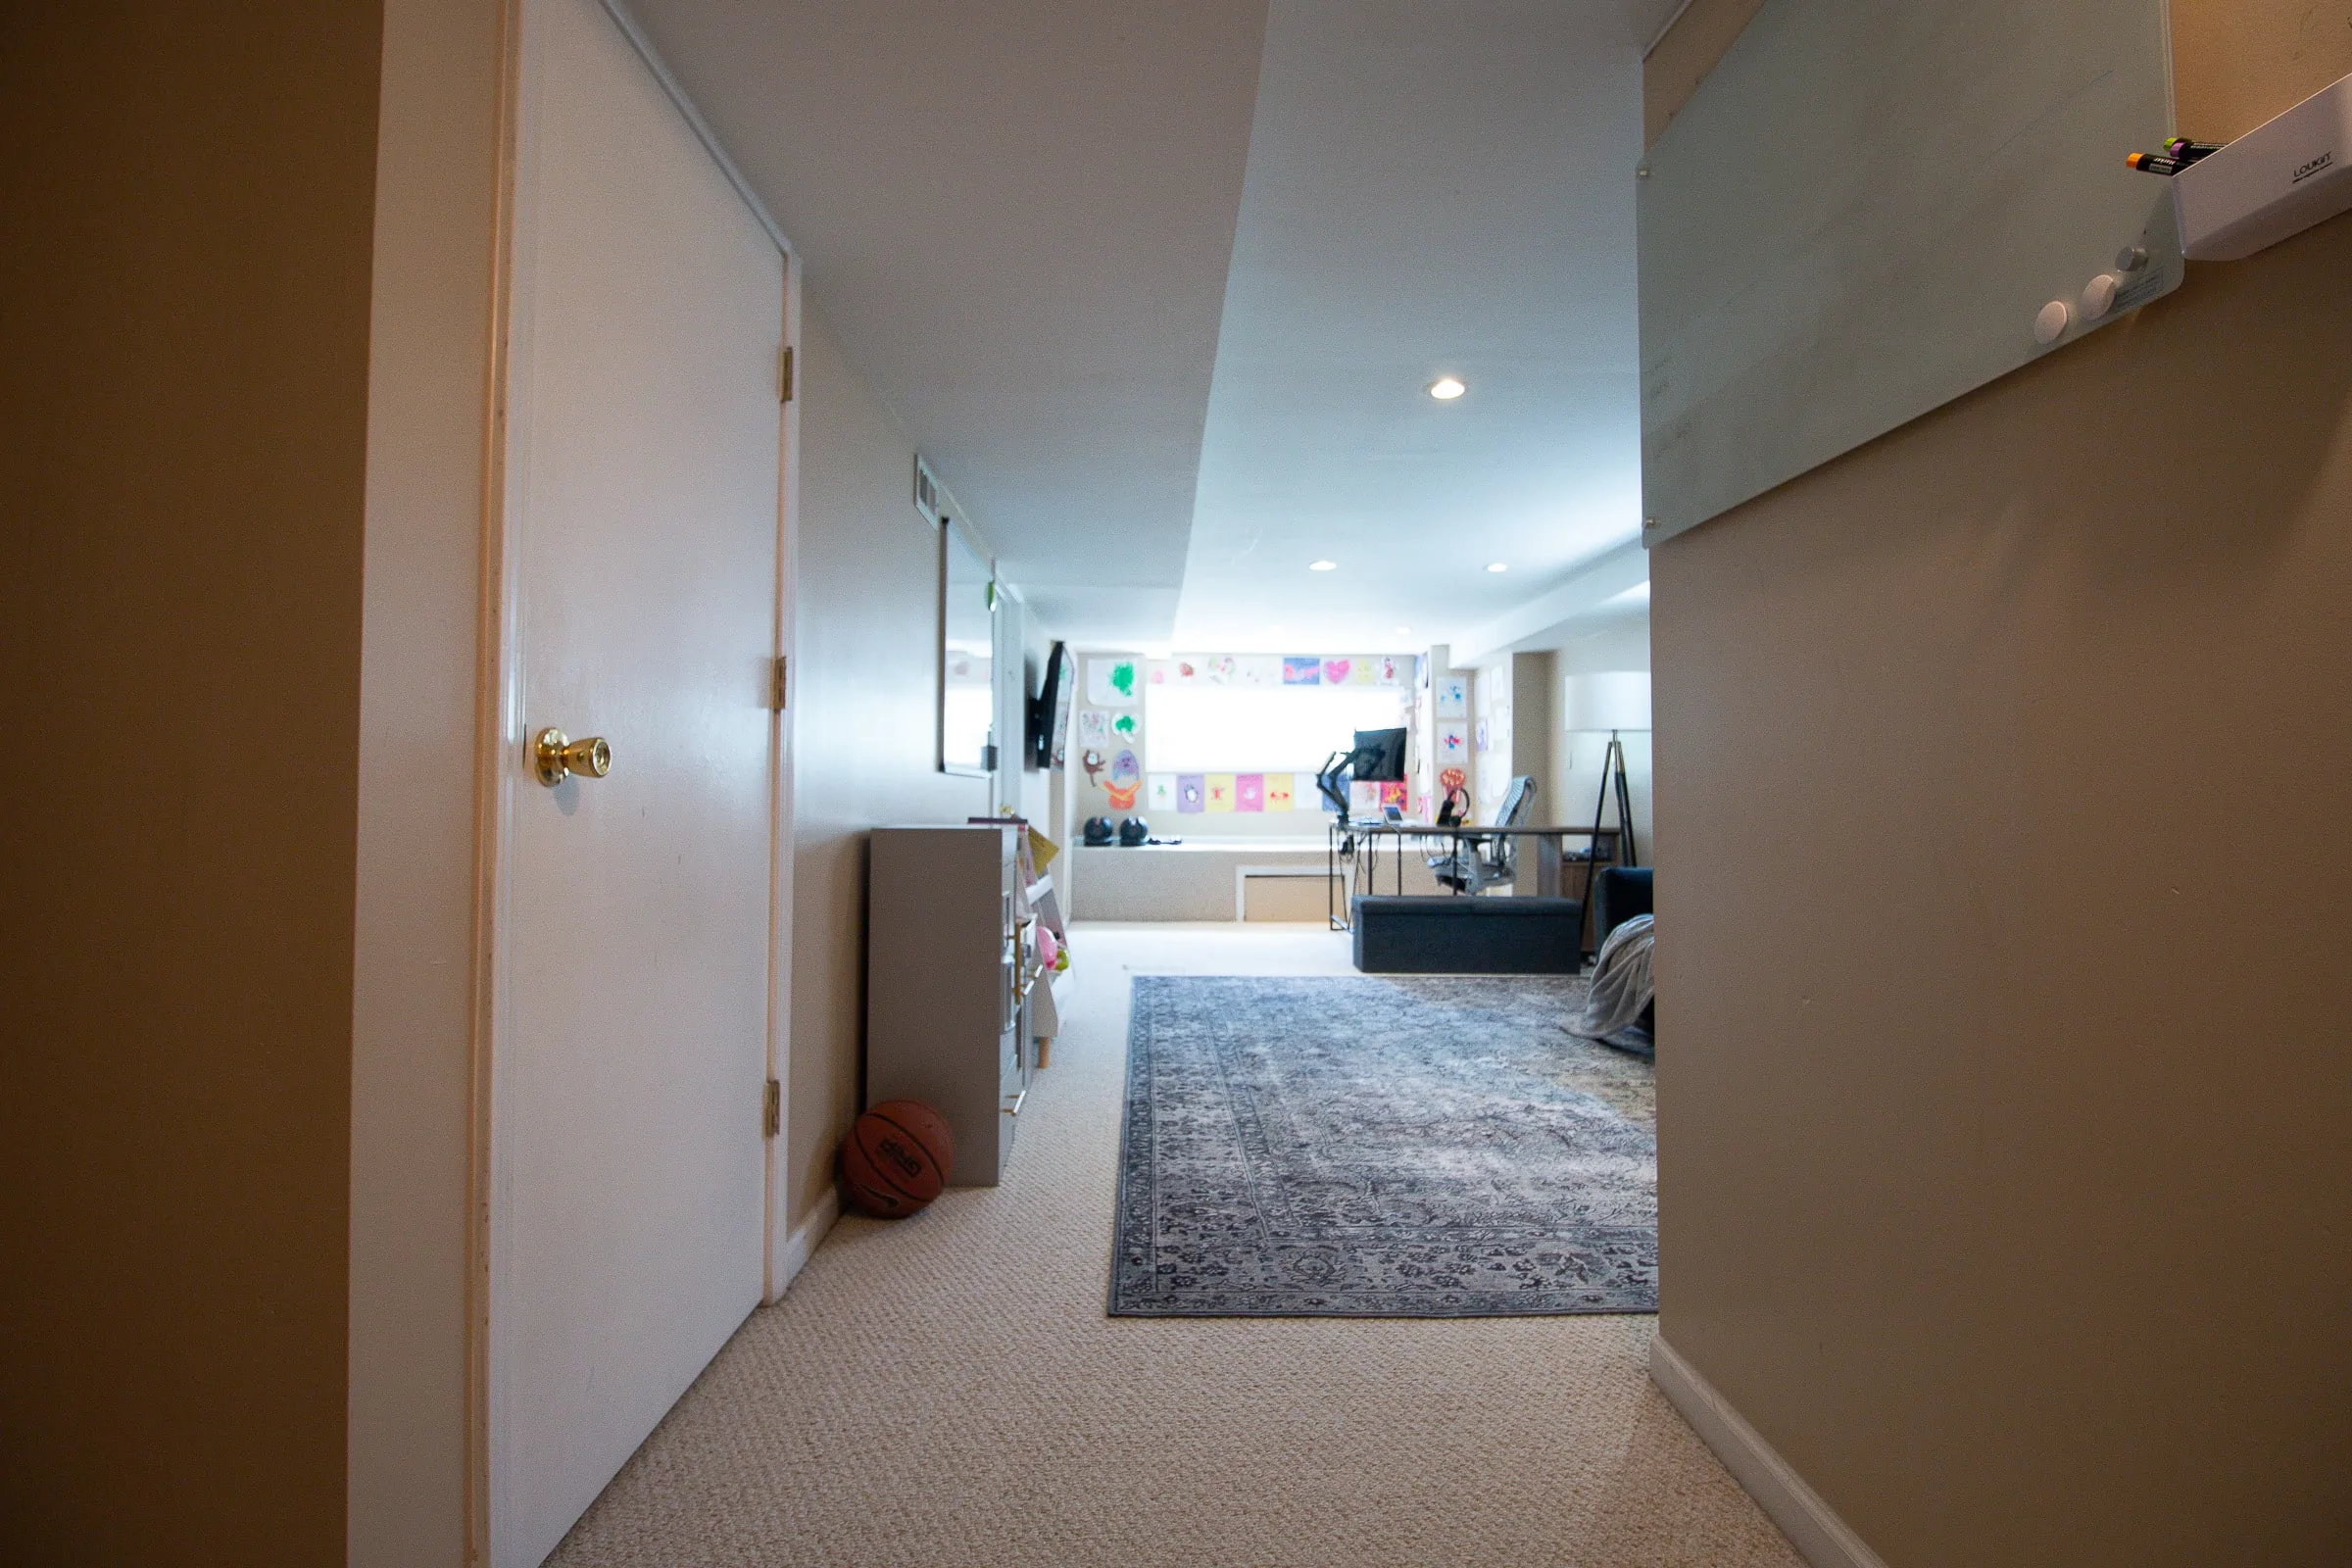
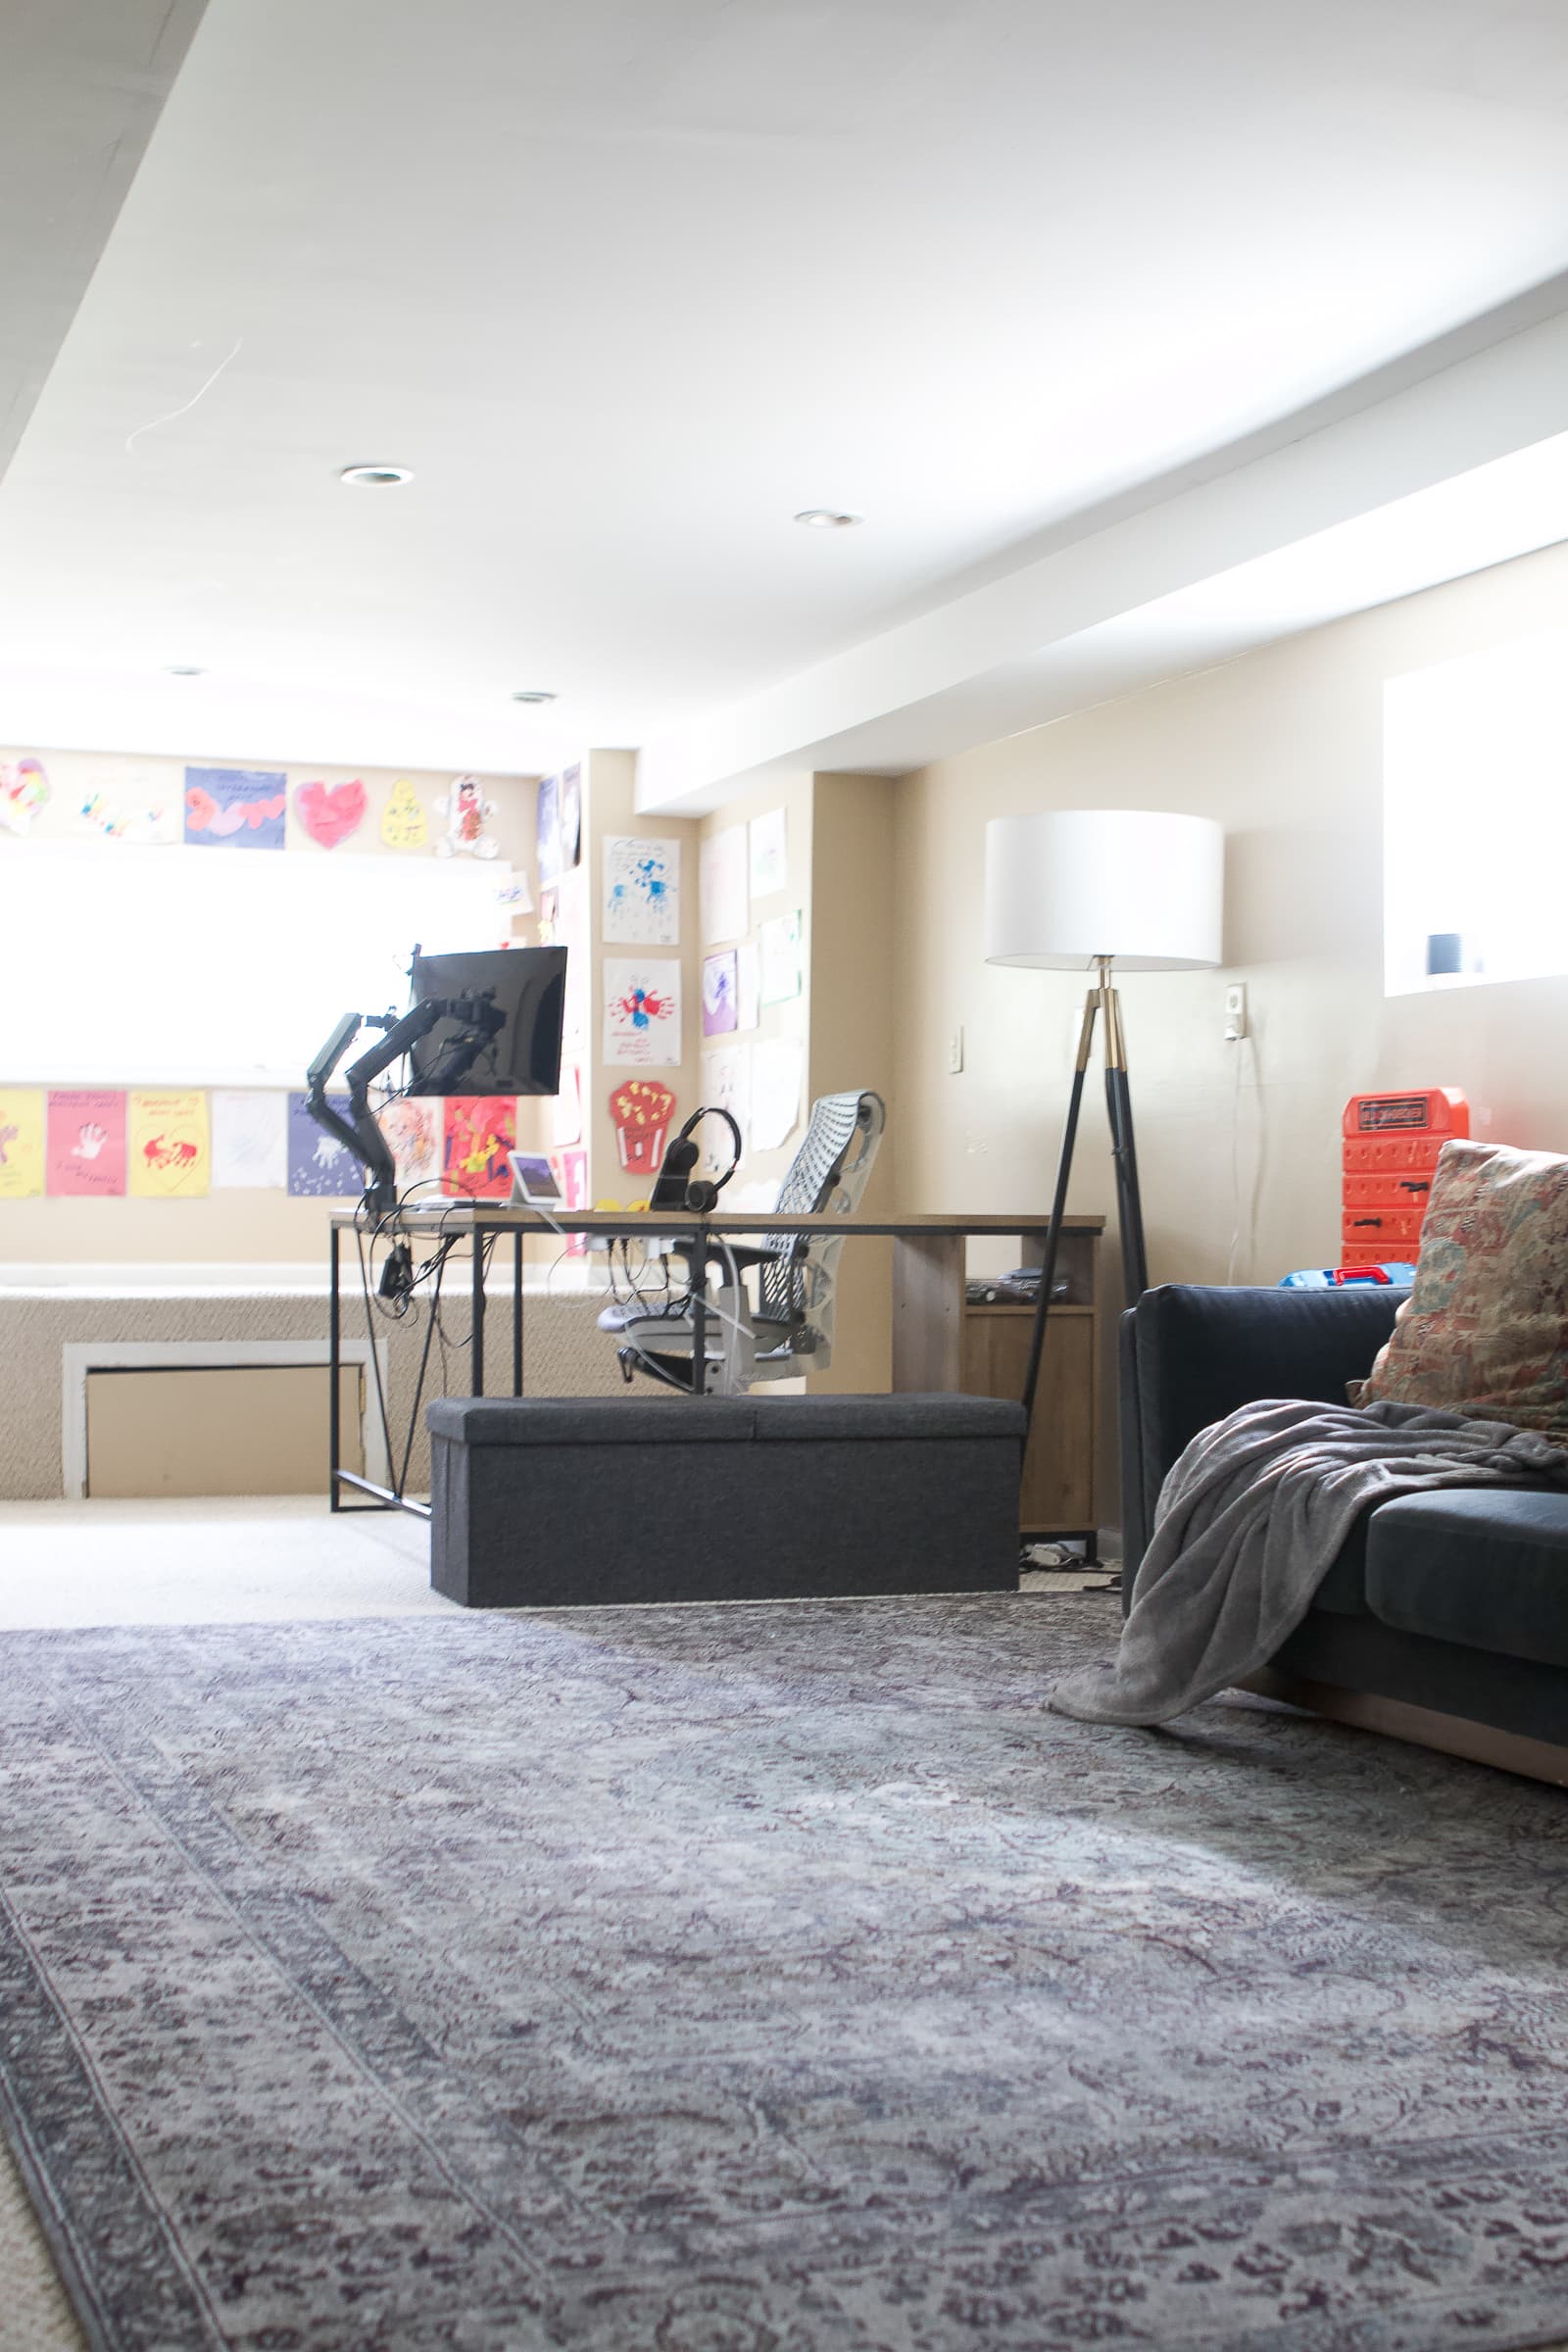
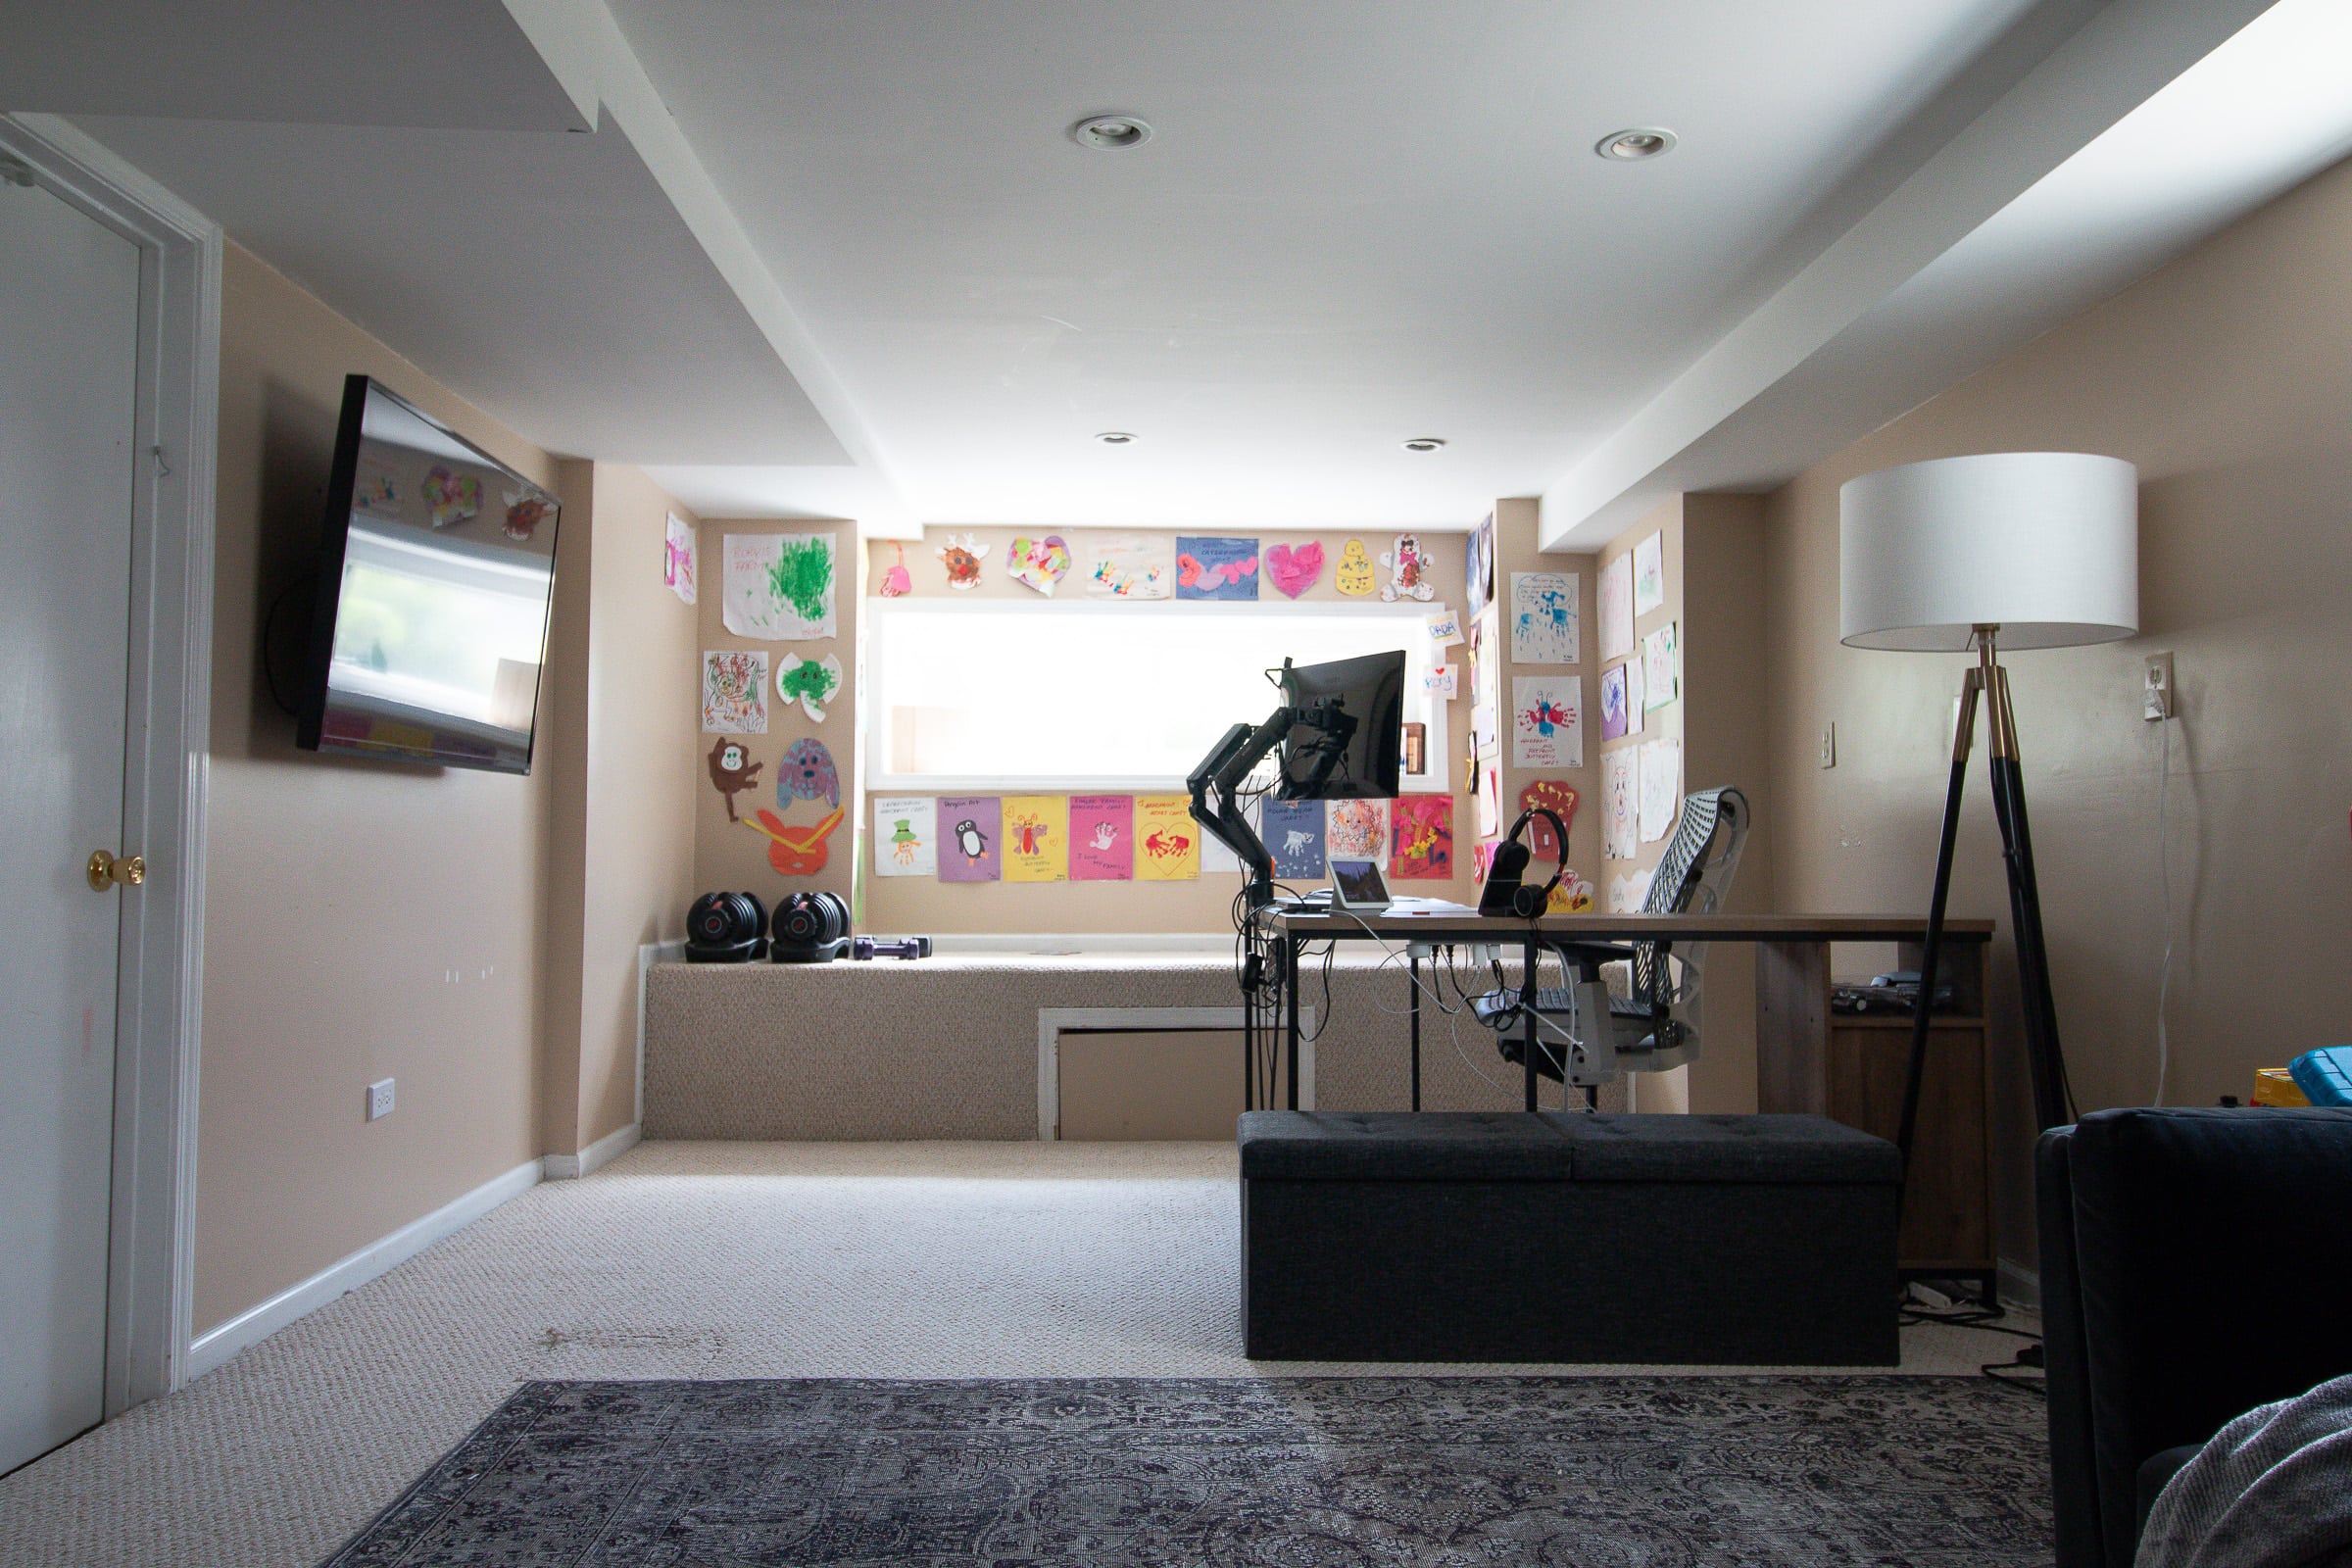
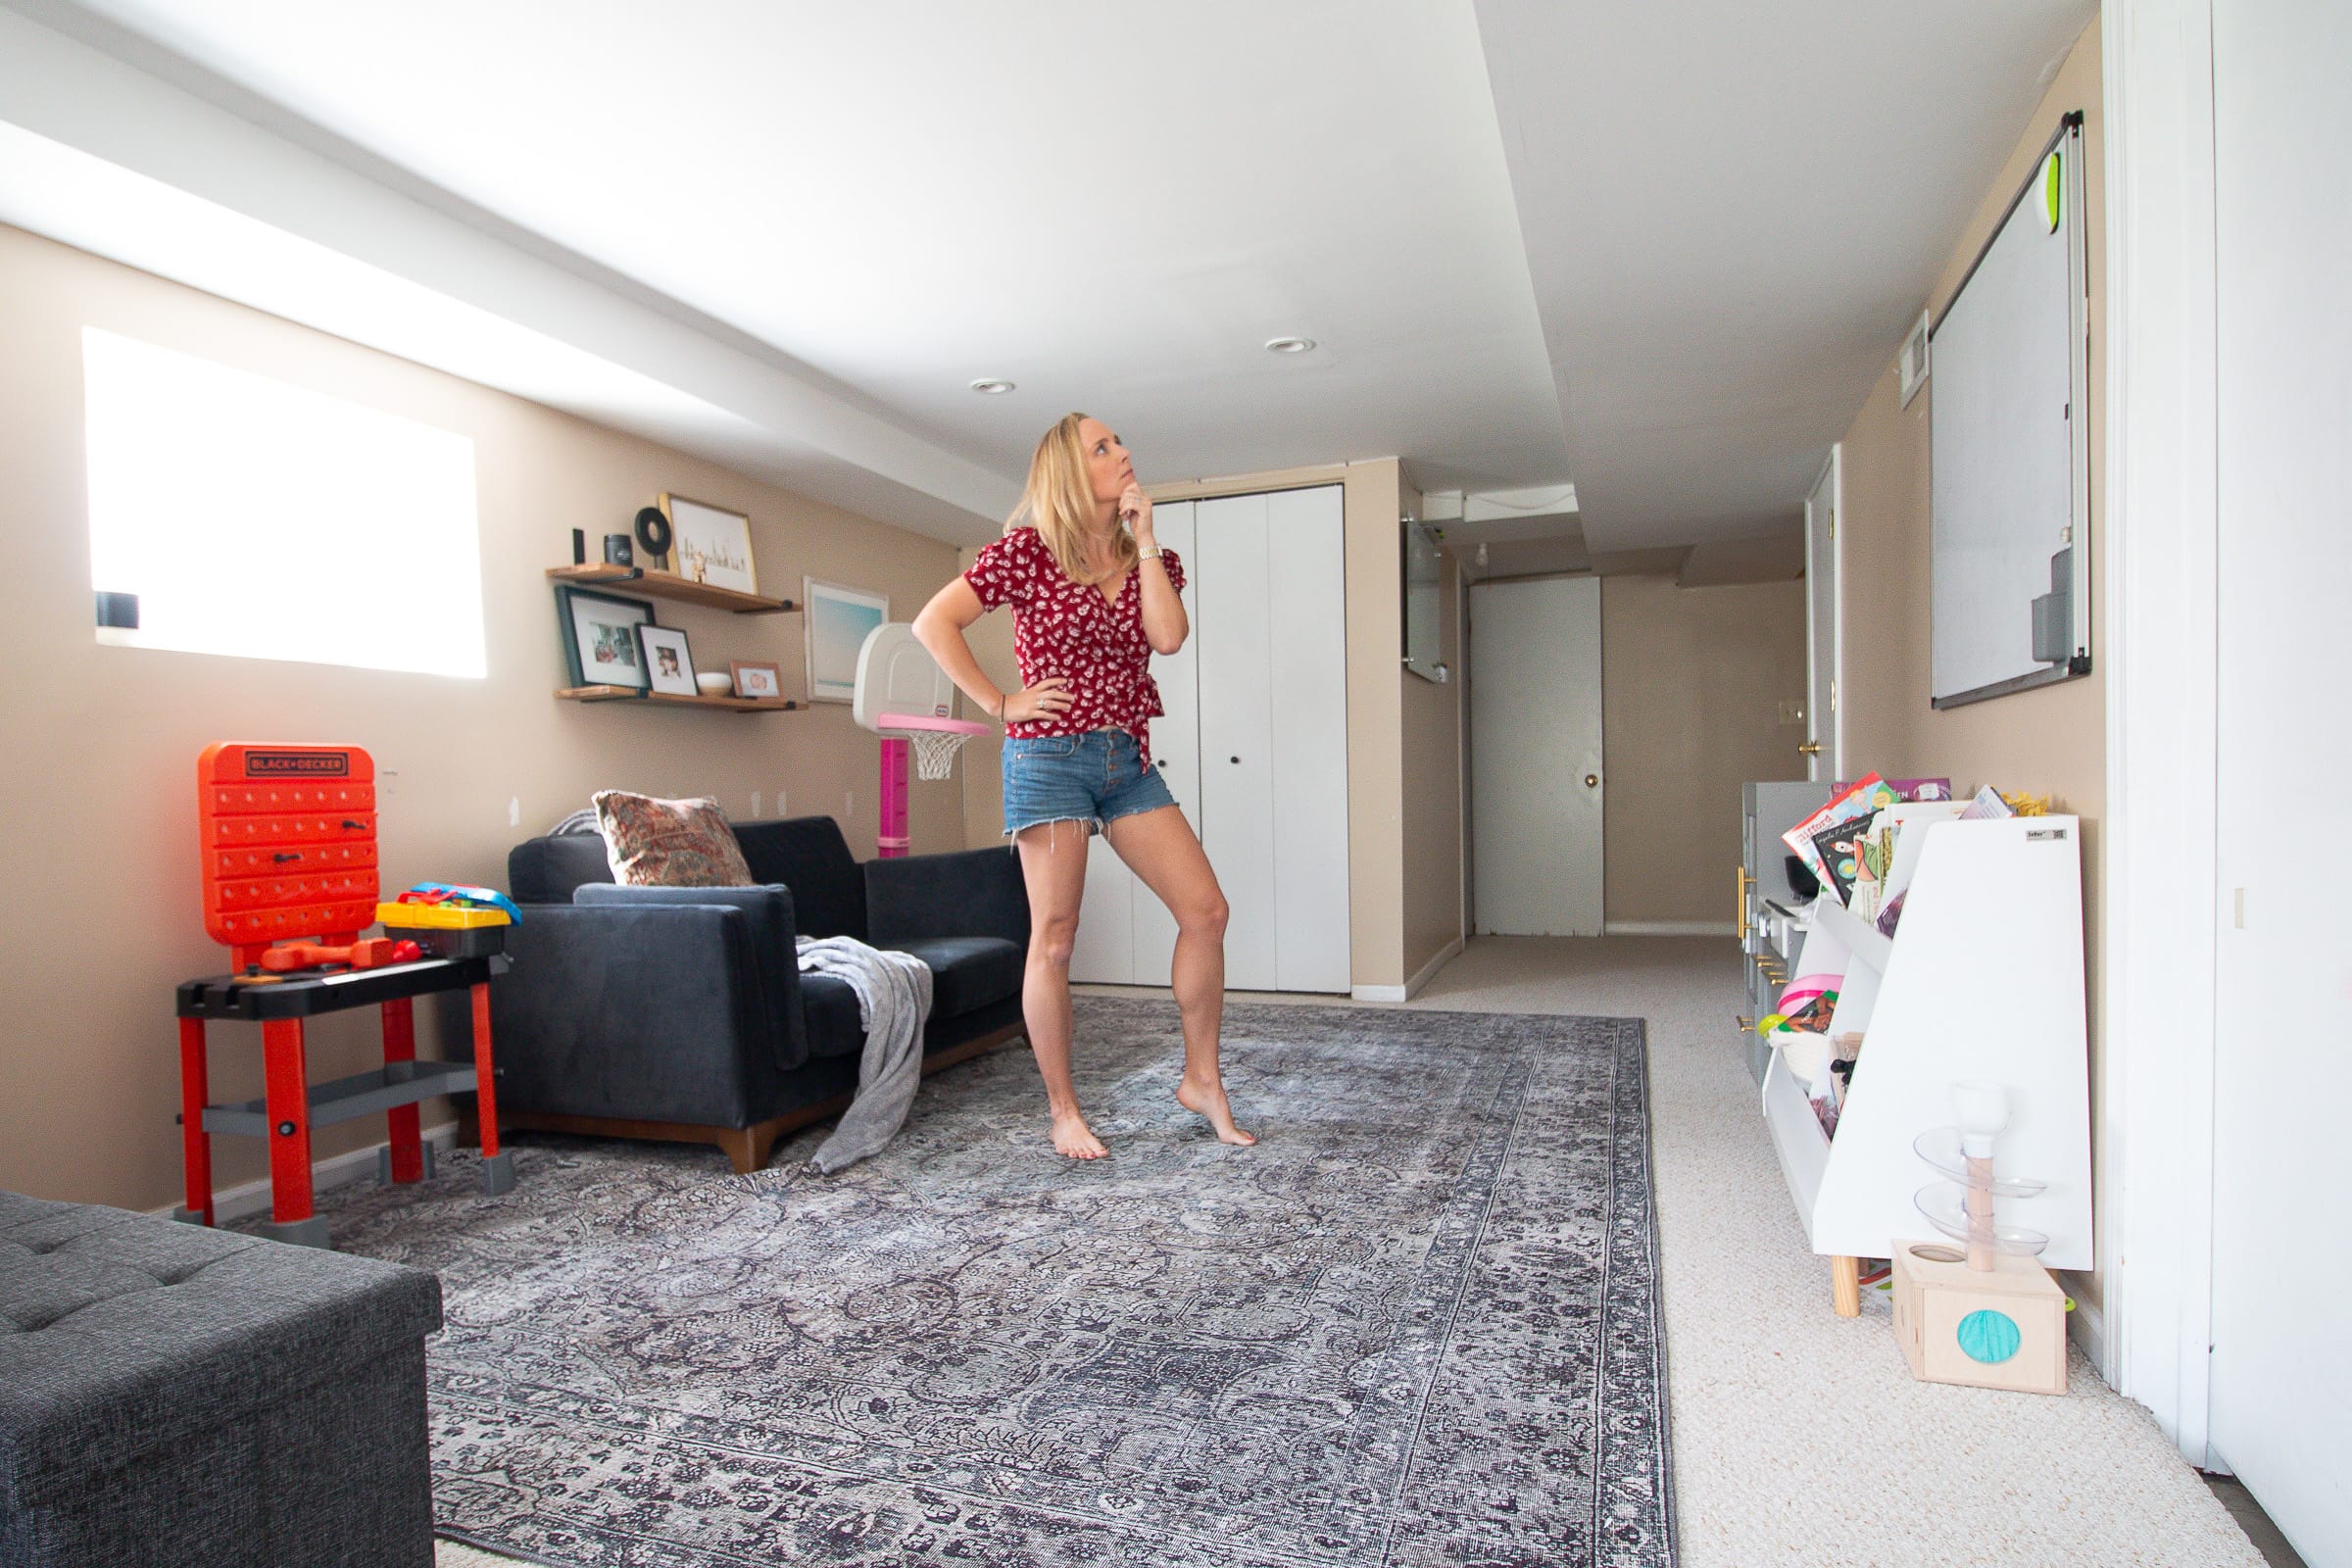
Then, you’re into the main area of our basement, which is constantly shifting around. Right now, we have the couch from my office down here and Finn’s work area is near the large windows at the front of the house.
Even though we have some bulky toys down here, we don’t spend much time playing in the basement. It’s a hodge podge of toys and nothing is organized. The kids much prefer to play in the living room where their favorite items live.
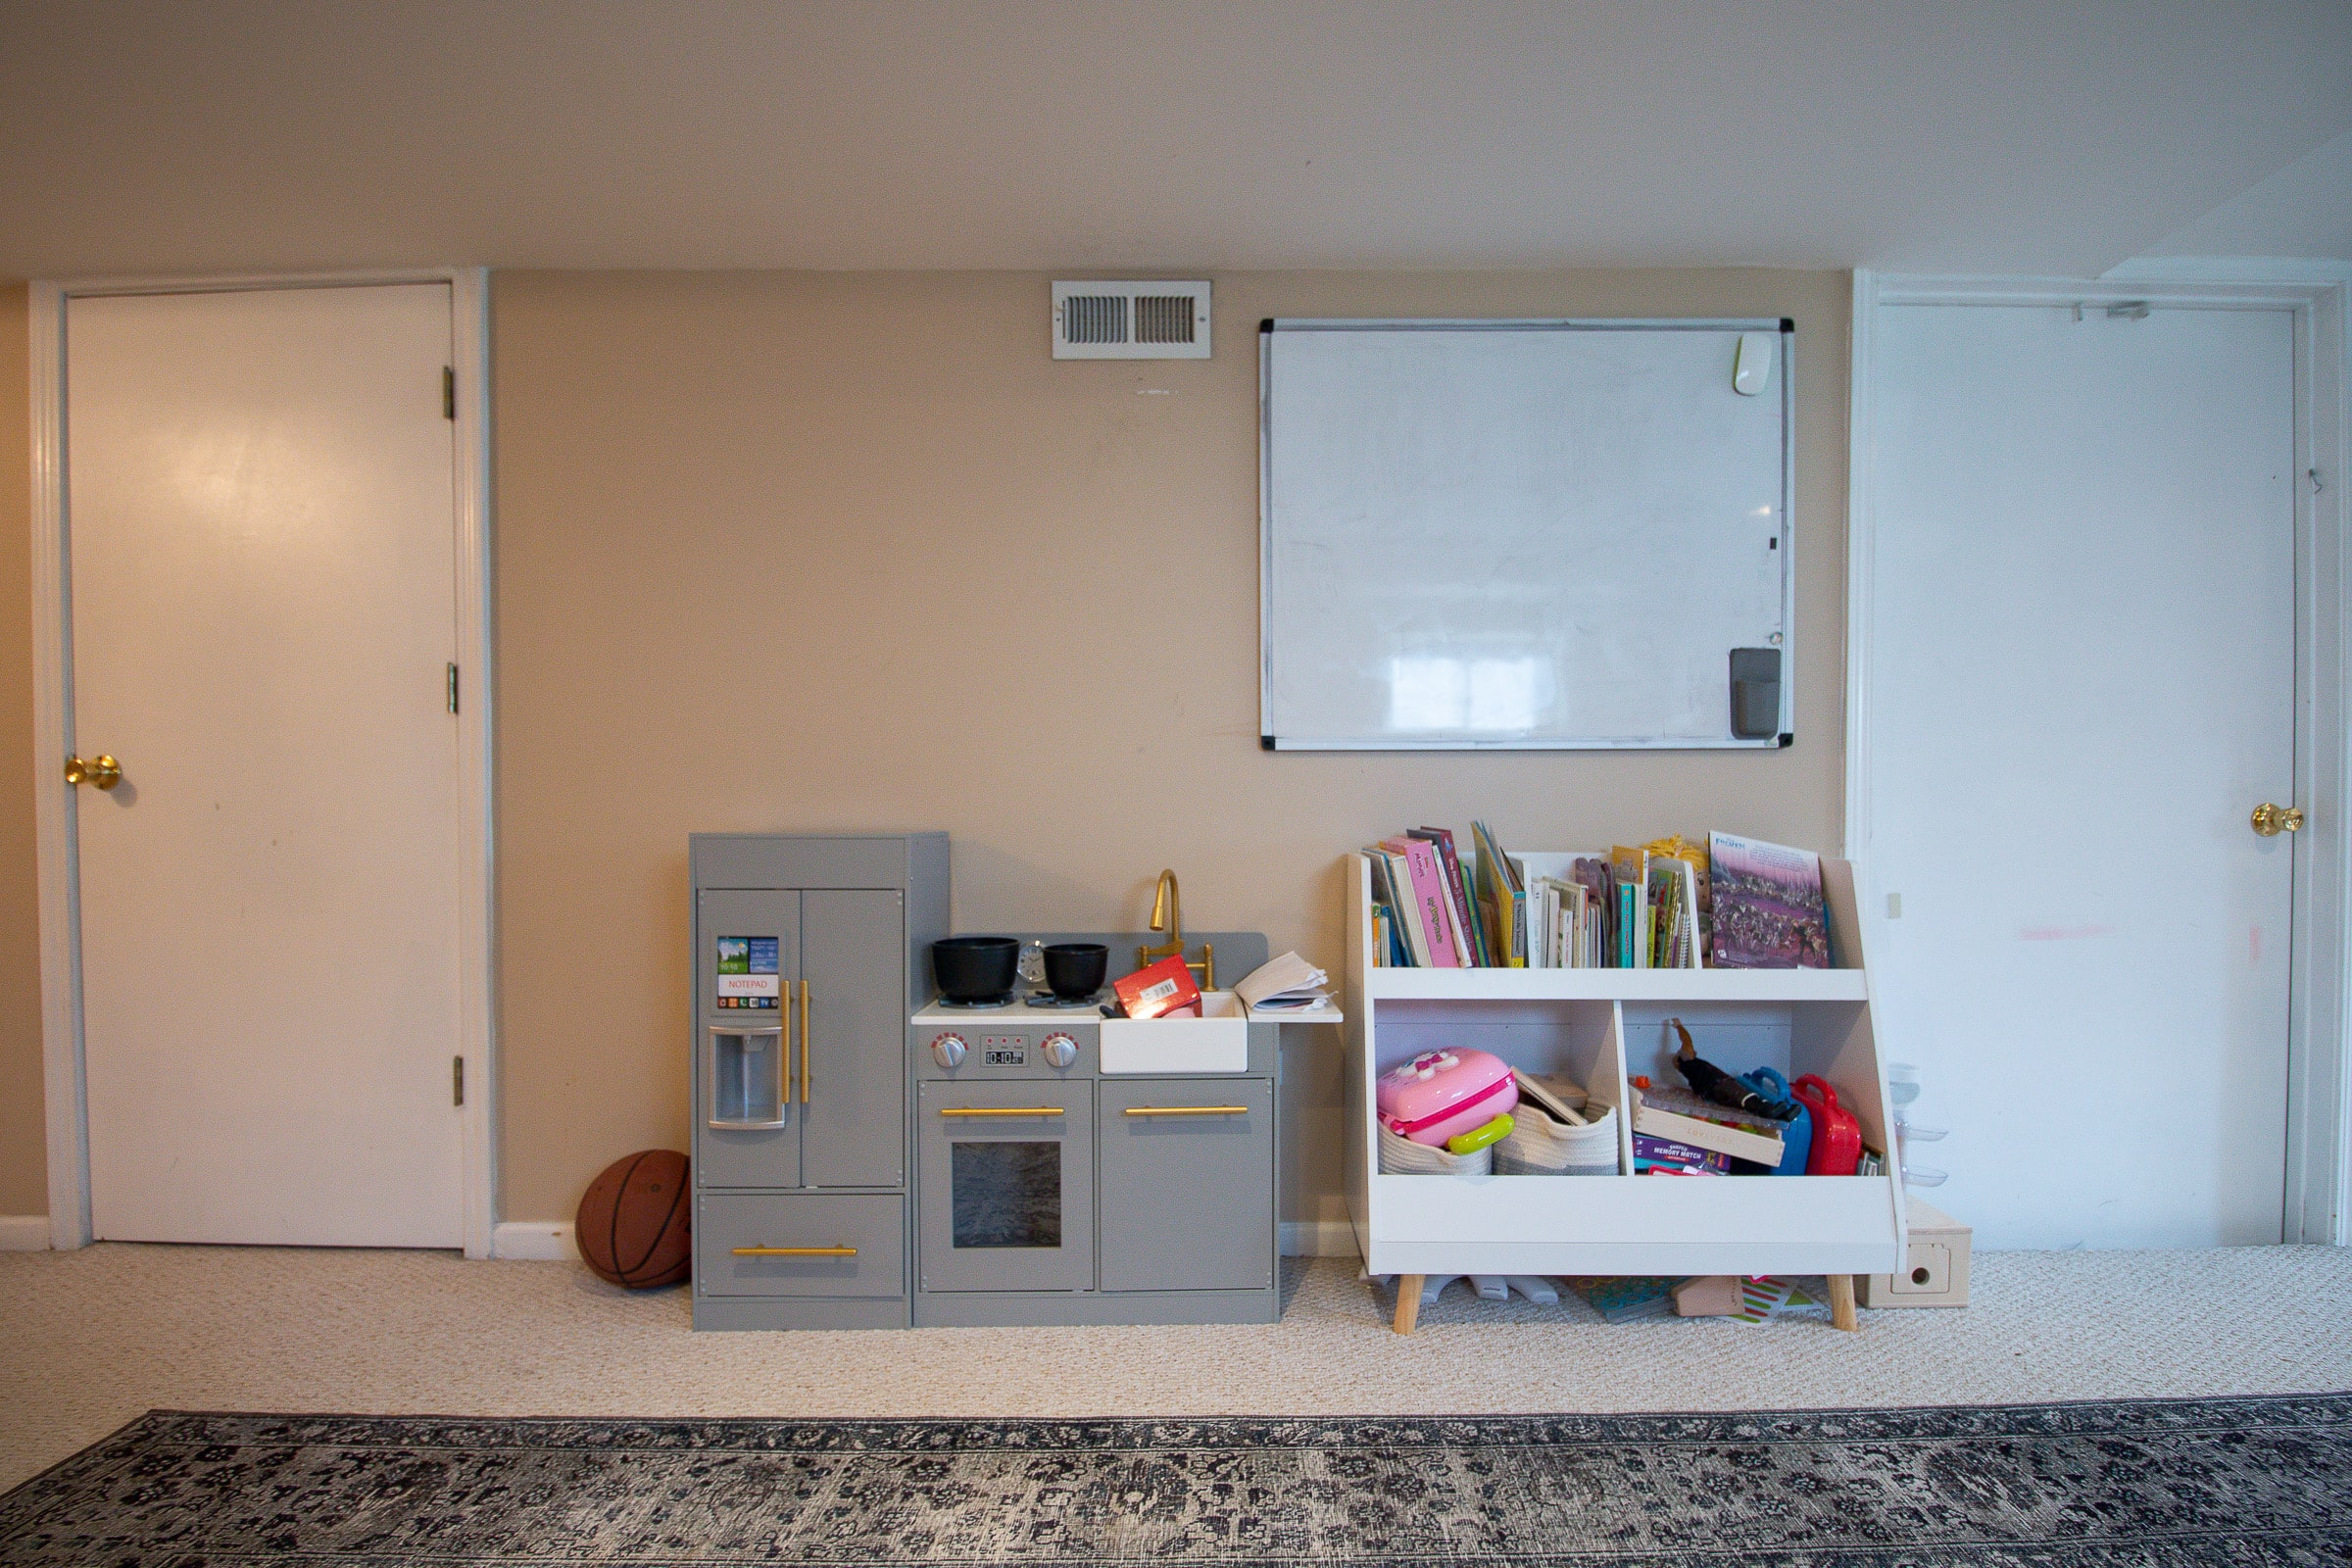
In the above photo, the door on the left is a small closet that goes under the stairs. I’ve got some big ideas for this spot. The other door leads to another storage room and our HVAC system.
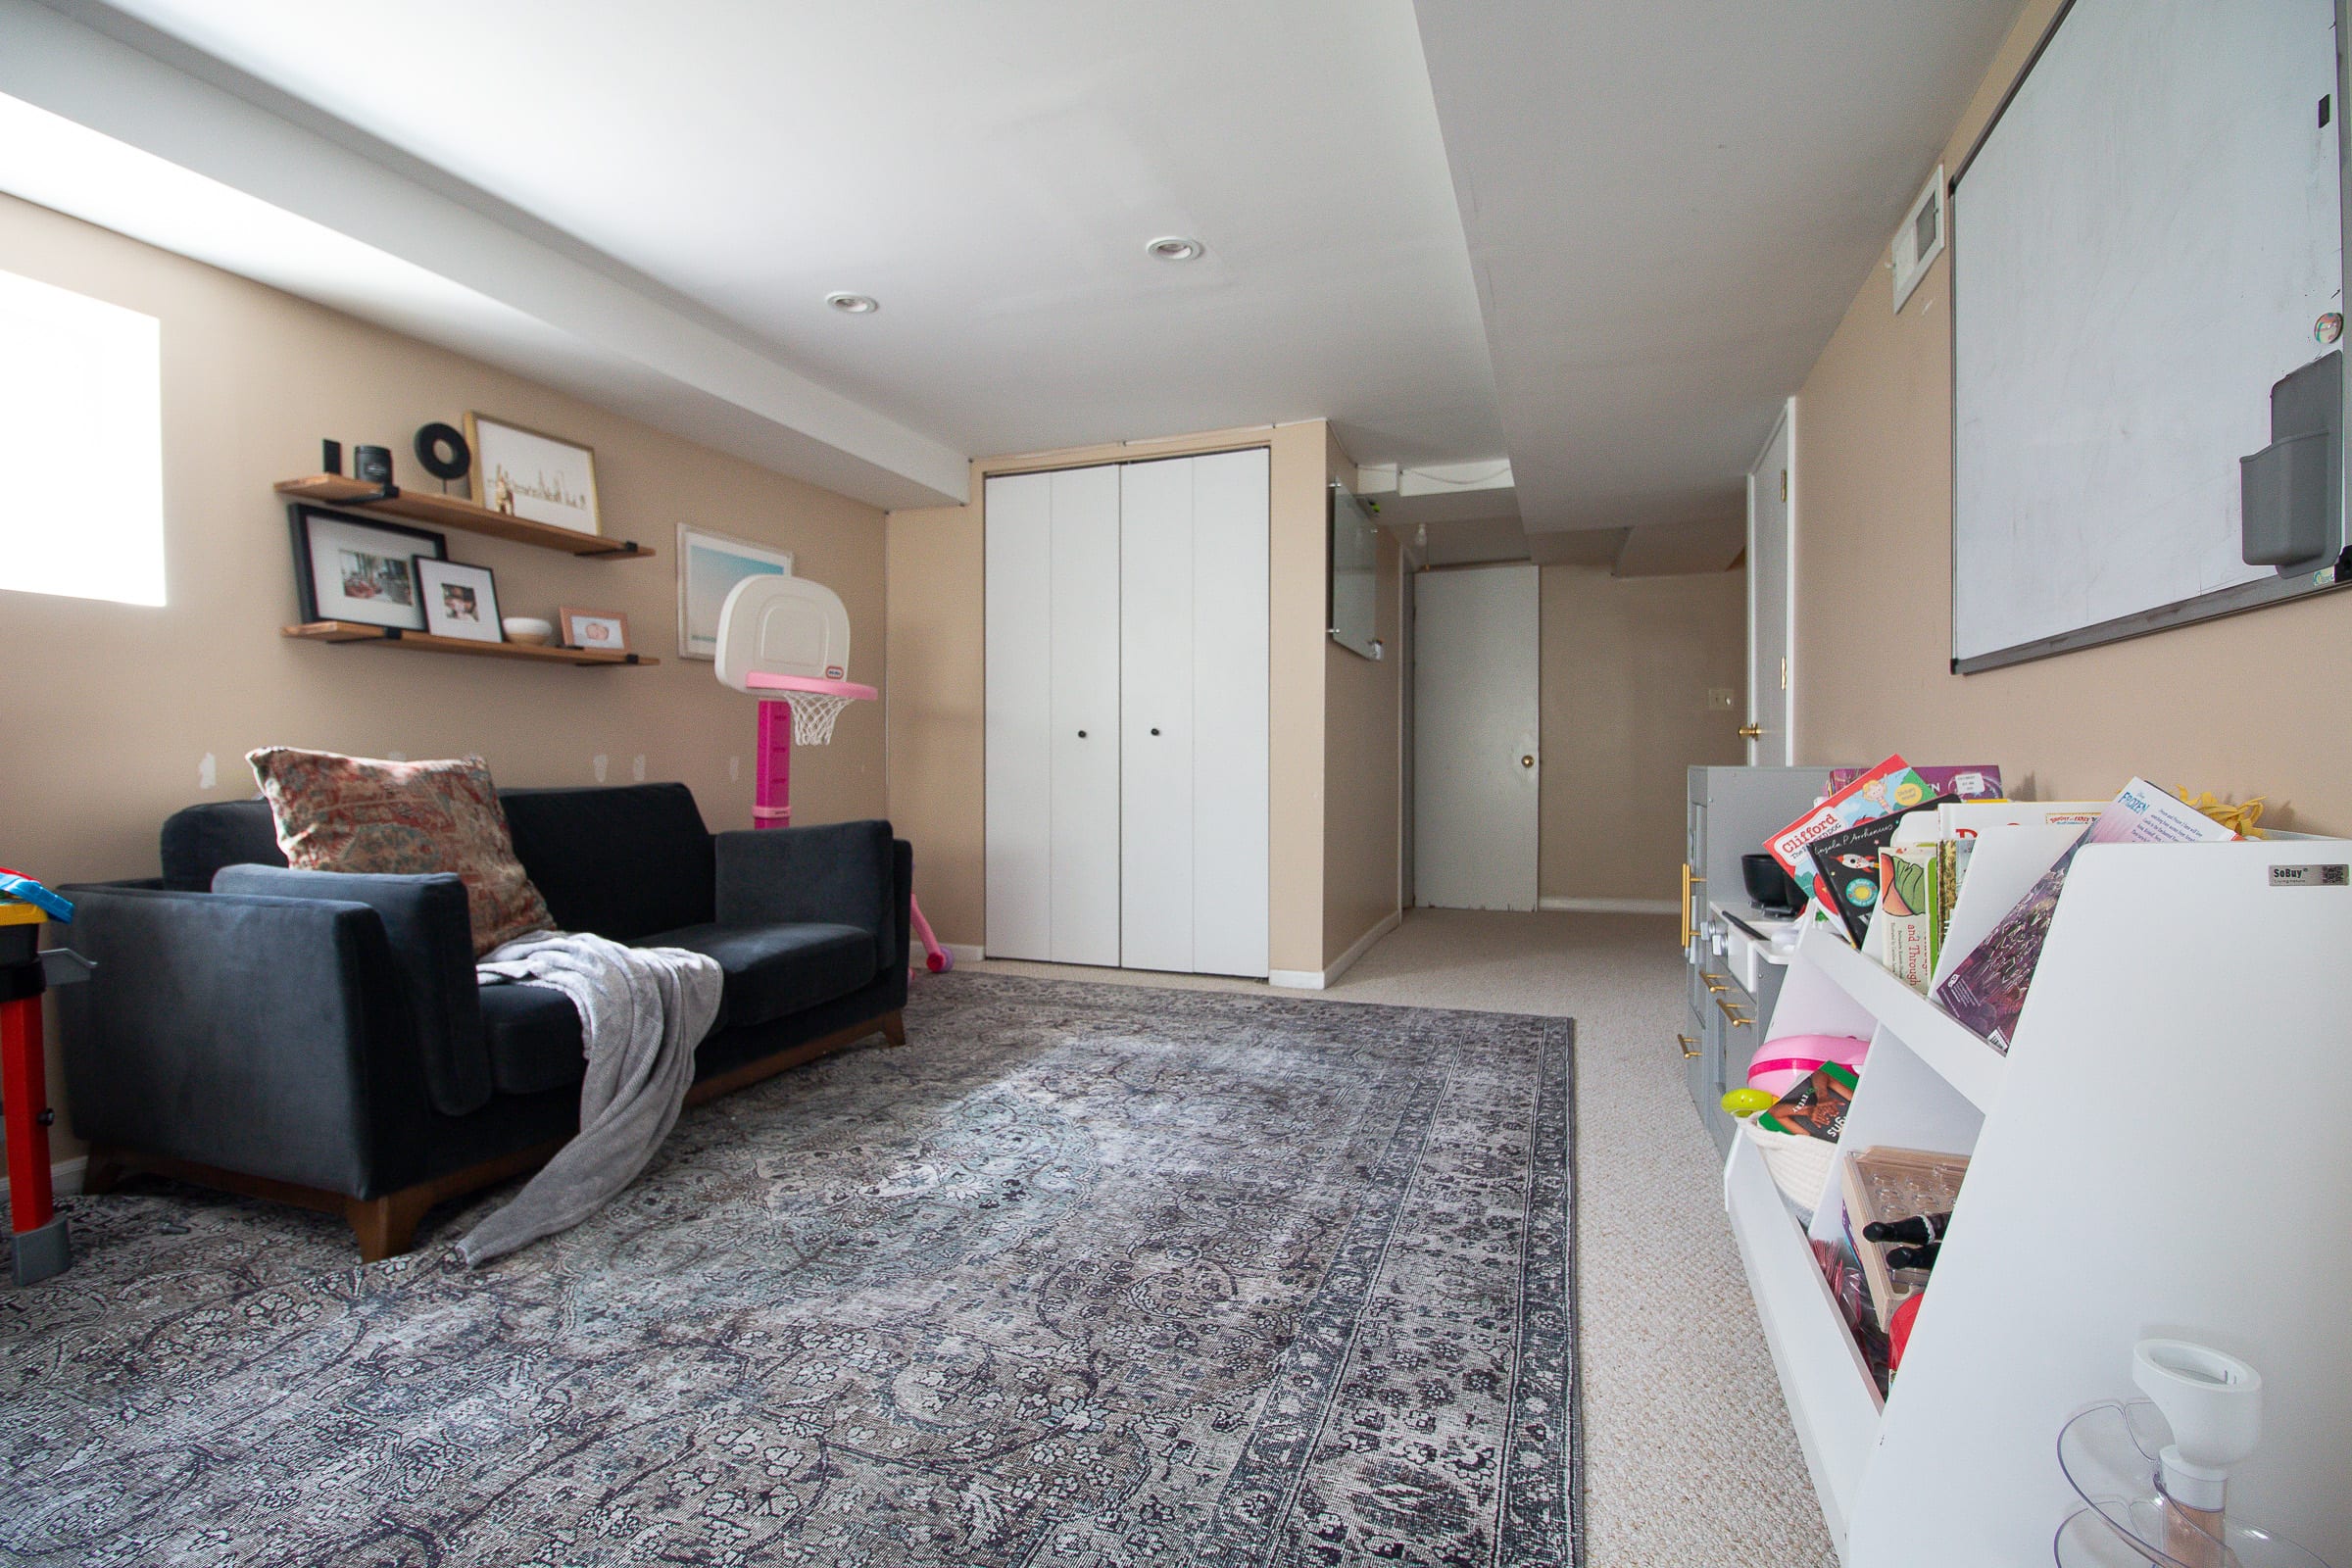
Looking back towards the stairs, you’ll see a closet with bi-fold doors. Right now, this is again a hodge podge of items, games, and toys. I’m very eager to get this spot looking good and to give those bi-fold doors some TLC.
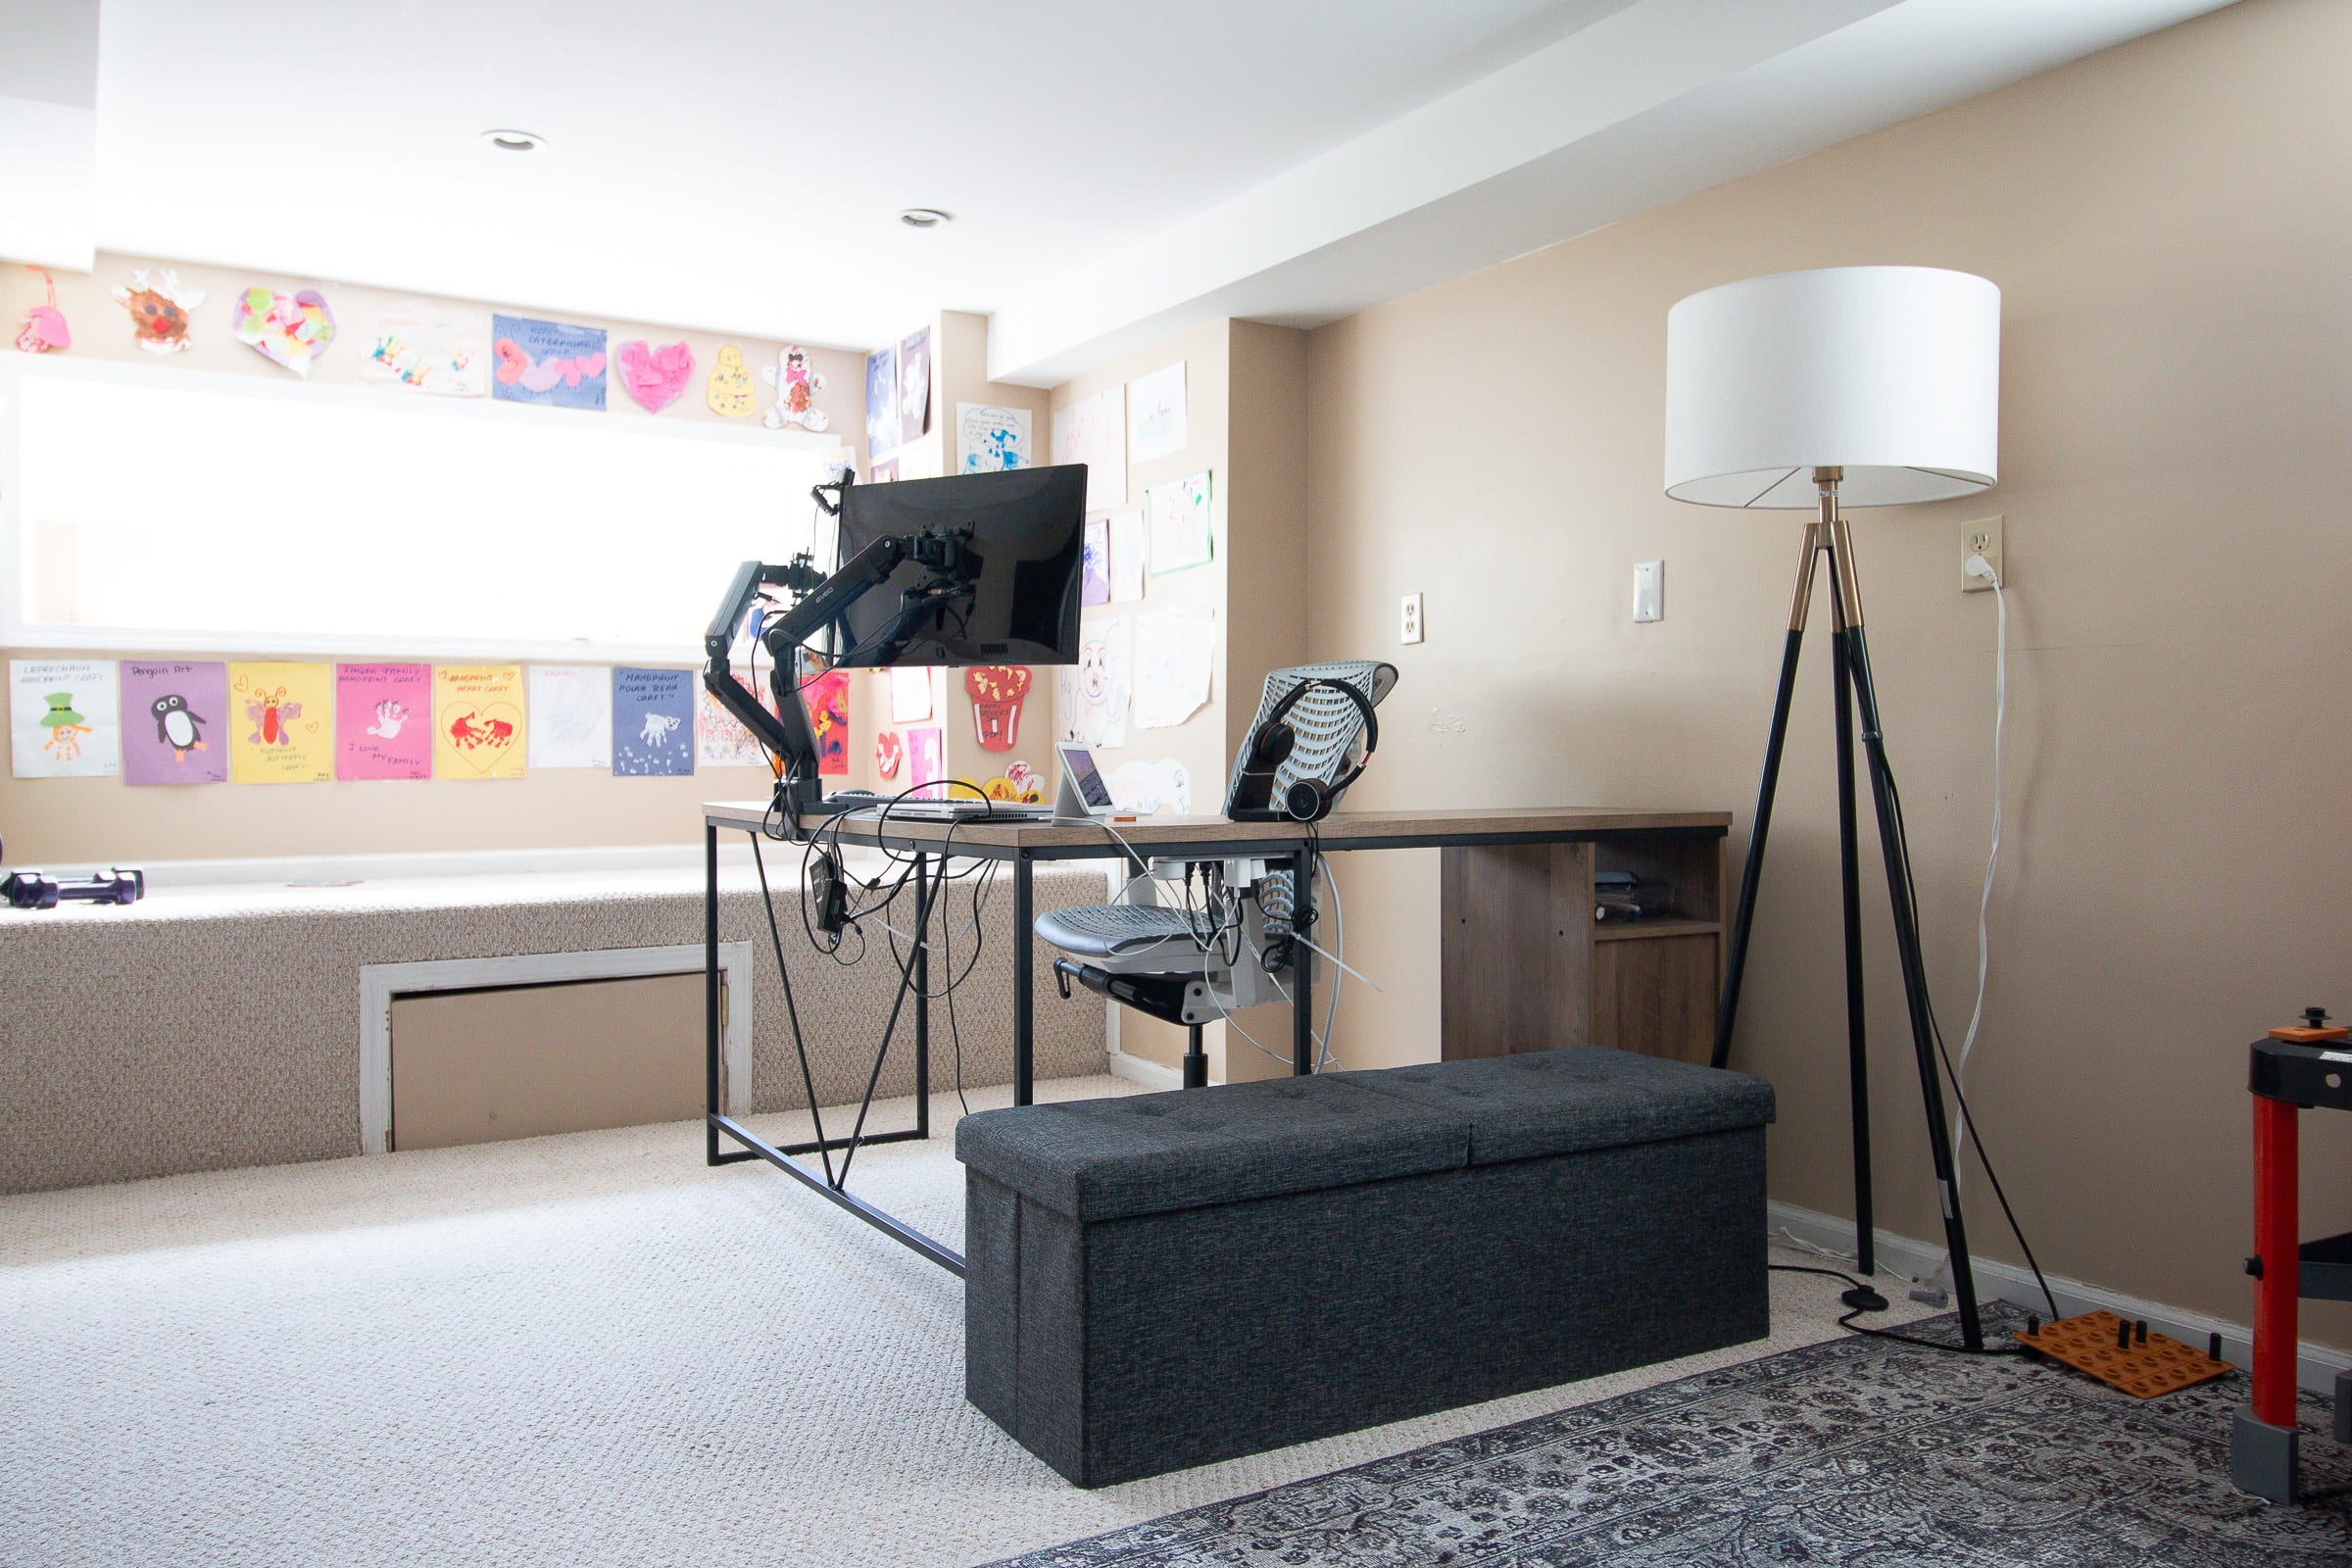
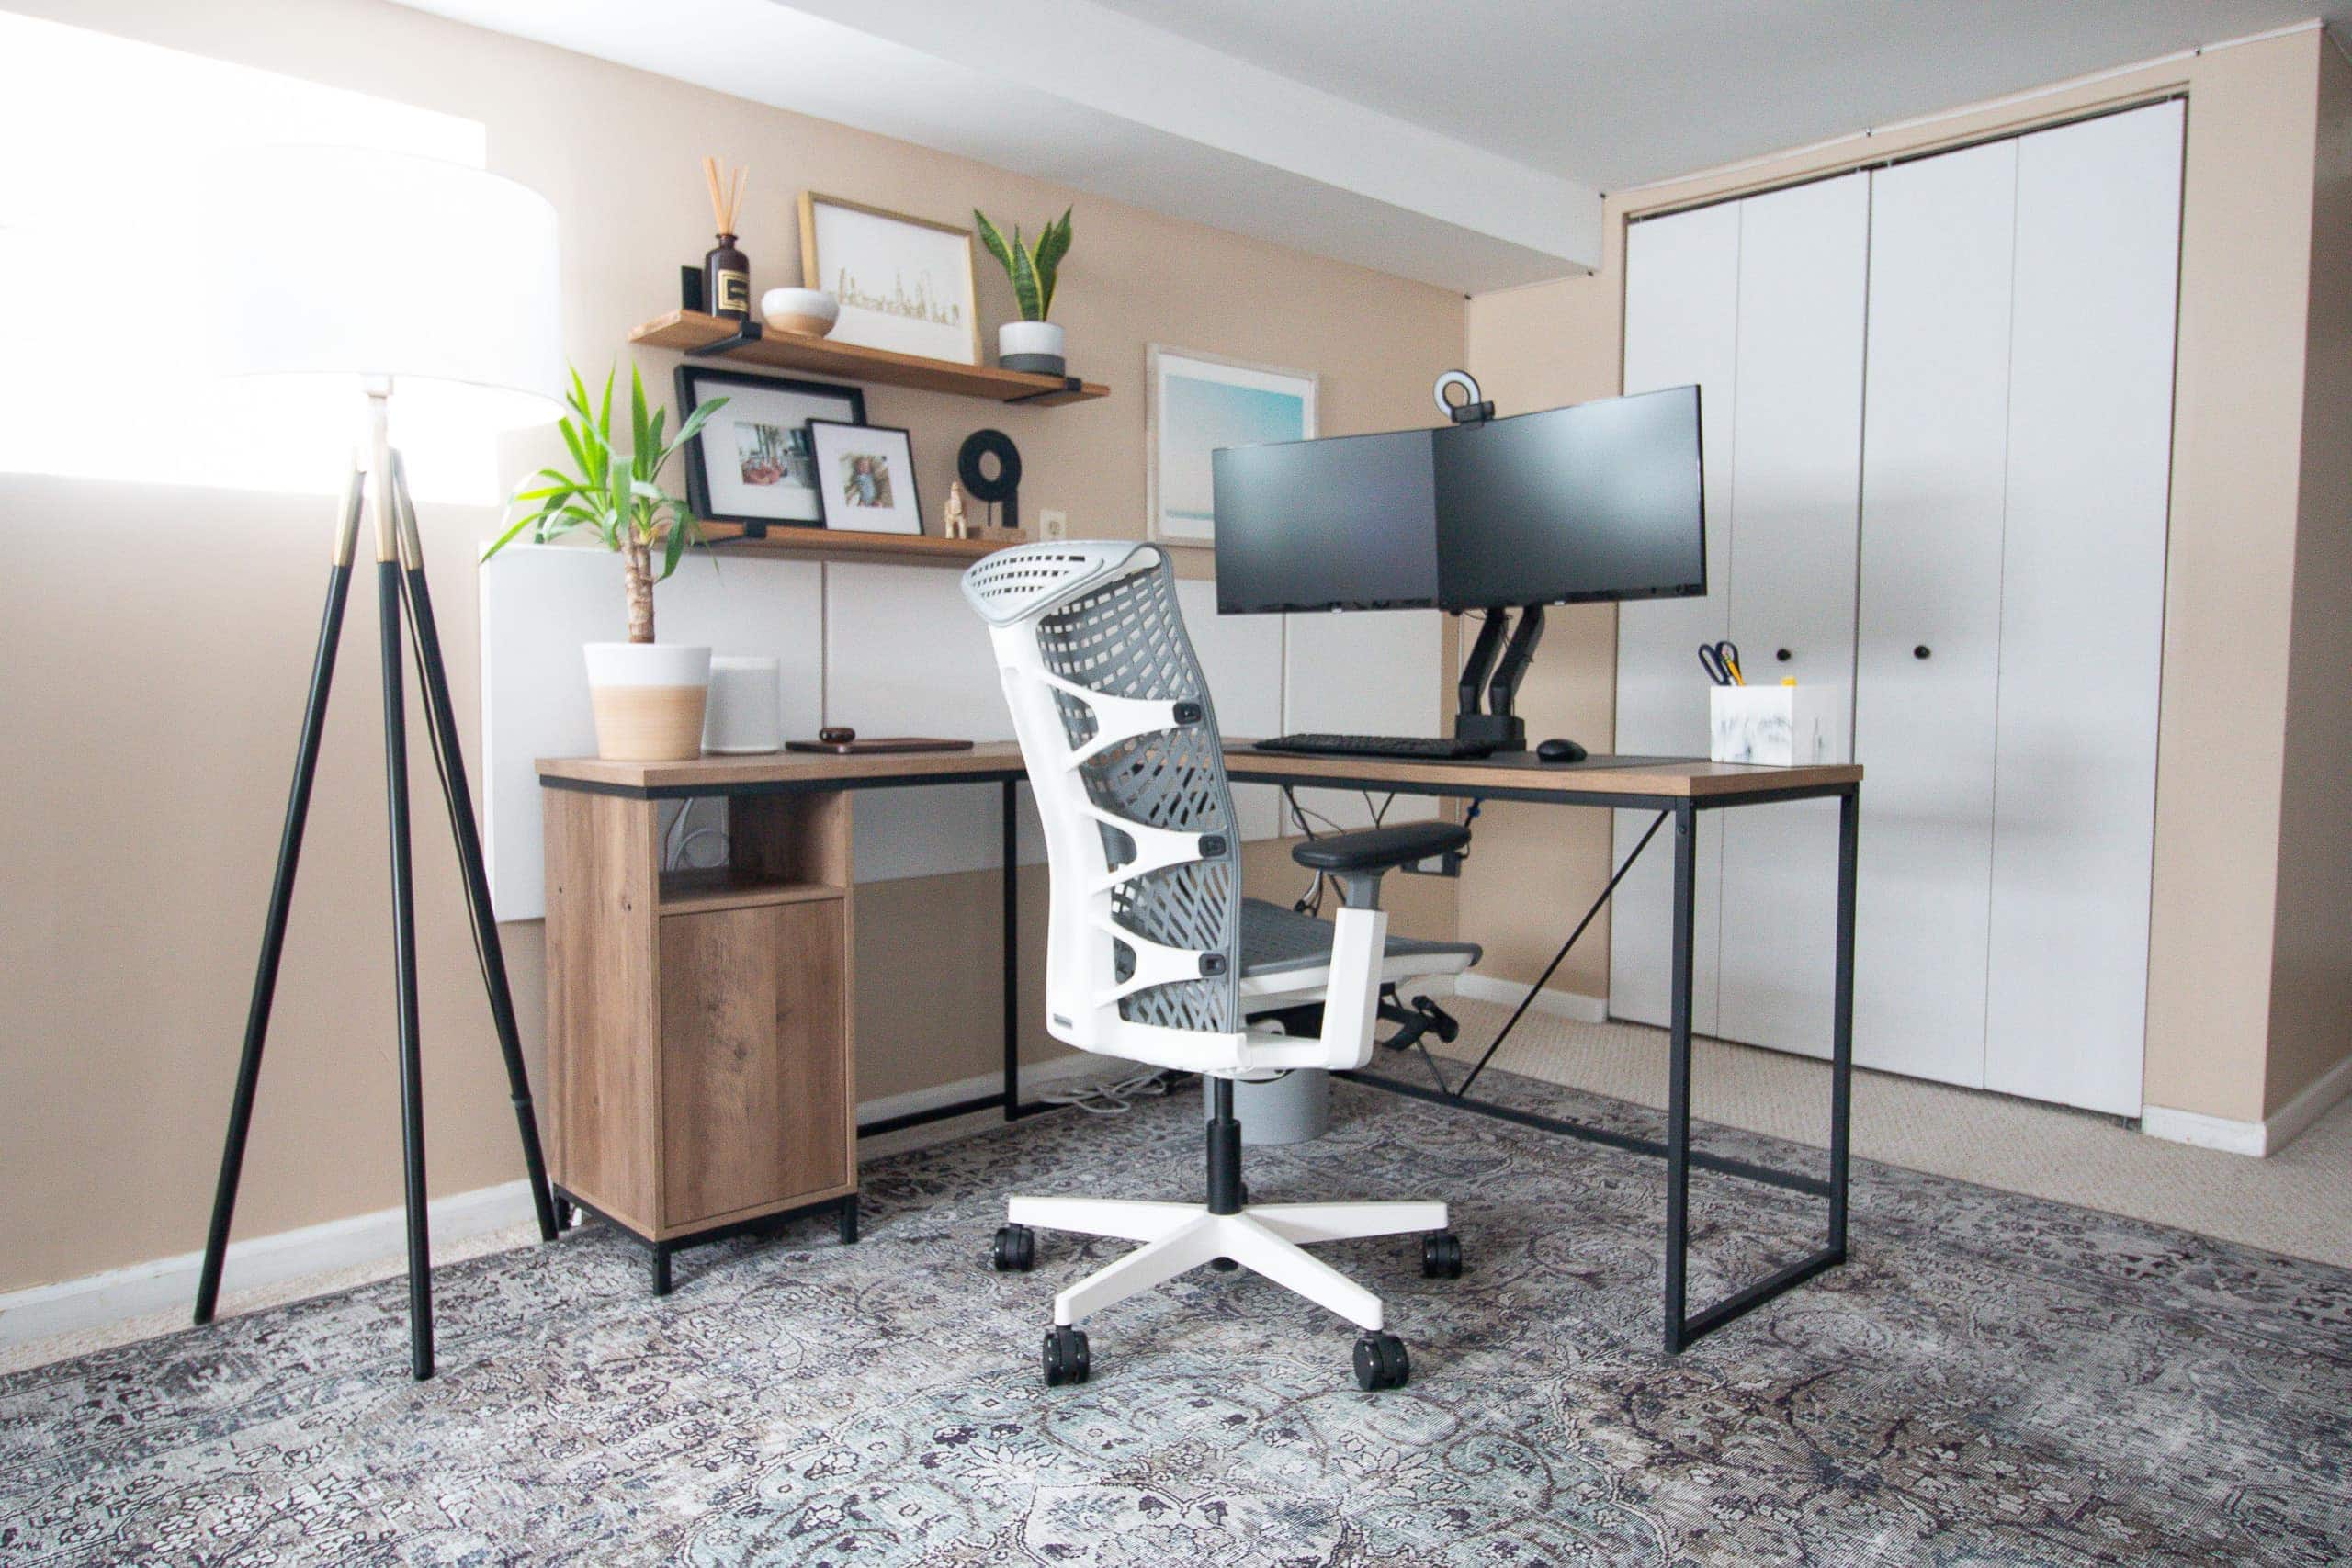
Next is Finn’s work area. He has his L-shaped desk and he likes being near the window for extra sunlight. Other than that, it’s not the cutest-looking area in the world. The poor guy is on Zoom calls with beige walls and an outlet right behind his head.
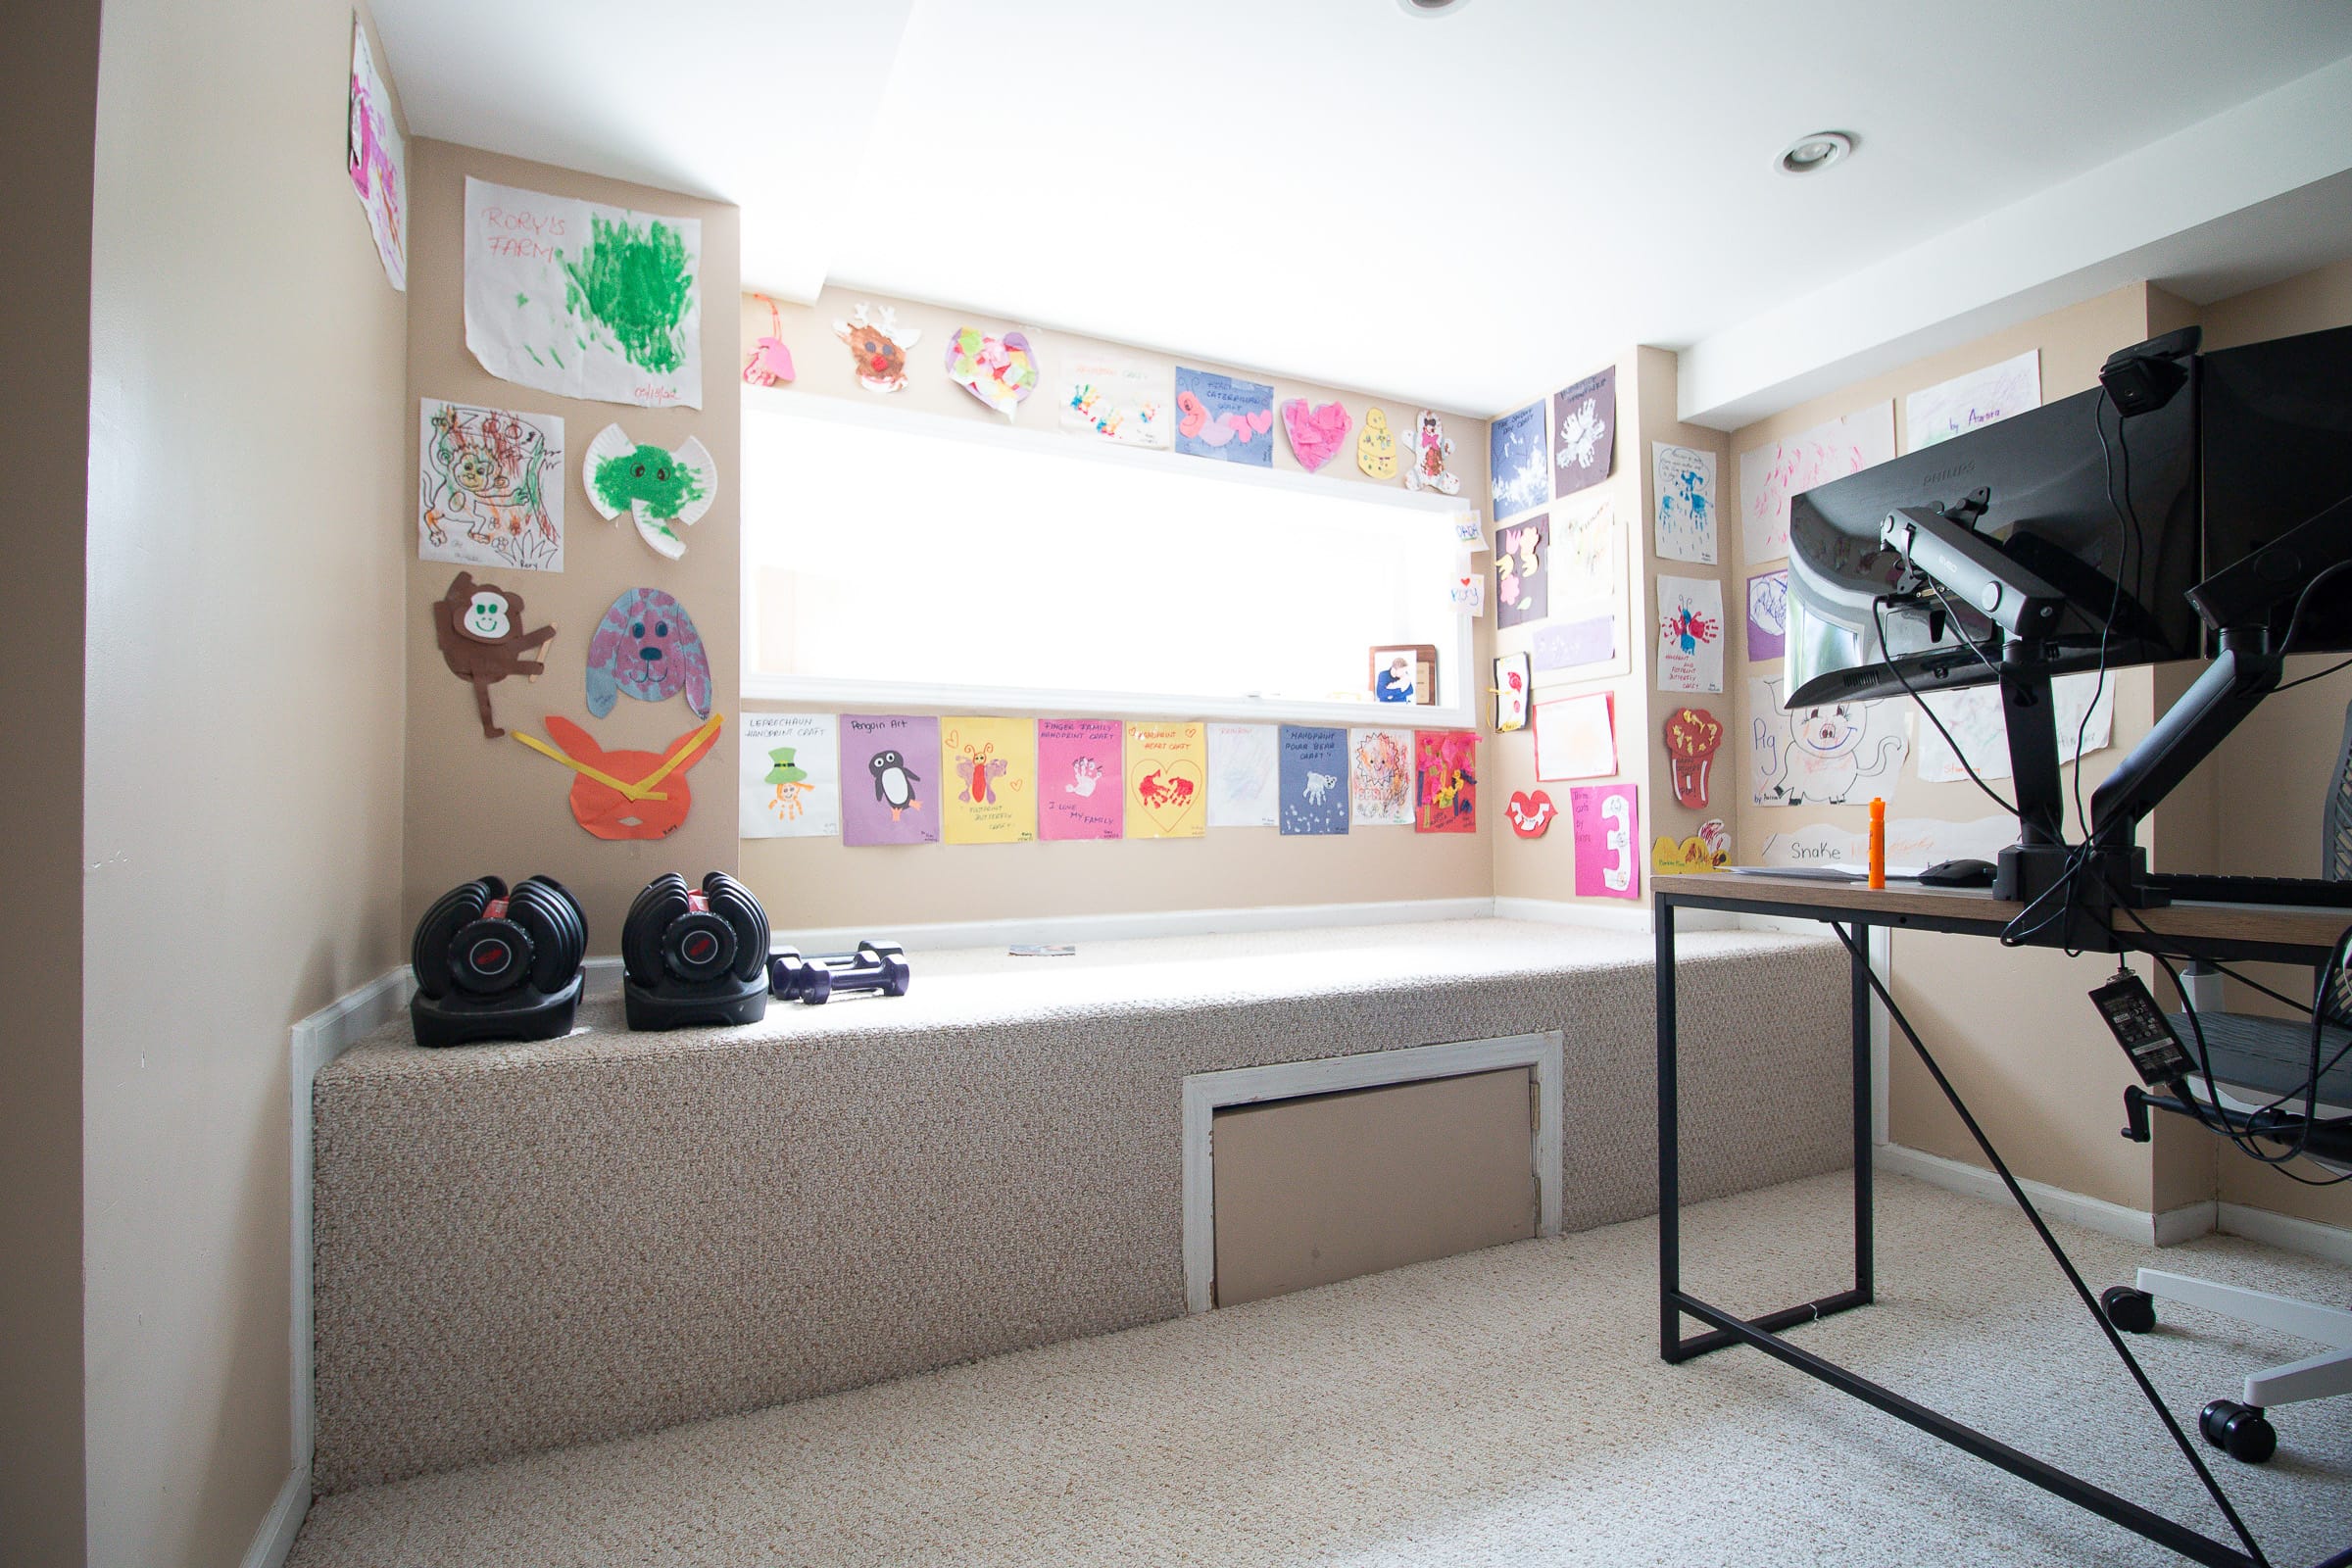
Near his desk, you’ll find this large platform area, with Finn’s shrine to Rory’s school artwork. The platform is super bizarre and we had no idea why it was there when we first bought the house. We’ve since learned that our main water supply and shut-off valve are located on the floor behind that little door. So it’s an essential area, even if it’s pretty random looking. Again, lots of ideas for this spot!
Phase One – Improve The Bones
Okay, so now you should have a pretty good idea of the basement “before”, and how everything is currently laid out. But let’s talk about what happens now. How am I going to transform this space so it works well with the rest of our home?
Phase One is what I’ll be tackling over the course of the next few months and it’s all about improving the bones of the space. The floors, walls, and ceiling will all get some attention before I start talking about the pretty stuff. Even though I’m eager to chat about furniture and playroom ideas, the bones of the basement need so much work. This space hasn’t been touched in decades and it has seen so much wear and tear! Here’s my initial game plan of tasks…
- Remove and replace all baseboards, door, and window casings
- Add electrical boxes for wall sconces (I am hiring a pro for this)
- Add a wall of shiplap to the new entertainment area
- Add picture frame molding to the flat-panel doors and replace the door knobs
- Paint everything (including the ceiling?) a moody color. Not quite sure which color just yet
- Remove and replace the carpet (I am hiring a pro for this)

The woodworking, with the new trim, is going to be a hell of a lot of work and I imagine it will take me a while by myself. I’ll first remove everything, then add the door and window casing, and finally the baseboards. You may be asking yourself why I would go to all of that trouble. Trust me, I thought about just painting everything and calling it a day. But the trim is actually pretty gross and I would love it to match the meaty baseboards we have in the rest of our house.
Plus, it gives me a great opportunity to break down these tutorials in detail so you can do these projects yourself at your own home. I’m using trim from the brand Metrie and I was drawn to their Option M New Traditional line. I’m most excited about the new taller baseboards. Yay!

The doors will be another fun DIY project. I will be adding molding to make them look more high-end. I thought about replacing the doors altogether, but it just wasn’t in the budget. This will give them a brand new look for a lot less. I’ll also replace the door knobs with the black ones we have upstairs that we love so much!
Then, everything will get a coat of fresh paint. I know people get nervous about using saturated hues in a basement out of fear that it will make it look too dark. But I sometimes think light colors look dingy in basements. I’m hoping to find a good medium tone and I’ll be painting the trim, walls, and potentially, parts of the ceiling, all the same color.

Finally, the carpet in here has got to go! It’s pretty disgusting. We’ve had it cleaned a few times, but there’s no saving this gross carpet. I’ll be sharing an upcoming blog post all about this topic, so get ready for that!
Phase Two – Add Beauty, Design, & Function

Once the bones are where I want them, it will be time for the fun part. Finn and I have walked through the basement many times to figure out how we want to use it and how we want it to function. He is still primarily working from home, so we do have to include a workstation down here for him. However, he would like to make its footprint smaller.
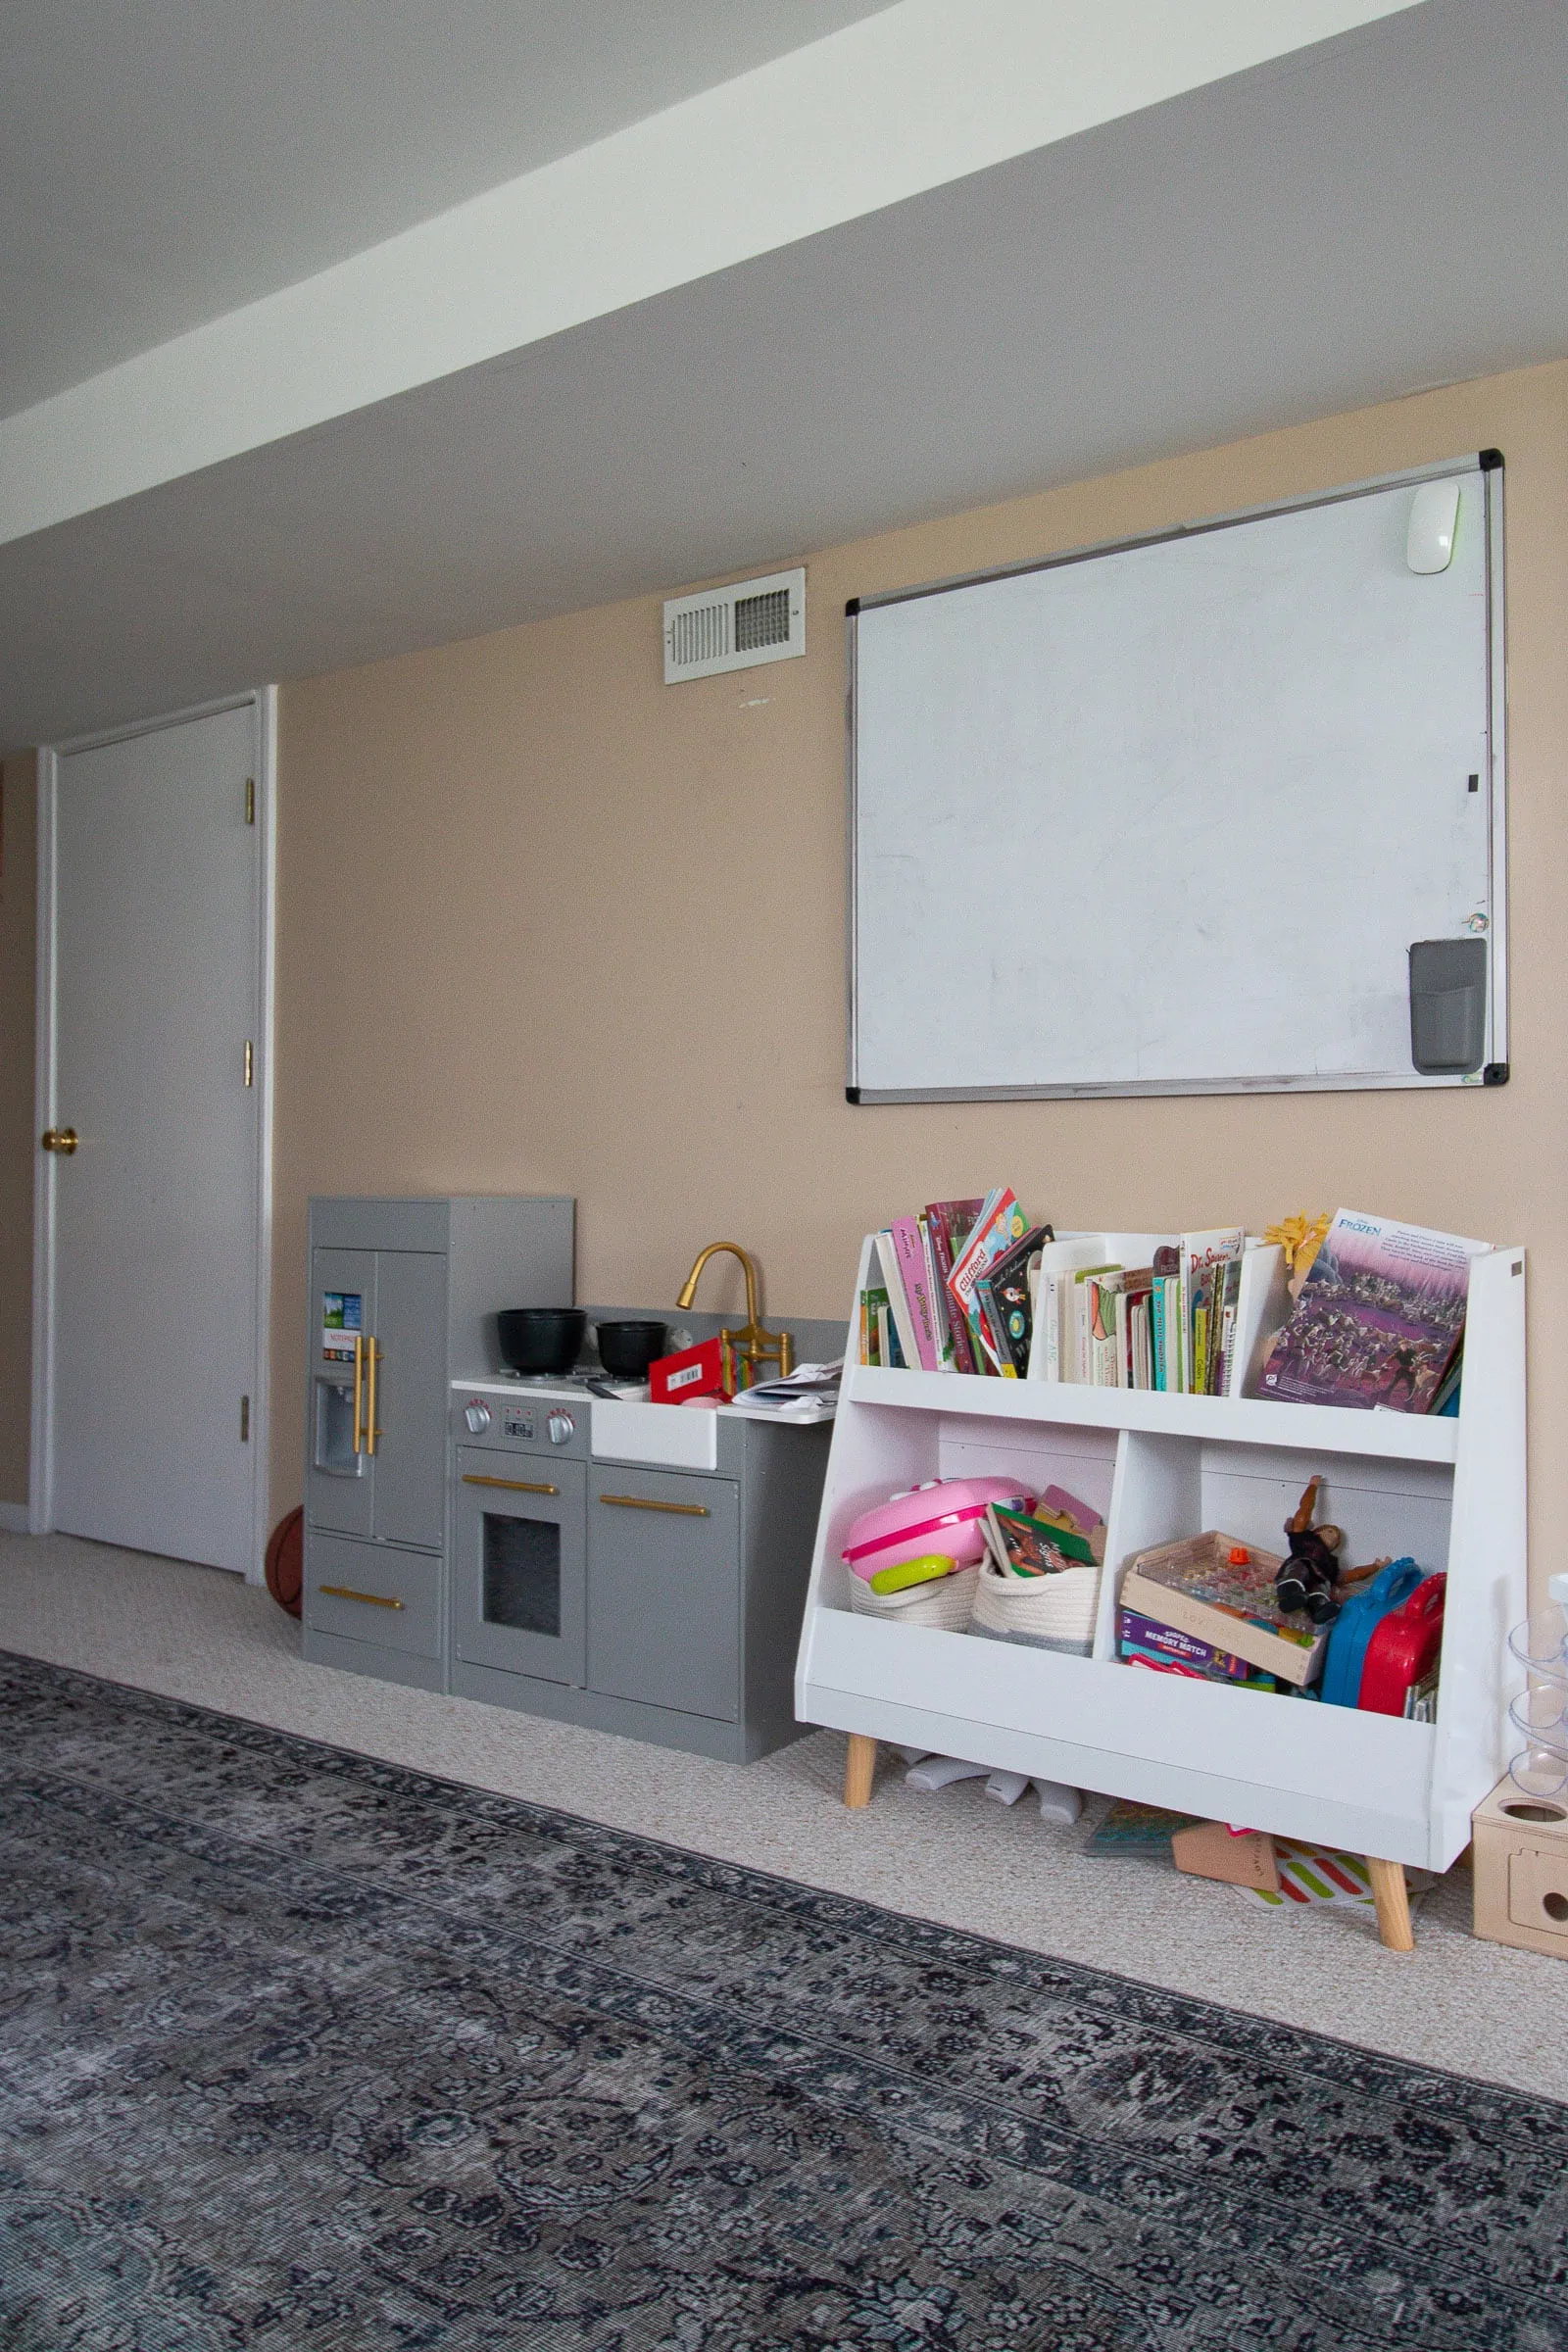
Our goals for the space are to have an office for Finn, an entertainment area with a couch and TV for family movie nights, and then a play area for the kids with their coloring table, play kitchen, and lots of storage. Oh, and we would like to make the “stage” a large reading nook and bench area so it’s cozy and less of an eyesore. And as I mentioned in this blog post, I’ll also be coming up with a good way to display our kids’ artwork.
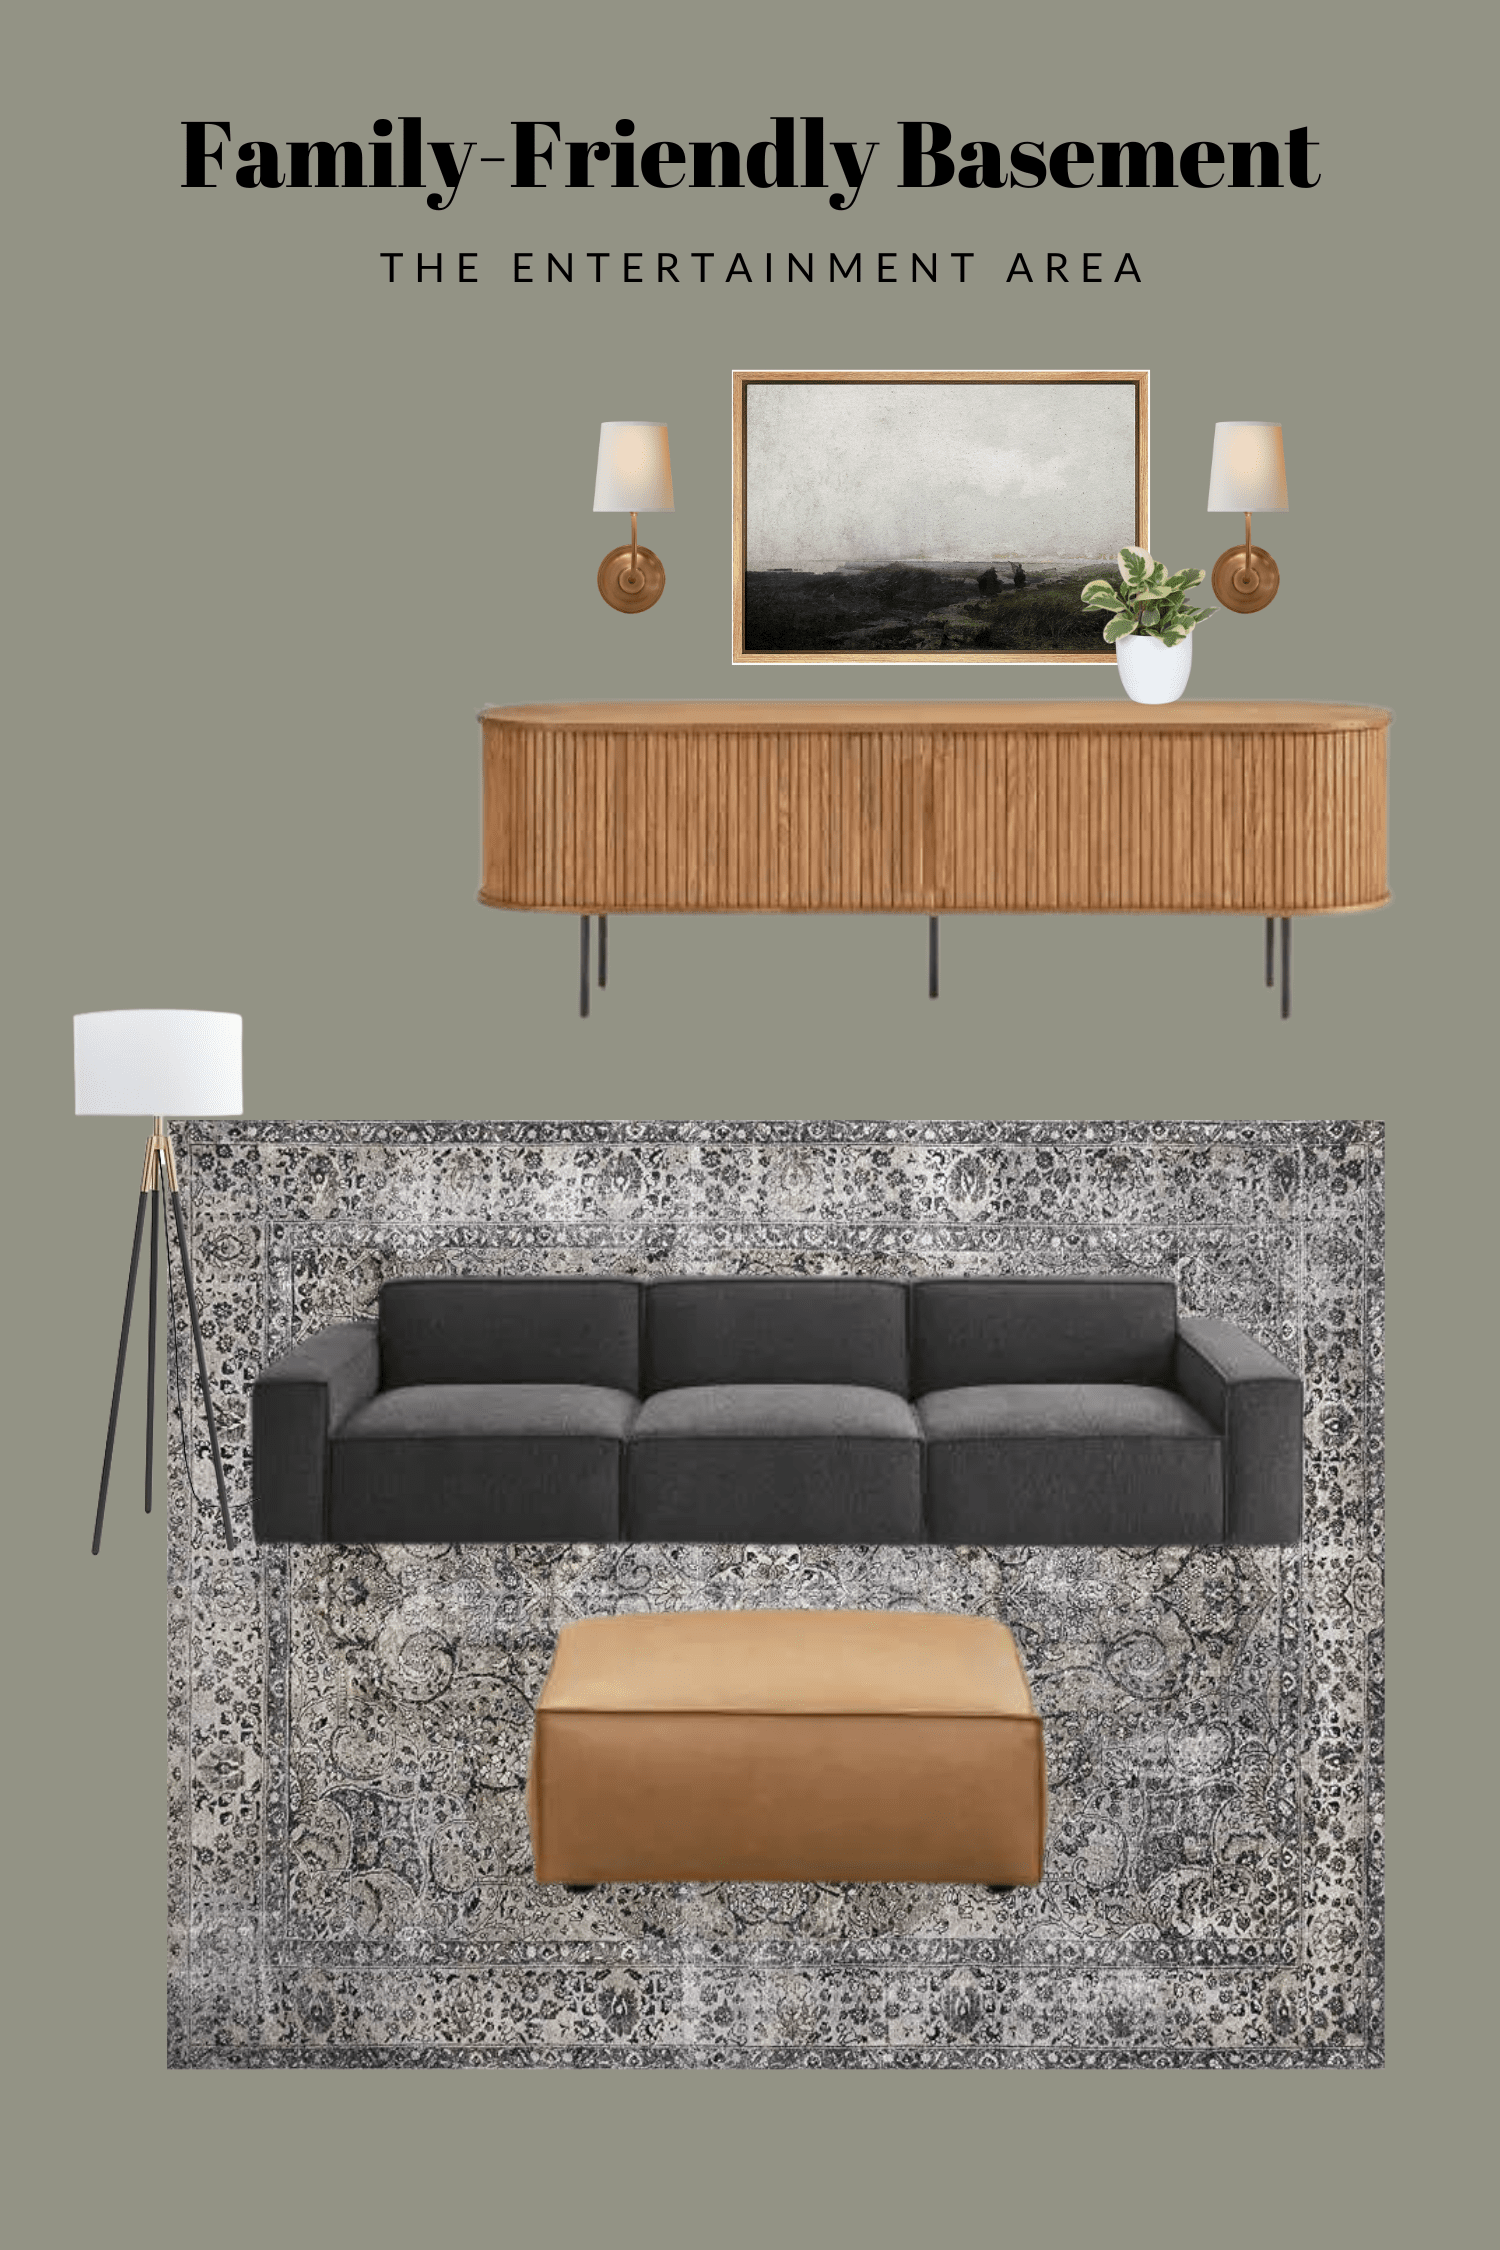
Rug // Couch // Ottoman // TV Console // Sconces // Floor Lamp
The first area I’ll tackle is the entertainment area. We’ll move the TV to the wall where the play kitchen now lives. Behind it, we’ll install a wall of vertical shiplap and sconces flanking it. Across from the TV will be a large and comfy couch. I don’t quite have the office and playrooms designed just yet. I figure I’ll go slow and see how it all comes together!
What’s Next?
I’ll soon share a blog post all about the research I’ve done narrowing down my top carpet contenders. This is my first foray into the carpet world, so I’ve learned a lot. After talking to the carpet professionals, they recommended that I get the trim and paint done before the carpet installation. So, that’s giving me the kick in the butt to get moving on the trim work. Can’t wait to share more as this DIY project comes to life!