A Step-by-Step Guide To Clean And Put On Your Duvet Cover
I absolutely love our bed. It’s incredibly comfortable and I adore our soft sheets and warm, textured duvet. I try my best to remember to wash our bedding on a regular basis, but I’m human and sometimes I let a little too much time go by between laundry days!
Here are my simple steps to clean bedding and sweet dreams!

Our Cleaning Routine
In terms of cleaning, I have different routines for all of the various bedding components. When it comes to sheets, I’m big on frequent washing (it’s part of my Sunday routine).
I wash the duvet cover about once a month; and I only wash the duvet insert about once per year. I’m sure there are hard rules on when to launder these items, but this is our personal preference and what works for our household!
Washing the big queen-sized down comforter in our old washer and dryer wasn’t a great experience. It would get tangled up around the drum and it wouldn’t rinse completely, which meant I was left with a big, sopping wet comforter and a drying process that took hours (literally!).
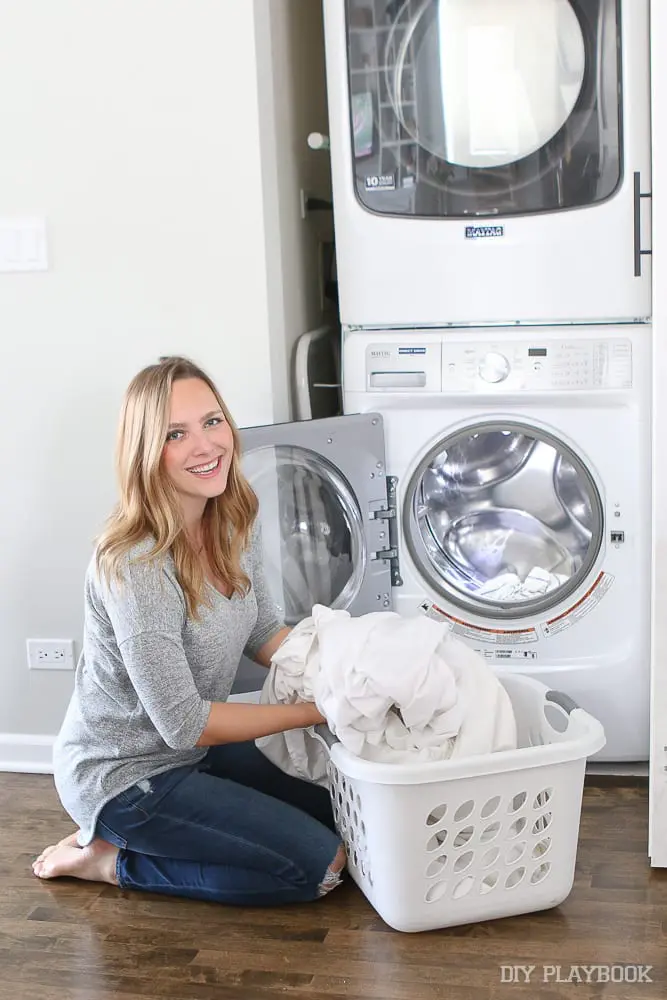
I recently washed our down comforter in our new Maytag appliances for the first time, and I’m happy to report that it went off without a hitch. No need to go to the laundromat for the large capacity washer, to find someplace for air drying, or to make a trip to the dry cleaner! These babies can actually hold the large comforter!
How to Wash Your Duvet Cover
I typically wash the duvet cover and the insert separately. However, I use warm water as well as mild detergent (good for sensitive skin, too) for both.
Definitely check the care tag first though, because some duvet covers may call for cold water or a more gentle wash cycle. You’ll also want to check the care instructions on your bedding as some aren’t machine washable and require professional dry cleaning.

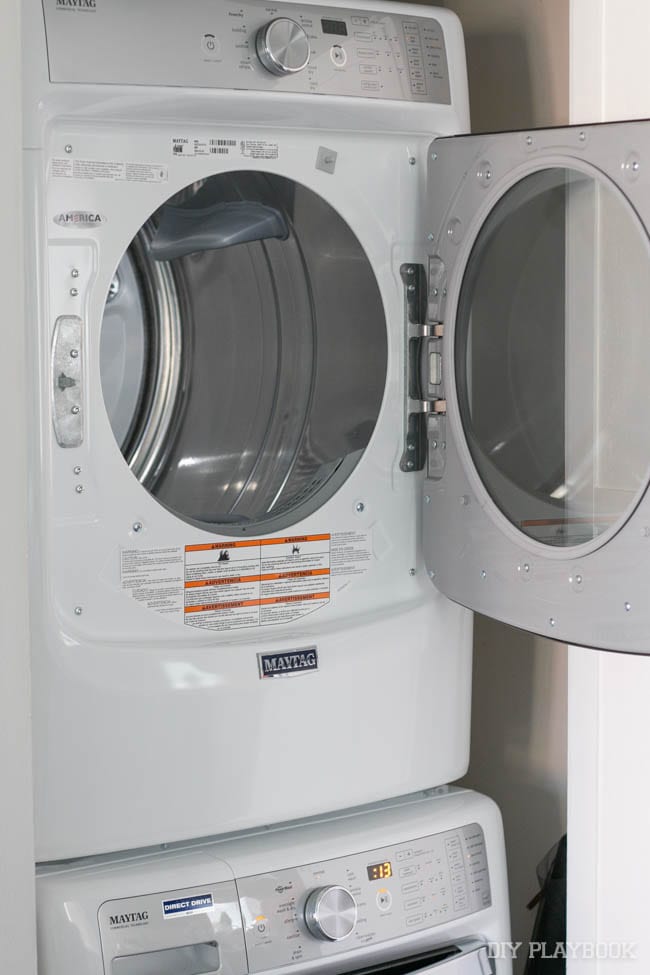
When it comes to drying the duvet insert, make sure it’s incredibly dry before you put it back on the bed. With a down insert, or even a down-alternative duvet, dampness means the feathers or synthetic materials in there can clump up and stay wet, leading to mildew growth – yuck!
In this large-capacity dryer, there is plenty of room to get our bedding evenly dried! I didn’t have to play the game of drying it, moving everything around to expose the wet spots, and putting it back in for more time.
I notice that I get the best results when I use a medium or low heat with a slightly longer drying time. Too much heat can actually burn the delicate fabric (that’s what causes those scuff mark looking stains). The good news is that if you carefully follow the care label, you’ll have a fluffy duvet for a very long time!
The Easy Way to Put on a Duvet Cover
Now onto the tricky part – putting the cover back on the duvet insert. There have been a couple of situations when my duvet cover and insert became a mess so tangled that I wanted to scream! That’s the last thing you want after doing all the work to get clean bedding!
I know there are many methods out there (have you heard of the burrito technique?), but this is my step-by-step guide to keep it incredibly simple.
Step 1 – Flip It Inside Out

The first thing to do is to flip the clean duvet cover inside out on the bed with the closure at the foot of the bed. If the part of your duvet cover that typically faces the ceiling has a design that’s different than the part that’s typically against the top sheet, you can also flip it upside-down here ( so the underside faces the ceiling).
Step 2 – Place Your Duvet On Top

Now place the duvet insert directly over the duvet cover.
Step 3 – Tie All Four Corners
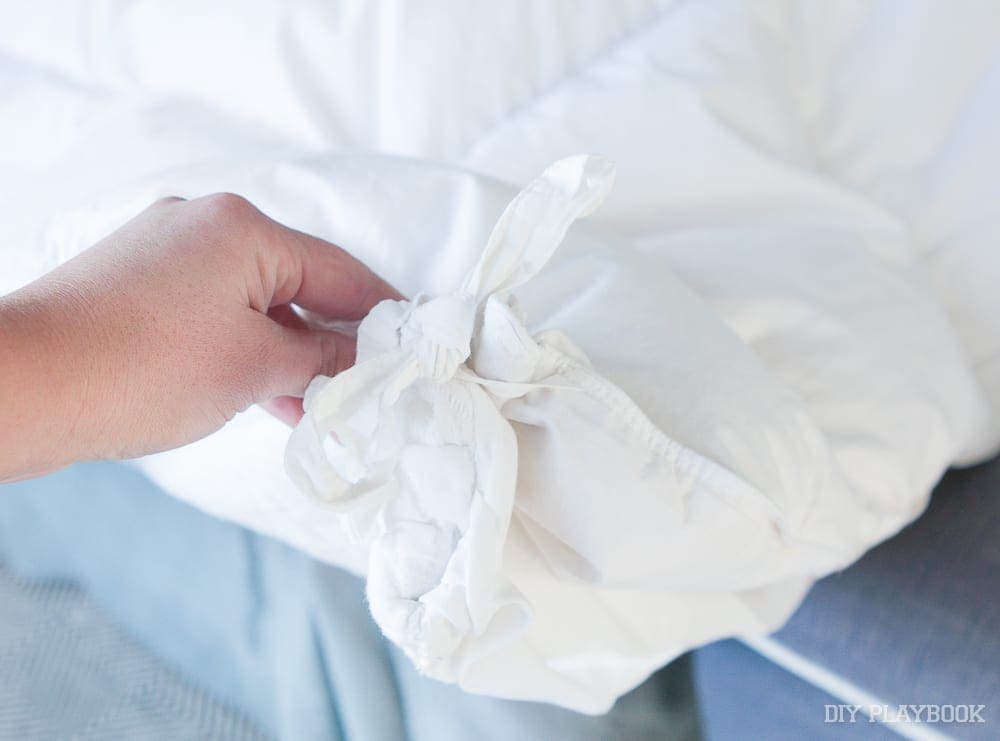
Next, tie the comforter to the duvet cover in all four corners (many covers these days come with ties, which makes it much easier).
If your comforter did not come with a space in the corners for the ties to be secured, it’s a good idea (and a quick project) to sew on a fabric strip where the cover can be attached.
Step 4 – Turn It Right Side Out
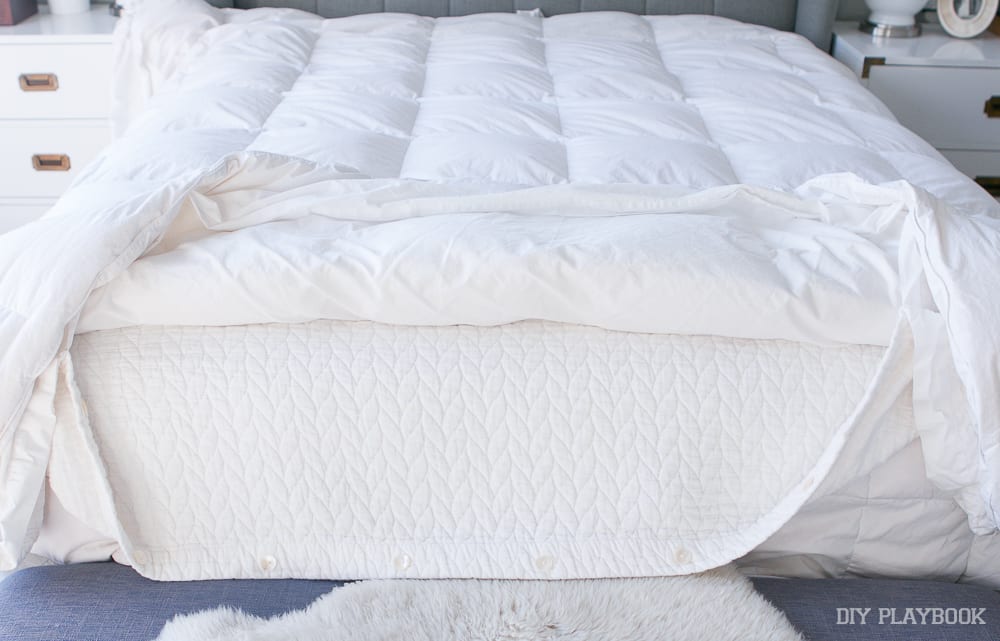
Go to the opening on the duvet cover. Reach inside until you get to the farthest two corners. Pull those two corners through the opening. Essentially, you’re turning it from inside out to the right side.
Step 5 – Button or Zip
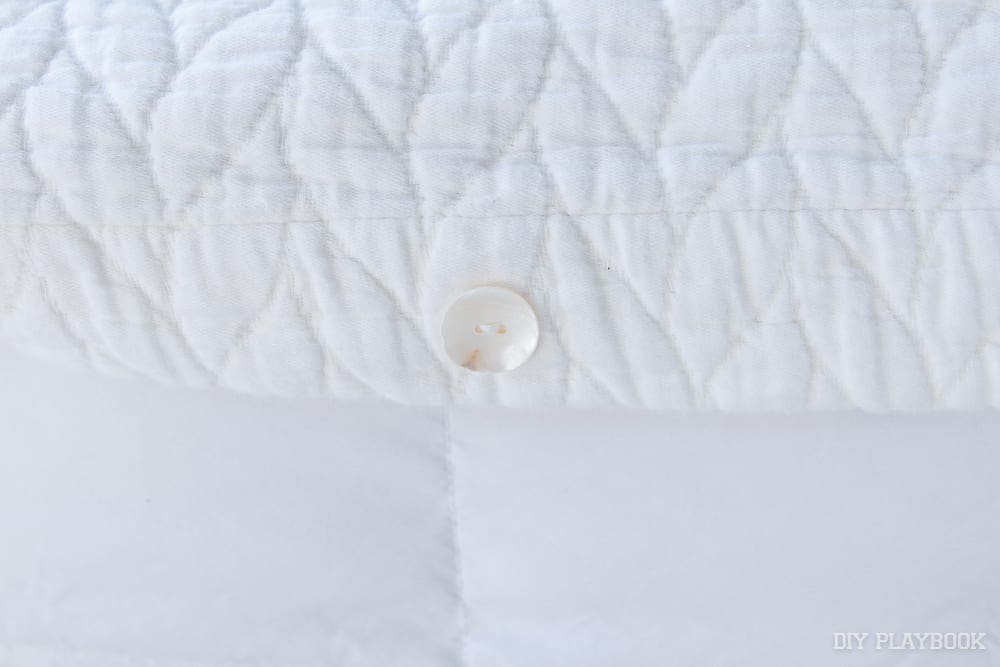
Button or zipper your duvet cover
Step 6 – Shake It!
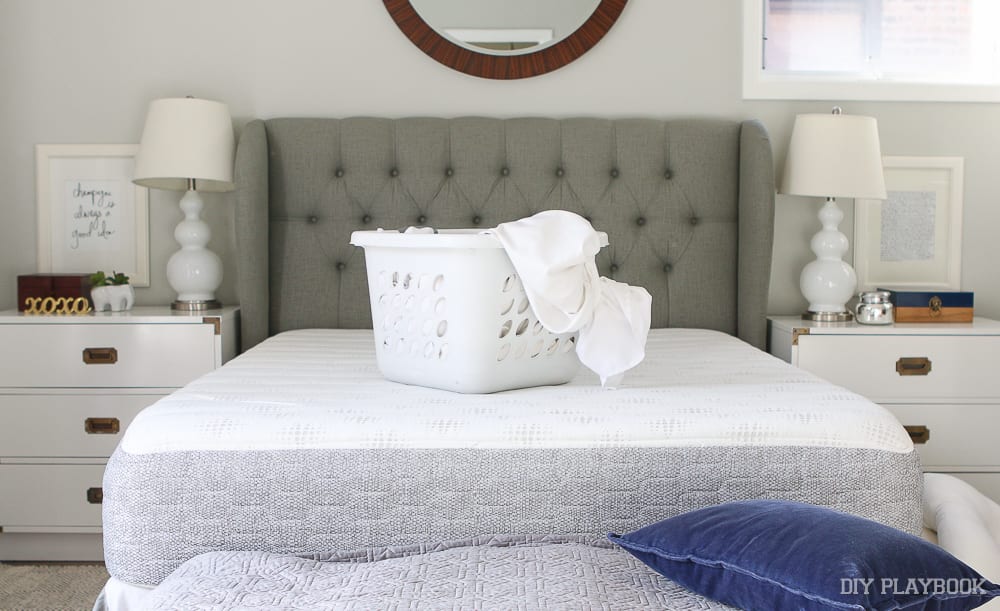
Shake your cover well so there are no lumps and it is evenly distributed! Now you’re ready for a deliciously deep sleep!

This method is the best way to get a non-lumpy look every.single.time.
Going forward, hopefully you can wash your bedding on a regular basis and not dread it! Does my weekly, monthly, yearly routine sound sanitary enough? On second thought….maybe don’t answer that! Ha!
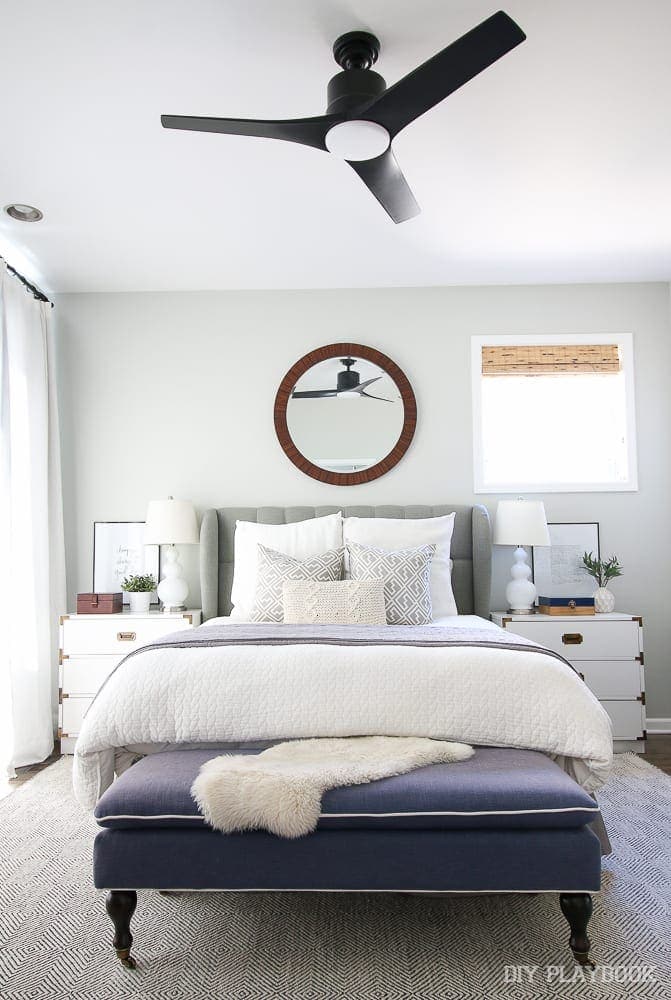
Bed Linen Inspiration
Now that your confidence is up, does this make you want new duvet covers? Before you decide to go down the online shopping rabbit hole, read these tips to keep in mind while decorating a bedroom. Below you can see some truly nap-worthy bedding!


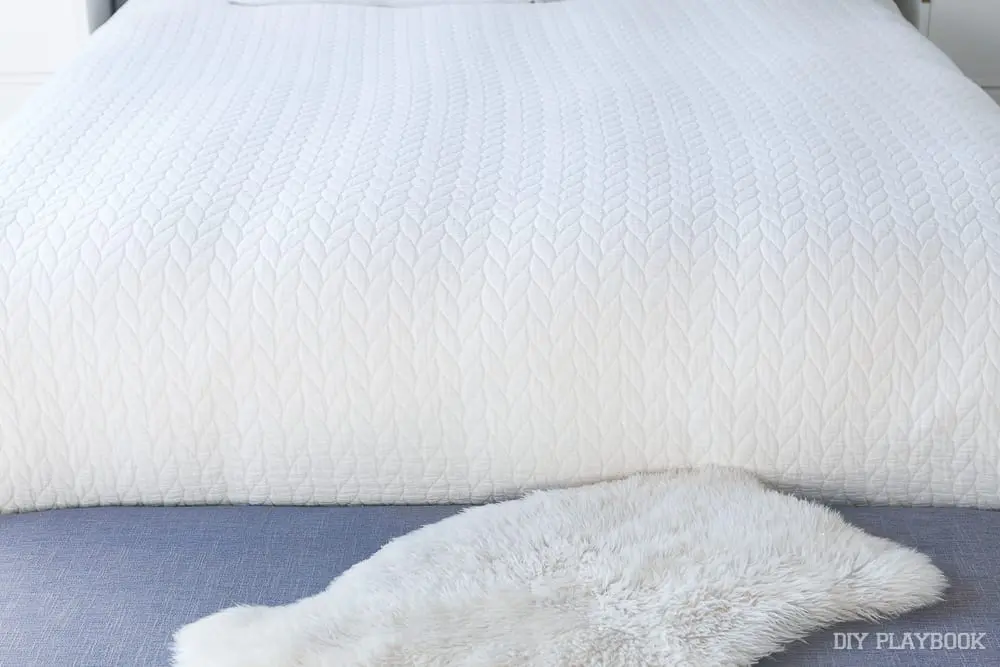
I guess you could say that white duvet covers run in the family!
It’s hard to top our favorites including my tried and true from Boll and Branch, this honeycomb textured duvet cover we used in my mom’s room, or this gorgeous linen duvet cover and sham set in my sister’s room.
If you have another method to master putting on your duvet cover, let me know!
Casey