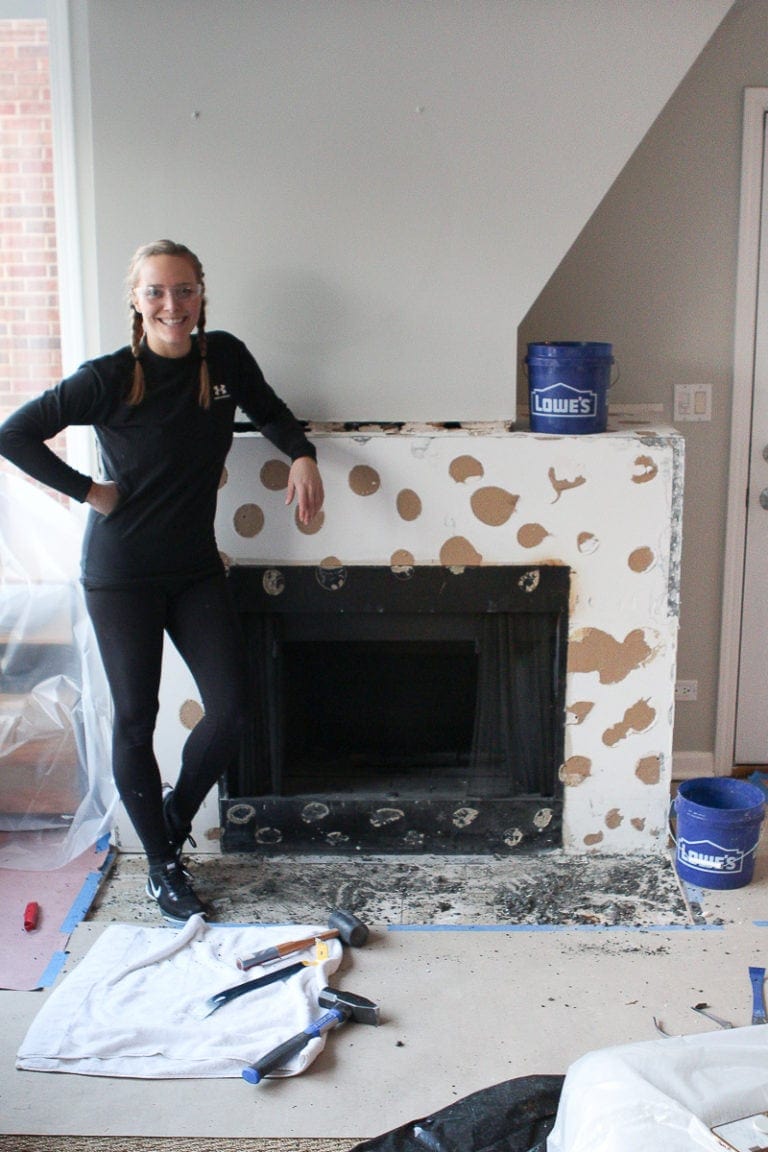
A Big Setback at Our Finn Fixer Upper
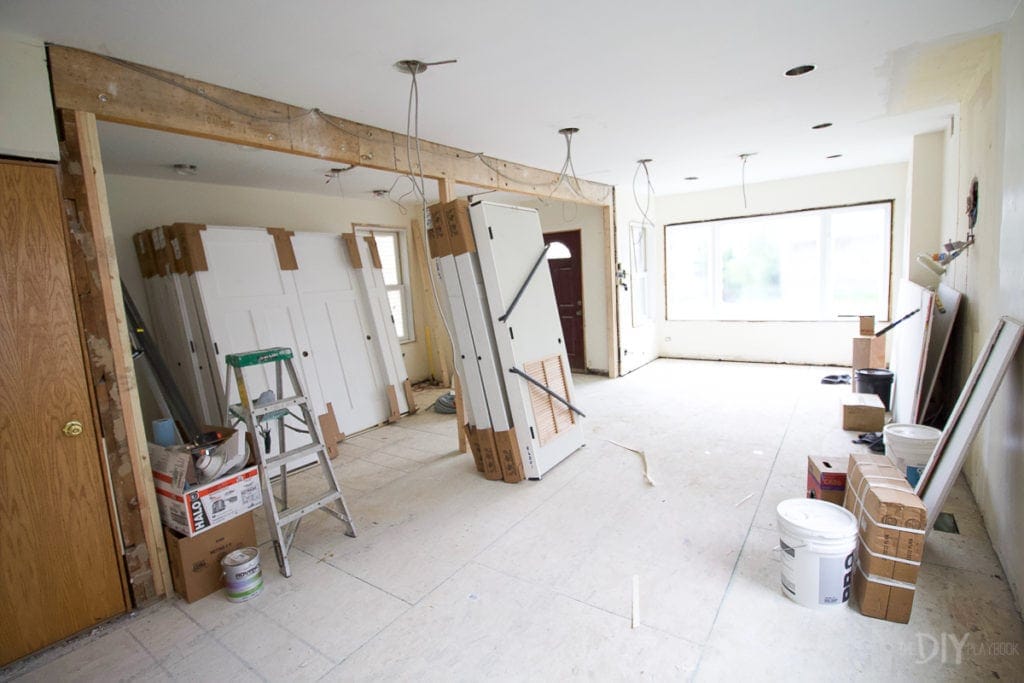
If you follow me on Insta stories, then you’ve been seeing some of the real-life updates of our Finn Fixer Upper. But if you’ve been paying close attention, then you may notice that I haven’t shown much of the first floor of our new home. And that’s because it was at a bit of a standstill for most of July.
Get ready for quite the saga…
Discovering a BIG Problem

My contractor, Patrik, and his team spent the first three to four weeks of our renovation rolling right along. In fact, they were even ahead of schedule and expected to be done before August 1st! But one day in late June, I got a call from Patrik asking me to come to visit the house. Never a good sign.
He had started electrical on the first floor and was stumped to find that the entire second level of our home was built on top of 2x4s. For reference, a typical joist should be at least 2×8 up to 2×12. A second-floor addition was put on our home in the late ’90s and apparently, it wasn’t done safely, correctly, or up to code. Yikes. This is something that you would never find in a home inspection because it literally takes opening up a huge hole in the ceiling to find this.
At that point, we stopped all work on the first floor in order to get to the bottom of it. Patrik also put a post in the middle of the room to help with the stability of the wood beam.
Hiring a Structural Engineer
I frantically researched to find a structural engineer who could come visit the house and luckily, I found someone who could come out immediately. He visited our house and said that he had never ever seen a house built on 2x4s and he was honestly surprised that our second level showed no signs of sloping or sagging. He even jumped up and down on the second floor and there was no sign of anything moving around. 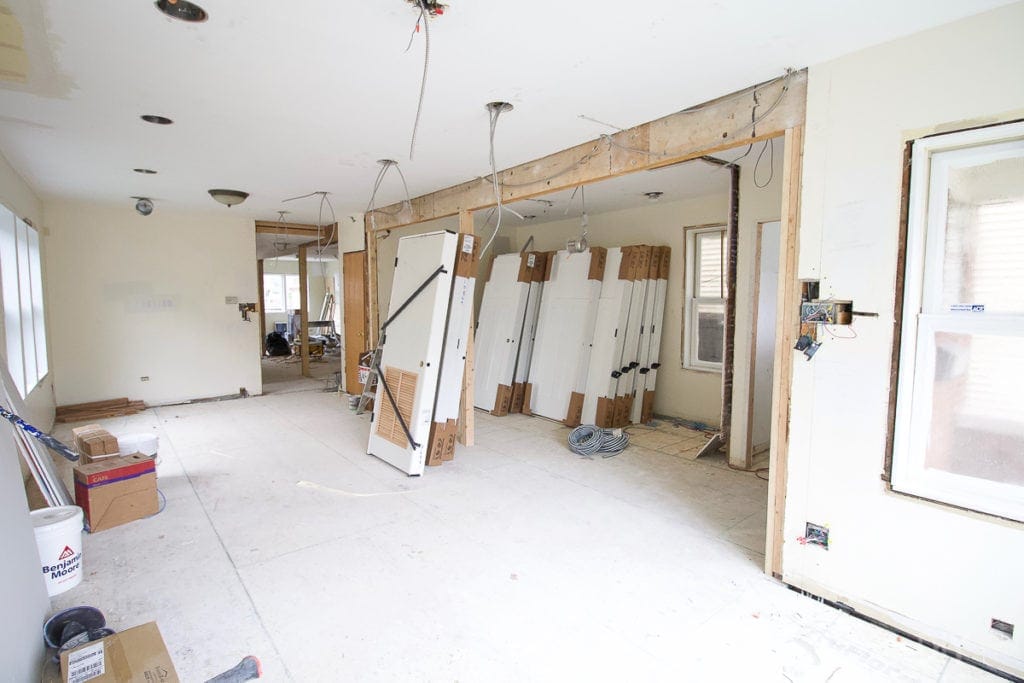
After checking out the entire property, he told us a few things. First, we should replace our current wood LVL beam with a steel beam. The wood beam was put in after we removed the wall in our living room, but now that we had more information about the framing screw-up, we needed a stronger beam.
Second, we would need to replace the entire ceiling in order to bring our home up to code. That meant tearing down the entire ceiling in the living room, opening up the walls to expose the brick on the sides of the house, placing 2×8 joists next to the 2x4s, re-doing the electrical, and drywalling all over again.
Guys, this was A BIG PROBLEM that was going to cost a lot of time and a lot of money. Plus, we needed to hire the structural engineer to draw up new plans to present to the city for a new permit (about $1,500). Again, more time and money.
Finding a Steel Beam Company
This project was not something Patrik could handle, so we found a steel beam company to get the job done. (We used American Beam and Steel and seriously, they were lifesavers!) They came out to the property, within a day, to check out the situation. They, too, were horrified that the entire second level was built on 2x4s. Apparently, people have never seen this before!
Luckily, they were very confident in their ability to replace the wood beam with a steel one and fix the ceiling joists. We were placed on their calendar to get the three-day job done the following week. 

Also, I should note that Patrik and his team couldn’t do any work on the first floor during this time. Instead, they focused on proceeding with their work on the second level. That’s why the second level has been rolling right along on Instagram, making it appear like our entire renovation is almost at the finish line. We were so happy that at least some work was able to continue. If not, we would have been even farther behind on our project.
Getting Chicago Permits
Here’s where things slow down a bit…getting a permit through the city of Chicago. Honestly, this should be an entire post in itself because it’s such a ridiculously complicated process when it really doesn’t need to be (btw did you know that you’re actually supposed to get a permit in Chicago just to swap out a light fixture?! Craziness).
Since we were changing structural elements in the house, we had to get a new type of permit. Instead of having our structural engineer submit for the permit (which could take four to six weeks to get the green light), we used the “Homeowner’s Assistance Program.” Finn and I went into City Hall and met with a representative and explained the situation. He then gave us a huge checklist of items we needed to bring in in order to get the permit. The list included layouts of all three of our levels, the engineer’s drawings, the information for all of our workers, etc.
We got all of this information together as quickly as possible and went in to get our permit a few days later. Finn had to return to City Hall NINE additional times, making tiny tweaks to all of the information, in order to get the permit. They kept insisting that our engineer make small changes on his drawings; then, we would have to go back to the engineer; and then we would go back to the city. It was so much back and forth, but Finn persevered. We just kept thinking, “We are trying to make our home better and safer. Why is this so difficult?!”
When I got the call from Finn that he finally had the permit in hand, I was overjoyed. I immediately booked the steel beam company to come out and get started.
The Mess of Demo
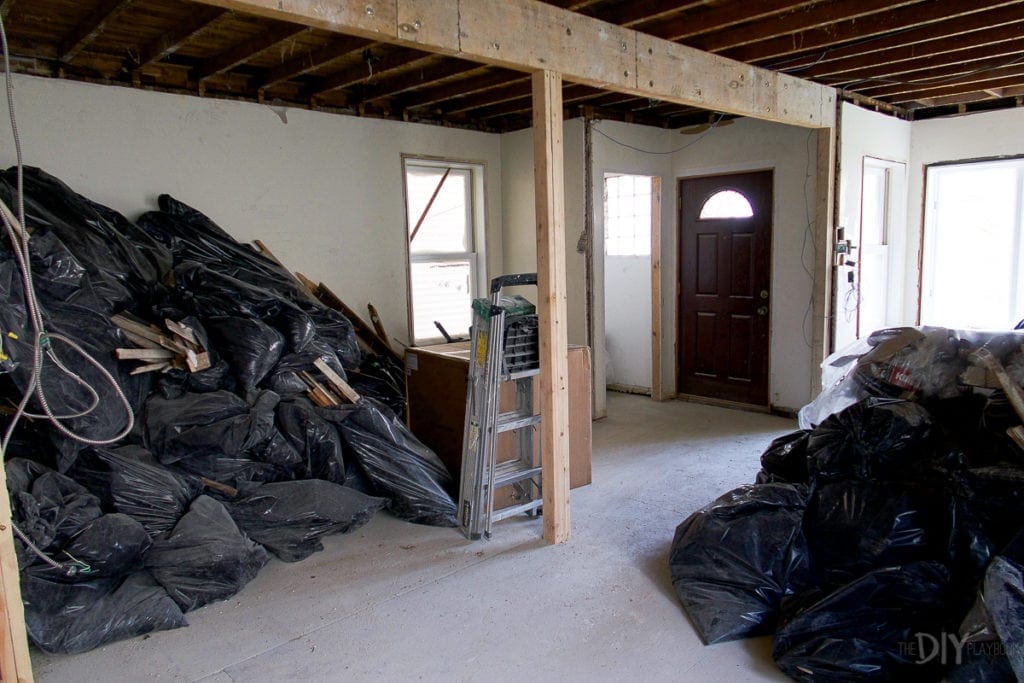
Patrik was able to handle the demolition to prep the space for the steel beam company. Holy shit, guys. They ended up filling up 180 (!!!) contractor bags of garbage — all from the ceiling. There were layers and layers of crap up there. Wood, cardboard, netting…so much random stuff. No one could believe how much was up there! Patrick was even texting me selfies of him and his crew amidst all of the debris and rubble!
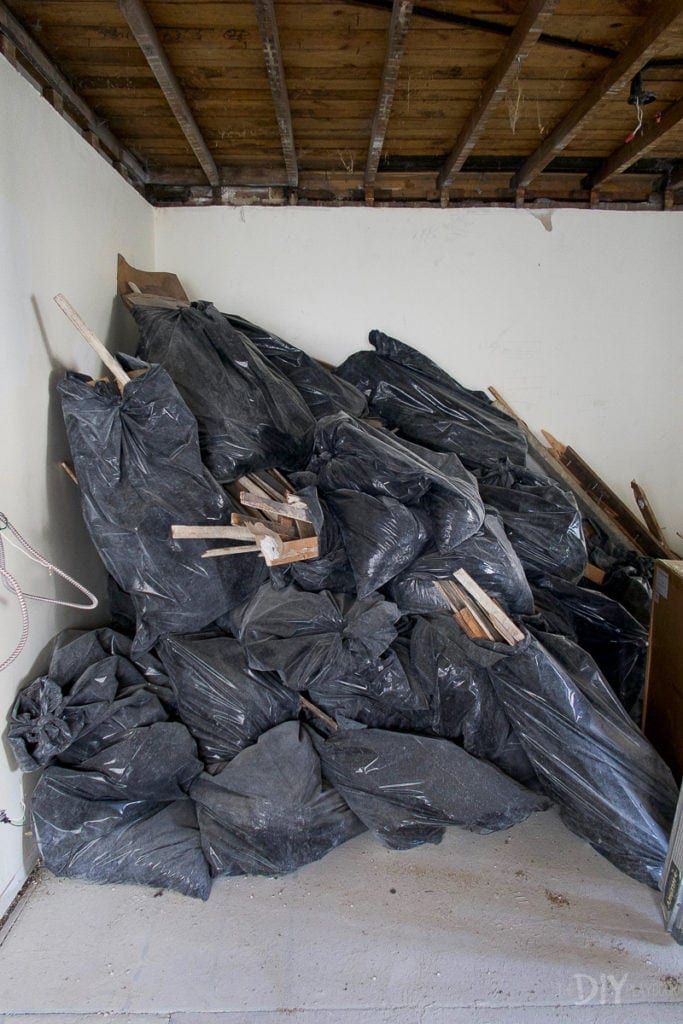
My mom and I visited when they were done with the demo, but the garbage wasn’t yet picked up. O.M.G. The bags of garbage almost reached the ceiling!! Our entire living room was stuffed with garbage.  It was insanity, but it also felt good, knowing that all of that crap was out of our house and we were starting fresh with a new ceiling. One hundred years worth of garbage was now about to be gone.
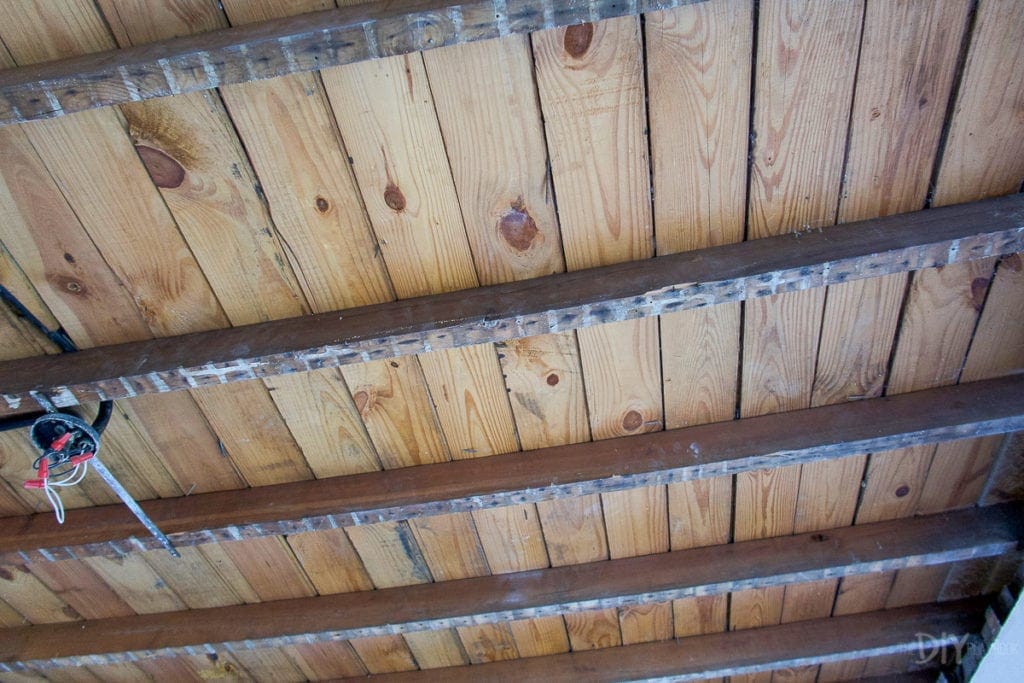
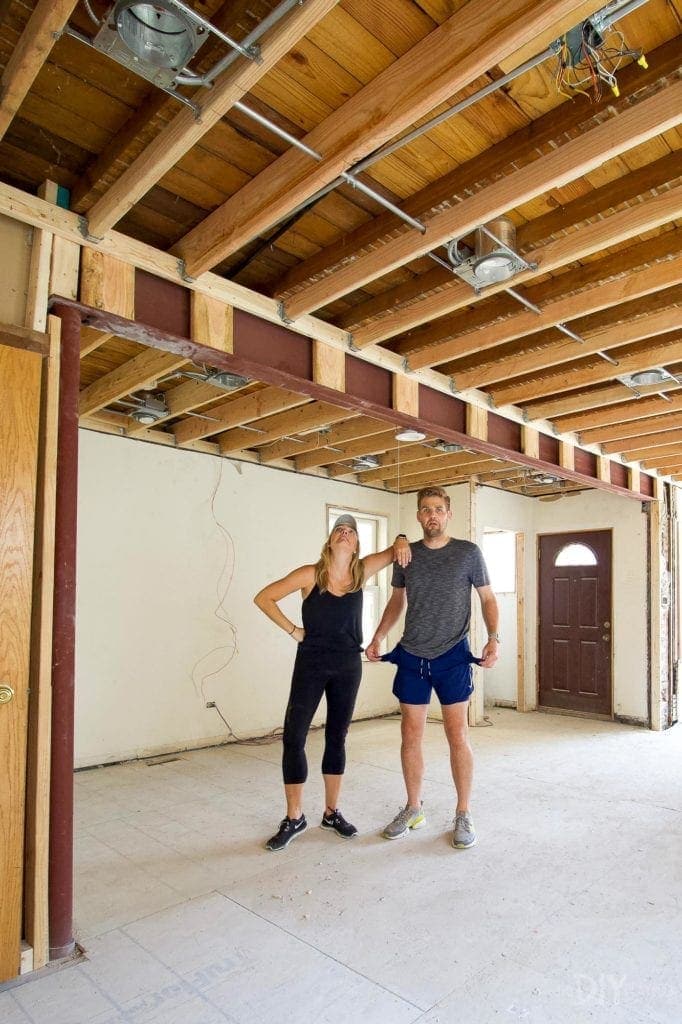
Here are the dinky 2x4s that acted as joists throughout the ceiling. It’s crazy that these little guys were keeping our second level up.
Our New Structurally Sound Living Room

American Beam and Steel added the steel beam and the new ceiling joists over the span of three days and it turned out great. Our entire living room is now much more stable. We were worried that we would lose some ceiling height since we were going from 2x4s to 2x8s…so we figured our ceilings would be four inches lower. Because there were so many layers of garbage in the ceiling, we actually only lost half an inch of ceiling height!! Plus, the steel beam is about the same height as our old wood LVL.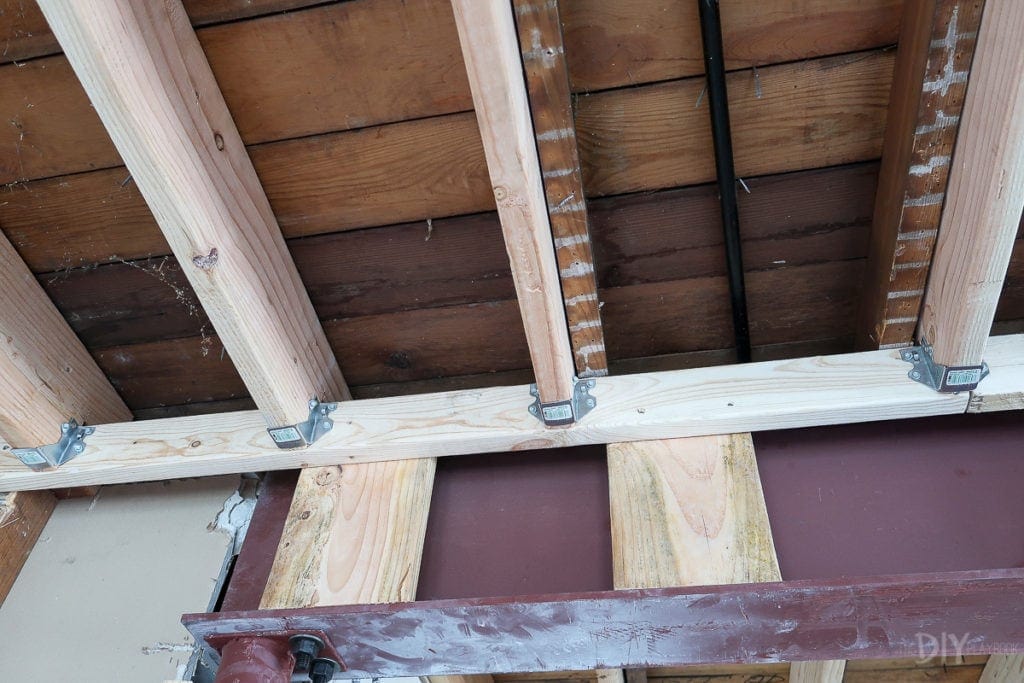

We’re very happy with how it all turned out and I seriously can’t recommend American Beam and Steel enough.
Surviving Inspection
But just because the work was done, that didn’t mean we could put the entire room back together. Instead, we had to wait two weeks for a city inspector to come out and check the work to make sure it was all up to code. Thankfully, he approved the work last week and we’re now able to move forward and finish up this space…finally!
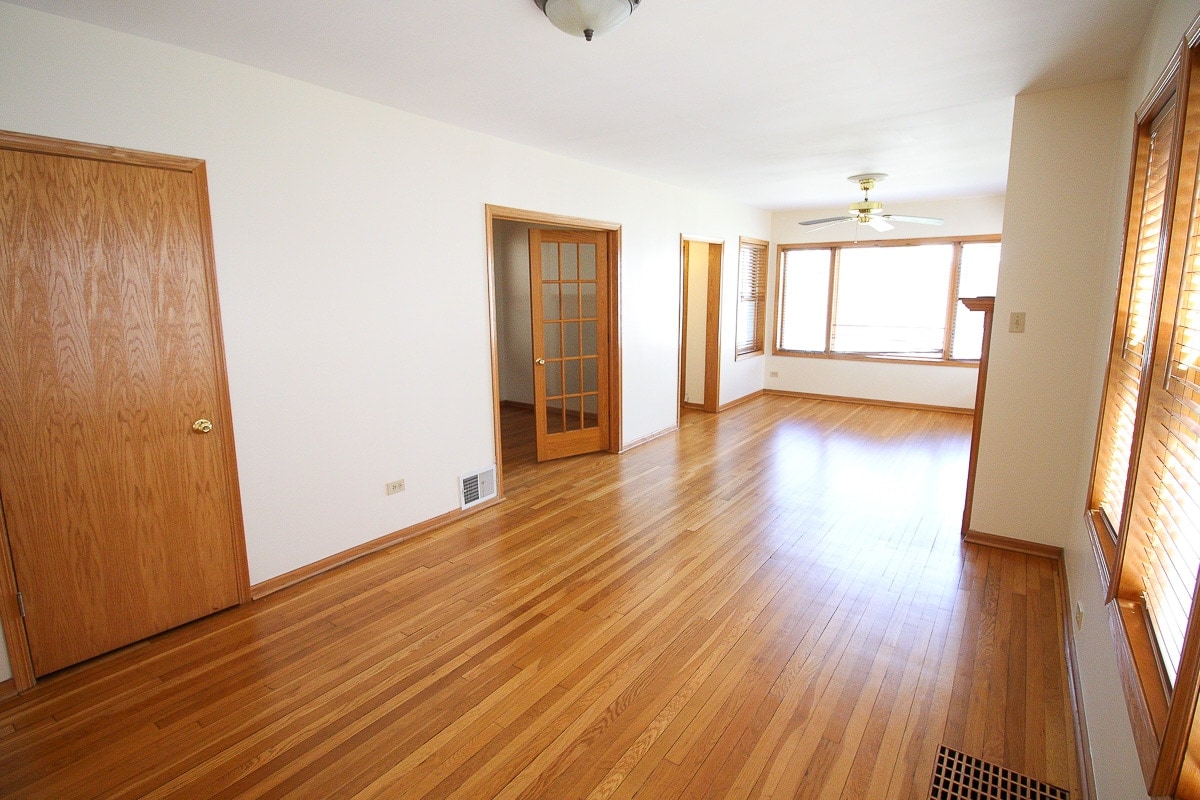
Before & After

Time & Money
 Time & Money
In the end, this was a ginormous setback for our entire project. Between the structural engineer, the steel beam and joist costs, the demo, re-doing the electrical, re-drywalling, etc…we are probably looking at an additional $25,000. It was, seriously, the worst to have to write those huuuuuge checks for issues we never, ever saw coming. But at the end of the day, we absolutely had to make these changes and there was no other option. We can now rest easy, knowing our home is incredibly secure.
This also set work on the house back about three or four weeks. There was a lot of downtime while we were waiting for the permit and for the inspection to take place. Patrik actually started another large job during this time, so that made it even harder for him to come back to finish up our project. Not great, but again….totally out of our control.
Persevering During Hard Days

This was another big life lesson for the Finns. Sometimes life will throw crazy things your way and you’ve gotta do your best to figure things out and stay positive. There were a lot of days during July where I wanted to break down and cry, but Finn somehow turned me around every.single.time. That man is so positive and optimistic (even when he had to go to City Hall nine times in a week!). He just kept saying, “Good thing we found this out when we did. Our house is now stronger than ever! Who knows what would have happened if we didn’t fix this?!”

Even though it was a lot of time, money, and plenty of headaches, we came out the other side and learned a hell of a lot along the way. Home renovations are no joke, but I think we will eventually look back on this and laugh at how crazy it all was. That may take a little while, though, because we can still feel that big hole in our pockets.
Fingers crossed for smooth sailing as our team finishes the first floor and we wrap up this renovation.
Casey