Fireplace Makeover – Adding Marble Subway Tile
Last week, we chatted about the trials we faced during the demo and cement board portion of this fireplace makeover. I’m happy to report that this next step of adding marble subway tile went a lot smoother!
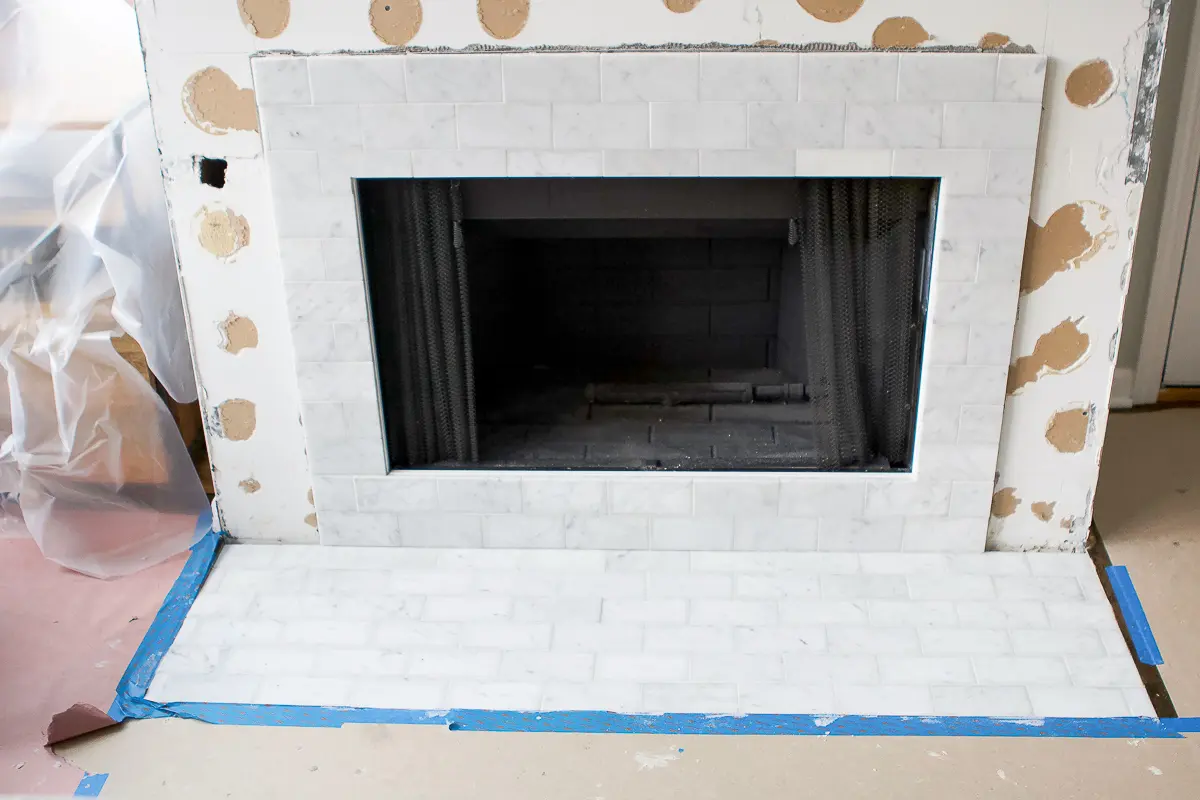
When we left off, we had just added cement board to the fireplace hearth and 3 sides of the fireplace surround. We were waiting on the top portion until we had our tile figured out so we could end on a full piece at the top (and not have to cut a tiny sliver!).
We’ve shared lots of step-by-step tutorials for tiling projects here on the blog, so I won’t go into super specific details today. Instead, I’ll just share how we tackled this particular project. If you want to read more tiling basics, here are some good posts to read…
Tiling Supplies

A few of you guys asked on Insta stories if we rent or own a wet saw. We ended up buying this wet saw for our bathroom project and have used the hell out of it. If you plan to do more than 1 tiling project, then I definitely recommend buying a wet saw. They’re not crazy expensive and tiling projects can sometimes take more time than you initially plan. If we rented one for our bathroom DIY, we would have had it rented out for about a month! It made sense to just buy one and not have to worry about returning it to the store at the end of a day’s work.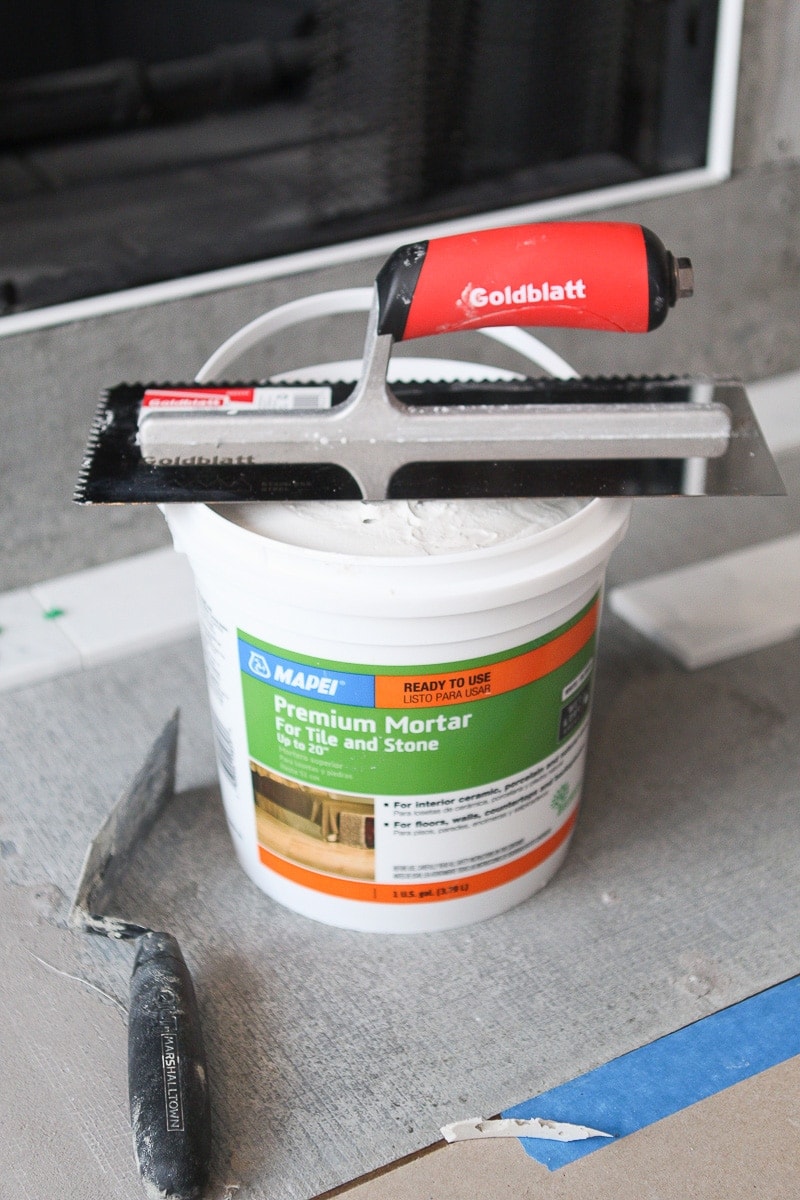
Now, let’s chat about thinset. For past tiling projects, we’ve always mixed up our own thinset. It’s a bit of a pain because you can only make a small amount at a time (or else it dries out), you have to get it to the right consistency (peanut butter is what is recommended), and then you have to let it rest before using. This time around we opted for pre-mixed thinset and oh my god, it’s the best thing ever! Because we were only covering a small area, it made sense to buy a small tub of this pre-mixed thinset. It’s a bit more expensive than the powder form, but the convenience is worth the price! We got white because we were using white stone tiles (use gray if your tiles are darker).
Oh, and here’s a link to the exact marble subway tile we used for this project. It’s lovely and classic.
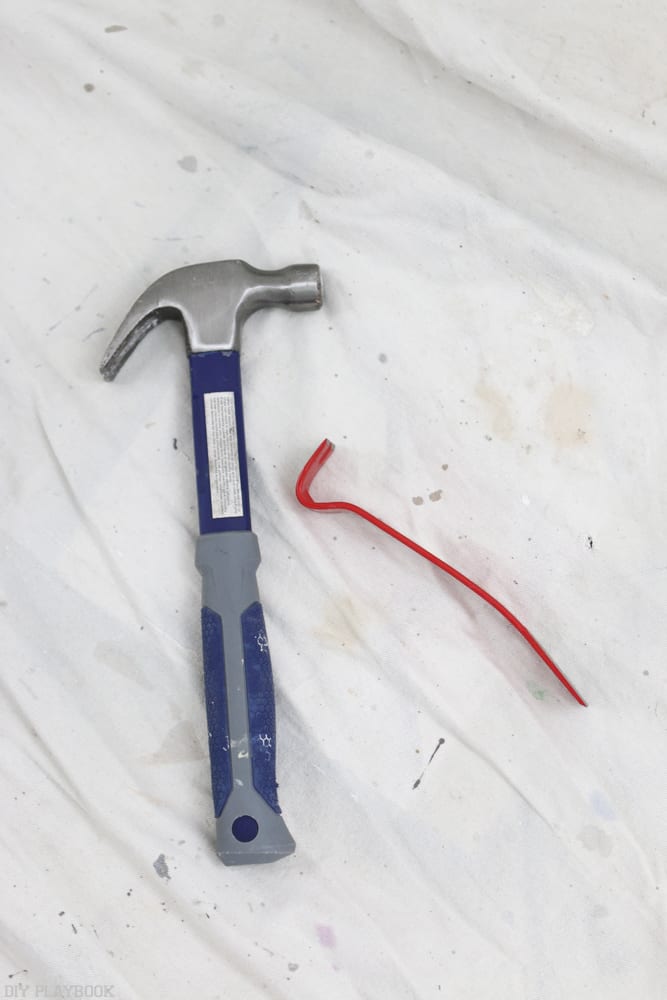
The Worst Part of Every Tiling Project
On the day we started tiling, Finn got the wet saw setup while I got out the rest of the supplies. We were ready to “start” after about 30 minutes. But here’s the thing…you can’t just start laying tiles anywhere you want. You must go in with a plan. And that planning requires lots of math. Yuck.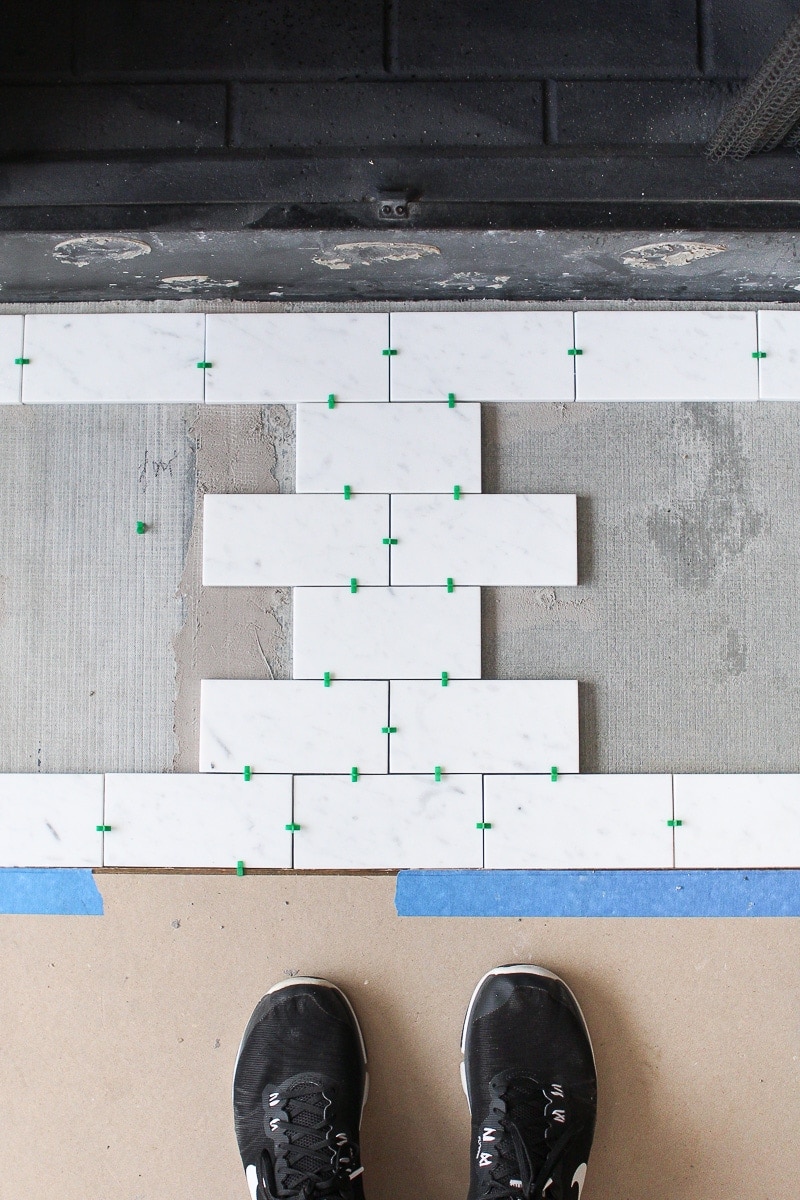
Every space and tiling project is unique, so I can’t give you hard rules on where to start laying your tile. Ideally, you want to avoid having tiny cuts on the ends or where planes meet. They don’t look great and they’re not the most fun to cut either. We did lots of variations laying our tile and finally landed on a plan where we didn’t have any crazy cuts on the side. 
We also had to take into account how things would line up on the sides of the fireplace. I’d say we took about an hour making sure we had a thorough gameplan before moving forward. The last thing you want to do is start cutting and laying tile down only to have horrible cuts as you get to the next area.
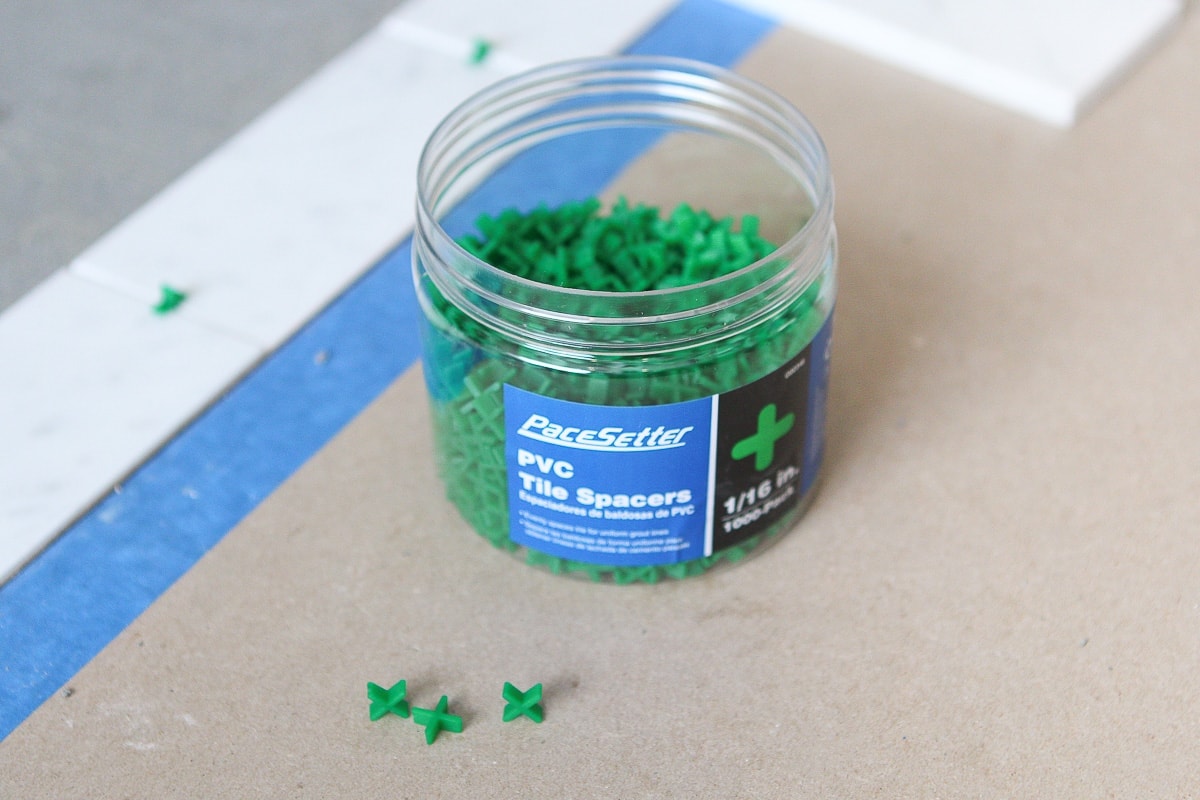
I learned from my last subway tile experience that I’m a fan of smaller grout lines, so this time around I opted for 1/16th-inch spacers. Spacers should go in between all of the tiles, and also on the edges and where planes meet. Another measurement to keep in mind when planning out your tile!
Cutting & Laying the Marble Subway Tile
Fiiiiinally, we were ready to get going on this project! Finn hates sitting on the floor (he can’t cross his legs…poor guy is so inflexible), and I’m not a big fan of using the wet saw, so we split up our tiling tasks. I handle laying all of the tile, while he handles the cuts. It works really well for us and we’re able to churn and burn. 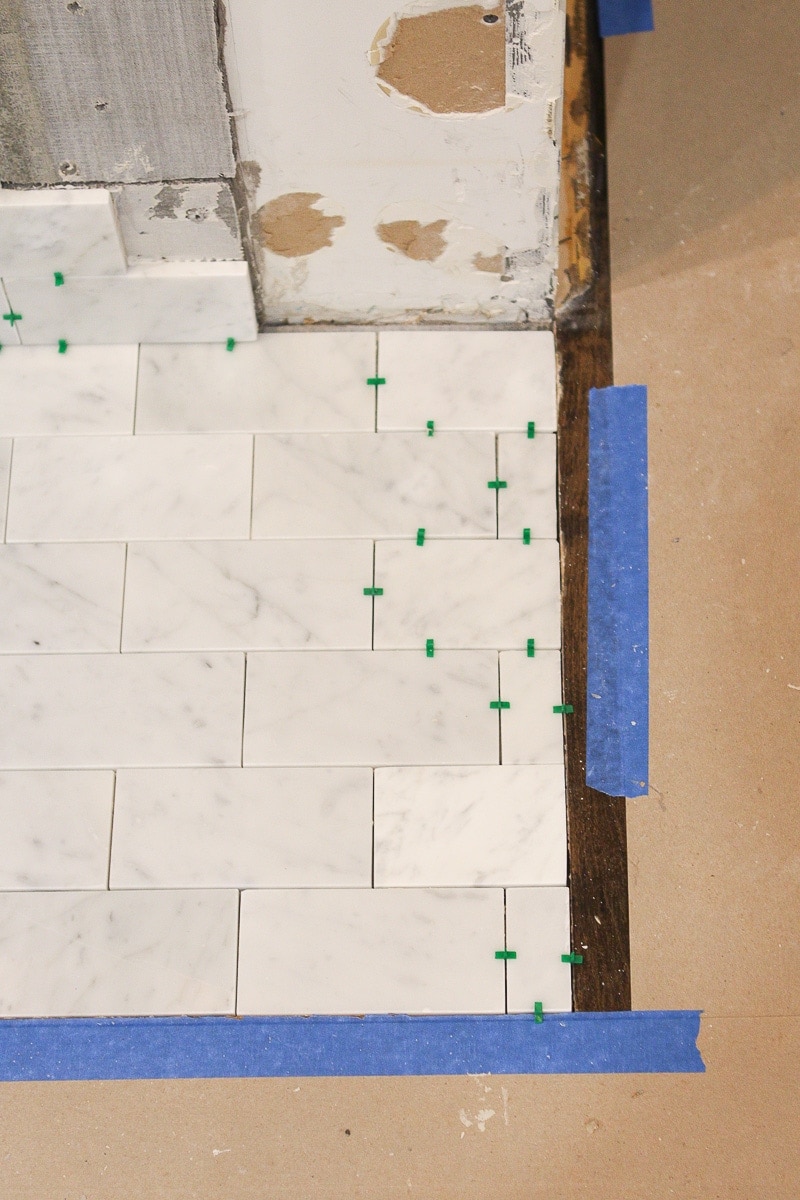
When it comes to measuring for cuts, I used to handle that task but we quickly realized that he should just handle figuring out the precise measurements. I’d usually reply that we need our next cut to be “a smidge” larger than the last one. While Finn prefers actual measurements. haha…oops. It’s now a running joke in our household when we need things to be a “tad smaller” or “smidge bigger”.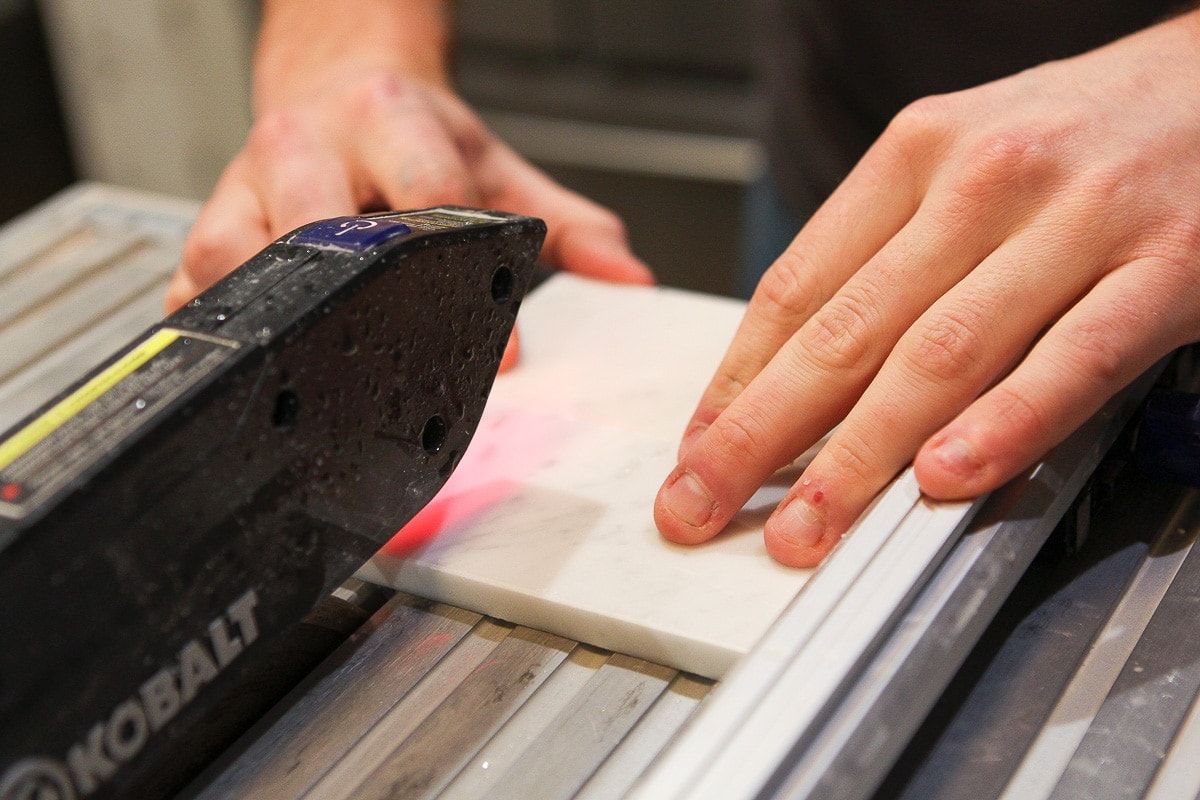
It took us a few hours to get the hearth and both sides of the fireplace done. The sides required lots of cuts and leveling to make sure we were going straight up. We also had to add the final cement board into place at the top, once we had an idea of how large we needed it to be. 
The hardest cut was an L-shaped one on the top and side of the fireplace opening. Finn is now a master at the wet saw, so he was able to get it done pretty easily. So proud of that guy! He really has a knack for DIY these days and it makes my heart so happy!
After a few more hours, we were officially done with the first portion of this tiling project.
Sealing the Marble
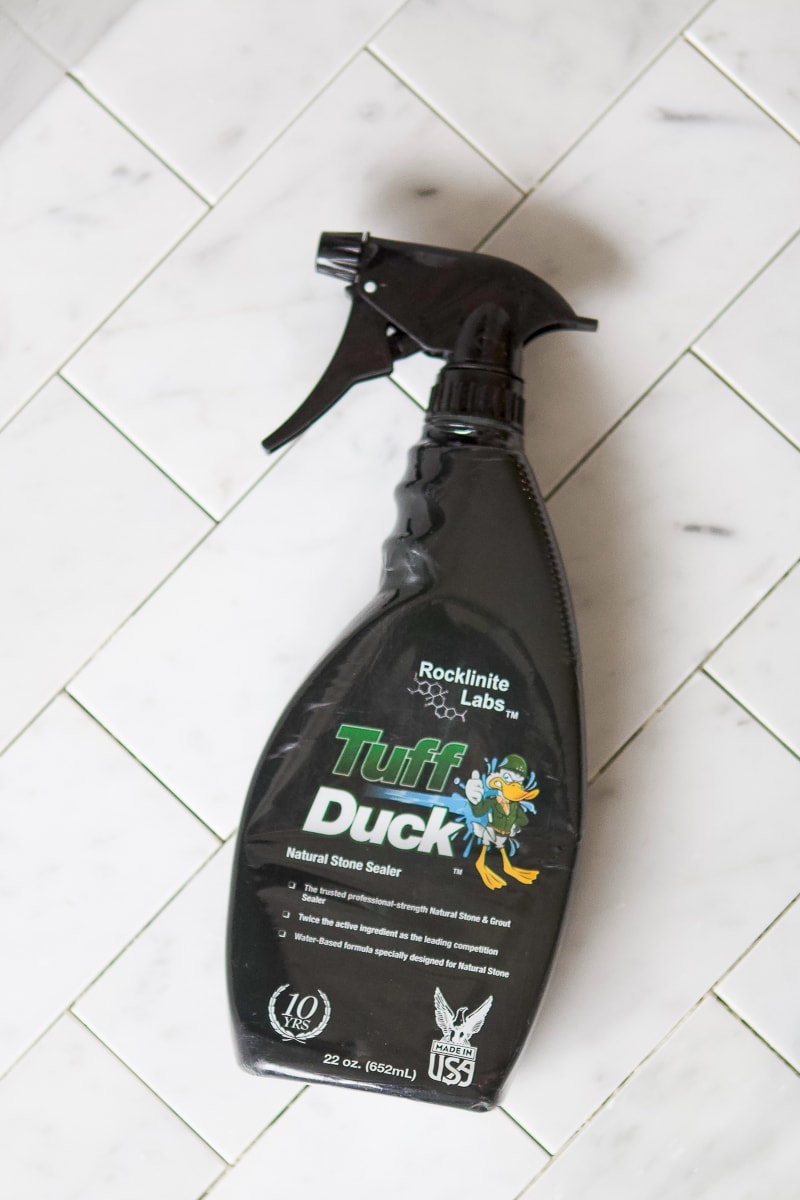
Because marble is very “sensitive” and prone to staining, sealing it is a must! This Tuff Duck stone sealer is my favorite and I’ve used it to seal the marble in our bathroom and our marble table. Before sealing, I cleaned the tiles really well making sure I got all of the thinset off of the surface of them. I then used my favorite DIY tool (the shop vac) to get rid of any dust and debris on the surface.
When everything was clean, I followed the same steps from this post to quickly seal the tiles. It’s super simple and quick, so don’t miss this step when working with marble tile!
Pre-Mixed Grout = Gamechanger
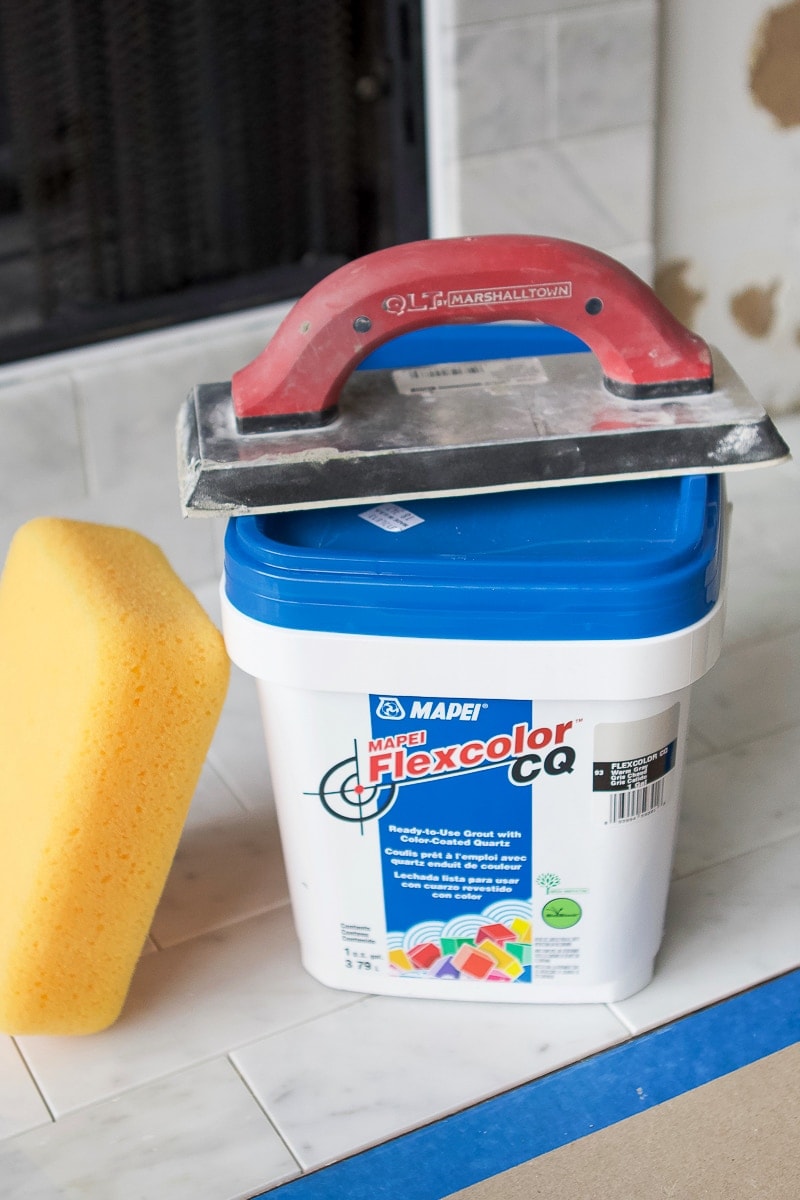
Grout is very finicky. Just like with the thinset, you have to mix it up precisely, get it to the correct consistency, and let it rest before using. This time around, I opted for this pre-mixed grout. Holy smokes, it’s a gamechanger! I opted for the warm gray color and it was the perfect choice for this marble subway tile. 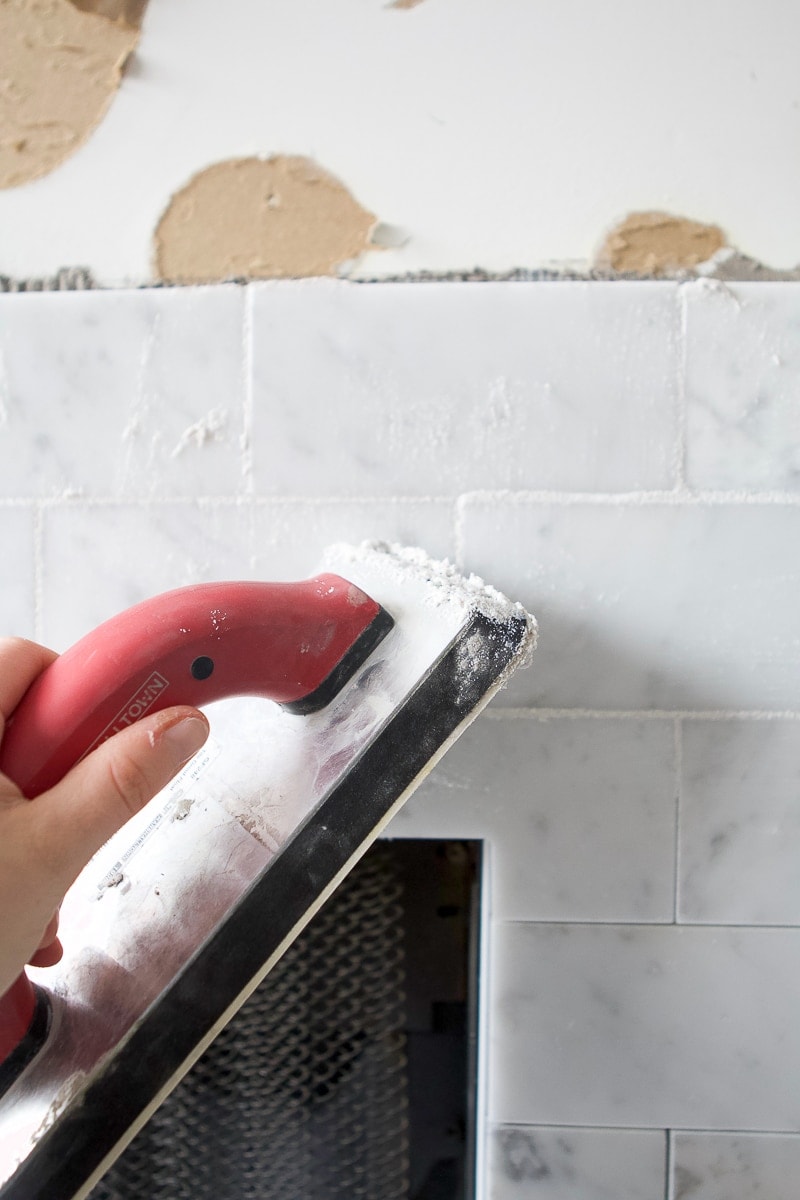
Just be sure to really smush it into the joints as you go and only do a small area at a time. I followed the directions for this grout closely, wiping away excess grout after about 5 minutes. 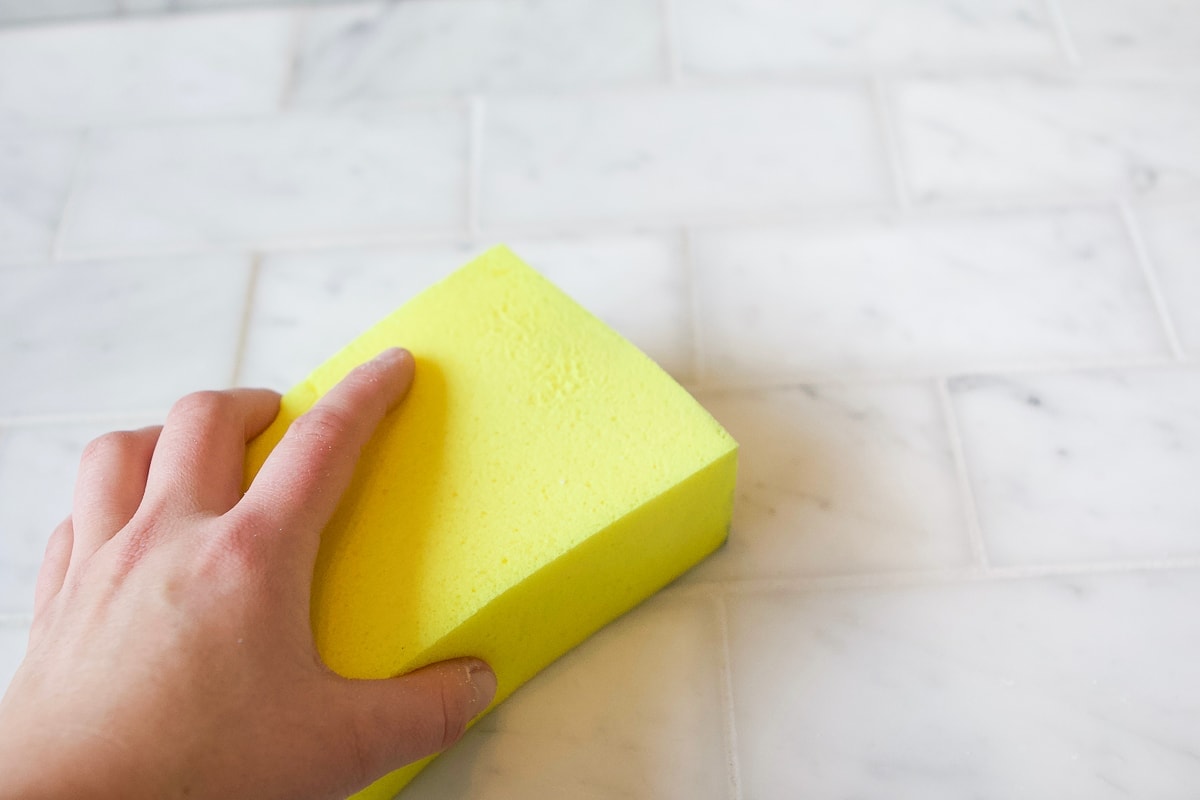
The grout even came with a sponge (I had no idea until I opened the bucket. Such a pleasant surprise!), so I used that to wipe away the excess. Use a circular motion and really wring out the sponge so things don’t get too watery! 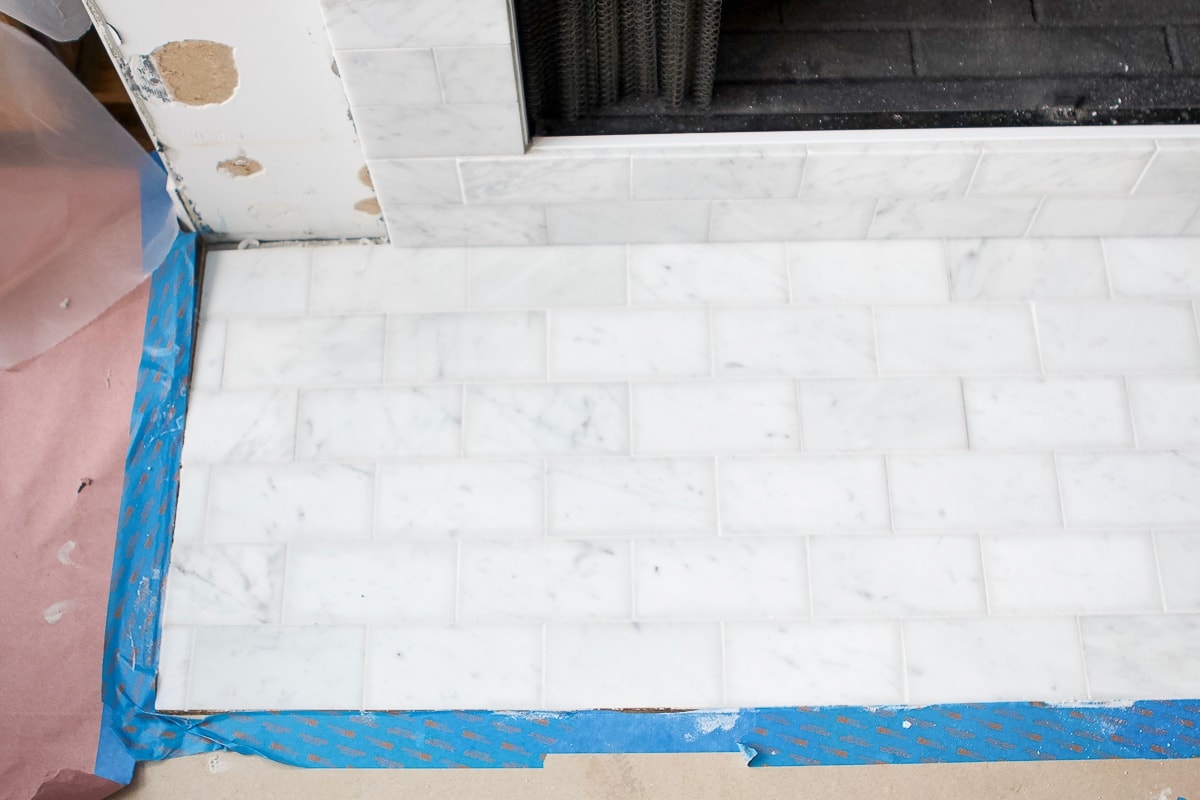
After about an hour, my fireplace was officially grouted! I only used about a quarter of the big tub of grout, so keep that in mind when buying. I’m not sure if they sell smaller sizes, but if you’re grouting a similar area then you won’t need a big tub like mine.
My Marble Subway Tile Fireplace
So here she is! Isn’t she a beaut? I’m really proud of the work Finn and I put into this project so far. We learned a lot when we did the bathroom less than a year ago, and this seemed so much easier than that. 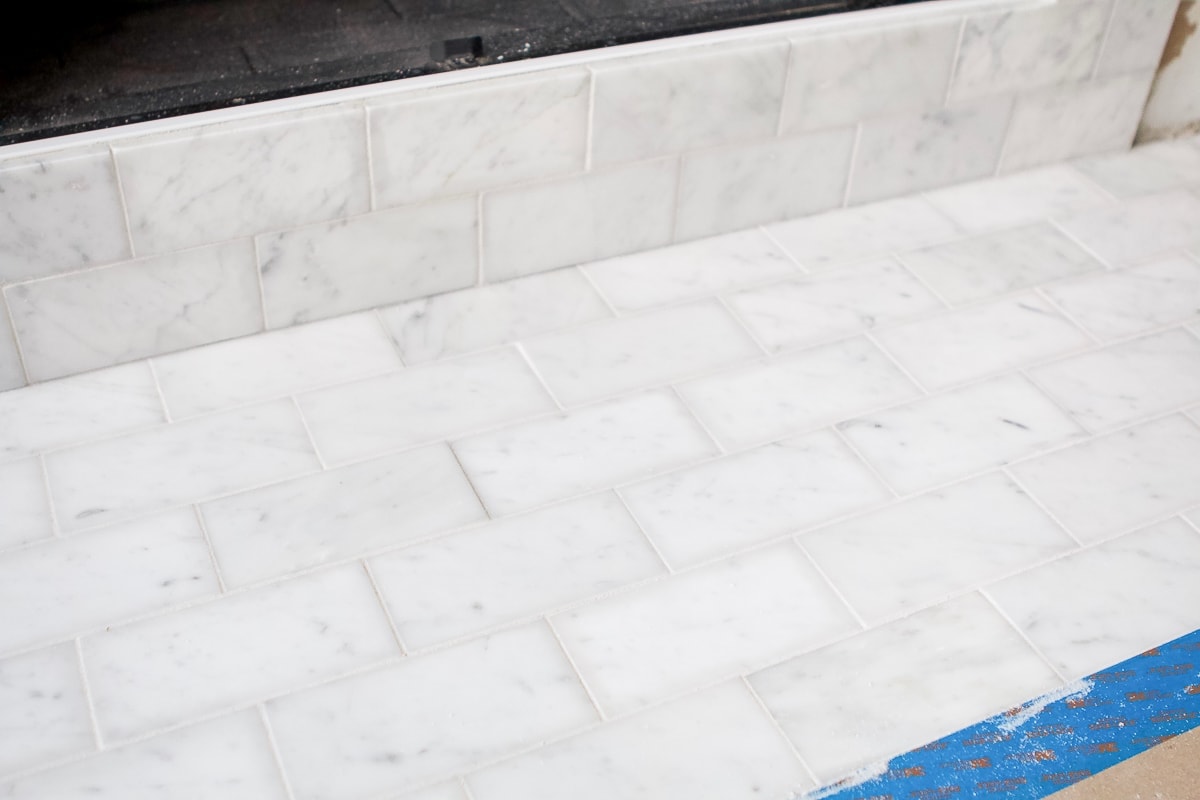
It just shows me that your DIY skills are always a work in progress. 2 years ago, a project like this would have been incredibly intimidating. Now, it was manageable and we were both eager to attack this DIY! So my advice to you is to just go for it. The only way to learn is to jump right in!
What Now?

Now it’s onto the woodworking portion of this project and that’s an area Finn and I don’t have tons of experience in. That will be a learning experience for us all. More to come next week…
Casey