How To Install Backsplash Tile
Disclaimer: This post is sponsored by Lowe’s Home Improvement. All opinions and photography are our own and are not influenced by Lowe’s Home Improvement.
Last week we reviewed everything you need to know in order to prepare to DIY Tile Backsplash. This week we are going to dive right into a full tutorial on how to actually install it. With the right tools, a gameplan, and a little bit of patience, you can do this and save yourself quite a bit of money by DIY-ing this project instead of hiring it out.
Tiling backsplash is typically a two-day process, as long as you can hang all of your tile in one day (which may not be possible for larger kitchens). Then the next day will be devoted to grouting, caulking, and finishing up all of the final details. To keep this tutorial organized, I’m going to break down the steps in that exact order- a list of steps that happen on “Day One” and then the next set of steps, which will happen on “Day Two”.
If your project is bigger, it may take more than the two days. But at least you’ll get a general idea of the step-by-step process and can adjust your timeline accordingly.
How To Install Backsplash Tile
Tiling Supplies
- Tile (similar)
- Spacers
- Mortar (or pre-mixed mastic)
- Trowel
- Buckets (and access to water!)
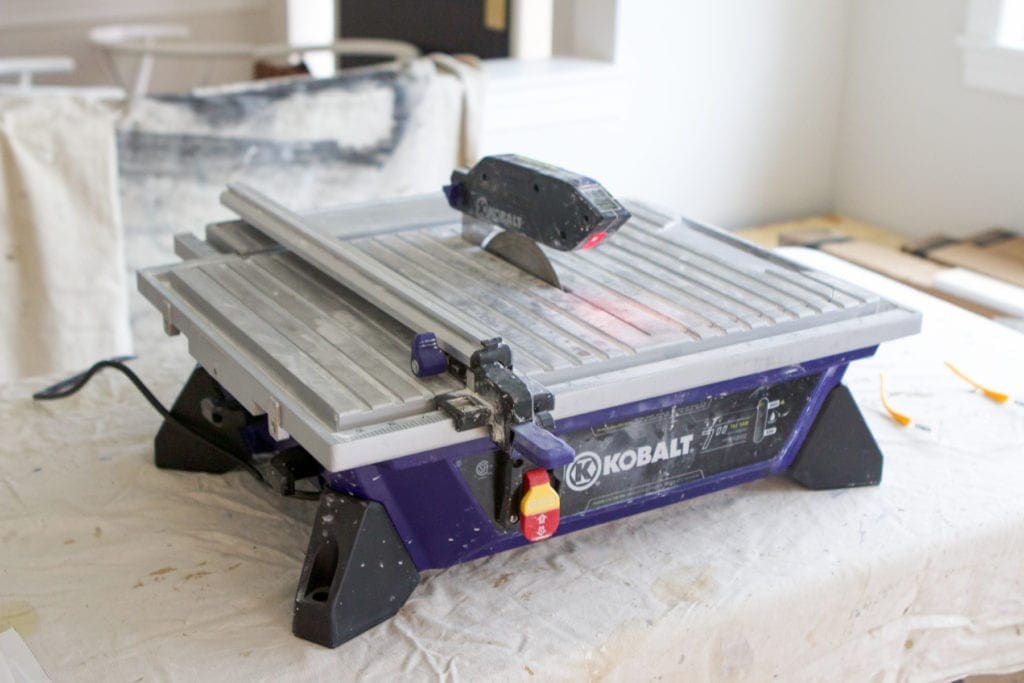
- Wet Saw
- Safety Glasses
- Pencil
- Level
- 2×4 for a temporary level (usually behind the stove)
- Rags
- Painter’s Tape
- Grout
- Grout Float
- Sponges
- Caulk
- Caulk Gun
- Finishing Tile (which could be a bullnose piece, decorative piece, or piece of Schluter)
- Heavy-duty cardboard paper
- Snap Cutter (optional)
- Drill & mixing arm
Day One Steps
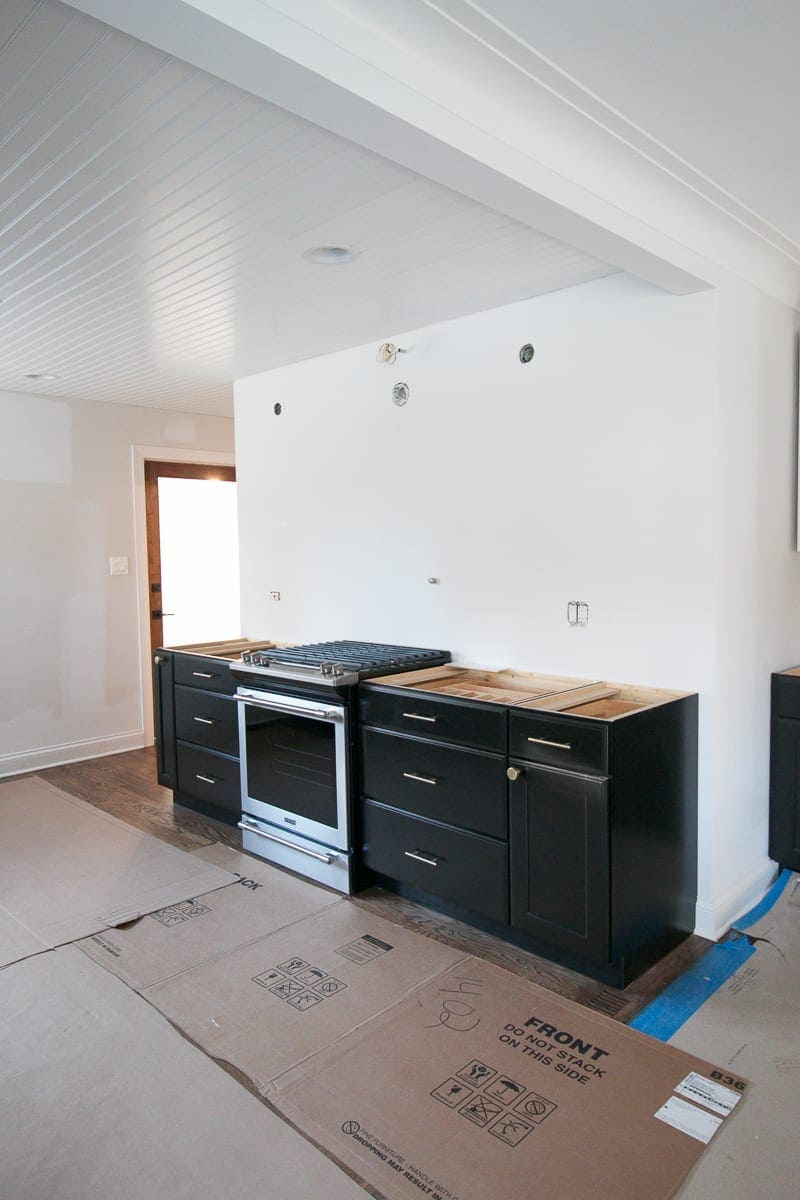
The first day(s) in the tiling process is when you actually hang the tile backsplash on the wall with mortar (or pre-mixed mastic). This is the day that requires patience, especially if you have some tedious cuts around outlets, light fixtures, windows, etc. It also takes a while to get everything “set up”, but I promise that once you get going, you’ll quickly get in a groove.
Set Up
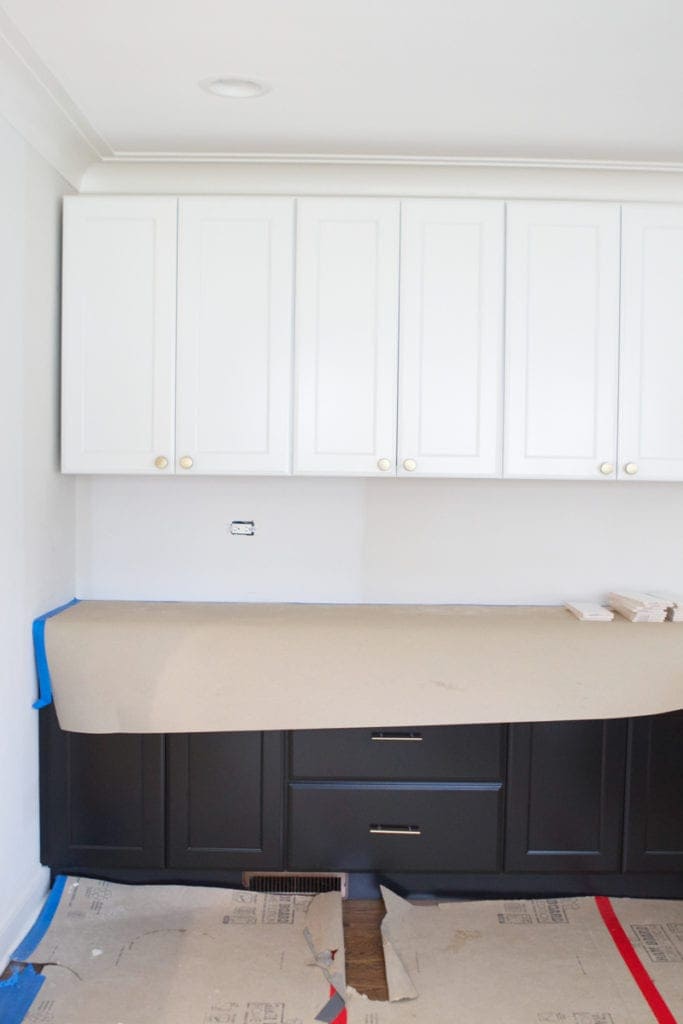
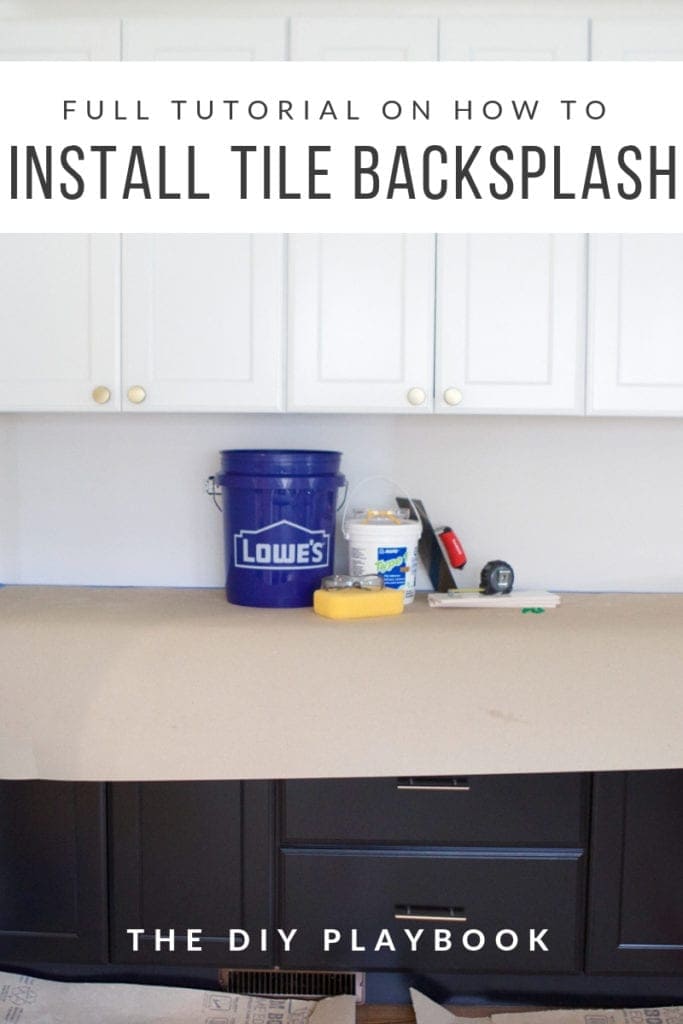
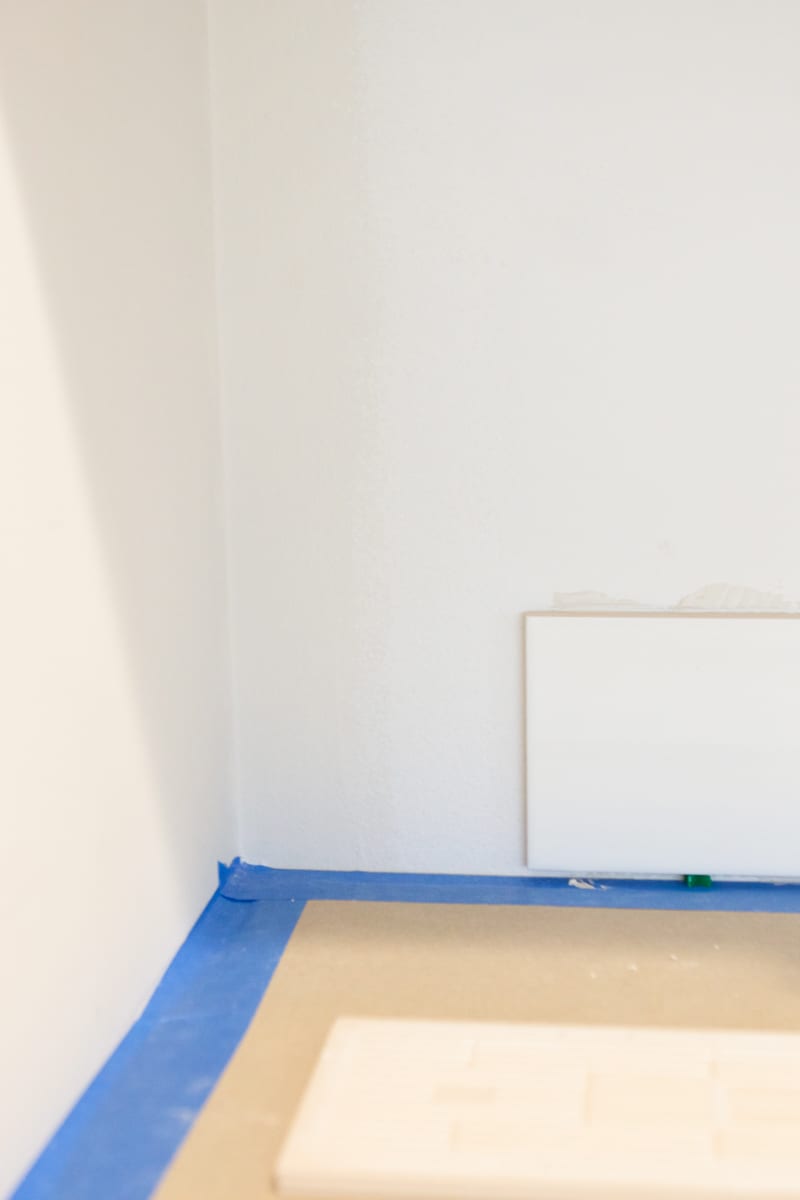
Casey and I spent the morning getting our supplies organized, covering the countertops with painter’s tape and heavy-duty cardboard paper, and setting up the wet saw.
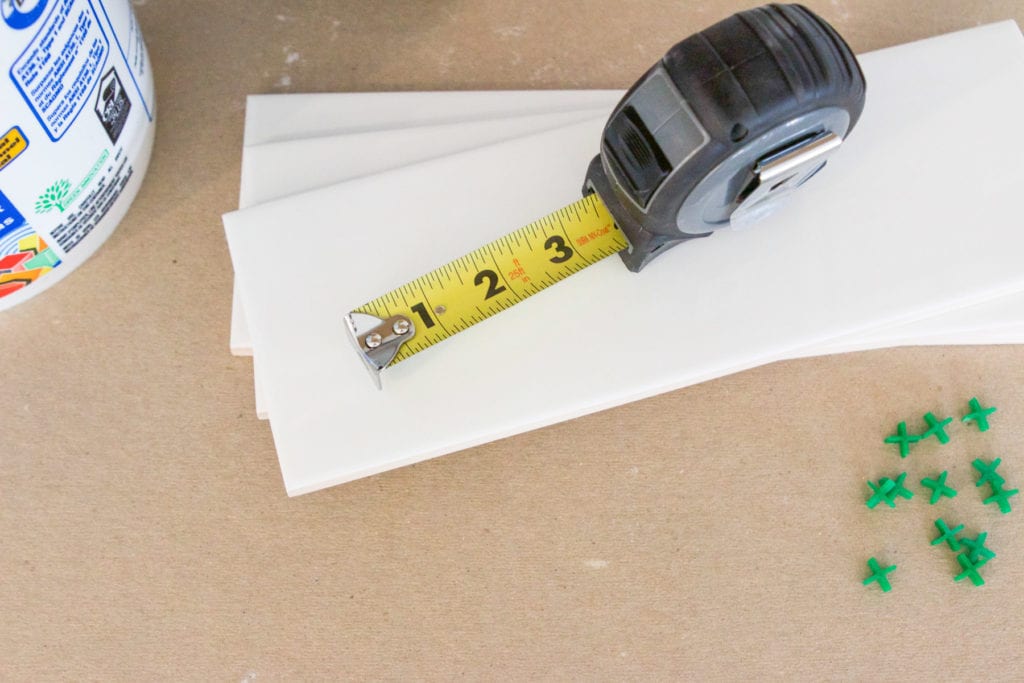
But our least favorite part came after set up was over. It was time to “do the math”. We wanted to make sure that we didn’t have really tiny cuts on the very top row, the very bottom row, or either side of the area we were tiling. So laying out the tile, measuring, and accounting for our 1/16″ spacers helped us make a plan.
We definitely advise you to pre-plan using the measurements of your tile and spacers before starting. This prep work will make your life easier in the long run because you won’t have teeny-tiny cuts to make, but man, is it a pain at the start!
Installing The Schluter Strip
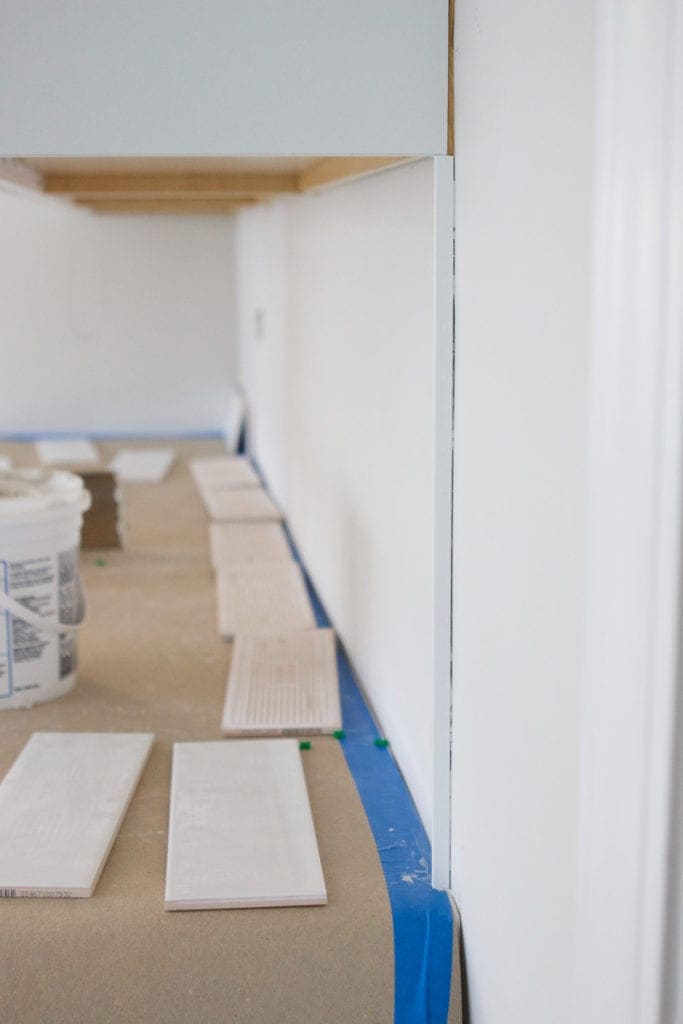
I decided to go with the Schluter strip as the border to the edges of this tile project, although you can learn more about your options for “stopping tile” in this post. To install a Schluter strip, you hang it on the wall with mortar just like you would a piece of tile.

I cut the piece down using our favorite DeWalt Miter Saw. Then I made sure the piece was snug and perfectly level before sticking it to the wall with mortar.

Once it was up, it was time to start tiling!
Spacers Along The Counter
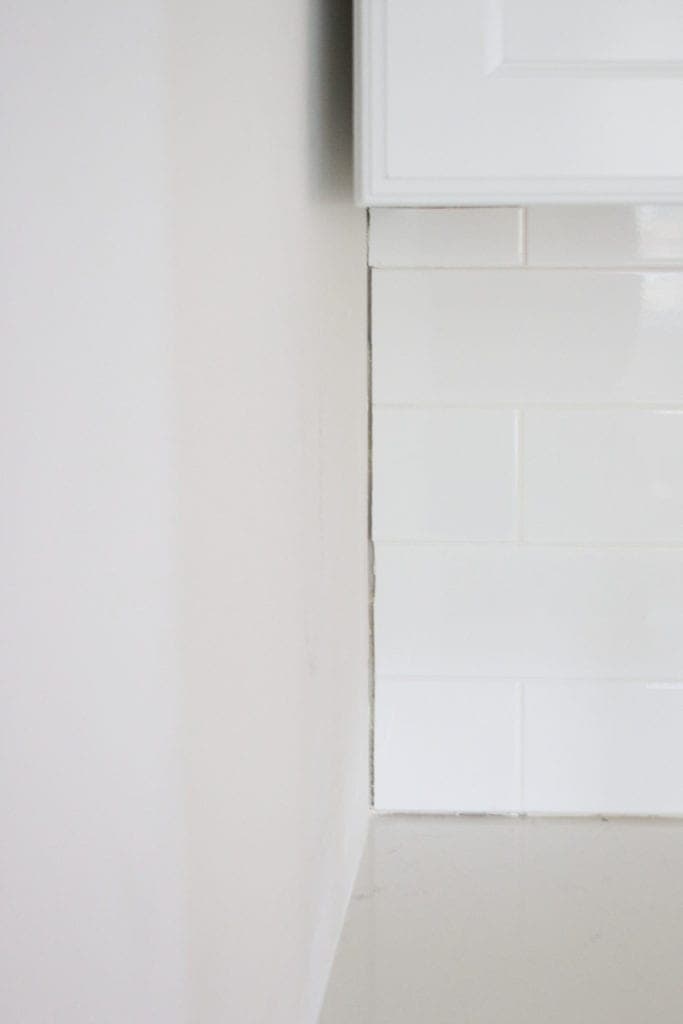
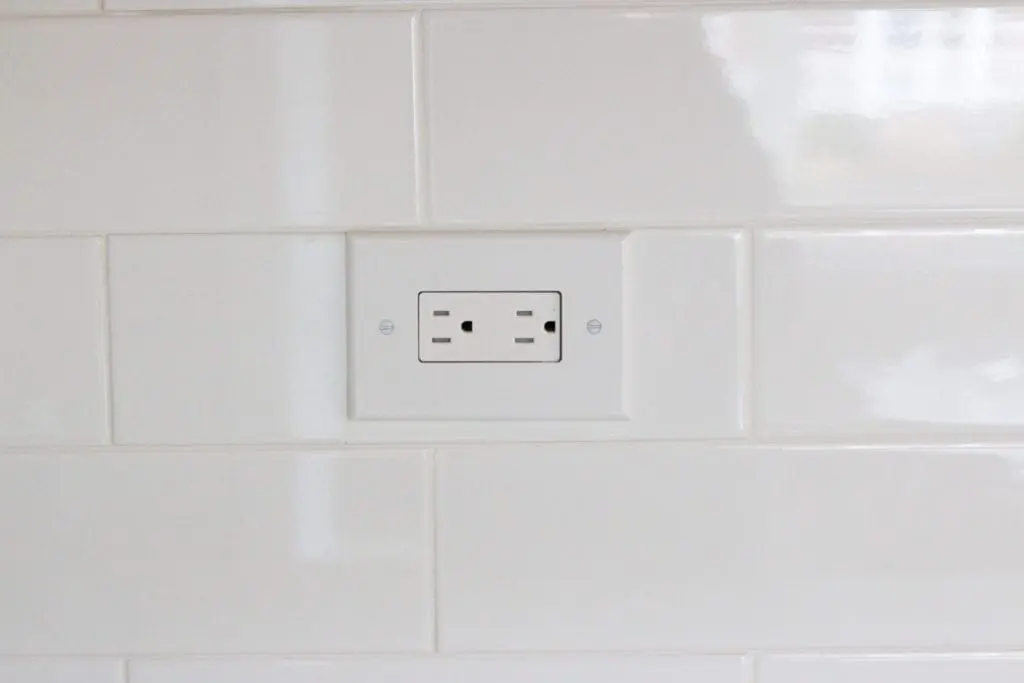
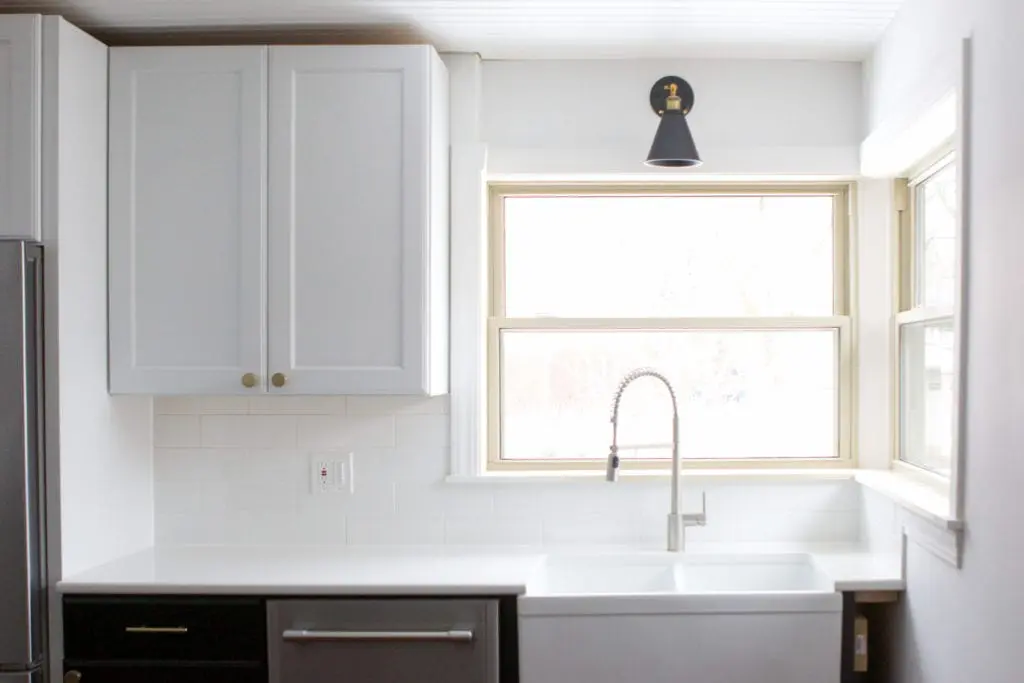
We chose to use 1/16″ spacers in between tiles and turned these 1/16″ spacers on their side to create a 1/8″ spacer between the countertop and the backsplash tile. We opted to skip grouting that 1/8″ space and instead, caulk that line between the countertop and the tile. Keeping this space is a must because as your house settles things may move around and you don’t want your tile to crack.
We used this same technique when it came to the spacing between the tile and the opposite wall. The caulking doesn’t happen until Day 2, but these decisions are ones to consider when planning your tile layout.
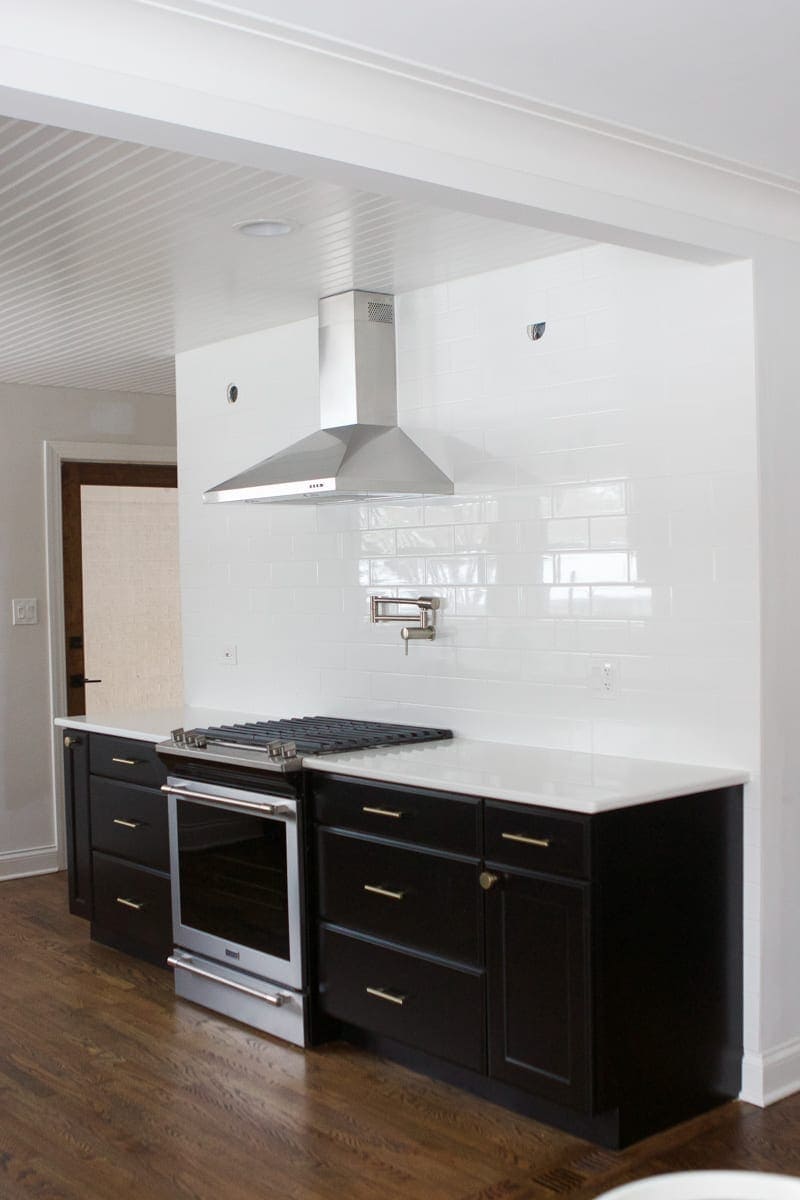
Installing Backsplash Tile
When it comes to hanging the backsplash tile on the wall, it’s actually pretty easy as long as it doesn’t require a special cut. We used a pre-mixed mastic, which made the process even more simple! 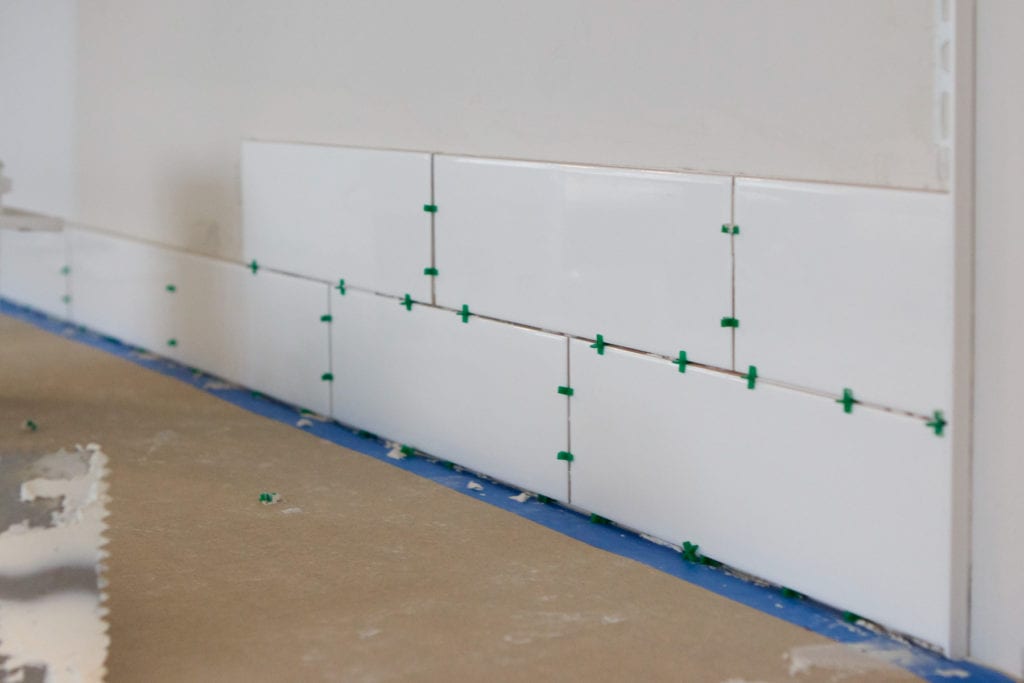
We scooped the mastic out of the bucket using a trowel and slathered it on the wall where the tile will go. Then we used the side of the trowel to make indentations on the mortar, this will help the tile to adhere to the mortar without sliding around (make sure you buy the correct trowel size for your particular tile!). After that, all you have to do is stick the tile into place, with spacers all around it.
Repeat this process over and over until you hit a spot where the tile needs a special cut.

Cutting Backsplash Tile
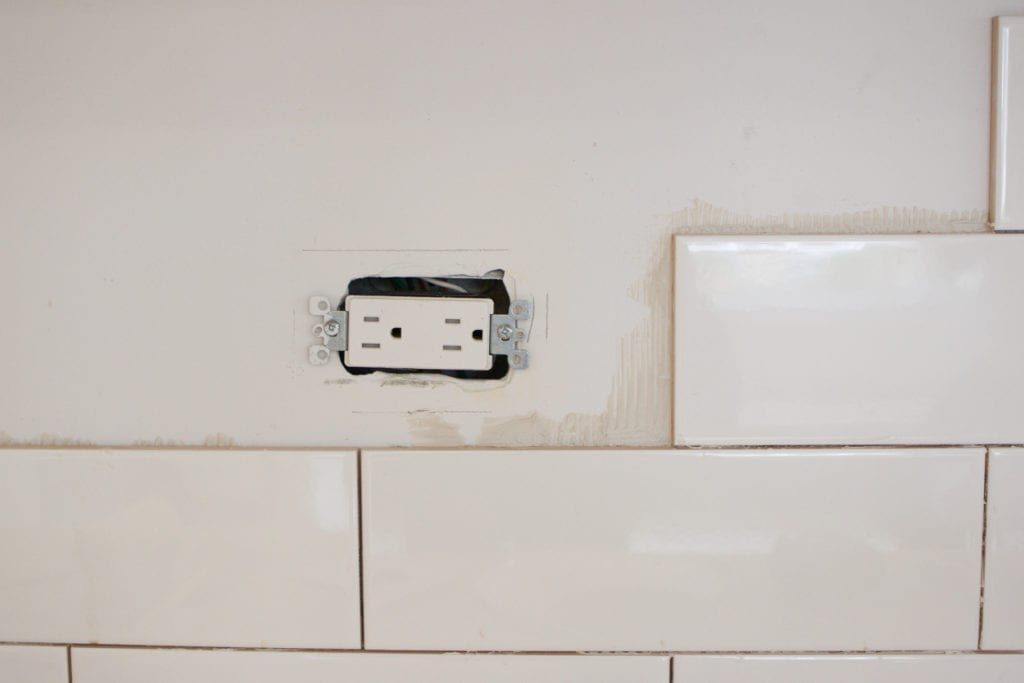
The tough part comes when it’s time to tile around an “obstacle”. In our case, the first obstacle was the electrical outlet that fell right in the line of our tile. Enter the wet saw.
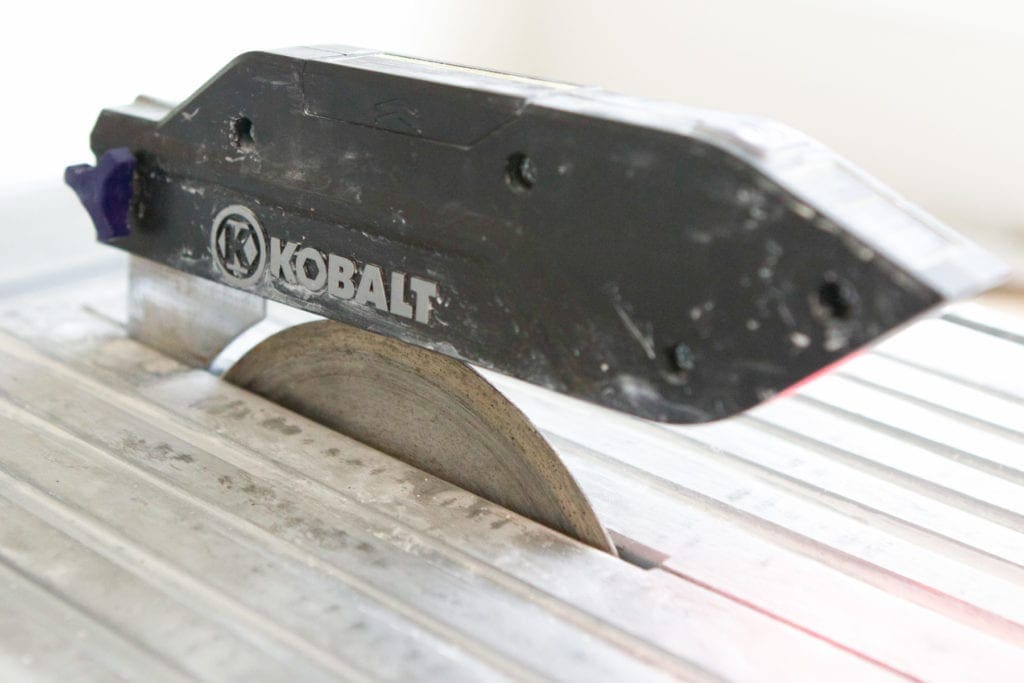
The wet saw is a necessary tool for jobs like this, and I’m happy to report that it is not as scary as it looks. We used it to cut out the area where the electrical outlet fell inside of the tile.
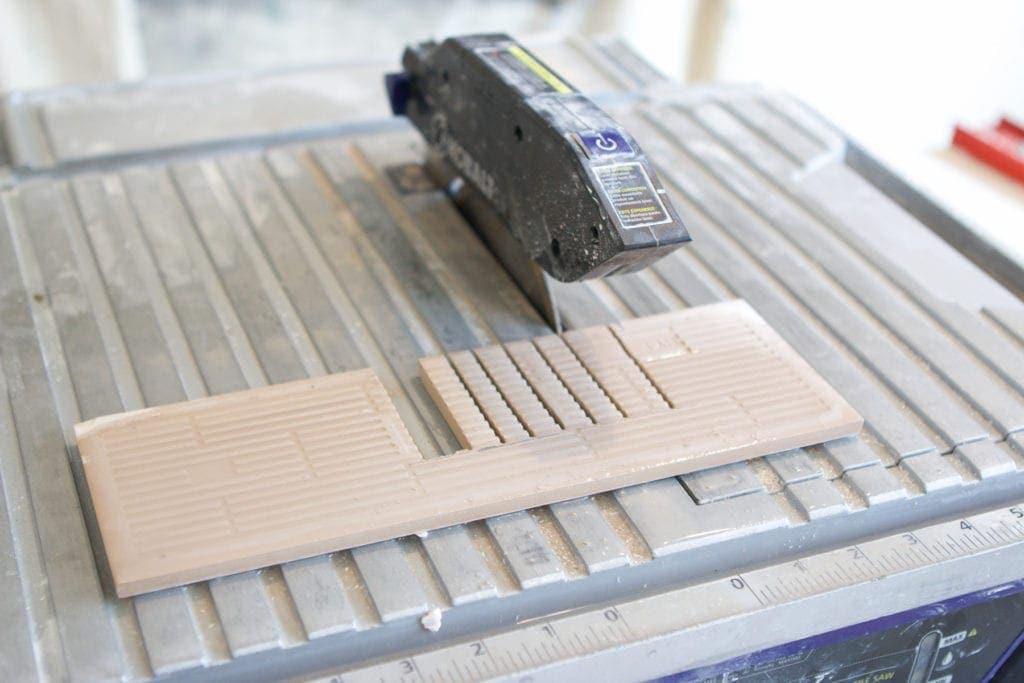
We sketched out the outlet size and made several straight cuts using those marks as a guide, which was very easy using the wet saw.

Then we plucked these small strips out from the larger piece of tile, leaving us with a perfect cut that fit snugly around the outlet.
And the best part is that if the cut isn’t perfect, you can always buy an oversized outlet cover and cover up your imperfections! We won’t tell anyone if you won’t.
Ending The Tile
And the last tricky part you may run into comes when it’s time to finish each “row” of tile. In our case that was when we got to the wall and a full piece of tile would not fit.

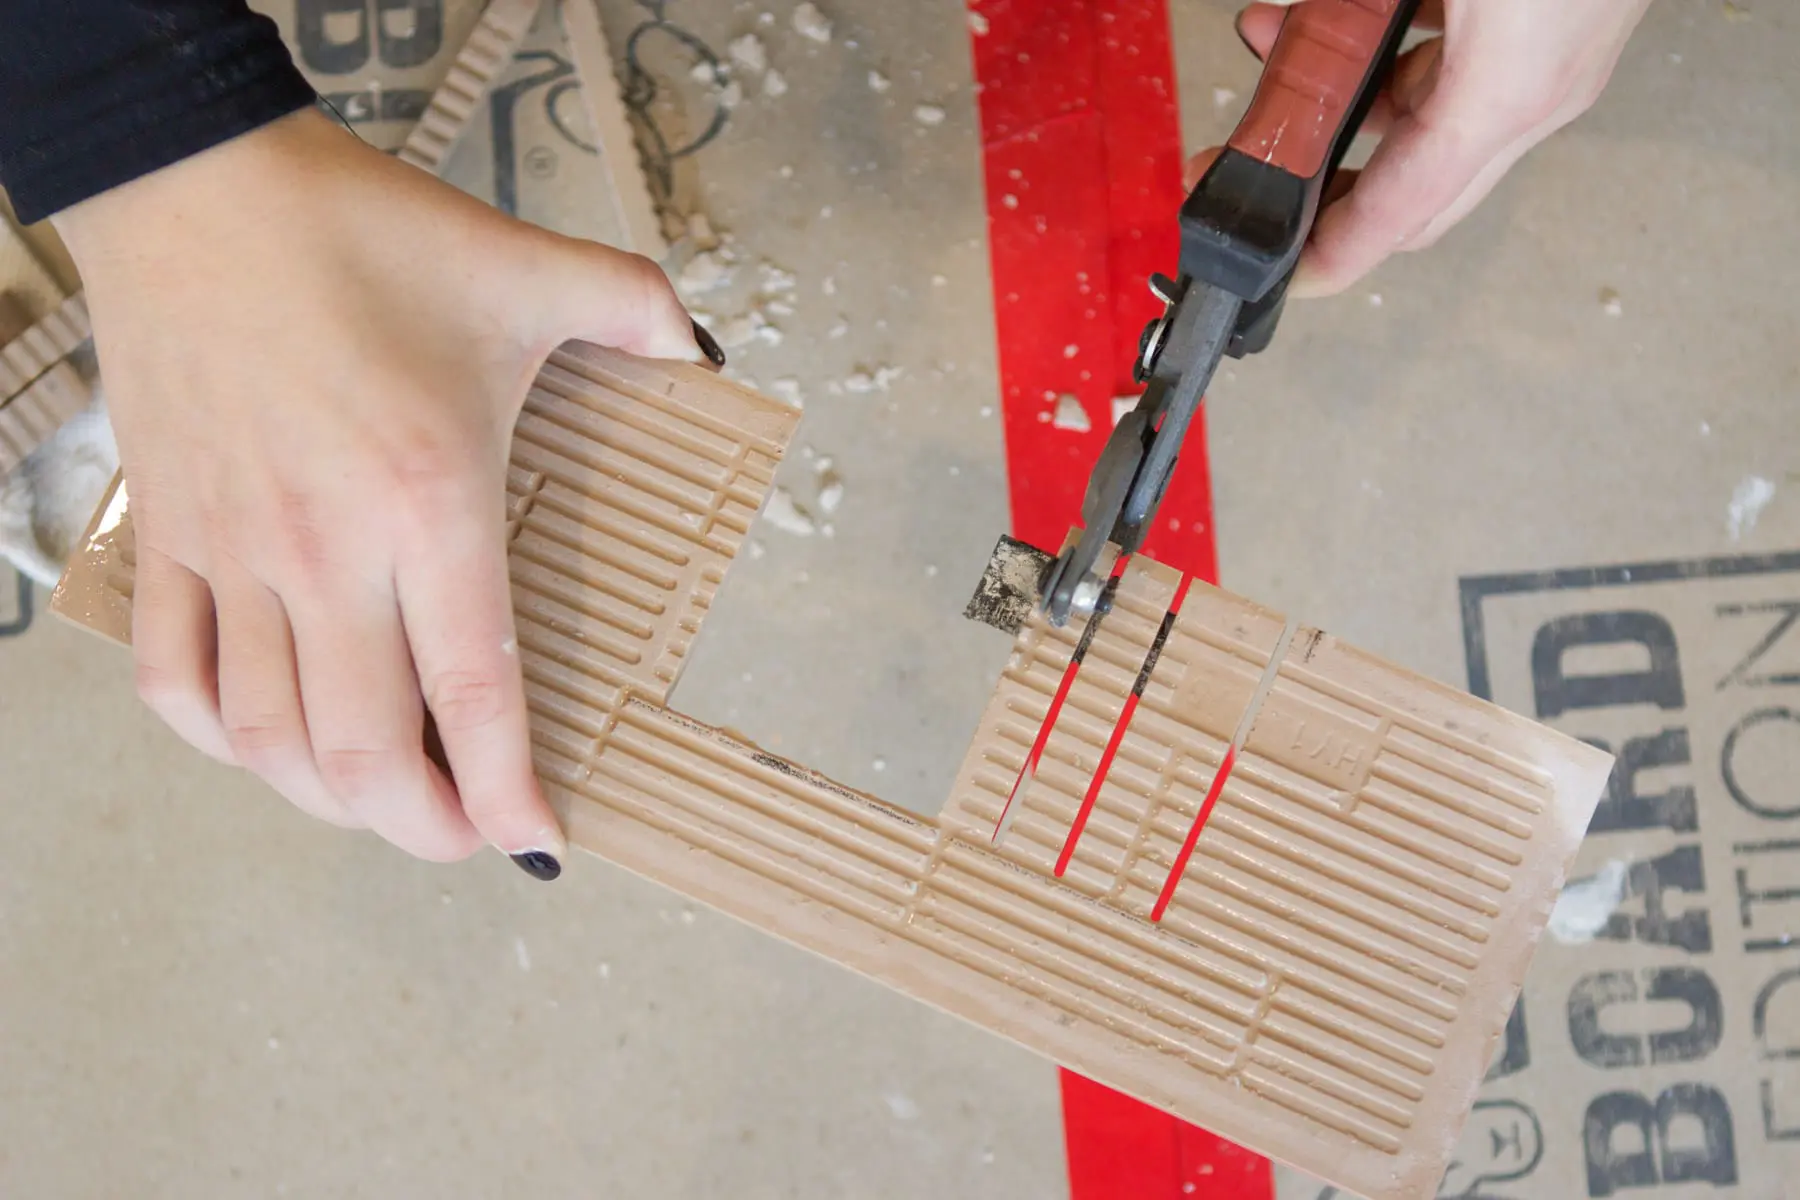
We measured the remaining area of each row, subtracting the 1/16″ spacer between the last two tiles and the 1/8″ spacer that we snuck in between the wall and tile.


Then we used a snap cutter to make the cuts on these tiles, which is significantly less intimidating than using a wet saw. You simply run the scorer along the tile and put pressure on that scored line until the tile breaks along that line. We used this method for all of our straight-forward cuts and the process was super simple!
Day One Done!

Once we made all of our cuts and had all of the backsplash covered, we were officially done for day one. Well, except for the clean-up, which takes some time since mortar can get pretty messy (seriously, don’t wear any nice clothes)! One thing you need to do once the area is all cleaned up is to make sure all of the tiles are clean and ready for grout tomorrow.
That means going over all of the tiles with a wet cloth and a little fingernail power to get rid of all of the mortar that set on the face of the tile or in between the grout lines. You don’t want this mortar to impact the grout, so getting it all cleaned up in time for day two is essential! I used a plastic knife with a rag over it and ran it through all of the grout lines to get the extra mastic off before entering into Day 2.
Day Two Steps
Okay, now let’s dive into Day 2- the day of grouting and caulking! The good news is that this process is a lot quicker and doesn’t take nearly as much patience. But when I say the process is quicker, I really mean it because on grout day, you really have to HUSTLE to get everything done before the grout dries.
It really is a race against the clock, so much so that I didn’t get nearly as many photos as I wanted to because it was such a mad dash.
Before You Begin

Before diving right into the grout, make sure you have all of your tools accessible so you can work quickly. That means having a bucket (or a few buckets) of clean water by you as well as several sponges. You’ll need these almost immediately after wiping on the grout so having them within reach is key.
Plus, anything you can do to cut down on the stress that could come with a “time crunch” is helpful. So if you think you may need something, have it nearby just in case!
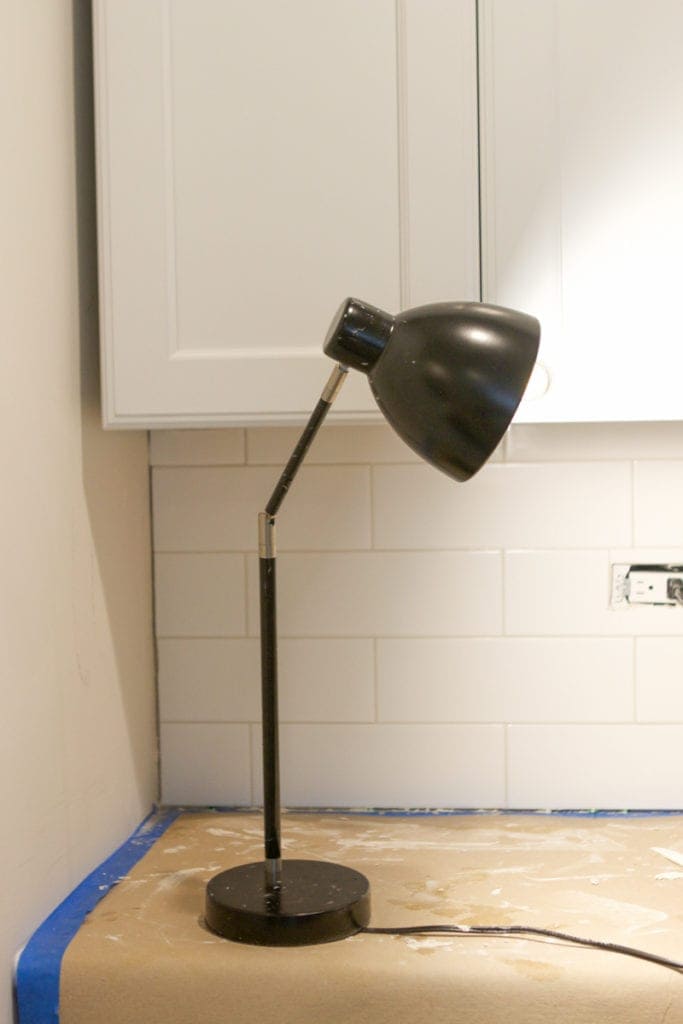
I also brought up a table lamp from our basement so I could see every little detail of the grout. I would recommend doing this for Day 1 too! Having more light to see what you’re doing is never a bad idea when it comes to the details of tiling, right?!
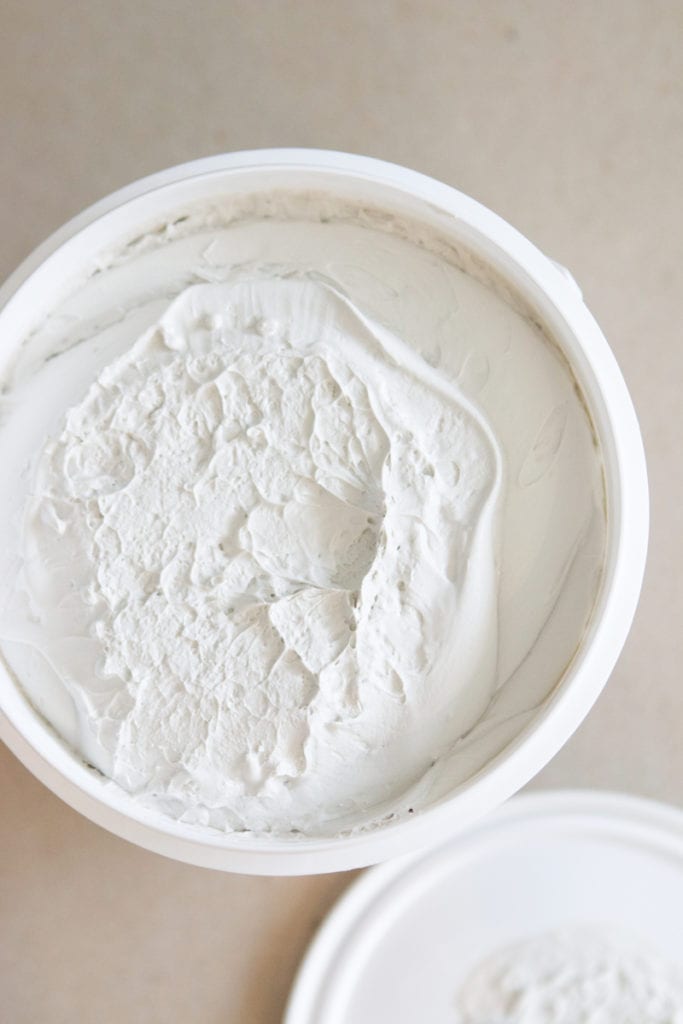
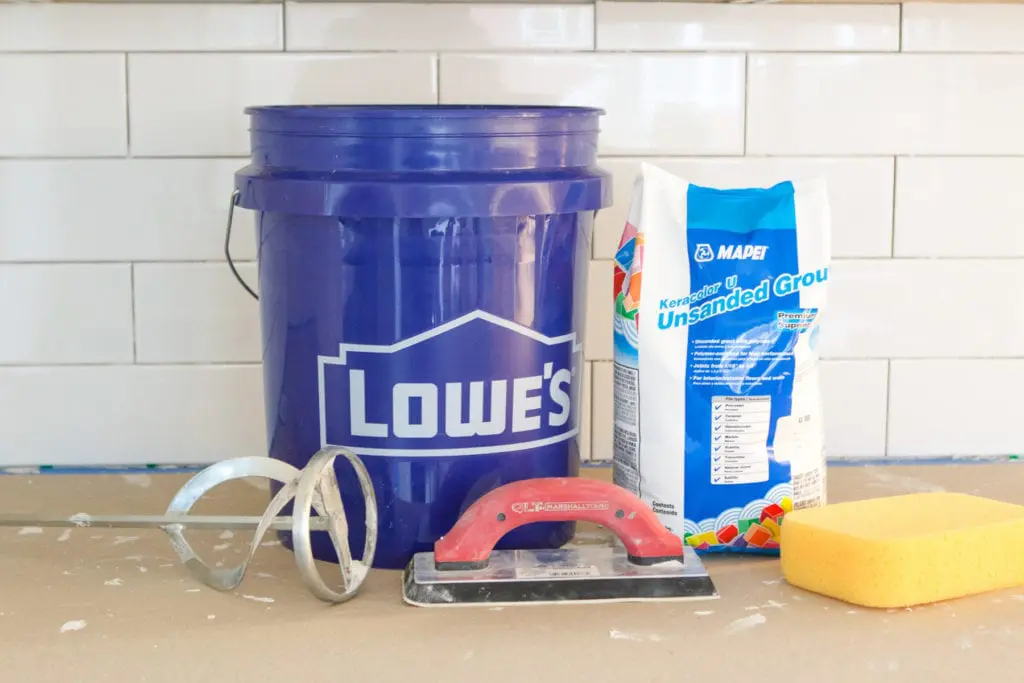
Mixing The Grout

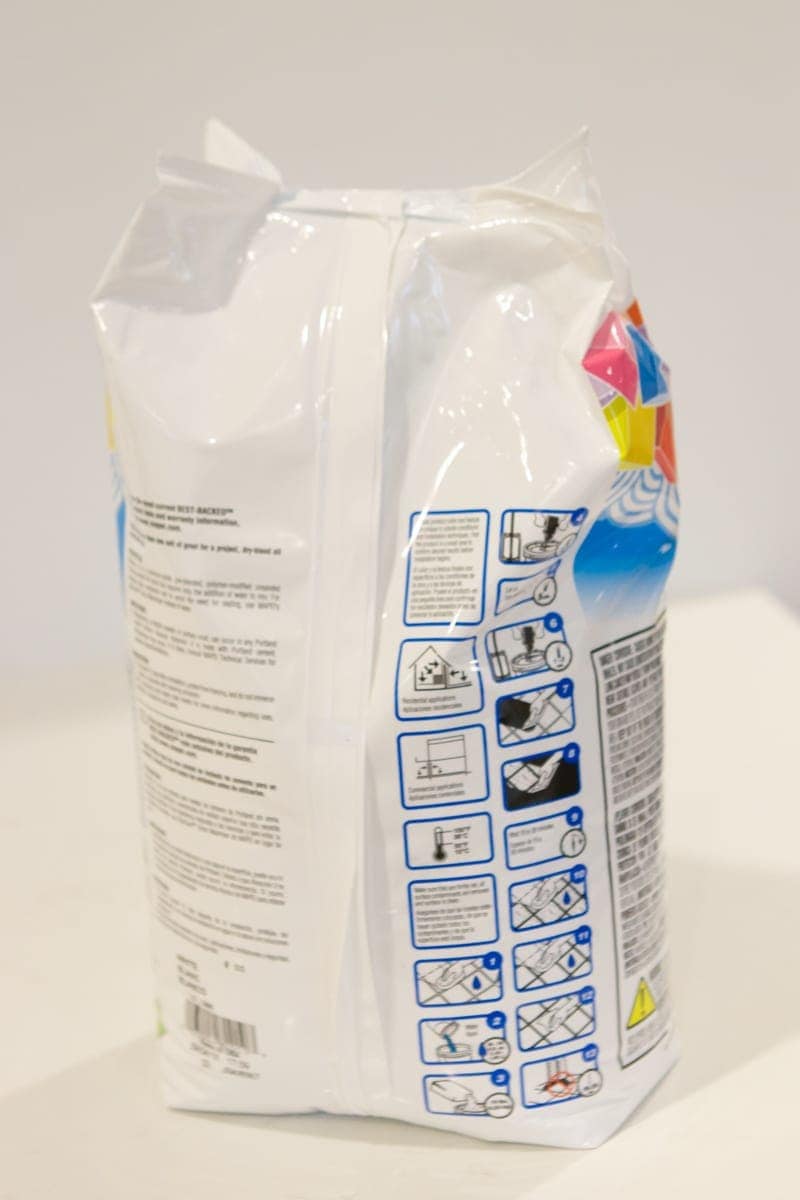
Once you’re all set up, it’s time for grout! The grout has very clear instructions on the bag on how to mix it properly. When it comes to grout, the mixing is a precise process so be sure you read the instructions in advance and follow them exactly. And when I say exactly, I mean it!
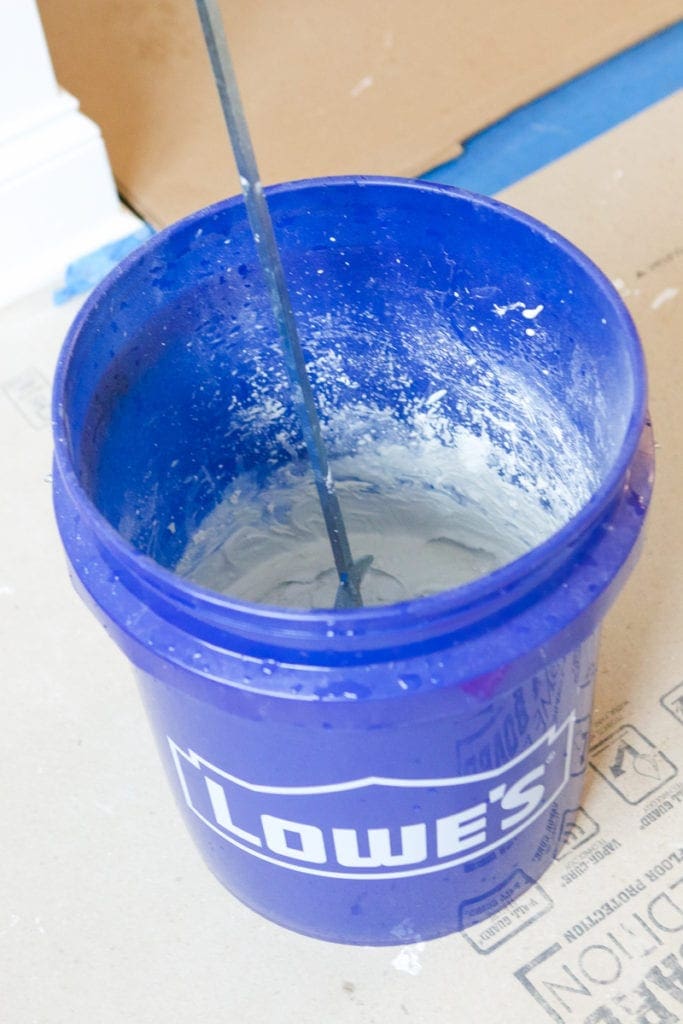
As I mixed the grout with this mixing arm hooked up to my drill, I literally had my phone timer out in order to follow the directions as precisely as I could. In about 10 minutes, the grout was mixed and it was time to get RIGHT to work on grouting the tile. Remember, working with the grout immediately is important so there’s no time to waste!
Grouting The Tile

This is the part I couldn’t get as many photos as I wanted to because it’s a race against the clock. Essentially, you use a grout float to spread the grout all over the grout lines/tile. Using the directions for your grout, you then quickly use another grout float to wipe off the heavy excess (before it dries on the tile).
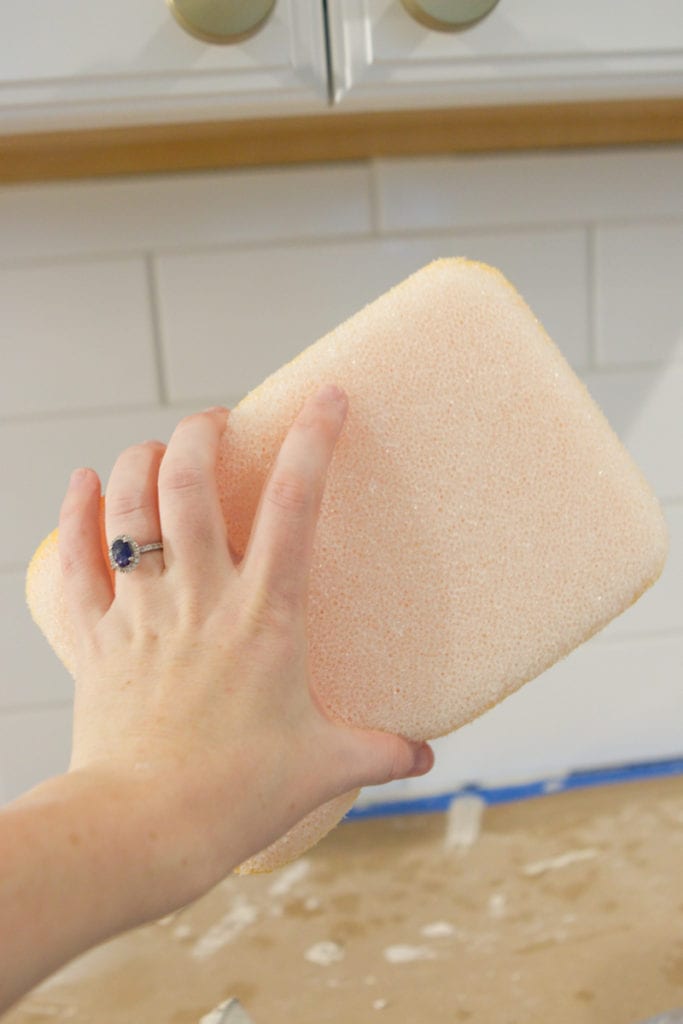
Then you take a sponge to wipe off the additional grout, which takes lots and lots of wiping. I went through 4 sponges and changed my bucket of water probably ten times until all of the “extra” grout was wiped off of the tiles and the tiles were clean again.
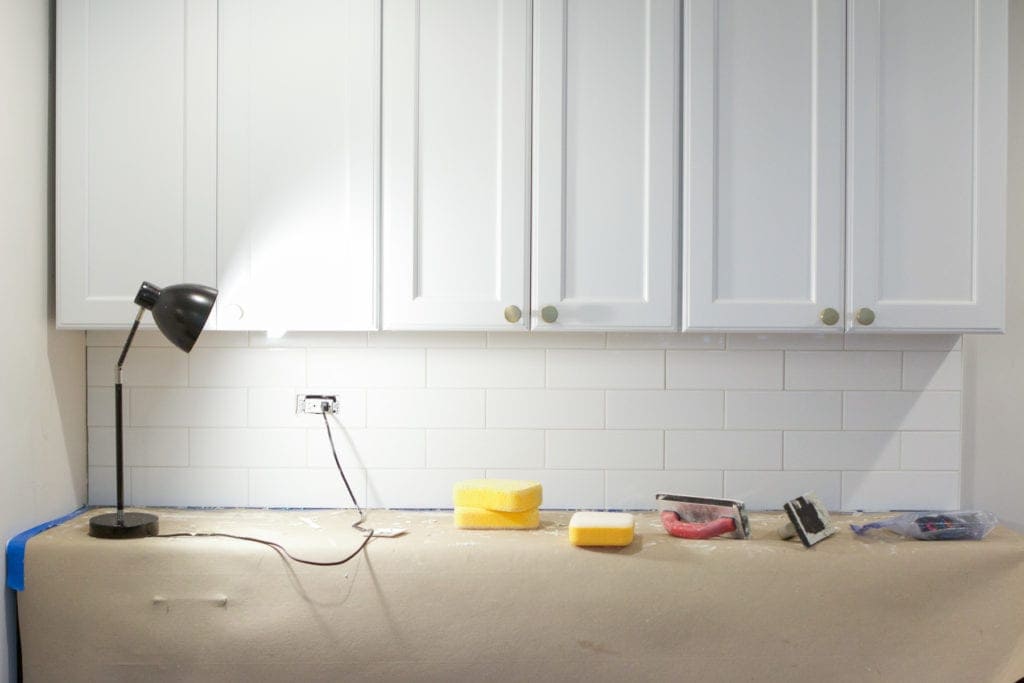
This is when I finally stopped and took a picture and I wasn’t nervous about the extra grout drying on the tiles forever. Okay, maybe that’s a bit dramatic BUT getting the excess off as soon as possible will save you a lot of headaches in the long run.
Caulking
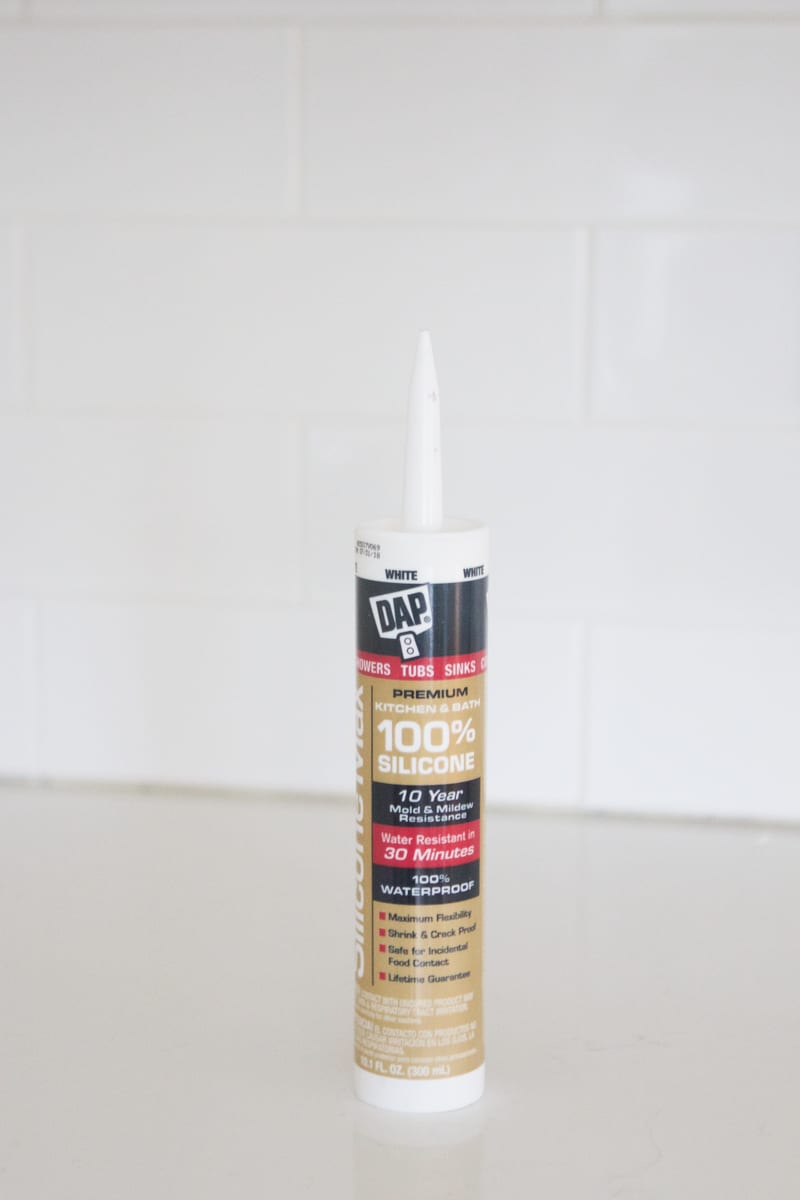
Last, but certainly not least, it’s time to put the finishing touches on un-grouted seams by caulking. I chose to do white caulk so it blends in with the grout and also made sure to choose caulk compatible with kitchen and baths so it could withstand water.
Essentially you caulk where all planes meet…the seams in between the counter and the tile, the seam in between the tile and the wall, and the seam on the outside of the Schluter.

When you go to caulk your seams, make sure you have a sponge and water accessible to wipe off any extra caulk. This will ensure a nice, clean grout line.
Celebrate!
When you get to this point, all that’s left to do is celebrate all of your accomplishments (and all of the gorgeous before and after photos!).


I can’t believe what a difference the new backsplash makes in our kitchen. The space already feels a lot more finished. We still have a few more items on our to-do list (like paint, lighting, and shelf installation) but checking this project off the list has us feeling so excited! The end is in sight and man does it look gorgeous!
Bridget


