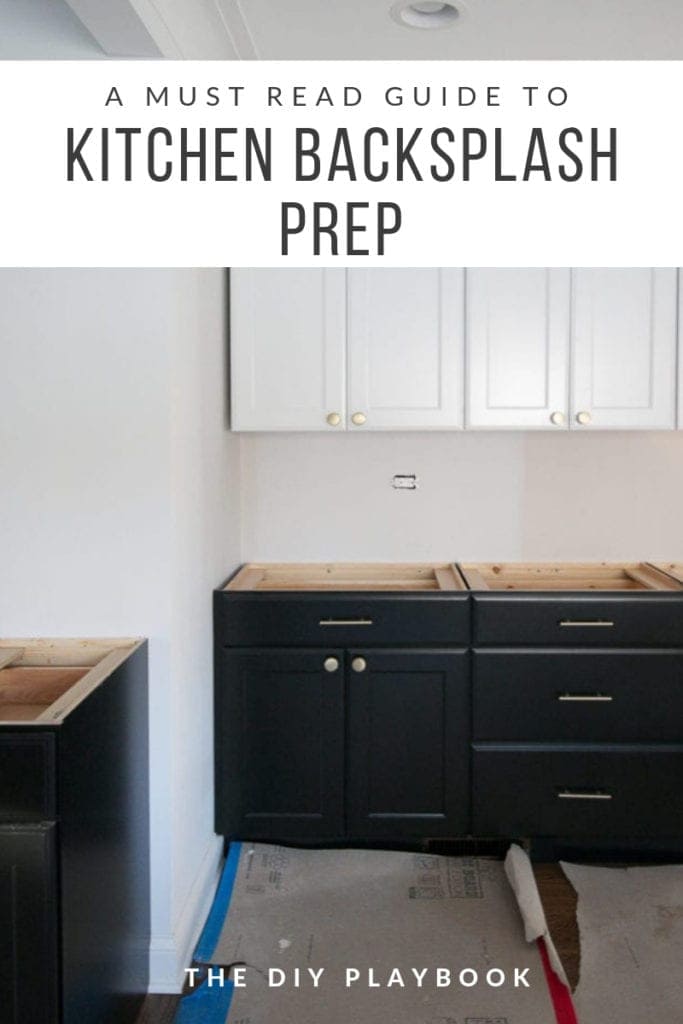
Everything You Need To Know To Prepare For Tile Backsplash
Since this is the very first time I’m undergoing a full kitchen renovation, I had (and continue to have) A LOT to learn. I have been trying my best to report every step of the way and provide as many detailed and specific tutorials for other newbies who are in the same boat.
 I specifically tried to hone in on posts that help prepare others for the big decisions that pop up during a kitchen renovation, especially after we found ourselves wishing we were better prepared at some points. Like the long list of questions I wish I knew before buying new kitchen cabinets or where to even start when it came to demo day.
Today I’m back with one of those one-stop-shopping, informative posts. For other newbies deciding on kitchen backsplash, this post is designed to be everything you need to know BEFORE you start tiling, including tips on how to choose a tile, how much to order, what materials you need, and more.
My goal is to break down all of the prep work so you feel confident in every step of the backsplash process, starting with shopping.
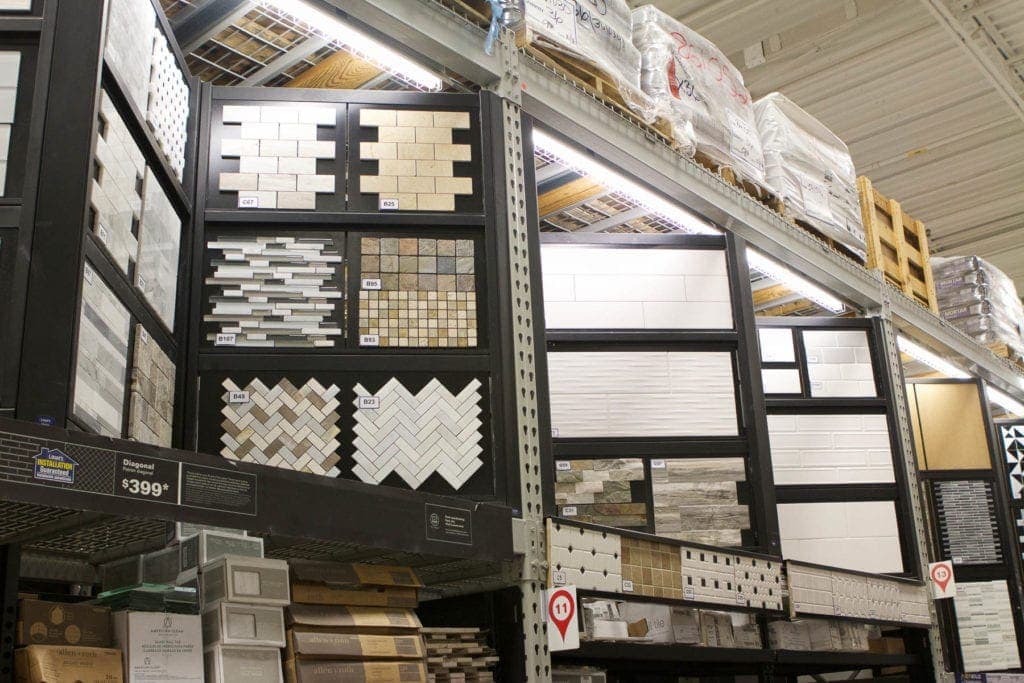
Shopping For Tile Backsplash
We first need to figure out what tile you want to use in your kitchen before we can move on to the other steps. How do you even begin deciding?!
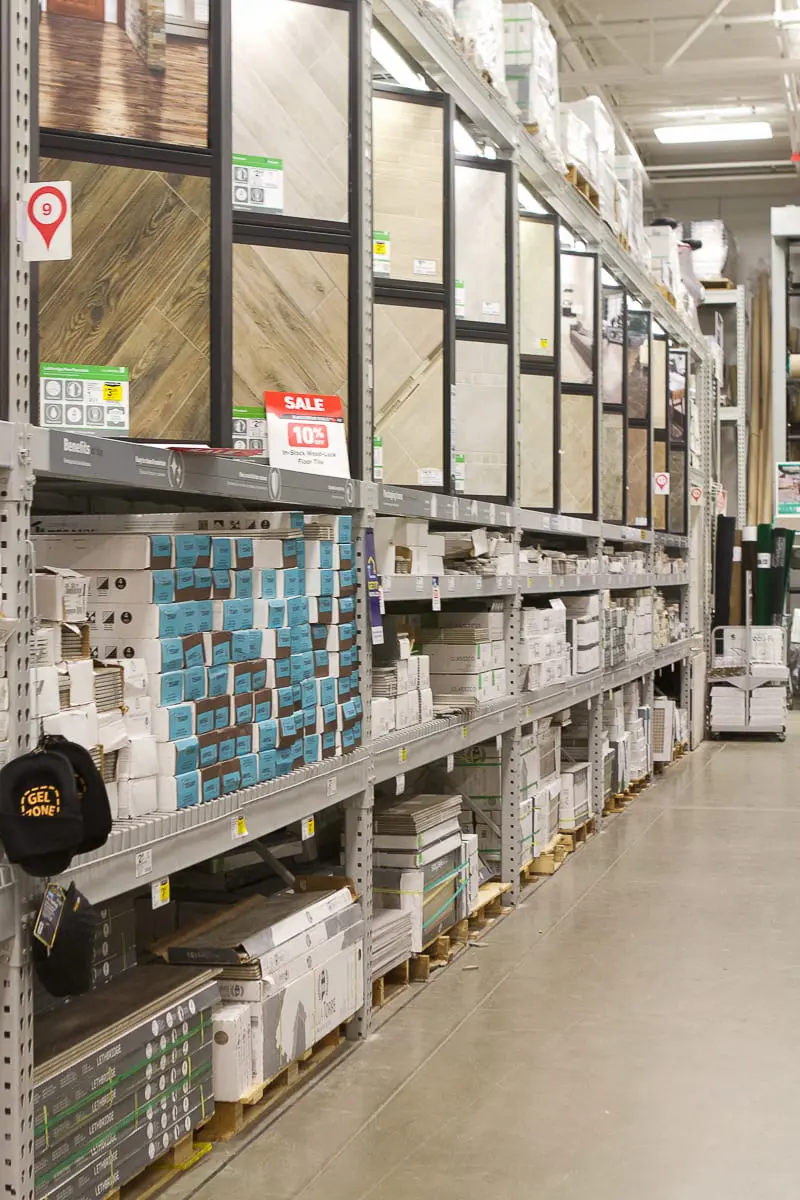
We went to Lowe’s and were happy with the large variety of tile backsplash options they had available. The good news is that by the time you start picking out your tile, the cabinets and countertops are already decided on.
Not to say that makes picking backsplash a total breeze, but at least you have a “kitchen vibe” to work with.
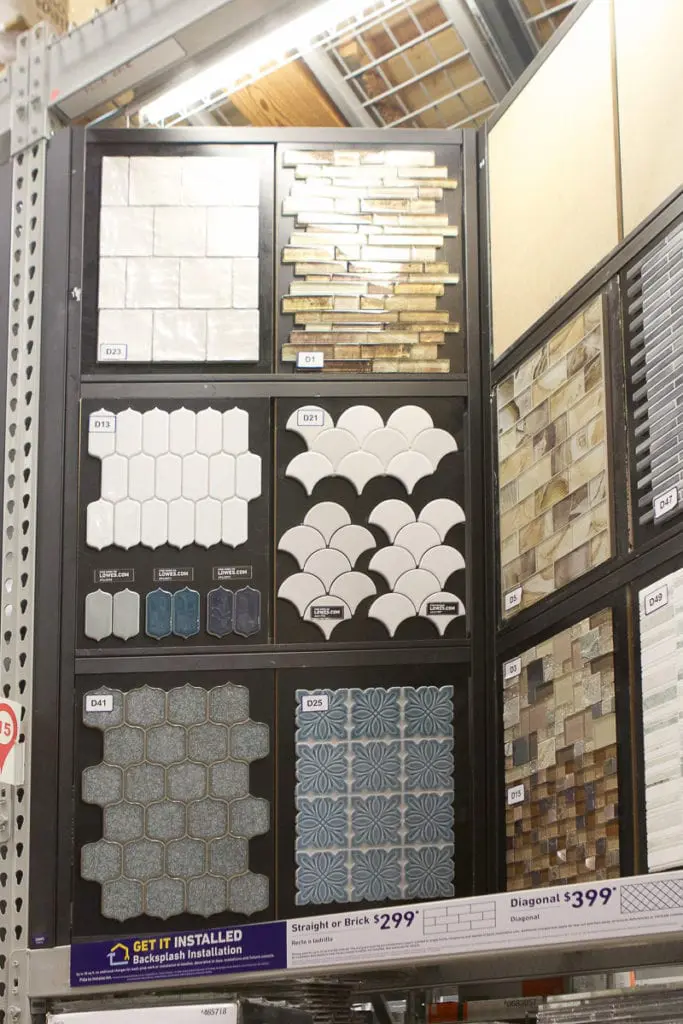
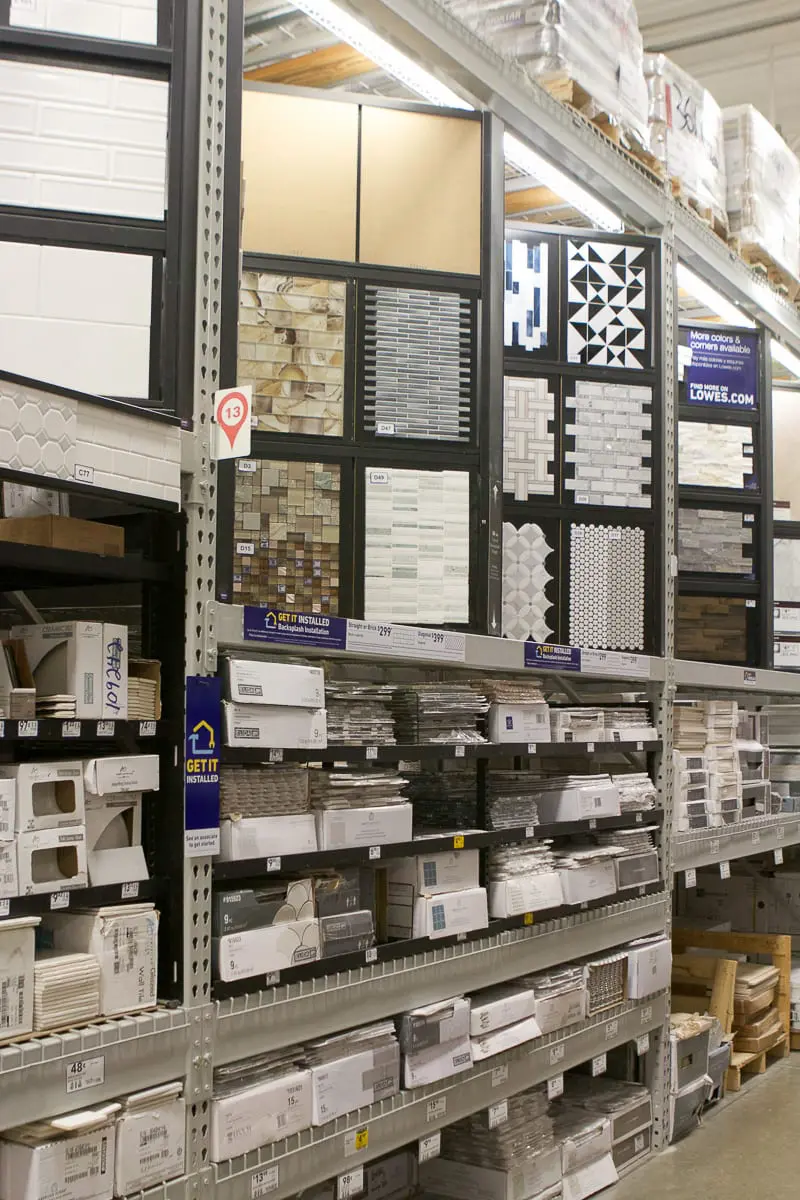
I browsed the aisle and instantly found a few contenders that could work in our kitchen’s design plans. Personally, I was drawn to the white designs since our cabinets were so bold and I wanted the tile to play a “supporting role” and not the lead.
If you want your tile backsplash to be more of the focal point, choosing a color or bold pattern may be a better fit.
 I instantly pulled the few white options I loved. But now what? How do I narrow it down?
Considering Options
You could purchase a few tiles of each of your contenders to bring home and hold up. But I chose my tile at least a month before demo, so bringing home the tile and showcasing it in our old, ugly kitchen wasn’t going to do me much good. If your cabinets/counters are already installed, bringing home samples would be a great option for you.

Pinterest Inspo via Decor Pad
Instead of just trying to visualize these tiles in my future kitchen, I immediately turned to Pinterest. Ironically, I was still in the aisle of Lowe’s searching the names of each tile to see what that tile looked like “in the wild”.

Pinterest Inspo via Three Birds Renovation
It’s so crazy, but this simple exercise narrowed down my collection to the winner! Although I loved all of the options, this specific tile is the one I went with. I bought a few pieces to bring home that day (just to have as a reference as we continued to make design decisions), but didn’t buy anything else immediately because I wasn’t sure how many tiles I actually needed.
Figuring How Much Tile To Order
So how do you figure out how much backsplash tile to buy?! This is something I had to research quite a bit and a topic I am happy to cover here to save you the time!
 You need to account for the length and width of every area in your kitchen that needs backsplash. Multiplying the length and width will provide you with the square footage of that space. Then you need to add at LEAST 10% to this total to account for waste, cuts, and mistakes.
That is your magic number in square footage, but you still need to figure out how many boxes of tile you should buy.
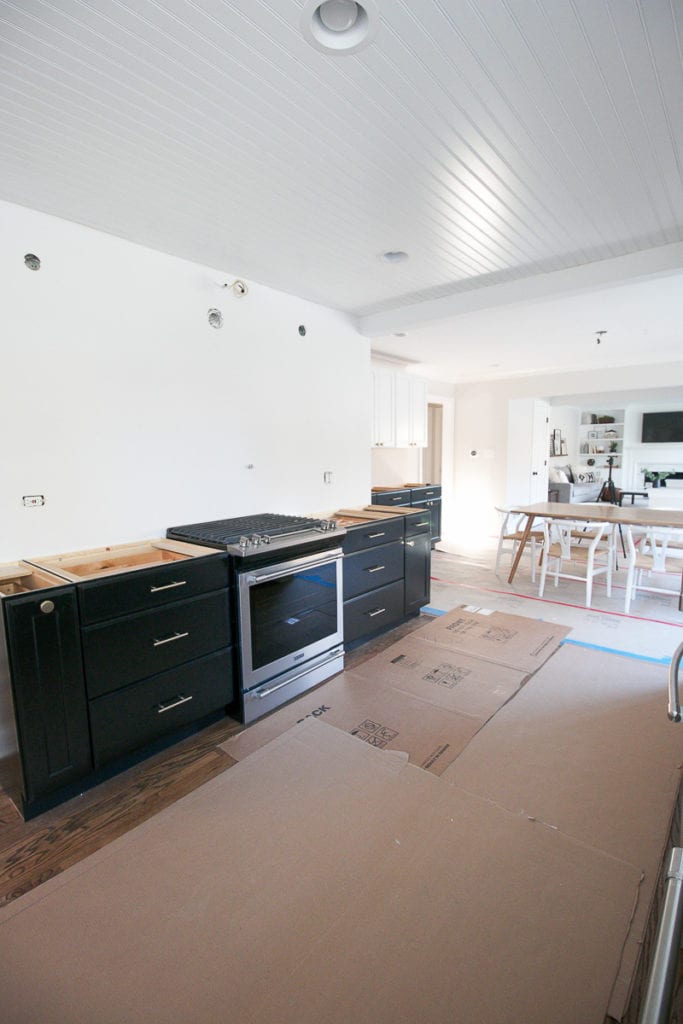
Figure out how many square feet are in each box of your specific tile. Divide your original “magic number” by this total and that will give you the number of boxes you should buy. If your total comes out to be 7.5 boxes, I would recommend rounding up to 8 boxes so you have plenty of tile.
You can always take back a box or two at the conclusion of the project if you have extra. I would much rather do that than having to make an extra run to the store in the middle of the project!
(Side note from Casey: Buy extra!! During our bathroom renovation, I had to run to the store TWICE to account for bad cuts and broken tiles. As Bridget mentioned, you can always return extra!).
Figuring Out When To Order The Tile
I opted to order all of my tile backsplash well in advance. My goal for the entire kitchen makeover was to have EVERYTHING on site before demo day. Although that posed some storage issues at times, we were able to make this happen and would do the same thing again next time around.
 Having everything accessible has been so helpful throughout this process. There have been several times when I have had to run out to the garage and grab something for measurement purposes, tile included!
If this is not your philosophy, I would recommend making sure your local Lowe’s has the amount of tile you need in the store. If your kitchen requires a large amount of tile, they may have to order this product for you, which could take a week or two. In that case, make sure you figure out these logistics at least a couple of weeks in advance!
Other Decisions To Make
After you decide on the tile you want, there are still a few decisions to make that will impact the look of this tile. The first one? Grout color.
Grout Color
Lowe’s offers several options of grout color so you have plenty of options to match your specific tile. Or do you want to match it perfectly? Some people like to add contrast with the grout color and opt out of choosing a color that matches the tile and otherwise “blends in”.

Personally, I wanted the grout to blend in so I went with a lighter grout line. But when Casey redid her bathroom, she made the grout pop by choosing a slightly darker grout line next to the white tile. Honestly, it’s all up to you, but it is a design choice you have to consider when choosing and buying grout.
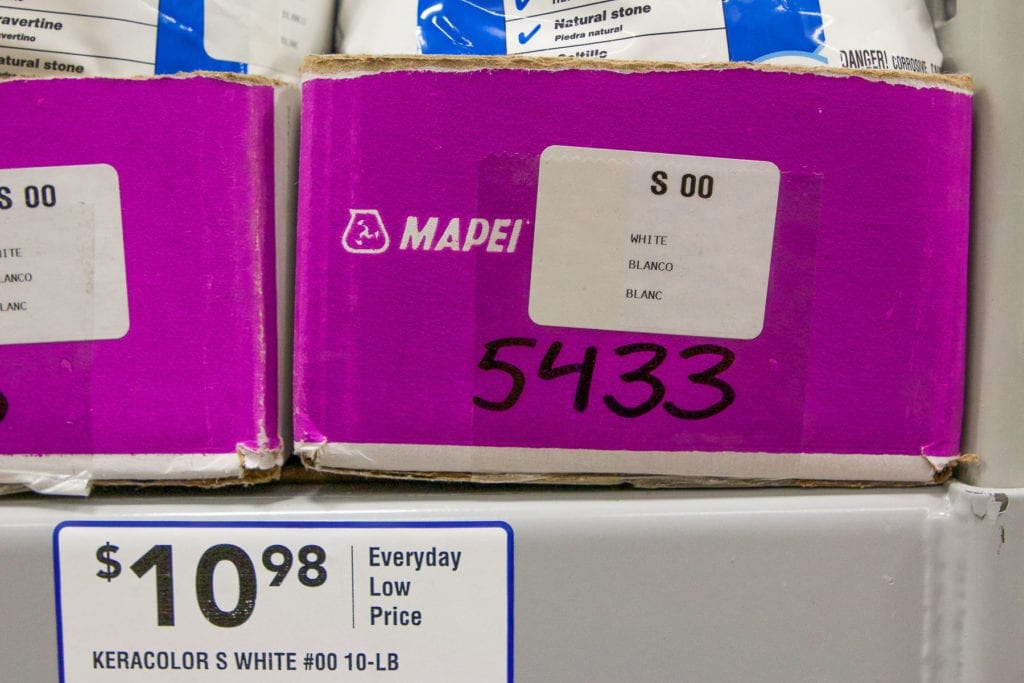 I went with classic white to have the least amount of contrast, but again, there are so many colors to choose from to get the look you want!
Grout Lines

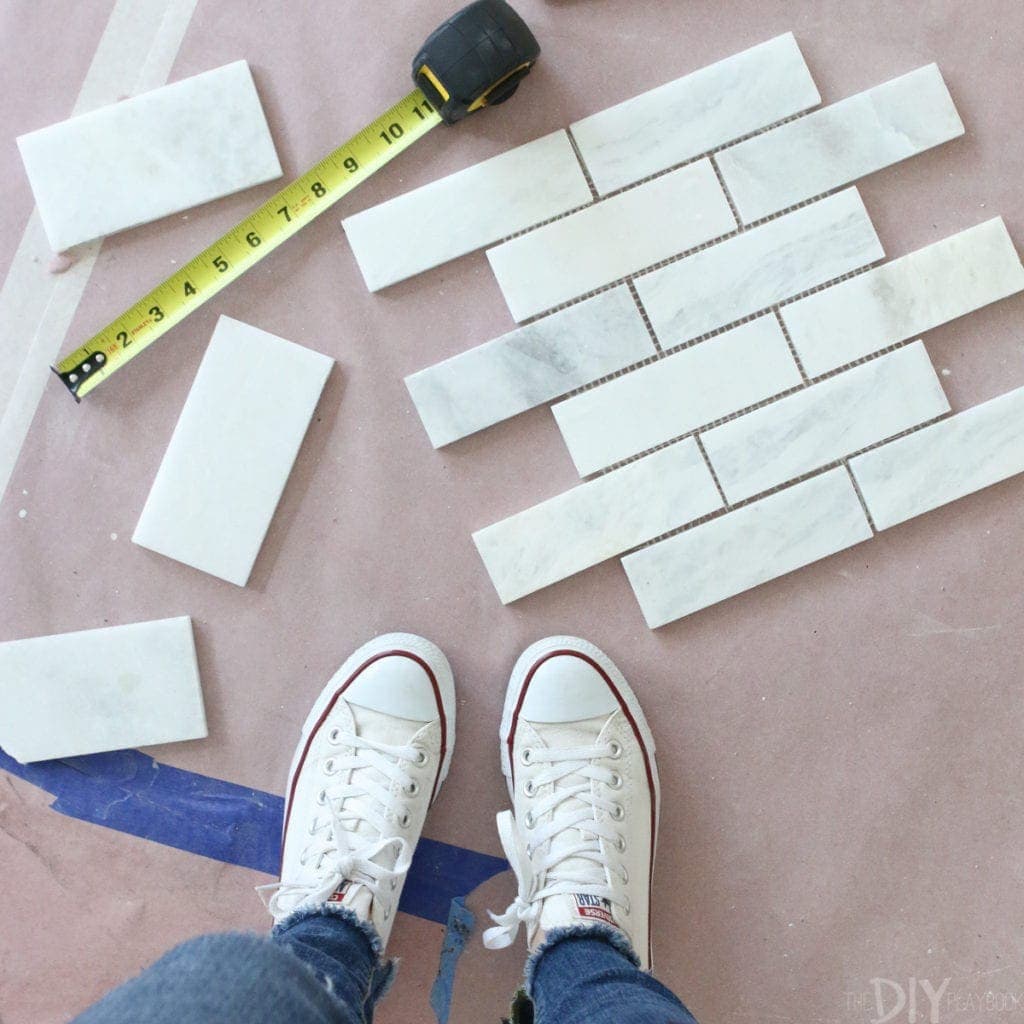
Next decision…how large do you want the lines between your tiles to be? This is where you need to decide what size spacer (if any) you need to buy to create the grout line you’re hoping for. However, do consider that the larger your grout lines, the more grout they will require.
So if you want to try and save money on grout, be sure to opt for smaller grout lines, which would require small spacers or even no spacers at all (depending on the tile).
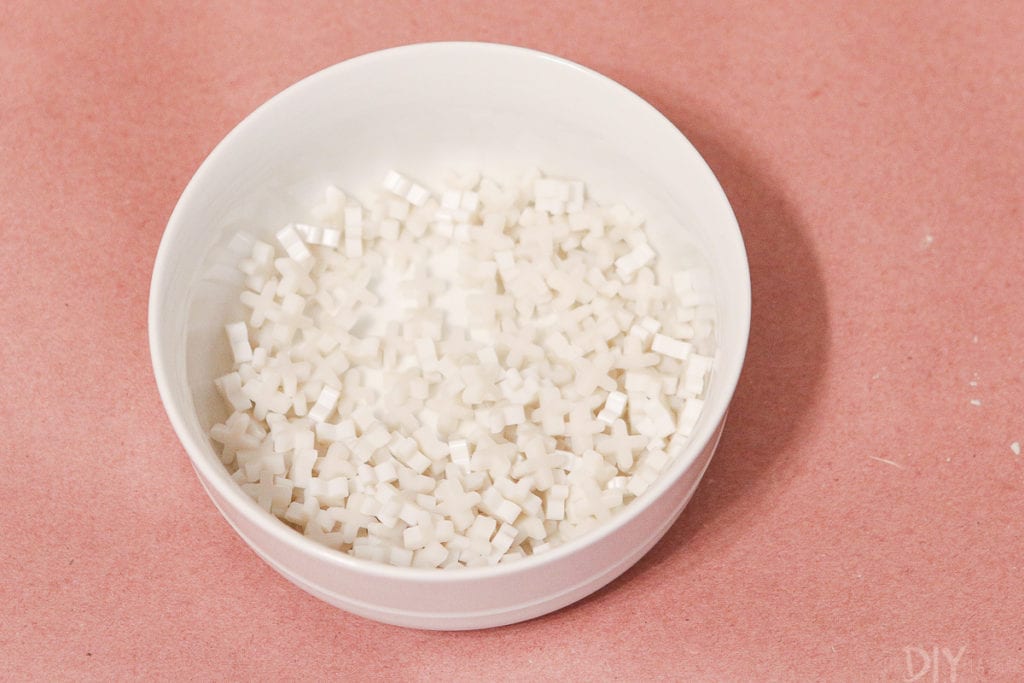 Most subway tile has built-in spacers. Yep. There are little notches on the sides of the tile so it creates a gap between each tile. If you’re doing subway tile, you probably don’t need spacers at all. And if you do use them, make sure you go for small ones or else your grout lines will be huge.
Sanded or Unsanded Grout
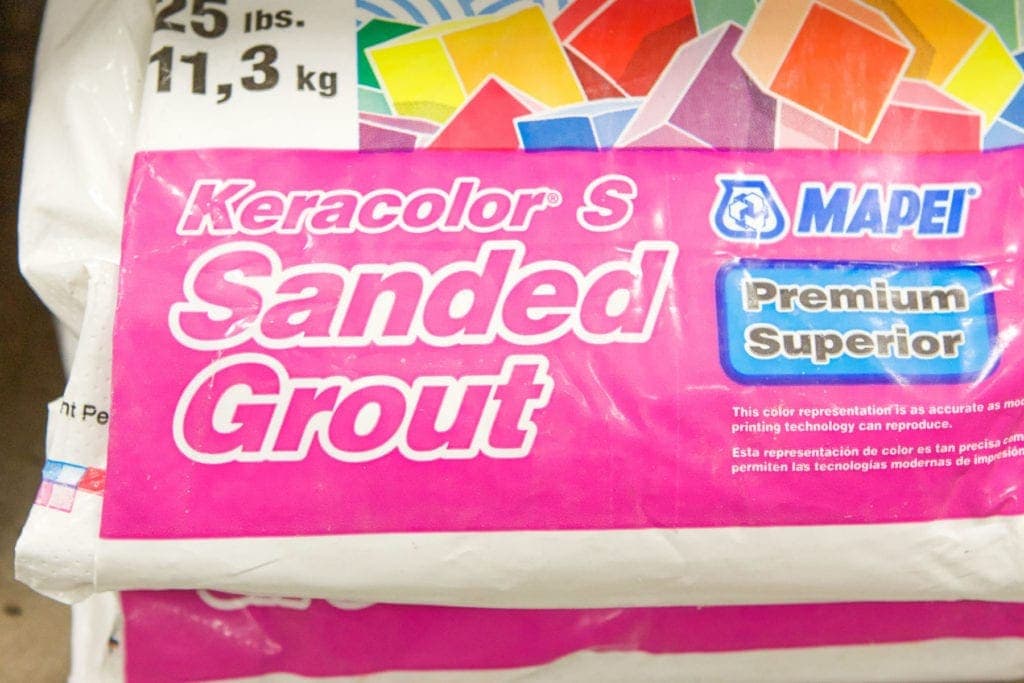
This decision will be based on what tile you’re installing, where you’re installing the tile, and how large your grout lines will be. Based on what the experts say, here’s a rundown of when to use Sanded vs. Unsanded Grout.
Sanded:
- floor tile (the unsanded could crack with foot traffic)
- when grout lines are more than an 1/8th of an inch, the sand prevents the grout from shrinking
- when grout lines are more than a 3/8 of an inch = heavily sanded grout to avoid air bubbles
Unsanded:
- when using easily scratchable (like marble) or shiny tile (because the sanded could scratch these!)
- when grout lines are less than an 1/8th of an inch
Where Do I Stop The Tile In My Kitchen?
The last, and possibly the hardest, decision to make is where you will stop your backsplash tile. Every kitchen is different so it is impossible to make a blanket statement about a “rule” to follow.
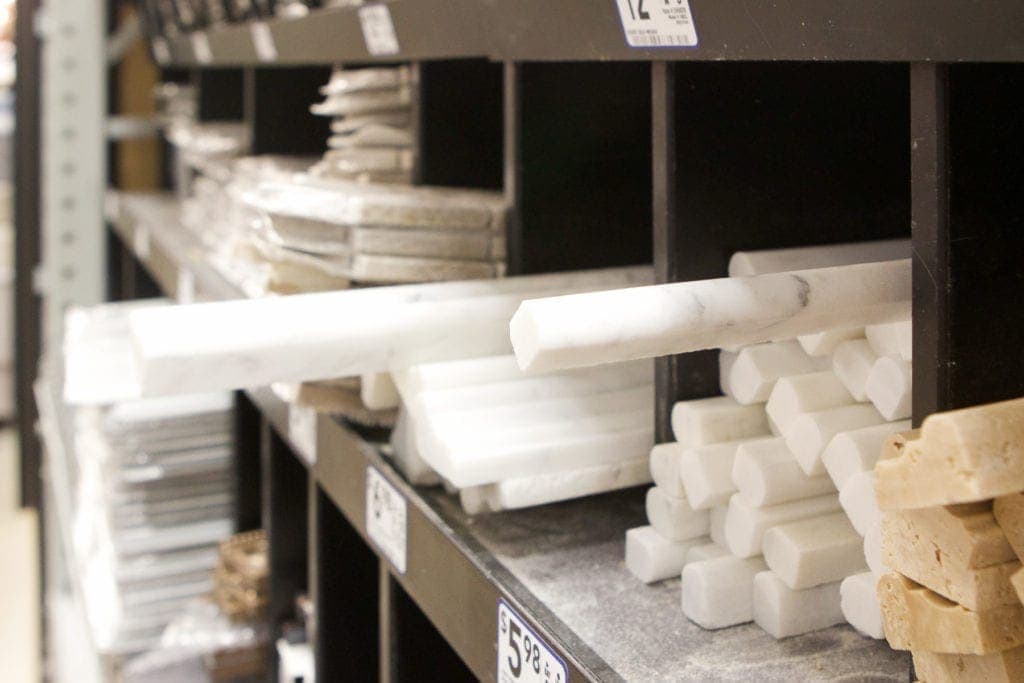
But this is a decision that you will have to make in advance because it will dictate whether you need to buy additional items like a decorative finishing piece, a piece of bullnose tile similar to the rest of the backsplash, or even a piece of Schluter to finish off an edge.
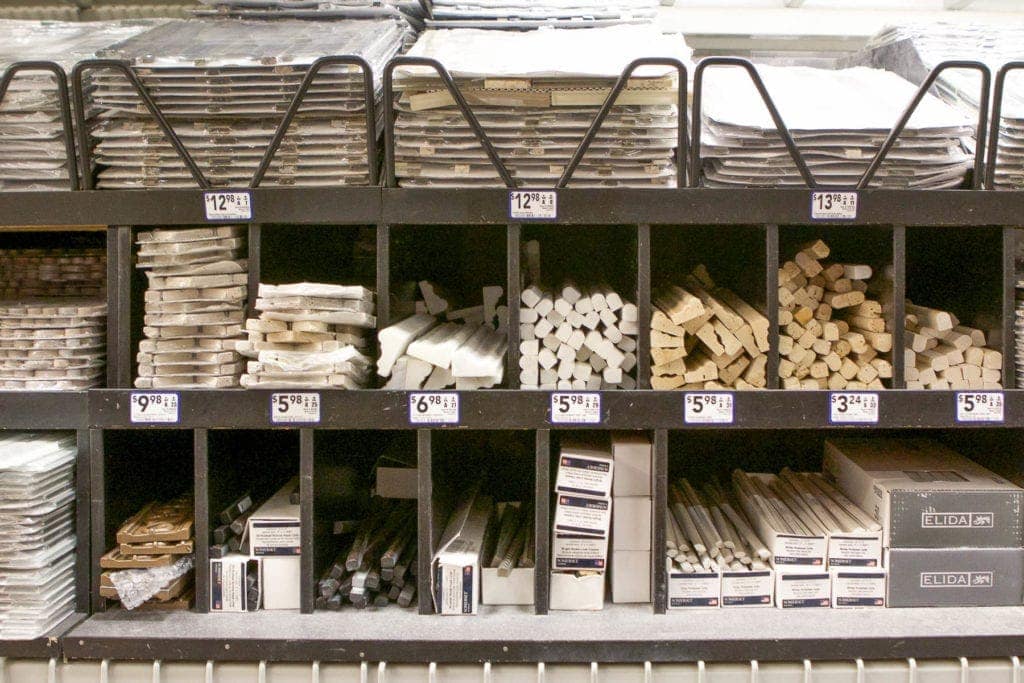 The employees in the tile department at Lowe’s were extremely helpful in coaching me through this process so I would definitely recommend touching base with them if you have questions about your space. Be sure to have a few photos on your phone accessible so they can envision what you’re explaining and help offer their expert advice.
 I don’t think there’s a right or wrong, but my best advice would be to do your research by looking at other kitchens that have a similar setup to yours. This will help you decide where to stop the tile and then what items you should buy to make these “stops” look seamless and professional.
Supplies To Buy
- Tile
- Spacers
- Mortar
- Trowel
- Buckets (and access to water!)
- Wet Saw
- Safety Glasses
- Pencil
- Level
- 2×4 for a temporary level (usually behind the stove)
- Rags
- Painter’s Tape
- Grout
- Grout Float
- Sponges
- Caulk
- Finishing Tile (which could be a bullnose piece, decorative piece, or piece of Schluter)
Timeline To Consider
When we DIY-ed our backsplash in our first house, the entire project took us a full weekend. That kitchen was a lot smaller, but we were also tile newbies so our project probably took us a little longer than it would now.
 Regardless of the size of your project, any tile project takes a couple of days minimum. The thinset, or “glue” you use to stick the tile to the wall, needs to dry before you can grout the tile. So even if you can hang the backsplash at lightning speed, the dry time for each step makes the process longer than one day so be sure to plan accordingly!
Time To Get To Work!
Okay, you’ve chosen your tile, collected your supplies, and made a plan… now it’s time for the fun part—hanging the tile. Next week I share a step-by-step guide to hang tile backsplash so you can check this project off your to-do list sooner rather than later. Sound like a plan?!
Bridget[/signature
Follow Our Kitchen Progress
- Finding Kitchen Inspiration
- Choosing Kitchen Appliances
- Hiring a Pro to Draw Up Blueprints
- Our New Kitchen Layout
- From Inspiration to Renovation
- How to Order Kitchen Cabinets
- Beginner’s Guide to Kitchen Demo
- First Steps of a Kitchen Makeover
- Surviving a Kitchen Makeover Without A Kitchen
- Kitchen Updates: Ceiling, Floors & Doors
- Our New Lowe’s Kitchen Cabinets
- New Appliances Installed
- Everything You Need to Know to Prep for DIY Backsplash Tile
- Step-by-step Backsplash Tutorial
- How To Style (and Organize!) Open Shelving