How to Make a Paint Swatch Calendar
So we’ve only been at this blogging thing for a short amount of time, but we have both quickly learned that a lot of PLANNING goes into running a blog.
Projects, pictures, and posts need to be prepped all.the.time. (Wow, way too much alliteration going on there!) Good thing we both consider ourselves to be big planners. Just call us the “To-Do List Queens.”
To keep all of our posts in order, I figured I needed to have a handy monthly calendar.
Here were my must-haves for my calendar:
- Easy to switch up and move things around. Dry erase perhaps?
- Large enough to write in each day (Don’t you hate calendars where you have to write teeny tiny to fit anything in?!)
- Affordable. Enough said.
How to DIY a Paint Swatch Calendar
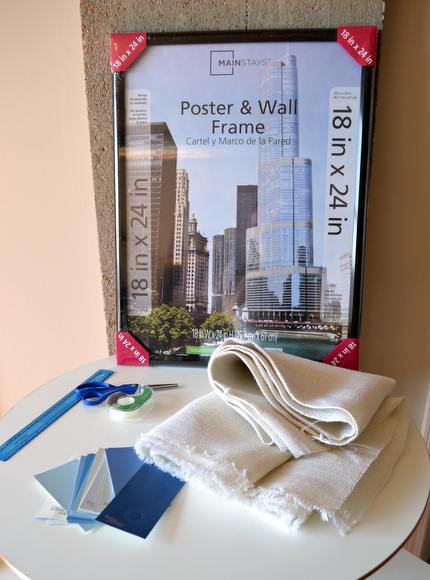
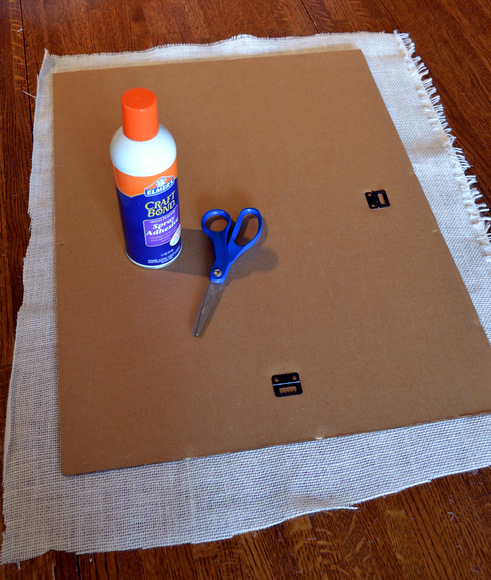
Here are some of the supplies needed for this project.
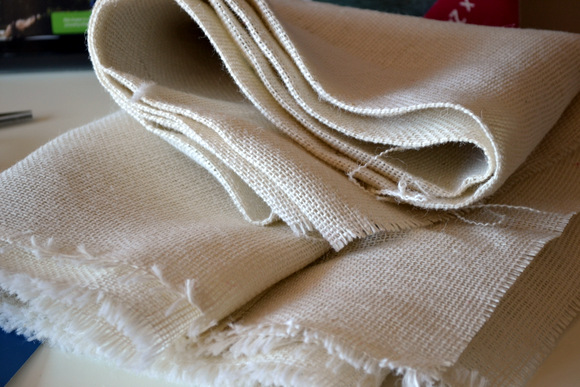
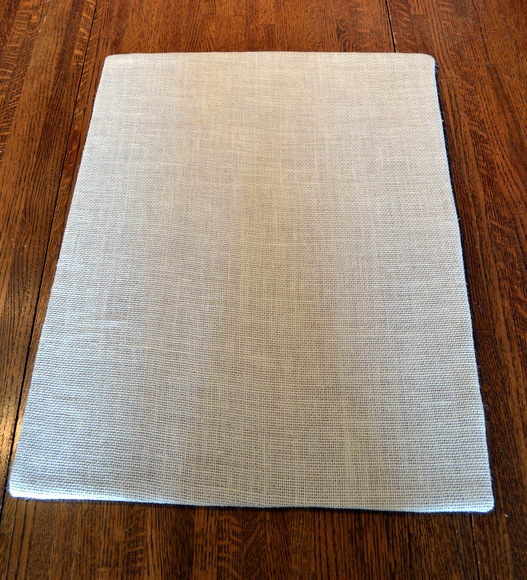
I used white burlap for the background of the calendar. It was on sale and I figured it would provide a nice texture.
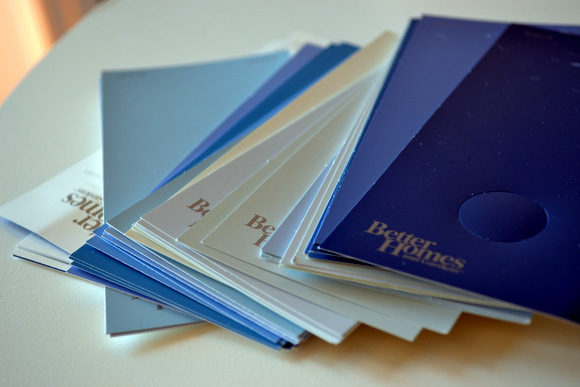
I stole picked up tons of paint swatches from Walmart. I would grab at least 50 if I were you. Try not to look like me (a madwoman shoving paint swatches into her purse by the handful…)
My first order of business was to secure the burlap to the cardboard that came with the frame.
Look at that cut job. Good thing I’m not a hairdresser.
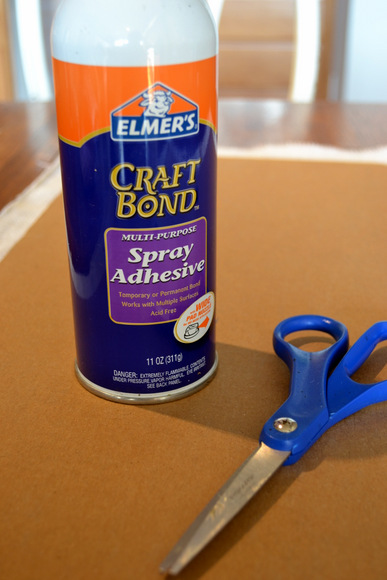
I used some spray adhesive to adhere the burlap to the cardboard.
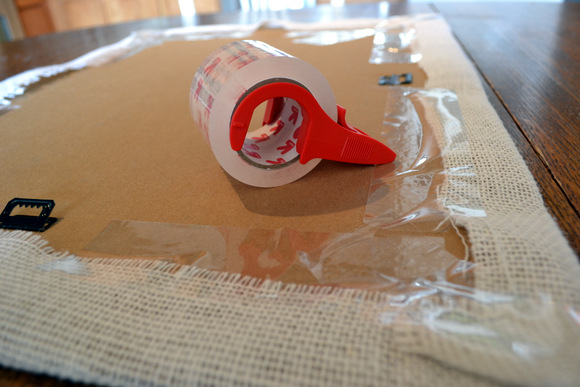
I then just used tape to fold the edges over onto the back and secure. Not the prettiest, but it did the job and would be hidden anyways.
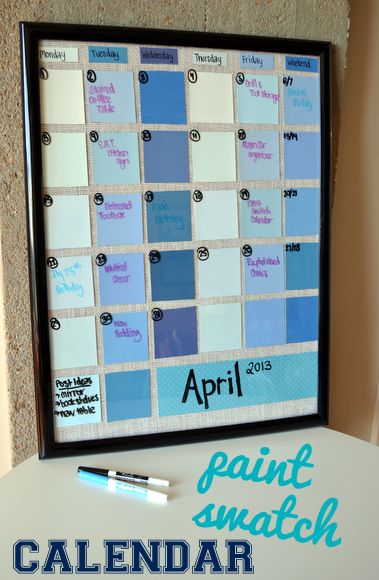
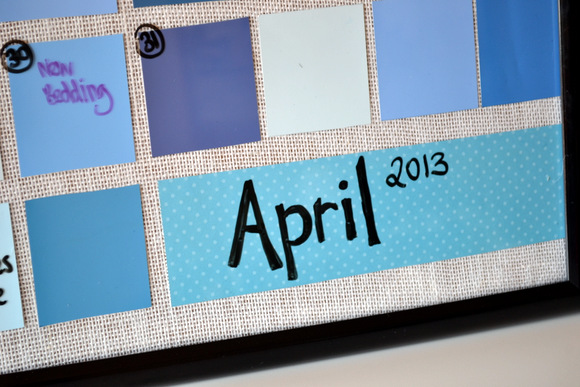
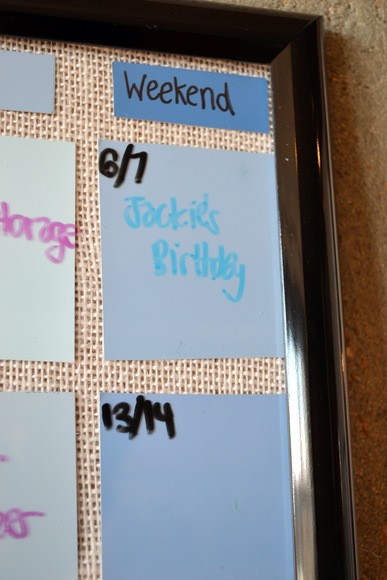
I then got to work arranging my paint chips. I decided to only do 6 days across…and just combine Saturday & Sunday into a “Weekend” column.
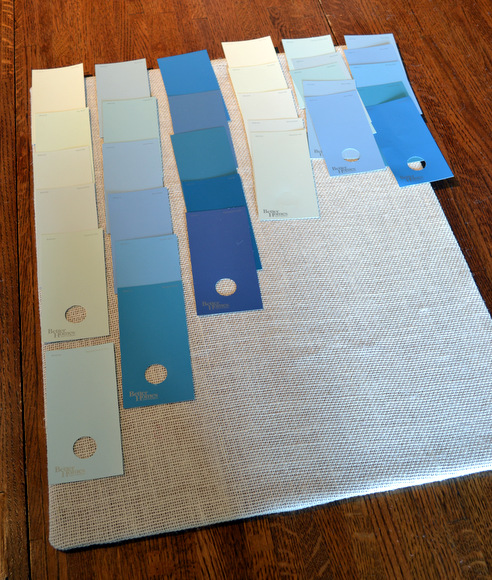
Then (after careful calculations and measurements) I cut my paint chips into 3-inch tiles and stuck them to the burlap using a glue stick.
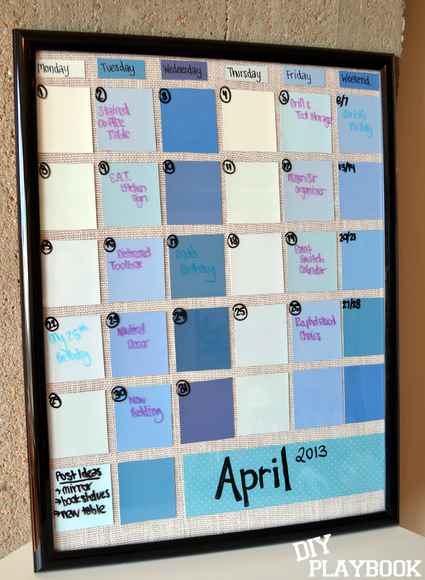

I still need to find a spot for this big bad calendar. For now, I’m just happy to have an inexpensive new “home” for all of my upcoming events.

Casey