How To Clean Your Bathroom Fan (& Make It Less Noisy)
Learn how to clean your bathroom fan in just a few easy steps! Remove dust, reduce noise, and improve air circulation with this simple DIY guide.
Sometimes I add blog posts to my content calendar so it forces me to actually tackle those home tasks. Today’s blog post is one of them.

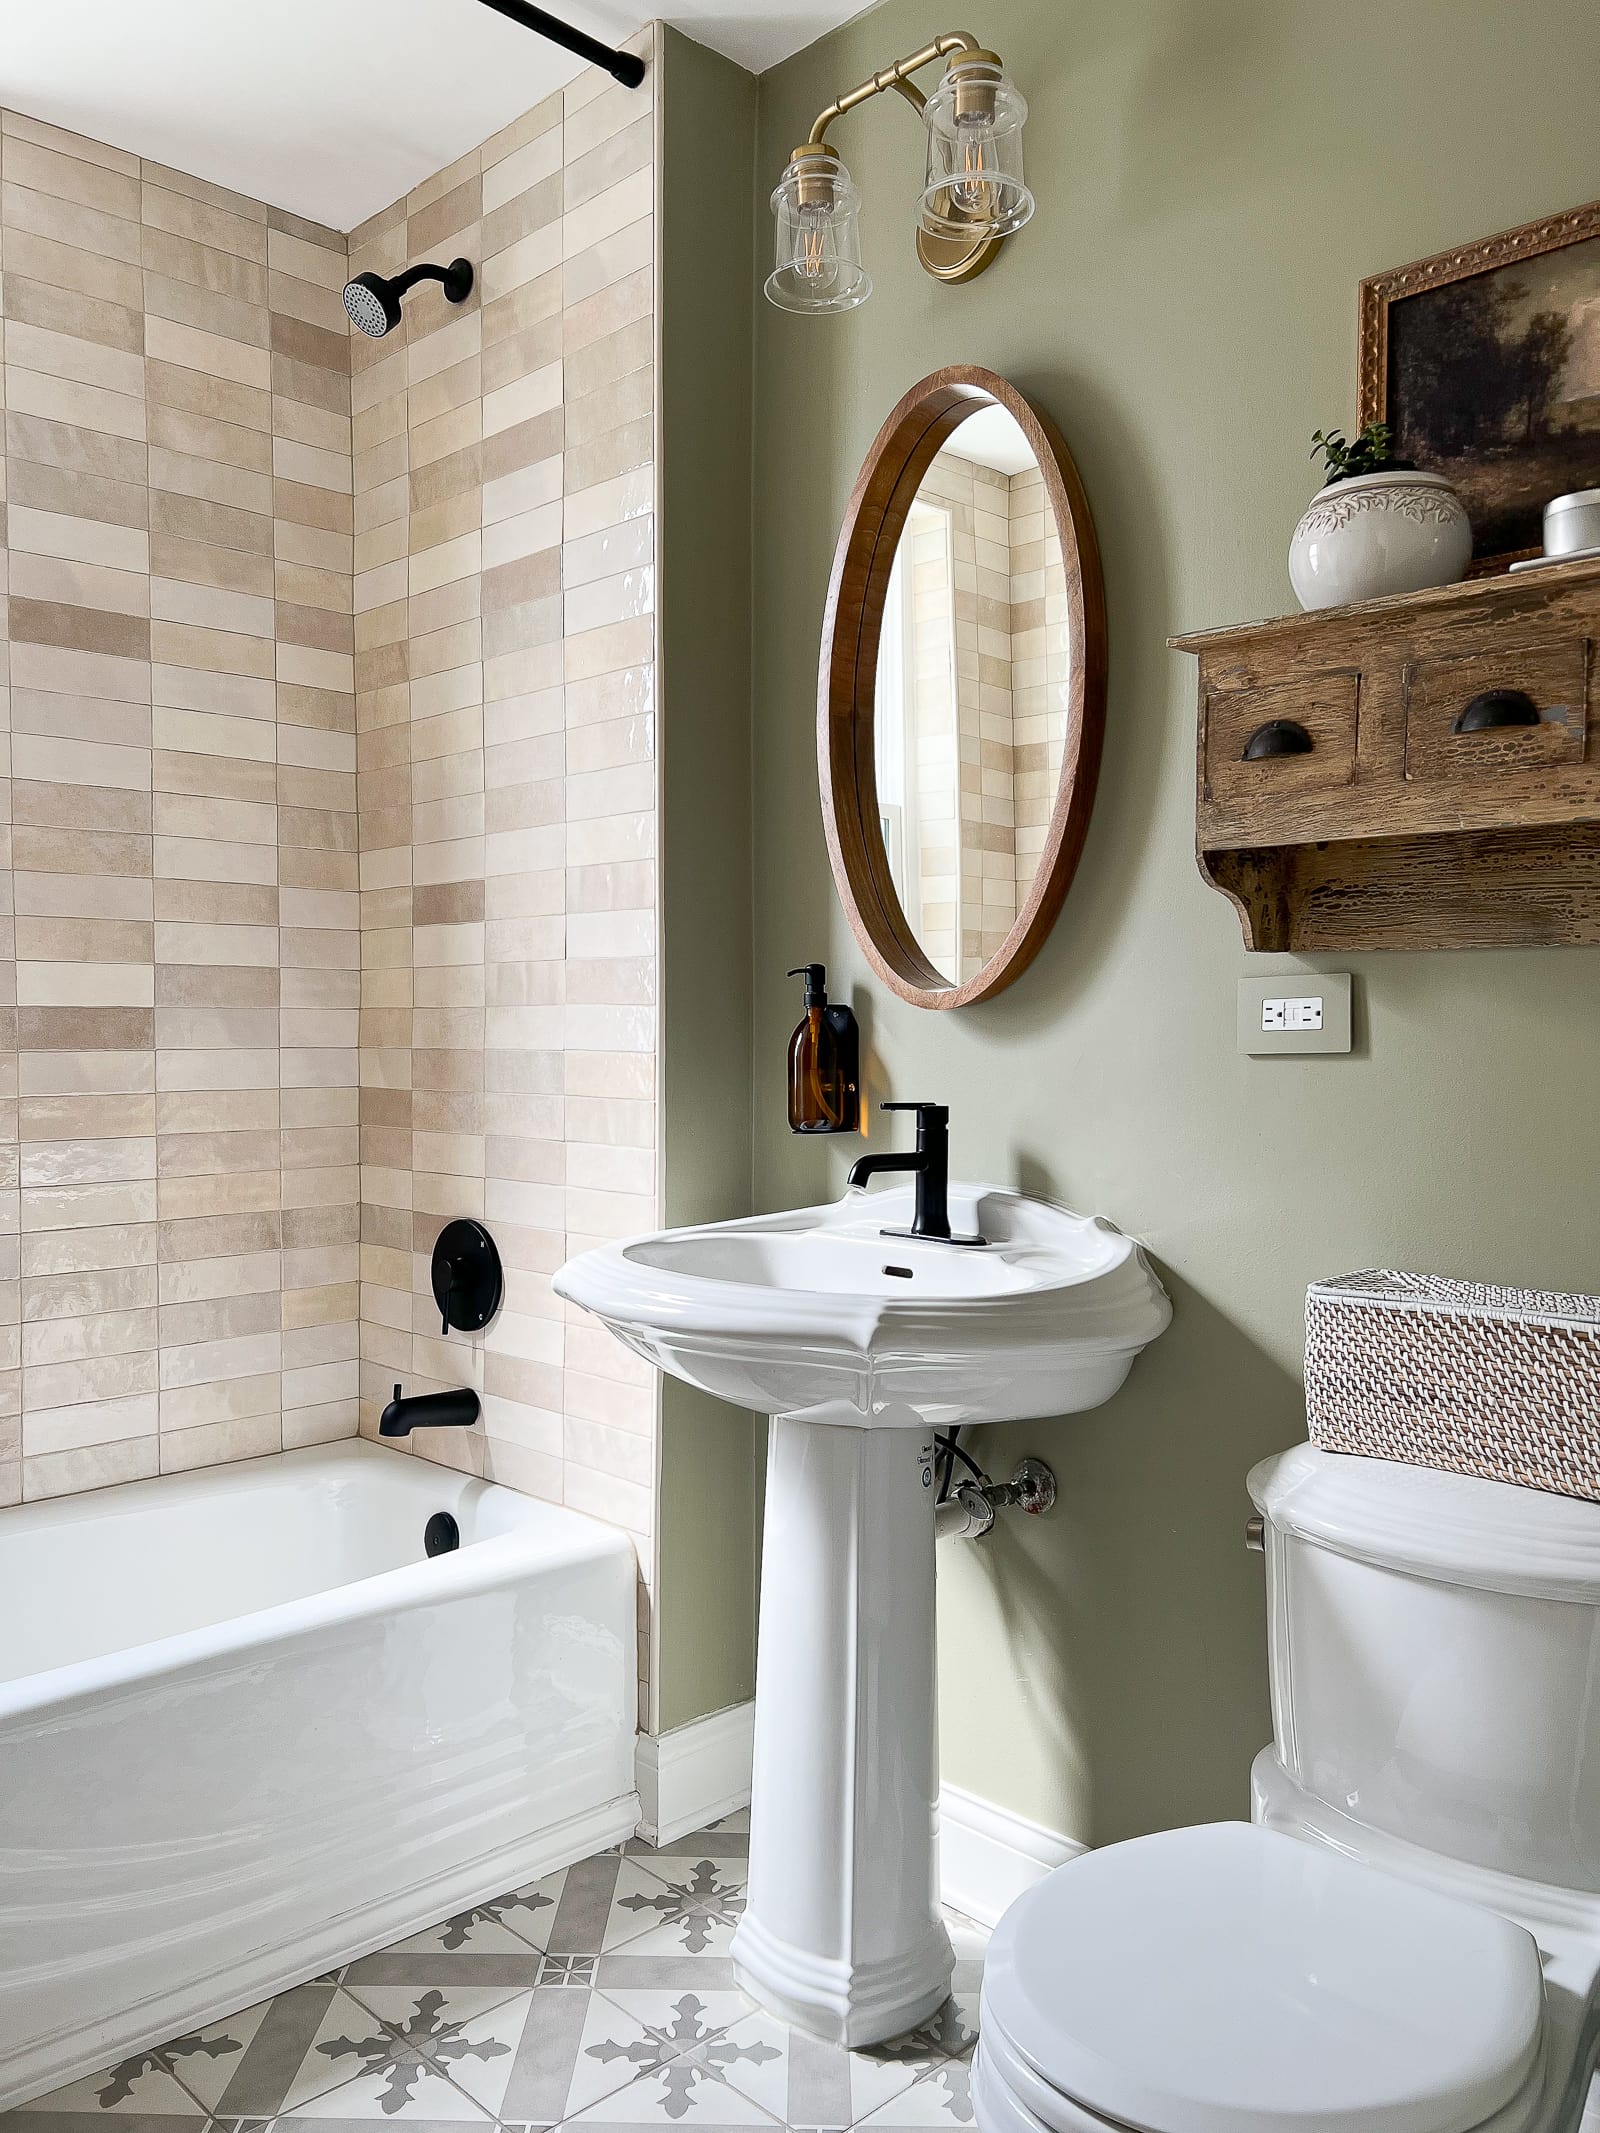
I’ll admit it—I’m doing this for the first time since we finished our bathroom renovation almost three years ago! I knew it was time when the fan started getting noisy, and let’s just say it wasn’t doing a great job of clearing out steam.
So, if you’re like me and haven’t given your bathroom fan much thought since installing it, this post is for you. With a few simple steps and the right tools, you can clean your bathroom exhaust fan and keep it in tip-top shape.
Why You Should Clean Your Bathroom Fan

Over time, dust buildup on the vent cover, fan blades, and fan motor can reduce the fan’s efficiency. A dirty fan struggles to remove excess moisture, which can cause mold growth and even odor. Regular cleaning (about twice a year) ensures proper ventilation and extends the life of your fan.
However, some bathroom fans are beyond cleaning, especially if they’re over 10-15 years old. For example, the bathroom fan in our first-floor bathroom is likely 20 years old and it’s so dang noisy. If the fan is running we can barely hear people talking in the room. It was also doing a horrible job of removing steam from the bathroom in a timely manner.
It’s been on my to-do list to swap it out and I finally had an electrician do just that. It took him 30 minutes and we now have a much more powerful bathroom fan that is quiet. Yes!
Tools & Supplies
| Difficulty: ⭐️ of 5 | Time: 30 minutes |
| Supplies needed: Damp cloth Soft-bristled brush (old toothbrush works great!) Dish Soap Towel | Tools needed: Vacuum cleaner (with brush attachment) Eye protection Screwdriver Stepstool |
Step-by-Step: How To Clean Your Bathroom Fan

Step 1 – Turn Off the Power
Since this was my first time tackling a dirty fan, I wasn’t going to take any risks. For safety precautions, start by turning off the power source. Flip the wall switch and turn off the breaker at the circuit breaker box. This ensures you can clean the fan safely, without risk of electrical shock.
Step 2 – Remove the Exhaust Fan Cover

- Carefully pull down the exhaust fan cover.
- If your fan has metal clips, pinch them together to release the cover (like in the above photo).
- For a cover secured with screws, use a screwdriver to remove the last screws holding it in place.
- If your fan includes a light cover or light fixture, remove it as well.
Place an old sheet or towel on the floor to catch any loose dust during the process. I was shocked at how much dust came down!
Step 3 – Clean the Vent Cover

- Soak the plastic cover in warm soapy water (a few drops of dish soap work perfectly).
- Use a soft-bristled brush to scrub off any stubborn dirt or grime.
- Rinse the cover with clean water and dry it thoroughly with an absorbent towel or clean cloth.
Just doing that made a huge difference!
Step 4 – Vacuum the Fan Blades and Housing Area

I started with my vacuum and the brush attachment to remove dust from the entire housing area. It was visibly dusty and I was able to suck up quite a few dust bunnies. However, once I got to the fan blades I realized I needed to scrub the caked-on dust.
I ended up using an old toothbrush to scrub each blade on the fan. Oh my goodness, they were so bad! It took at least 15 minutes to brush down each blade and I was appalled at how much dust came off. Once I was done scraping, I vacuumed the entire area again.
Step 5 – Wipe It All Down

Finally, I used a damp microfiber cloth to give everything a good wipe down. I then let everything dry thoroughly to prevent any lingering moisture.
Step 6 – Reassemble the Fan

Once the fan cover is completely dry, reattach it by snapping the clips into place or securing the screws in reverse order. Restore power at the circuit breaker and test the fan. It should run quieter and more efficiently.
I was relieved to hear how much quieter the fan was after cleaning—finally!
Routine Maintenance for Your Bathroom Fan

This is a task you’ll want to tackle every 6-12 months. Don’t wait three years like I did! I would add this to your regular cleaning schedule, or if you have a hard time remembering, sign up for Your Home Playbook!
Signs It’s Time for a New Fan
While regular maintenance keeps your fan in great shape, some fans eventually wear out. Consider replacing your fan if:
- It still makes noise after a thorough cleaning.
- There’s visible damage to the motor assembly or blades.
- It fails to remove steam, leading to ongoing excess moisture. This happened in our first-floor bathroom with drips coming down the walls and ruining our paint job. Ugh!
Final Thoughts
This was my first time cleaning our bathroom fan since finishing our renovation, and I can’t believe how much of a difference it made. It’s a quick and simple task that can prevent bigger issues down the road.
Now, if you found that project satisfying, let me ask you this – when was the last time you cleaned your refrigerator coils? How about cleaning your greasy range hood filter? Because, boy oh boy, mine were both filthy!


