How To Replace A Window Screen In 10 Minutes
When designing Rory’s nursery four years ago, I had my heart set on building a window bench for her. I always wanted one when I was a kid and I dreamed of the day I could sit in that window seat and finally hold my baby girl. Well, we went ahead with the window bench and it’s now Rory’s favorite spot.

On weekends, when she should be napping, she will draw up the shades and watch all of the people going by. She’ll then have a full report of everyone she saw and what they were doing when she “wakes up” from her nap. It’s safe to say that this is a cozy spot for our sweet girl.
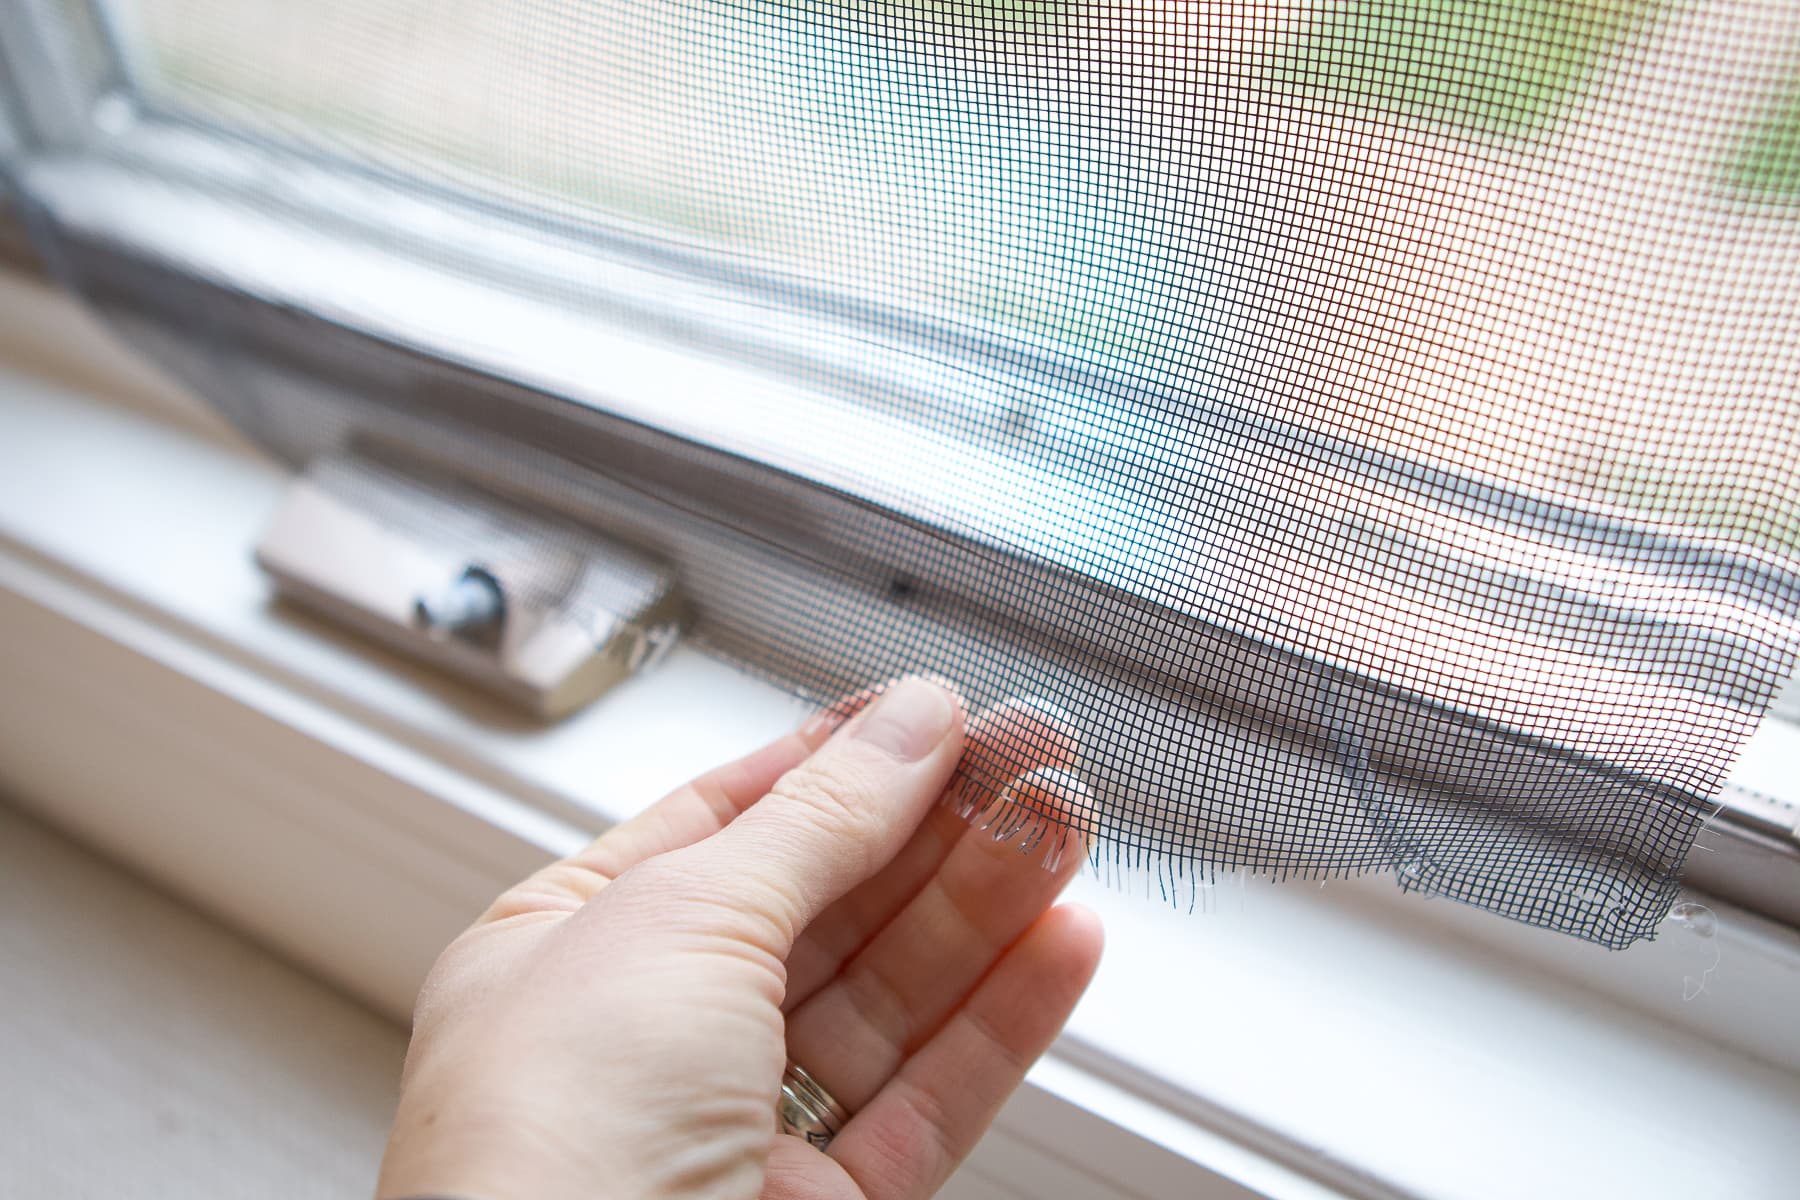
Because she has spent so much time in that spot, one of her window screens tore and I put it on my to-do list to fix it!
Replacing Our Screen Door
I knew that a window screen replacement would be a quick and easy project. How? Well, a few years back I re-screened our patio door and was blown away by how fast and simple that project was! I’m telling you, this will take less than ten minutes and you will feel very accomplished!
So, note that these supplies and steps will be the same whether you’re screening a sliding door or a smaller window frame. You can find my door tutorial right here if you need to reference it.
DIY Window Screen Replacement – Supplies
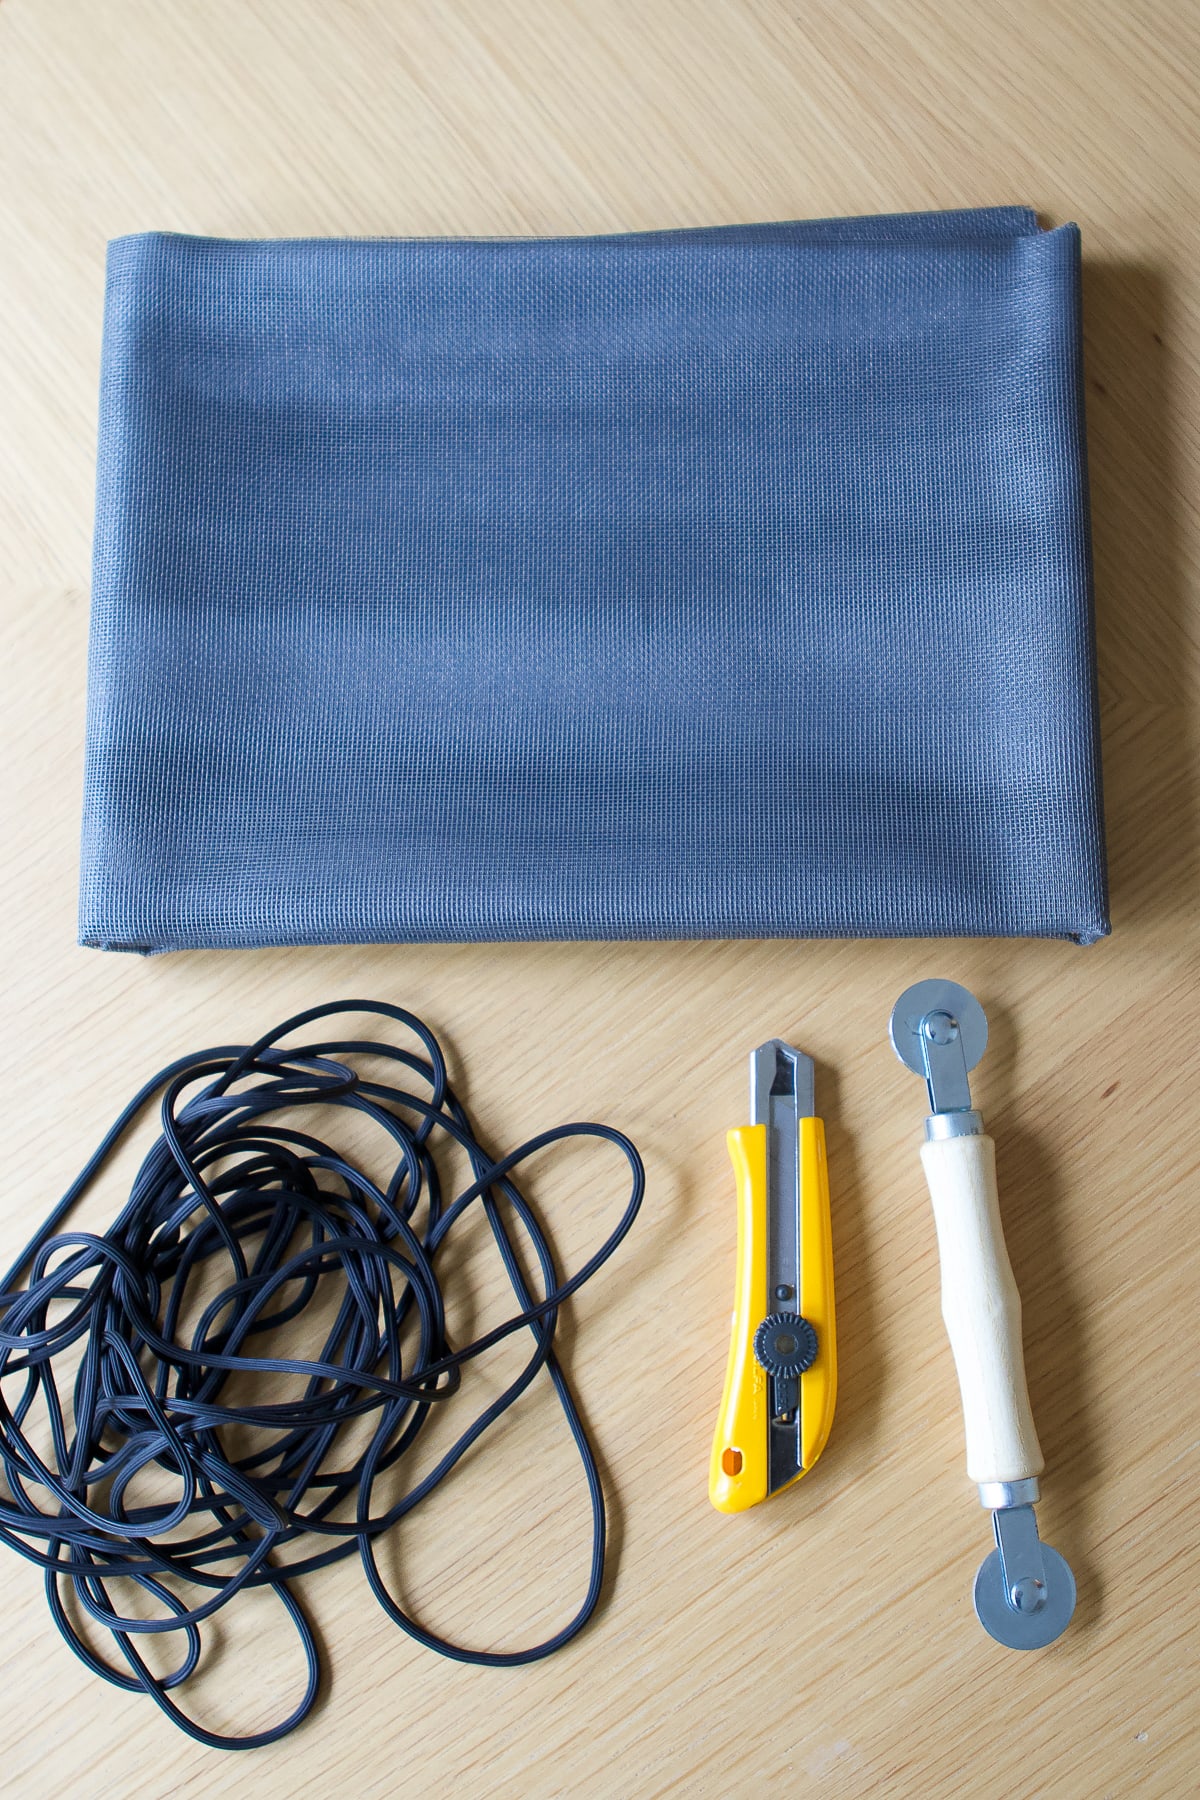
It just takes a few simple tools to complete this project. You don’t even need a tape measure!
- New Screening
- Scissors
- Utility Knife
- Rubber Spline
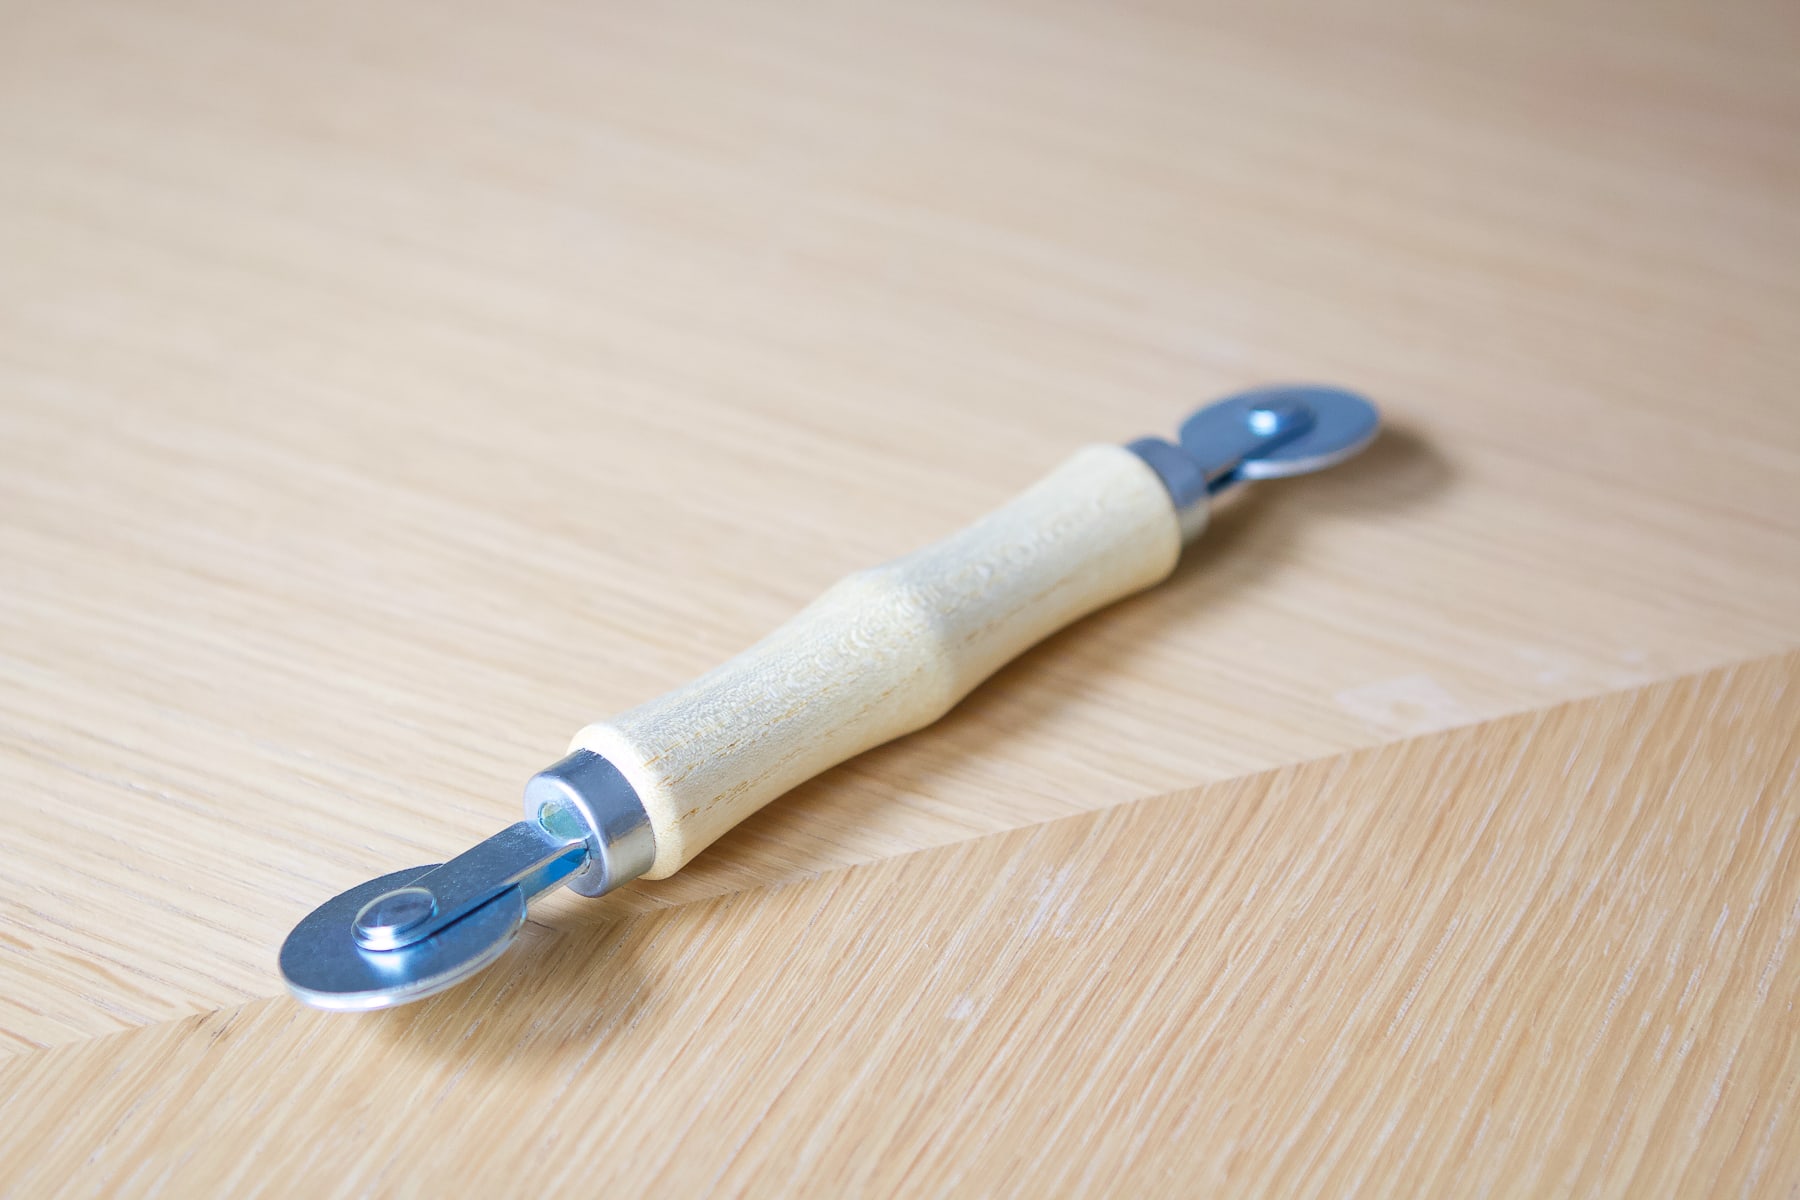
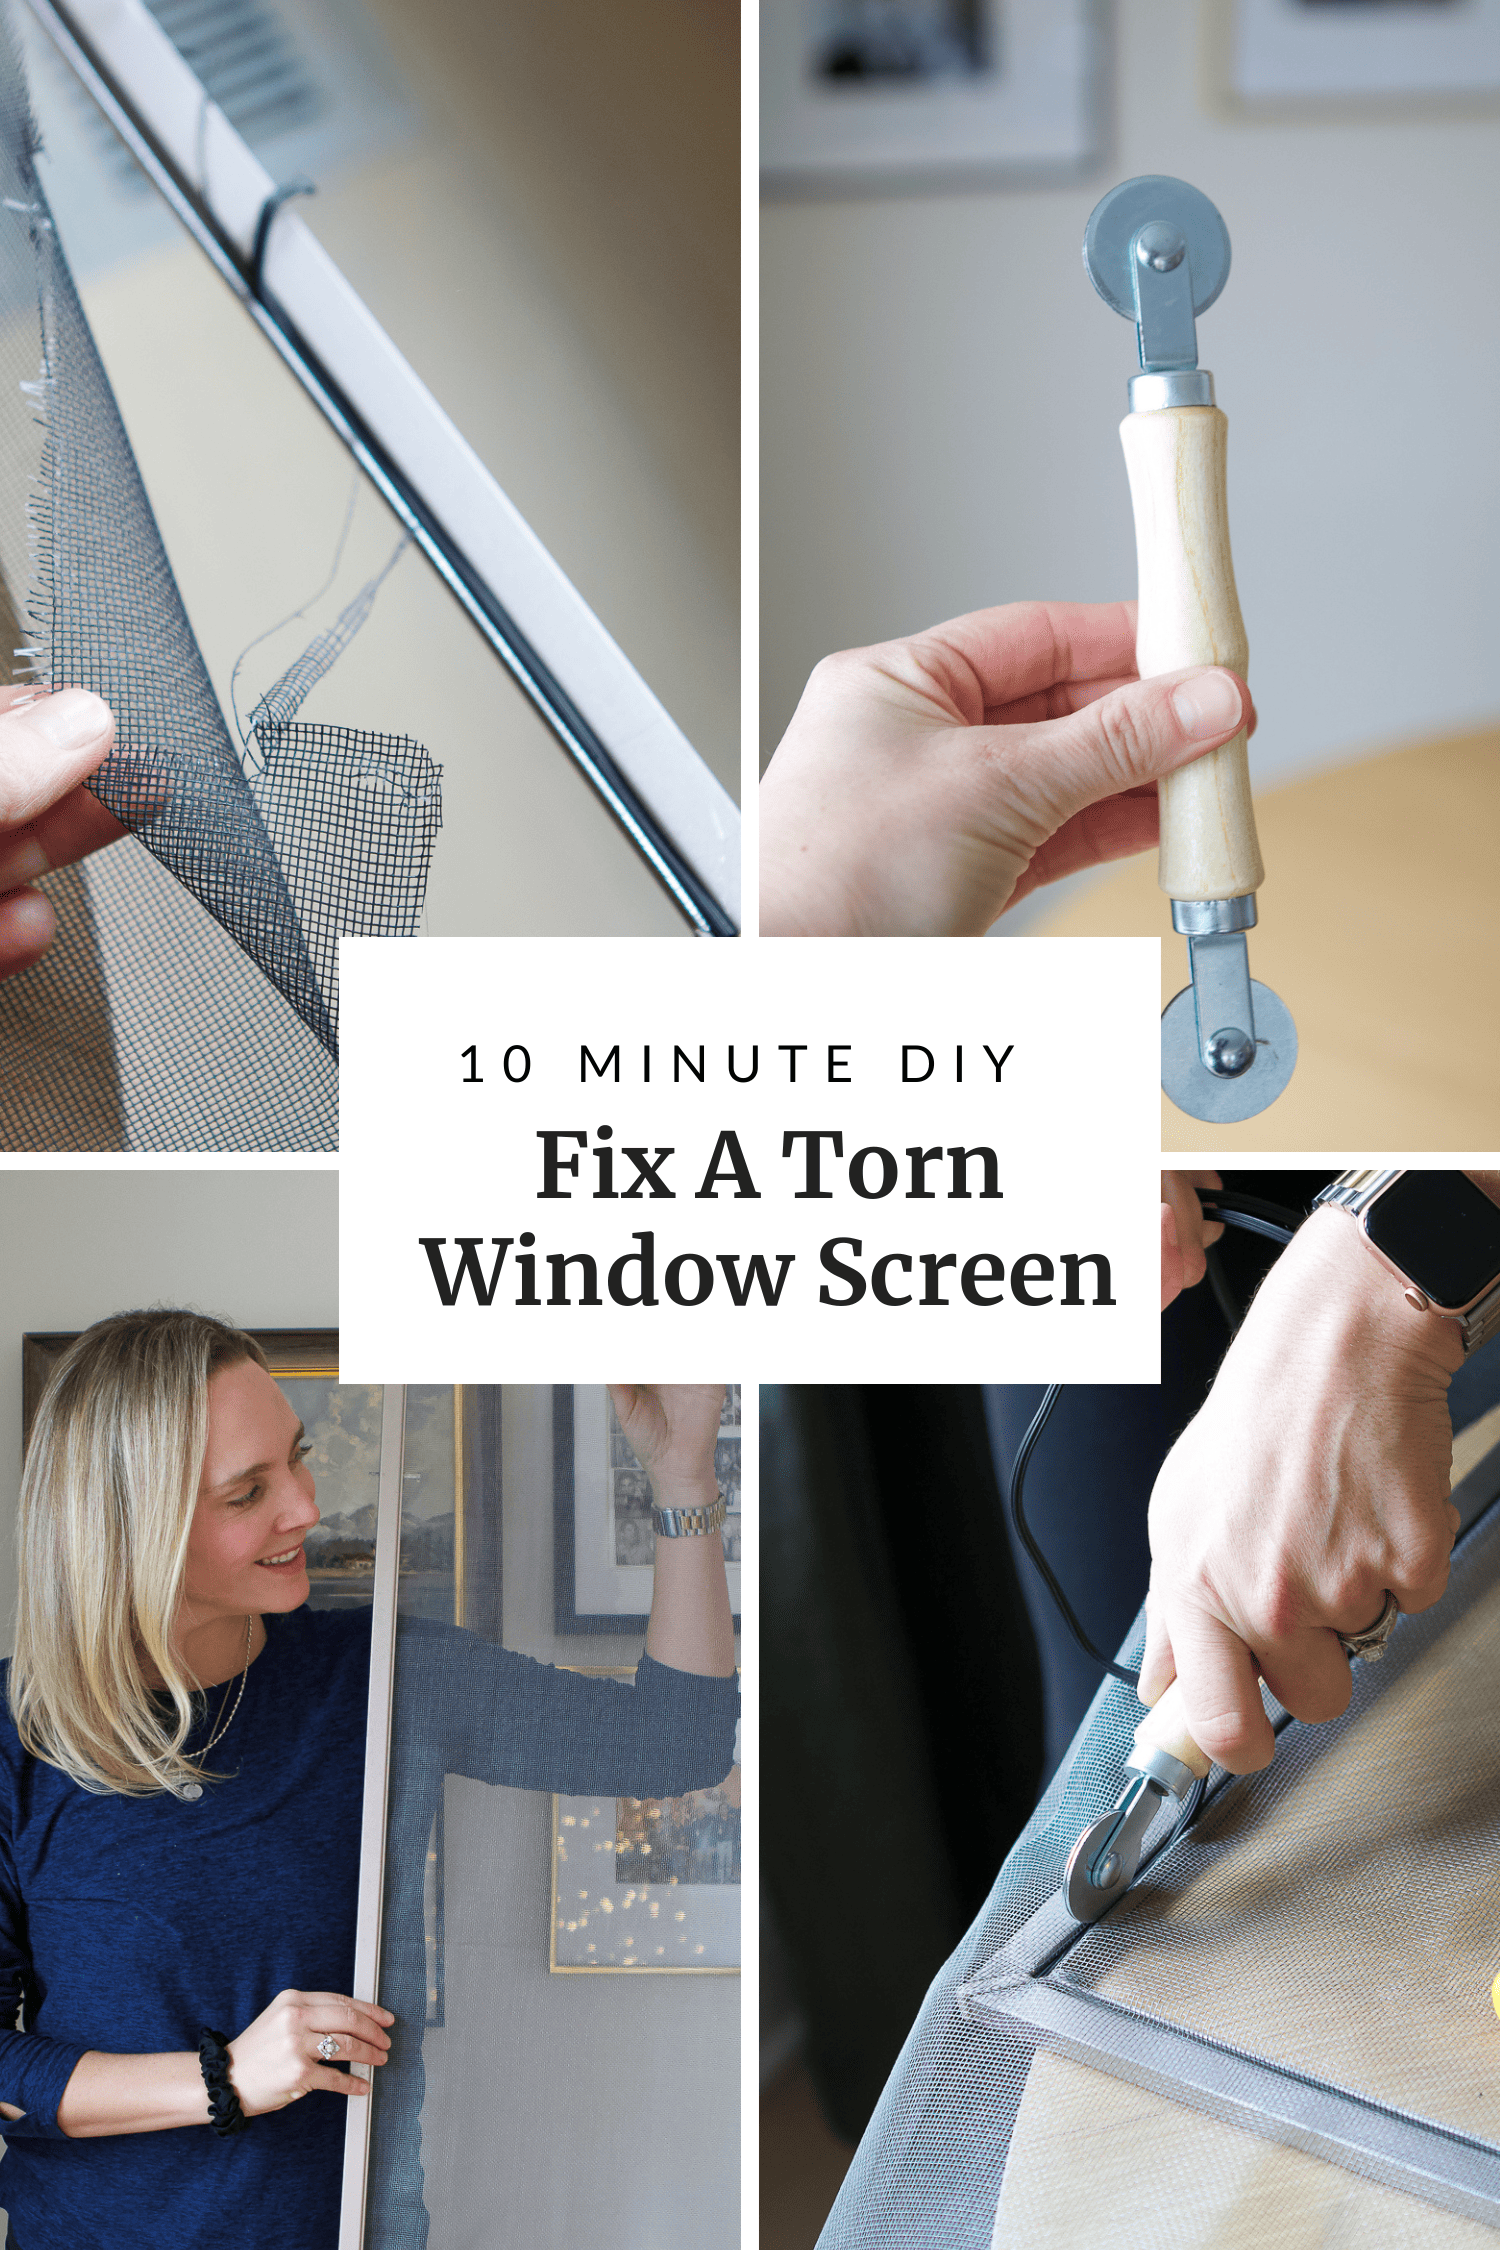
- Spline Roller Tool
- Or buy this kit that has the screening, spline, and roller tool included.
There are lots of screening options to buy, depending on your needs. If you’re doing a spot that sees a lot of action with pets, then you might want heavy-duty screening material. Here’s a common pet screening.
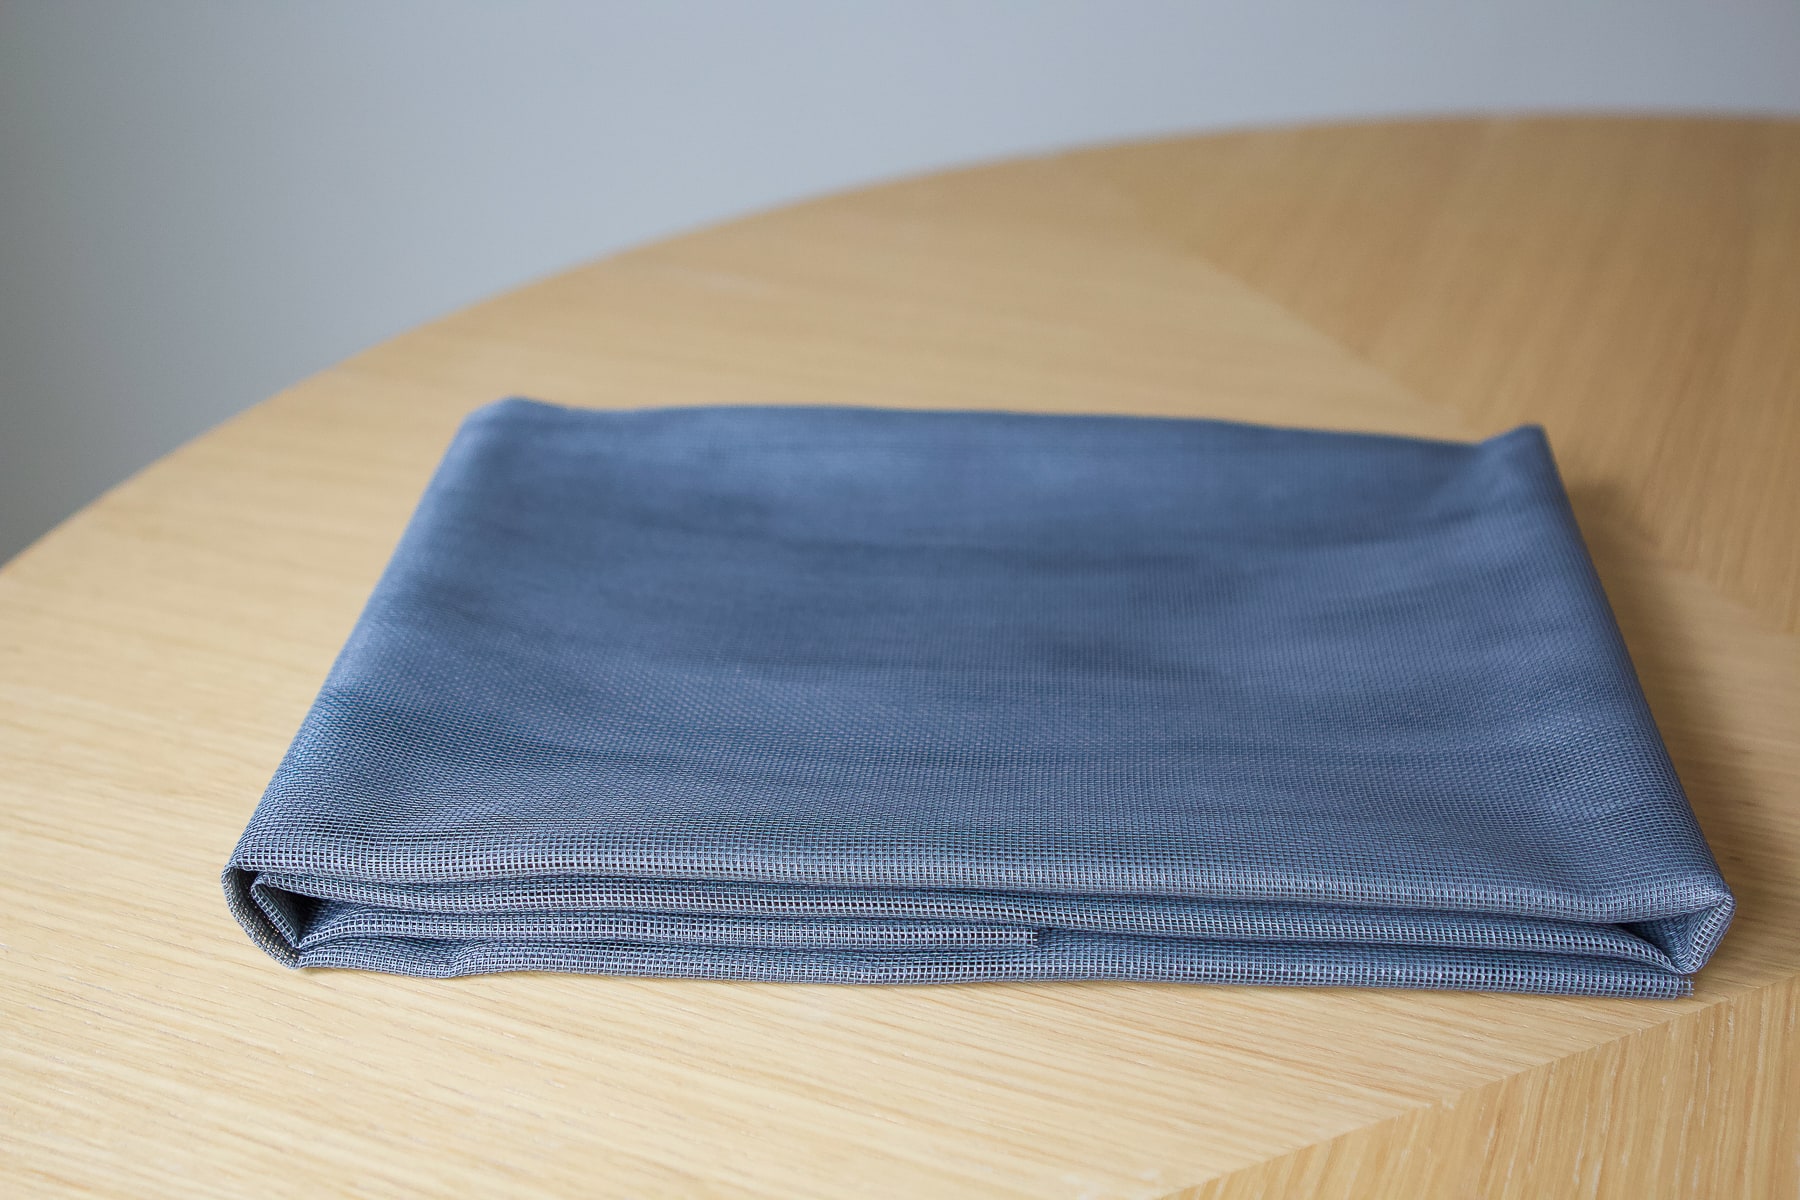
For me, I opted for this fiberglass mesh screening. It’s the most common screening material you’ll find and it’s fairly inexpensive.
Now, depending on how many window frames you’re doing, and the size, you could always buy screening on a large roll from the hardware store. Since I was just doing one window frame, I ended up buying this window screen replacement kit. It comes with the screening, spline, and spline roller tool all in one! Window screen kits are nice if you’re a newbie to this project and don’t already own a spline roller tool.
Parts Of A Window Screen
Before we get to the tutorial, let’s quickly review the components of a window screen.
Window Frame: This is the outside of the screen and it’s usually made of wood, aluminum, or plastic This pops into the window frame to hold the entire window screen. We have a metal frame around our window screen.
Mesh Screening: This is the material that stretches across the frame, allowing fresh air to pass through and keeping bugs and small insects out. It’s usually made of fiberglass or aluminum and comes in different sizes and colors.
Spline: This is a rubber rope that fits into the frame’s groove to hold the mesh in place. This comes in a few different diameters, so make sure you buy the correct size for your window frame. Mine was .157 inches in diameter.
My Best Tips to Replace A Screen On A Window
Now, what if you just have a tear or small hole in a window screen? Should you just patch that small spot of the torn screen? I think it’s better to rescreen the entire window so you don’t see the pre-cut patches.
It’s not difficult or very expensive to replace the entire screen. After you read these simple steps, I think you’ll be convinced that it’s a quick DIY project to do. Just do it all!
Also, I’ve seen some home improvement stores offer screen repair services – at a cost, of course. You don’t need to leave this to the professionals and pay those high labor costs. Ten minutes is all you need to do it yourself.
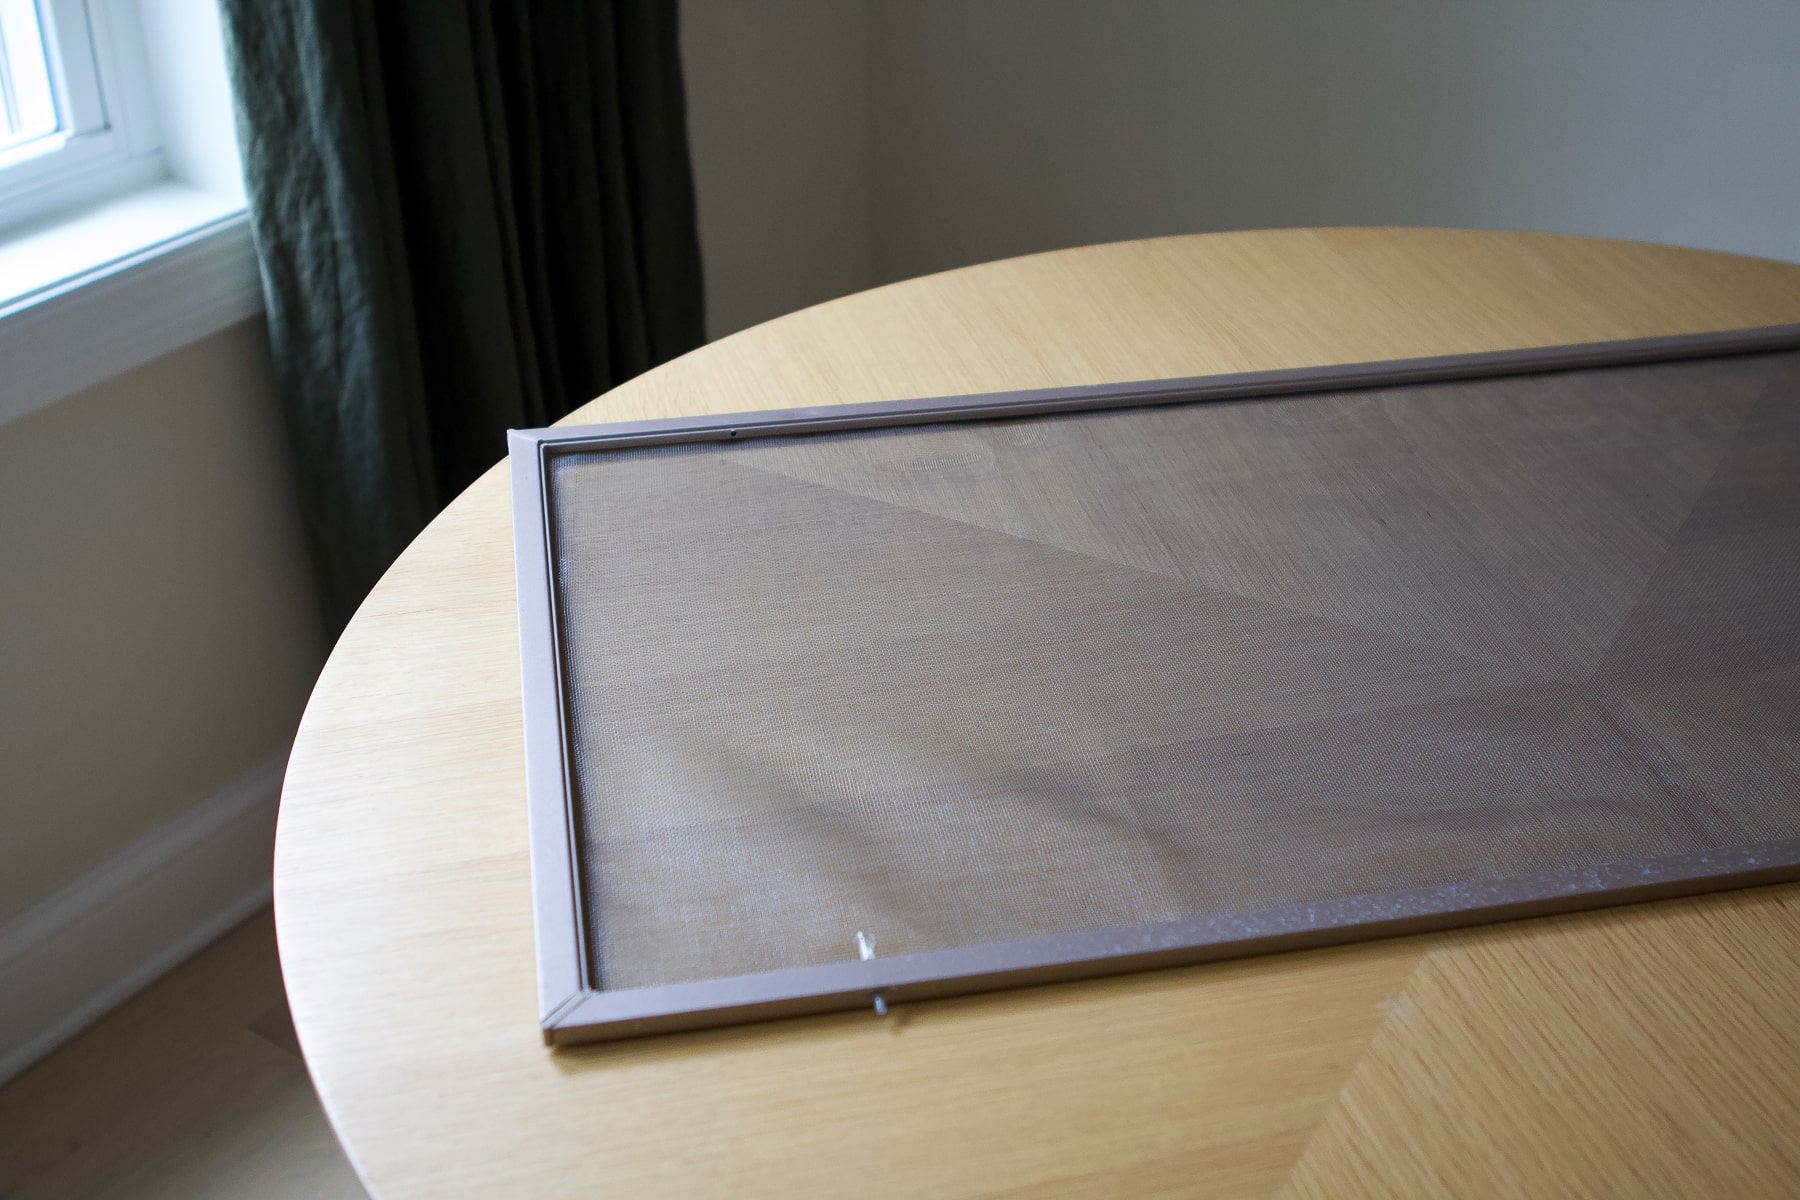
Remove The Screen Frame
First, remove the screen from the window frame. All screens are different and some have tabs you can pull in to get the screen out. I used a flat-head screwdriver to pry this one out of the frame.
Take Out The Old Spline & Window Screening
I suggest using a flat work surface for this project. I brought the damaged screen down to our table to work on this. Pry the old spline out of the groove. You can use the flathead screwdriver again for this step. Once you get a bit out, it should be fairly easy to remove it entirely. With the spline out, the old screen will come right off.
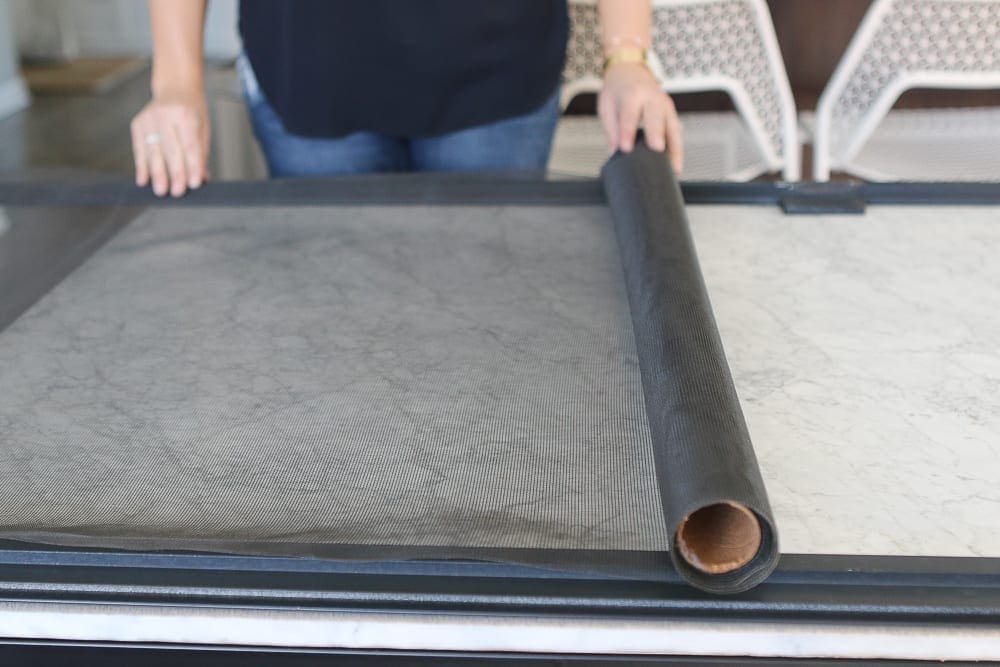
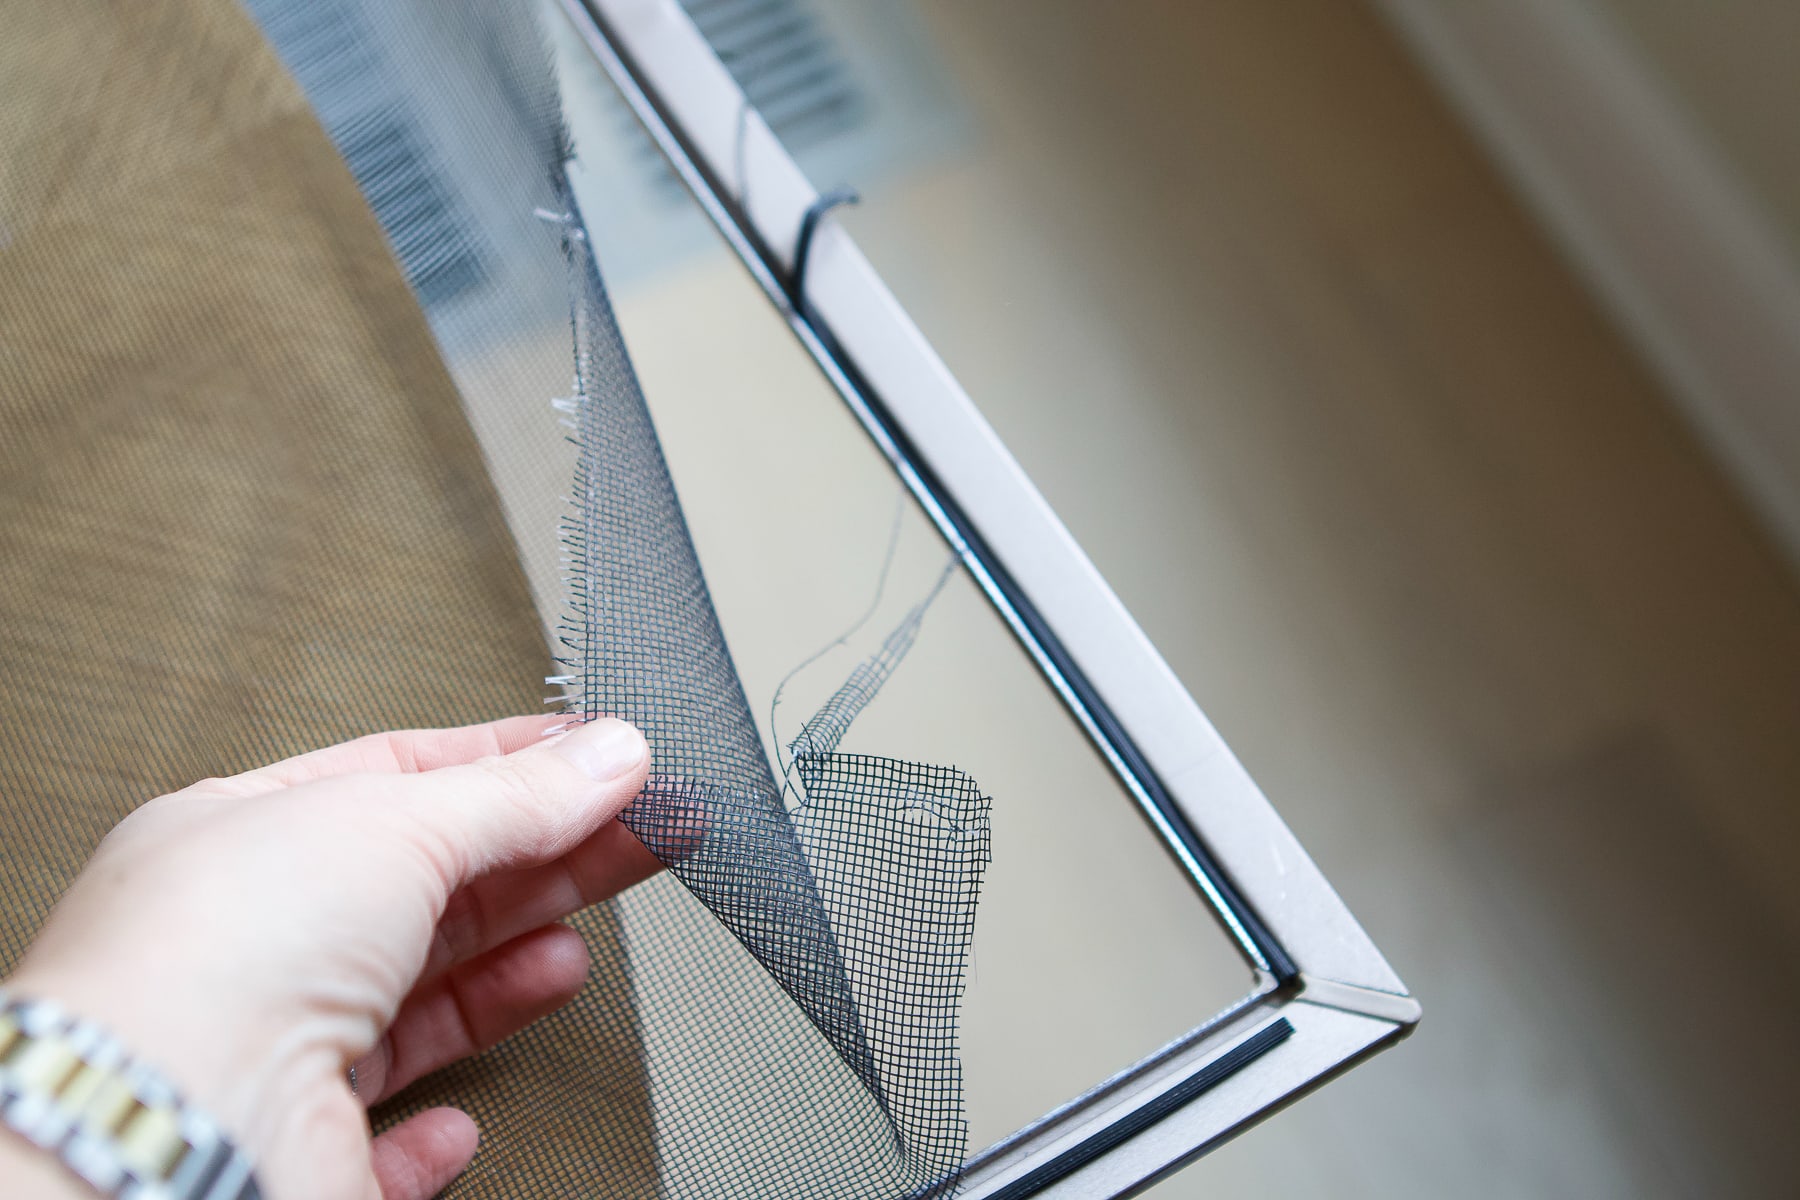
Cut The Screening (But Leave Extra Material)
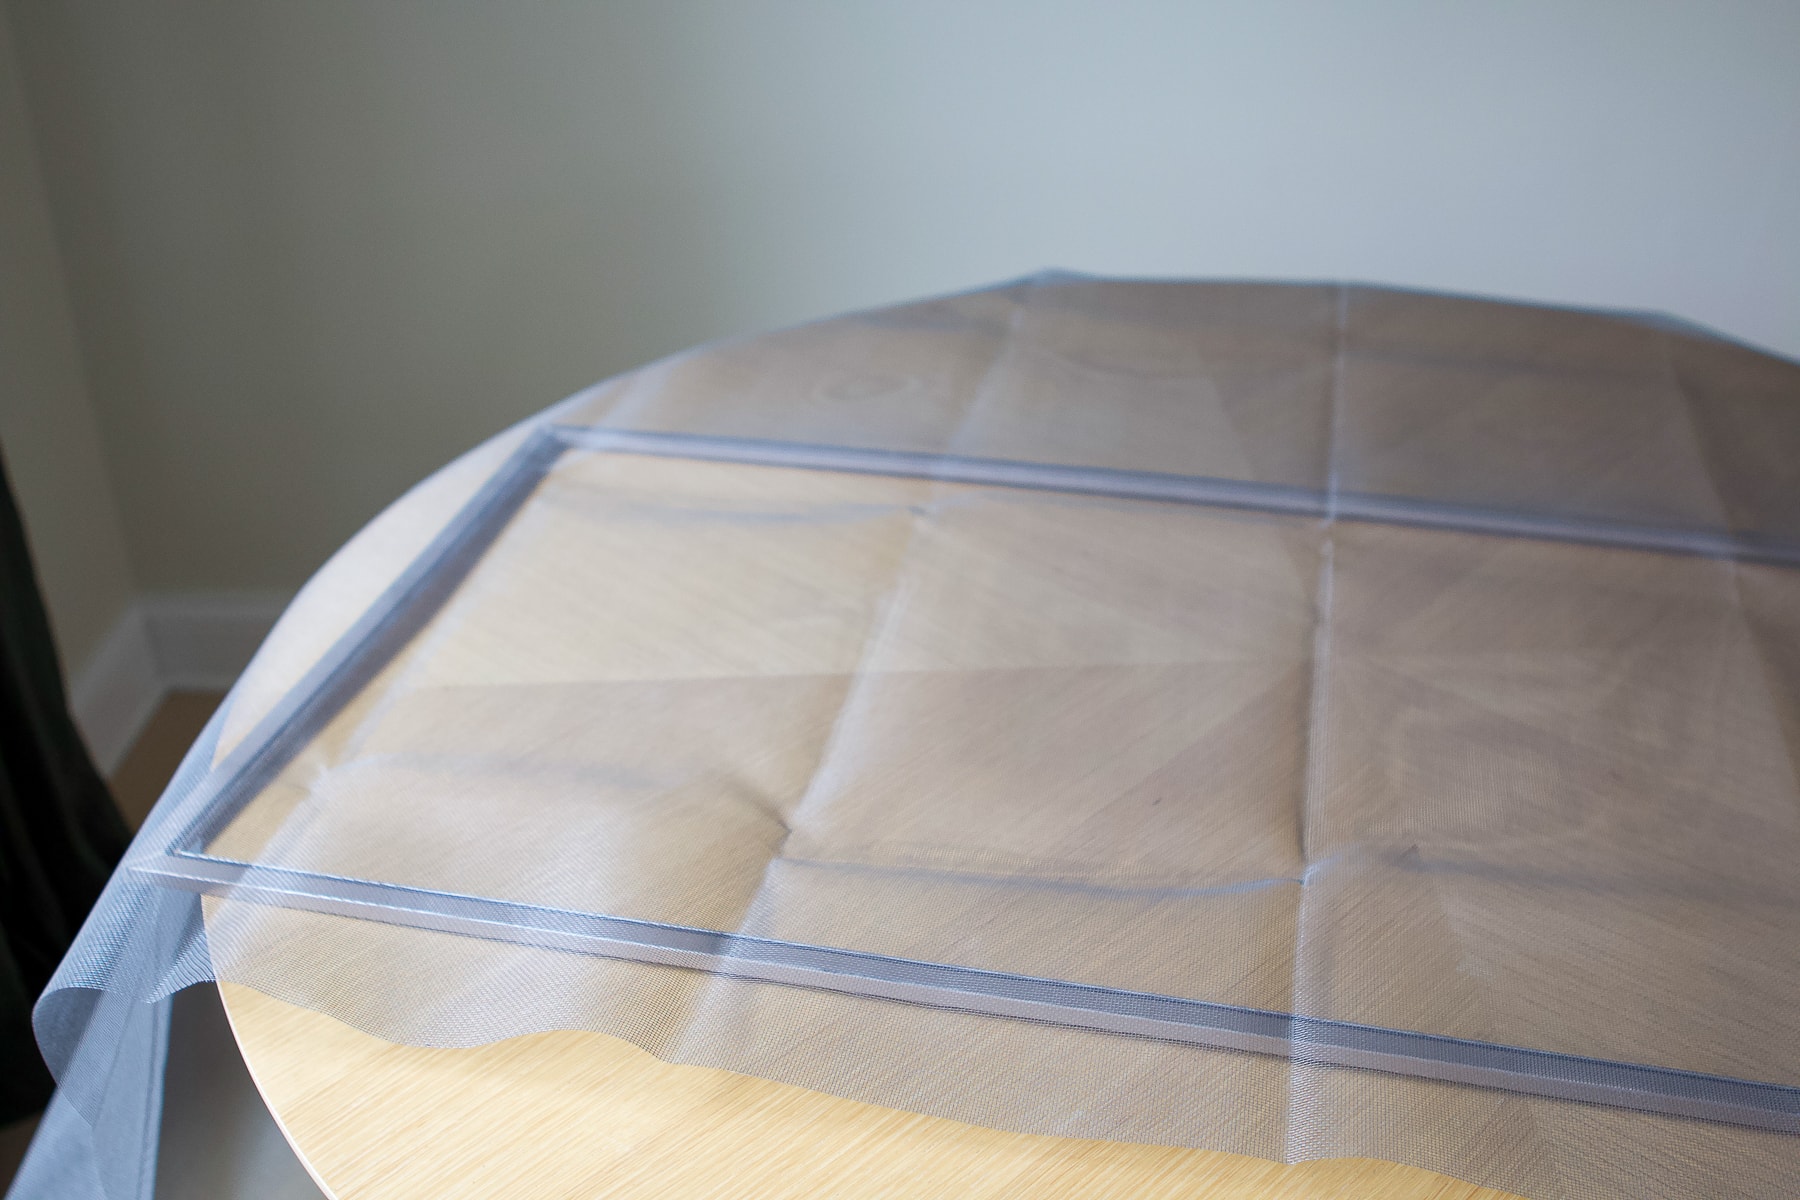
Next, take your new screening and lay it across the window frame, leaving at least a few inches on every side.
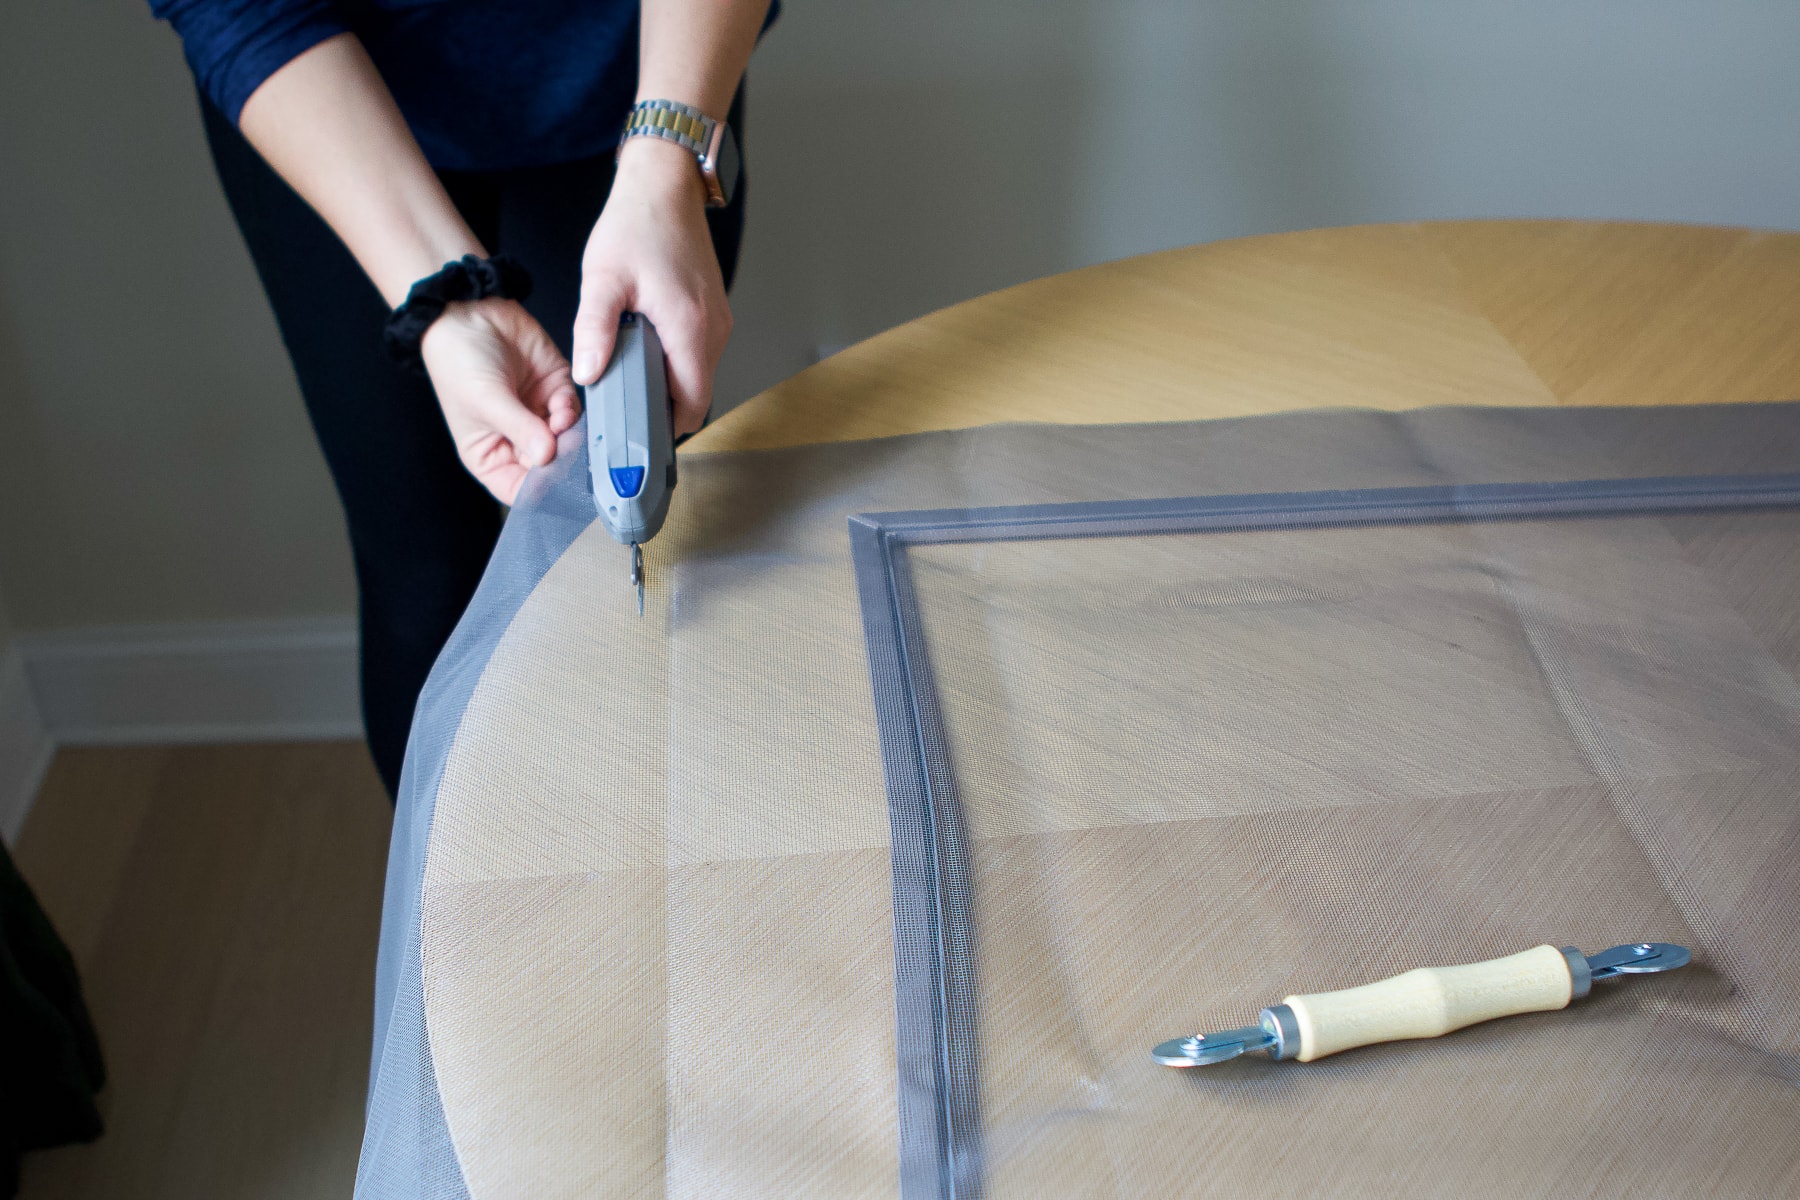
Because I’m a lefty (and not very good at cutting), I used my favorite electric scissors to cut the excess screening. Regular scissors should work just fine too!
Pre-Roll The Screening

The hardest part of this project is getting the new screening to lay taut without any bubbles. My best advice is to smooth it down from the top of the screen to the bottom and then from the right to the left. This will get out any creases, wrinkles, and bubbles.
Once you have the new screen material where you want it, take your spline roller tool and pre-roll the screen into the grooves. This gets the screening into place and makes the next step easier. Keep some tension on the screen so it stays flat as you work.
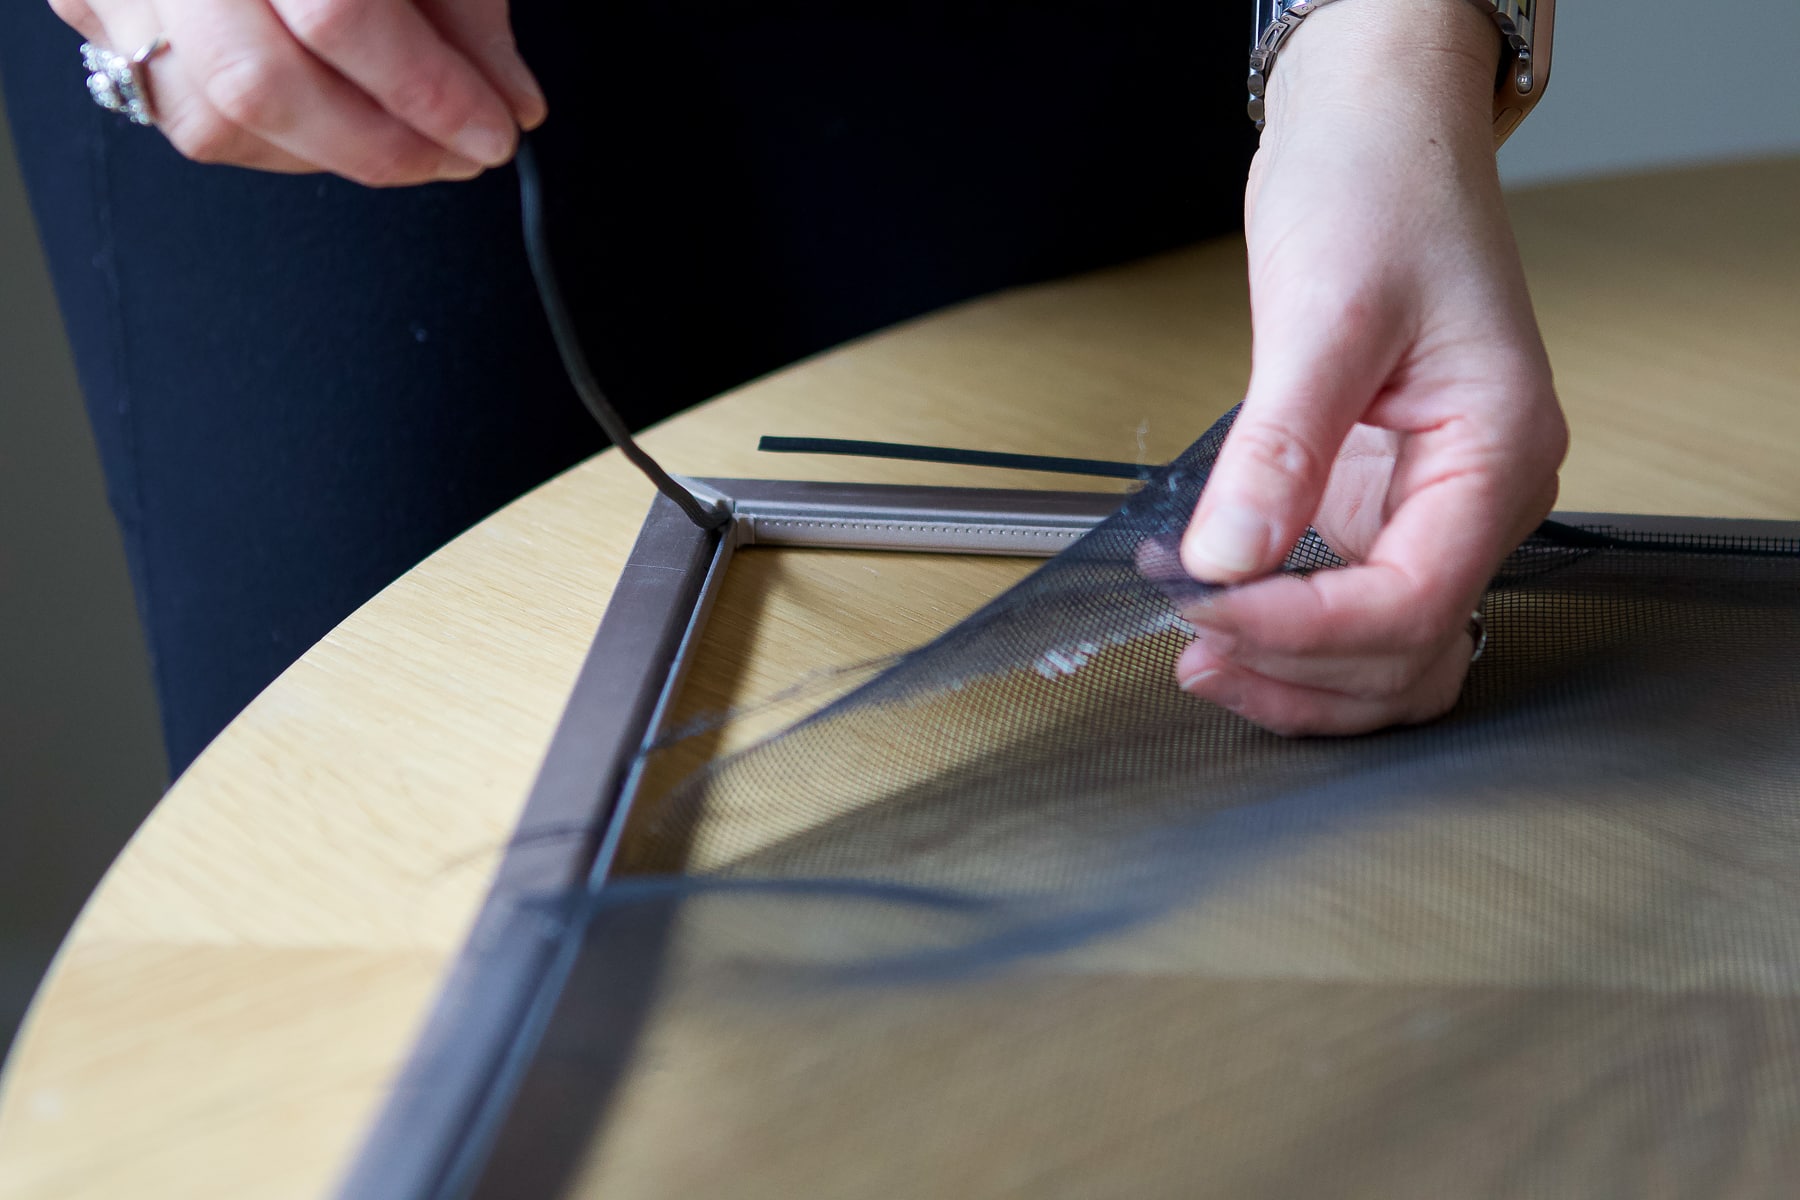
Insert The Spline & Roll It In
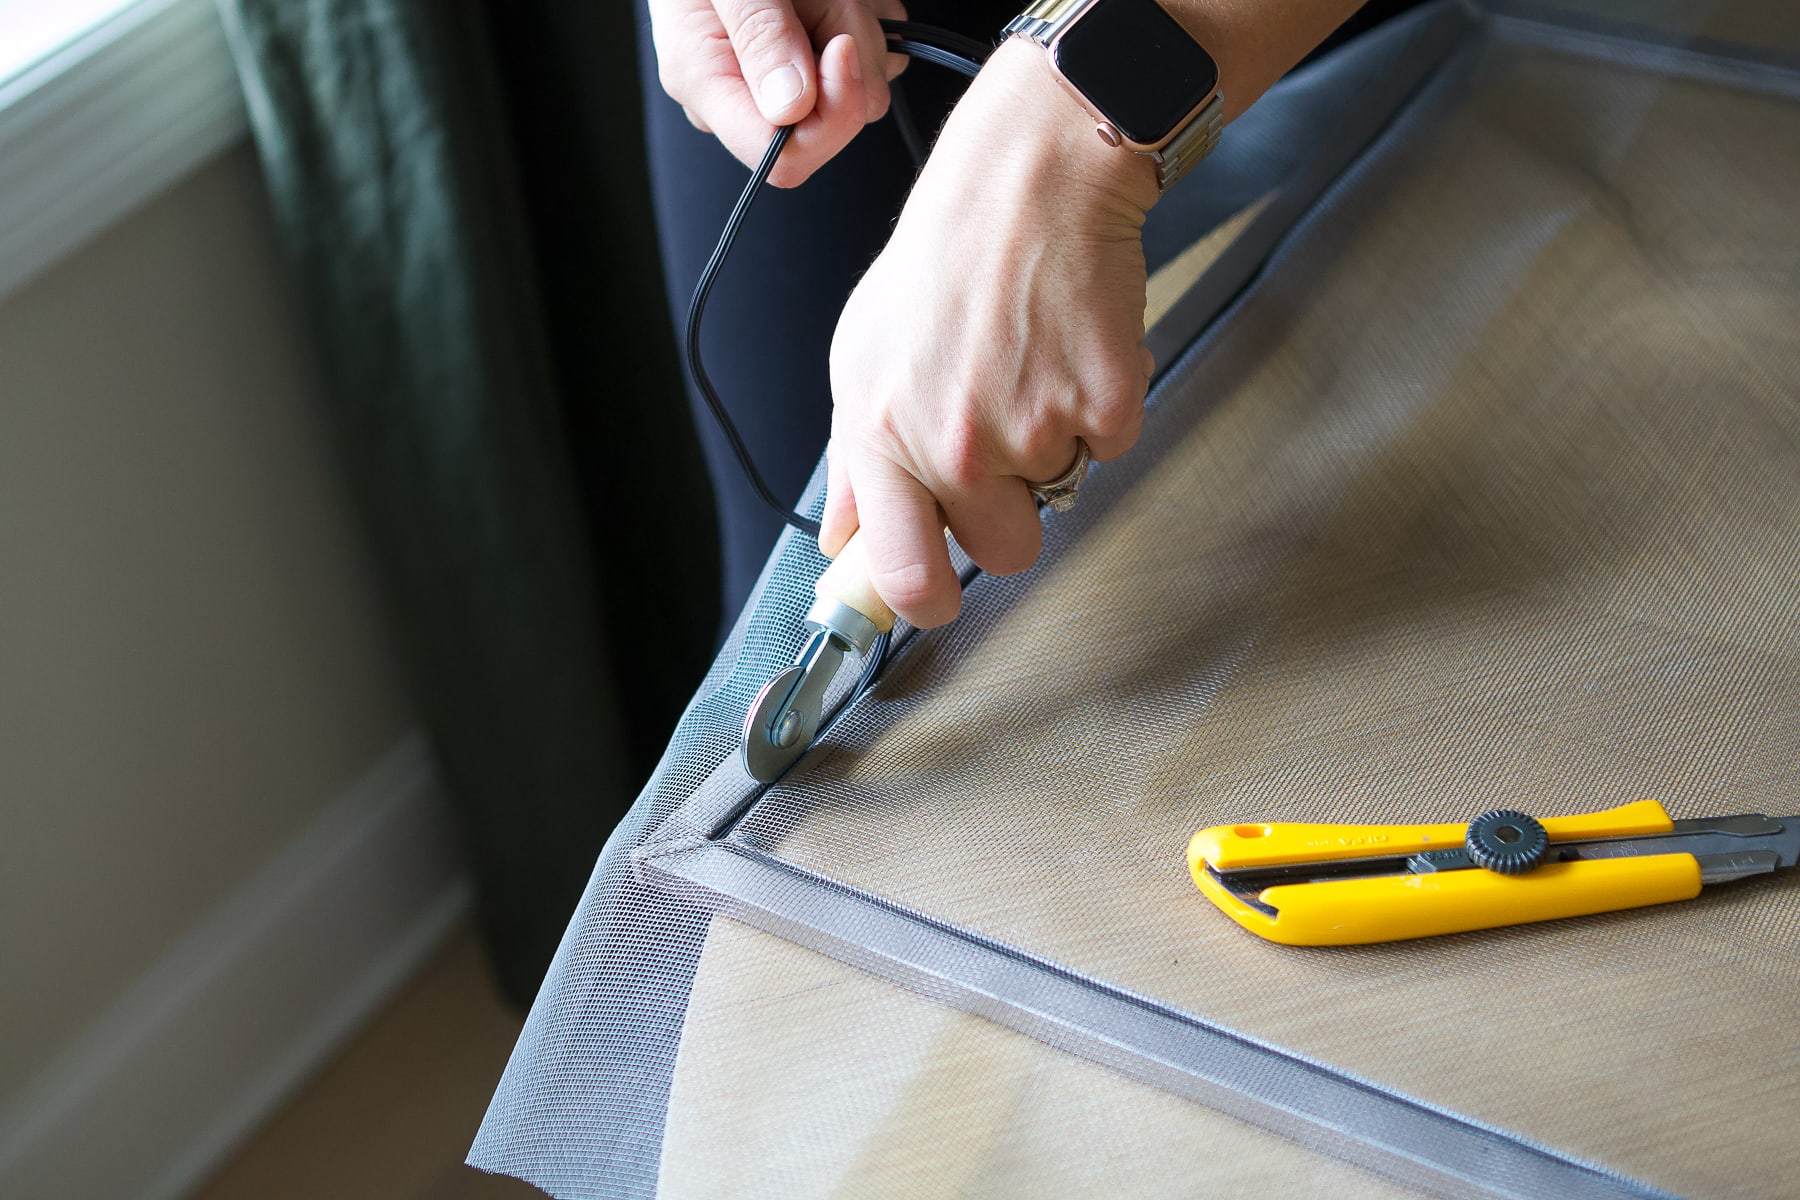
Now, take the new spline and start at the top corner. Place it into the groove and use your spline tool to push it into the groove. Go back and forth over the screen spline until it’s wedged into the groove. Continue going around the frame until you cover the entire top and right side of the frame.
Cut The Spline
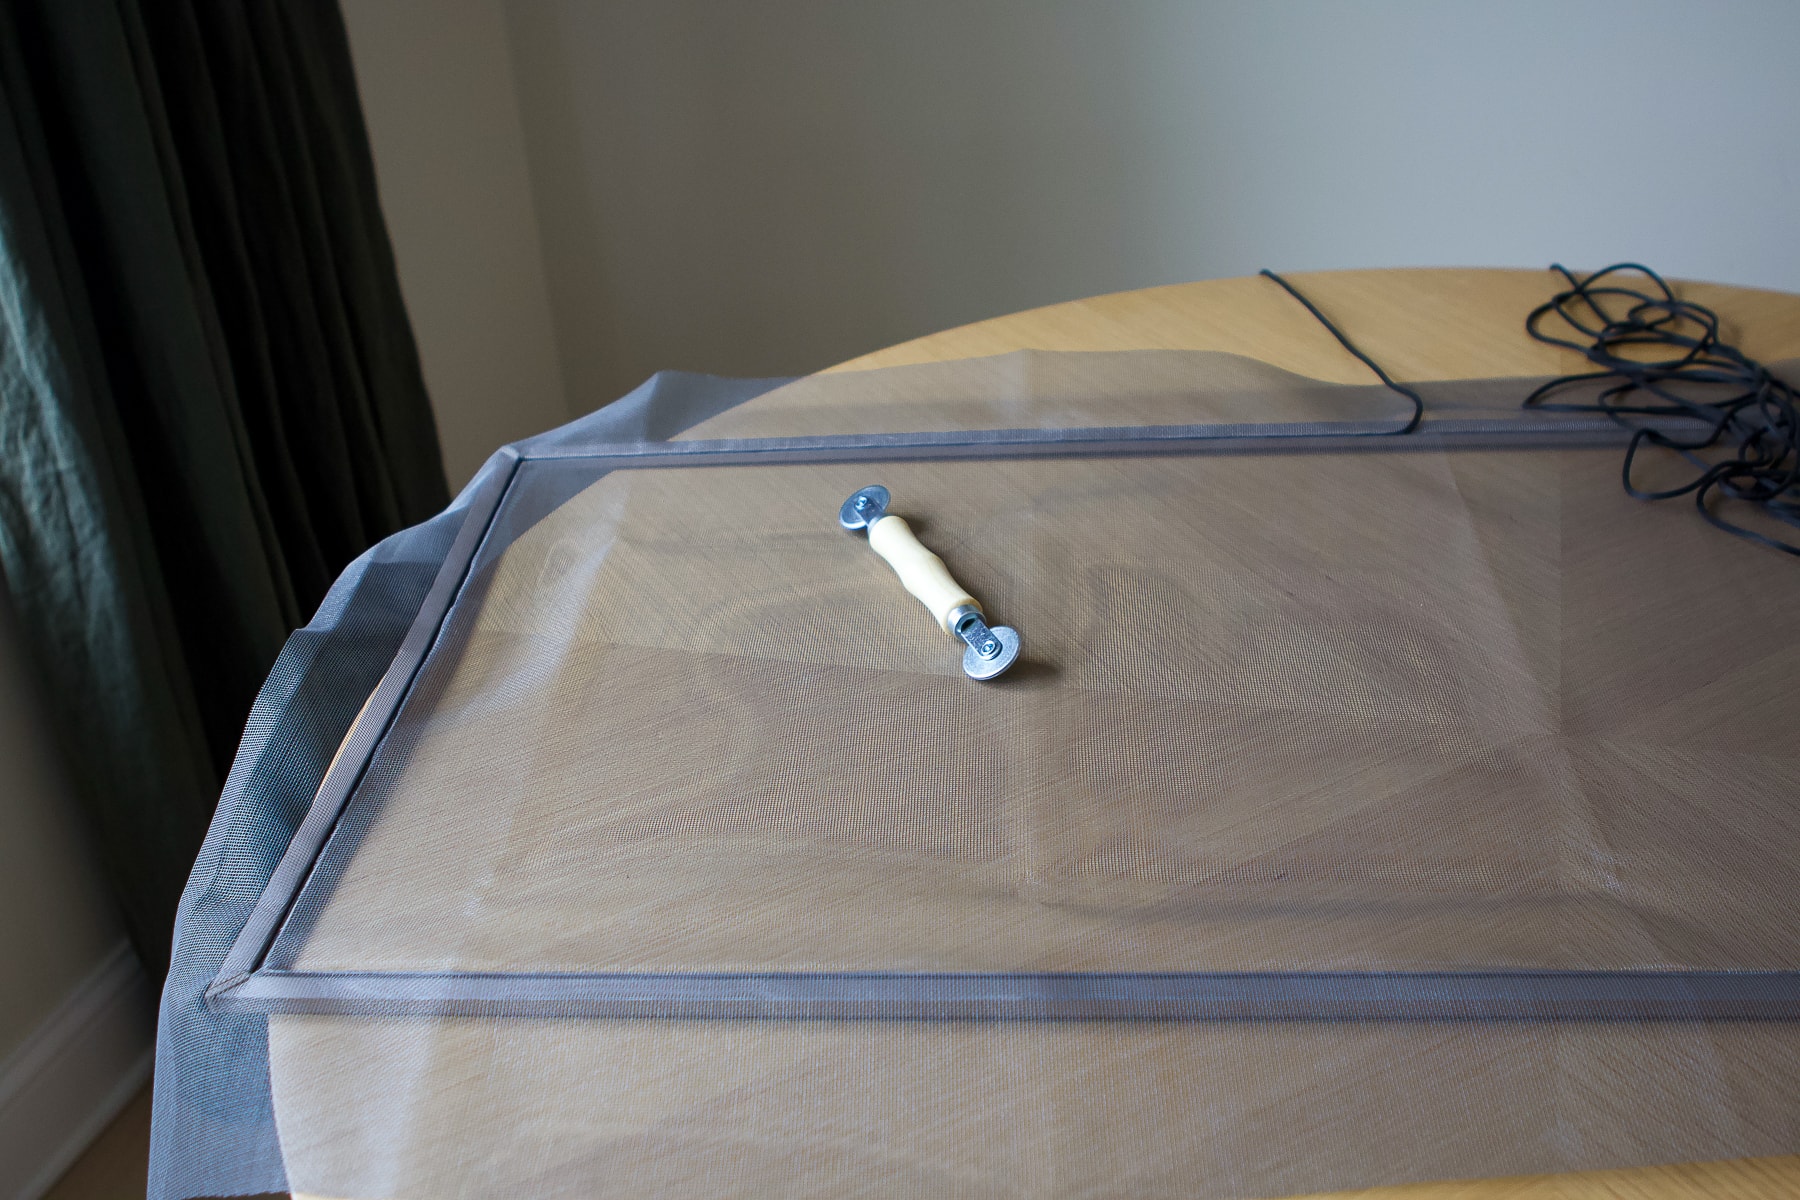
At this point, you’ve created an “L” shape with the spline on the perimeter of the frame. Grab your scissors or utility knife and cut the end of the spline at the bottom corner. You’ll be using two long pieces of spline to create two “L” shapes on your window frame. Start a new piece at the bottom and go along the bottom and up the left side of the frame. Cut your spline once you reach the corner.
The corners are where things can go wrong and the spline can start to come out. Take some extra time to push the spline into place in those grooves!
Cut The Excess Mesh
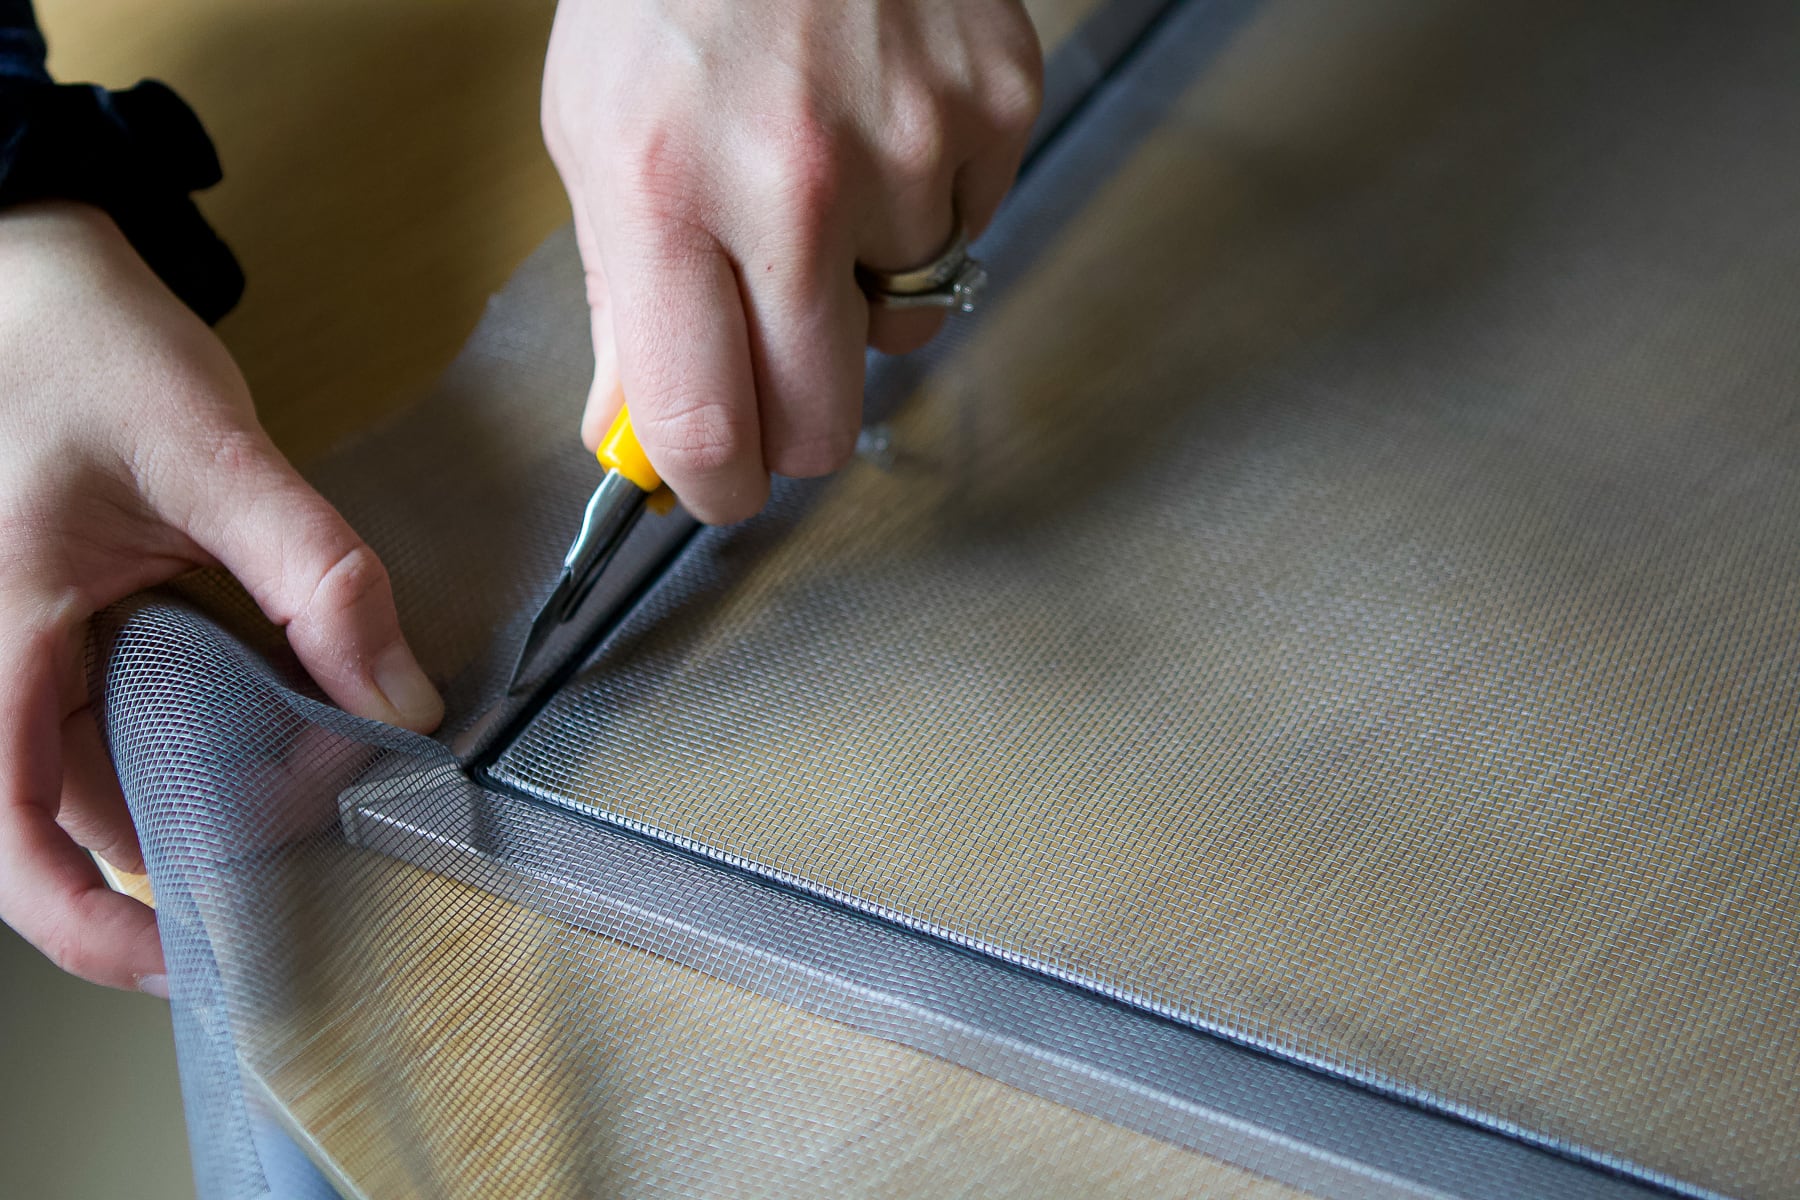
Your new window screen is in place, but you now have extra screen on each side. Grab your utility knife and slowly run the blade across the window frame on the outside of the spline. Go slowly because you don’t want to accidentally cut a hole in the screening.
That’s It!
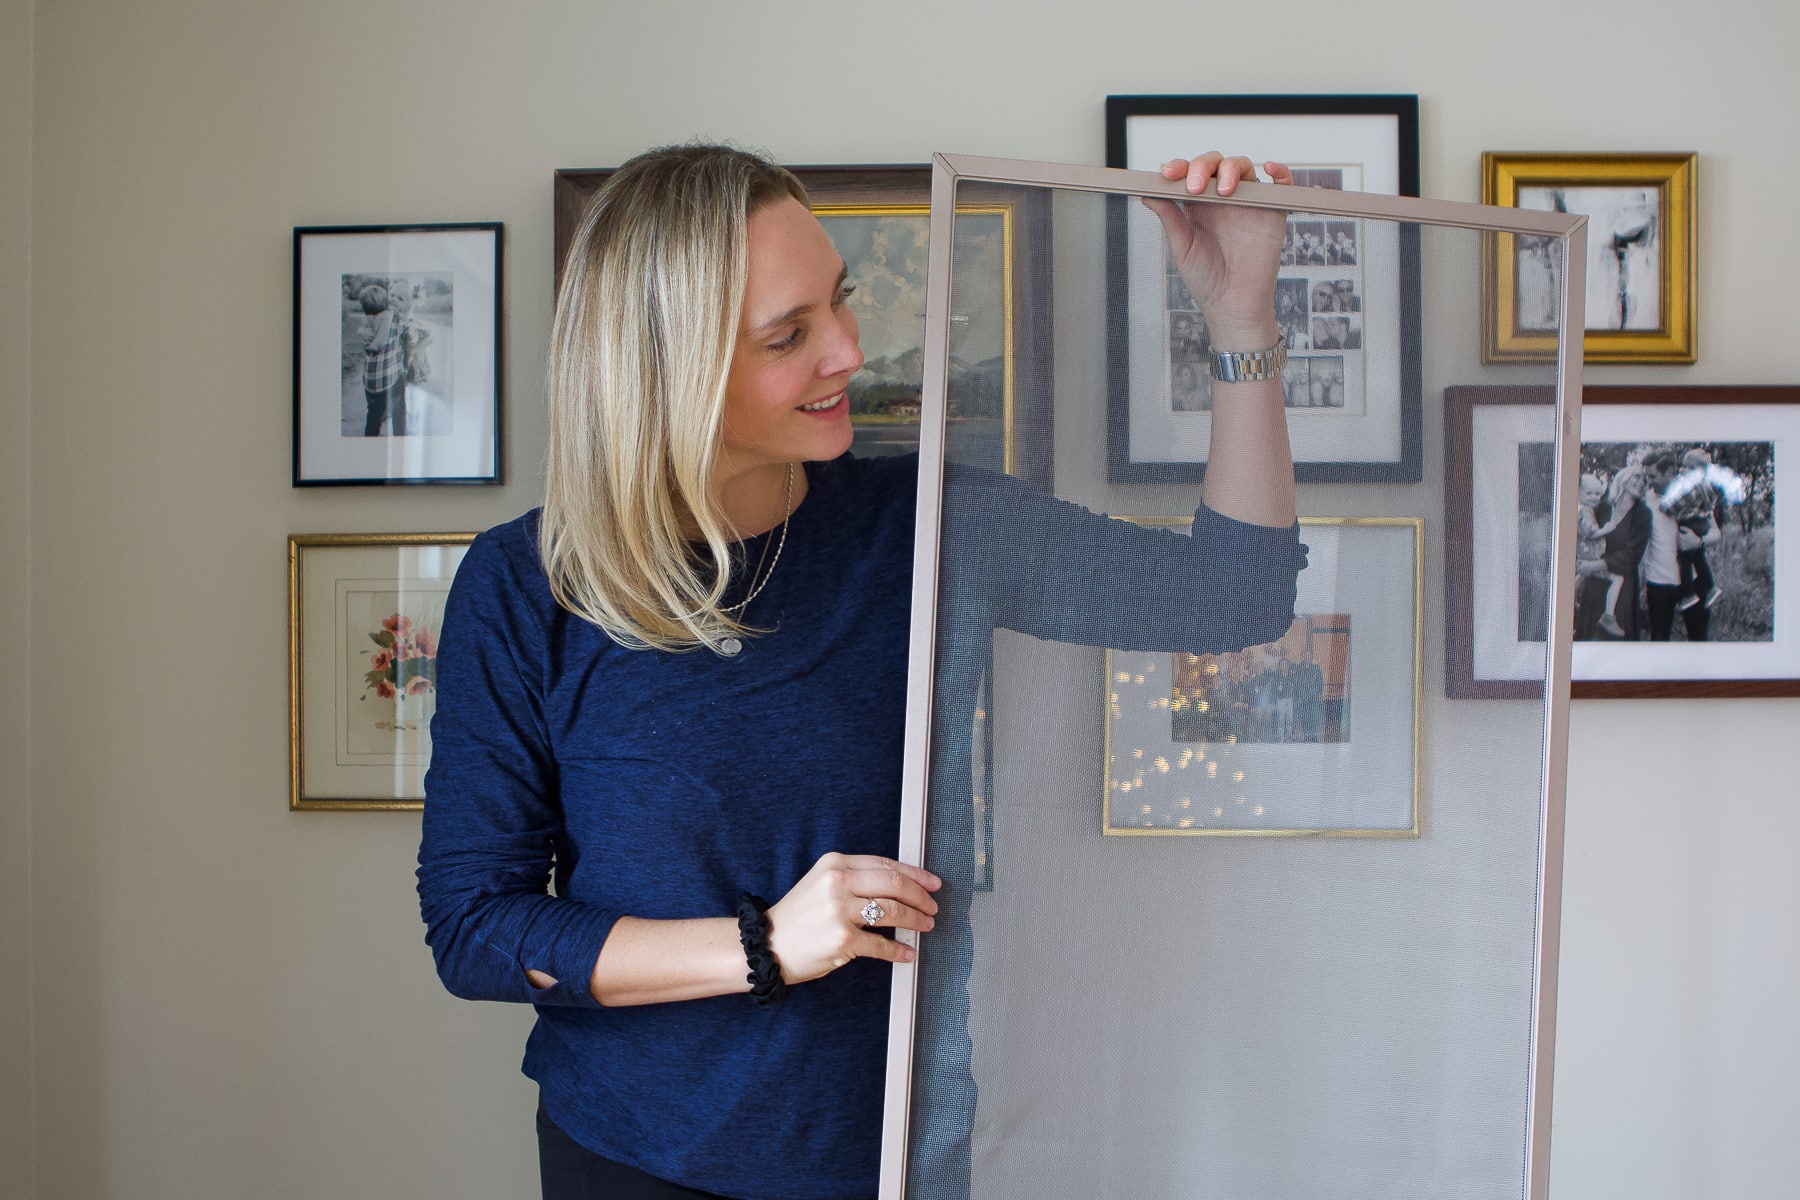
You’re done! You just successfully re-screened a window and I’m guessing it didn’t take too much time at all. Now you can just remove the window screen frame from your flat surface and pop it back into your window frame.
This type of project can seem intimidating in your head, but once you take the time to learn how to do it, you realize it’s easy! The next time you get a tear or hole in your window screen, reference these step-by-step instructions and fix it yourself.

As for Rory, she is pumped that her window screen is now in good shape. She can get back to her neighborhood stalking from the window…


