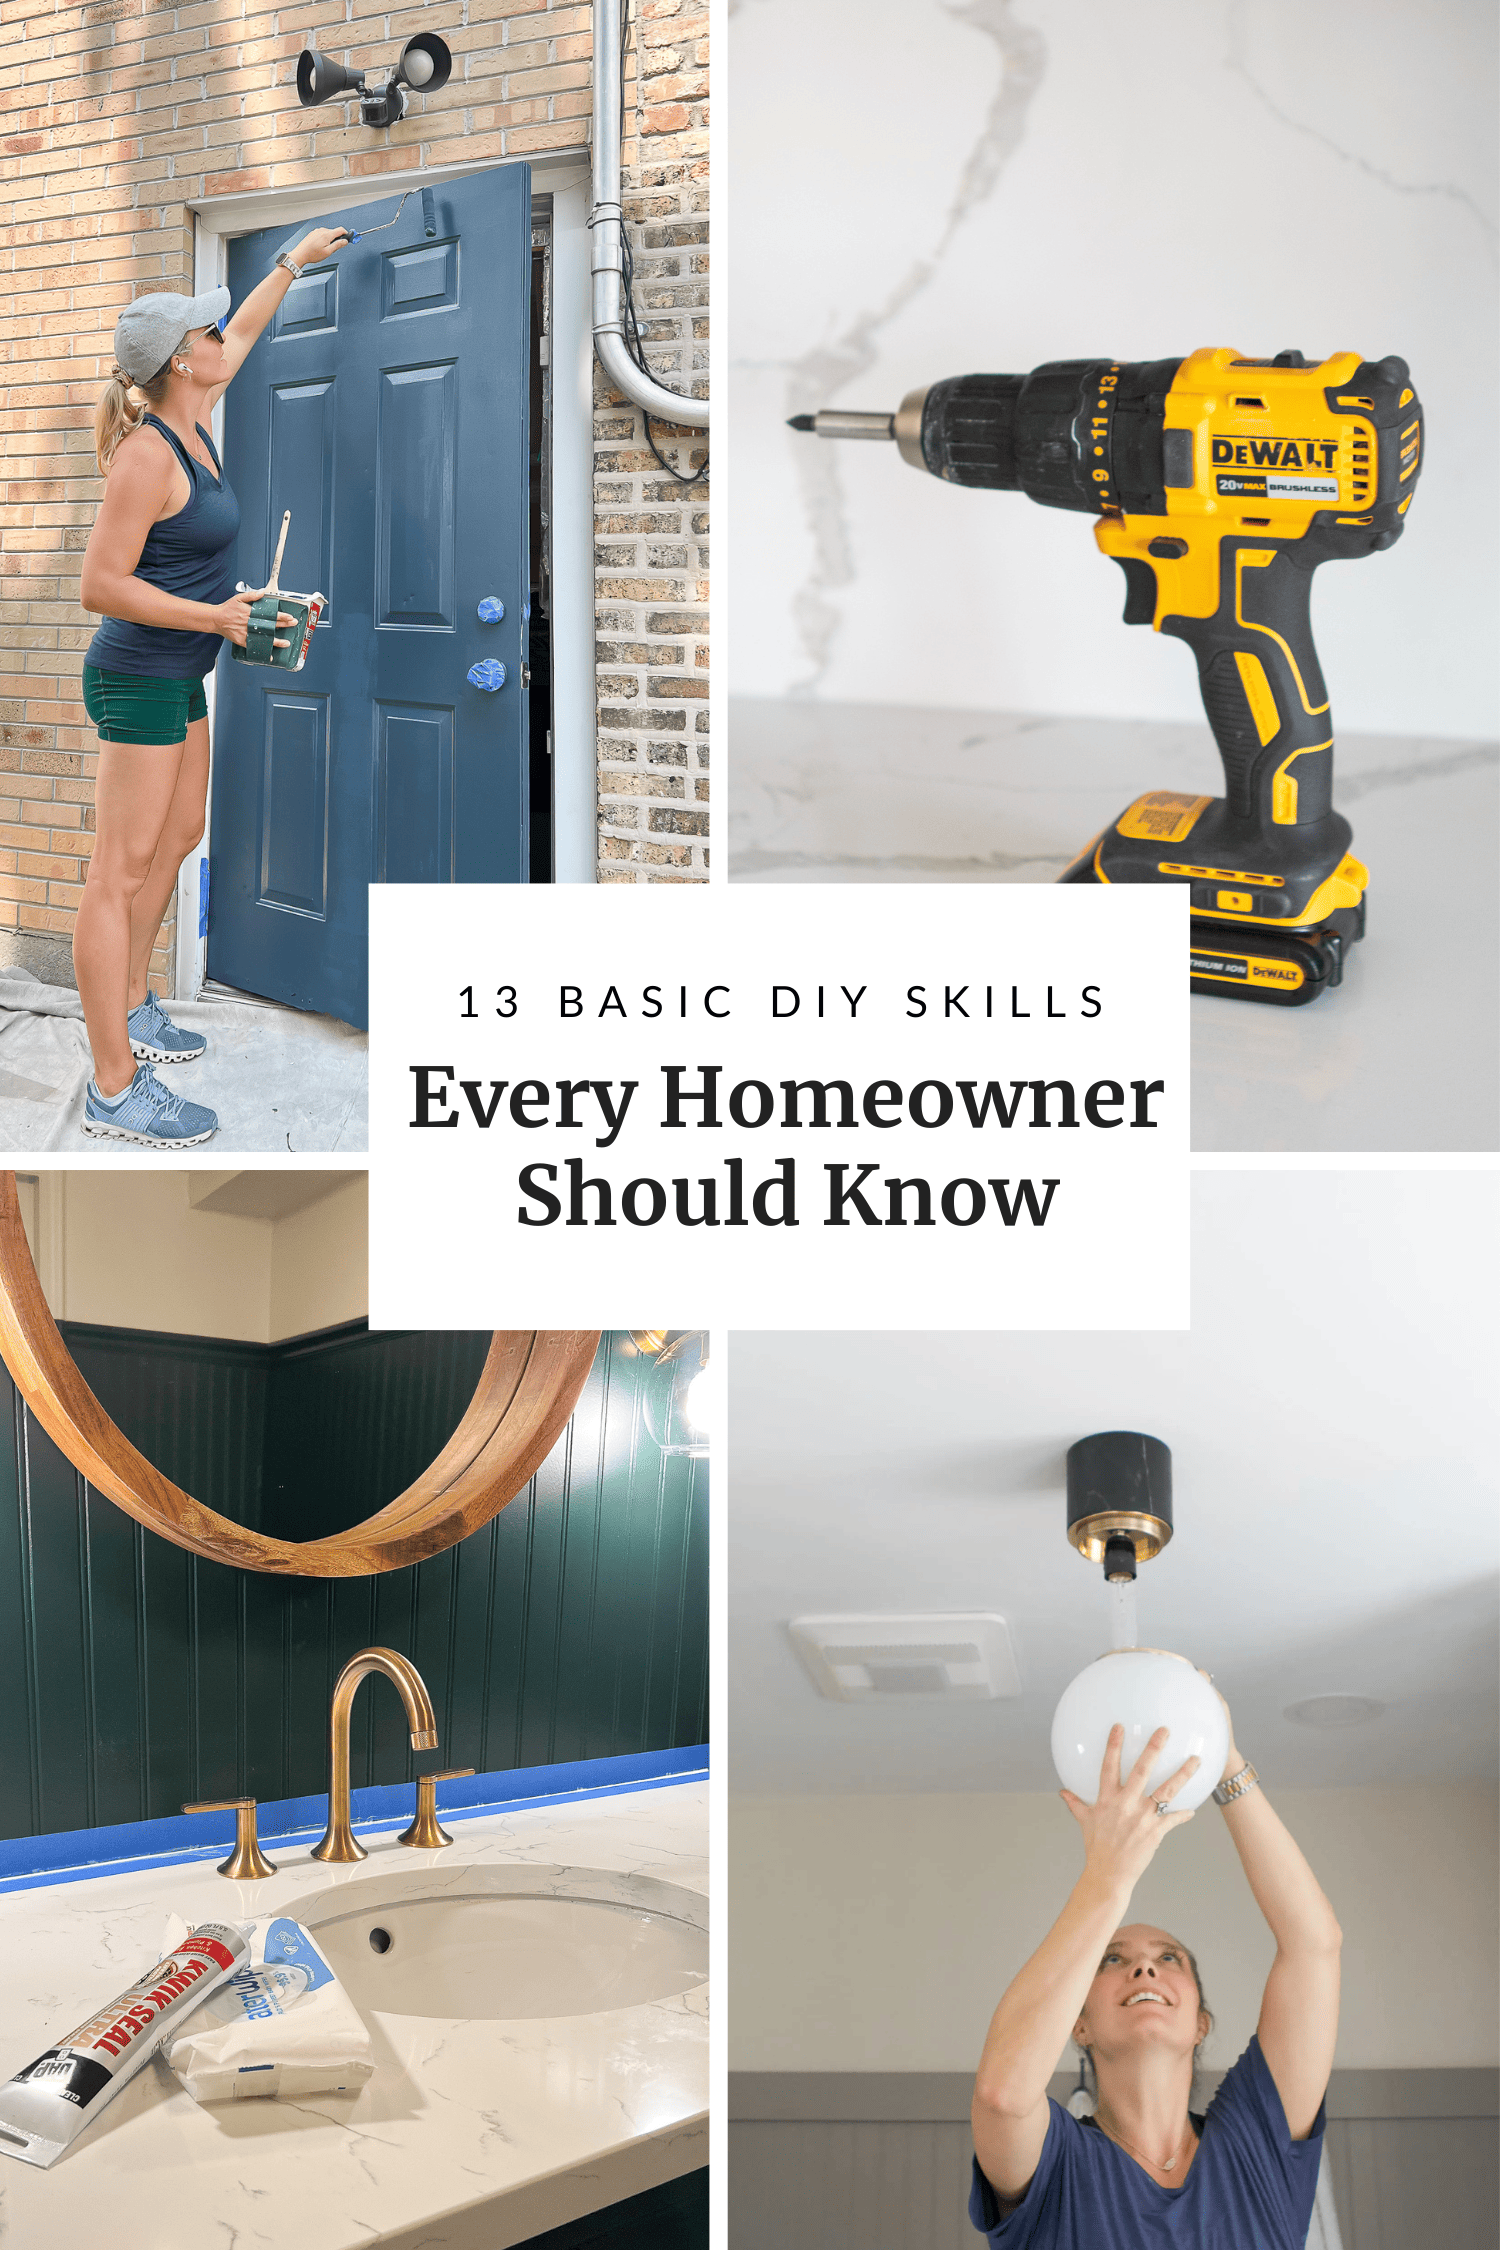
13 Basic DIY Skills That Every Homeowner Should Know
I have been a homeowner for almost ten years now with a lot of DIY projects under my belt. Am I a home improvement expert? No way. But, I have learned plenty of basic DIY skills over the past decade that come in handy on a daily basis around our home.

Today, I thought it might be helpful to share a list of 13 basic DIY skills that I think every homeowner should know how to do. If you can’t do all of these, that’s okay! It has taken me a long time to figure all of these out myself.
I’m a self-taught DIY’er (I didn’t grow up in a handy family.) and have learned all of my basic skills through practice, trial and error, lengthy chats with professional contractors, watching YouTube videos, and reading other blogs.
13 Basic DIY Skills To Learn
One of the things that I love about DIY is that every project comes with a new set of challenges and I’m constantly learning. My DIY journey will never be complete and I still feel like a DIY beginner when doing some projects.
My best advice for you is to read through this list and note the areas that you might need to work on. Then, give a project a try. It’s one thing to read through a tutorial online and an entirely separate thing to actually do it.

So, the next time you have a leaky faucet, instead of immediately calling a plumber or having someone else fix it, you get in there and give it a try first! DIY is a hands-on thing and you can only improve your skills with time and practice.
1. Change Your Air Filter

This might seem like a simple task, but many people don’t know how to change the air filter on their furnace. In fact, they might not even know where it is located! Step one, head to your furnace and take a look around. The air filter is usually in the blower compartment. Sometimes it’s through a metal door on the bottom half of the furnace and other times it’s a sliding compartment on the side.
The frequency of changing the filter will depend on your home and the quality of the filter. Typically, I suggest every 1 month to every 3 months. I wouldn’t go much longer than that.
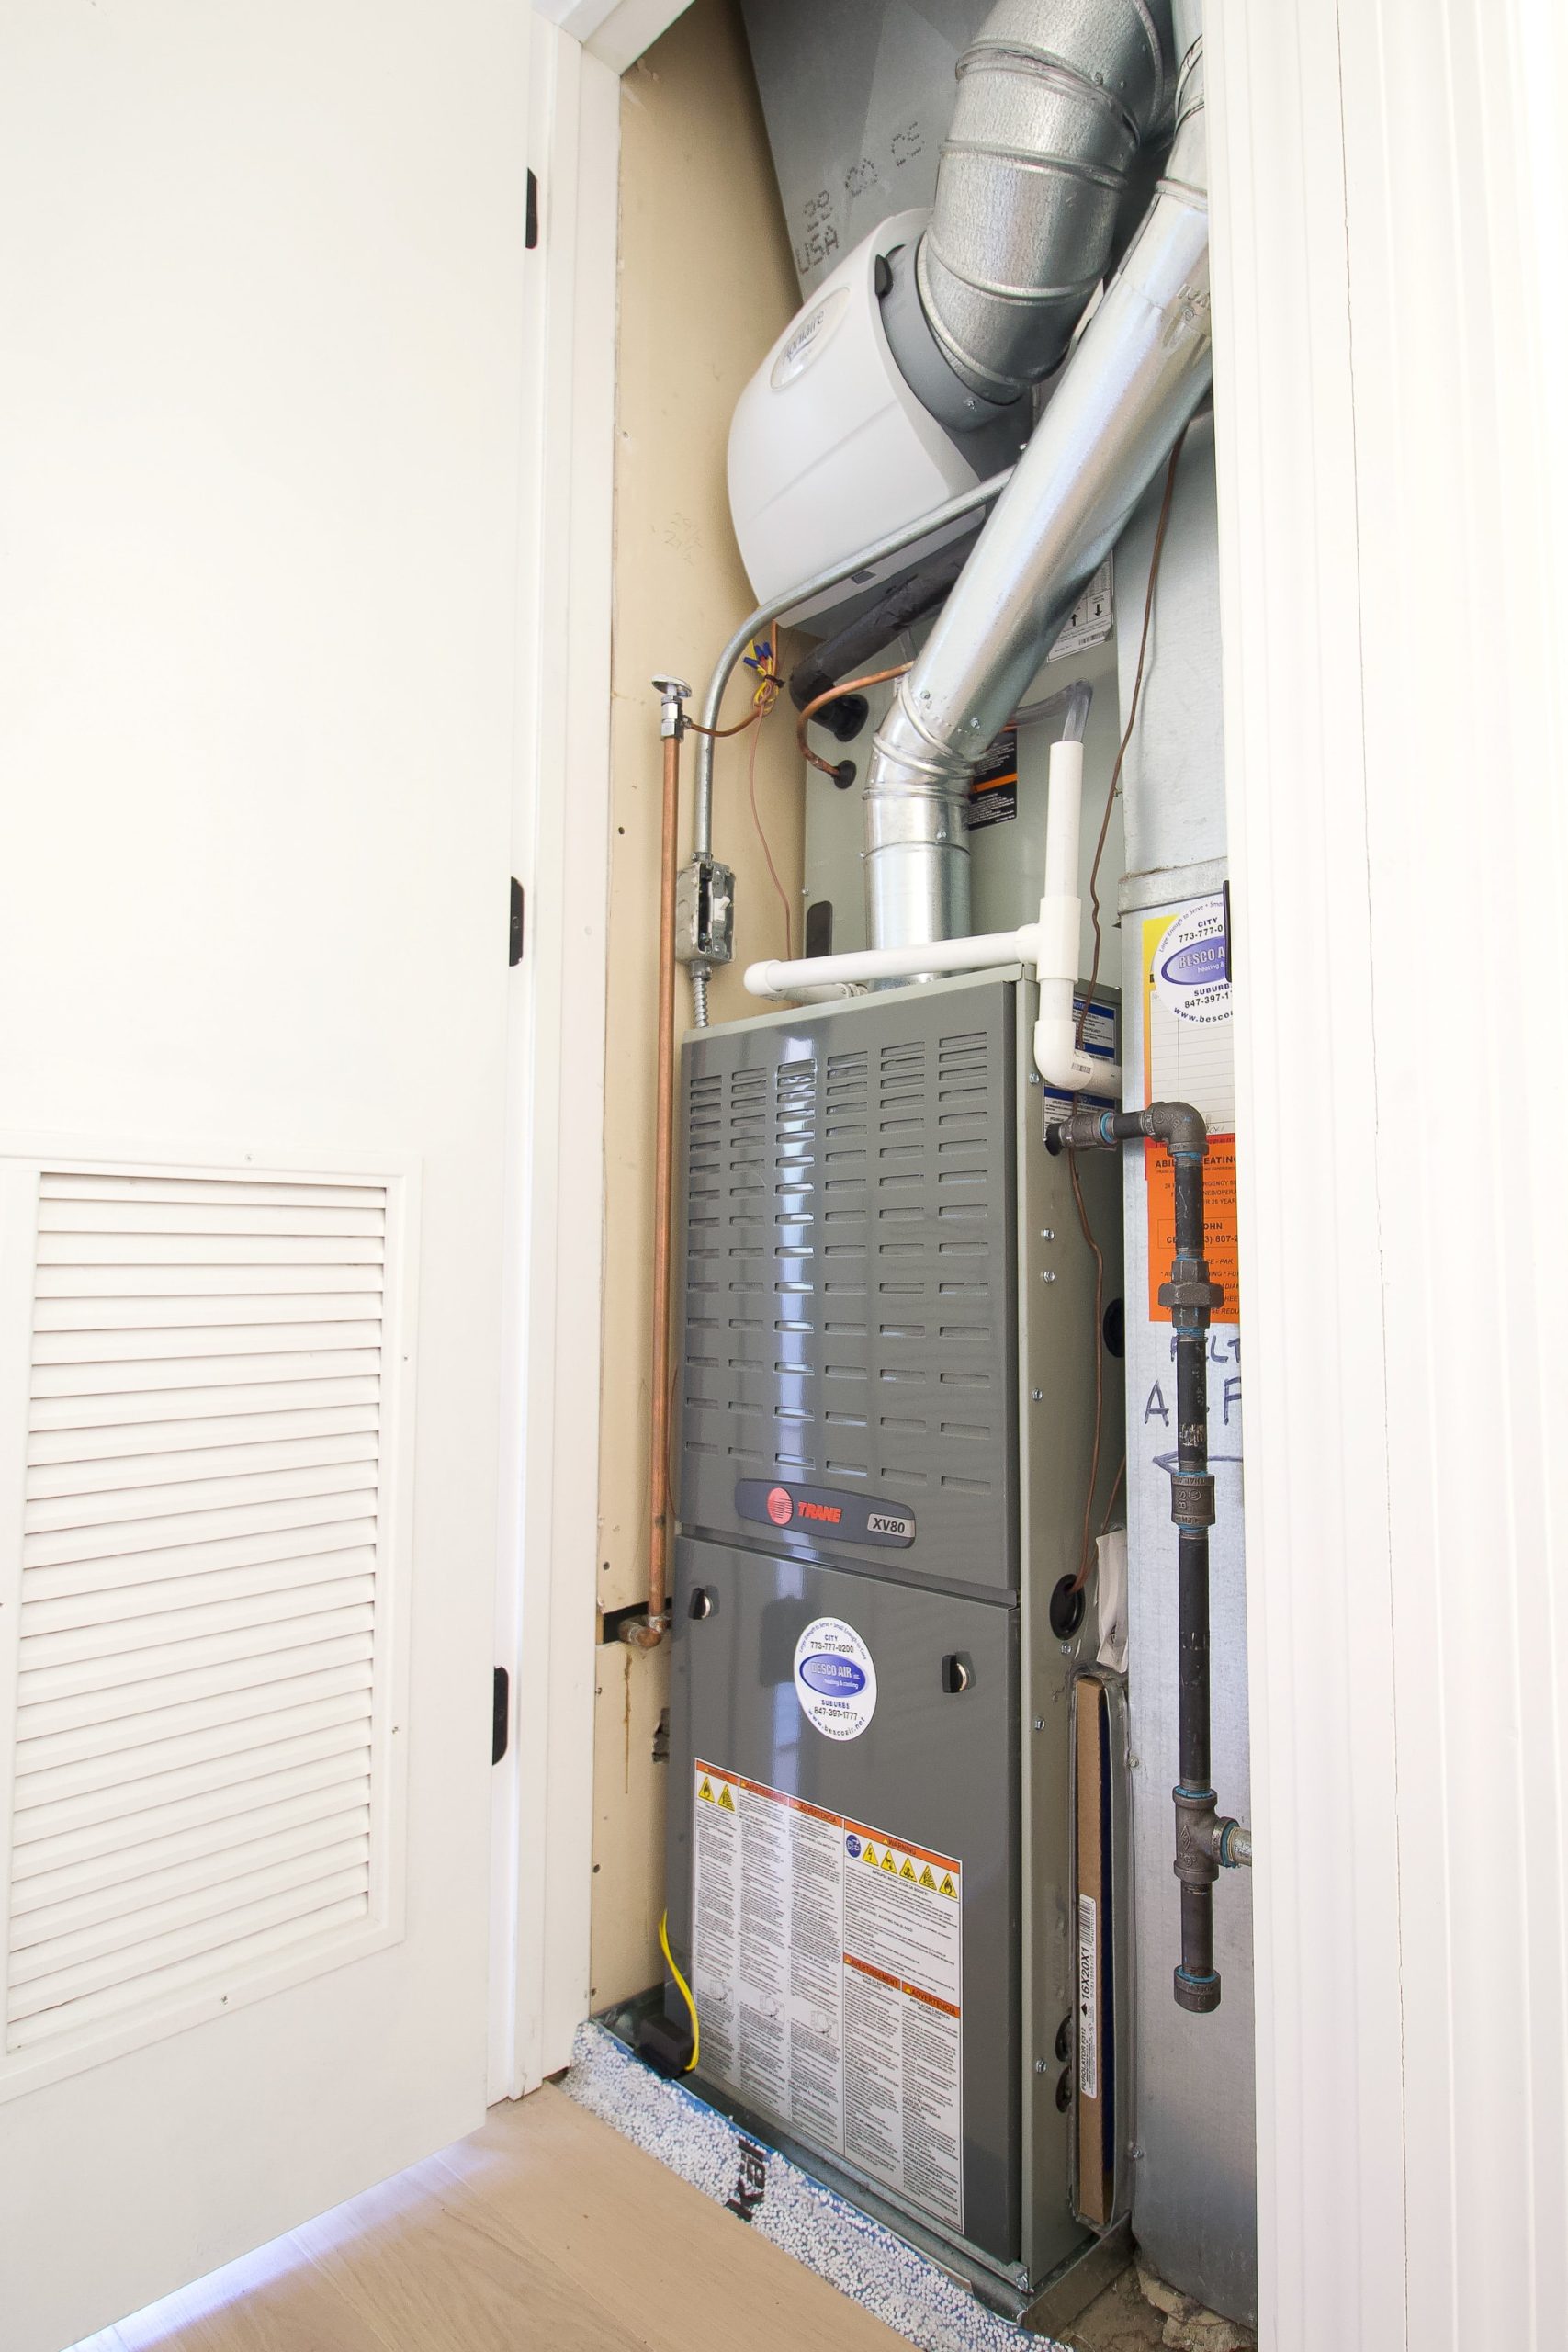
An air filter’s job is to clean the air that circulates through your heating and cooling system. When air filters get dirty, they restrict airflow to your HVAC system, which makes it work harder and longer, leading to higher utility bills! They also have a max holding capacity so once yours is full, the bacteria, allergens, and dust can come through into your air supply.
A few things to keep in mind…
- Buy the correct size
- Put it in the right way. Look for the arrow on the side of the air filter. This must always face toward the furnace and away from the return duct.
- Read this blog post with 4 common air filter mistakes and avoid them!
2. Use The Correct Hardware To Hang Something
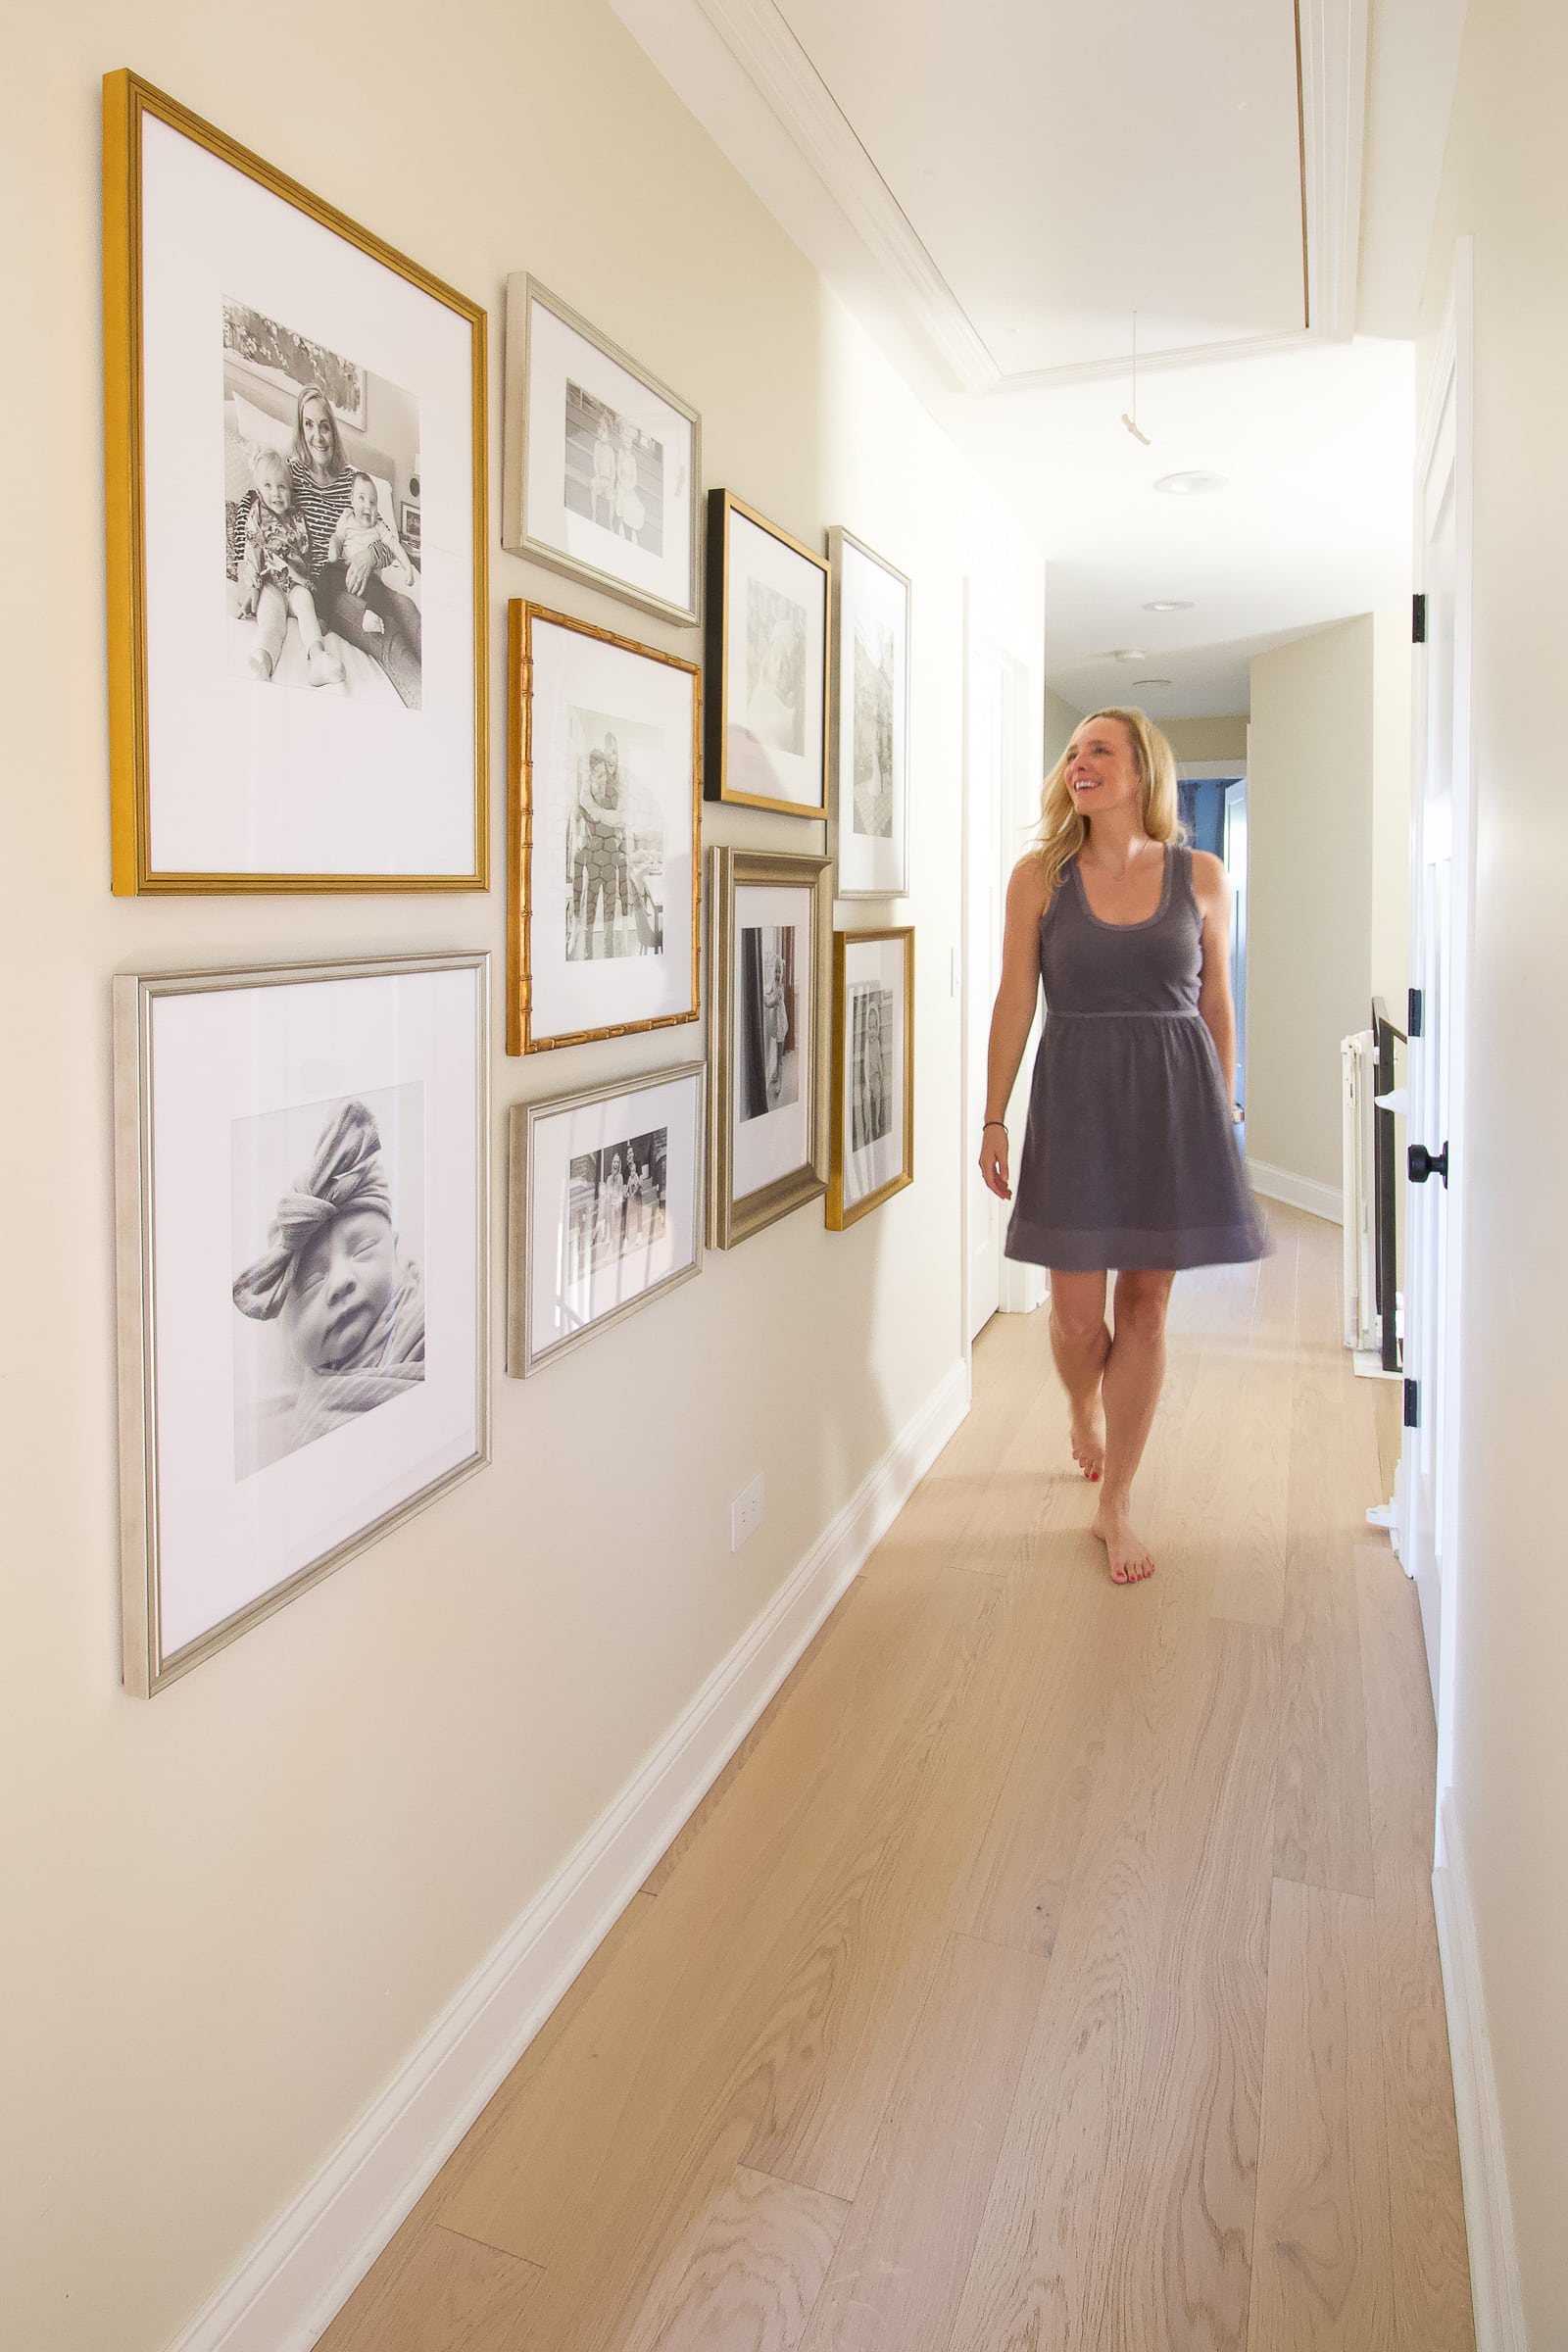
Whenever I hang something on our walls, and show the process on social media, I’m often inundated with questions about choosing the correct hardware. How do you know when you need an anchor versus a nail? Which anchor is best for my walls? Can I hang something heavy into plaster? What’s your favorite drywall anchor?
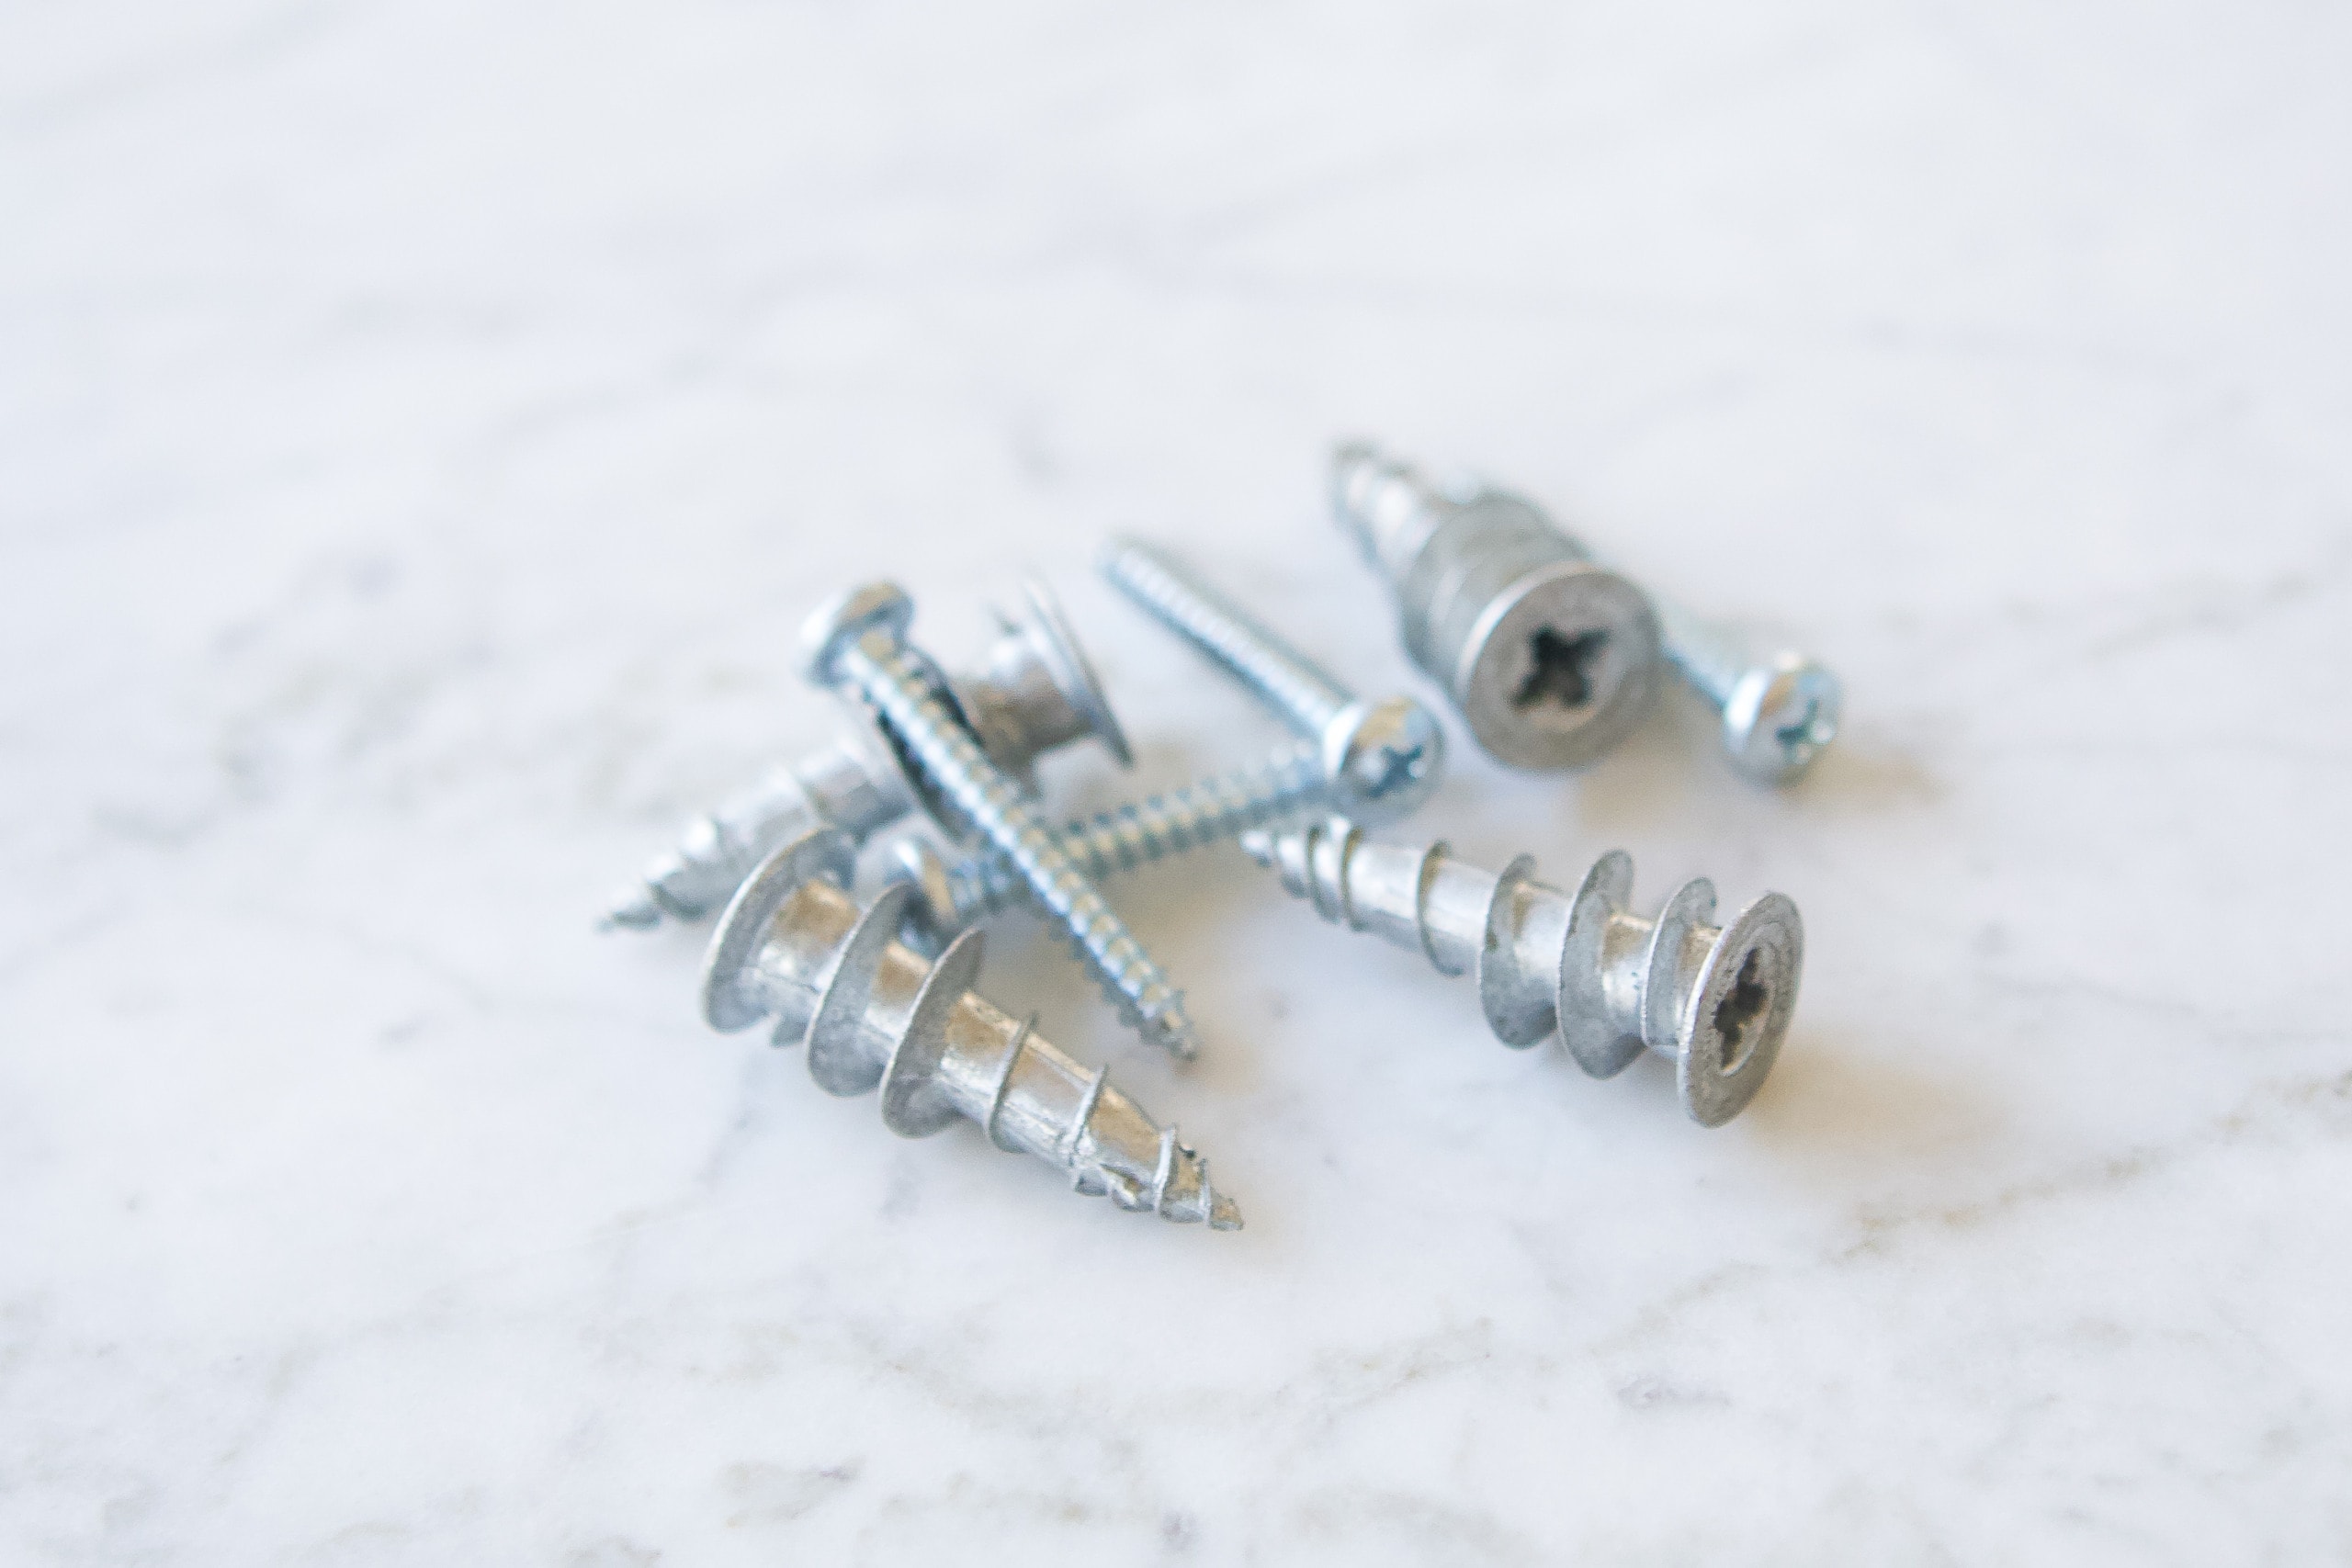
It can be super confusing for any DIY newbie. I wrote an entire blog post breaking down everything you need to know about wall anchors in this blog post. I think everyone should know how to safely hang items on their walls, so it’s a good read.
3. Fill Holes In Your Drywall
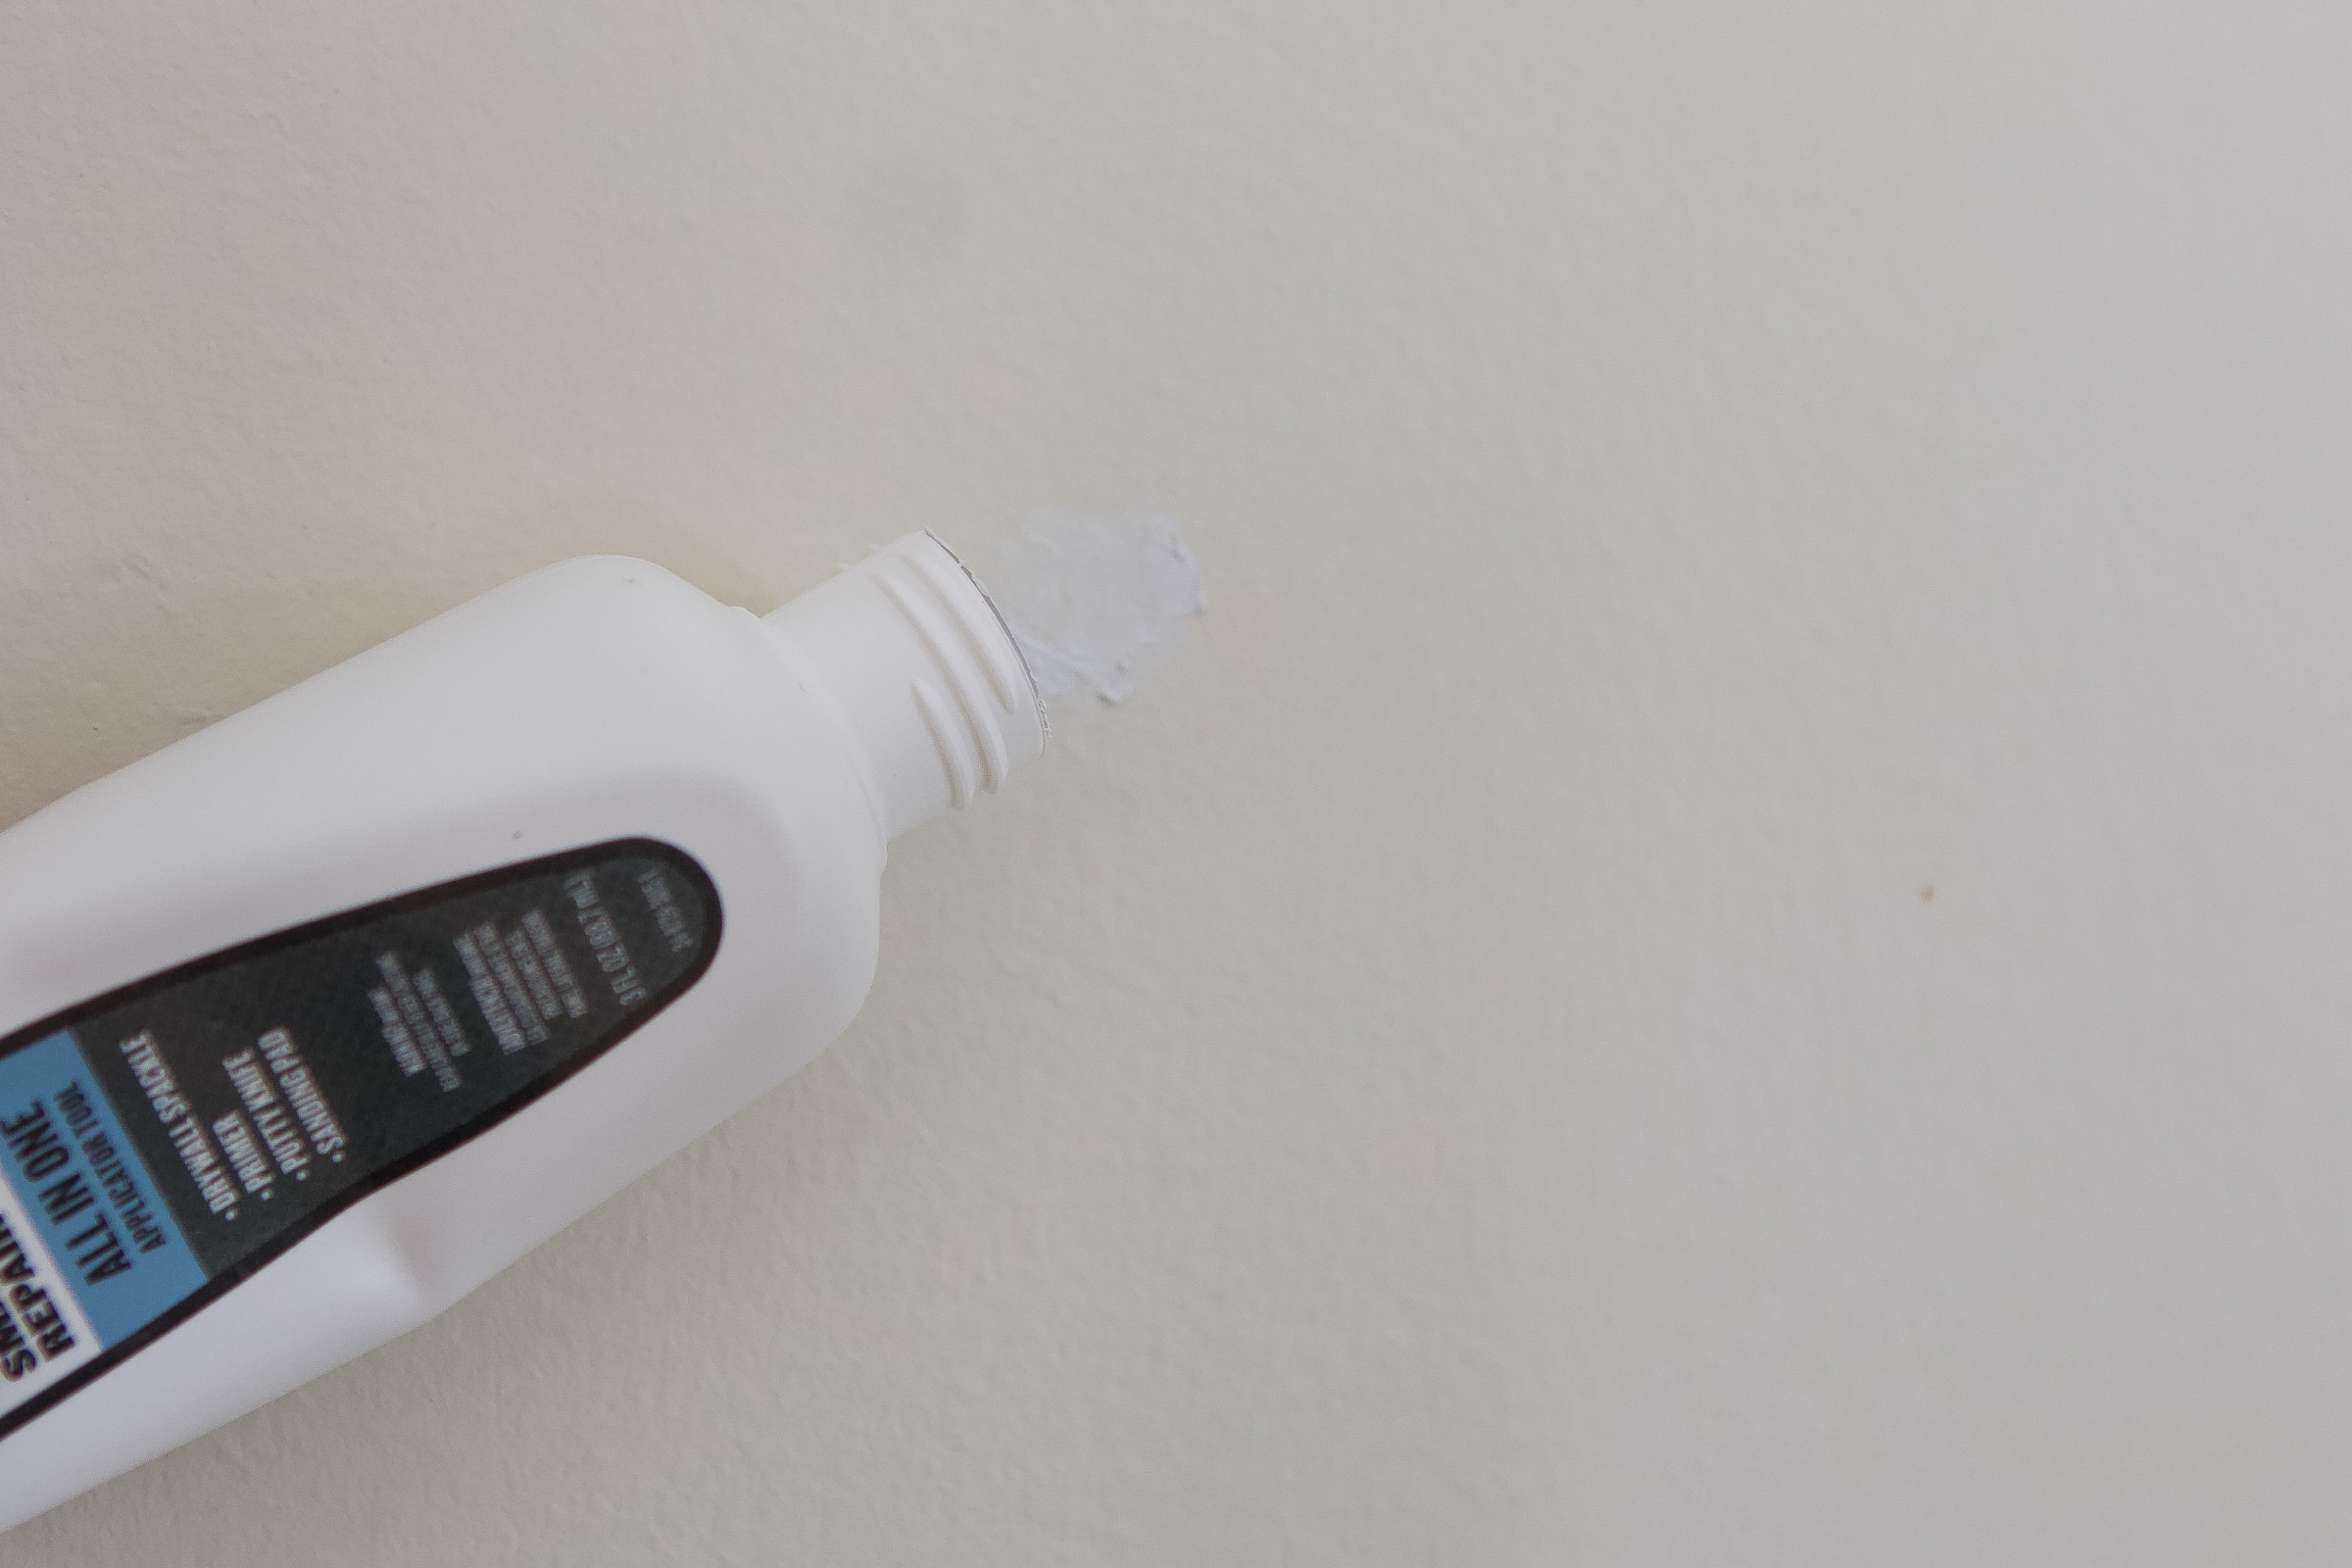
On the flip side, it’s also important to know how to fill those holes that you create in drywall. Whether you’re changing up your wall art or moving into a new home with lots of wall imperfections, these are essential DIY skills that everyone should know how to do.
I walk you through my super easy step-by-step guides to fill nail holes in this blog post.
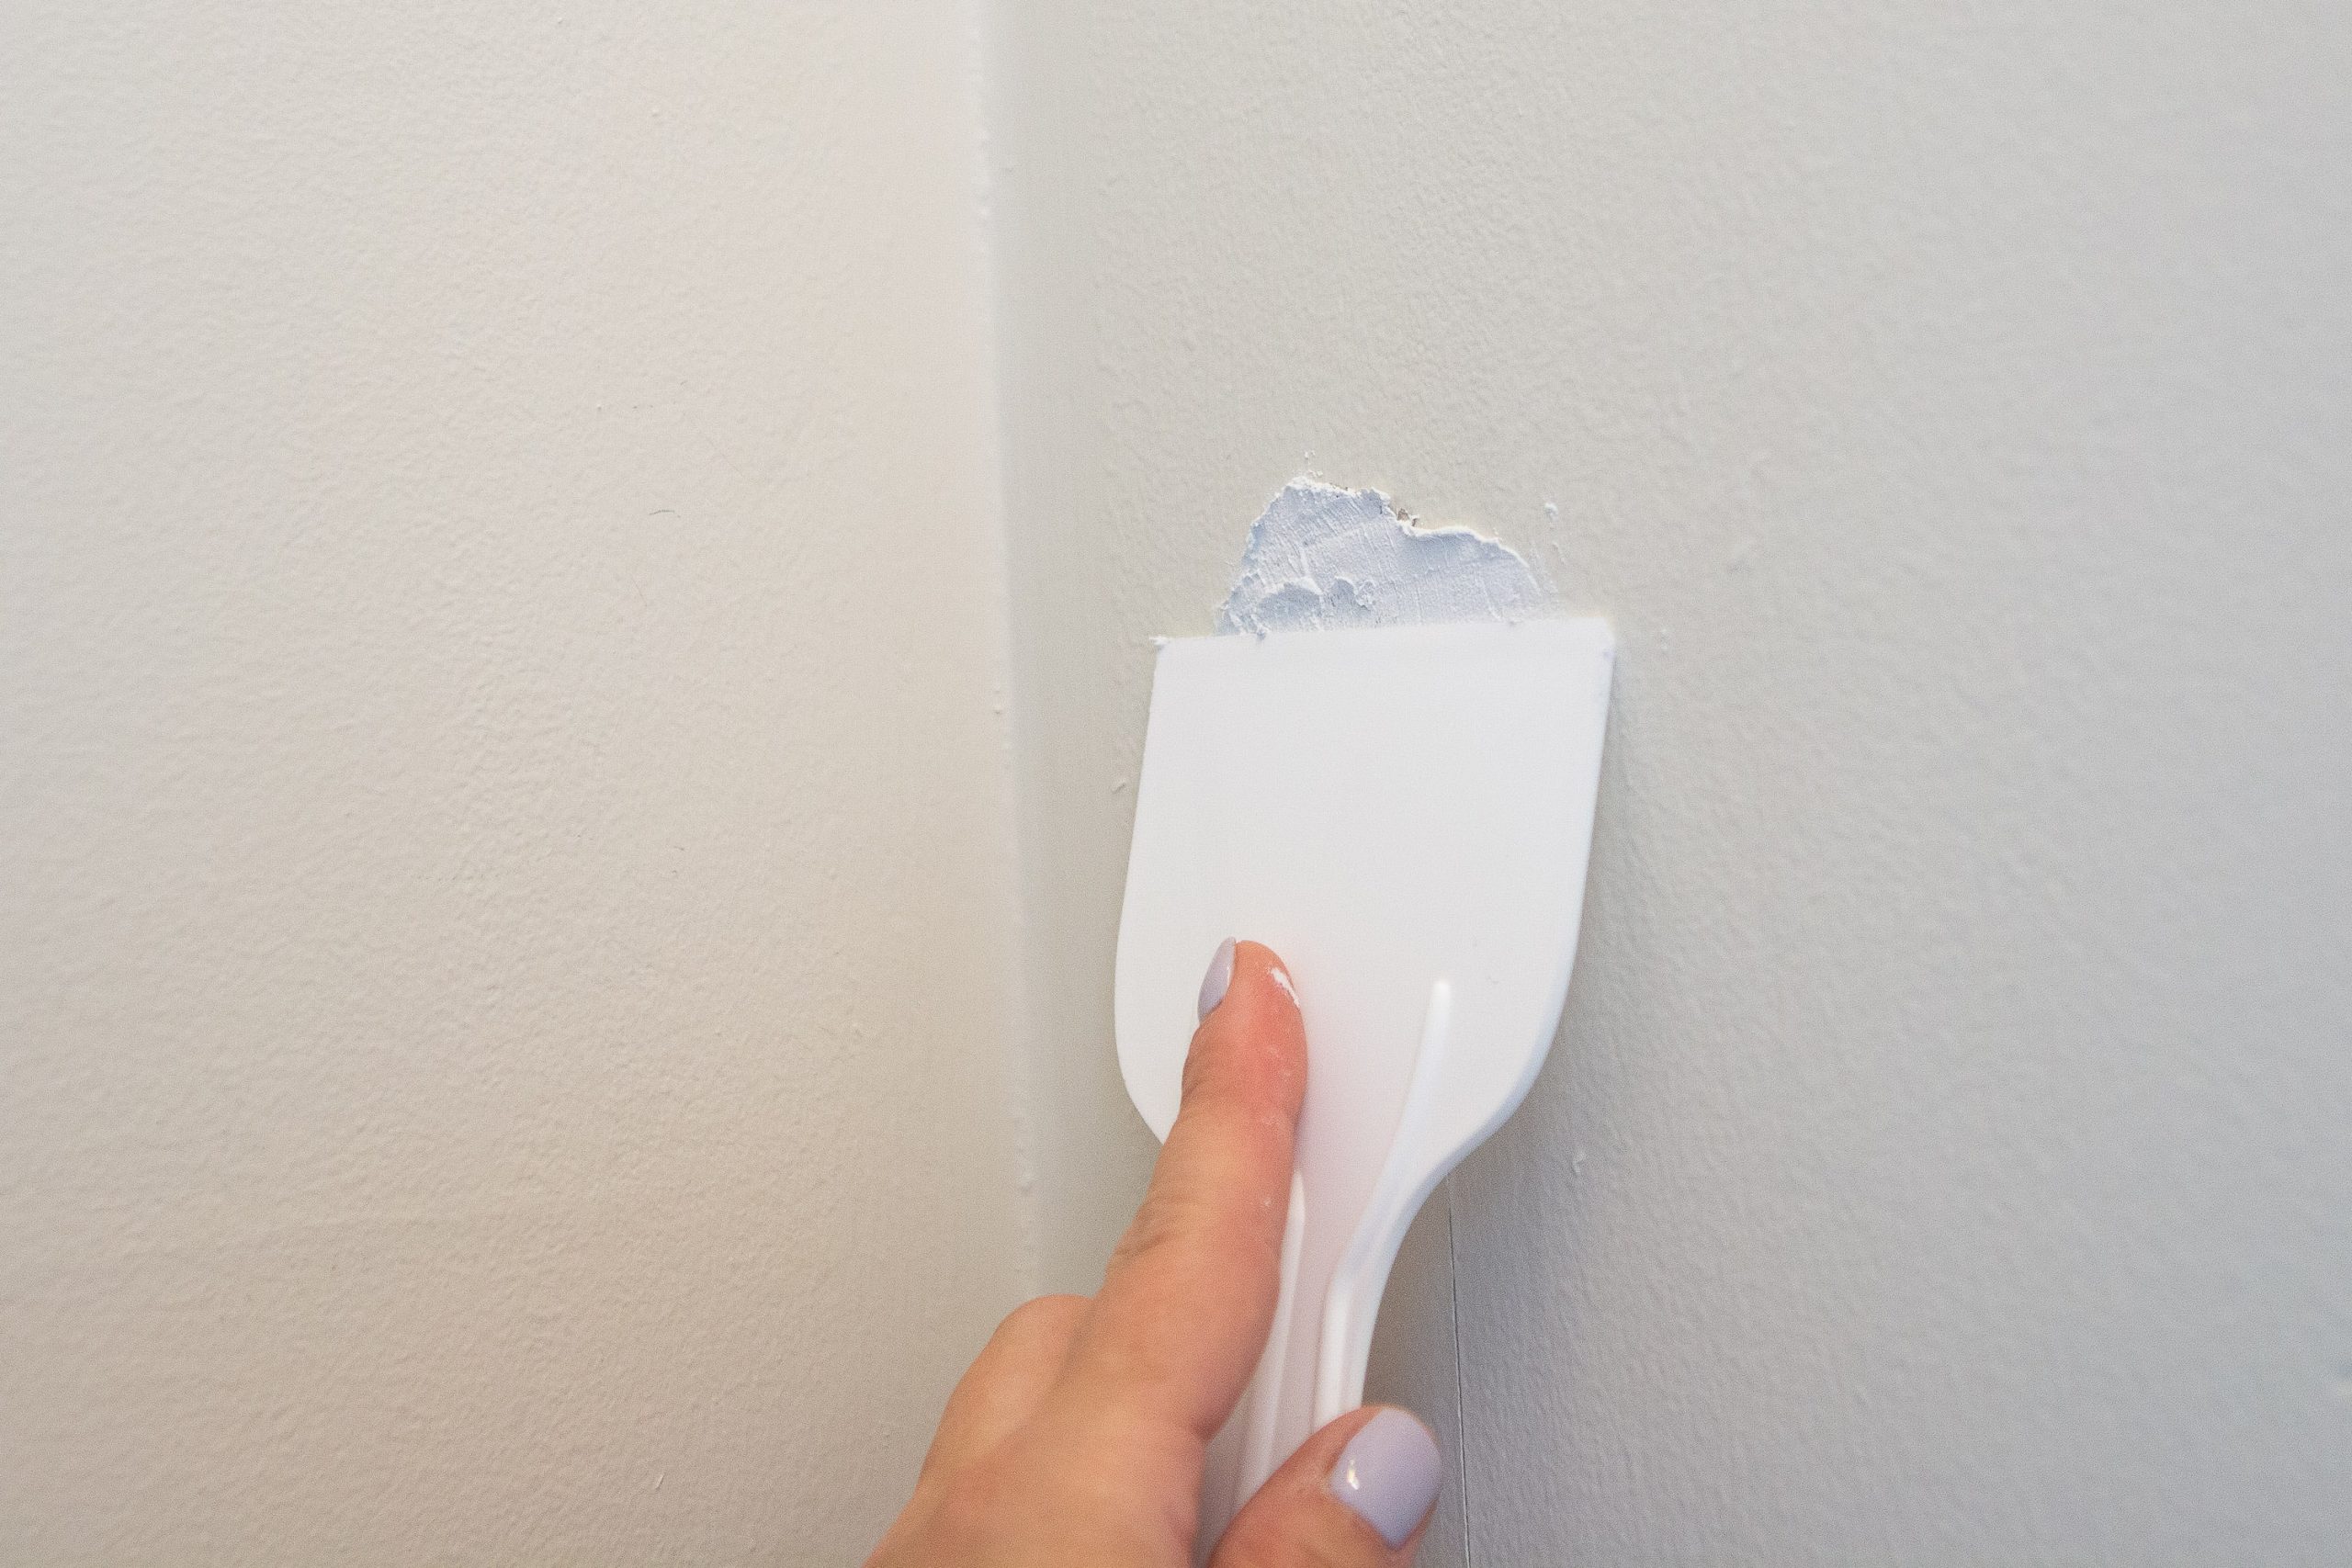
This blog post then walks you through what to do when your holes are a tad bigger and you need a wall patch.
4. Use A Caulk Gun
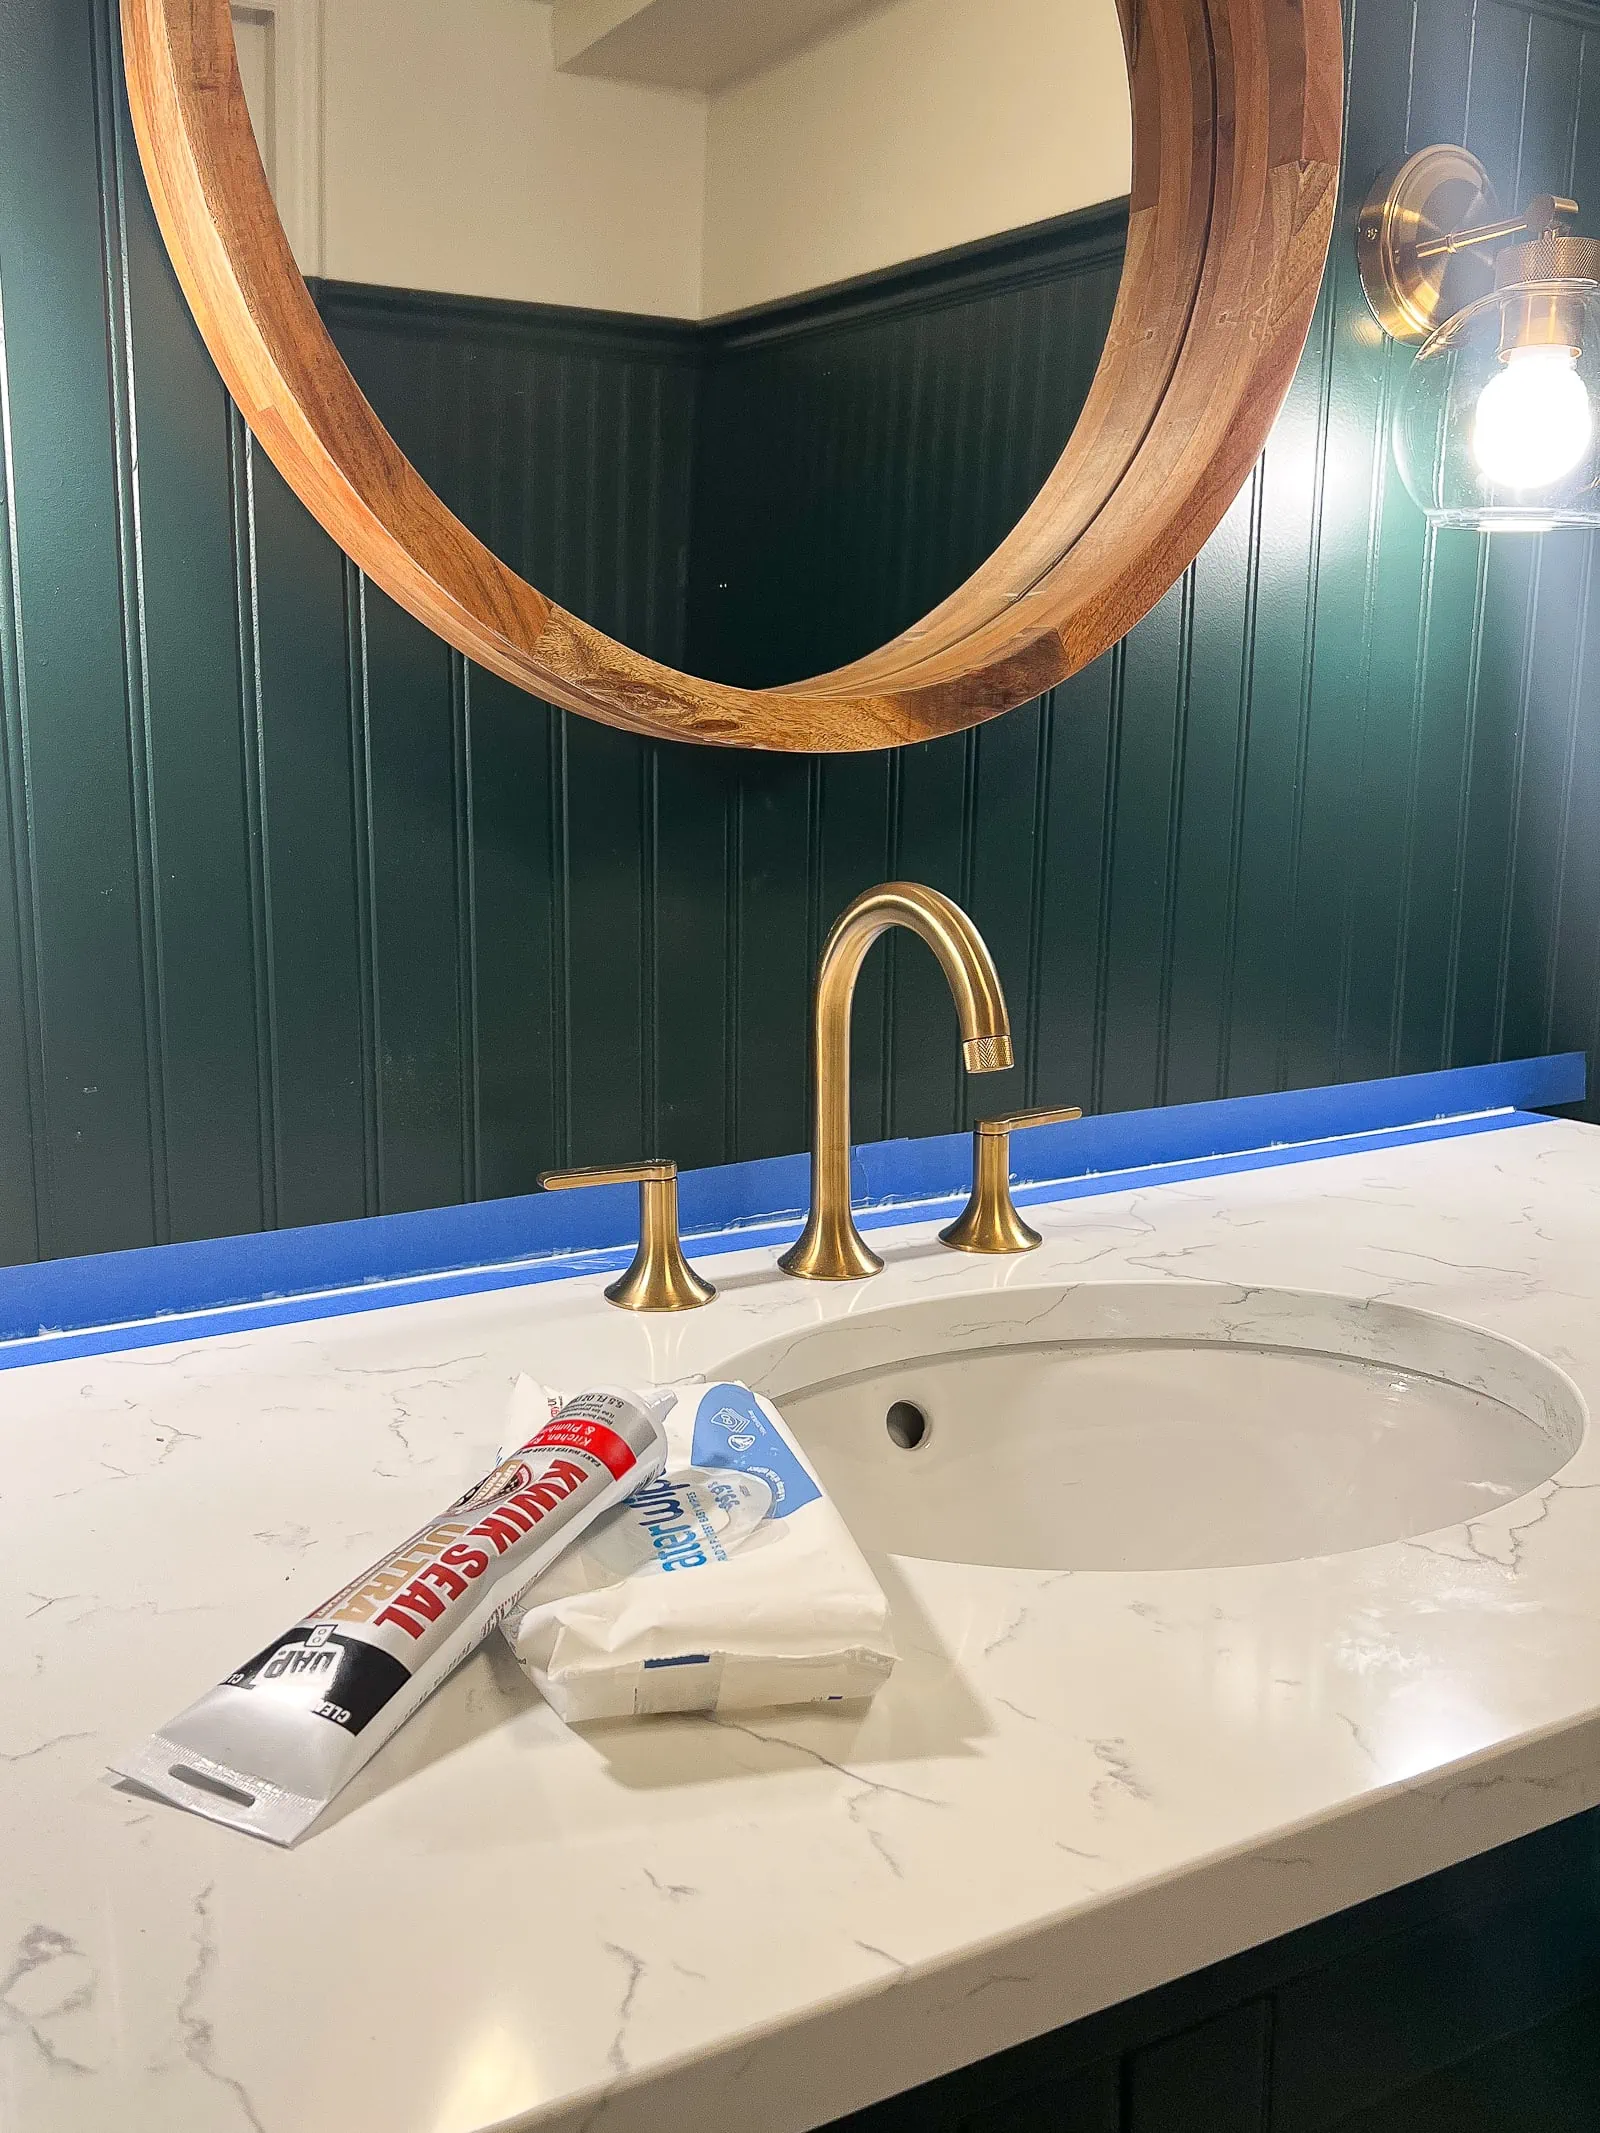
Caulking is one of my favorite DIY tasks. I’m not even joking! It’s tedious, but it makes everything look better! Caulk is a flexible material that is used to seal joints between building materials, like wood, tile, windows, doors, etc. When it comes to the home, it’s an essential tool that is used in just about every single space. It comes in a tube and you usually use a caulk gun to get the material out and into the joint.
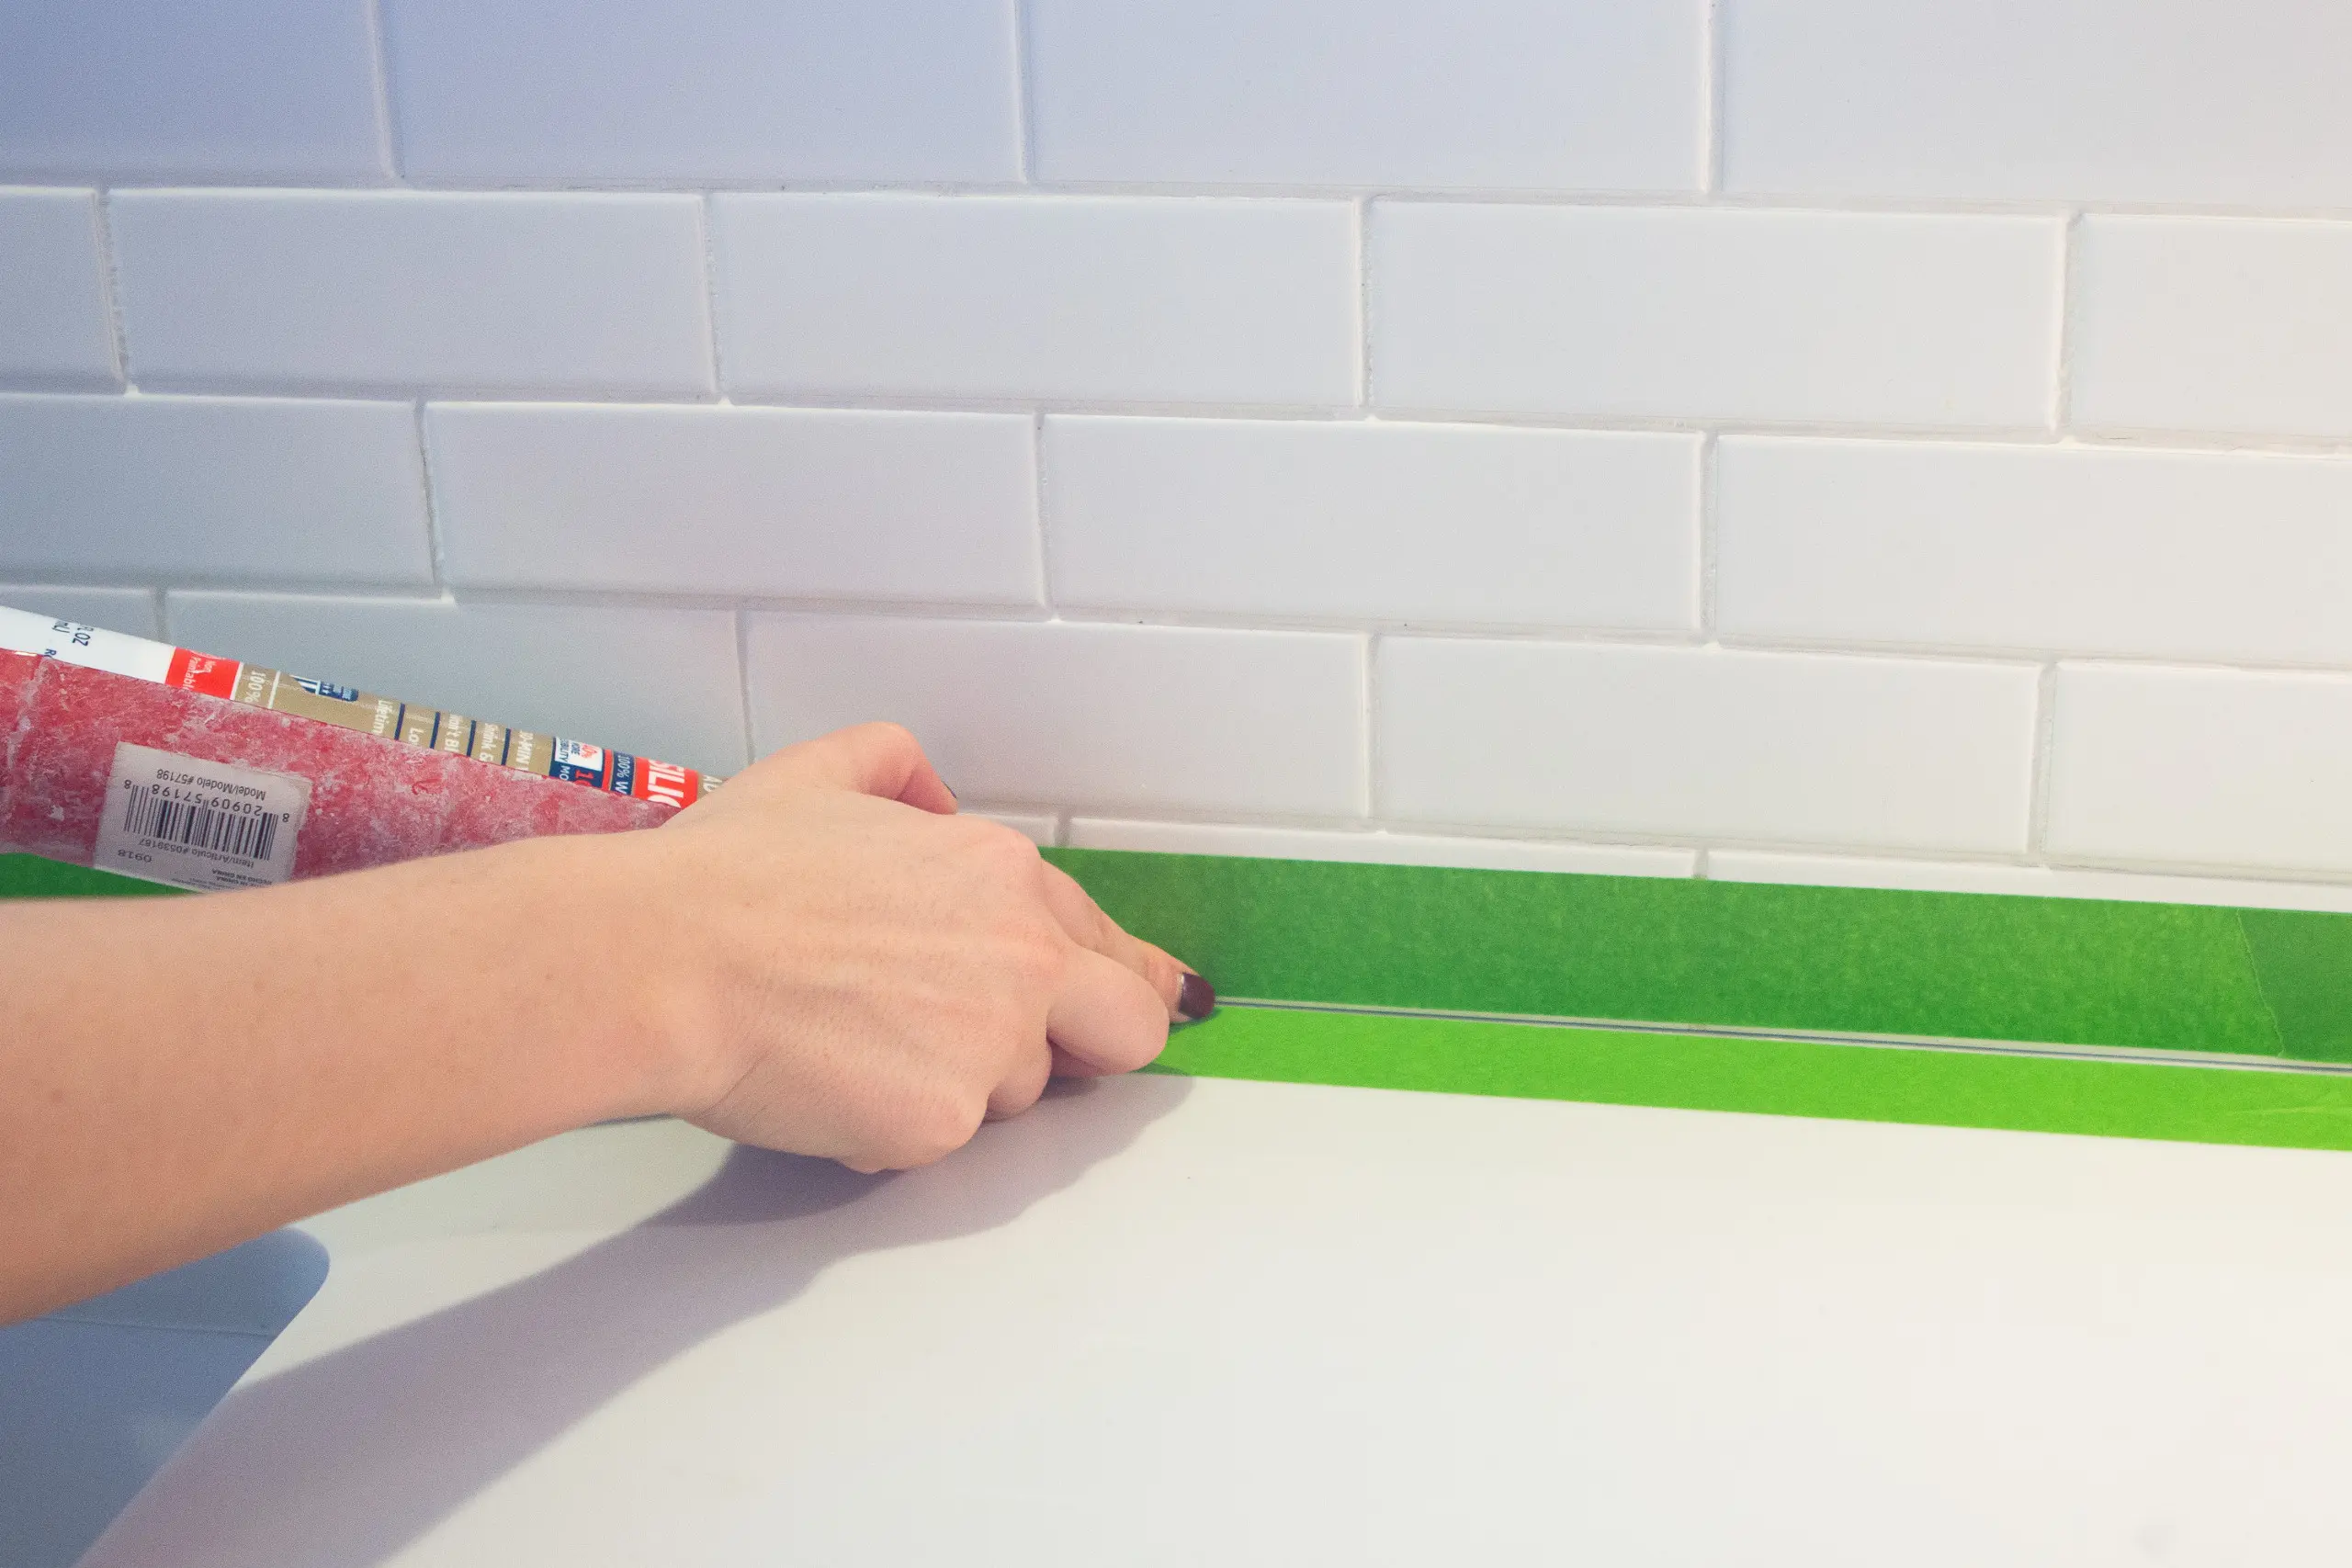
Perhaps you’re noticing gaps around your window trim or on your baseboards. Or your bathtub caulk is looking a little mildewy. You’re going to want to know how to fix it with new caulk. This blog post walks you through everything you need to know about caulking – from which kind to use for your particular project to my best DIY tips for a smooth application.
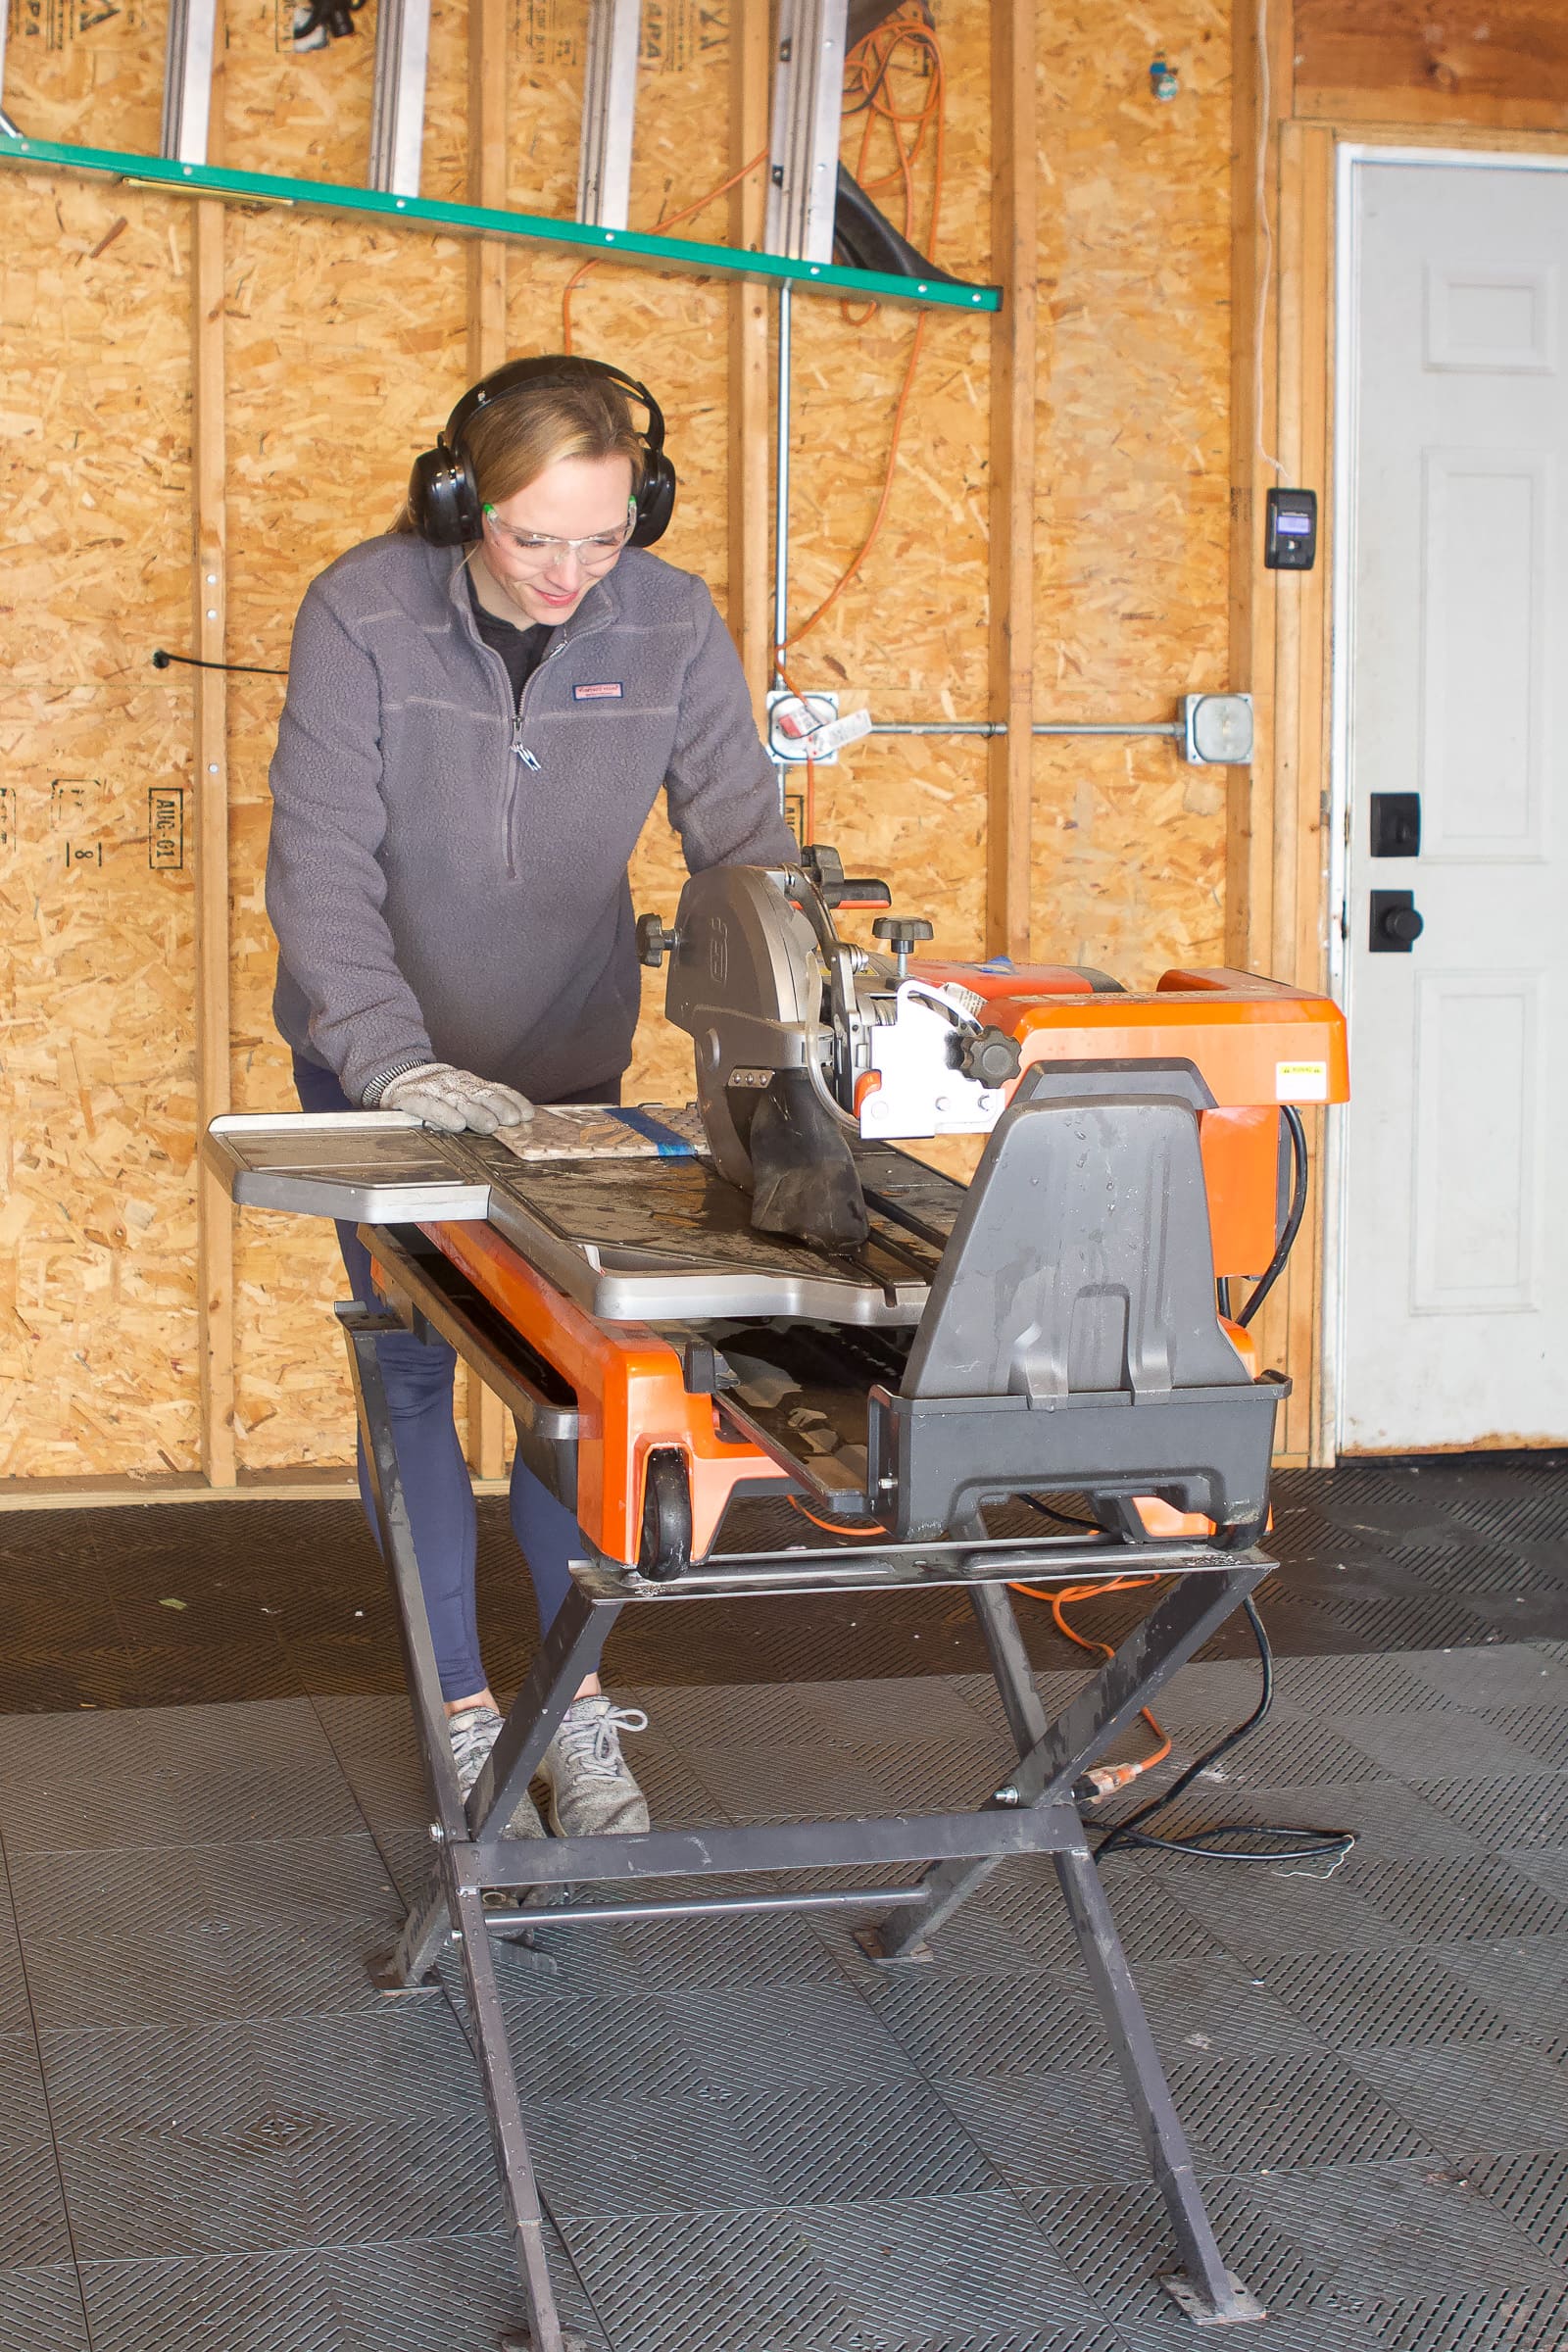
5. Operate A Power Drill
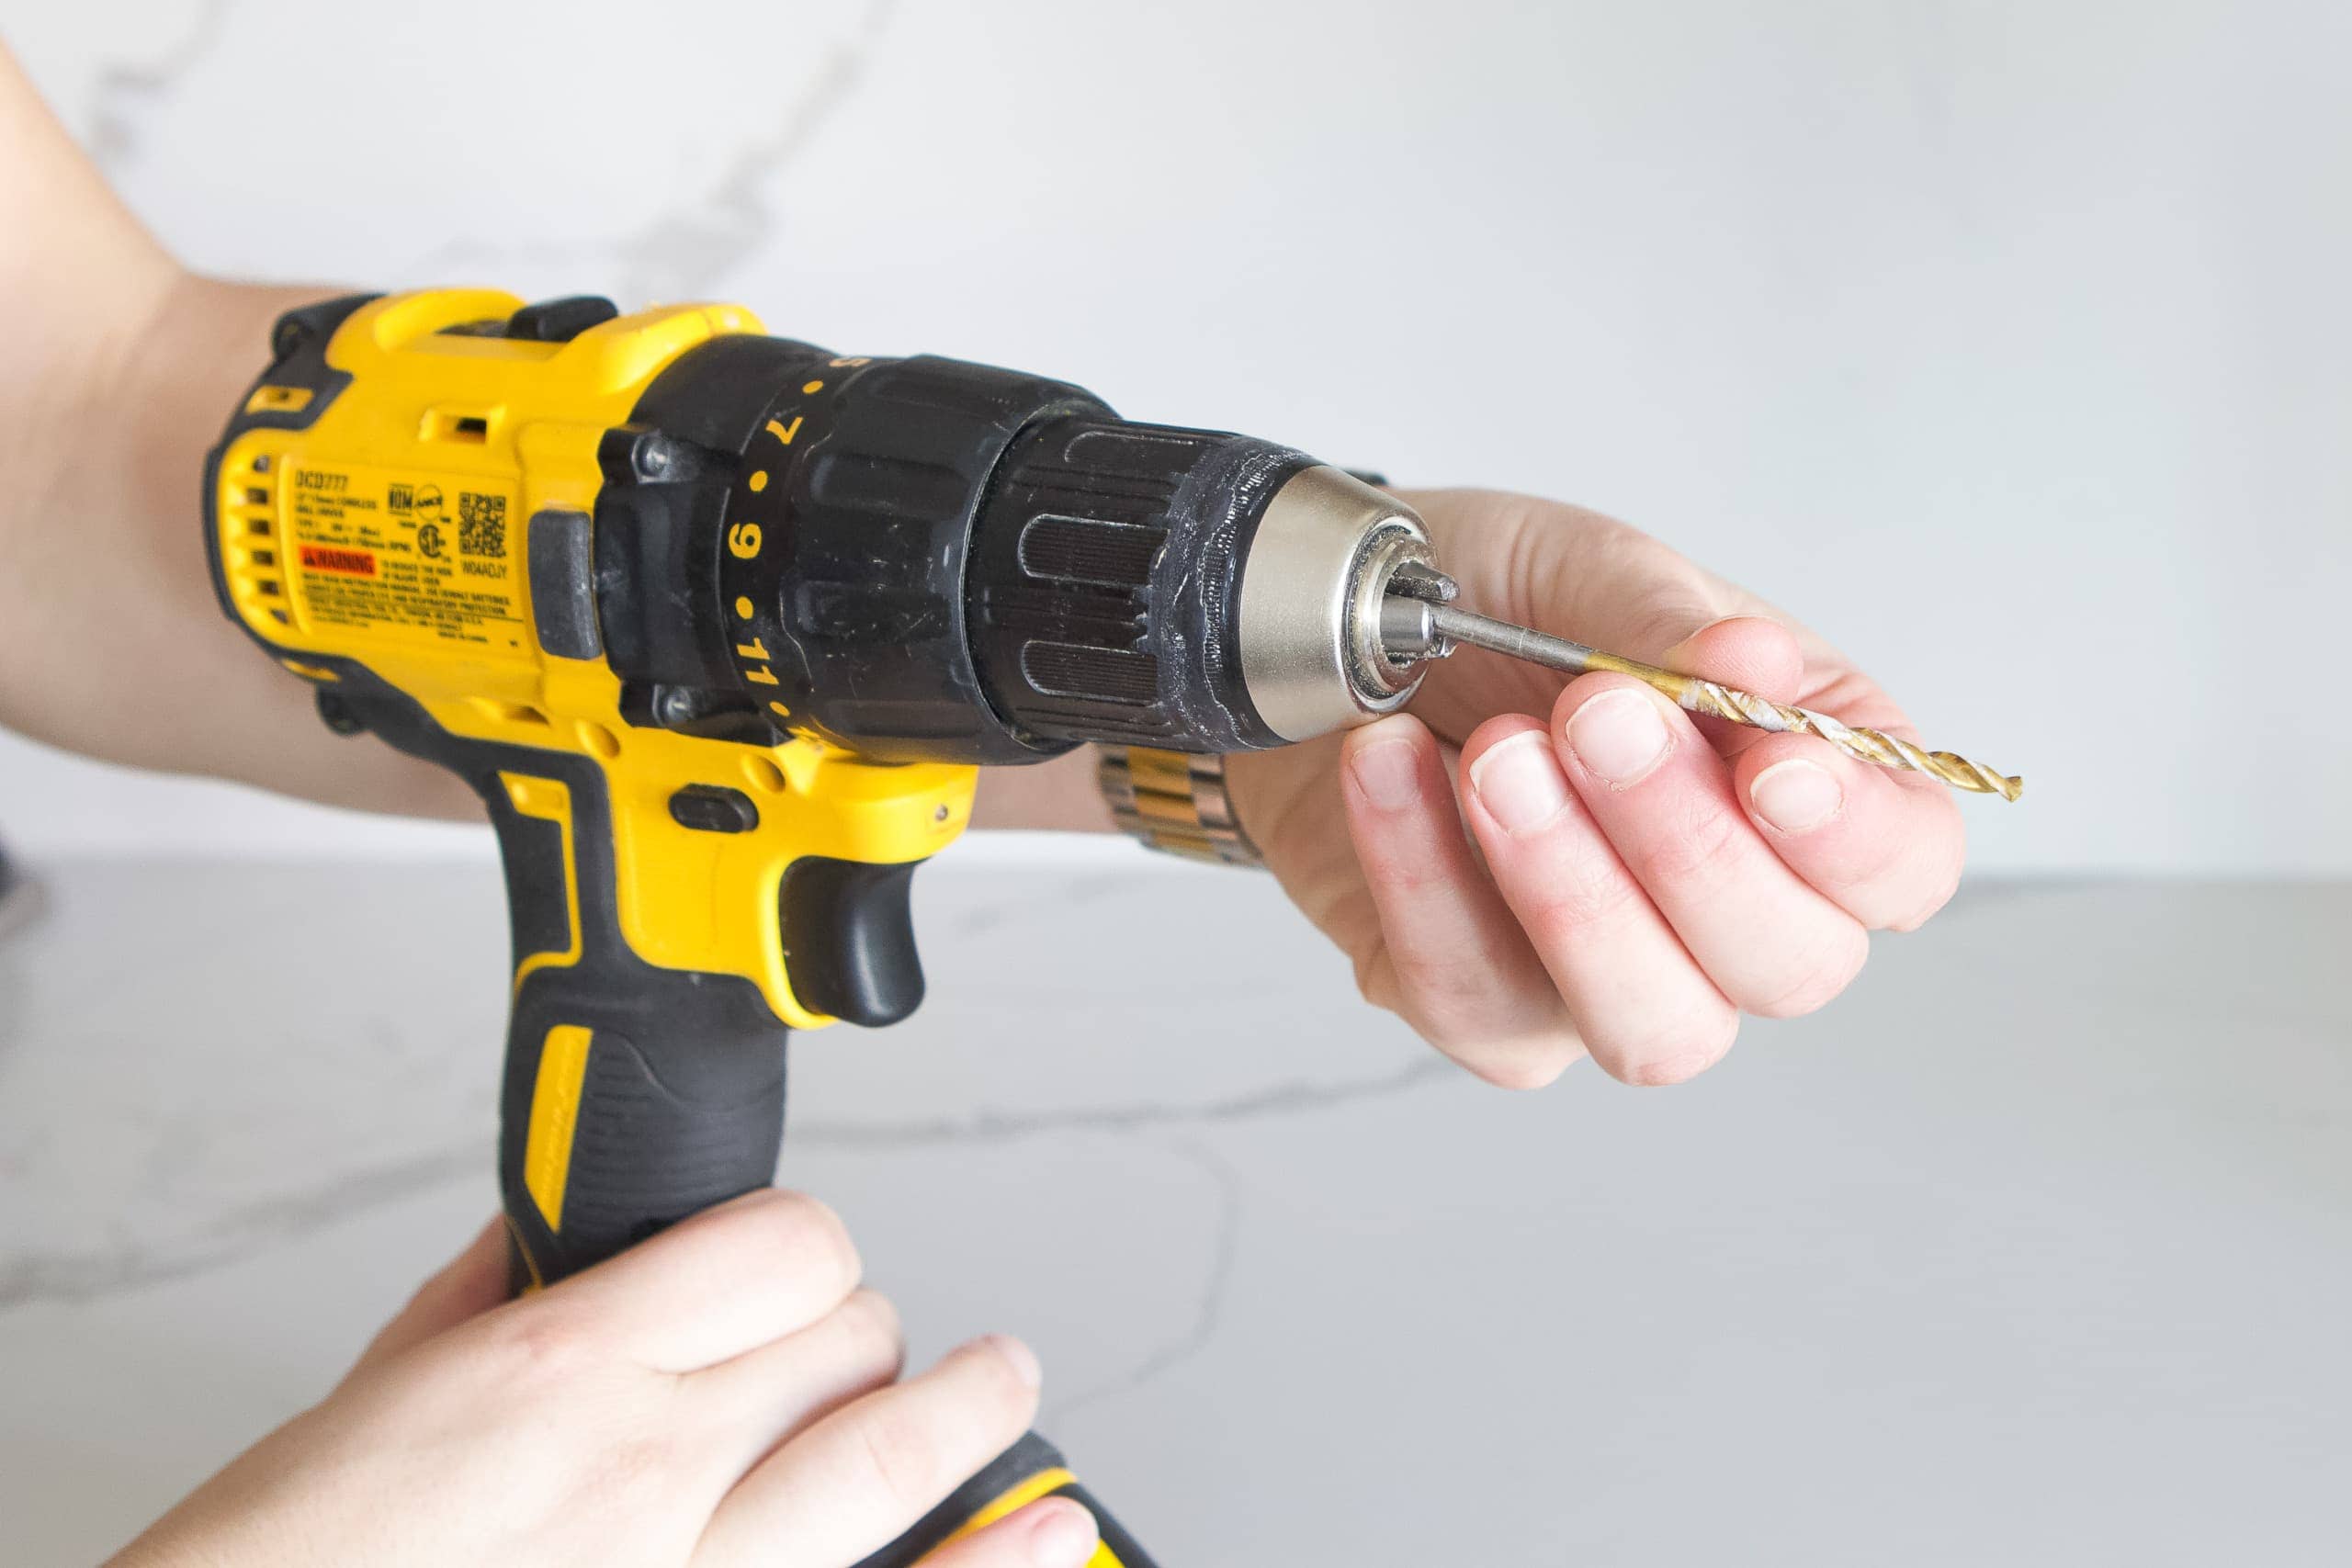
If you remember this blog post about the essential tools for homeowners, a power drill is at the very top of my list. But I want to take it one step further…I think a power drill is essential for everyone, homeowner or not. Even if you’re in a rental, a power drill will come in handy to swap out hardware, hang a mirror, or put furniture together.
But what do all of the buttons do? And how do I use the right drill bit? This blog post breaks down a cordless drill, step-by-step, so you can handle this tool with confidence and ease.
6. Turn Off Water, Gas, and Electrical
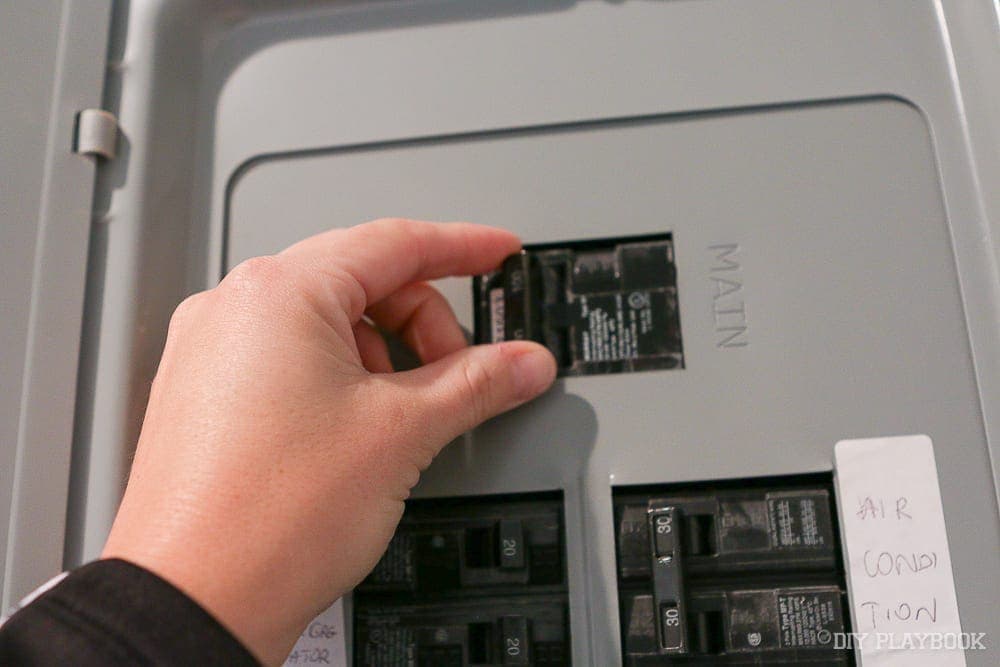
If there is some sort of emergency at your home and you need to turn off a main supply in your house, you better know where it’s located and how to turn it off. I suggest knowing where your main water supply is located, along with individual natural gas lines to appliances, and your electrical breaker box. If you’re buying a new home, have your inspector show you these things and carefully walk through them with you so you fully understand how to turn each one off.
This home emergency shutoff guide walks you through where to find each one and how to turn them off.
7. Use A Fire Extinguisher
Oh man, I wish I could say we didn’t have to use our fire extinguisher, but we have used ours quite a few times for grill fires. First, make sure you have fire extinguishers in your home! We always have two on hand and keep them under our kitchen sink. This pack is a good size and fits in the cabinet. They’re typically one-use only, so if you have to use yours make sure you buy a replacement.
My best suggestion here is to read the instructions fully when you get a fire extinguisher and be very familiar with how to use it. You don’t want to have to read them in the heat of the moment when every second counts. For the most part, with ours, you just pull the pin and then pull the trigger to use the extinguisher.
While you’re at it, make sure to have a home emergency kit stocked with the right supplies.
9. Basic Plumbing Skills
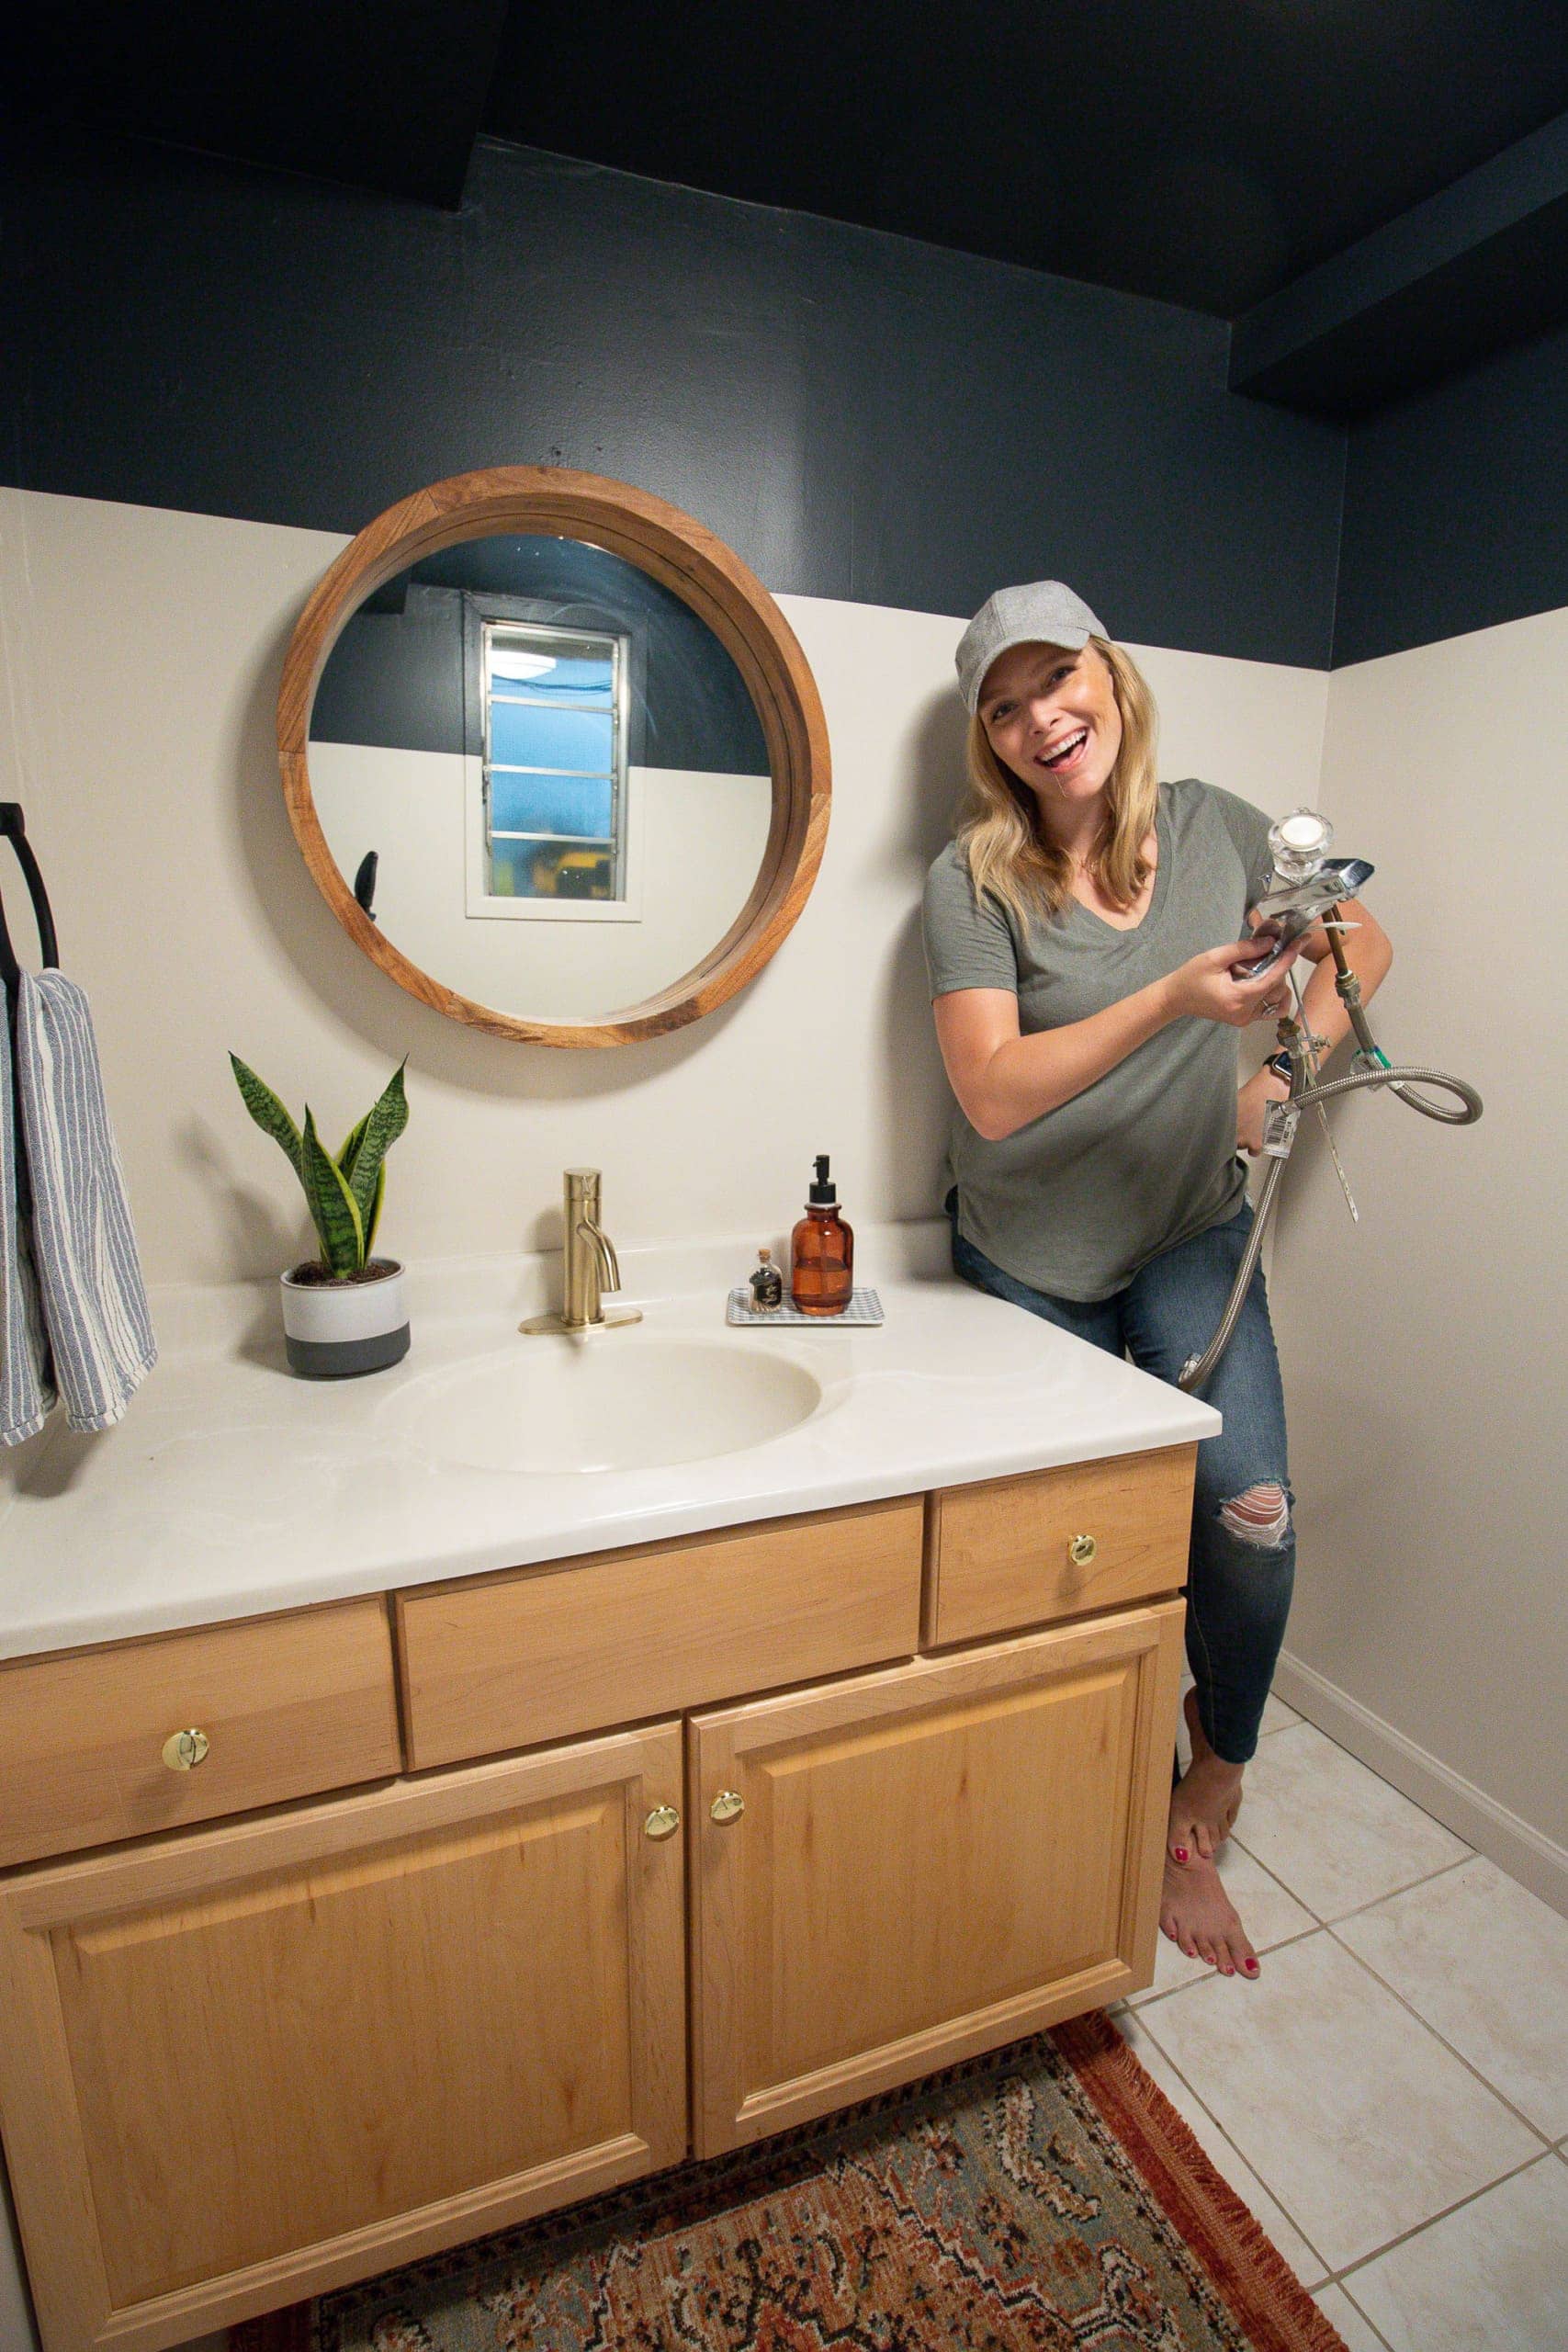
I have hired plumbers over the years for various kitchen and bathroom projects, but only to do more intense plumbing issues like moving lines or adjusting pipes. When it comes to leaky faucets or clogged sinks, I’ve always tried to fix those things myself before calling in a pro. This has saved me a lot of money over the years.
Before working on any sink issues, be sure to turn off the water to the faucet (not the main water valve). This is located under the sink and you’ll have to turn off both the hot water and the cold water. Just turn the knobs all the way to the right.

With a clogged sink or blocked drain, your p-trap (located underneath your sink) is usually clogged. For this, you just have to open up the p-trap (have a bowl on hand for water and grossness) and clear it out. You will likely need a wrench for this.
As for leaky faucets, it’s usually from a worn-out washer or o-ring. You’ll just want to carefully take things apart and check as you go. Often times you can replace these small parts for a few bucks. I suggest filming yourself taking things apart so you can reference it when it’s time to put things back together!
Here’s a step-by-step guide to replace your faucet and another one to replace your garbage disposal.
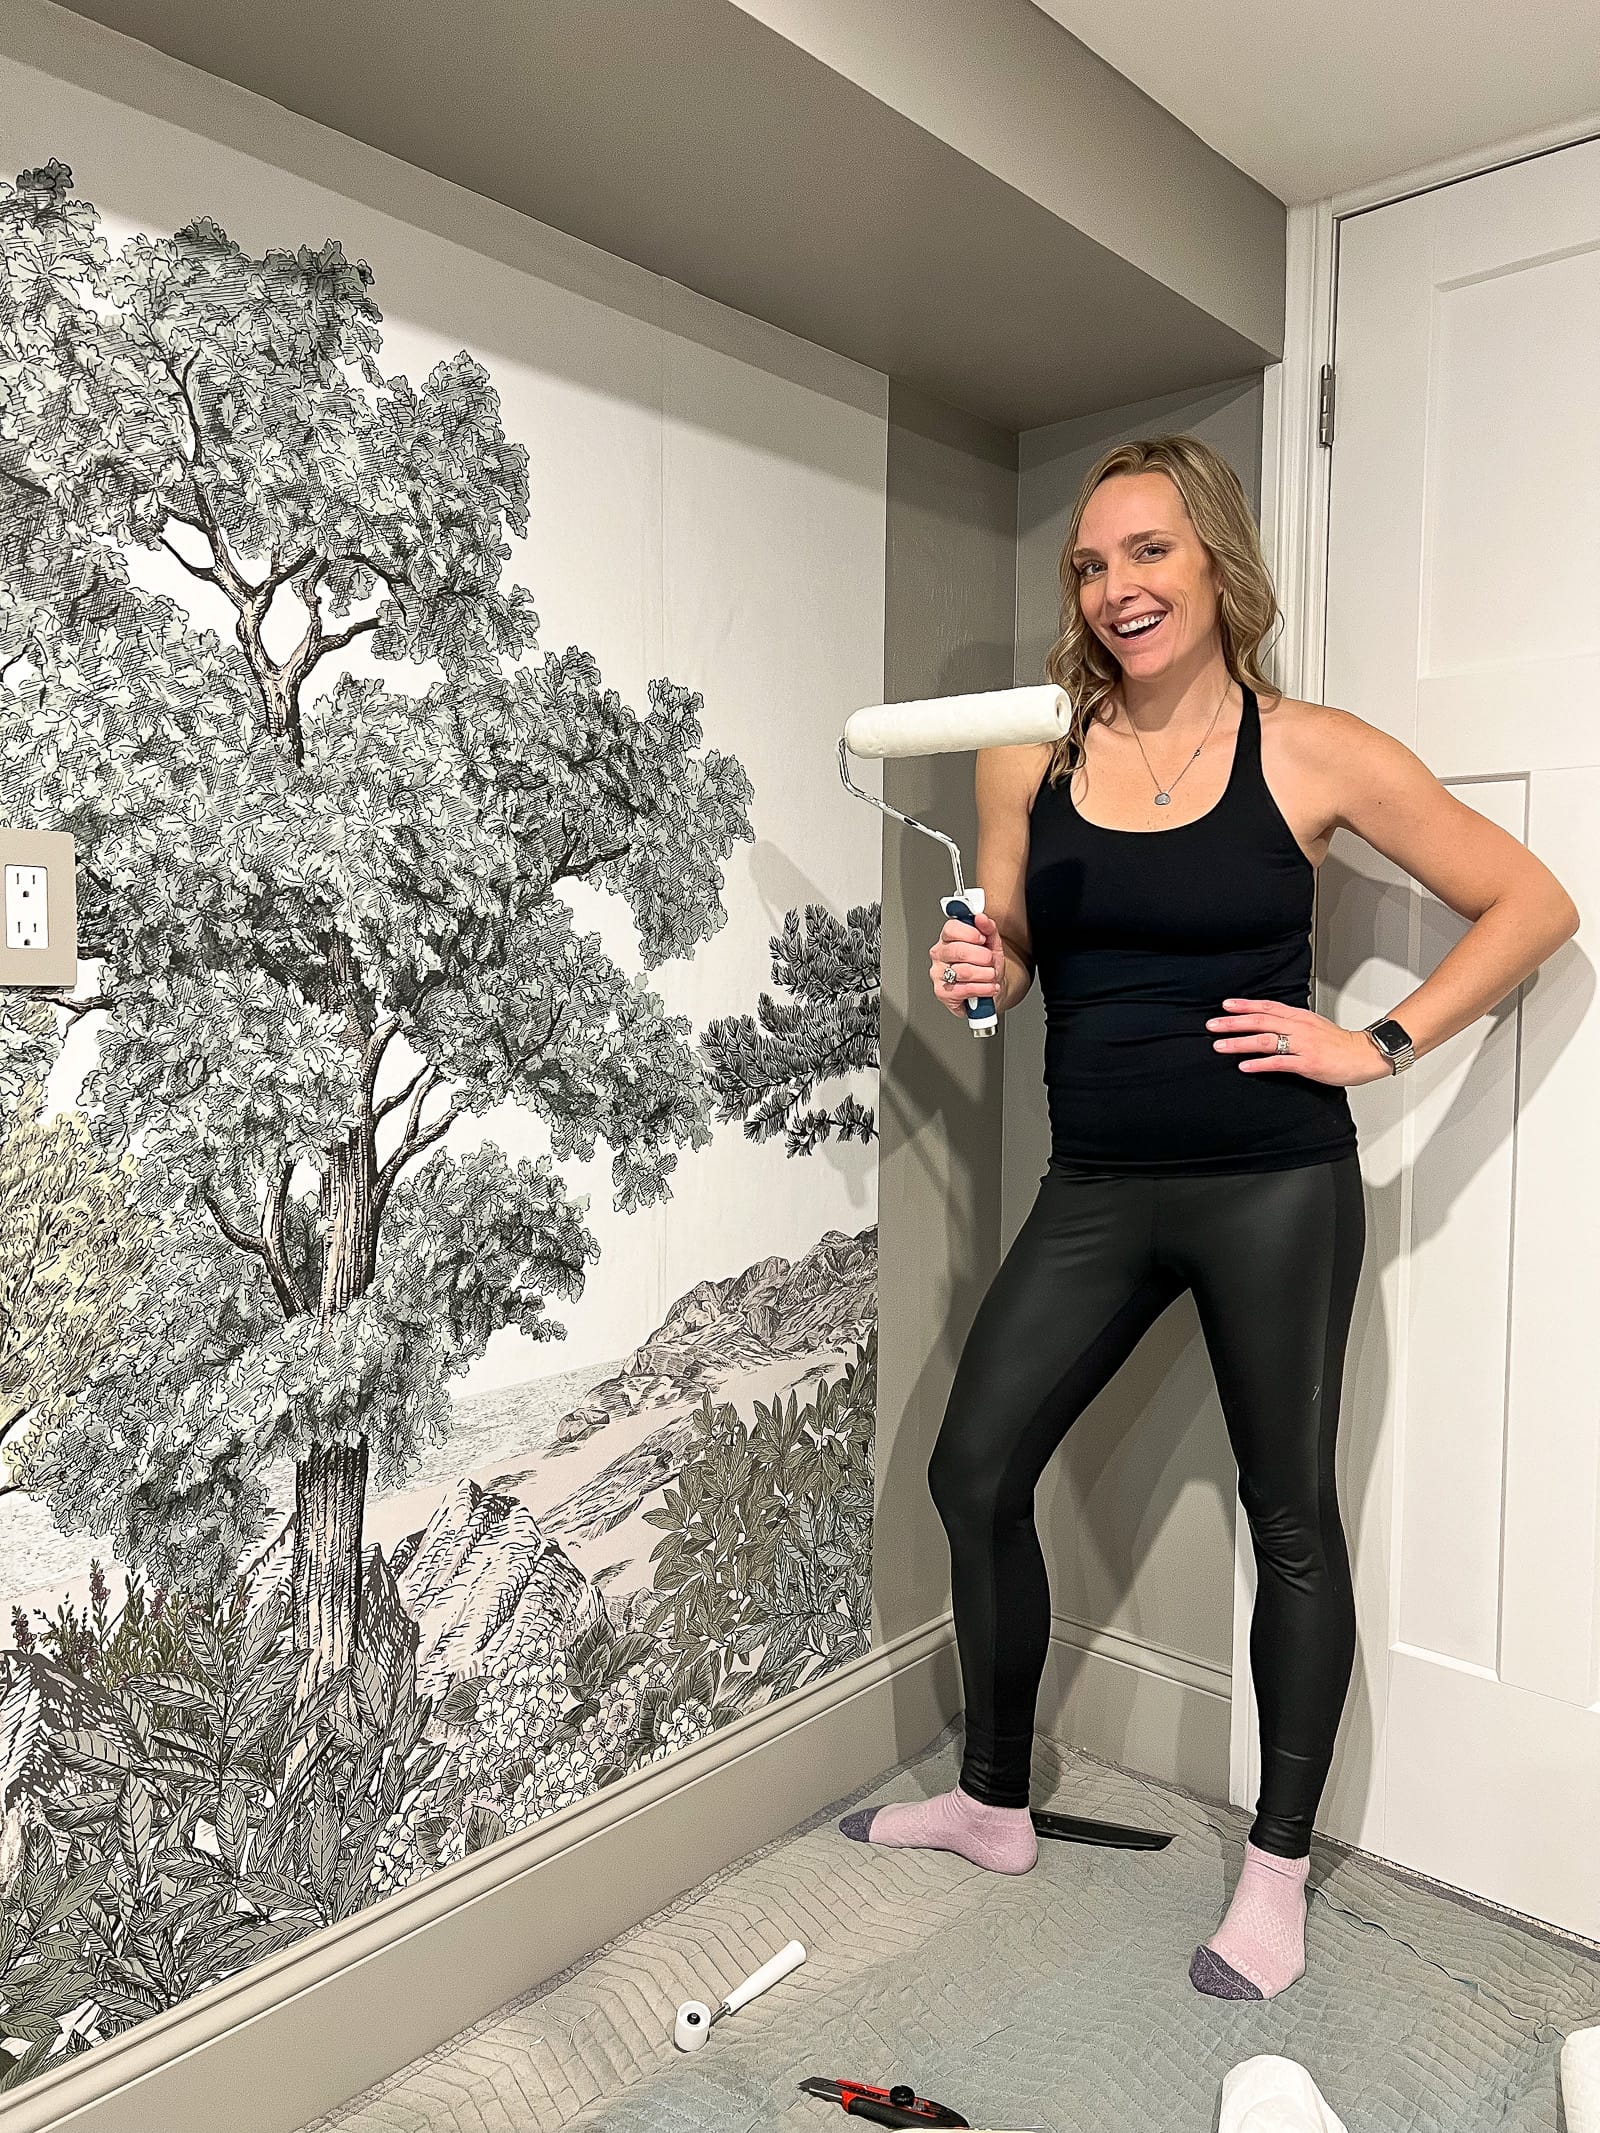
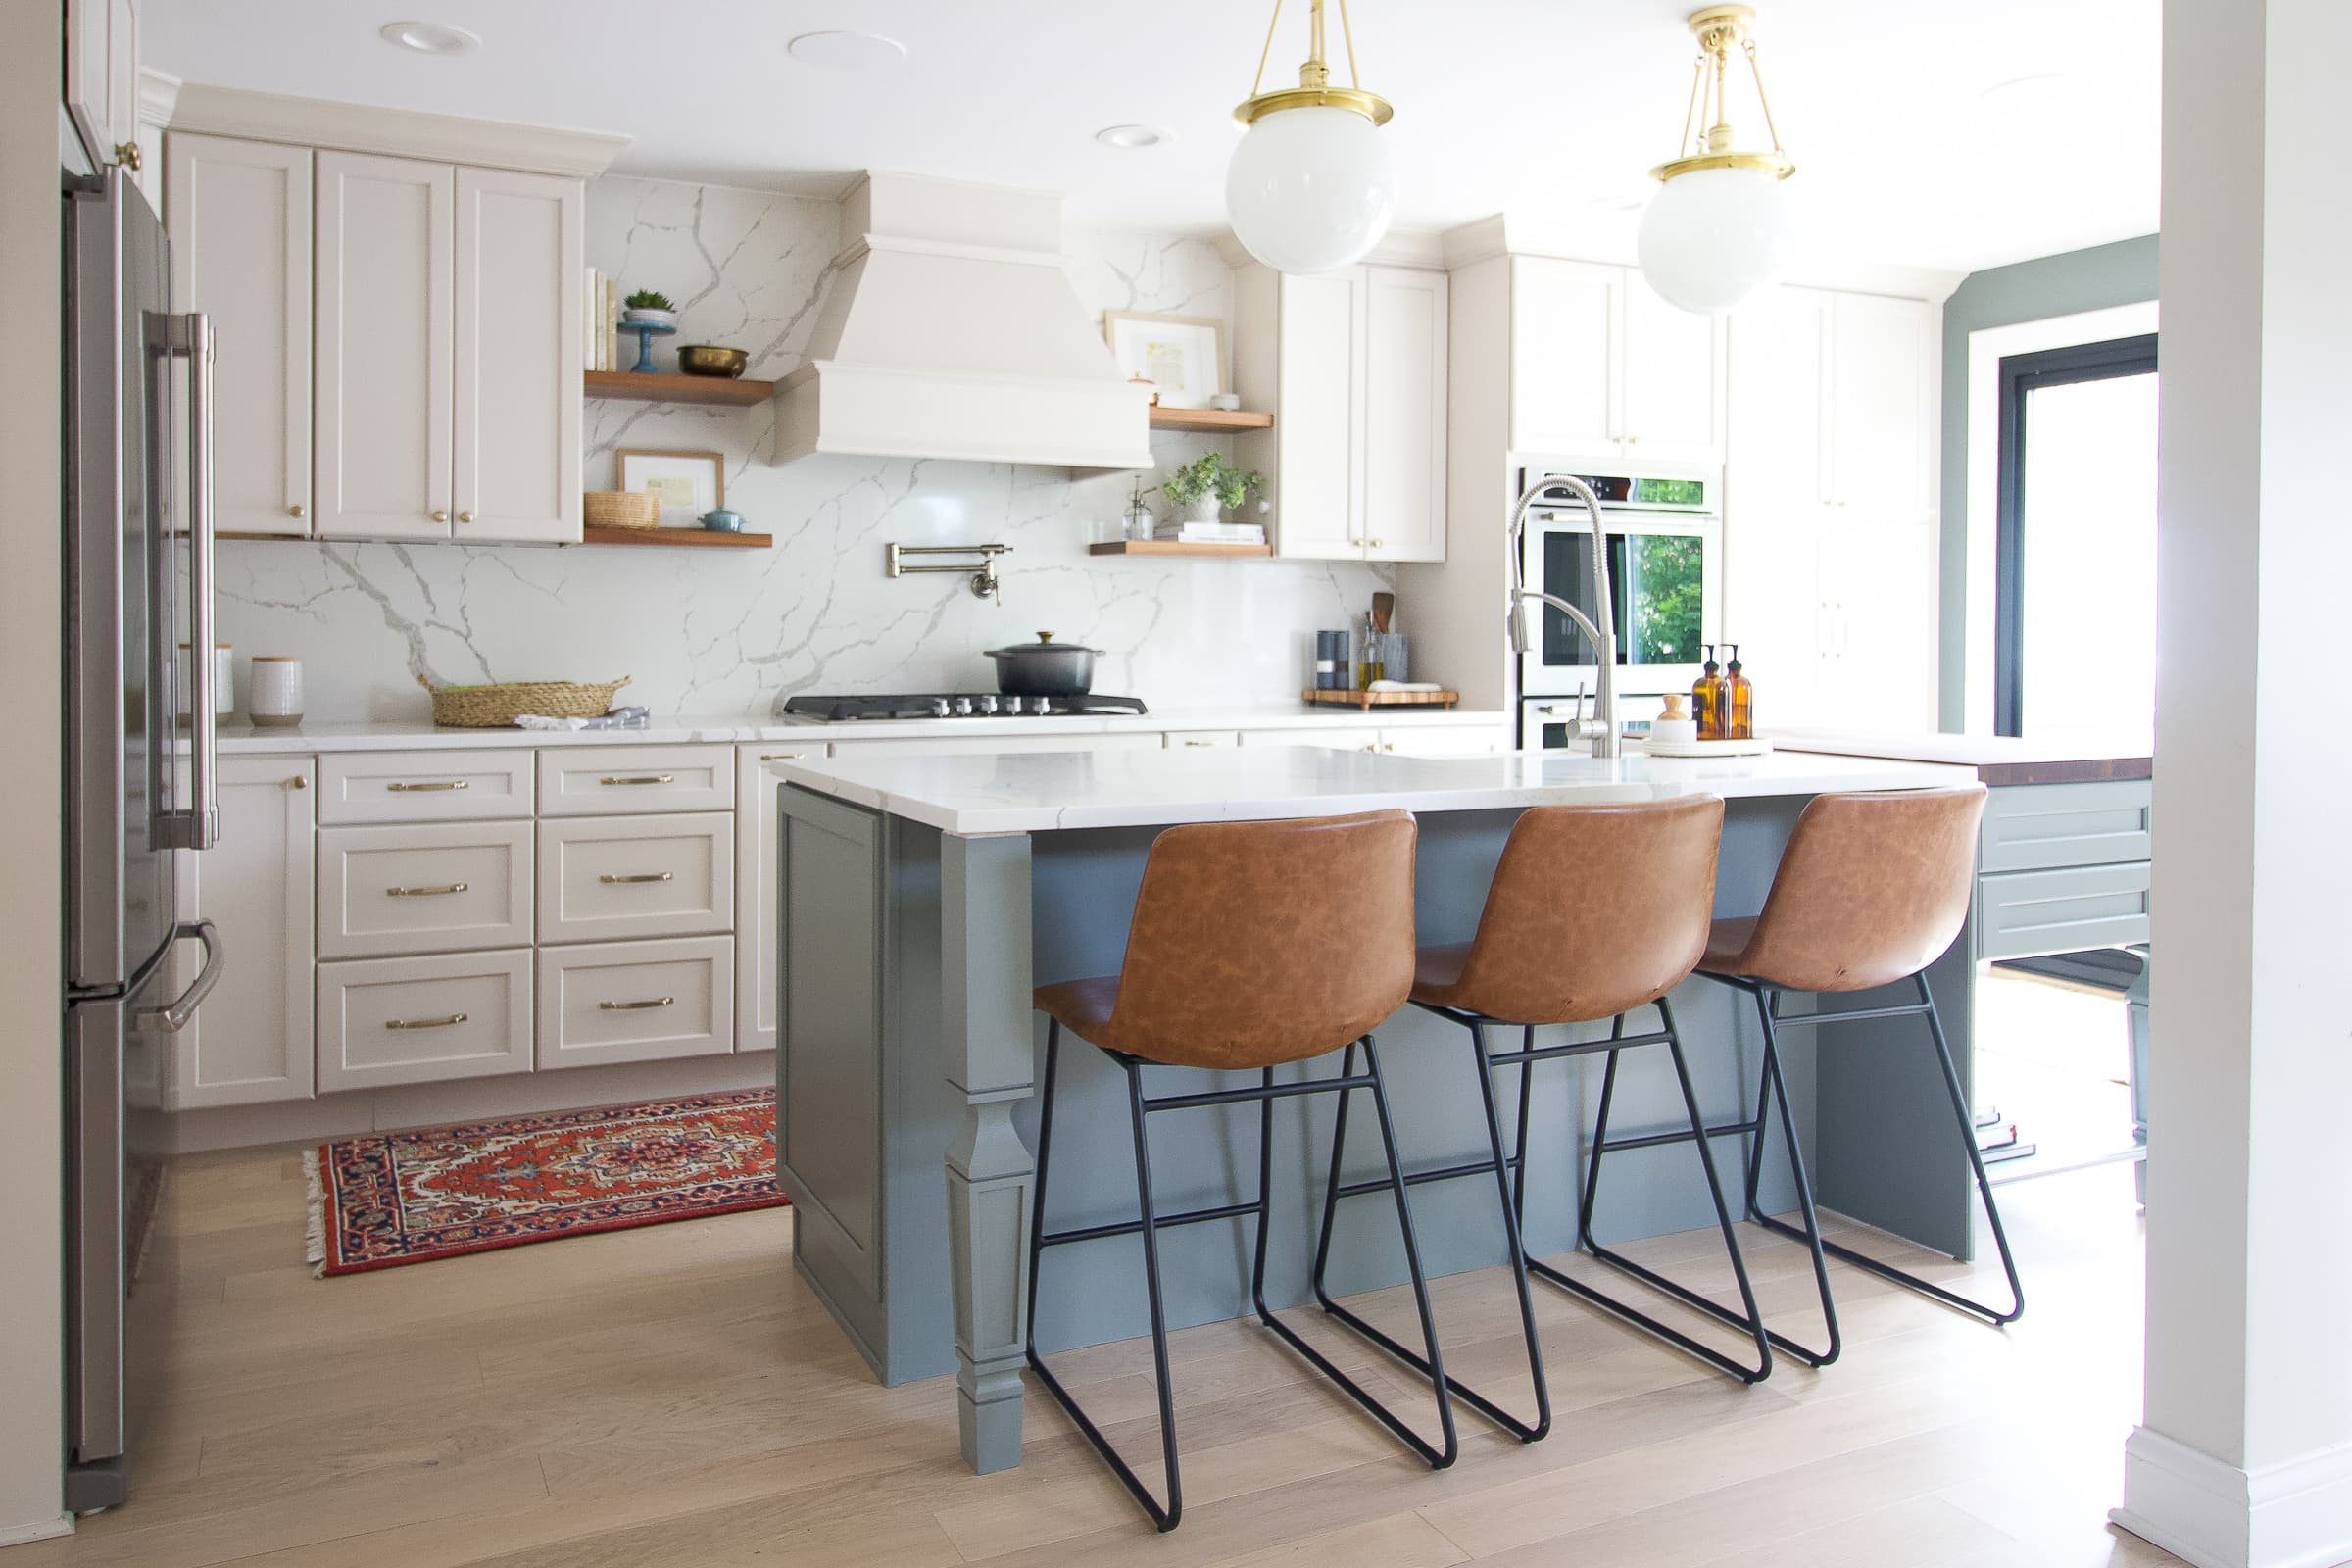
8. Paint A Wall
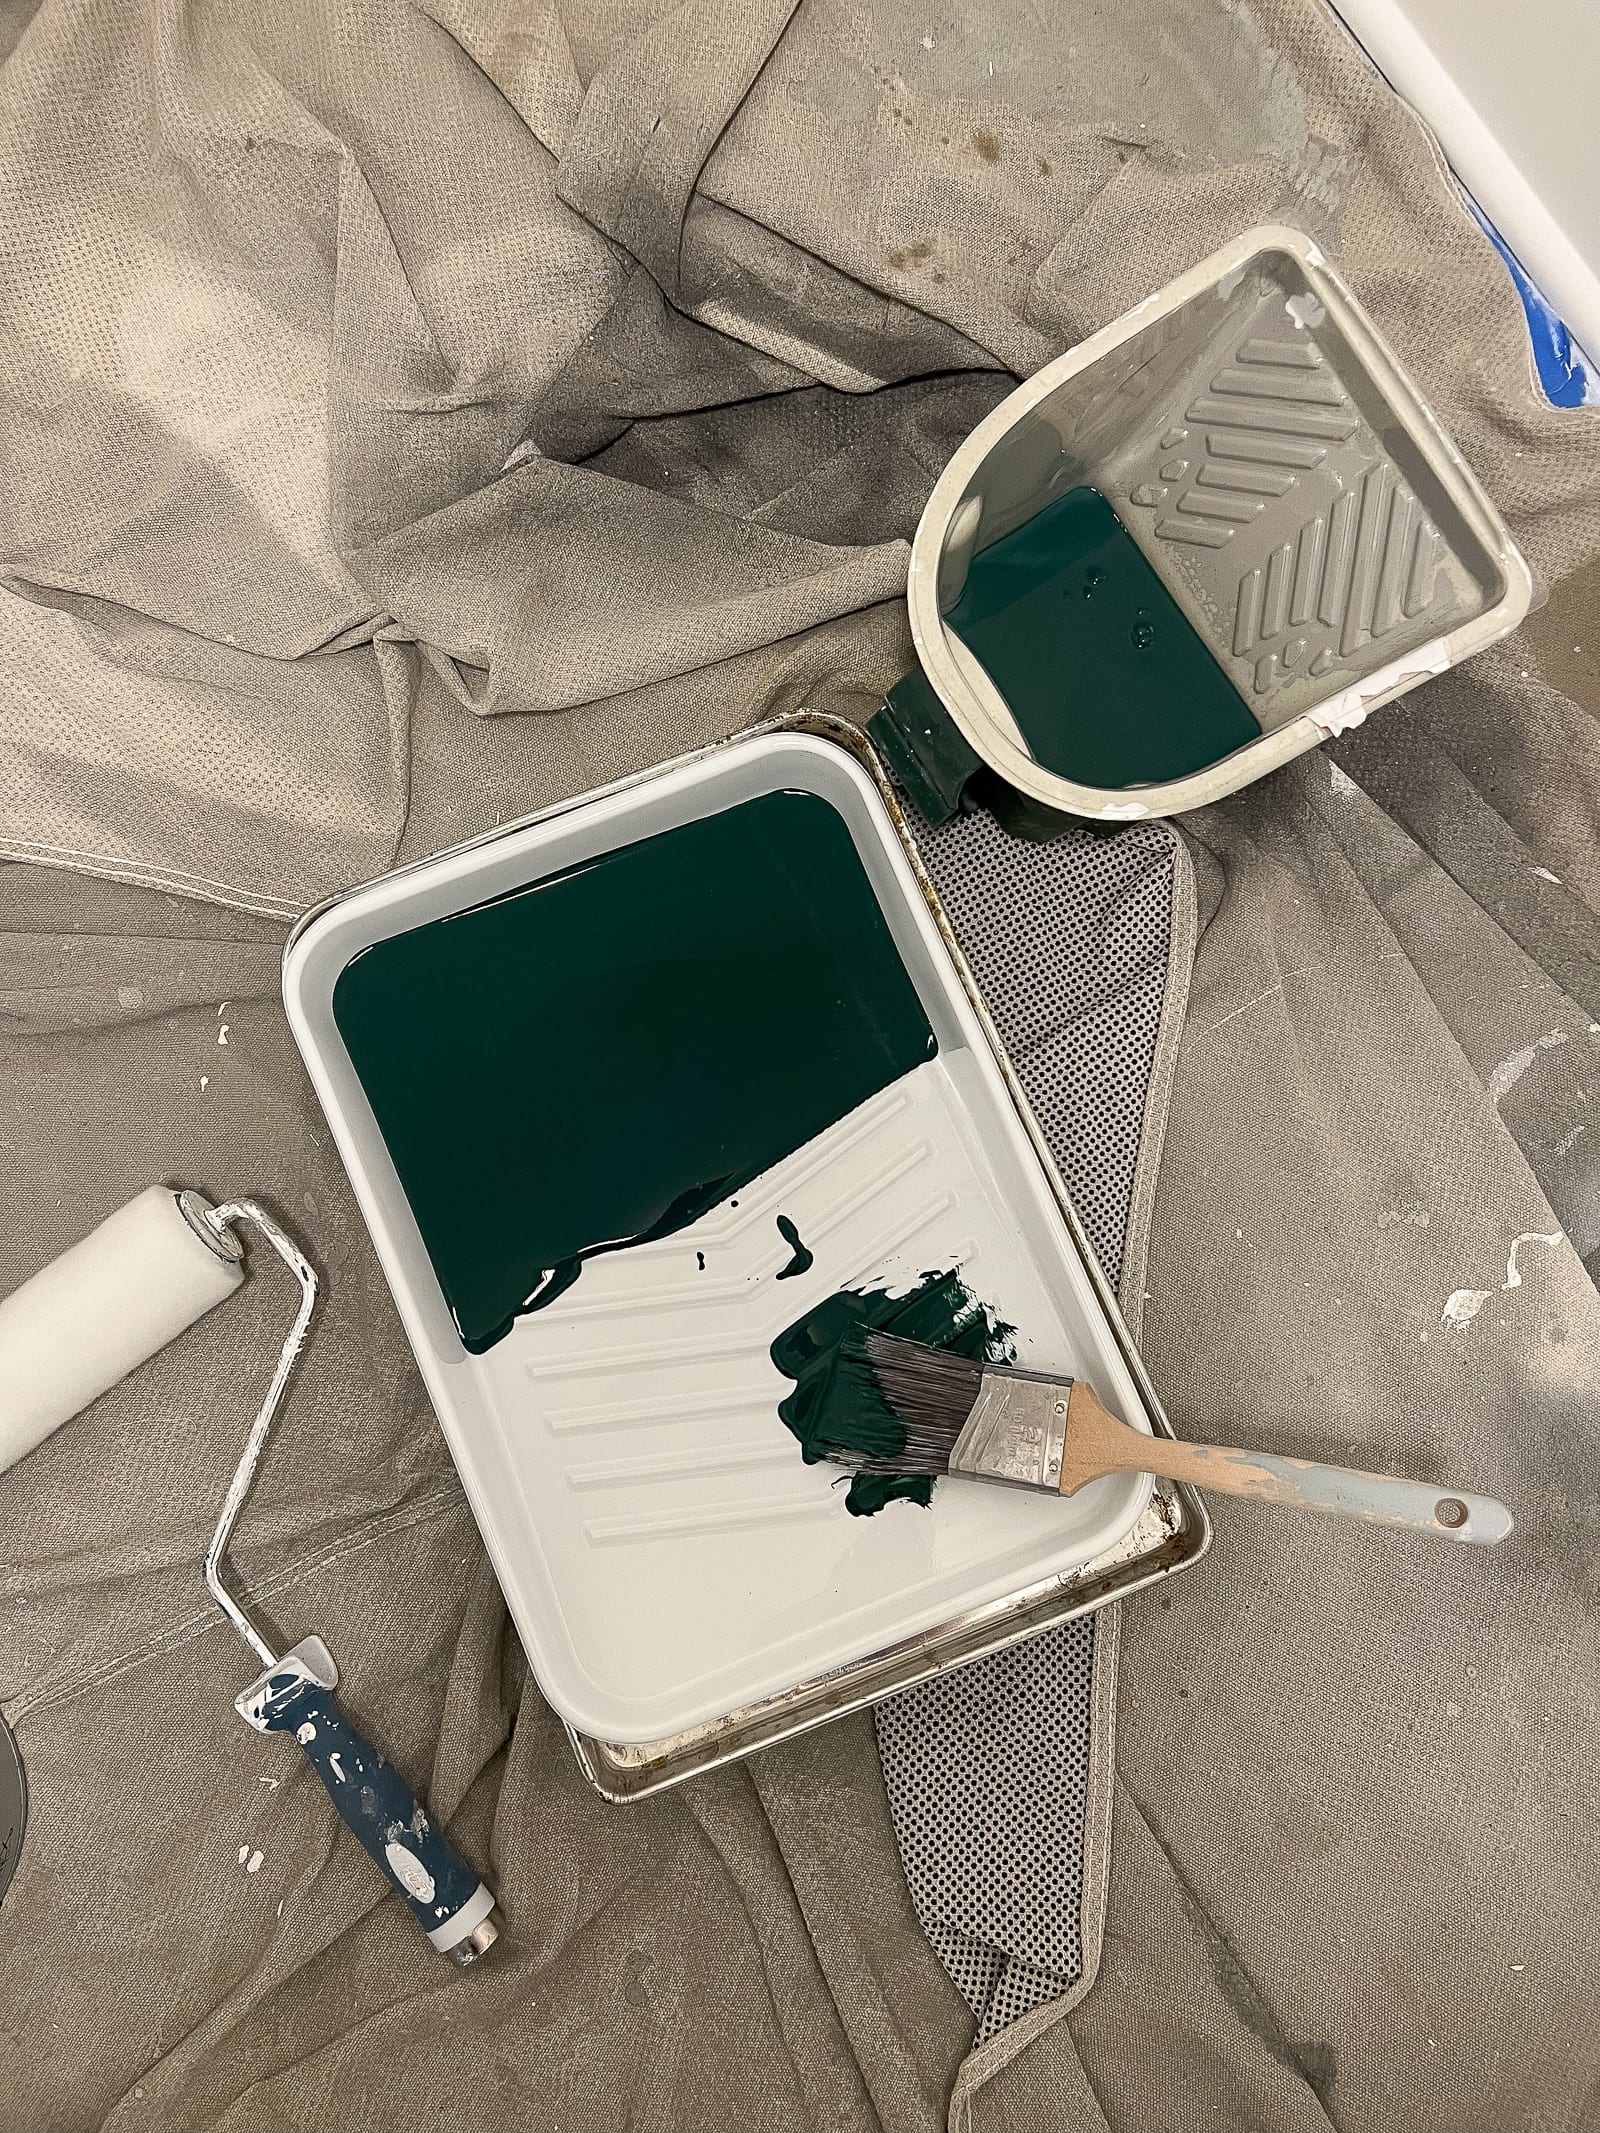
Painting is one of those basic DIY skills that will come in handy many times throughout your life. The easiest way to freshen up a space is with new paint on the walls and sometimes you don’t want to shell out big bucks to hire a professional painter.
With the right tools, a good amount of prep work, and some time, you can paint just about anything in your home! This blog post walks through my dos and don’ts when it comes to painting.
10. Operate A Power Washer
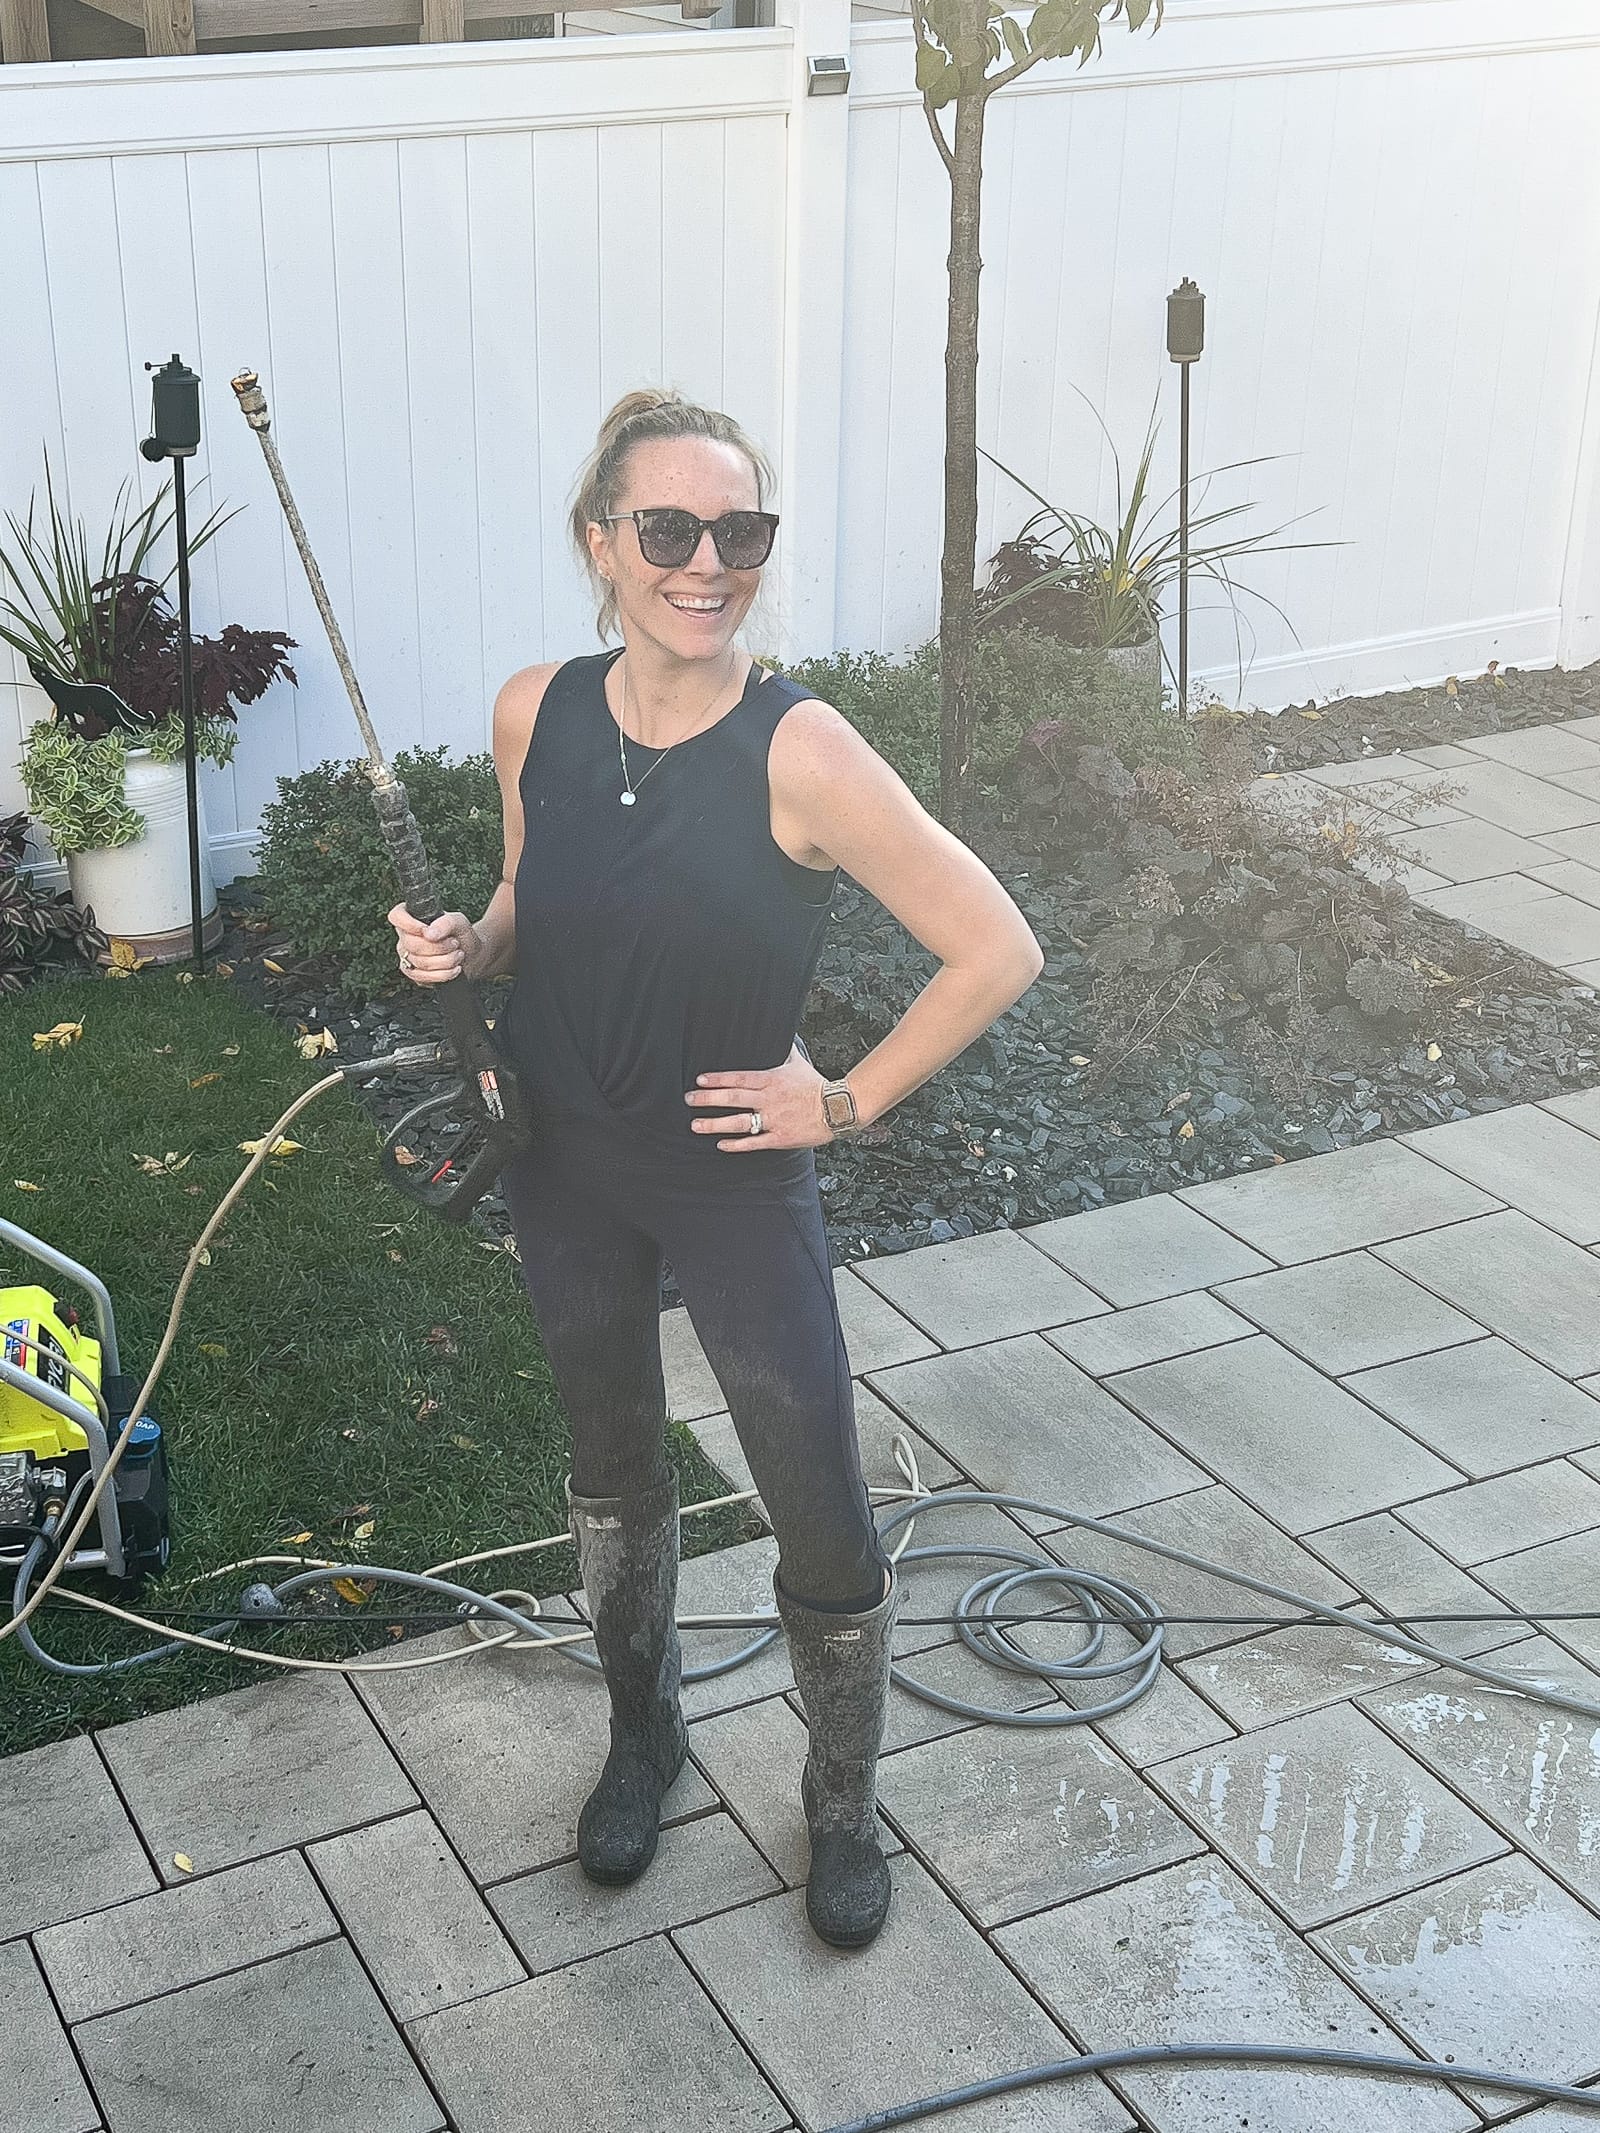
Okay, maybe this one isn’t essential, but it sure is fun. A power washer is such a satisfying tool to own because you can clean just about anything with it. I use mine multiple times a year to power wash our sidewalks, patio, side of our house, cushions, and even rugs. If you don’t own a power washer, see if anyone in your neighborhood has one that you can borrow. Or, you can rent one for the day from Home Depot or Lowe’s.
This blog post walks through some handy tips when it comes to power washing.
11. Stock Your Toolbox

It can be tough to master any of these basic DIY skills without the proper equipment on hand. I’m not saying you need to go out and buy all of the things, but stocking up on the essentials is always a great idea when you own your own place.
This blog post dives into my must-have list of basic tools for any homeowner. From a tape measure, to a paint brush, and stud finder, this list has you covered. Then, when you’re ready to dip your toe into the power tools world, check out this blog post.
12. Fix Basic Toilet Issues
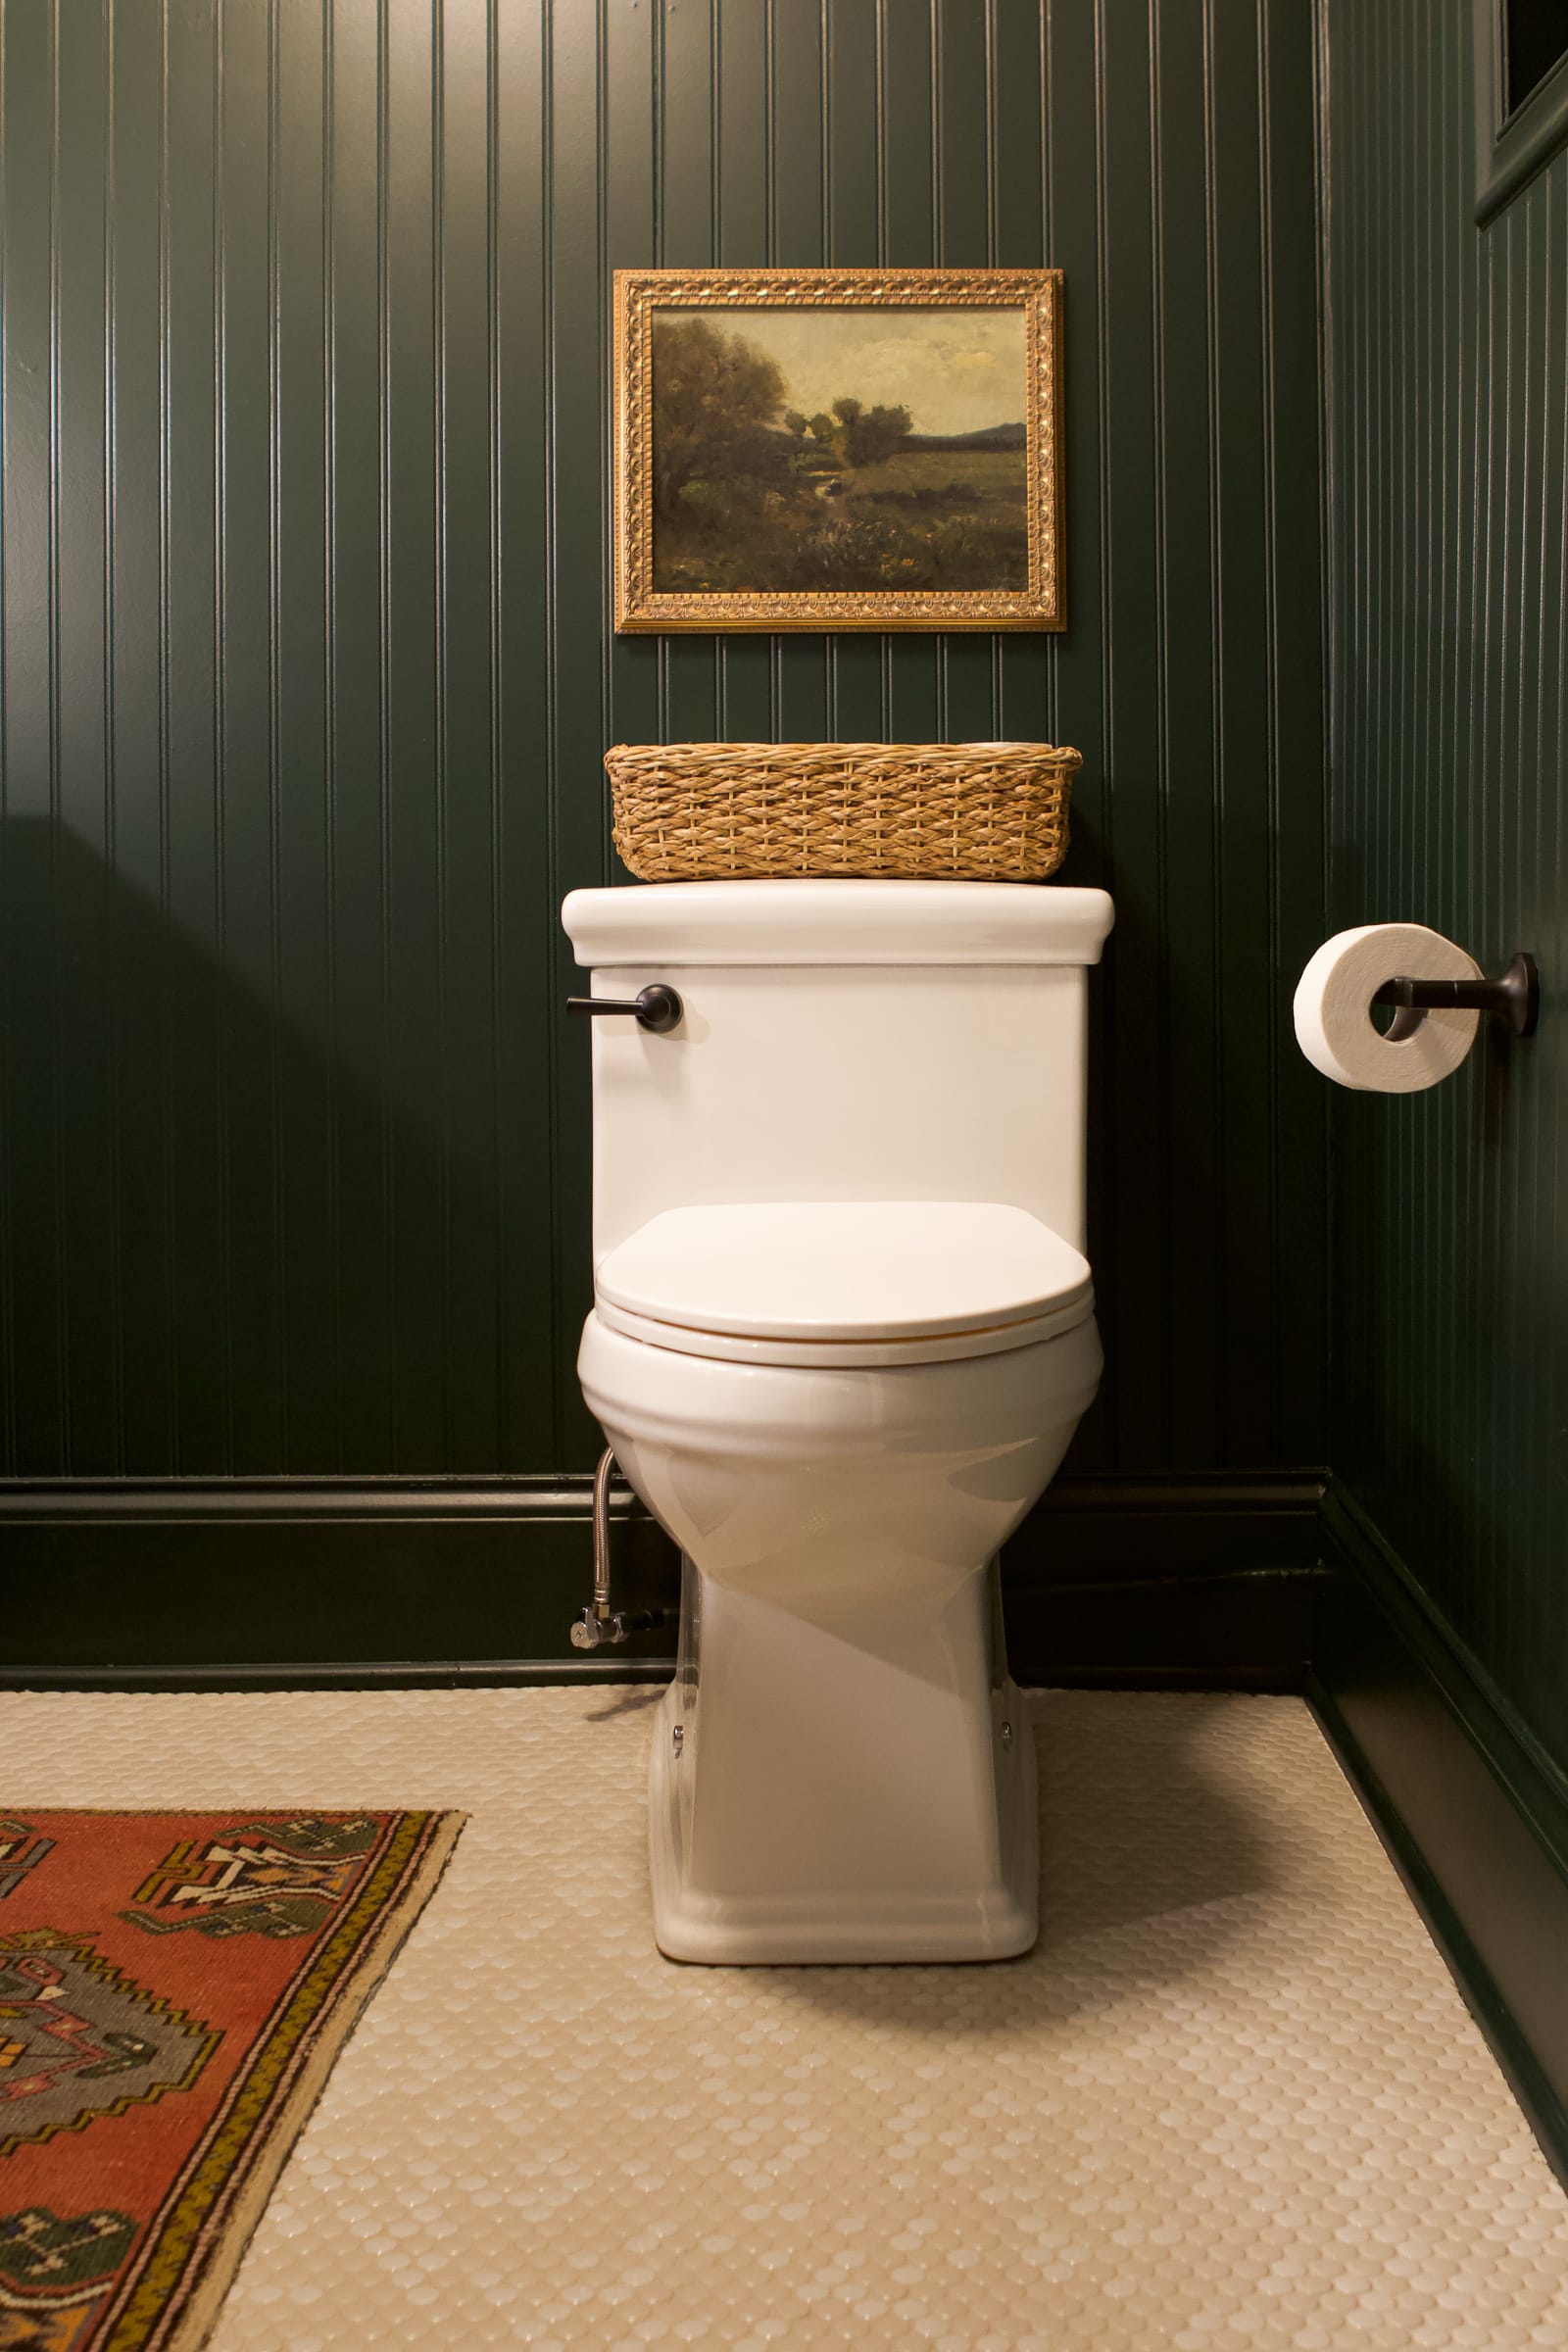
Toilets run and toilets clog and the last thing you want to do is have to hire a plumber every time this happens. Toilets are not that difficult to figure out, so I’d suggest getting familiar with how one operates. This blog post walks you through the 7 most common toilet issues and how to fix them.
You should also know how to turn the water off to your toilet. There is usually a water line that runs from the toilet to the wall, and you can turn the knob on there all the way to the right.
Oh, and I always suggest having a plunger in every bathroom of your home and knowing how to use it.
Plus, you should absolutely know how to change out a toilet seat. It’s such a simple DIY project.
13. Hire A Trusty Contractor

Finally, I think it’s imperative that you understand when you should DIY and when you should hire things out. While I do a lot of simple jobs around my house, I always hire a professional when it comes to my safety and keeping my home up to code. This blog post walks you through when you should DIY vs hire something out.
Then, conduct due diligence to hire a trusty contractor. All of the people I hire are usually recommended to me by friends or neighbors and I always get at least 3-4 quotes for larger jobs. This blog post offers more insight into finding and hiring a reputable contractor.
Let’s Learn Some Basic DIY Skills!
Remember, it’s okay if you don’t know how to do everything on this list. Learning these new skills takes time and practice. The best way to master these is to just get started. I’m always here for a word of encouragement if you need it! And you can think of The DIY Playbook as your online course for how to master these adult life skills.
Are you ready to try some more projects? I list over 80 projects you can tackle this weekend over in this blog post!


