Rookie Mistakes – Painting
Rookie Mistakes: a series of common decor mistakes made by a design and DIY rookie…me! And no, I’m not judging because I have made, and continue to make, these mistakes too!
Here are the top five Rookie Mistake posts from the series. (You can catch the rest of them at the bottom of this post.)
- Matching Furniture – A Big No-No
- Hanging Wall Art Way Too High
- Buying the Wrong Size Rug
- How Not to Display Throw Blankets
- Coffee and Wine Decor – Sometimes It’s Just Too Much
Remember, the Rookie Mistakes series is a NO JUDGEMENT ZONE. I’ve made ALL of these mistakes in my home and I simply want you to learn from me so you can make your home look amazing.
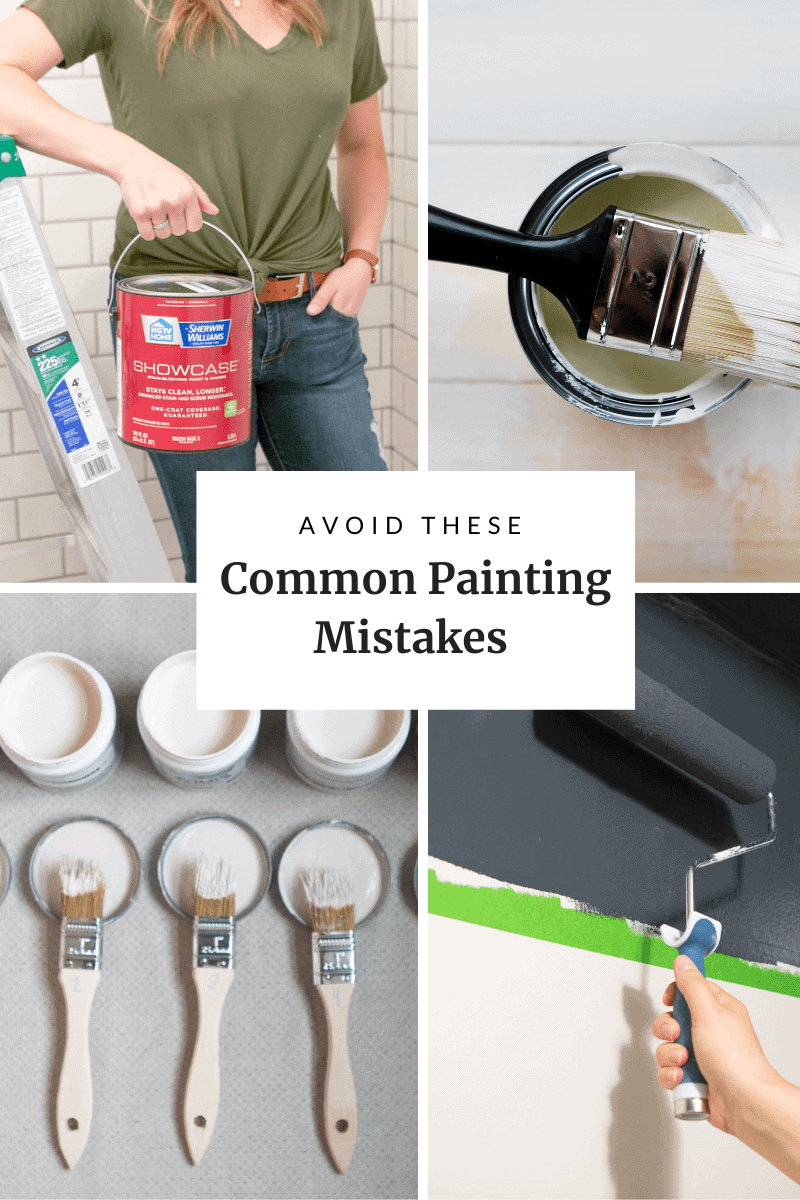
Common Painting Mistakes
Today’s rookie mistake is a little different from topics we’ve discussed in the past because we’re focusing on DIY rather than decorating. I thought it would be worthwhile to dive into the world of painting. Painting a room is a DIY that absolutely anyone can do, but there are definitely some common painting mistakes you can make that will result in a less-than-stellar finished product.
I’m not going to discuss choosing paint colors because that is a whole other beast of a topic to tackle and you can find my best tips in this blog post. Instead, let’s focus on the common painting mistakes that you might make when prepping and painting a room. I’ve made just about all of these mistakes over the years and I get a bit better with each painting project I tackle. So learn from me and let your next project go off without a hitch.
Before Painting
Before you even open up that can of paint, there are painting mistakes that can be made…
Not Considering Finish: Paint finish is easy to neglect because the color is often what everyone spends their time focusing on. But I think finish can really change the look and feel of paint on your wall and it can also make a big difference with the wear and tear, as time goes on. Here are the common paint finishes and their typical uses. Note: Any paint color can be mixed into any sheen.
- Flat: Flat paint is typically used for ceilings because it hides imperfections. It has no shine to it.
- Eggshell: This is what most people use for their walls. It has a slight sheen to it when viewed at an angle, like an eggshell! It’s somewhat washable but not as durable as semi-gloss.
- Semi-Gloss: This sheen is often used for trim because it’s durable and easy to wipe clean. It’s very shiny.
This blog post walks you through every paint sheen available and showcases how each looks on drywall.
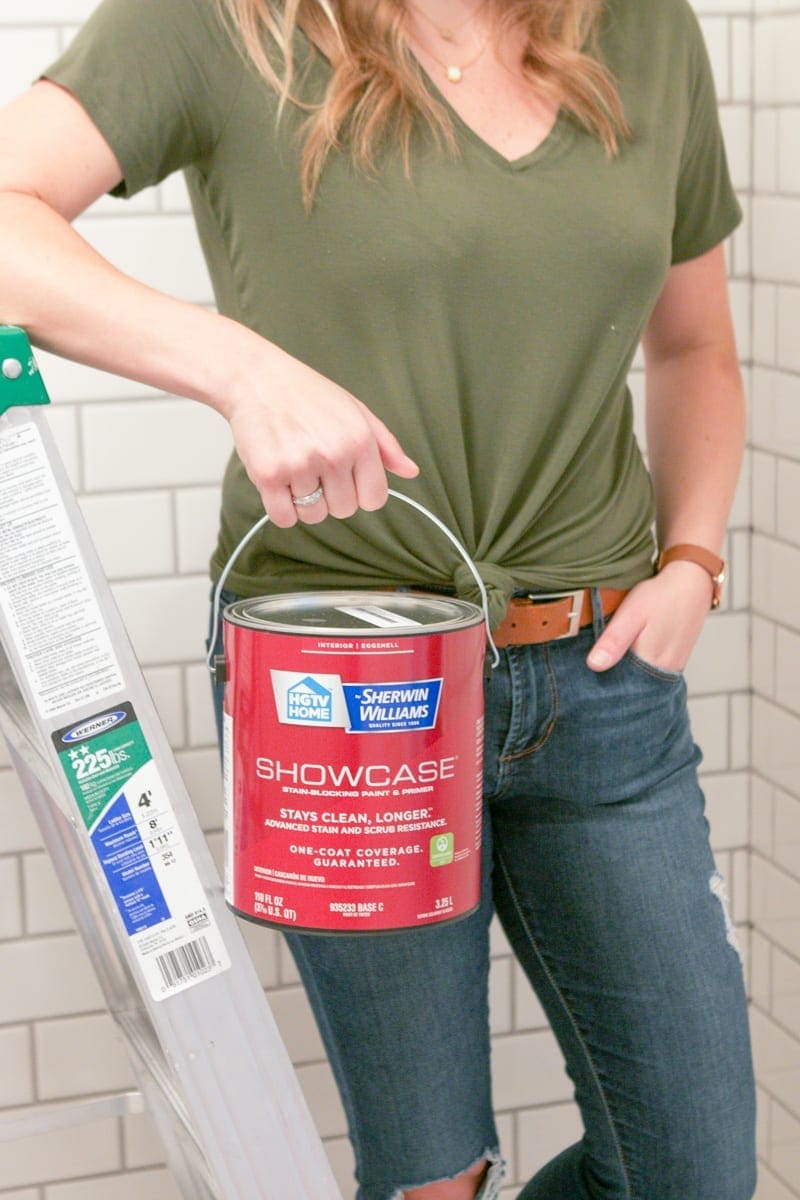
 Buying Cheap Paint: People often ask me what brand of paint they should use for their project. I’ve used all kinds of paint brands and they all have their pros and cons. What I can say is that you should focus more on the type of paint you’re buying. I usually recommend buying the nicest paint from any of the brands. I find that if you buy the cheapest gallon, you end up needing more coats and therefore more gallons of paint. Opt for a higher-quality gallon and you’ll be better off.
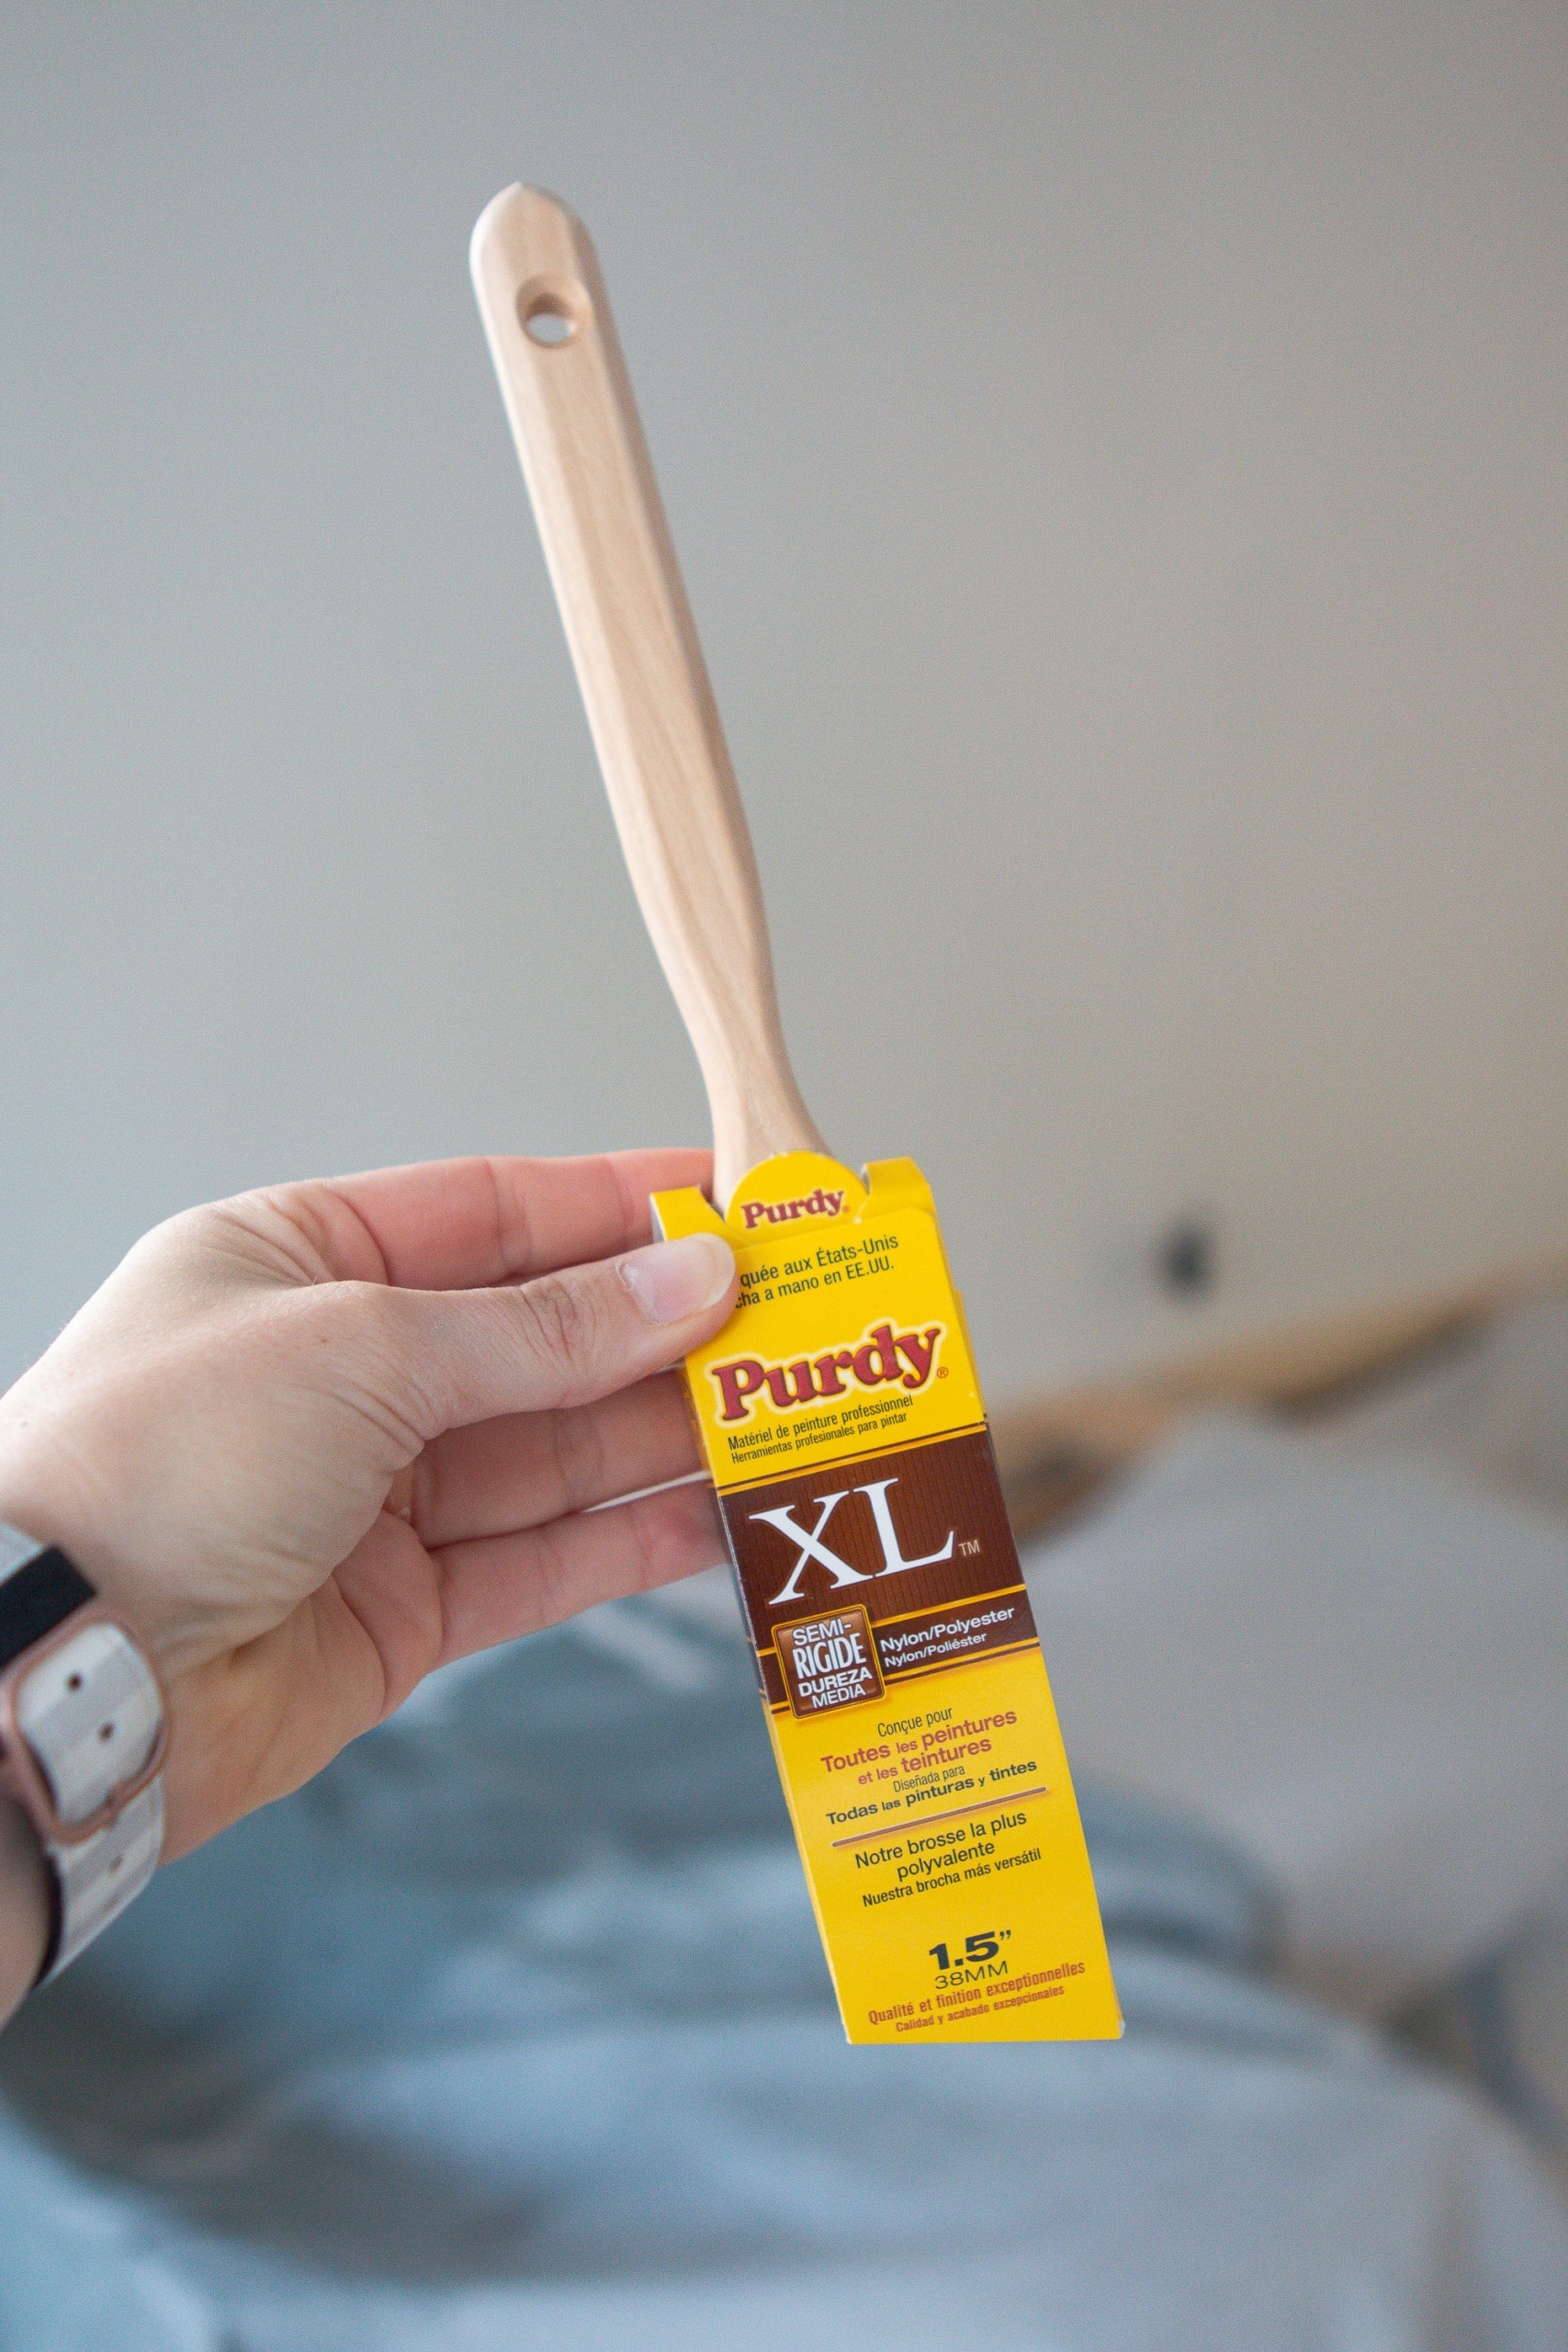
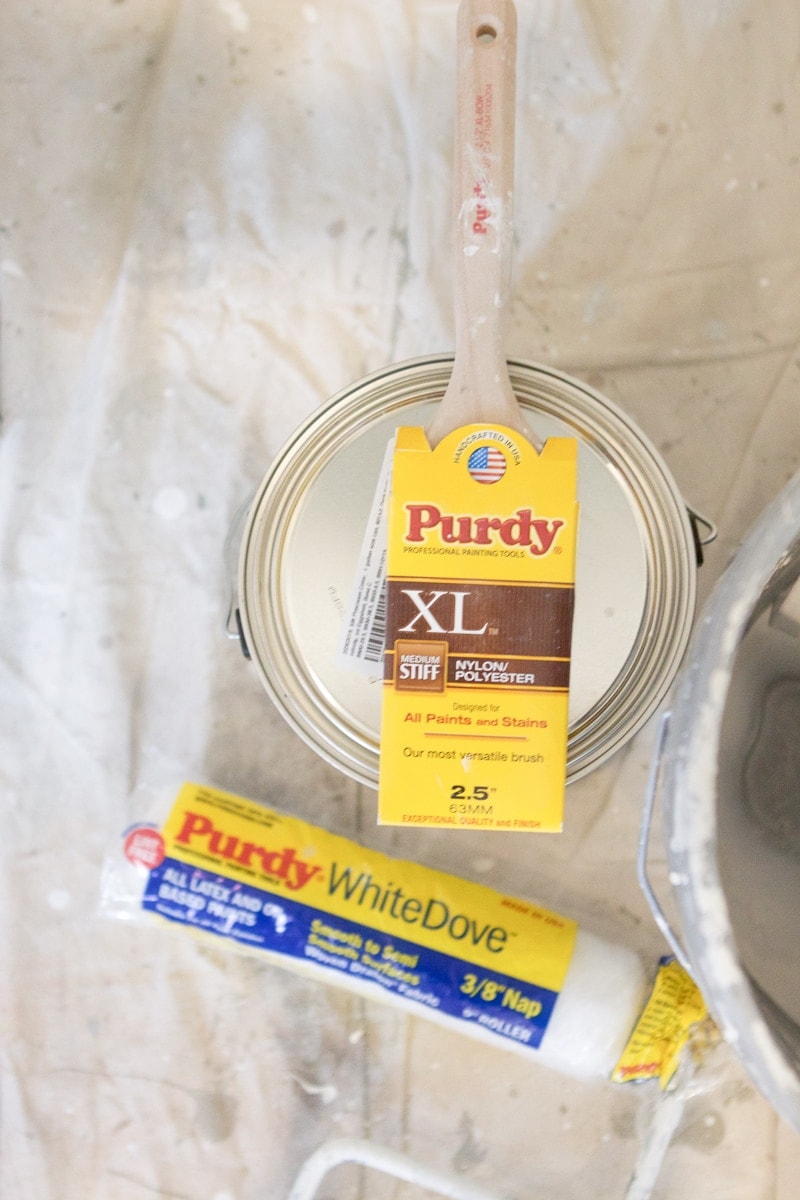
Using a Crappy Brush: Again, let’s talk about quality. If you buy a crappy paint brush, you’re bound to get little bristles stuck in your paint job. Yuck. I always recommend Purdy paint brushes because they’re the best and you can use them forever if you clean them right.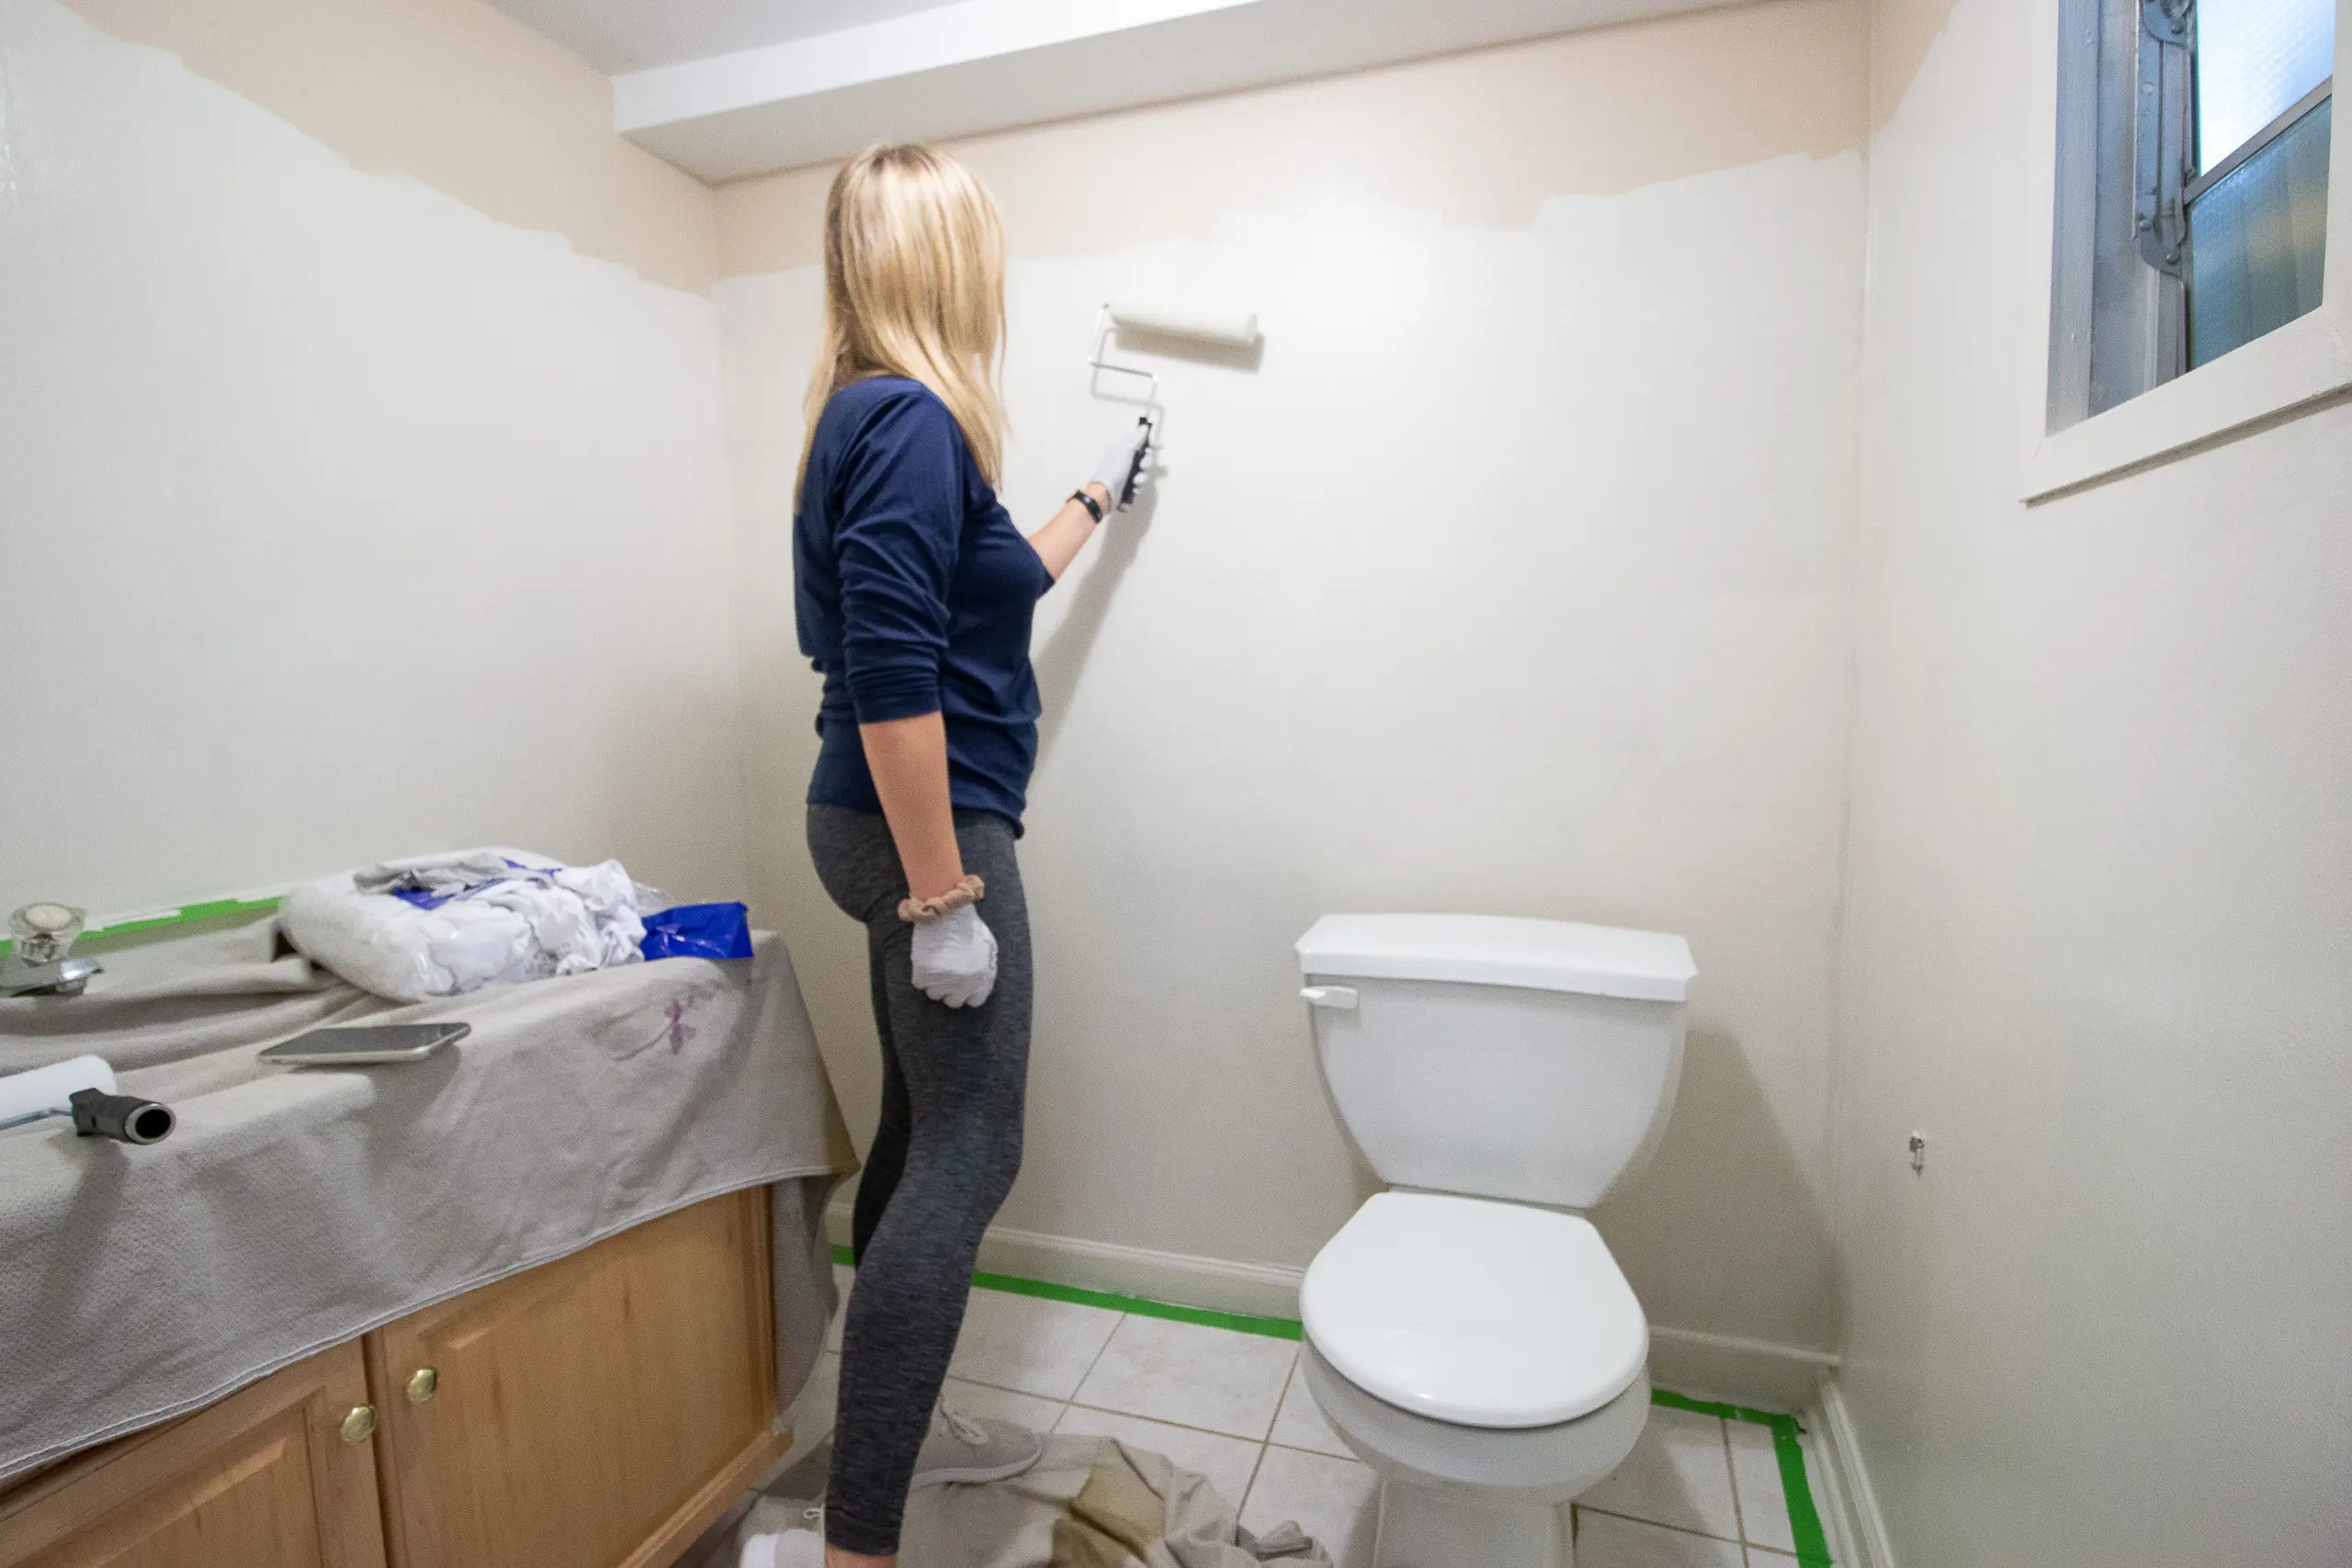
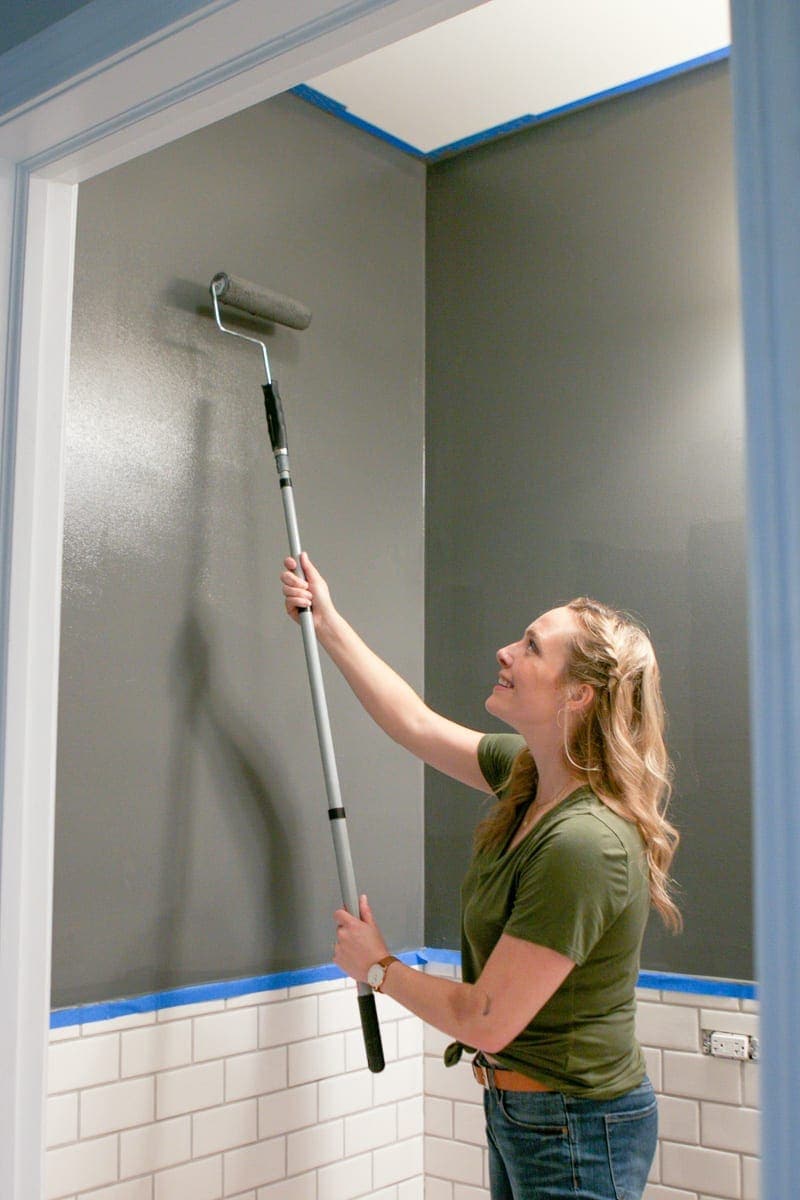
Using the Wrong Roller Nap: I don’t have a particular brand that I love for rollers, but I always emphasize that you should buy the correct nap for your job. The longer the nap, the more texture it adds to the paint job. Here’s where you should use each kind…
- 1/8″: Very smooth surfaces (like furniture or cabinets)
- 3/8″: Smooth surfaces (like drywall)
- 1/2″: Textured surfaces (like textured drywall)
- 1″: Rough surfaces (like stucco)
When painting a room, I usually go for a 3/8″ nap roller.
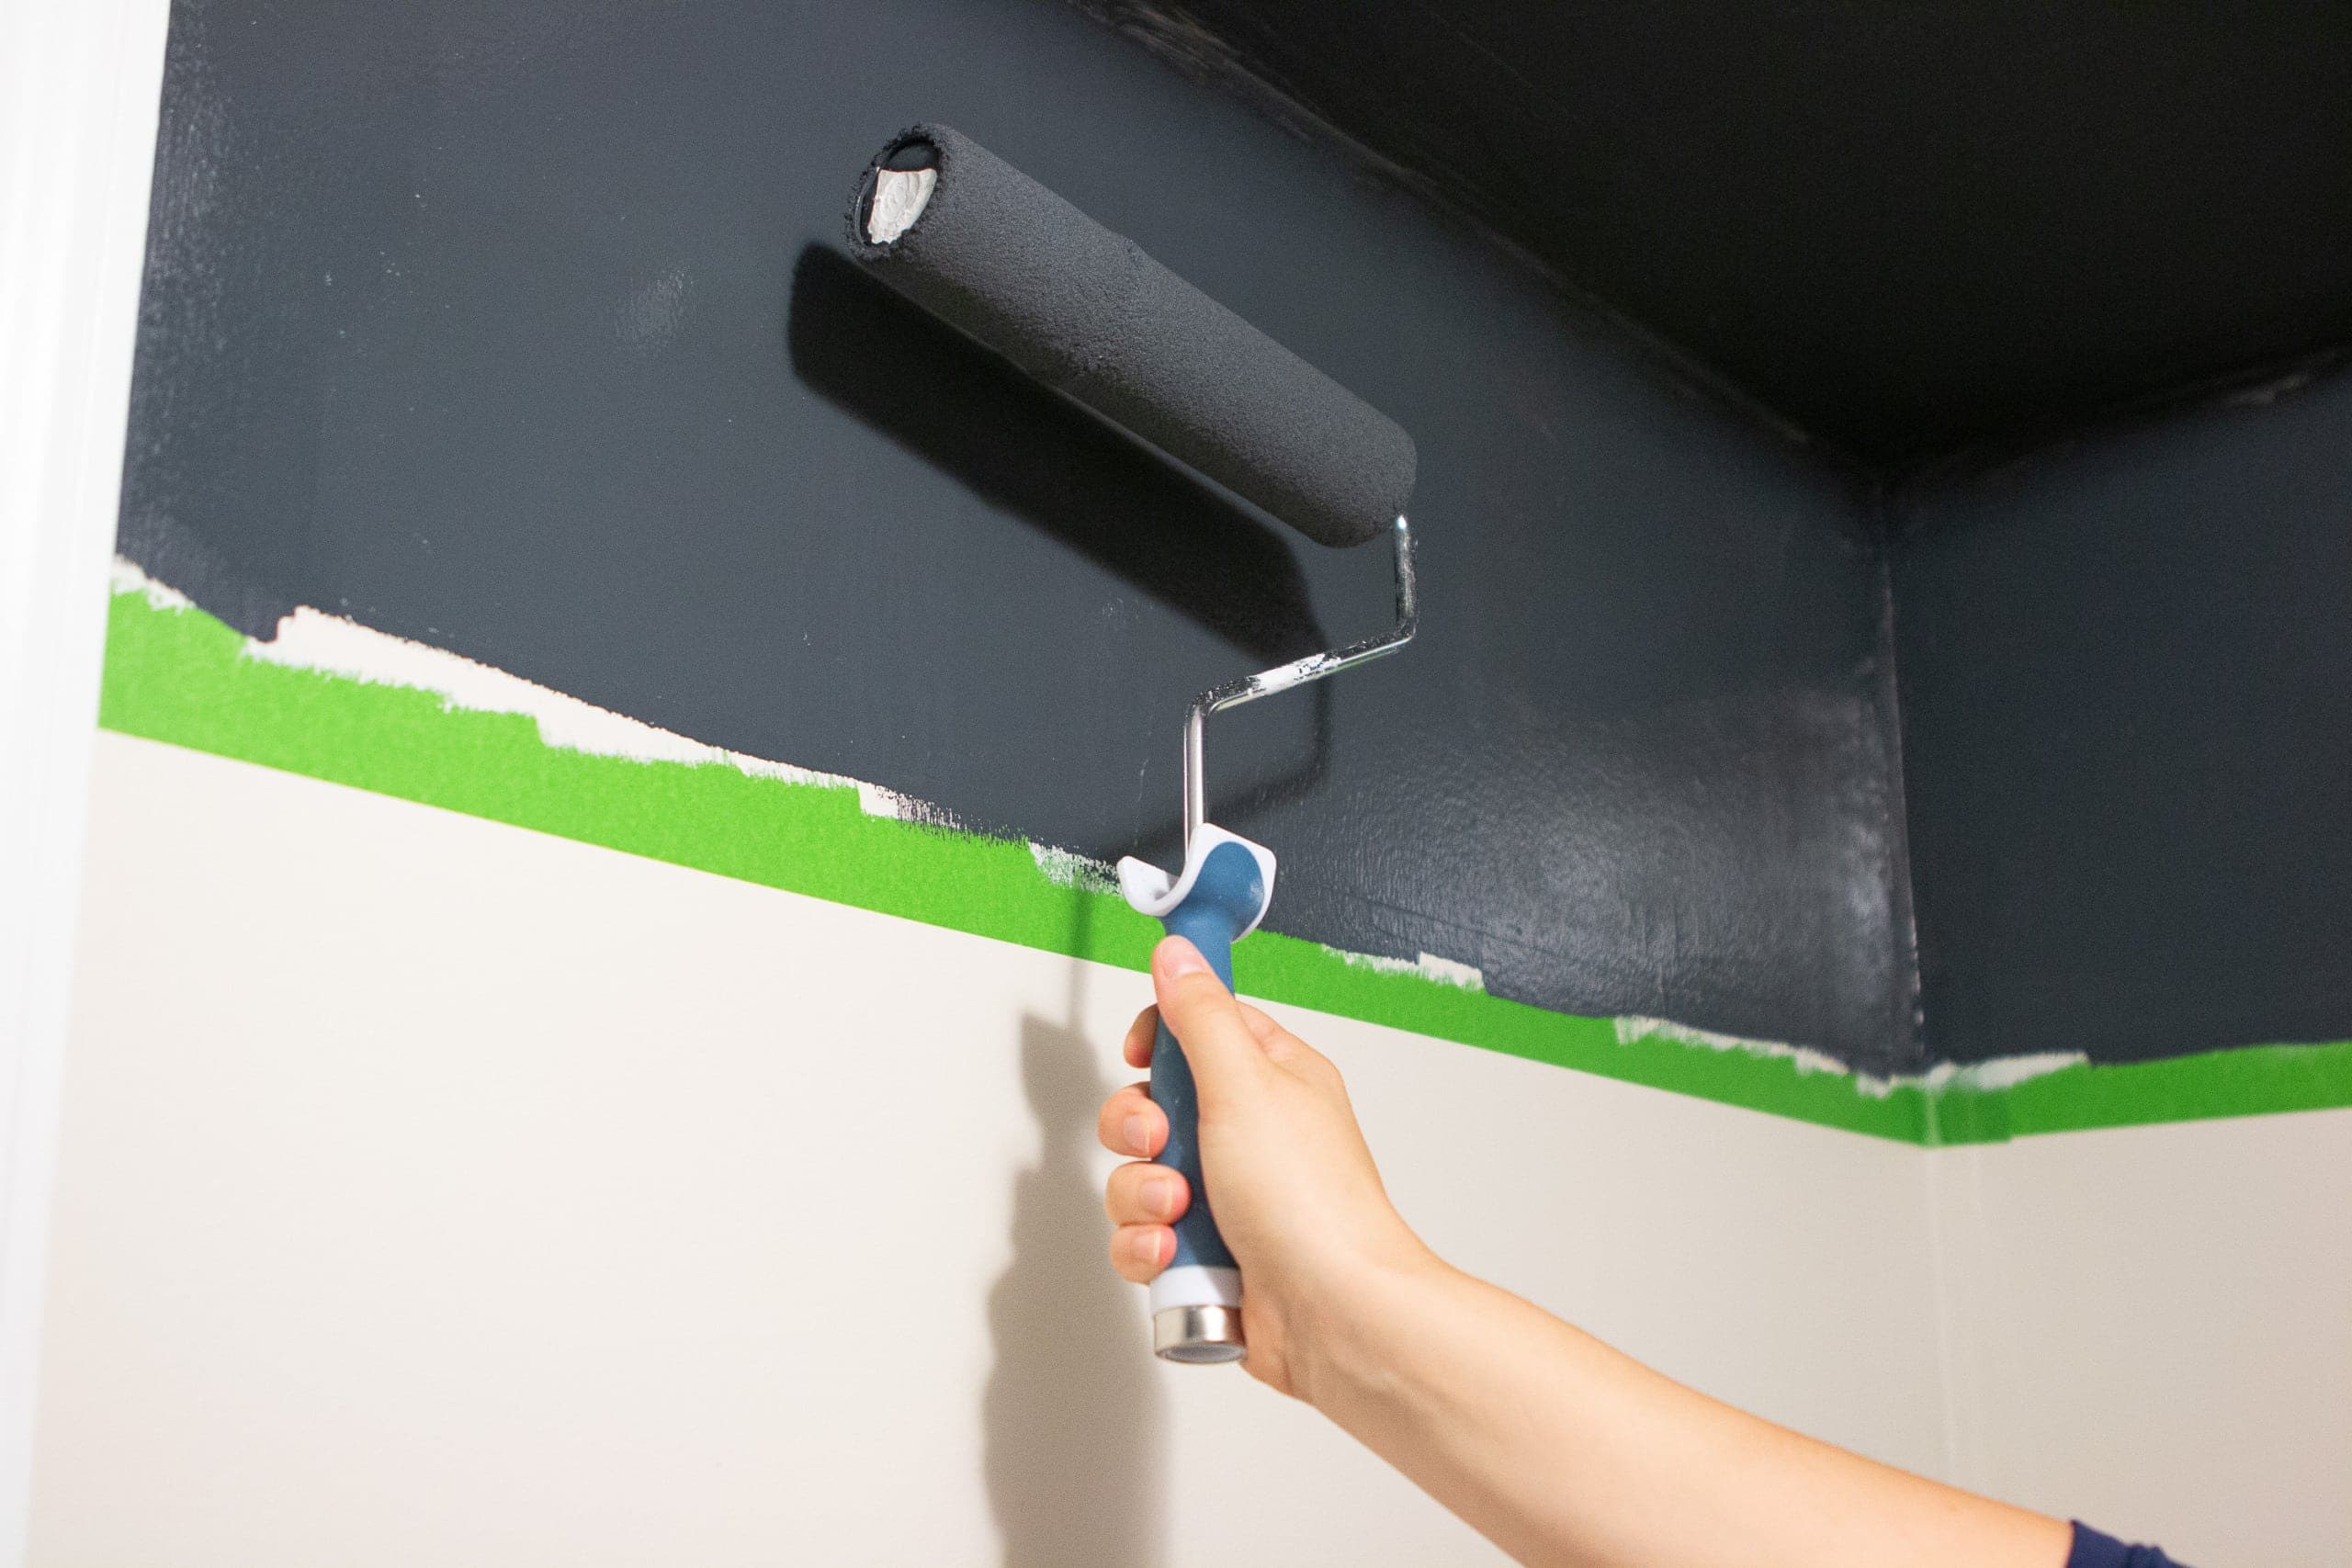
 Not Prepping the Walls: Prep work is tedious, but it’s so incredibly important. If you’re painting a room that hasn’t been cleaned in a while, I recommend using a dry rag and wiping down the walls to get any dust off. You should also do this to the baseboards before you tape. Then, take the time to use painter’s tape to tape off windows, trim, baseboards, the ceiling, etc. I like to use Frog Tape because I think it prevents bleeding the best.
During Painting
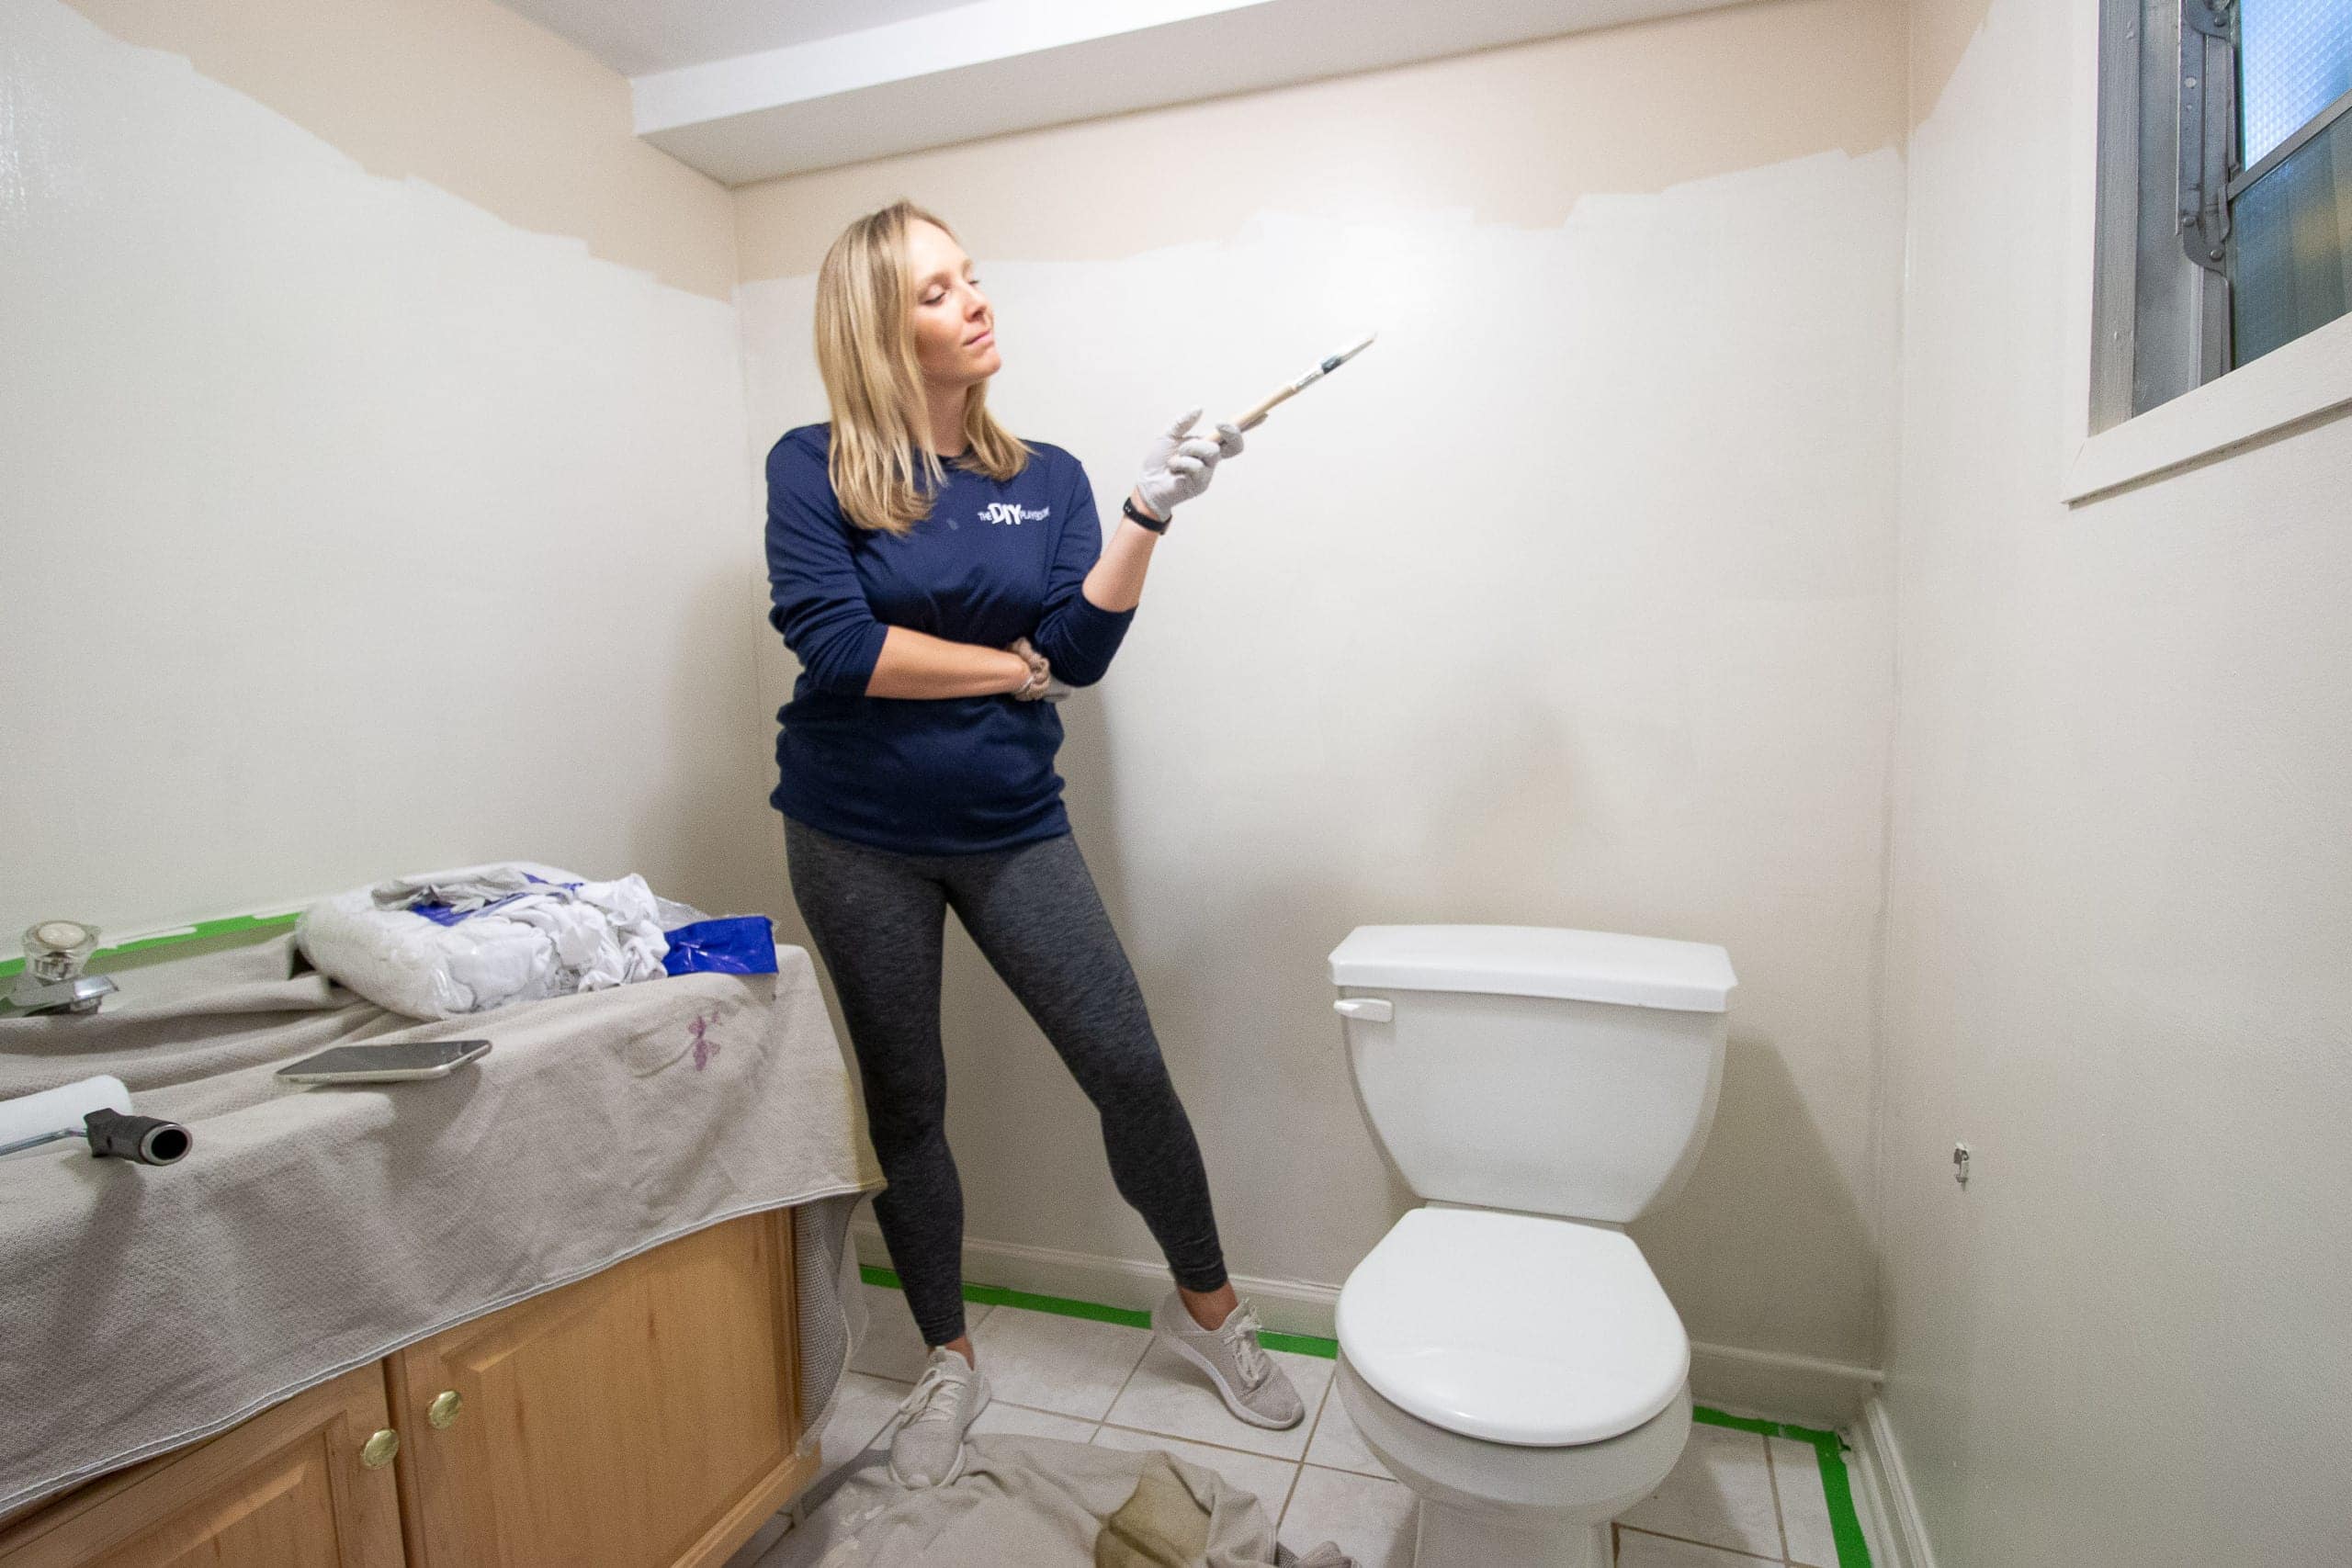
Okay, so you’re all set to paint! Here are some common painting mistakes that occur while painting away.
Forgetting to Remix the Paint: The store will mix up the paint for you before you buy it, but before you paint, you will want to mix it up again. Take some of the free paint stirrers from the paint counter and mix it on up, being sure to dig towards the bottom of the can. You can also use wood shims if you don’t have any official paint stirrers on hand. Mixing the paint is so important. If you don’t, the color and sheen can separate in the can.
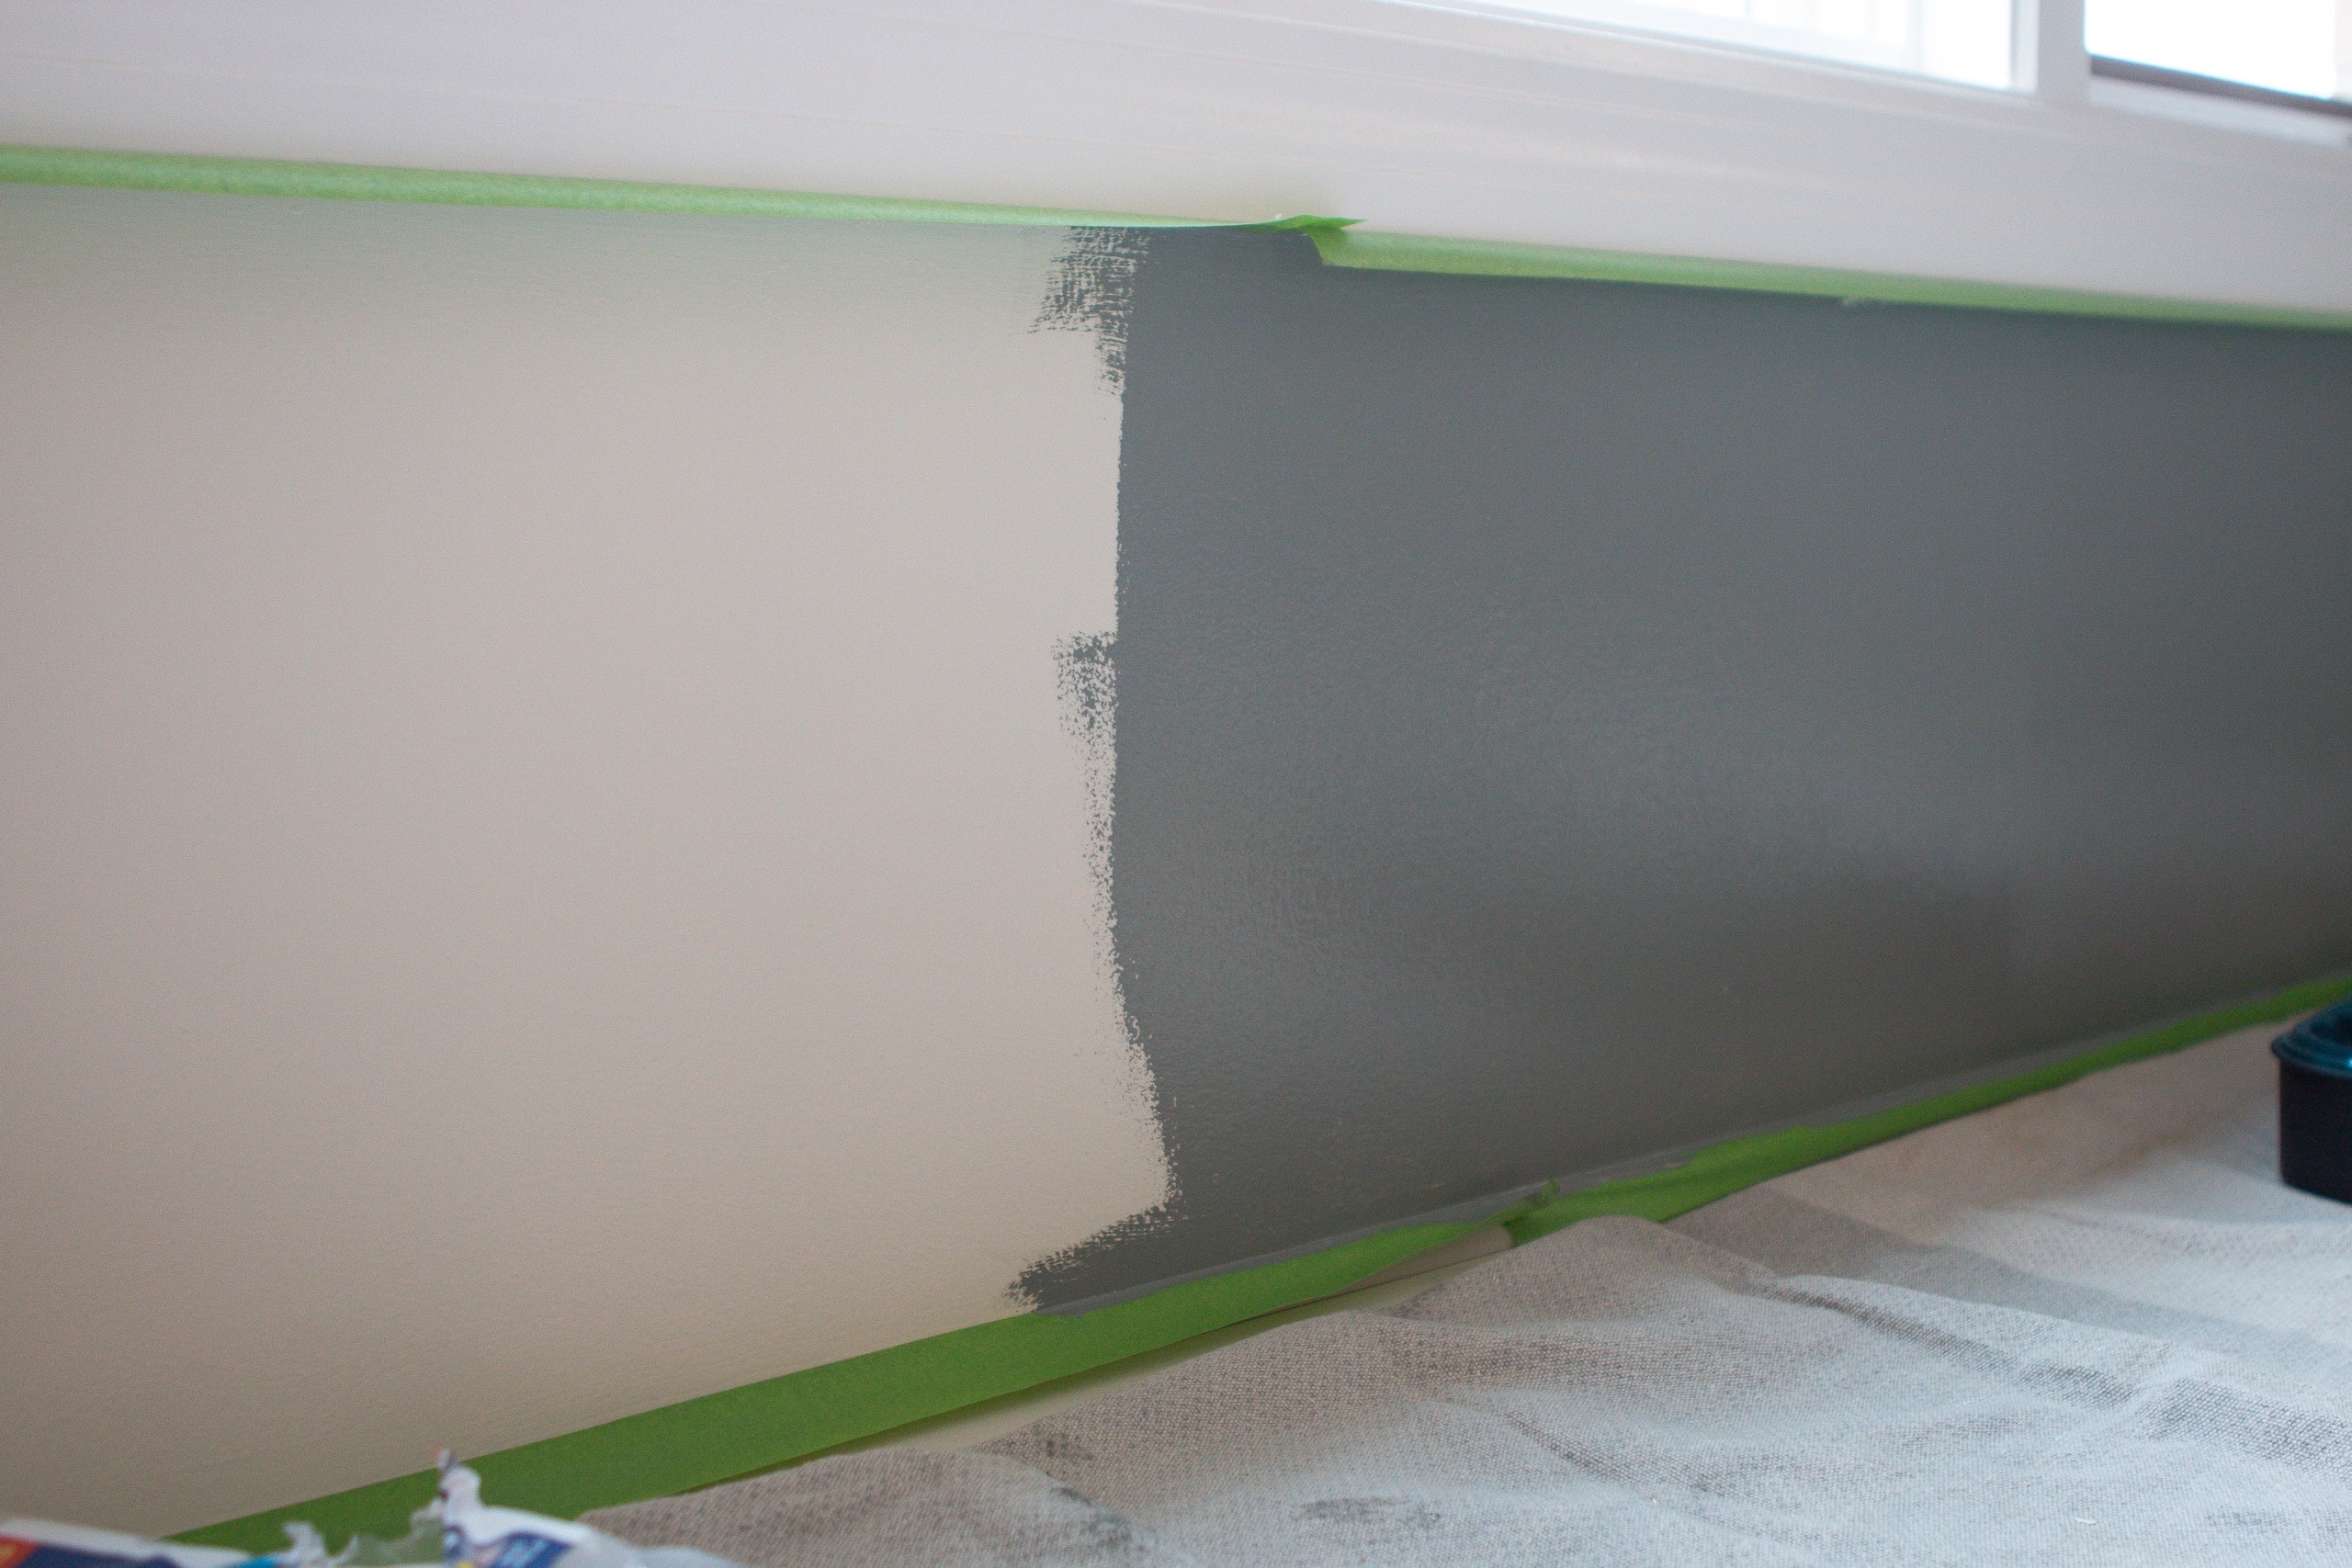
Overworking the Paint: This is probably the most common painting mistake. Once you get the paint on the wall and it starts to dry, resist the urge to go back over it! I like to work in small sections – about three feet at a time. That way, I can make sure I don’t have any drip marks as I go. Once the paint starts drying, the last thing you want to do is go back over the section.
Only Painting One Coat: There are plenty of paints out there that promise coverage in one coat. However, I’ve found that you pretty much always need at least two coats of paint, due to user error. The paint can be ahhhhmazing and have great coverage, but as a human, you’re bound to have some spots that you didn’t saturate quite well enough. For a nice even coverage, prepare to paint at least two coats.
Not Waiting for Paint to Dry Before Coat Two: You’ll want to make sure the paint is fully dry before adding that second coat. If the color is still splotchy and uneven, it’s probably still drying. Wait until all of the paint is completely dry before getting back to it.
After Painting

So your walls are painted and looking good… Now what? Beware of these common post-painting pitfalls.
Leaving the Painter’s Tape On: I always like to remove the painter’s tape right after I’m done painting. If I let it dry completely, I’ve found that it can peel the paint off a bit. So get in there right away and get your painter’s tape off.
Be sure to read these five common painter’s tape mistakes so you get a fantastic end result.

Not Cleaning Your Brushes Immediately: Make sure you clean your brushes right away, before the paint dries on them. Because I opt for the more expensive Purdy brushes, I like to reuse them over and over again. I simply wash them in our slop sink in the basement and store them back in their paint brush case. Yes, you’ll want to keep the sleeve that comes with the paint brush! This helps the brush keep its shape.
Storing Paint in the Garage: This is a painting mistake that we made at this house and it was a big no-no! Here in Chicago, if you leave your paint in the garage it will freeze! When we first painted this house, I saved all of the paint in our garage so we could have it for touch-ups and projects down the line. Yikes. It froze and there was no way to bring it back to its former glory. We now keep all of our paint down in our storage room. Lesson learned.
Go Forth & Paint!
I hope you learned a few things from today’s rookie mistake! I think painting is a wonderful way to change up a room without spending a ton of money. Give it a try and avoid these common painting mistakes while you’re at it!
Casey
Catch up on More Rookie Mistakes
- Rookie Mistake #1: Couch Pillows
- Rookie Mistake #2: Shower Curtains
- Rookie Mistake #3: Generic Home Decor
- Rookie Mistake #4: Carnations
- Rookie Mistake #5: Decorating with Picture Frames
- Rookie Mistake #6: Shop First, Plan Second
- Rookie Mistake #7: Hanging Curtains
- Rookie Mistake #8: Matching Furniture
- Rookie Mistake #9: Over-the-door Hooks & Mirrors
- Rookie Mistake #10: Hanging Wall Art
- Rookie Mistake #11: Buying the Wrong Size Rug
- Rookie Mistake #12: Fireplace Mantel Decorating
- Rookie Mistake #13: Displaying Throw Blankets
- Rookie Mistake #14: Countertop Clutter
- Rookie Mistake #15: Rules for Lighting
- Rookie Mistake #16: Not So Secret Storage
- Rookie Mistake #17: Too Many Quotes
- Rookie Mistake #18: Wrong Scale
- Rookie Mistake #19: Over The Toilet Storage
- Rookie Mistake #20: Coffee and Wine Decor
- Rookie Mistake #21: Decorating a Rental
- Rookie Mistake #22: Framing Art & Photos


