Rookie Mistake – Framing Art and Photos
Rookie Mistakes: a series of common decor mistakes made by a design rookie…me! And no, I’m not judging because I have made (and continue to make) these mistakes too!
Here are the top five Rookie Mistake posts from the series (you can catch the rest of them at the bottom of this post).
- Matching Furniture – A Big No-No
- Hanging Wall Art Way Too High
- Buying the Wrong Size Rug
- How Not to Display Throw Blankets
- Coffee and Wine Decor – Sometimes It’s Just Too Much
Remember, the Rookie Mistakes series is a NO JUDGEMENT ZONE. I’ve made ALL of these decorating mistakes in my home and I simply want you to learn from me so you can make your home look amazing.
Rookie Mistake- Framing Art and Photos

Earlier this week, I showed you my new custom art in our living room. I’m so pleased with how these special pieces turned out and they’re making me take a better look at the other frames I have around our house. And as I’ve been rethinking what to hang on the walls around here, I realized that there are definitely some rookie mistakes I’ve been making when it comes to framing art.
I’m not saying you need to custom frame every single photograph and piece of art in your home. Instead, I want to review some no-no’s when it comes to choosing frames and mats and focus on my best tips for framing all of those special pieces you own.
Mistake – Not Using Mats
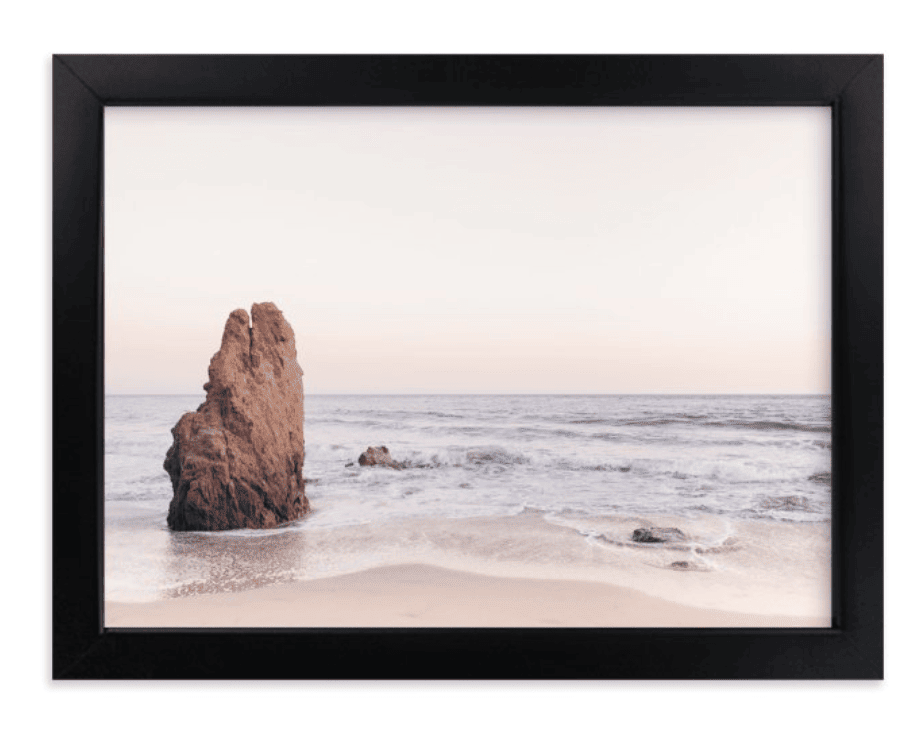

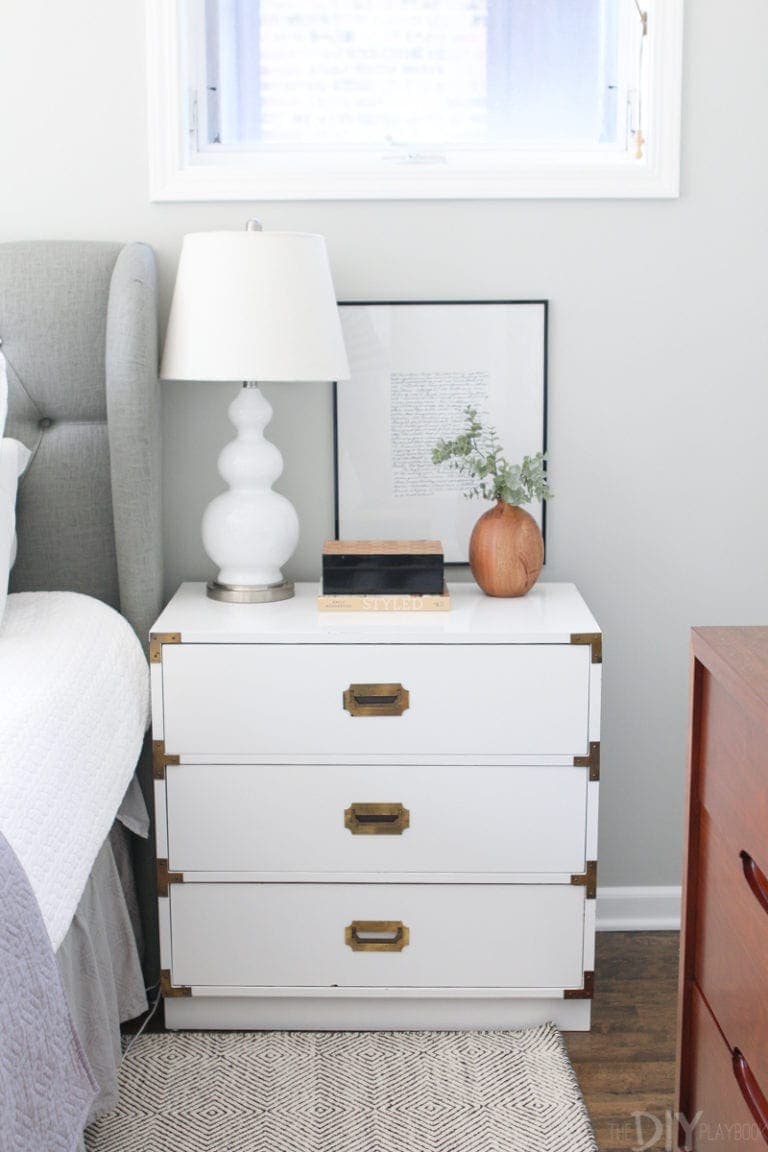
The biggest mistake I see is not using a mat for art and photos. In most cases, a mat will make your piece look much more custom and high-end. I especially think this is true for photos (like in the example above. Isn’t the photograph so pretty?!). 
Instead of just plopping photos into a frame that fills it all the way to the edges, put them in frames with mats for a higher-quality look (like these frames my mom displays on her mantle). Usually, the smaller the artwork, the larger the mat. I usually don’t go smaller than a 2-inch mat for pieces around my house.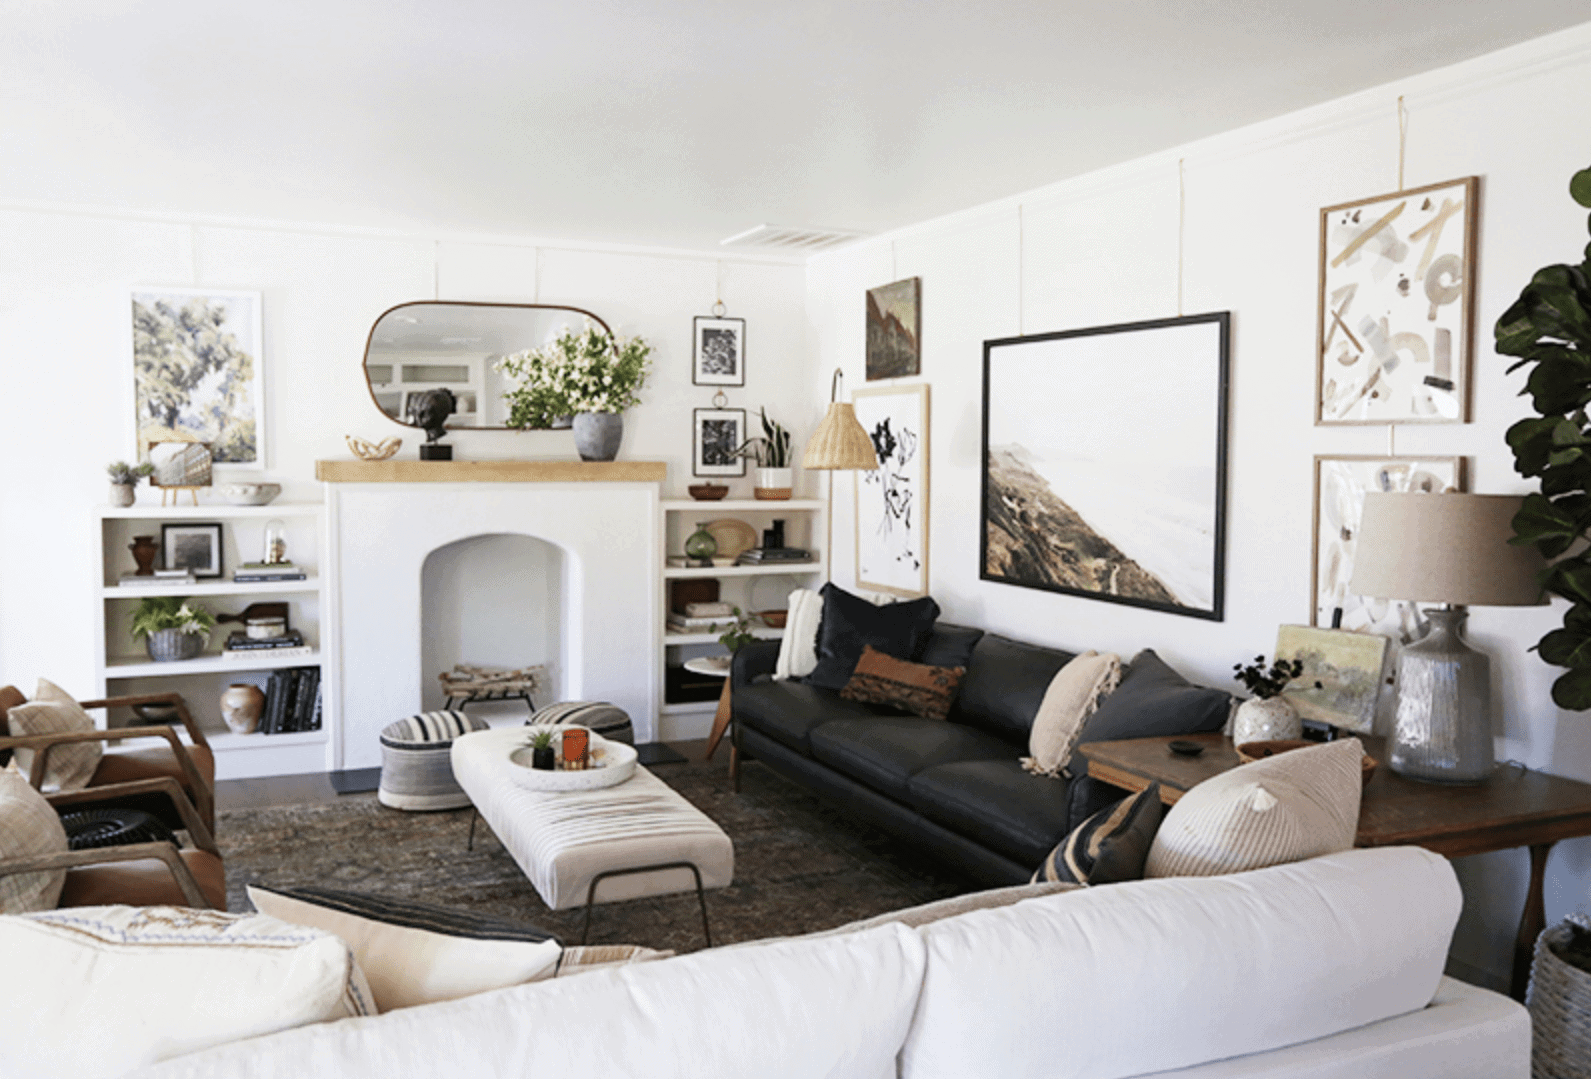
Photo via Juniper Home
Large format pieces are usually best without a mat, so if something is large-scale and takes up a big chunk of the wall (like in the living room inspiration above), you may just want to frame it sans mat.
Here’s another example of a large piece not needing a mat. This large piece of art we placed over the bed in my mom’s guest bedroom looks great without one (you can see the entire refresh here).
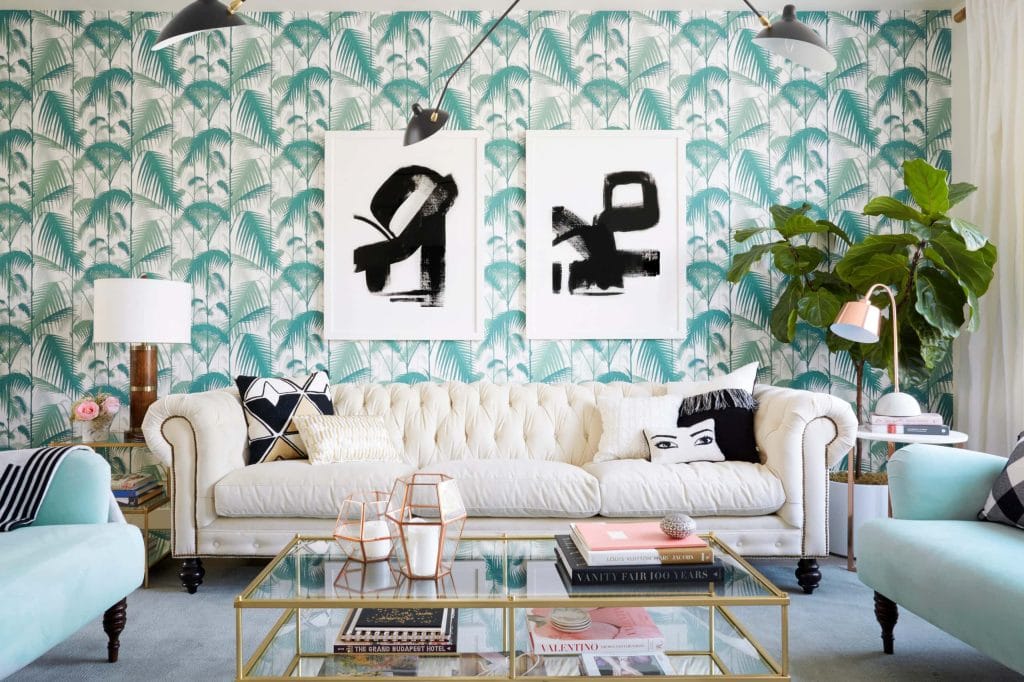
Photo via Emily Henderson
The same goes for pieces that are meant to be read as one piece. For example, vertical frames of 2-3 pieces of art are really on-trend right now and they look cohesive without a mat.
Mistake – Using Colorful Mats
Using a mat helps your eye focus on the art itself. So when it comes to choosing a color for the mat, don’t go crazy! Colorful mats can quickly look dated (please, no red, orange, or blue!). White or off-white are usually the best options for most pieces. If your art is primarily white, you may want to consider a black or gray mat for some contrast. But for the most part, you can’t go wrong with white or off-white mats.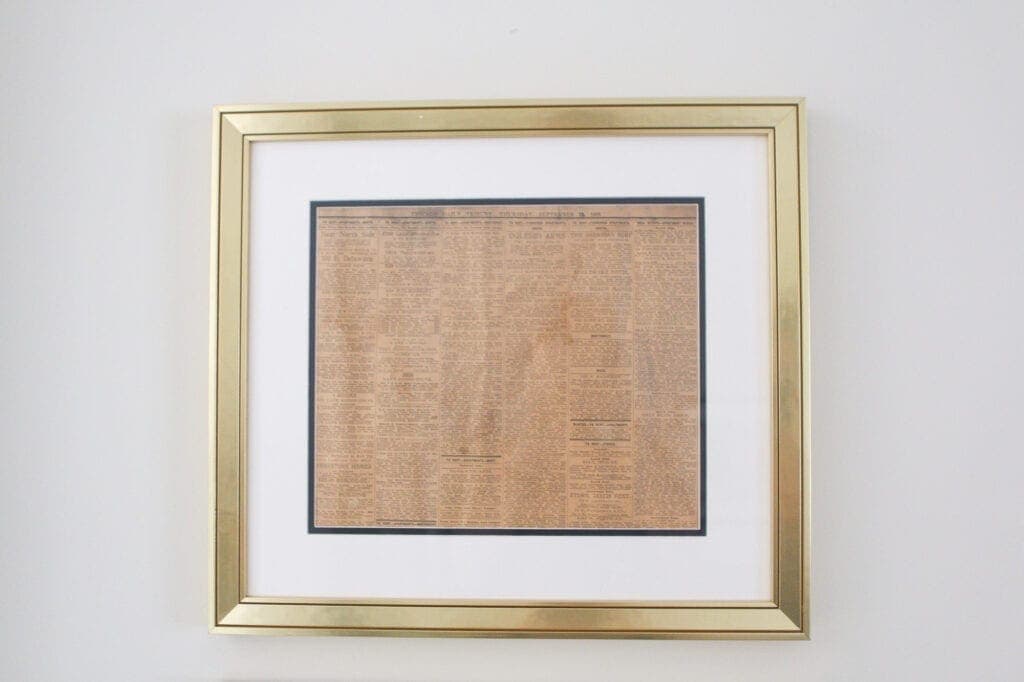
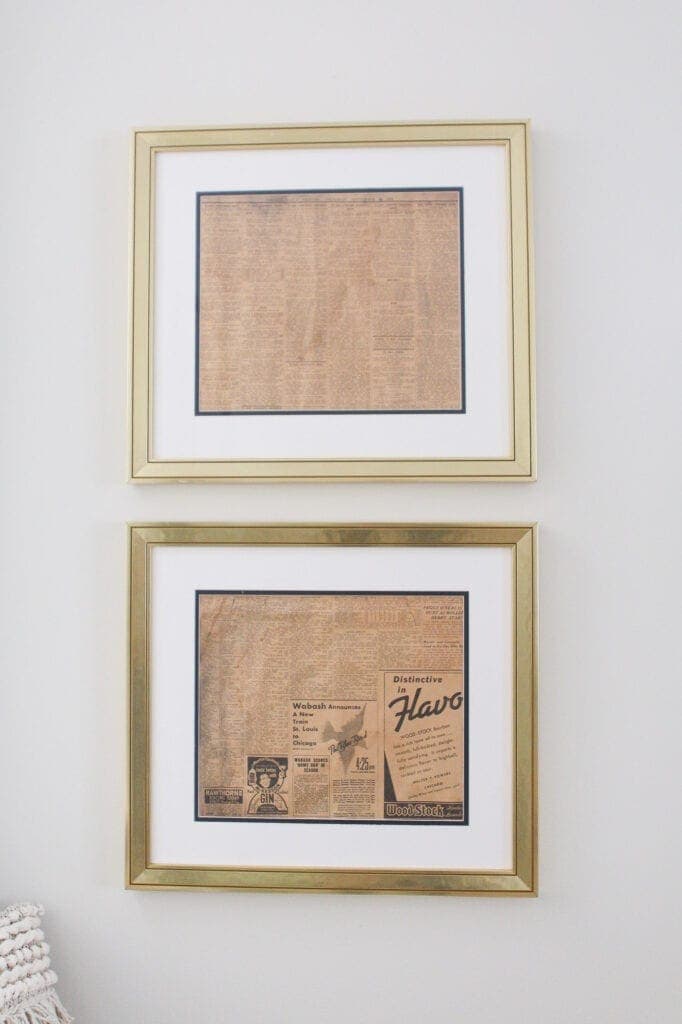
You can add an accent mat like I did for the framed newspaper clippings. This is a second mat that sits inside the bigger mat. It’s usually super thin and acts as an accent around the artwork. For my piece, I went with a chunky cream mat and then a thin black accent mat to really make the newspaper pop!

I created this personalized matchbook art for Finn’s birthday and opted for a thick white frame to highlight the colorful matchbooks within the art.
How to Choose the Best Mat When Framing
So let’s review the big takeaways…
- The smaller the art, the larger the mat.
- Mats are always a good idea when framing photographs.
- Large-scale art might not need a mat.
- White or cream mats often work best.
I typically buy all of my mats from Michaels. You can even have them cut a custom mat for you in-store and it should cost less than $20. That’s definitely worth it when framing a special piece on your own.
Mistake – Too Small Frames
Now, let’s discuss the frames themselves. I usually find that people use frames that are way too small. For the most part, 4×6 frames really aren’t necessary around the house (and definitely not in gallery walls). When hanging photos and art on the wall, opt for larger frames. I usually don’t go smaller than 8×10 for wall hangings.

On tabletops and shelves, you can use smaller frames but make sure to use a mat. I actually dove into a super common rookie mistake of having dozens of family photo frames on a surface. While I love family photos, this is not the best way to showcase those memories. Head to this blog post for my best solutions to this mistake.
Mistake – The Wrong Frame
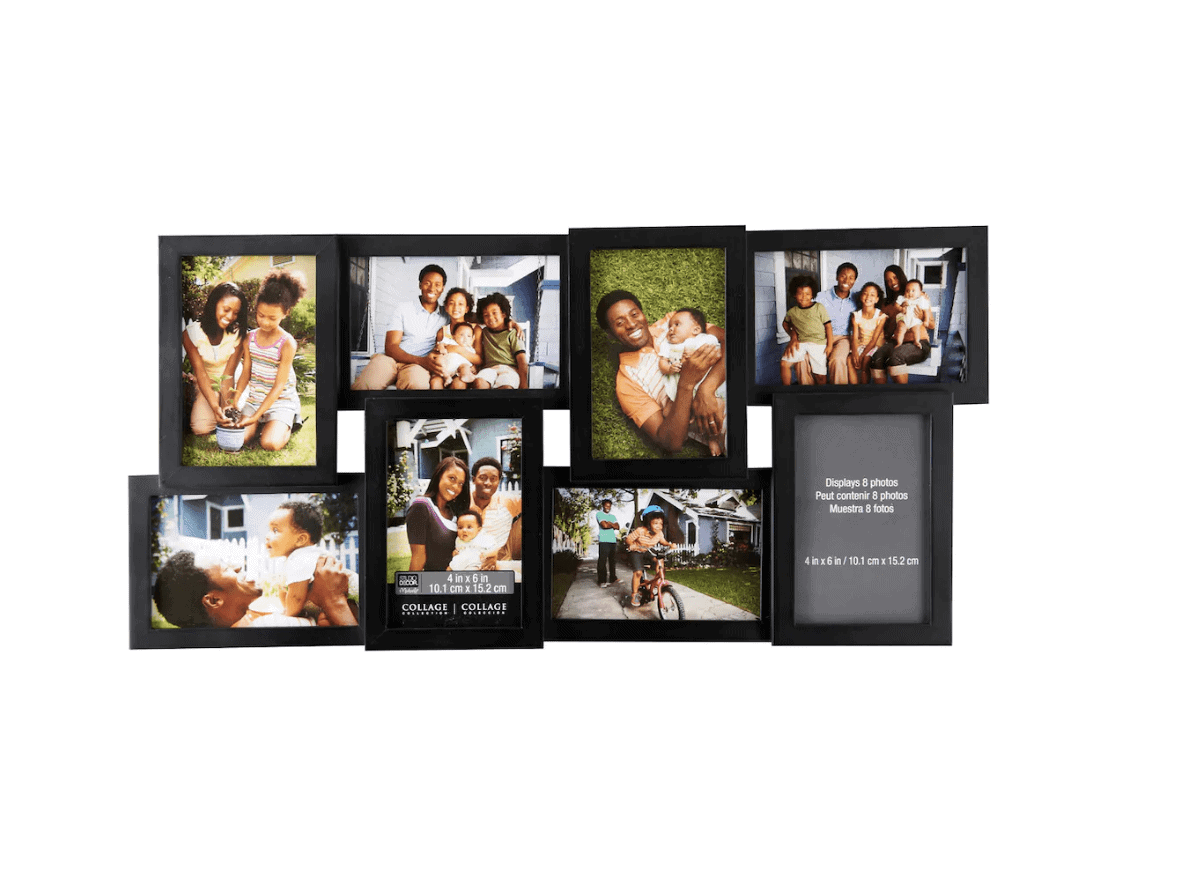
First, let’s all please ditch the picture collage frames. Trust me, they’re not doing your home or precious photos any good. If you want to do a grouping of photos, opt for a gallery wall instead.
When it comes to choosing frames, you can’t go wrong with white, black, or wood. They’re simple and your photo and art can really stand out. I often use brass too, so that’s another good option. I highly recommend avoiding poster frames. Yes, they often have black frames but they usually look pretty cheap.
Symmetrical Gallery Wall Tutorial
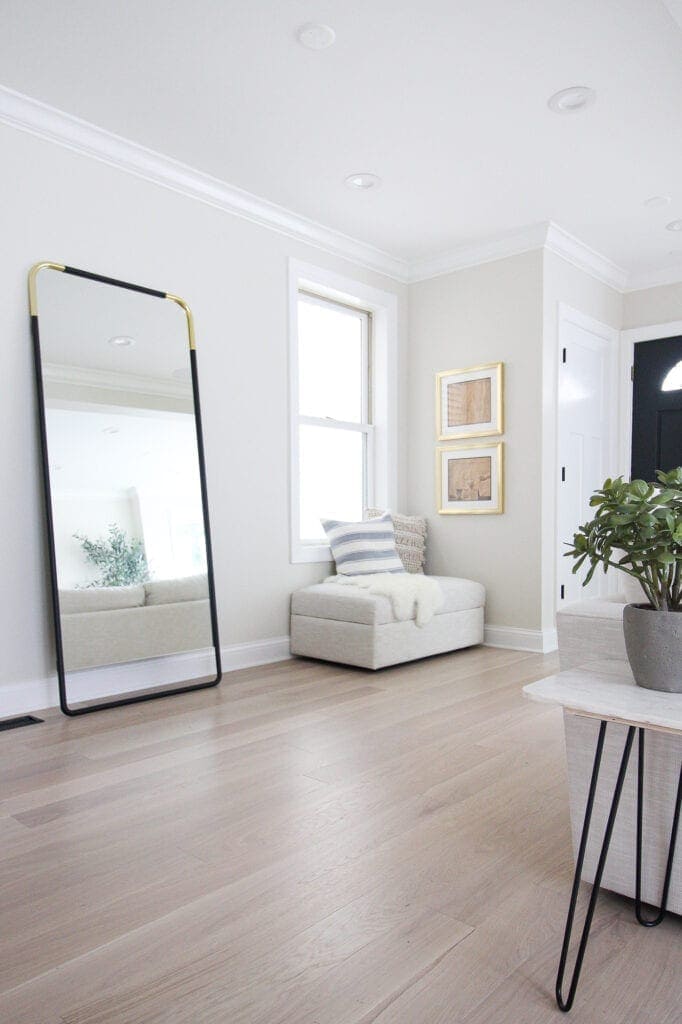
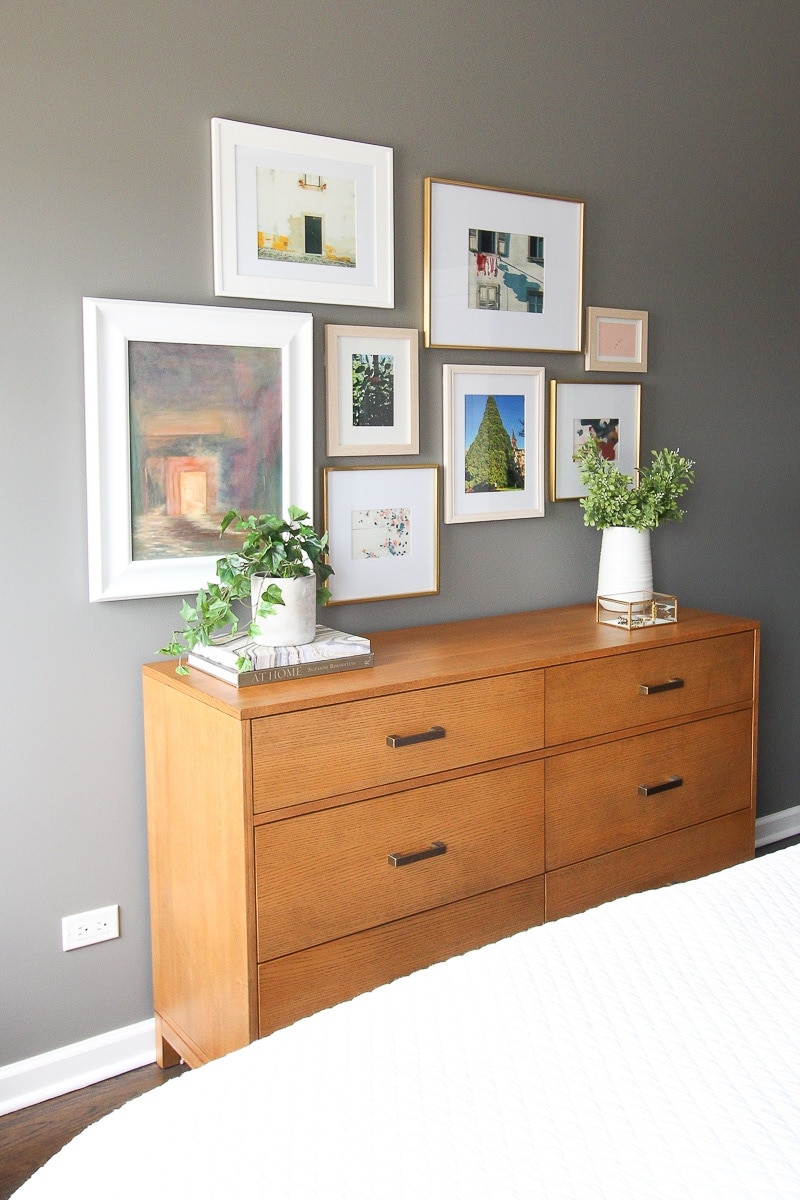
Lately, I’ve been loving super-thin frames with thick mats (like my favorite budget-friendly ones from Michaels). These look super chic, especially when hung in a symmetrical gallery wall.
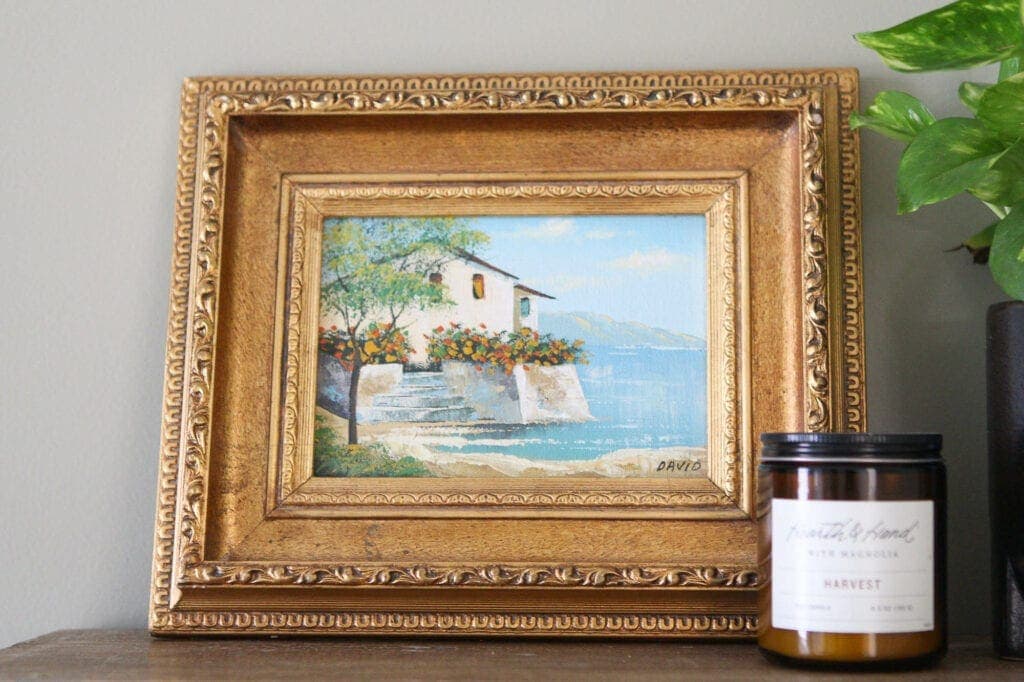
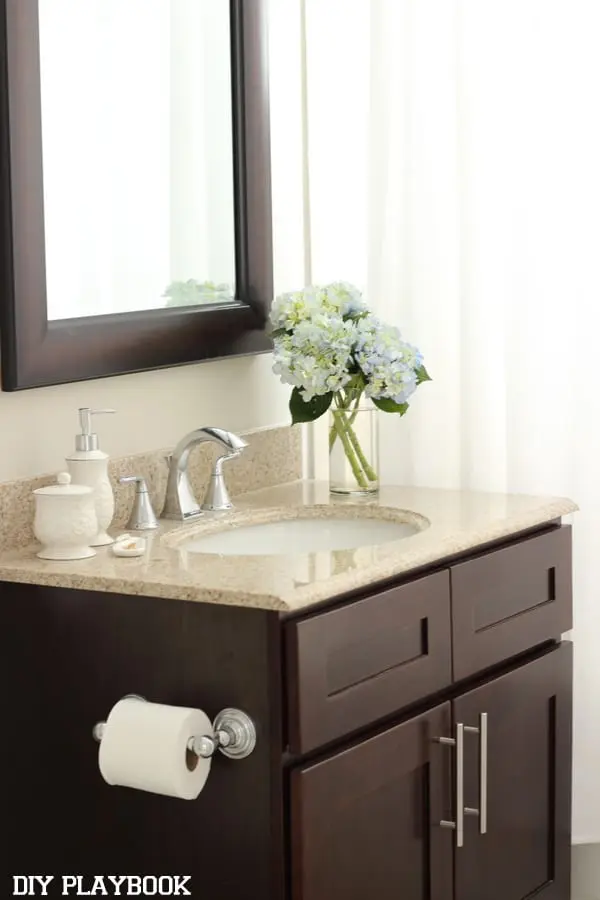
I will say I absolutely adore vintage frames. In fact, some of my favorite pieces have embellished frames (like the $25 flea market find in our bathroom) that I found secondhand. So if you’re buying new, opt for a simple frame. But don’t forget to shop around for embellished frames from flea markets, antique shops, and thrift stores!
How to Choose the Best Frames
- Keep it simple: White, black, and wood always work great.
- Thin frames are on-trend right now.
- Avoid poster frames
- Consider shopping for antique frames.
Mistake – Canvas Wrapped Prints
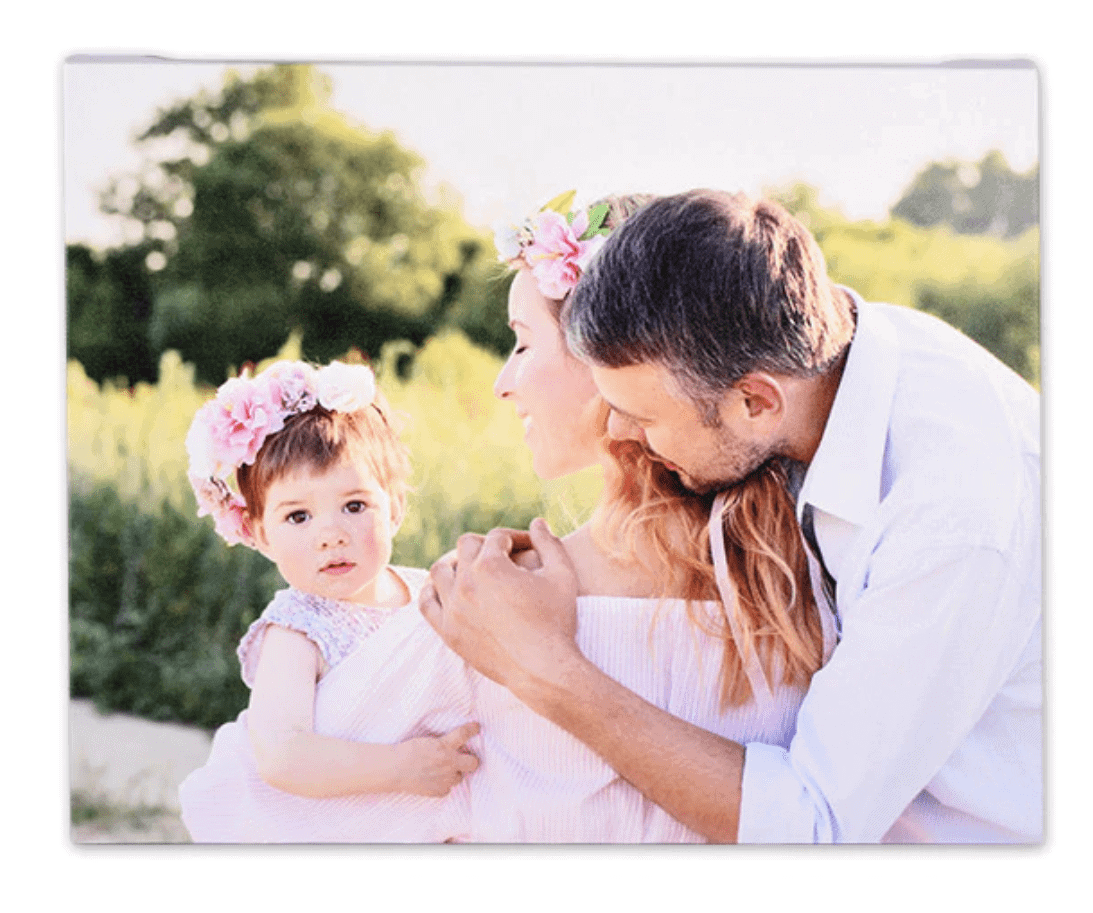
Time for my most controversial statement of this post…just say no to canvas wrapped prints. I’m sorry, I know you love your huge wedding photo blown up on canvas, but it’s not doing any favors for your home. I know a lot of companies offer this option when you’re printing photos, however, I don’t think it’s the best way to display those special memories.
If you do have a canvas wrapped piece of printed art that you love, then I highly recommend DIY’ing a frame for it! Bridget actually did this yearsssss ago on the blog. With a few pieces of wood and an afternoon of time, you can make it look less mass-produced and better for your walls!
Tips to Hang Art Correctly
I’ve touched on the topic of art, frames, and hanging many times on the blog before, so here’s a little roundup of my favorite hanging tips.
- How High to Hang Art
- How to Choose Scale for Art
- Tips to Hang a Symmetrical Gallery Wall
- The Easiest Way to Hang a Gallery Wall
- 6 Ways to Decorate with Picture Frames
- Inexpensive Art Ideas
- Where to Get Art Custom Framed
Another thing I want to touch on are my favorite tools for hanging! If the piece is lightweight, I always like to use velcro command strips so it can easily be positioned and moved around. Plus, there’s no straightening over and over as it moves!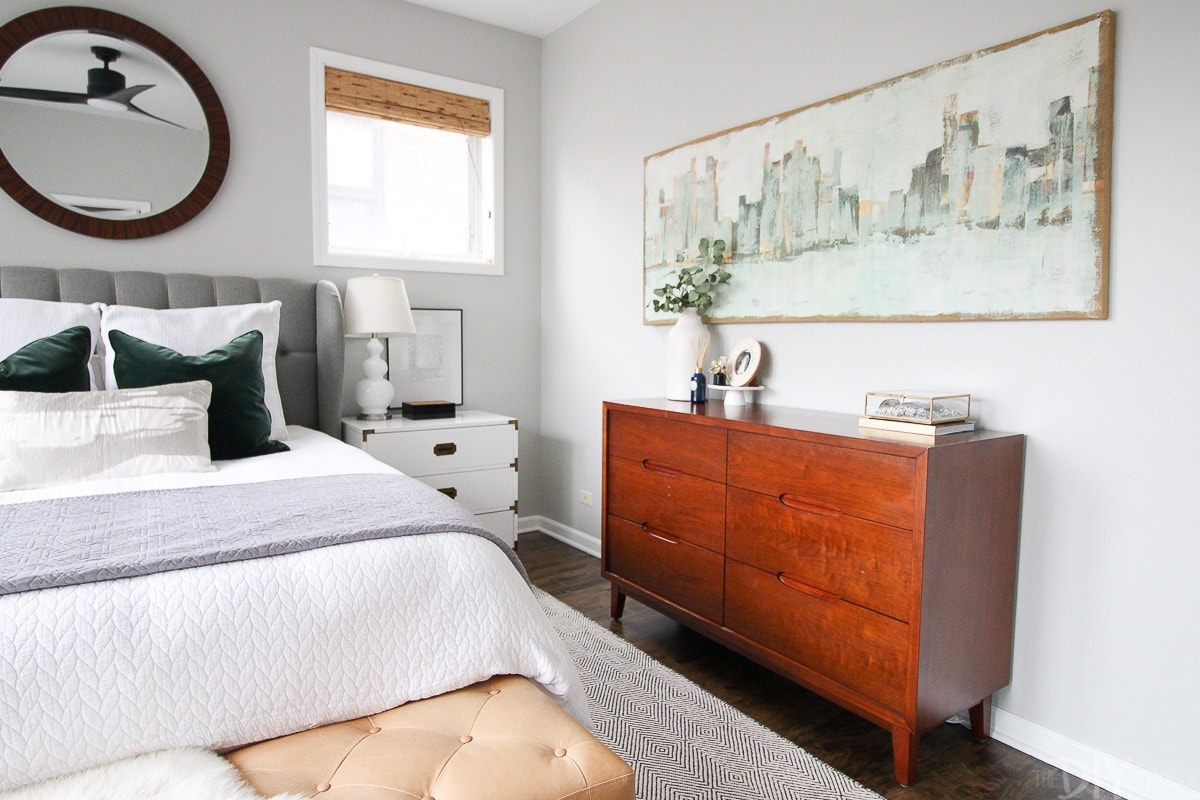
I’m not a huge fan of picture wire because I find that the frames always stick out and it’s not the best look. Instead, I opt for these D-hooks. I simply install them 2-3 inches from the top of the back of the frame and then hang on two nails (or two screws with anchors if it’s super heavy). I’ll often use command strips on the bottom too, just to make sure it’s super secure and always level!
My Favorite Frames & Art

This post is really motivating me to get some more pieces hung on the walls around here! Time for some art and frame shopping…
Casey
Catch up on More Rookie Mistakes
- Rookie Mistake #1: Couch Pillows
- Rookie Mistake #2: Shower Curtains
- Rookie Mistake #3: Generic Home Decor
- Rookie Mistake #4: Carnations
- Rookie Mistake #5: Decorating with Picture Frames
- Rookie Mistake #6: Shop First, Plan Second
- Rookie Mistake #7: Hanging Curtains
- Rookie Mistake #8: Matching Furniture
- Rookie Mistake #9: Over-the-door Hooks & Mirrors
- Rookie Mistake #10: Hanging Wall Art
- Rookie Mistake #11: Buying the Wrong Size Rug
- Rookie Mistake #12: Fireplace Mantel Decorating
- Rookie Mistake #13: Displaying Throw Blankets
- Rookie Mistake #14: Countertop Clutter
- Rookie Mistake #15: Rules for Lighting
- Rookie Mistake #16: Not So Secret Storage
- Rookie Mistake #17: Too Many Quotes
- Rookie Mistake #18: Wrong Scale
- Rookie Mistake #19: Over The Toilet Storage
- Rookie Mistake #20: Coffee and Wine Decor
- Rookie Mistake #21: Decorating a Rental