How to Install a Dimmer Switch: A Beginner-Friendly Guide
Swapping a regular light switch for a dimmer is an easy upgrade that gives you more control over your lighting. I’ll show you how to install a dimmer switch, step by step, even if electrical projects usually feel a little intimidating.
For the longest time, I barely used the picture light in our mudroom. I absolutely love the light fixture itself, but every time I turned it on at night, it felt way too bright for the space. Eventually, it dawned on me that I didn’t need to change the light fixture…I just needed to change the switch!
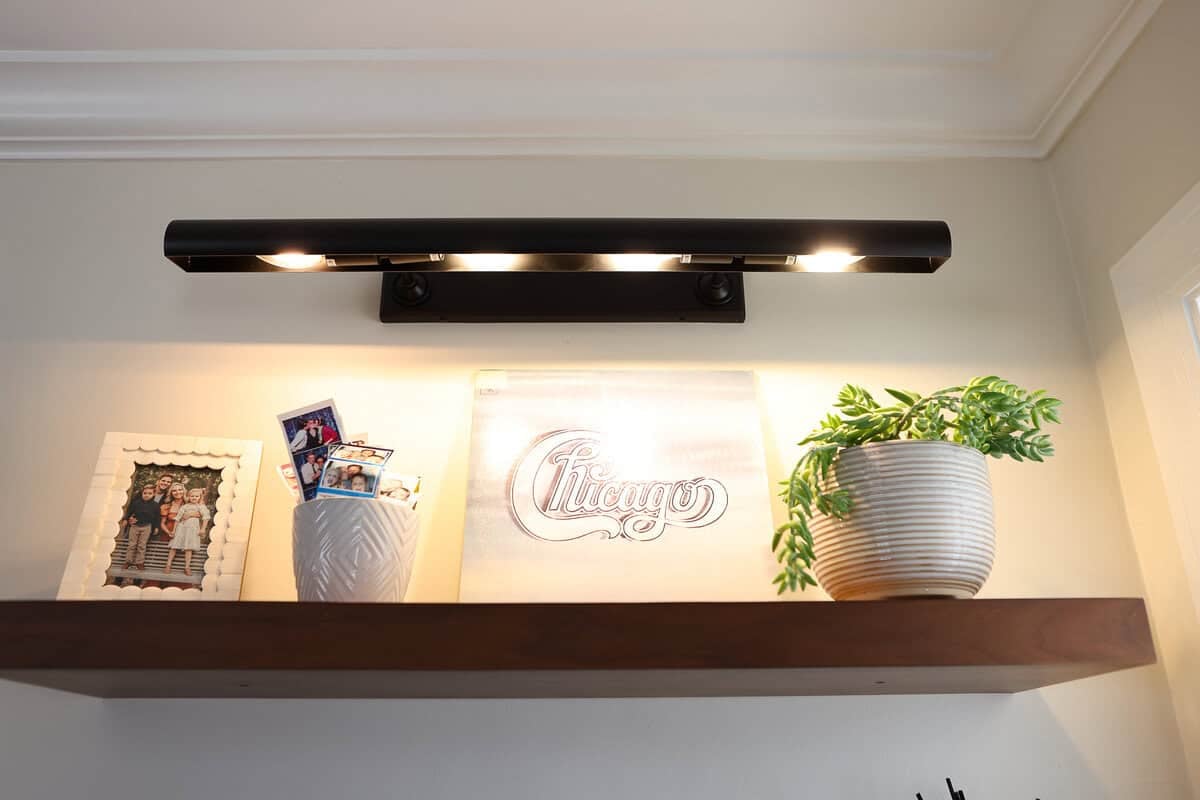
So, I swapped our existing light switch for a dimmer switch, and it made such a difference. If electrical projects make you a little nervous, I get it. But if you’re simply replacing an old switch with a new dimmer switch, this is a pretty approachable DIY project.
Today, I’m walking you through exactly how to install a dimmer switch, step by step.
This tutorial shows how I replaced an existing single-pole light switch in my home. Electrical wiring can vary, so always follow the instructions included with your specific dimmer switch. If you’re uncomfortable doing electrical work, call a licensed electrician.
Can You Replace a Regular Light Switch With a Dimmer?
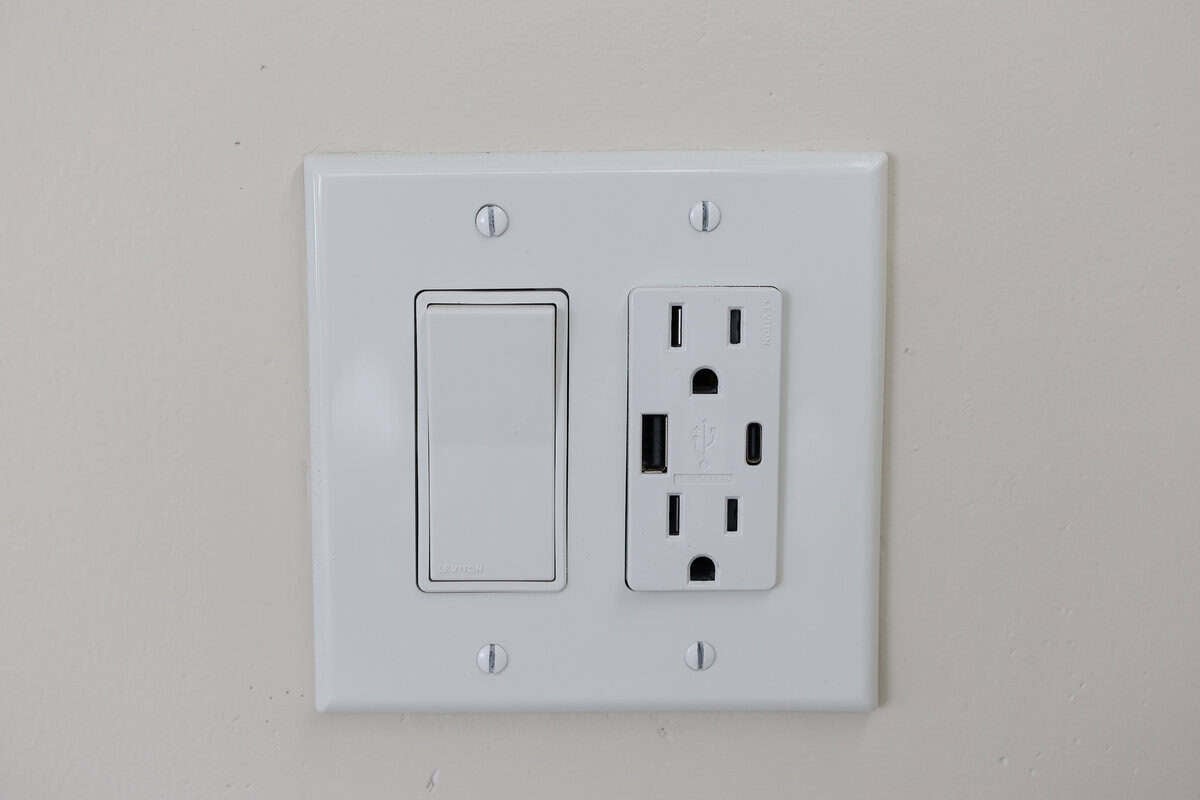
In many cases, yes! If you already have a standard light switch controlling a compatible light fixture, you can usually swap the existing switch for a dimmer without adding any new wiring to the wall.
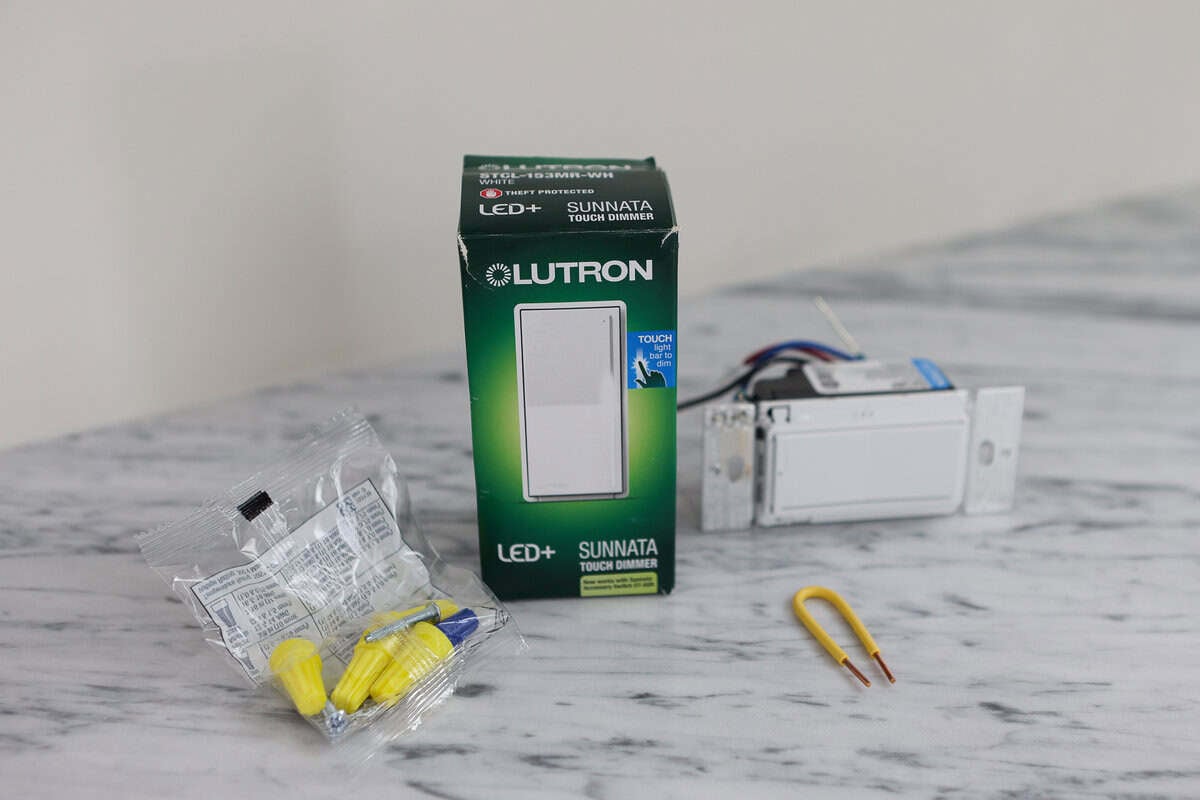
Before you buy your dimmer, you’ll want to figure out whether you have a single-pole or 3-way switch. Don’t let those terms intimidate you; they’re pretty simple.
- A single-pole switch means one switch controls the light.
- A 3-way switch means the same light can be controlled from two different switches, like at the top and bottom of a staircase.
My mudroom picture light is controlled from just one spot, so I used a single-pole dimmer.
You’ll also want to make sure your light bulbs are dimmable and that the dimmer you choose is compatible with your setup. Some dimmer switches require a neutral wire and others don’t, so take a look at the requirements before you buy.
Project At A Glance:
| Difficulty: ⭐️ ⭐️ of 5 | Time: 10 minutes |
| Supplies needed: New dimmer switch Wire nuts (may be needed) | Tools needed: Flathead screwdriver Phillips screwdriver Wire strippers (may be needed) Voltage tester (optional) |
How to Install a Dimmer Switch
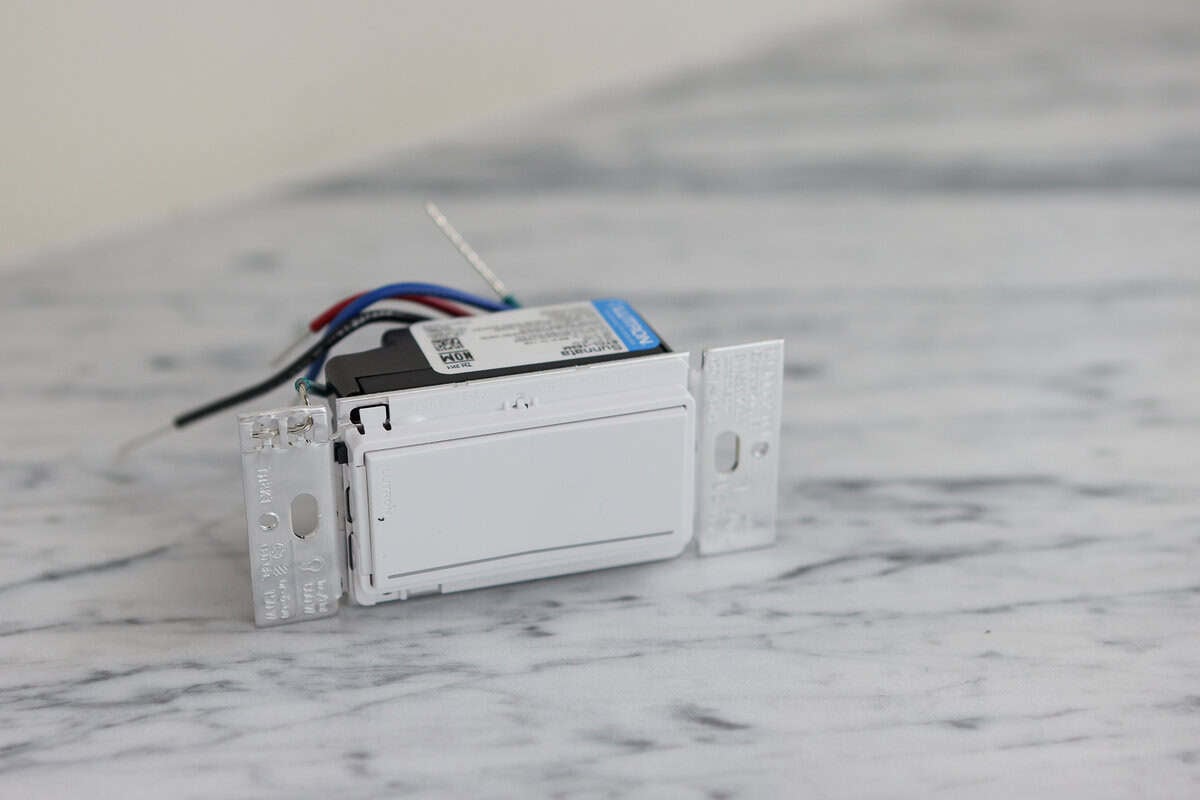
Once you have the right dimmer switch and your tools ready, it’s time to get started. Here’s exactly how I swapped my existing light switch for a dimmer.
Step 1: Turn Off the Power

First things first, head to your breaker box and turn off the circuit breaker that controls the light switch you’re working on.
Once the breaker is off, go back to the switch and try turning the light on. It shouldn’t work, of course, but you can always take it one step further and use a voltage tester to make absolutely sure there isn’t any electrical current running to the switch.
When it comes to electrical projects, this is one step you definitely don’t want to skip! Not sure where yours is? Here’s my guide to the main shutoffs every homeowner should know.
Step 2: Remove the Old Switch
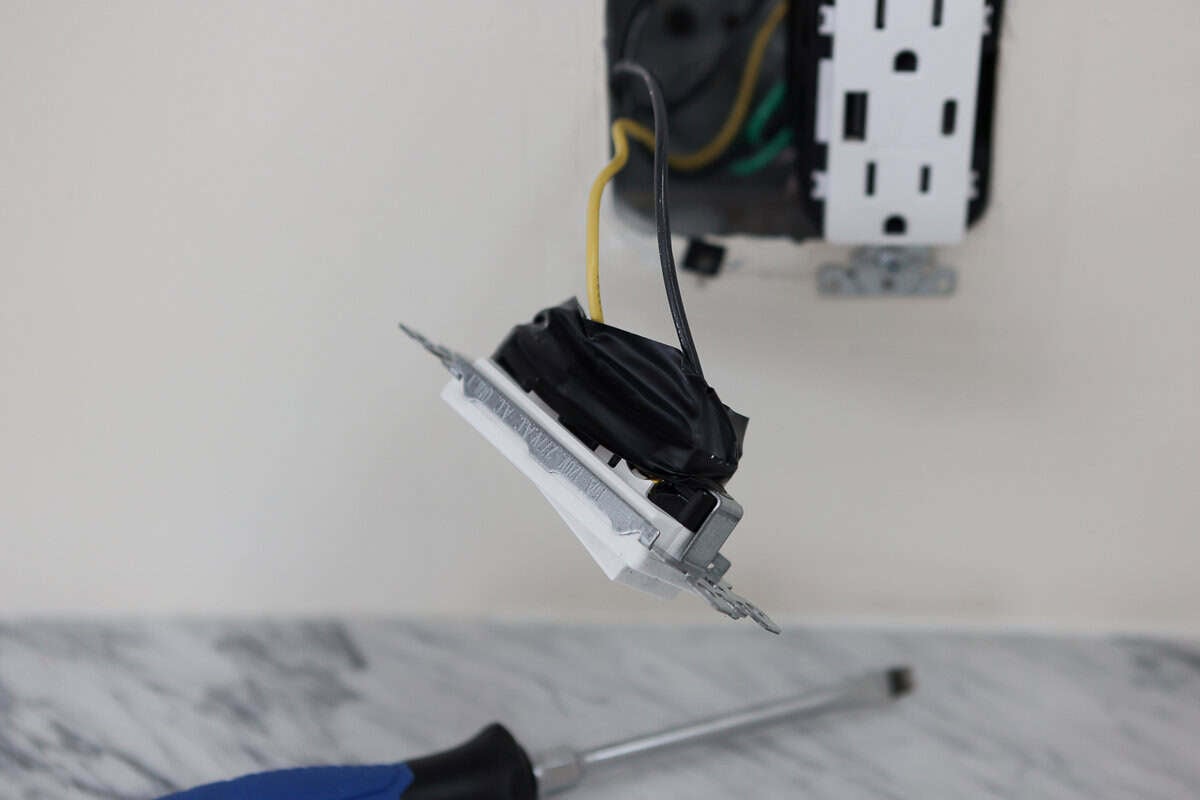
Once you know the power is off, use a screwdriver to remove the switch plate. Then, unscrew the old switch from the electrical box and gently pull it out of the wall.
Before disconnecting any of the electrical wires, take a quick photo of the existing setup with your phone. I do this anytime I’m working with wiring! It’s an easy way to remember exactly how everything was connected if you need to reference it later.
Step 3: Disconnect the Old Switch
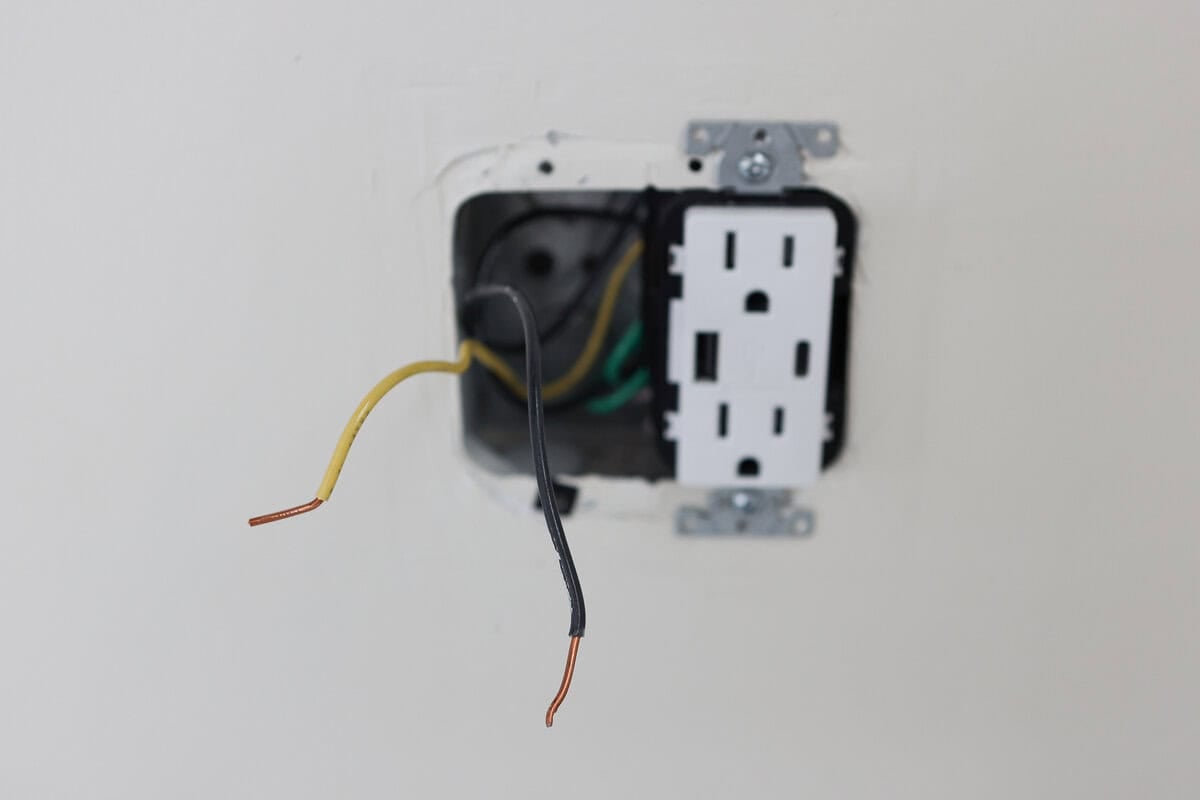
Now you can disconnect the wires from the old switch. Depending on your setup, the wires may be attached with screws on the side of the switch or pushed into the back. I had a black wire and a yellow wire, both attached to the side of the switch.
As you disconnect everything, pay attention to which wire goes where. (This is where that photo comes in handy!) You may see a black wire, white wire, green wire, or bare copper ground wire, but wiring can vary from house to house.
Once everything is disconnected, you can remove the old switch completely.
Step 4: Connect the New Dimmer Switch
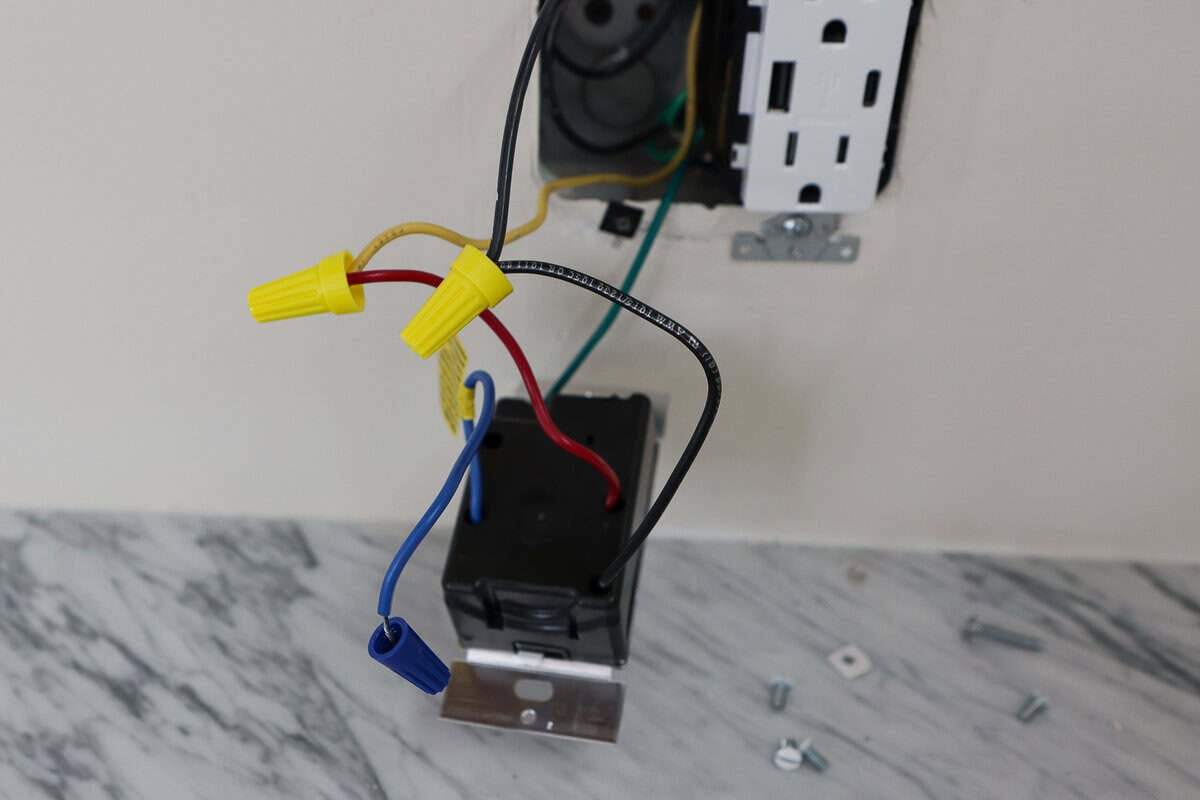
Now I was ready to connect my new dimmer switch. This is where you’ll want to follow the instructions that come with your specific dimmer, because your wires and colors may look different from mine.
In my electrical box, the old switch was connected to a black wire and a yellow wire. My new dimmer had four wires coming from it: black, red, green, and blue.
For my setup, I connected the black wire to the black wire and the red wire to the yellow wire, securing each connection with a wire nut. The green wire is the ground wire, so I connected it with the other green ground wires already in the box. (In my case, those were connected to the outlet next to the switch.)
That left the blue wire. On my particular dimmer, the blue wire is used for a 3-way installation, where the same light is controlled from two different locations. Since my picture light is a single-pole setup with only one switch controlling it, I didn’t need that wire, so I capped it with a wire nut and tucked it safely into the box.
Again, don’t rely on wire colors alone when you’re doing this! Check the wiring diagram for your specific dimmer switch and make sure your setup matches the manufacturer’s instructions before making any connections.
Step 5: Tuck the Wires Back Into the Box
Once all of the connections were secure, I carefully tucked the electrical wires and wire nuts back into the electrical box. This can be a little bit of a puzzle, especially if your wall box is tight, so take your time and gently fold the wires back into place.
I positioned the dimmer in the box, but I didn’t tighten everything down just yet. First, I wanted to make sure my new dimmer actually worked!
Step 6: Turn the Power Back On and Test It
I headed back to the breaker box, turned the circuit breaker back on, and tested the dimmer. Success! The picture light turned on, and I could adjust the brightness up and down.
Once I knew everything was working properly, I turned the power back off at the breaker so I could safely finish installing the switch.
Step 7: Secure the Dimmer and Add the Wall Plate
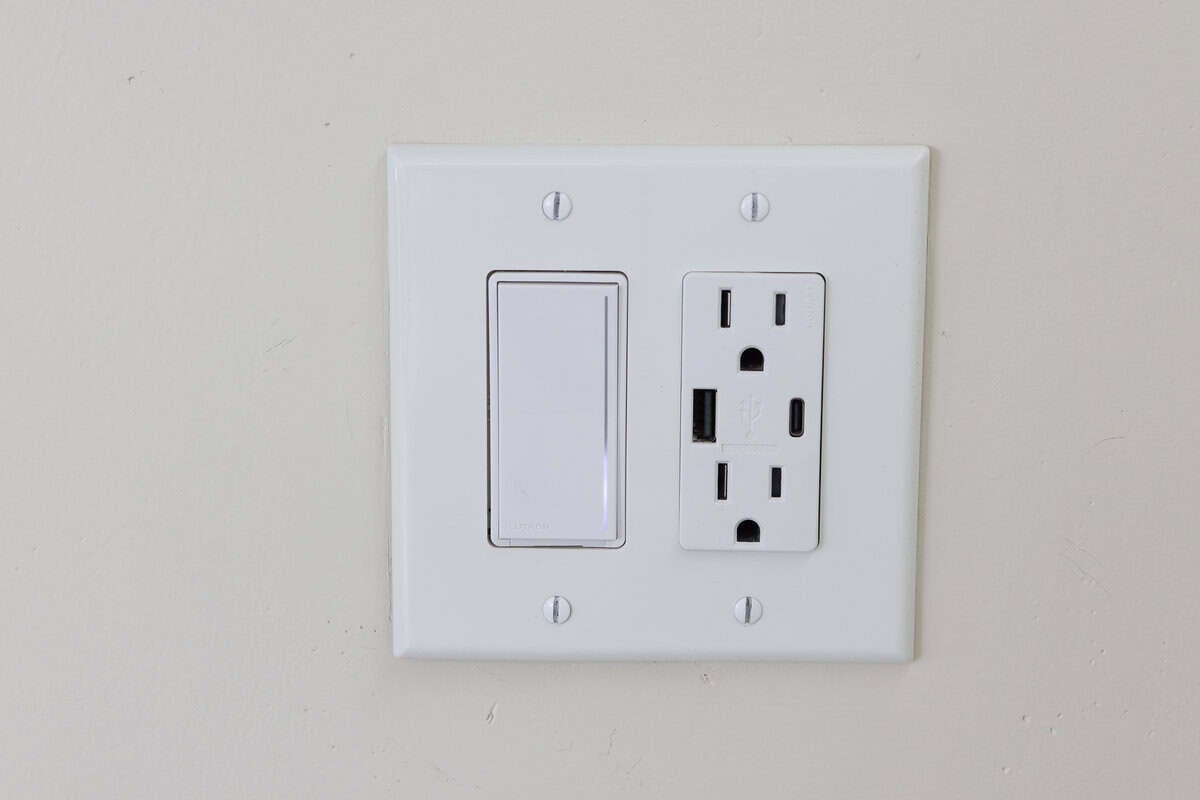
Once I knew everything was working, I turned the power back off at the circuit breaker and finished securing the dimmer inside the electrical box. I tightened the screws, made sure the switch was sitting nice and straight, and then added the wall plate.
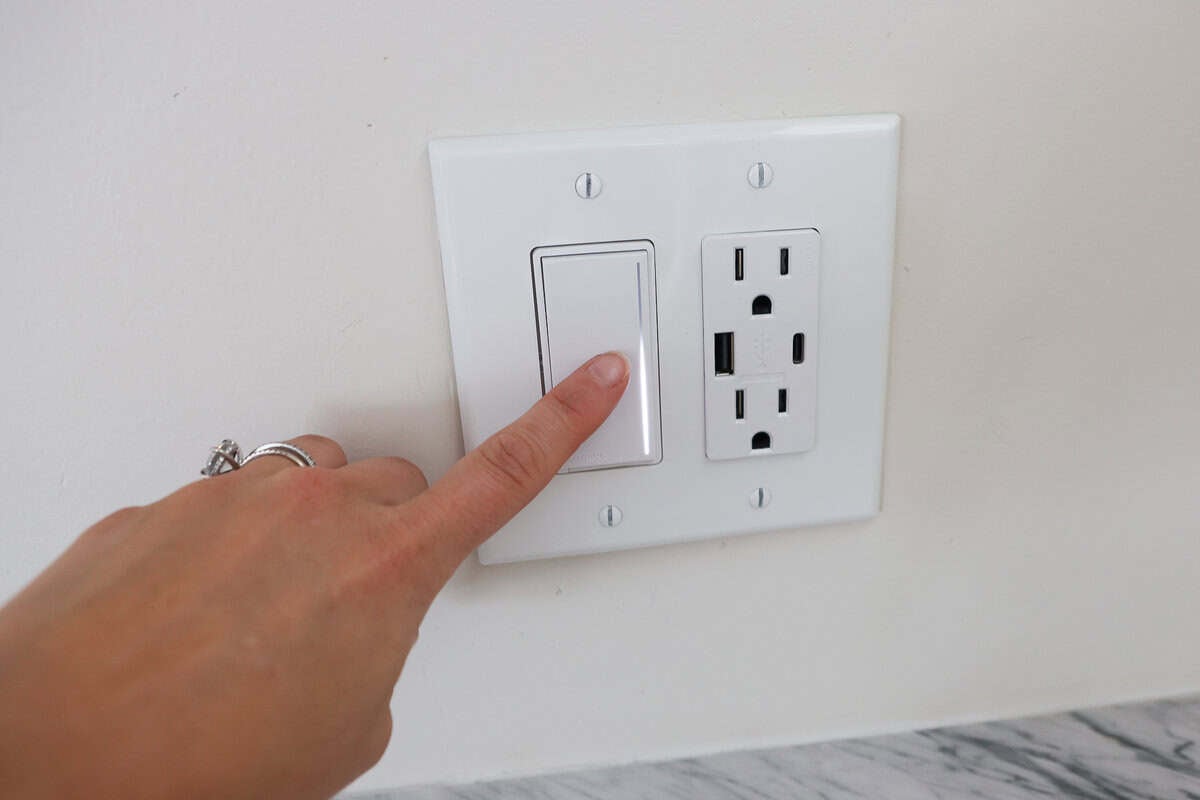
Finally, I turned the power back on one last time, and that was it! My regular light switch was officially replaced with a dimmer.
A Small Change That Made a Big Difference
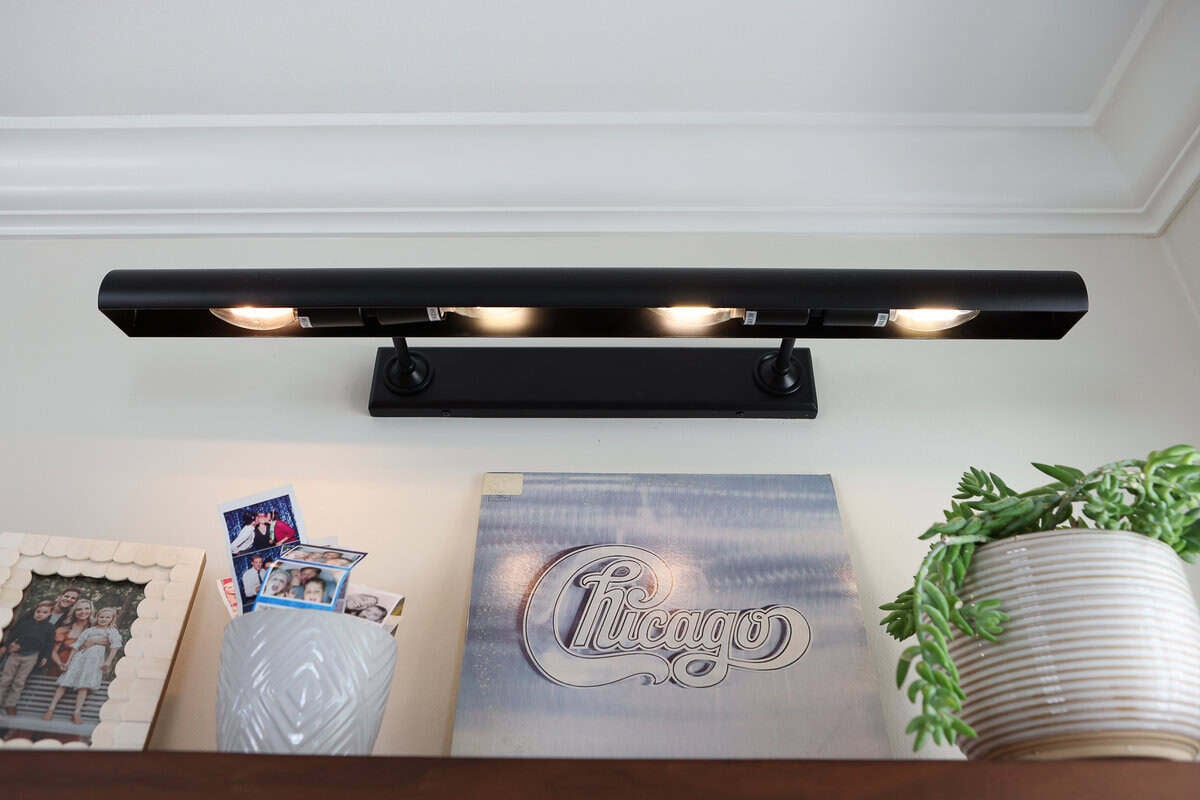
And that’s it! This was such a quick DIY project, but it completely changed how we use this light. Before, I rarely turned on our mudroom picture light because it was just way too bright, especially at night. Now I can dim it down to a soft glow, and I actually use it all the time.
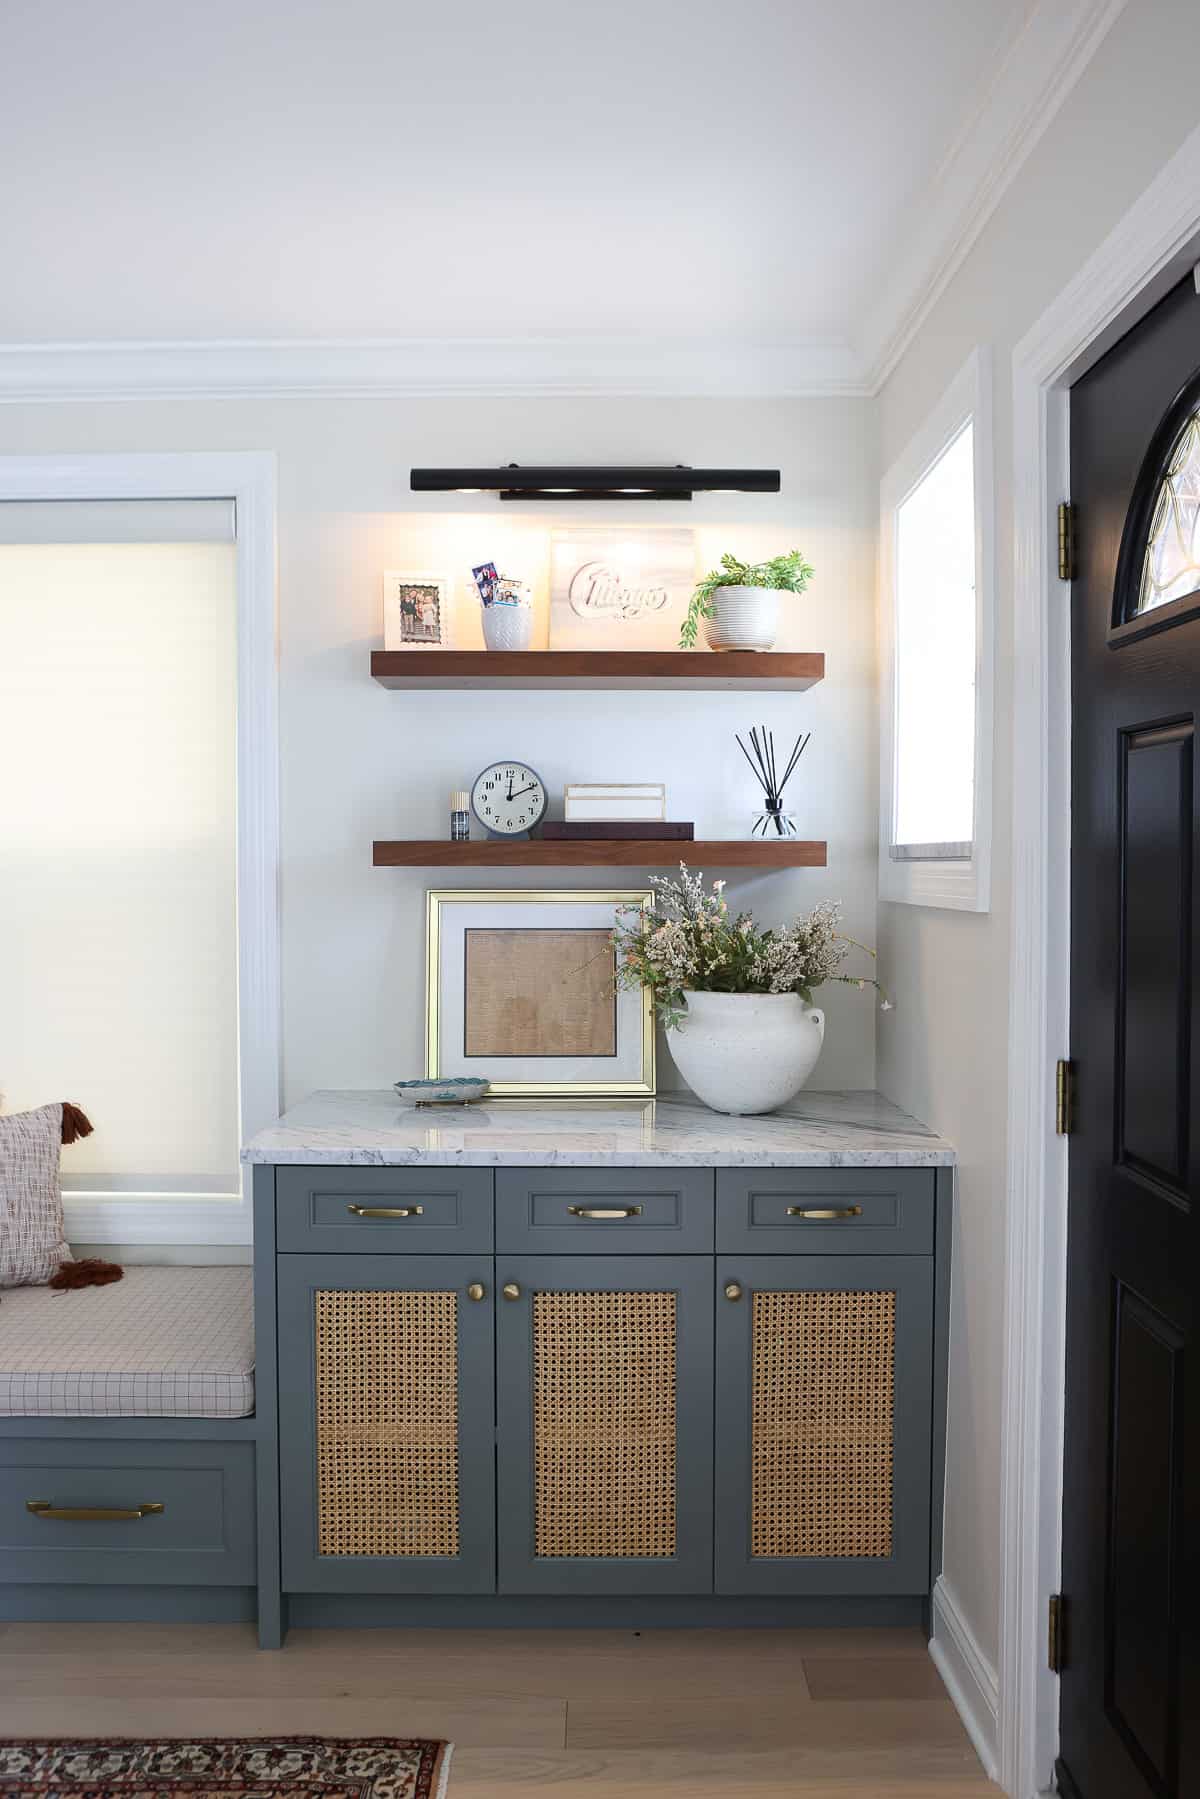
I know electrical work can feel intimidating, but swapping an existing light switch for a dimmer is a beginner-friendly project that took me about 10 minutes.