
How to Remove Mold From Shower Caulk (And Replace It)
Dealing with stubborn moldy shower caulk that just won’t come clean? I’ll show you how to remove the old caulk, prep the area, and apply fresh silicone caulk for a clean finish.
We finished our primary bathroom renovation in spring 2022, and four years later, I still love this space. We originally had a bathtub here, but during the renovation, we replaced it with a large walk-in shower. We use it every single day, and I’m still so happy we made that change.
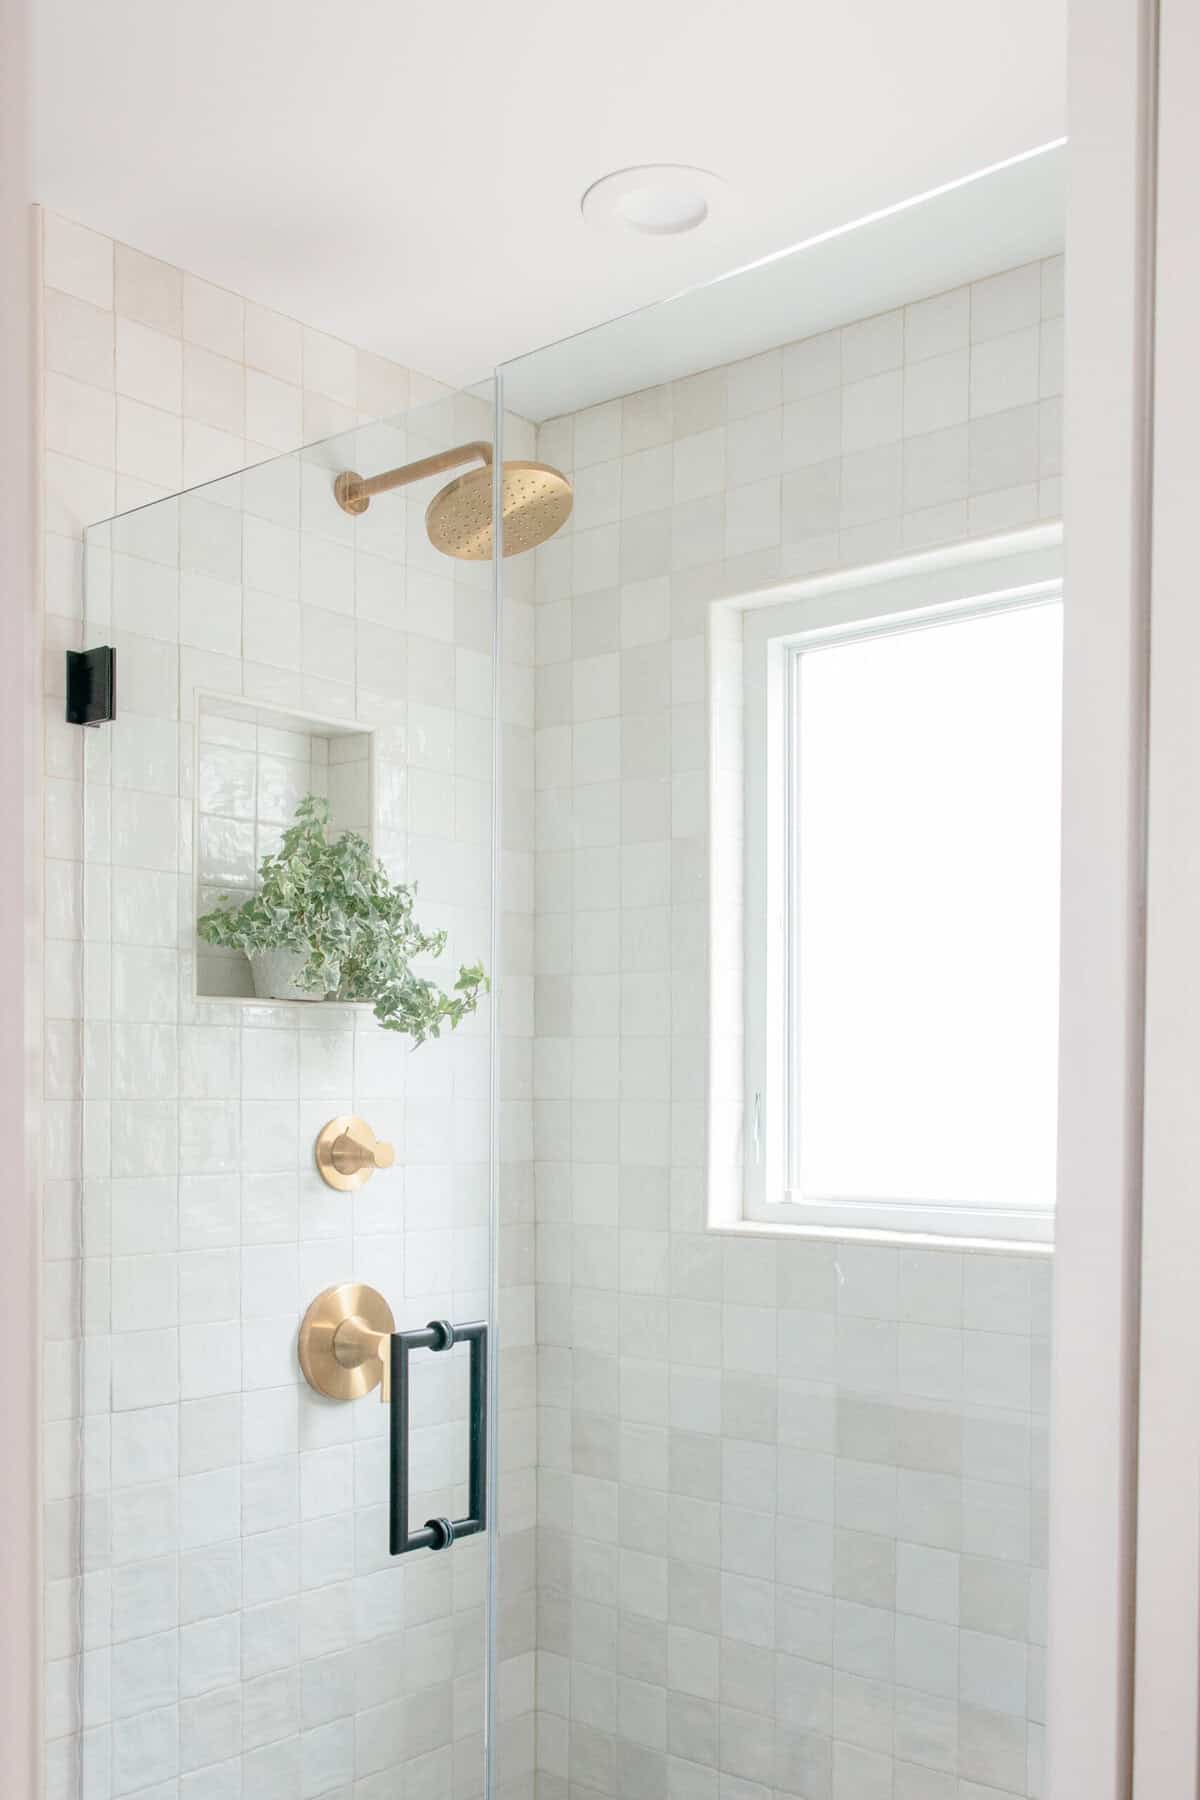
But here’s the problem with knowing how to tile: I notice everything! I’ll be standing in the shower looking at the grout lines, corners, caulk…all of it. And recently, a few areas were starting to bug me.
First, the installers had used grout around the edge of our shower window where they should have used flexible caulk. Eventually, the tile grout started to crack and crumble. I tackled that separately and have a full tutorial on what to do when grout is crumbling and needs to be replaced with caulk.
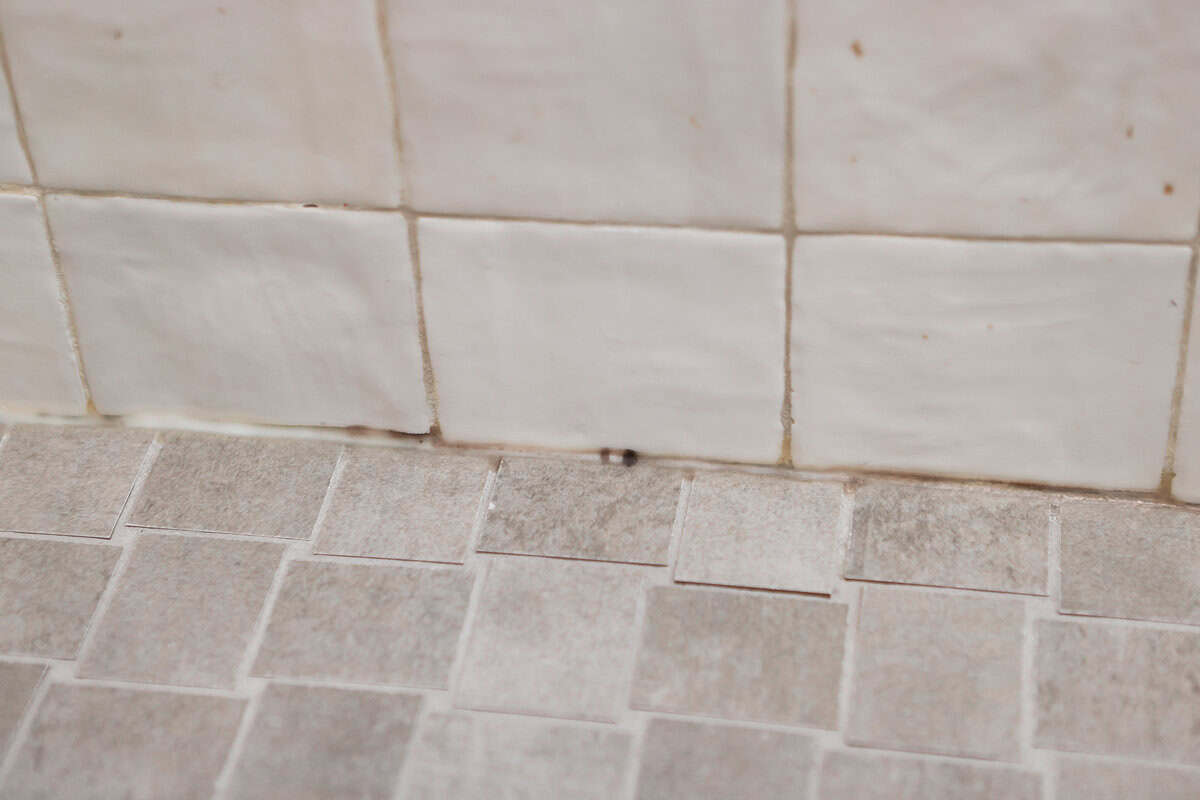
Then I started noticing black spots in the shower caulking along the bottom of the shower walls. I tried my favorite mold stain remover, but those stubborn mold stains weren’t budging. At that point, I knew it was time to remove the old bathroom caulk and start fresh.
I’ve already shared how to recaulk a bathtub, and the general process is similar. But since I was dealing specifically with moldy caulking in a large tiled shower, I figured I’d take you along for this project too.
Do You Need to Recaulk or Just Clean Your Shower Caulk?
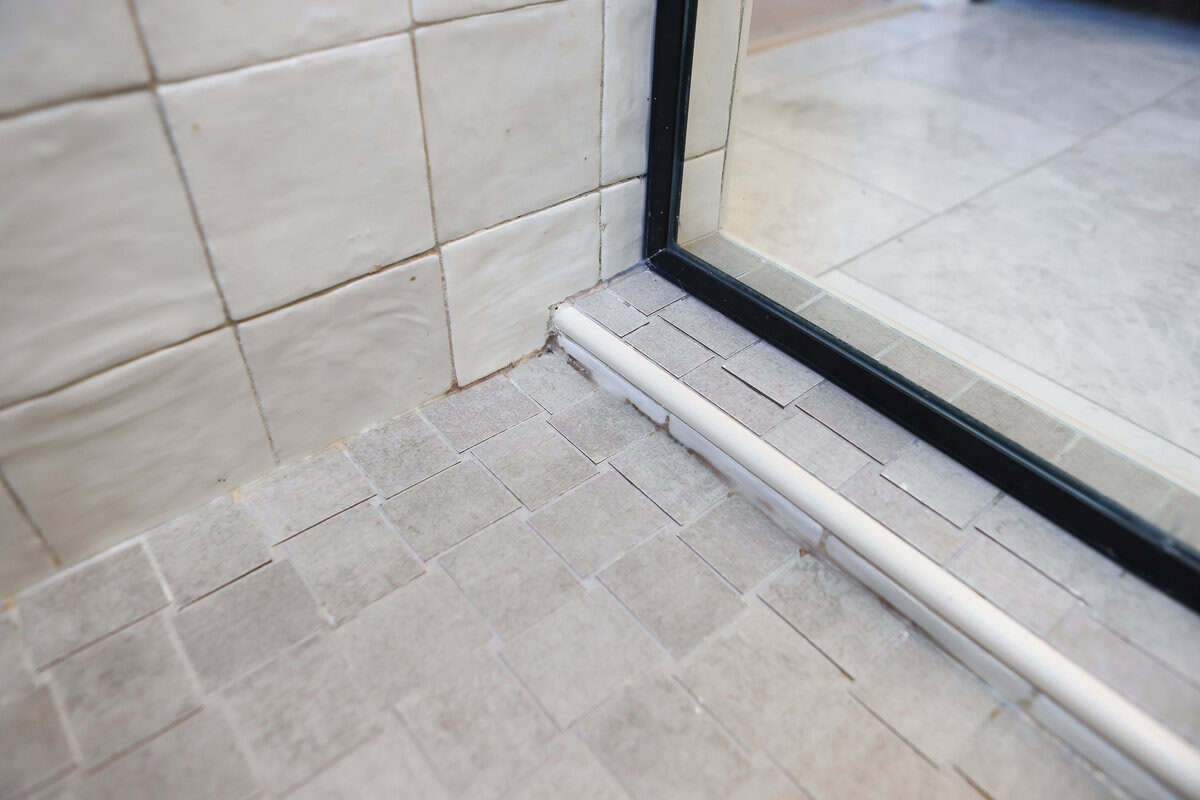
Before you start ripping out old caulk, try cleaning it!
If the caulk is still in good shape and you’re just seeing some soap scum, discoloration, or surface mold, a good cleaning may be all you need. Start with a cleaning solution that’s safe for your specific tile and grout and see if those black spots disappear.
That’s what I did first. I used my favorite mold stain remover. Usually, I have great luck with this stuff, but this time? The mold stains didn’t budge.
Caulk that’s cracked, peeling, pulling away from the tile, or no longer creating a good seal is another sign that it’s time to re-caulk.
And don’t just caulk over the problem! The old silicone needs to come out so you can thoroughly clean and dry everything before starting fresh.
At A Glance:
| Difficulty: ⭐️ ⭐️ of 5 | Time: 2-3 hours, plus cure time |
| Supplies needed: 100% silicone caulk Mold cleaner Rubbing alcohol Painter’s tape Paper towels Baby wipes Clean cloth | Tools needed: Caulk gun Caulk removal tool and/or utility knife Shop vac Caulk finishing/removal tool |
How to Remove Mold From Shower Caulk
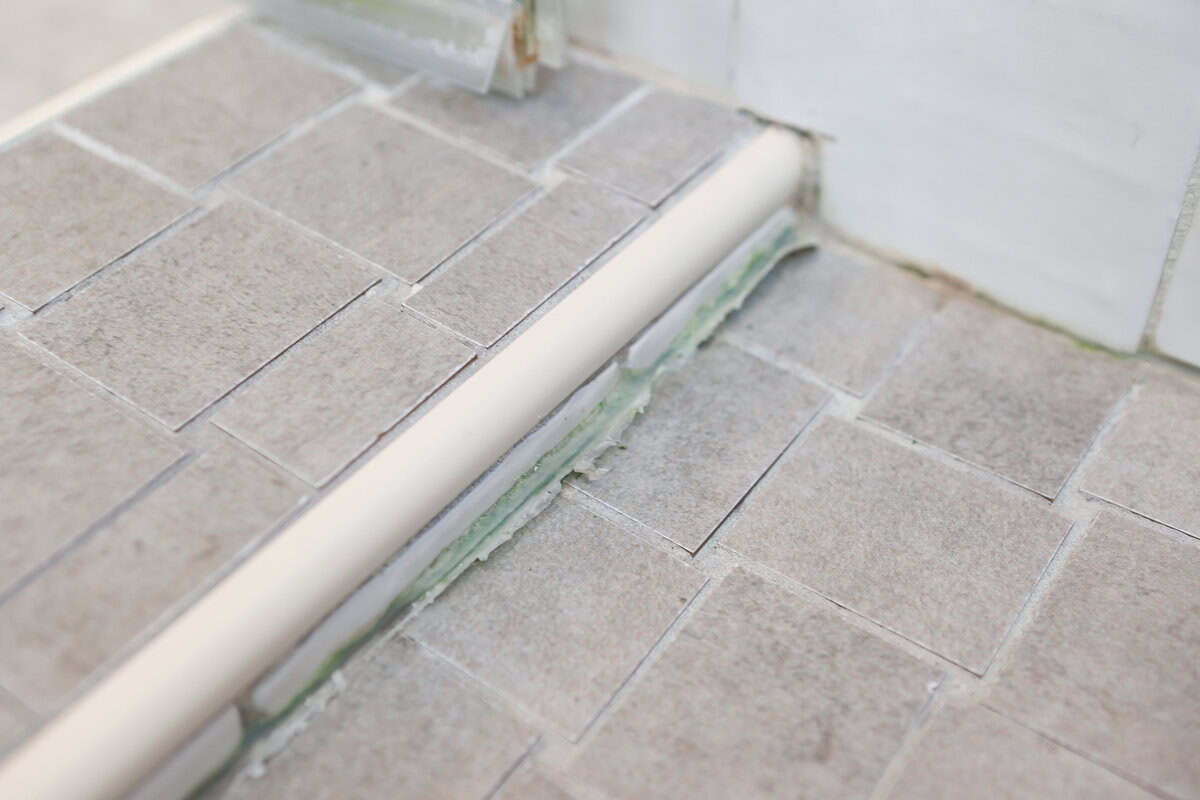
Step 1: Remove the Old Caulk
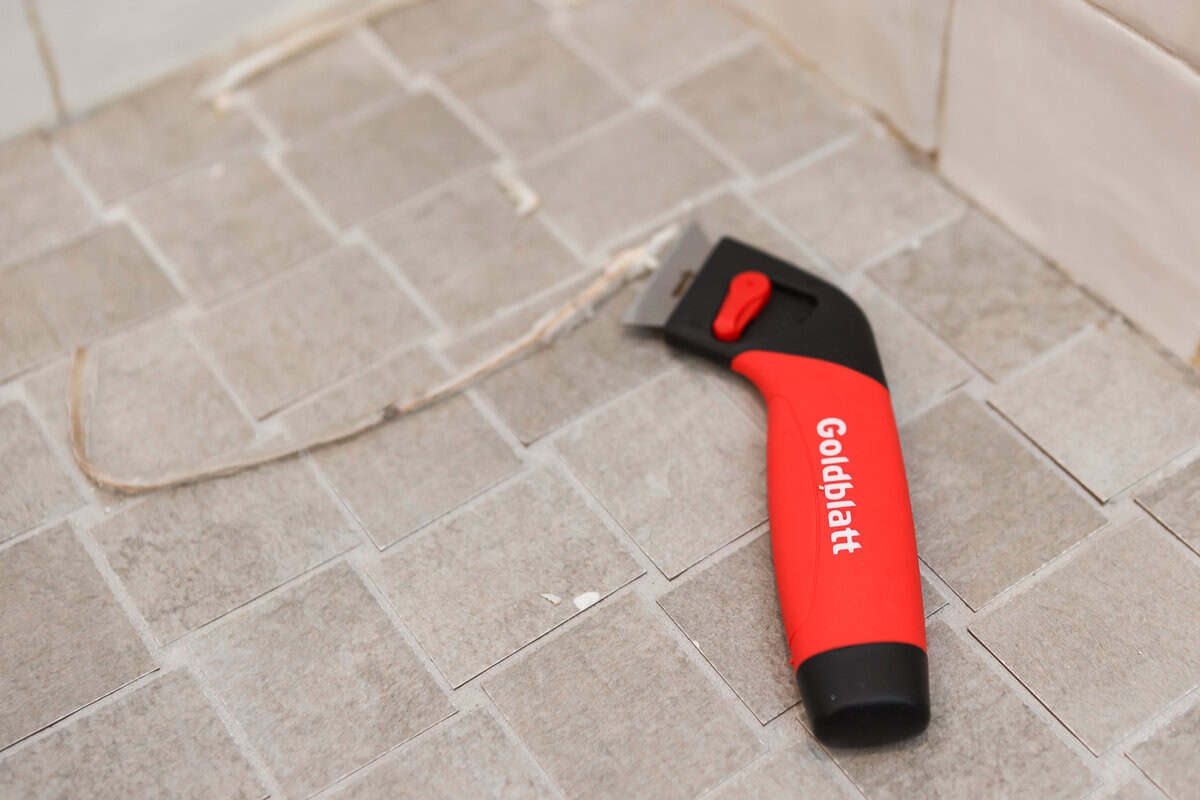
First, all of that old caulk has to come out. I used a caulk removal tool to score along the top and bottom edges of the silicone. Once both sides were loose, I could grab an end and start pulling.
Sometimes I got a long, satisfying strip that peeled right out. Other times…not so much. I had to go back in with the removal tool and carefully dig out all of those stubborn little pieces.
This was easily the most time-consuming part of the project. Take your time and get as much of the old silicone out as you can without scratching your tile.
Step 2: Vacuum Up the Debris
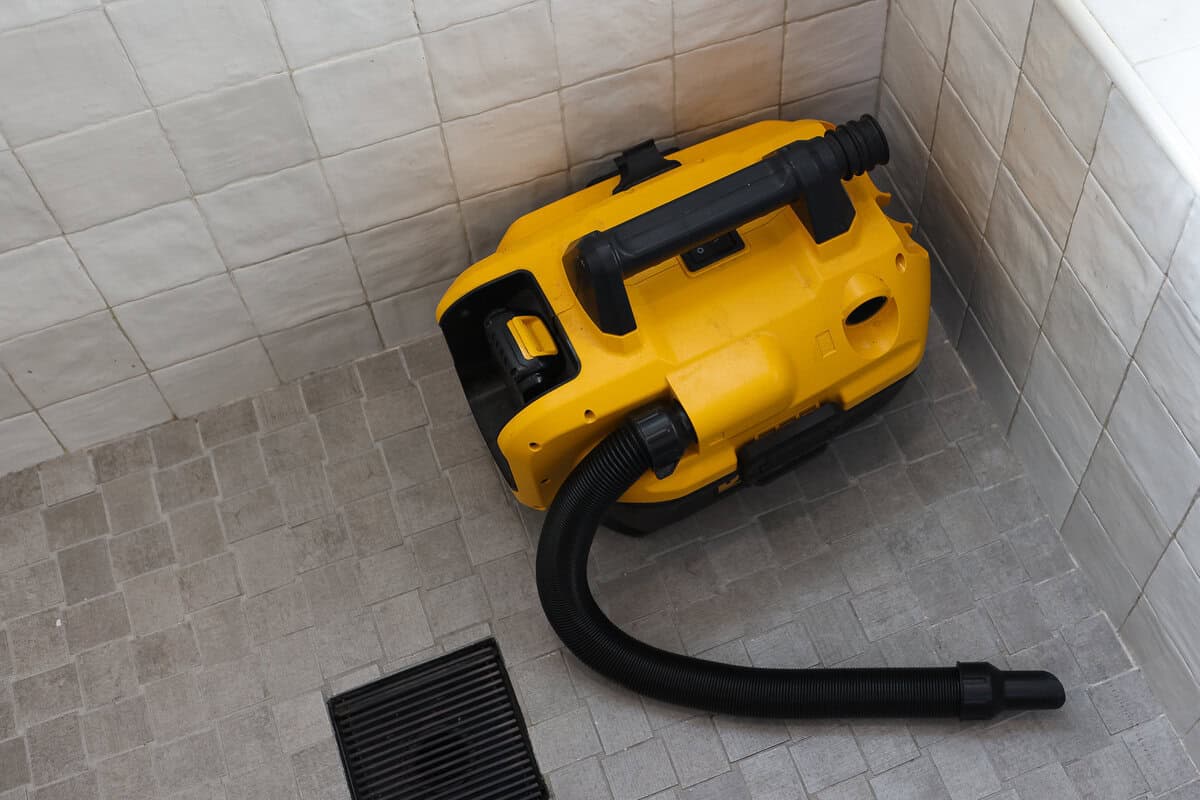
Next, I grabbed my shop vac and went over the entire area. There were tiny pieces of silicone everywhere, especially down in the seams and corners, and this was the easiest way to get them all out before cleaning.
Step 3: Clean the Moldy Areas
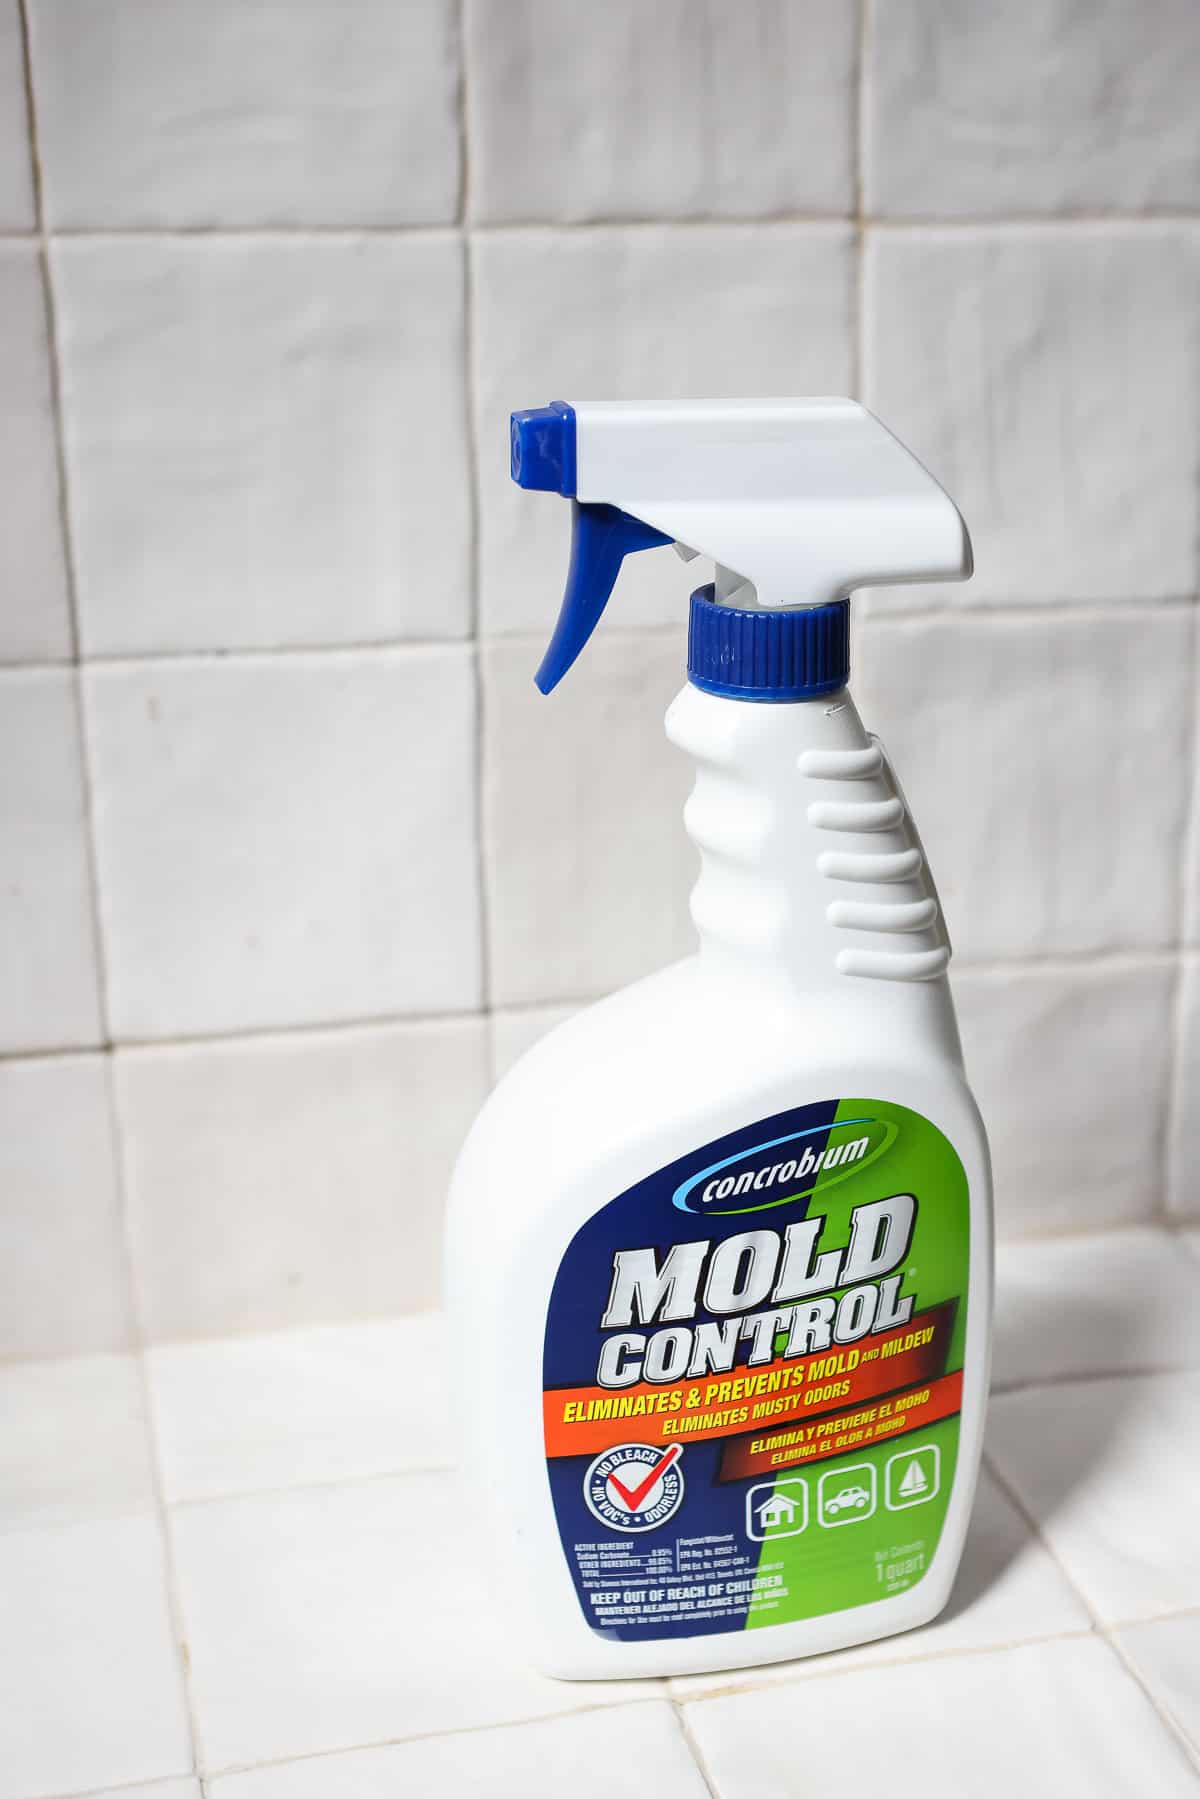
With the old caulk gone, I could finally clean the areas underneath it.
I used my mold cleaner on any remaining moldy areas and black spots, following the directions on the bottle. Make sure whatever cleaning agent you use is safe for your particular shower materials.
Step 4: Let Everything Dry
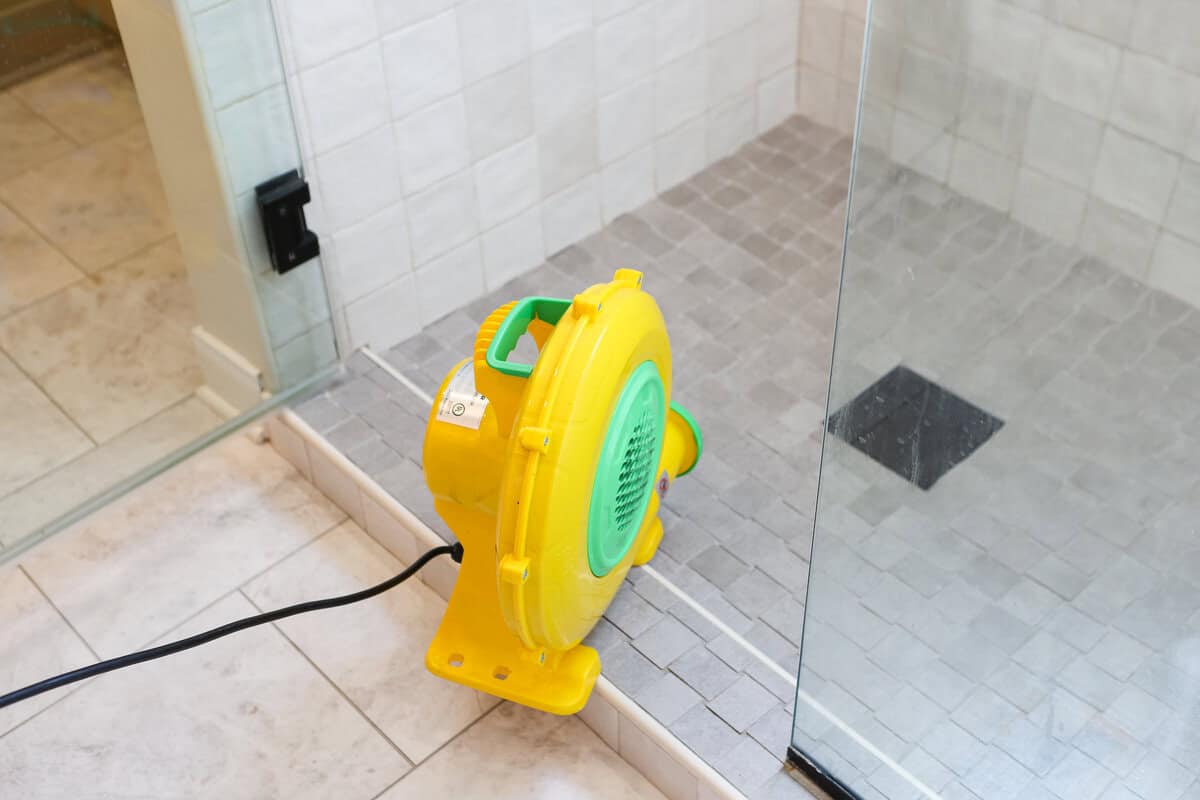
This part is important: Everything needs to be completely dry before you seal it back up with new silicone. You don’t want to trap any excess moisture underneath the new caulk.
I wanted to speed things up, so I grabbed the fan we use to inflate our kids’ bounce house and pointed it into the shower. Ha! A regular fan works too, but you use what you’ve got.
Step 5: Prep With Rubbing Alcohol
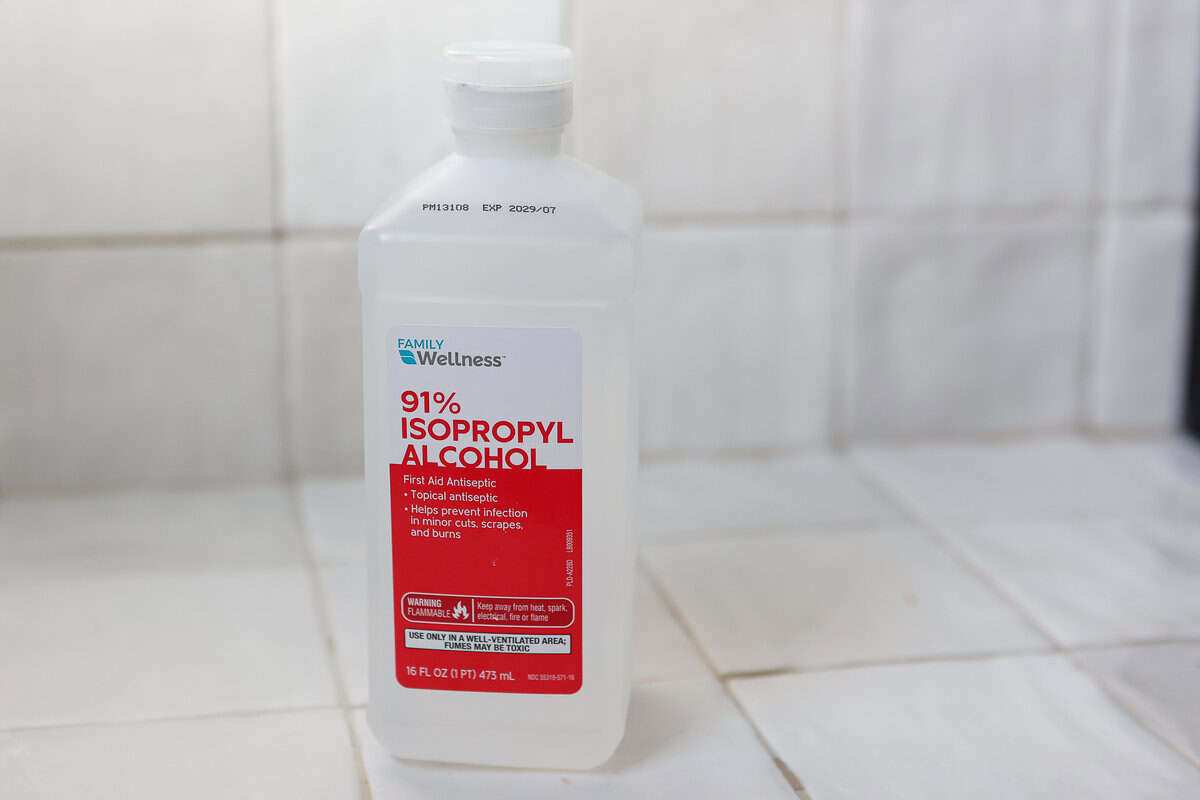
Once everything was dry, I did one final pass with rubbing alcohol.
I added some to a clean cloth and wiped along every seam I planned to caulk. This helped remove any lingering residue and gave me a nice, clean surface for the new silicone.
I let that dry completely and then it was finally time to caulk.
Step 6: Choose the Right Silicone Caulk
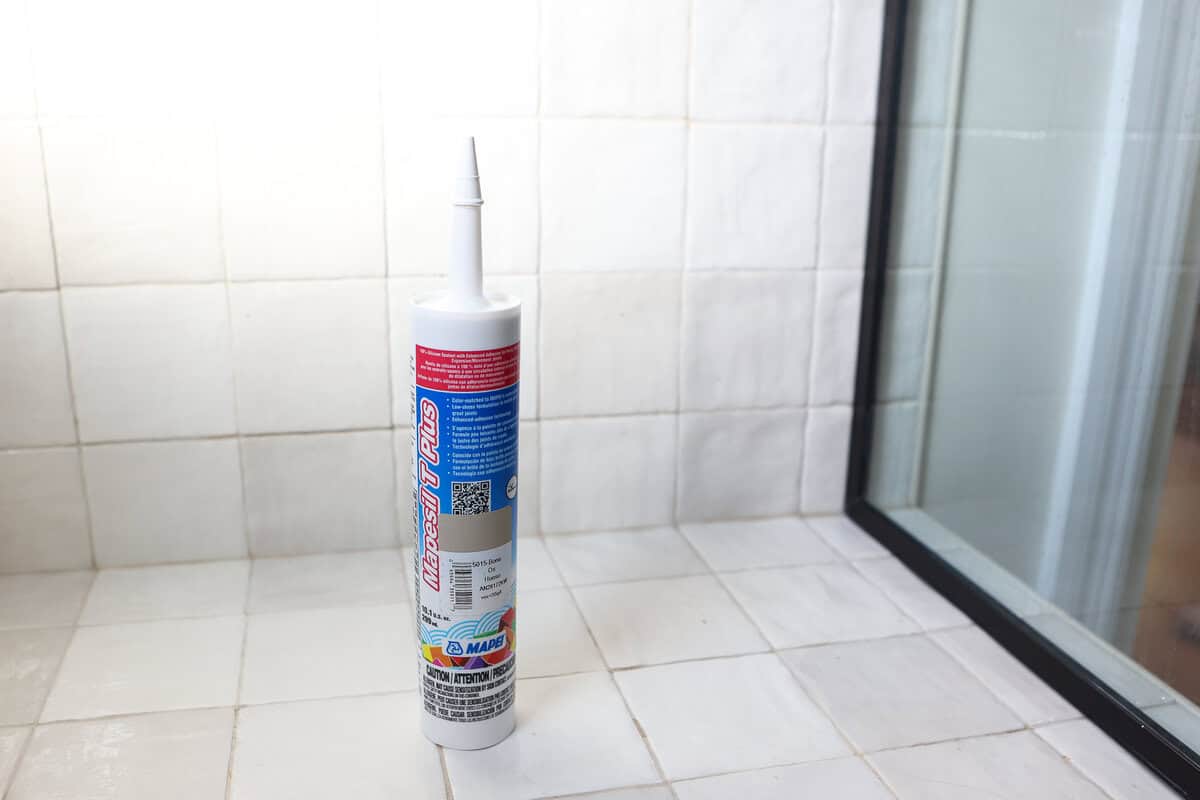
For a shower, you want 100% silicone caulk that’s made for bathrooms and wet areas. I also opted for a mold-resistant caulk since this is obviously a moist environment that gets wet every single day.
One thing you may not realize is that silicone caulk comes in more colors than just white and clear.
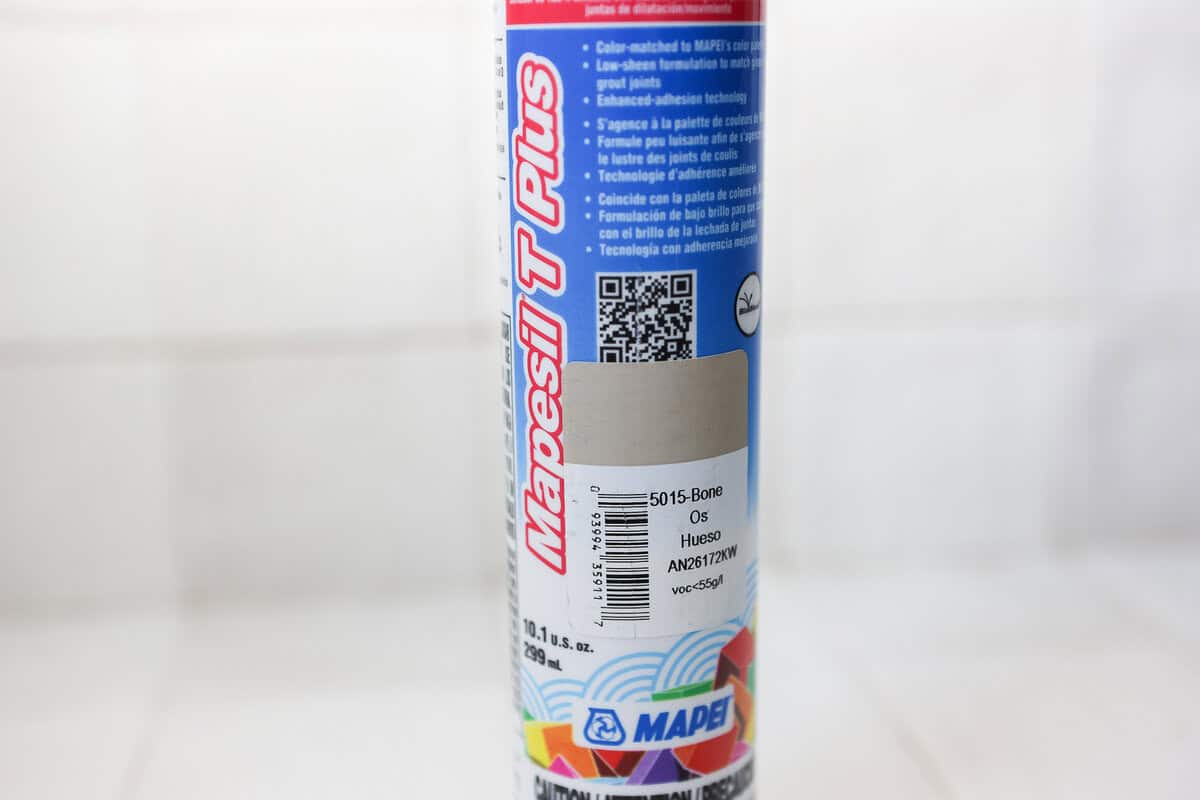
Our shower walls have a warmer tile with Bone-colored grout, and I was able to buy silicone caulk in that same Bone color. It blends in beautifully with the grout lines and gives everything a really seamless look.
If you know the color of your grout, it’s always nice to have the caulk match.
If this is your first time caulking and you’re nervous about getting a perfect line, clear silicone is another option. It’s a little more forgiving because you won’t notice every tiny imperfection quite as much.
And a warning before we continue: Silicone caulk is a different animal than acrylic latex caulk!
I use acrylic latex caulk all the time for trim and baseboards because it’s easy to work with and cleans with water. Silicone is much stickier and messier, but it’s the right product for a wet area like a shower.
So have all of your supplies nearby before you start. You don’t want to be running around looking for paper towels with silicone all over your hands. Ask me how I know…
Step 7: Cut the Caulk Tube
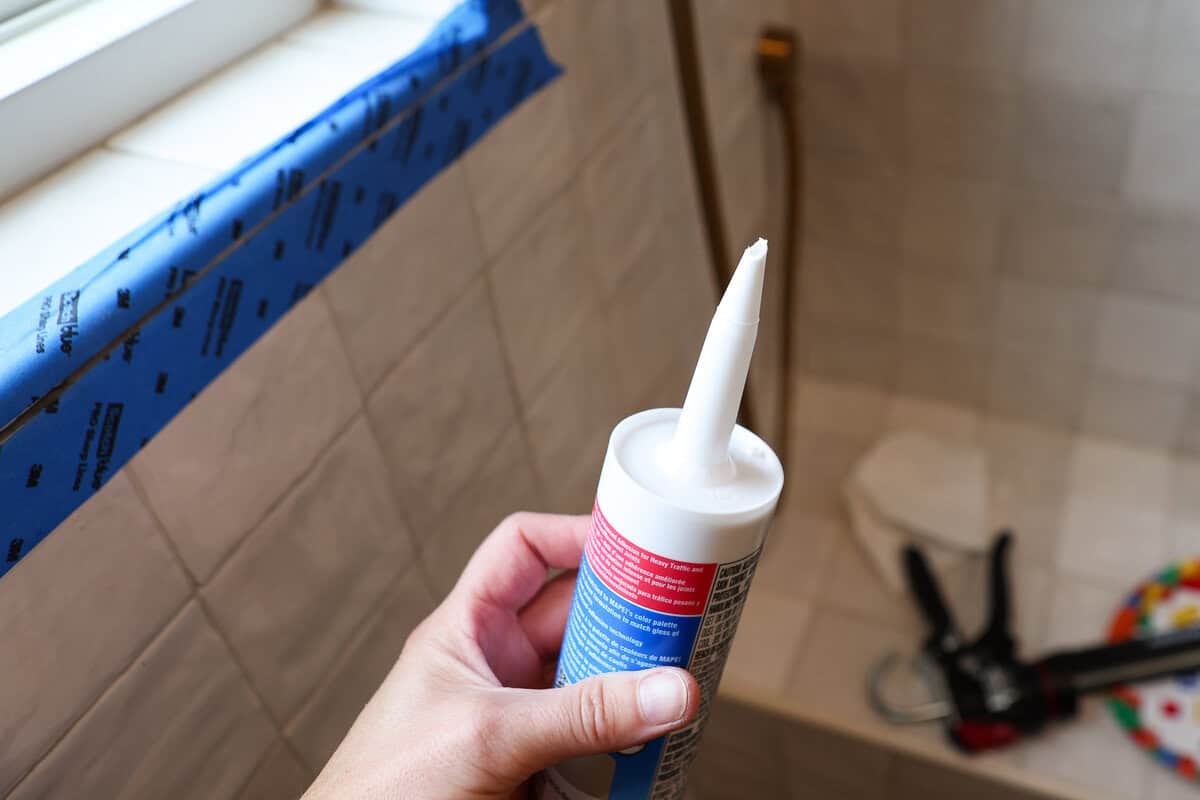
Cut the tip of the caulk tube at an angle, starting with a small opening. You can always make it bigger, but you can’t make it smaller!
A smaller opening also gives you more control over the amount of silicone coming out, and you really don’t need a huge bead for this project. Pierce the inner seal, load the tube into your caulk gun, and you’re ready to go.
Step 8: Tape One Wall at a Time
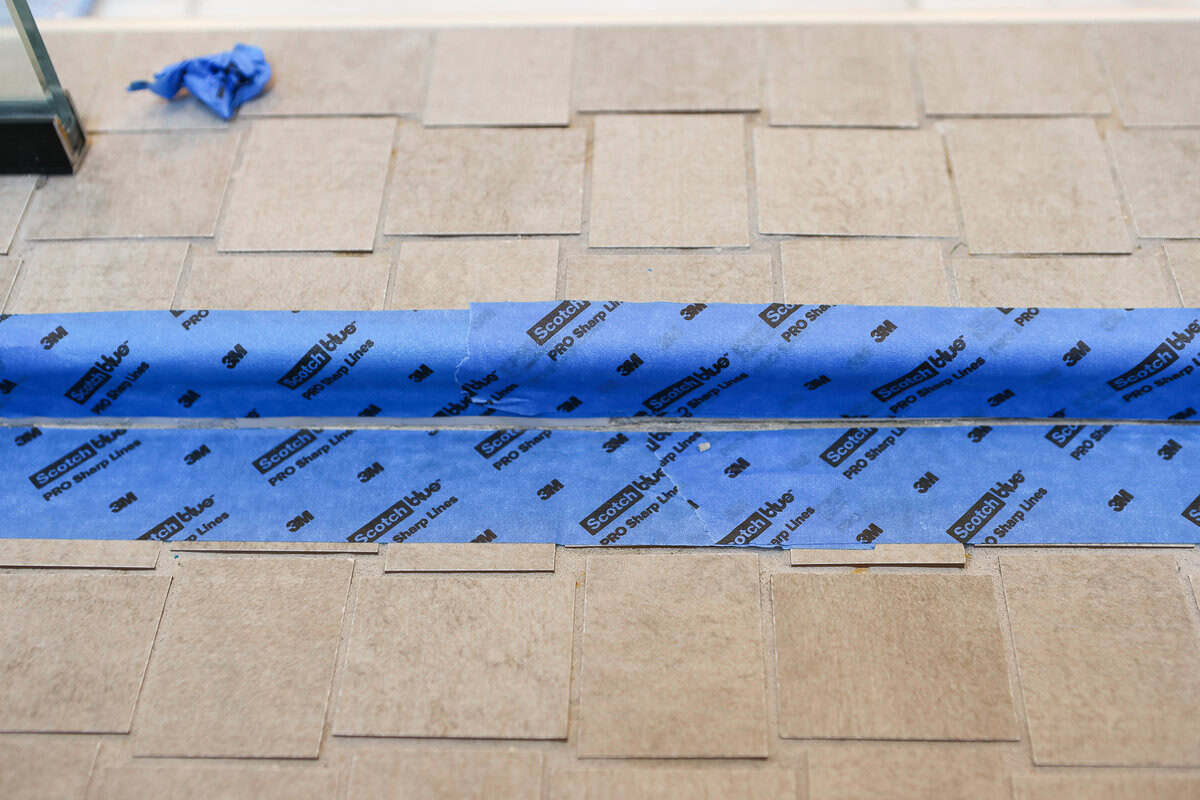
I used painter’s tape along both sides of the seam to help me get a nice, clean caulk line.
Here’s the part that really helped me: I only worked on one wall at a time.
I’d tape one section, caulk it, smooth it, remove the tape, and clean everything up before moving on. Silicone starts setting up quickly, and this kept me from feeling like I was racing around the entire shower.
Step 9: Apply and Smooth the Silicone
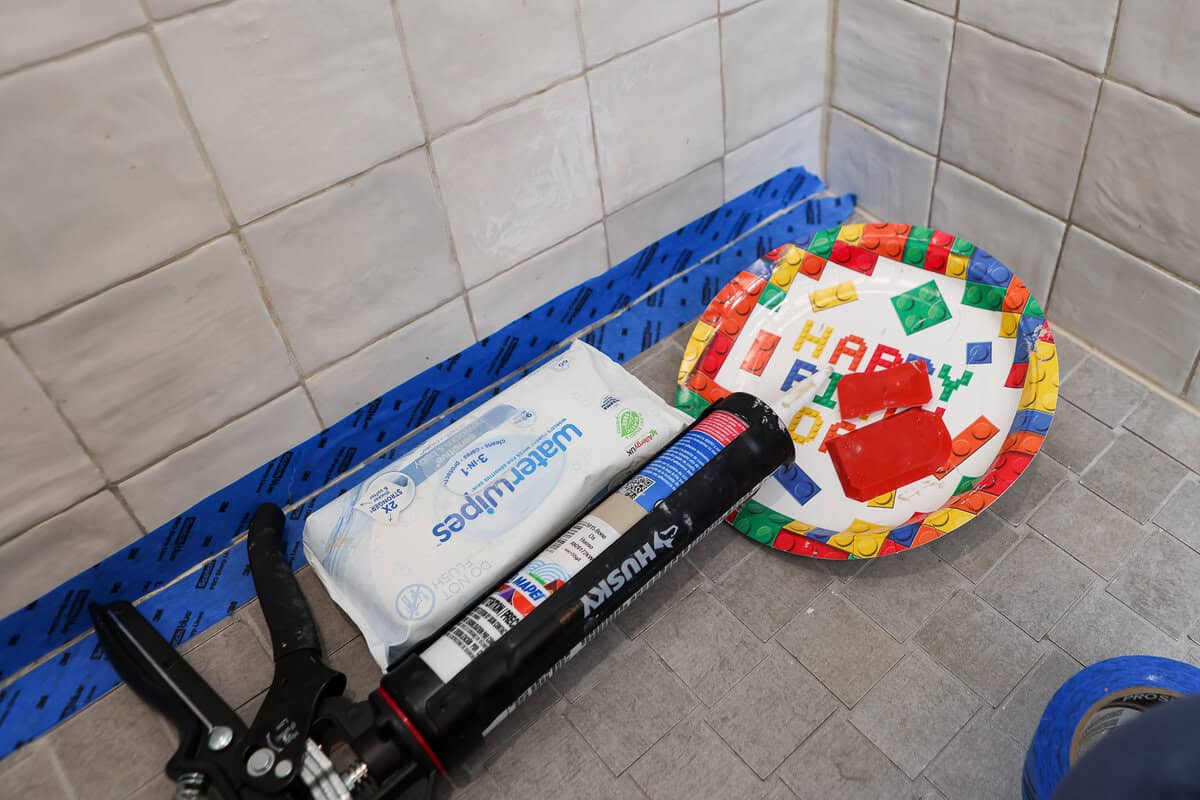
With the tape in place, I ran a small, steady bead of silicone along the seam. Less is more! Too much silicone just means more mess to clean up.
I used a small caulk finishing tool to smooth the bead and remove the excess. Is the tool absolutely necessary? Probably not. But I was happy to have it.
Once the line looked good, I pulled off the painter’s tape while the silicone was still wet. Then I used a baby wipe to gently clean up any edges that needed a little help.
And again: Keep lots of paper towels nearby. Silicone is messy!
Step 10: Keep Going!
Then it was just a matter of working my way around the shower:
Tape. Caulk. Smooth. Remove the tape. Clean up. Then onto the next section.
Going slowly and working one wall at a time made this project so much easier.
Step 11: Let It Cure
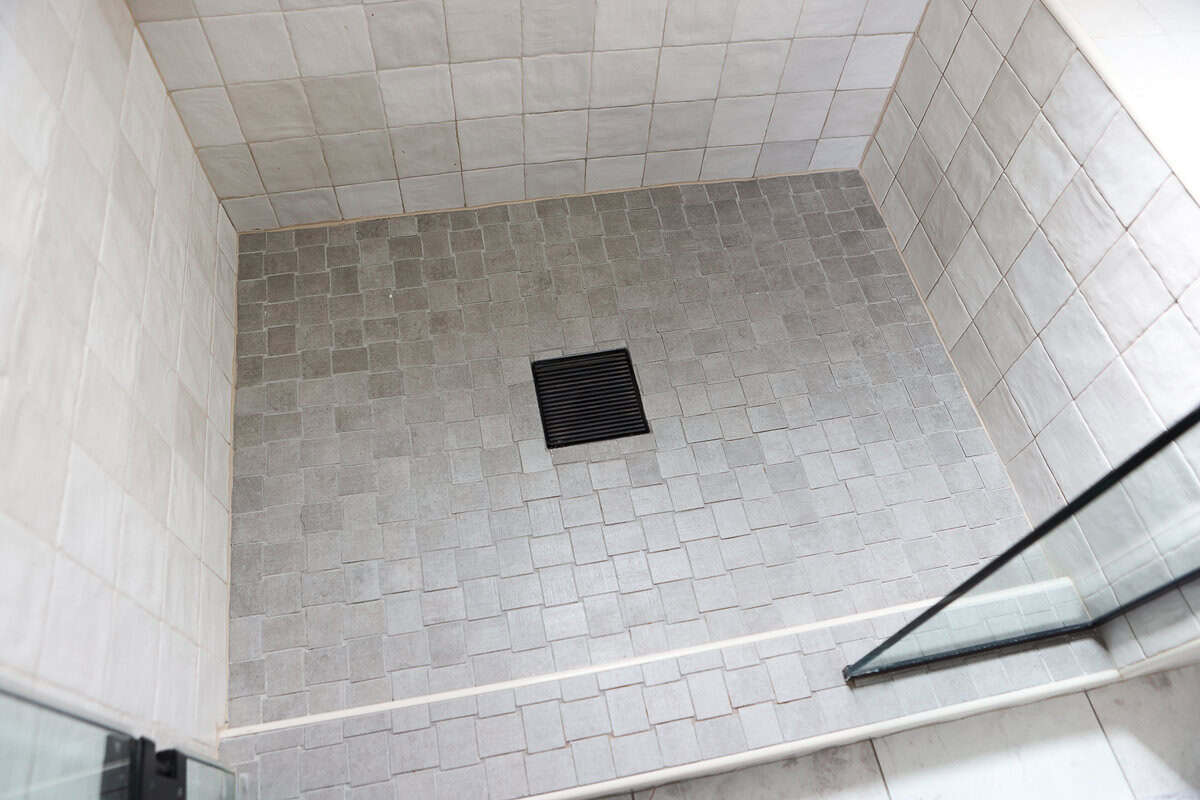
Once I finished the entire shower, it was hands off.
My silicone needed 24 hours to cure before it could get wet, so we stayed out of the shower until then. Check the directions on your specific caulk because cure times can vary.
You’ve already done all of that prep work. Don’t ruin it by taking a shower too soon!
How to Help Prevent Mold From Coming Back

Now that my shower caulk is looking fresh again, I’d obviously like to keep it that way!
Besides regular cleaning, keeping bathroom humidity levels under control is a big one. We run our bathroom exhaust fan during showers and leave it running afterward to help get excess moisture out of the room.
And don’t forget to clean the fan itself! Dust buildup can keep it from working as efficiently as it should. I have a full tutorial on how to clean a bathroom exhaust fan, and it’s one of those quick home maintenance tasks that’s easy to forget.
Good ventilation won’t guarantee you’ll never see mold again, but keeping moisture and humidity under control can certainly help prevent future mold growth.
A Much Cleaner Shower
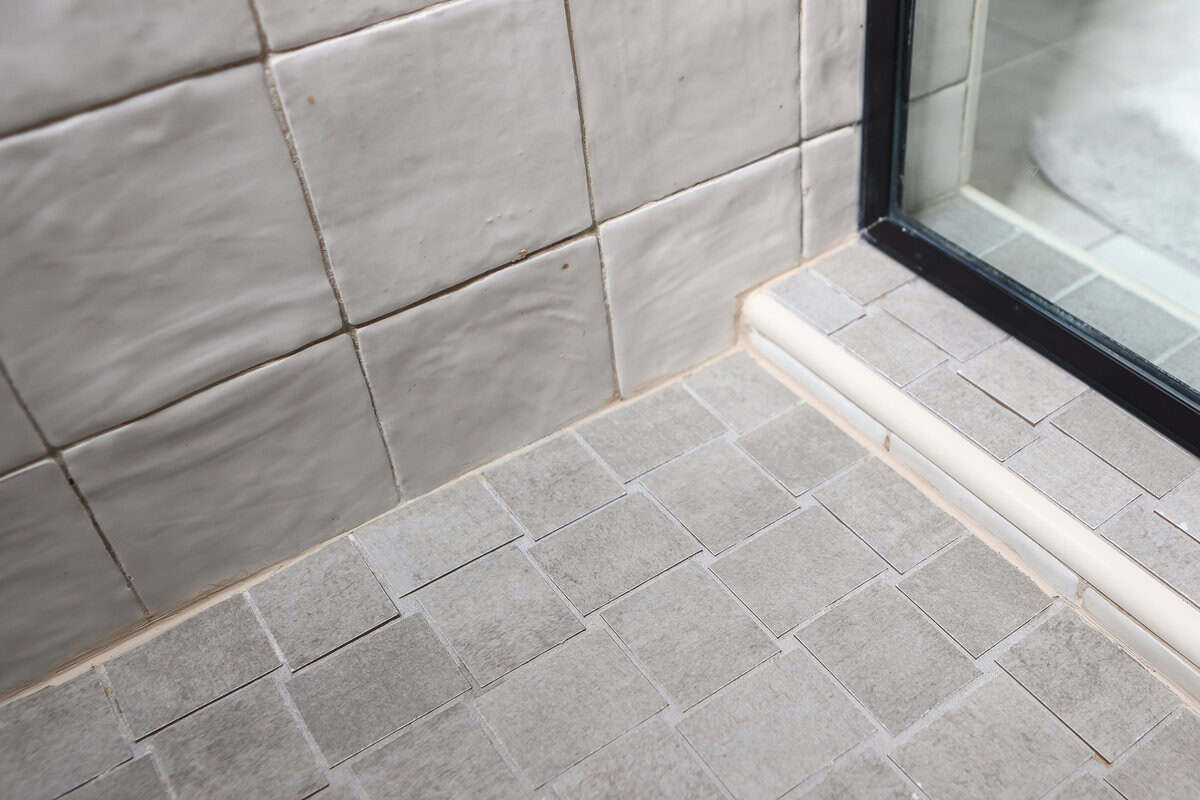
Ahhh, so much better!
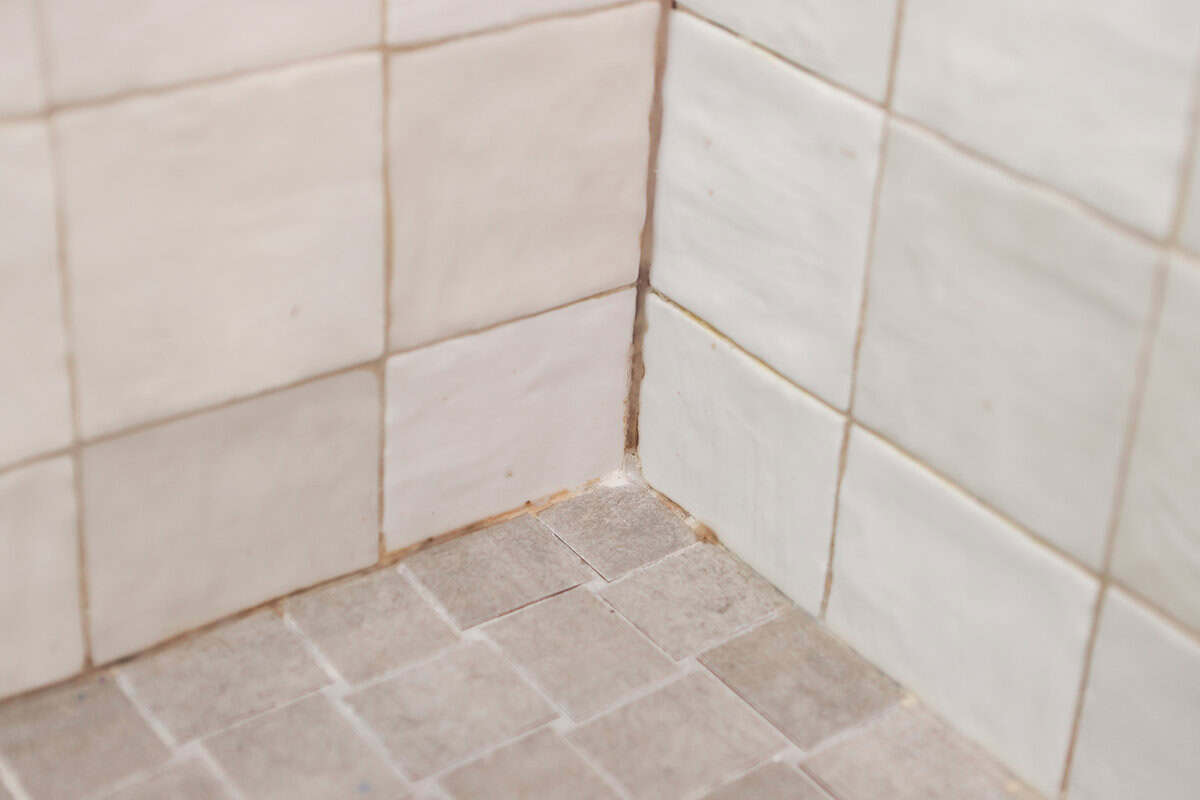
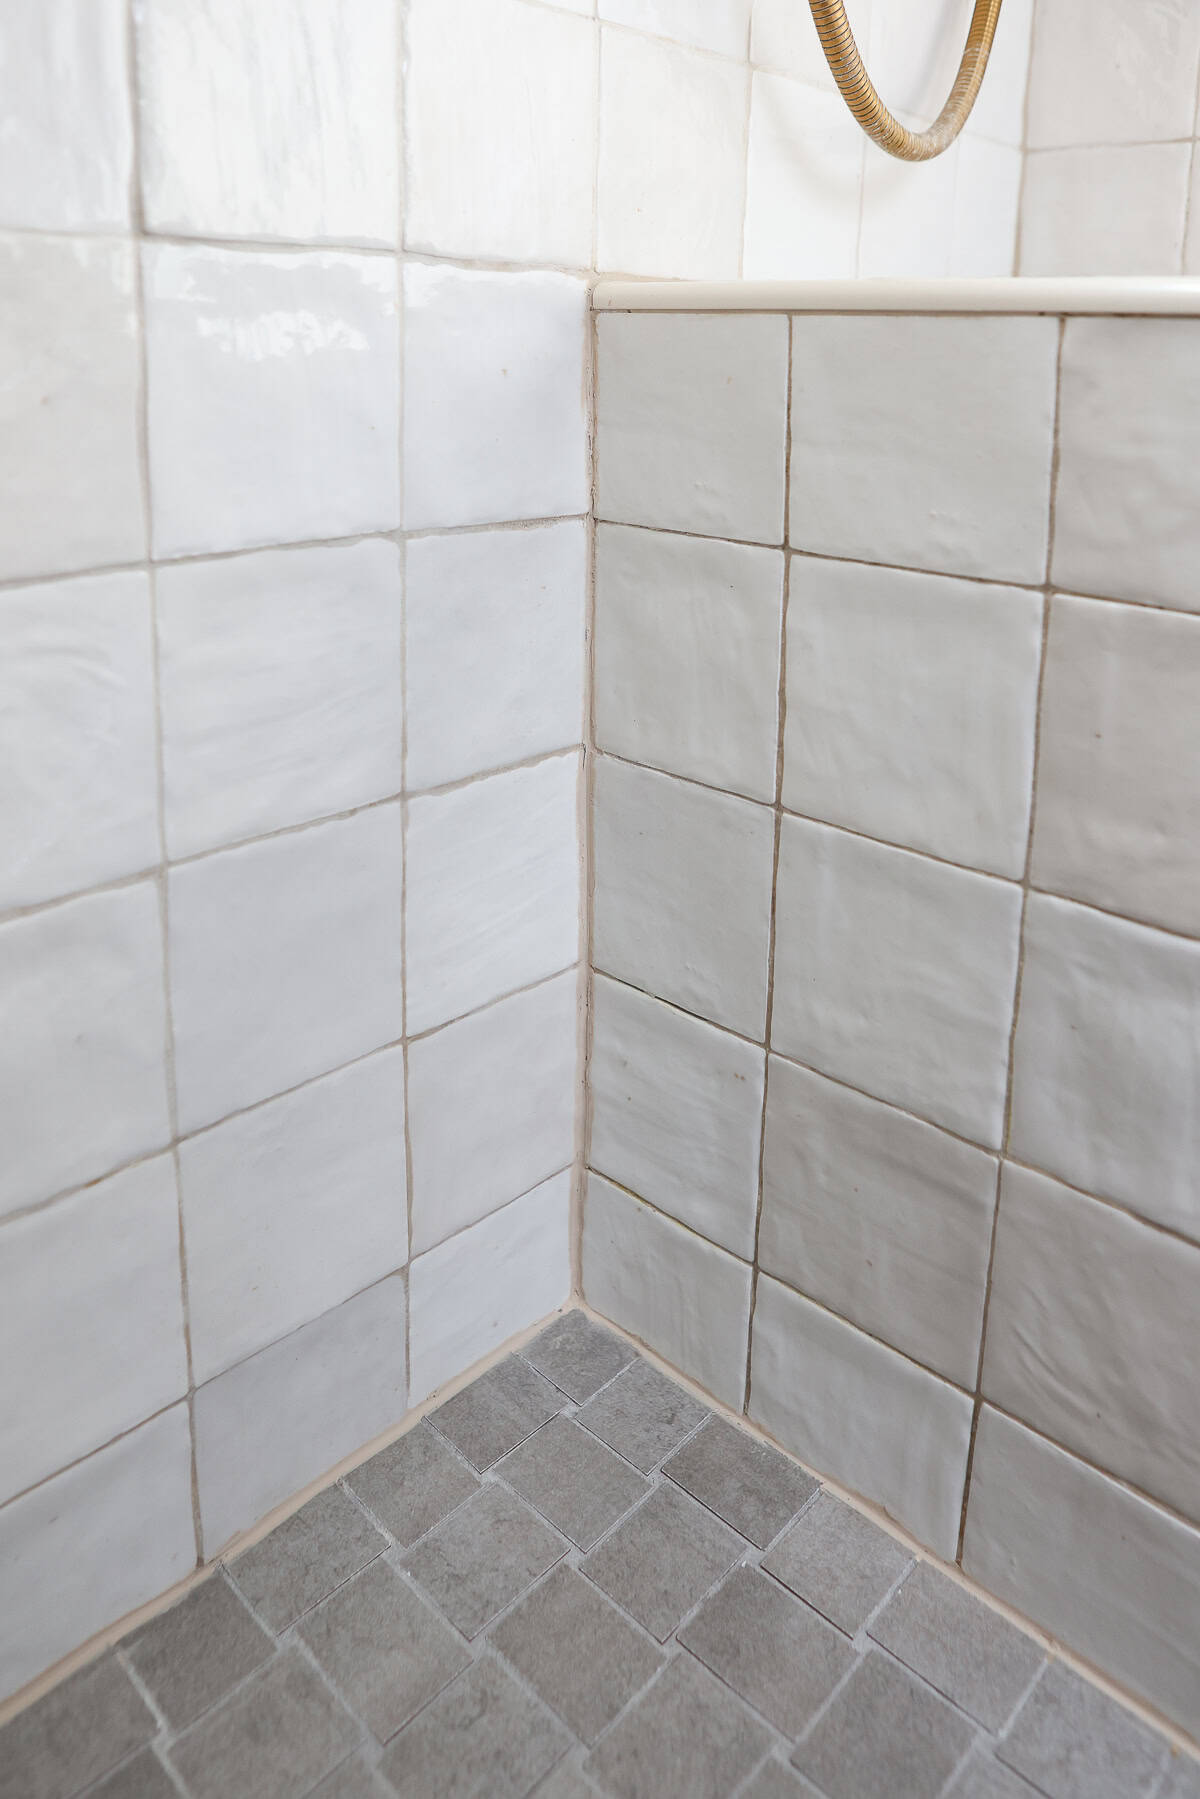
This wasn’t a particularly difficult DIY, but removing the old silicone and getting everything prepped took some patience. Now the moldy caulking is gone, the new Bone-colored silicone blends right in with the tile grout, and the whole shower just looks cleaner.
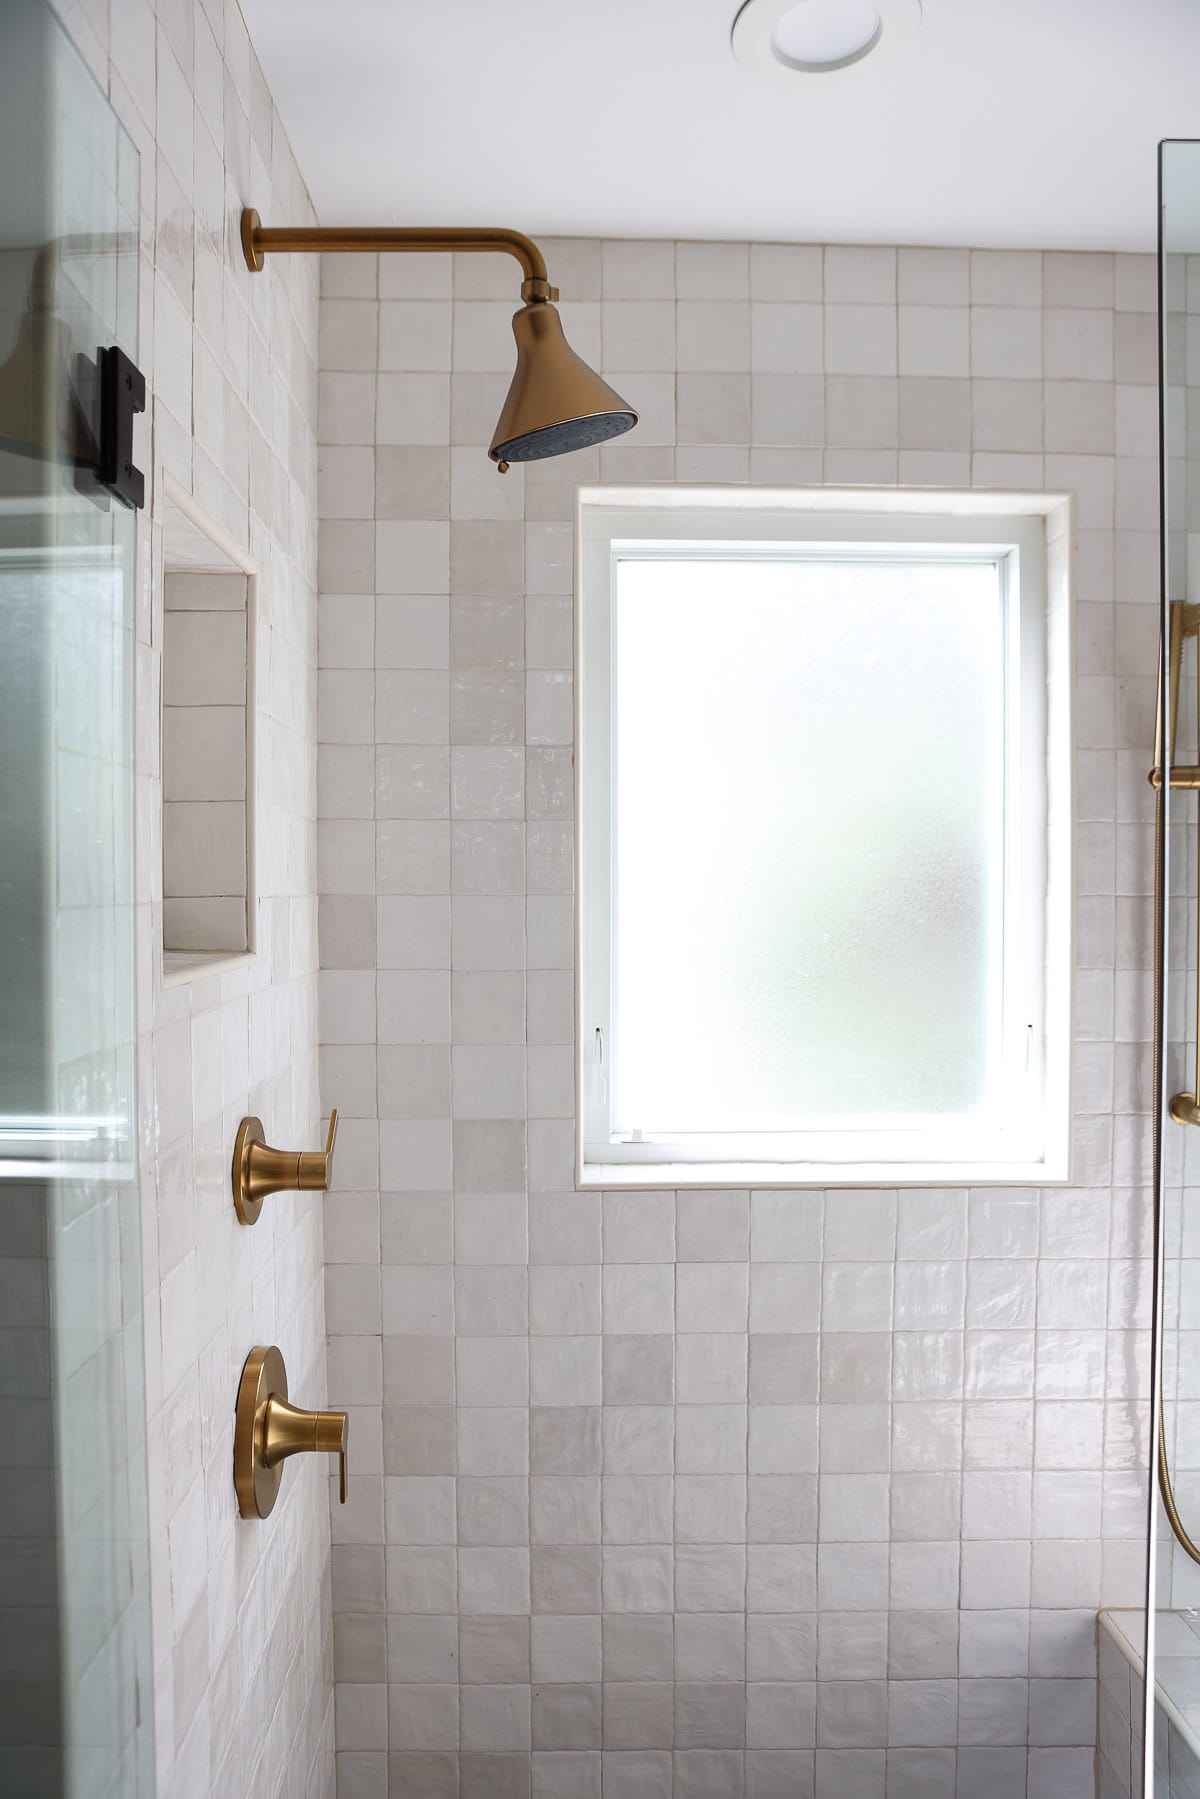
If you’ve cleaned your shower caulk and those stubborn mold stains aren’t going anywhere, it may be time to stop scrubbing and replace the caulk instead. I’ll keep you posted on how ours holds up!


