Tile Grout Repair – How To Fix Your Crumbling Backsplash
Is the grout where your backsplash meets your countertop crumbling? It’s a common tiling mistake that I see all the time. Here’s how to fix it and what to do to avoid it in the future.
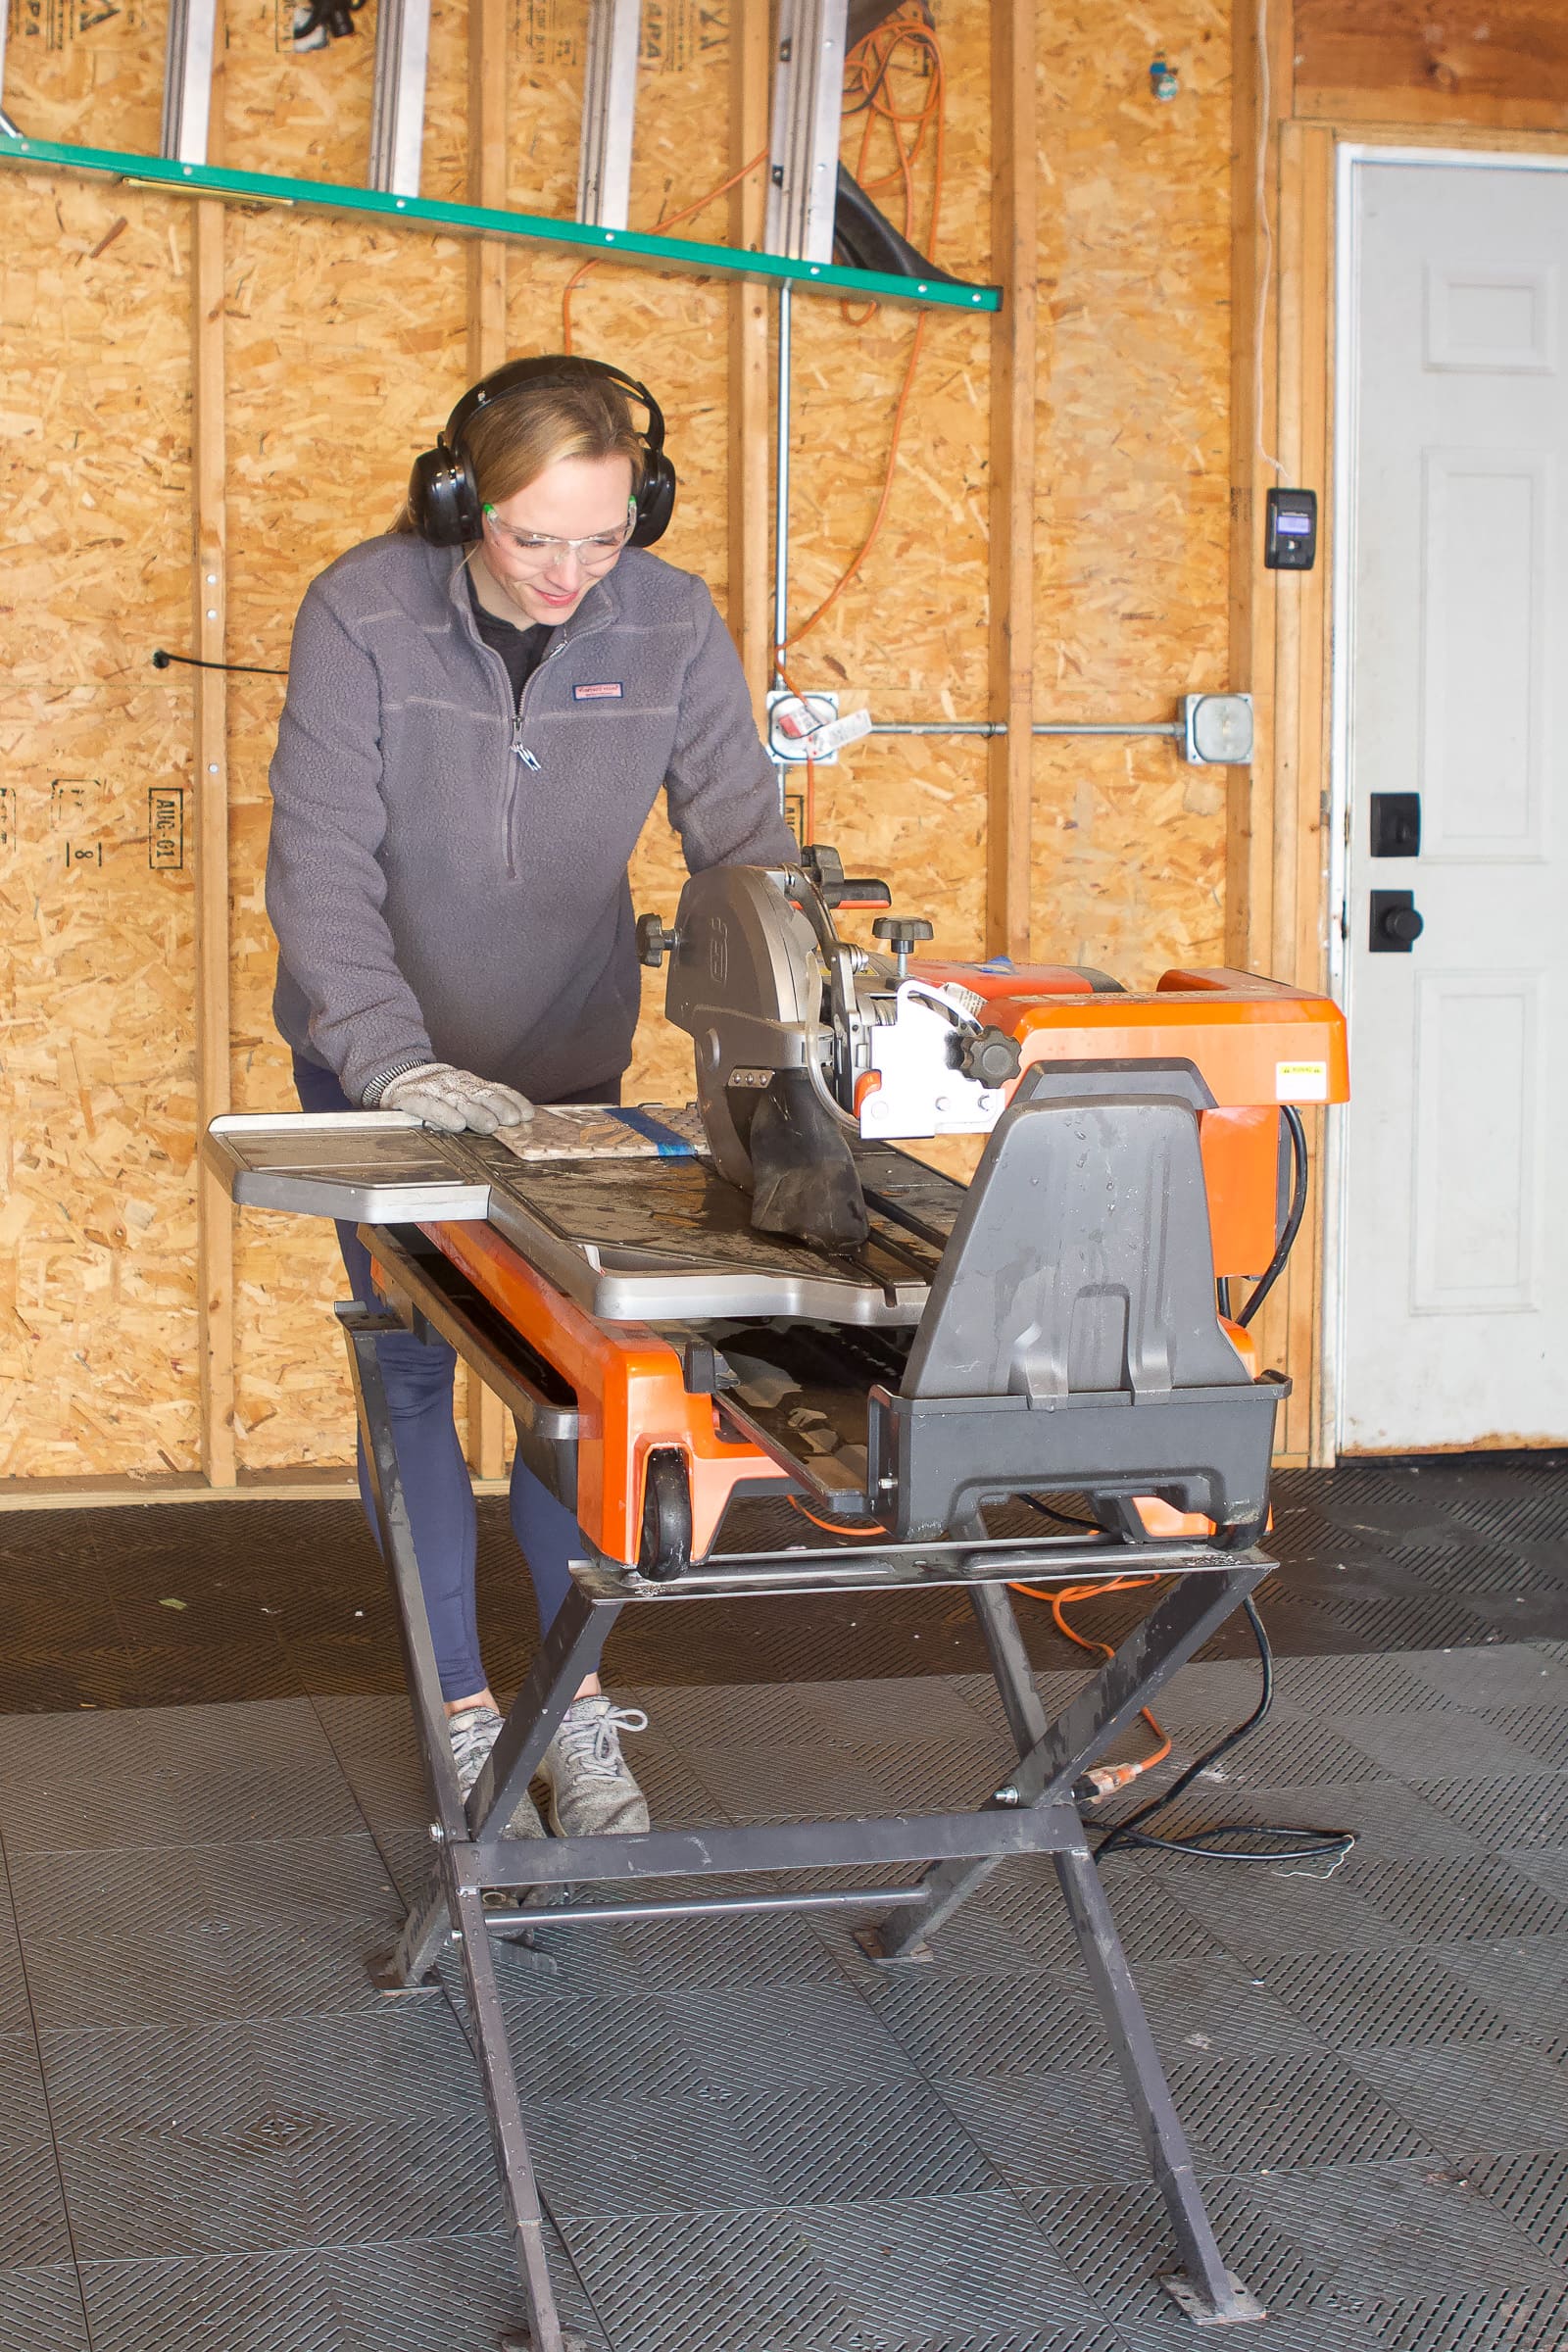
We all know I’m not a professional contractor or tradeswoman, but when I do a project, I spend hours researching and learning from professionals. I watch videos, read blog posts, and devour tutorials to ensure I can tackle each task to the best of my ability. Over the years, I’ve completed several tiling projects, each improving my skills, though I’m far from an expert!

My First Tiling Project

In 2018, in our old condo, Finn and I ambitiously decided to gut our entire bathroom and tile it ourselves. We installed marble basketweave floor tiles and subway tiles on the walls and shower.
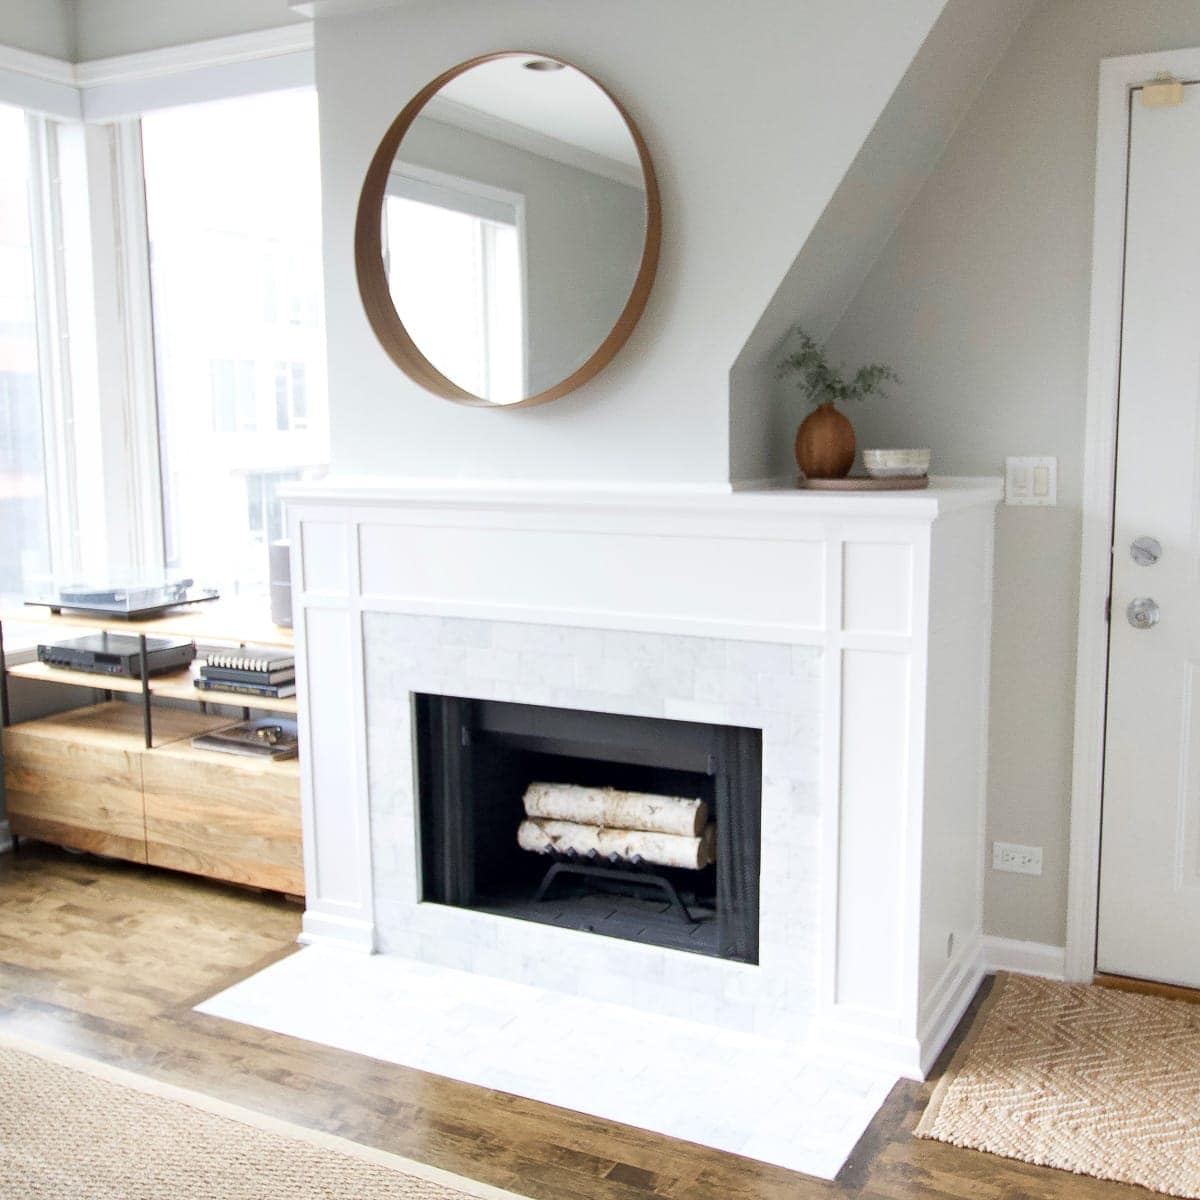
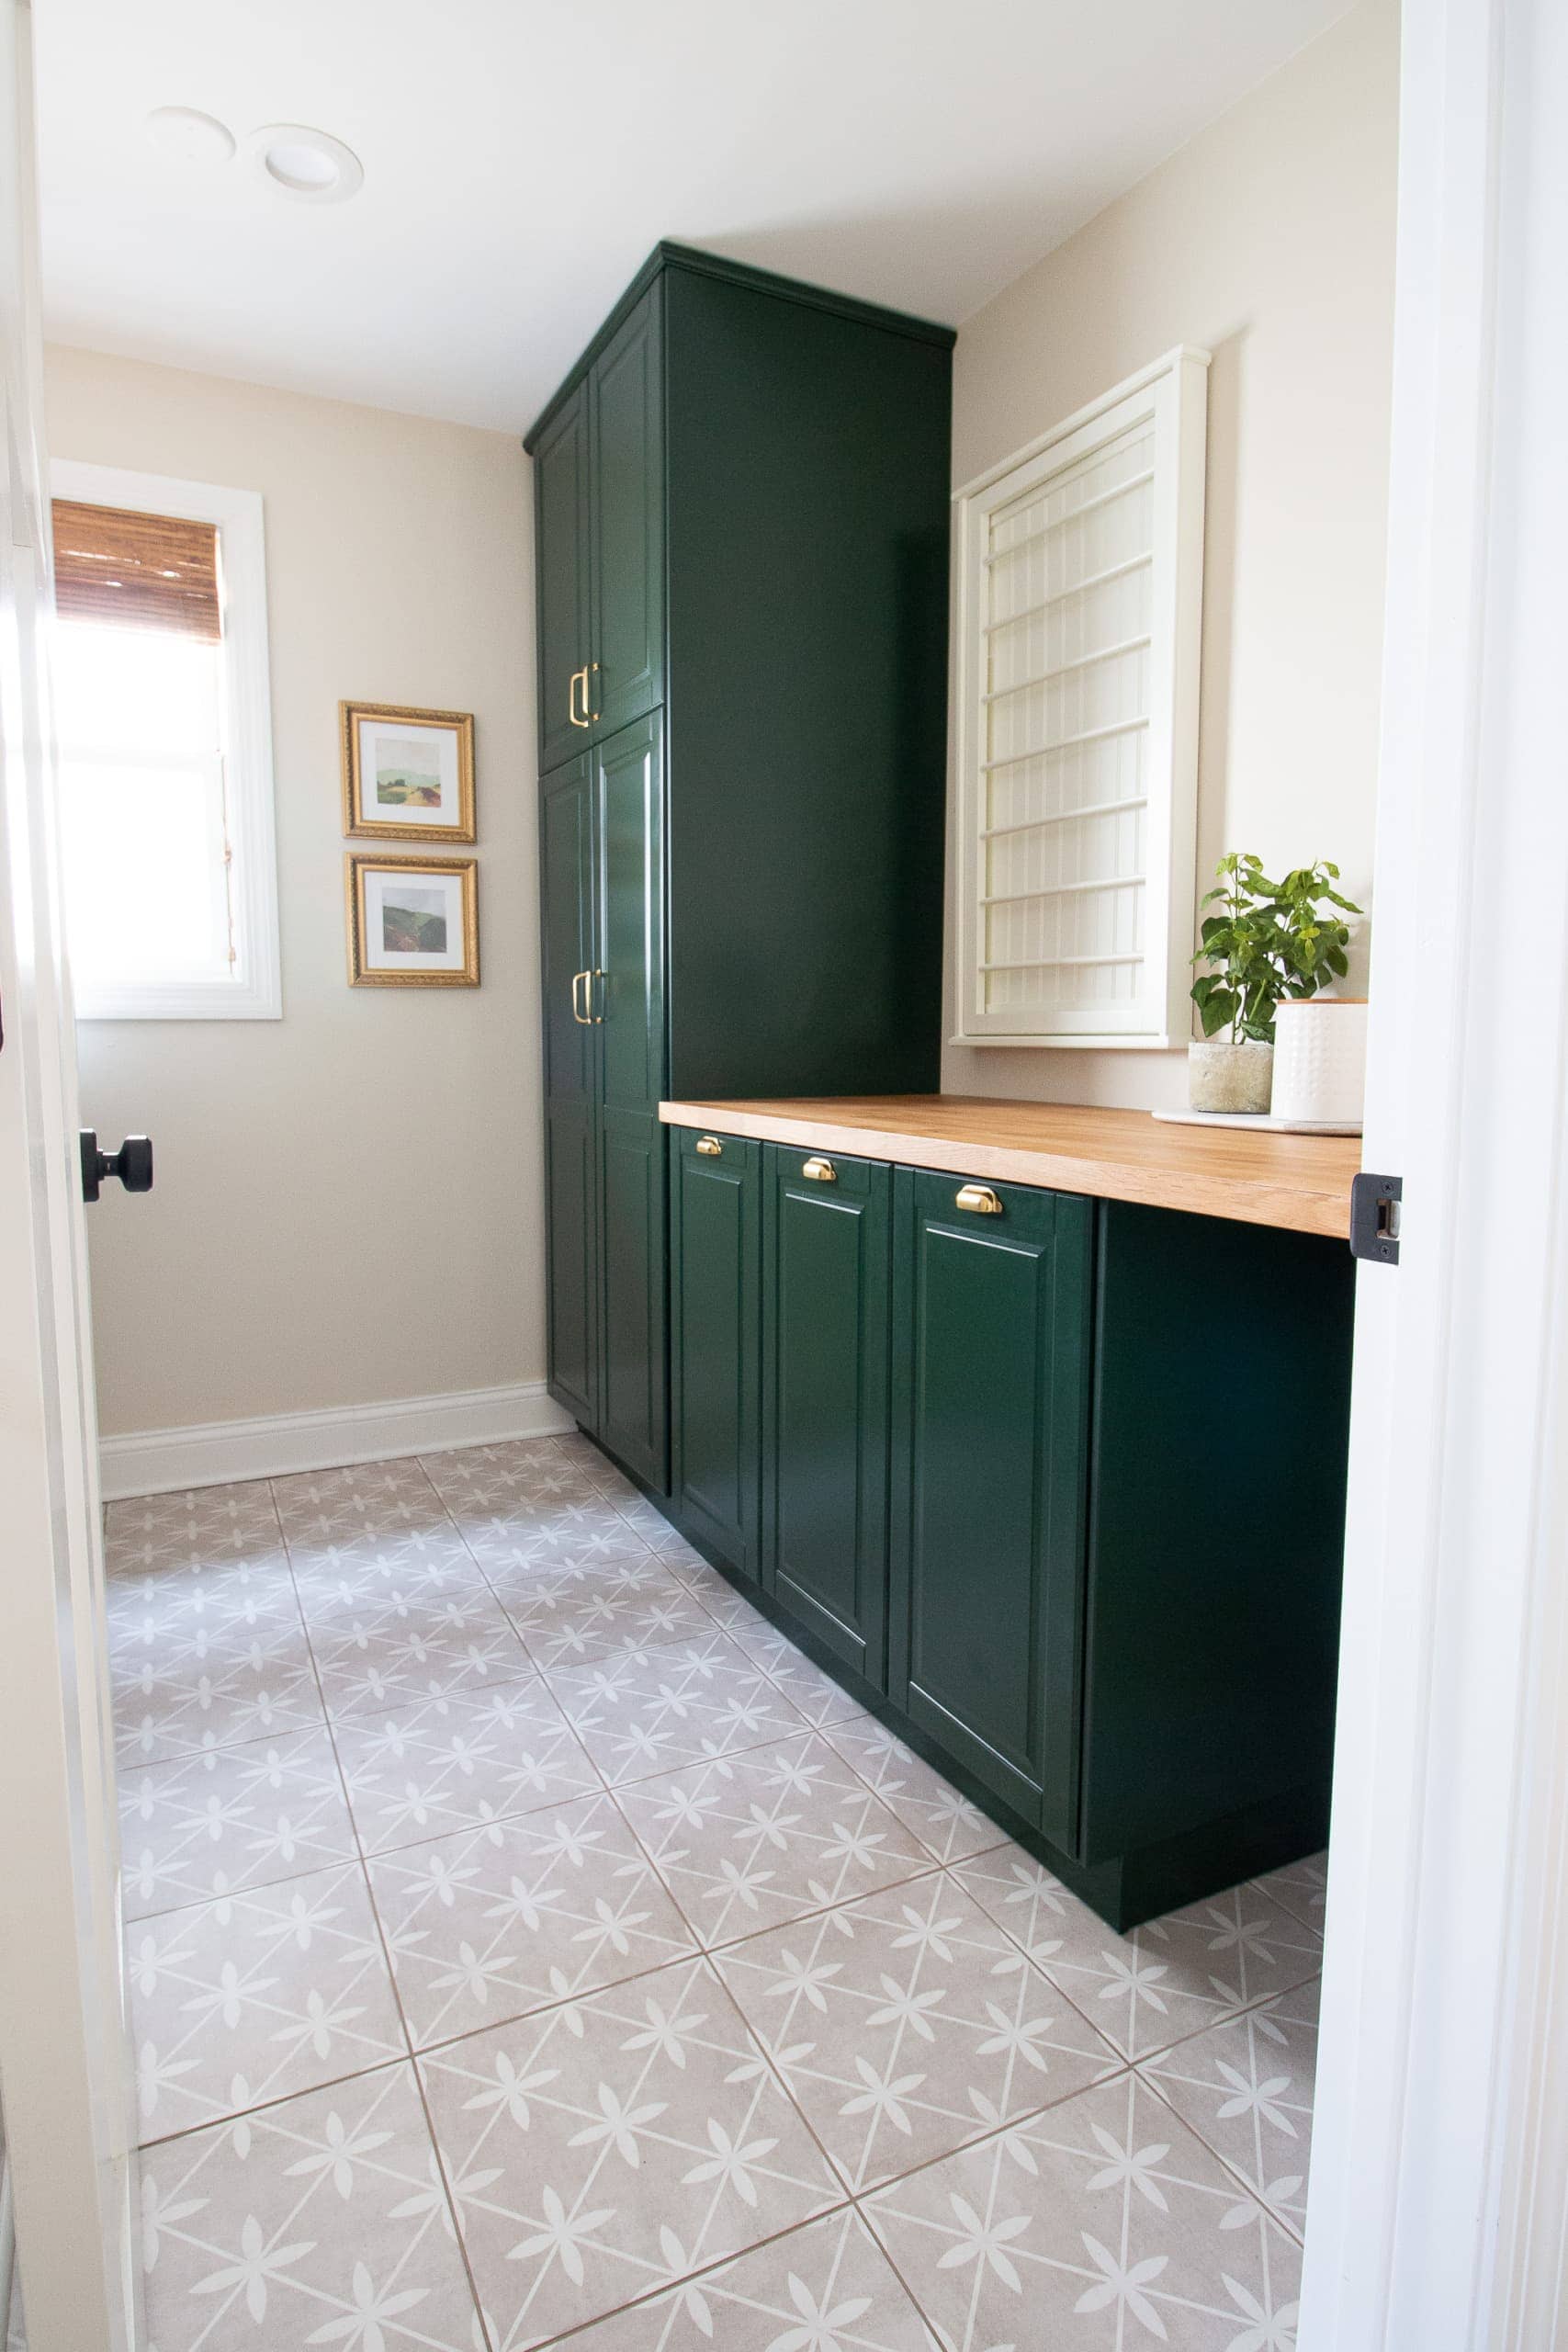
It was one of the hardest, but most rewarding, projects we’ve ever tackled, teaching us valuable lessons about tile installation. Subsequent projects, like adding marble tile to our condo’s fireplace, green tiles to our laundry room, and penny tile to the basement bathroom felt easier in comparison.
So, when my mom asked me to look at her backsplash, which was crumbling at the bottom, I immediately suspected a tiling mistake. Here’s what happened and how we fixed it—plus tips for your own grout repair projects!
My Mom’s Backsplash
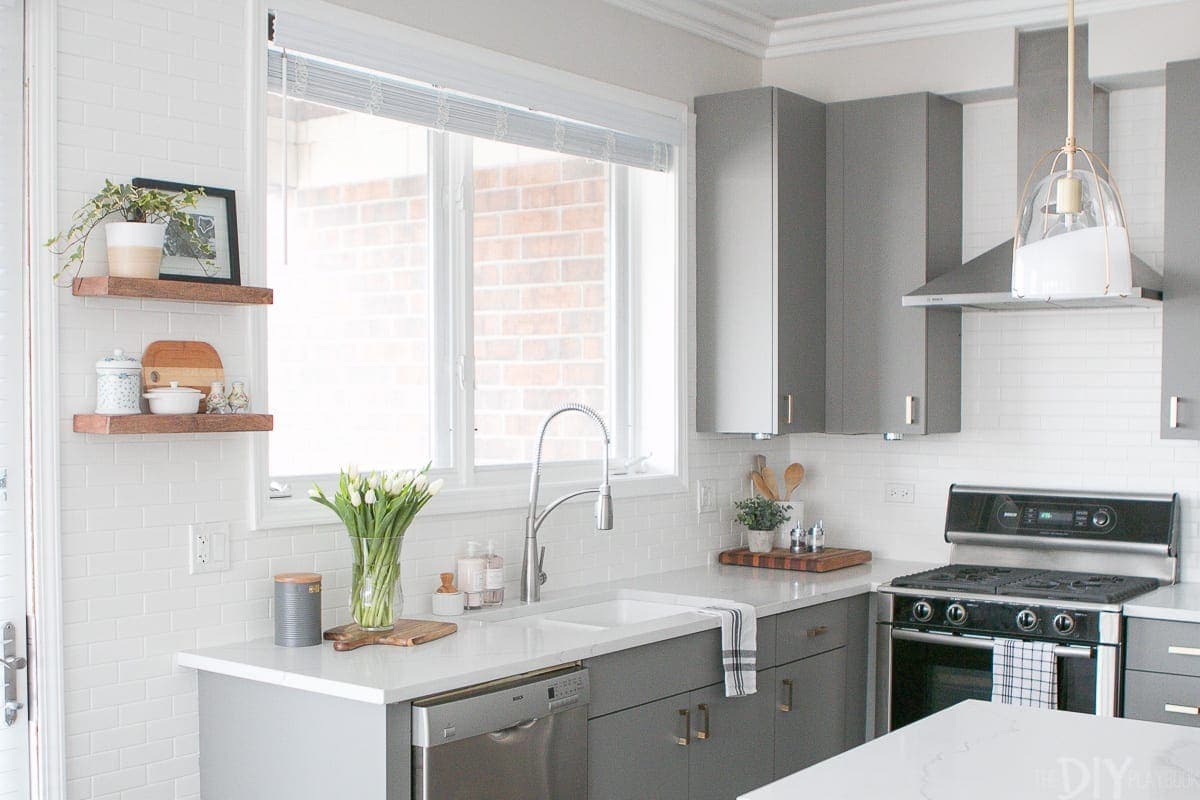
My mom made over her kitchen when she first moved into her condo. There was a blue subway tile as the backsplash that just wasn’t her style.
She ended up choosing this white tile as her backsplash and it turned out beautifully. Her handyman asked his nephew to do the job and he did alright, but I kinda got the impression that this might have been his first time doing this type of project. 
The tile looked good for a while, but the bottom grout line started to crumble where it met the quartz countertop. The missing grout left gaps that not only looked unsightly but also posed a risk of water damage to the surrounding area.
My mom hated the mess on her pristine counters, which was covered with bits of cracked grout and grout dust, and she was unsure why this was happening. Luckily, I knew it would be a quick fix and we wouldn’t need to call in any professional help.
Avoid This Tiling Mistake
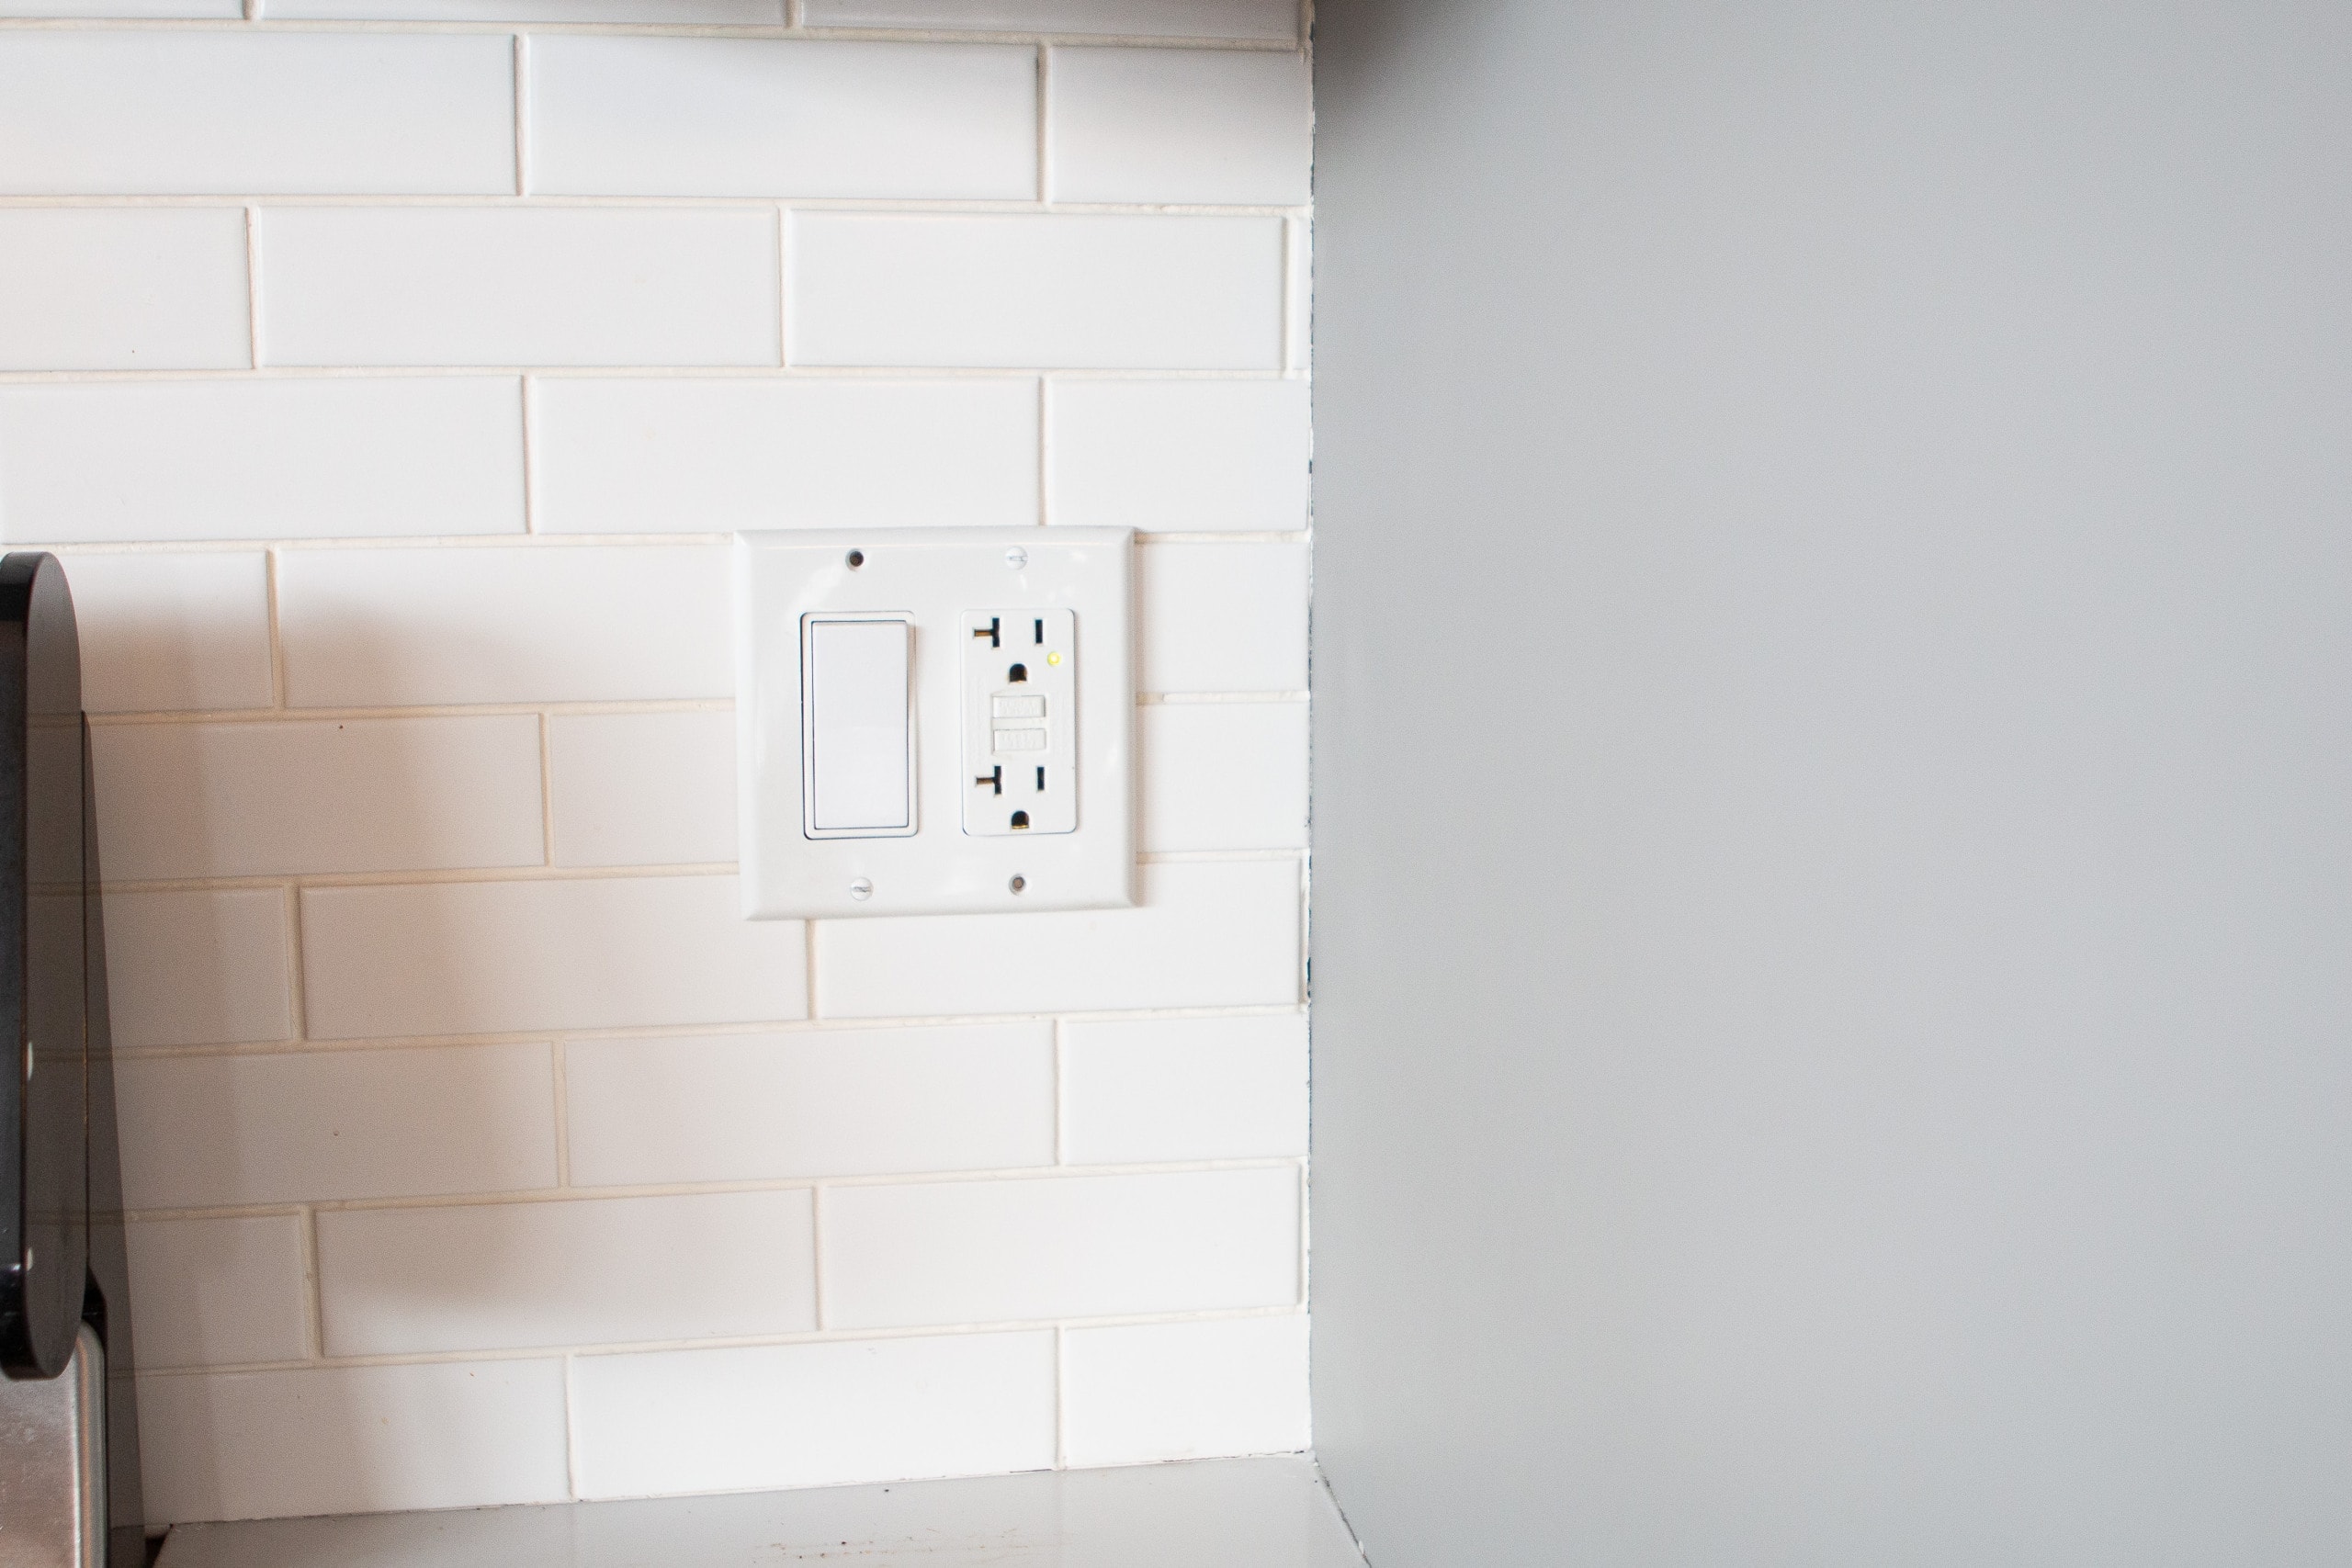
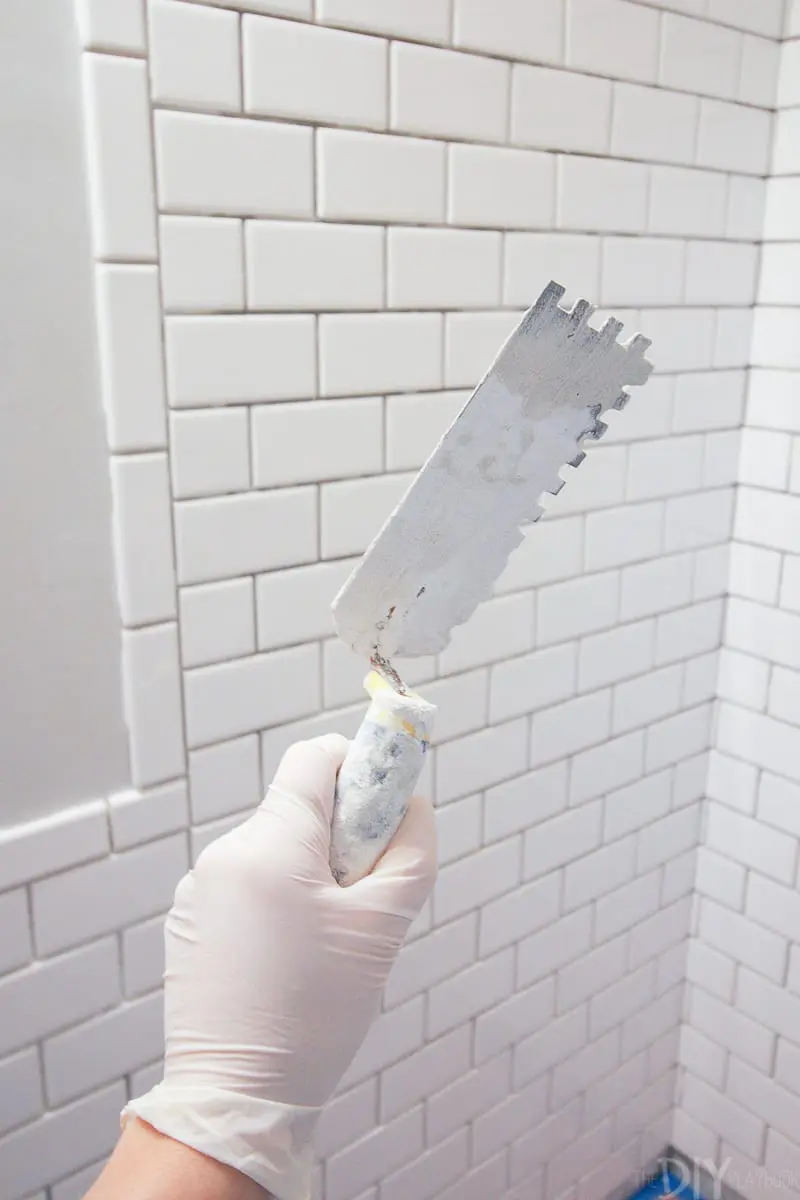
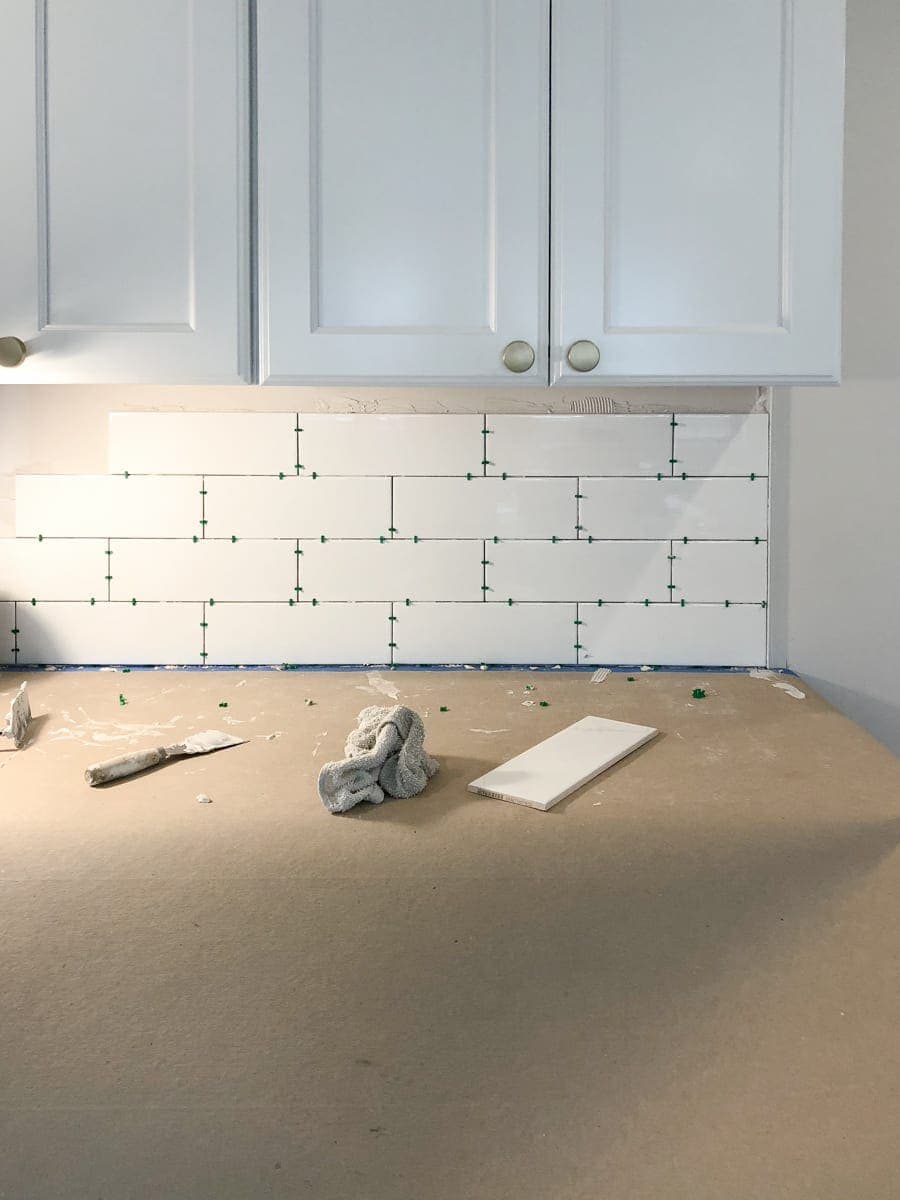
Here’s the issue: the installer didn’t leave a proper expansion joint at the bottom, where the tiles meet the countertop. These gaps, usually about 1/8 inch wide, allow for the natural expansion and contraction of materials due to humidity and temperature changes.
You want to leave this 1/8 inch gap where all planes meet. In this case, where the tile meets the cabinets too.
Instead of using a flexible caulk, he grouted these areas, and since grout isn’t flexible, it cracked and crumbled with movement. Putting new grout over the existing grout won’t solve this problem.

For your next kitchen tile grout repair or tiling project, always leave a proper expansion joint and use the correct type of material – in this case, silicone caulk instead of grout.
This is an issue that you might also see on your shower floor. If so, you can follow these exact same steps.
How to Fix Crumbling Grout
Luckily, we were able to rectify the situation and get rid of the crumbling grout in my mom’s backsplash and make it look ten times better. Here’s what we used.
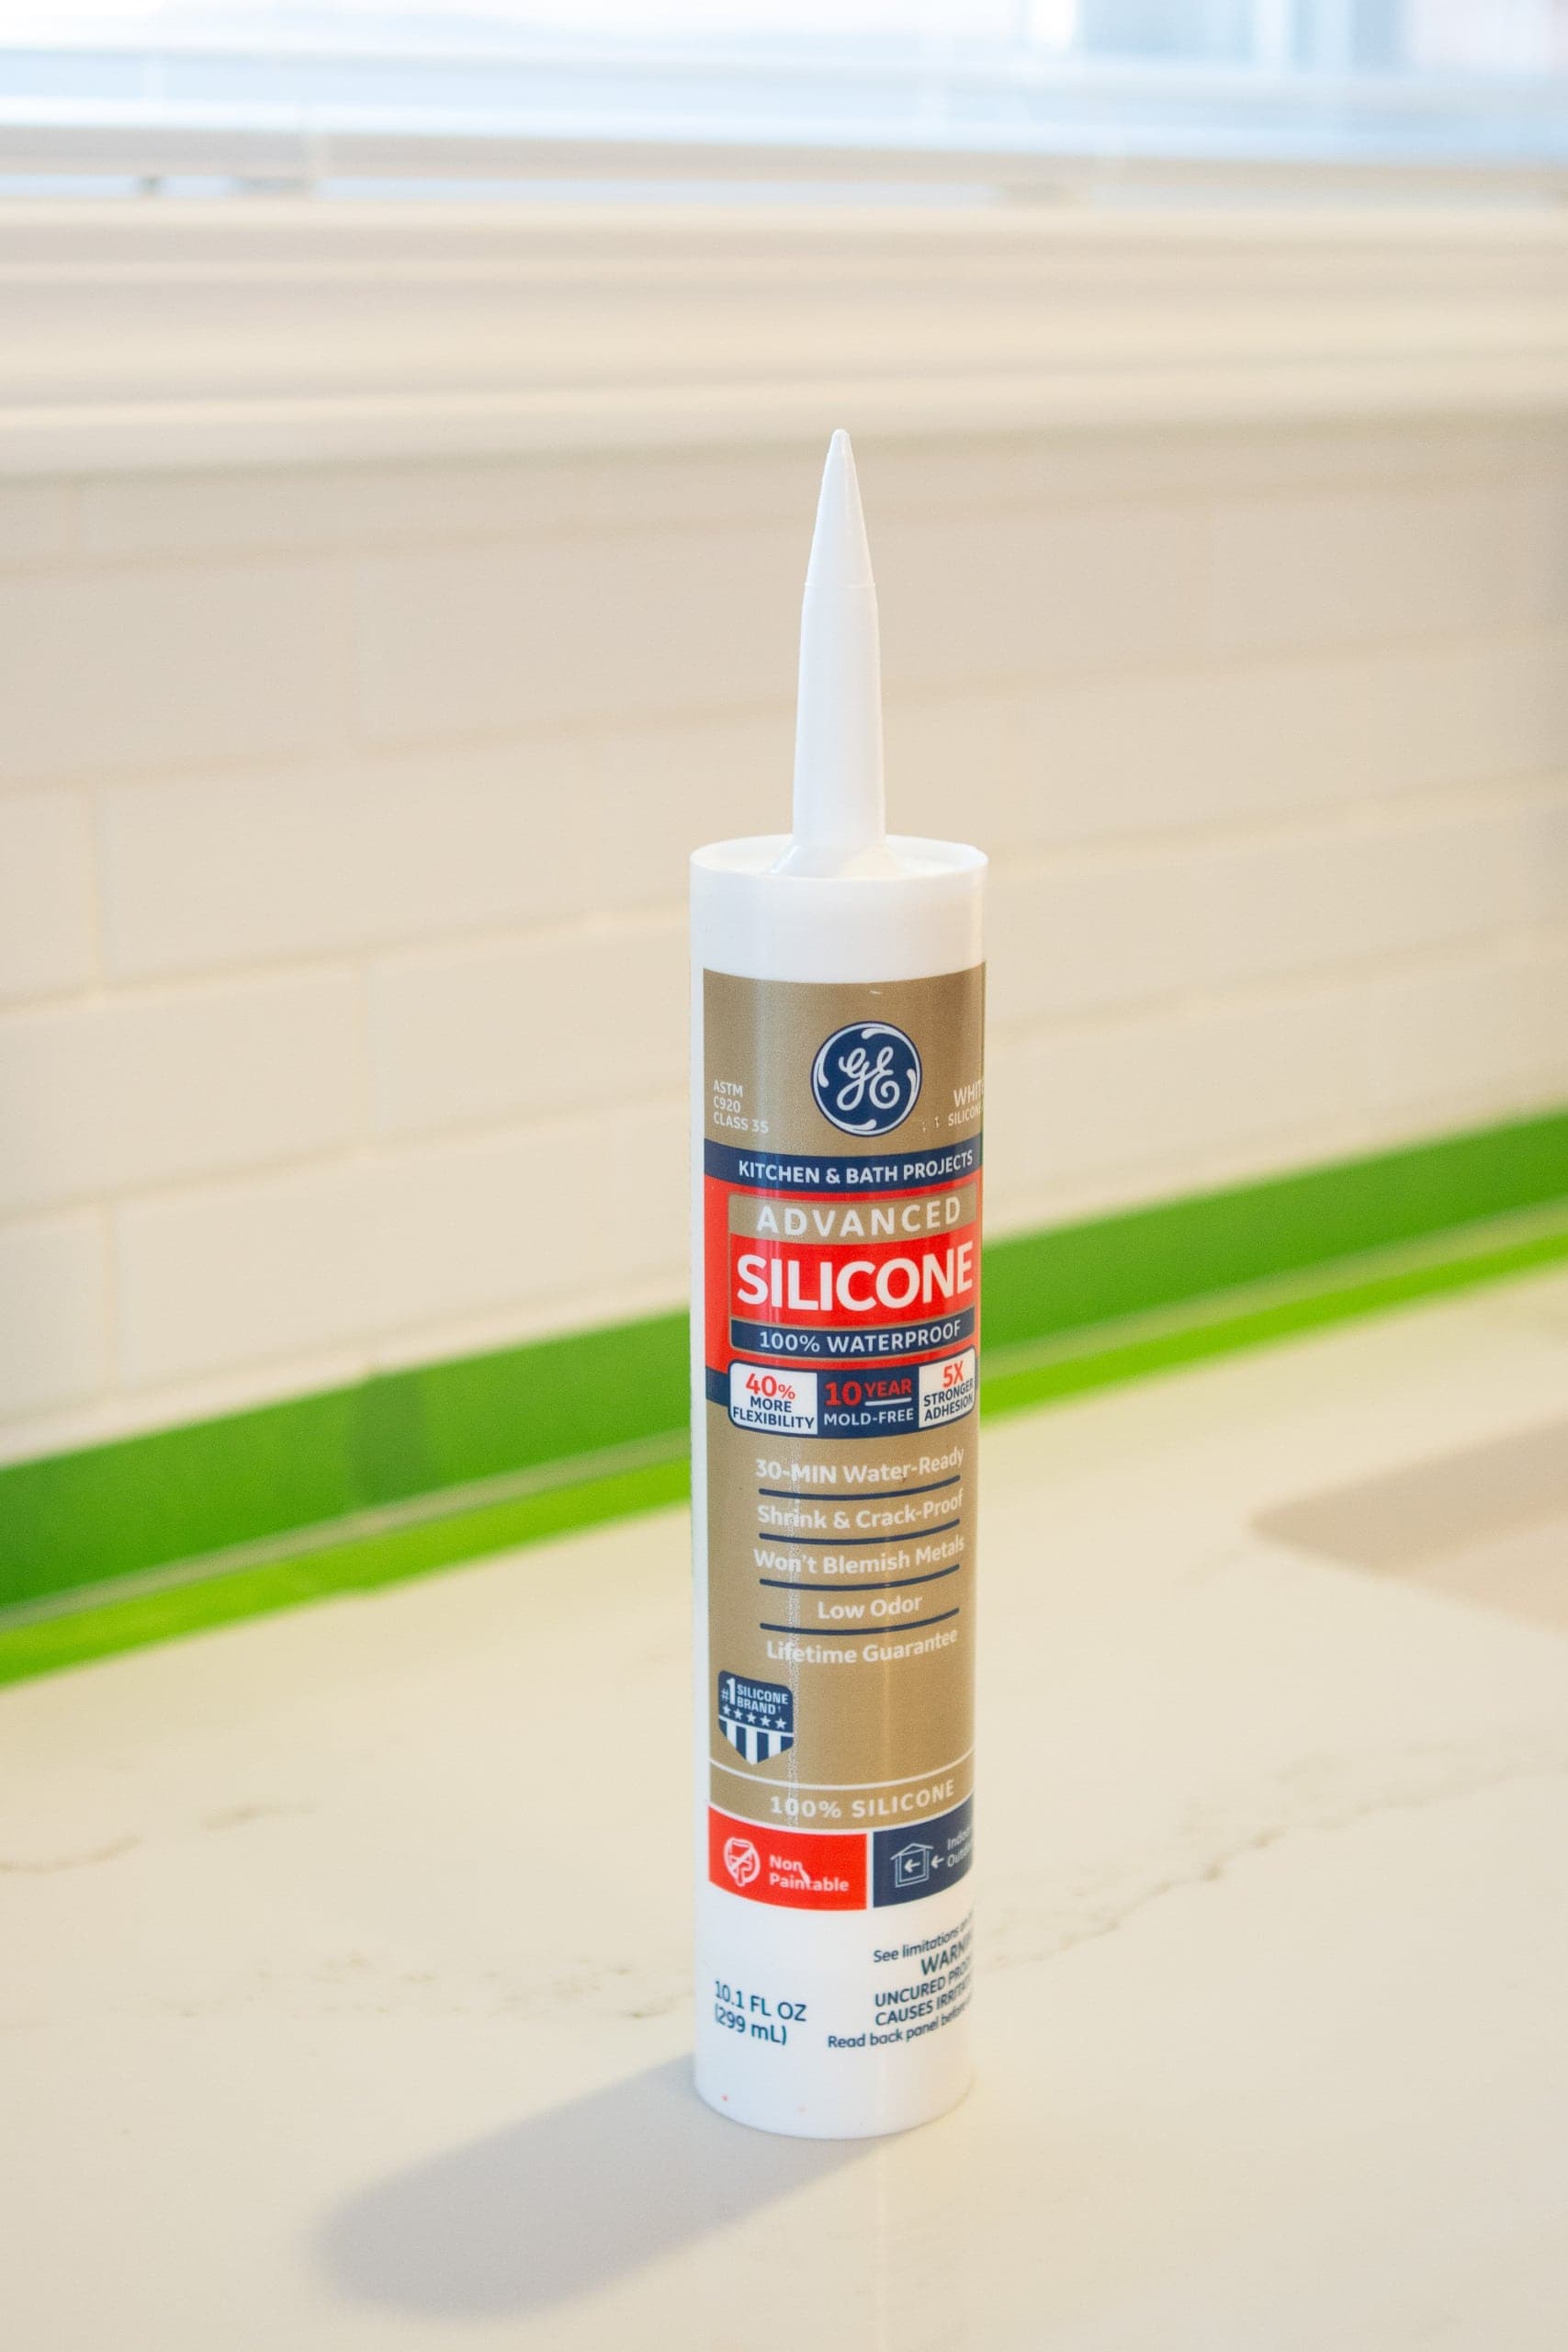
- Silicone Caulk (Choose the closest color match or clear.)
- Caulk Gun
- Painter’s Tape
- Cup of Clean Water (or baby wipes)
- Rags
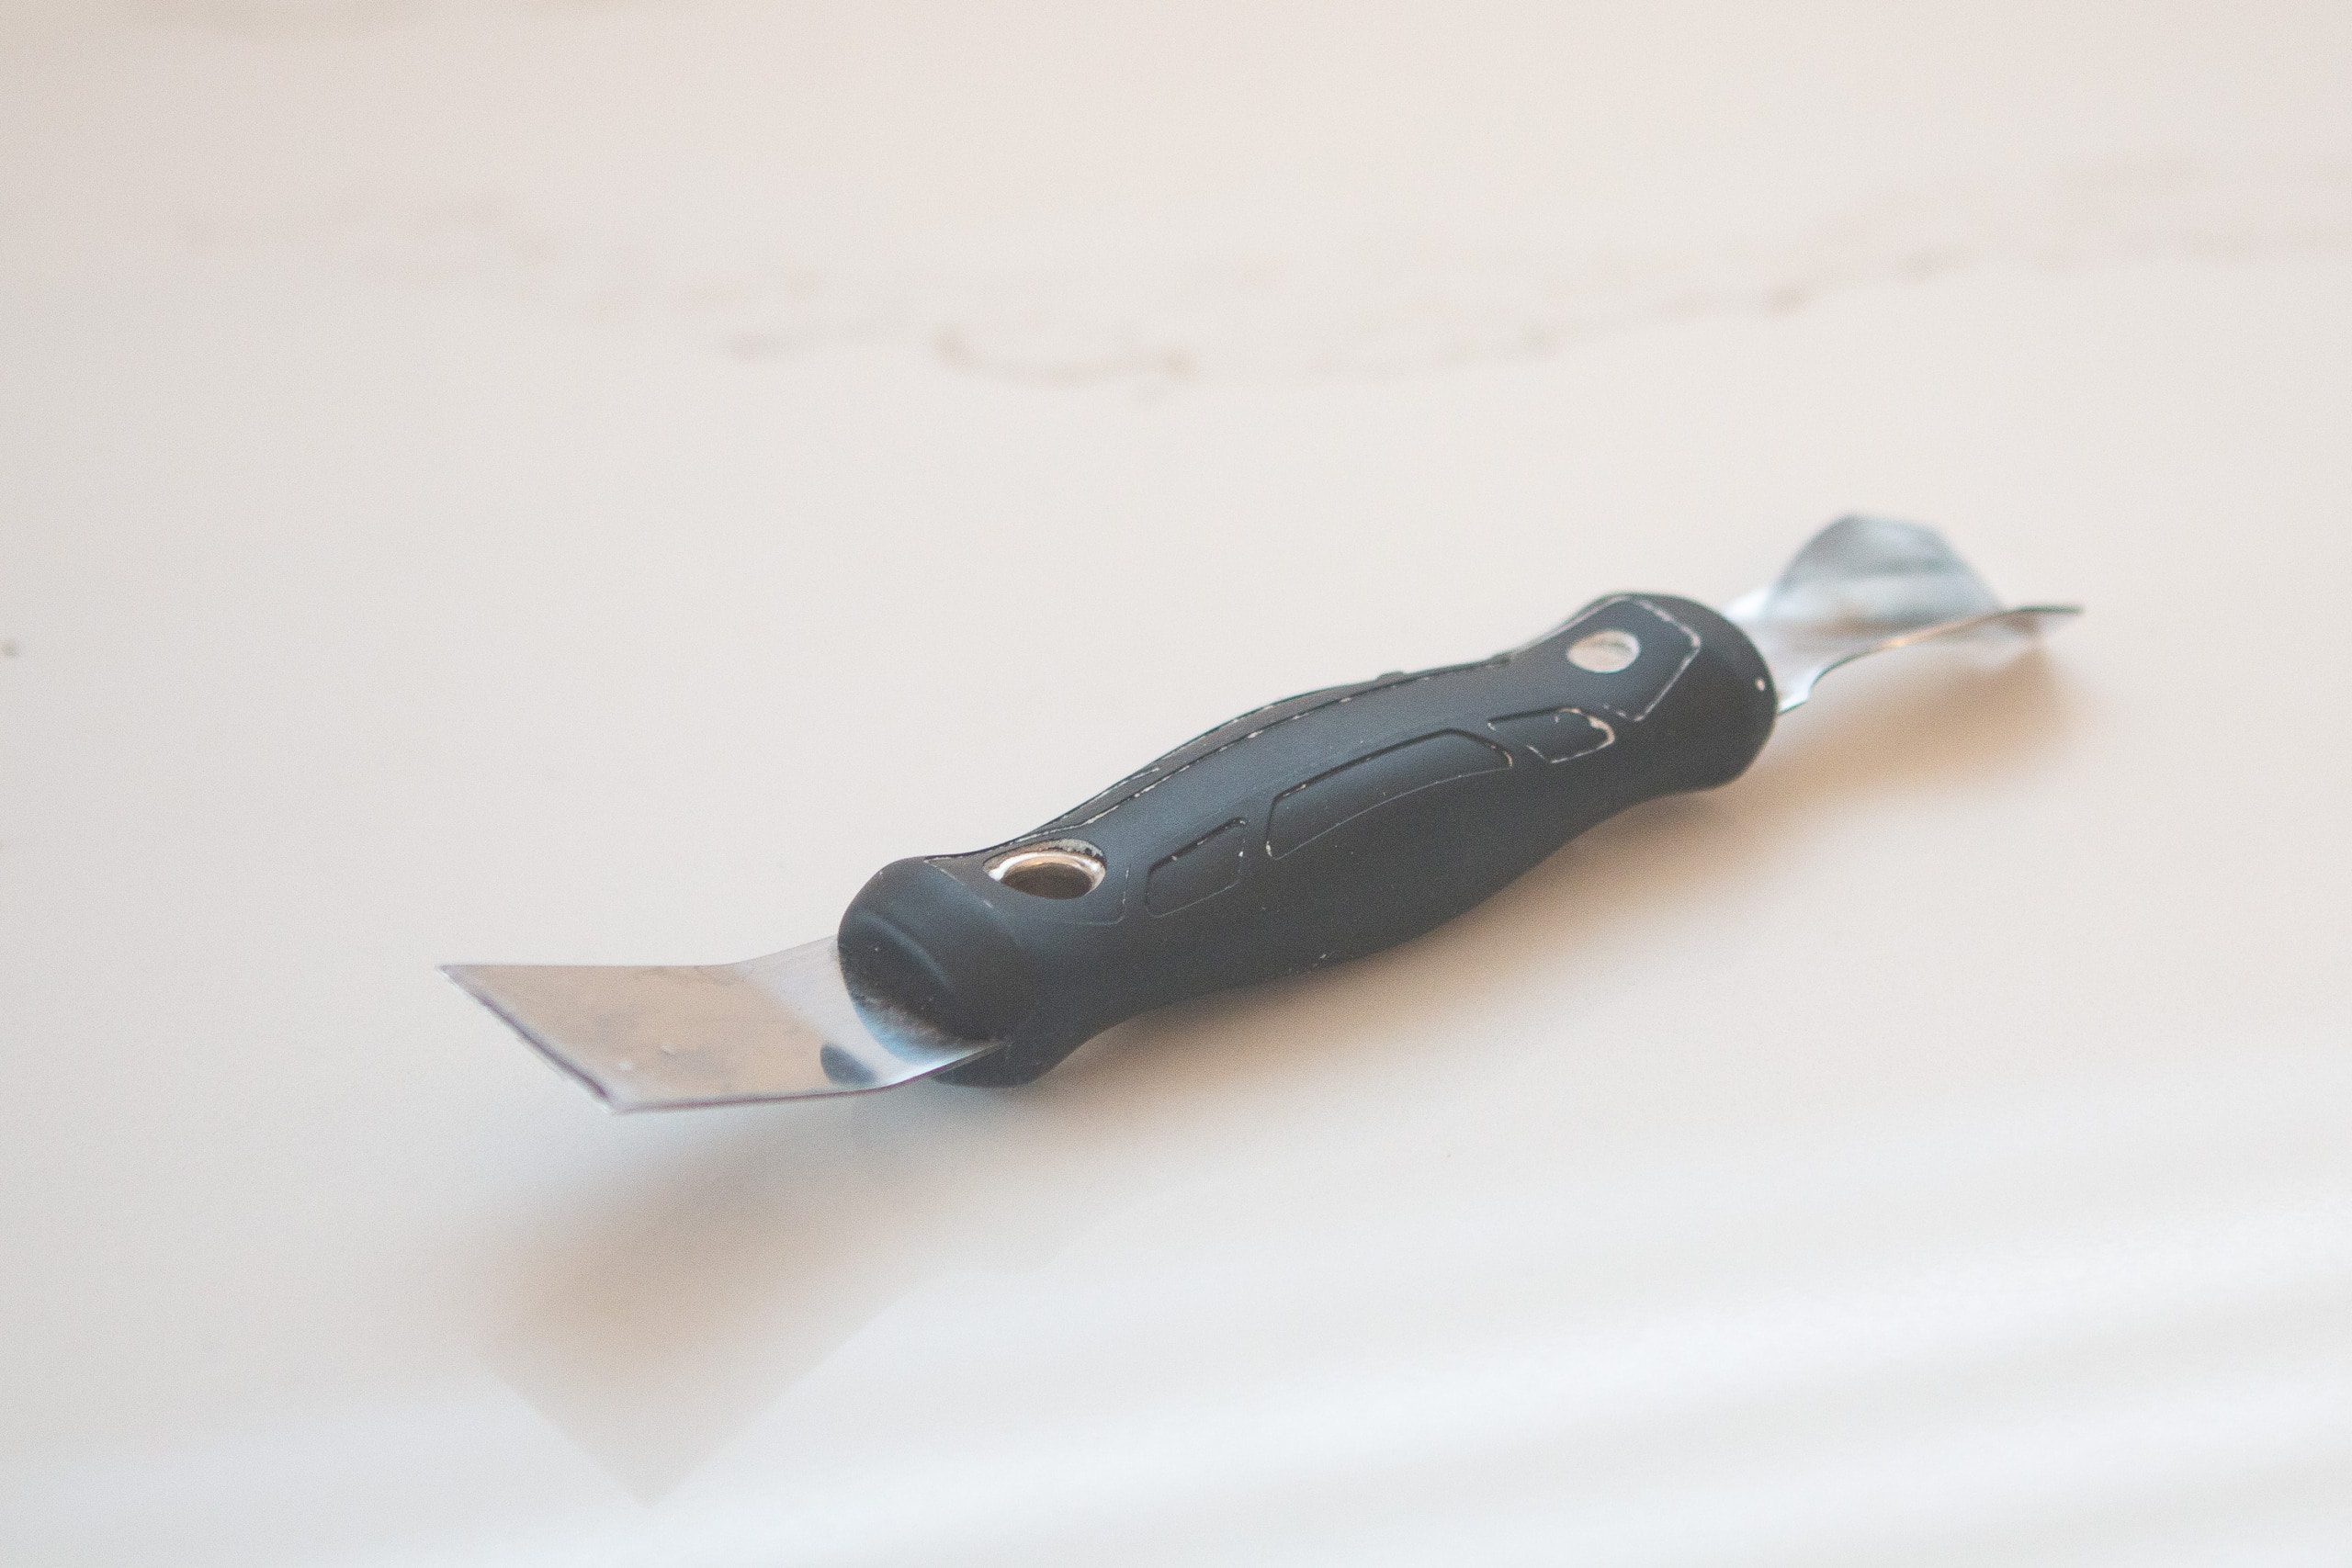
- Caulk Removal Tool (or putty knife)
- Shop-Vac (This is the one we own and love.) or Handheld Vacuum
- Dry Towel
Remove The Damaged Grout
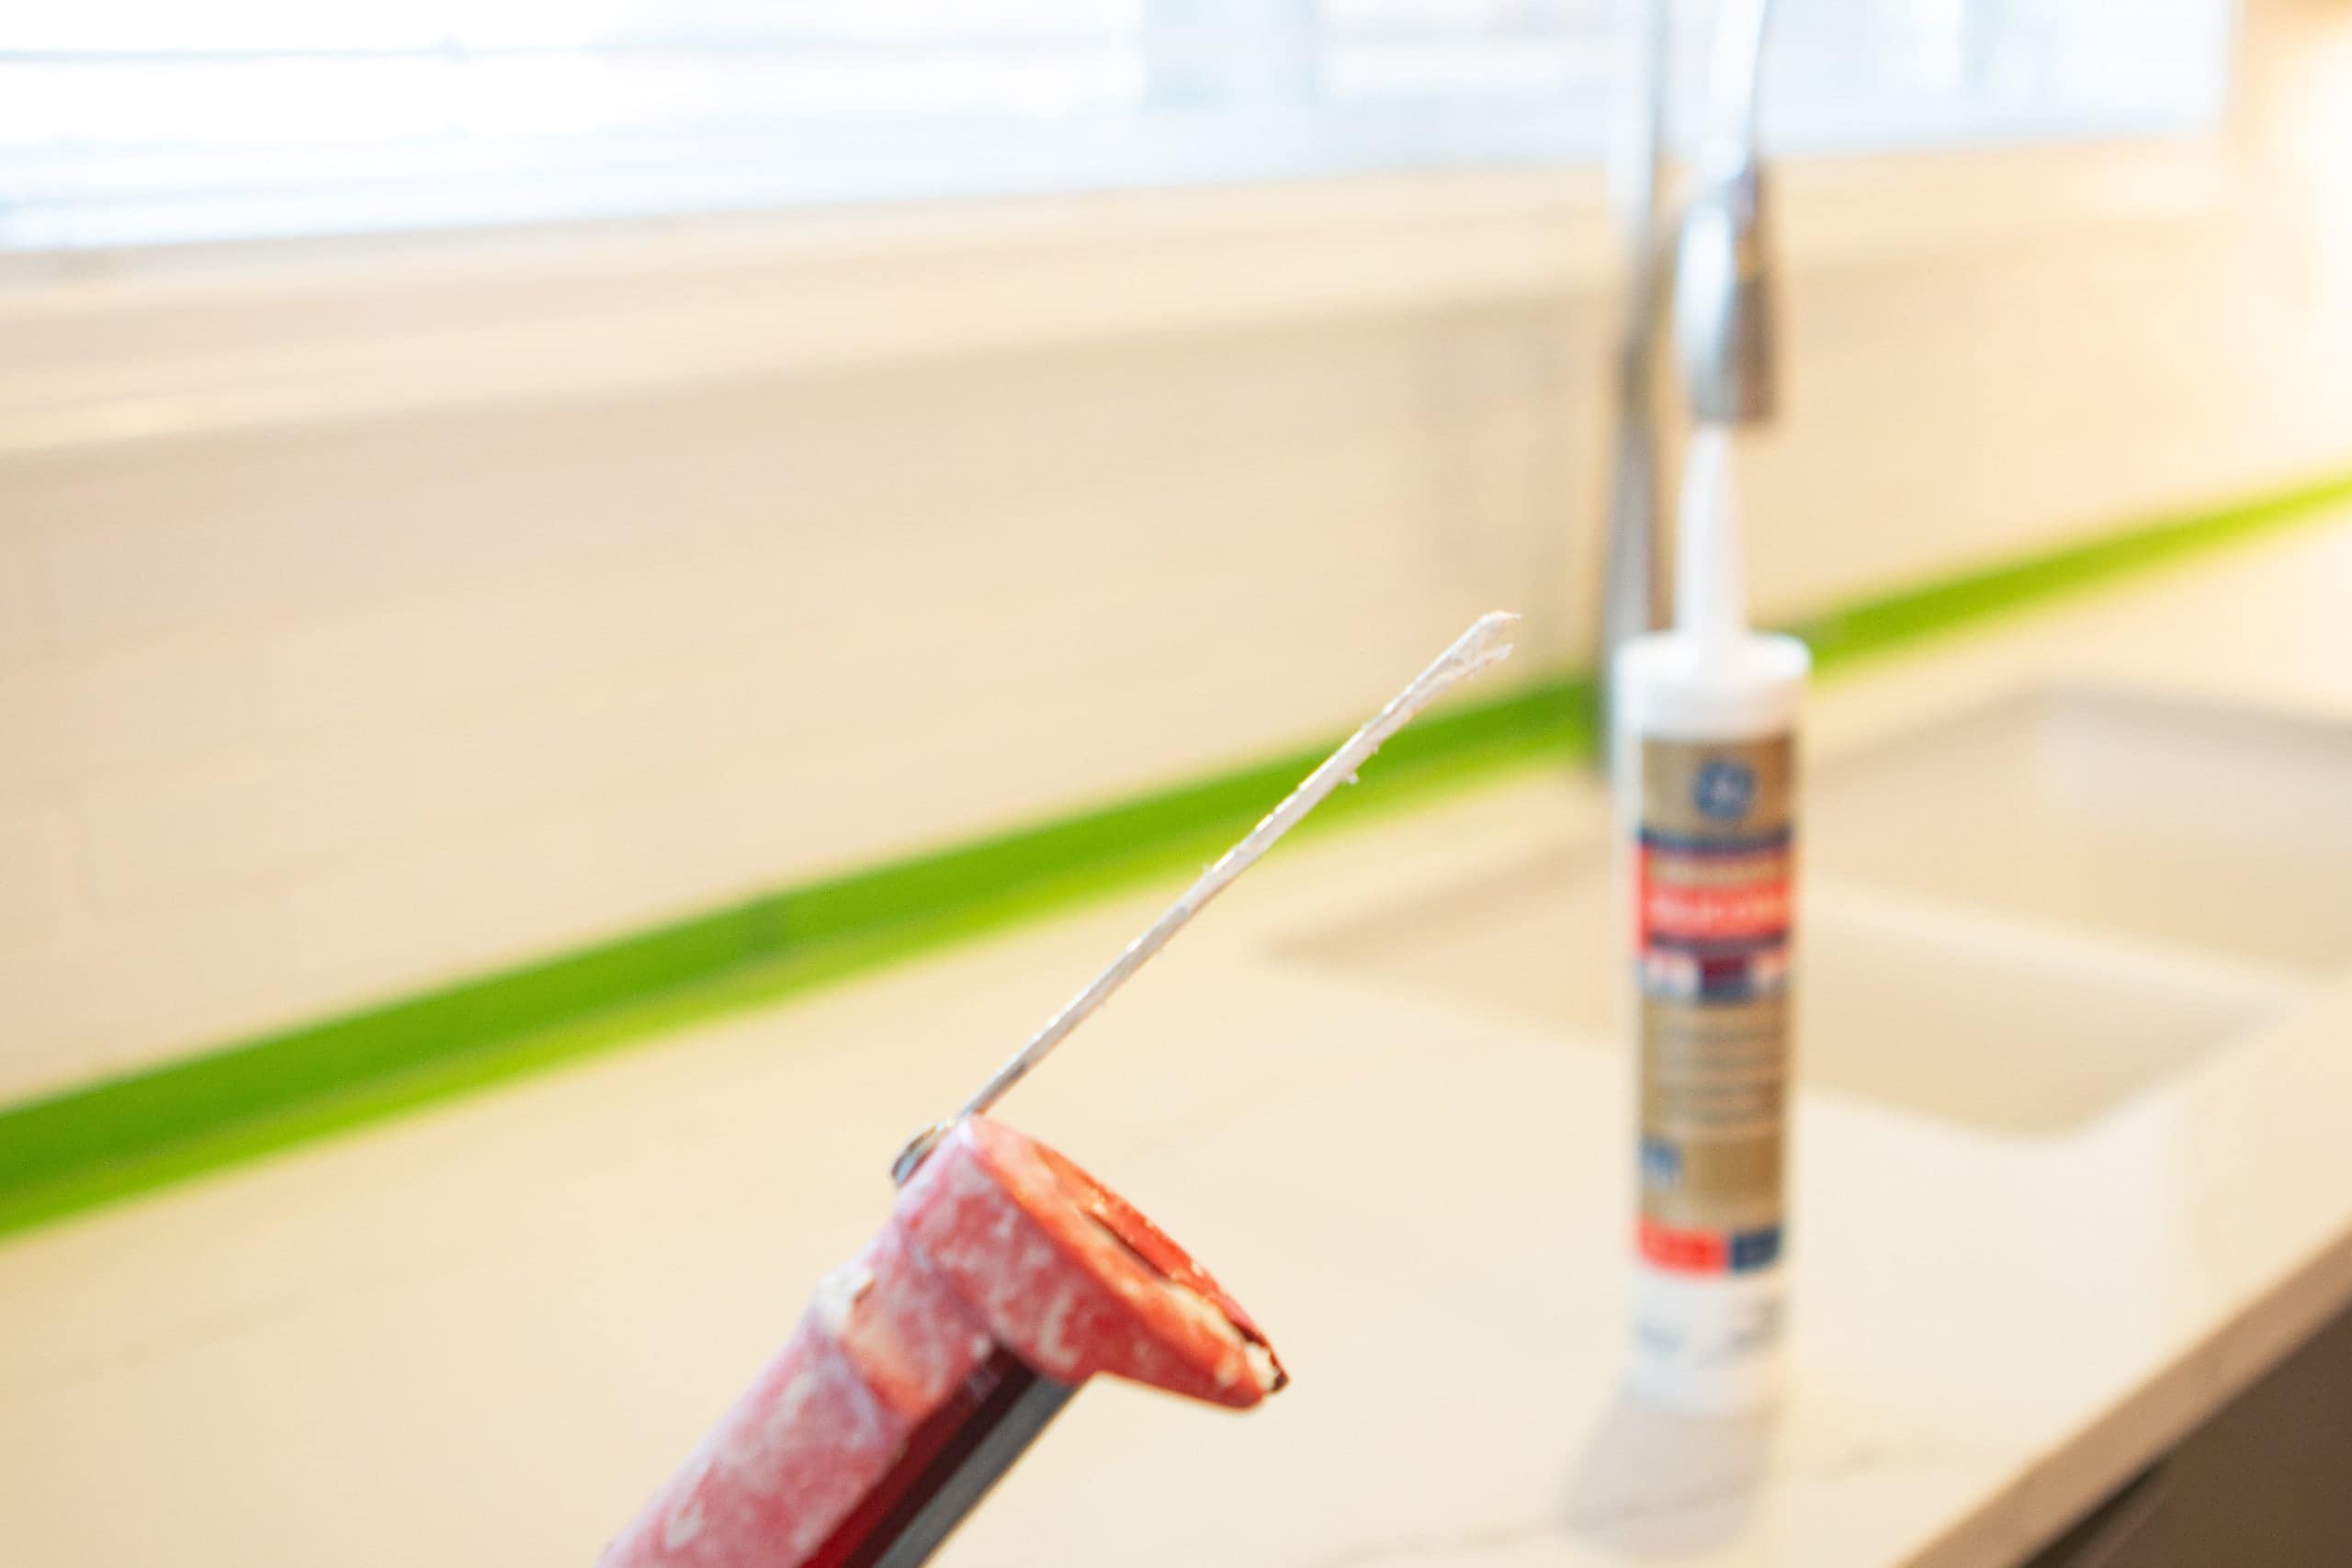
 The first thing we did was scrape away the bottom line of grout. It was pretty easy because it was crumbling anyway. I just used the flat side of my caulk removal tool to scrape it all away. Be careful not to damage the surrounding tiles.
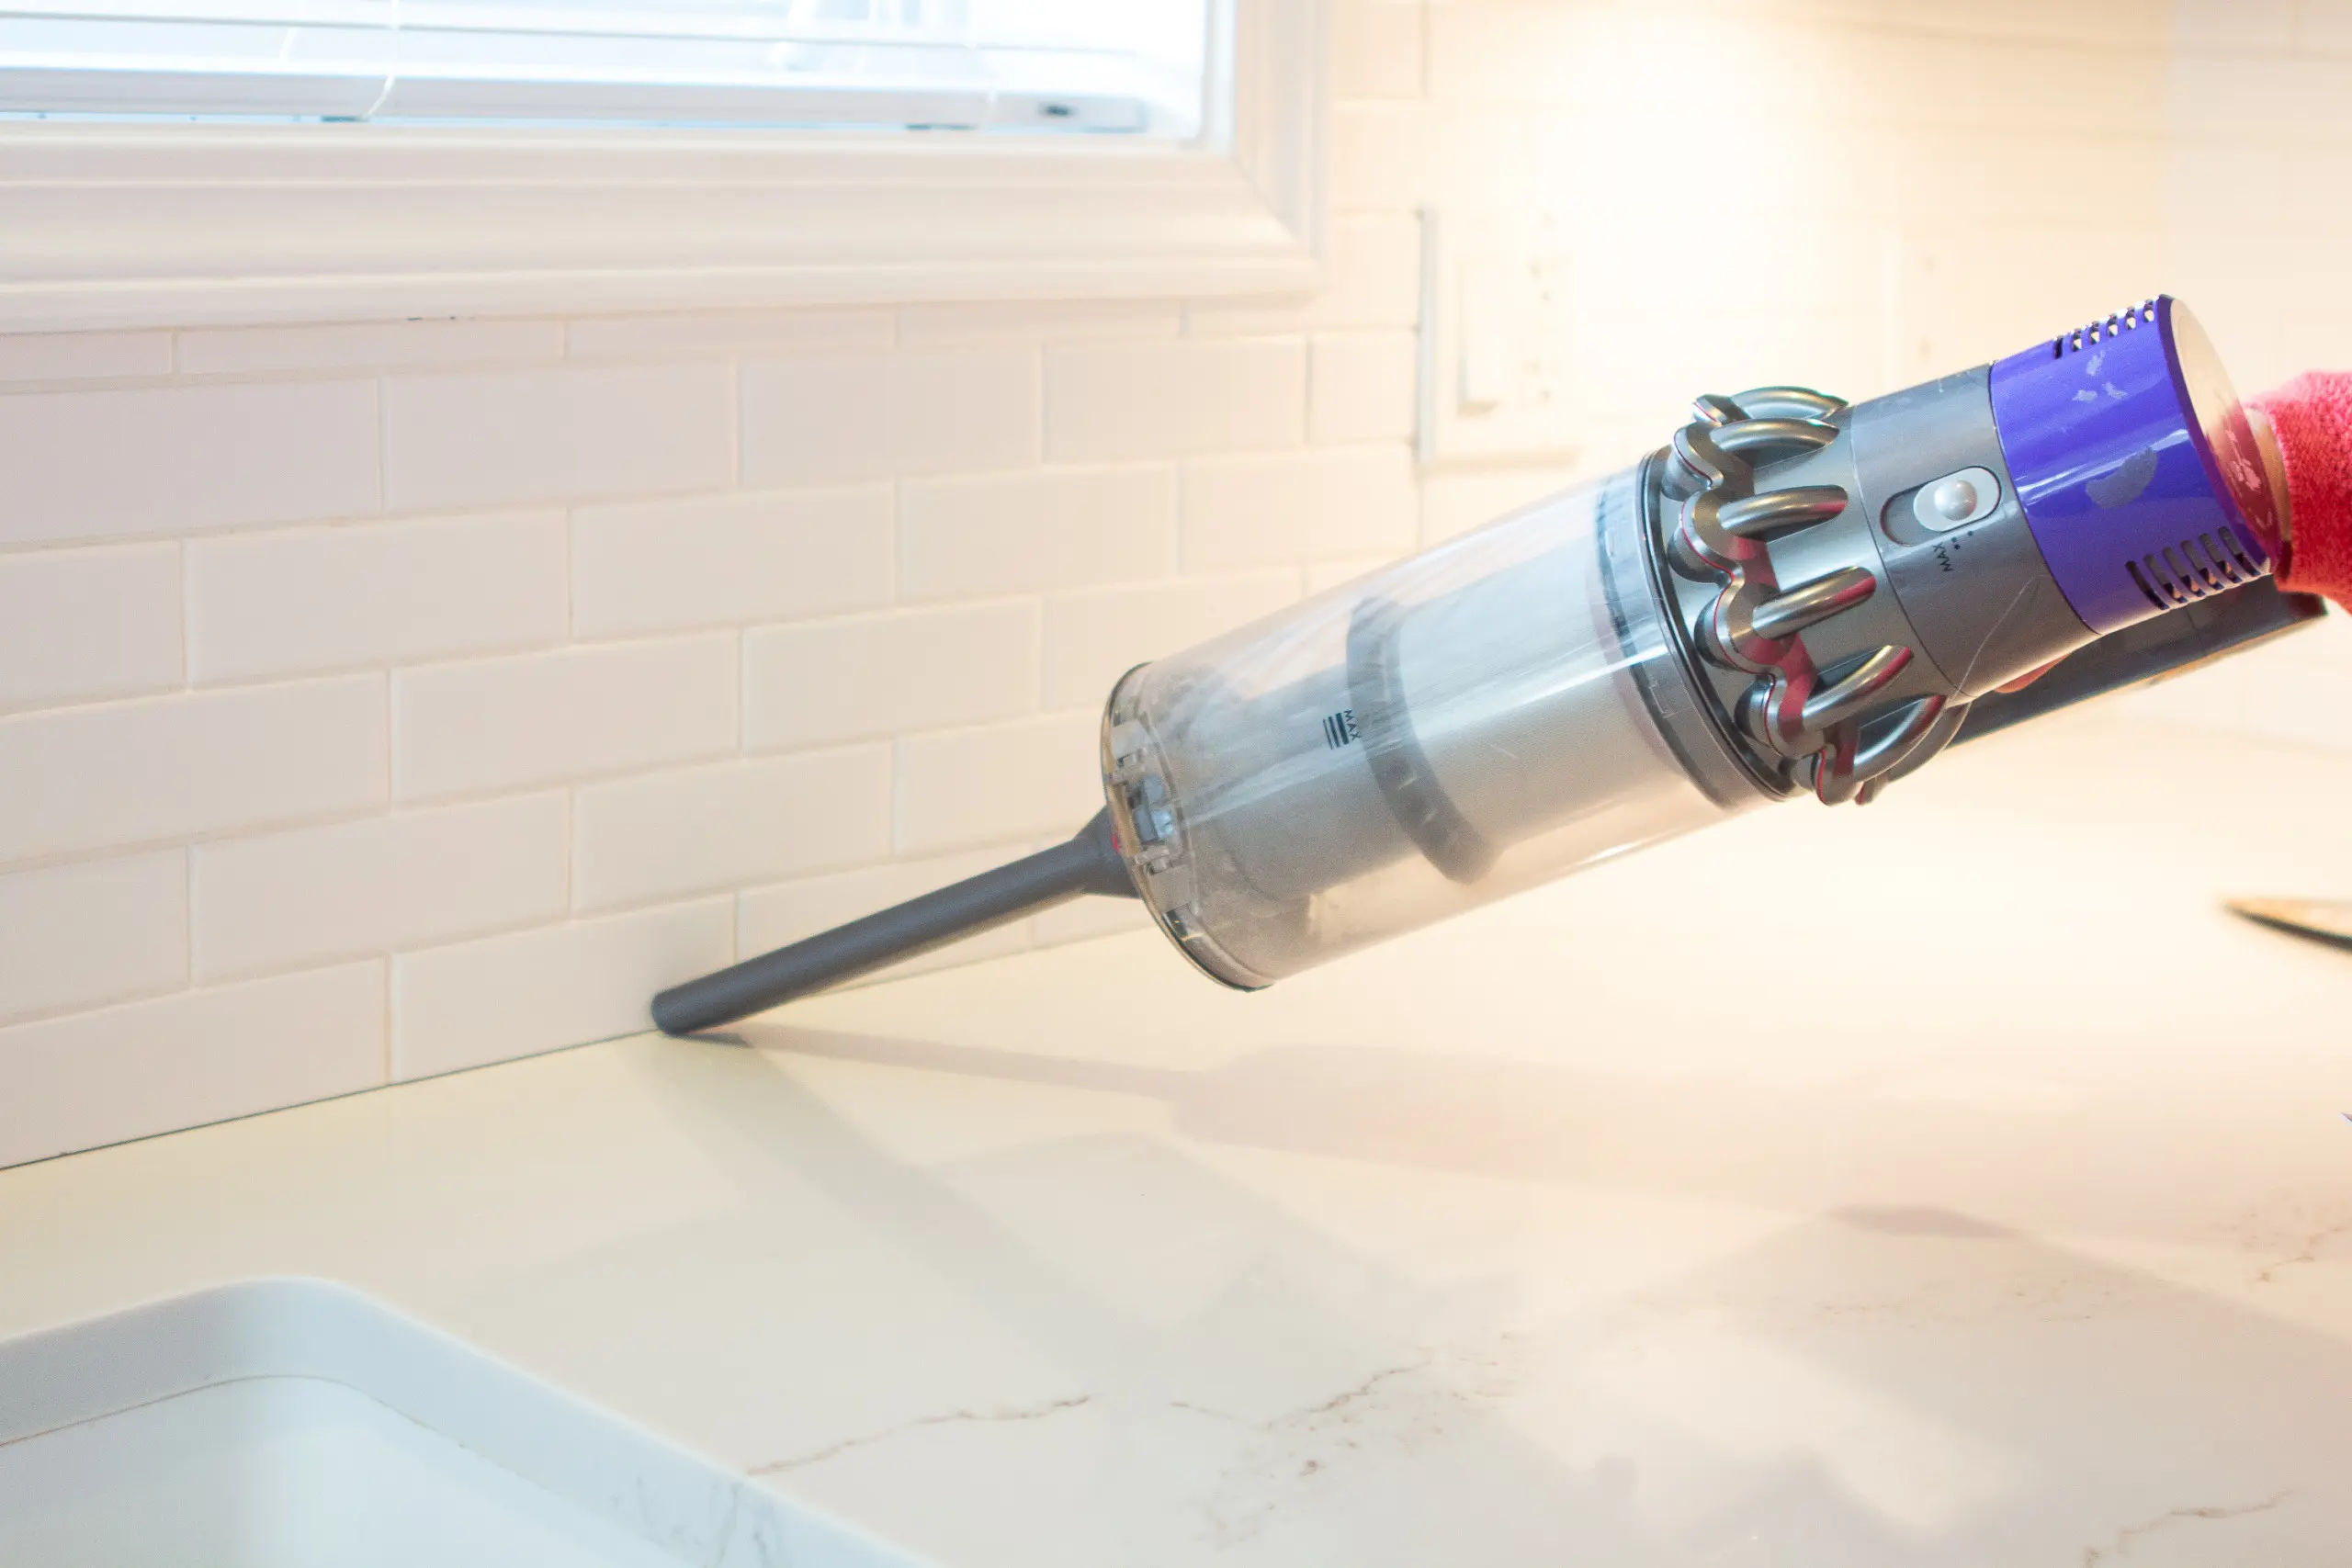
With the old grout out, we vacuumed up the debris and used rags to make sure everything was really clean. Then, it was time to caulk.
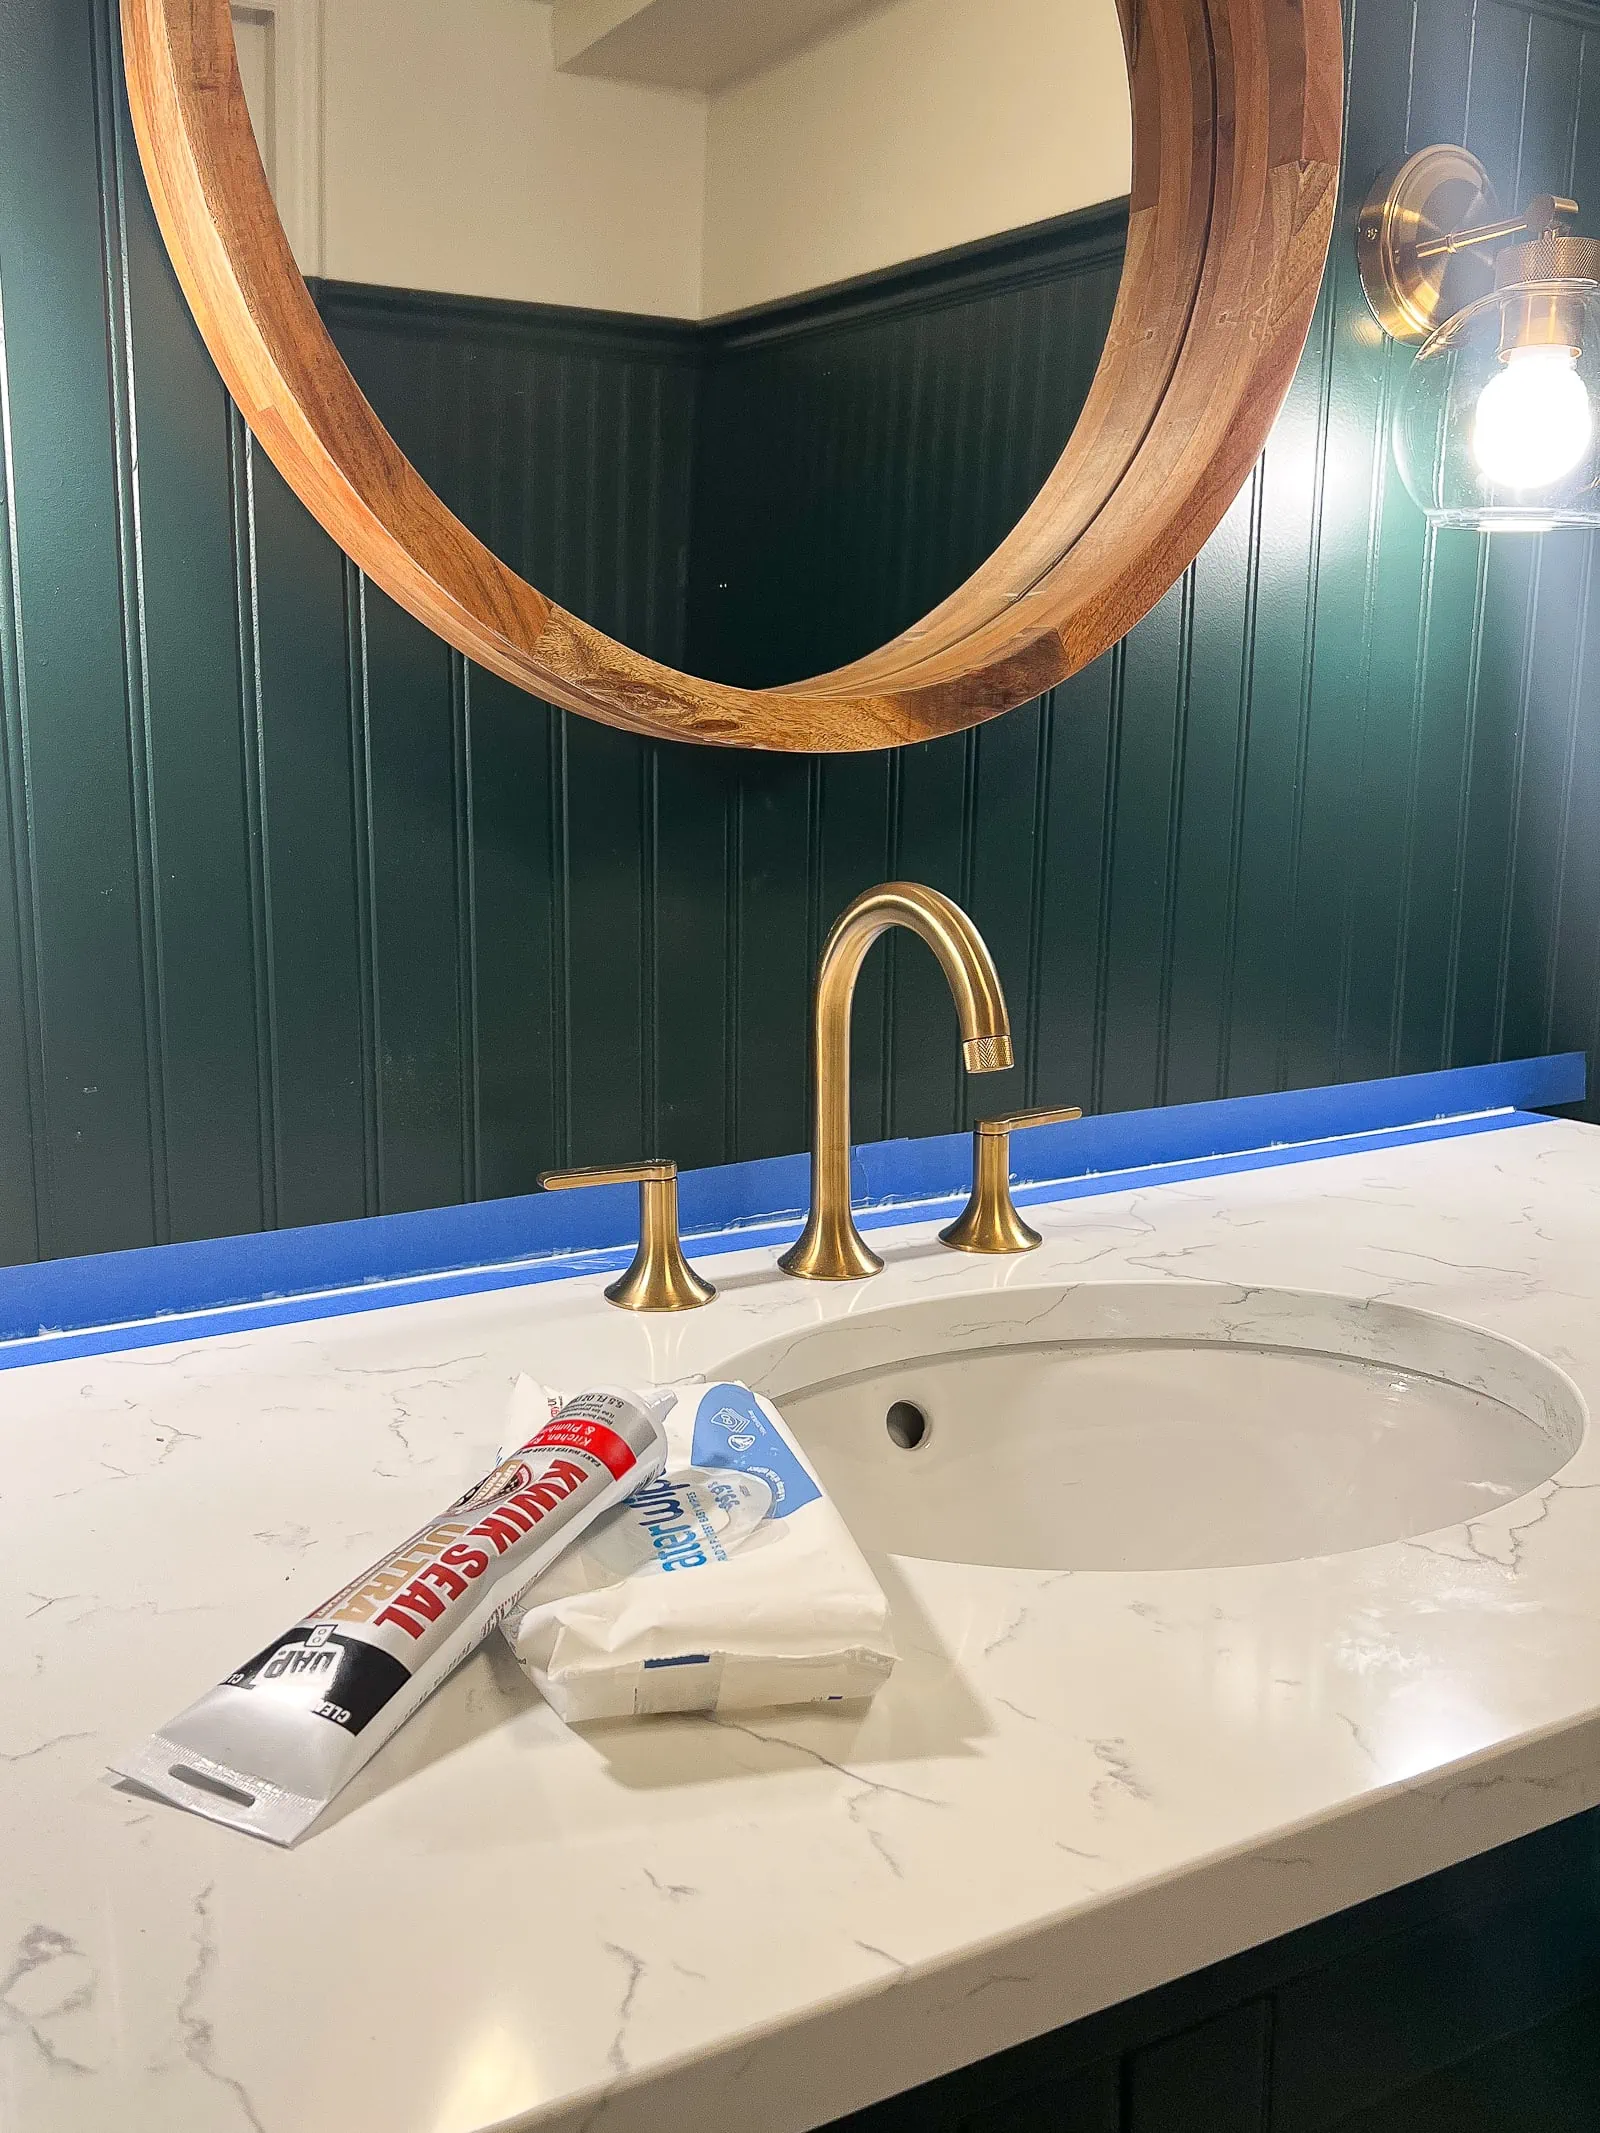
Choose the Right Caulk
Okay, so let’s discuss caulk for a second. When doing woodworking projects, you’ll always use acrylic caulk, which is fairly easy to use. Acrylic caulk is also paintable, so you can paint right over it to match your walls or trim. You can learn more about the differences between types of caulk in my Caulk 101 blog post.
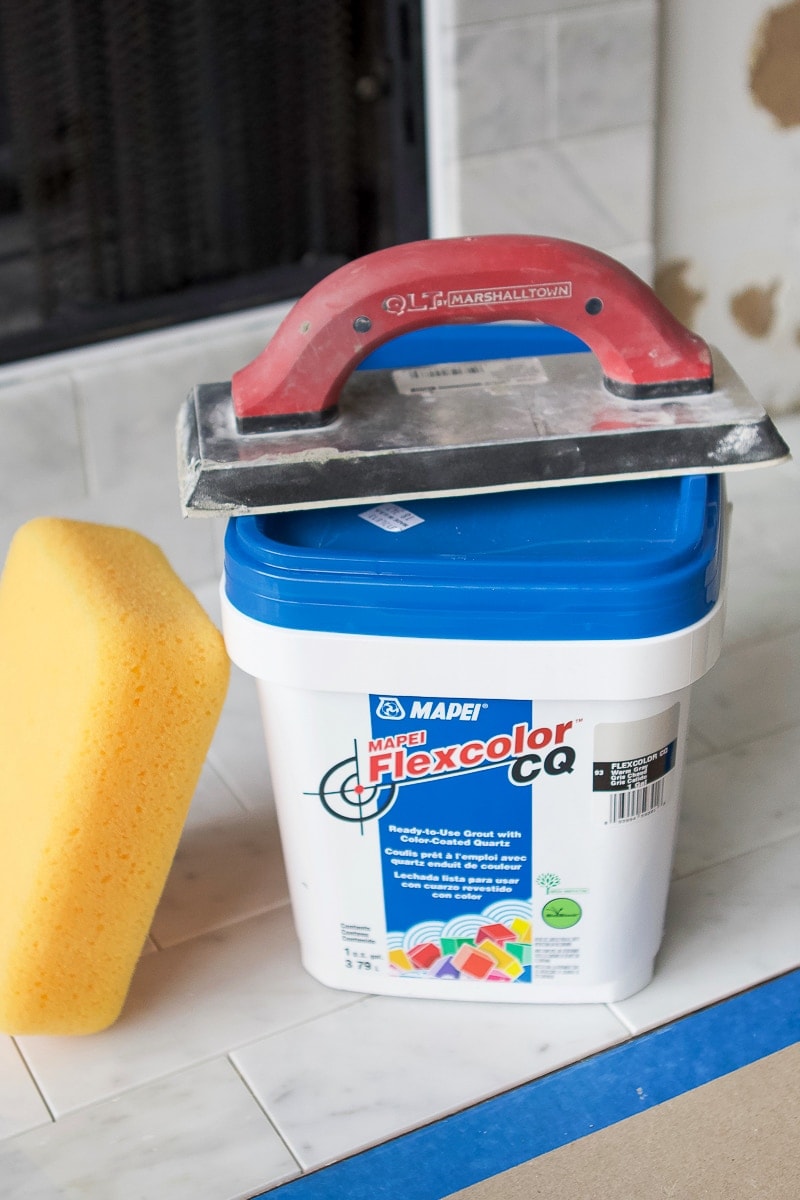
For a project that needs to be waterproofed, like a bathroom or kitchen, silicone caulk is the way to go. It is not paintable, but it comes in various colors to match your original grout color. Silicone caulk is harder to work with than acrylic and it’s messy. Don’t worry, I have tips to get the job done right.
If you have a really big gap, use backer rod. The backer rod gives a place for the caulk to rest. Shove it into the crack and caulk over it!
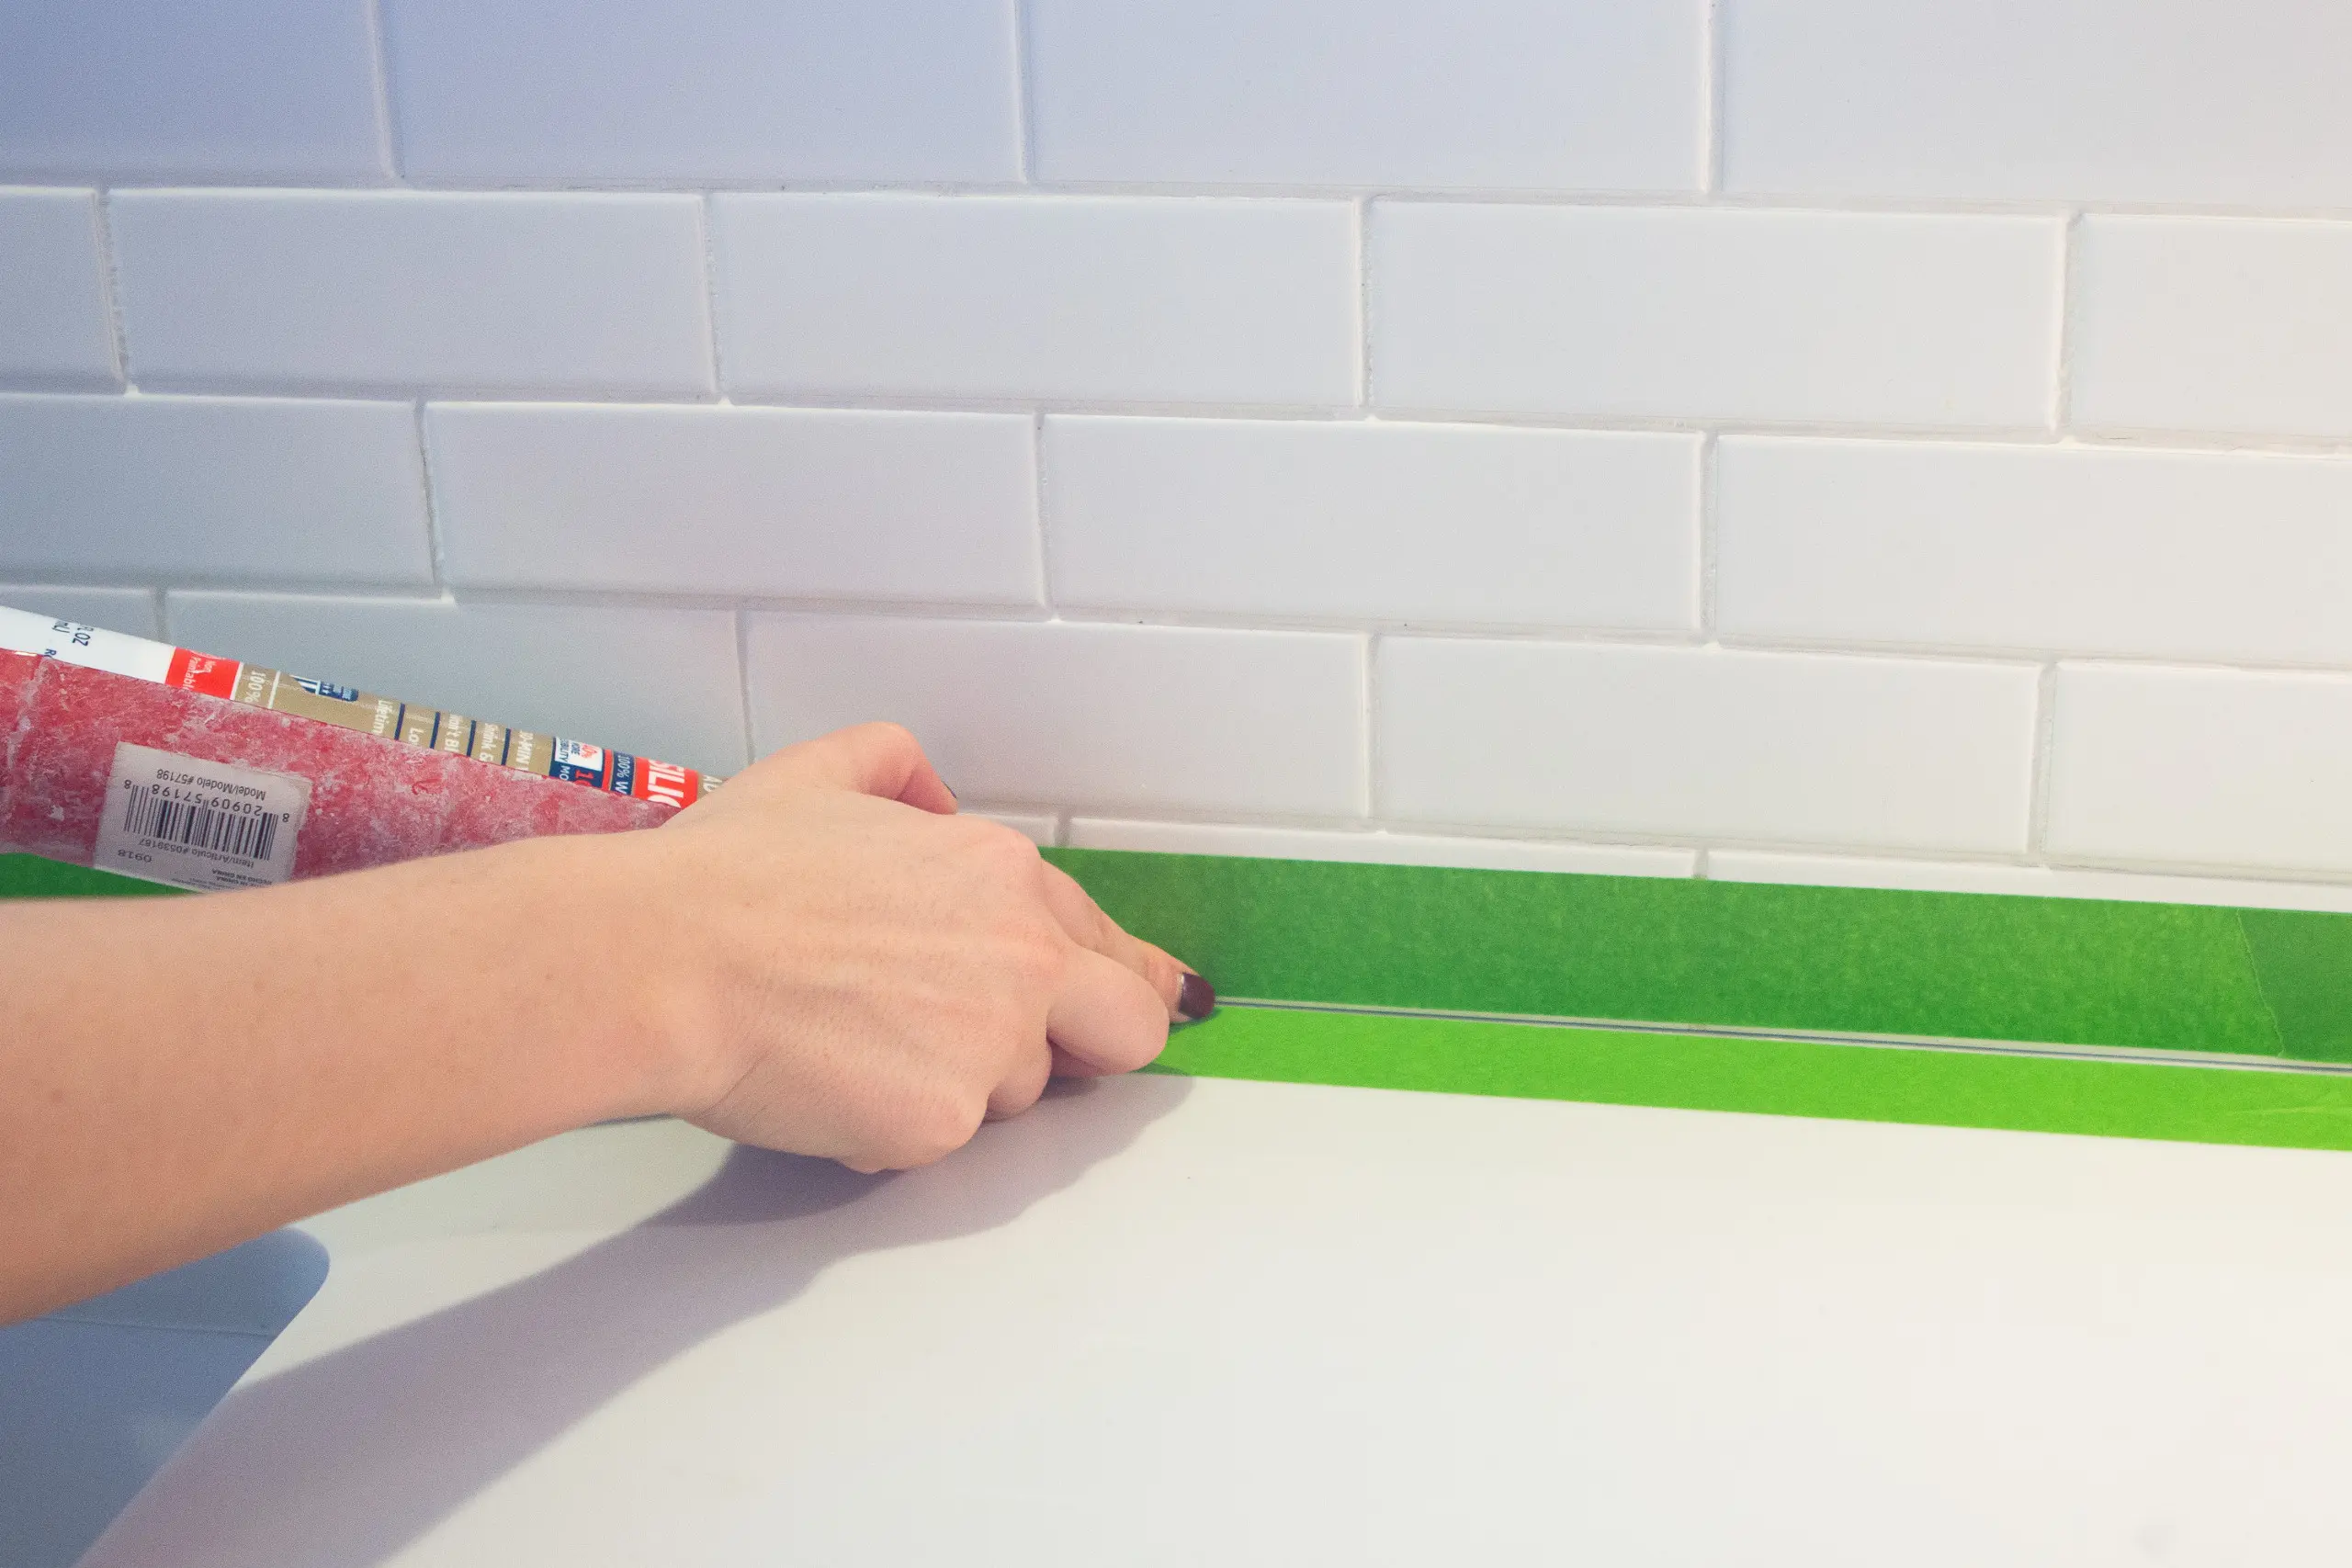
Painter’s Tape to the Rescue

Because silicone caulk is so messy, you’ll want to use painter’s tape to get a clean and crisp line and to prevent excess from spreading onto the tile surface.
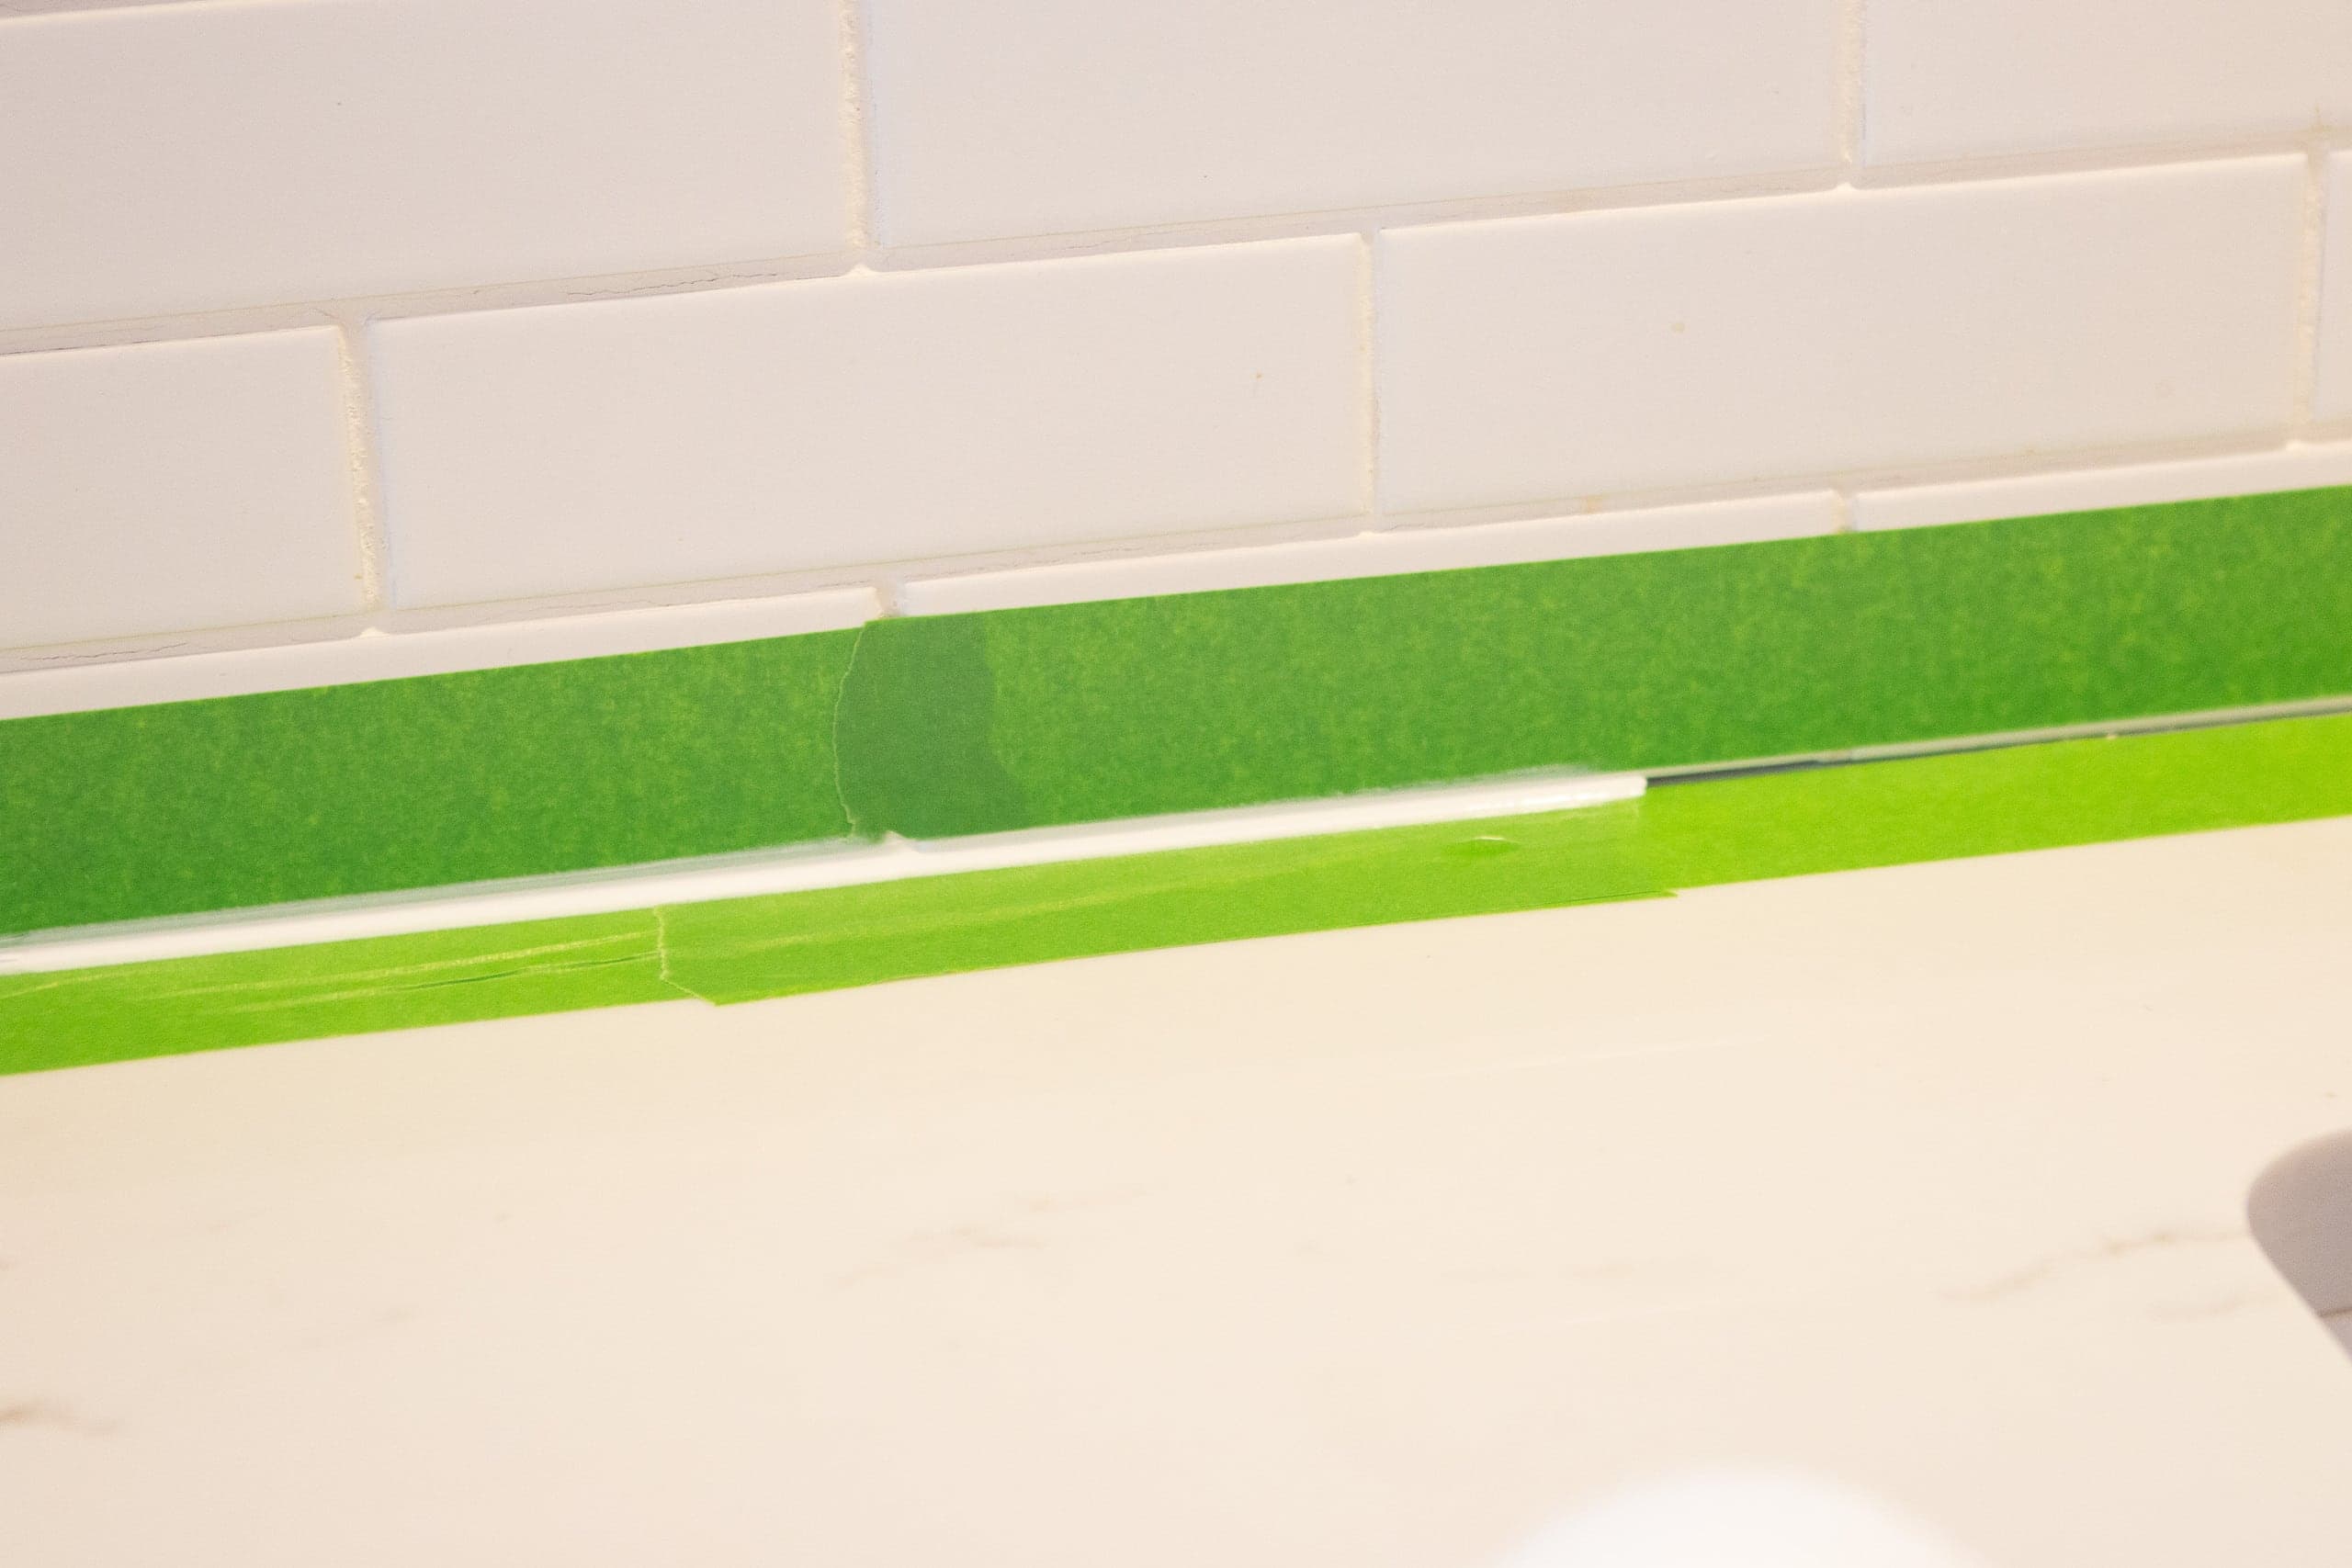
I used the painter’s tape and taped the countertop and the bottom of the wall tile to create a small thin line for the caulk. 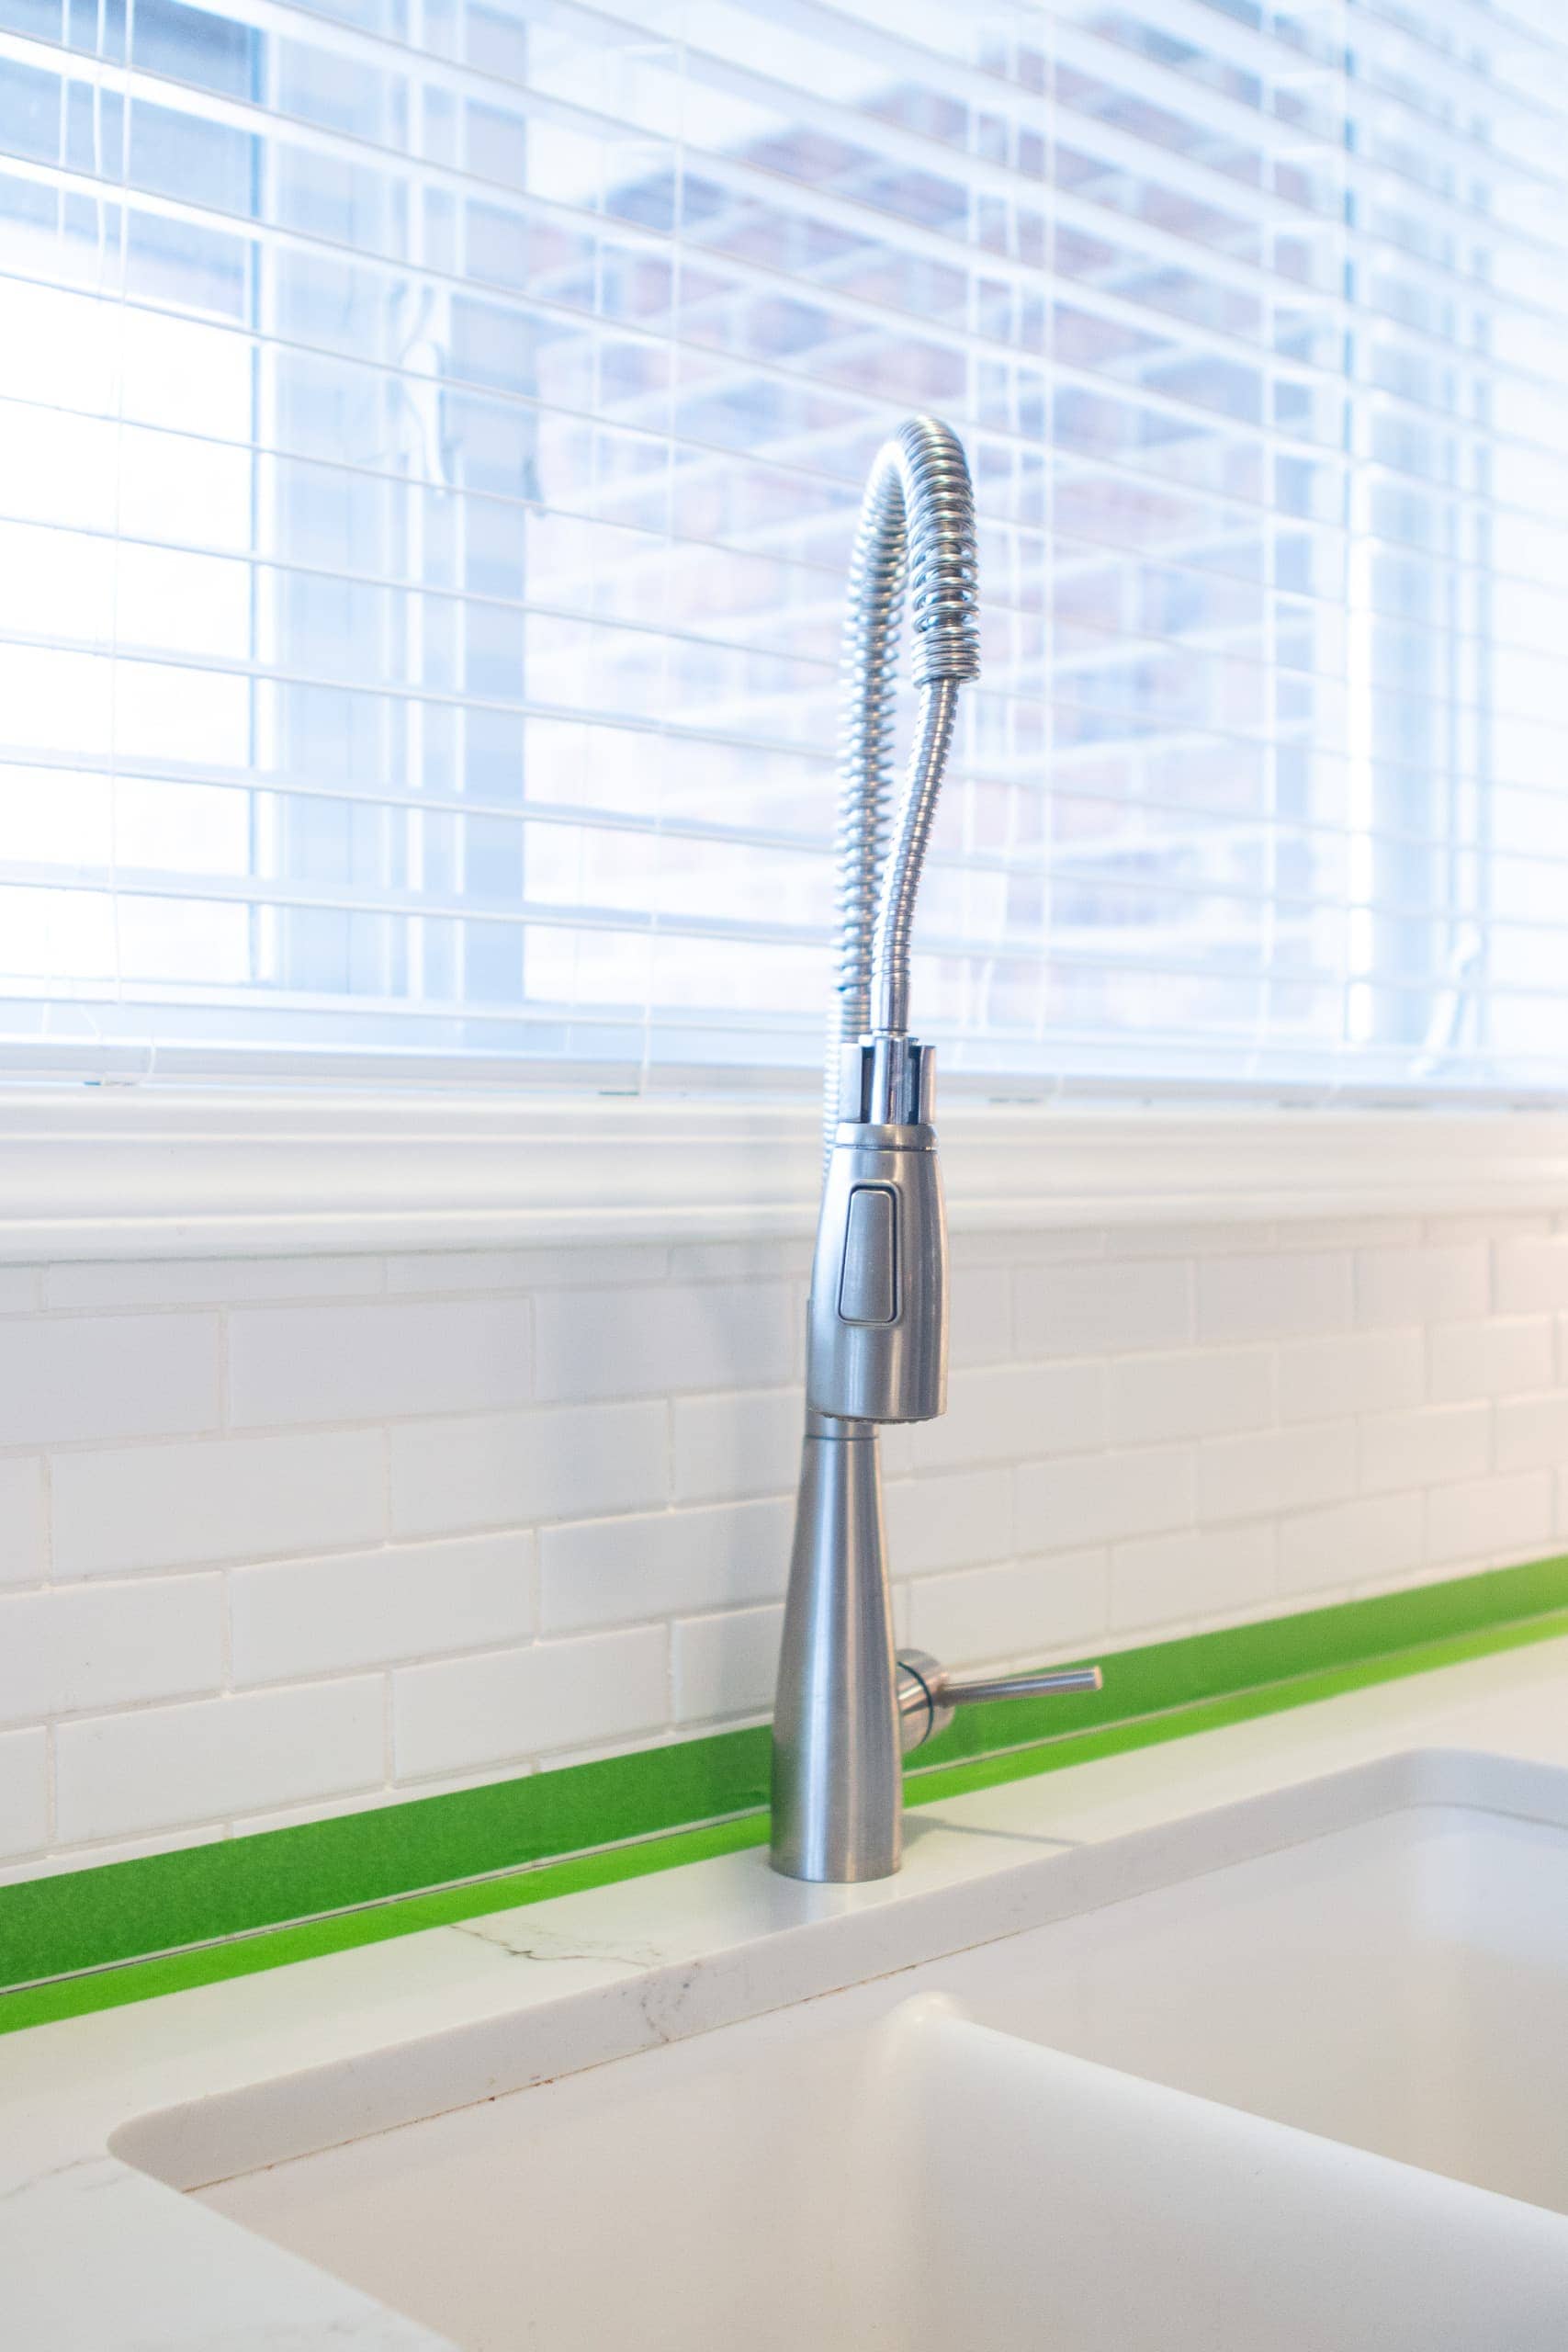
The painter’s tape will keep your work neat and will ensure that your caulk doesn’t get all over the tile or counters. Trust me, it’s worth the extra five minutes of time and effort.
My Best Caulking Tips
- Use the caulk gun to open the tube of caulk. It has a pointy thing on it and you just stick that in the hole to break the seal of the tube.
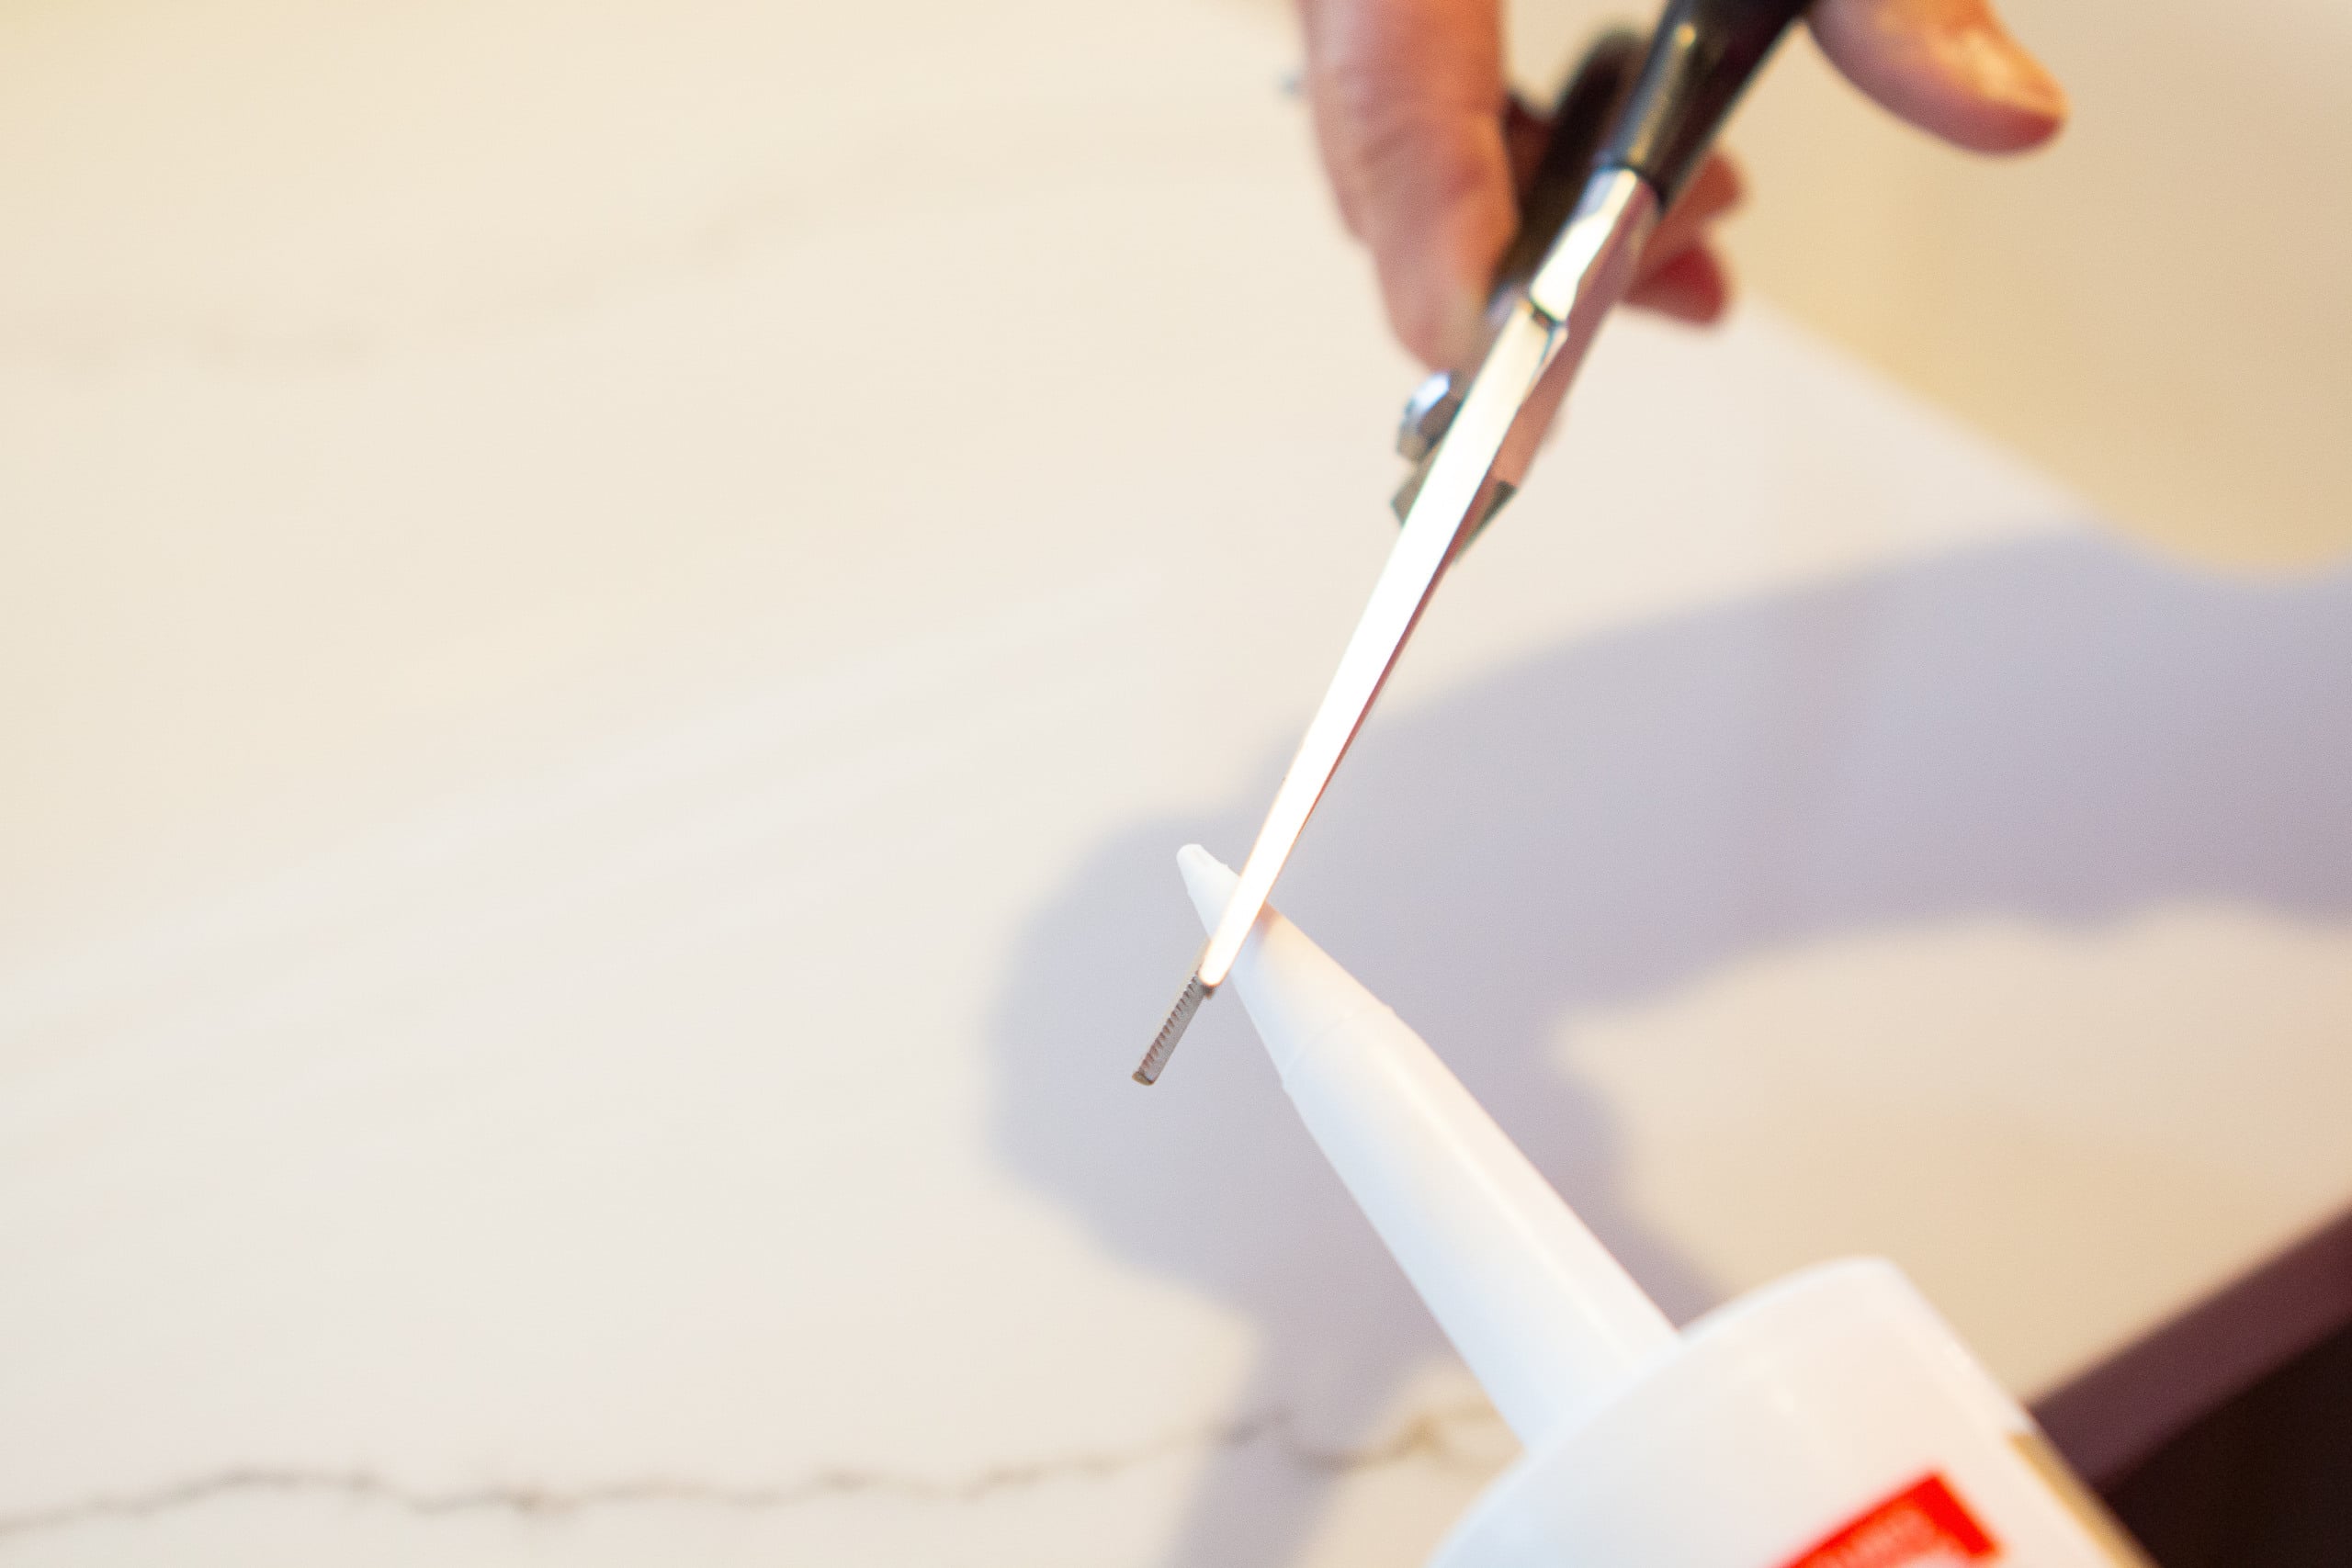
- Use sharp scissors to cut the tube at an angle. Some caulk guns have a tool built on them to cut the tube, but I find that it’s best to cut on an angle with scissors. If you look closely, there are measurements right on the nozzle of most brands of caulk based on how thick you want your caulk line to be. I like to cut to the 1/4 inch mark.
- Take your caulk and slowly run it along the line. I like to work in small sections at a time and I keep the caulk gun moving.
- You can then wet your finger and run it over the caulk line to smooth it out. Baby wipes work here too. Once you get the hang of caulking, you can have your finger follow the caulk gun while you caulk. This takes some practice, though.
- Keep a cup of water nearby. You’ll want your finger to be wet when you run it along the caulk to smooth it out so it doesn’t stick to your skin. You could also wear gloves and get the fingertips wet.
- Once everything is caulked, take a close look before removing the painter’s tape. If an area needs more caulk, add it now, wet your finger again, and smooth it out.
- Remove the painter’s tape, while the caulk is still wet, and do your best to not mess with the caulk. It can be tempting to run your finger over it again and again but trust me, that will only screw things up! It’s best to ensure everything looks perfect before removing the painter’s tape.
- The caulk should take about an hour to dry.
- This project didn’t use much caulk at all, so I used this little tool to save the remainder of the caulk for another project down the road. They’re inexpensive and work wonderfully.

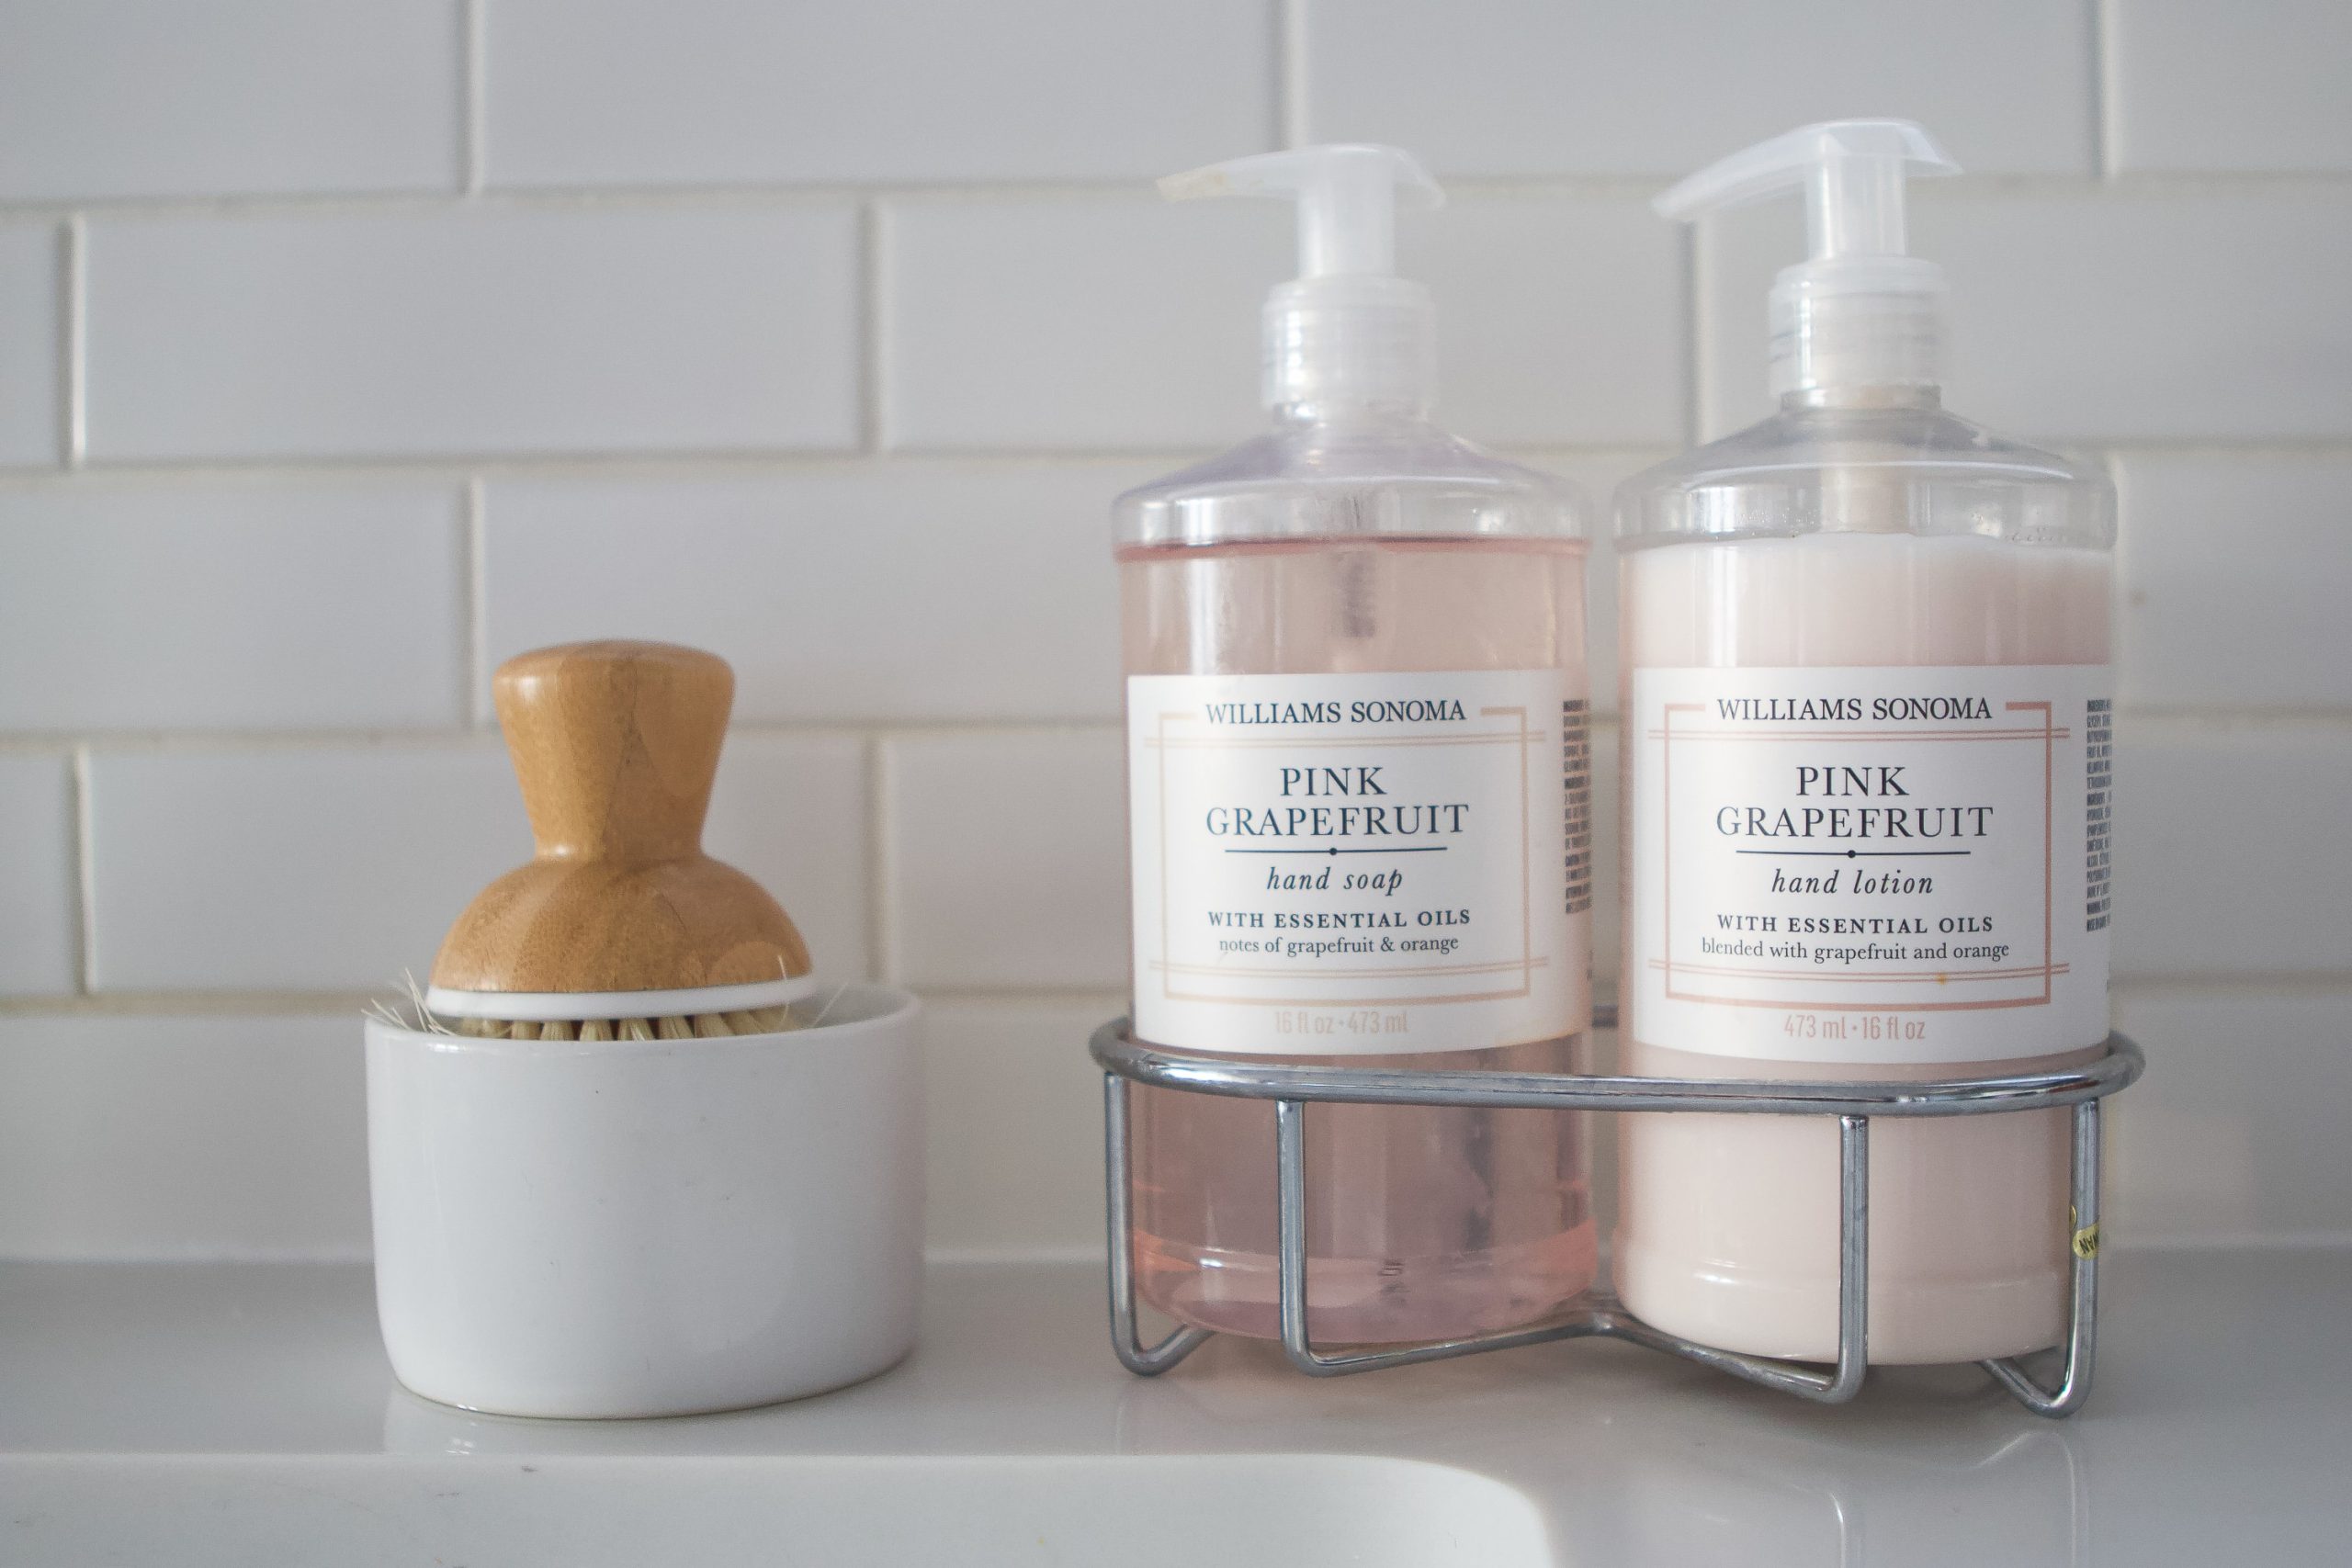
My Mom’s Improved Kitchen Backsplash


The fresh caulk brings this kitchen back to its former glory with a new look. It’s now sealed nicely and should stand up to excess water, grease, and anything else that might splash on here.

This bright white caulk may need regular maintenance down the line. But the good news is that it will last a heck of a lot longer than the original grout.
Jan’s Kitchen Sources

Wall Paint Color: Benjamin Moore “Balboa Mist” // Cabinets: Benjamin Moore “Chelsea Gray” // Brass Pendants // Runner (Blush/Grey) // Accessories (Mostly HomeGoods) // Faucet // Soap Set
Final Thoughts On This Grout Repair Project
Whether you’re tackling a tile countertop repair or fixing grout on shower floors, having the necessary tools and knowledge can make all the difference. I hope these tips help you avoid common mistakes and keep your tiled areas looking flawless.

Casey
More Tiling Posts To Peruse
How to Prepare For Tile Backsplash (including how to buy the correct type of grout for your project!)