How to Cut Butcher Block Countertops Like a Pro
Do you need to replace countertops in your kitchen or laundry room and want to learn how to cut a butcher block countertop? Don’t worry—I’ve got you covered! From using the right tools to ensuring you know how to care for your countertops once you’ve installed them, I’m here to walk you through the basics step by step.
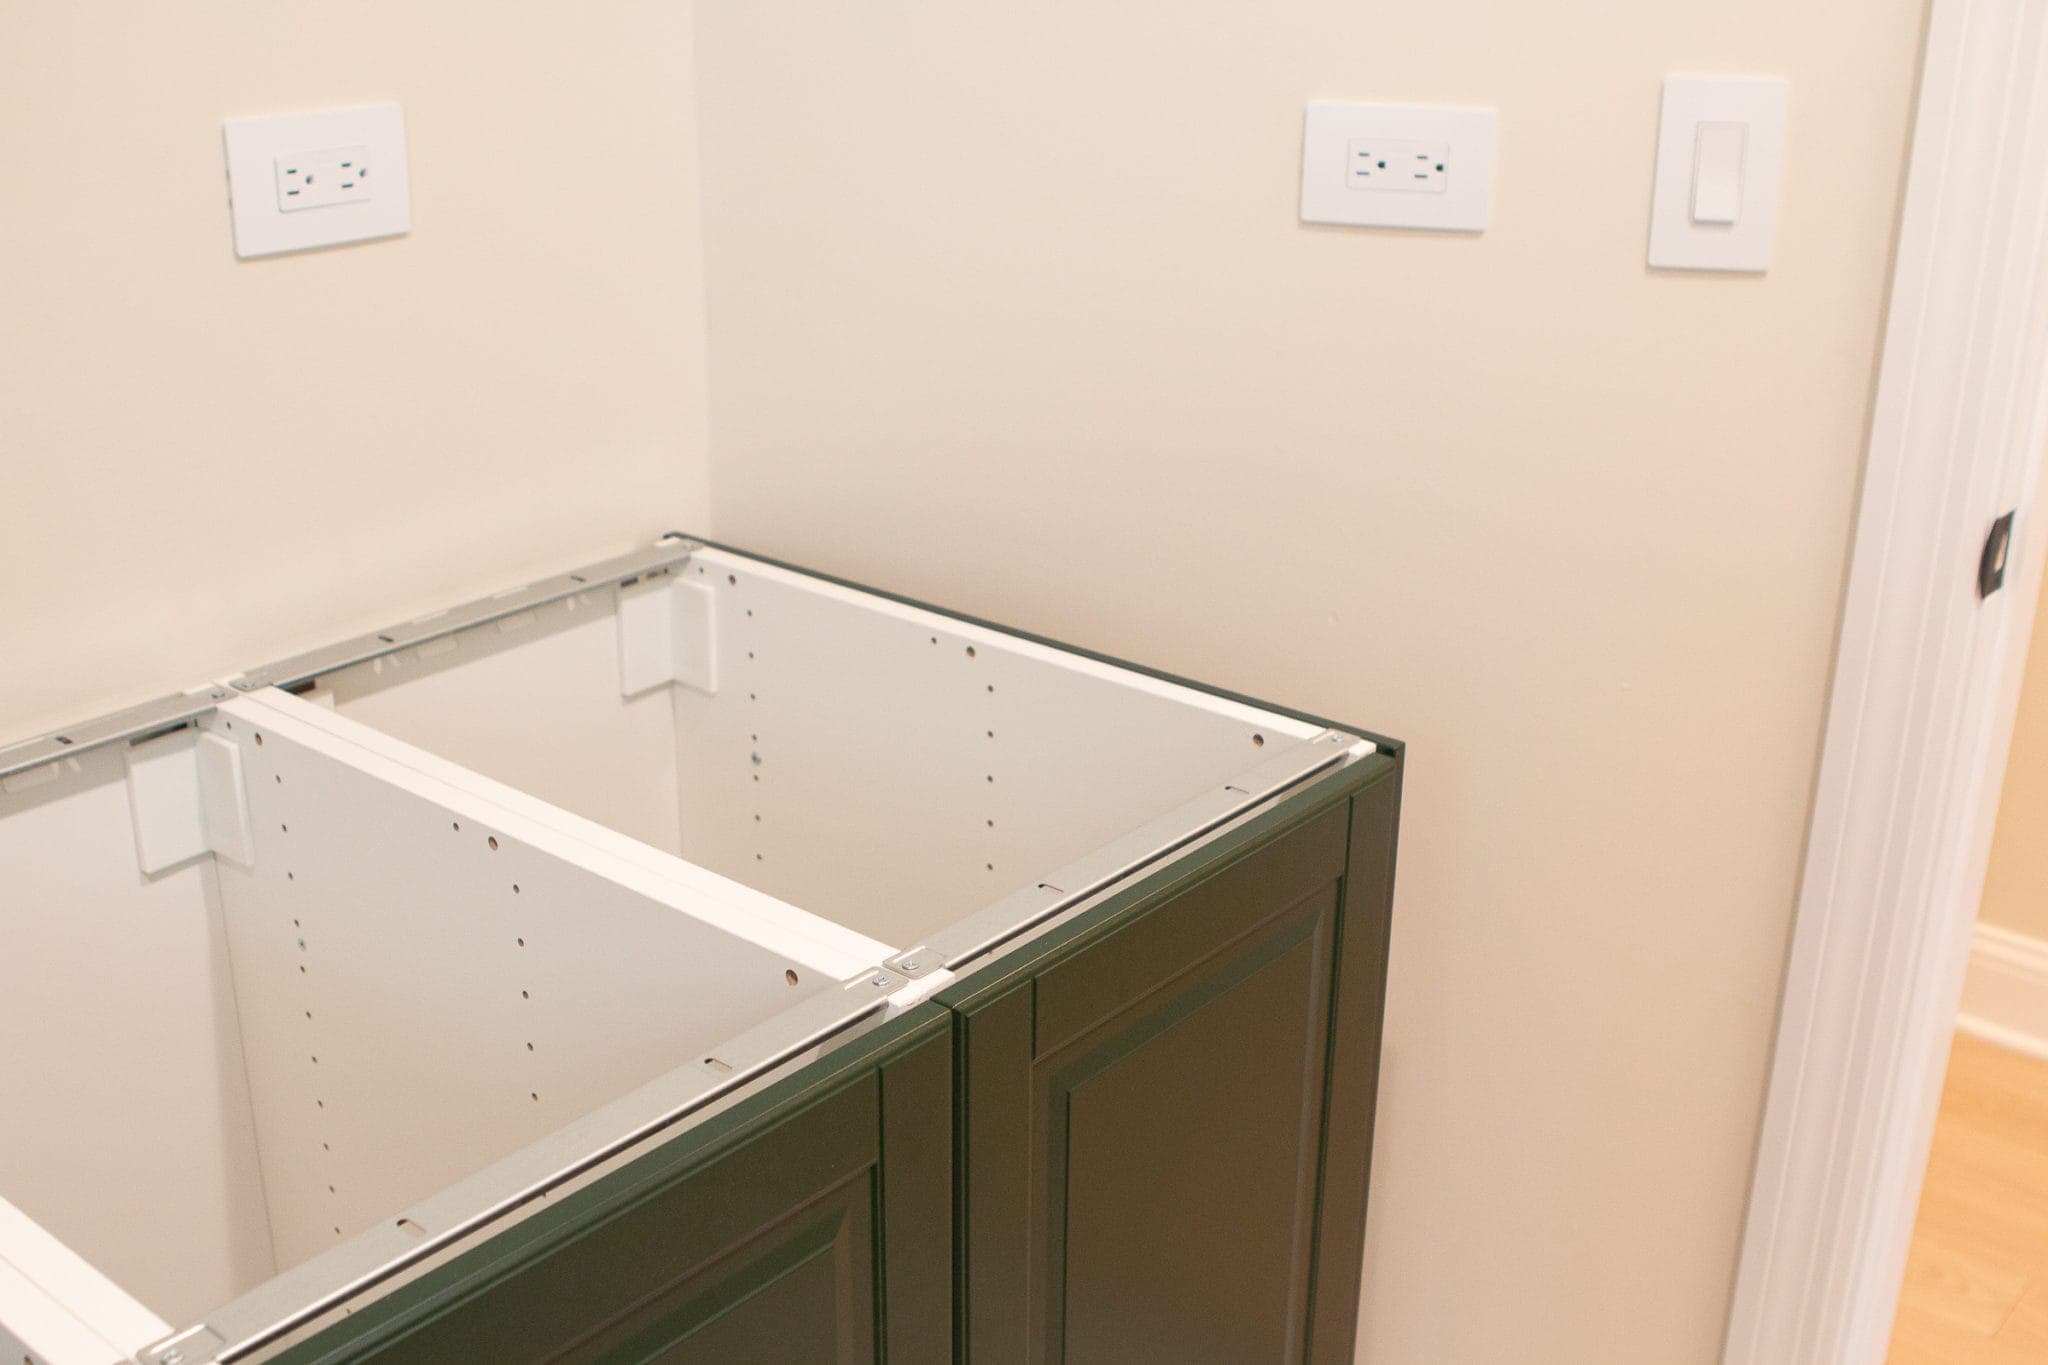
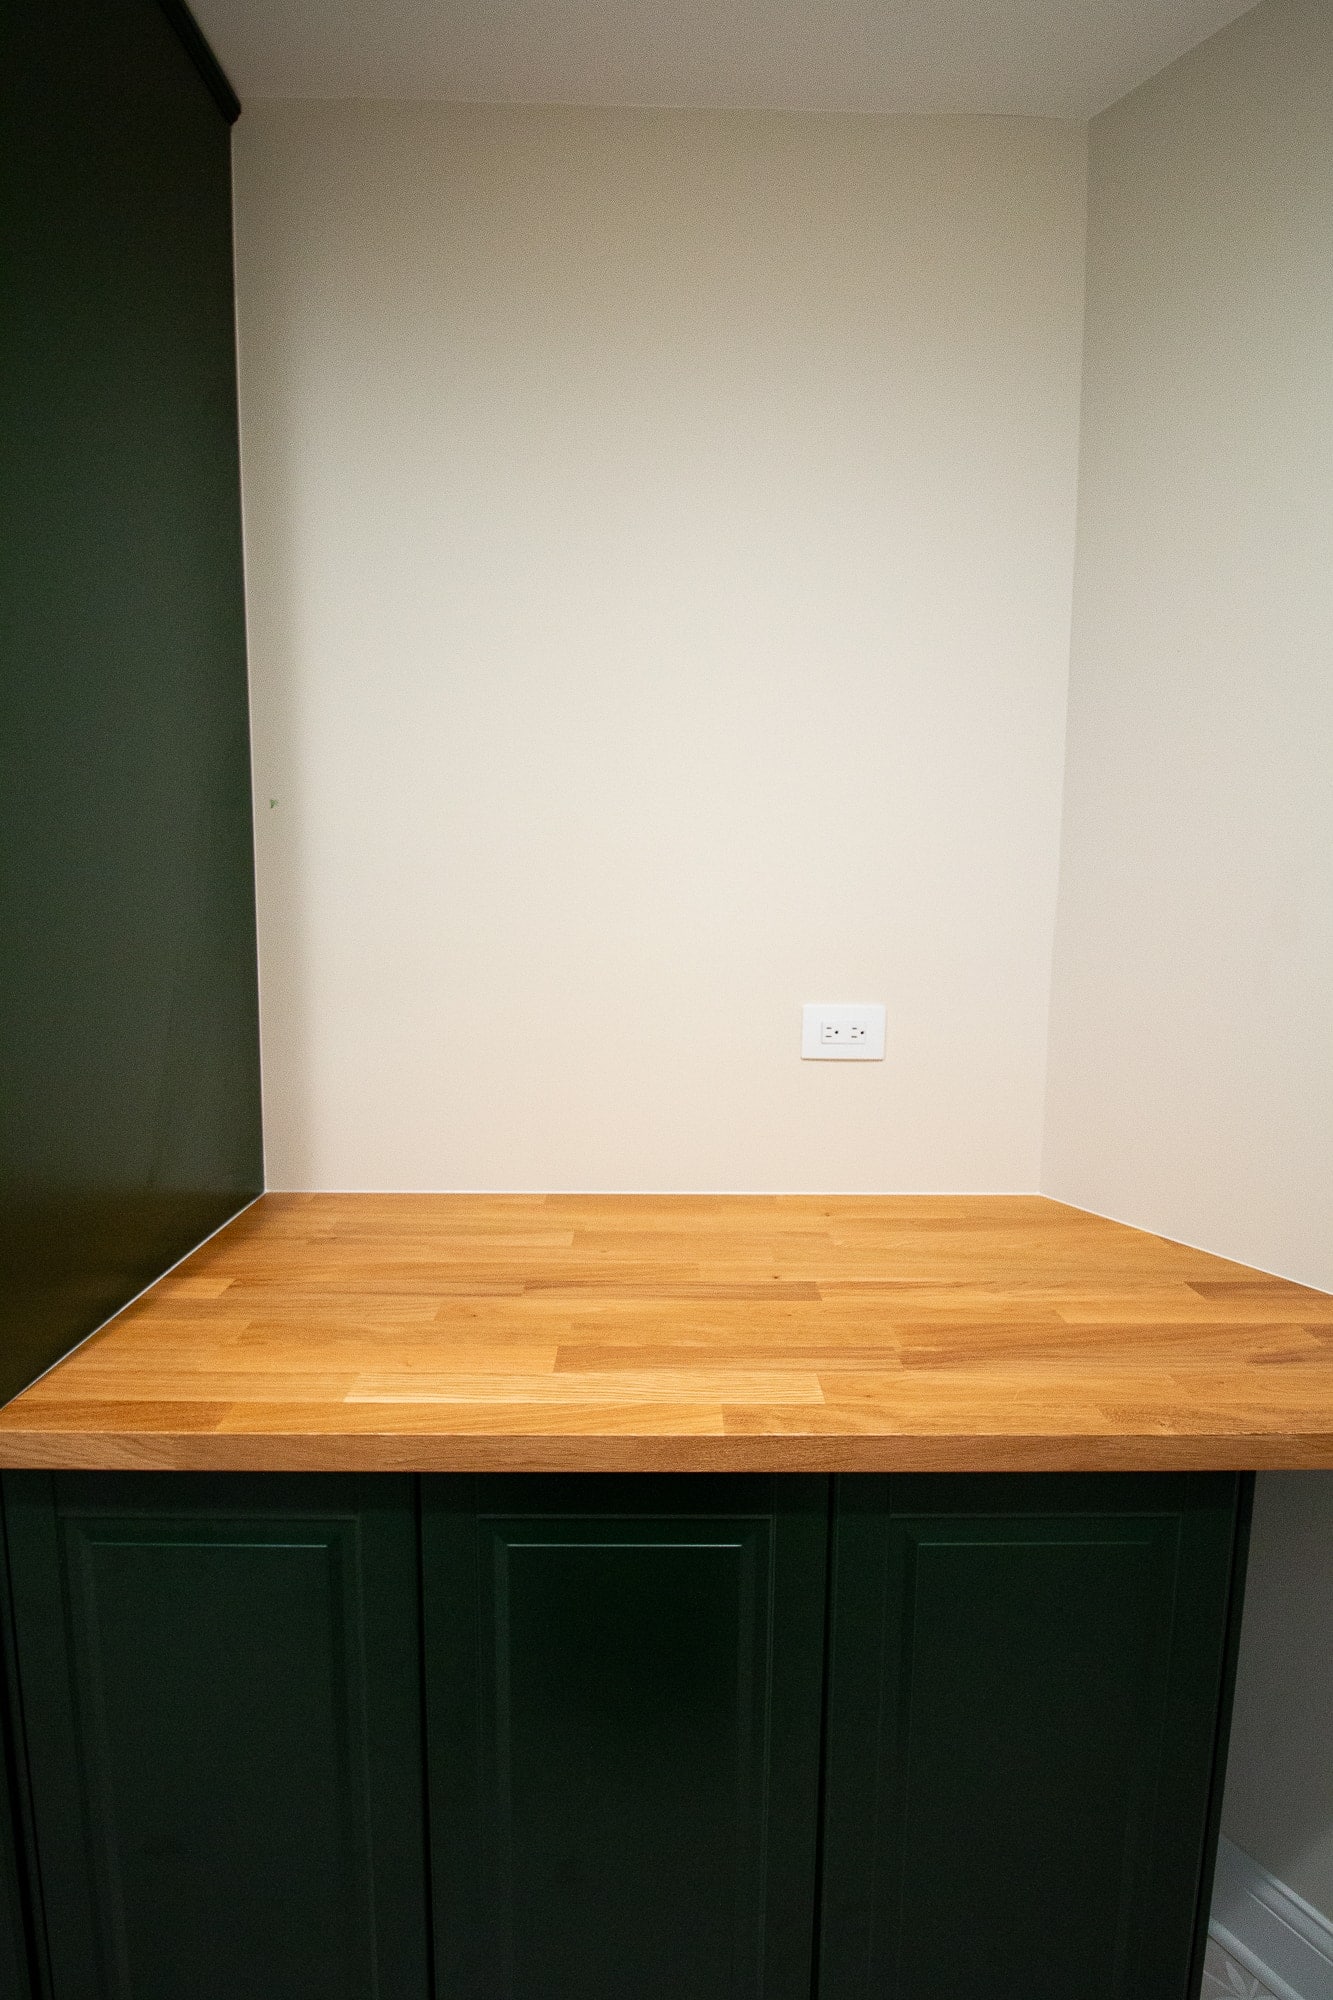
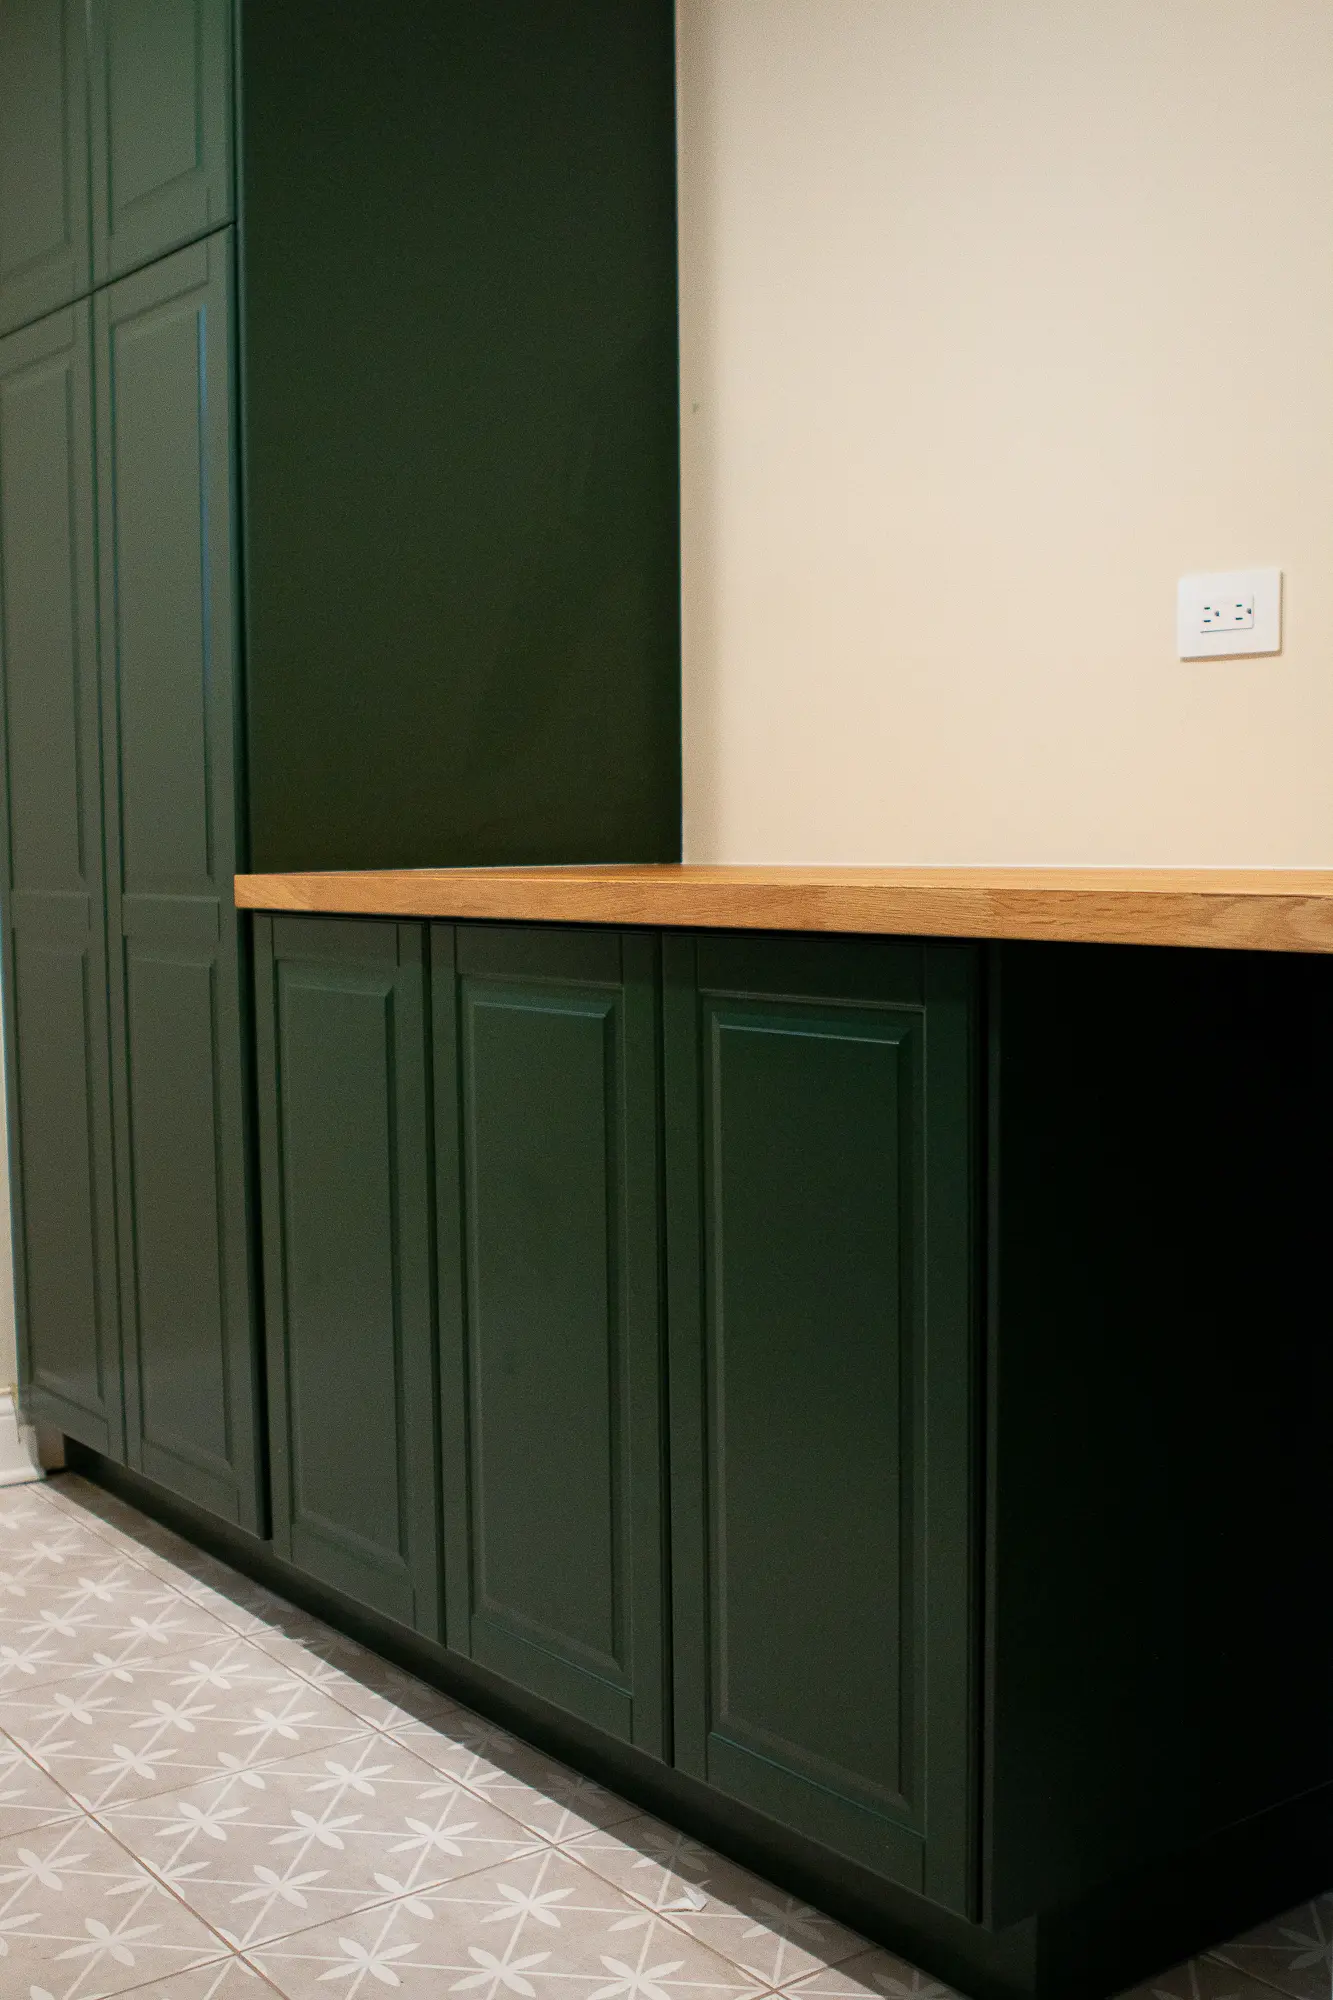
Remember when I shared all the details about installing our new laundry room cabinets? Isn’t the dark green so pretty?! I’m officially obsessed with the fun color it adds to this room.
Once our cabinets were in and secure, it was time for the finishing touch on this side of the room, adding a butcher block countertop! 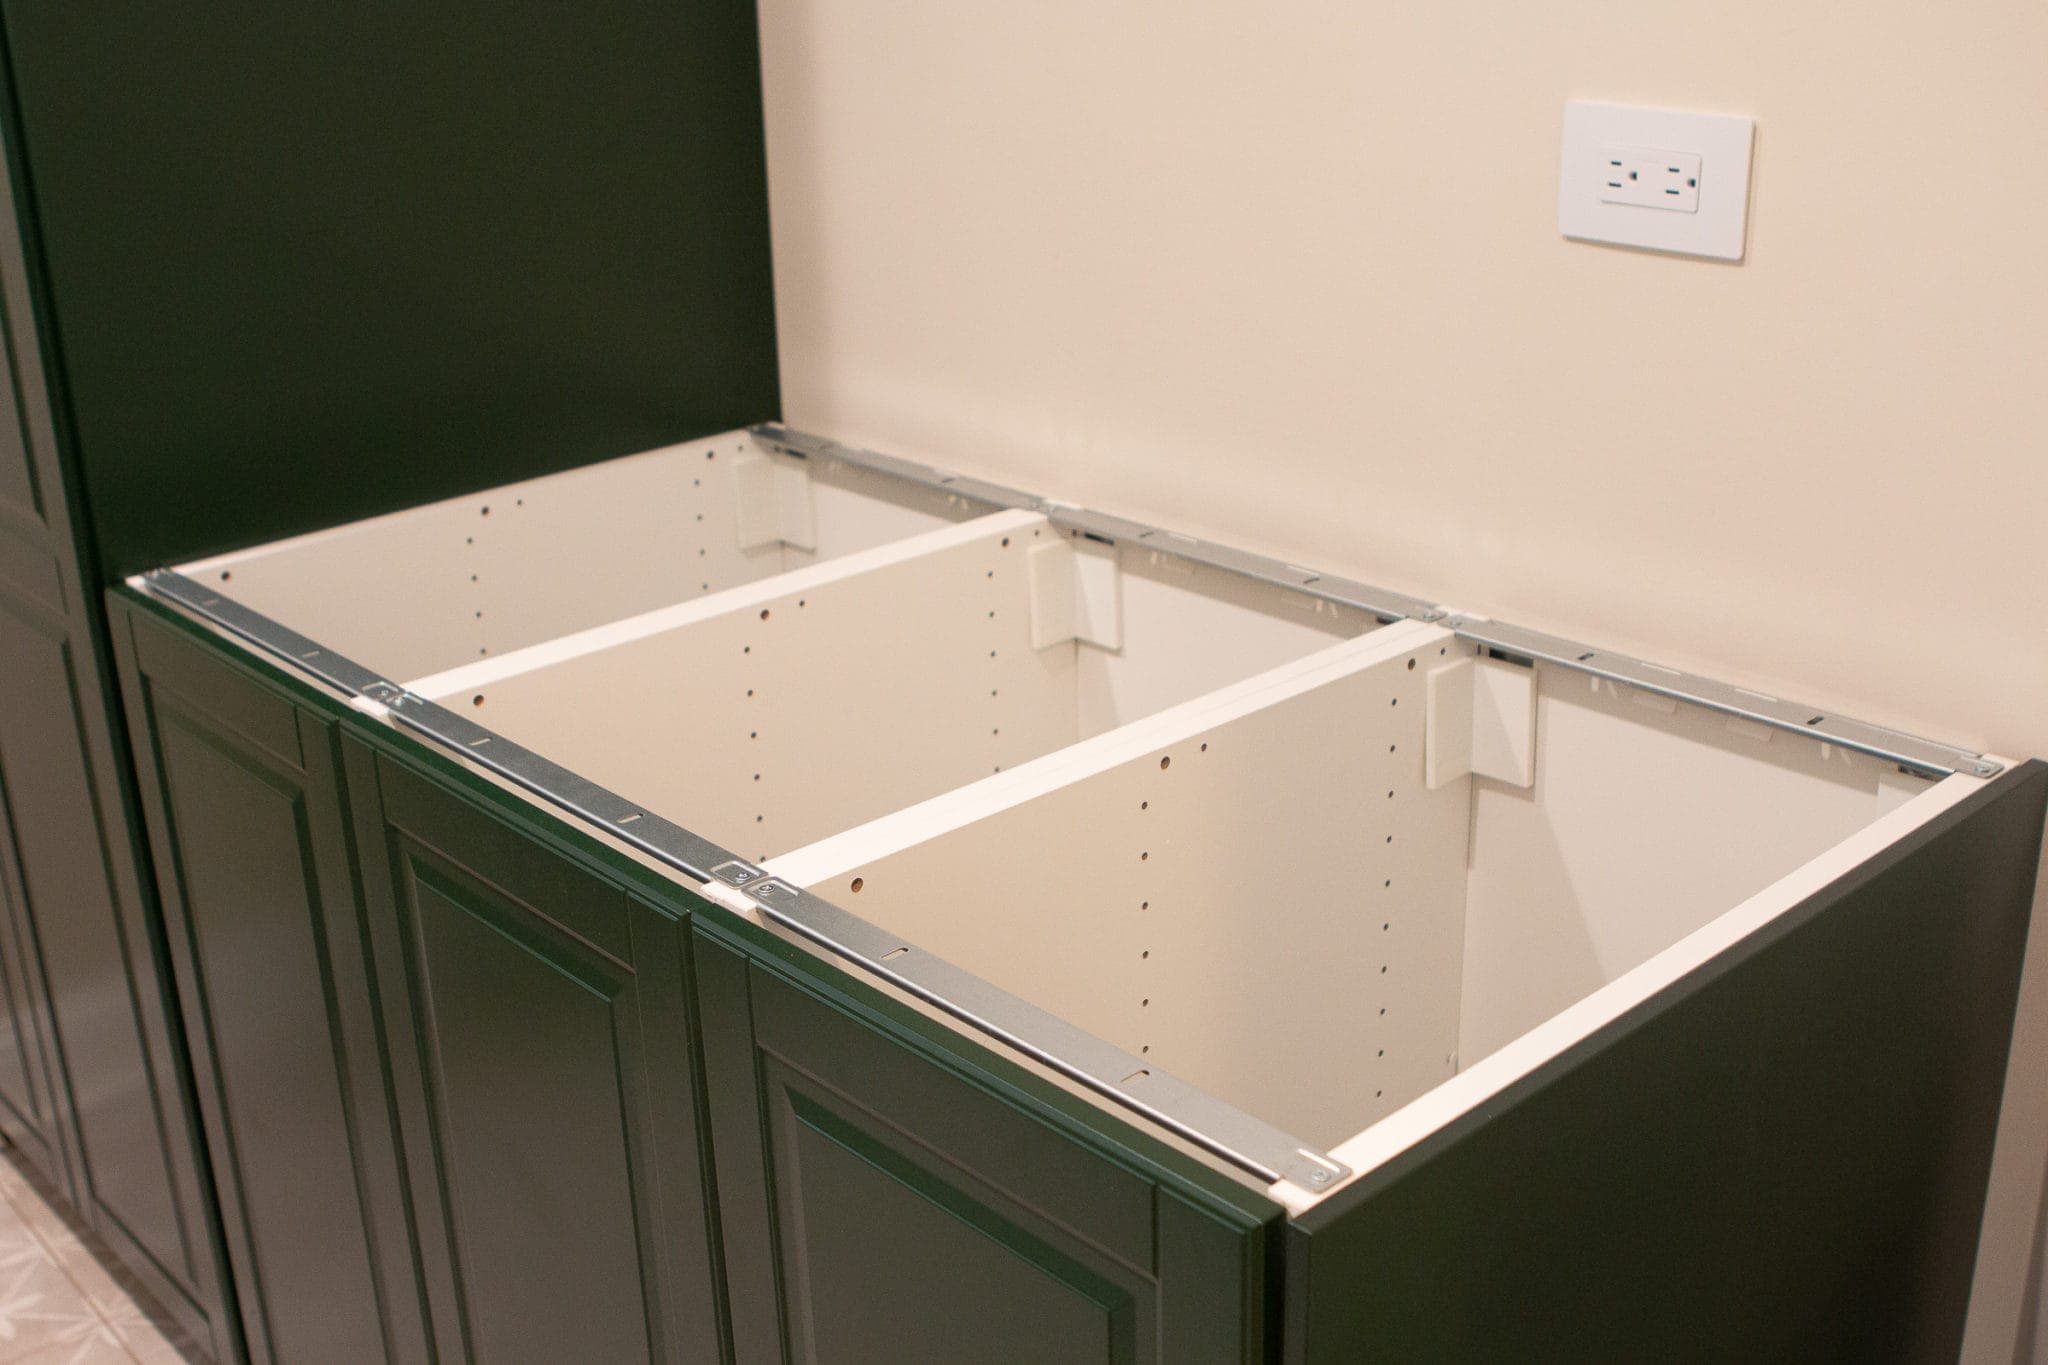 I knew from the start that I wanted to use a butcher block here because I figured the wood grain would add so much warmth to this space.
Butcher block has become become a very popular choice for countertops in recent years and is a small update that can make a huge impact. It’s a truly affordable option–whether you’re replacing your kitchen countertops or adding countertops to a less conventional space like we did.
When we chose this material, I knew that placing the wood over our three hampers would be the perfect spot to fold laundry!
Like our cabinets, we purchased the countertops at IKEA. I actually didn’t even know that IKEA sells varieties of butcher block countertops until I went to the store for my consultation. We chose this KARLBY countertop because it came at a great price, and I love the maple-toned medium color (walnut would be another lovely color, too!). I knew this would make for a really solid countertop that would last for many years or perhaps even a lifetime.
While we got our butcher block at IKEA, it’s always a good idea to check local store prices to compare which is the most economical option for you.
Preparing to Cut and Install a Butcher Block Countertop
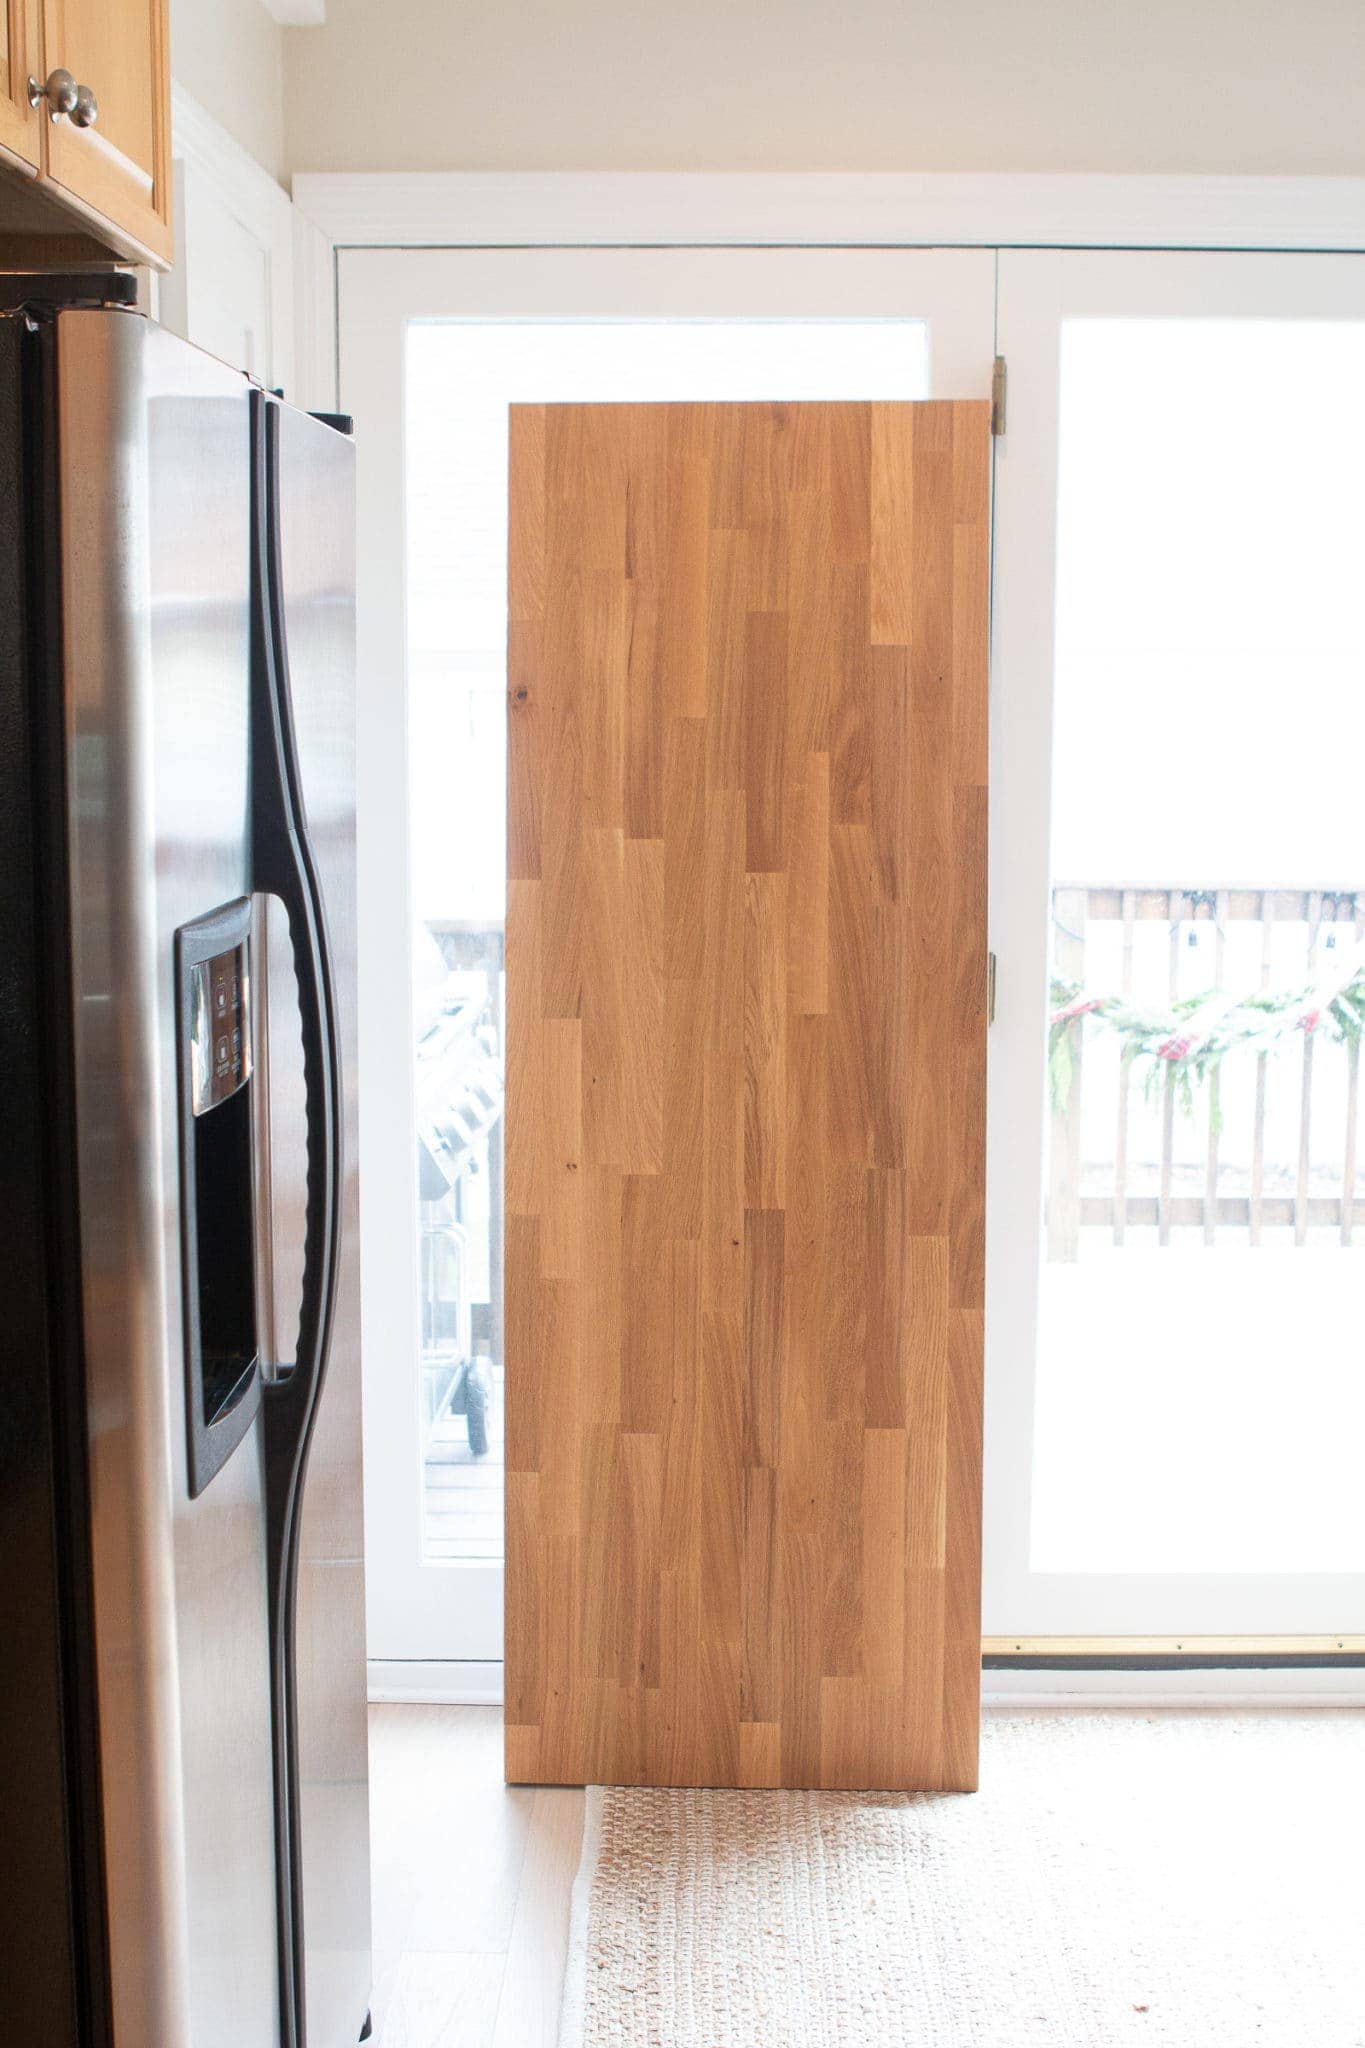
When Finn and I unboxed the heavy piece of butcher block countertop, we were both so pleased with it’s durability and craftsmanship. It was obvious that it was very well-made.
The entire piece was 74 inches long, and we only needed 62 inches of it. We knew from the start that we would have to make a straight cut.
But what, exactly, is the best way to cut a butcher block countertop? Thankfully, we were prepared with the right tools to complete the job!
The excess butcher block pieces could make for an excellent cutting board. You’ll need more material for this, but butcher block surfaces are also great kitchen islands. Don’t just throw away the extra pieces!
 We knew that cutting the butcher block countertops would not entail just any cut–we would have to make an angled cut so the piece would extend past our cabinets and touch the angled wall.
With one piece of butcher block, you really only have one shot to get the cut edges right. I was sweating from the start!
When it comes to cutting and installing butcher block countertops, you’ll need to have lots of tools on hand. Here are some of the tools that I suggest you gather before you cut your butcher block countertop:
Affiliate links used.
- measuring tape
- painter’s tape
- clamps
- circular saw
- liquid nails
- sanding block
- screws
- DAP clear caulk
- lint-free rag
You’ll also want to purchase the following to keep on hand to help you take good care of your new butcher block countertops:
I walk you through the steps to clean and maintain your butcher block in this blog post.
Measuring & Making a Template for the Butcher Block Countertop 
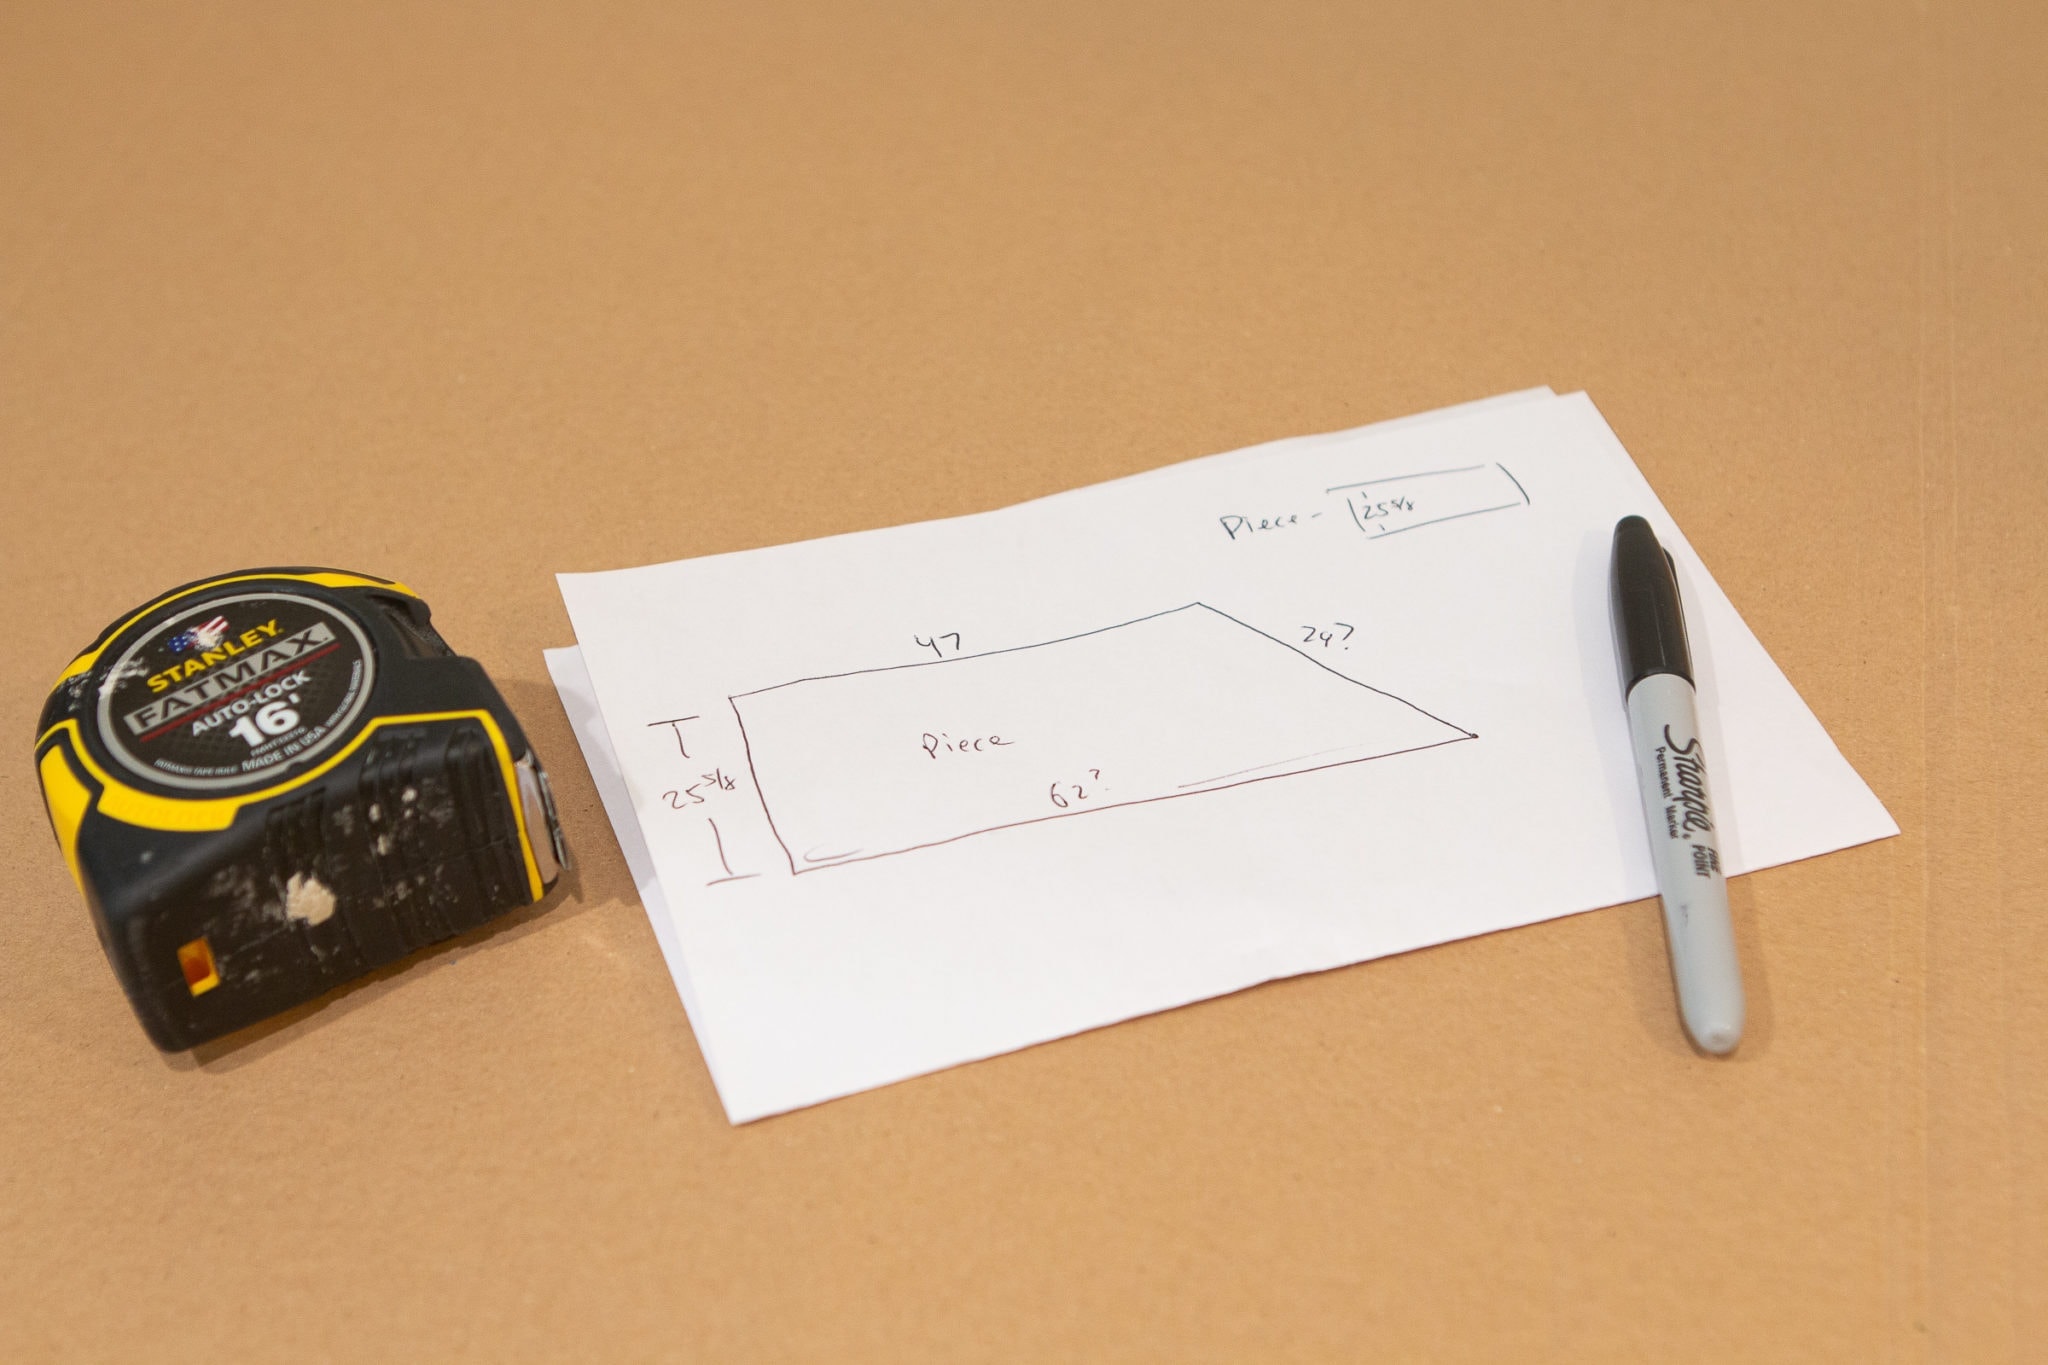
Thankfully, Finn is super precise, and together, we took measurements of the open space over the cabinets using a measuring tape. 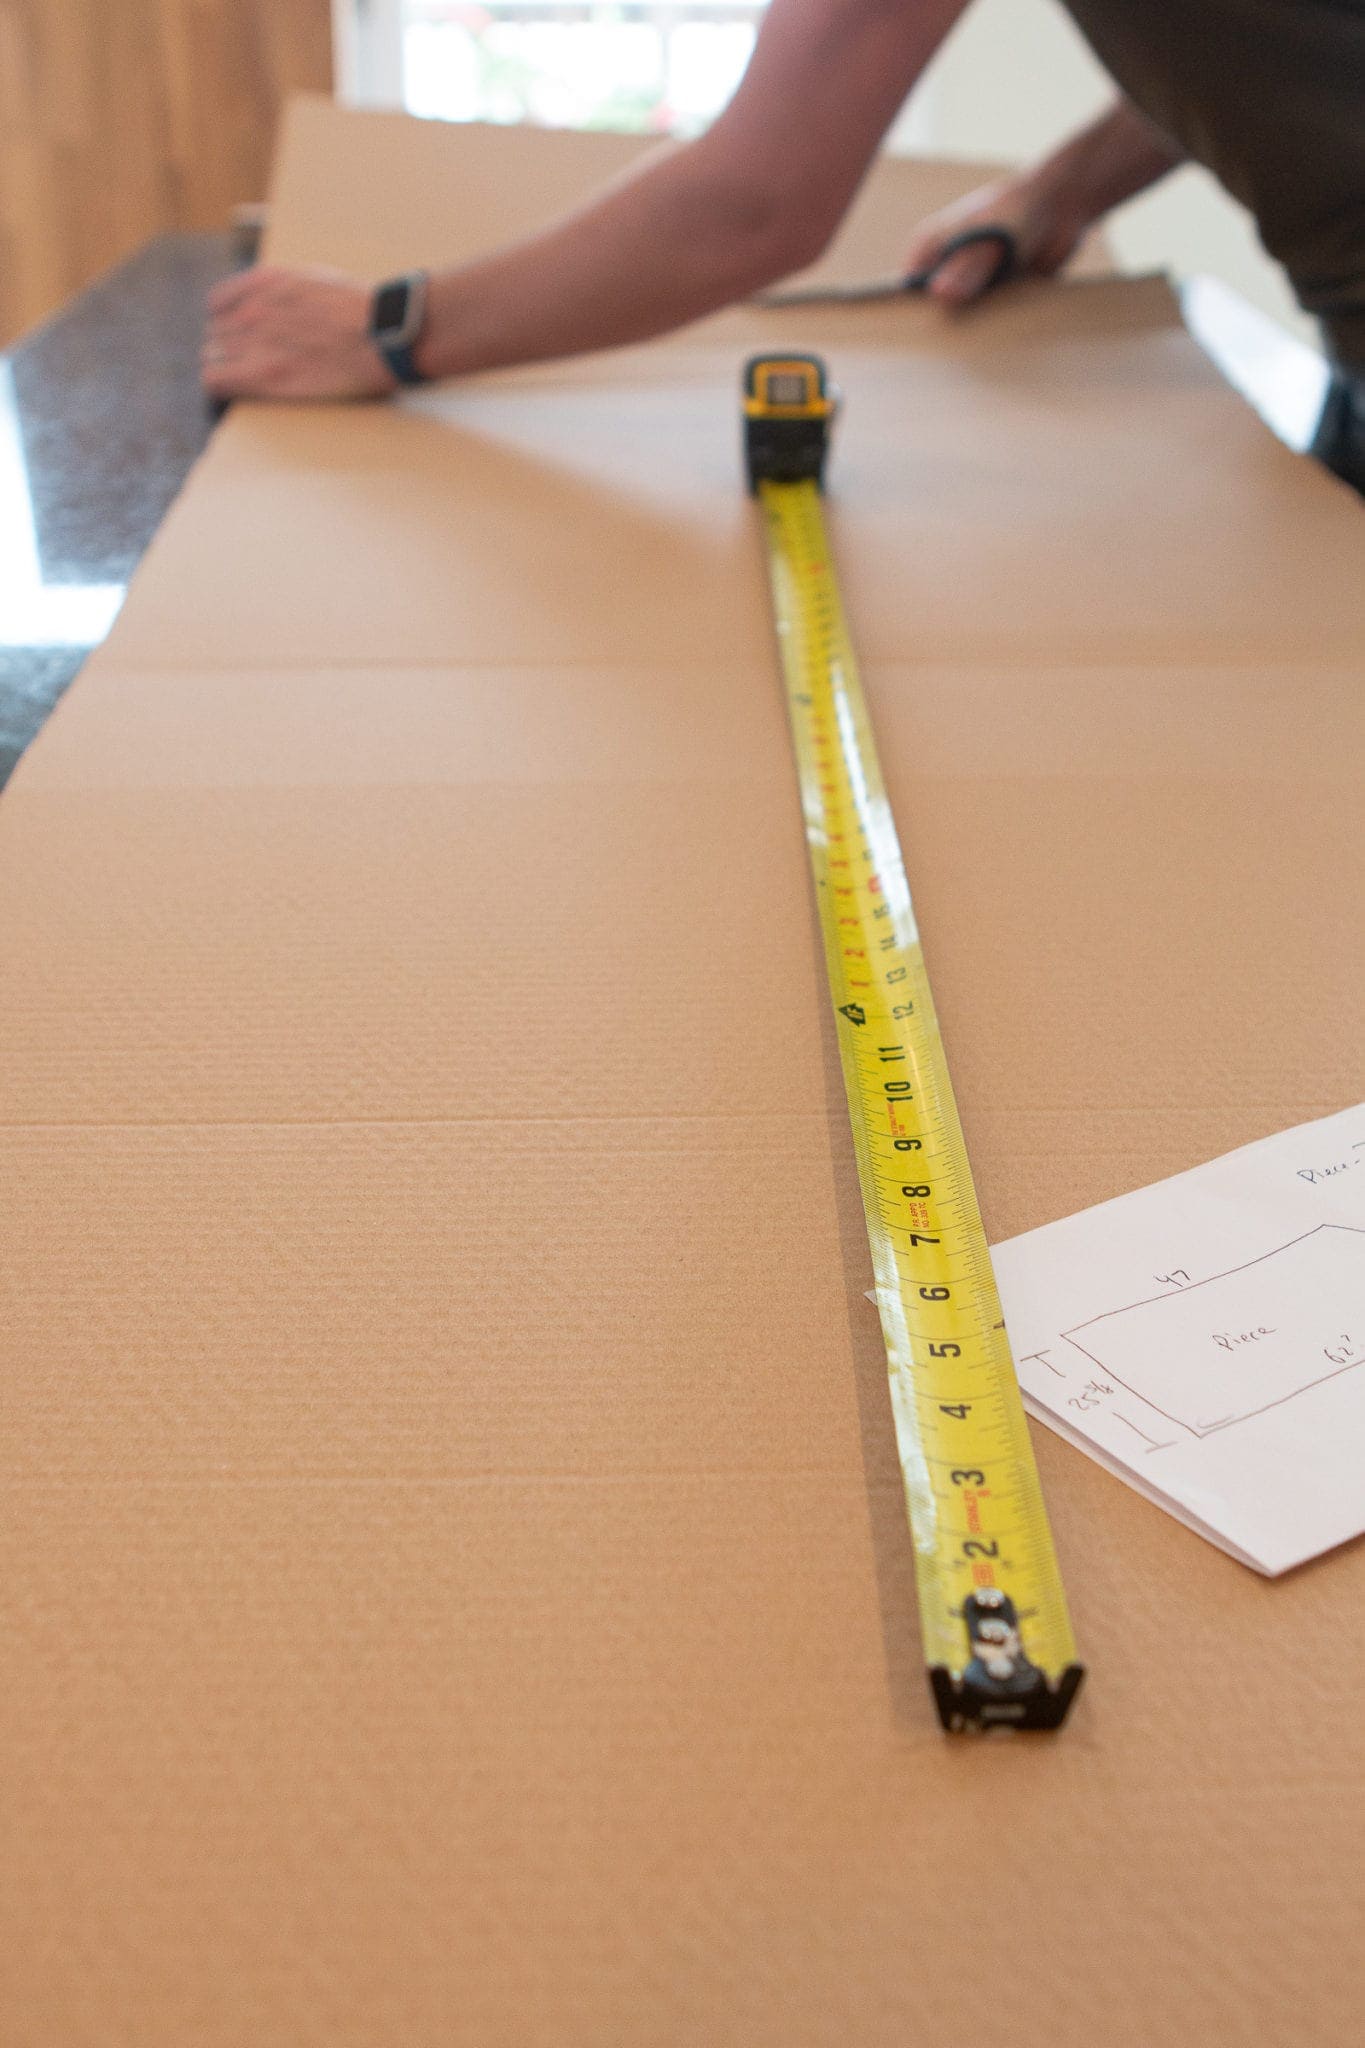 Even though we knew our measurements were correct, we wanted to take one more step to ensure the cutout would be perfect. So, we used the box that the butcher block countertop came in to make a template.
We cut our measurements onto the cardboard exactly and then brought the piece upstairs to take a look.  It fit like a glove!
 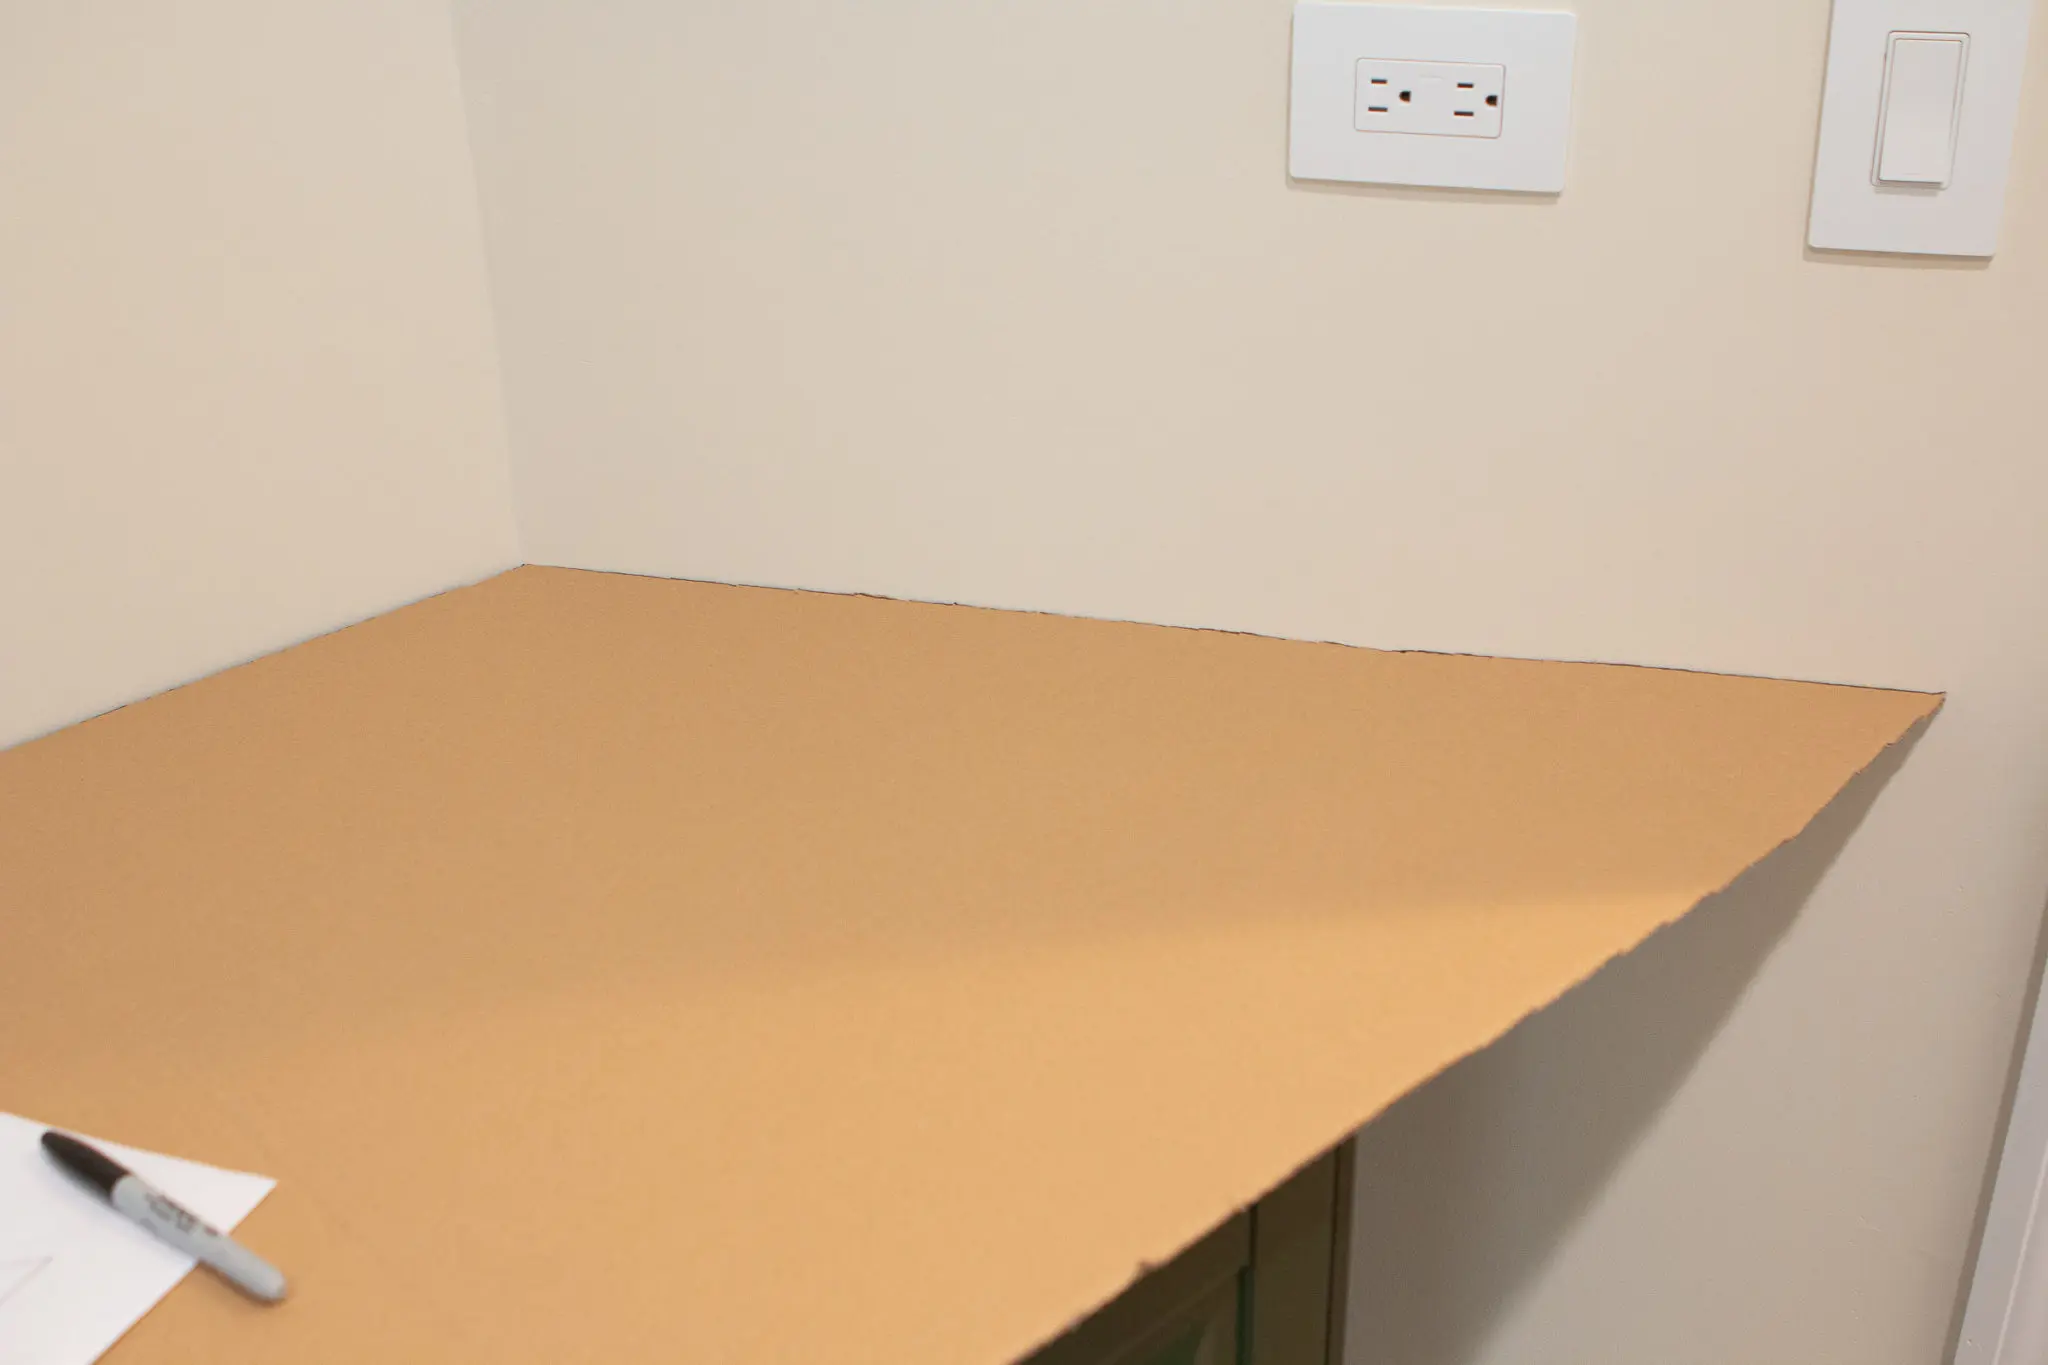 We were most worried about getting the angled cut just right, so seeing the template squeeze in there beautifully put us both at ease.
Cutting a Butcher Block Countertop
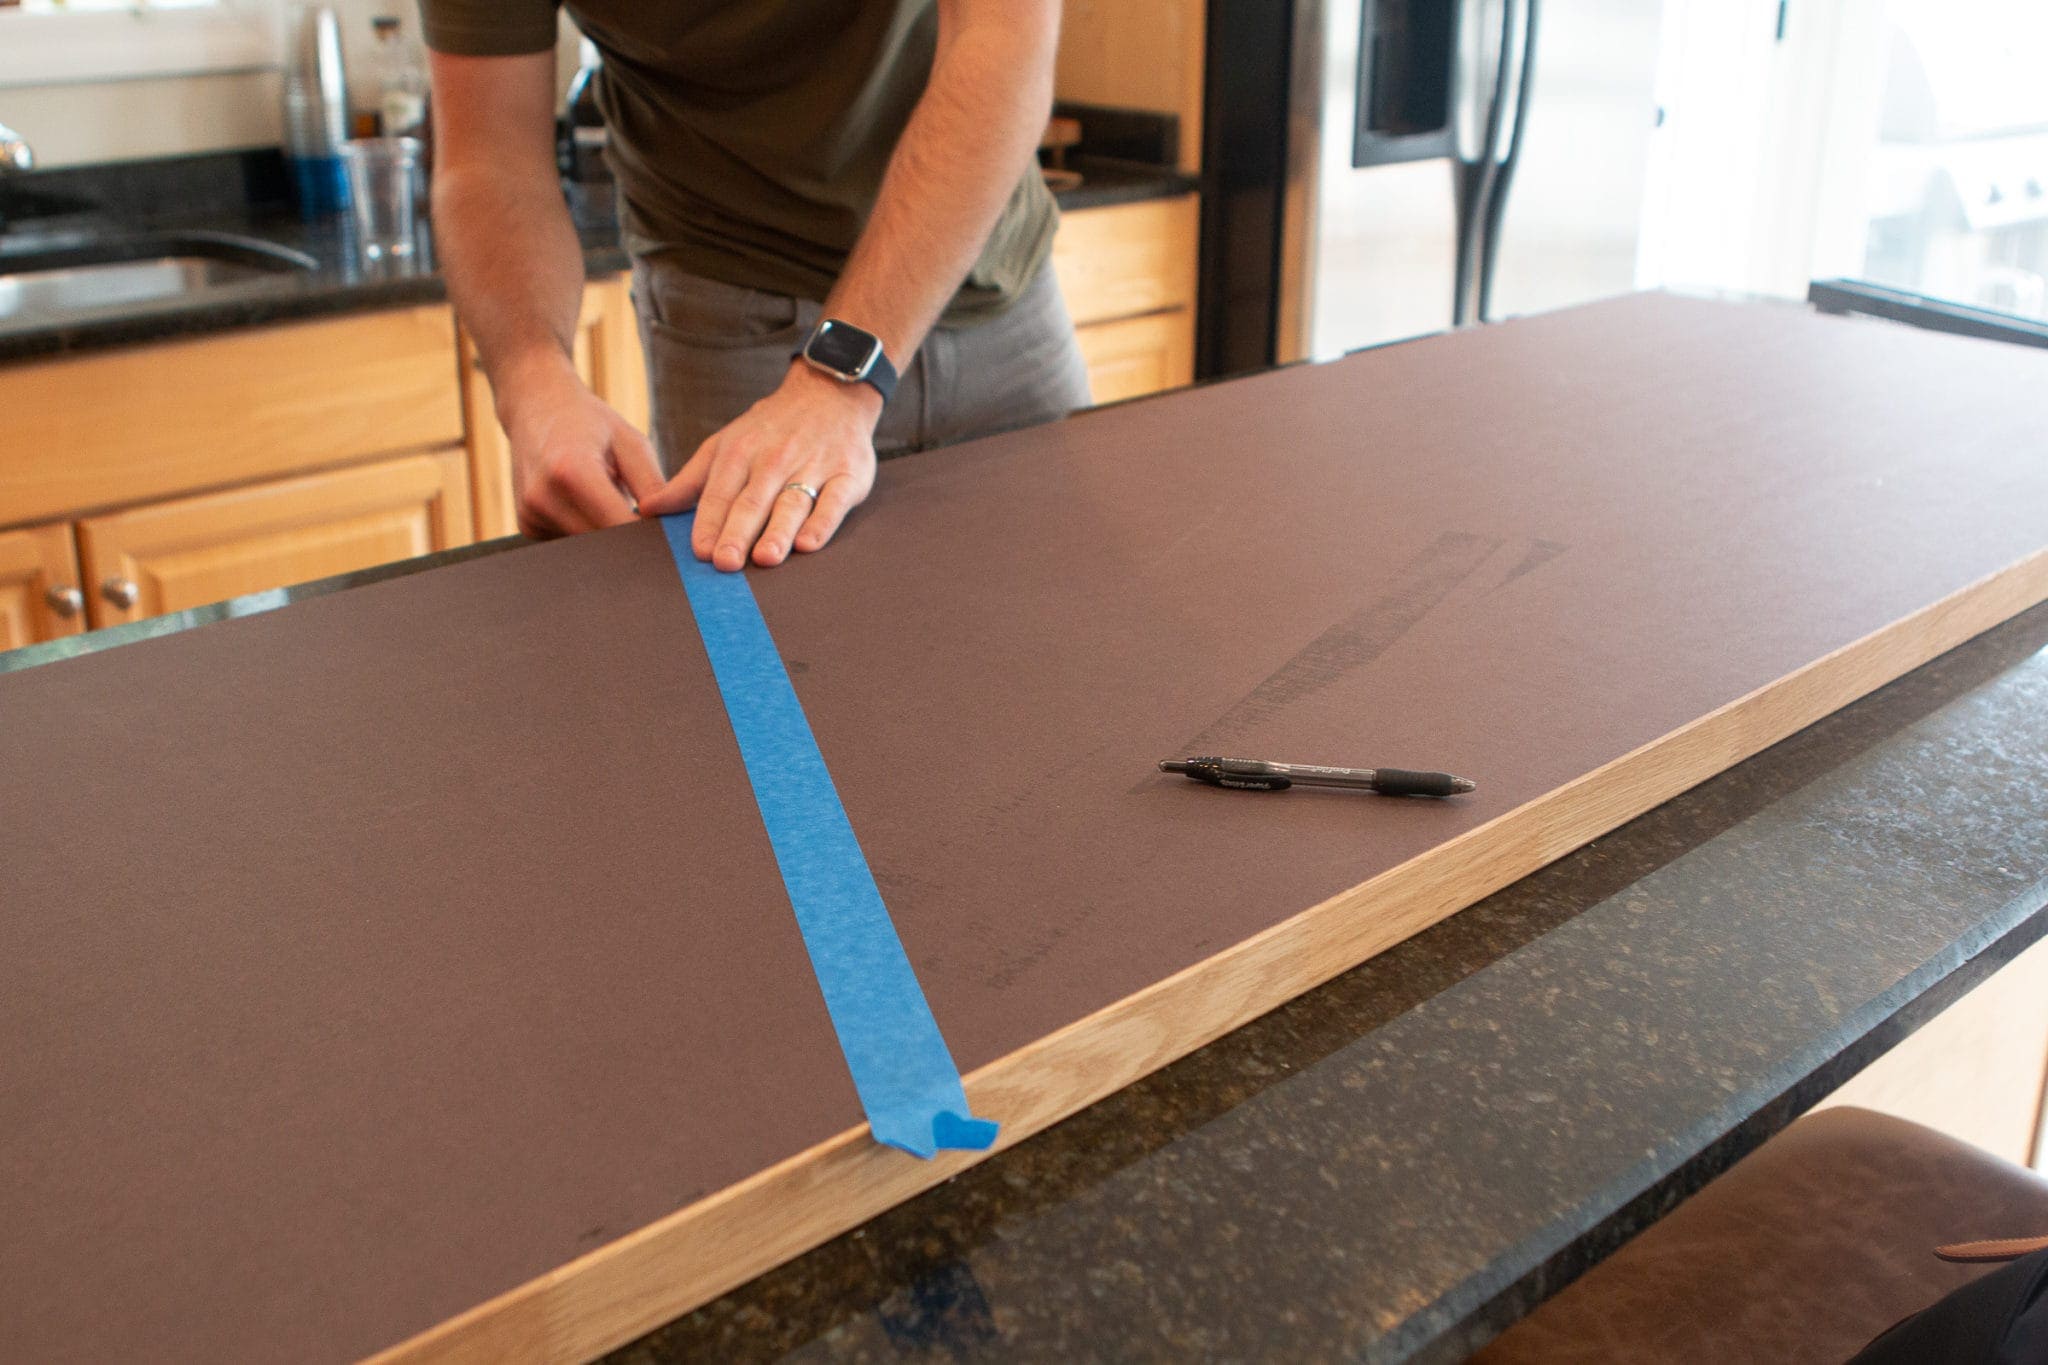
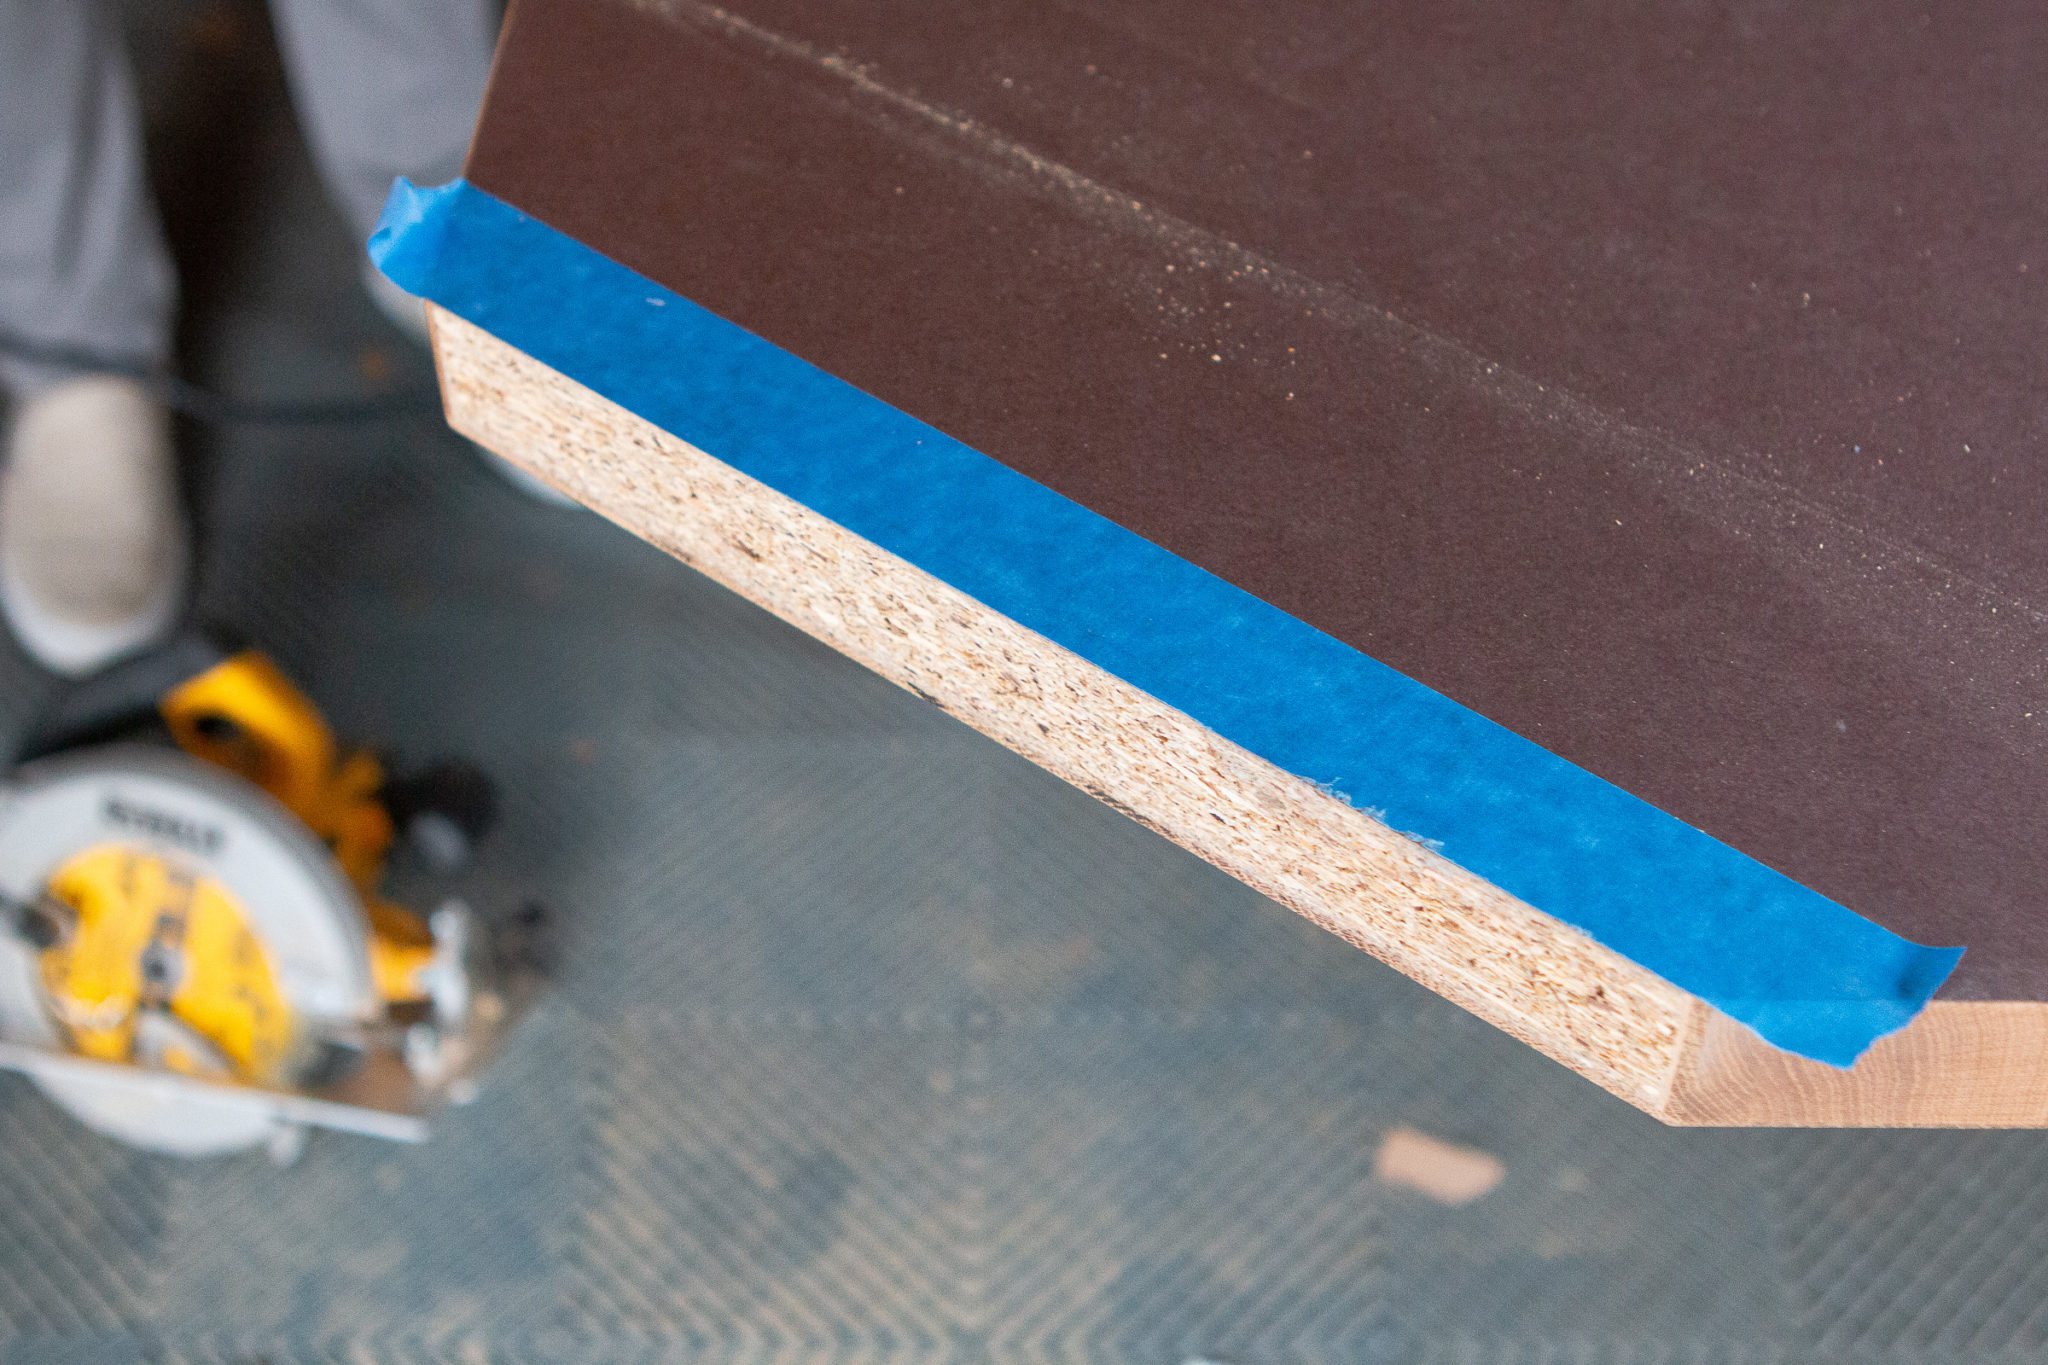
We traced the angle of the cardboard template directly onto the back of the butcher block countertop, marking the line with painter’s tape and a pencil.  Again, we only had one shot to get this straight line perfect. If we cut too much, it wouldn’t fit perfectly. Finn was totally confident we could make the cut in one swoop, but I insisted that we make a practice cross cut to see how it went.
Isn’t Finn adorable in his glasses? As always, be sure to use personal protective equipment anytime you’re working with a saw!
 On one end, we made a pilot hole and a practice cut to see if it would be choppy. Luckily, it came out beautifully.
  Clamps are essential when it comes to making cuts with the circular saw blade. We clamped the entire butcher block countertop down to our work space and also clamped a straight edge for the saw.
I’m telling ya: have lots of clamps on hand for DIY projects like these, and you won’t be sorry!
You will want to use a particularly strong work space for this butcher block countertop installation project, as the supplies you’re working with are very heavy.
 The circular saw is the best option to make a straight cut like this (we love ours!). We got one for our fireplace project and have now used it repeatedly. It’s a great tool to have in your arsenal, especially for woodworking projects.
Finn went slowly with the sharp blade, ensuring the saw followed our mark cut line.
Running Into Snafus During Countertop Installations
Cutting the butcher block countertop went so smoothly and beautifully until the very end.
Because we were cutting off a large section of butcher block, it ended up crashing to the ground just as Finn made his final pass through it.
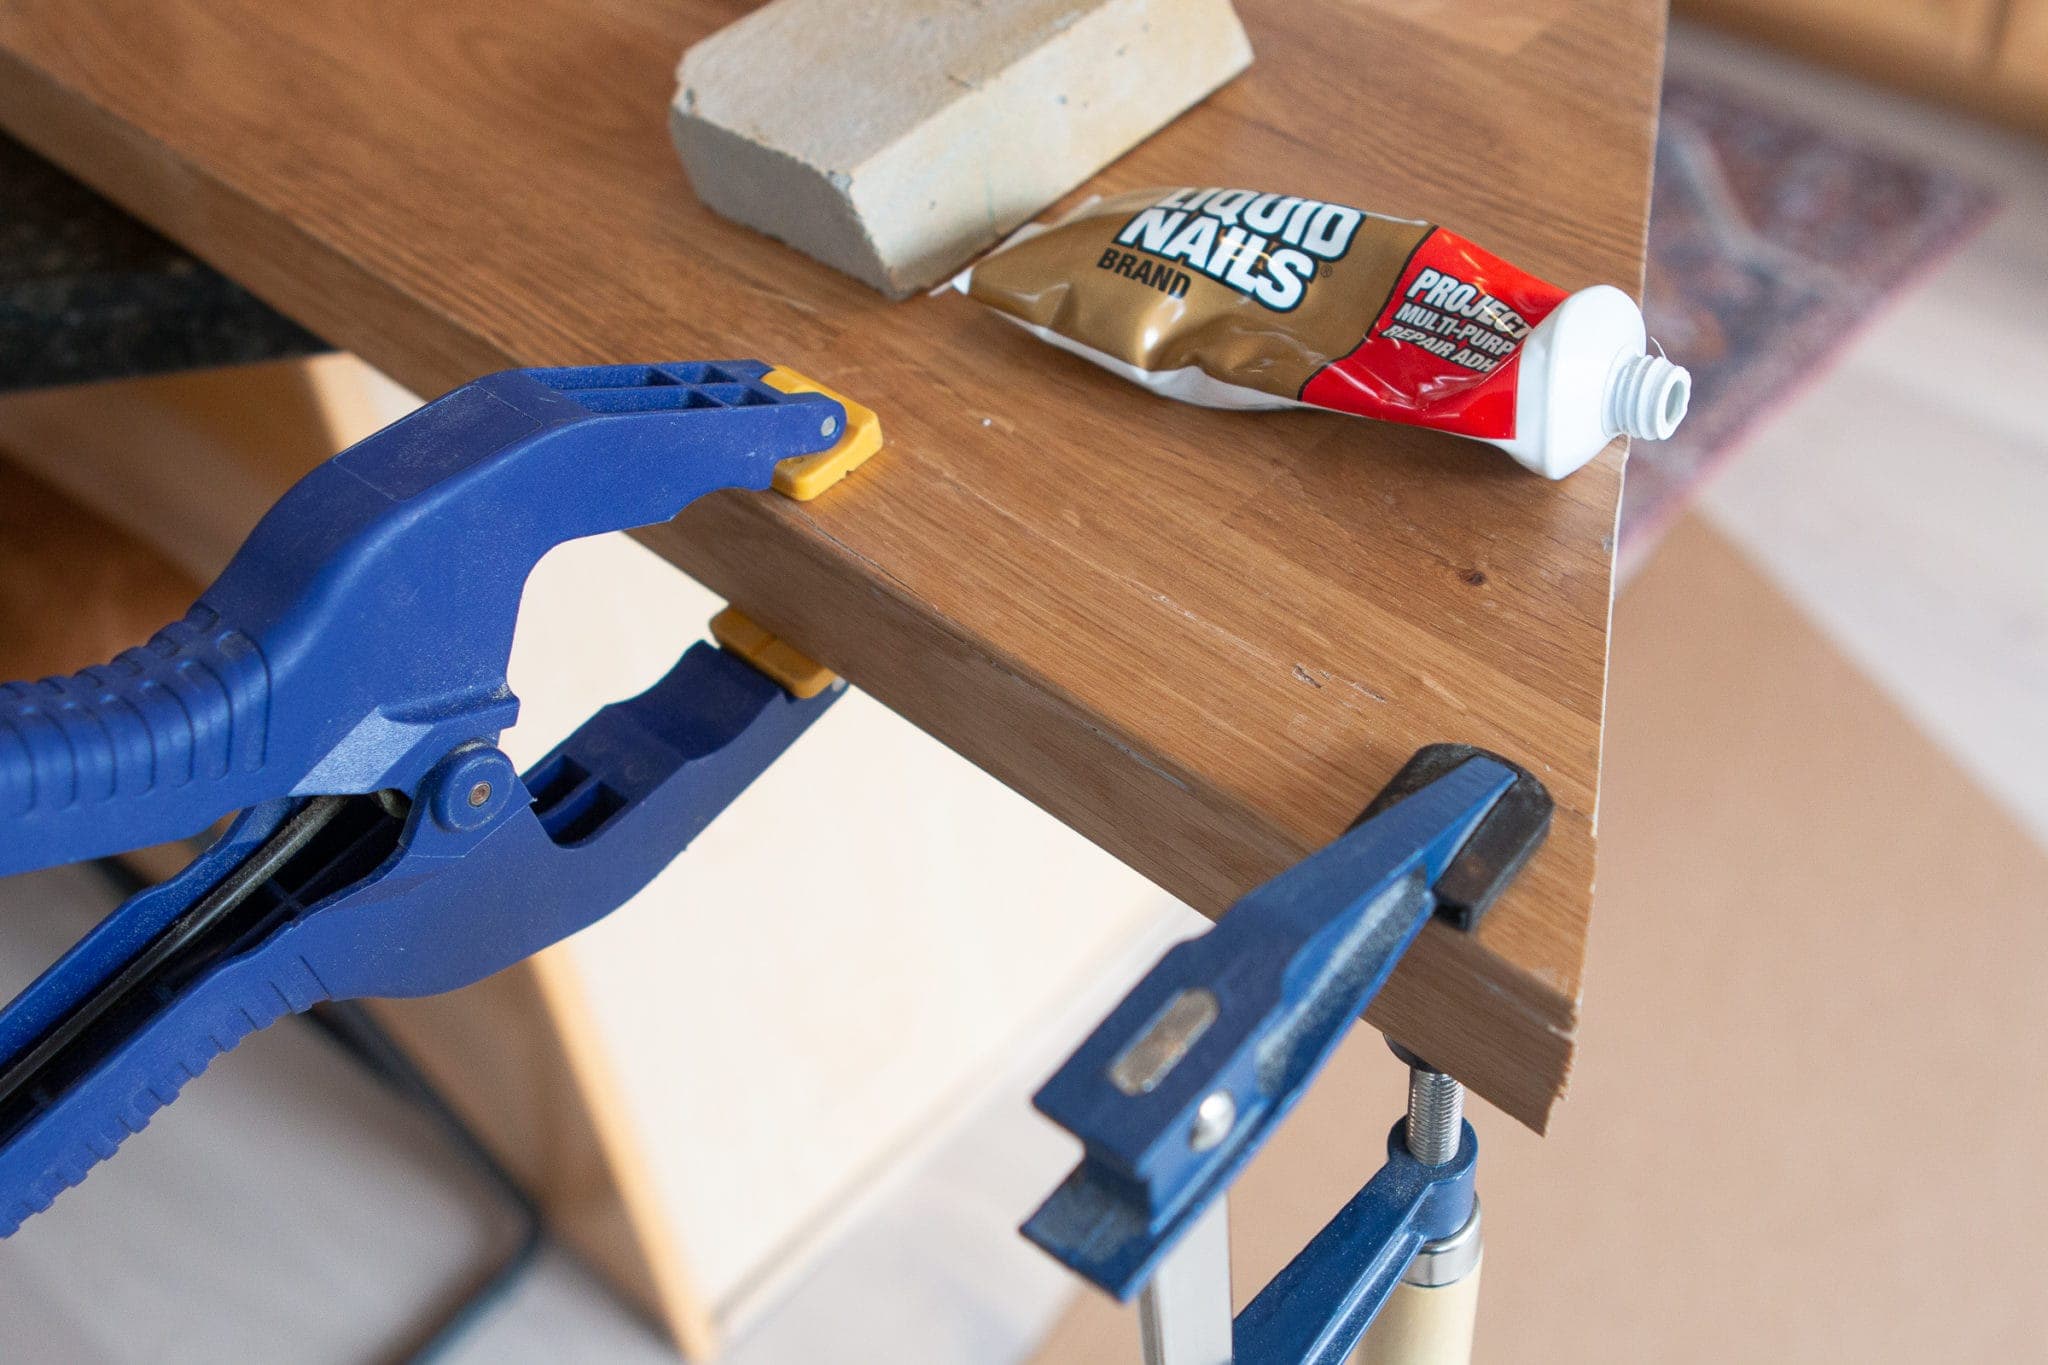
When it fell, a chunk of the top of our butcher block came off with it. We both cried out with frustration when we saw the wood cracking, but, thankfully, we had some wood glue on hand!  Determined to salvage this piece of butcher block (and not run back to IKEA for a new one!), I immediately whipped out my liquid nails, sanding block to help me sand, and clamps to re-attach the small piece.
Luckily, it fit back in the slot as perfectly as a seamless jigsaw puzzle piece, and you can barely notice the imperfection.
To avoid this in the future, we probably should have used painter’s tape on the front side of the countertop to prevent any chipping. It also would have been a good idea to score the top lightly so it would snap off easily on that last portion of the cut. Or, I could have been on that end to hold it while Finn made the cut. But, oh well, you live, and you learn, right?!
(Note: I recommend a sanding block versus an orbital sander if you find yourself in the above situation. Really, hand sanding is the best way to fit the pieces together the most precisely.)
Attaching and Caulking the Butcher Block Countertop 

The butcher block countertop is super heavy, so we placed it on the cabinets and knew it wasn’t going anywhere.
But to make sure it didn’t slide around at all, I secured it with screws through the cabinet and up into the wood. 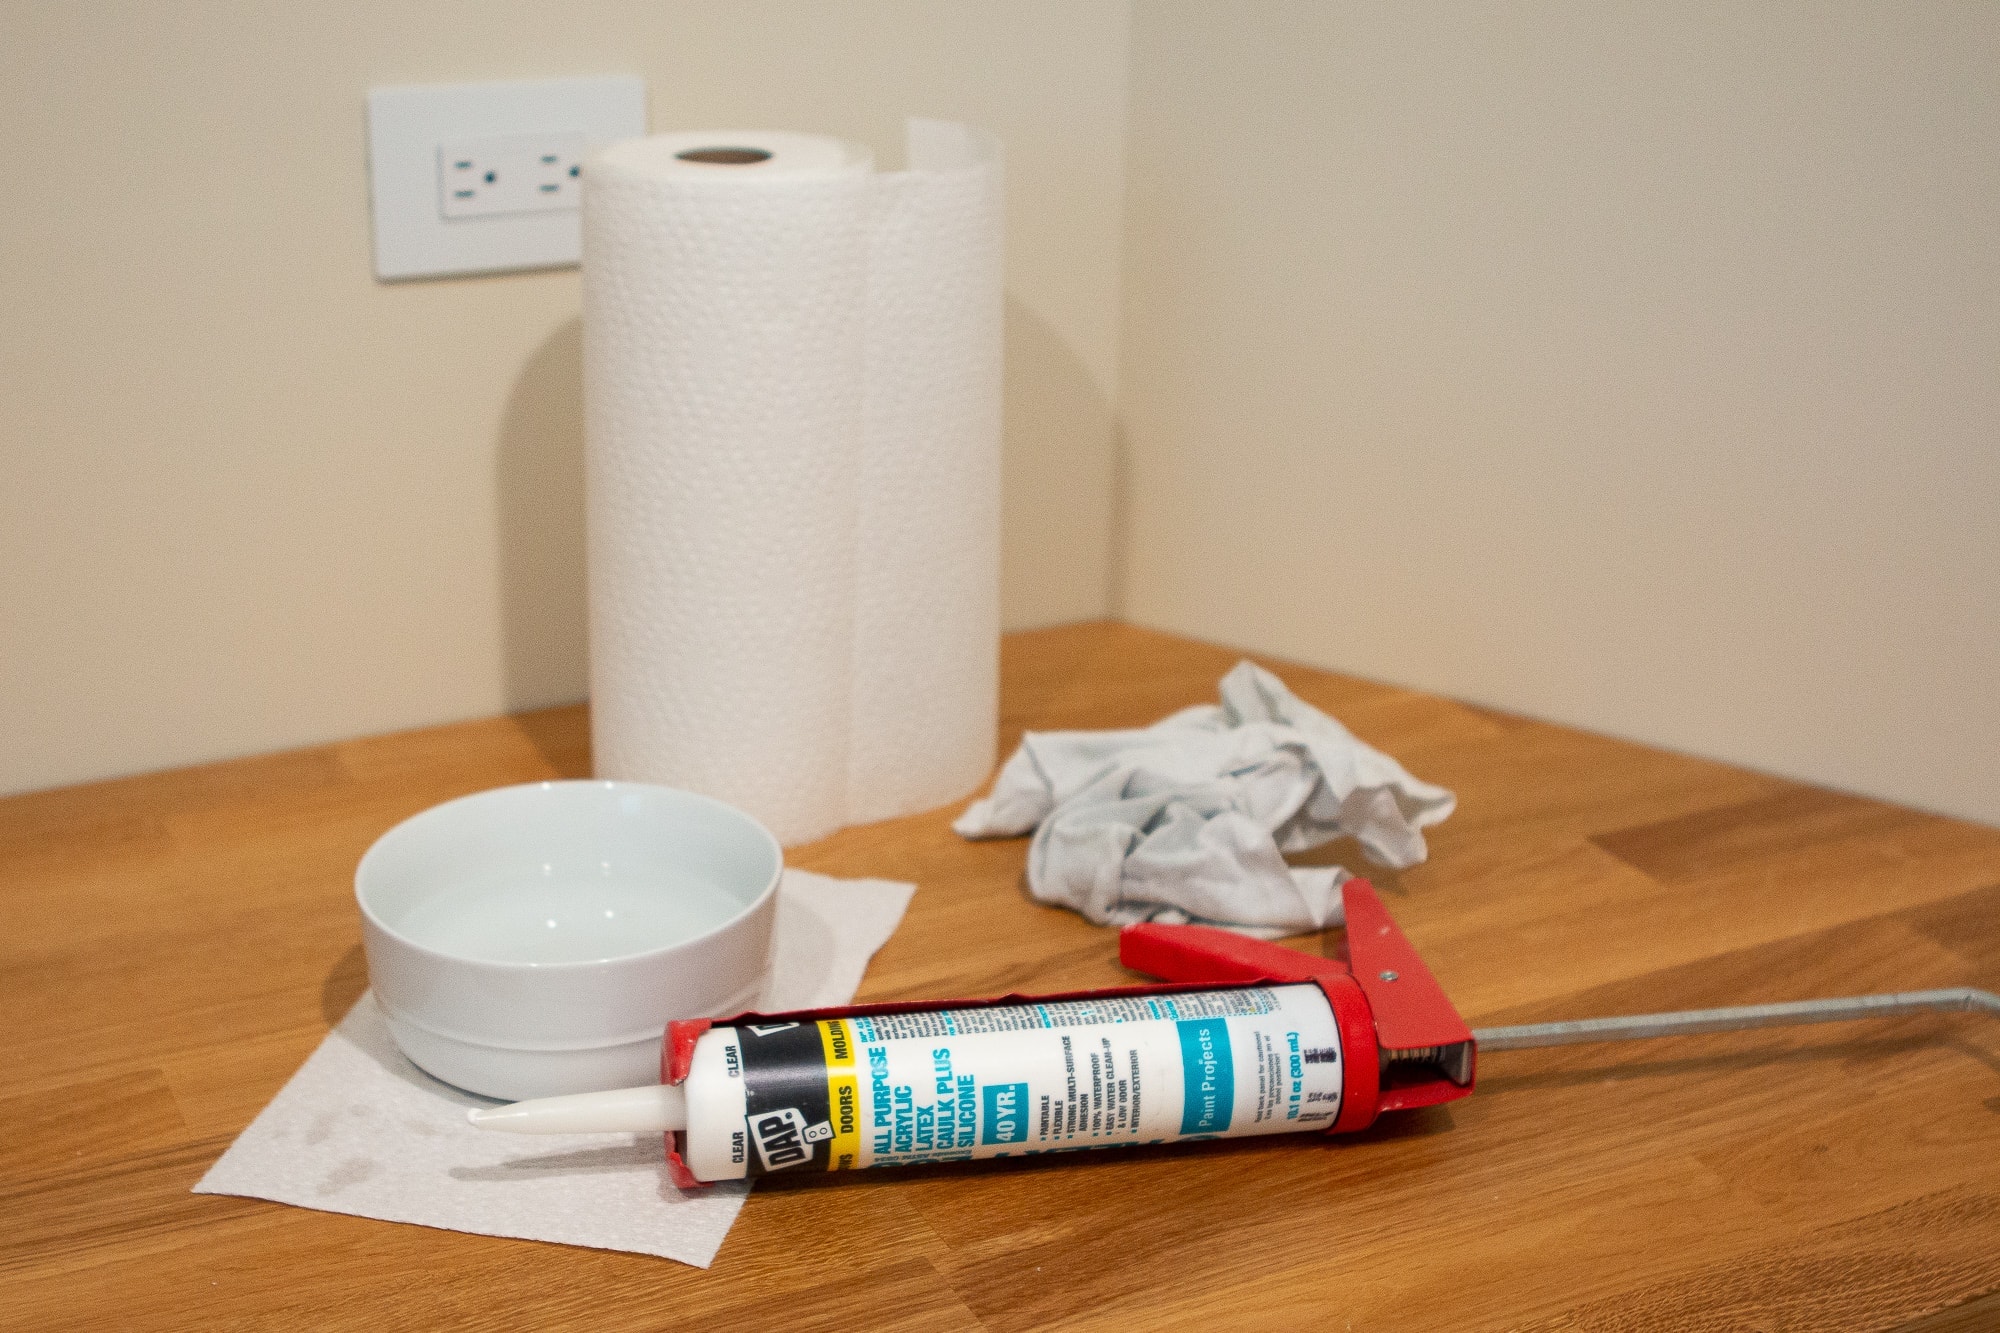 Because I wanted a seamless and unique look that mirrored built-ins (and I didn’t want any crumbs getting behind the cabinet!), I decided to caulk the edges. I used this DAP clear caulk. It worked perfectly!
Have a bowl of water nearby to dip your finger in and run it behind your caulk line to smooth it down. Also, keep a lint-free rag and paper towels handy because things get messy!
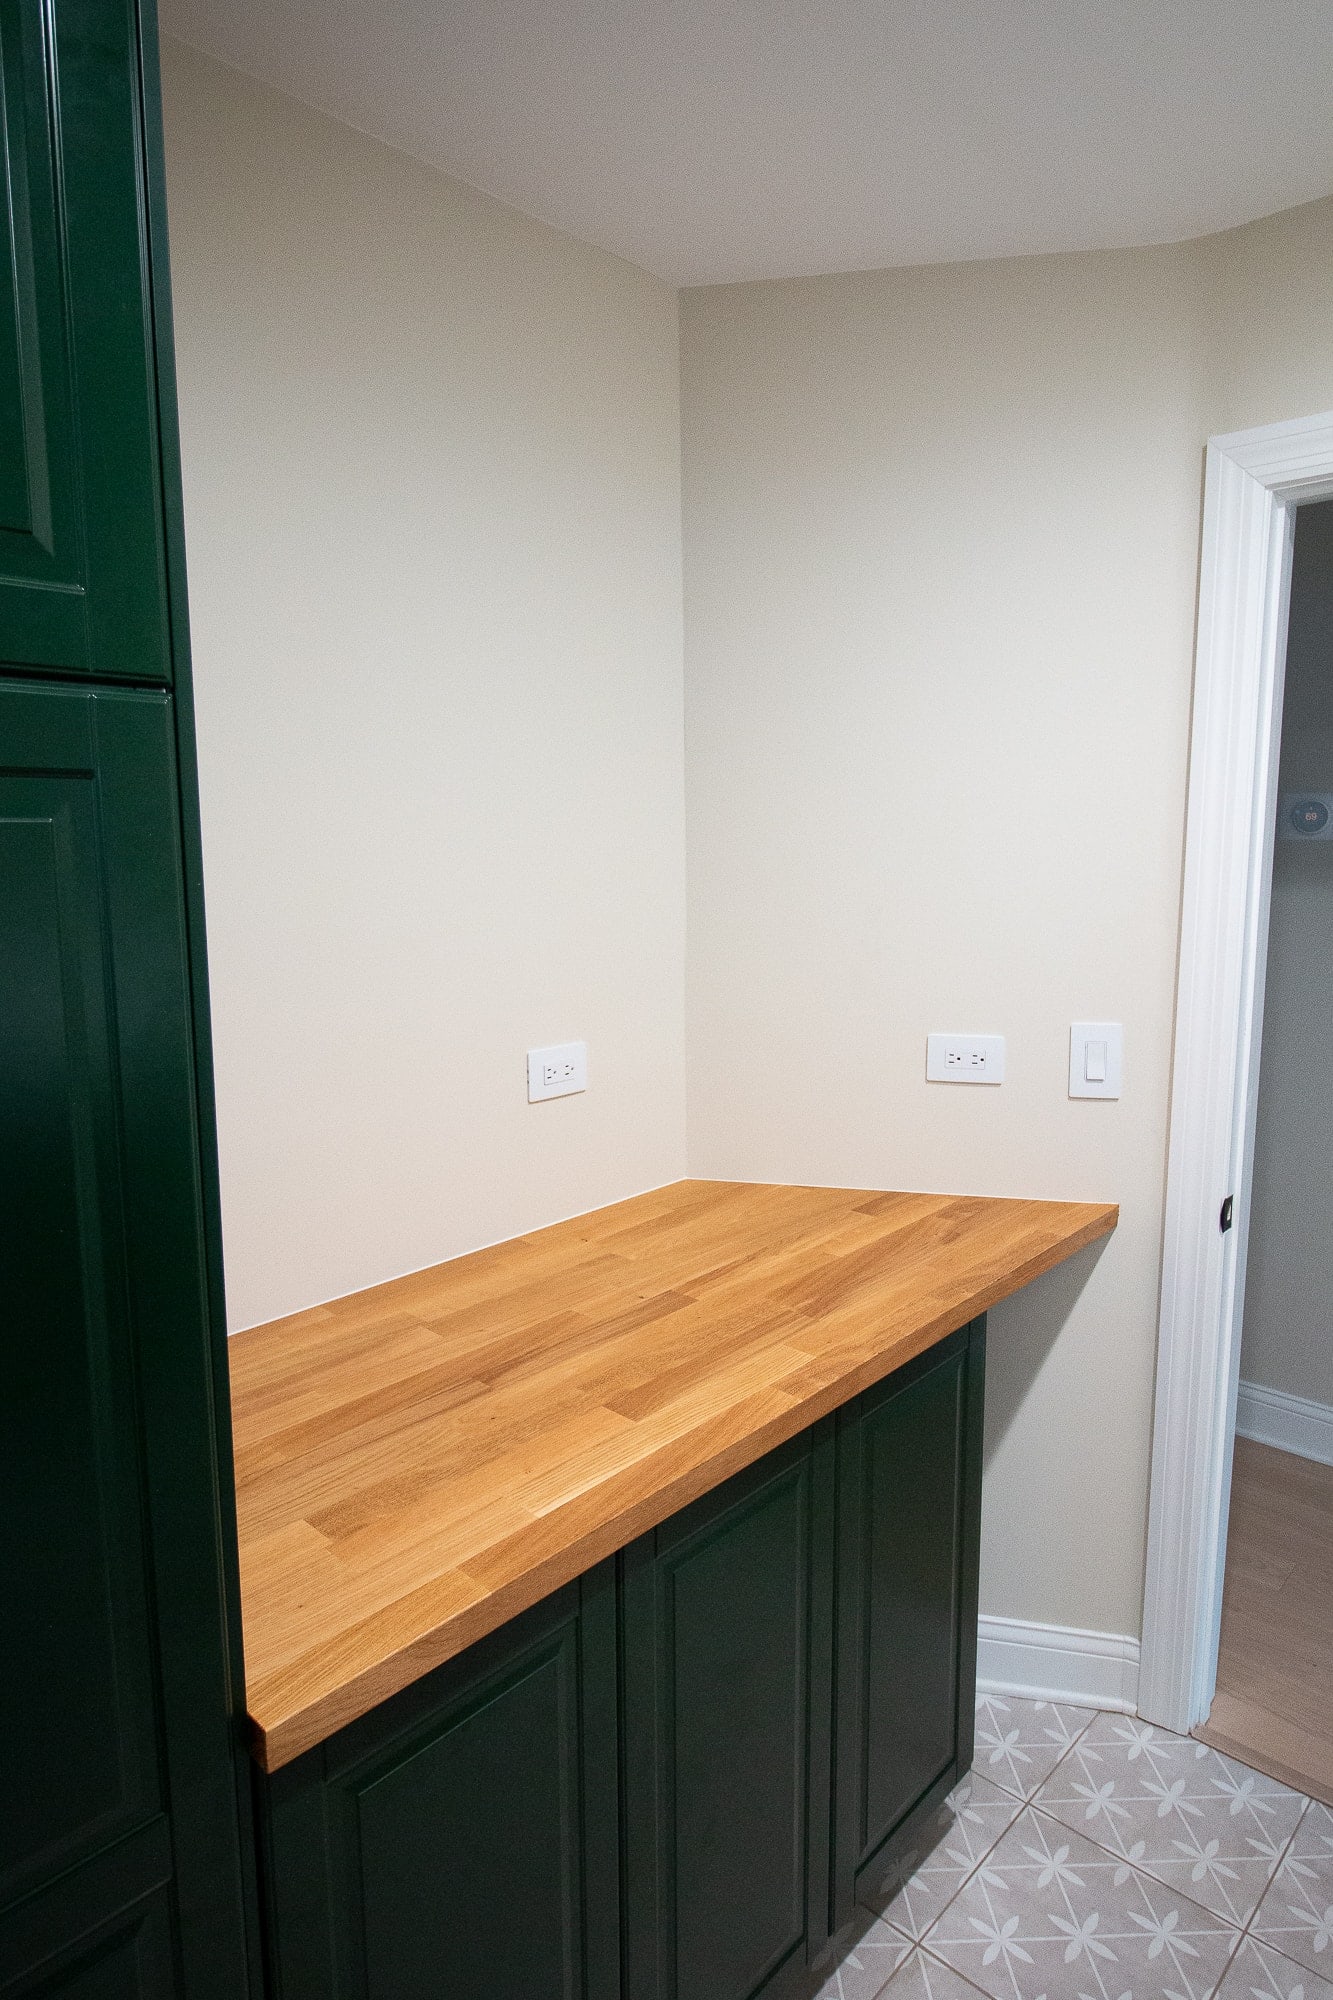
 The cabinets and butcher block were all caulked in less than ten minutes, and the seams looked good!
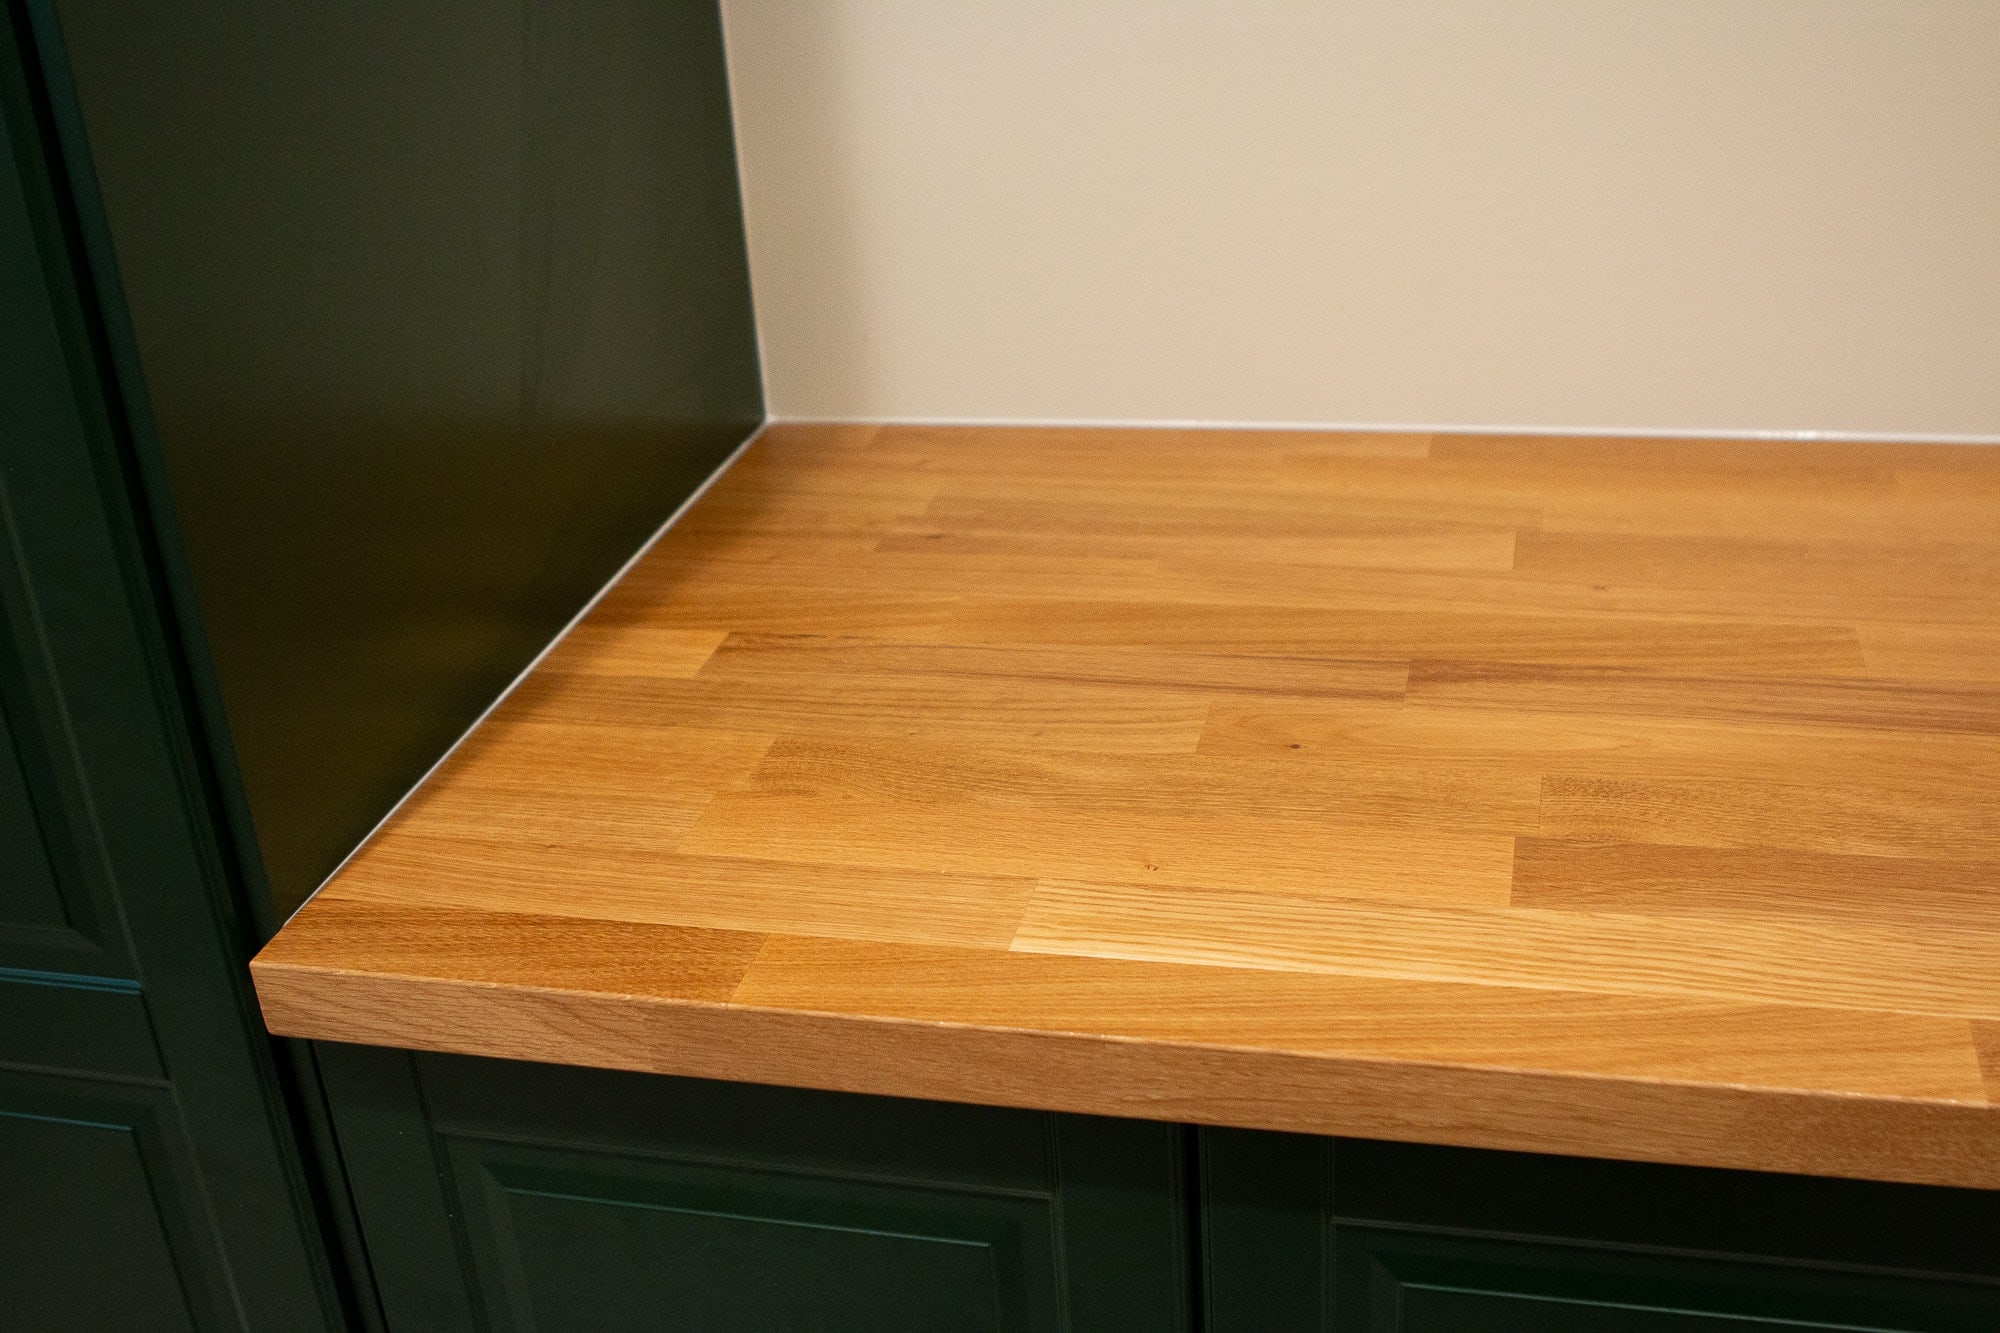
The caulk should dry clear, so you won’t even see it. In these pics, it still looks a bit white. 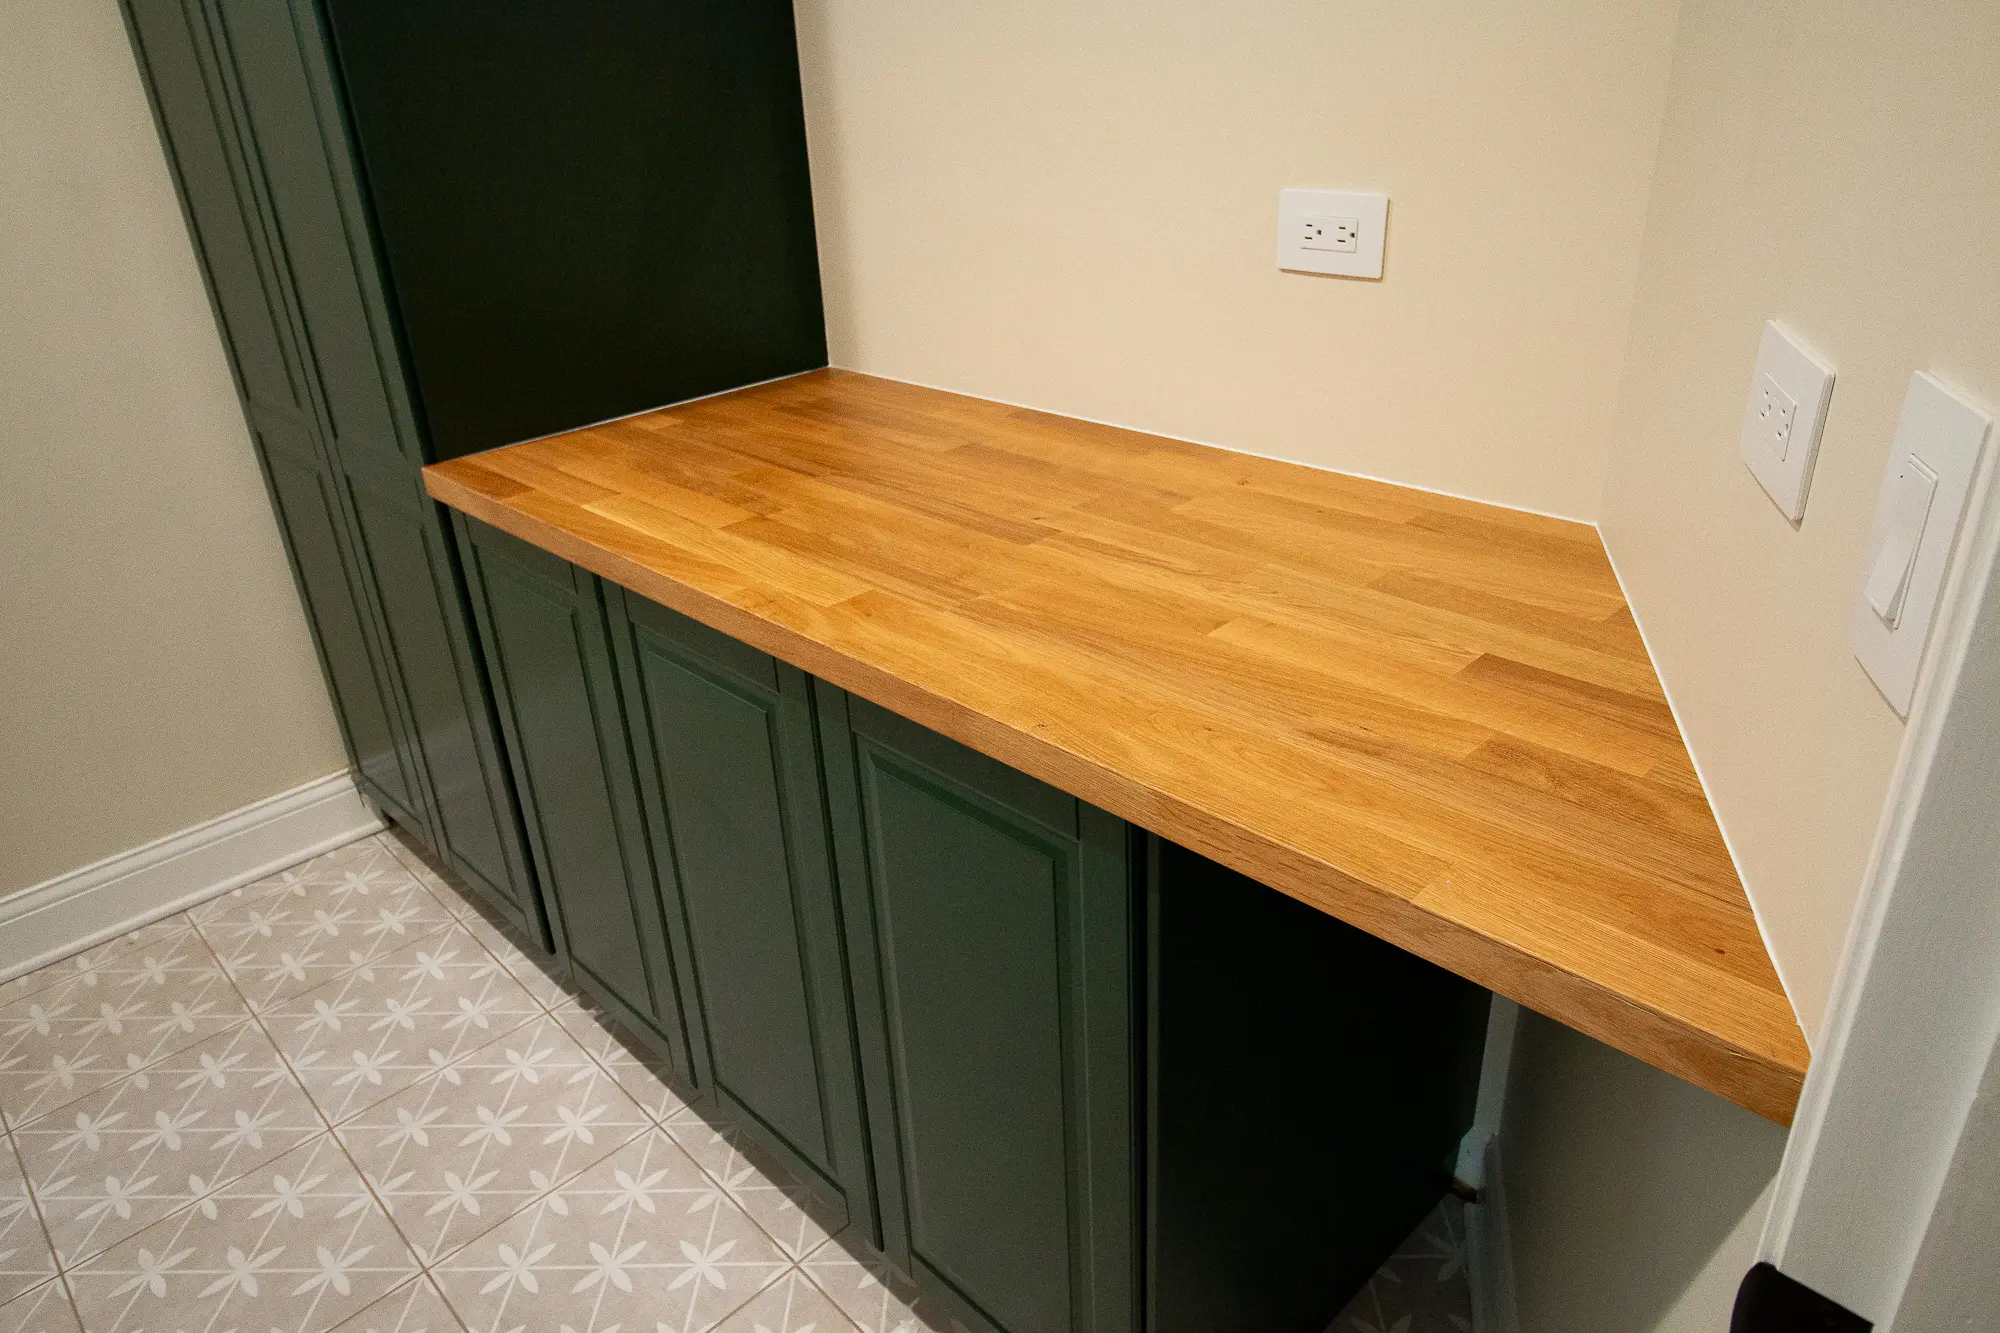
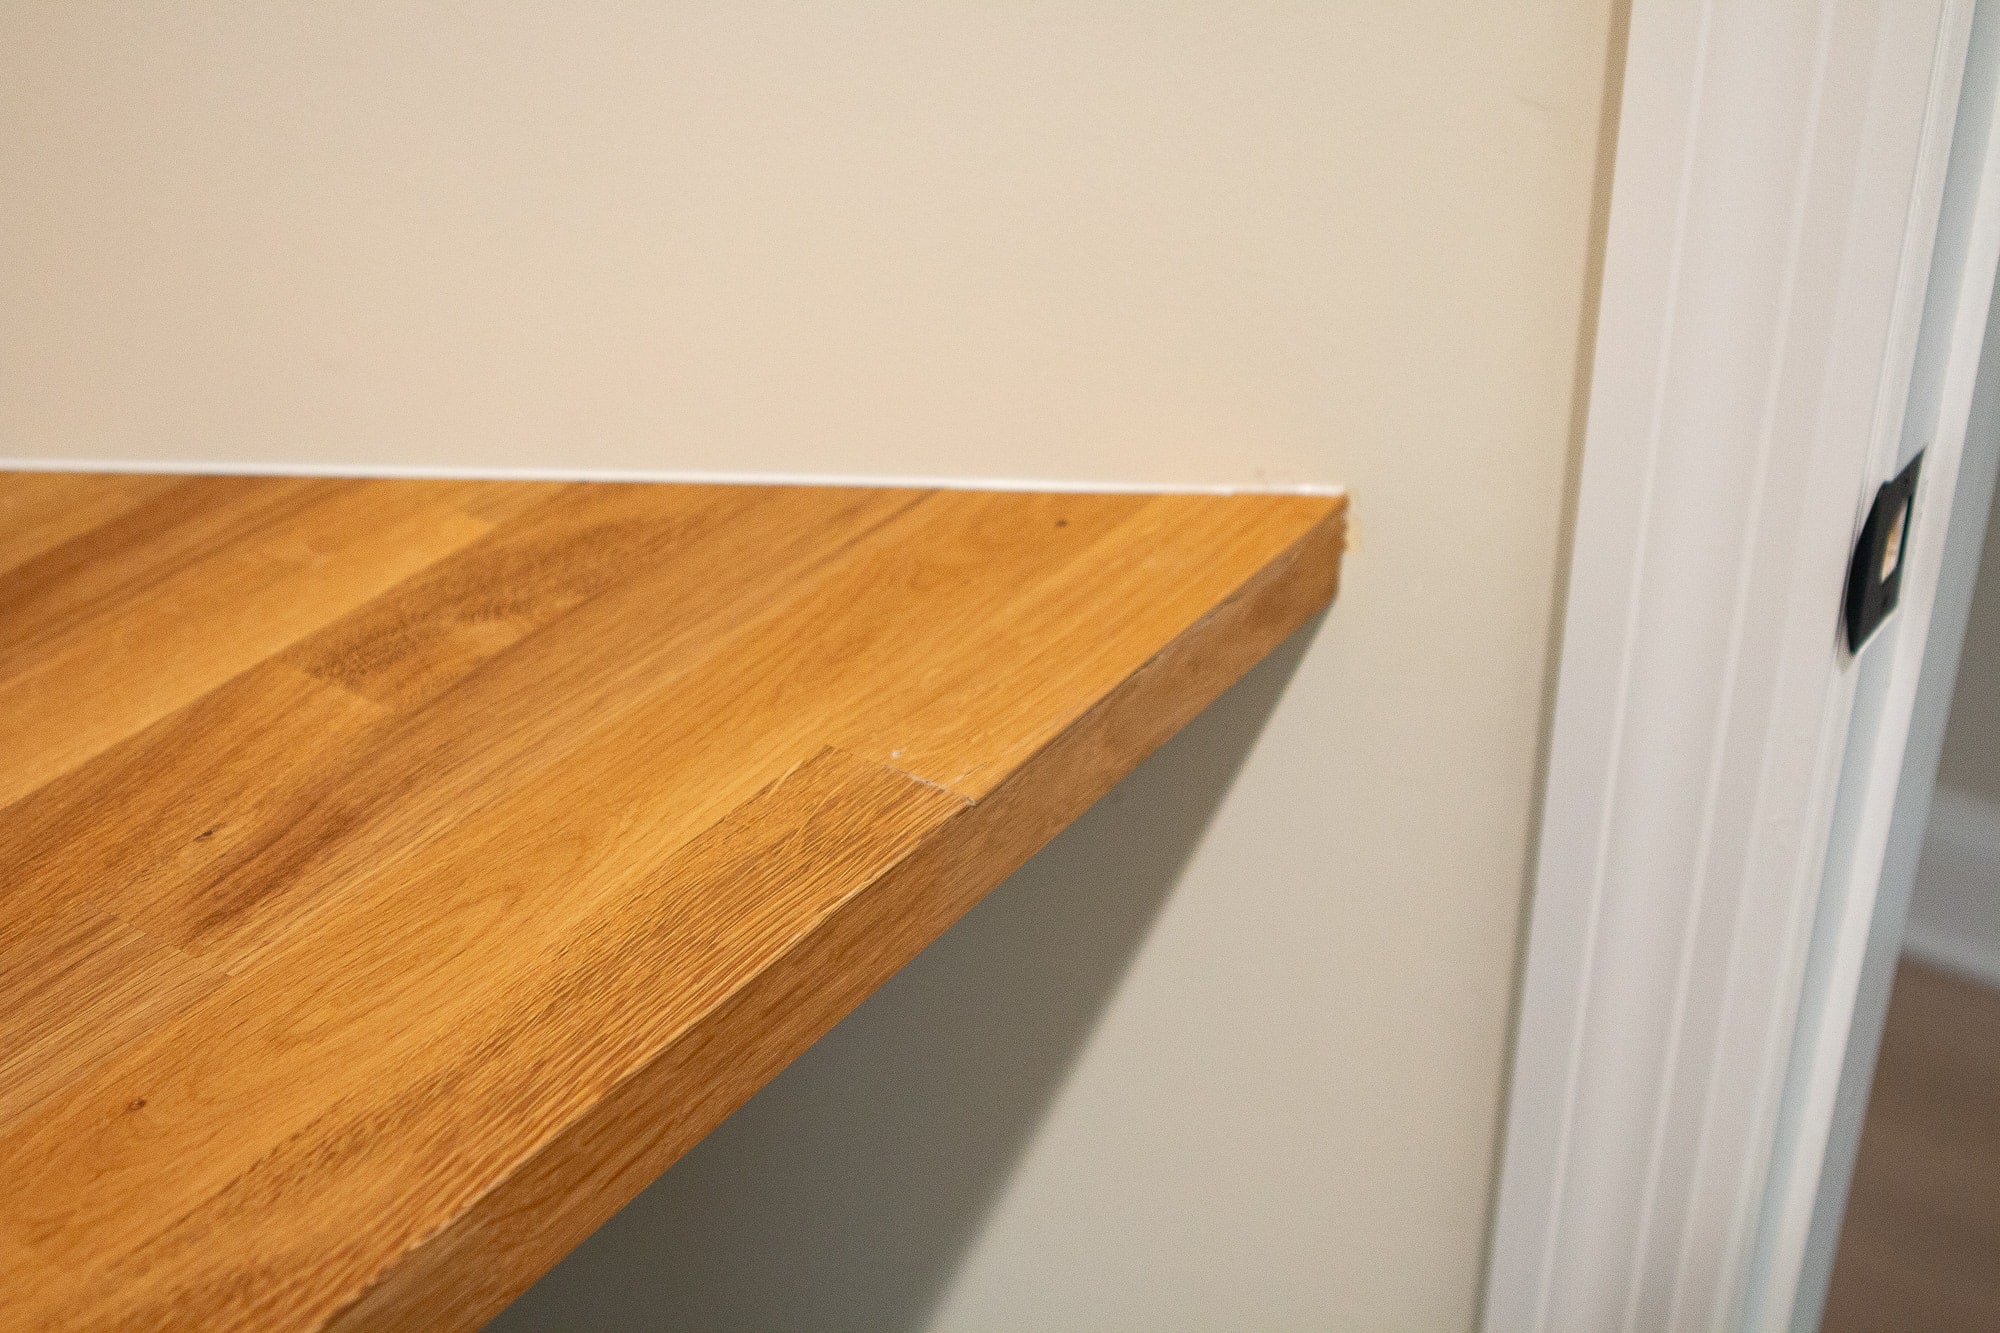 If you ask me, The corner piece we had to repair looks pretty darn good. I’m sure we will be the only ones who notice the imperfection.
Bottom line: Sometimes mishaps happen in the middle of DIY projects like cutting butcher block countertops. Don’t let it de-rail you. Fix it, move on, and you’re probably the only one who will ever know it happened!
Caring for Butcher Block Countertops
The IKEA butcher block countertops come sealed already, so you don’t have to do anything to them immediately. This may not always be the case with butcher blocks purchased elsewhere, so be sure to check before you invest in a butcher block countertop from another venue.
Once your butcher block countertops get some wear and tear, you can use mineral oil and fine-grit sandpaper to give them some love. I plan to do that if it starts to look rough and dry. For now, though, the top looks amazing!
We loved the color of our IKEA butcher block and didn’t want to change it. However, if you want to stain your own butcher block countertop, I highly recommend going with oil-based stains. You may want to try using a pre-stain conditioner if you choose to stain your countertops a different color.
 I love the warmth of the butcher block countertops, the durability, and the functionality this adds to our laundry room.
While we cut our butcher block countertop to fit in our laundry room, the butcher block material would also make for an excellent kitchen countertop or even bathroom countertops–or wherever your home needs new countertops (closets, craft rooms, etc.!). While quartz or granite countertops may appeal to a certain aesthetic, butcher block is such a great alternative that is relatively easy to try!
Have you ever tried cutting or installing butcher block countertops? How did this DIY project go for you?
Casey