Planning our Master Bedroom Closet
As you guys read from this post, we ran into a few snags in July that halted progress on the first floor of our home. Since we couldn’t continue working on the first floor, Finn and I decided to focus our attention on the second level of our home. First project? A new master bedroom closet!
During the demo of our Finn Fixer Upper, we had our contractor, Patrik, remove most of the organizers in the closets. They were all pretty cheap and hanging on by a thread. With those removed, our painter repaired the walls, leaving us with a blank canvas for new closet systems! It makes the most sense to tackle the master bedroom closet right away, since we’ll be unpacking our shoes and clothing soon and we need a spot for all the things. We’ll slowly transform the other closets throughout our home once we figure out how we’re going to best utilize each and every one of them. But for now, the master closet seems like the best place to start.
Our Closet Setup

Here’s our master bedroom the day we closed on our home. Oh, how I don’t miss that orangey wood and ugly carpet! Hooray for fast and easy improvements!
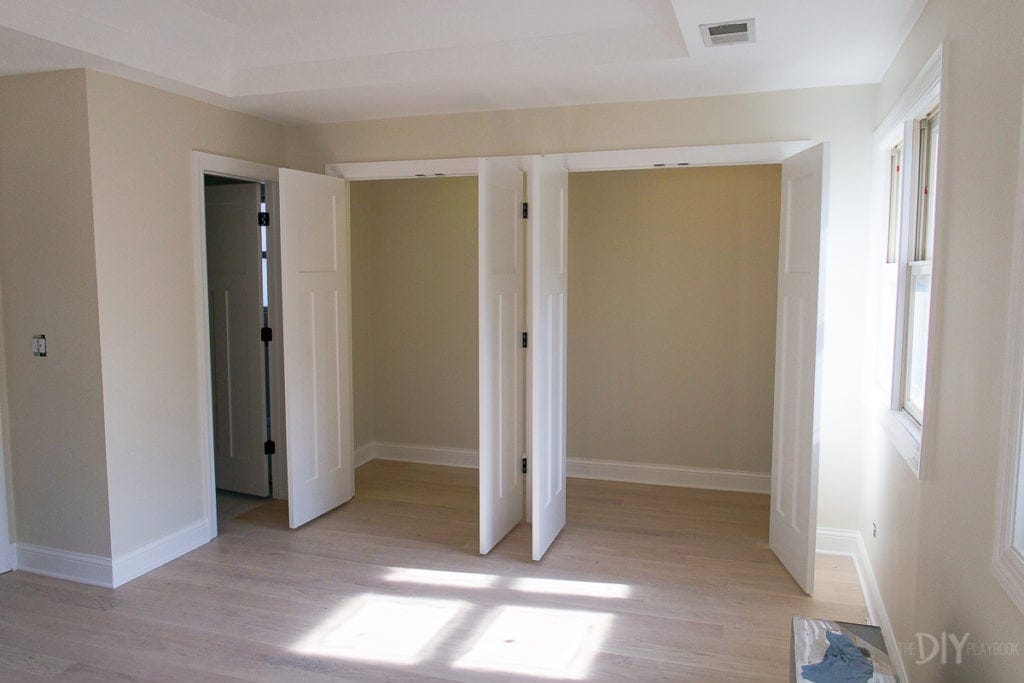
Then, here’s the room with the millwork and carpet removed. Much better!
You’ll notice that the closet was actually two individual closets with wire hanging systems. Early on in our renovation, Finn and I decided that we wanted to knock out the wall in between the closets to make one larger one.
We contemplated installing only one set of french doors on this large closet right in the middle, but ultimately we decided to go with two sets of french doors that swing out. Since we knew we wanted to incorporate some drawers into the new closet system, we didn’t want to hit the wall when opening them. With two sets of doors, we could have those drawers we wanted and maximize the space. The only downside is that side of the room is now just a big wall of doors…but at least they’re nice ones!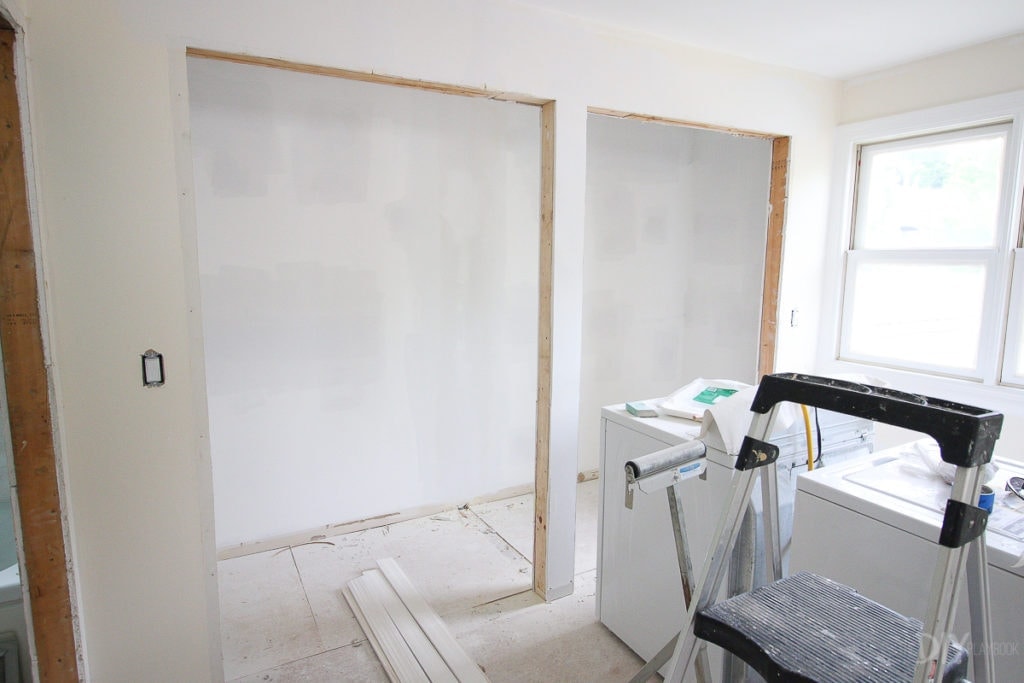
Here’s what our new closet looked like after Patrik removed the wall and made the larger opening for the french doors.

And here’s what it looks like now! The floors, doors, and millwork are all in and it’s an actual room…albeit an empty one.
Making a Closet Plan

When Patrik finished up this room, Finn and I got in there to take some measurements. Our closet is about eleven feet long and three feet deep, so it’s a fairly large space (by far the largest closet we’ve ever shared!). Because of the two door openings, we have a lot of depth in the middle area, but only three feet on the sides (something we honestly didn’t even think about at first!).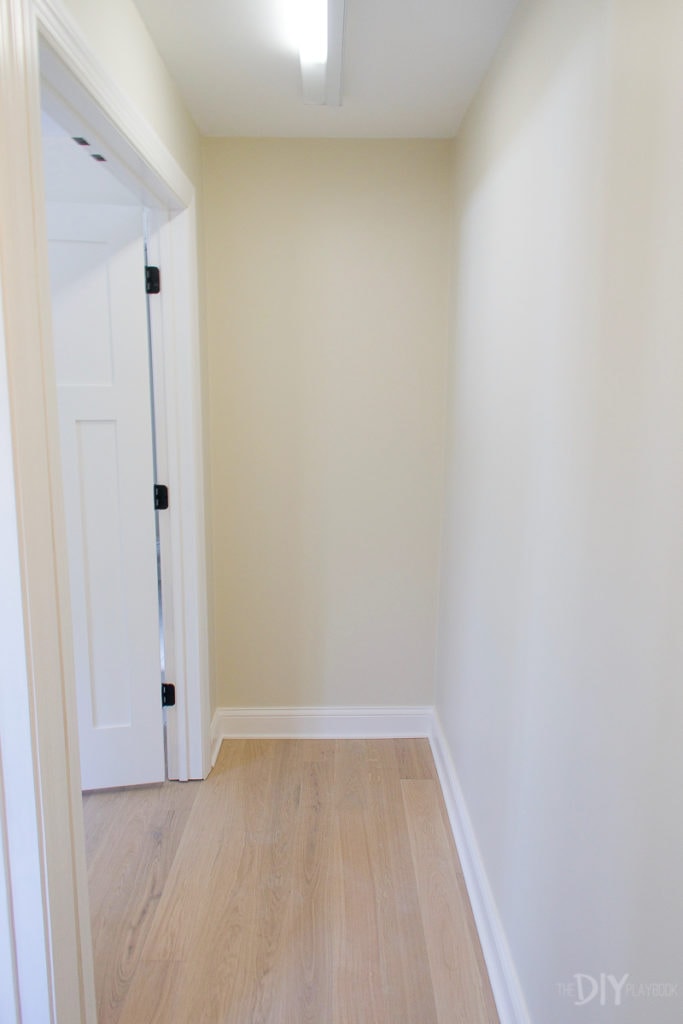
Once I had those important measurements, I did some research to find the best closet system for us. I looked into The Container Store, but with a closet of our size, it was pretty pricey (over $2k). I looked at options from Lowe’s (like I used in my mom’s guest room closet) and I think we’ll go that route for the other closets in our home. For our master, I wanted it to feel custom and built into the wall. In the end, we decided to go with the IKEA Pax closet system.
Designing Our IKEA Pax Closet
IKEA actually has a pretty good online tool that helps you customize their products to your space. I say pretty good because the system is not without its quirks (like every time you save a particular closet plan, it gives you a new reference number and you need to write it down to go back to that particular one. Ugh.) Finn and I each played around on there for a few days, just getting used to it and seeing all of the options available. It’s nice because as you add items to the closet, you’ll automatically see the total cost on the side. So it can help keep you on a budget!
Once we had a pretty good idea of what we wanted, we visited IKEA to see everything in person. We certainly weren’t ready to buy, but it was helpful to see all of the various organizers in real life and figure out what we liked to customize our space completely. We left the store with a better picture of how we wanted to design our IKEA Pax closet.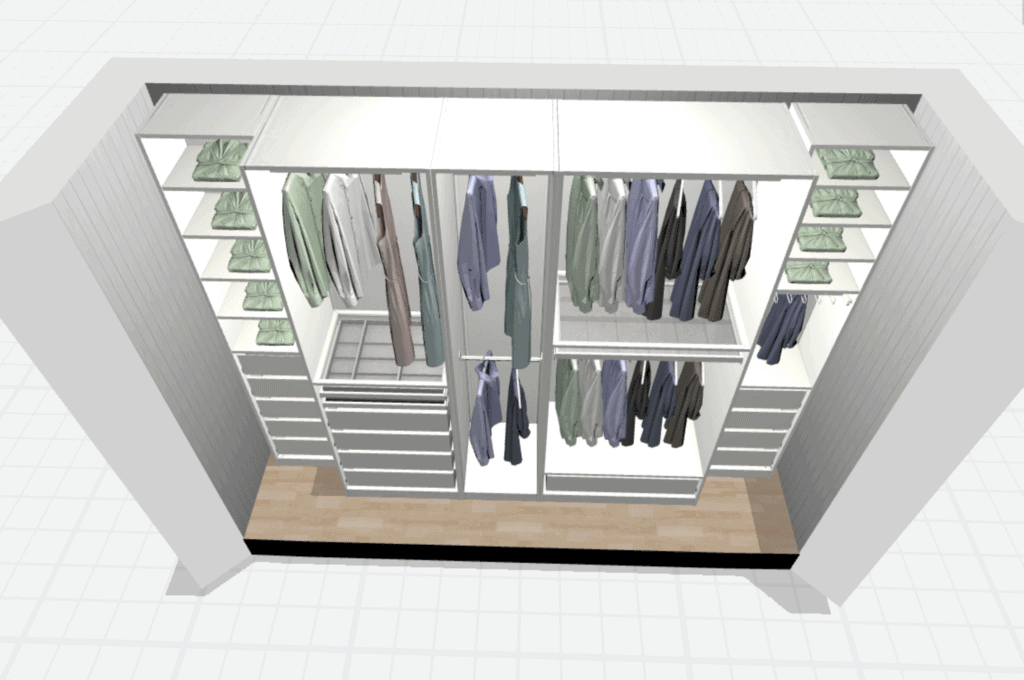
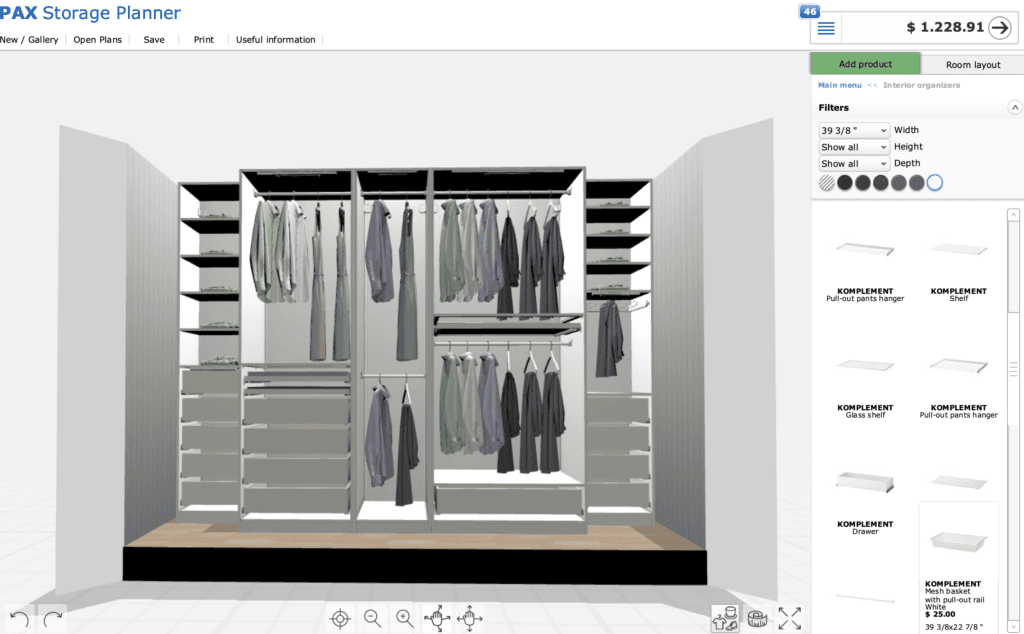
Here’s what we decided on. We’ll do two smaller and slimmer frames on the very sides of the closet. We wanted the entire closet to be the same depth (of 23 inches), but that meant we wouldn’t be able to get into the sides very easily since there is a wall in front (and not the open doors). In the end, we found that using the slimmer frames (14 inches) on the very ends would still allow us to span the entire width of the closet. 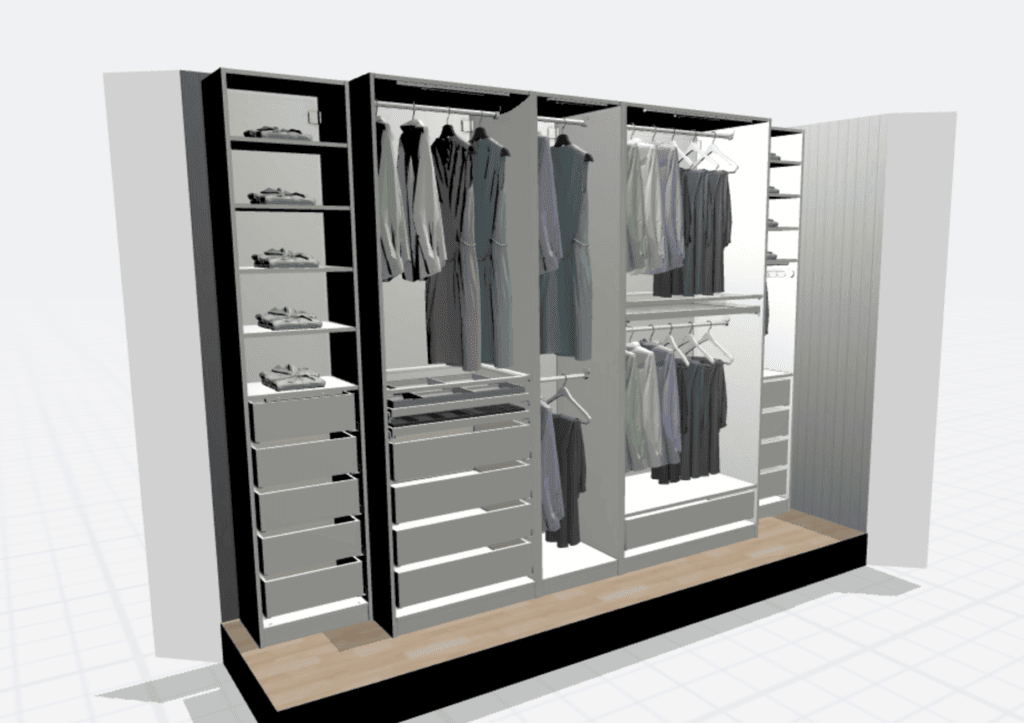
We decided to go with a variety of frame widths to take up as much of the 11 feet as possible. With three smalls, one medium, and one large, we only have a few inches on each side of the closet that we’ll be able to cover with trim to make the entire piece feel custom and built-in.
So narrowing down the frames was the easy part, but figuring out the shelves, drawers, cubbies, clothing racks, etc. was where we really had to think things through!
Adding Interior Organizers
The good thing about the IKEA Pax closet is that you can easily move the shelves and drawers around. So, even if we don’t like where we placed something in our initial drawing, we can quickly change it when we install. But we did want to go in with a concrete gameplan for where we wanted to put all of our stuff.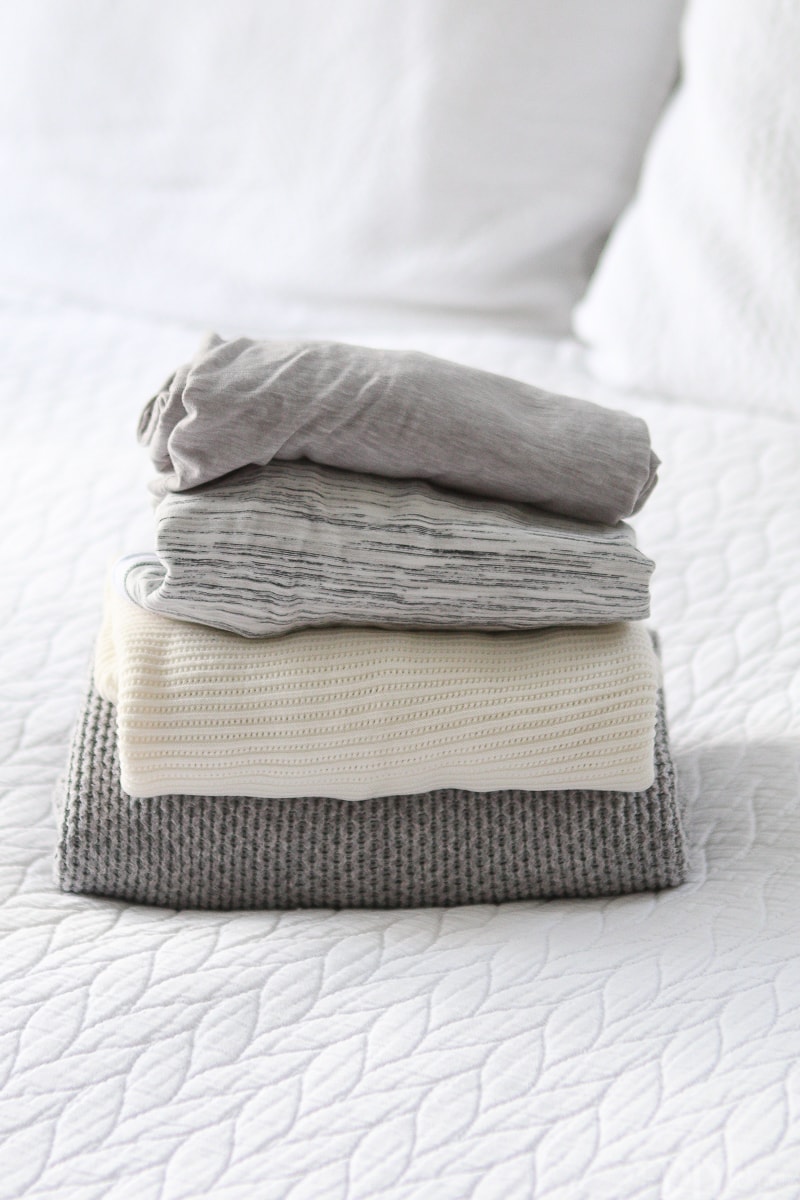
My best piece of advice is to really think through your belongings and how you enjoy storing them. For me, I’m a big folder person (as evidenced by my love for Marie Kondo in this post) and I like having lots of drawers. I do hang blouses and dresses, but I fold all of my jeans, sweaters, athleisure, and more. Because of this, I wanted to have lots of drawer options on my side of the closet. Finn is the opposite. He enjoys hanging most of his items and really just folds his t-shirts.
As I designed my side of the closet, I tried to pay attention to what I wanted to put into each draw and compartment. I’m sure things will change slightly when we actually put our stuff in there, but writing out a list of my belongings and making sure there was a spot for everything was really helpful for me!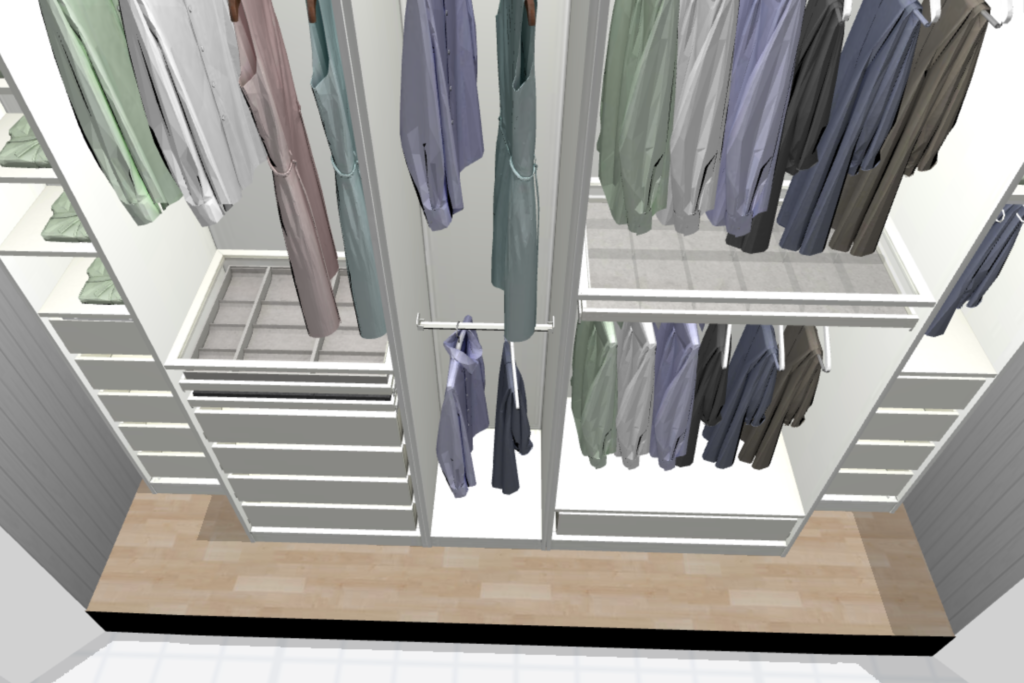
IKEA also offers some cool pull-out trays and inserts (you can kinda see them in the rendering above). I ended up going with this compartment for my jewelry and this one to hold sunglasses and other small items. Finn got this to store belts and ties. We both geeked out planning these little extras. 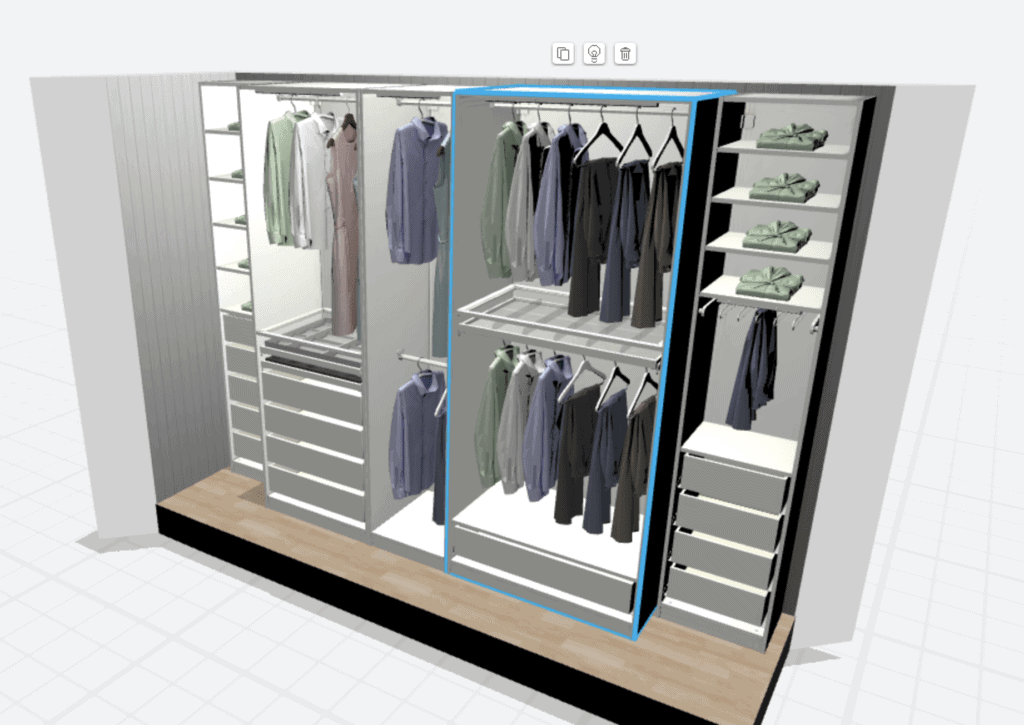
We also decided to incorporate lighting into the drawers and frames. I’m eager to see how these work to keep us organized and able to see all of our stuff!  In the end, Finn will take up the right two cubes, while I’ll use the three on the left. I think we’ll have more than enough room for all of our belongings.
What’s Next?
This configuration and all of the upgrades cost about $1,200, but we’re also planning to trim out the top with crown molding, the bottom with baseboards, and the sides with trim, so it looks really custom. I’ll be sure to report back with the final total.
We ended up ordering the entire system online and opted for the $40 delivery fee instead of driving out to IKEA to pick it up (which definitely would not have fit into our small car!). We’re going to install it ourselves and trim it out too, so I’ll share that process in the next post. IKEA does offer installation (not sure the exact cost), so that’s an option if you don’t want to go the DIY route.
Hopefully, I’ll have the finished IKEA Pax closet space ready to reveal in September. Since we bought our home and moved, my stuff has been a disorganized mess in our basement, so I’m soooooo looking forward to getting everything unpacked and organized!
Casey
Catch Up on Closet Posts