Five Tips to Install the IKEA PAX Closet System
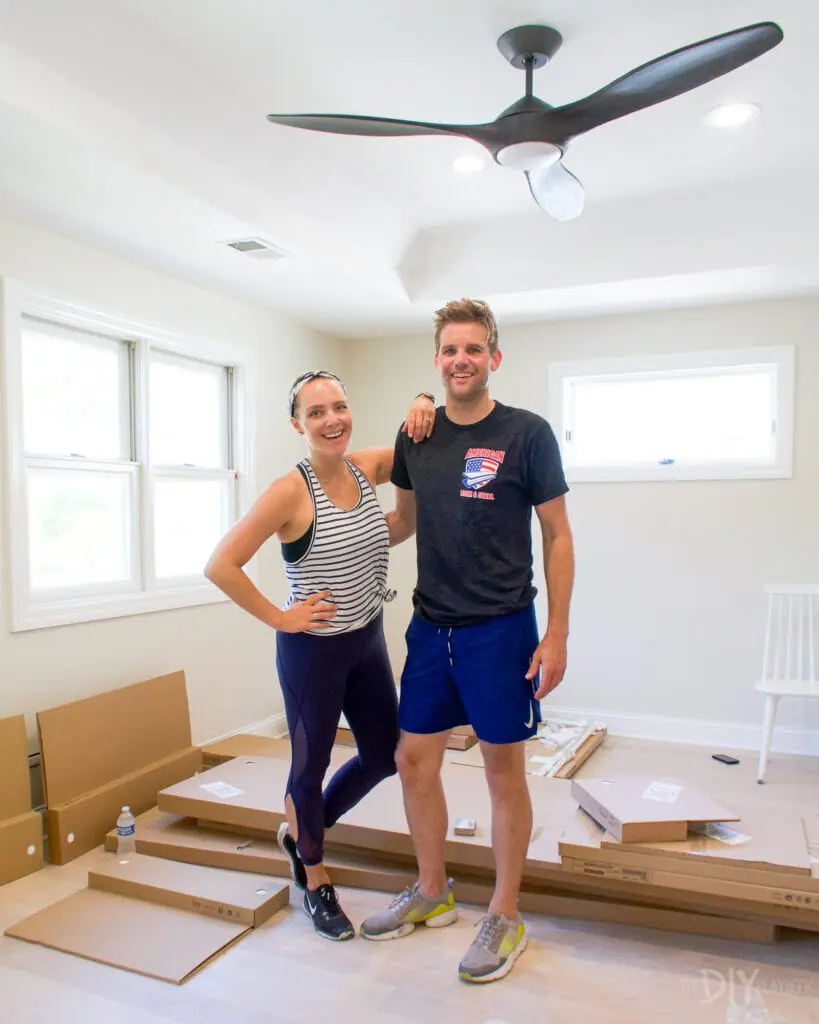
Big news. Finn and I installed our IKEA closet together and we’re still married! Ha! But for reals, putting together IKEA furniture is the true test of a marriage.
I’d say doing any DIY project together puts your relationship to the test. For us, that means that Finn is the patient and meticulous one, whereas my motto is “done is better than perfect.”
Luckily, even with our opposing mindsets, we figured out how to install the IKEA PAX closet and we are OBSESSED WITH IT! But before we get to the eye candy and all of the amazing organization that this baby offers, let’s back up to talk about the installation. It’s not that it’s difficult, it’s just a little tricky and there are lots of tips to getting it installed just right.
We made one huge mistake, which meant we had to go back to the store and buy a new frame (ughhhh). I want you to learn from our mistakes so you can avoid these same setbacks and you can install the IKEA closet like a breeze!
Before You Get Started

I will say that going in with a plan is super important; so, be sure to read this post that talks about how we figured out the best design for our walk-in closet. Once you have a plan, you can gather your shopping list – which is a must-have once you set foot into the store. I want to add that the IKEA website has a planning tool that’s also really helpful!
We ended up paying $40 extra for delivery and it was soooooo worth it. We had dozens and dozens of heavy boxes for the entire system and there is no way it would have fit in our small car.
Paying the extra for delivery was a great idea for us. You can also pay for an assembly service, but where’s the fun in that?! Also, doing it ourselves was a more affordable way to make this dream closet happen!
Once we had everything delivered to the house, we organized all of the boxes accordingly, so we could easily access everything. That took a bit of time, since there was so much to sift through, but don’t skip this step!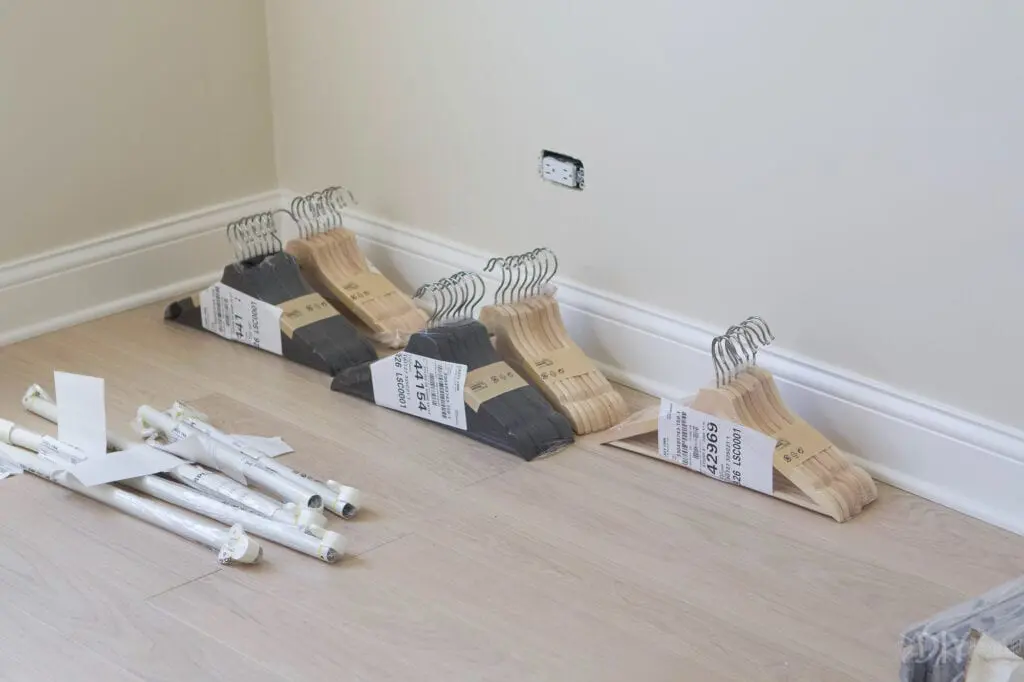
We put the large frames in the master bedroom because those needed to be assembled right away. Then, we organized the drawers, shelves, hangers, etc. in the other rooms on the second floor.
Five Tips to Install The IKEA PAX Closet System
Now, onto the biggest lessons we learned once we got started…
Follow the Directions…Closely
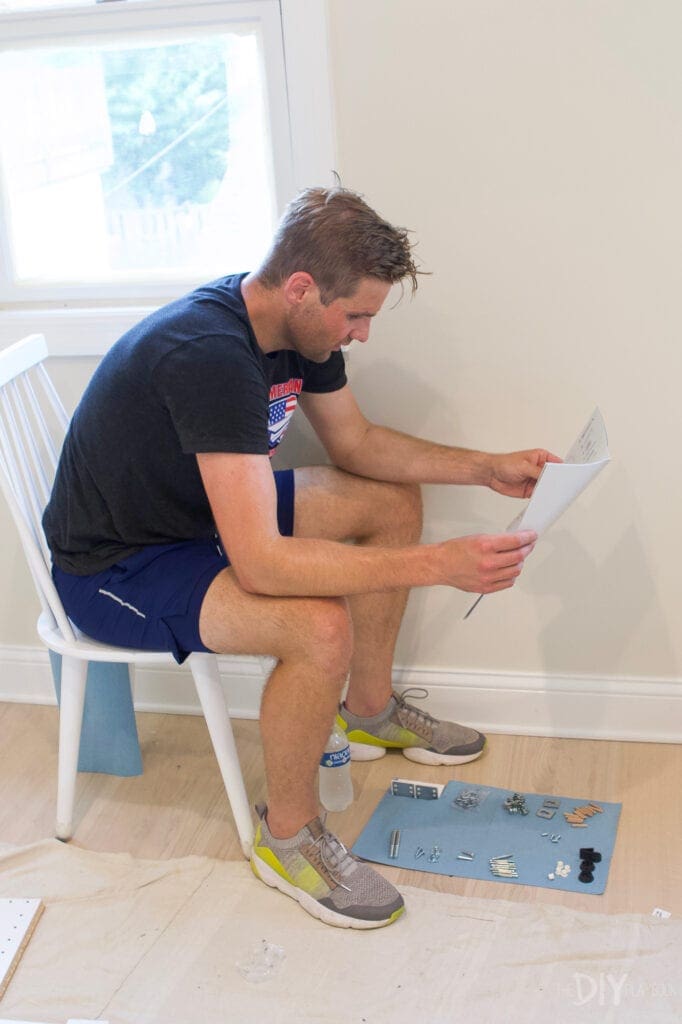

If you’ve ever put anything together from IKEA, then you are familiar with their directions. They don’t have any words; instead, it’s all illustrations that you need to follow very closely. If you put the screw in the wrong hole, then your entire piece is off. I always like to get right to work (remember…”done is better than perfect” to me!), but Finn always reads the instructions all the way through before starting.
This is the way to do it. Learn from him!
Ceiling Height is Important
Now, let’s discuss our biggest mistake on install day. The best way to build these frames is on the floor. You follow the directions to build them, and then you stand them up and slide them into the closet. You have leverage, so you can easily access each screw, and it goes by really quickly.
However, ceiling height is suuuuper important here. If your ceiling height is lower than 95 2/3 inches (at least for the frames we used), then you can’t stand them up, or else they’ll get stuck on the floor and the ceiling. Instead, you have to build them standing up in the closet.
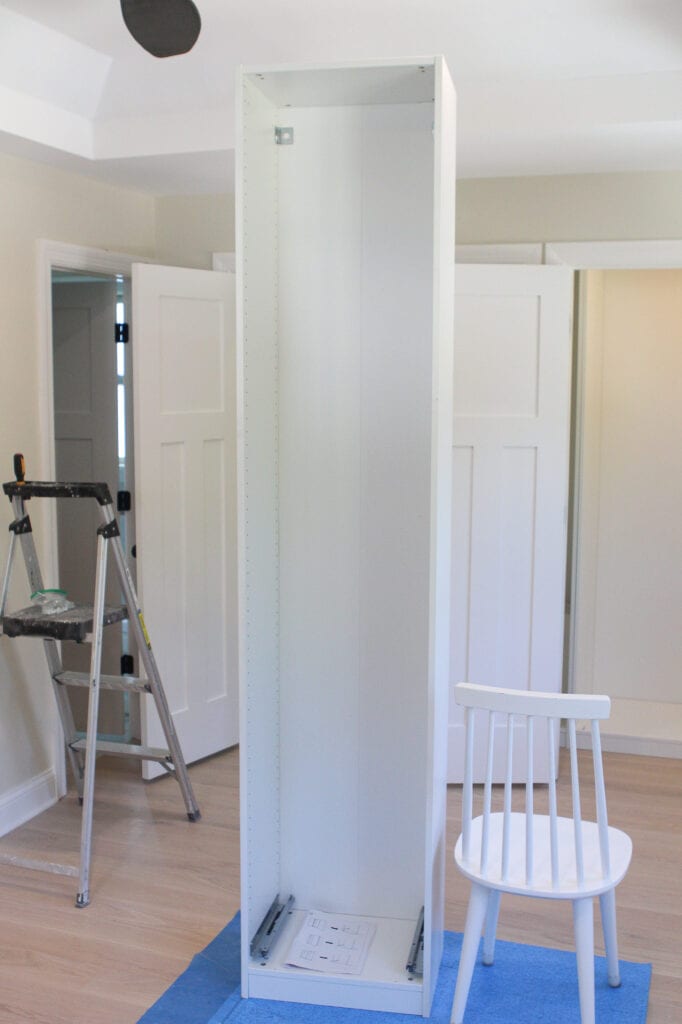
The first frame we built was this shallow and small one. We built it on the floor and were able to stand it up and move it into the closet. Easy breezy.
Next, we moved onto the large and deep frame. This is where things went wrong…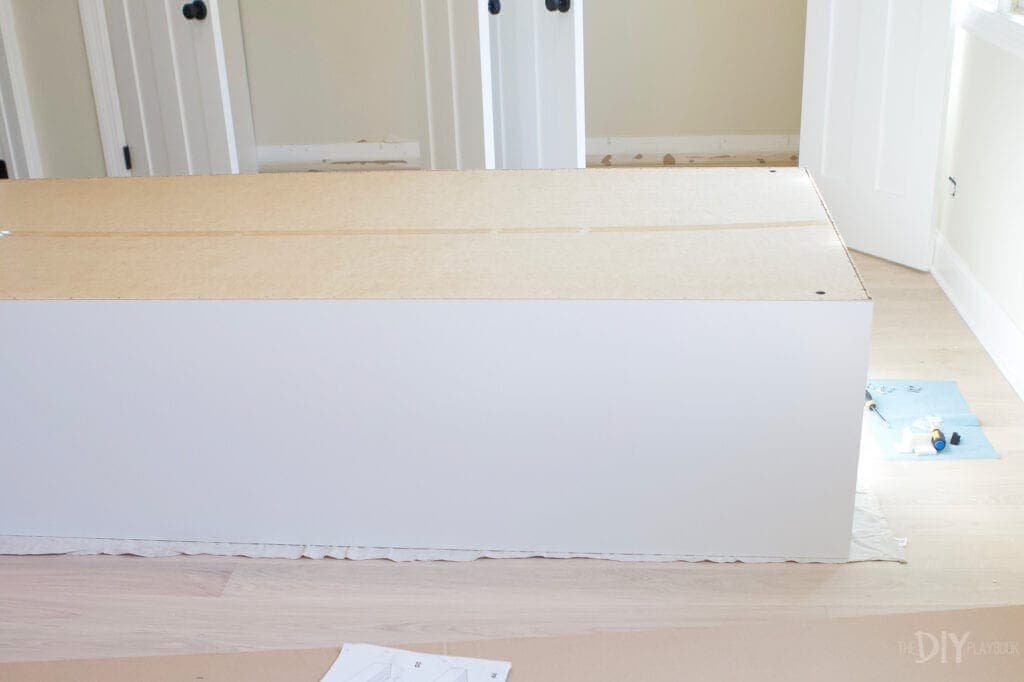
We built it on the floor, thinking we had enough clearance to get it into the closet. Welp, turns out we were off by 1/4 of an inch. NOOOOOO. We squeezed, but it wouldn’t budge into place. Our faces looked like the sad IKEA figure in the illustration below. 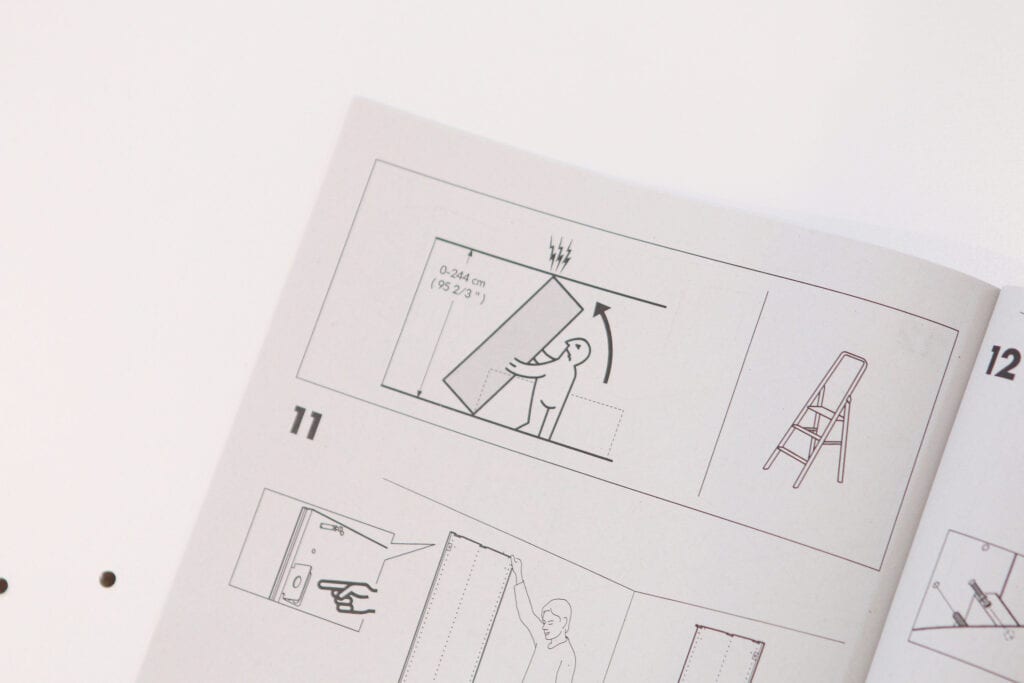
We had to take it all apart and try to build it upright in the closet. Sadly, the screw holes were so worn from our first attempt at building it, that it just wasn’t secure enough. We didn’t want to install a frame that wasn’t super sturdy, so we had to buy an entirely new large frame and start over, this time building it standing up in the closet. Lesson learned.
A few of you guys mentioned that you can bring IKEA products back to the store for a replacement, so we will have to try that and see if we can get our money back!
Take Your Time
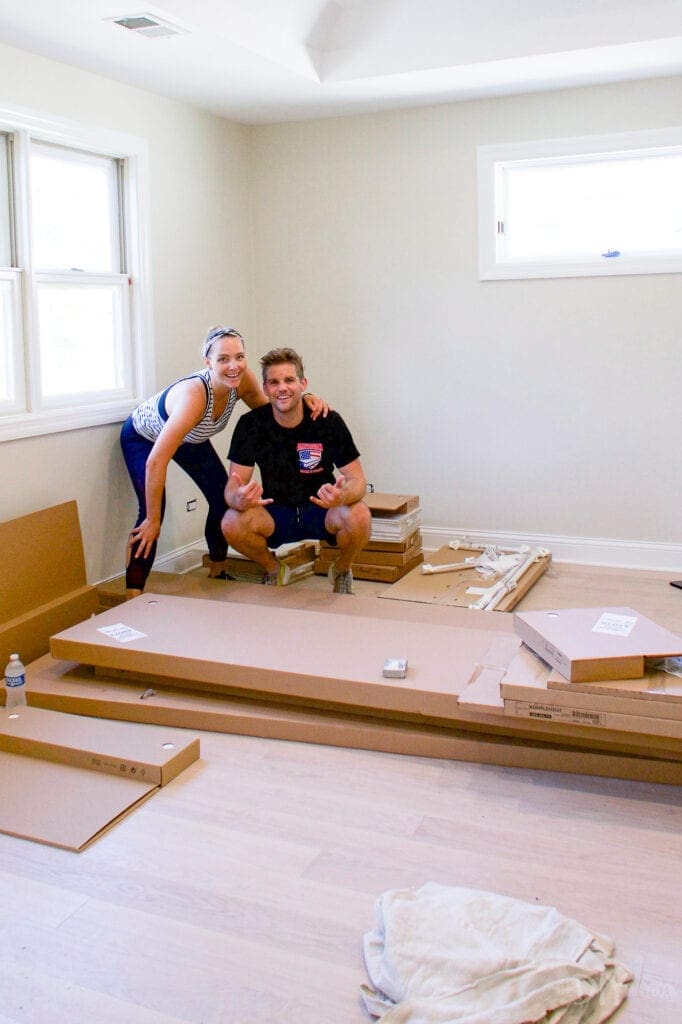
I naively assumed we would have the entire thing built in a few hours. I was wrong. The frame fiasco set us back at least an hour and after that, we went slowly to make sure we didn’t make any more costly mistakes. We were able to get four of the five frames built in a day and then it took another hour to finish building the new large frame.
But, just because the frames are built, that doesn’t mean you’re anywhere near being done. You still need to attach it to the wall, attach it together, and build all of the accessories. The drawers take a hell of a long time to put together and we bought tons of them! We actually ended up bringing the drawers to Jan’s house and we worked on them during the week, while watching TV at night. It was fun to get into a groove and get them done. Then we brought them back to the house for installation.
Breaking up the work like this made this project a little less overwhelming.
Attach the Frames
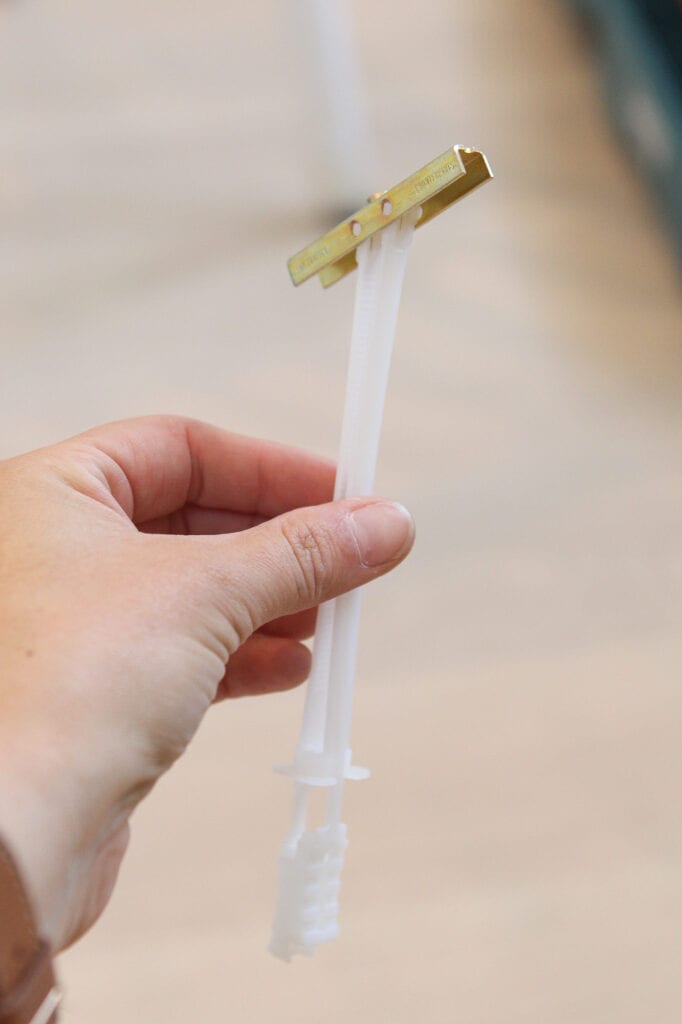
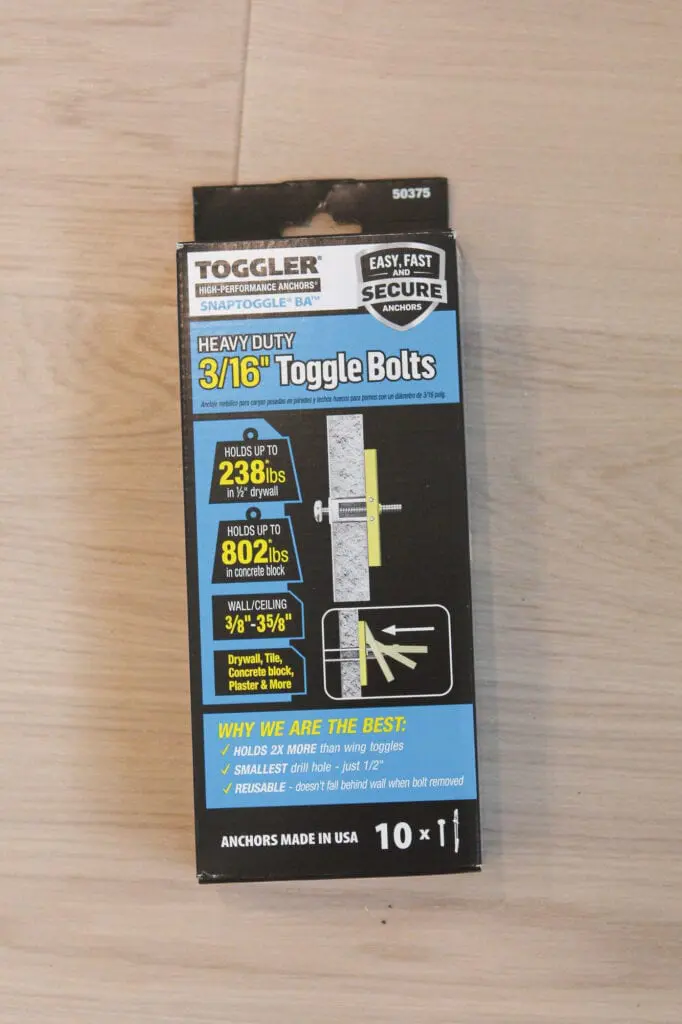
The PAX system doesn’t include the correct hardware to attach each frame to the wall, but I think it’s important that you don’t skimp on this step. We ended up using these snap toggle bolts to secure them into the wall. These babies are strong and can hold up to 238 pounds. Here’s how you use them…
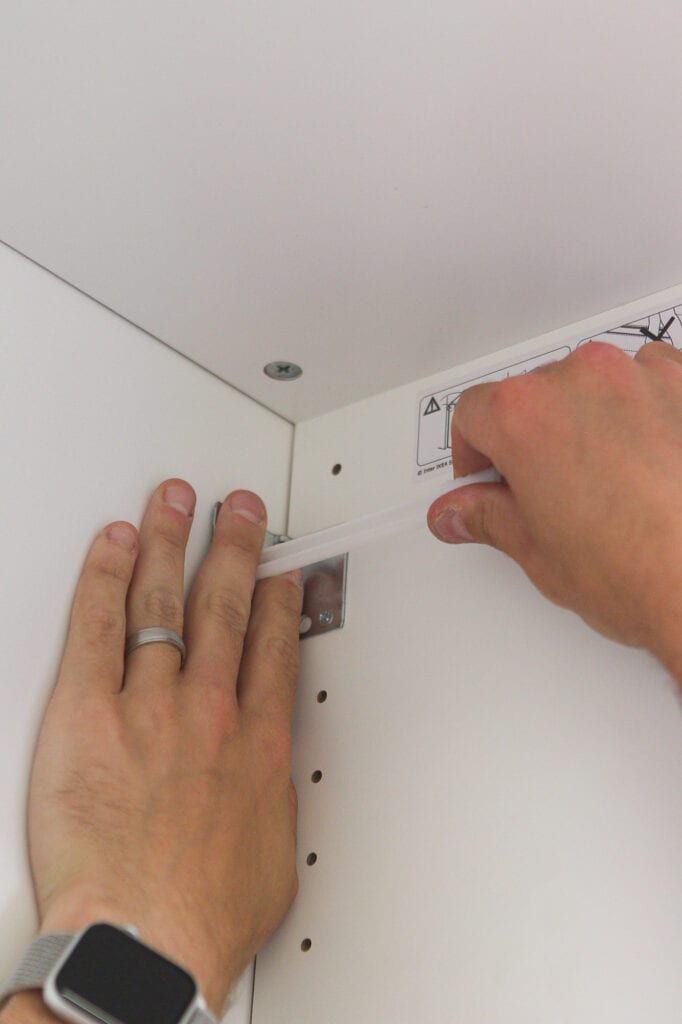
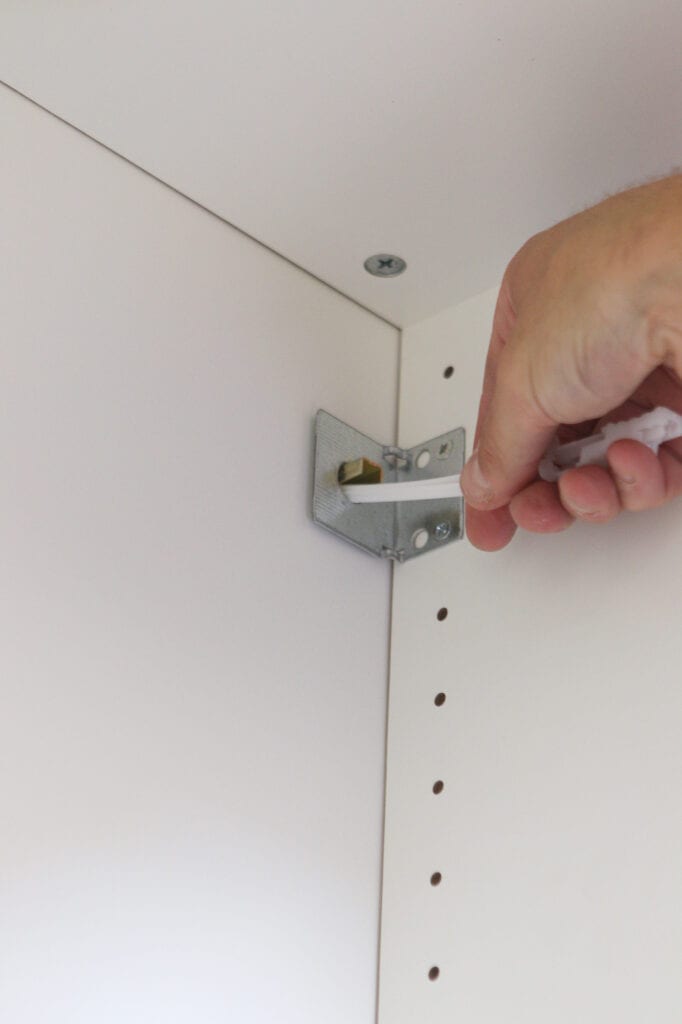
You insert the metal piece into the wall and then pull it taut, like a zip cord. Once it’s tight and you feel the metal hooked behind the drywall, you can snap off the excess plastic, hence, the name! And you can even use it as a nose plug, as Finn demonstrates. (Oh, that kid keeps me laughing!).


With the super-strong hardware in place, you can drill the screw right into the new secure wall! I use snap toggle bolts regularly when hanging heavy items and they always work well for me. If you have a heavy mirror or shelf to hang, use these!
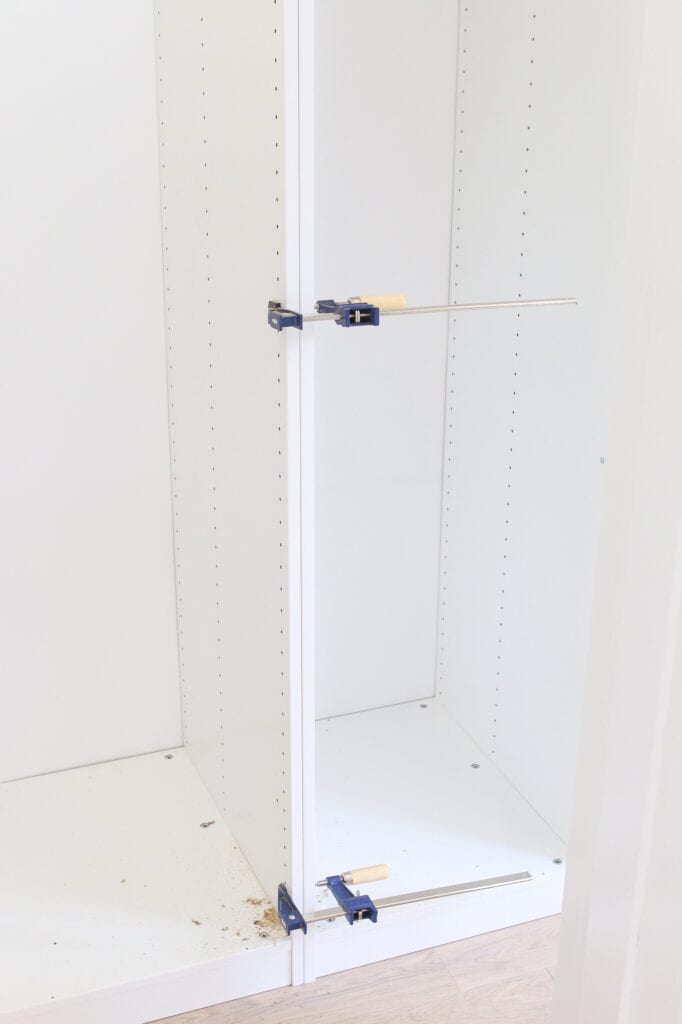
I think it’s also important to attach the IKEA PAX frames together for a secure and polished look. We used clamps to get them into place and they worked beautifully! Just follow the IKEA directions for this step and make sure you budget plenty of time.  It was a little tricky to line up the holes and get them all secured to one another, but we got the job done.
Note: We removed the baseboard in the closet so we could scoot the entire unit back to the wall. I highly recommend this for a level and flush closet system.
Don’t Forget the Extras

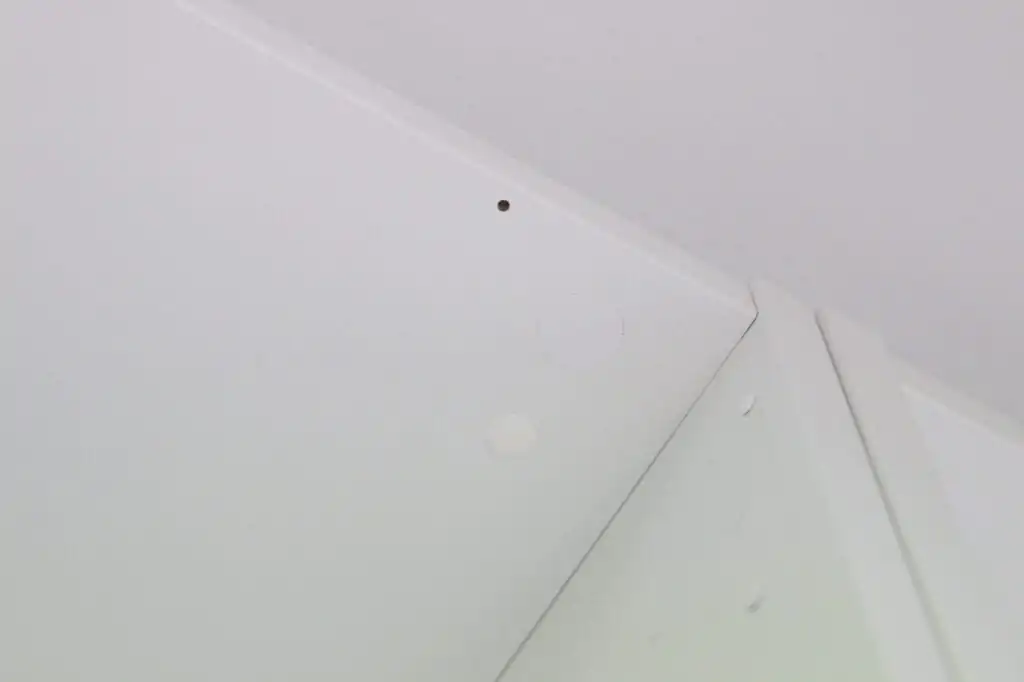
With the frames built, attached to the walls, and filled with drawers, we still had some extras to take things to the next level. First easy step? Filling in the many holes in each frame. I highly recommend buying these cover plates to fill the hundreds of holes in the frames. I only bought three packages (300) and needed to buy way more to fill in all of the holes. I think Finn did the math and it was something like 1600 holes. They’re inexpensive, so buy extra!
Just pop these little guys into the holes and it will look so much better and more custom. We were blown away by how much better it looked from this easy (yet mind-numbing) task. Your thumbs will definitely be sore, though. Don’t say I didn’t warn ya!
We also bought these stickers to cover the screws on the tops and bottoms of the frames. 
We decided to add some lighting to the closet to make it even cooler. Finn spearheaded this part and he was like a little kid as he was installing it. He was so pumped! We had our contractor add an outlet to the closet so we would have a spot to plug in the “hub.” Then, we installed some lights in the back of the trays, so they illuminate when you open them. It’s a neat touch that makes us both feel very fancy.
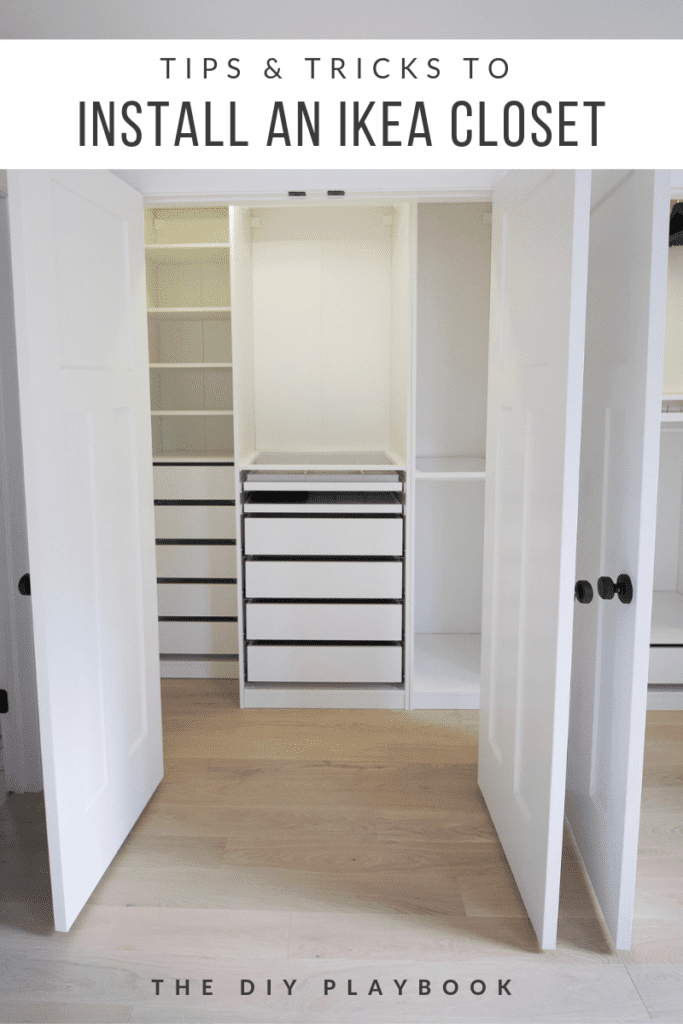
Our New Closet!
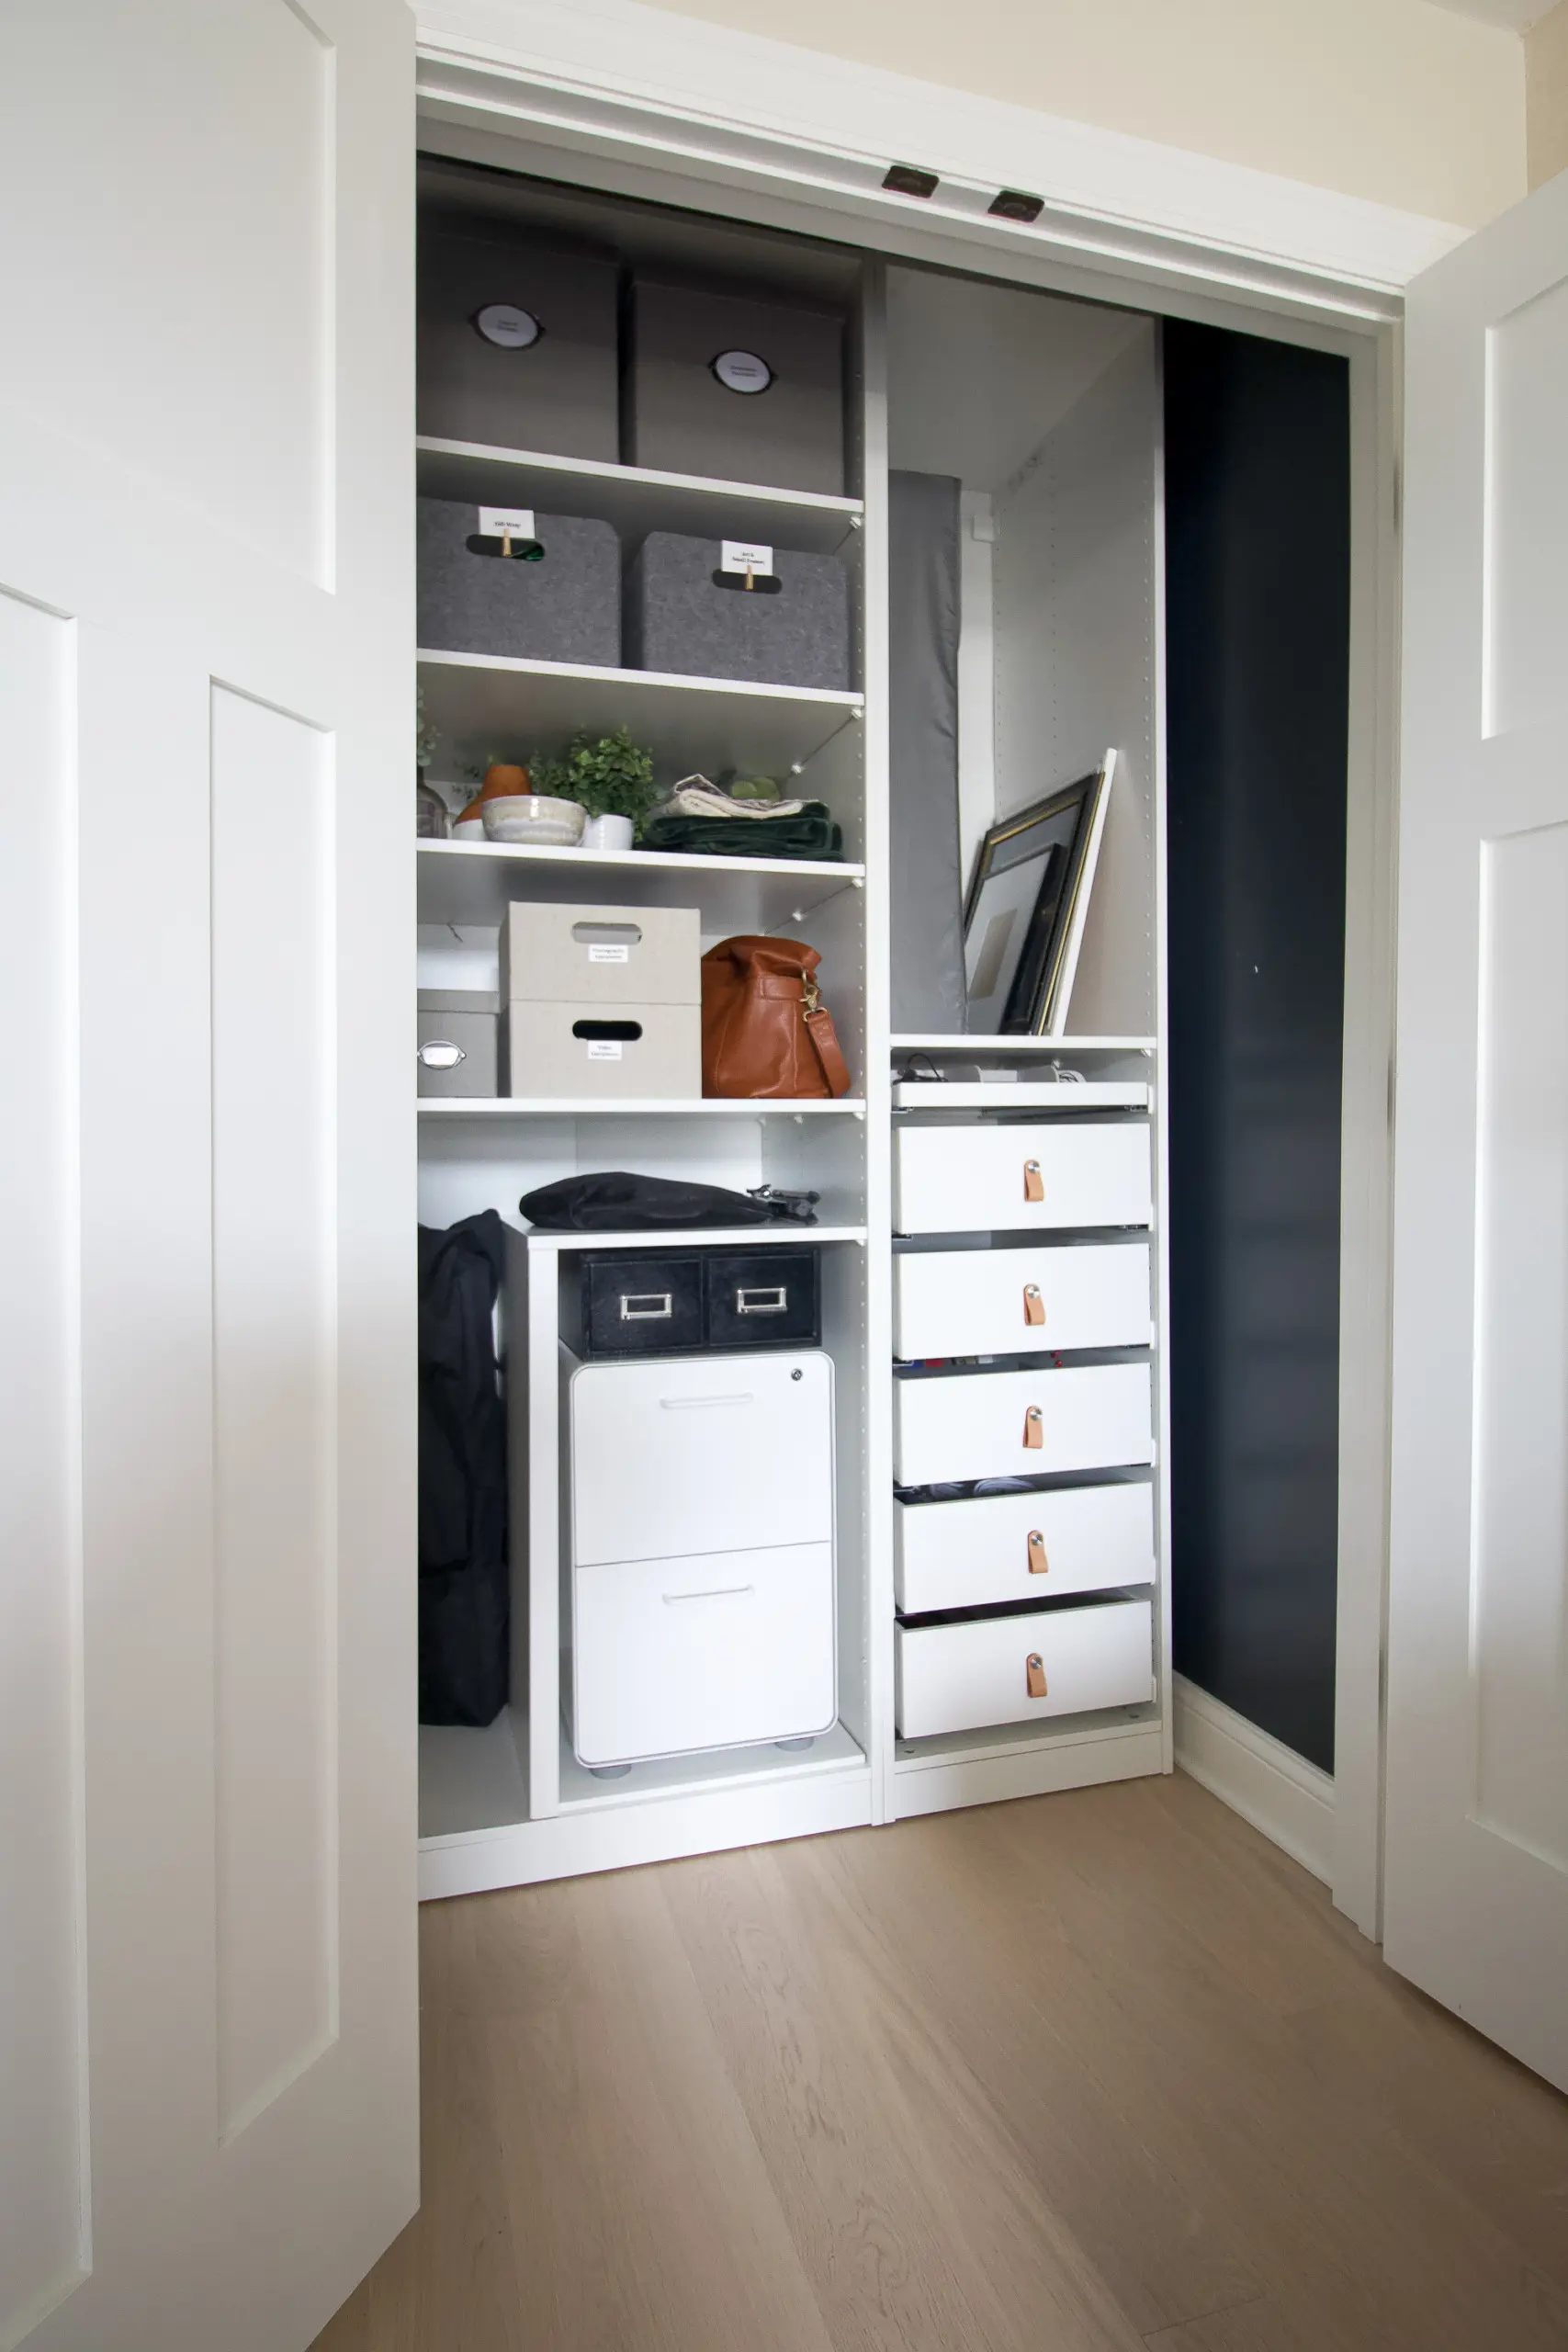
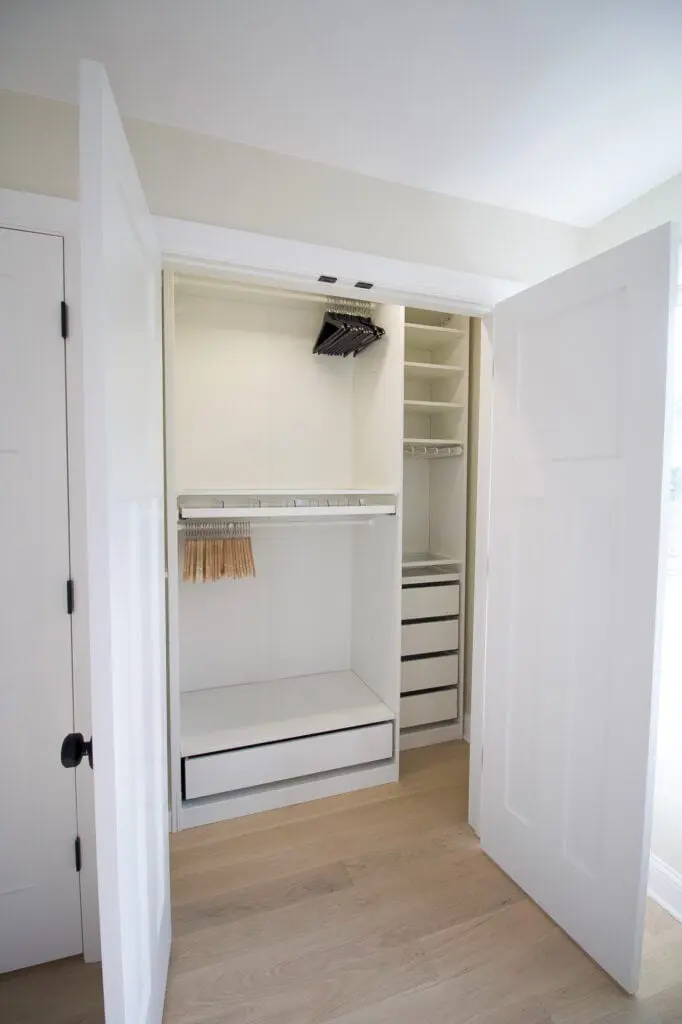
Here’s our new closet. Isn’t it beautiful?!
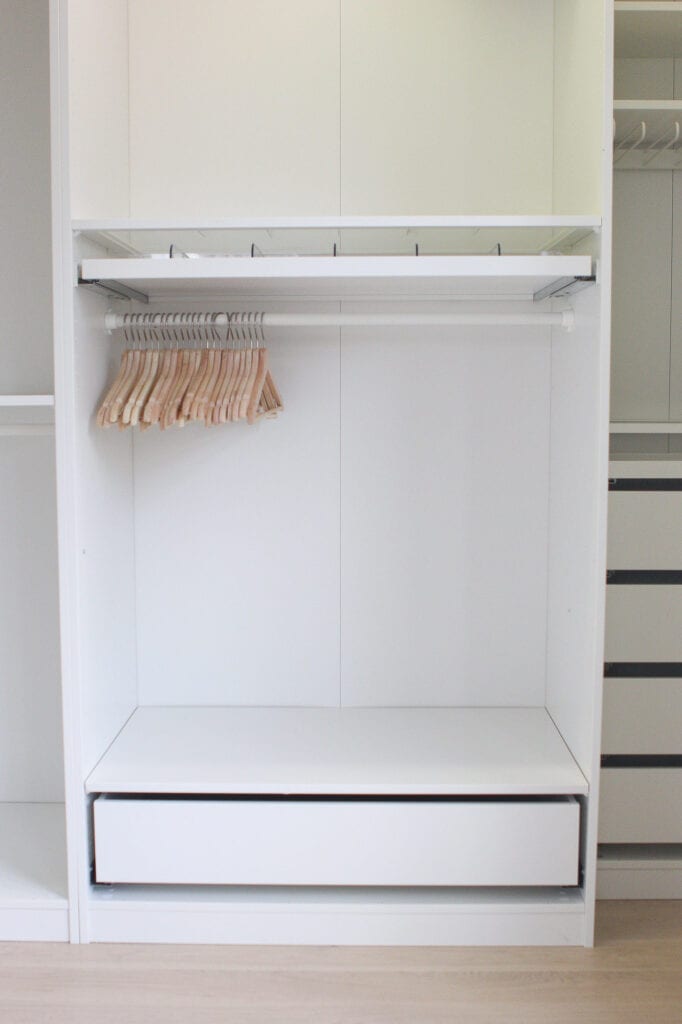
I’ll be using the three frames on the left side of the closet. I’m thinking the small drawers will be for bras, underwear, socks, bathing suits, etc. And that will give me some shoe storage above.
The middle rack will have hanging clothes. Then, those drawers below the hanging clothes will house jeans, workout clothes, with more shoes in the bottom drawers, and sweaters in one of the middle ones. 
I’m really excited about the two pull-out trays we added. One will hold scarves, sunglasses, and other larger objects. 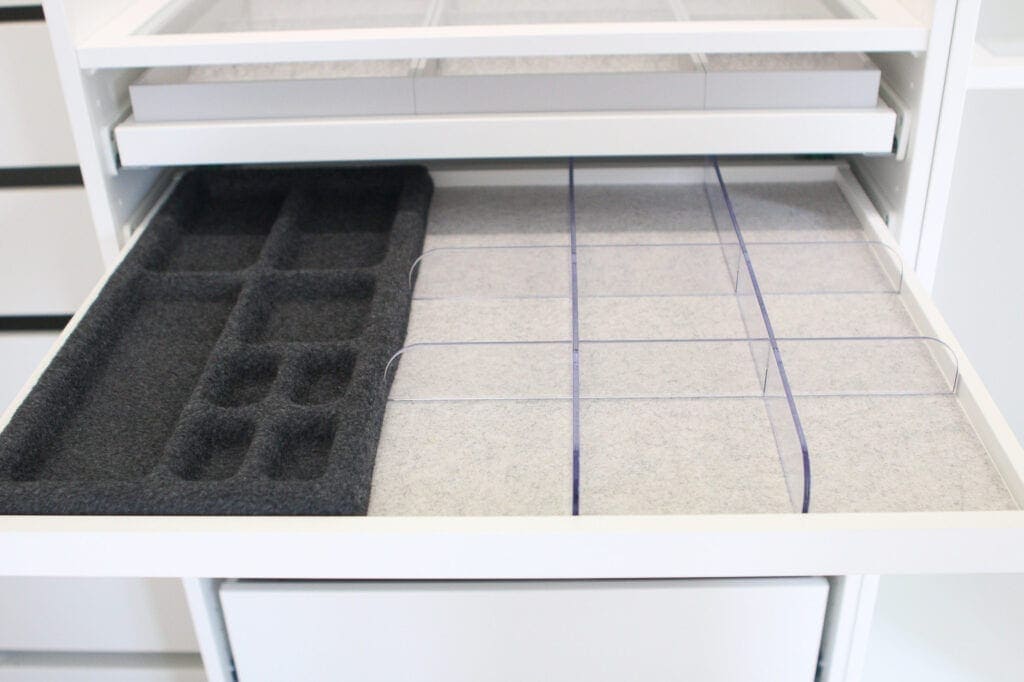
This one will hold jewelry. I may try out my jewelry tray from the Container Store (that I talked about in this blog post), but we’ll see what ends up working the best!


We added drawer liners to each drawer and tray that we picked up at IKEA. Those little touches make the entire unit feel custom and much more high-end. Once you cut them to size for the drawers, they are a breeze to install.
I’ll also use the middle unit for more hanging items and dresses. As I mentioned before, I’m more of a drawer person than a hanging person, so I’m confident I’ll be able to make this work. We are used to living pretty minimally and this is, by far, the largest closet we’ve ever had, so I’m excited to make it work for us! 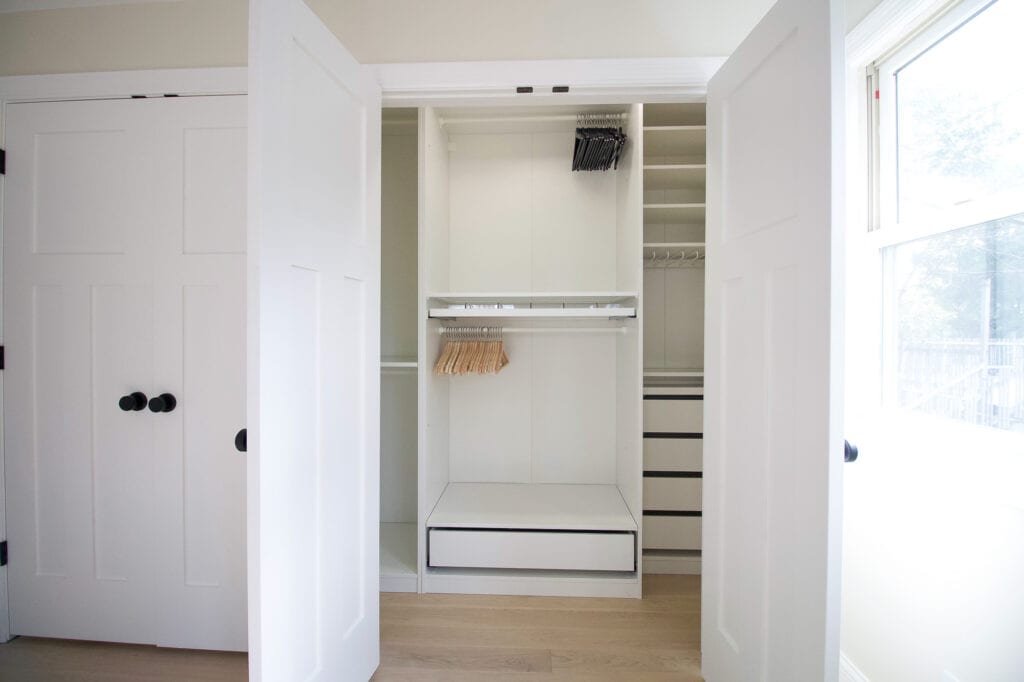
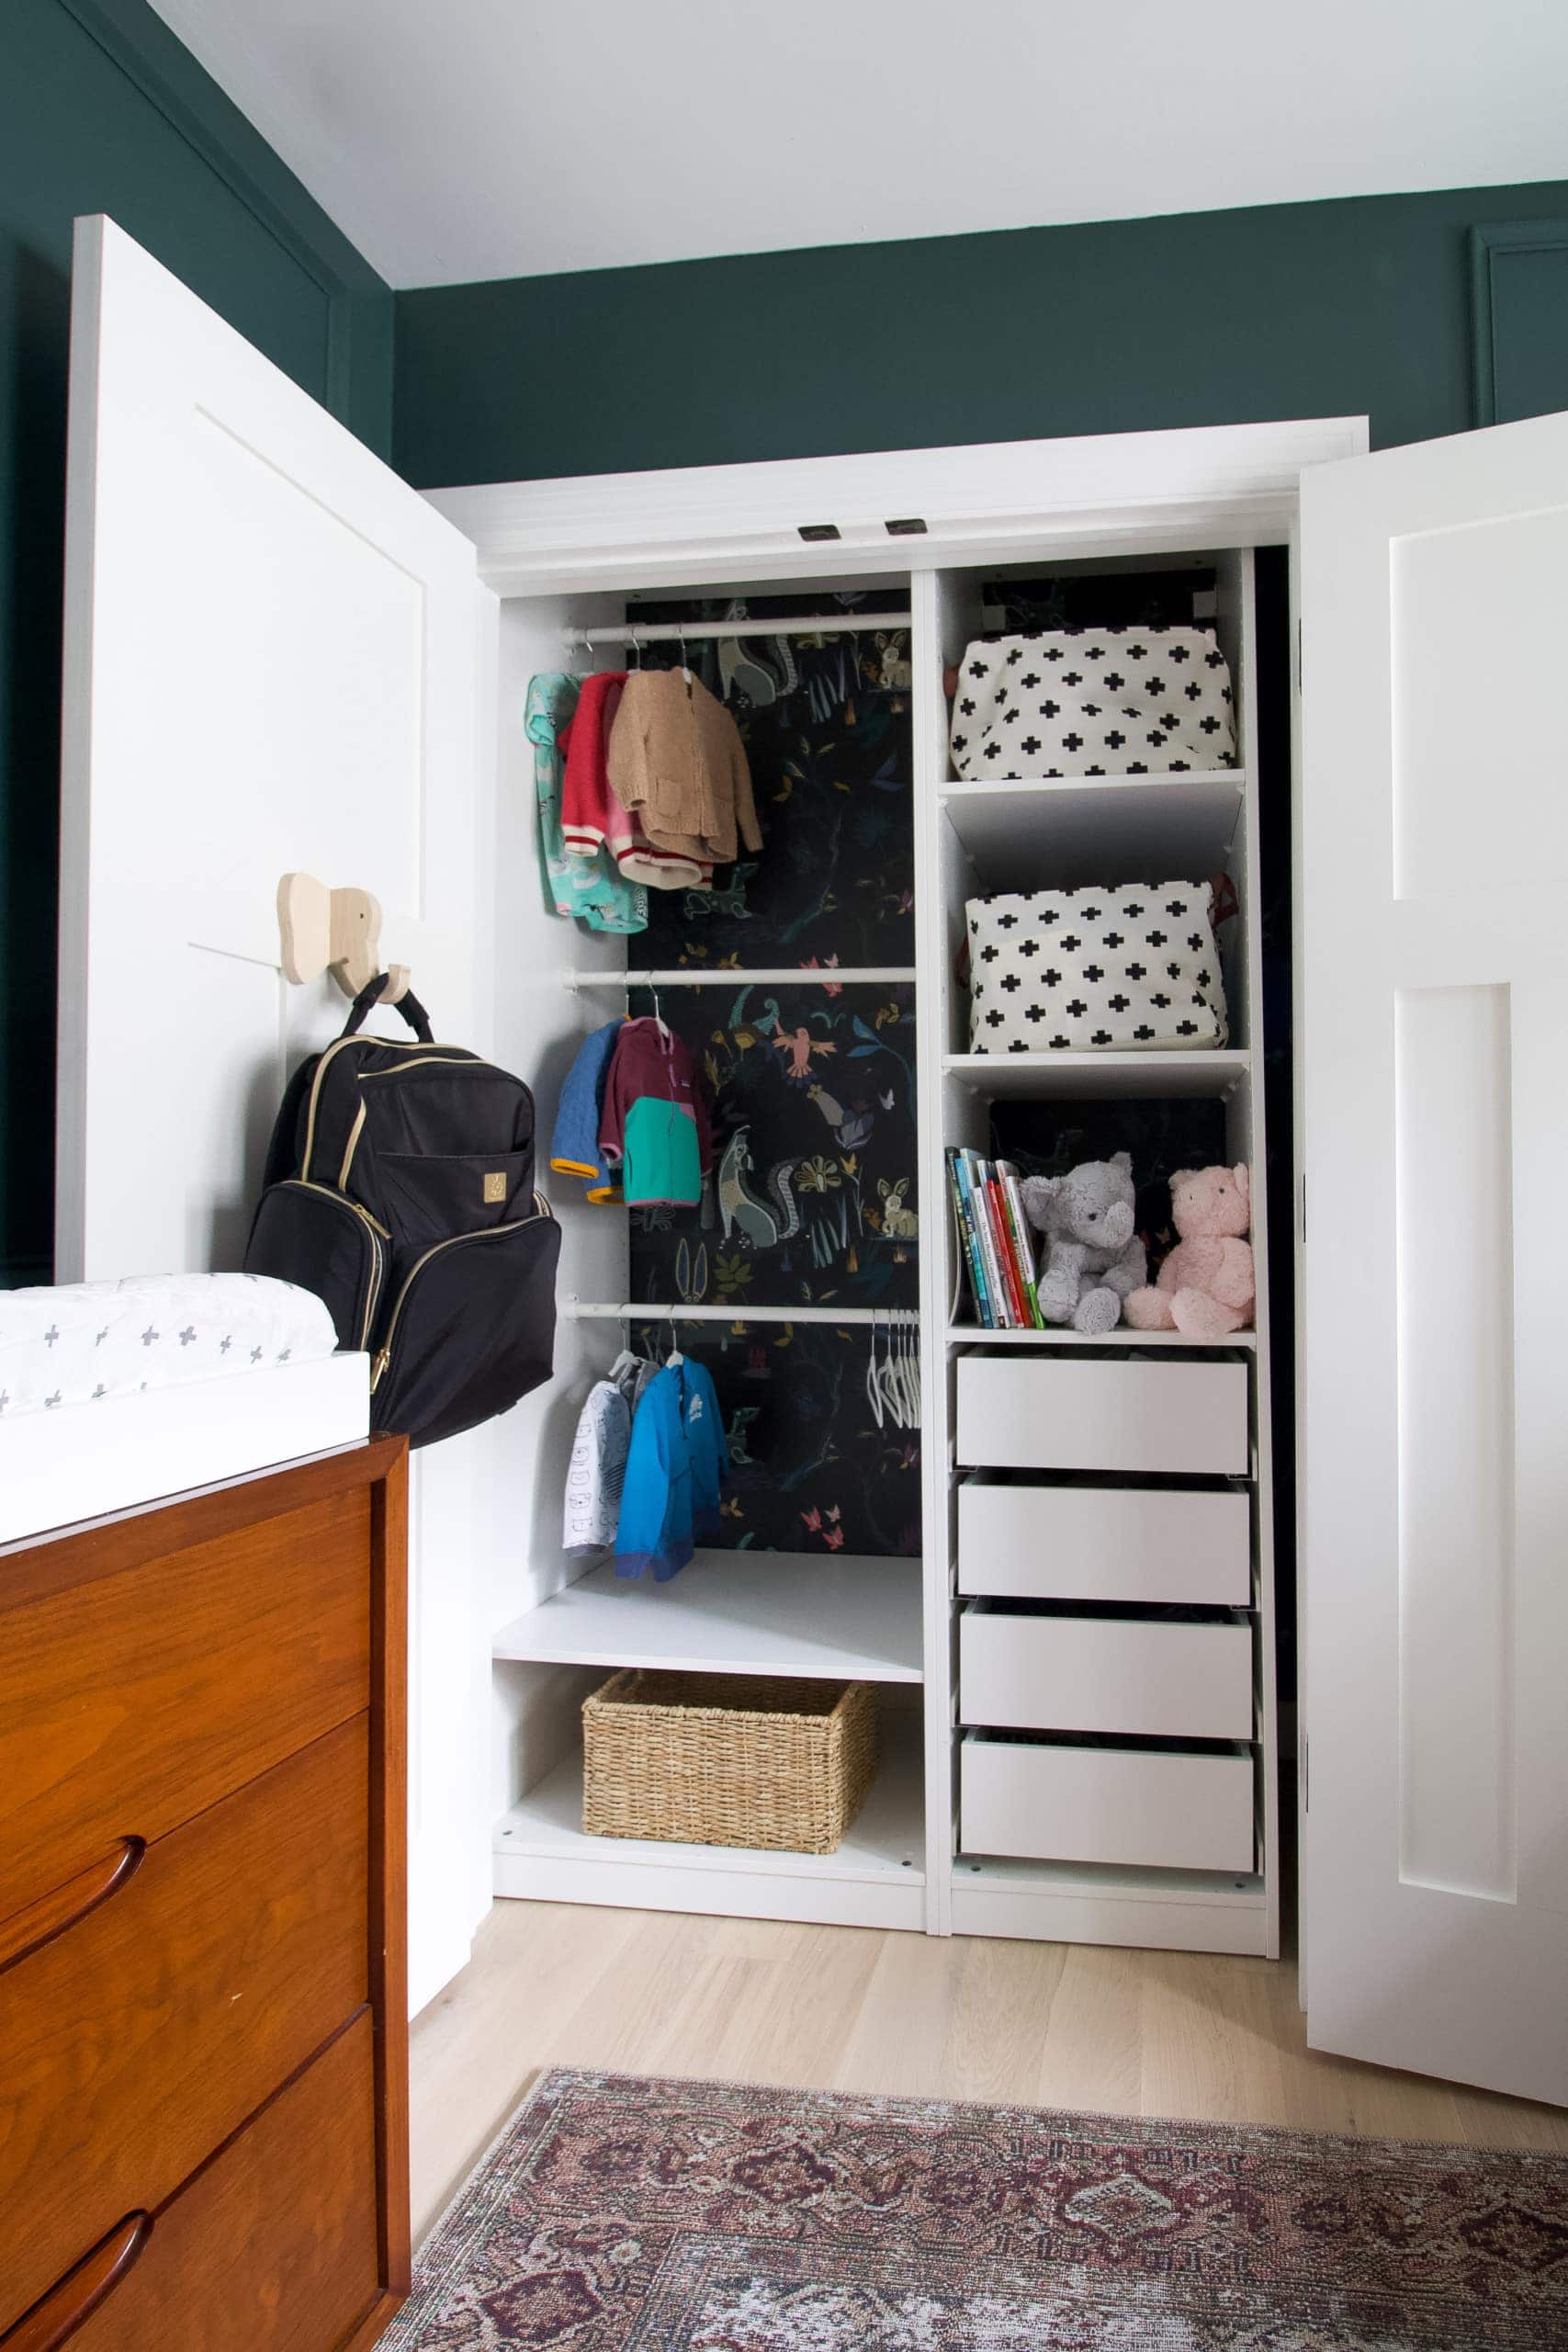
Here’s Finn’s side of the closet. He’s got some hanging in his large frame, along with shoe storage on the bottom in the drawer. 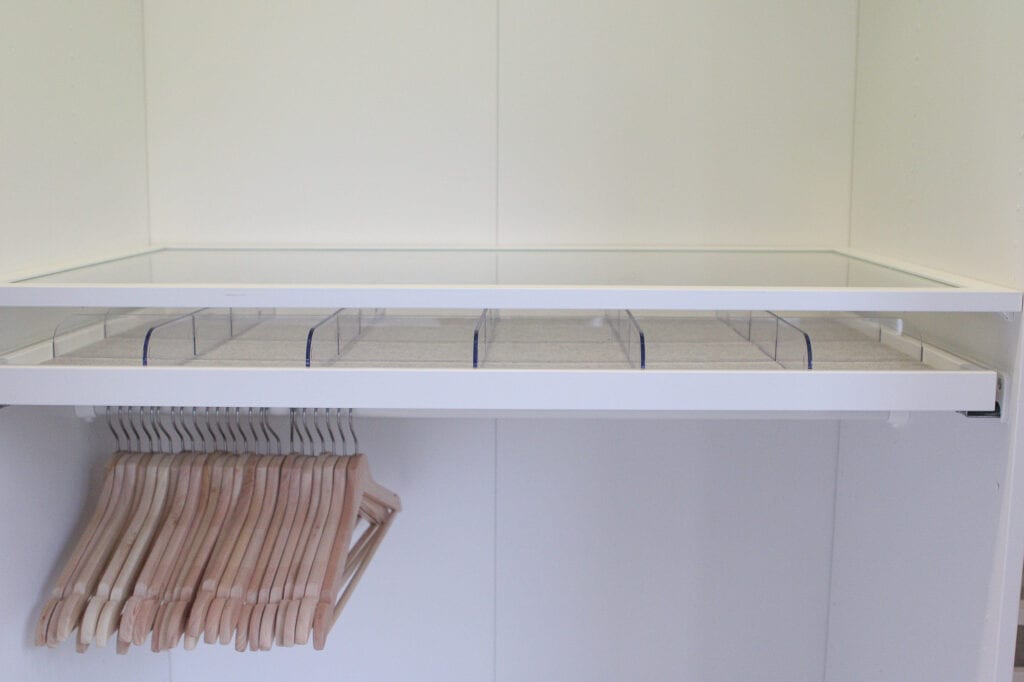
He added a pull-out tray on his side too. He plans to store belts and ties in there. I can’t wait for him to get it all organized (the man looooves a good organization project!). 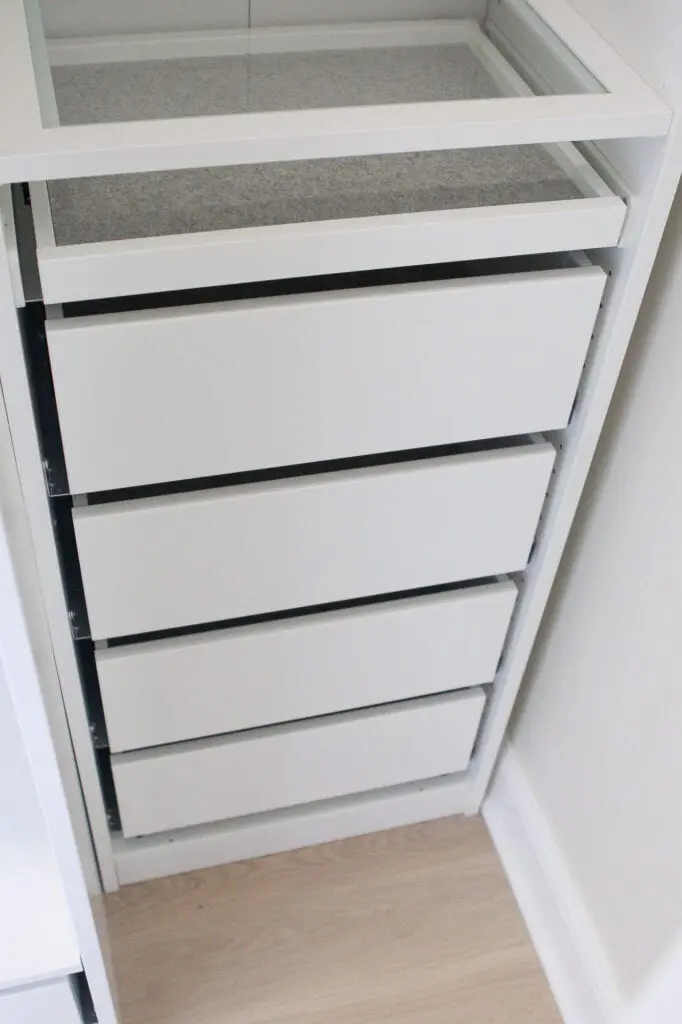
On the far right, he has drawers for boxers, t-shirts, etc. Then, above, he has a hanger for dress pants and shelves for shoe storage.
One more thing – we originally discussed trimming out the tops and sides of the closet to make it look more built-in. As of now, I have a few inches of space on the left side of the closet that I’m going to live with and see if I want to utilize that space for anything.
As for the top…we may add crown molding to it eventually, but for now, we just wanted to finish this project! Since we’re the only ones who will even look up and see, it’s totally fine that it isn’t 100% built into the wall. But maybe someday we’ll be bored and out of projects and add it (ha… maybe in ten years, at this rate!).
Before & After
While this isn’t the final after (I’ll share another post once we fill this baby on up!), I want to show you how far we’ve come.

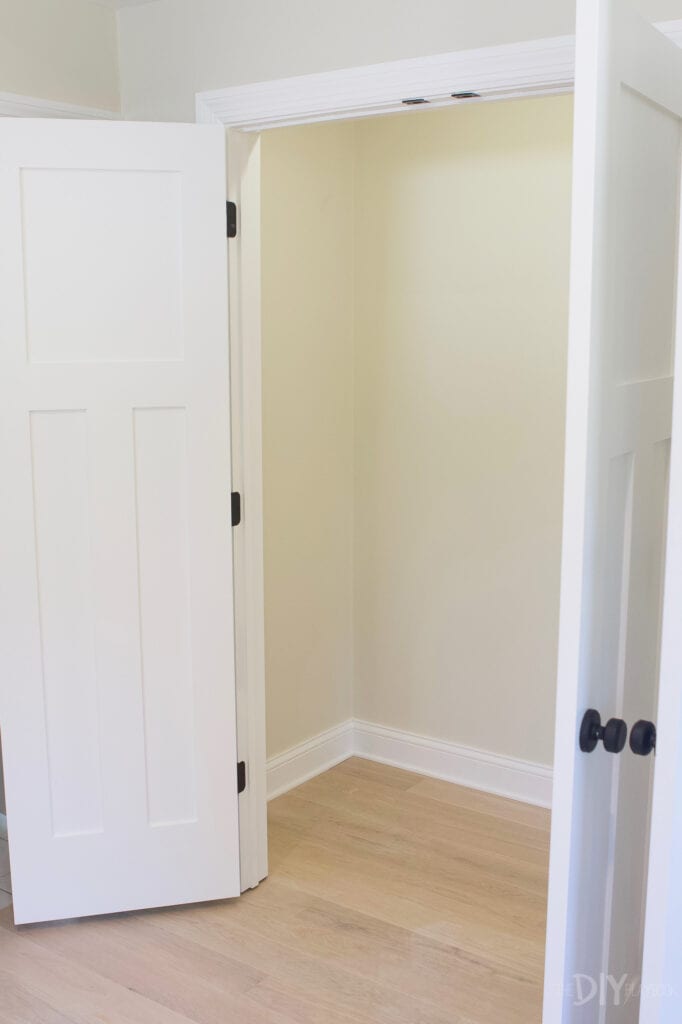
Here’s the room back when we closed on the house. All you can see is so much orange and beige. Wow!
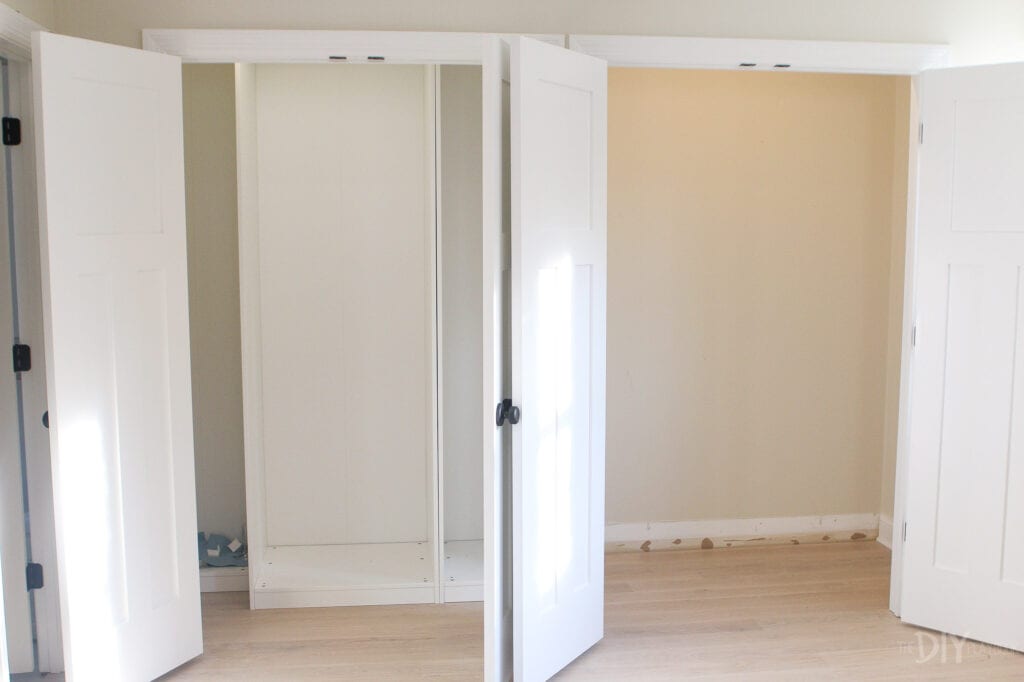
We ended up taking out the wall in between the two separate closets to make space for a larger one. This meant we could also use french doors instead of the bifold doors. 
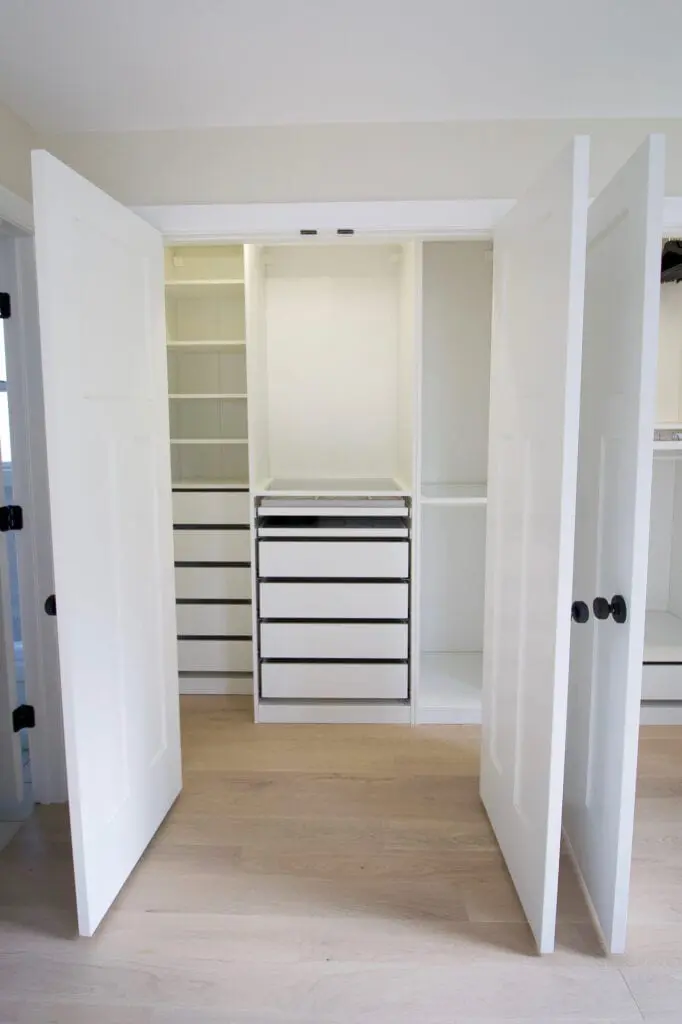
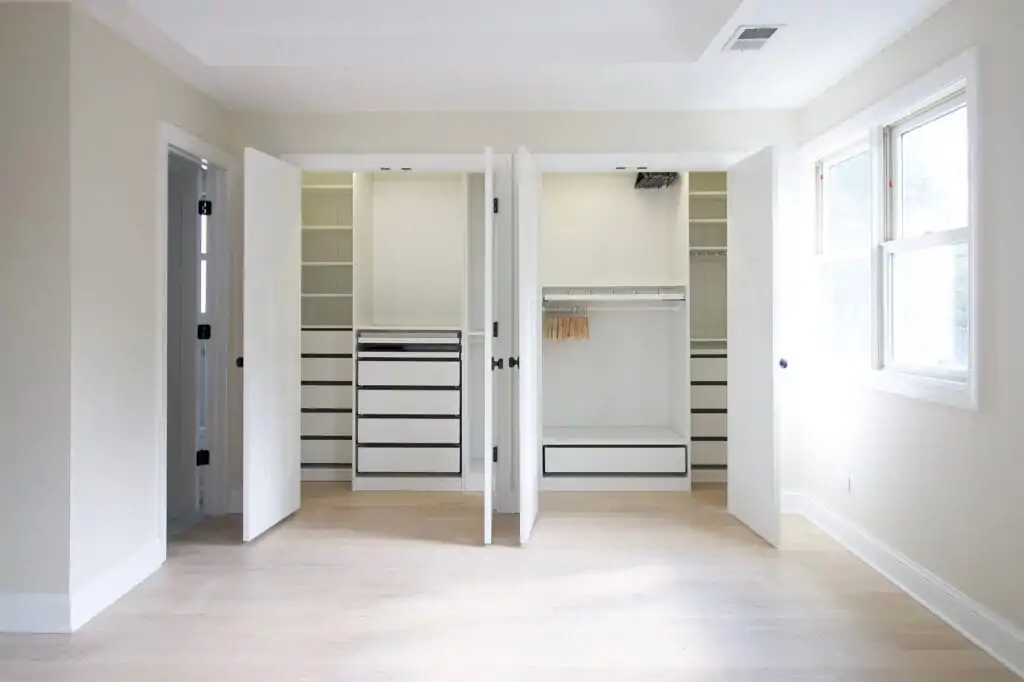
Here’s a look at the new setup with the upgraded doors, larger closet, hardwoods, paint, millwork….all the things! Now, let’s open those doors and see inside. 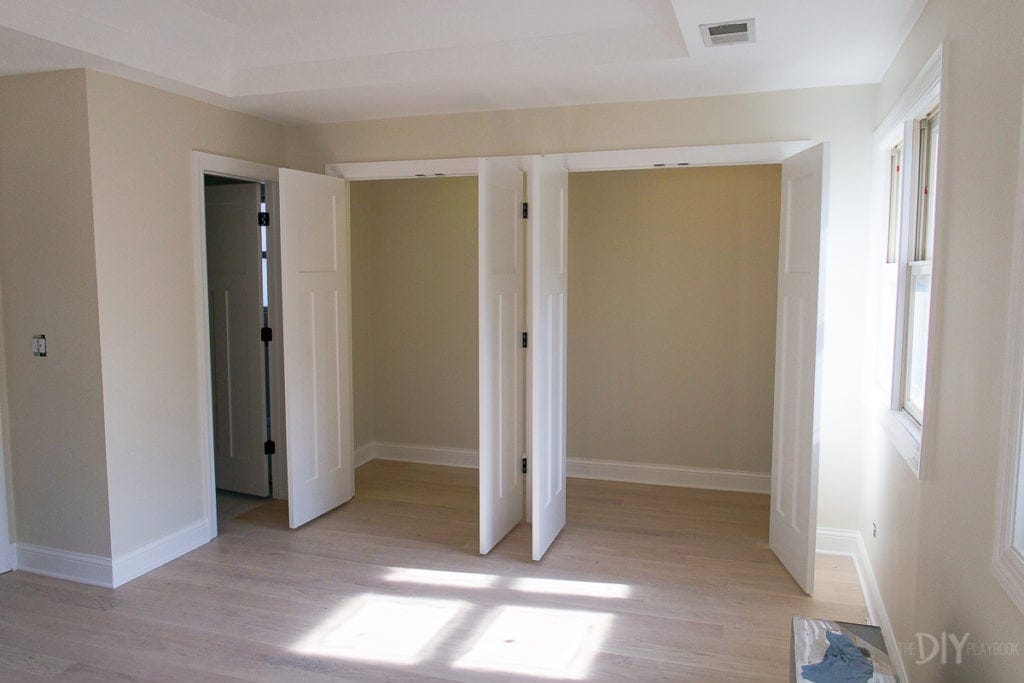


Come See Our Organized Closet

Hopefully, these tips to install the IKEA PAX closet are helpful for anyone looking to tackle this easy (yet time-consuming!) DIY project. You can see this closet all organized over in this blog post.
Casey
Catch Up on Closet Posts