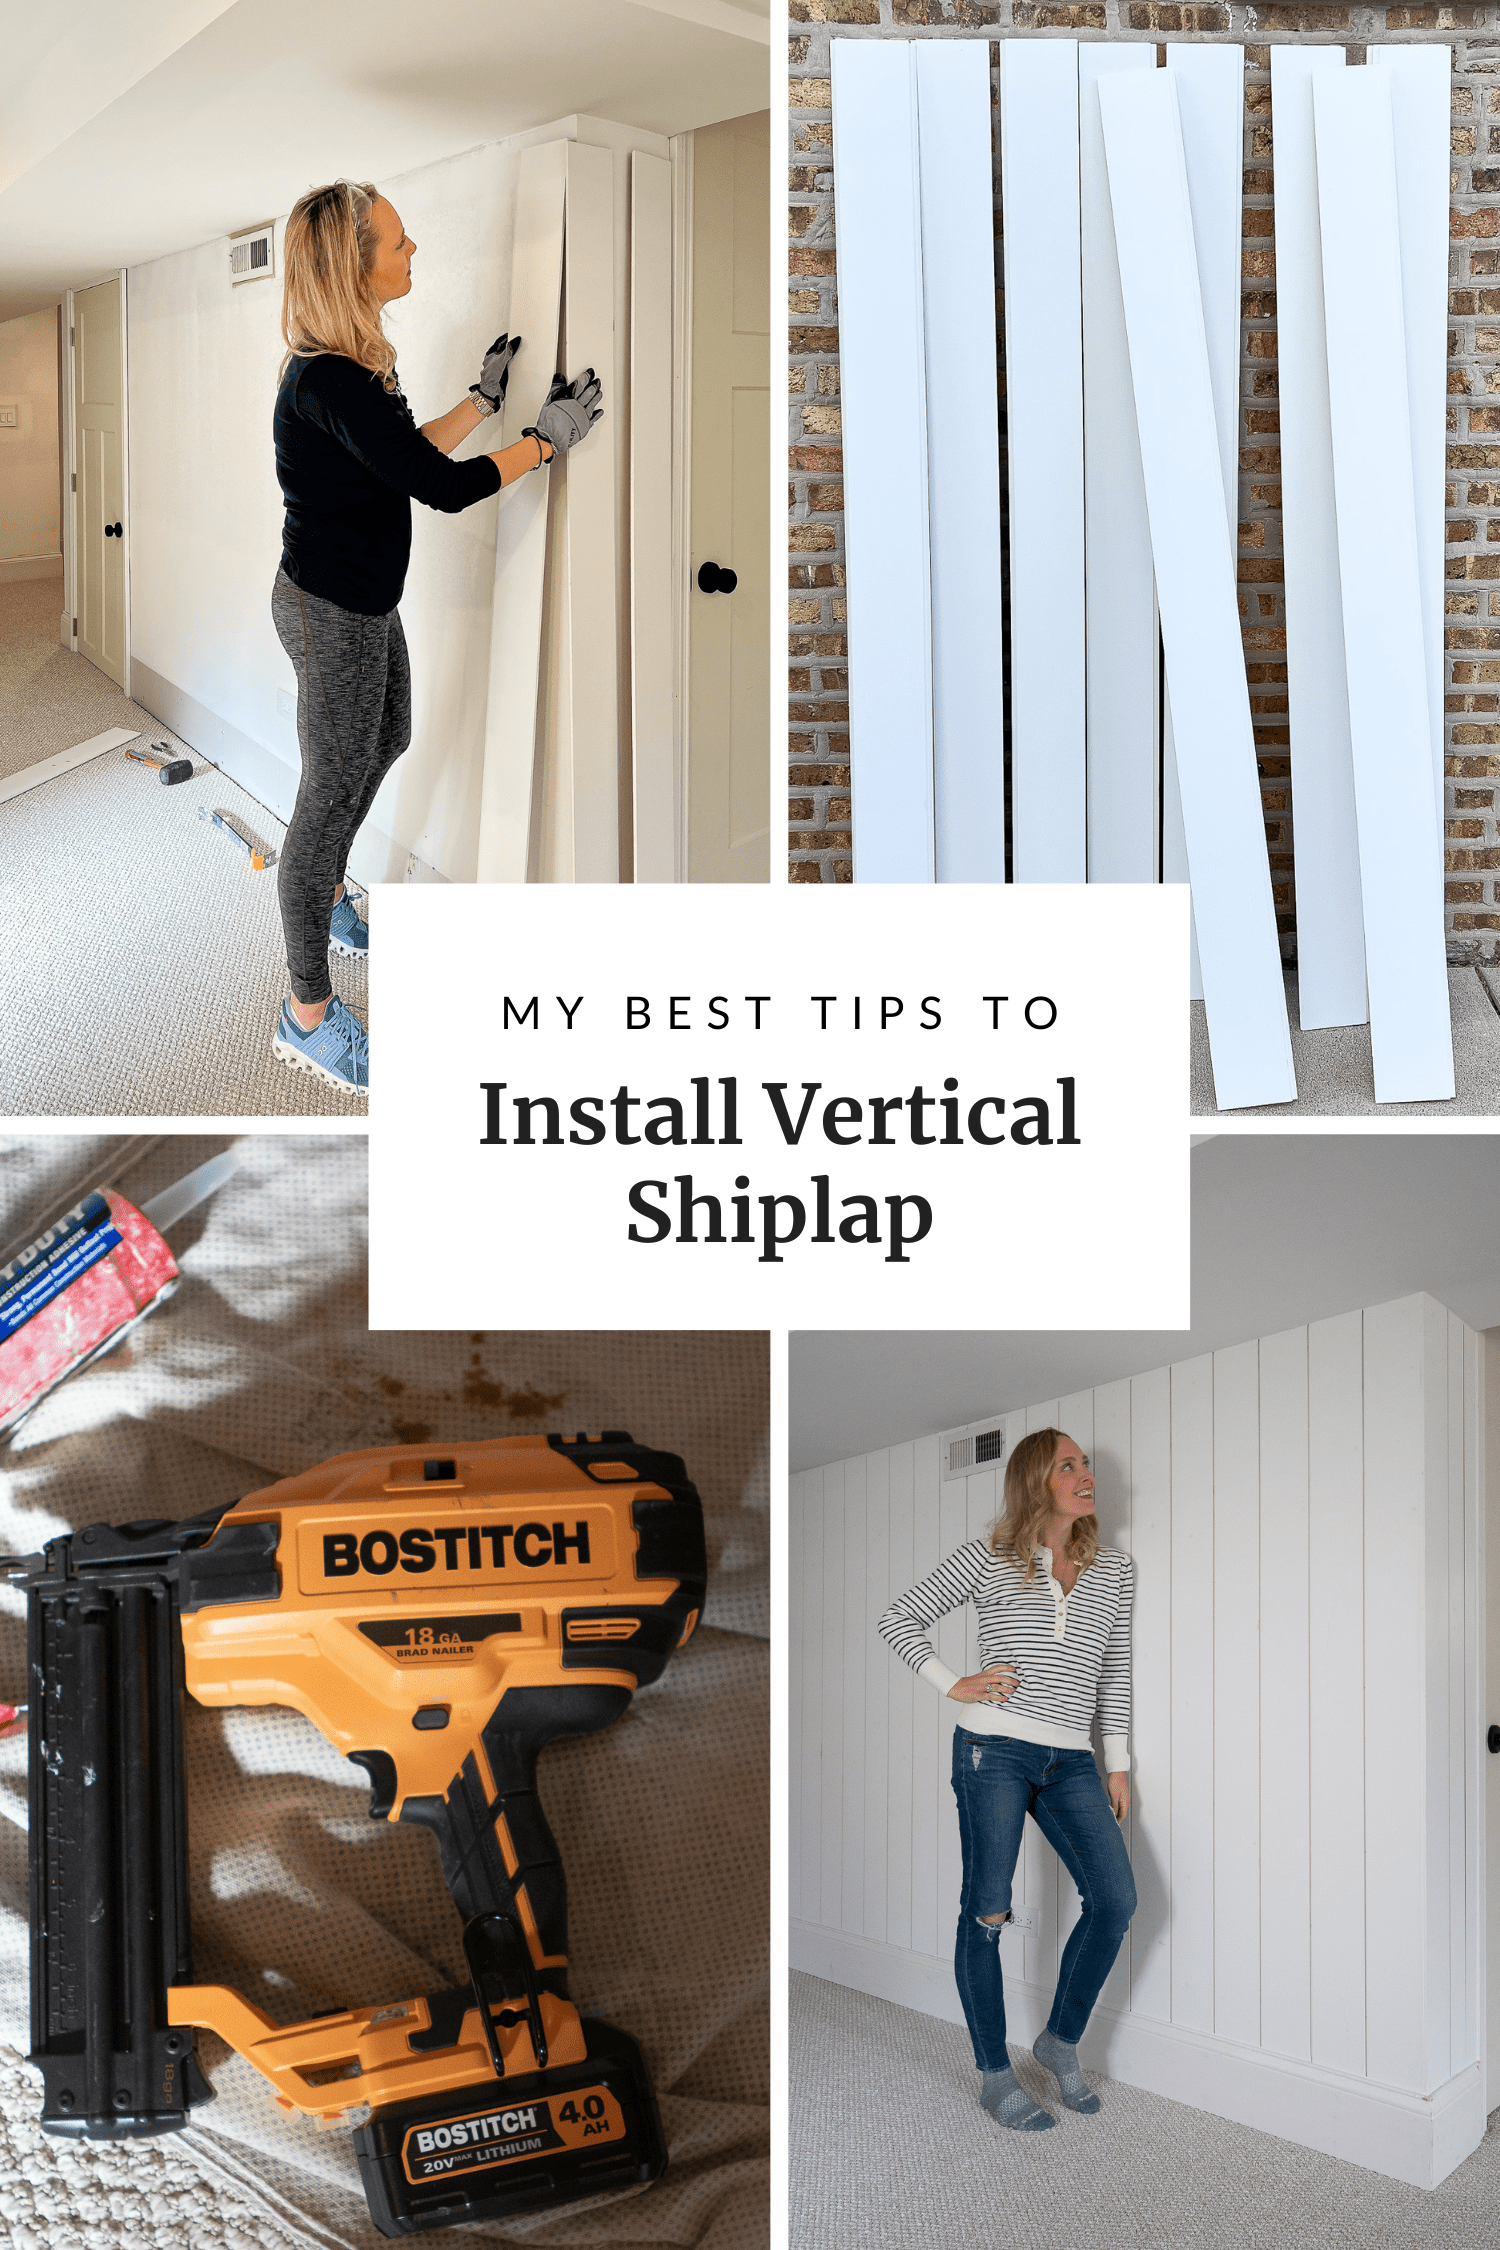
How To Install Vertical Shiplap
I’m really excited about today’s post because it’s a fun DIY project that challenged me to use a new tool – the table saw! It’s been a little while since I’ve been able to dive into a large home improvement project and it felt good to get back in the saddle. And I’m really pleased with the end result…
Let’s Add Some Vertical Shiplap!
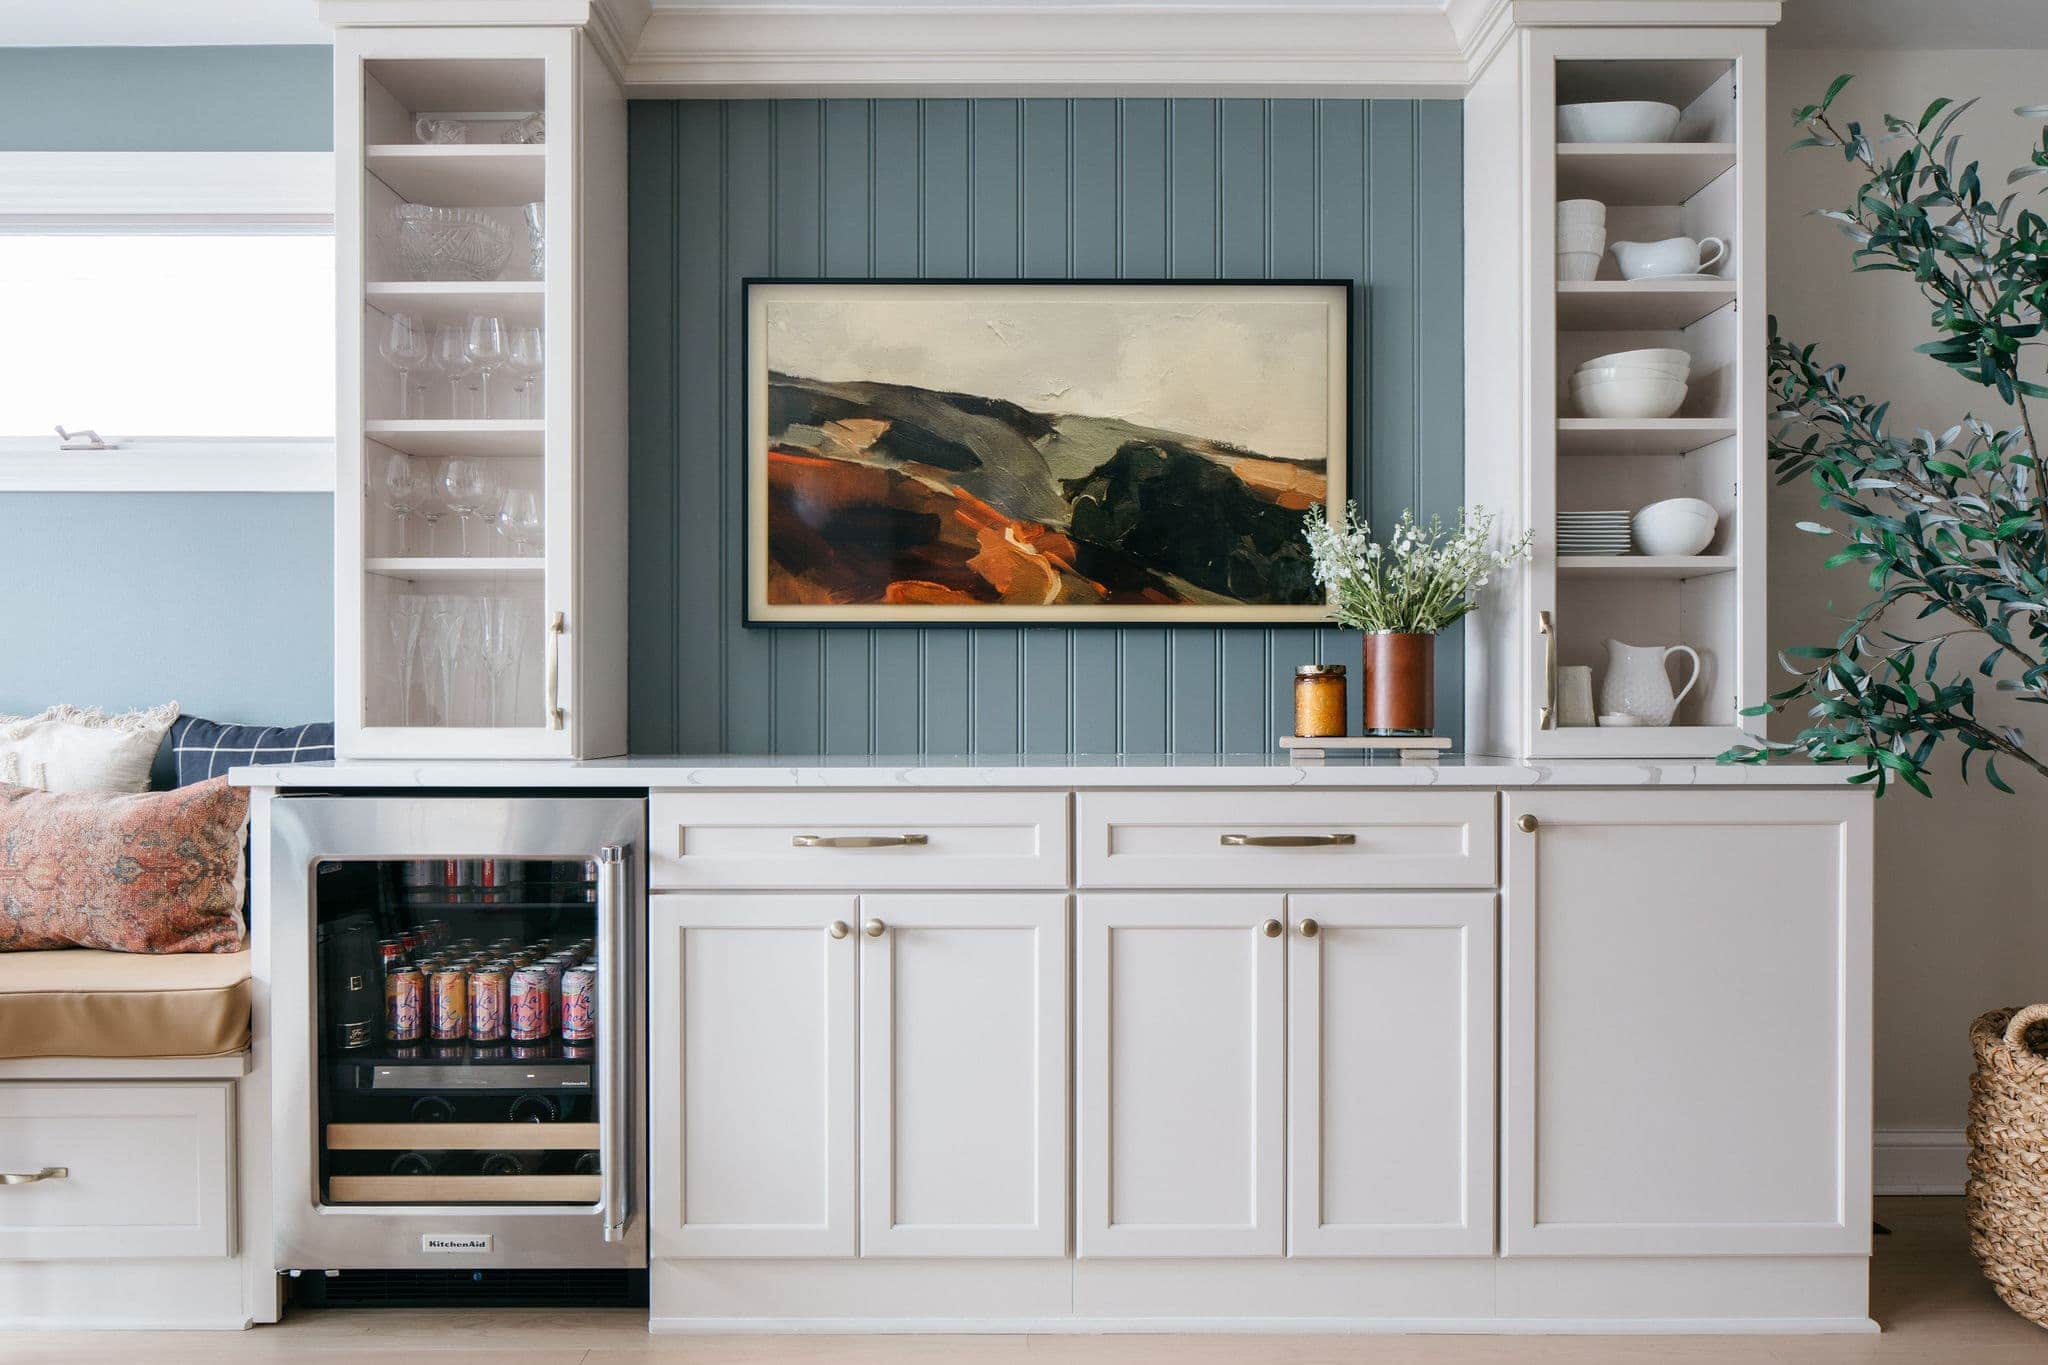
From the start, I knew that I wanted to do an accent wall behind the TV in our basement. Why? I just think it’s a fun way to add interest to a space and I always say that woodworking projects like this make your home look more high-end and less builder-basic. Take a look at the picture of our kitchen, above, with the beadboard behind the TV. It really elevates the entire area! Finn always asks why we’re putting a wall on top of a wall (ha!), but he always seems to appreciate the end result.
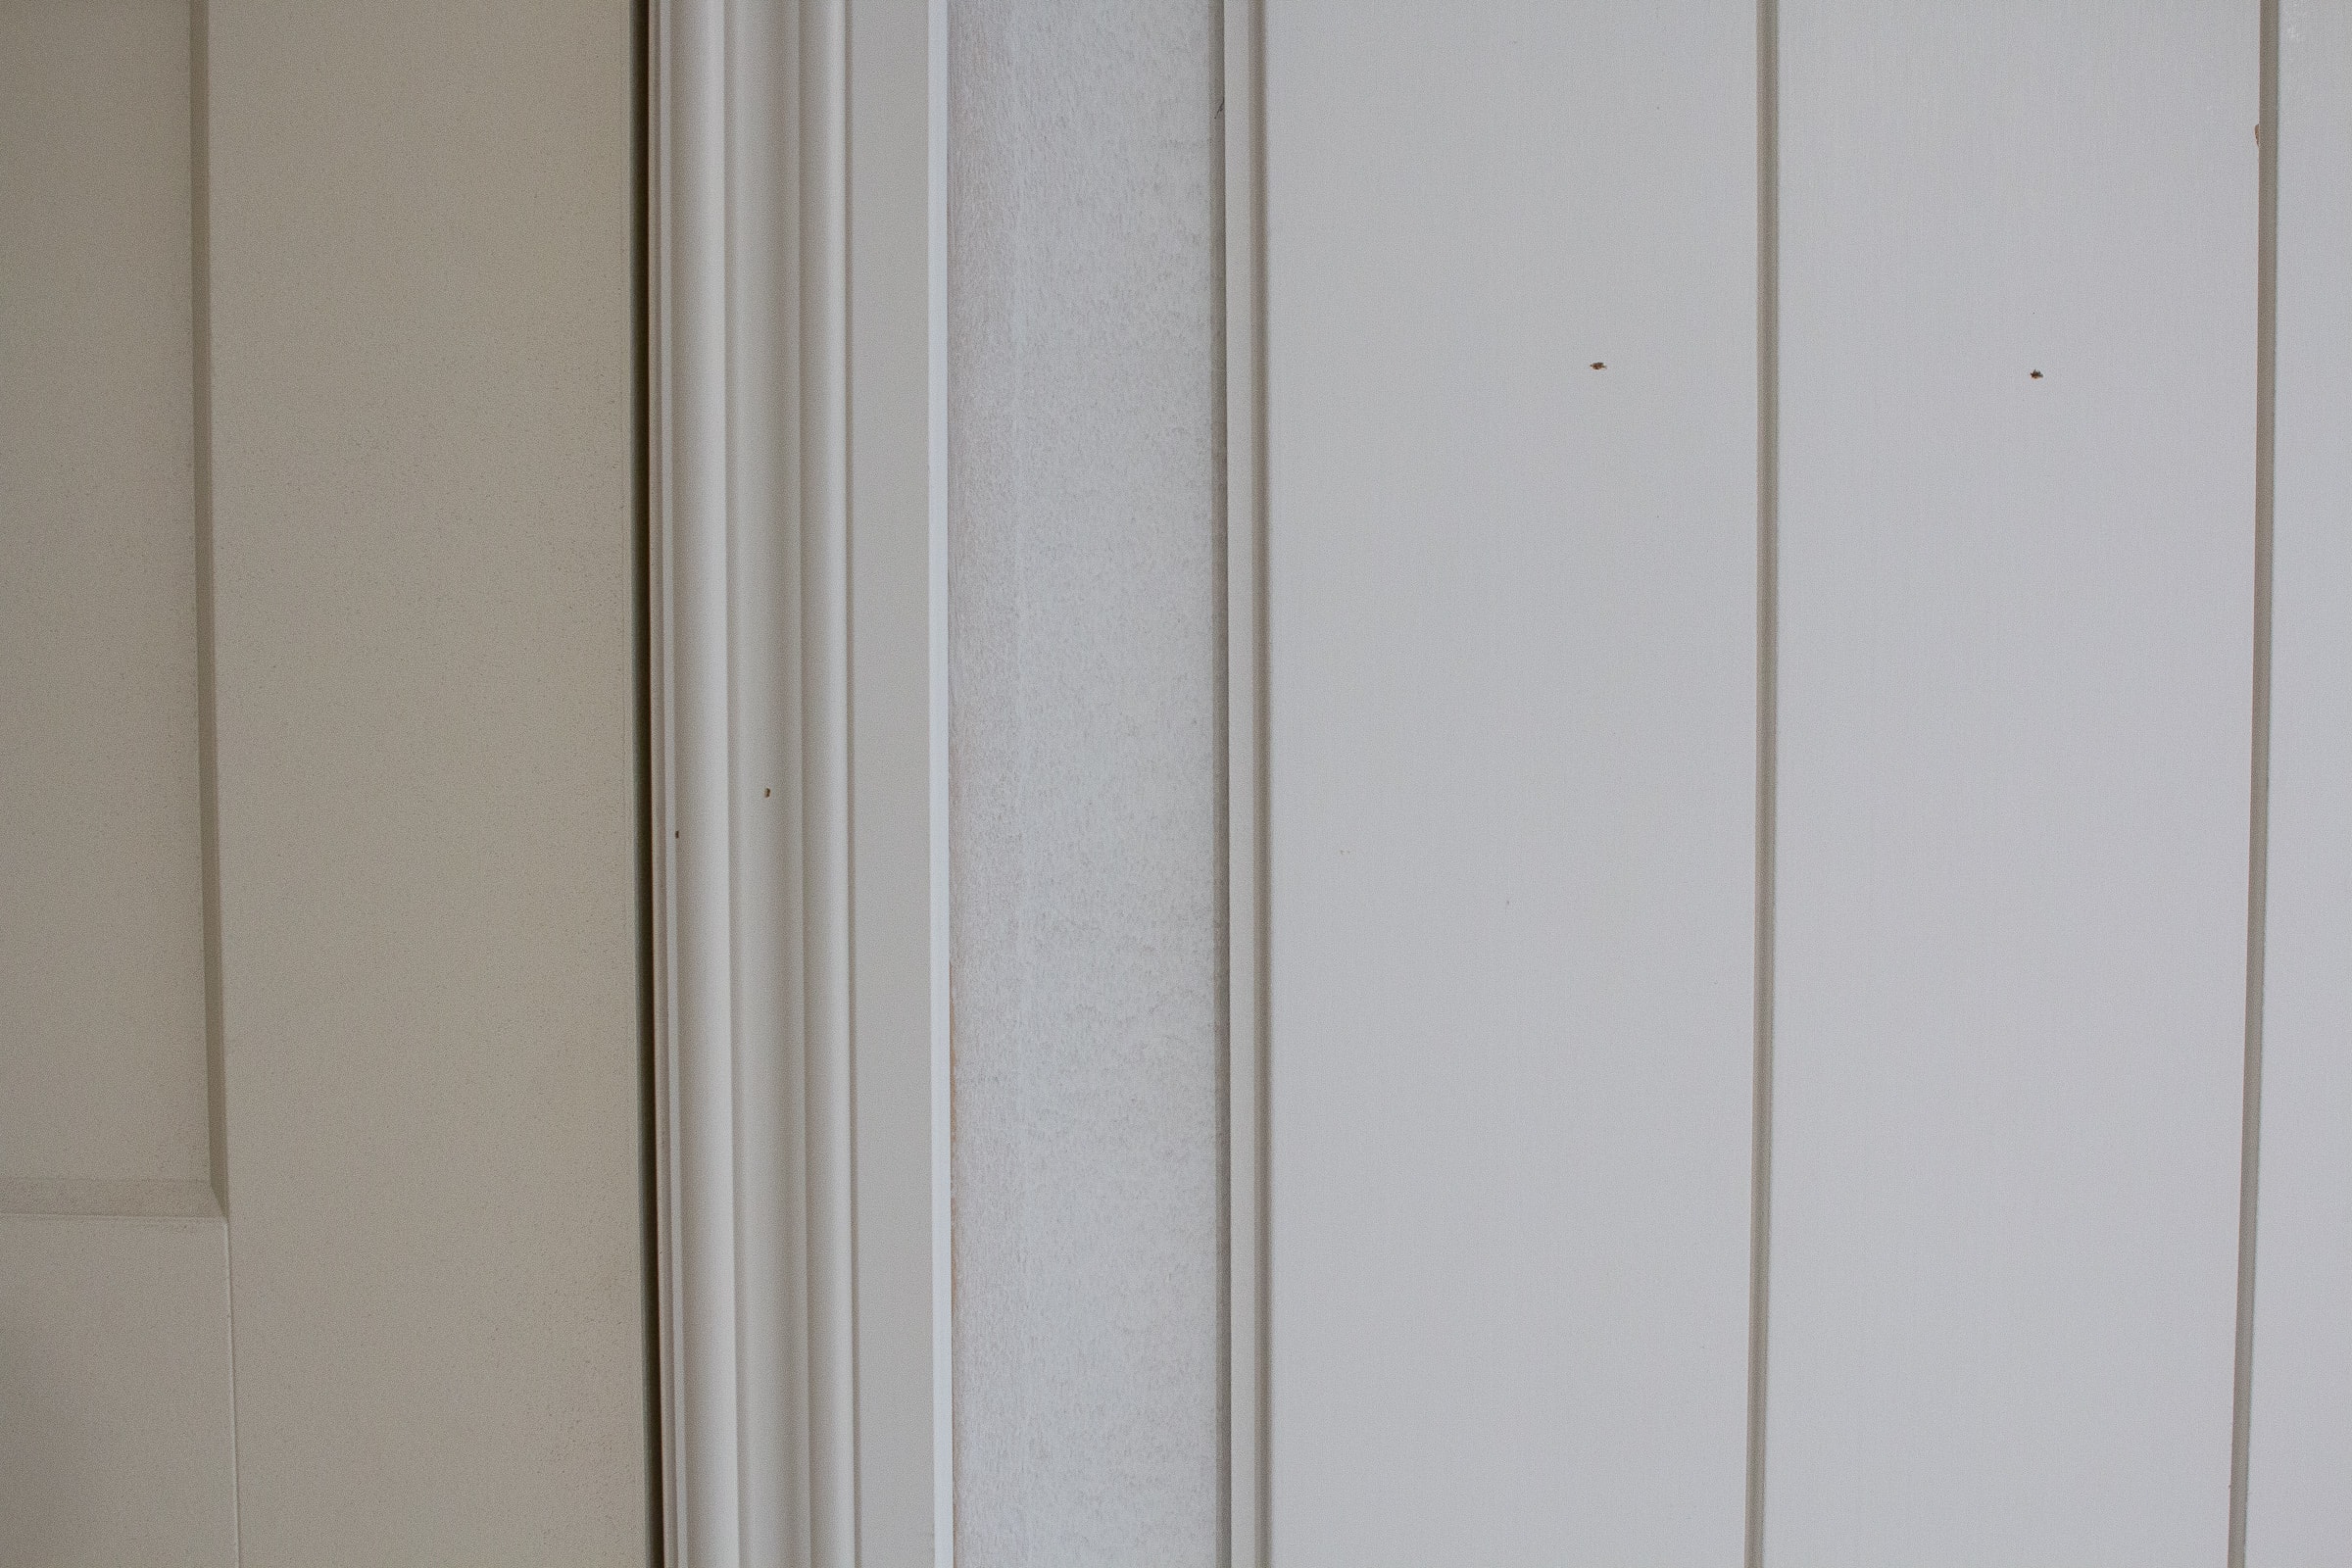
I don’t consider my style to be “farmhouse” and I know shiplap is a big part of that style. I decided to go with vertical shiplap to modernize the look and draw the eye up to make our ceilings look a tad taller down there. They’re only about seven feet high, and even shorter in some areas, so we can use all the help we can get. I also went with thinner boards (5 1/2 inches), to make the wall look a bit more contemporary.

I’ve shared shiplap tutorials on the blog before (my former blogging buddy, Bridget, had a lot of shiplap in her house), but this is my first foray into installing vertical shiplap with tongue and groove boards. Plus, I think my skills have gotten a bit better since posting those original shiplap posts, and it was time for an updated tutorial.
Shiplap Supplies
Here’s a list of the tools I used to install vertical shiplap in our basement…
- Shiplap Boards (I got these 5 1/2 inch boards from Metrie)
- Tape Measure
- Spirit Level
- Stud Finder
- Crowbar and Rubber Mallet
- Miter Saw
- Oscillating Multi-Tool
- Clamps
- Table Saw (I rented this one from Sunbelt rentals)
- Brad Nailer
- Liquid Nails
- Caulk
- Painter’s Putty
- Paint
- Safety Gear
- Outlet Box Extender
How to Install Vertical Shiplap

I set aside two days to get this project done. I probably could have gotten it all done in one day, but with kids, my days can be a bit all over the place! I think if you set aside a weekend to do it, you could absolutely tackle this project. Oh, and I did it all myself! If you had a buddy, you could go a lot faster.
Make A Plan

First, you want to figure out where you’re going to place your first board. This may involve a bit of math, which is not my favorite. Essentially, you don’t want to start your first board on one side and then get to the end and have a teeny tiny sliver of wood to install.
Next, you’ll want to figure out what to do about the baseboard. Will you be leaving the baseboard on and installing the shiplap right up next to it? Will you forego the baseboard altogether? Or will you install the shiplap and then place the baseboard right on top of it? (That’s the method I chose.) I also had to figure out exactly where I wanted my shiplap to go. I was unsure if I would install it only on the long wall or if I would take it around the corner too. In the end, I decided to go around the corner for a complete doorway-to-doorway look.
Take 15 minutes to really think things through before you start cutting and nailing. Trust me.
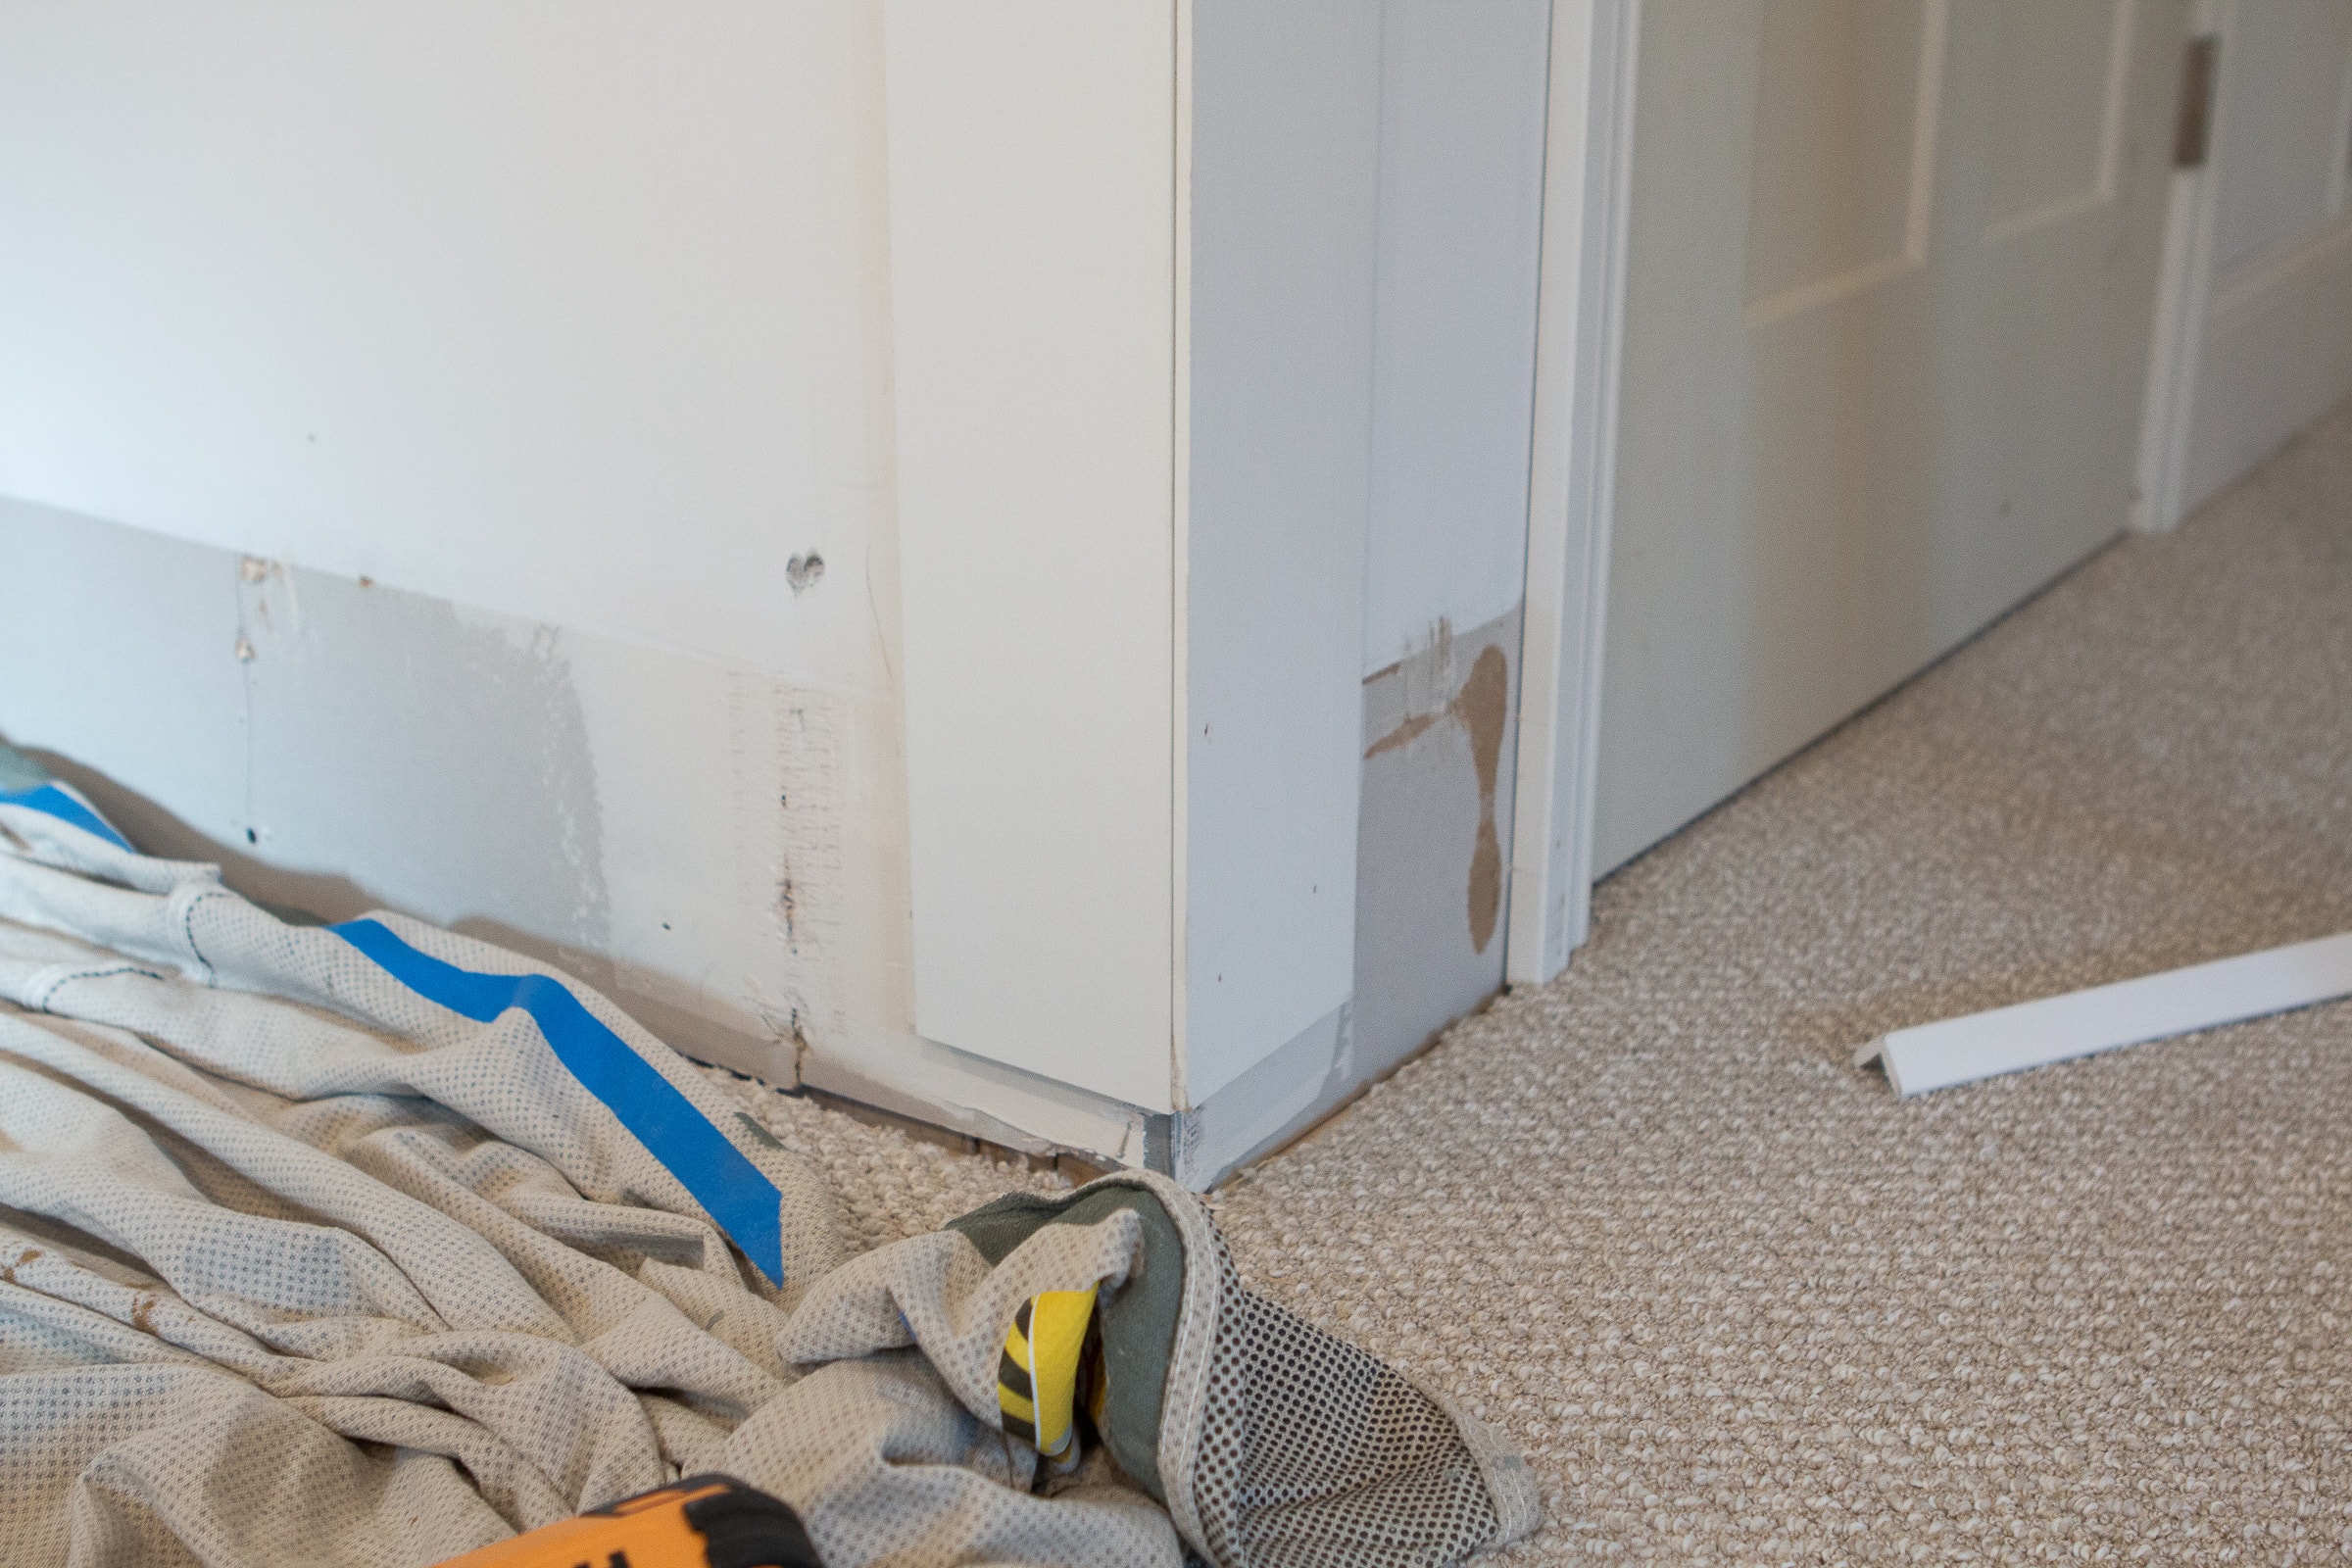
Remove The Baseboard
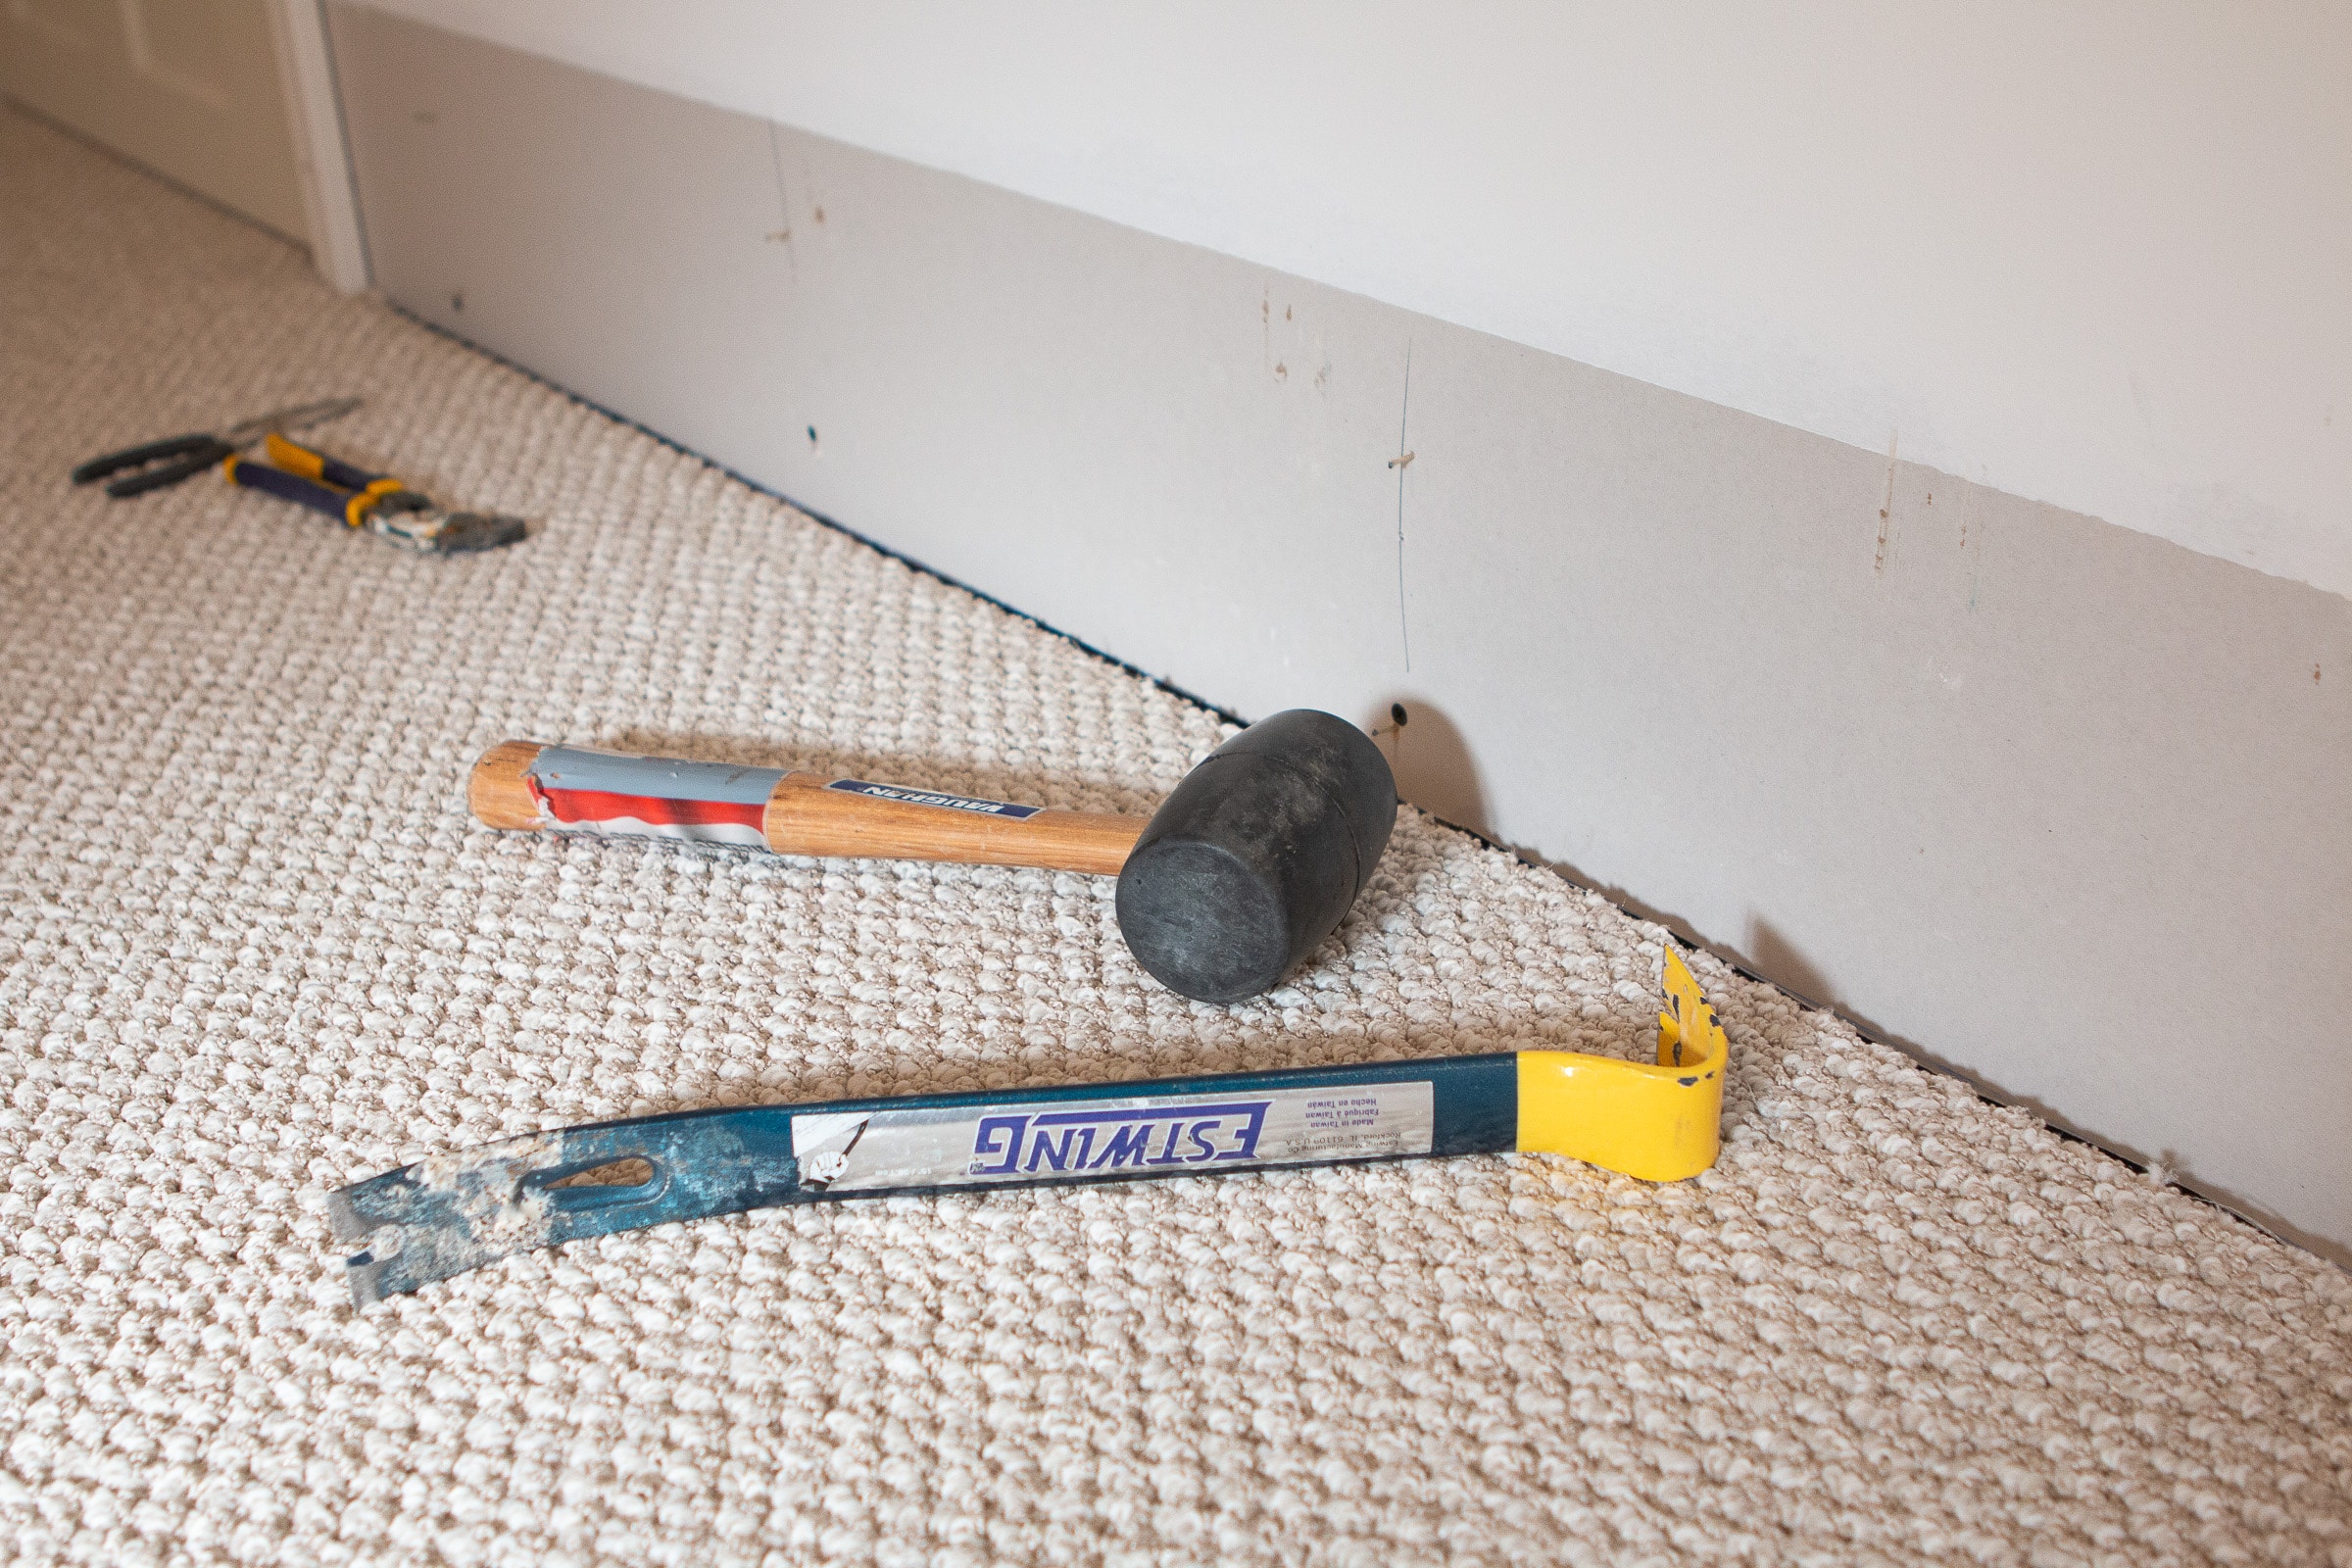
I decided to remove the baseboard so I could install it right back on top at the end. I went this route to make the project a tad easier. Instead of having to make exact cuts where the shiplap would butt right up to the baseboard, I could instead make a bunch of the same cuts and have the baseboard hide the bottom. This ended up being a huge timesaver for me!
To remove your baseboard, grab a crowbar and mallet. Tap the crowbar behind the top of the baseboard and then start to gently pull. You’ll want to pull outward and all the way across the wood, loosening as you go. I took off the two pieces of baseboard and set them aside.
Cut Your Boards

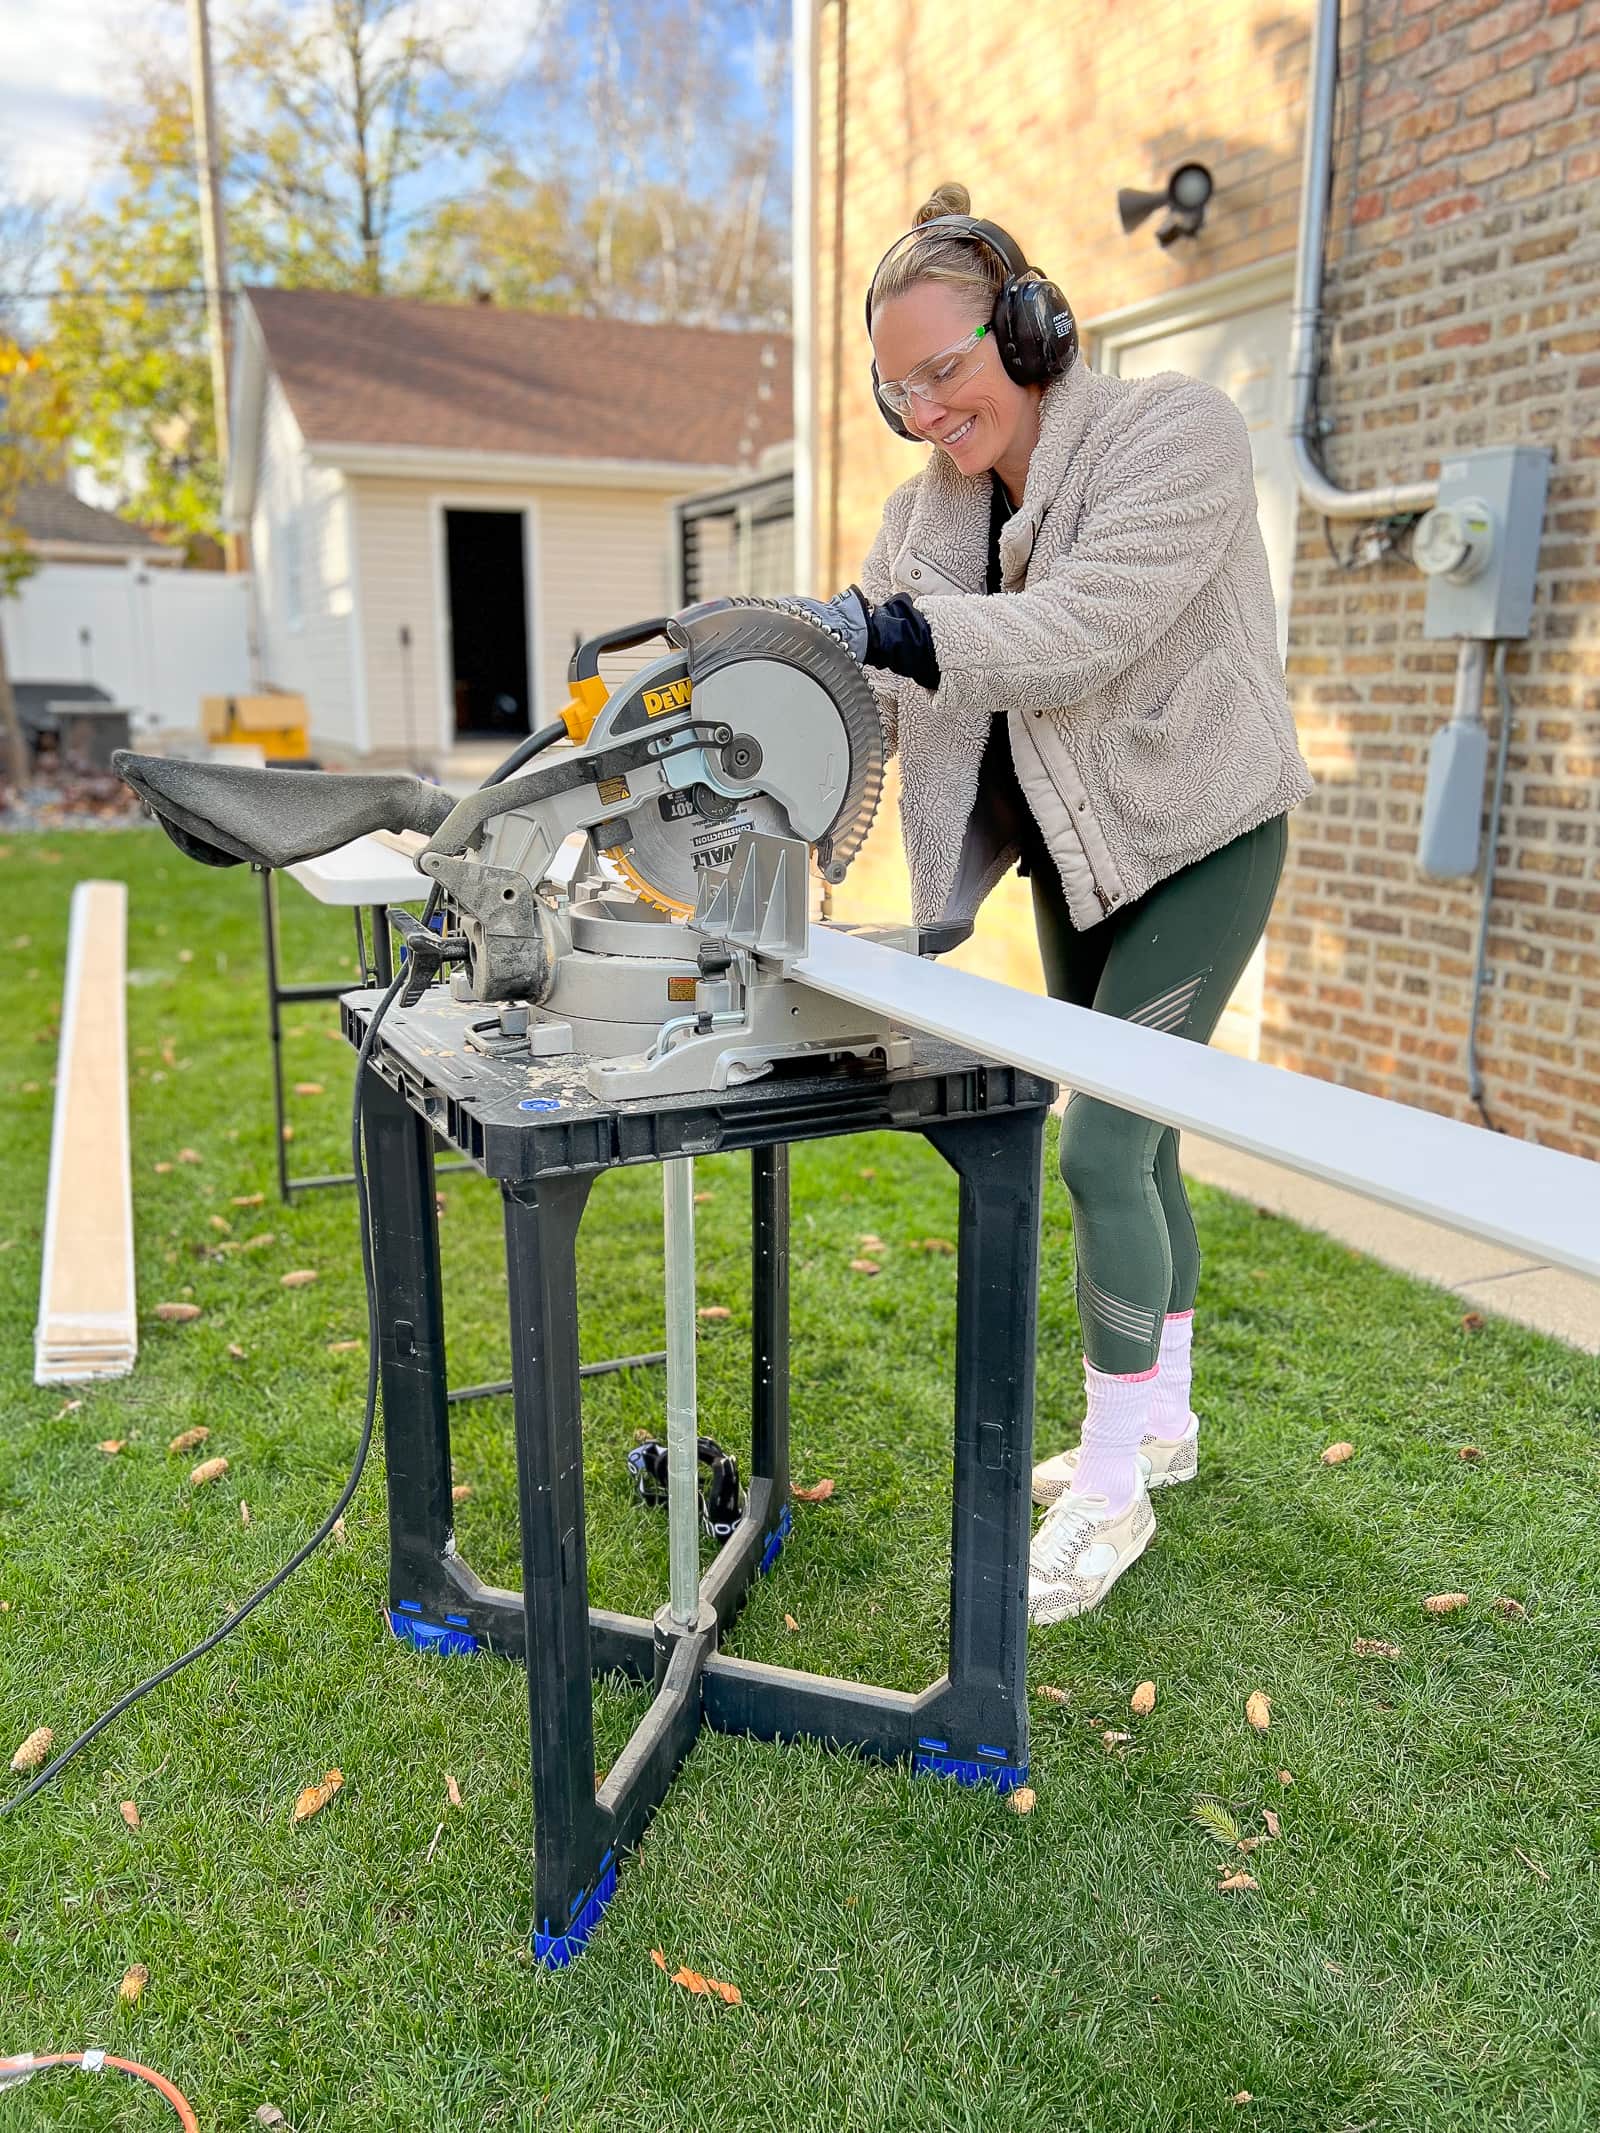
Since my boards didn’t need to be super precise, I was able to cut them all at once. I measured from the floor to the ceiling and removed a few inches. My cuts were 72 inches. Then, I got to work cutting each board. Because my shiplap boards were 16 feet long, I enlisted the help of Finn to hold an end while I cut away, so the boards wouldn’t bend in the middle during my cuts. I also had a table set up right next to me so the board would be supported.
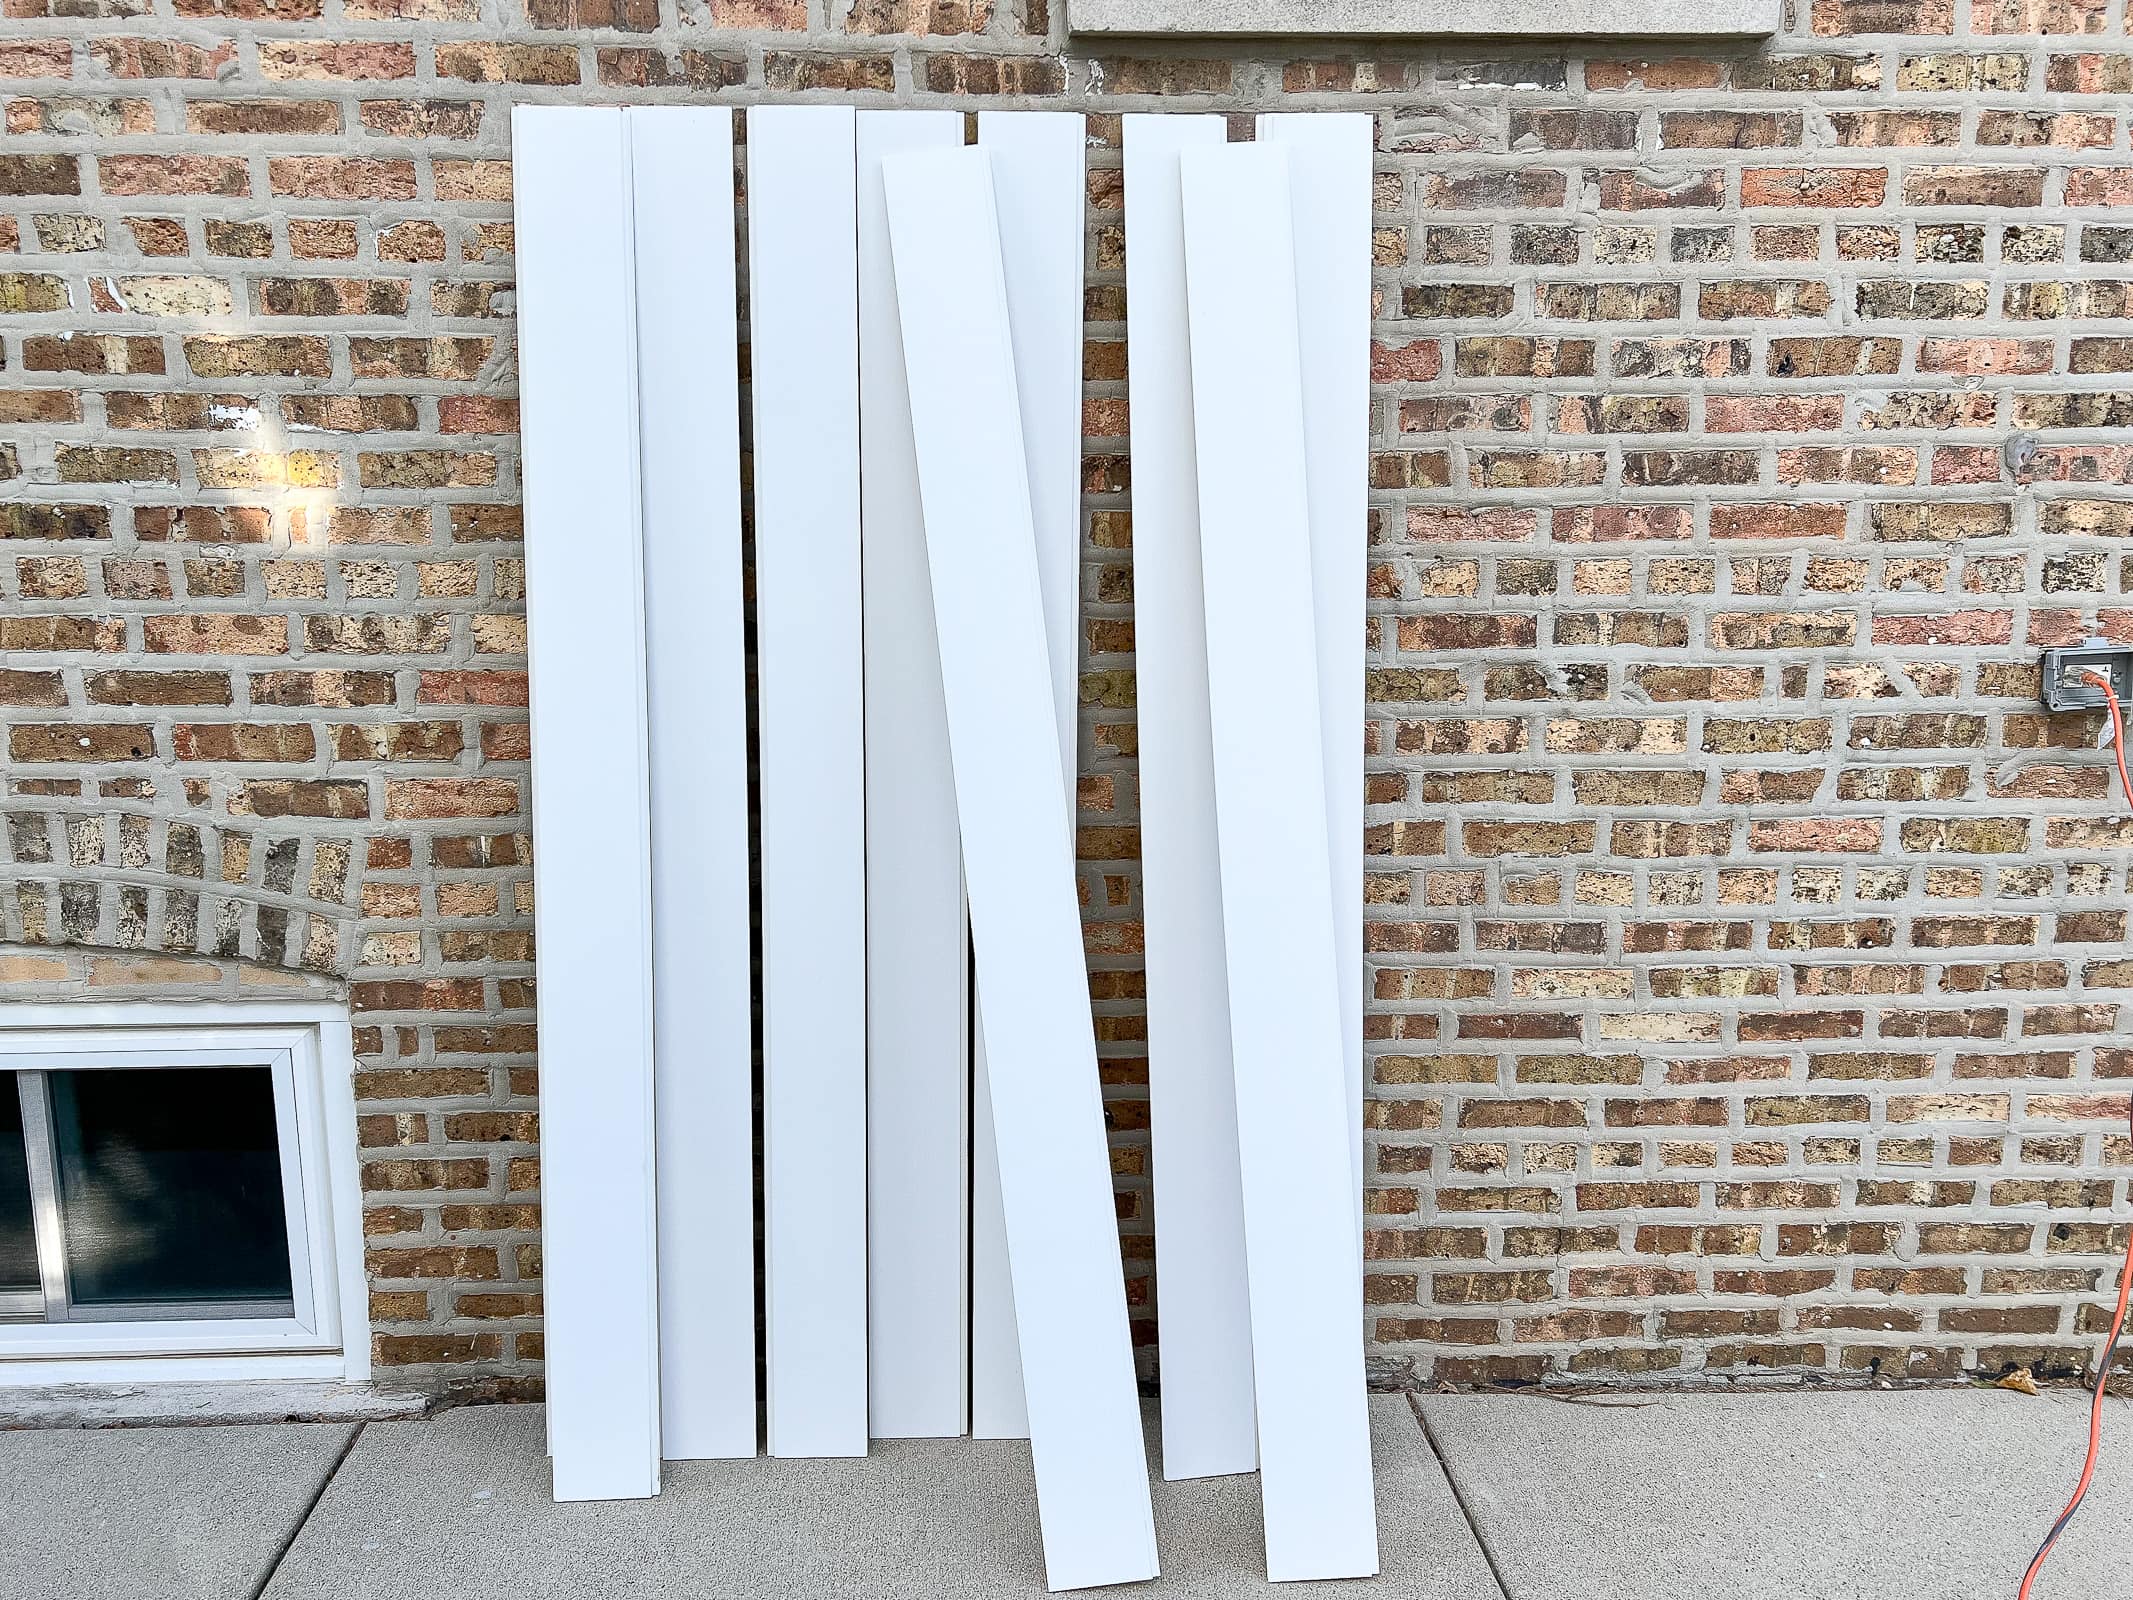
I was able to get everything cut in about 30 minutes, using my miter saw.
Start Installing
After careful consideration, and a bit of math, I decided to start at the corner so I could get two boards up and perfectly flush together. When installing woodworking, I always like to use a combo of liquid nails and real nails, using my brad nailer. The real nails are wonderful when you hit a stud, but that’s not always going to happen. You can use your stud finder to mark all of the studs on the wall prior to installation. The liquid nails are a good backup plan when there aren’t any studs to ensure your boards stick!
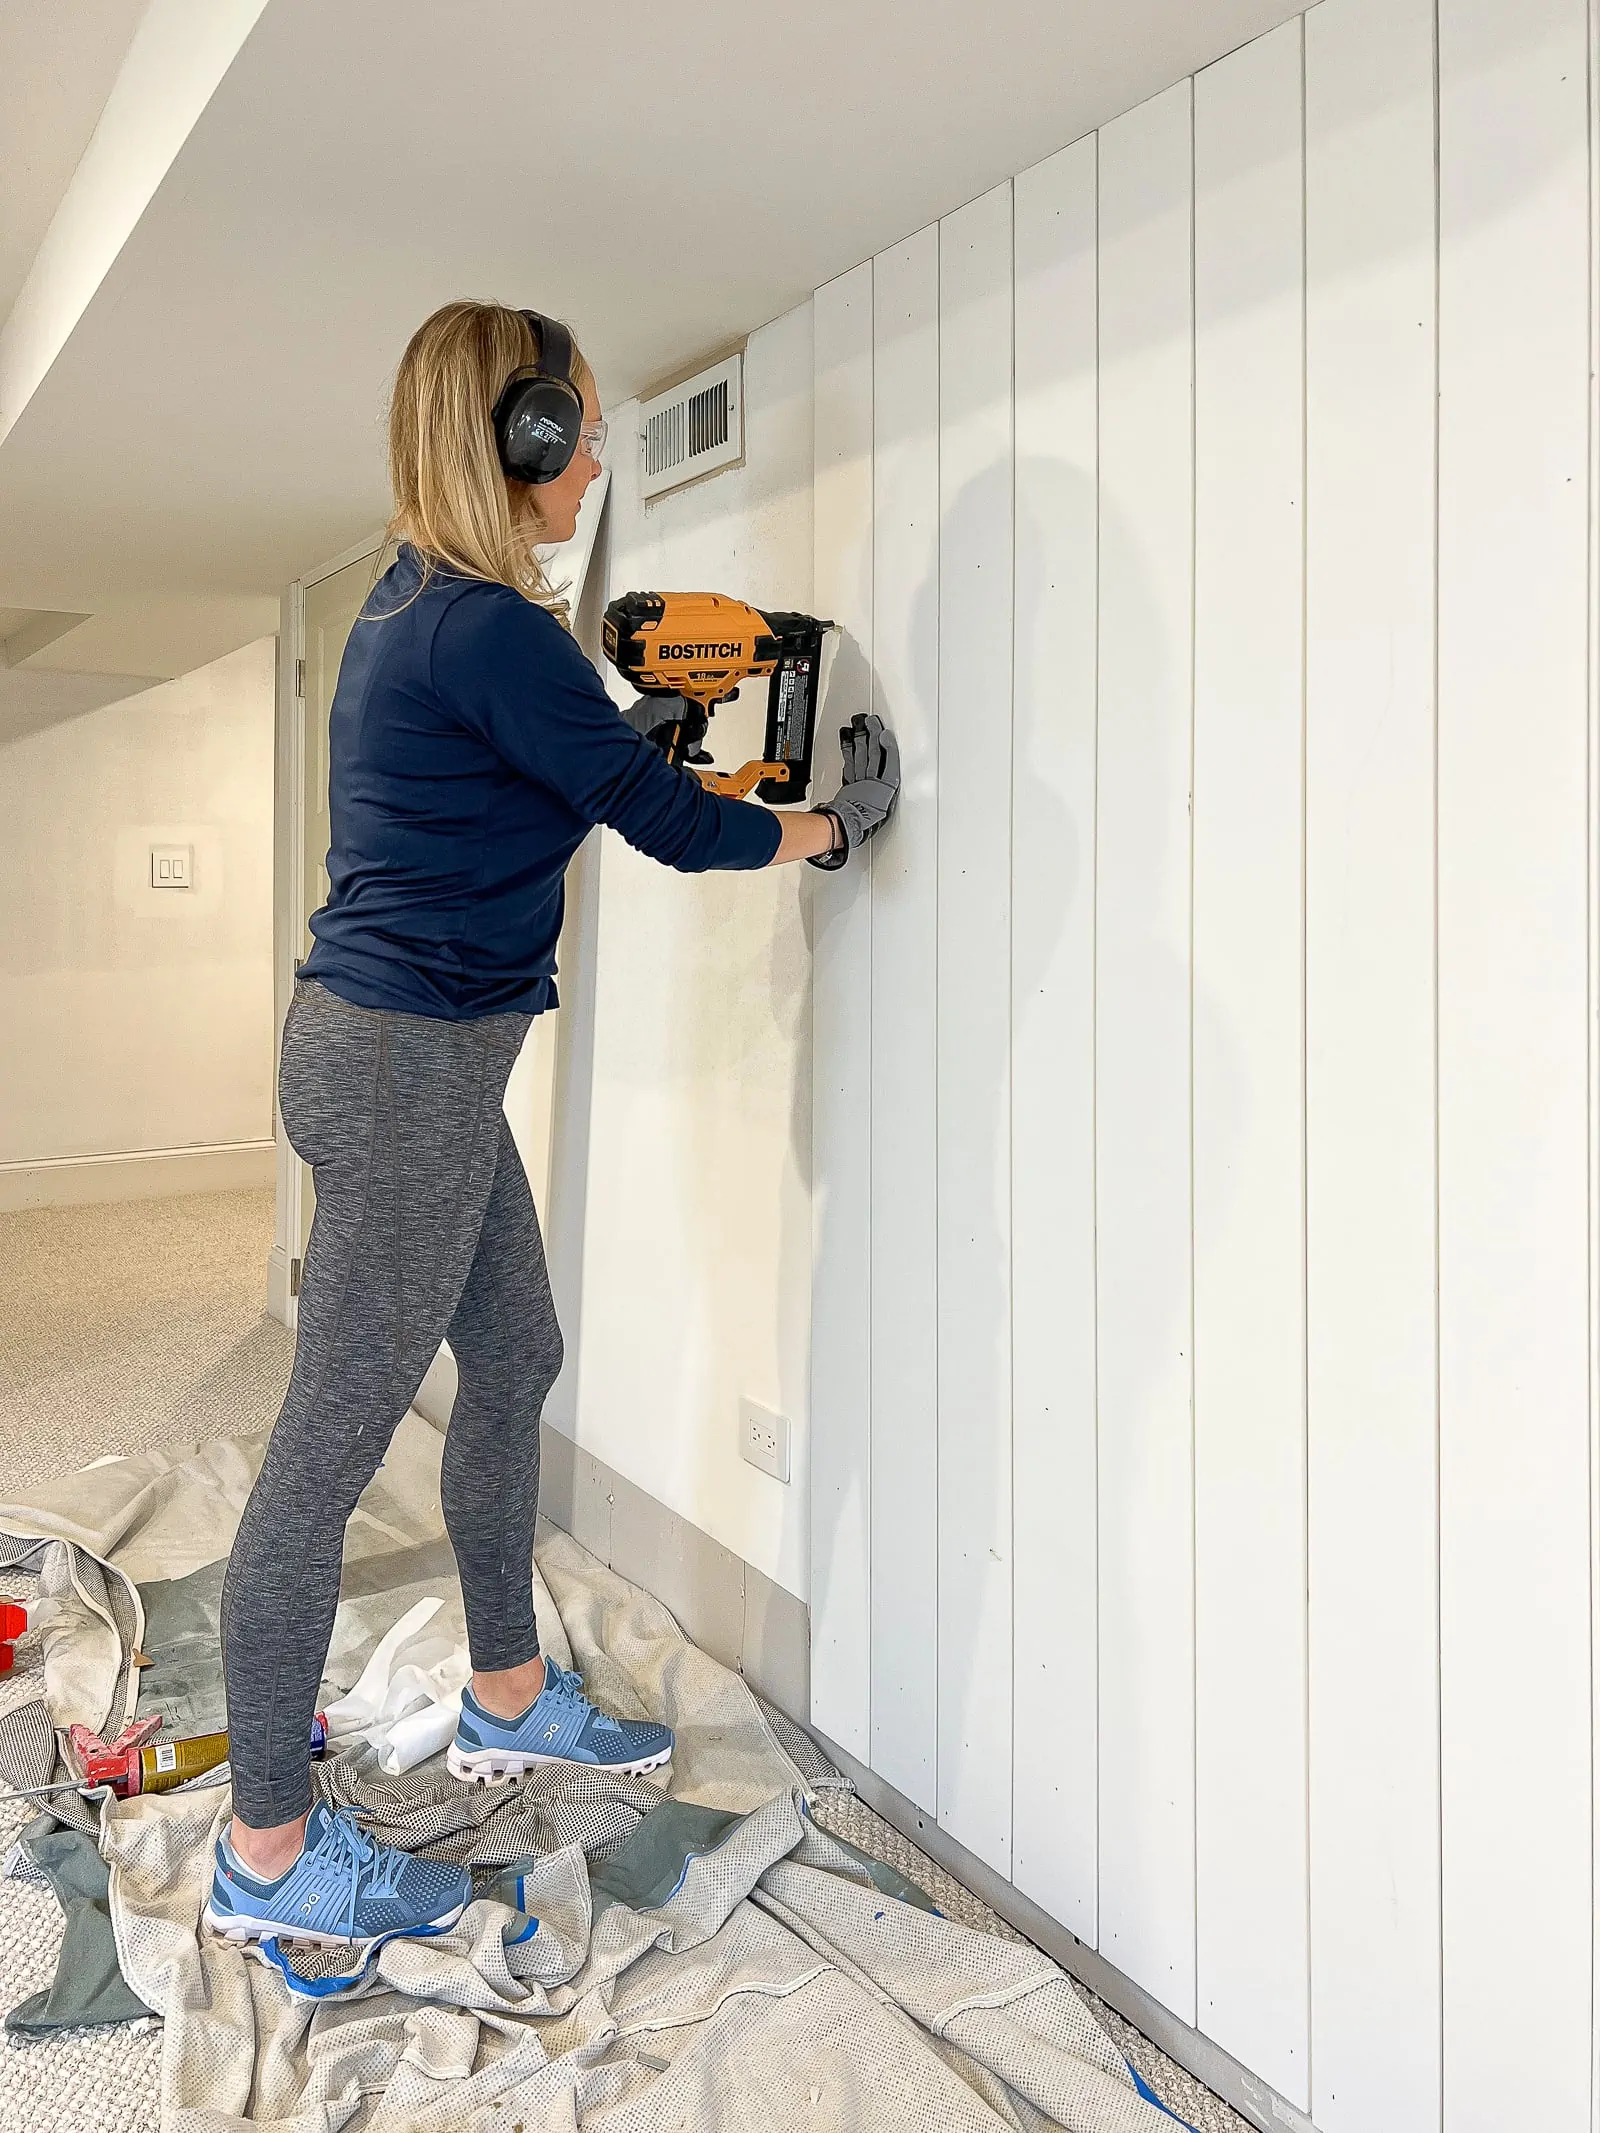
You’ll want to make sure your first board is super level because all of the other boards will follow suit. Use a large spirit level to get it perfectly on the wall and then your remaining boards will all be straight too!
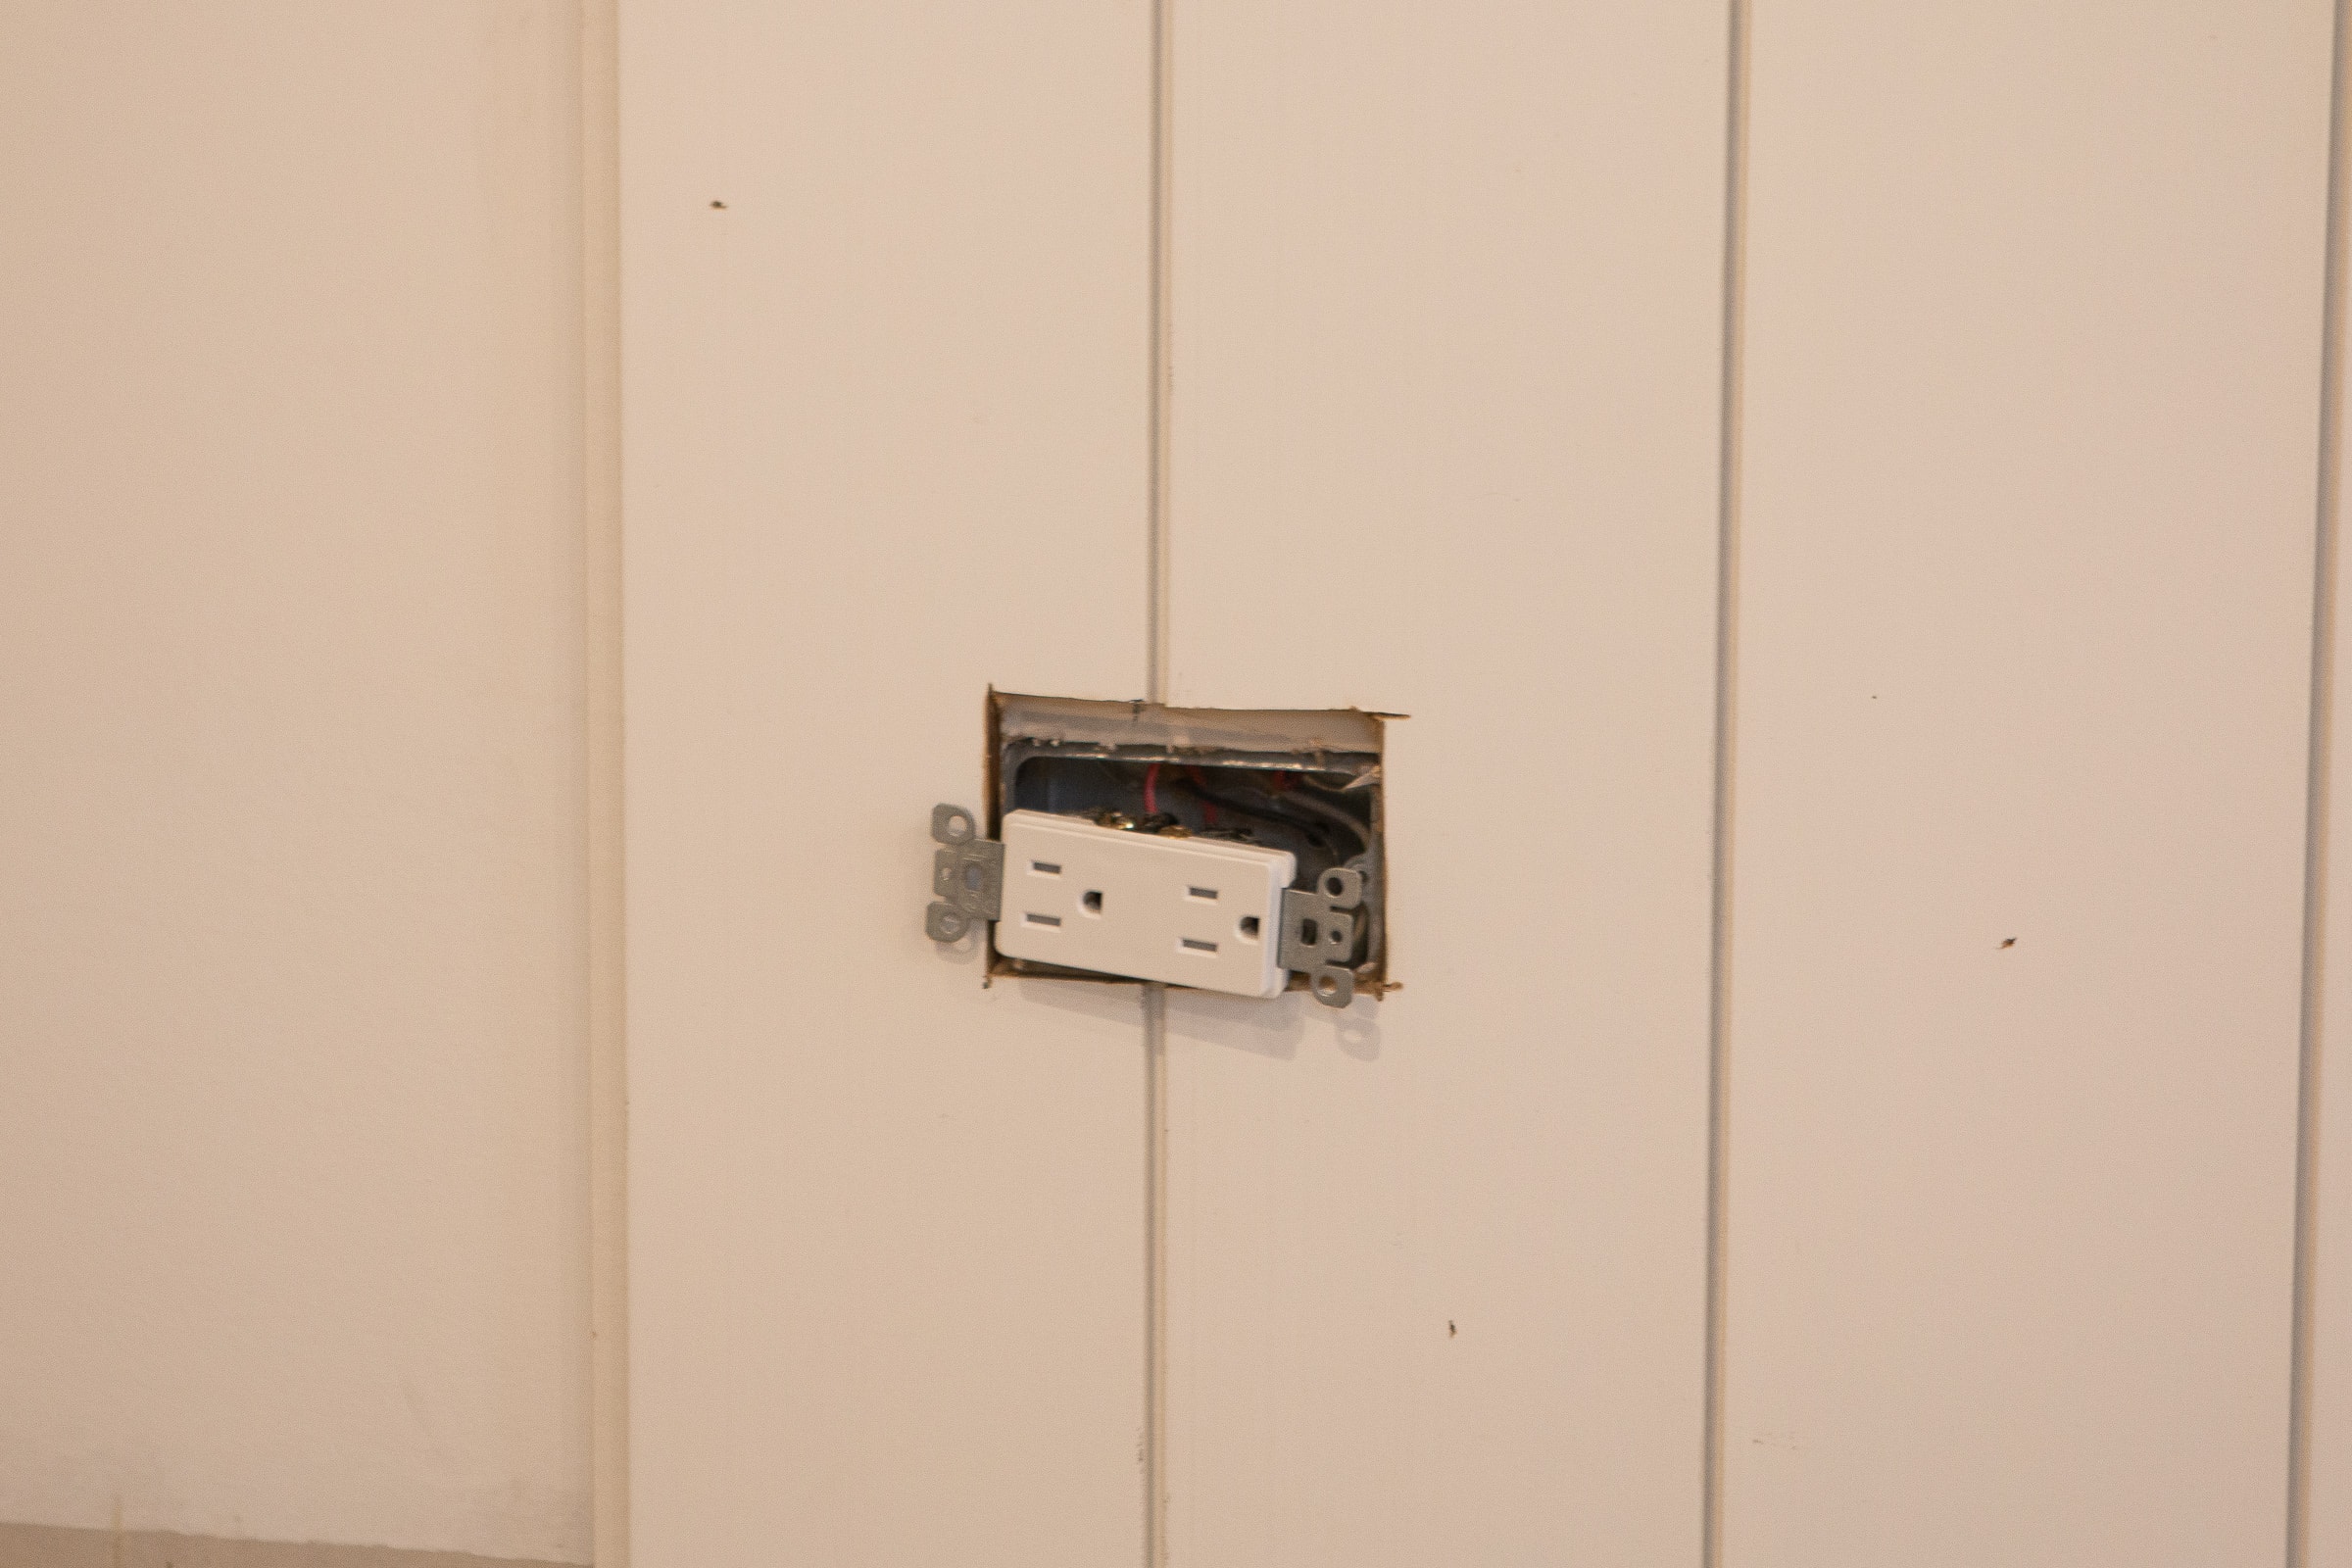
Because I already had everything cut, I was able to zoom through installing the first ten boards or so. Then, I got to my first obstacle – an outlet.
Cut Around Outlets & Vents

I wish I had an amazing trick to share when it comes to marking your board to cut vents or outlets out. But, I don’t. I mostly hold the board up to it and take lots of measurements and make lots of markings on it. For the outlet, I measured up from the ground and over from the previous board to mark the area I needed to remove on the new piece of shiplap. Again, just go slow and make sure you’re checking your work before you make any cuts!
I used my oscillating multi-tool to make cuts around objects on the wall. You’ll want some clamps for this to keep the board in place. I clamped it to my table and just went to town. Wear gloves and eye protection and go slow! It may smell a little like burnt wood and there may be a bit of smoke. If so, just turn it off and let the tool and wood rest for a moment so it doesn’t get overheated.
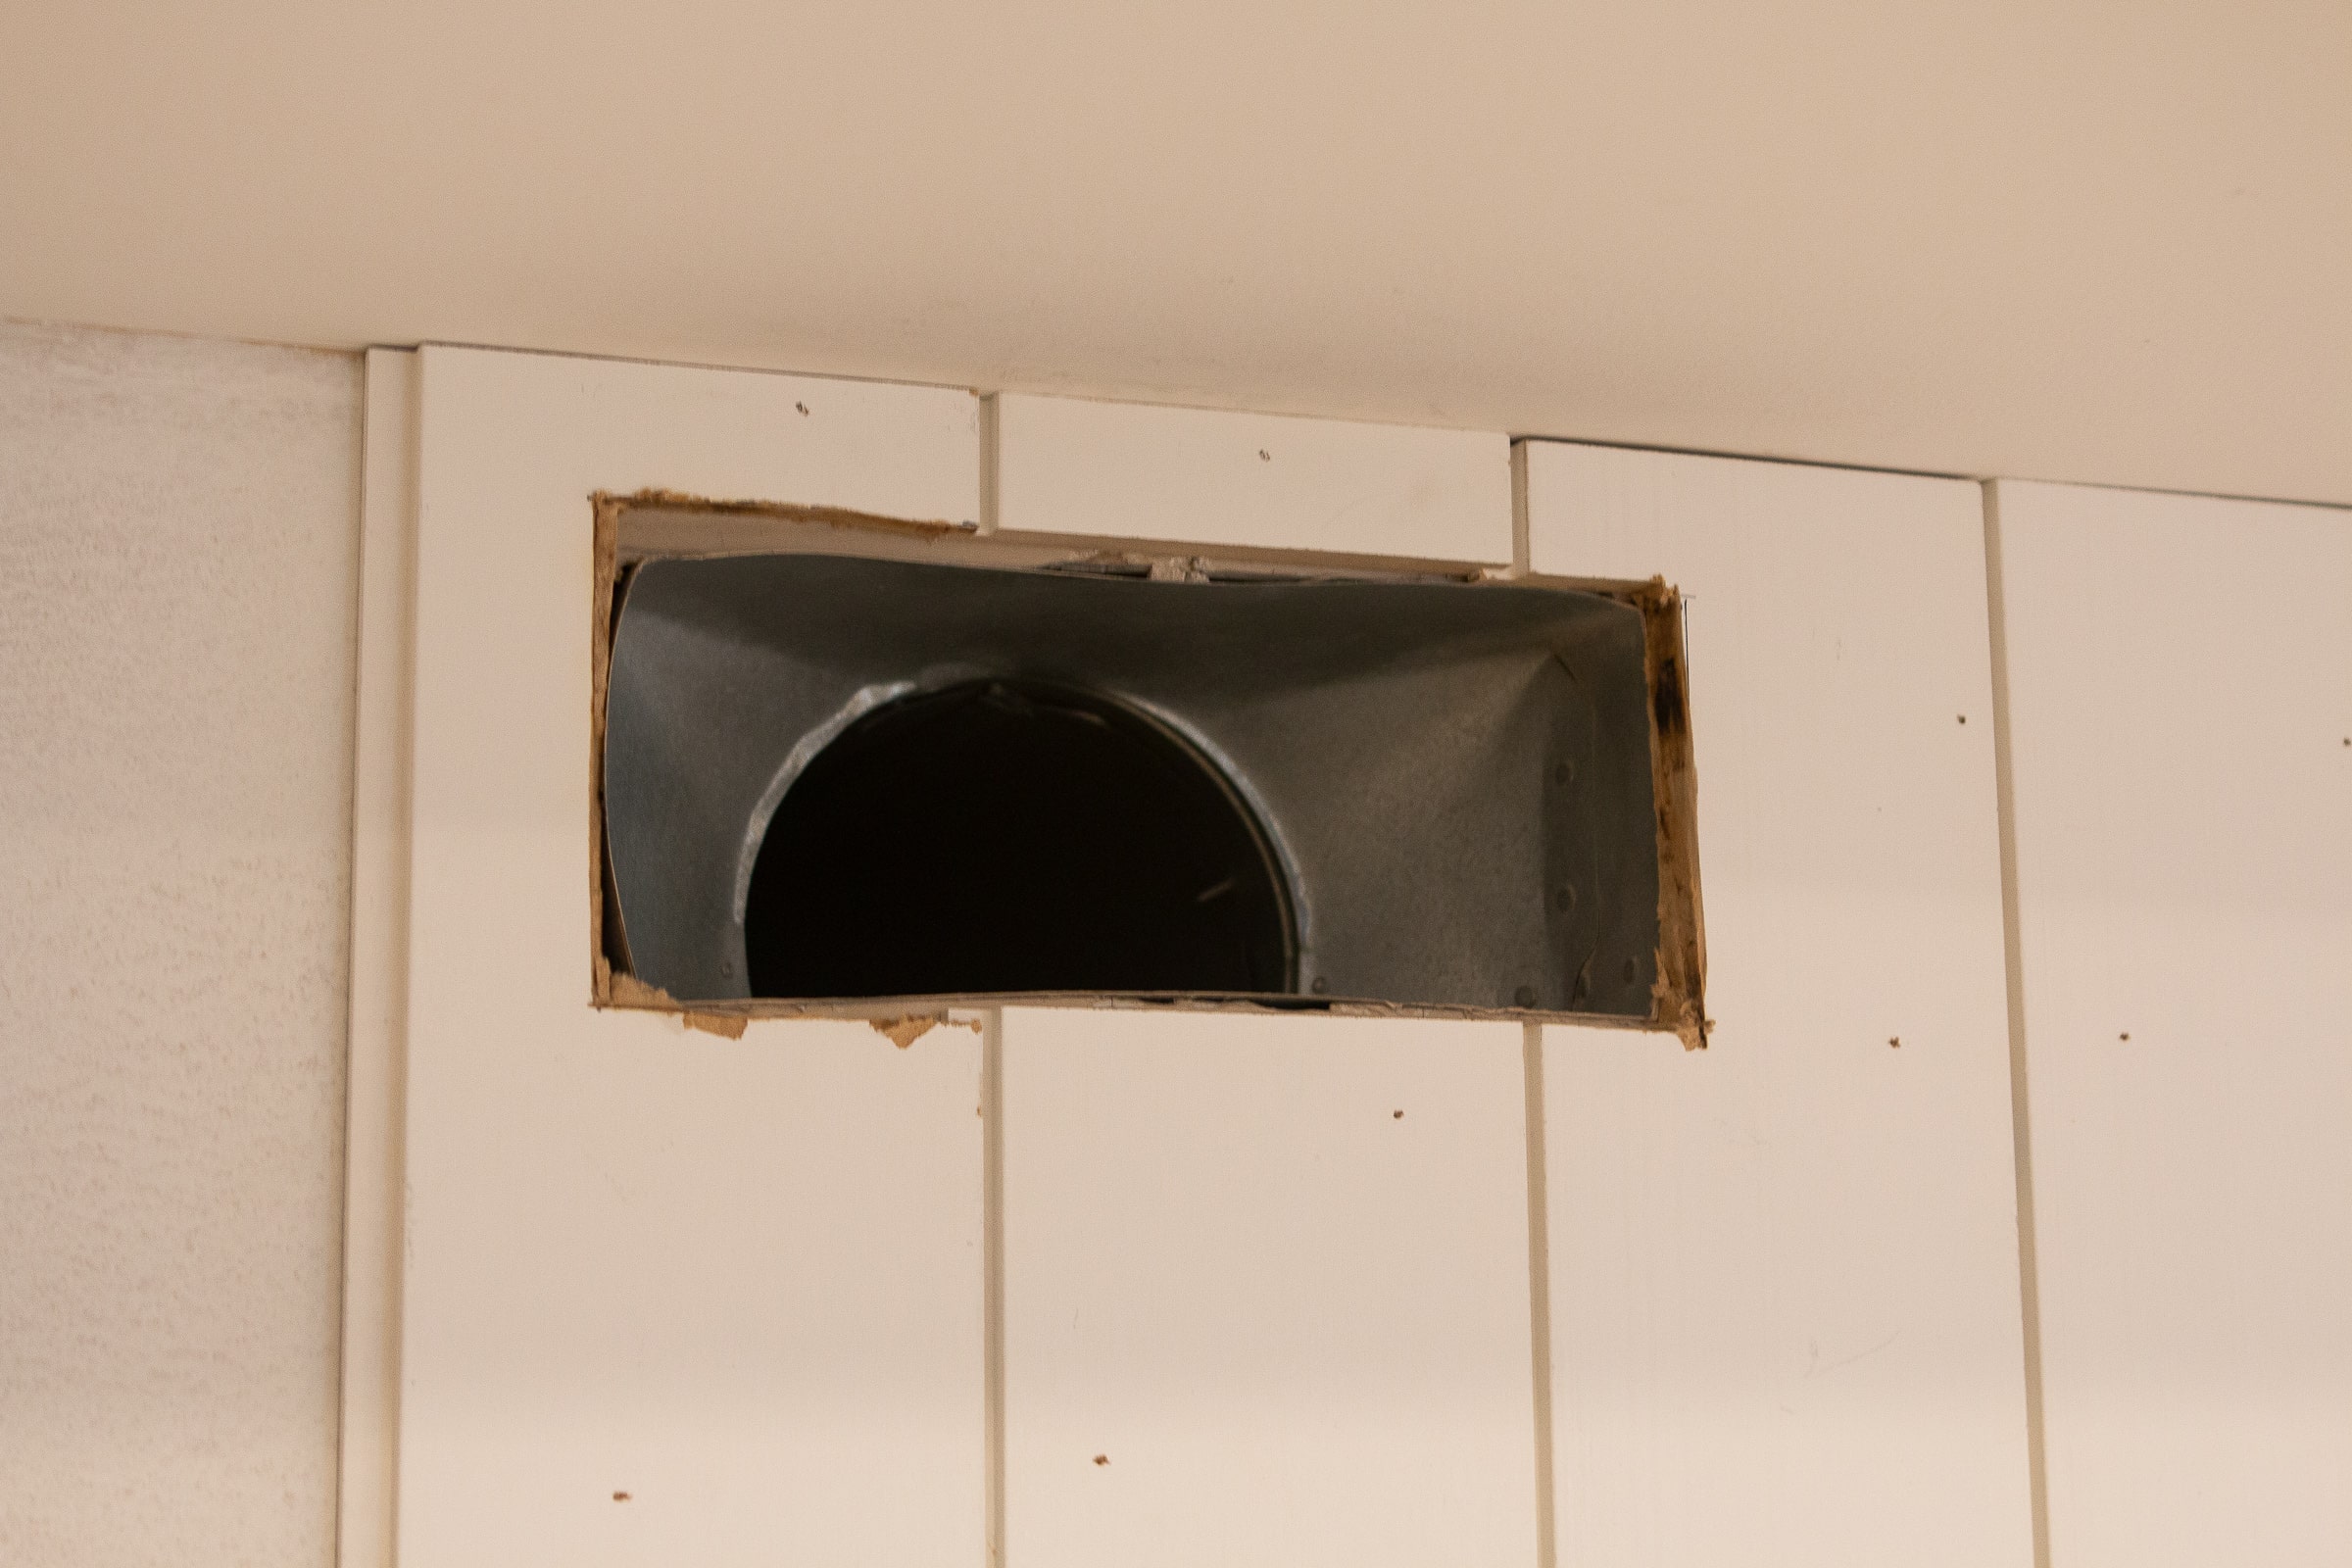
I ended up having to make specialty cuts for the vent and outlet on about 4-5 boards, so this definitely slowed down the install process. Once I got past those obstacles, it was smooth sailing until that very last board.
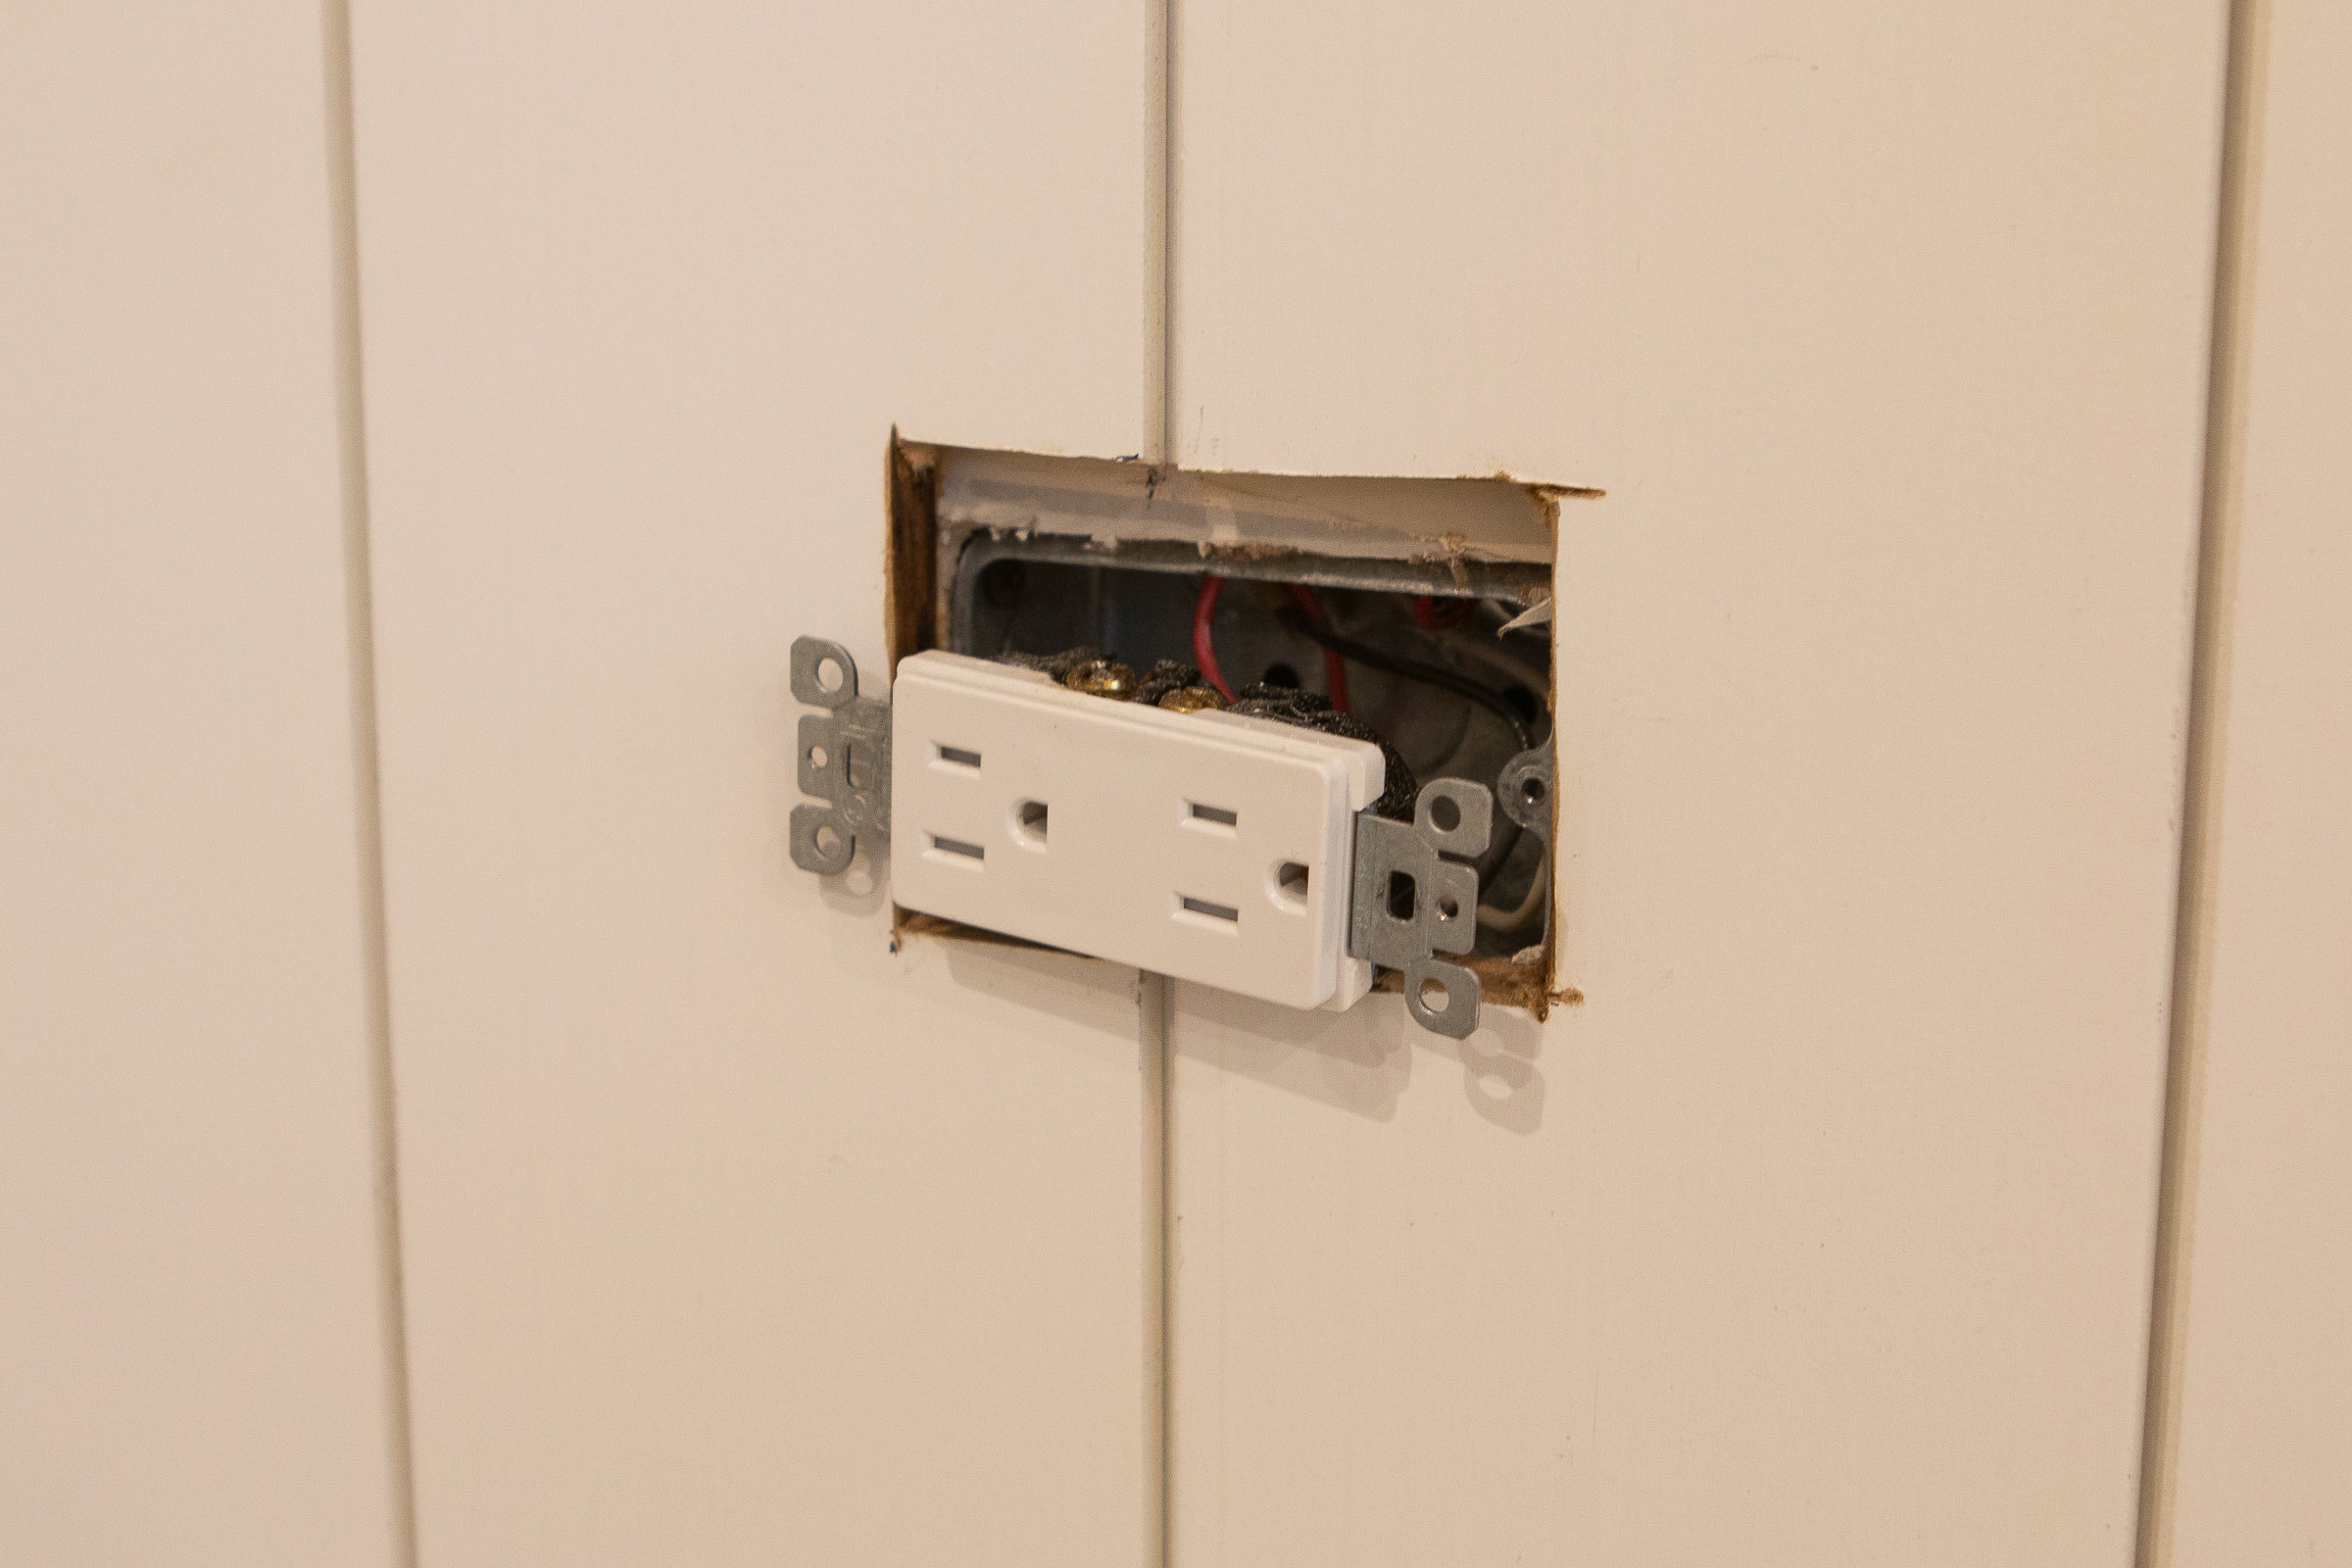
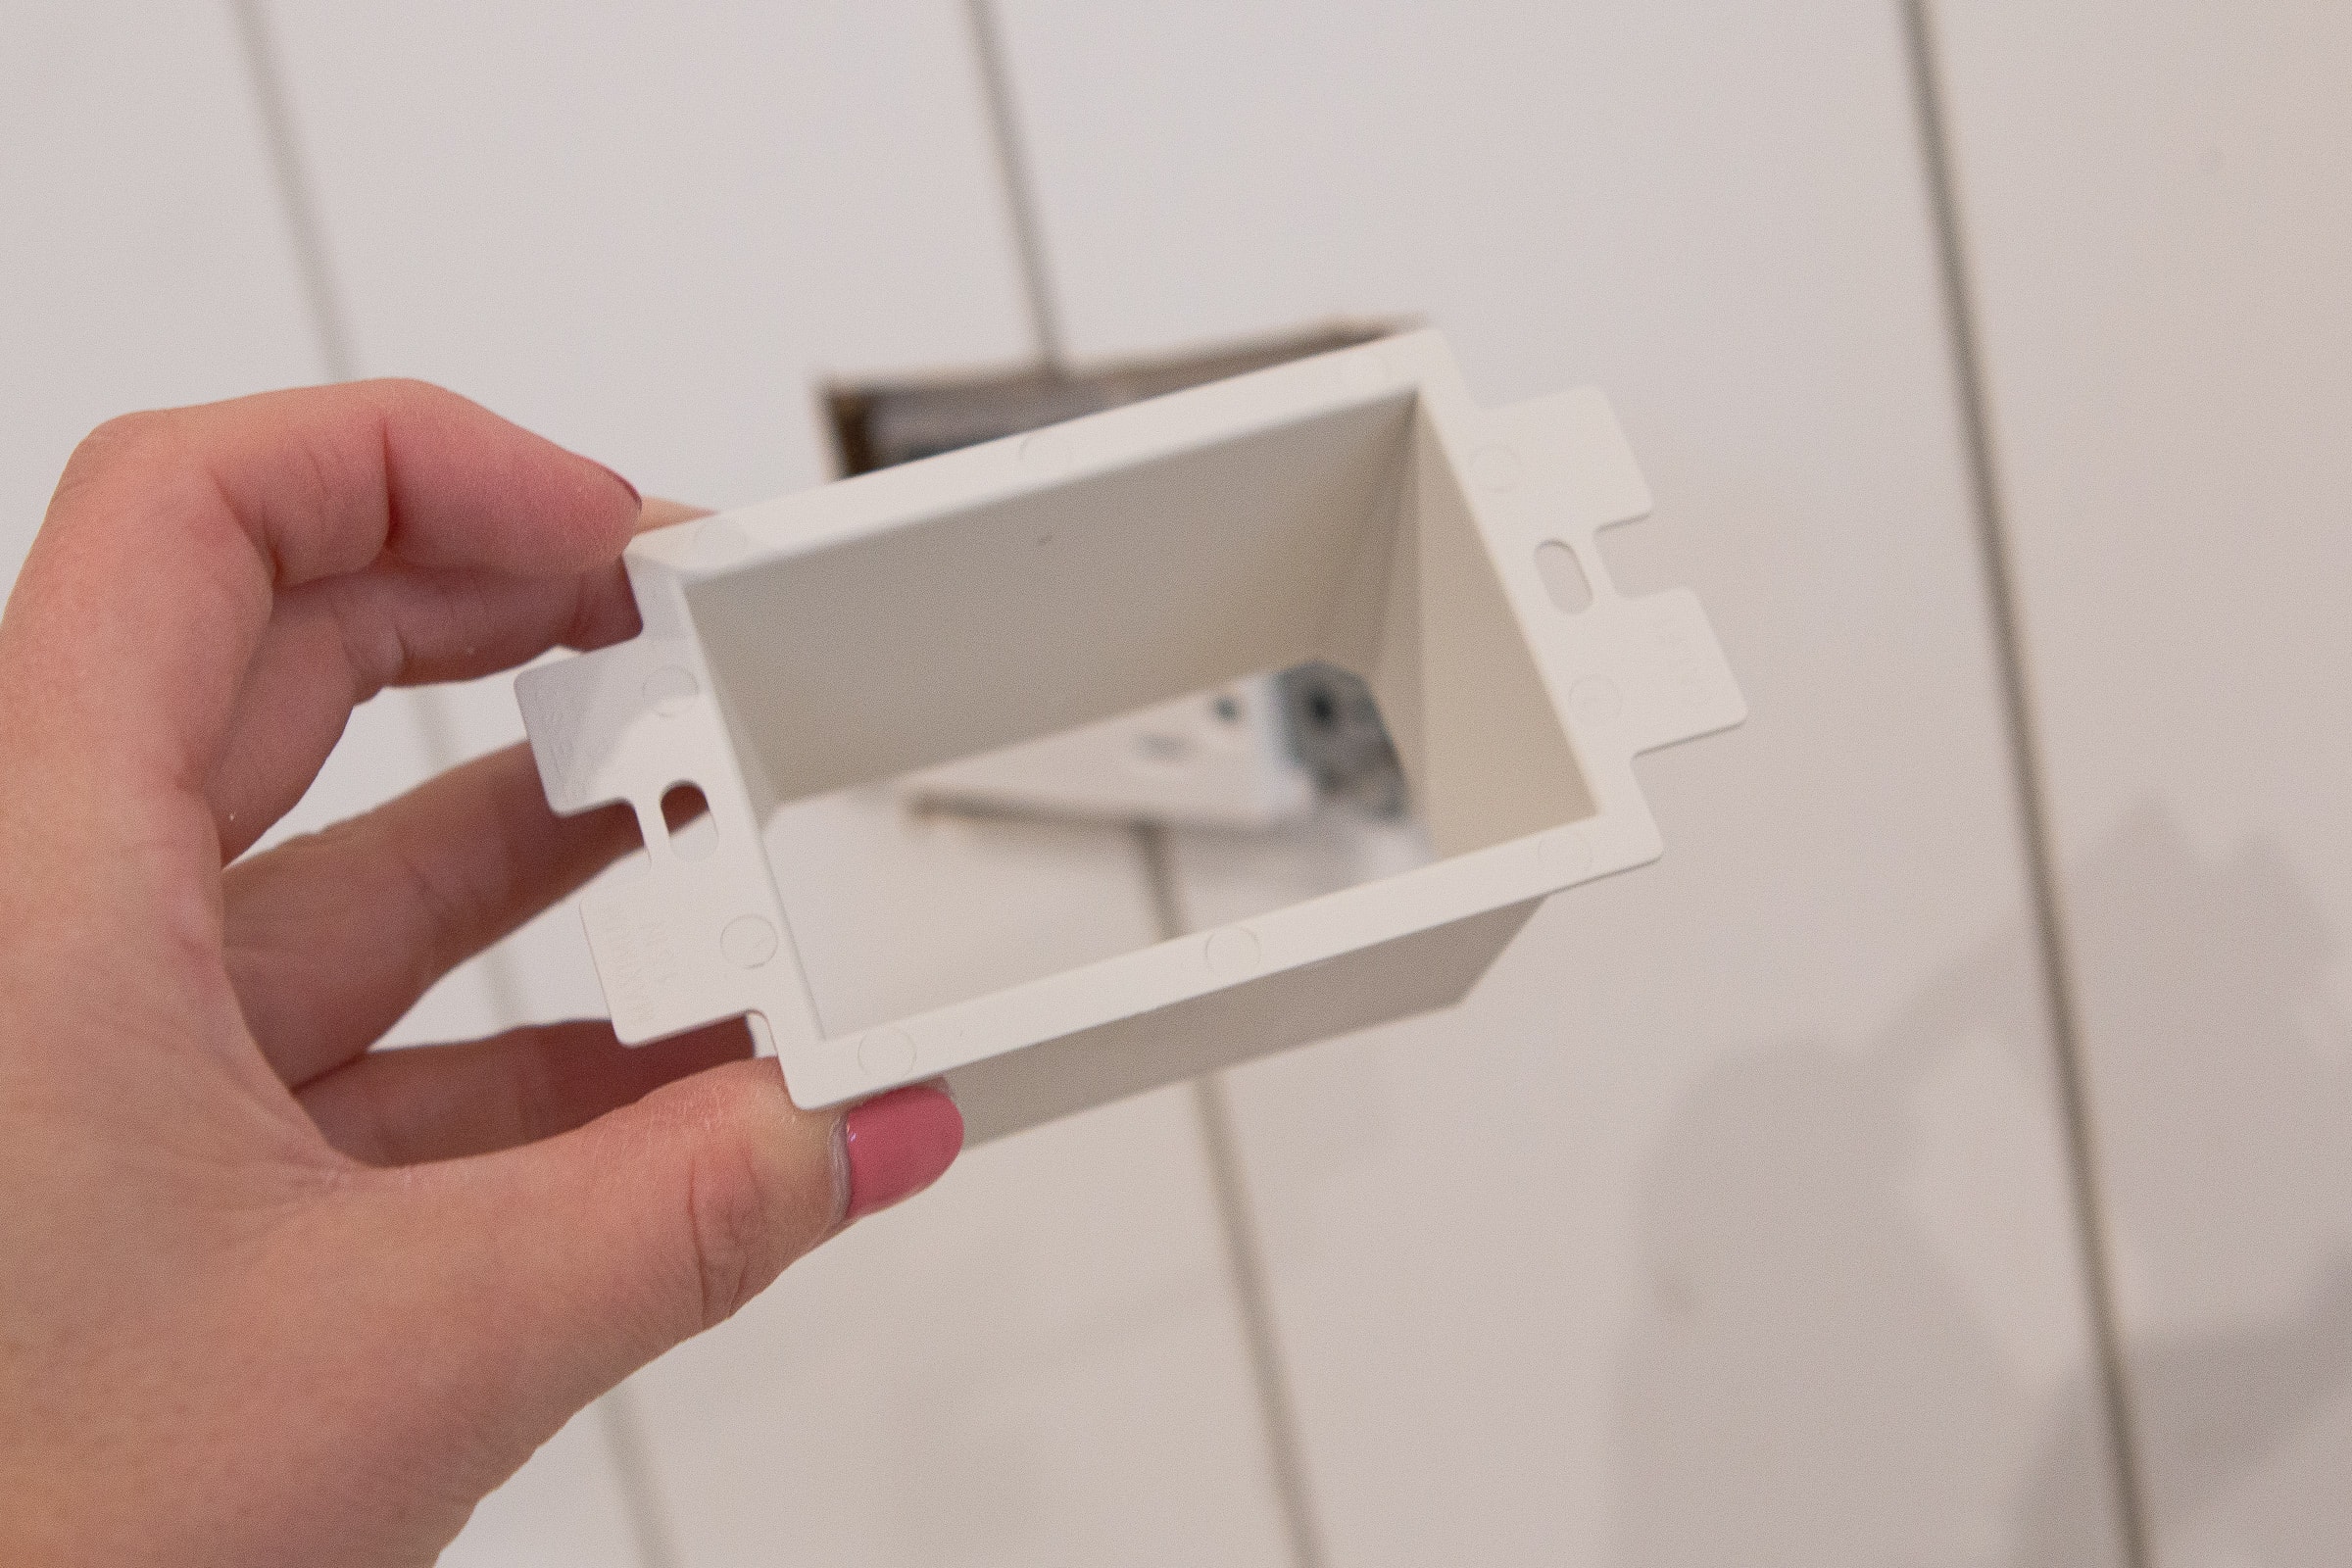
In order to make the outlet flush with the wall, I used this outlet box extender. It pulls the outlet forward so it can sit on top of the shiplap. Just be sure to turn your power off before installing this and touching any wires!
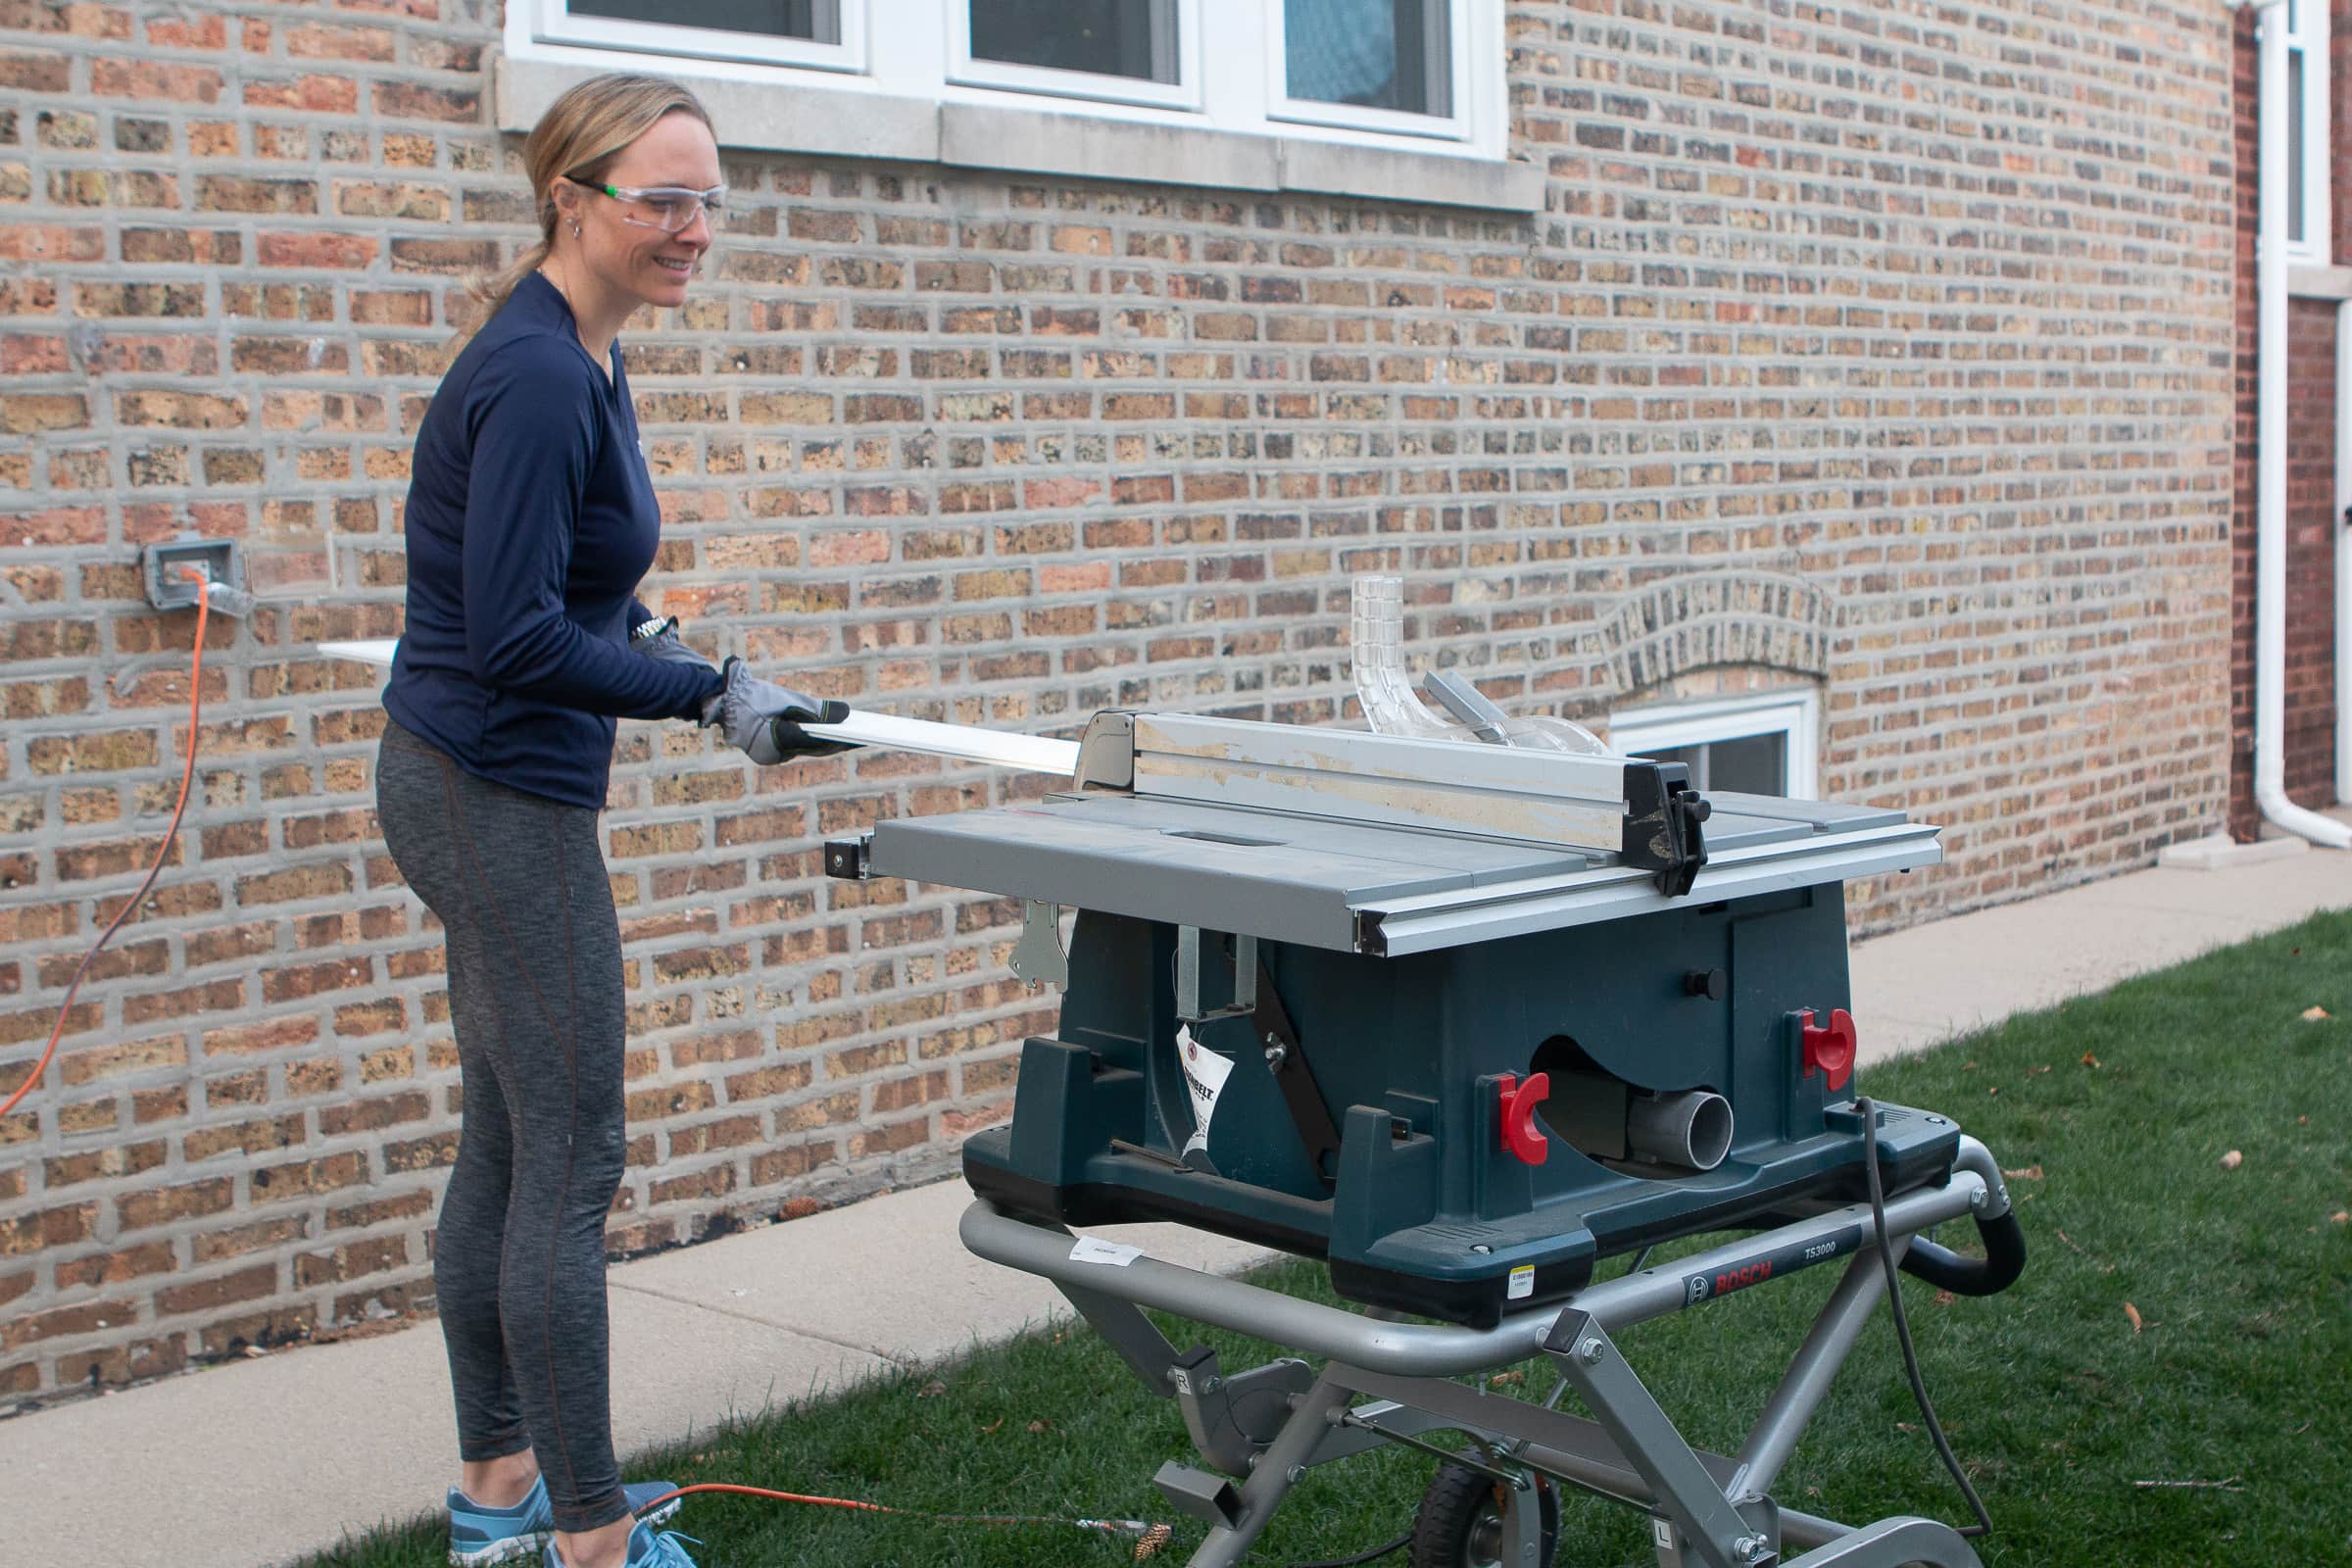
Use A Table Saw To Rip Down Boards

The miter saw is great if you need to make cuts to reduce the length of a long piece of wood. But, it doesn’t work to cut the width – also known as “ripping”.
And when you get to the end of your wall, you will likely need to rip your shiplap board to the correct width. To rip a board, you need to use a table saw.
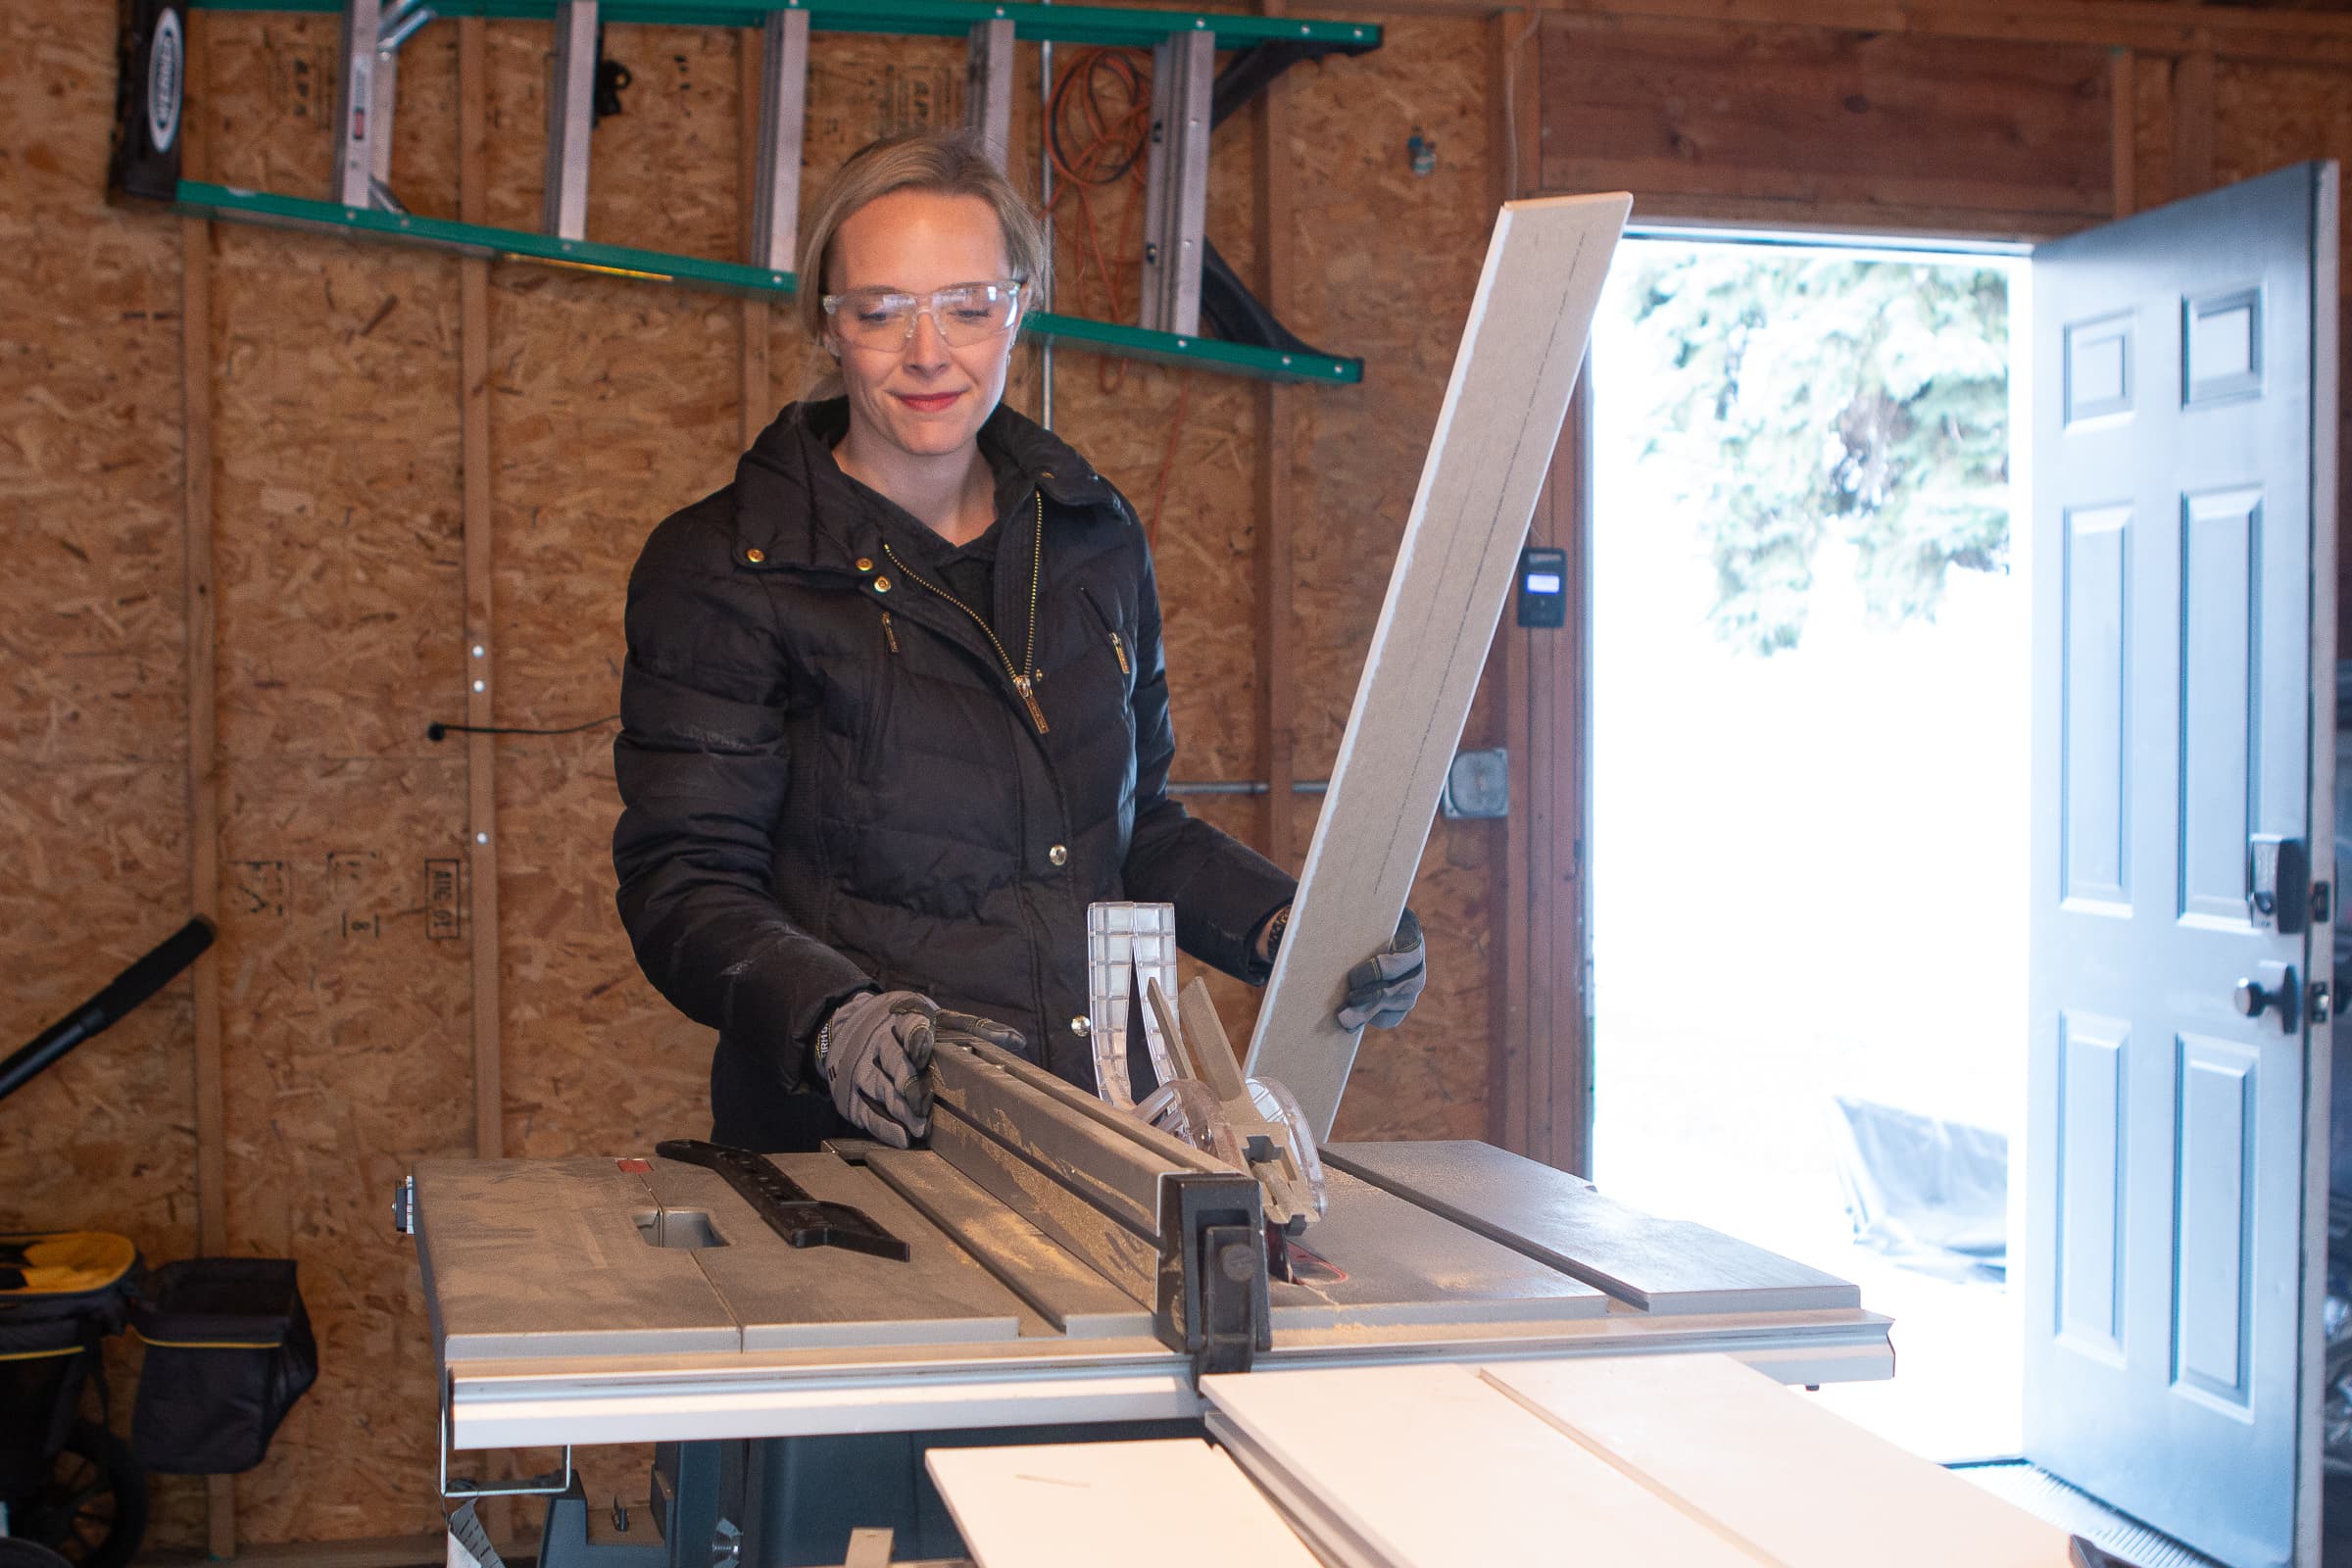
In all of my years of DIY, I had never actually used a table saw before so I was excited/terrified to give it a go for this project.
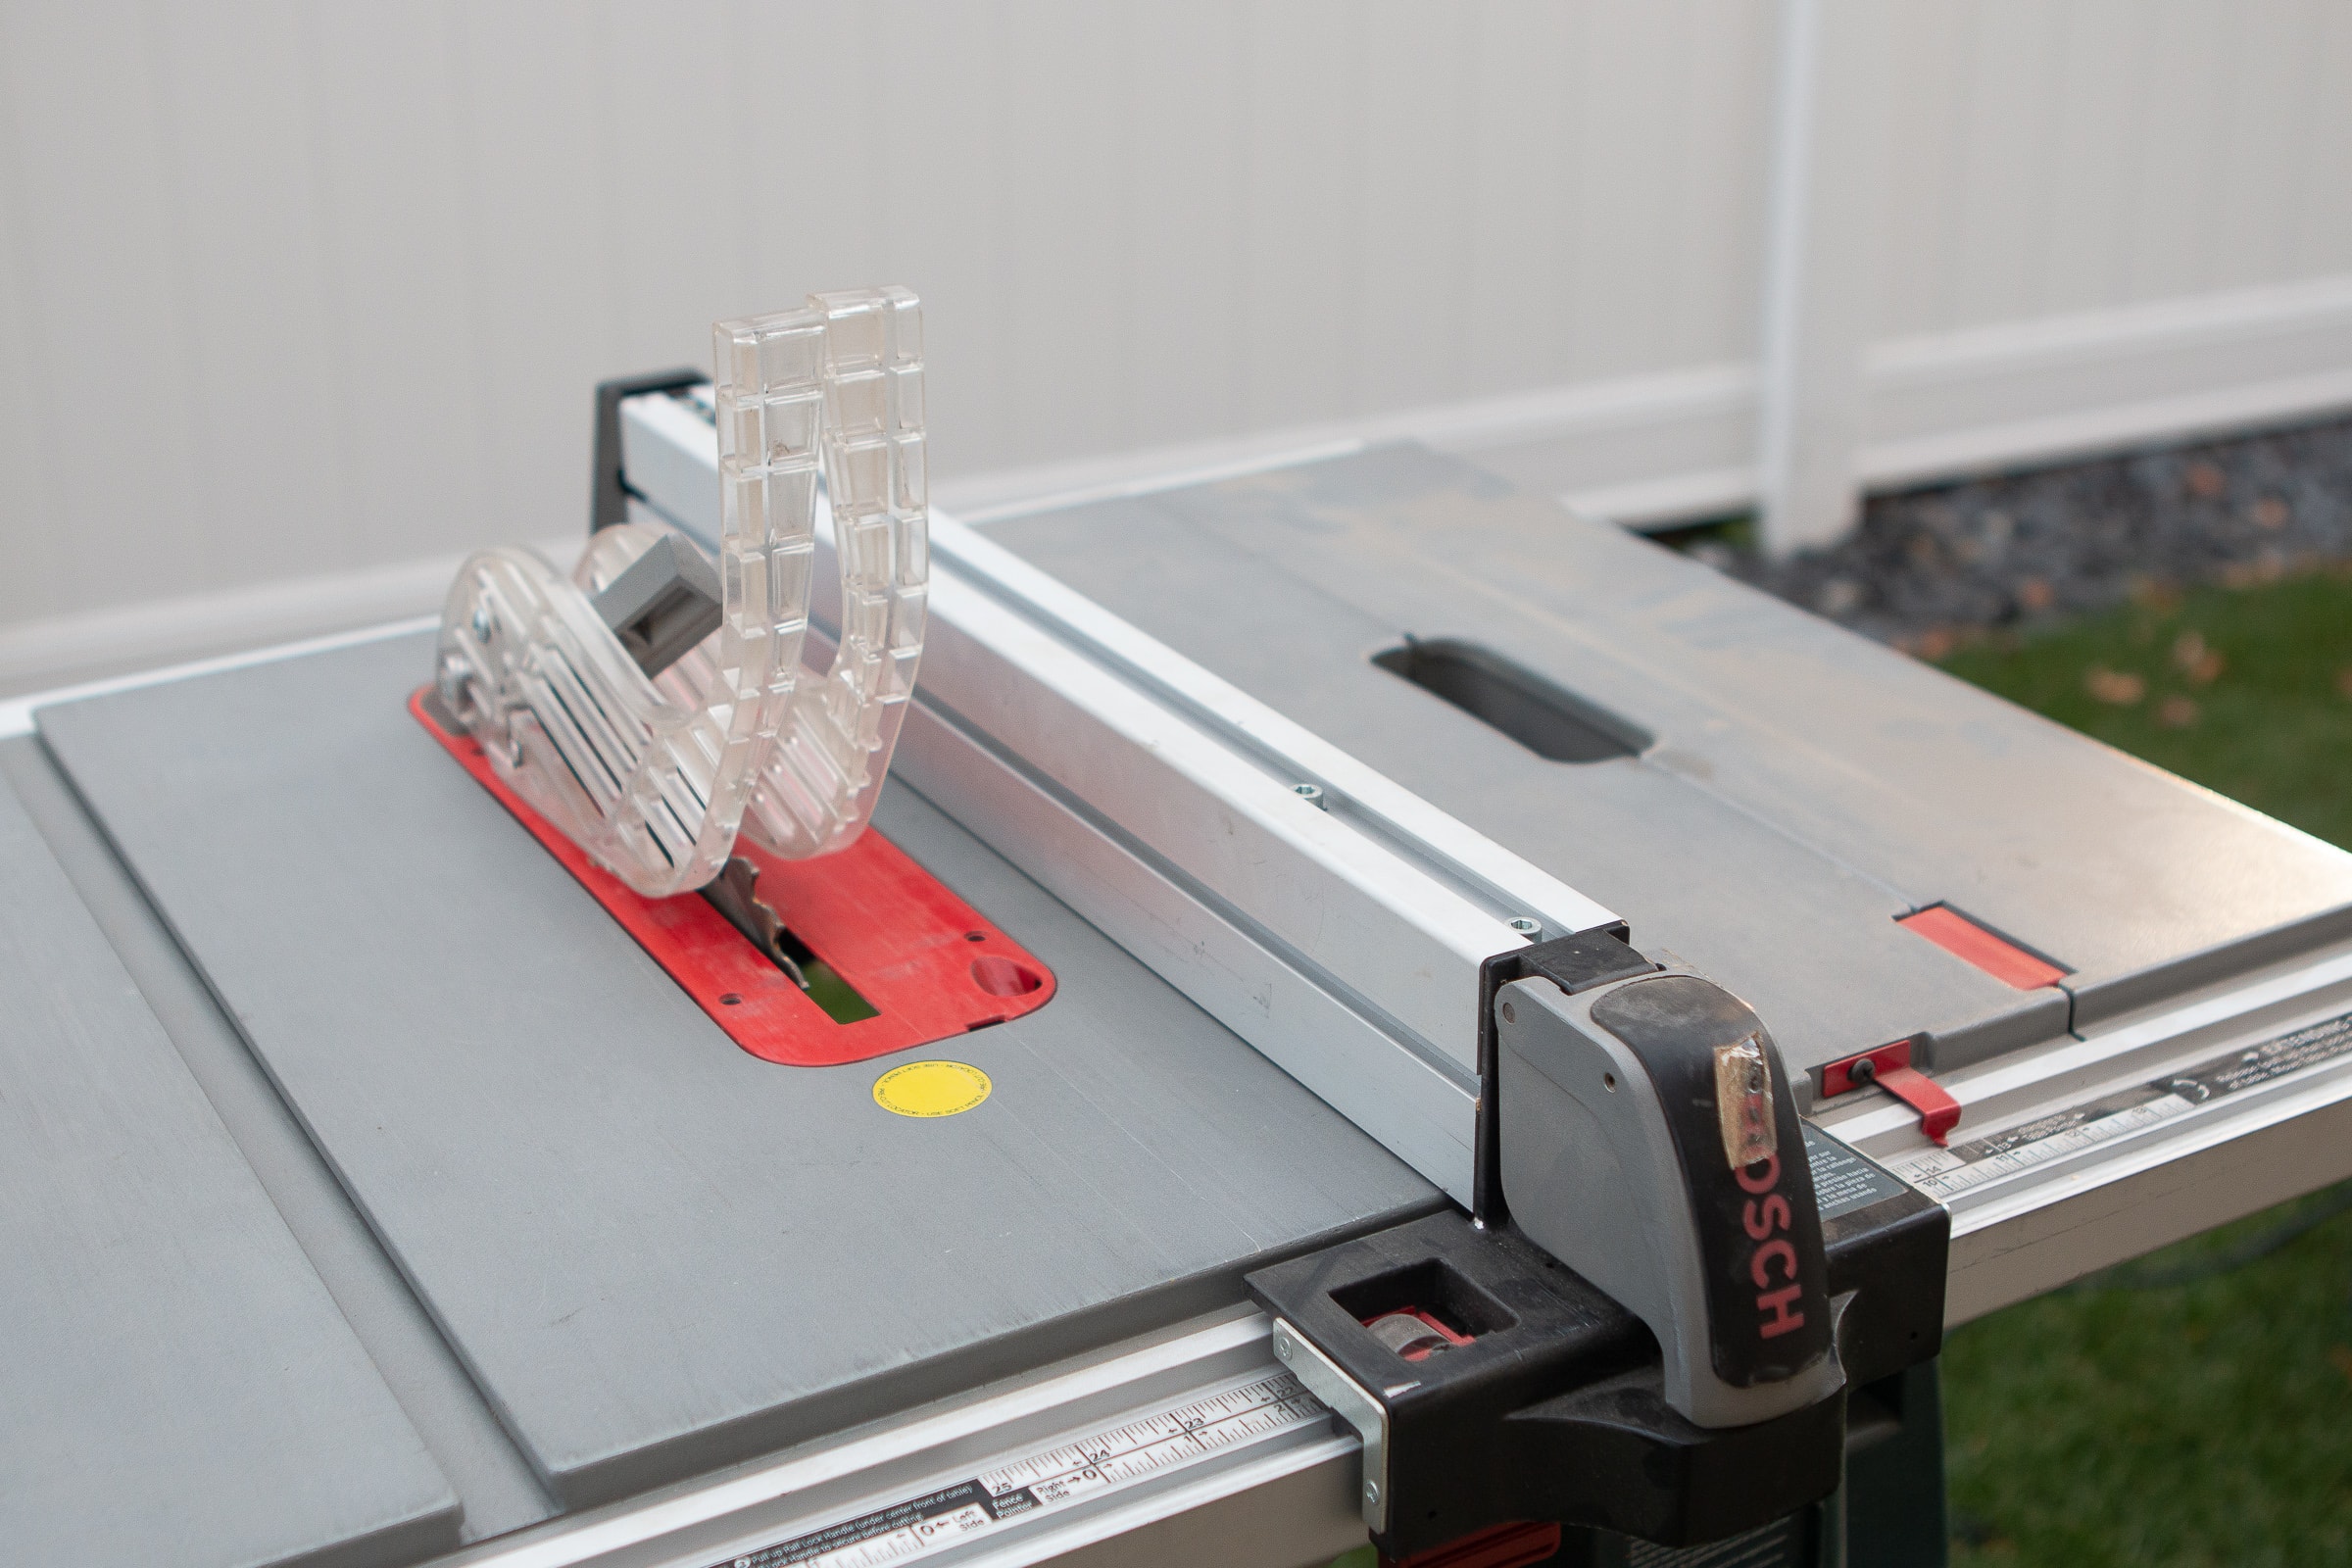
I ended up renting one from Sunbelt Rentals and spoiler alert, I loved it! After making my first cut, I immediately texted Finn and told him that we would have saved days of work if we had one when we built our office built-ins. Days! It worked beautifully to make these long straight cuts.
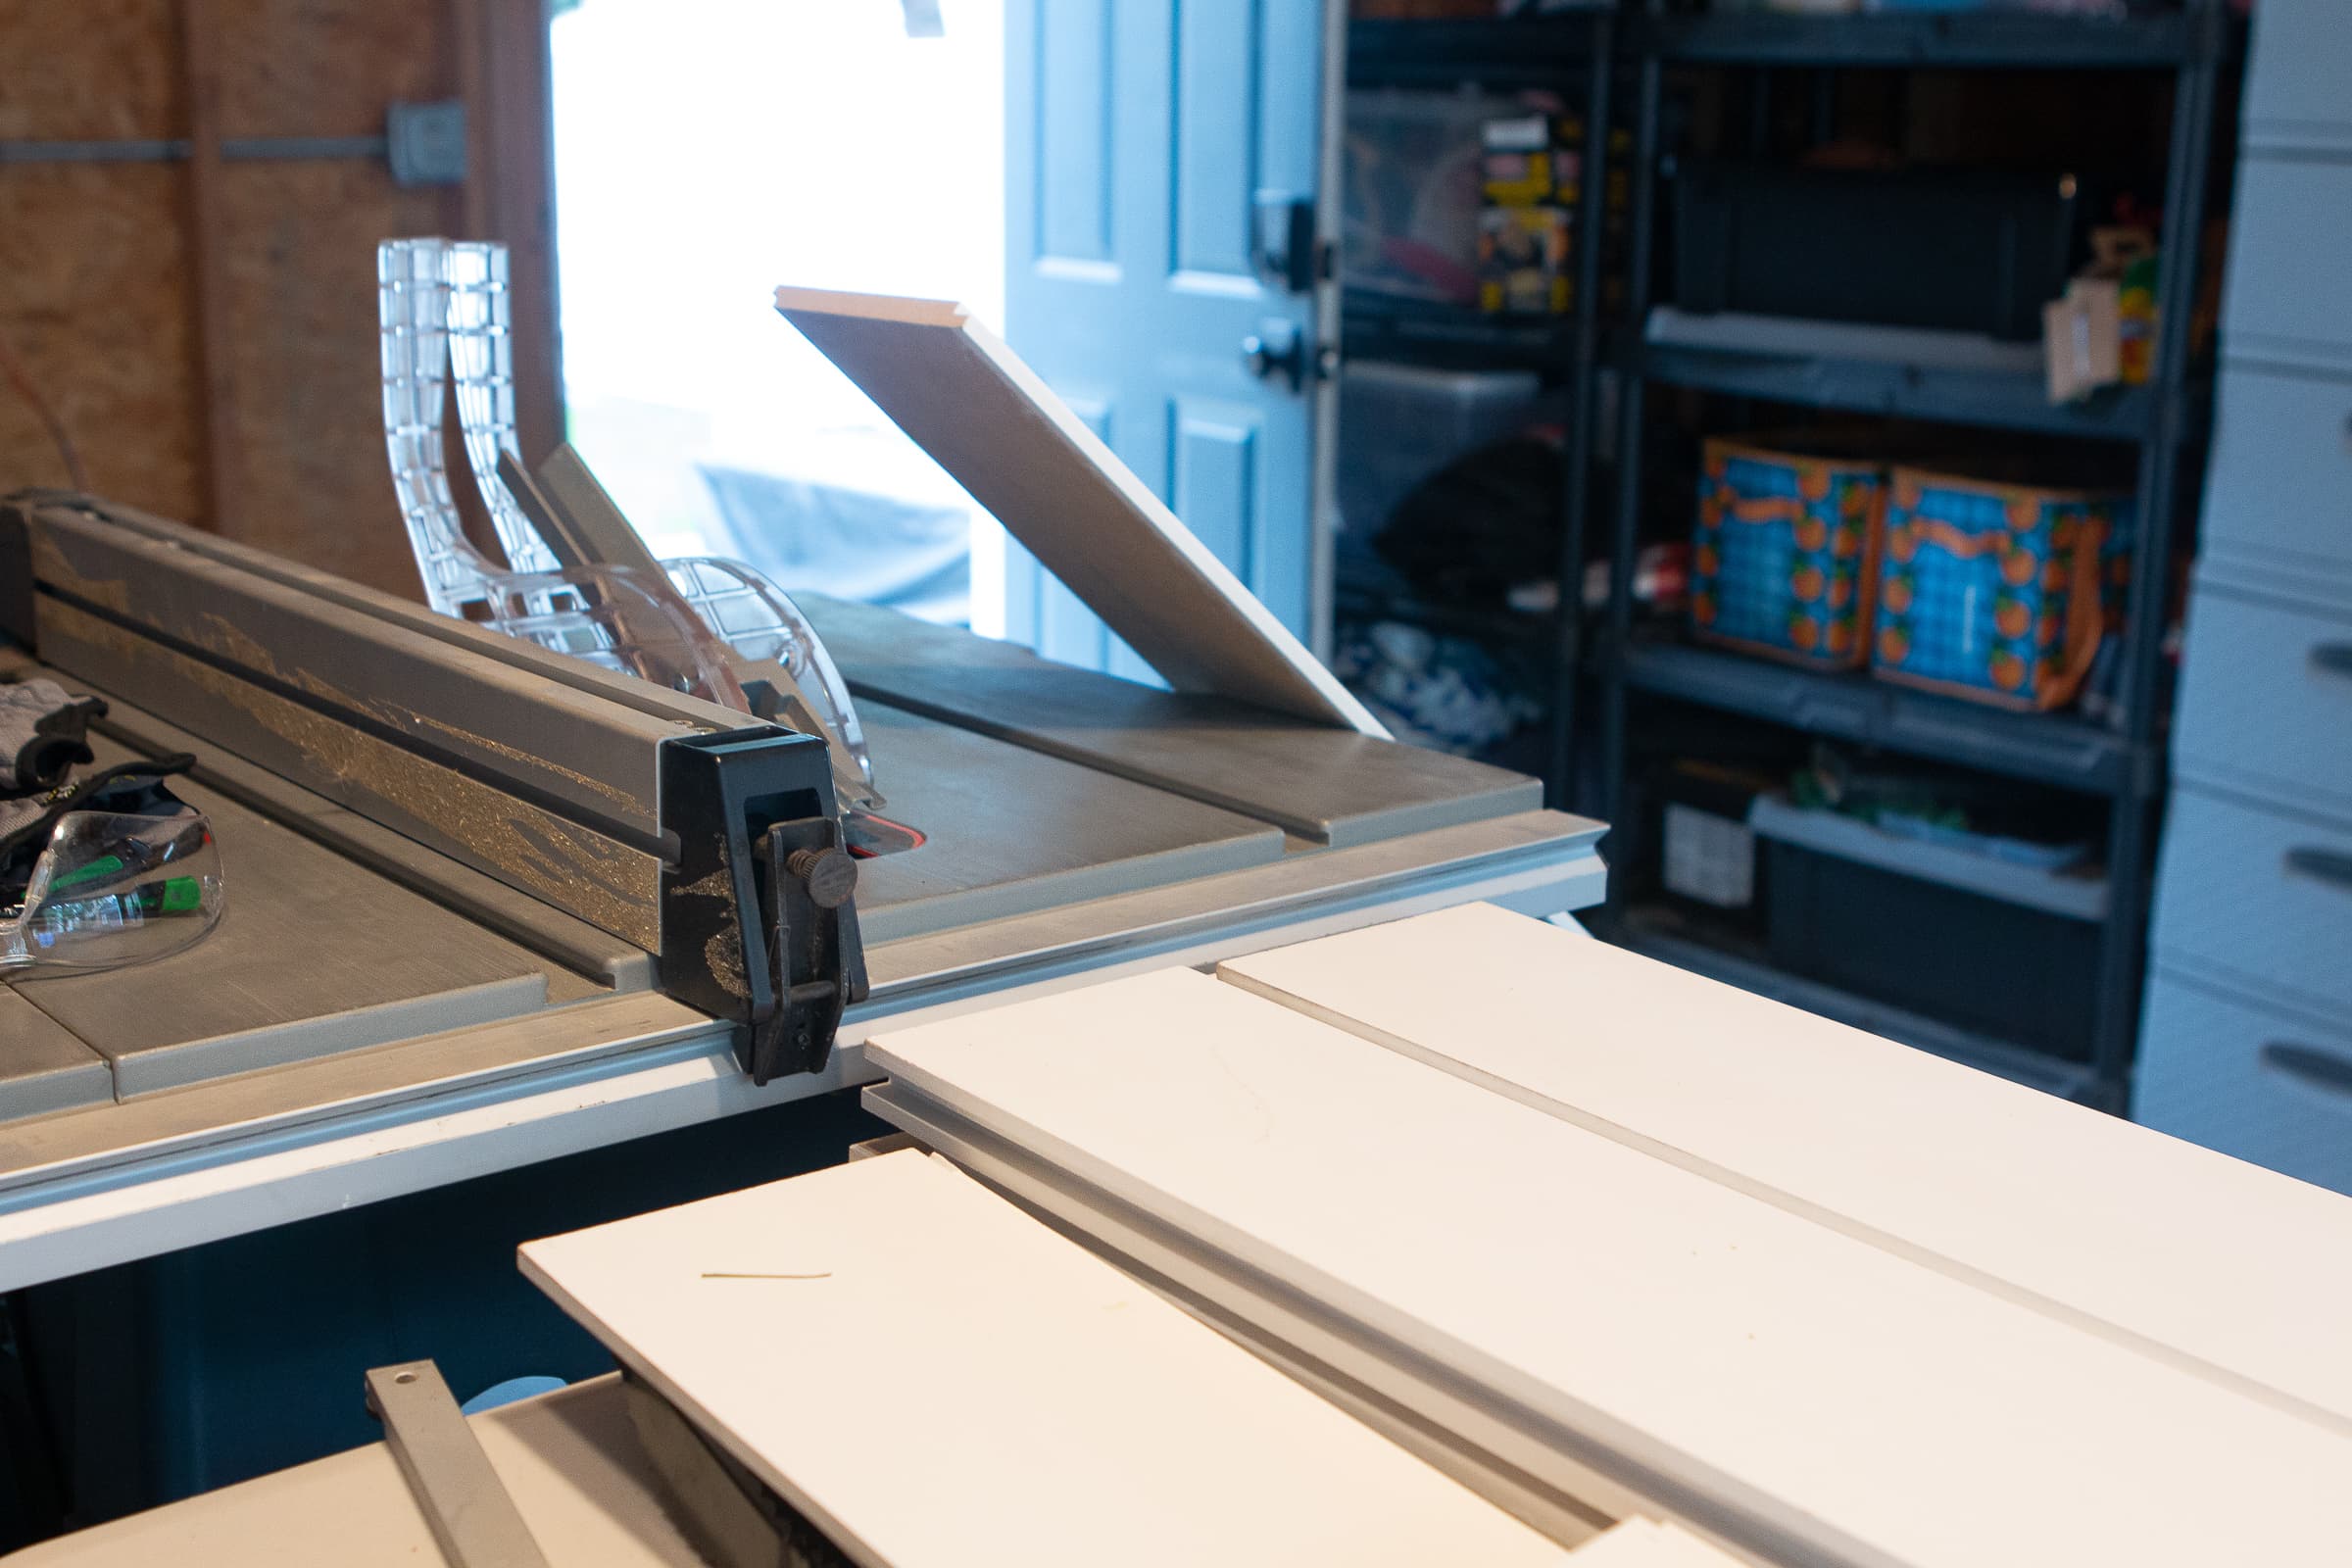
Here are my best tips as a newbie table saw user…
- Wear eye protection and gloves.
- Put a table next to your saw so your wood slides onto something as it passes through the blade. Ideally, this should be the same height as the table saw.
- Make sure you have a push stick to slide the last bit of wood through the blade. You don’t want your fingers to get close to it!
- Start the saw up before your wood is anywhere near the blade.
- Turn the saw off once your wood passes through and don’t pick up the wood until the blade has completely stopped moving.
- Have confidence and stay vigilant.
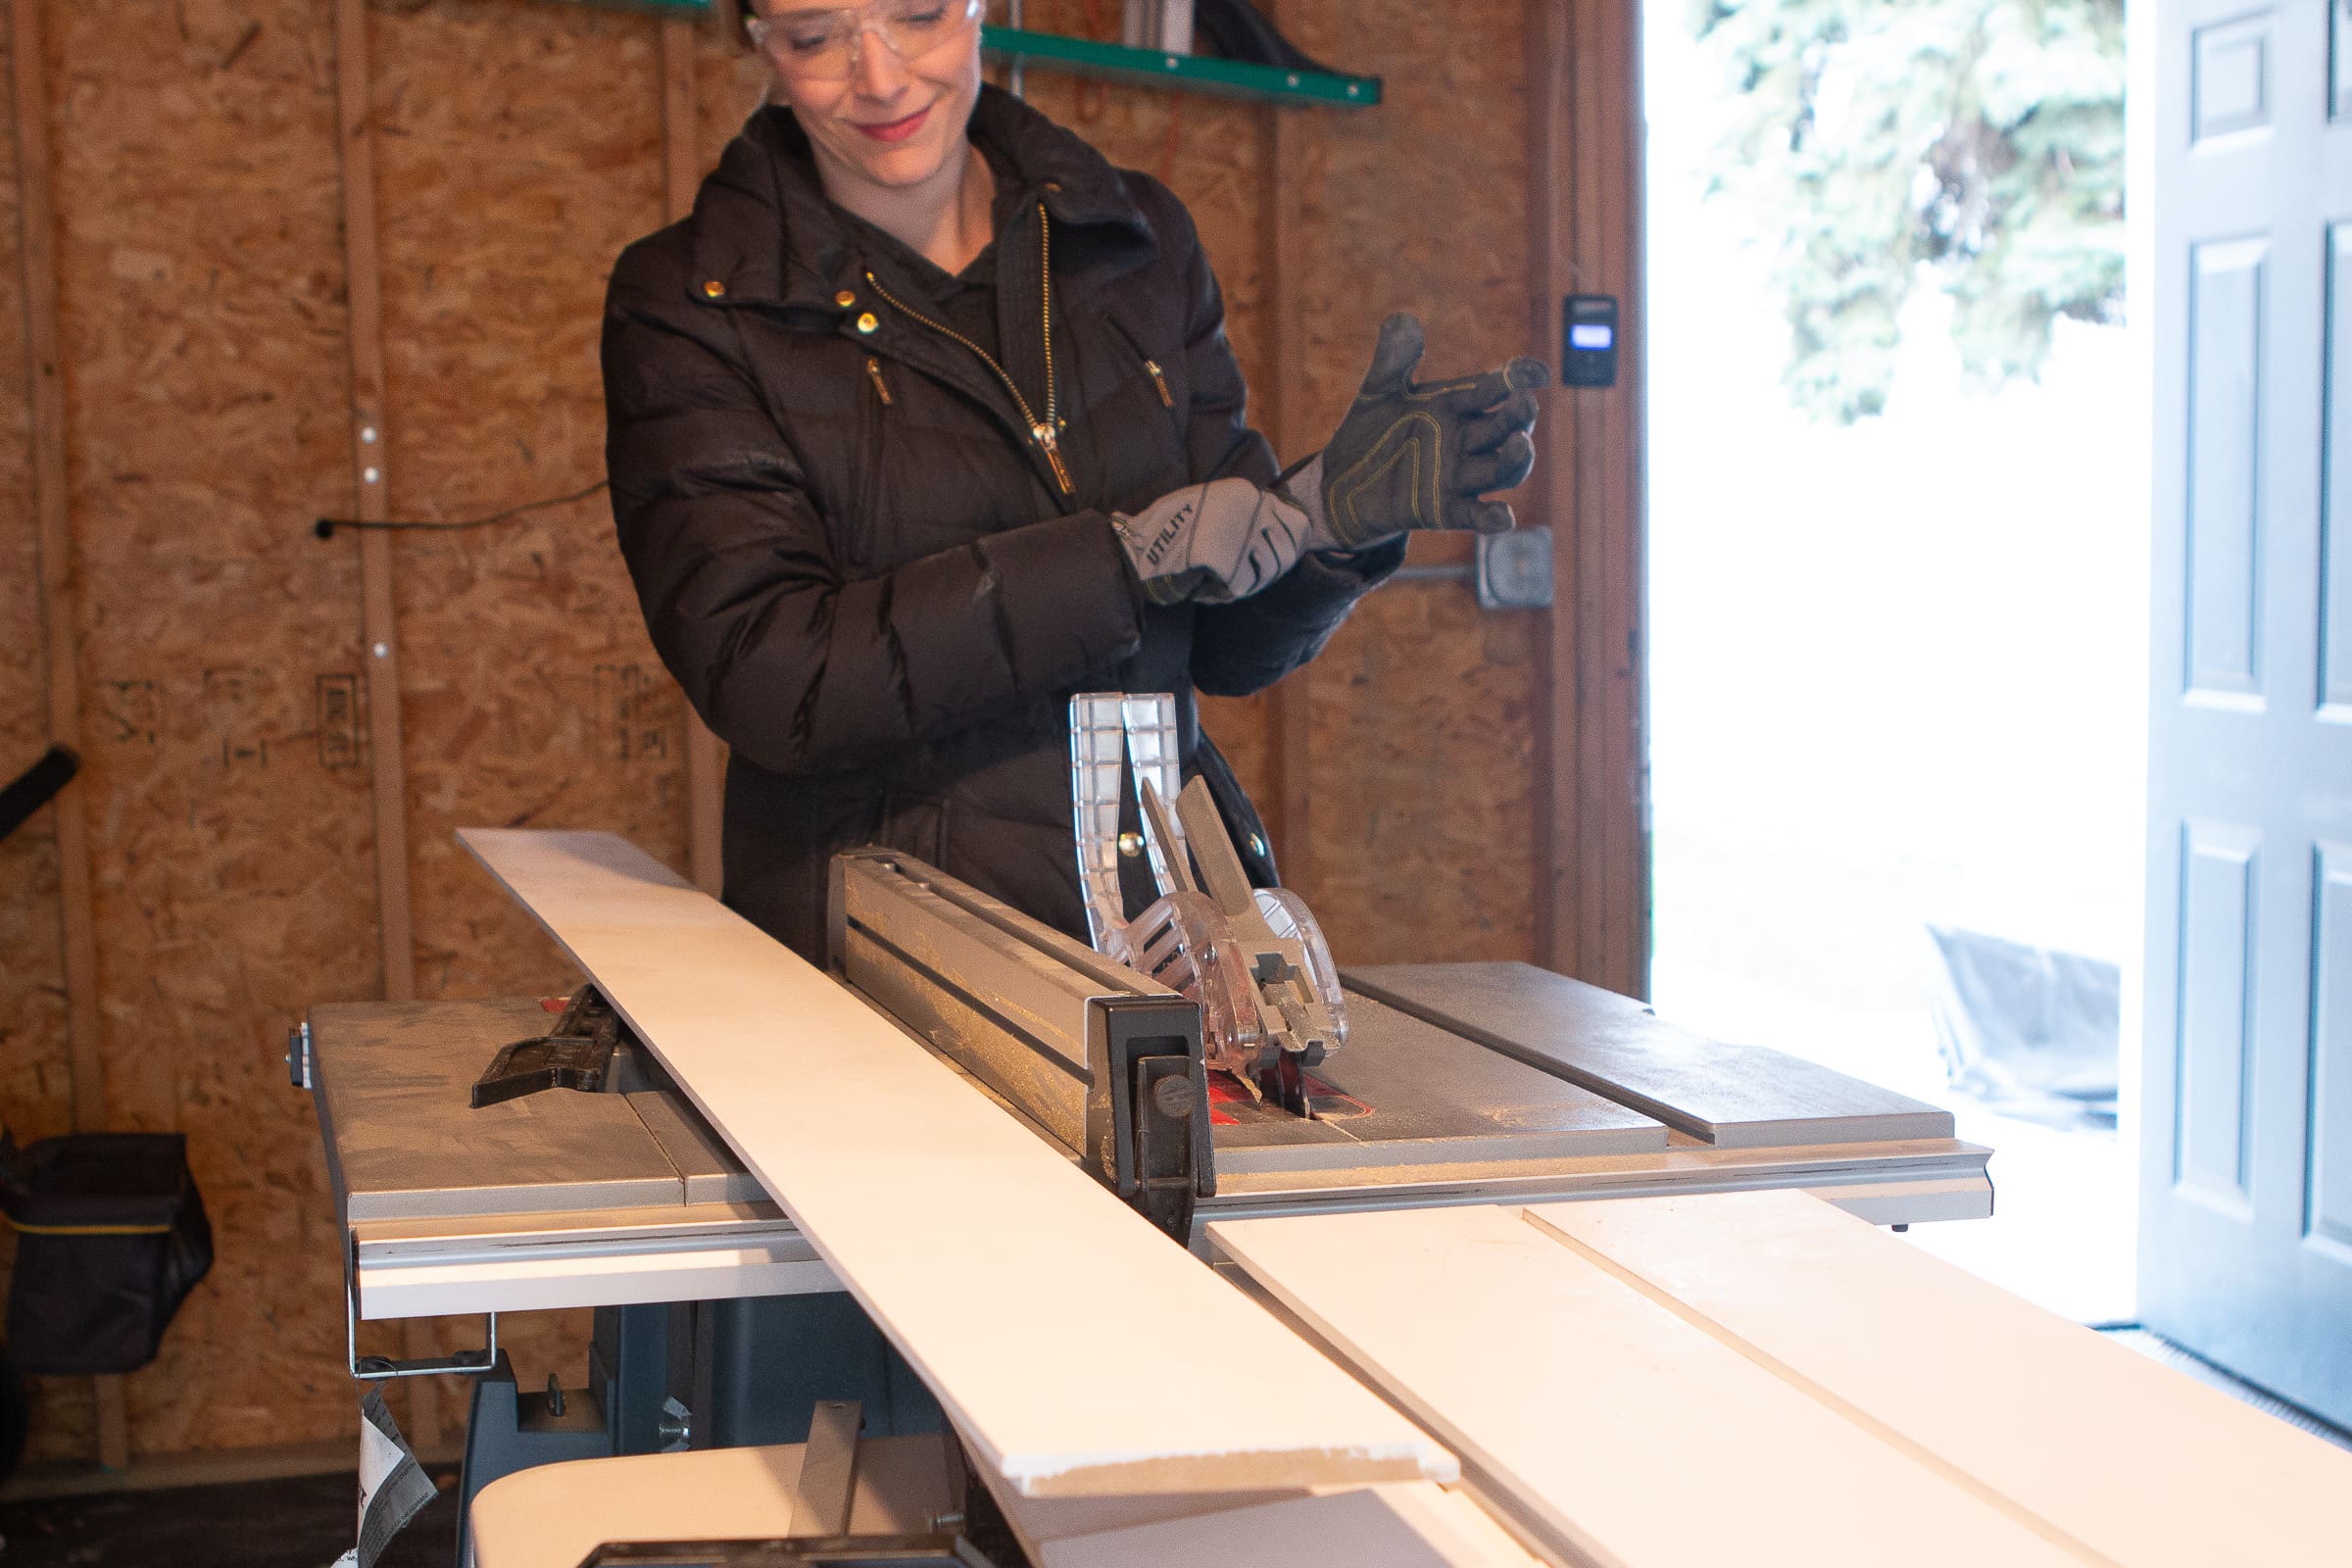
All in all, I’m very excited to use the table saw for my next project. I’m not nearly as terrified of it and I think it would come in handy for so many projects!
Add Your Baseboard
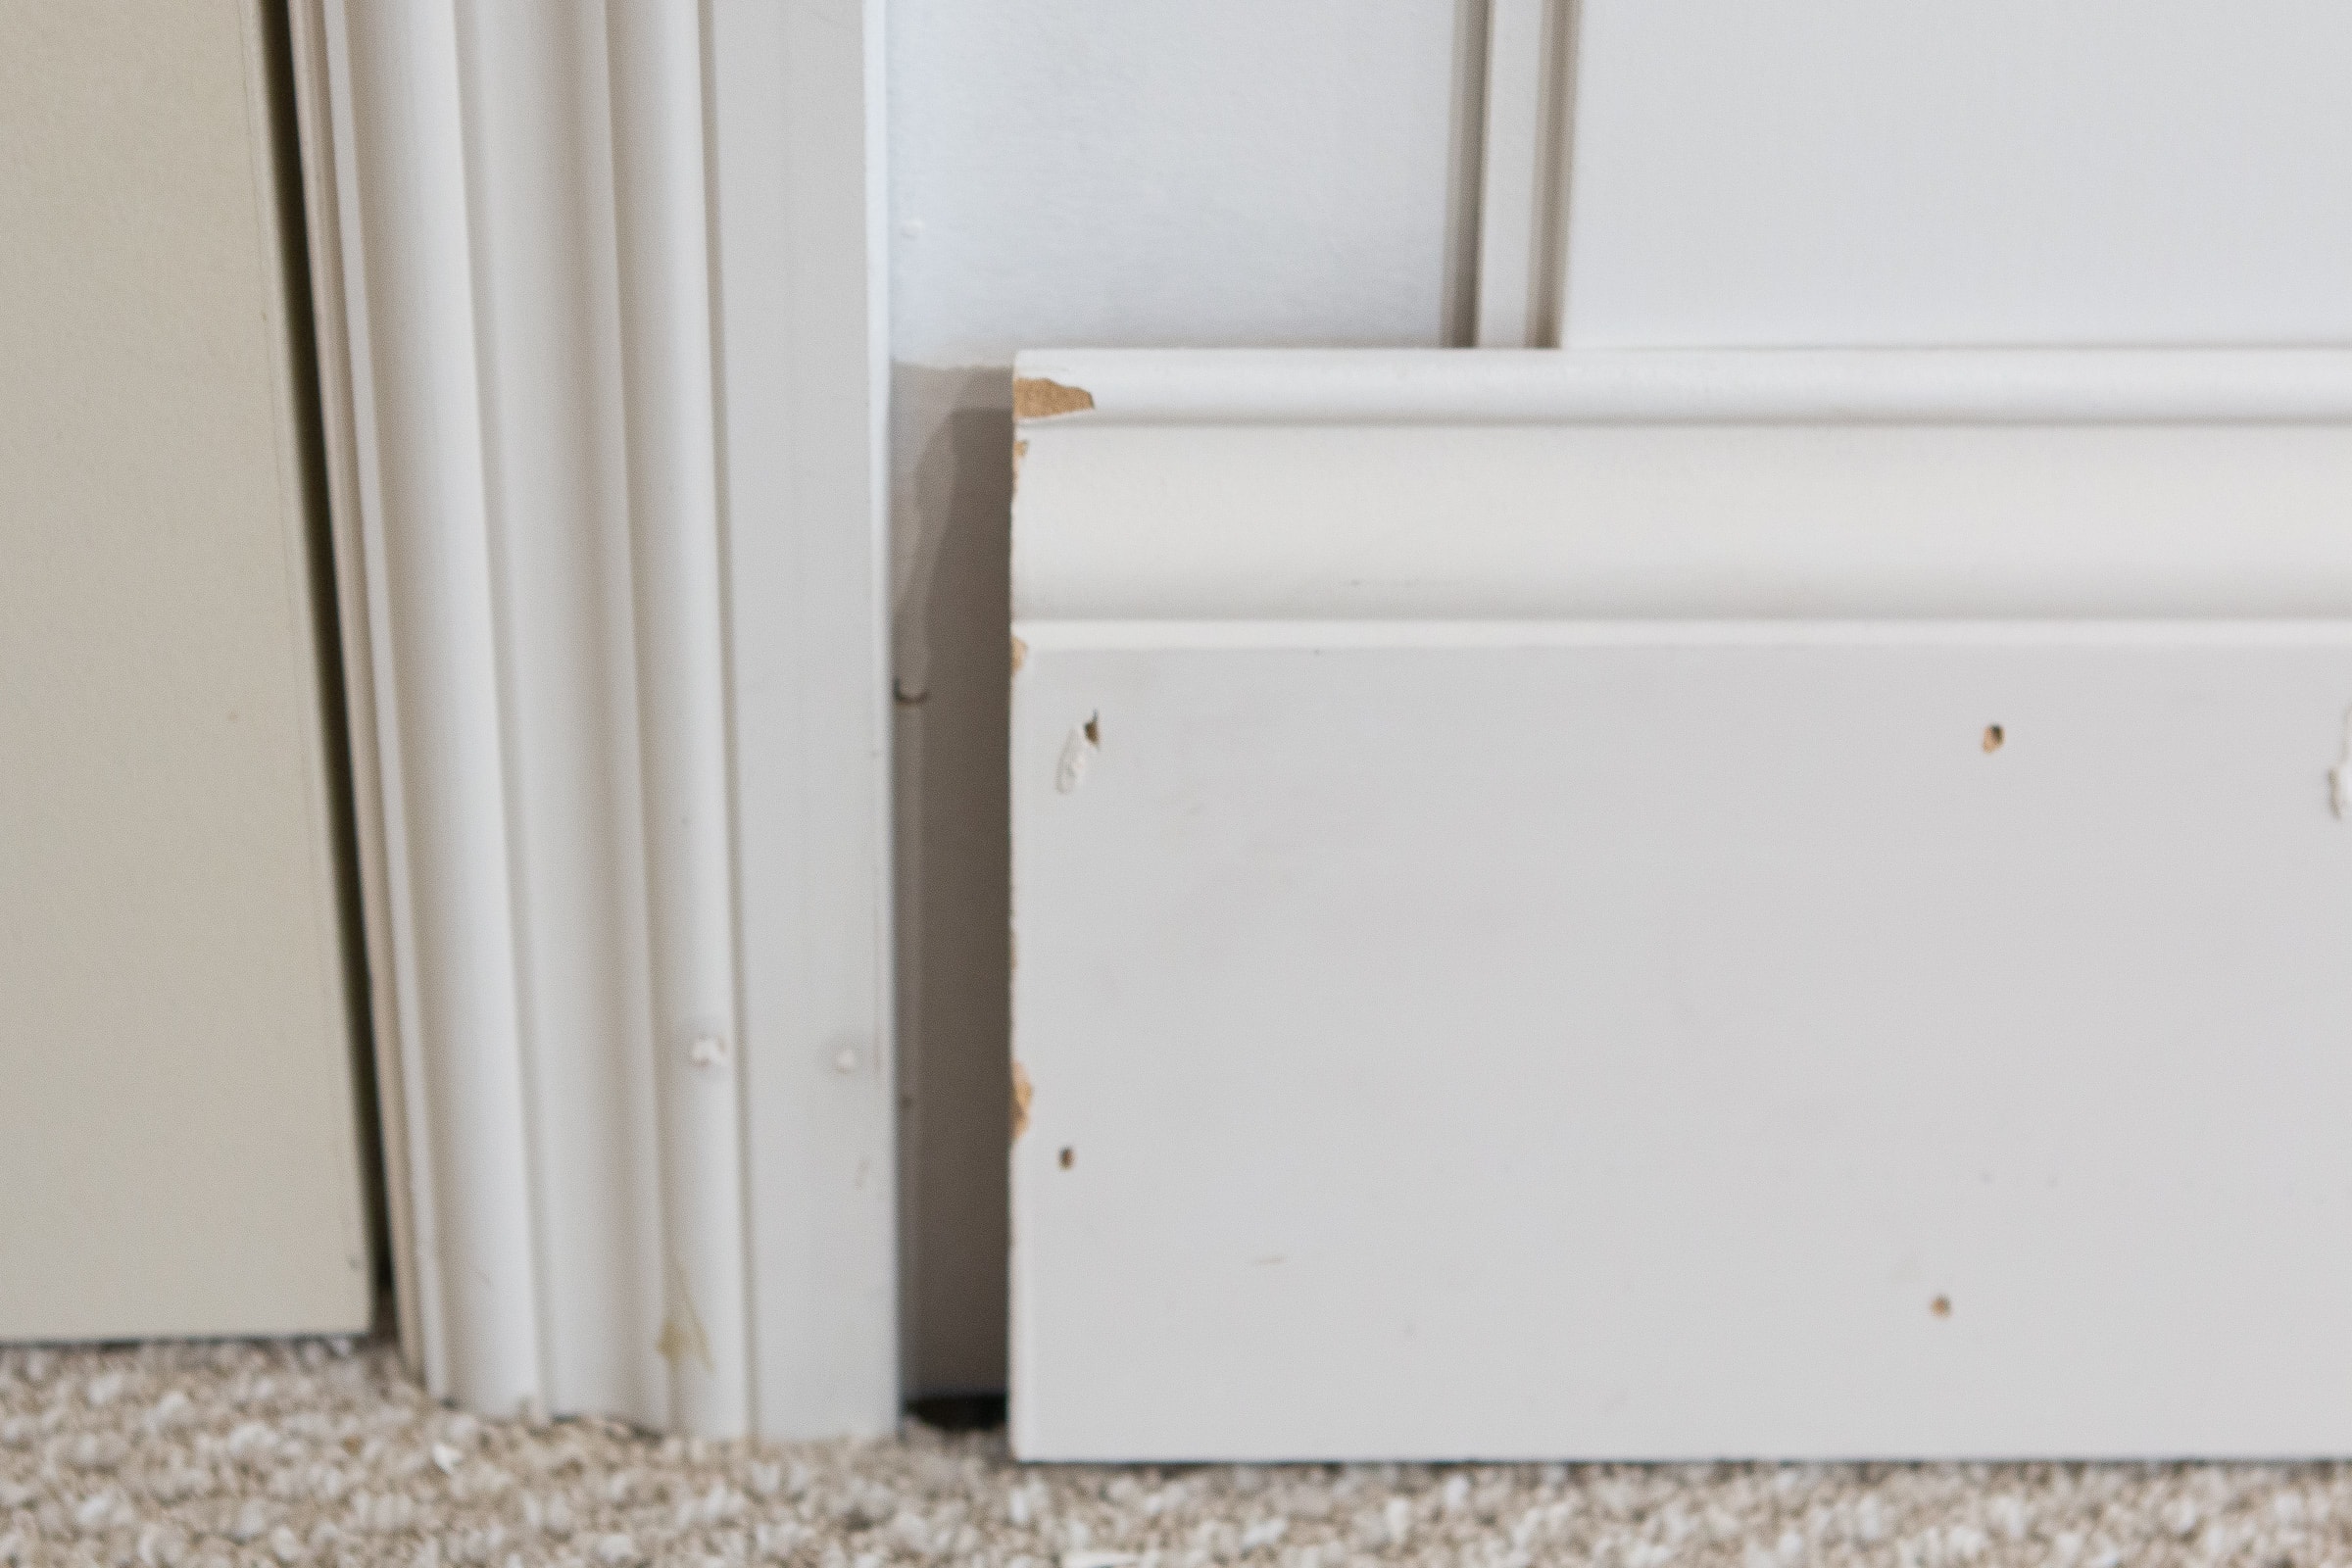
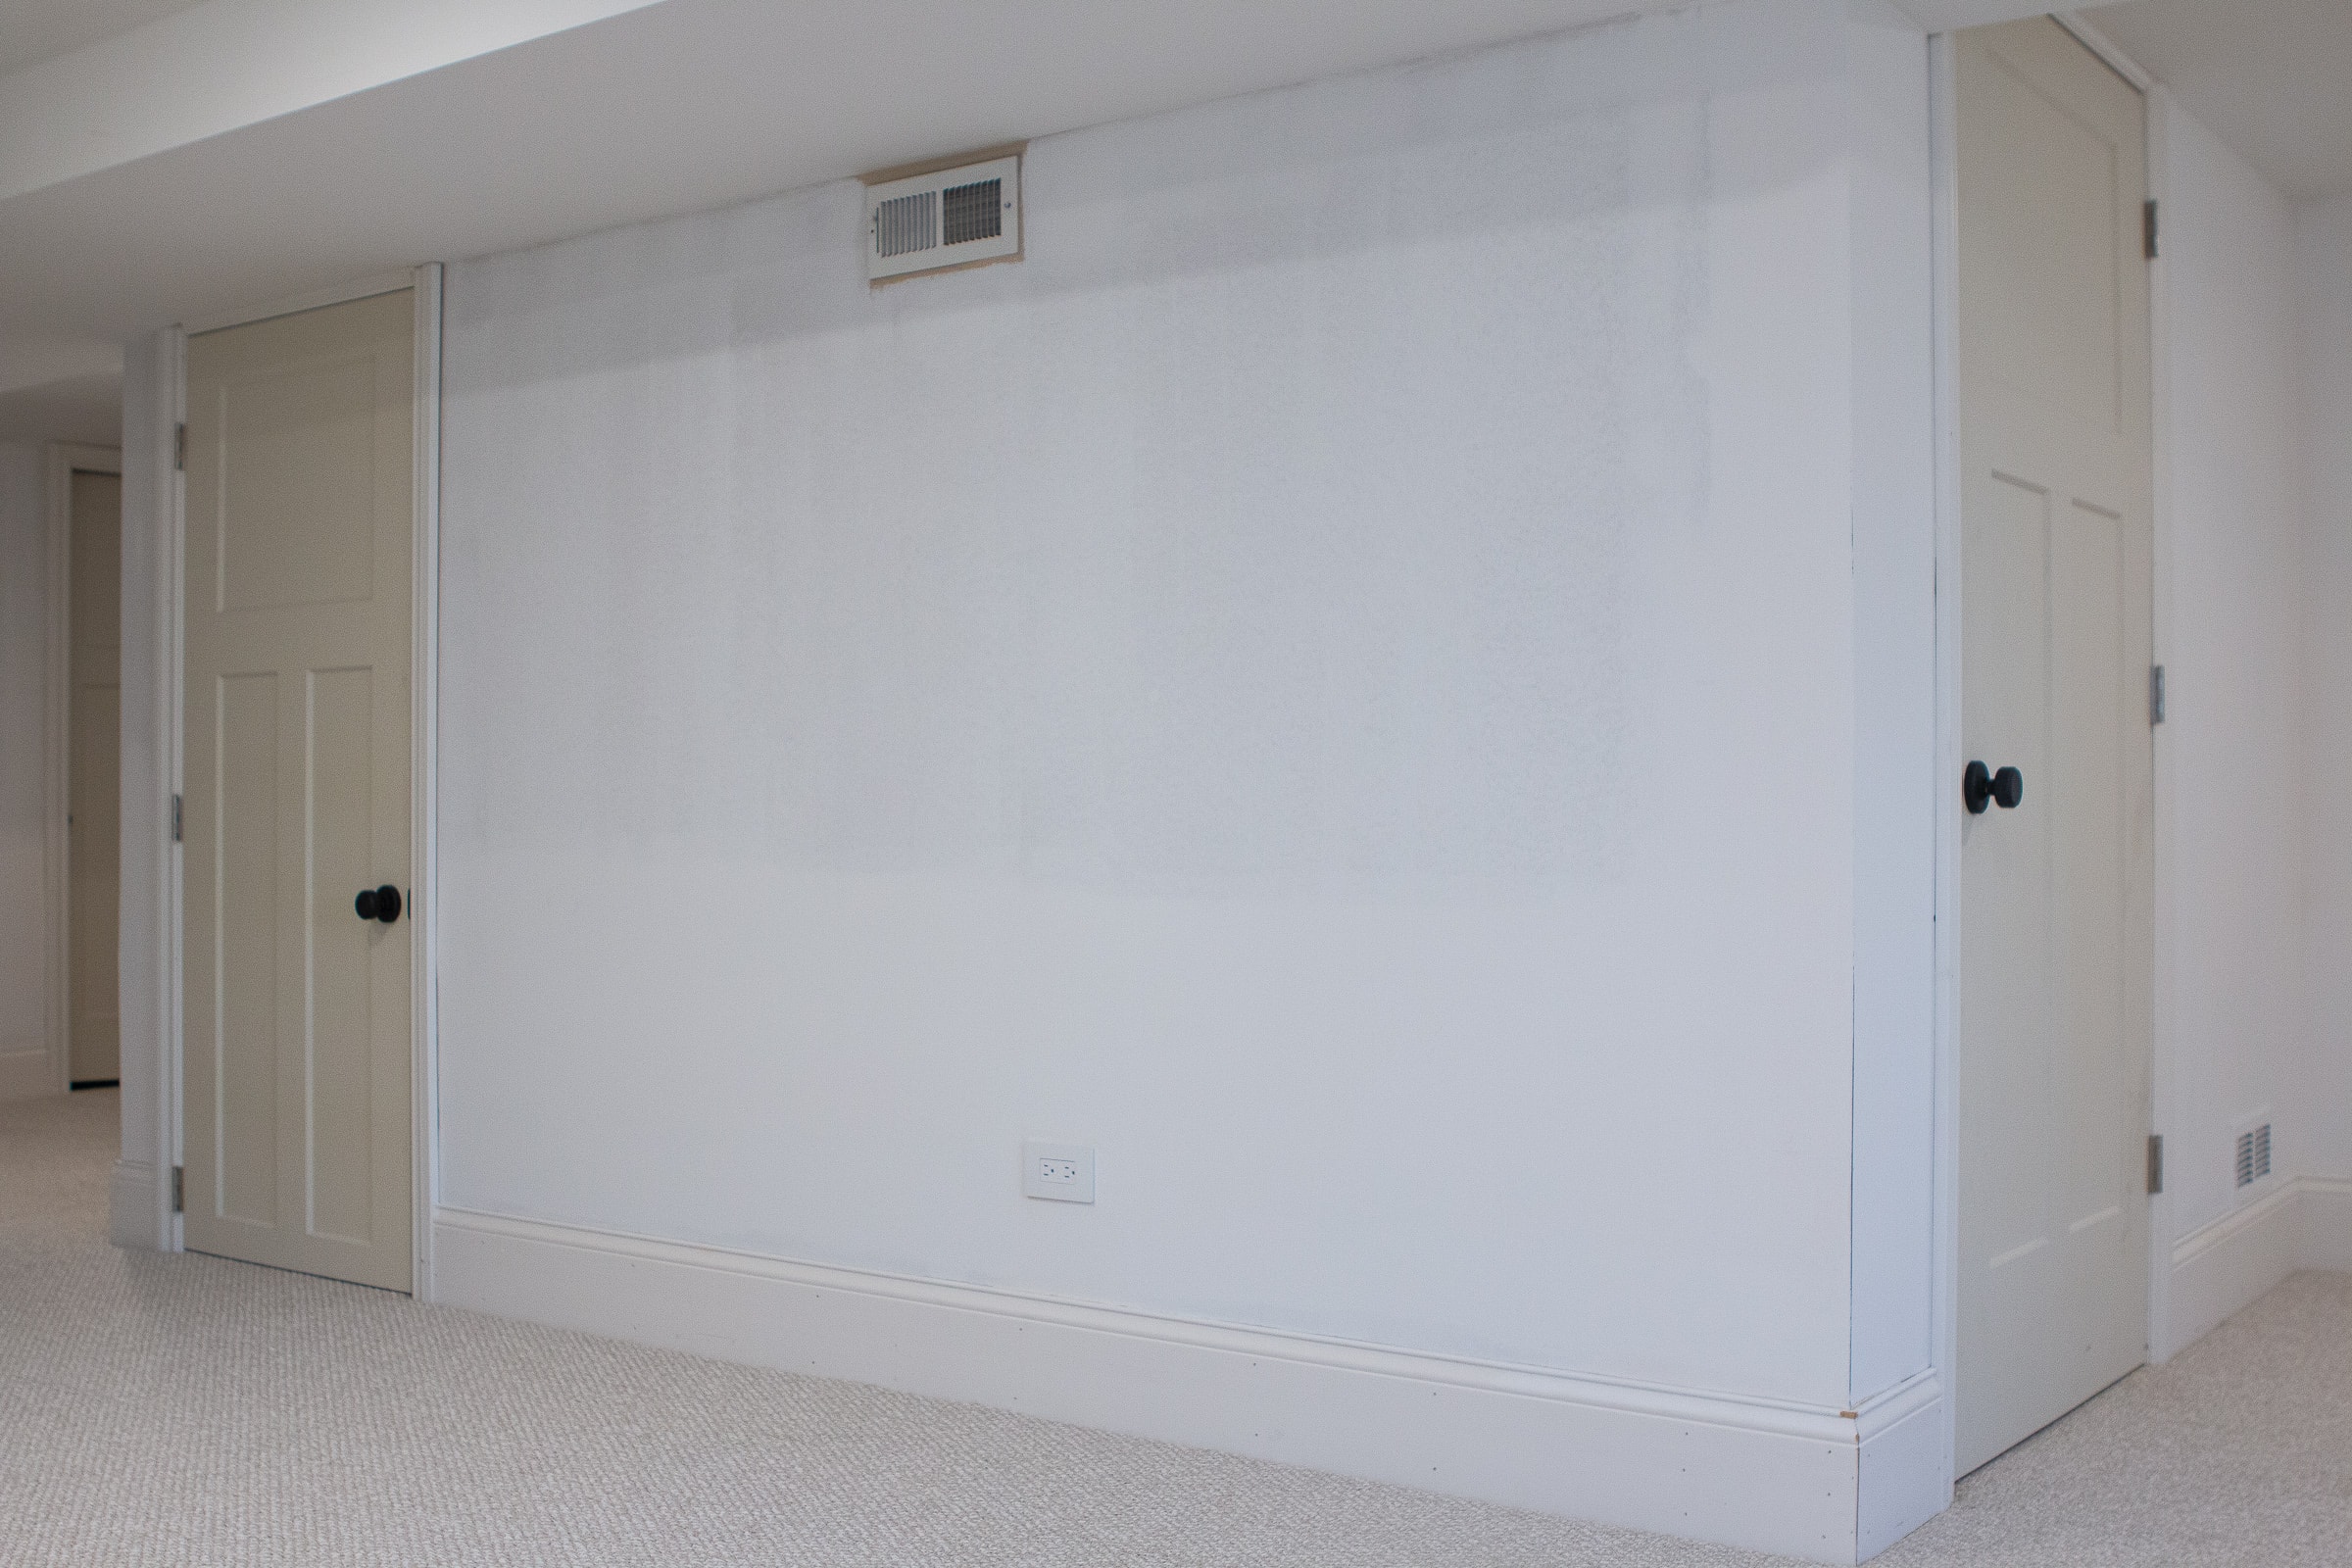
With all of my shiplap up, I was able to add my baseboard back on. But wait, I actually ran into a bit of a snag here! Because I added the shiplap, the walls were bumped out a bit and my baseboard was too short on each wall by about an inch or two. Oh no! I would have just cut a larger piece of baseboard for each wall, but we used it all up in the rest of the basement and I didn’t have any on hand.
I perused my stash of wood and found some quarter-round. After playing around with it, I decided to use it on the edge of each baseboard to hide the side profile and fill that gap.

I was pleasantly surprised by how great it ended up looking, and I know it will be even better once everything is painted!
Caulk & Fill Nail Holes
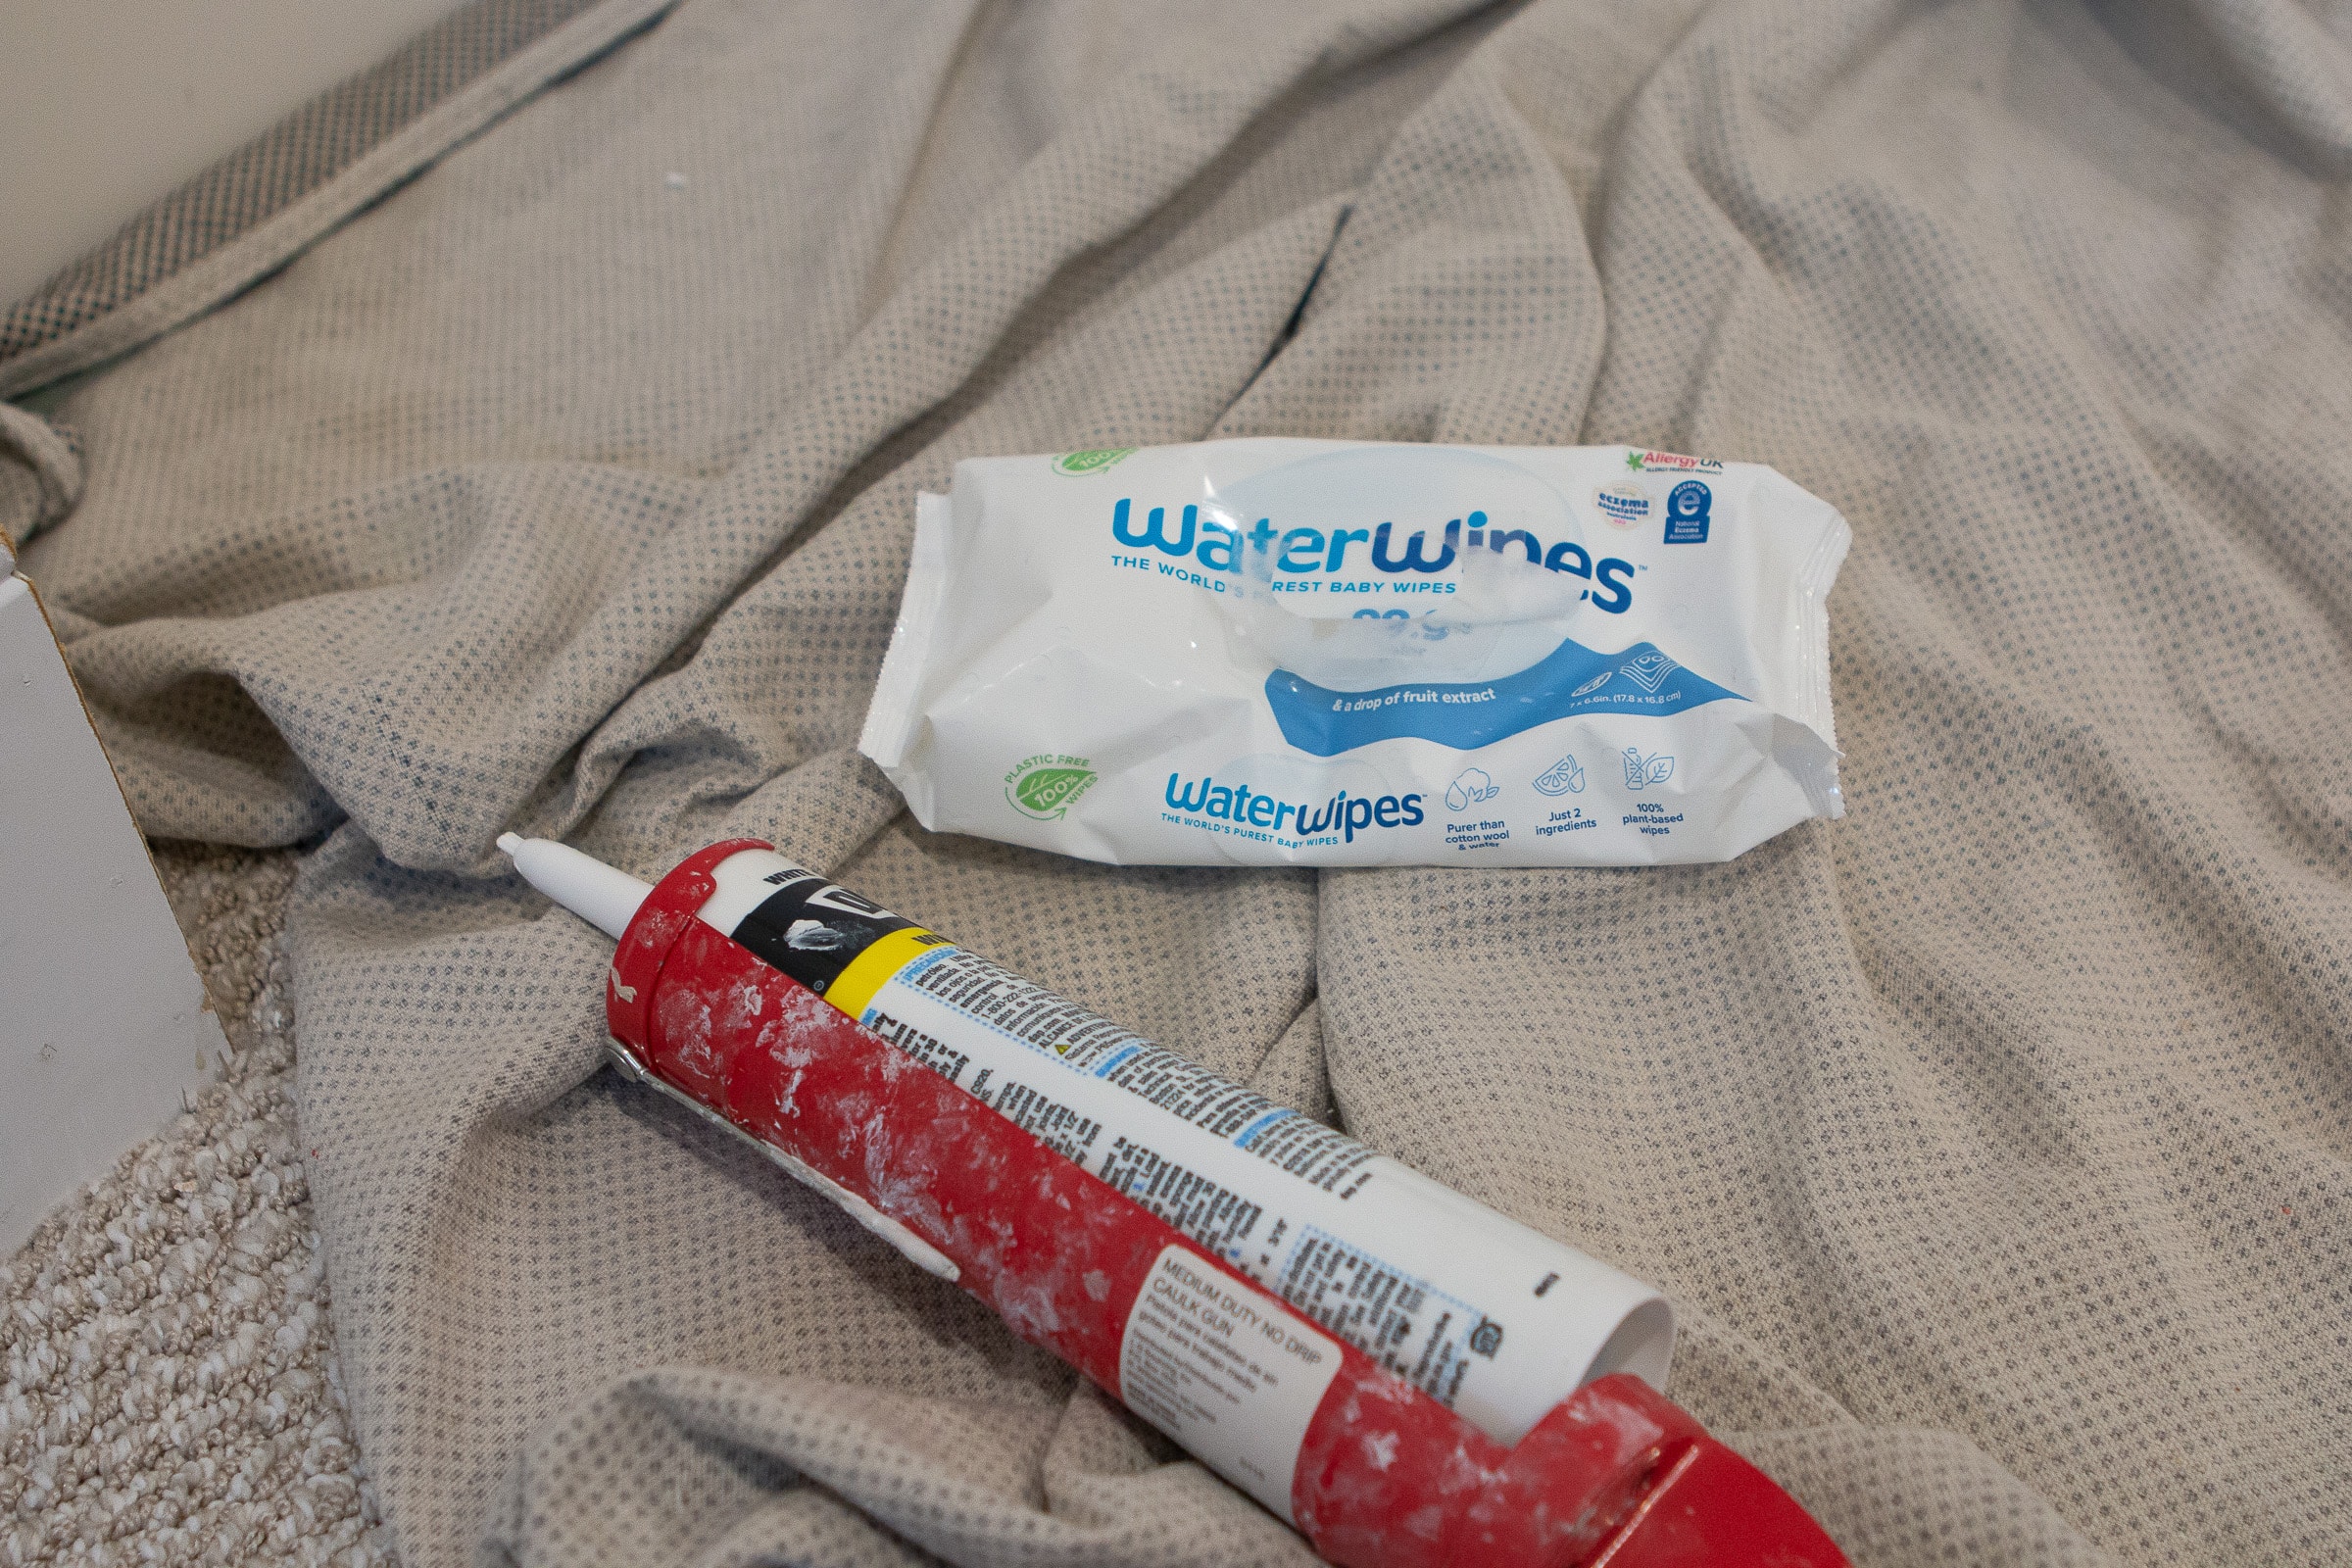
With all of the wood up, it was time for the finishing touches – filling nail holes and caulking. I’m actually going to share an entire blog post about this process on Friday because I have a lot of tips to share. I had to caulk the woodwork in the entire basement, not just on the shiplap wall, so it took me a few hours to get it all done.
On the shiplap, you’ll want to caulk all of the edges (ceiling, sides, and baseboard) and fill any of the nail holes using painter’s putty.
My New Vertical Shiplap


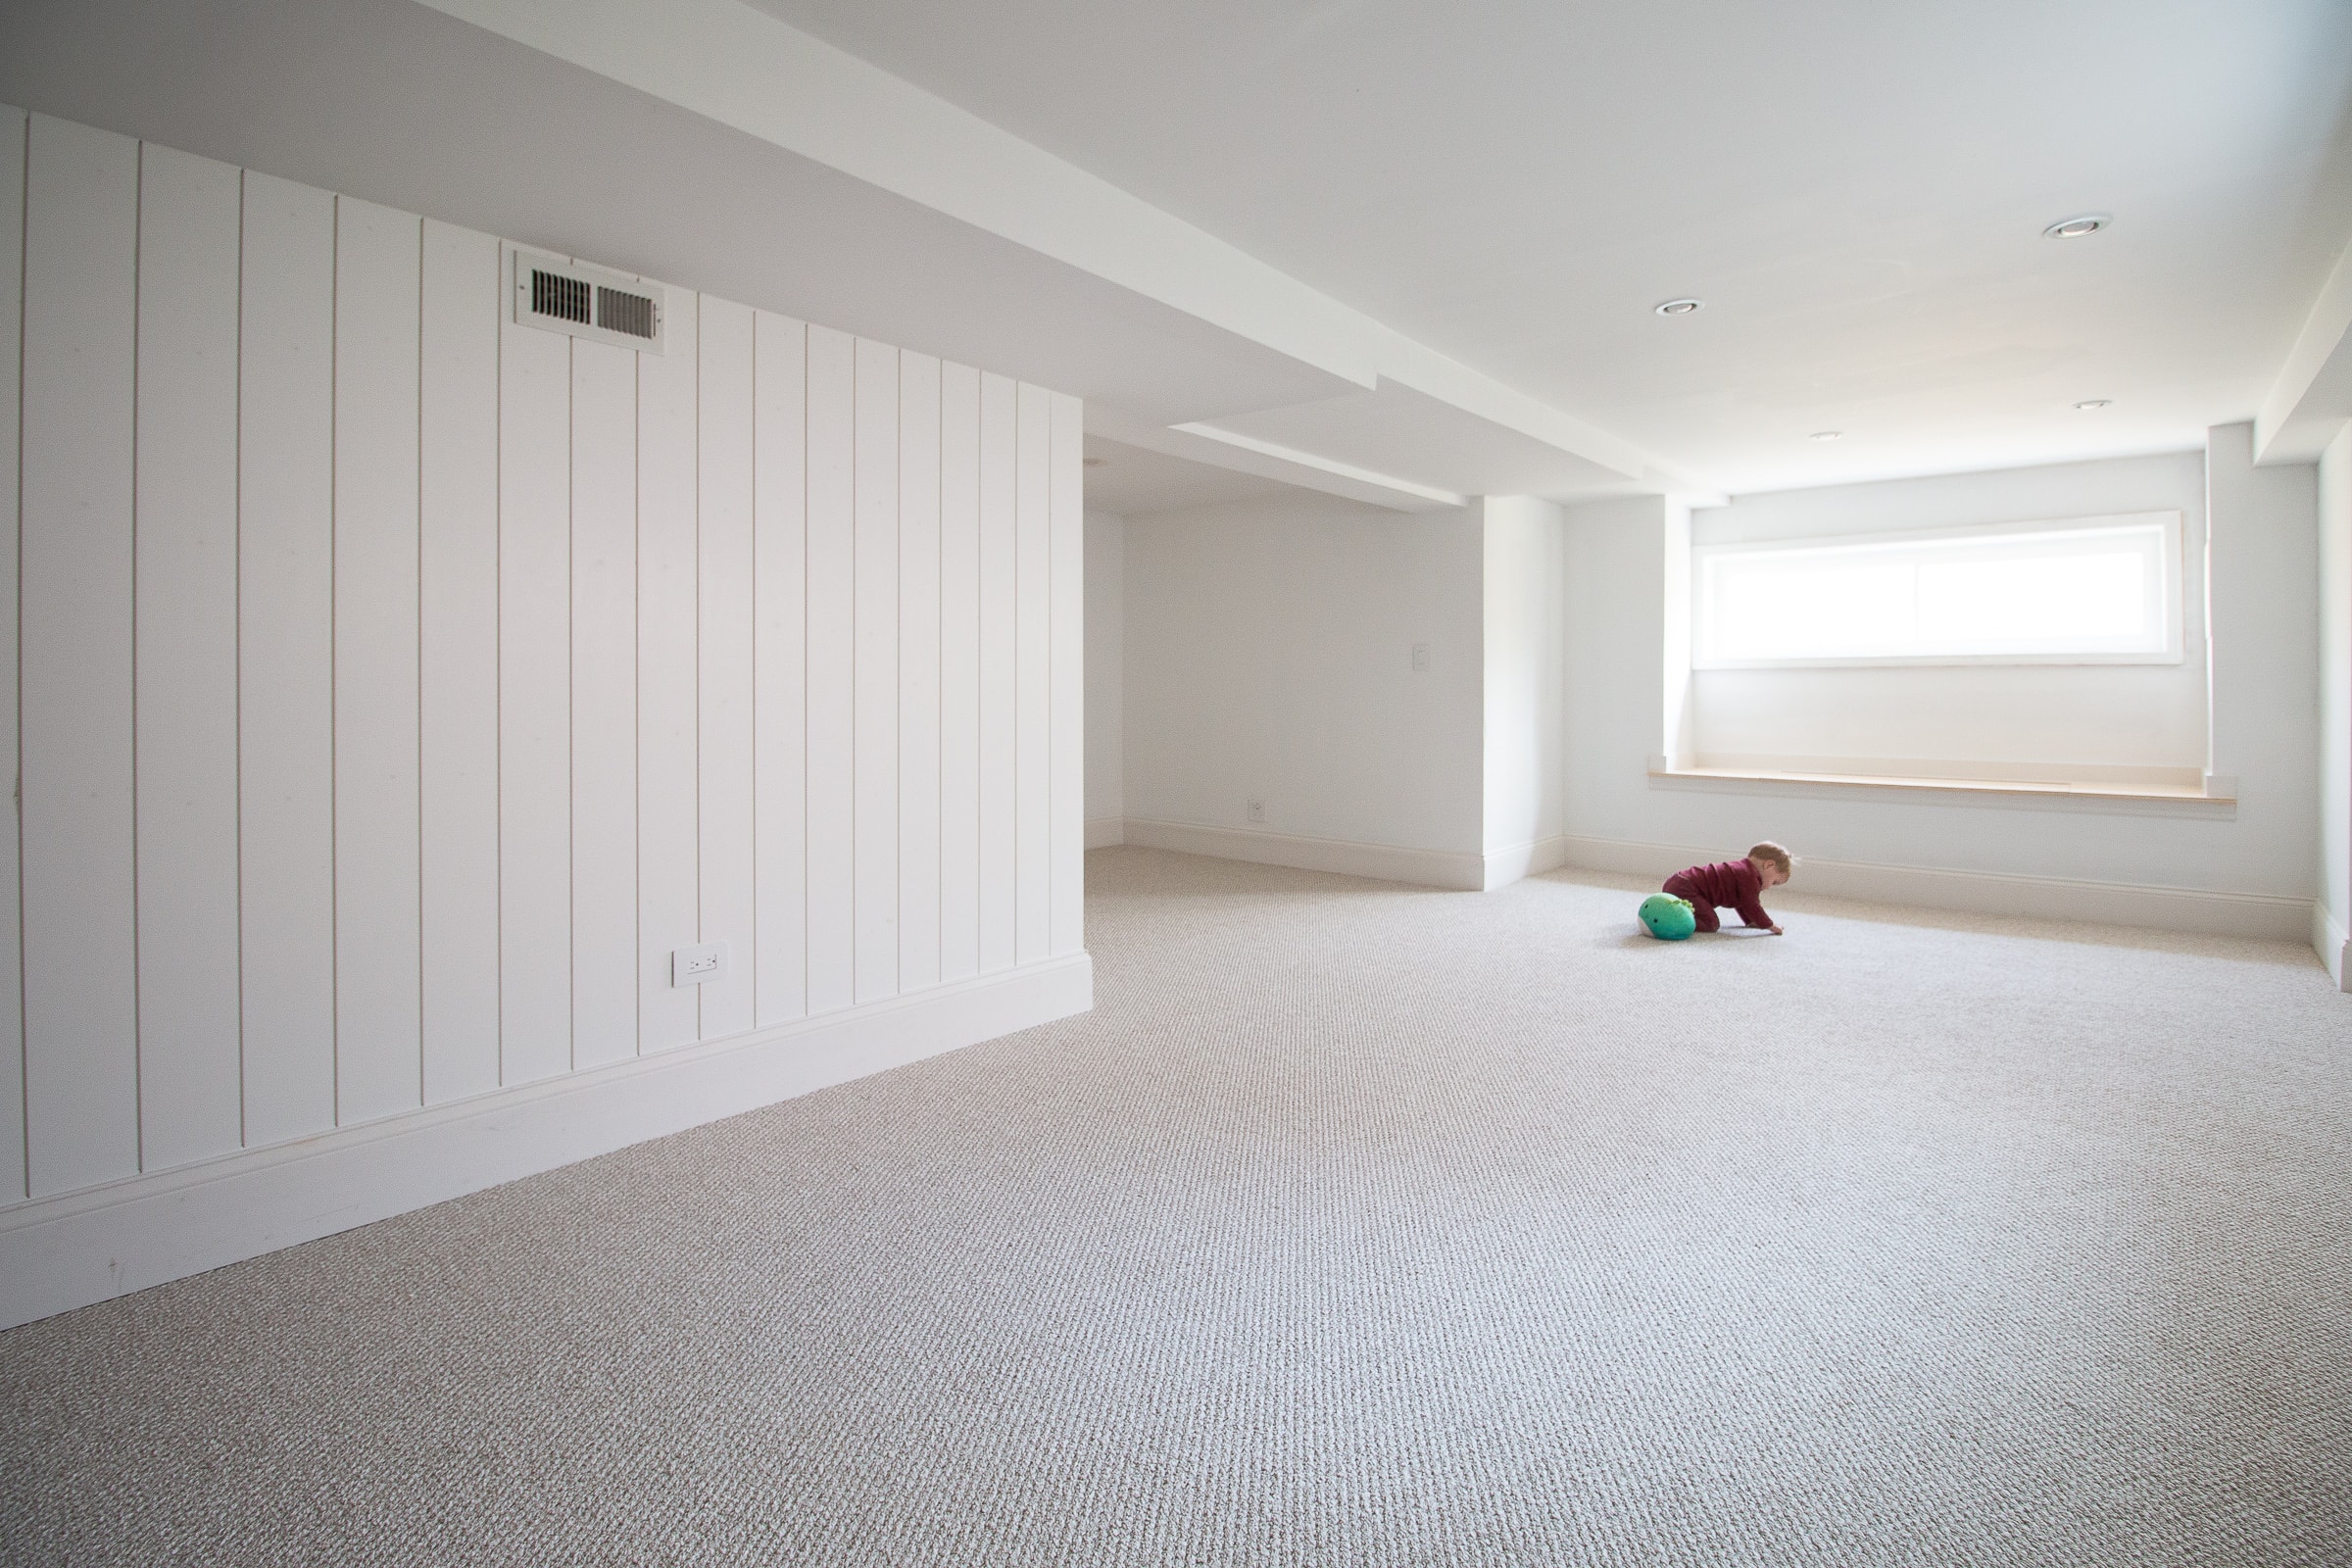
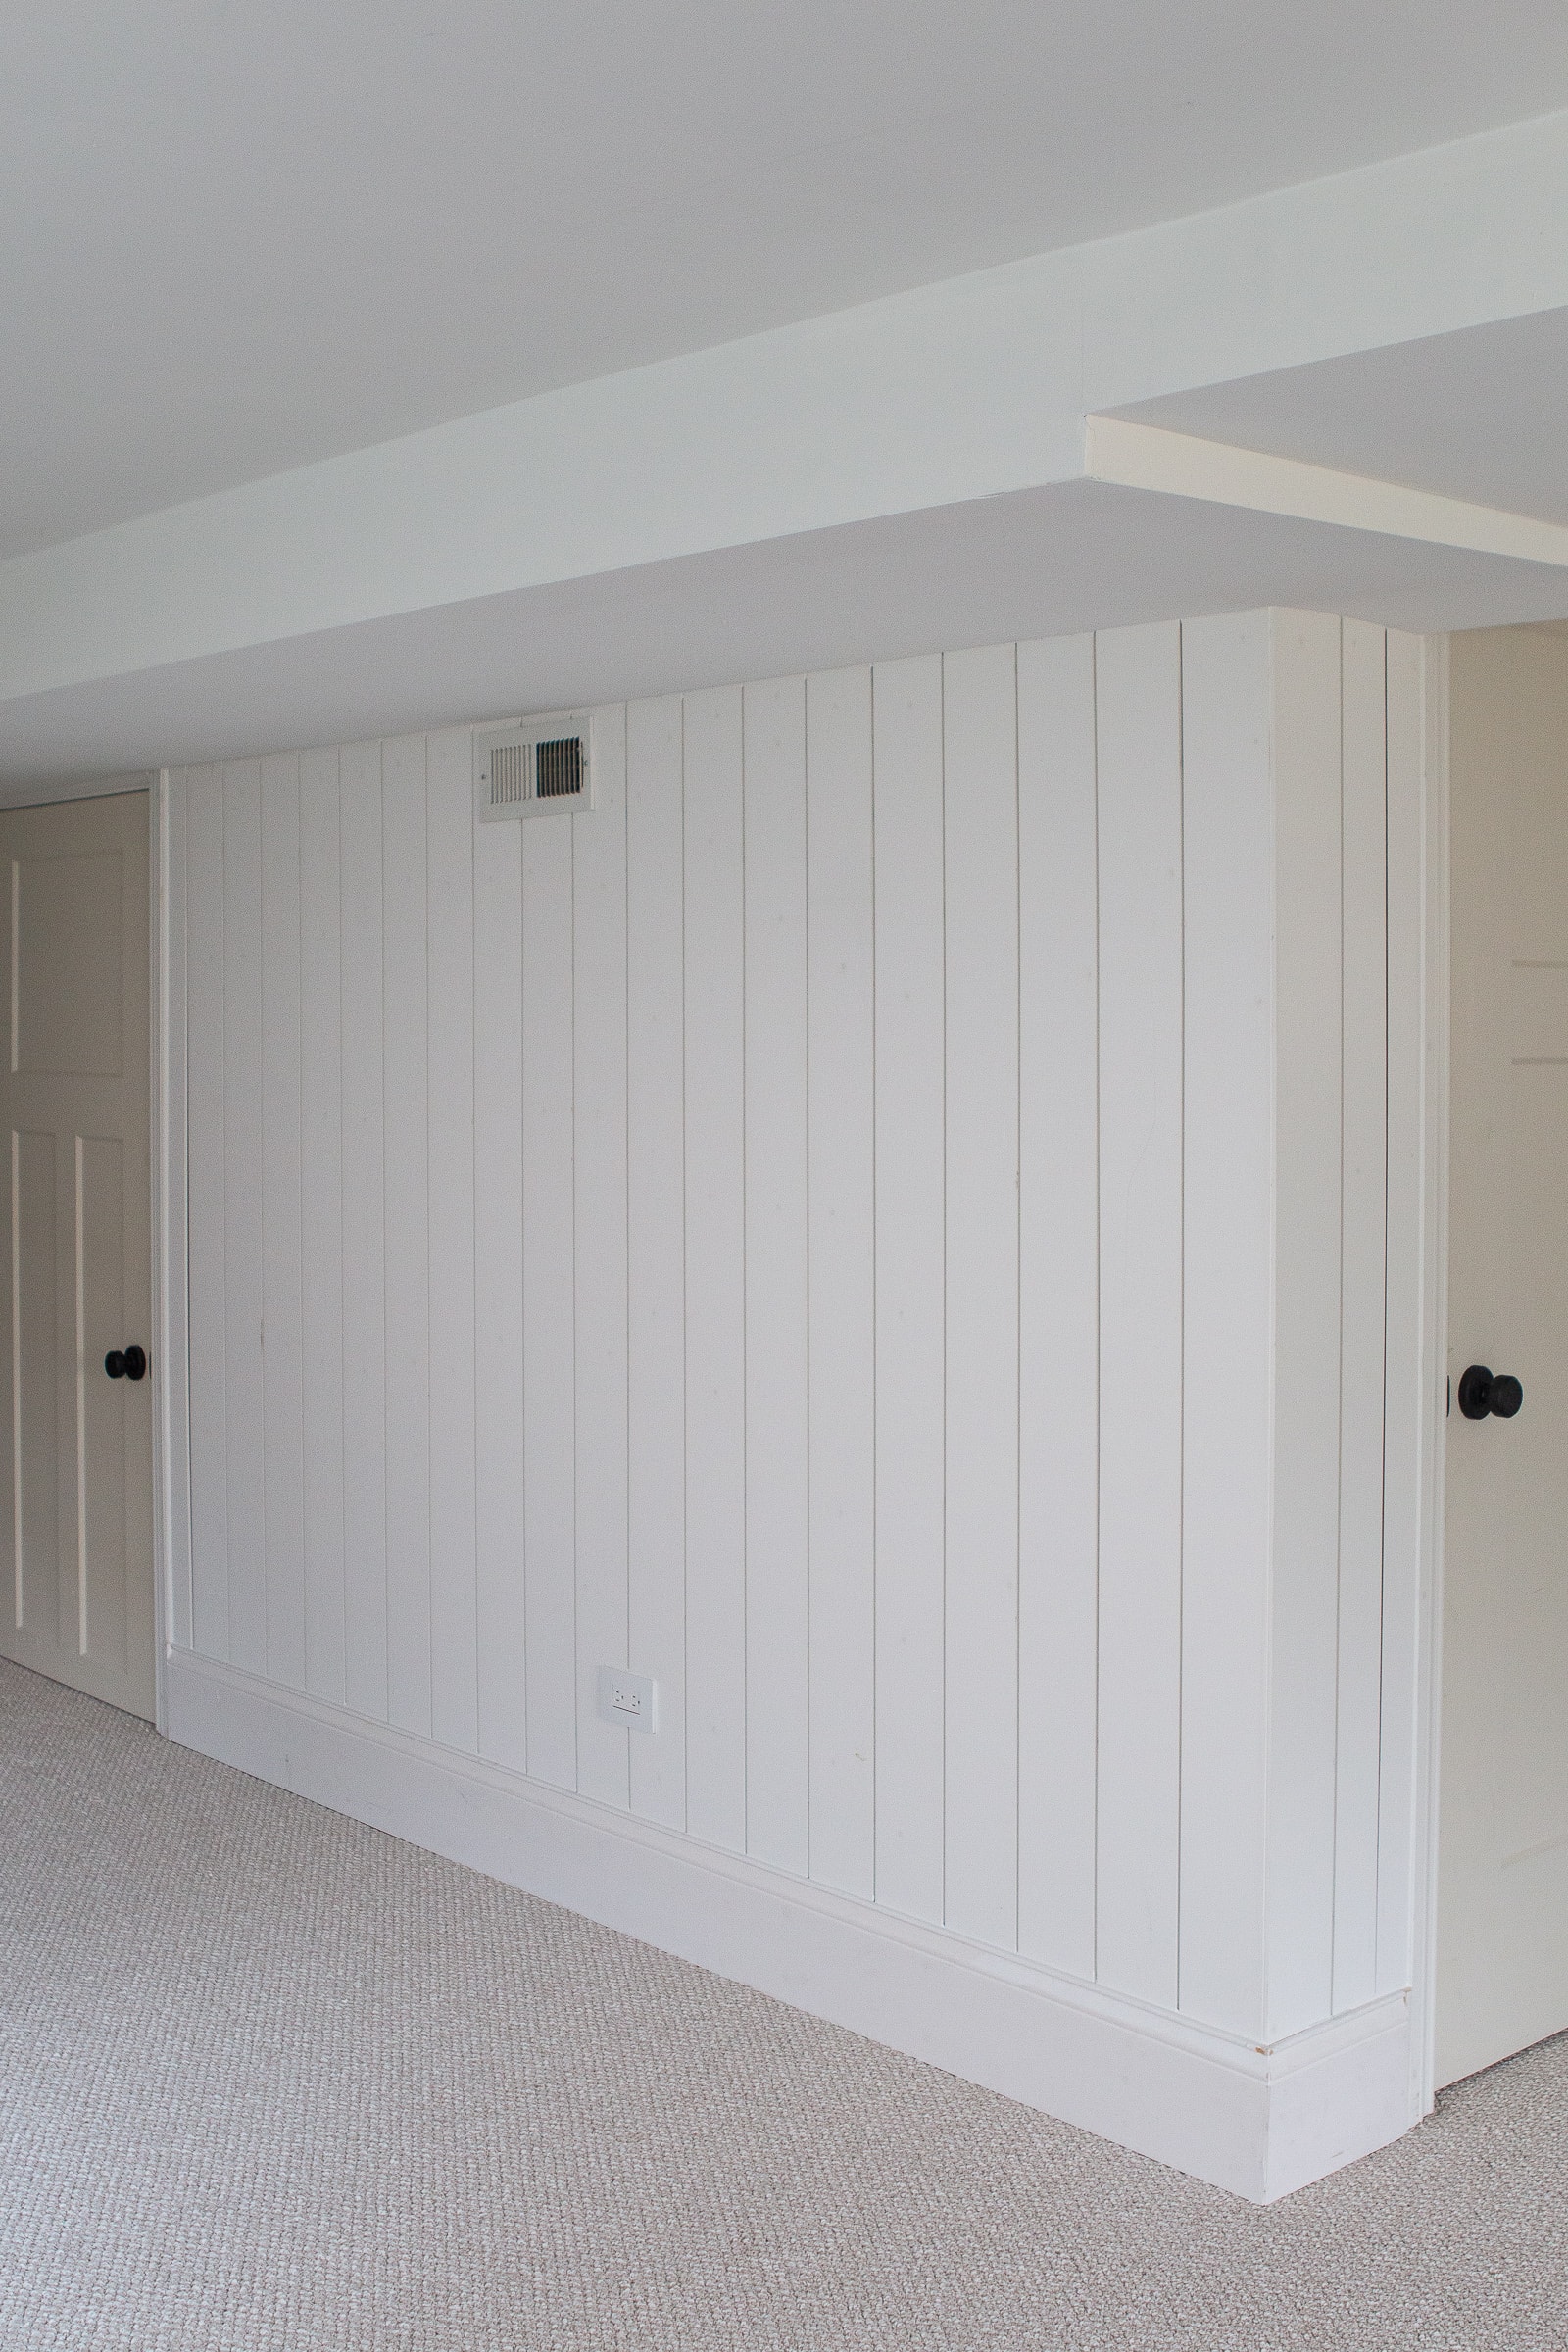
I absolutely love it! Not only was it a fun project, using a new tool, but it adds a lot of character to this basement. I know that with paint, a TV, and the console, it will look nice and finished. It’s gonna be good!
Painting Comes Next…
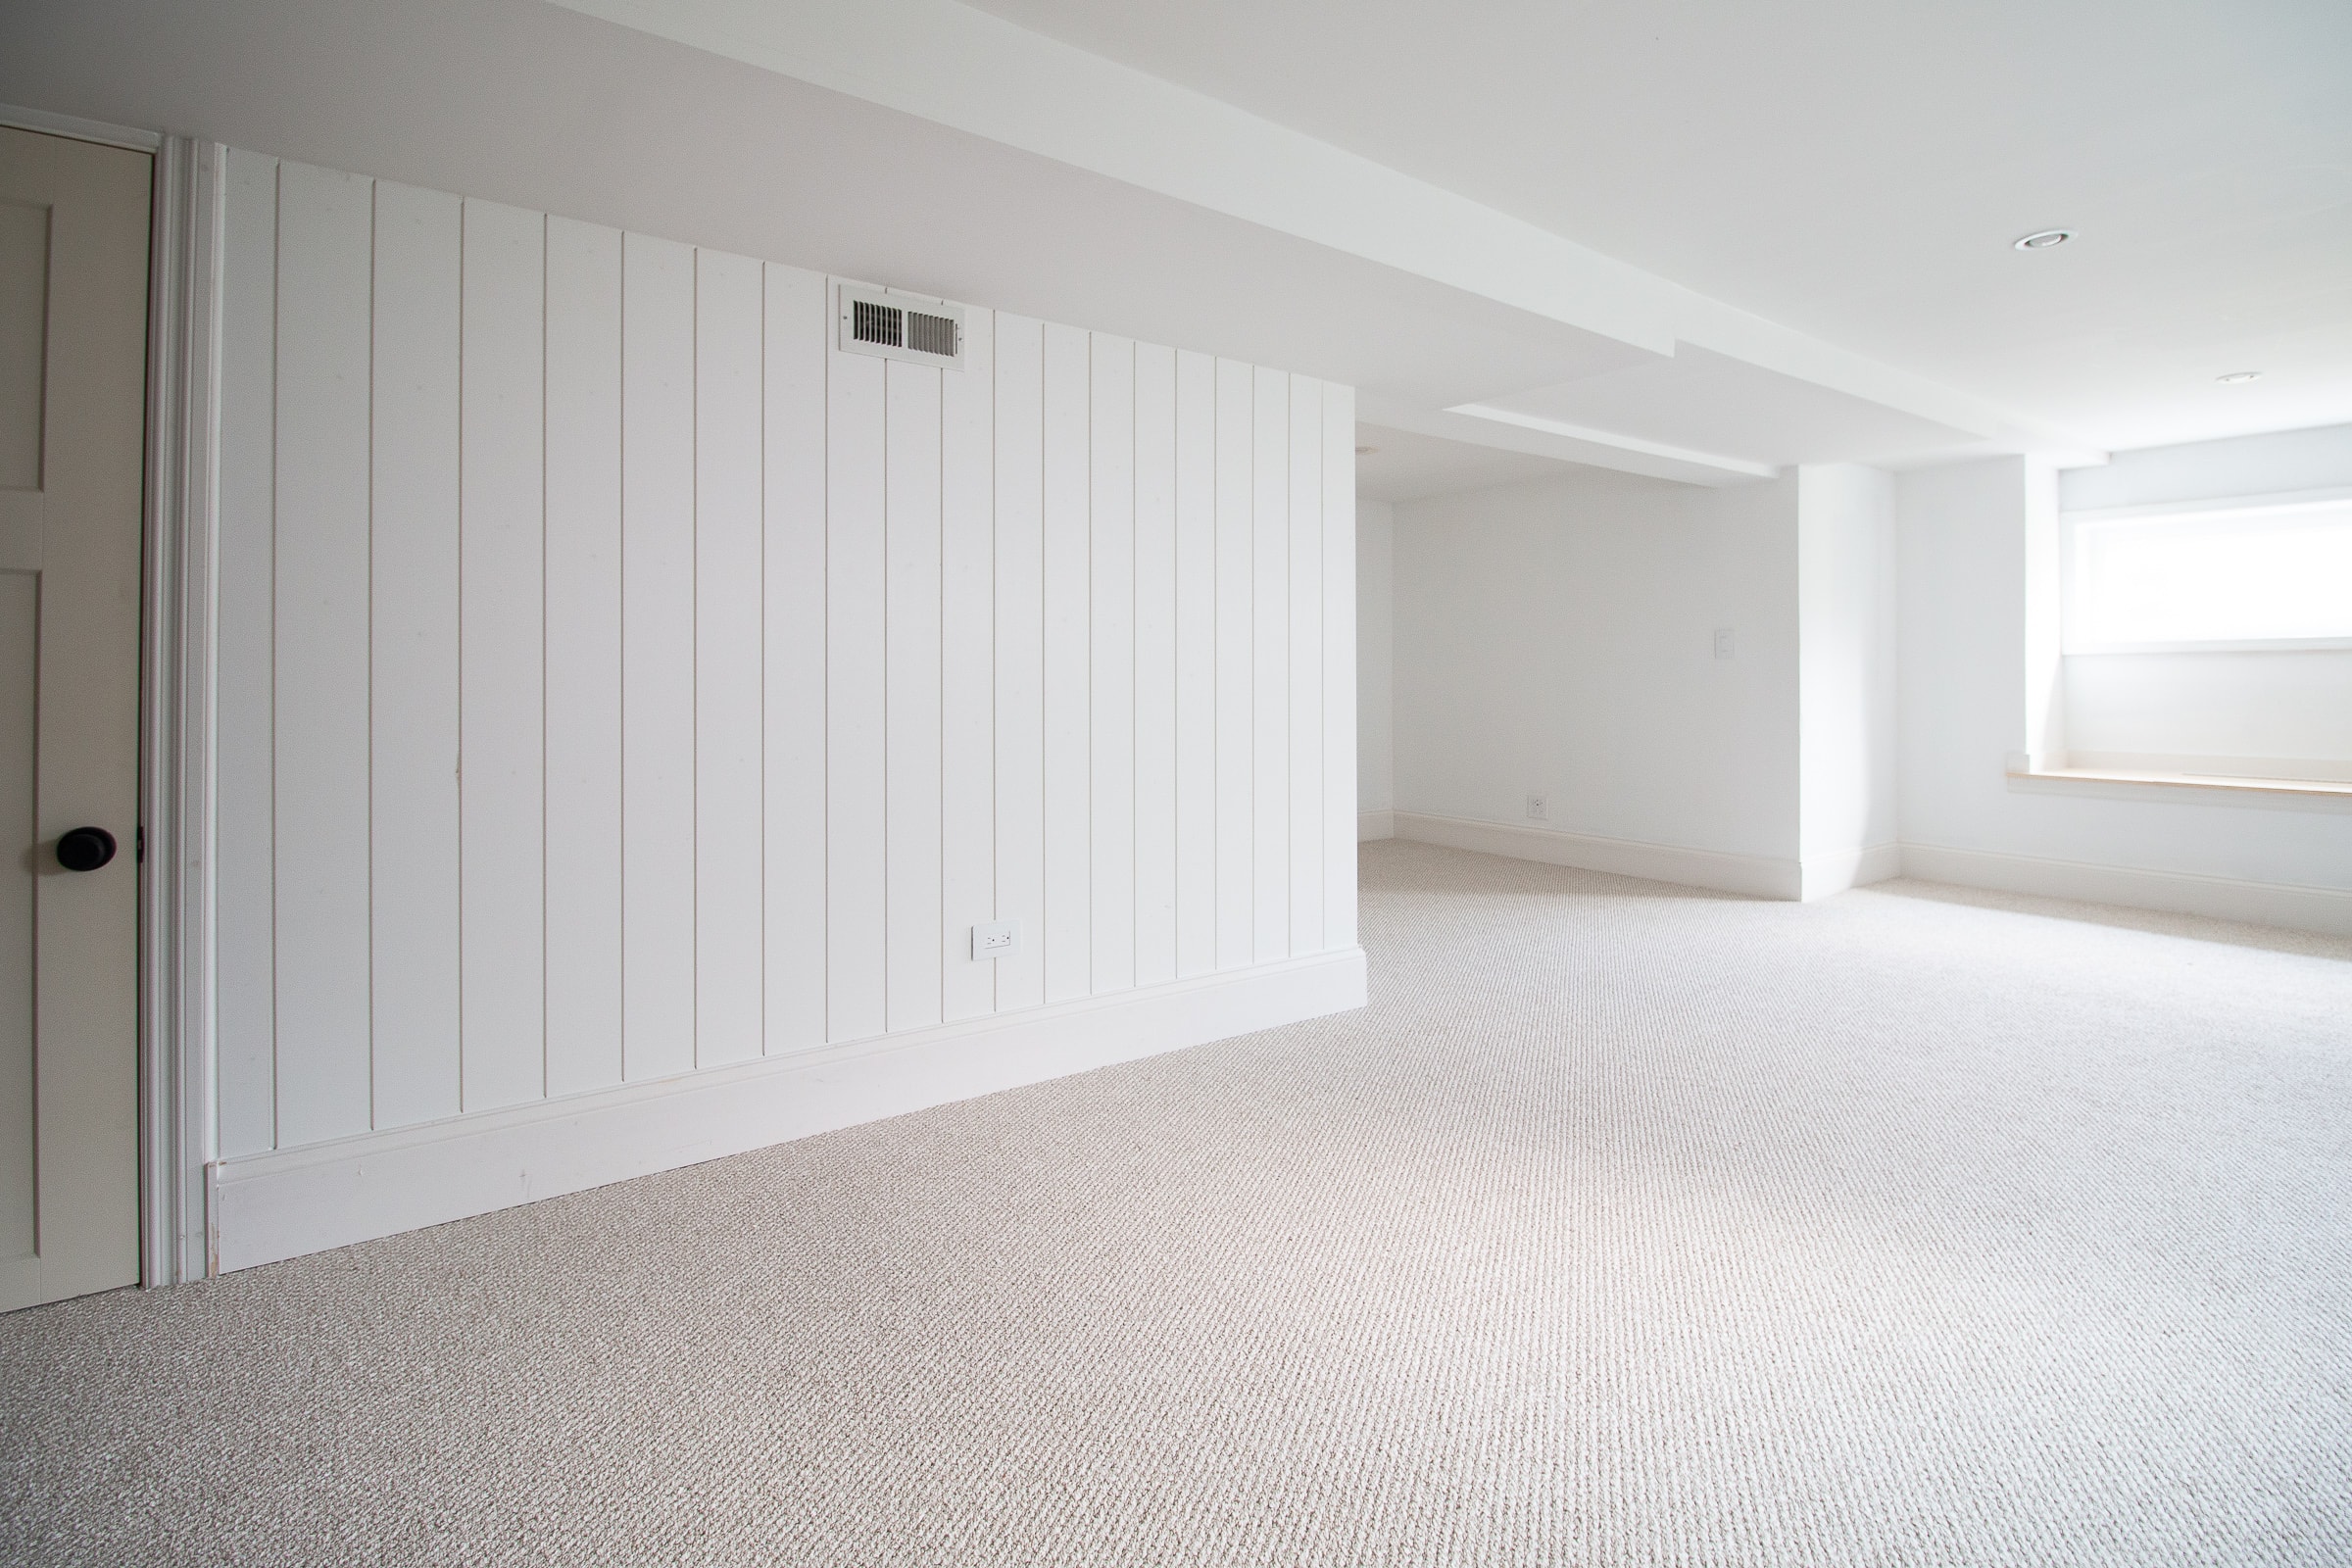
This entire wall of new shiplap, and really everything else in the basement, still needs a coat of fresh paint!
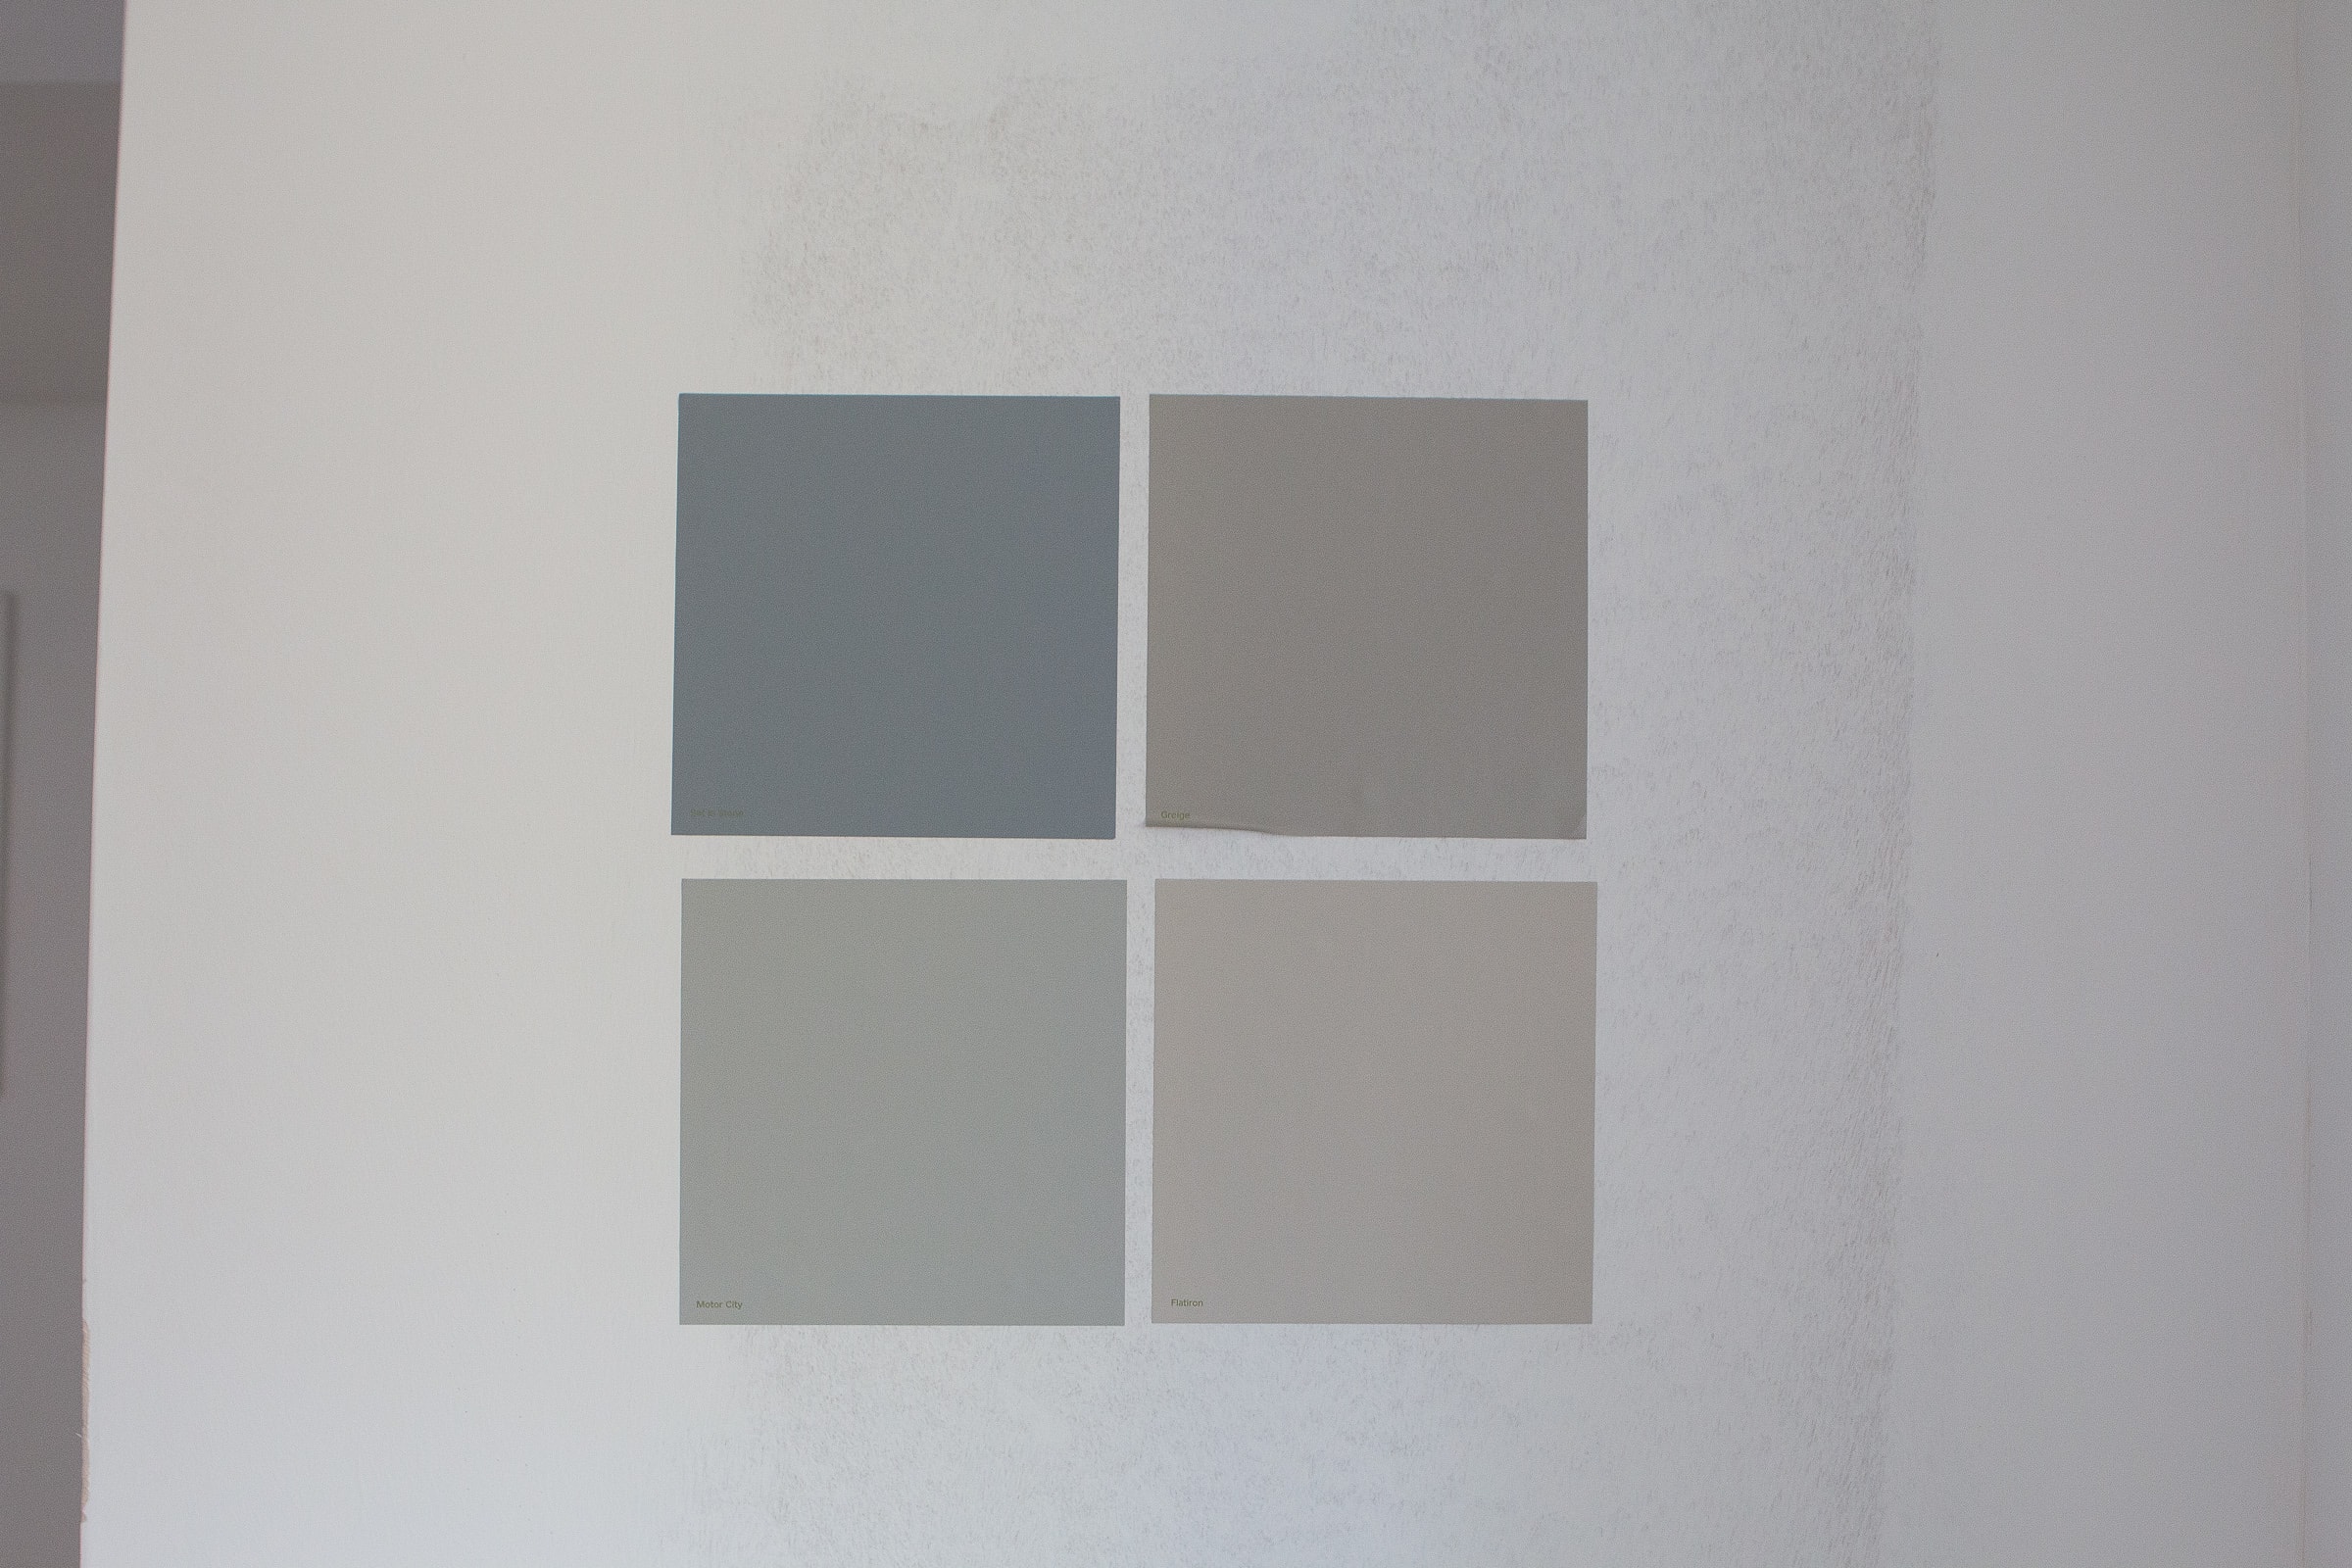
I asked for your advice on what color to choose back in this blog post and I’m happy to announce that I’m going with the color “Greige” from Clare paint. (It’s the upper right paint color.) It was actually the least-liked color when I showcased it on Instagram, but for some reason, it really spoke to me! I think it’s a great medium-toned hue that will bring some warmth to the space. Plus, it will be easy to decorate with this color because lots of furnishings will pair well with it!
Stay tuned for Friday’s post with my best caulking and nail-filling tips. Then, it will finally be time to paint this entire floor of our home!
Catch Up On Our Basement
Here’s a look at all of the basement plans I’ve shared so far…


