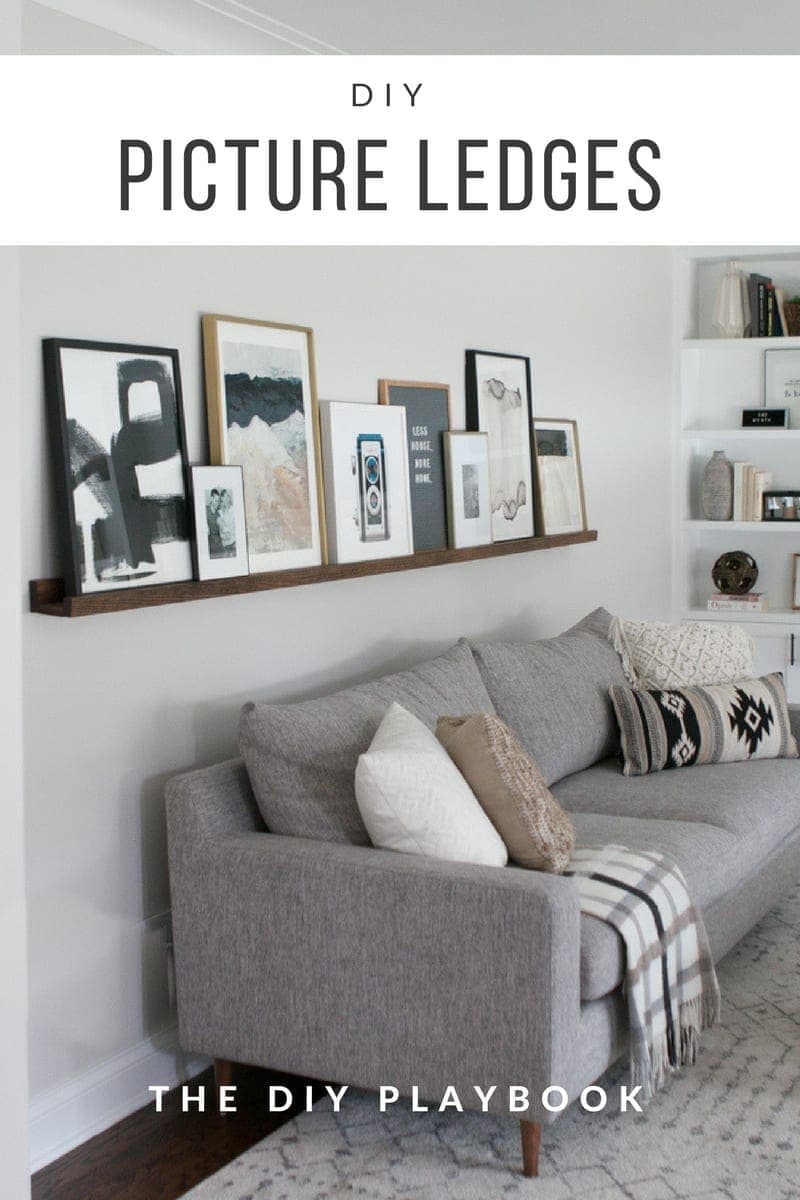
DIY Picture Ledge Over A Couch
Disclaimer: This post is sponsored by Minted. All opinions, photography, and instructions are our own. Thank you for supporting the brands that support this blog.
 I hope you guys had a great weekend! I know it’s been a while since I’ve checked in with a new DIY project, so I’m extra excited to share today’s update with you guys. This DIY picture ledge is actually my first DIY project since having Ben, and hopefully just the start of lots more to come.
Plus, it’s such an easy project that has made a big impact in our family room, I hope you guys love it as much as I do!
Finding Art for the Family Room
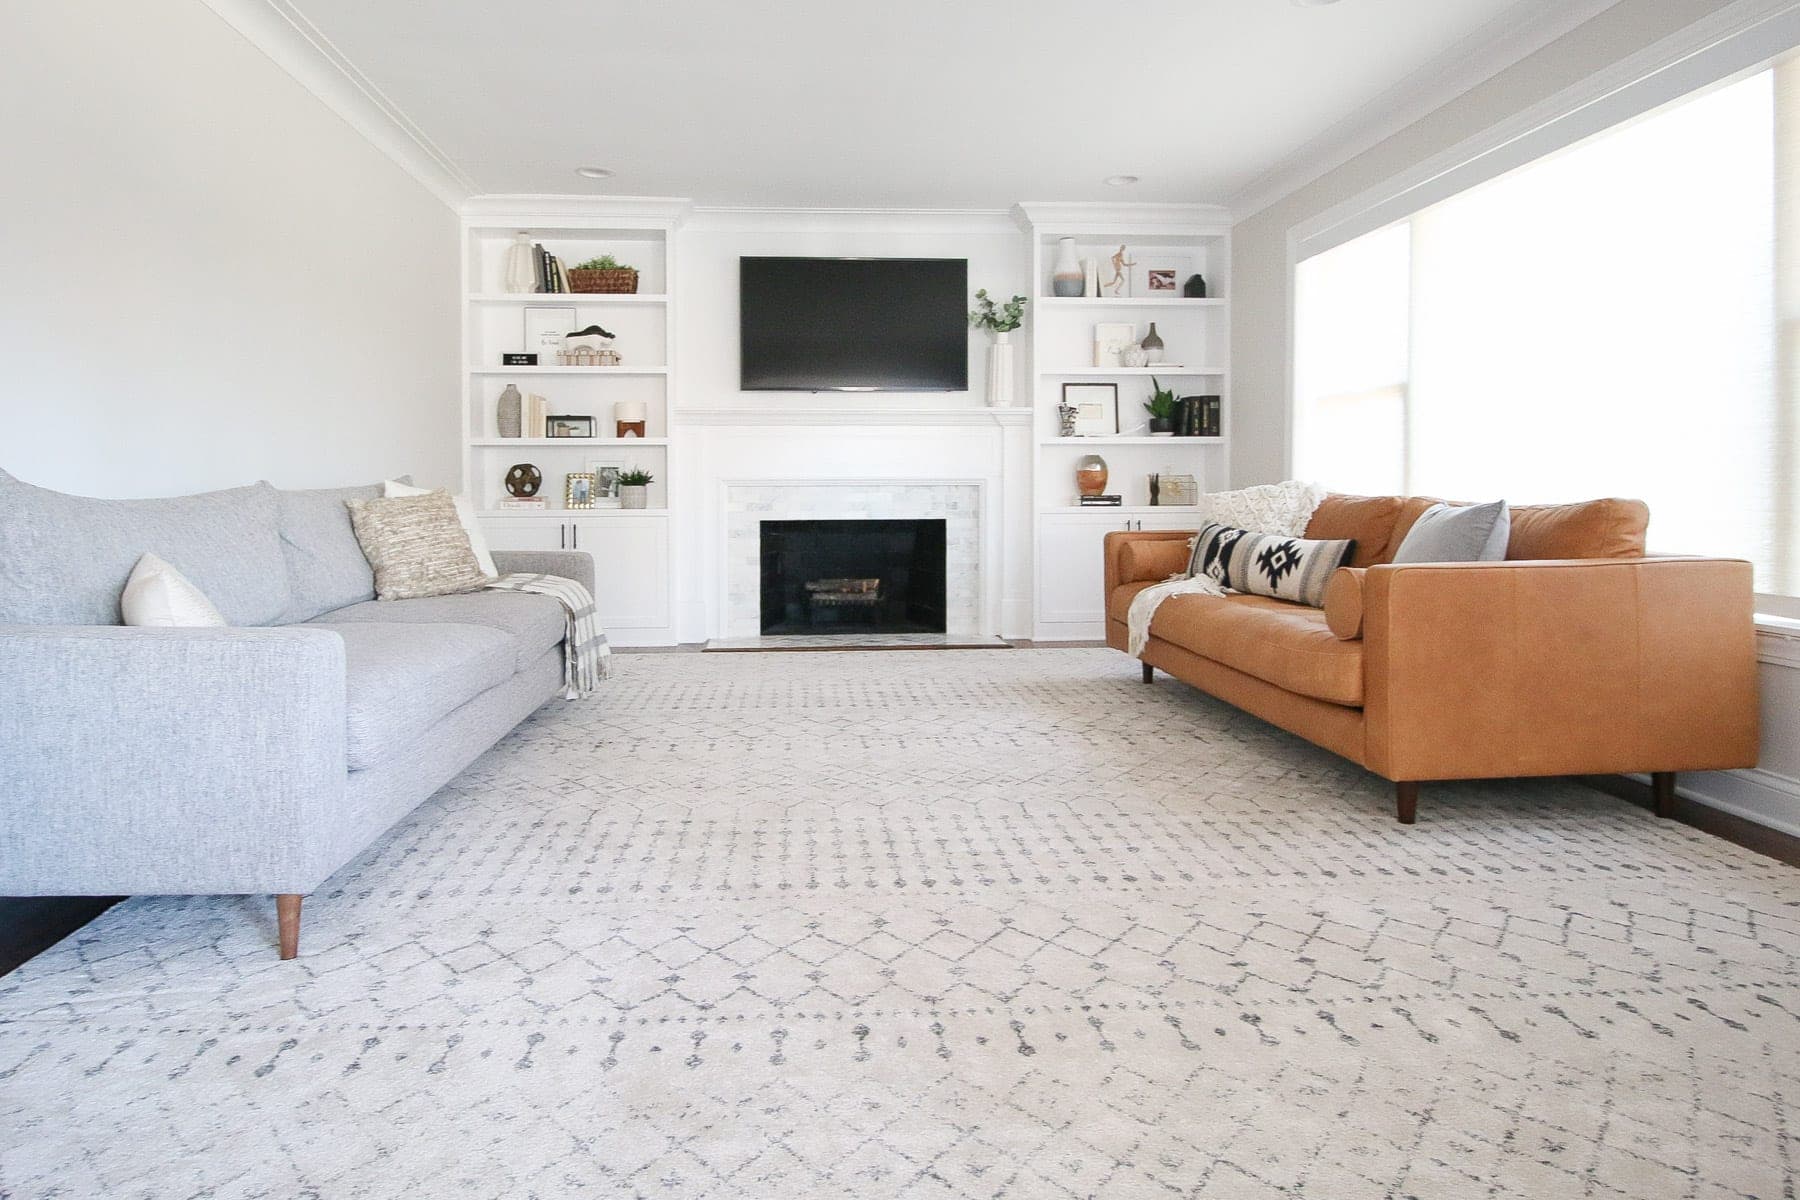
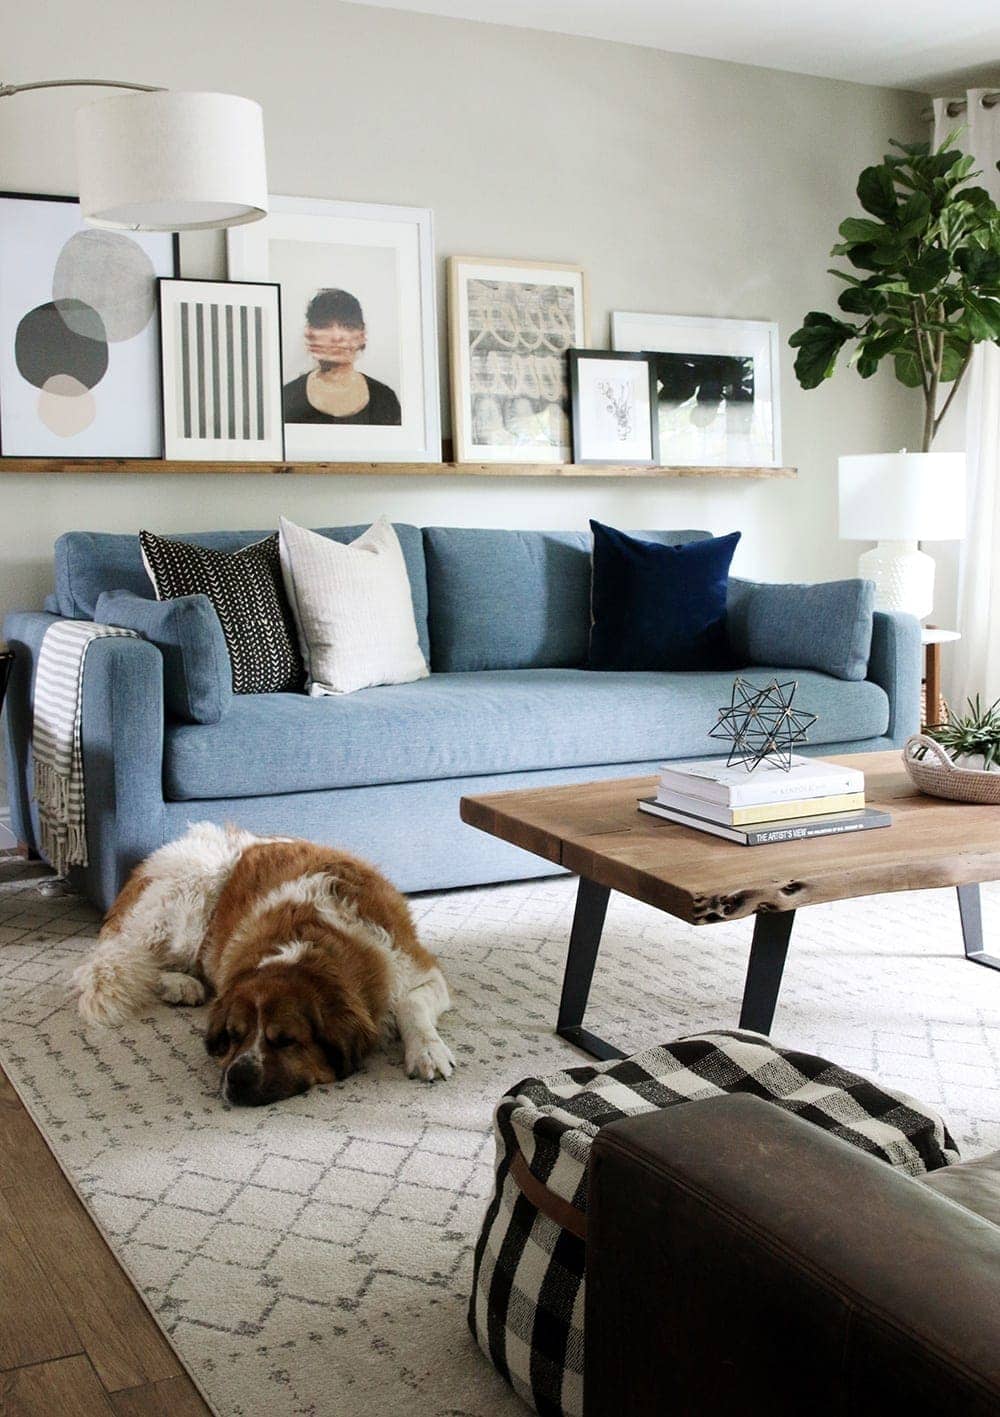
The family room has slowly been taking shape with this new couch, another new couch, our built-ins, and a fireplace makeover. I’m loving the progress and next on my to-do list was deciding on a coffee table and choosing art for above the couch. I ordered the coffee table a few weeks ago (you can read about it here) so then I set out to find the perfect art.
The Problem
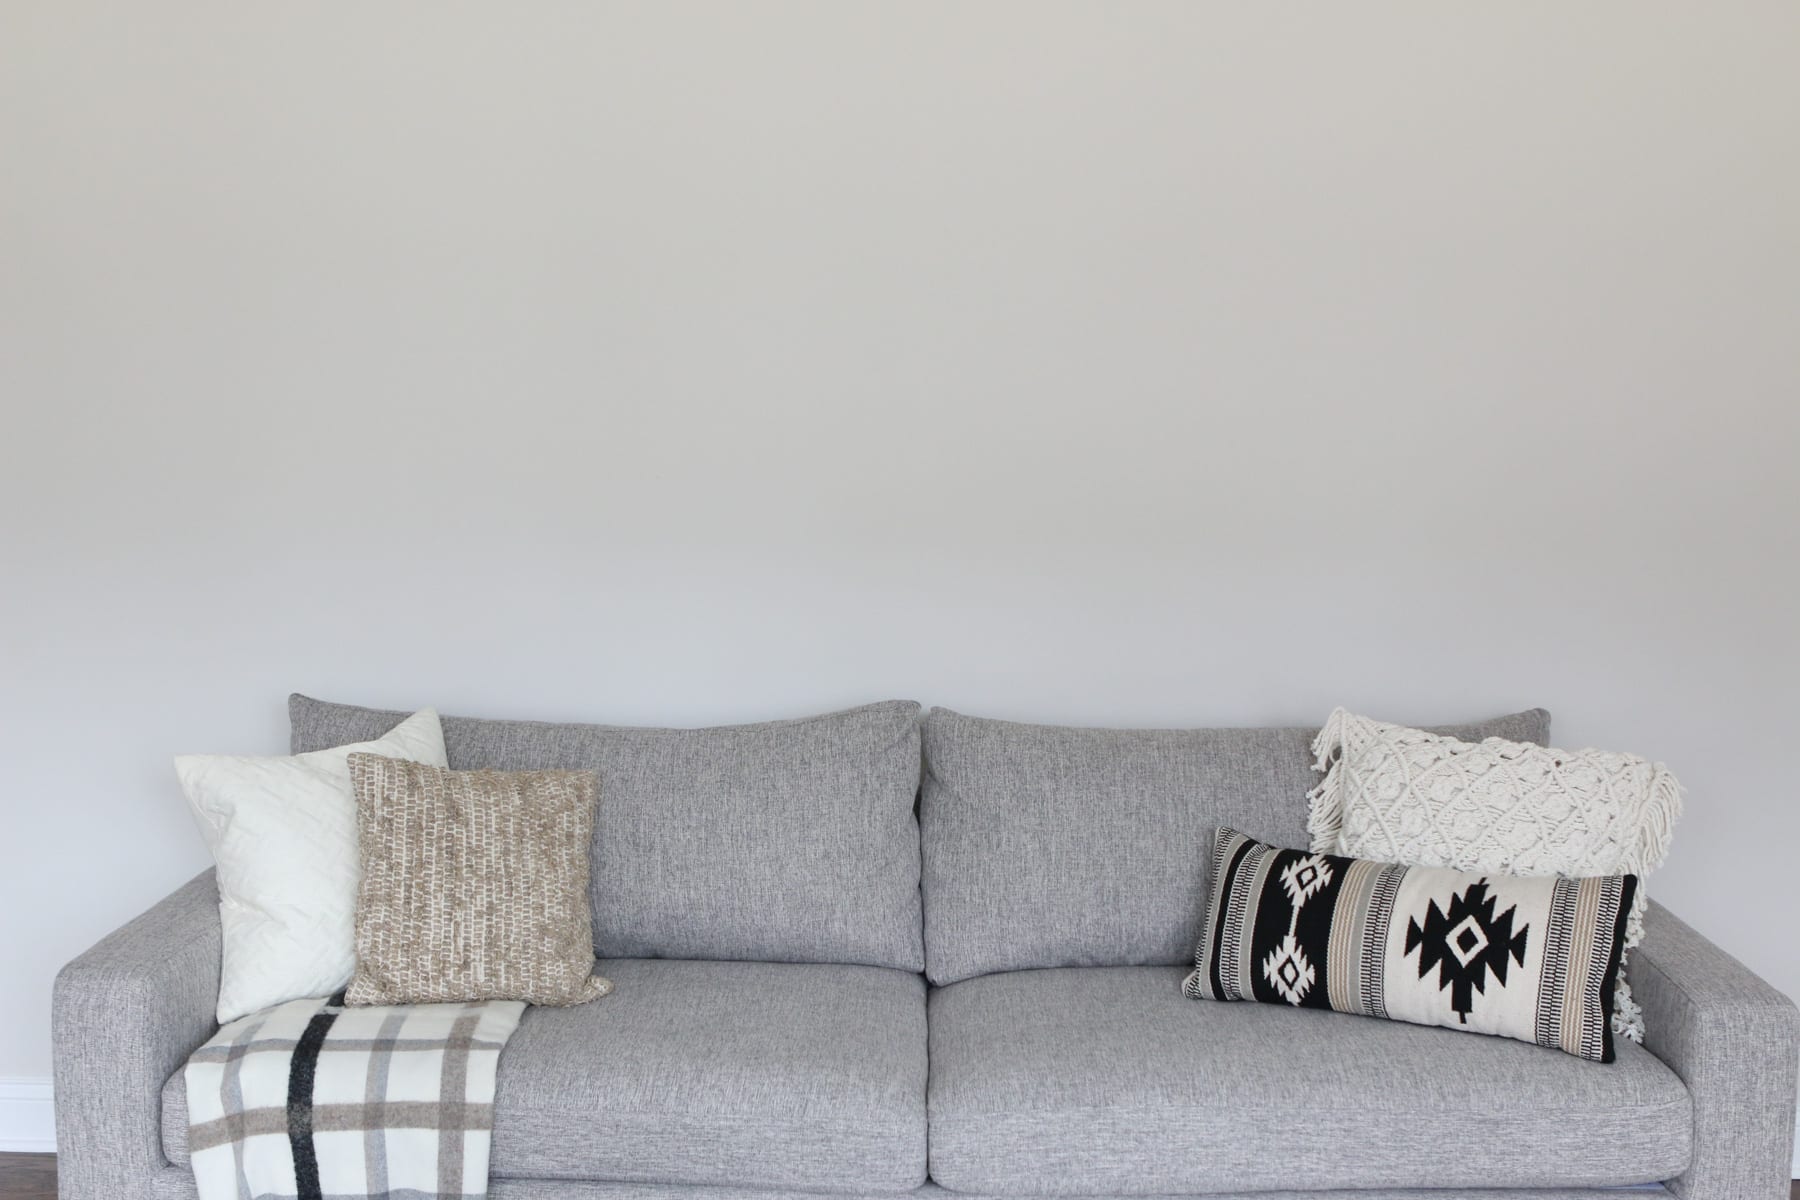
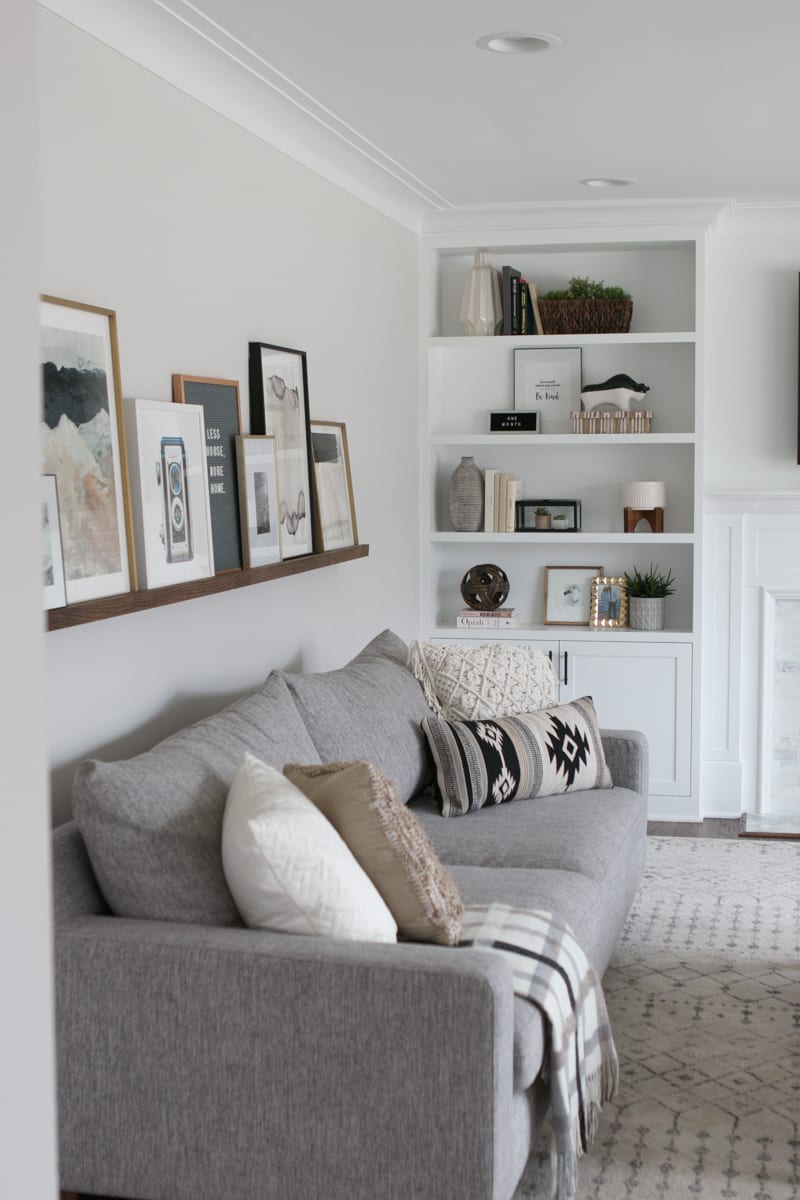
But I just couldn’t find large enough pieces for this massive wall. Even two large frames like I had in my old house seemed teeny-tiny over the extra long couch. That’s when I started searching for a Plan B. Enter my longtime love of Chris Loves Julia’s picture ledge over their couch.
Inspiration
Not only have I always loved this look, but I especially love that the displayed art can be easily swapped out. A perfect solution for someone like me who tends to have a bit of fear of commitment when it comes to wall art. SOLD!
 Here’s my spin on that same project!
DIY Picture Ledge
 I built the DIY Picture Ledge using the exact same steps from the DIY Bookshelves I built for Ben’s nursery. This time though, I stained them dark walnut (the same color as our floors) and used 10-foot pieces of wood.
 Then my dad came over and we hung the ledge by drilling cabinet screws right into the back of the ledges, hitting studs in all of these places. I don’t mind having an exposed screw head because the art will forever cover those screws.
Choosing Art
Now it was time for the fun part — choosing the art! I spent hours (literally hours!) on Minted choosing the perfect pieces. There were so many great pieces and narrowing it down to a few winners was definitely the hardest part. Eventually, I landed on a few neutral favorites that I felt would mix and match well with just about any other pieces I eventually added.
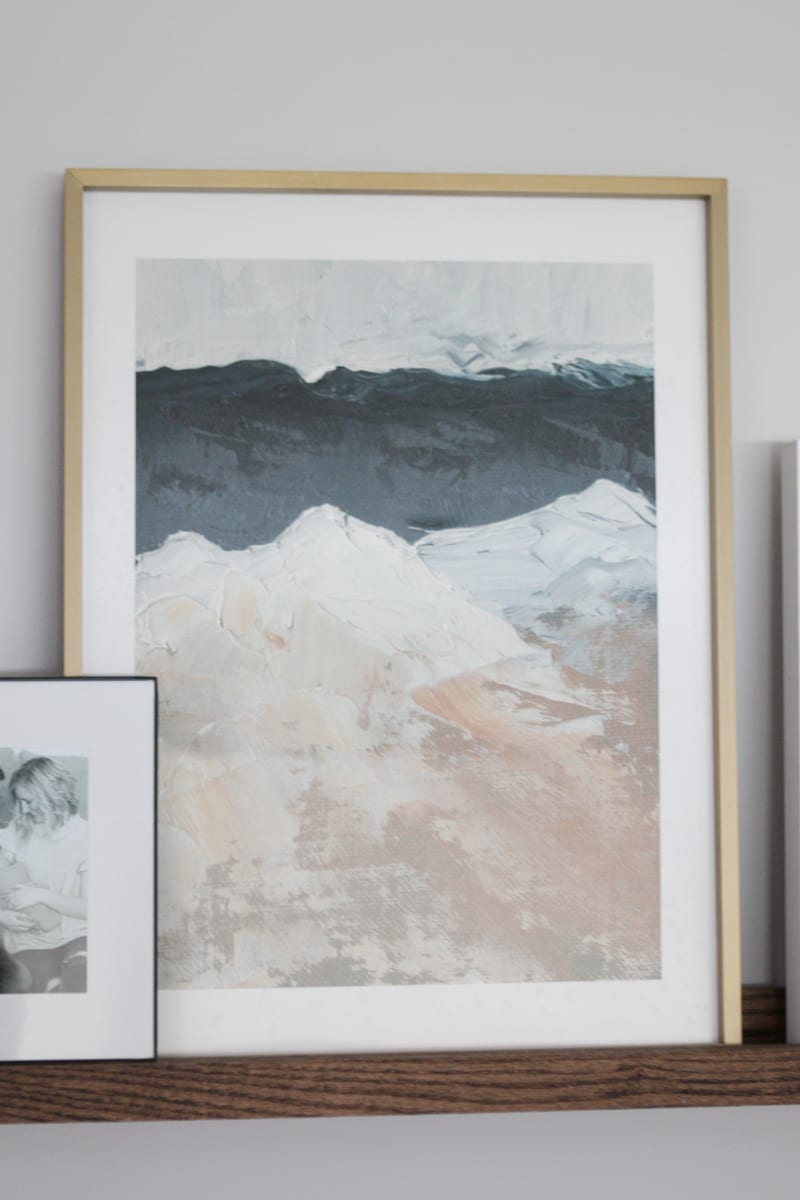 I picked this Mountain inspired art (18×24″) and had it framed in a matte brass frame.
 I also ordered this abstract piece (16×16″), again having it framed in matte brass.

For this last print (16×20), I ordered just the print and opted to frame it with a black frame I already had. I don’t mind splurging on some of Minted’s framed options, especially the brass ones because large brass frames are hard to find. But for frame colors that are more accessible in stores (like black), I will frame these prints myself to save money.
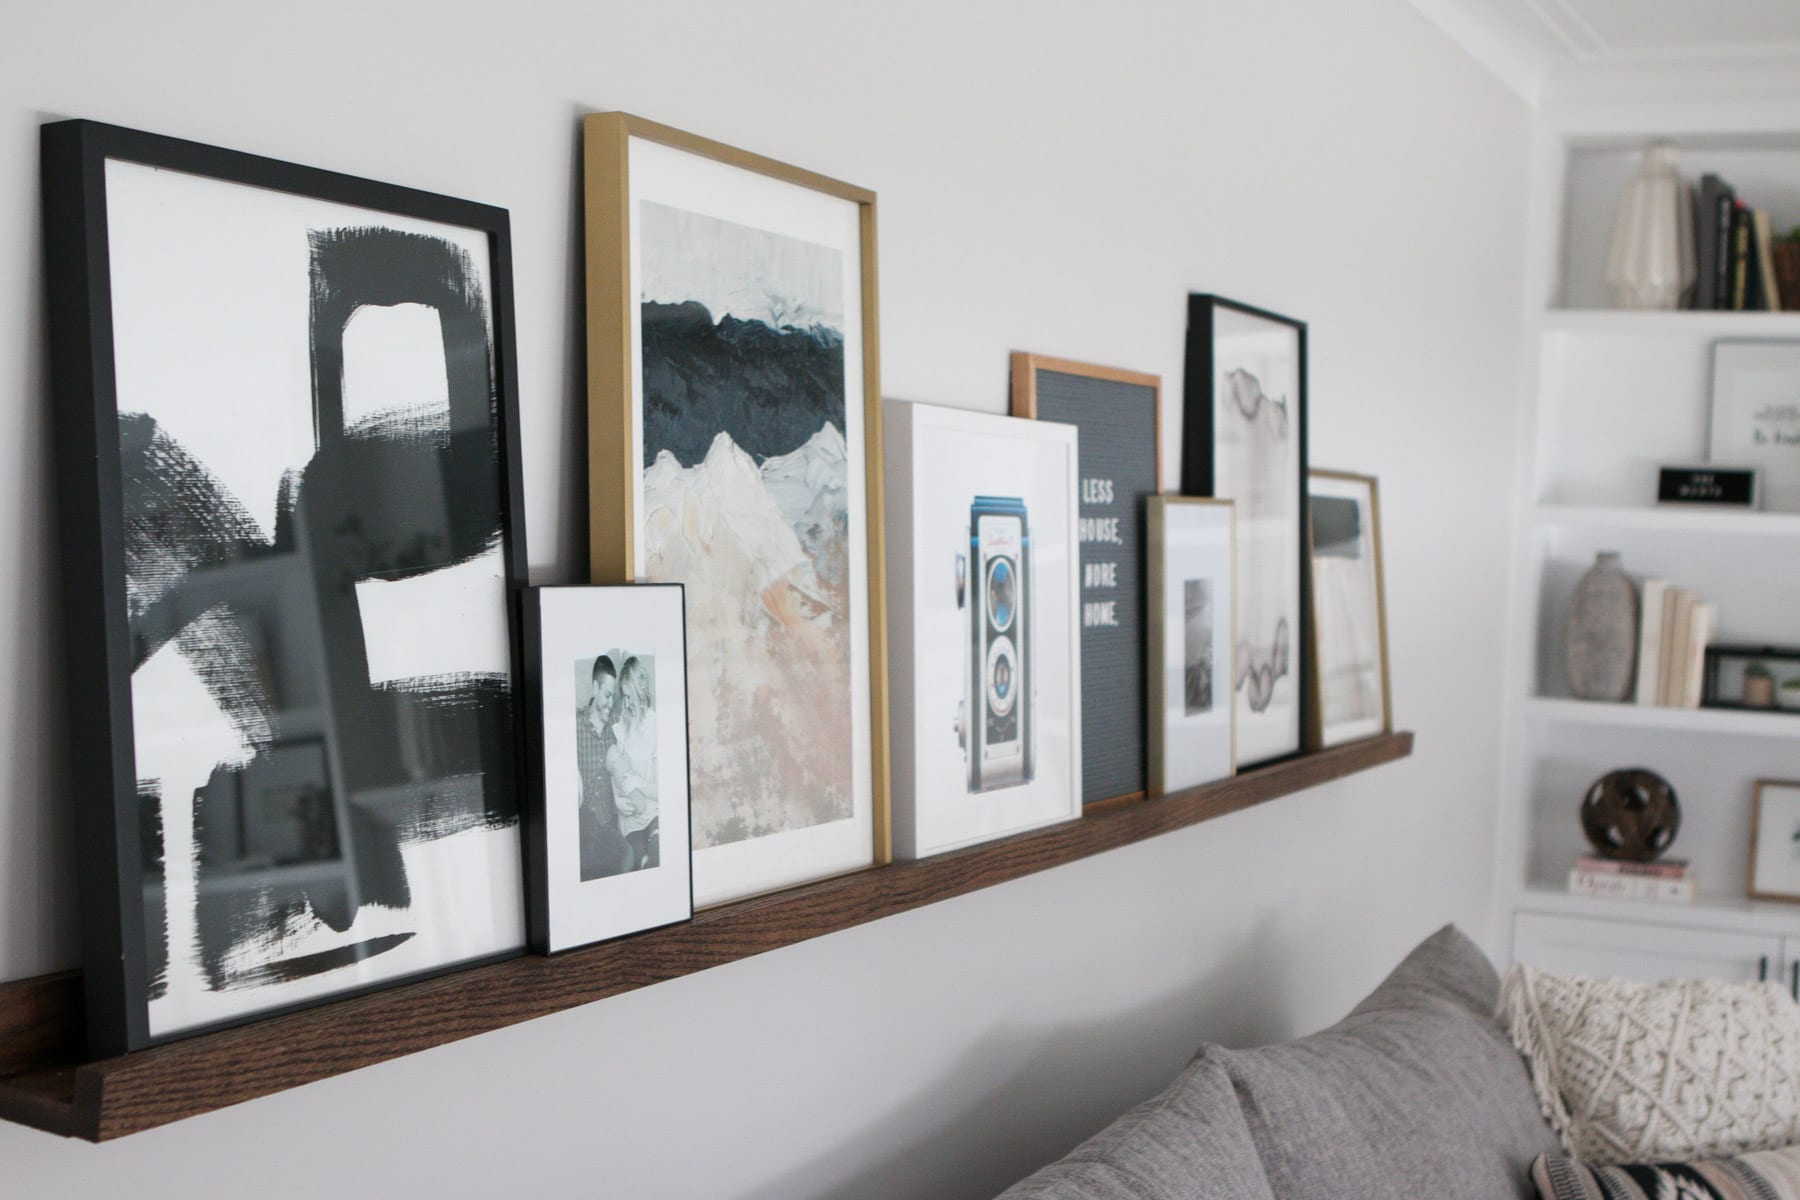


Once the Minted pieces came, I was so excited to add them to the picture ledge, mixing and matching them with pieces I already owned (like this camera print, this Target frame, and this Letterfolk board).
Securing the Art

To secure them in place (and give me peace of mind), I used heavy duty double-sided tape. I’m still not completely sold on this placement of all the frames, but when I identify the “winning combo”, I will probably add additional nails/hooks in the wall to secure these frames. I don’t think it’s necessary, but with a toddler on the horizon, I’d rather be safe!
 And for those wondering whether or not people who sit on our couch are at risk of hitting their head on this ledge… the answer is NO!! The picture ledge only juts out from the wall 4 inches. And you can’t tell from photos but the couch is pulled out from the wall a tad so that people who sit down will never be at risk of hitting their head on the ledge (just to be extra cautious).
Next Up
Overall, I’m so in love with this easy and affordable DIY project. I can’t wait to continue to “play” with the frames and art until I find the perfect combination. In the meantime, here’s my remaining to-do list for the room that has quickly become one of our favorite places in the house:
- Find End Tables
- Get Coffee Table Delivered (post coming next week!)
- Add Lighting (lamp? sconce?)
- Style tabletops (end tables and coffee table)
- Squeeze in storage for Ben’s “someday” toys?
- Find a large plant (that I can keep alive!)
Bridget