You know that feeling you got on Christmas morning as a kid when you first saw that Santa came to visit? Well, that’s pretty much how I felt when I came home from work the day when our trim was finished in the new house.
Two carpenters had been working for 3 full days hanging the baseboard, window casings, door frames and new doors. When I finally came home to see their hard work finished, I could not WIPE the smile off of my face. I was honestly like a giddy kid on Christmas morning. And to be perfectly honest, I still feel that way and just can’t seem to stop staring at their gorgeous work.
The Waiting Game
We
demoed all of the doors and trim about two months ago and didn’t anticipate the wait for the new trim to go up to be this long. Unfortunately, we had some contractor issues (more on that soon) and had to find a new team of carpenters to finish the job. It all worked out in the end because the duo that completed the work was meticulous and insanely talented. I definitely look forward to working with them again in the future.
Tips for Saving Money
But anyway, back to the demo-ed trim and how we got to this point. After
we demoed everything, Matt and I went to Fox’s Home Center in the Chicagoland area to pick out ALL of the material for this project (including the pre-hung doors). A lot of times carpenters order the material for you, which demands more of their time and therefore it costs you more. It is very convenient for the homeowner and carpenters since they know they will have the right stuff, but I opted to order my own material to save money.
The Cost Breakdown
Be sure your carpenter is okay with this, some may prefer to order it themselves or may be able to get a better deal for you if they work with their contacts. Our carpenter was supportive of us doing it ourselves, so Matt and I did all of the ordering. The carpenter came over and took all of the measurements when he bid the job and gave us a detailed list of what product we needed. Essentially here are the exact products we ordered from Fox’s:
- 3 1/4″ colonial casing (MDF primed) — window & door trim
- 5 1/4″ colonial trim (MDF primed) — baseboard
- Shoe — baseboard
- Pineboard — window sills
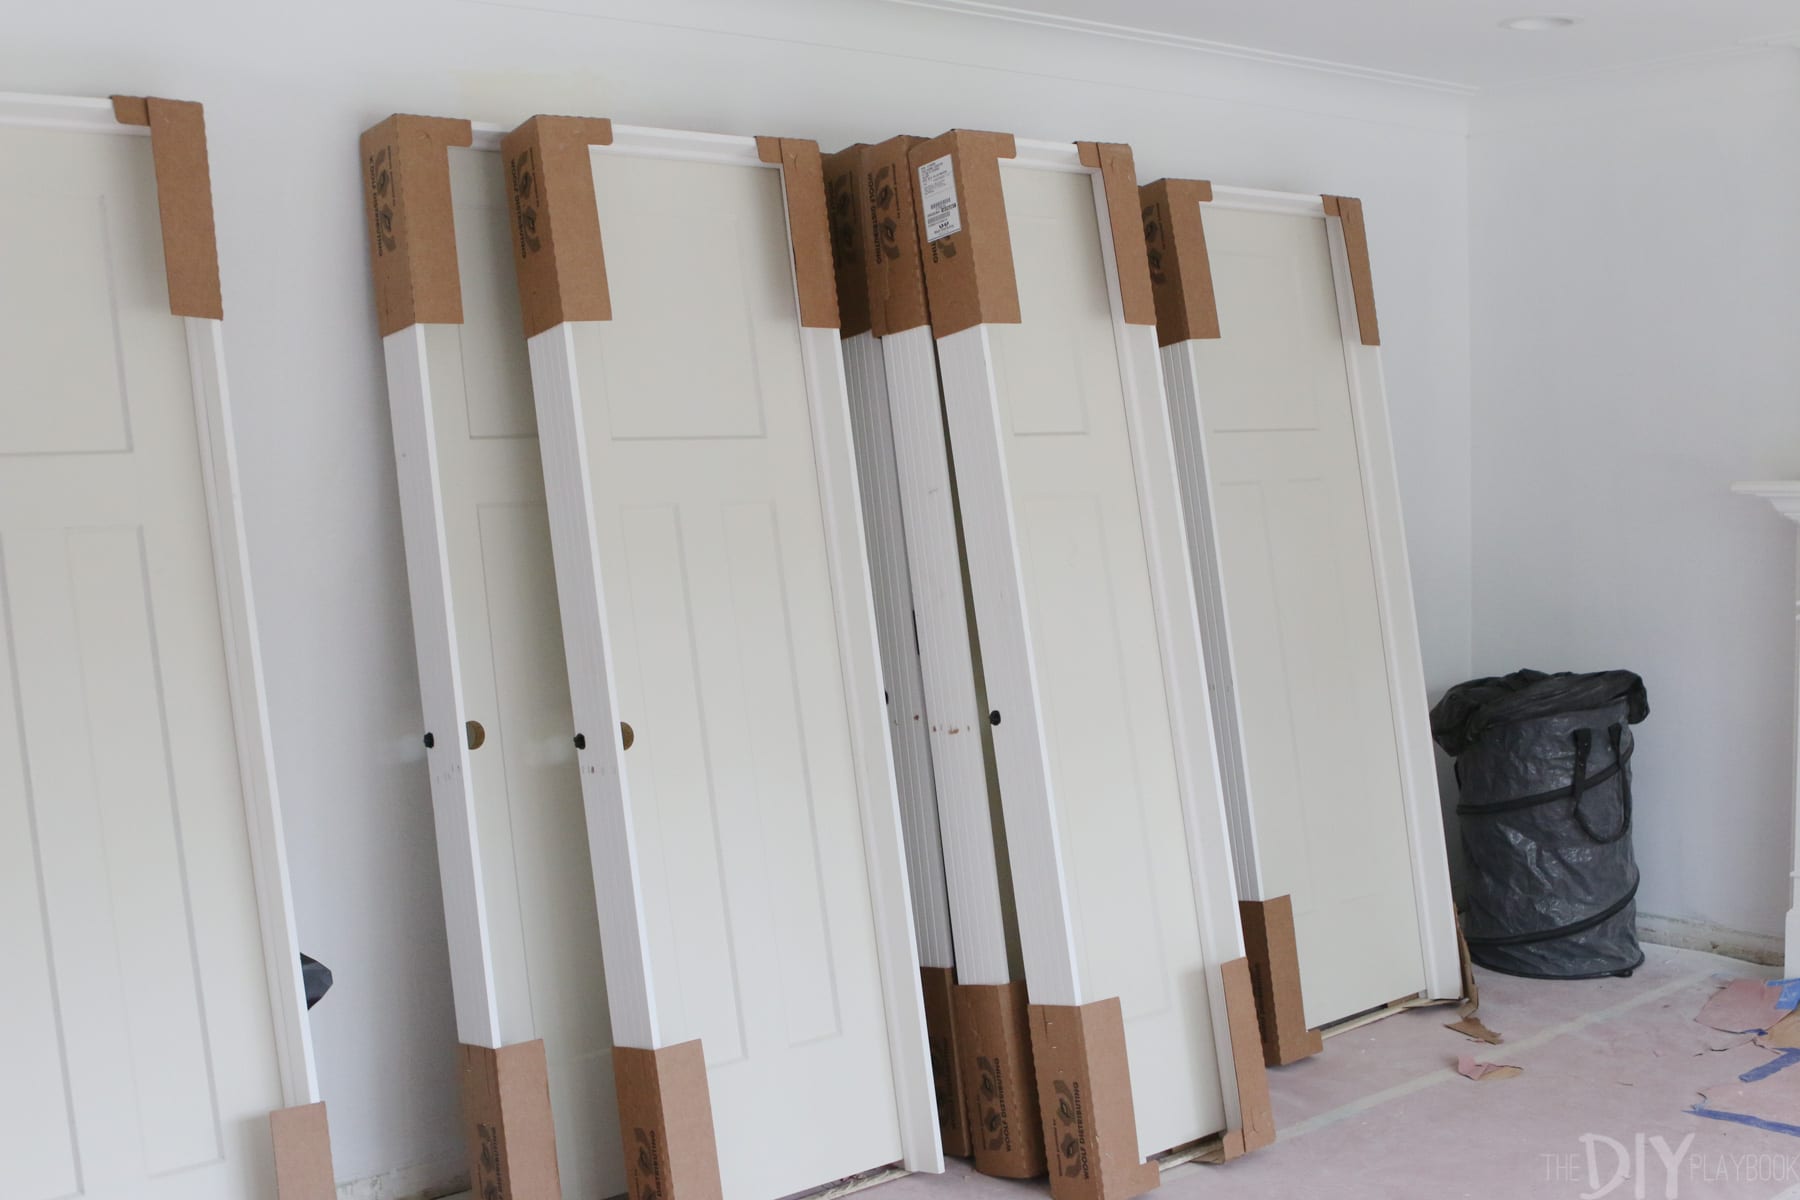
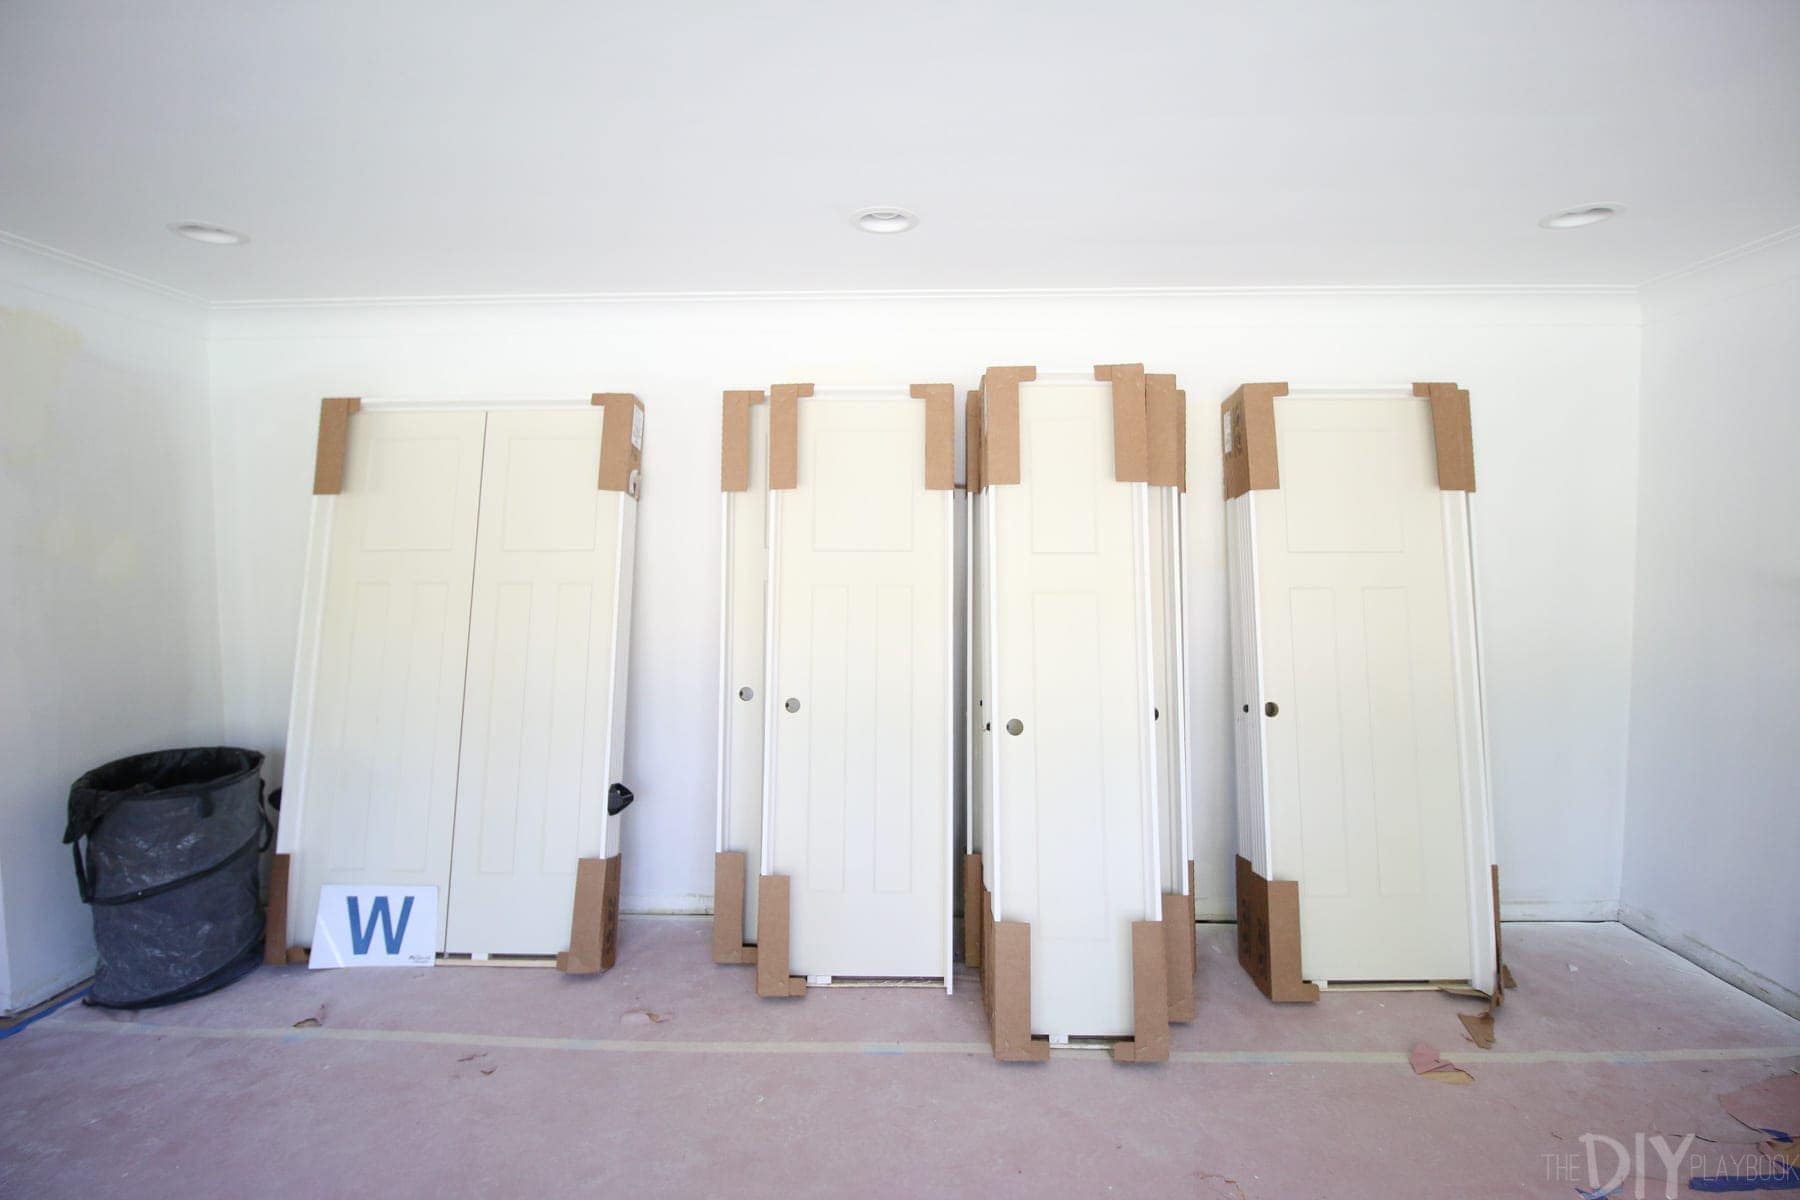
- 9 pre-hung doors
Total Cost of Material: $1,800
Total Cost in Labor: $2,400
Our Best Tips for Buying Your Own Material
We worked closely with the team at Fox’s to figure out exactly what doors we needed since each was a different size and is measured based on the opening for the door jam, not the door itself. We also had to determine which way each door would swing open (left-hand swing, right-hand swing) before ordering.
Pre-hung doors can’t be returned, so you only have ONE chance to get it right. That part was a little stressful, but the associates made the process a lot easier. Thank goodness.
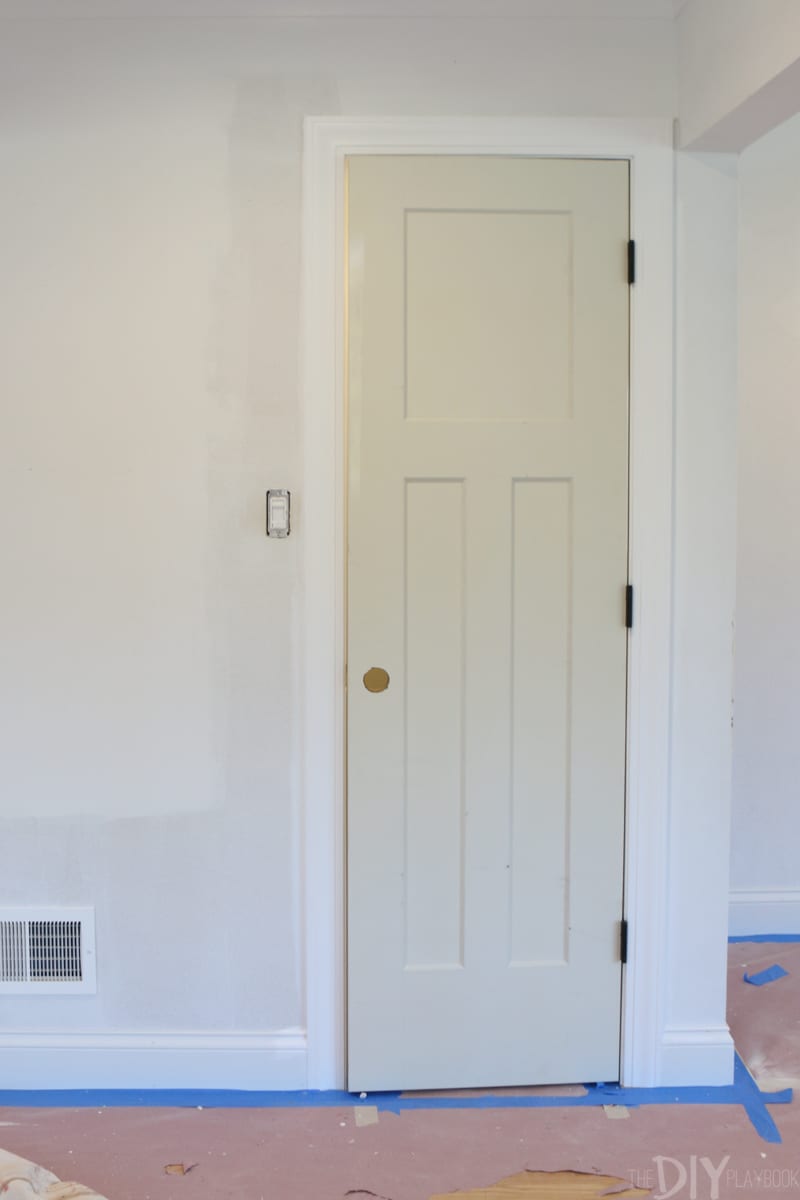
Then it was time for the fun part…choosing the door styles! Fox’s had a large selection of doors to choose from and both Matt and I fell in love with these craftsman style doors. For $50 more per door, we upgraded to the solid core doors instead of the hollow doors like we had in our old house. We figured it was worth the investment if this could be our forever home.
We also got to choose the hinge color and of course, I went with black. That was a no-brainer since we had already picked out the black handles and wanted the handles to match the hinges, but there were lots of colors to choose from.
Free Delivery!
Two weeks later our material was in and Foxs delivered it to our living room… free of charge! That was one of the perks that sold me on this home store because renting a truck and getting all of these pre-hung doors home sounded like a pain (and extra expense) we were hoping to avoid. If you are ordering your own material… regardless of where it’s from, be sure to order it well in advance so that it is ready by the time your carpenter is ready to work! (If your pre-hung doors are not standard sizes, they may take several weeks to ship).
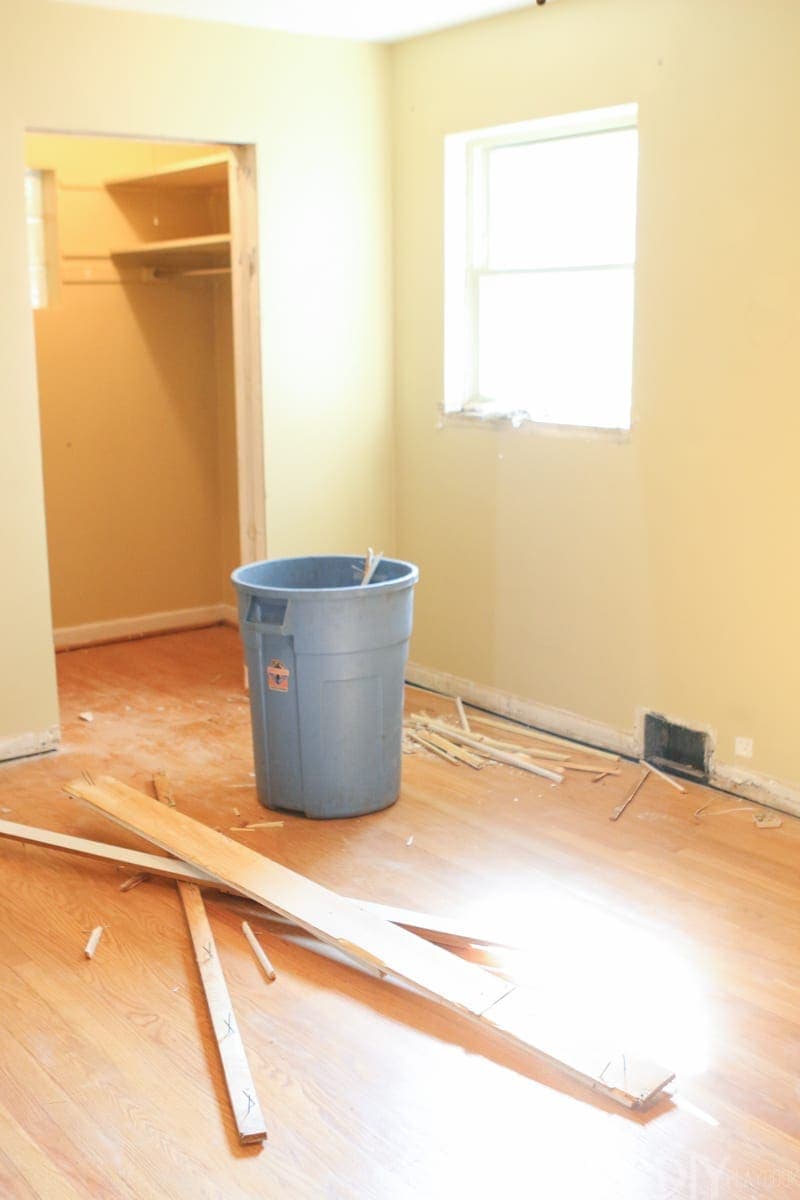
The Installation
Fast forward a few weeks to our NEW team of carpenters and it was finally time to install the trim and doors. It took two guys three days to complete everything. They worked while I was at work and my work days could not have passed quickly enough. All day long I would be checking the time and counting down the minutes until I got to go home and see the progress. And boy, it never disappointed.
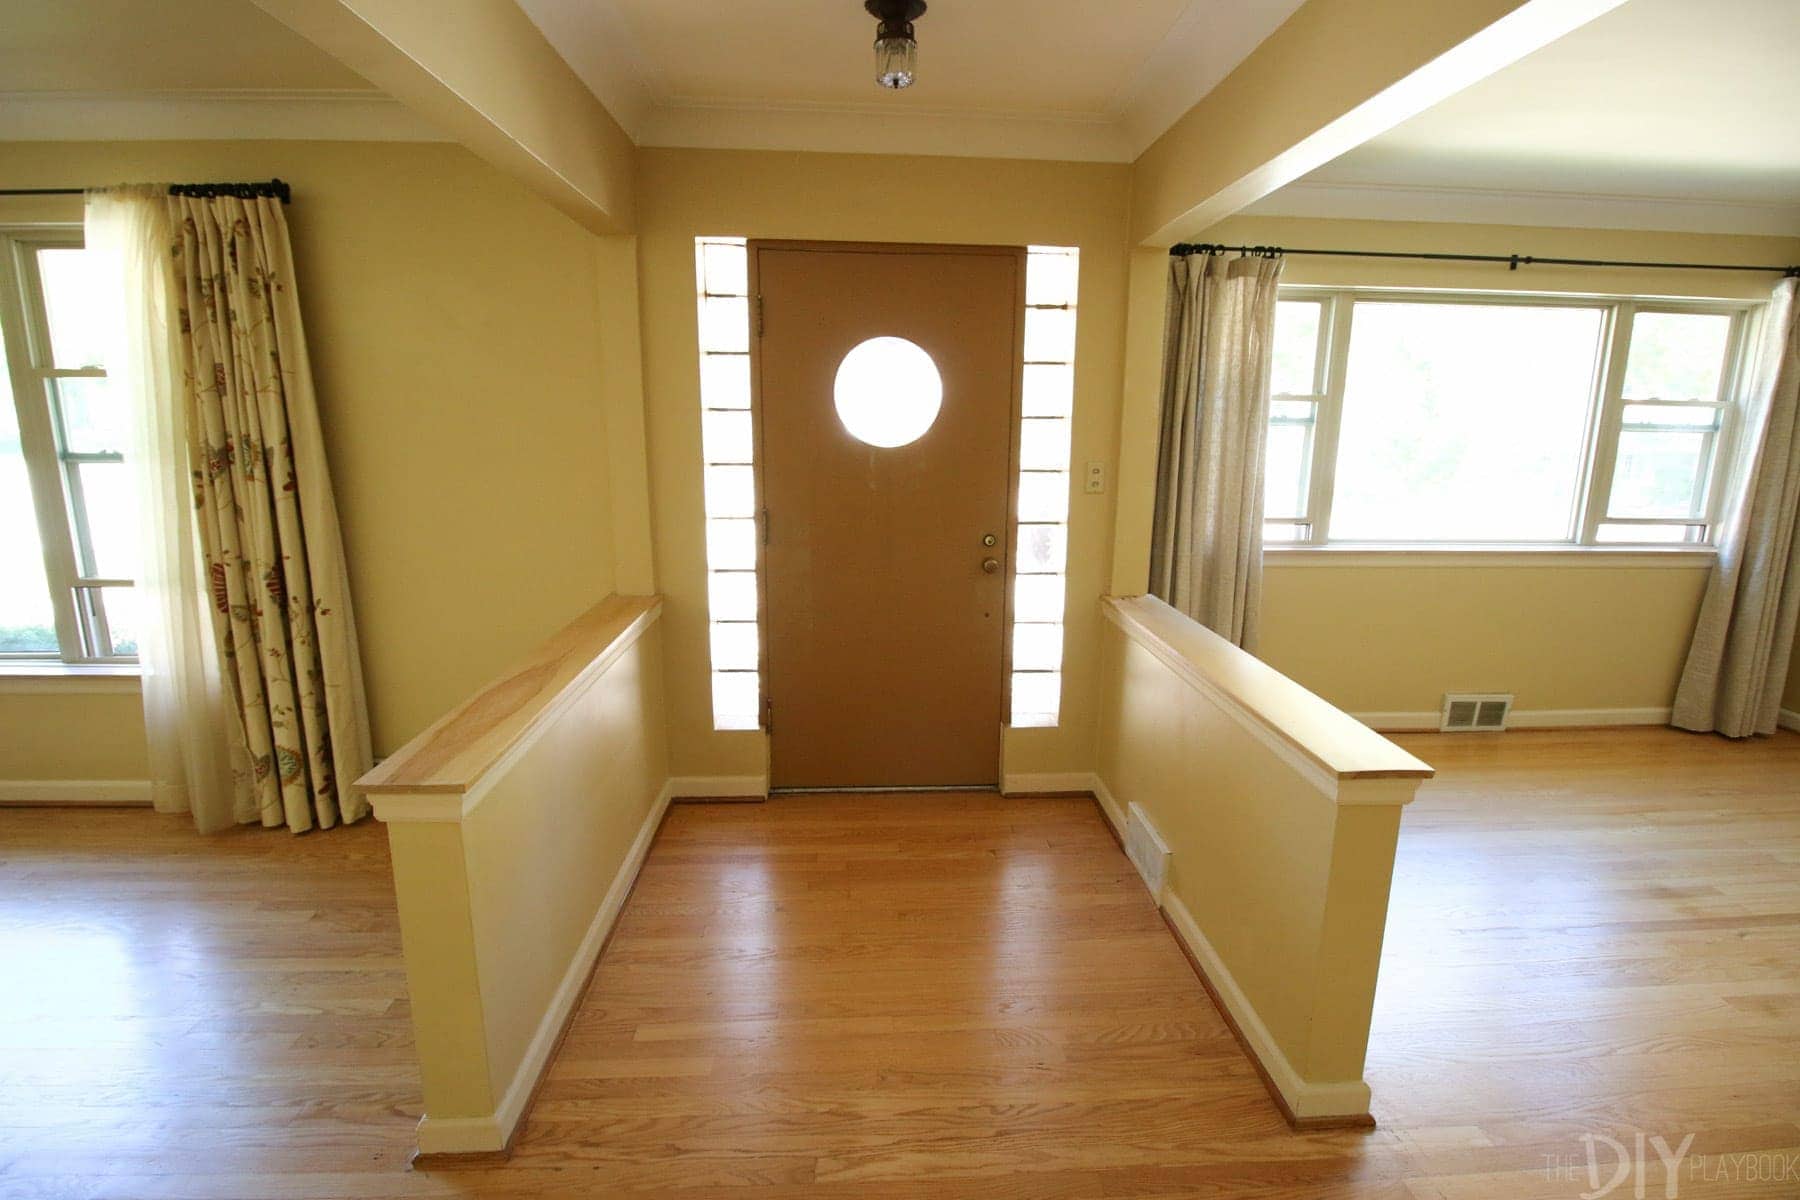
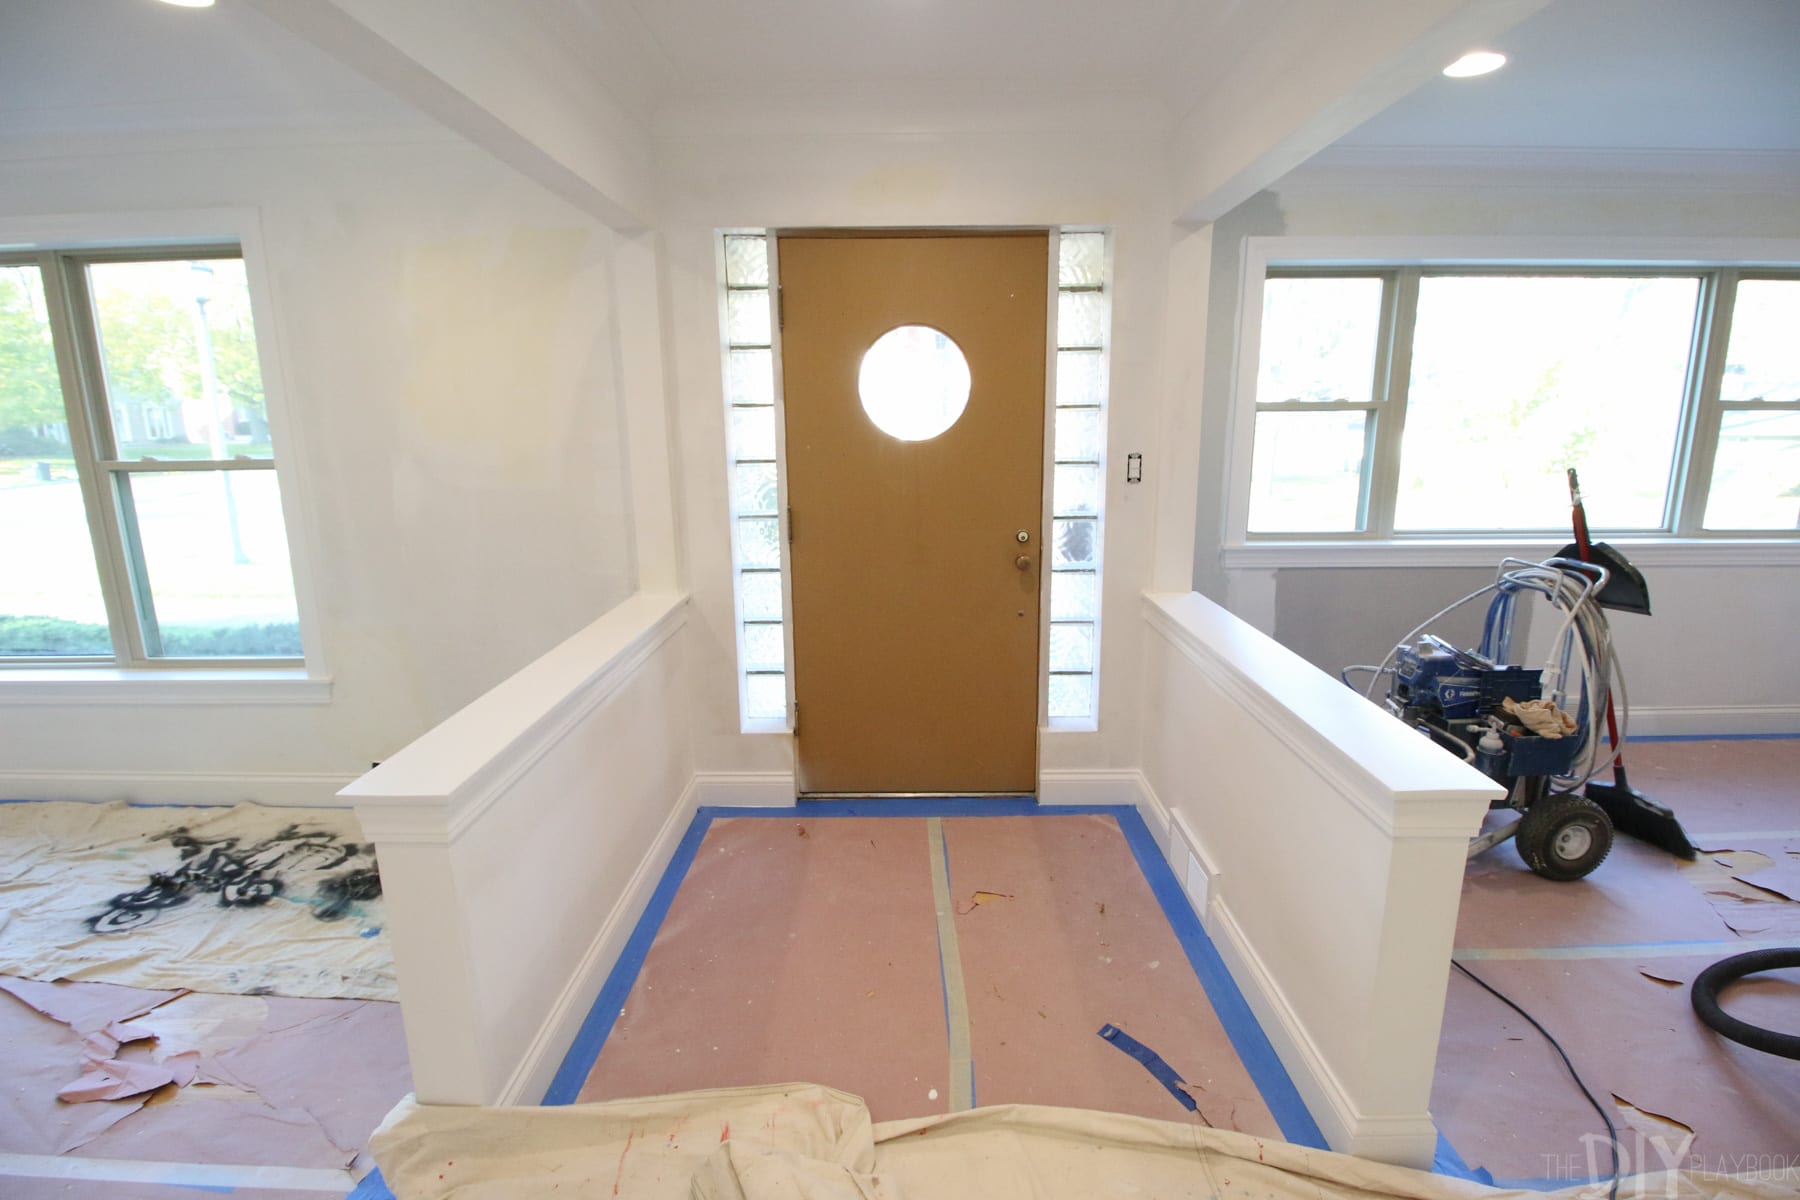
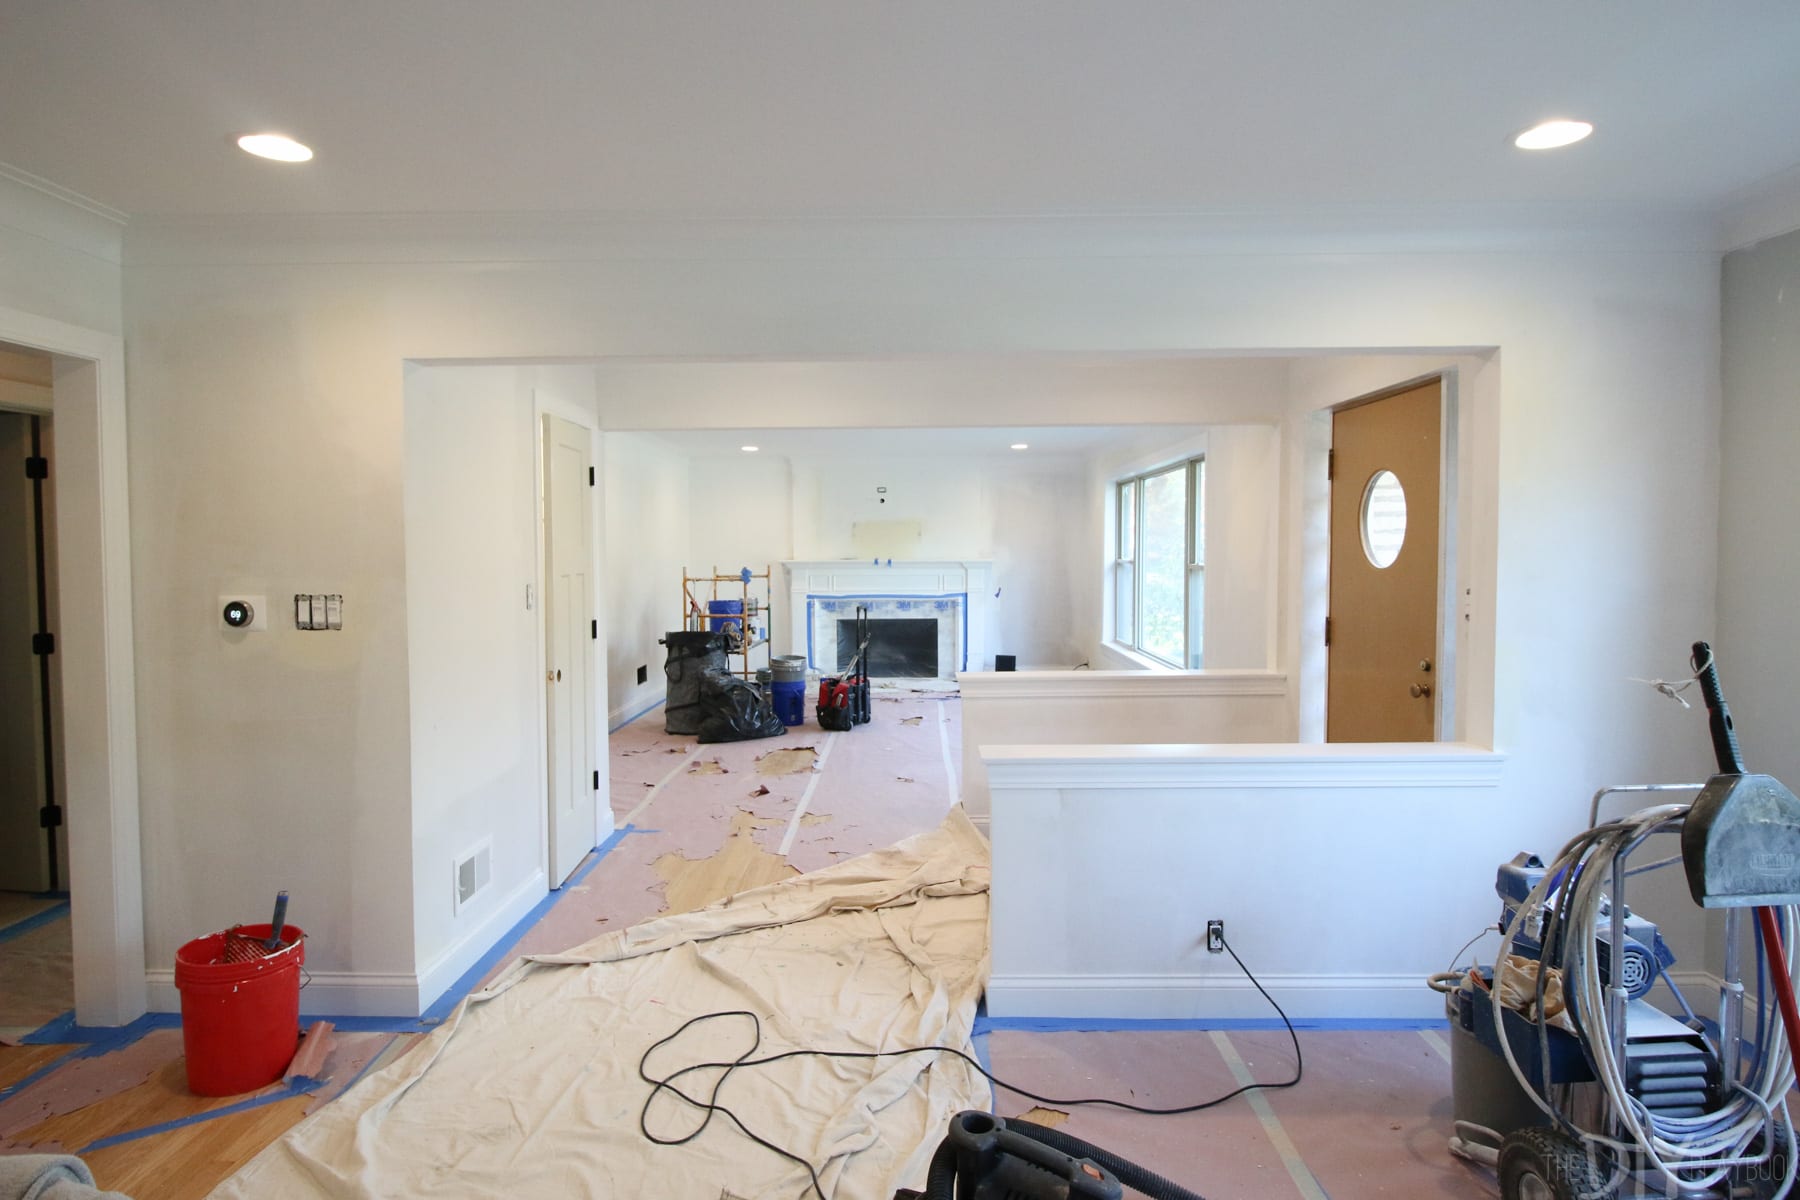
Before vs. After
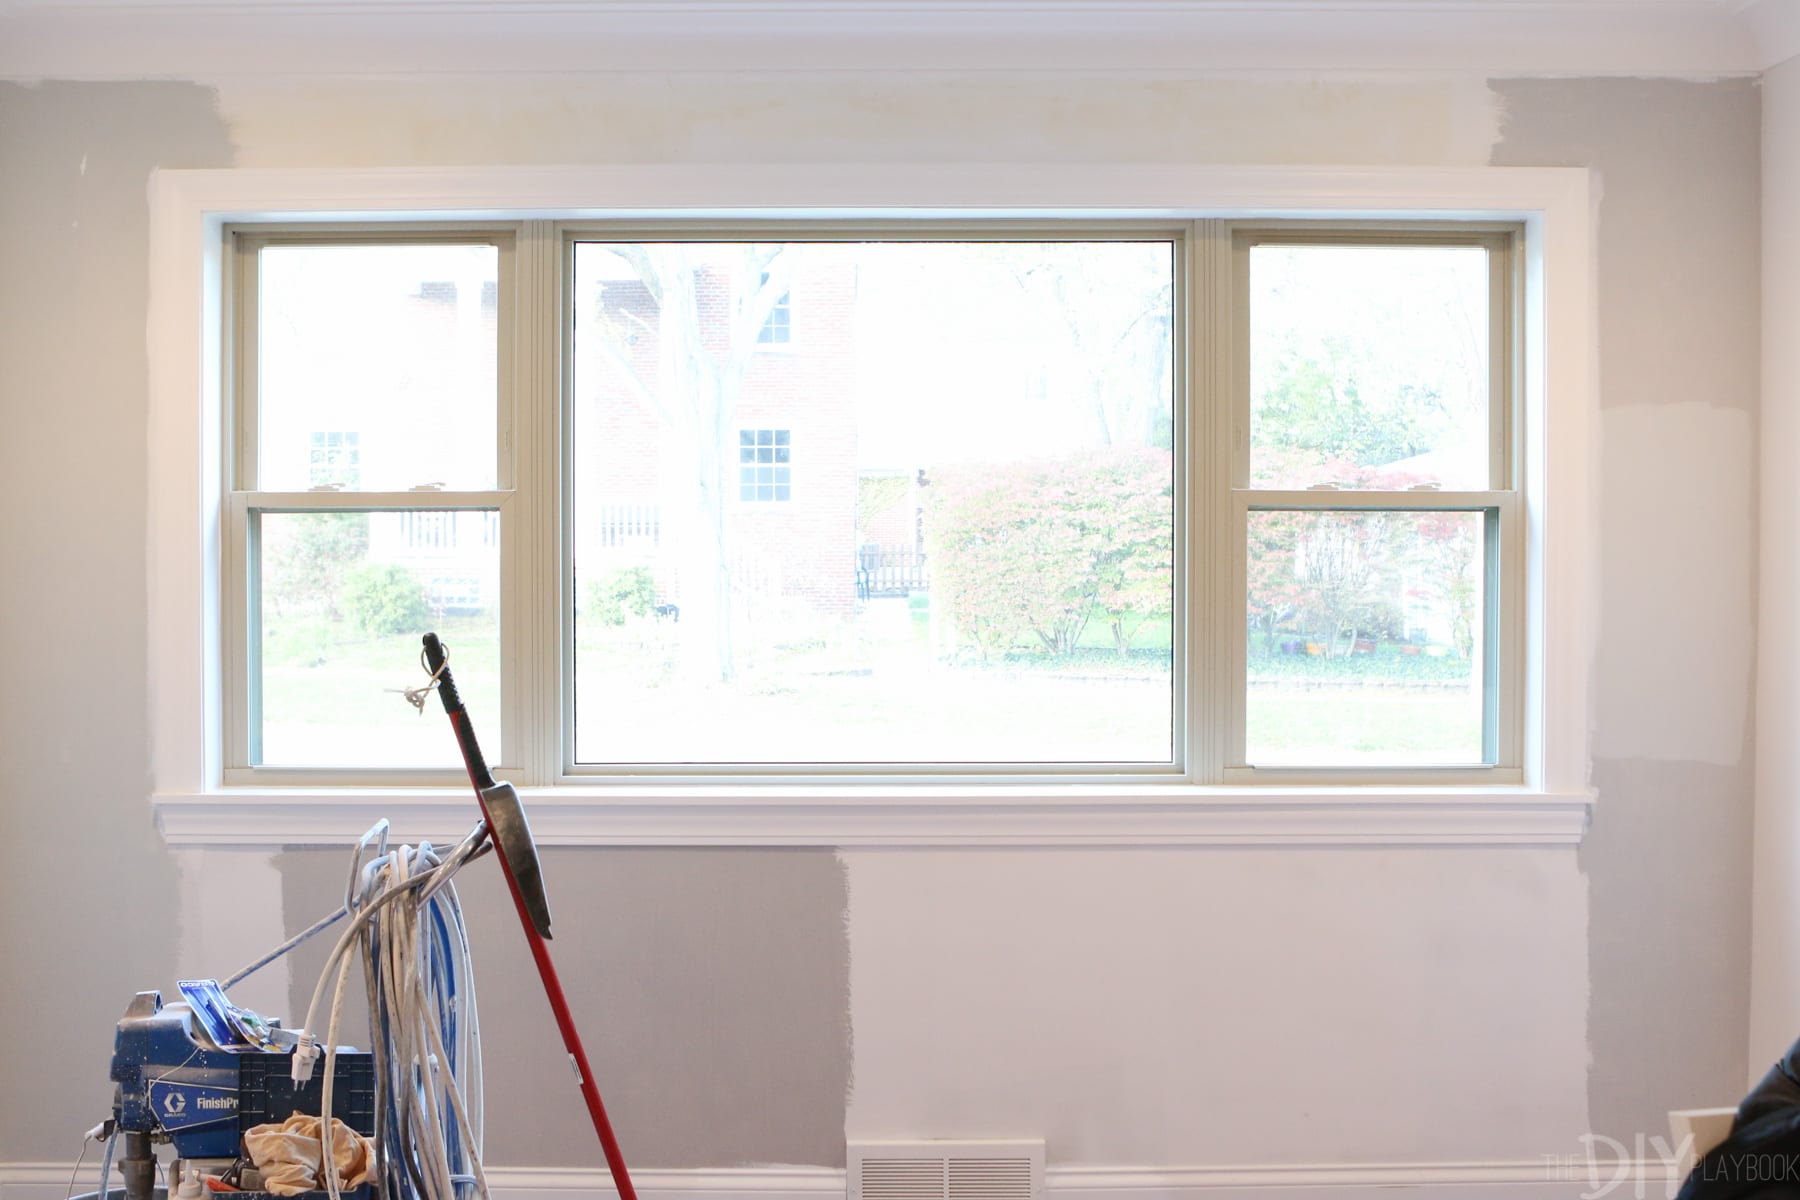
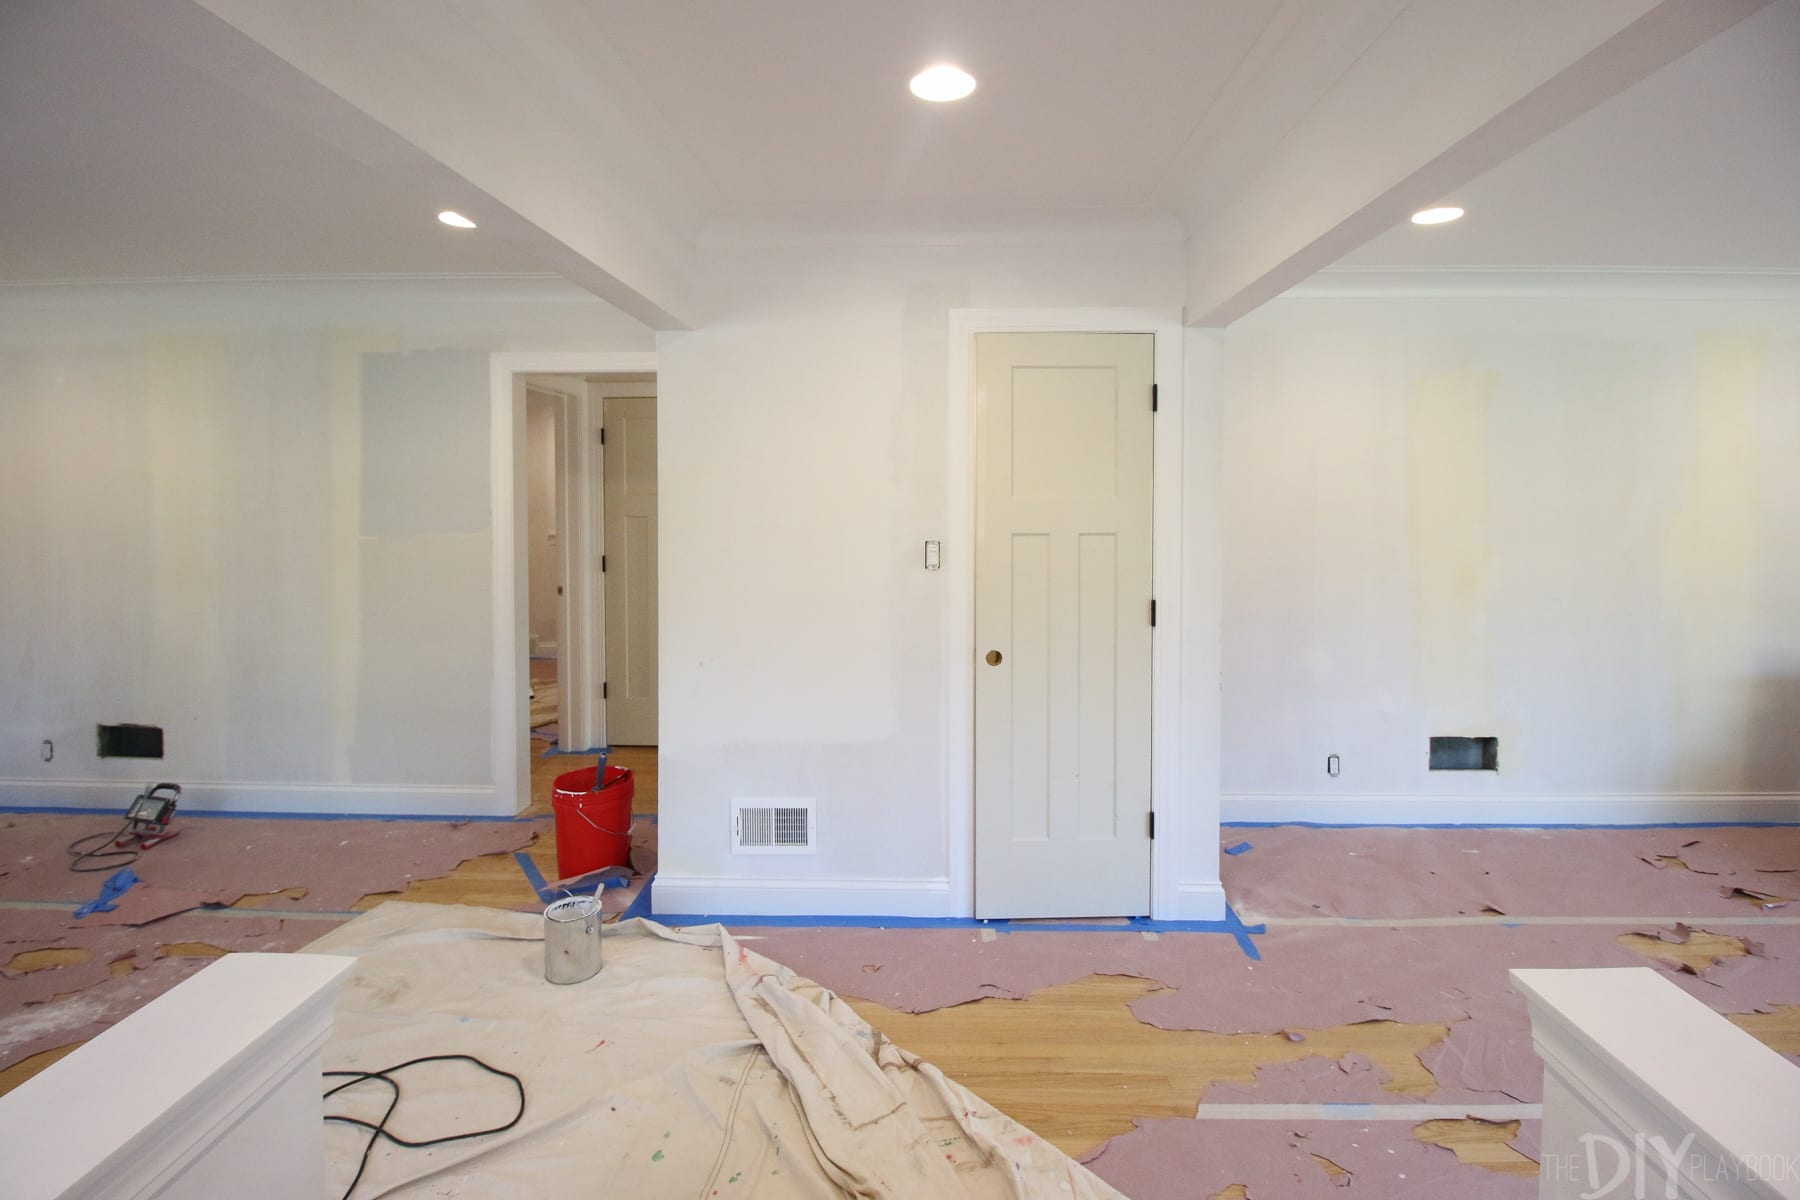
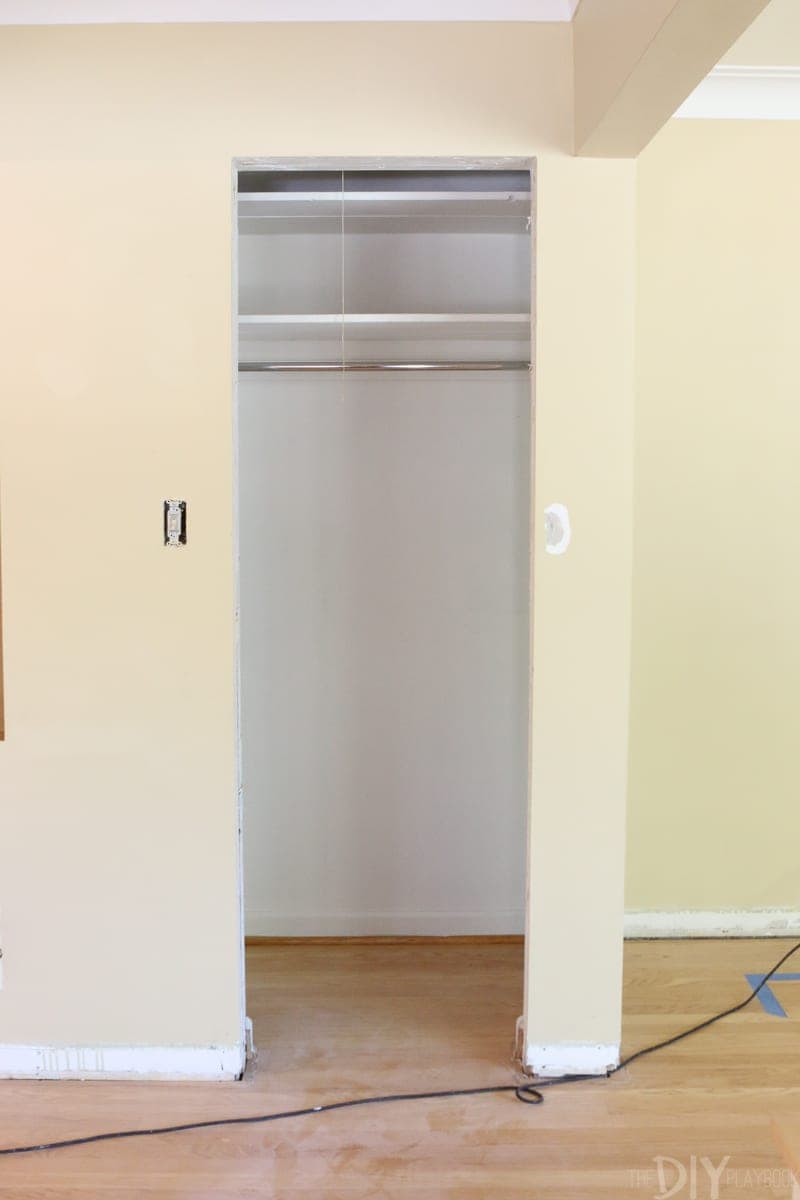
As you can see from these side by side pictures, the windows and doors in this house never had trim around them before now. Seeing this new look for the first time was AH-MAZING.
The doors were old, flat, hollow, and painted over so these new, solid, Craftsman-style doors were an immediate upgrade. They still need to be painted white and the hardware needs to be added, but they’re already dreamy in my eyes.
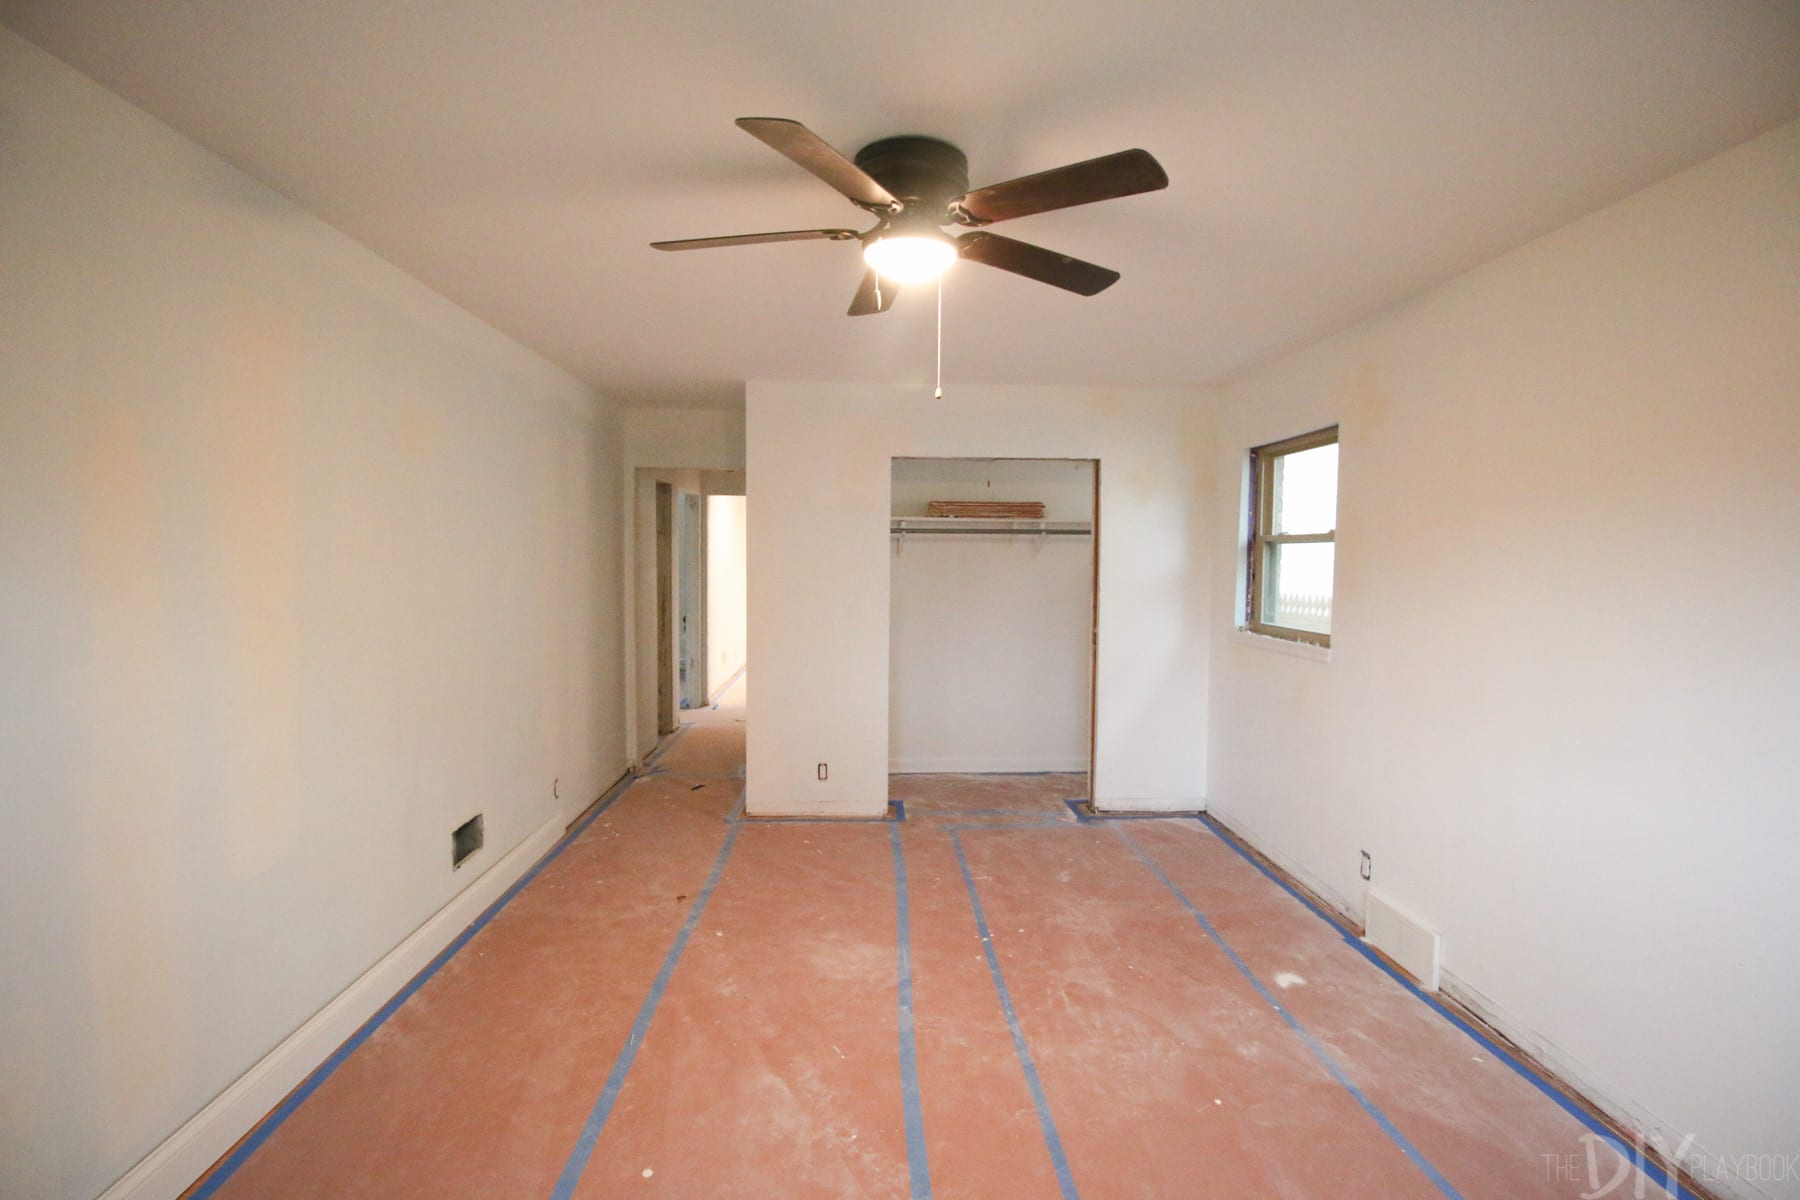
We did the same with the old, raggedy pocket door in our bedroom. It didn’t stay on the track so we swapped it out for a regular swing door and I’m SO glad that we did.
What’s Left?
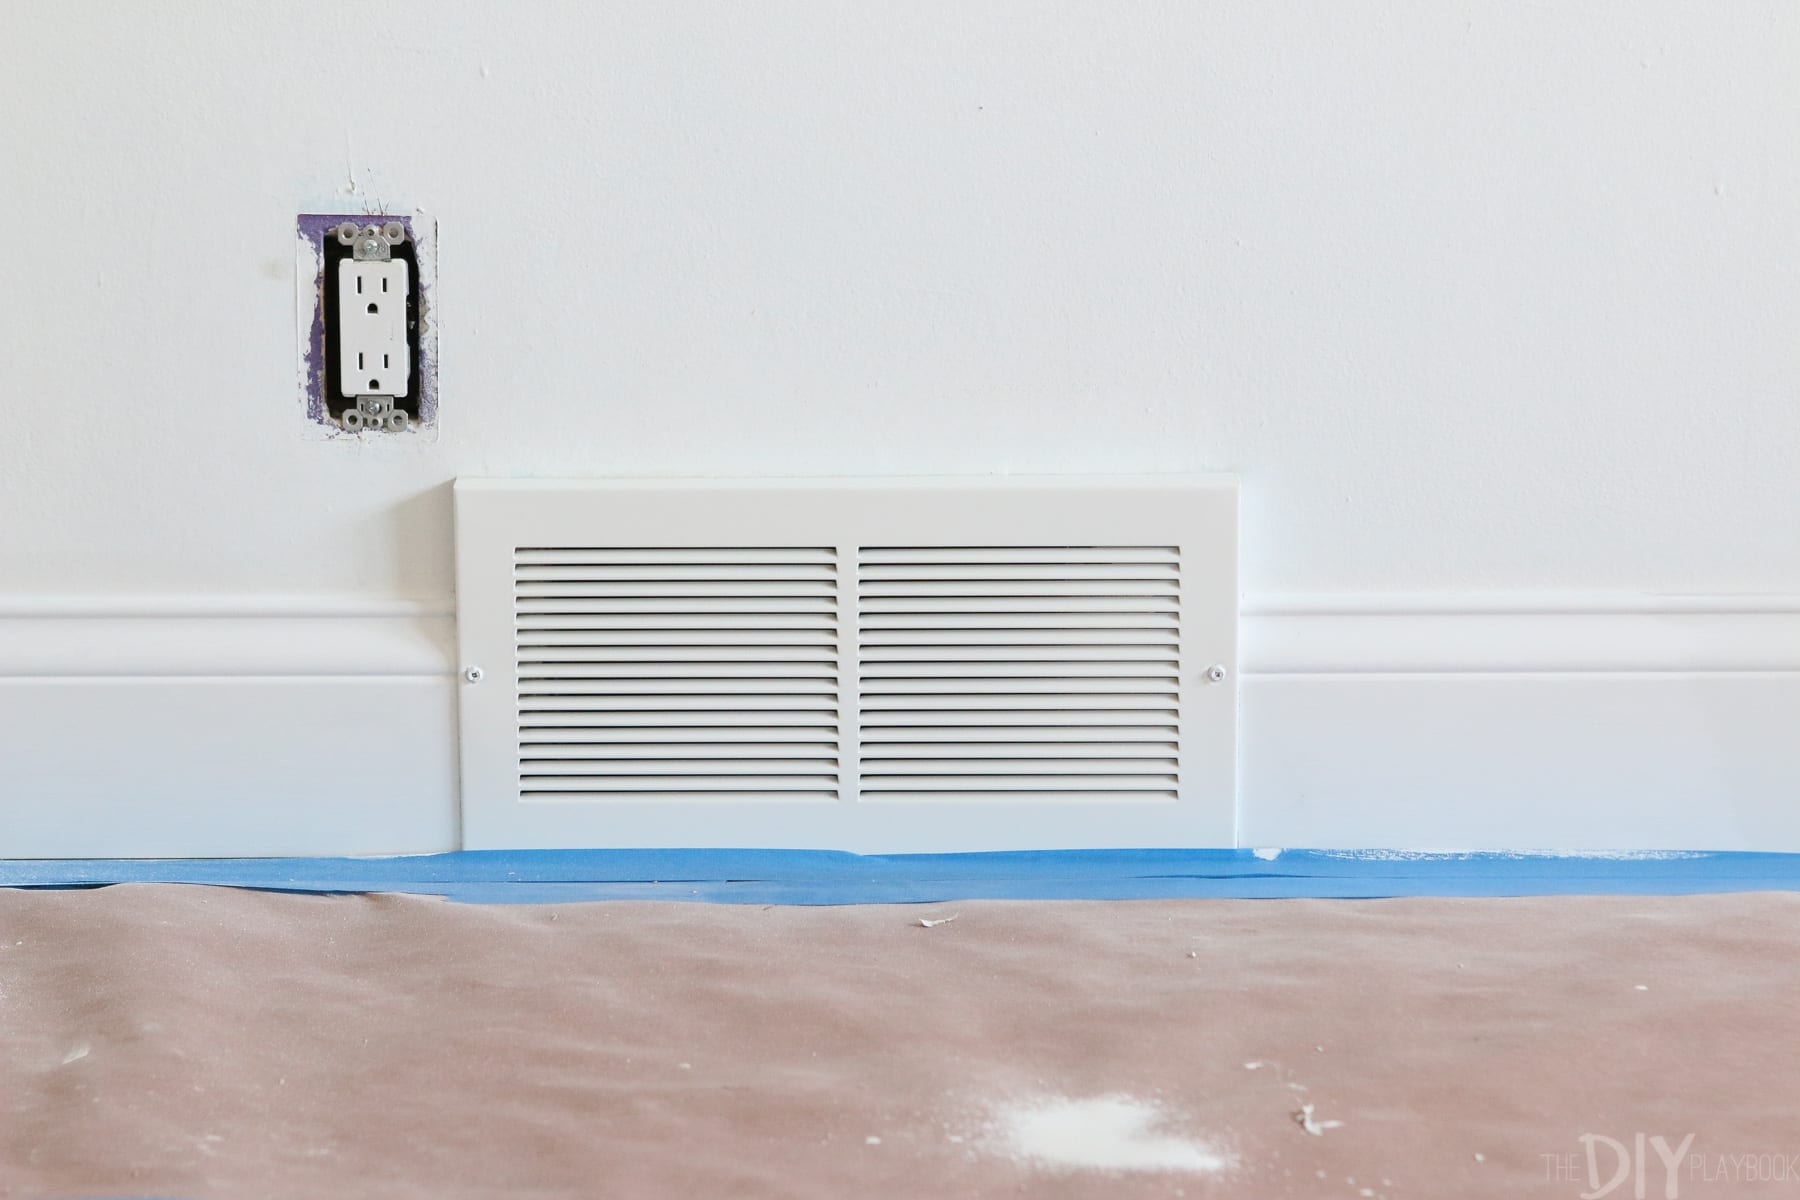
The only woodwork left to do for now is add the shoe to the baseboard. We were getting the floors done after the trim and didn’t want the wood stain or sander to hit the new shoe and damage it. So once the floor is stained and the walls are painted, the guys are going to come back and add the shoe. THEN, it will be completely finished.
So in L.O.V.E
Overall, I’m pretty much obsessed with all of it… and it’s not even painted yet! I was so excited when the trim was done that I spent that night puttying ALL of it so that we were ready for paint. Soon I’ll fill you in on the painted trim, finished doors (with hardware) and wall paint. Slowly, but surely, this place is looking like a house again…
Bridget


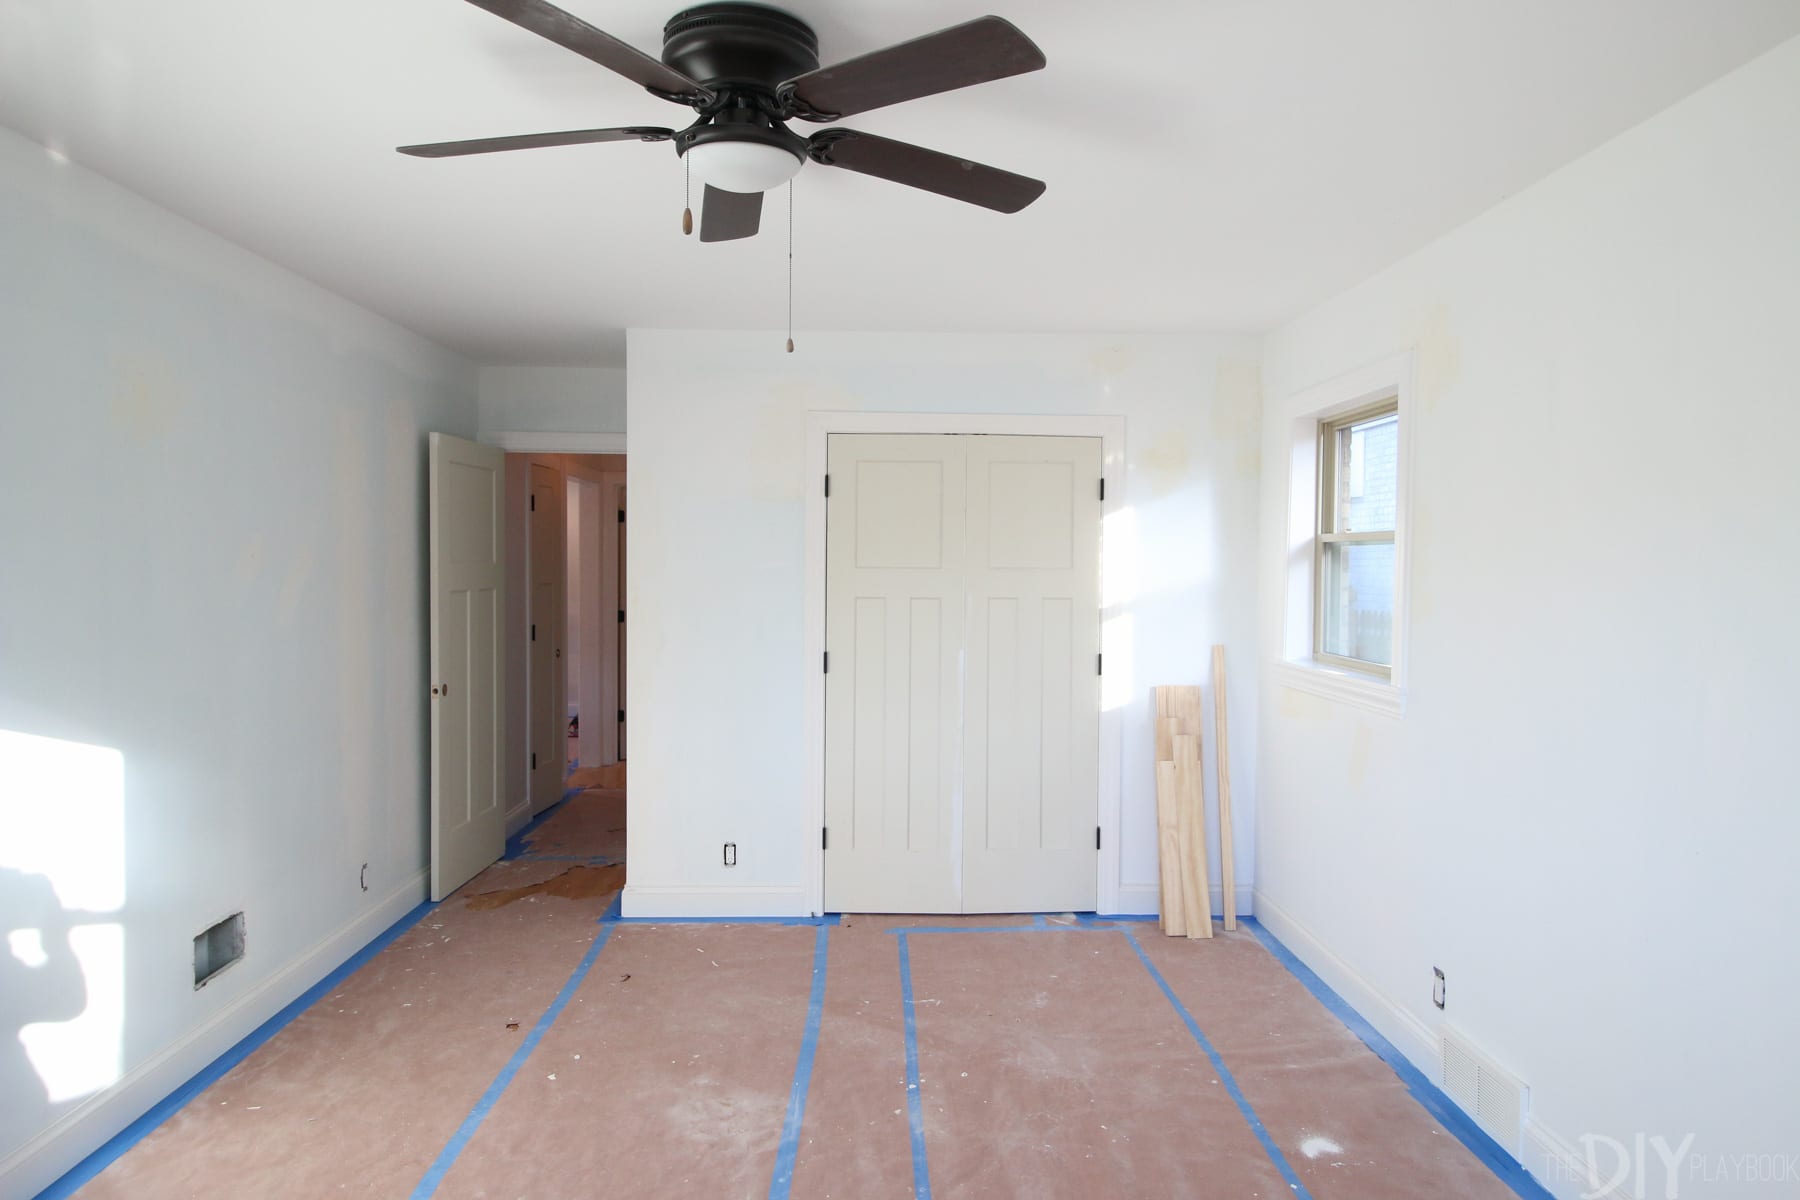 My favorite transformation in this phase is probably the closet in the nursery. It used to be two pocket doors that didn’t close all the way and we swapped those out for a double door that makes the whole space feel more polished.
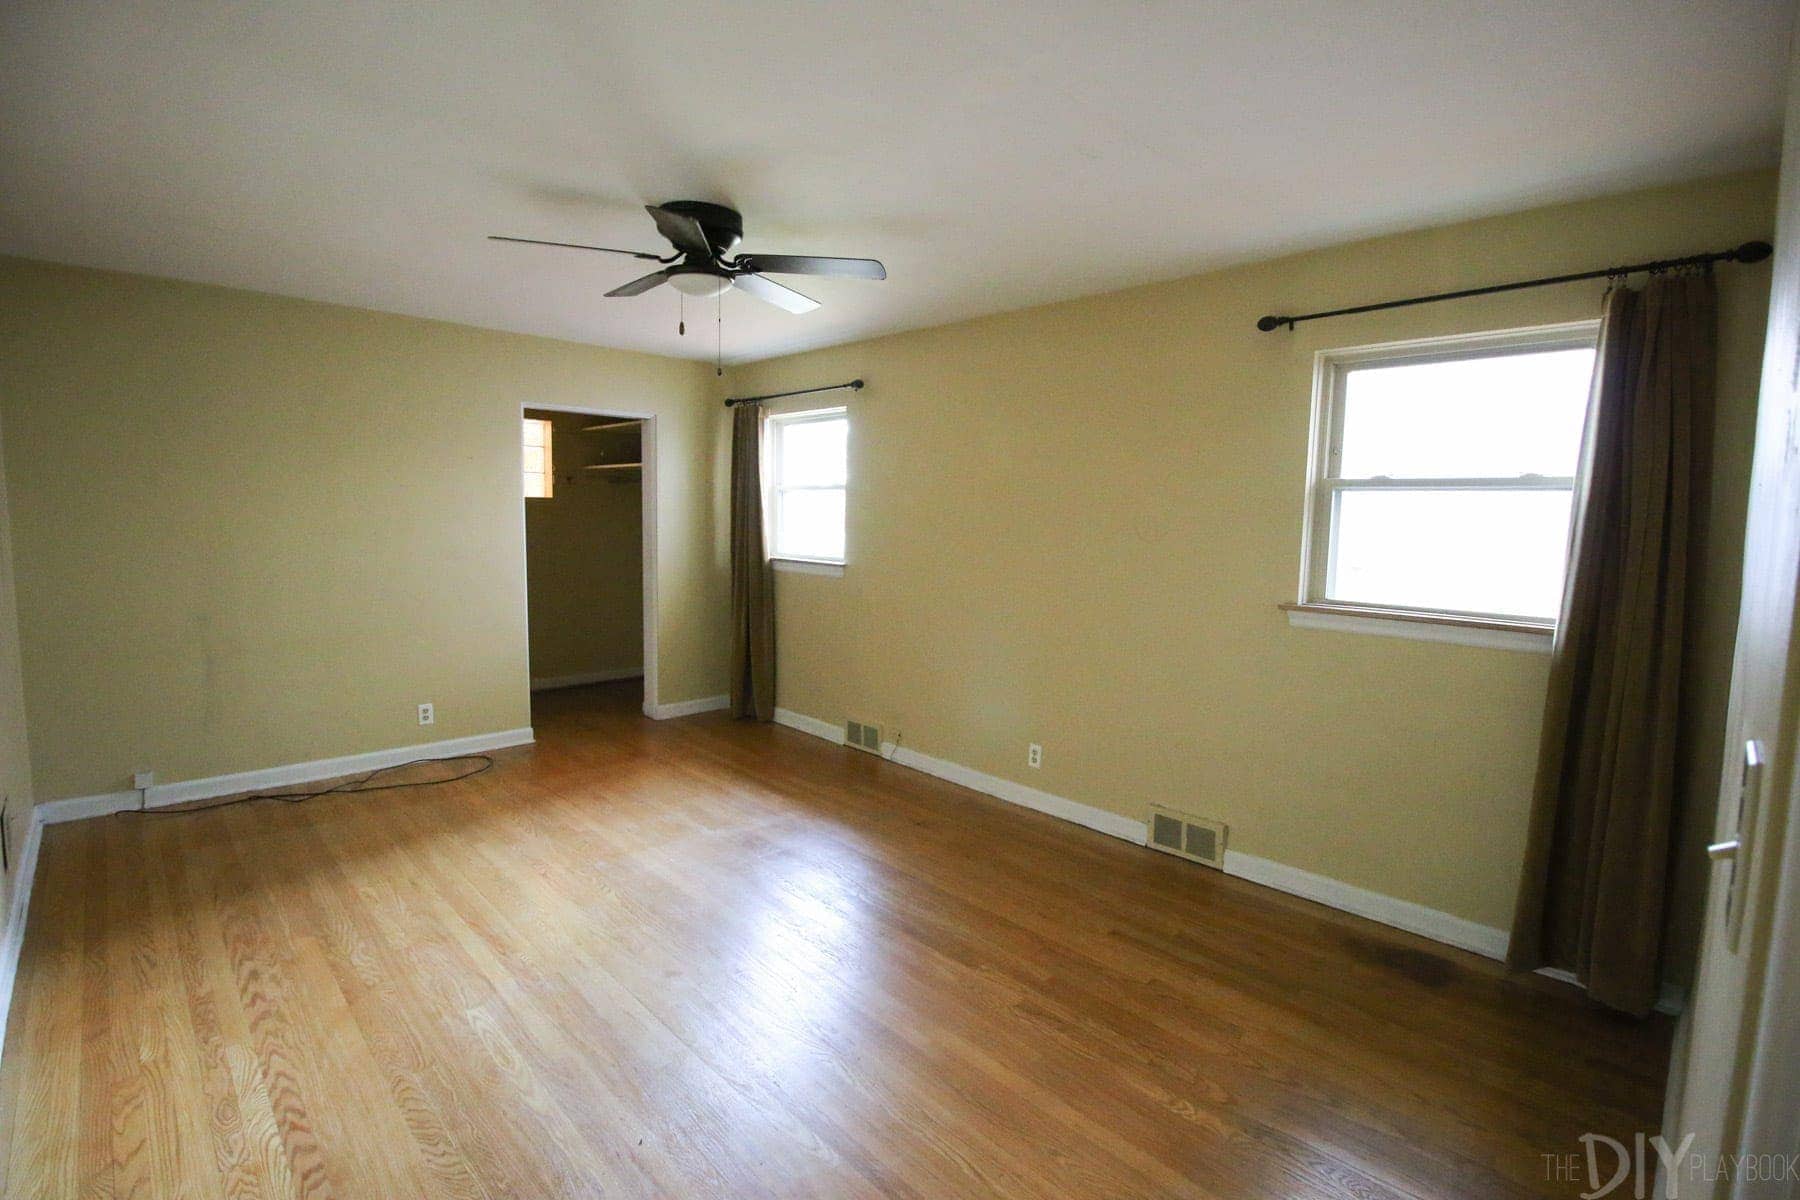
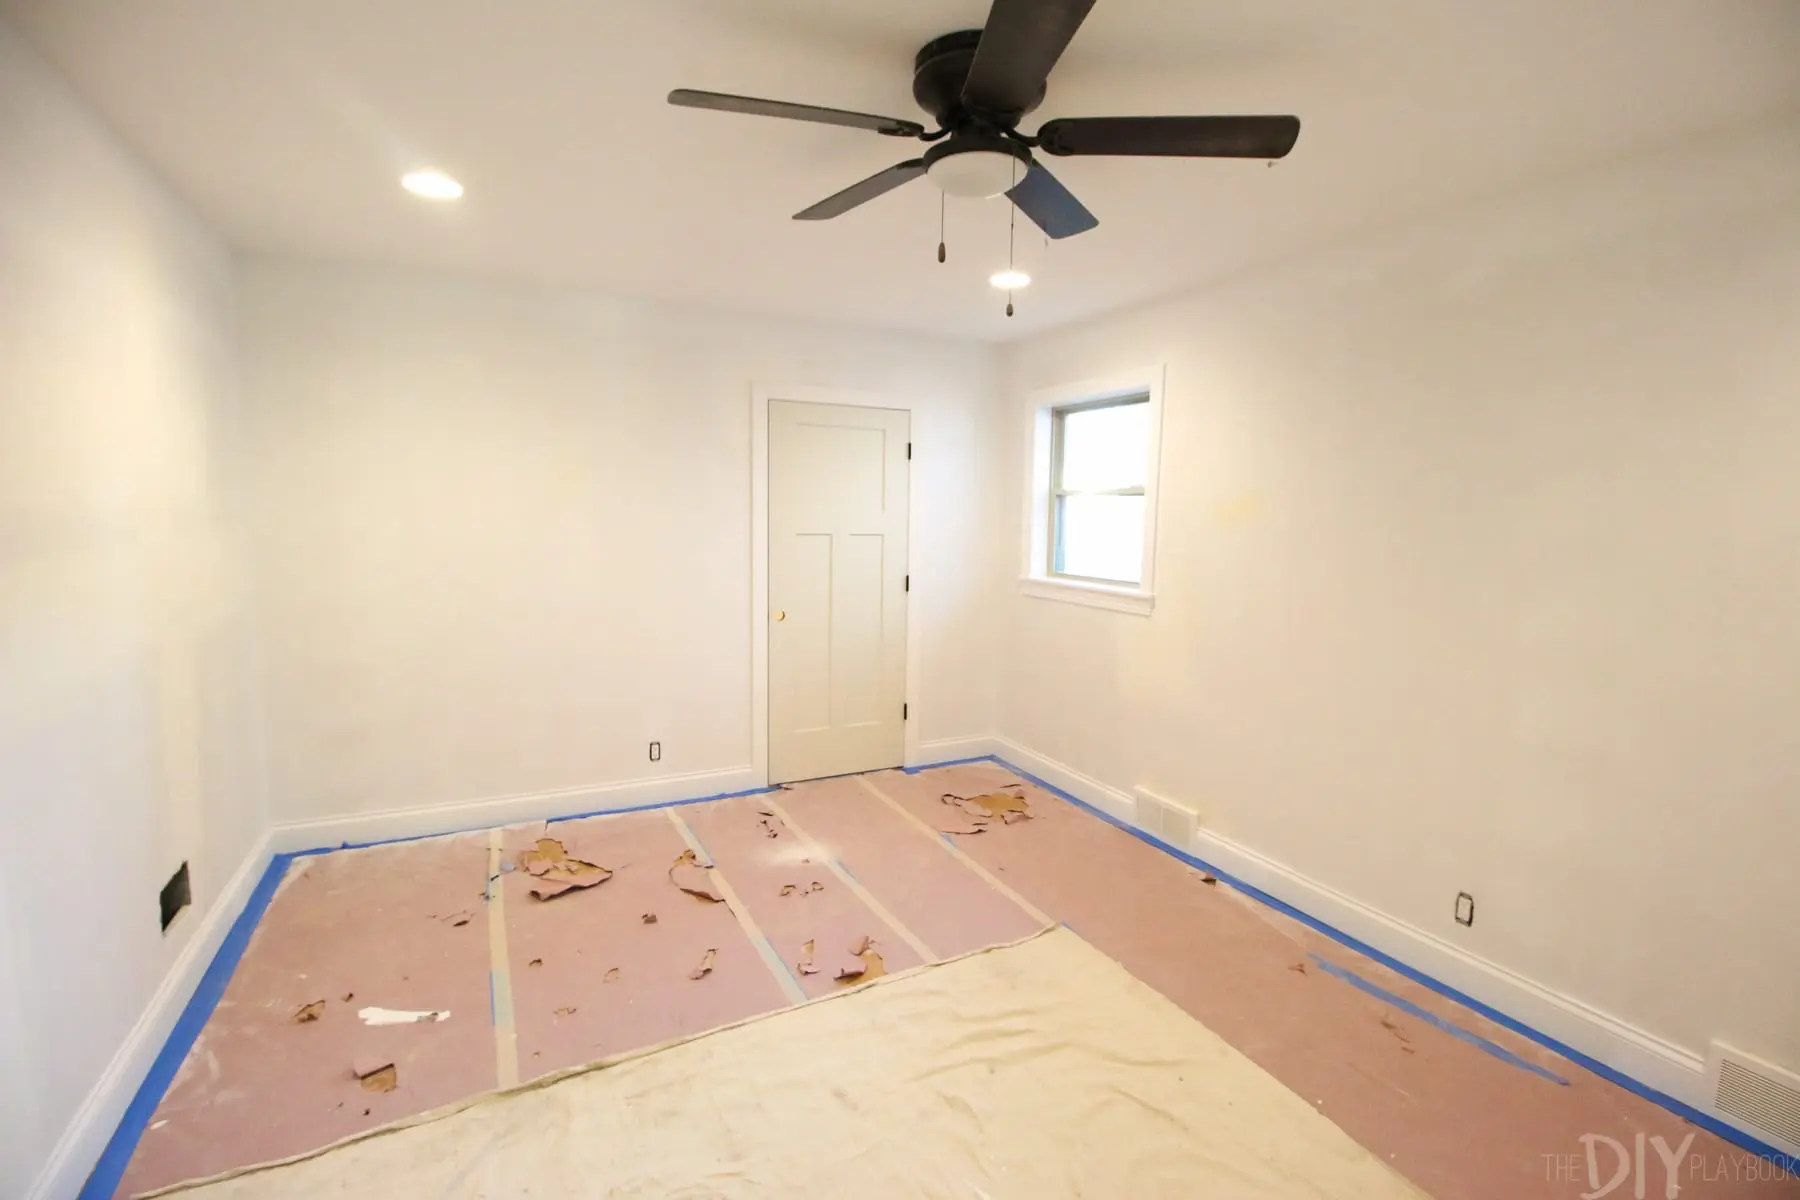 We did the same with the old, raggedy pocket door in our bedroom. It didn’t stay on the track so we swapped it out for a regular swing door and I’m SO glad that we did.