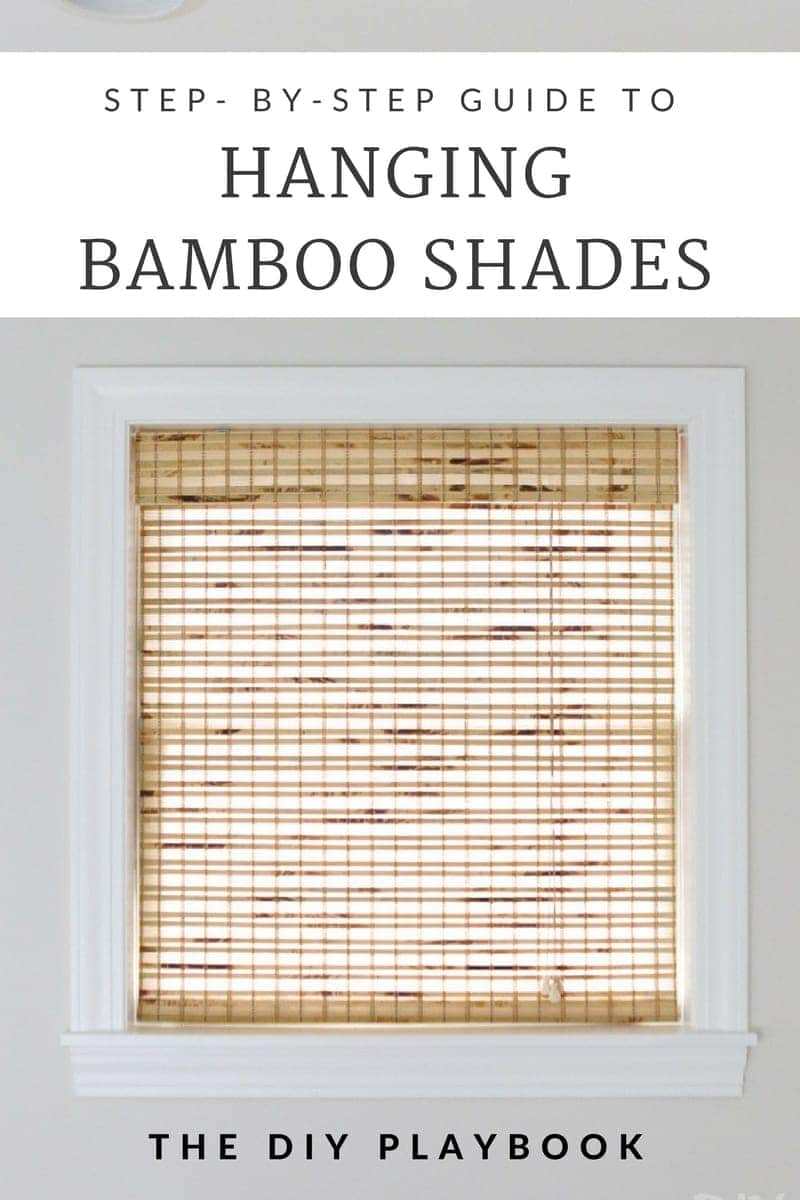
Step-by-Step Guide To Hang Bamboo Shades
Bamboo shades are typically our go-to window covering in many of the bedrooms we decorate. We love them because they’re affordable, add instant texture/style, and they’re so easy to install. Since we get so many questions about these repeat offenders, we thought it was about time to create an easy tutorial on how to hang bamboo shades.
We also wanted to this chance to answer questions about where we buy ours, how much money you can expect to spend, and more!
Our Love for Bamboo Shades
Like we said, bamboo shades are repeat offenders when it comes to decorating bedrooms here on the DIY Playbook.

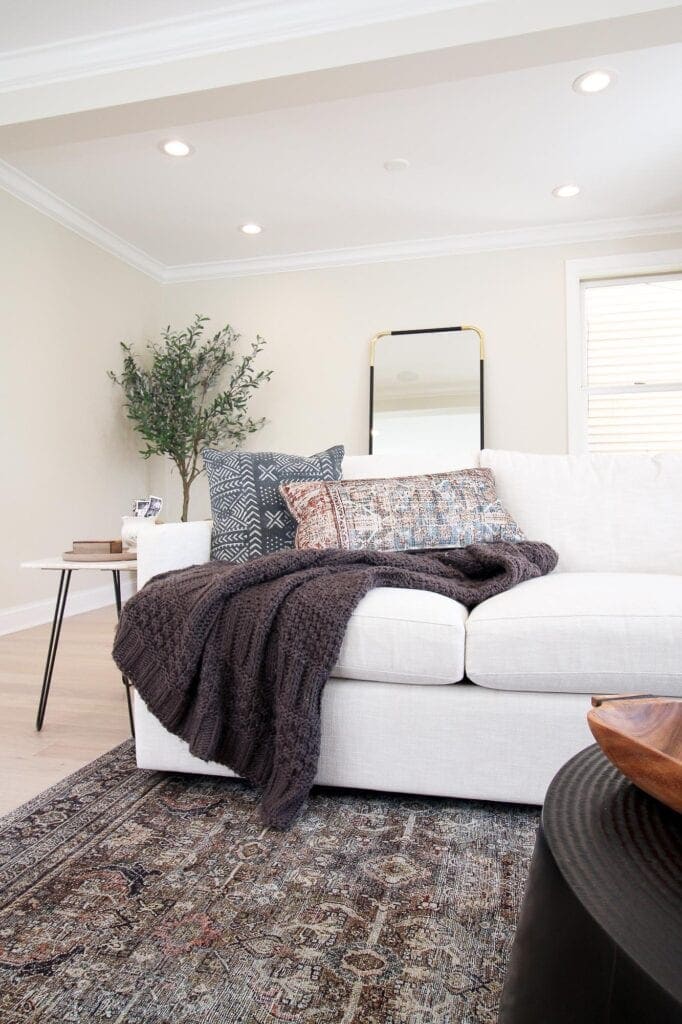
Casey has used them in her bedroom.
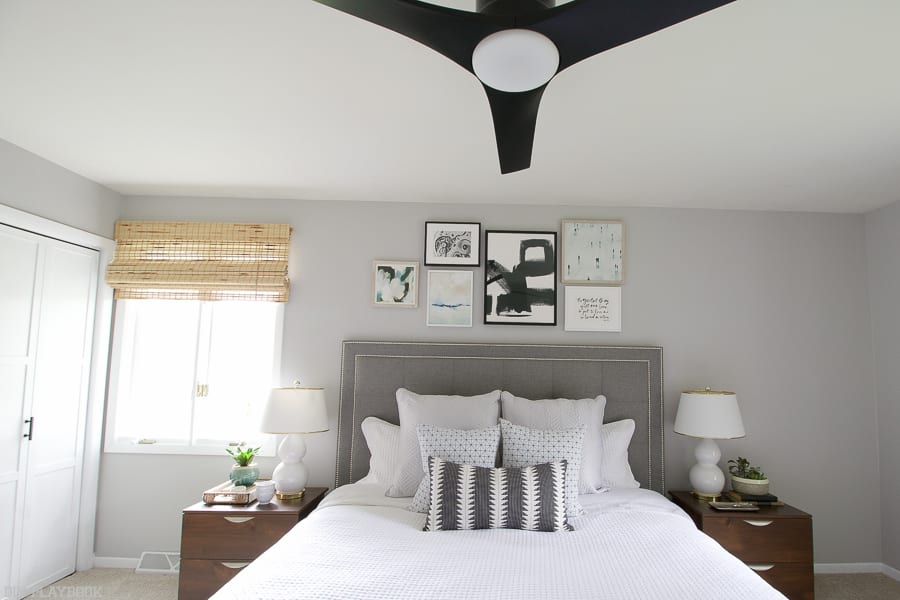
We used them again in this bedroom makeover.
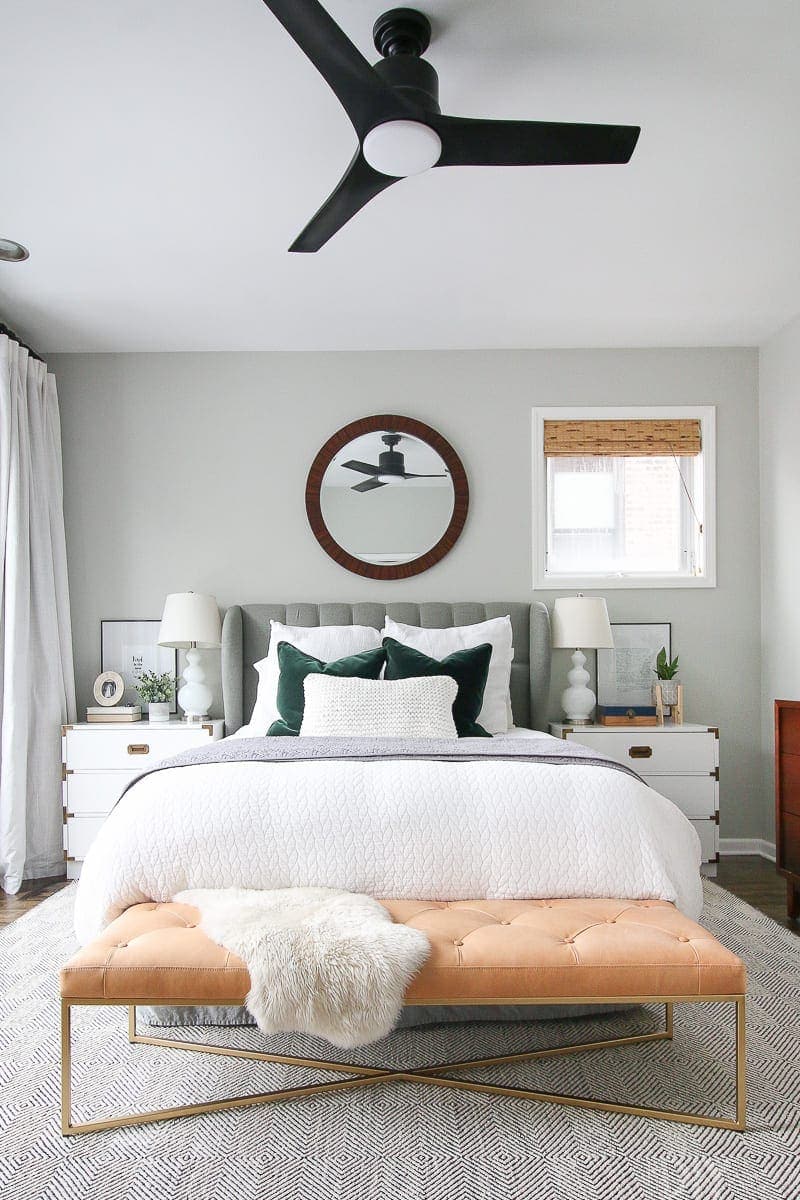
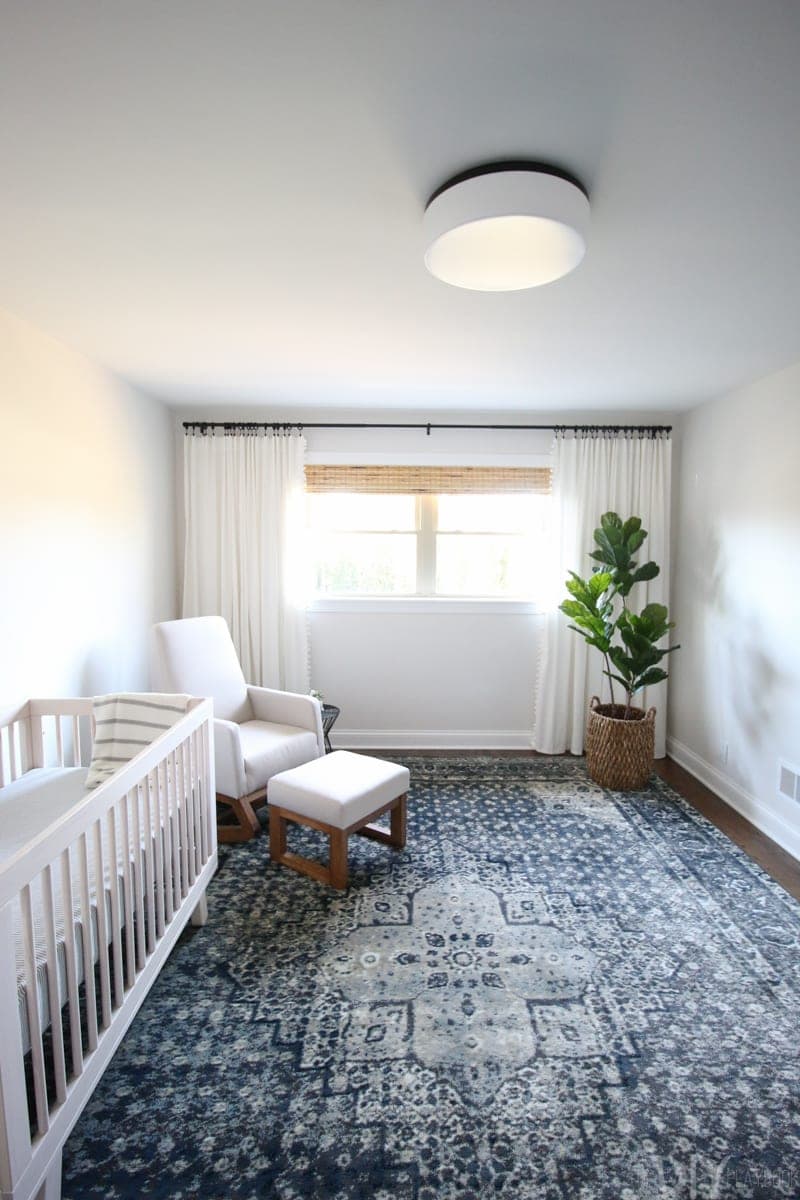
And Bridget recently added them in her nursery. Today we are going to show you how she also added them to her master bedroom. The bottom line is that we love these affordable window coverings because they look great in almost any space! But first, let’s start by answering some of our most commonly asked questions about bamboo shades.
How Much Do They Cost?
The bamboo shades we buy, which are always from Lowe’s, range from $36 to $99 depending on the size of your window.
What you need to do to figure out what size you need to buy is decide whether you want the bamboo shade to hang outside of the window (like in the first bedroom photo) or inside the frame of the window (second bedroom photo). Neither is “better” than the other, it really is just personal preference and how your window is setup. But this decision is super important because it will dictate the width of your bamboo shade.
Once you decide, simply measure how wide you want the bamboo shade to be. This will determine which size shade you’ll buy from Lowe’s. However, Lowe’s probably won’t have the exact size you need but they will cut the nearest size down for you in the stores for FREE. Cutting takes about 5 minutes (tops!) and you’ll be able to go home with a bamboo shade that fits the width of your window perfectly.
What Size Should I Get the Bamboo Shade Cut?

If you’re hanging the shade outside of the window, it really is just personal preference. And if you’re hanging curtains over the bamboo shade (like in this photo), you probably don’t even need to get the shade cut because the excess will be hidden behind the curtain.
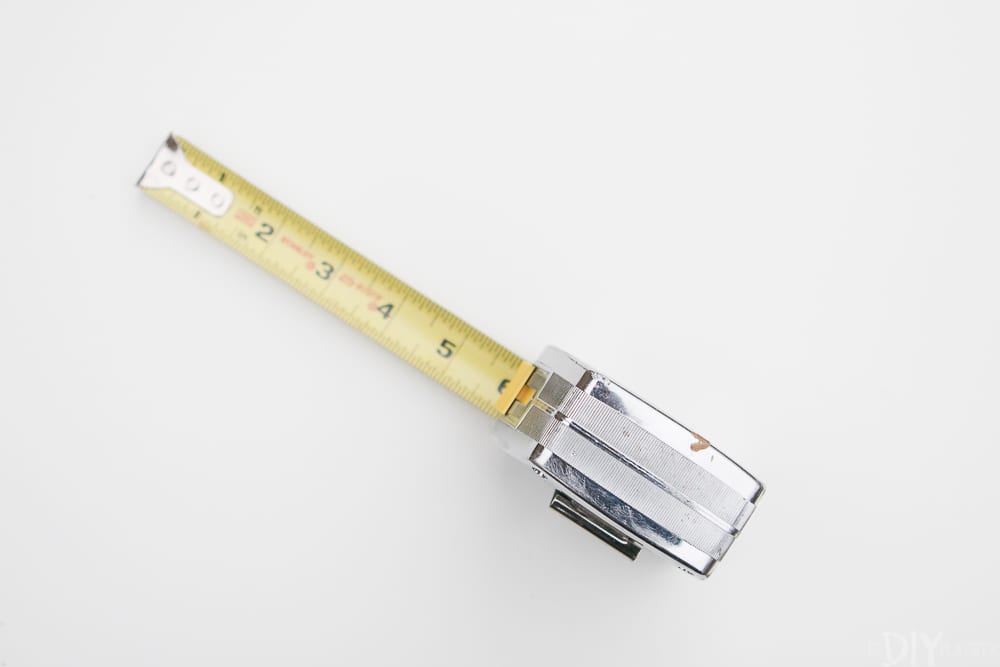
But if you’re hanging the bamboo shade inside of the window, the measurement needs to be precise. Measure the width of the window frame from the inside of the frame. Then subtract 1/4-1/2″ from that total number depending on how snug you want the bamboo shade to fit inside the frame’s opening. Whatever new number you come up with will be what the Lowe’s team will cut your shades down to.
I like my shade to fit very snug (so minimal light comes in the sides) so I usually only subtract a 1/4 inch but that’s just me. If you want a little more wiggle room, go with 1/2 inch.
Here’s an example:
My inside of my window frame measured 34.5″ long.
The nearest size in stores was 35.5″, so I purchased that box.
Then I had the 35.5 width bamboo shades cut down to 34.25″ long. This quarter of an inch off my original measurement will result in two 1/8″ gaps on either side of the bamboo shade, which is perfect for me since I wanted mine to look very snug in the window.
Hanging Bamboo Shades
Now it’s time to hang your bamboo shades, which is actually A LOT easier than I ever thought it was. I used to be a tad intimidated at the thought of this project, but I promise it’s not nearly as scary as it sounds.
All of the supplies for hanging these come inside of the box. Then all you will need is a pencil, drill, pilot drill bit, and Phillips drill bit.
Step One: Hold Up The Bamboo Shades and Mark The Openings
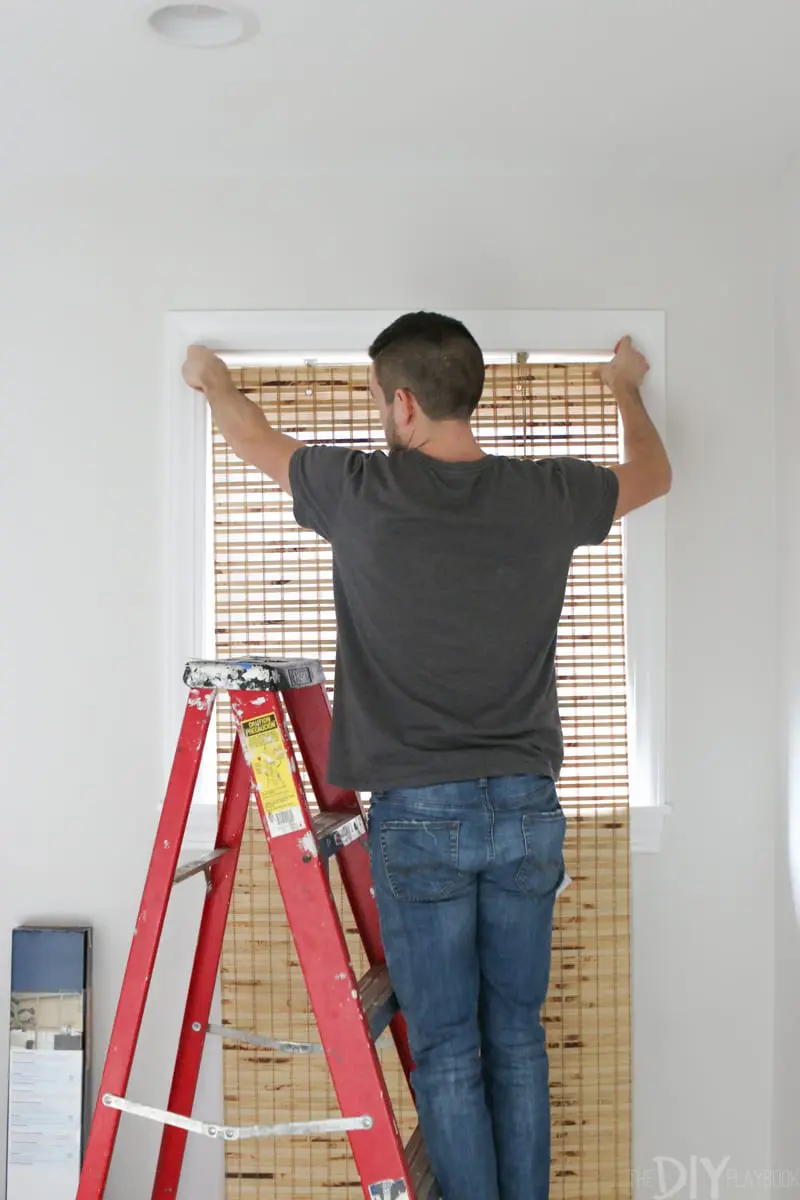
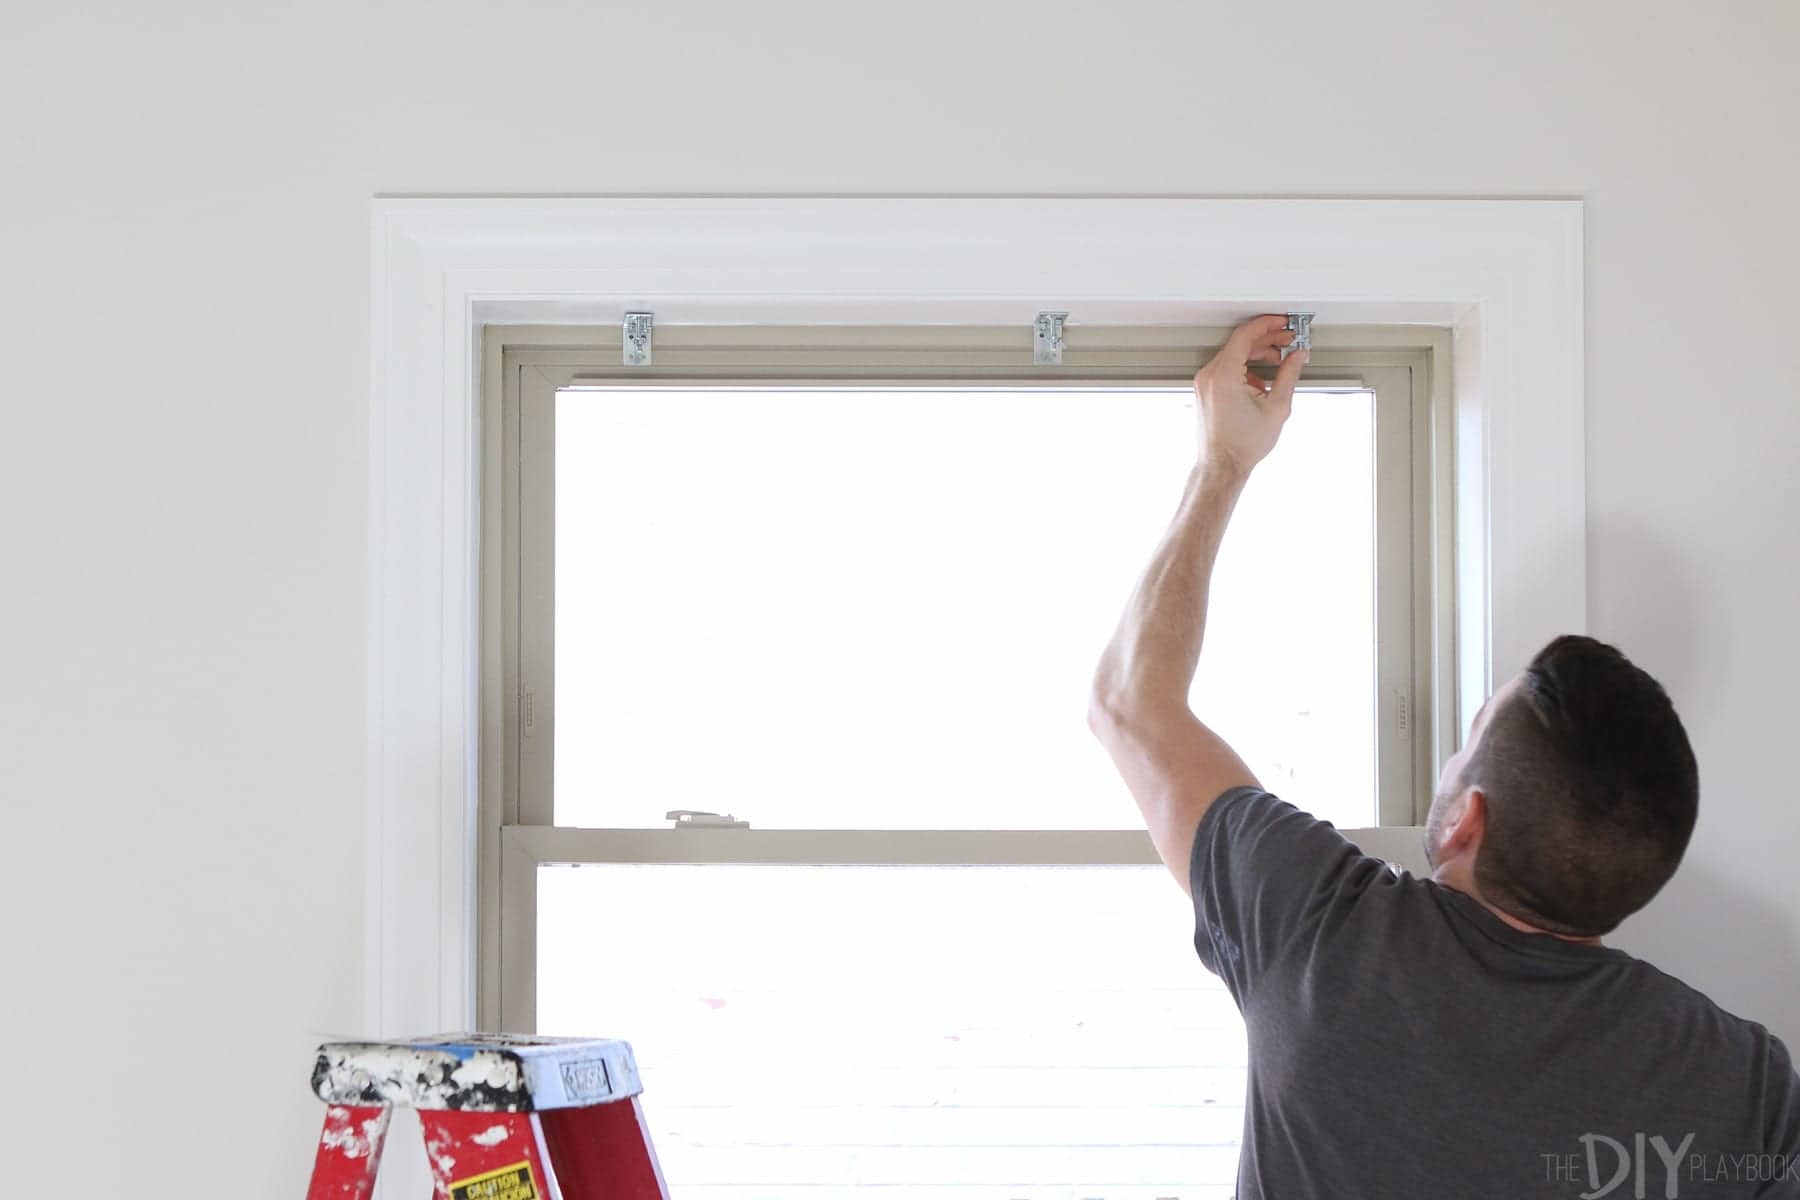
I enlisted the help of Matt to hang these bamboo shades so I could take detailed photos for this tutorial. Although Casey is living proof that a bamboo shade CAN be installed by one person… having two sets of hands available does make the job a tad easier.
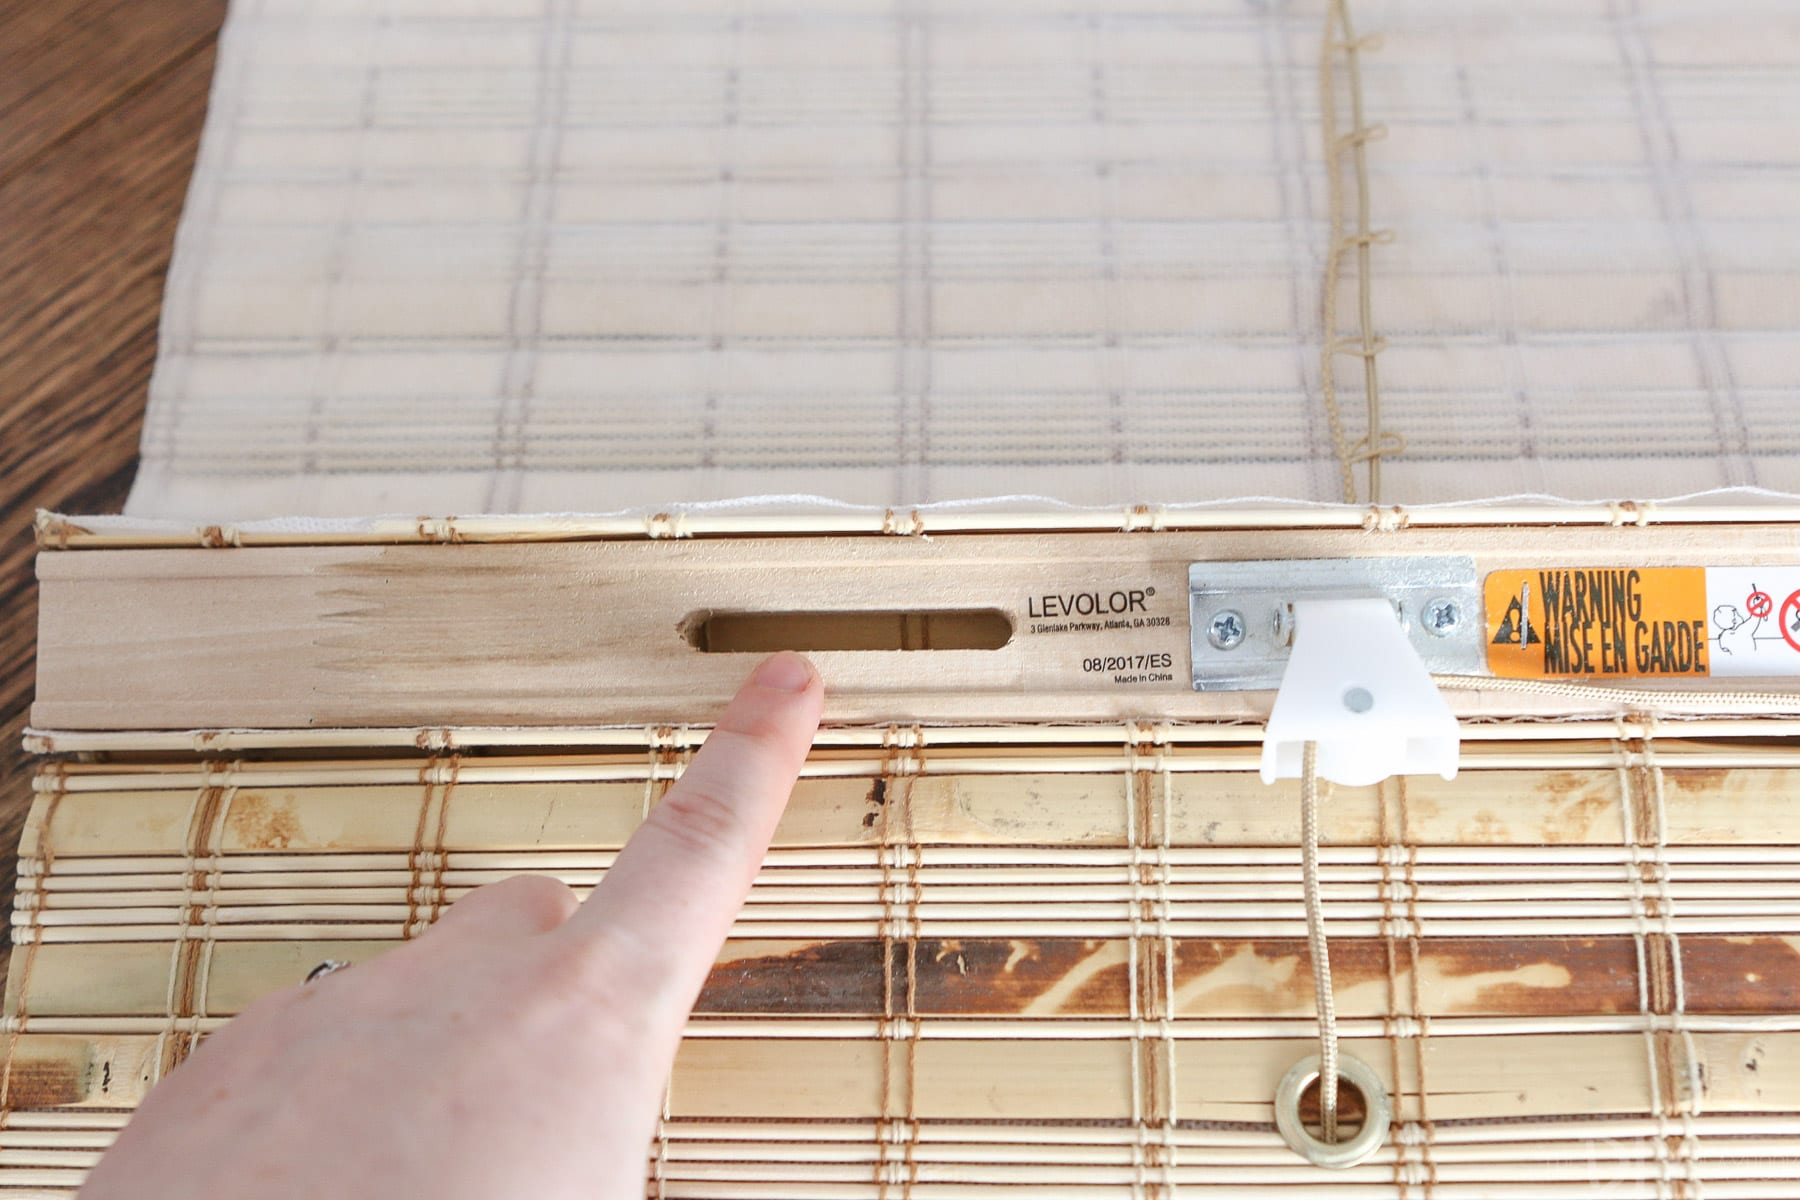
Go ahead and hold up the bamboo shade and then mark with a pencil the center of the slots. There should be at least three slots to mark, but the good news is that these are very long. If you mark them all in the center, you will still have flexibility to move your bamboo shade later in the process a little bit each way in order to make sure it’s center in the window.
Step Two: Put Up Hardware and Mark Pilot Holes

Next, take the brackets that come in the box and hold them right over the pencil marks you just made. Go ahead and mark the holes with a pencil. Those will be where you drill the pilot holes and eventually hang these brackets.
Step Three: Drill Pilot Holes
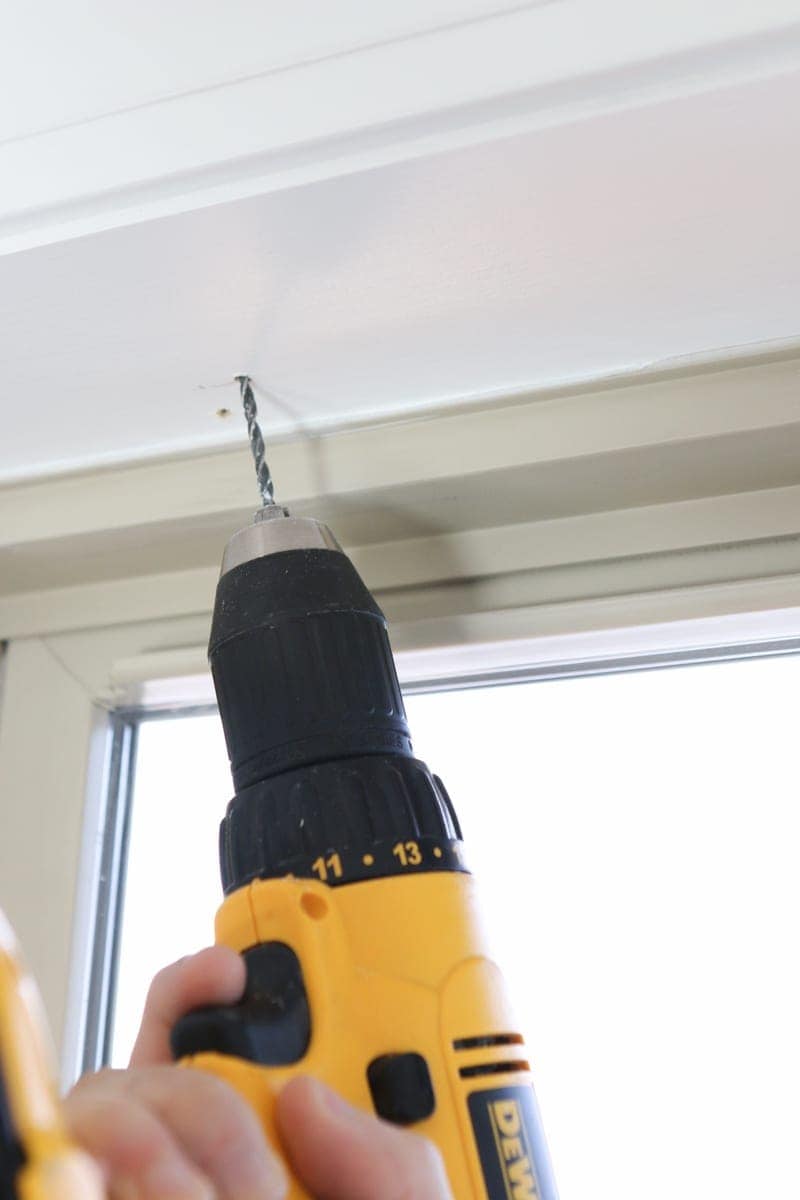
Put the pilot bit on your drill and drill pilot holes on all of the marks. Our kit only came with enough screws to use two screws per bracket, which was plenty. Be sure to count the screws in your kit so you don’t have to make more pilot holes per bracket than you actually need.
Step Four: Secure Hardware

Not it’s time to place the brackets over the pilot hole and drill the screws into the window frame. This will secure each of the brackets to the window frame, which will eventually be the brackets that hold up the bamboo shades.
Notice here that the brackets aren’t necessarily evenly spaced when compared to one another. That’s okay! As long as you followed the openings on the bamboo shades when you marked them, you’re in perfect shape. And the best part is that you’re probably only 10-15 minutes into this project and almost done!
Step Five: Remove Butterfly Rings
There should be “butterfly” looking nuts screwed onto each of the brackets. Go ahead and unscrew those now and put them somewhere safe.
Step Six: Tighten Butterfly Clips

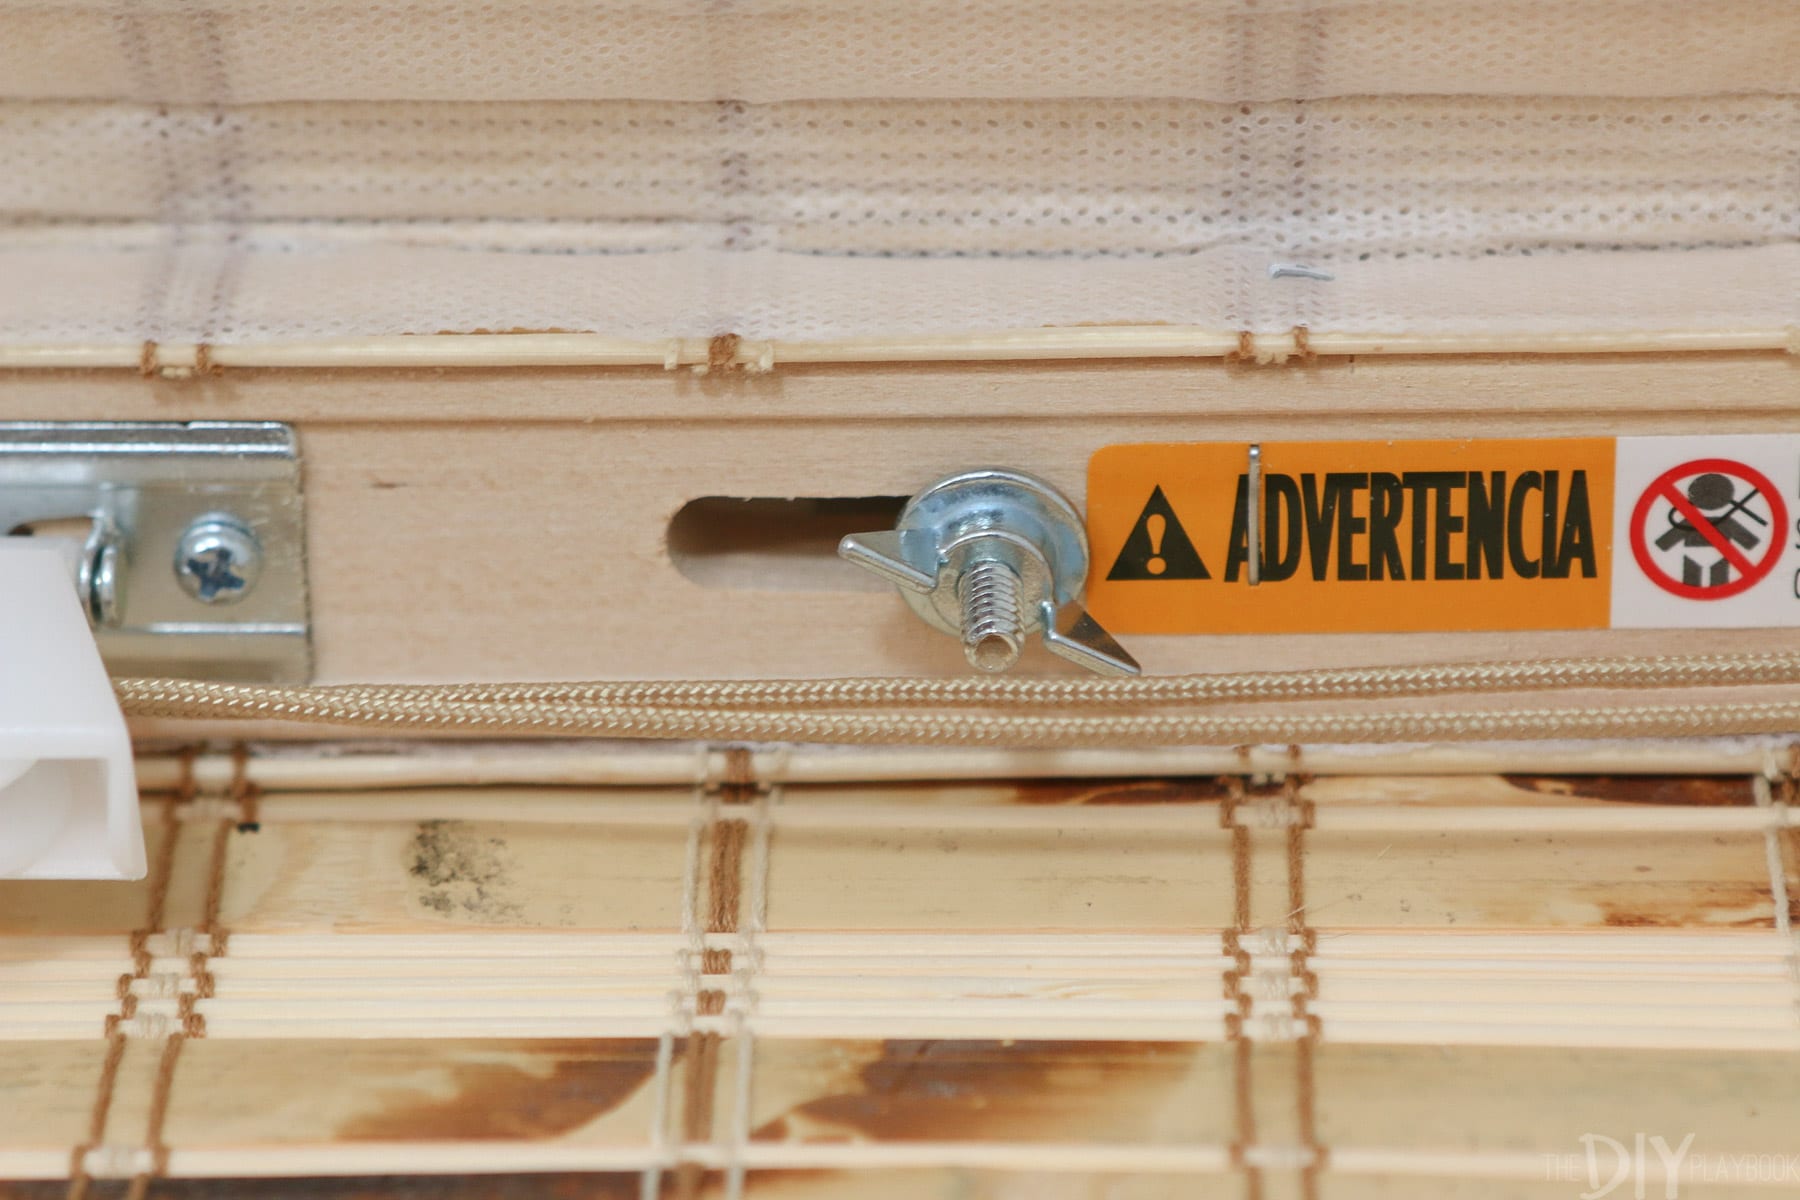
The screws from the brackets should line up with the openings on the bamboo shades. Go ahead and fish those screws through all the openings and hold the bamboo flush with the top of the window casing.
Then screw those butterfly nuts back on. Once all of them are tightened, the bamboo shade should be hanging very securely.
Step Seven: Shorten the Bamboo Shades
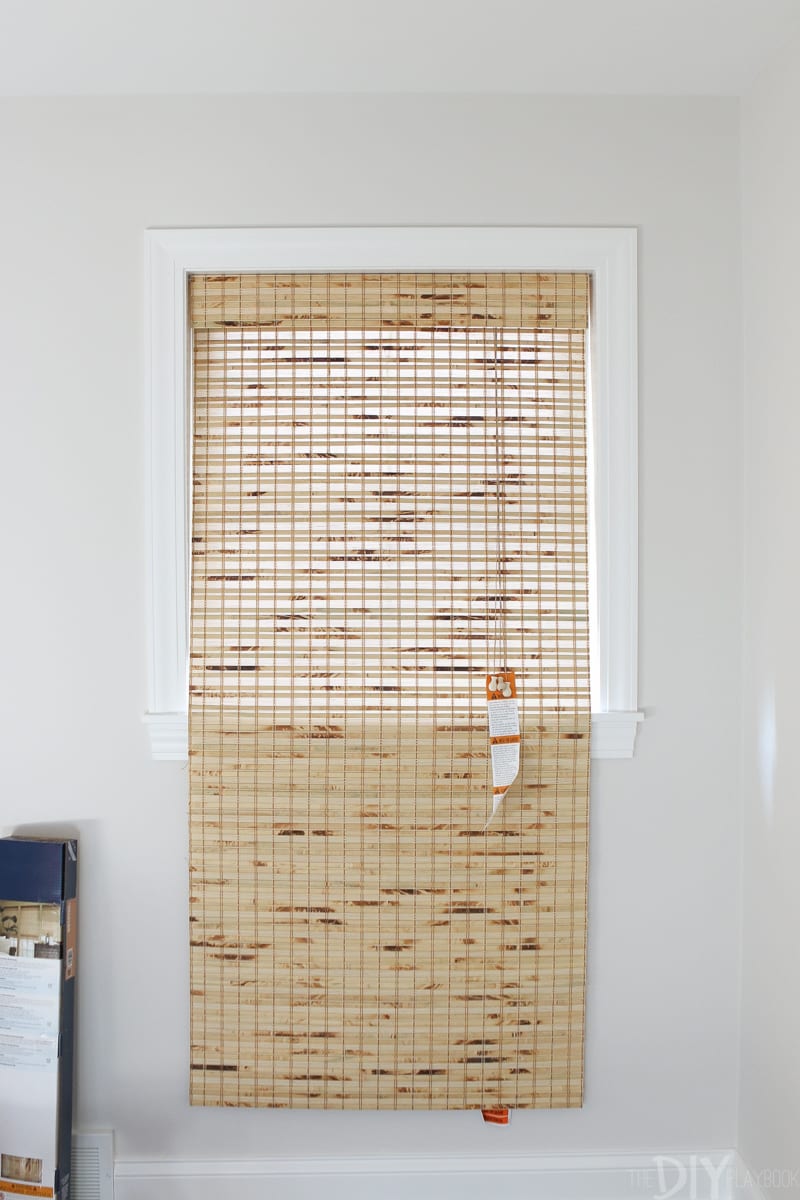
Chances are your bamboo shade is hung but way too long for your window. Unfortunately, Lowe’s will not shorten the length of the bamboo shades. But the good news is that you can do it yourself and the process is actually really easy. All you need is a pair of scissors (or a razor) and a hot glue gun.
Casey shared a super detailed tutorial on how to shorten bamboo shades a few years ago and it will guide you in shortening your shades in no time at all. Honestly, the process takes about 10-15 minutes and leaves you with bamboo shades that look custom to your window because they are tailored perfectly to the length.
Step Eight: Sleep Tight! 
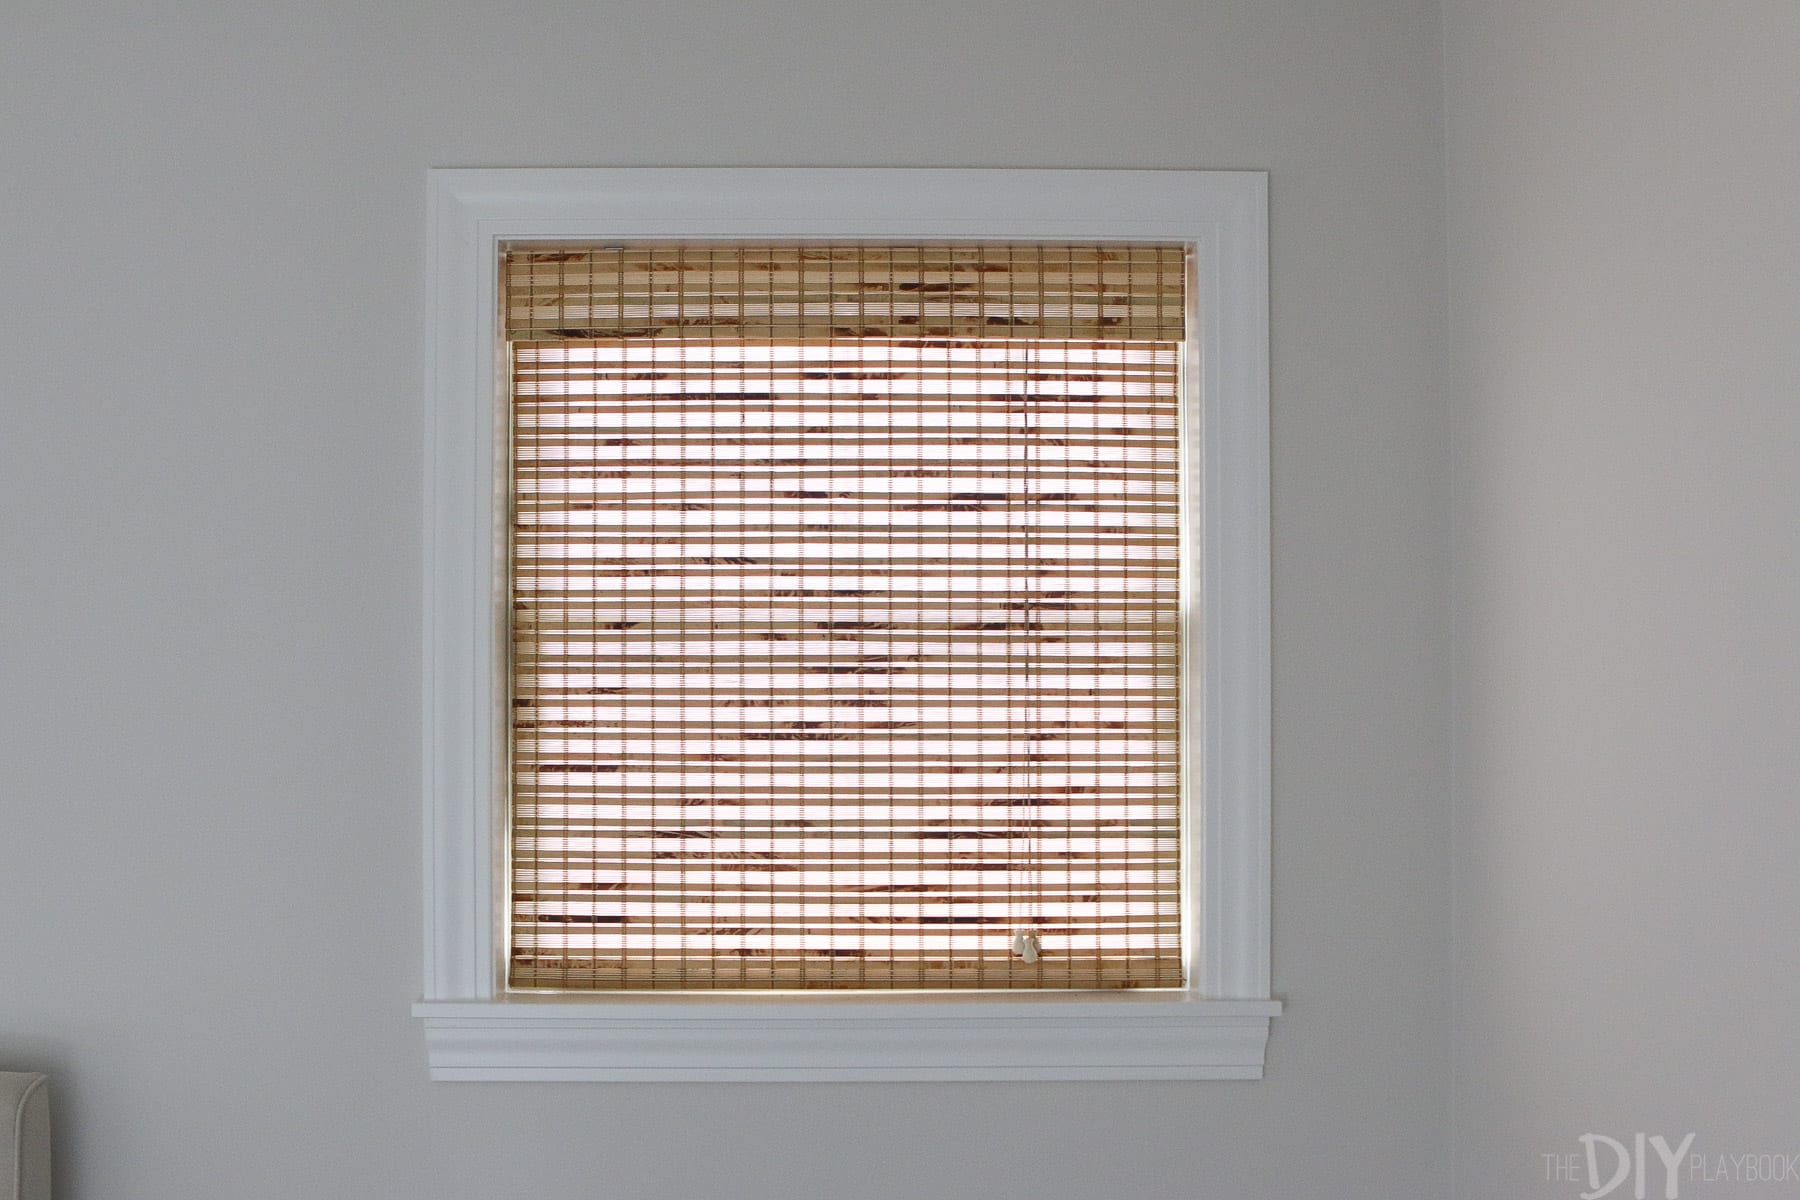

We promise this is a project you can totally DIY and one that is not as intimidating as it seems. Plus, you can save a bunch of money by buying and installing bamboo shades because alternative window treatments can cost a couple hundred dollars (per window!).
I still have to hang the hook that came with the box so that I can corral the bamboo cord. But for now, I want to see how the rest of the decor comes together in this space so that I know where I want to mount this hook.
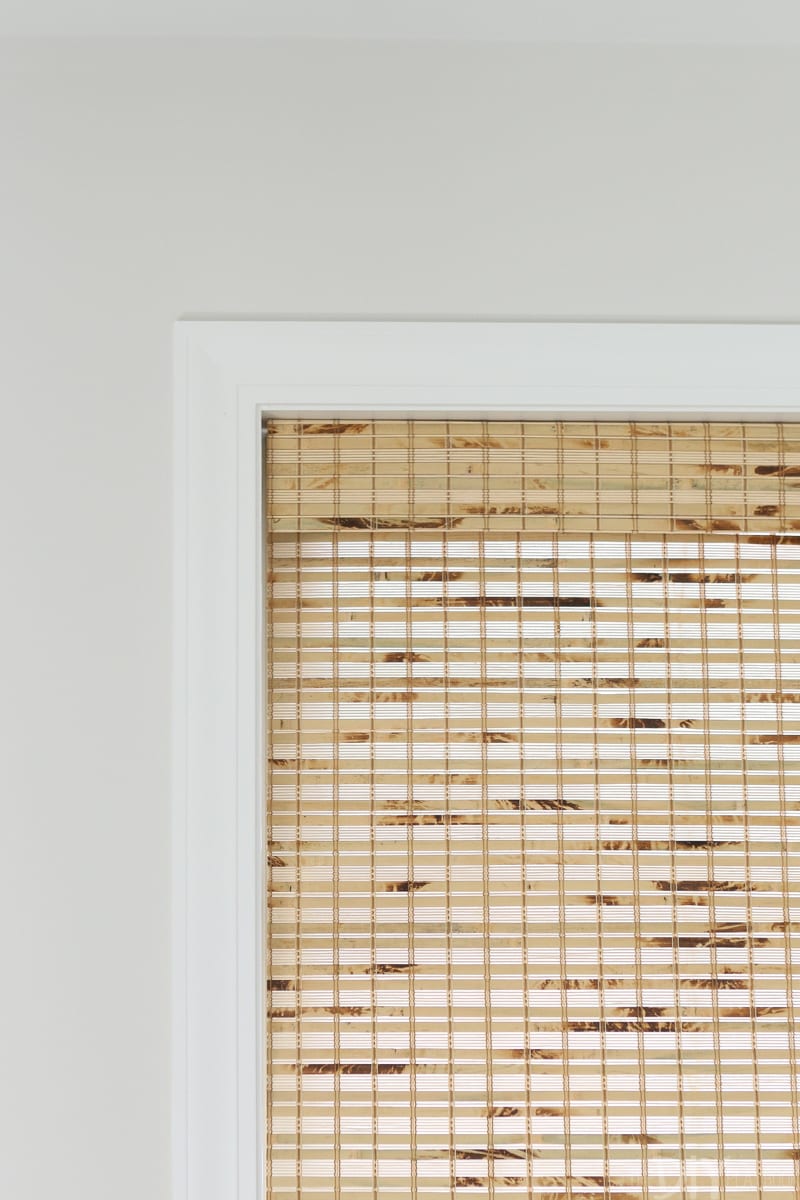
Until then, I’m happy we have some privacy and window treatments that match with just about anything!
Bridget