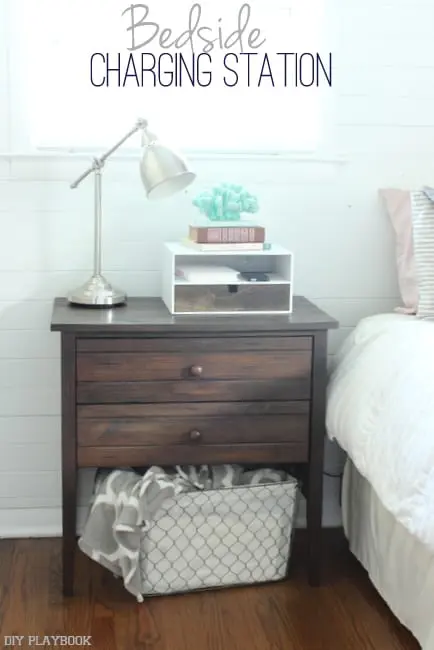
Bedside Charging Station
I have a $2.99 update that has CHANGED MY LIFE.
…. Welllllll maybe that’s a tad dramatic, but today’s bedside charging station definitely changed the landscape of my bedroom & cut down on my bedside clutter and to me, that’s pretty darn awesome life changing!

So let’s chat about phone chargers, shall we? This is how I previously charged my phone. Every single night, on the floor, next to my bed, in the most un-glamorous way I can imagine. When we had people over, I would unplug this eyesore and put it in my nightstand until our company left, at which point I would haul this bad boy right back out to go back on the floor. It was inconvenient, ugly, and just looking at it annoyed me. (side note: ignore the baseboard – it’s in the middle of makeover).


That’s when I spotted this $2.99 treasure at Goodwill and eventually knew it was the answer to all my phone charging annoyances. I found this box at Goodwill, but I think similar ones are sold at large craft stores in their wood section, or I even saw some at IKEA after some further investigation. They’re not the exact same but will do the same job.
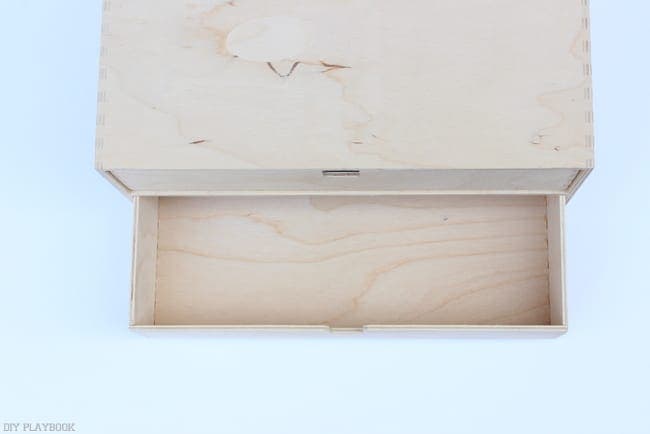
The drawers were perfect to hide some bedside essentials and could easily be taken out, which is what I planned to do with the top drawer.
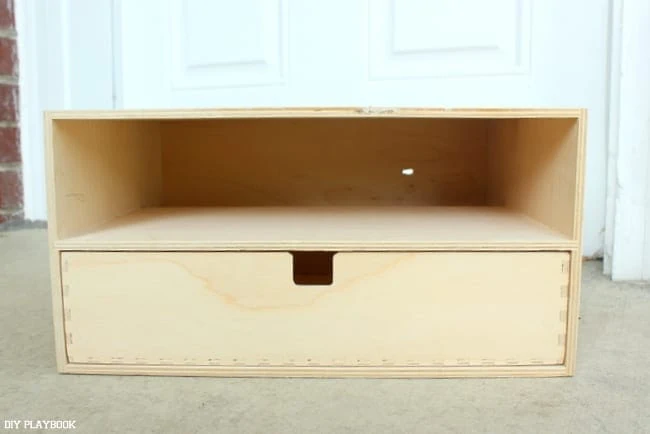
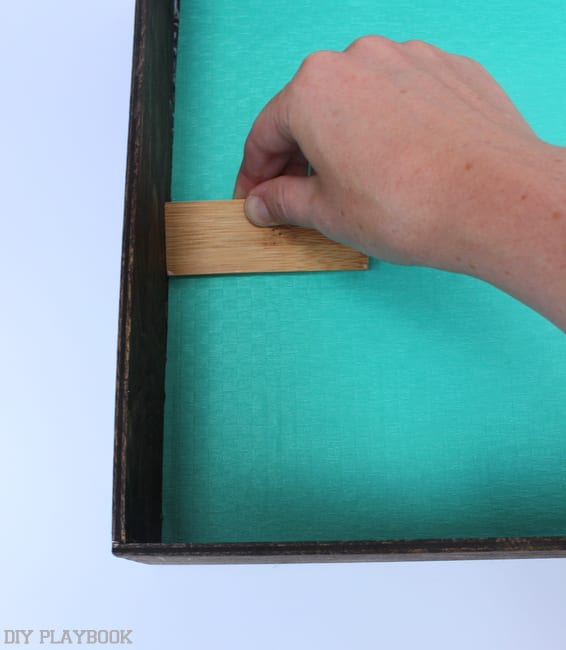
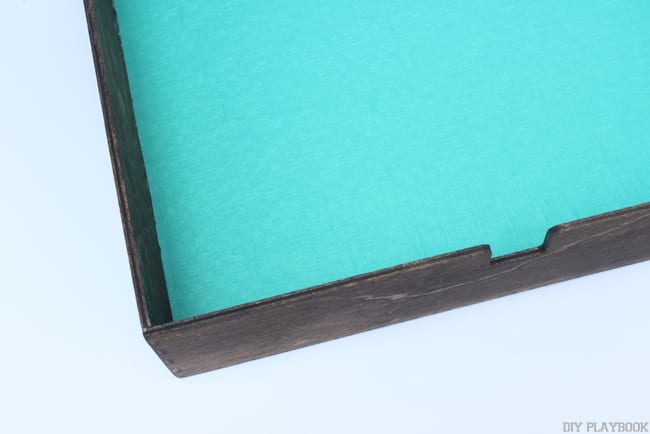
In order to be able to fit my phone charger through the back of the unit, I drilled a tiny hole in the back of the box. It definitely does not have to be perfect since you can’t really see all the way to the back.
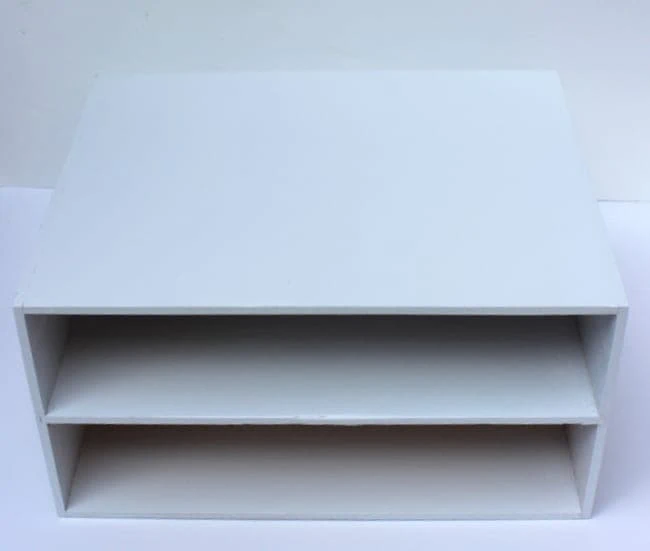
I spray painted the box white…
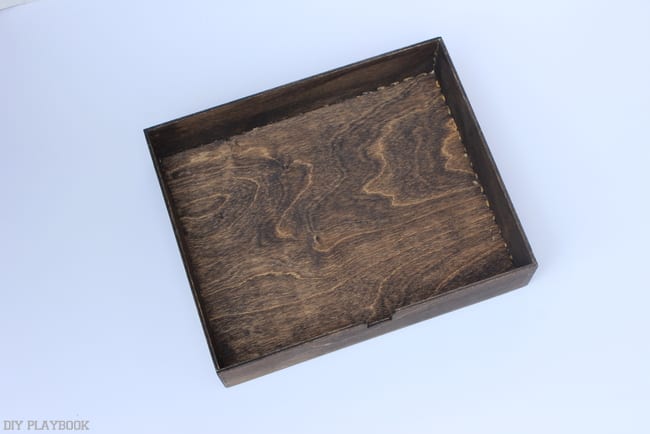
… and stained the drawer using Jacobean Miniwax. I figured I could be a little adventurous on the first drawer because if I hated it I still had that first drawer as a back-up plan.
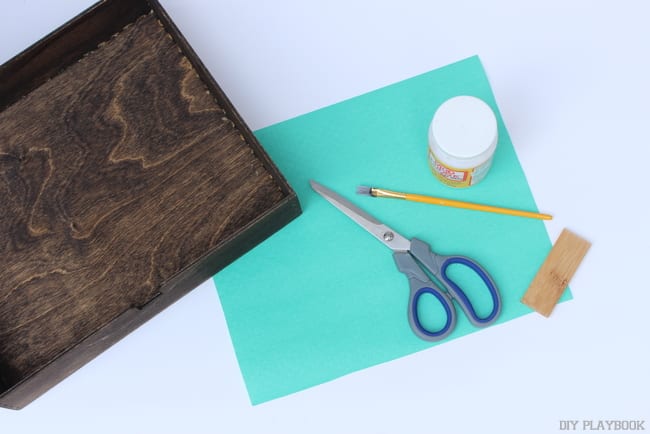
This next step is completely unnecessary but I appreciate the little details (and color) in any DIY, so lining the drawers was a fun “extra”. Plus it took an extra 15 minutes so what the heck?!
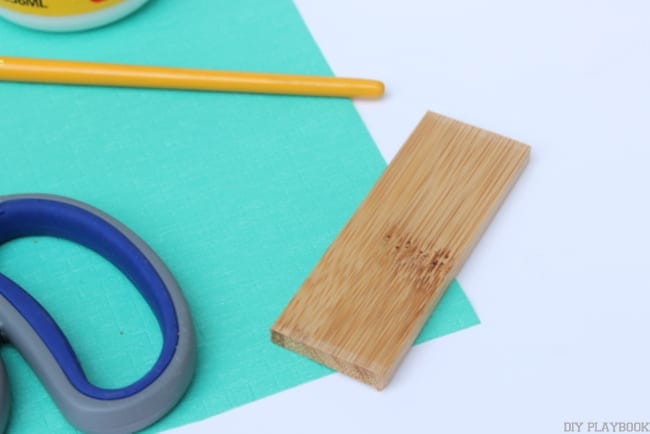
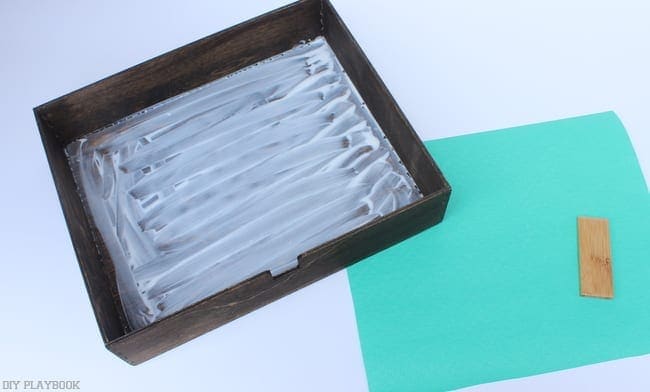
I used old wrapping paper to line the drawer. I guess the biggest tip I have is to make sure you iron out the air bubbles under the paper with a straight edge. Not that the air bubbles really matter since they will be inside of a drawer, but they drive me crazy so ironing those out with an old wood scrap (or credit card) was essential.


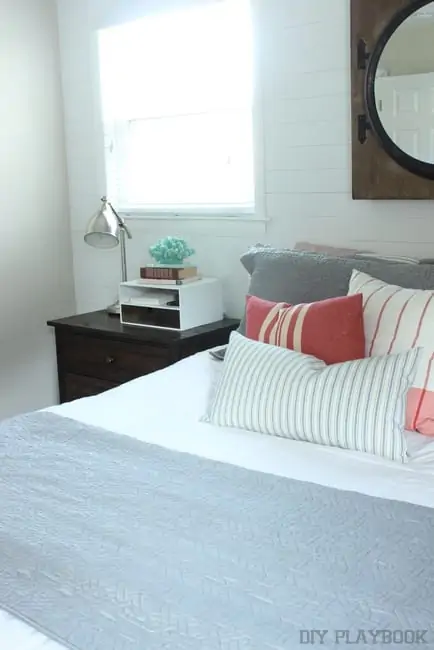
Once all of the parts were dry, I put the drawer back into place and filled this bedside charging station up with all of the essentials.

A phone charger being the most essential of course. I poked the front of the charger through the hole I had drilled and plugged in the back of the charger to the wall. I can’t believe how this little unit offers my bedside SO much extra storage!

Not only can it hold the accessories that were already there, this charging station also holds the remote controls, my glasses, a coaster for those amazing weekend mornings when I have coffee in bed, and a ring holder that seems to catch all of the bobby pins and hair ties that I forget I have in until I’m already in bed. See why this $2.99 investment is LIFE CHANGING?!
I love all of the function t offers, but I also love that this functional space can be fashionable too. Why can’t we have both?!

I was originally a little nervous to stain the drawer instead of paint it all white, but I’m totally digging the two-tone look and how it ties in the dark, World Market bedside table. (I was inspired by Casey’s two-tone piece in her living room, which ironically was also a two dollar steal!)
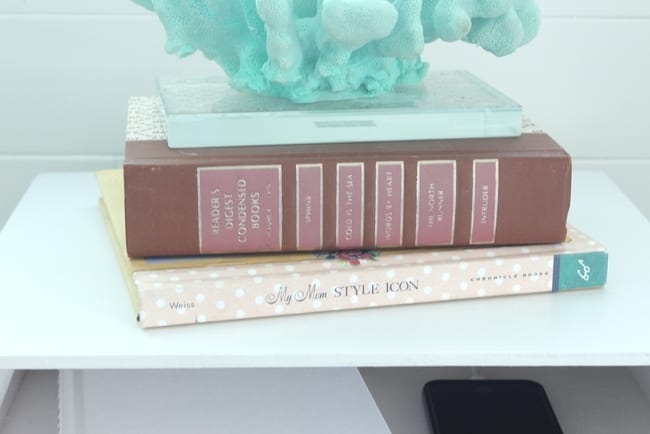
I scored these books at garage sales and the piece of coral on clearance at HomeGoods. I love, love, love that “My Mom: Style Icon” sits on my bedside. It is a constant reminder that my amazing mom really is my style icon plus the styles throughout the book are pretty inspiring and always fun to flip through!
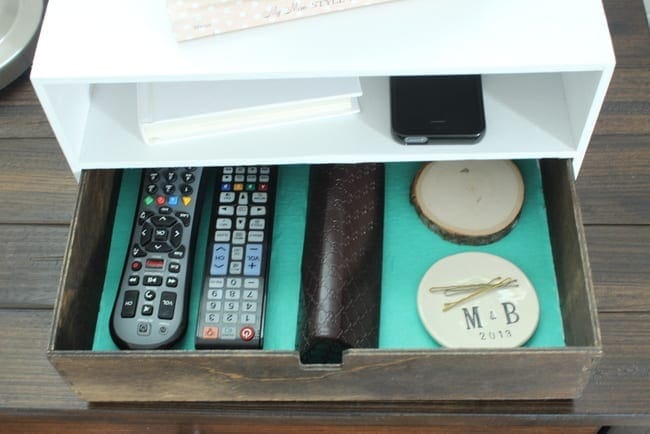
The drawer is very valuable real estate because it offers a place to throw the remote controls, or “beepers” as I call them. I’m a big fan of making sure everything in our house has a specific “home”. With this cozy little home base we always know where to find these suckers, but more importantly, we know where to RETURN them too!

Who knew a $2.99 treasure on the shelves of Goodwill could be such an amazing addition to our house?
So let’s chat. What do you do with your phone charger?! I’d love to hear how you creatively combat this everyday issue. I can’t be the only one that had a phone charger lurking on the floor of her bedroom for two years…. can I?
Bridget


