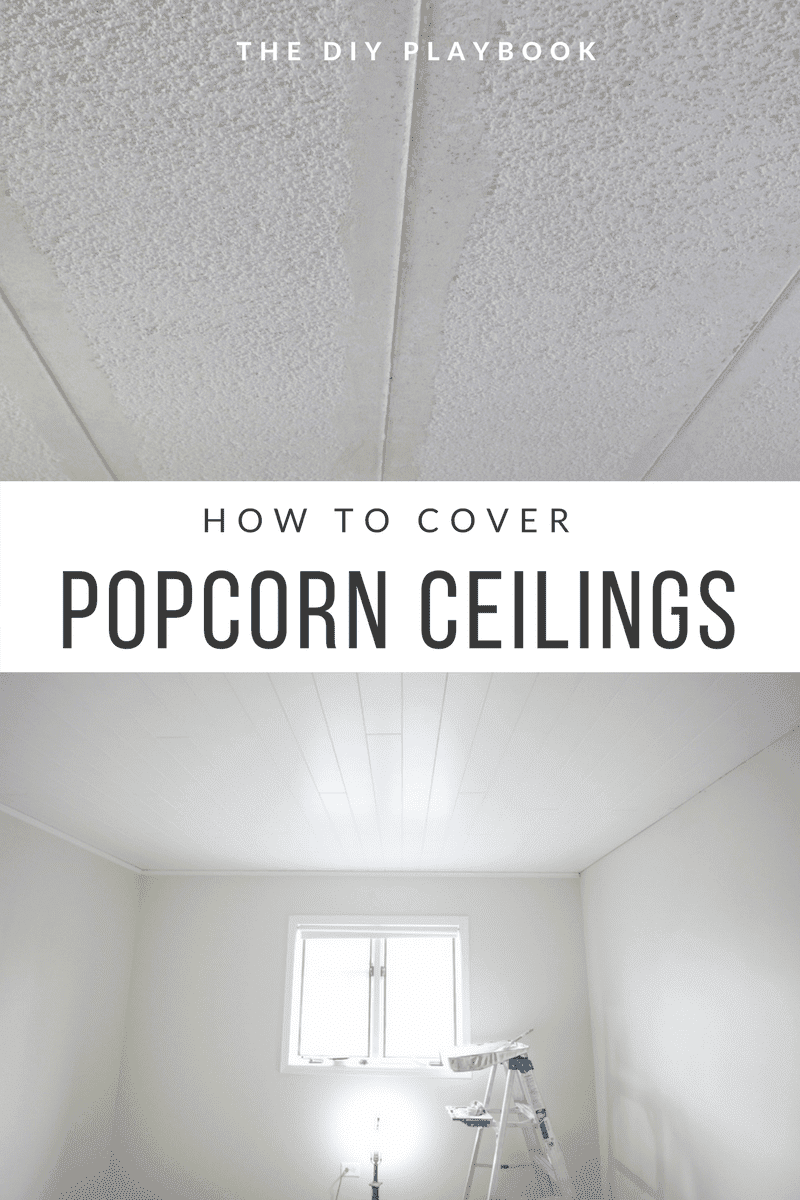
How to Install Ceiling Planks to Cover Popcorn Ceilings
[Disclaimer: This post is sponsored by Armstrong Ceilings. All opinions and photography are our own and are not influenced by Armstrong Ceilings. Thanks for supporting the brands that support this blog.]
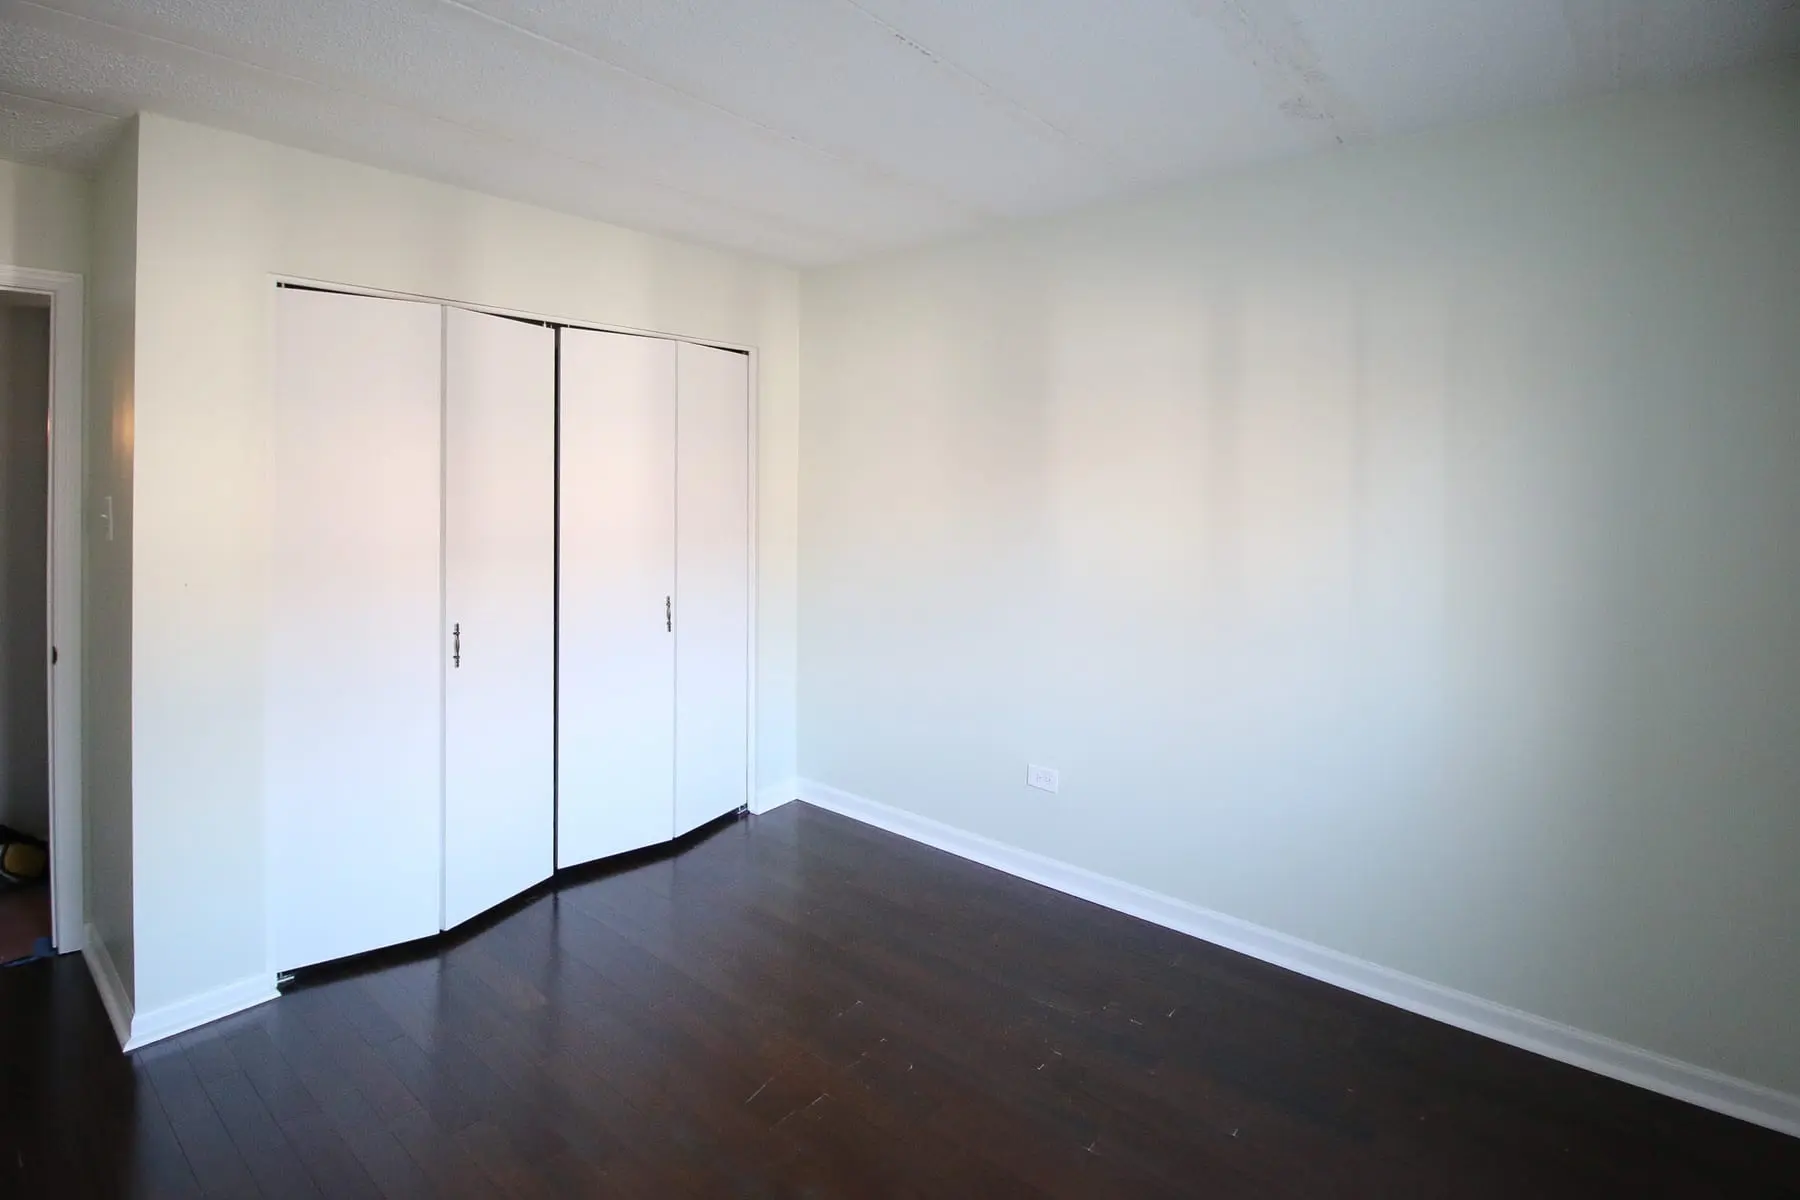
It’s been a few weeks since we’ve given you guys an update on the kids’ room makeover we’re working on. To recap, our friend Denise has a room in her home for her grandkids when they come for sleepovers. It’s a cute space (love the adorable bunk beds!), but we just knew we could make it even better with some TLC.
Here’s the space before we got our hands on it…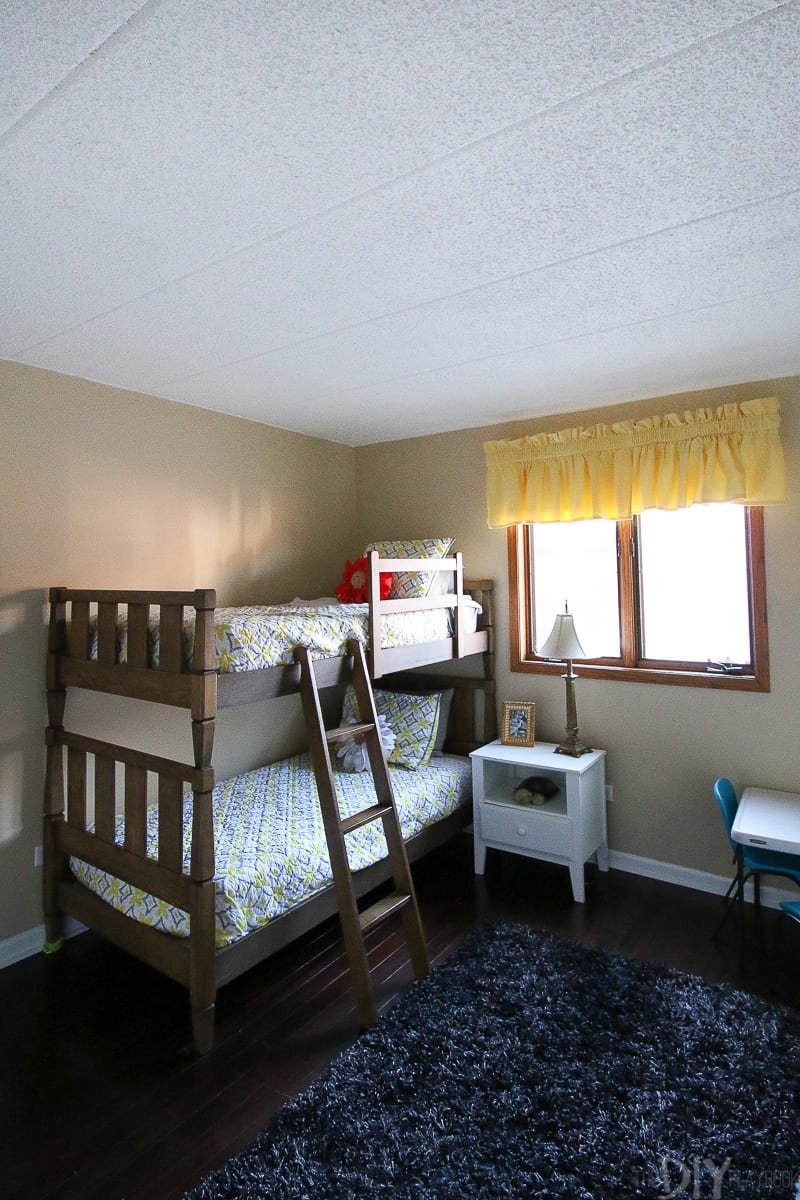
You can see even more pictures in this before post.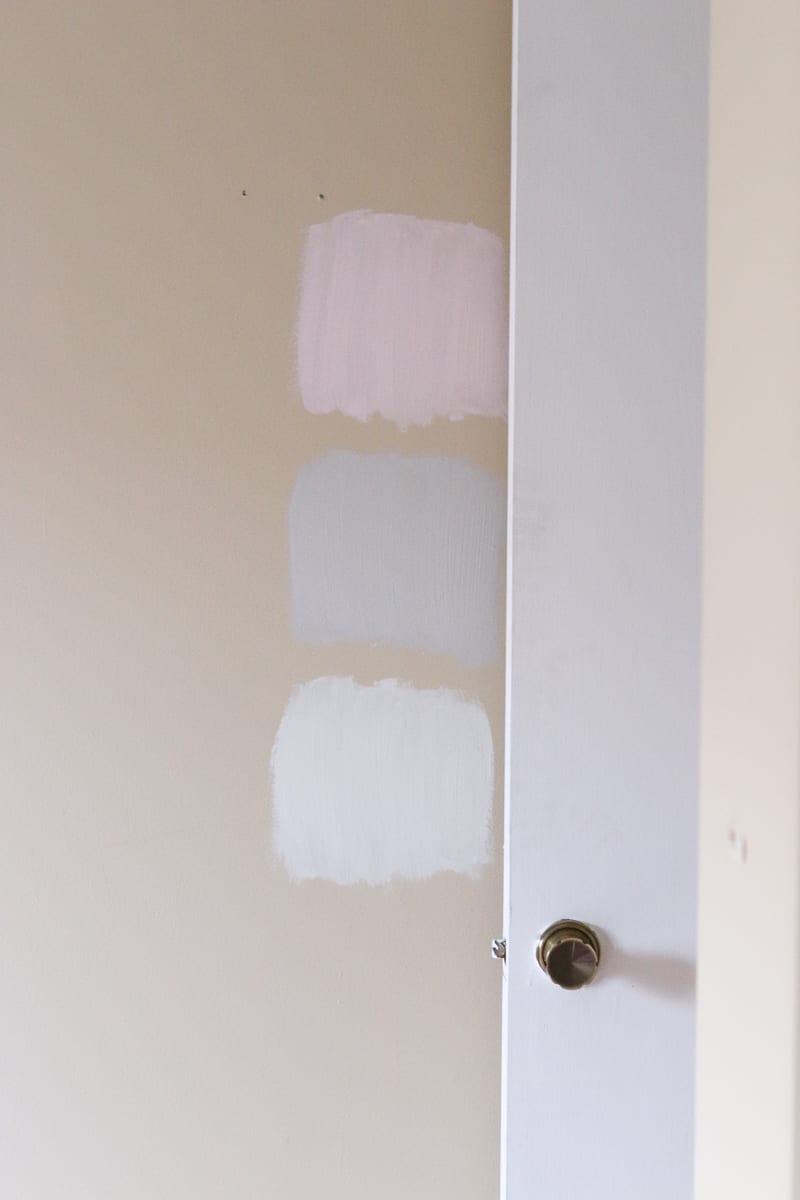
Then, we shared our design plan for the room and painted the walls the color “Sagey.” 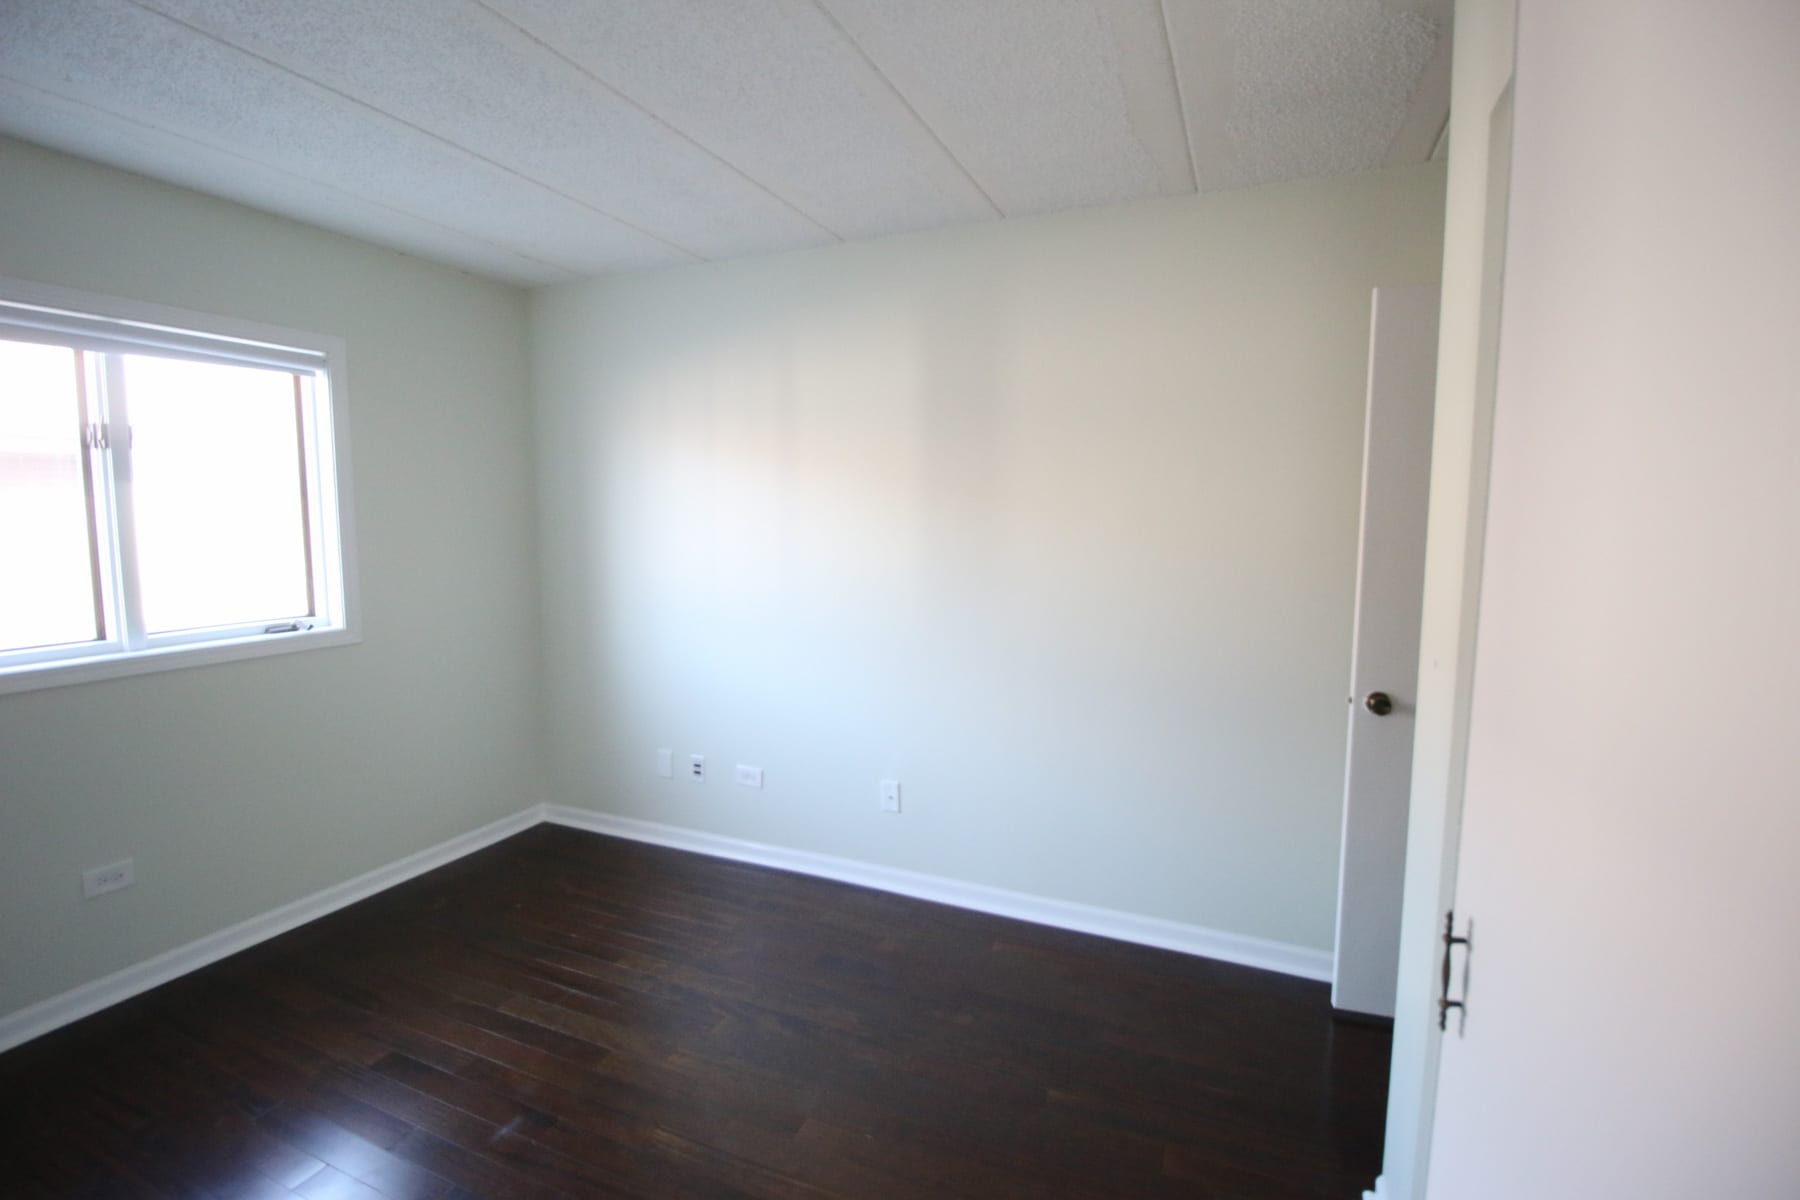
The paint turned out beautifully! Love that subtle pop of green and the fresh coat of white on the trim. We were a bit nervous to go outside of our gray & white comfort zone, but this subtle green is stunning. Plus, a little extra color is always appropriate when kids are involved, right?
So now that leads us to today. As we discussed in this post, we were most anxious to get rid of the popcorn ceilings in this room using ceiling planks from Armstrong Ceilings. 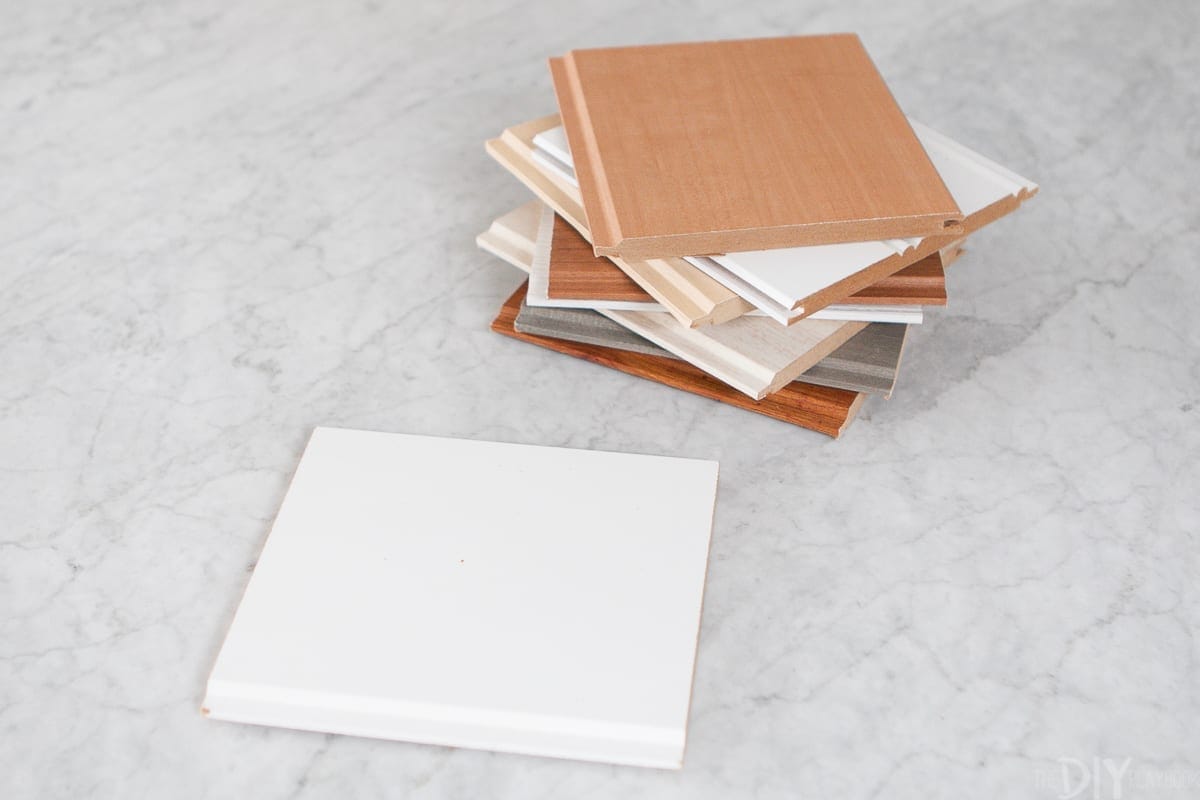
We decided on this painted white ceiling plank and placed our order! Then we headed over to Denise’s to figure out our gameplan for this DIY project…
Our Ceiling Situation
When we first decided to take on this project, we thought that the ceiling was just normal drywall with wood joists. We could simply install the tracks into the joists and then easily add the planks to those tracks on the ceiling. But after examining the ceiling a bit closer, we realized that the ceiling was actually concrete! Ugh. We thought our dreams of covering the popcorn ceilings in the space were dead after that bombshell. 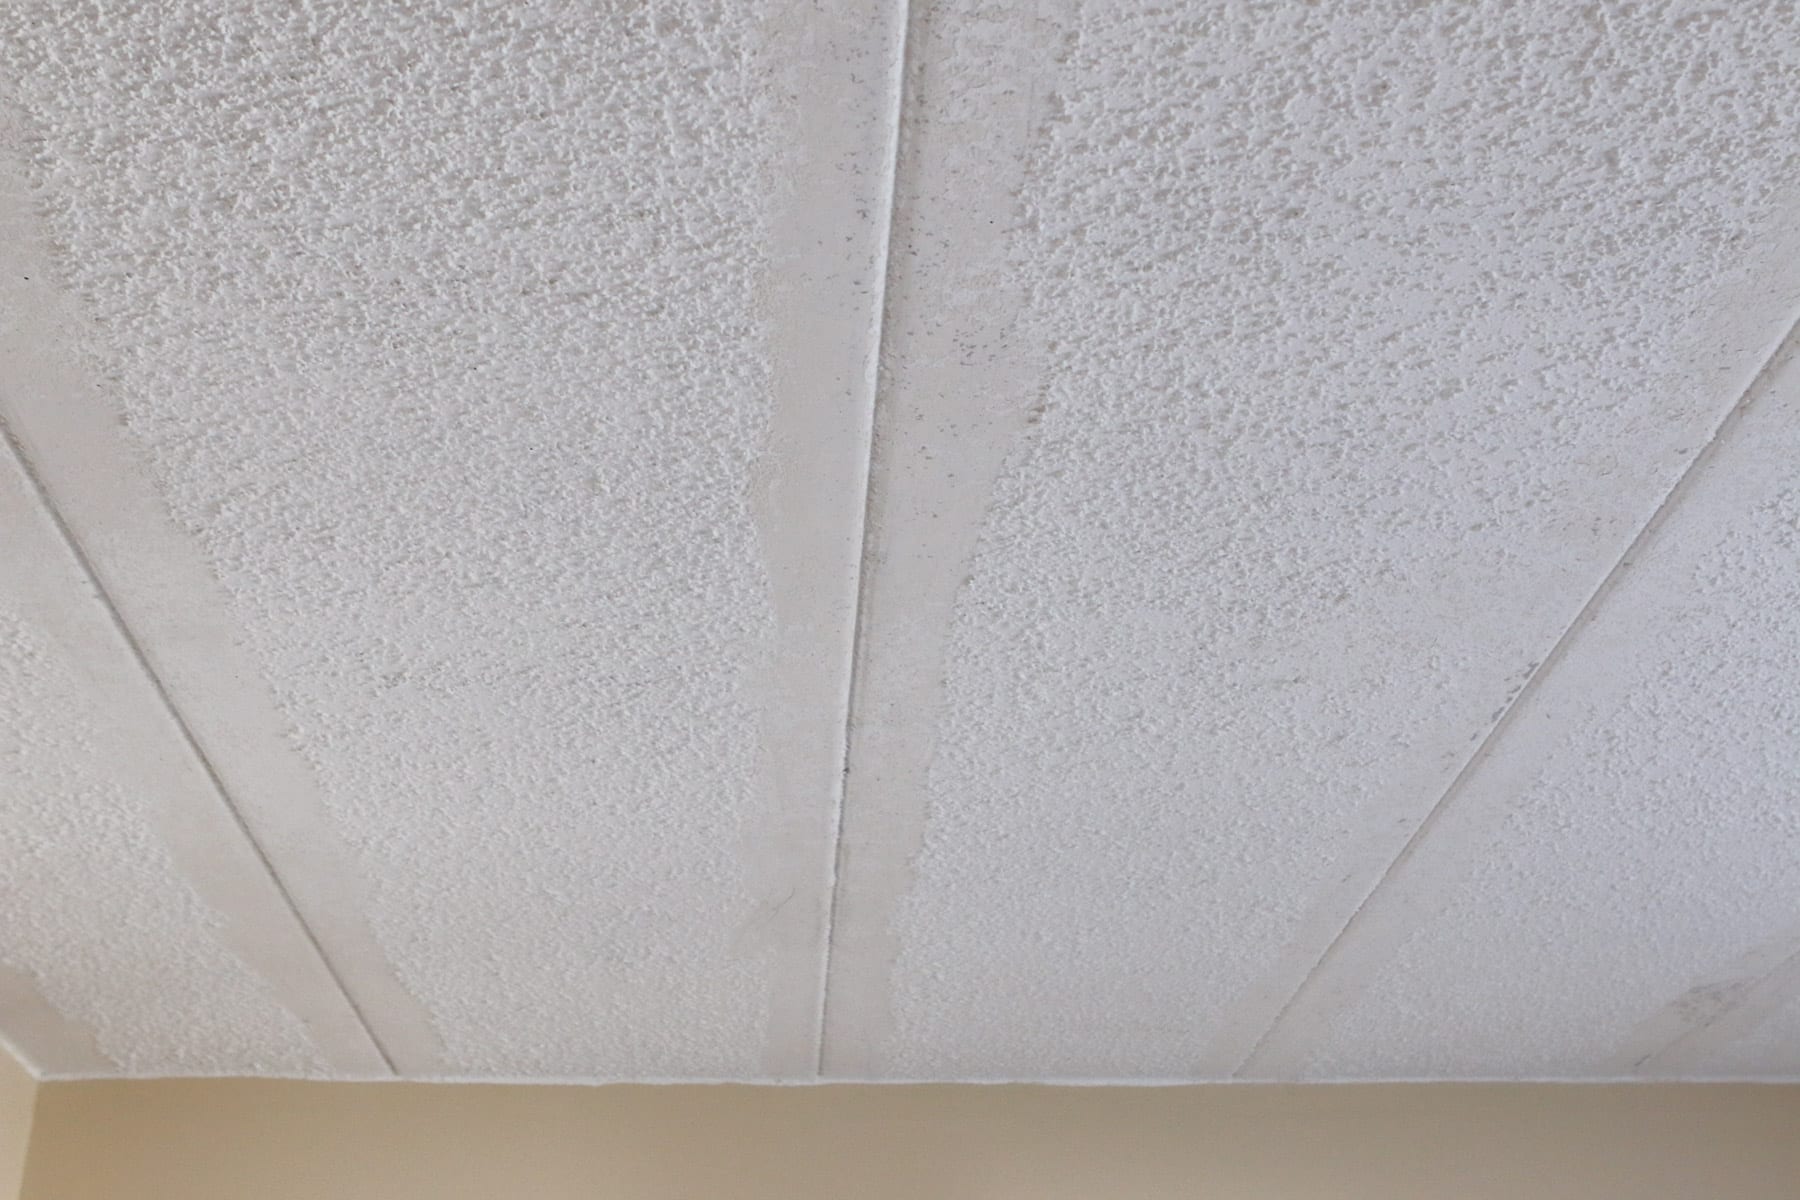
But, after calling Armstrong and chatting about the product we realized that we could use concrete anchor screws to install the tracks instead. Yes, it would be a bit harder, but it was still possible!
We fully intended to DIY this project all by ourselves, but after learning about the concrete ceiling debacle…we decided to hire a handyman to help us with the project. That way we could still be a part of the process and help him from start to finish, but we would also have someone to guide us and bring the professional tools! Sounded like a win-win to us. 
Because of the cement ceiling, these directions may be a bit different than if you are installing just on regular ol’ drywall. But the steps should be fairly similar. And if you’re installing into drywall, then it will be even easier…and yes we think you can definitely DIY it!
Project Supplies
- Safety Glasses
- Dust Mask
- Gloves
- Miter Saw
- Circular Saw
- Tape Measure
- Pencil
- Screwdriver
- Stud Finder
- Level
- Straight Edge
- Wood Shims
- Hammer Drill (not necessary if installing into drywall)
- Concrete Anchor Screws (not necessary if installing into drywall)
- Ceiling Planks
- Ceiling Tracks
Directions to Install Ceiling Planks
Order your Product
You’ll first want to measure the room to figure out how much product you need to buy. Then use this cheat sheet to figure out your product order. For example, our room is 11×11 so we ordered 5 cartons, each containing 29 square feet of material. It’s important to get the product at least a few days before you plan to install. You’ll want the wood to acclimate to the humidity in your home, so bring it inside and leave it in the room where you’ll be installing it. We ordered these ceiling planks in painted white.
Mark your Ceiling
Because we were screwing into concrete, we didn’t need to mark the joists. But if you are installing into drywall, be sure to mark all of the studs on your ceiling. You can even use a chalk line to mark them. The tracks will be installed perpendicular to these lines, so it’s important to clearly see them. This is also a good time to plan out where you’ll have the tracks and mark those too.
We were lucky to not have any ceiling fixtures, but if you do, you’ll want to make sure your tracks avoid those areas. Space the tracks no more than 24 inches apart!
Screw in First Track
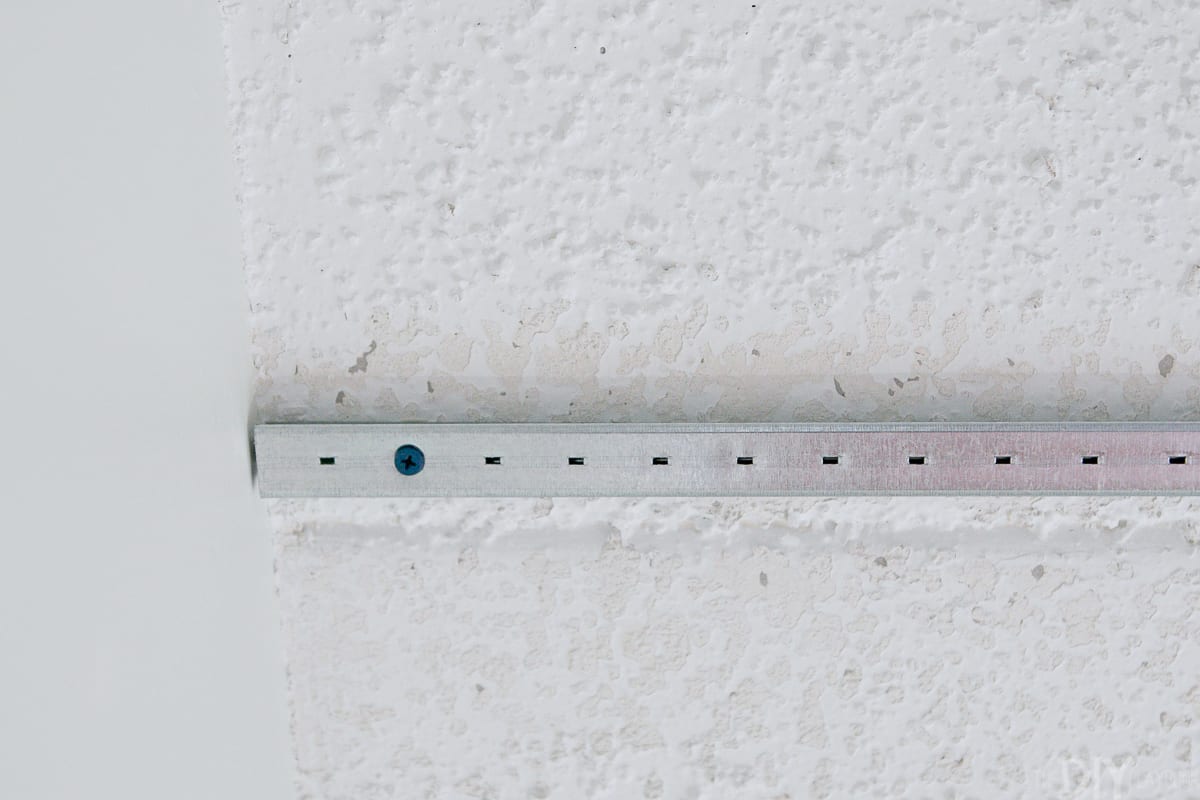
Your ceiling is all marked and it’s time to hang that first track. Choose a wall and start 2 inches from the edge. Install your first track and screw it into place. We had to use a hammer drill and concrete anchor screws to screw in each track. Make sure it’s straight and level.
Screw in Second Track

Now add another track to the same line of the ceiling. Don’t place them end to end, instead overlap the tracks by at least 1 inch (even more if you want). Keep them about 1/8 of an inch apart. Again, it’s important to make sure the tracks are level and straight as you go.
Finish Installing Tracks
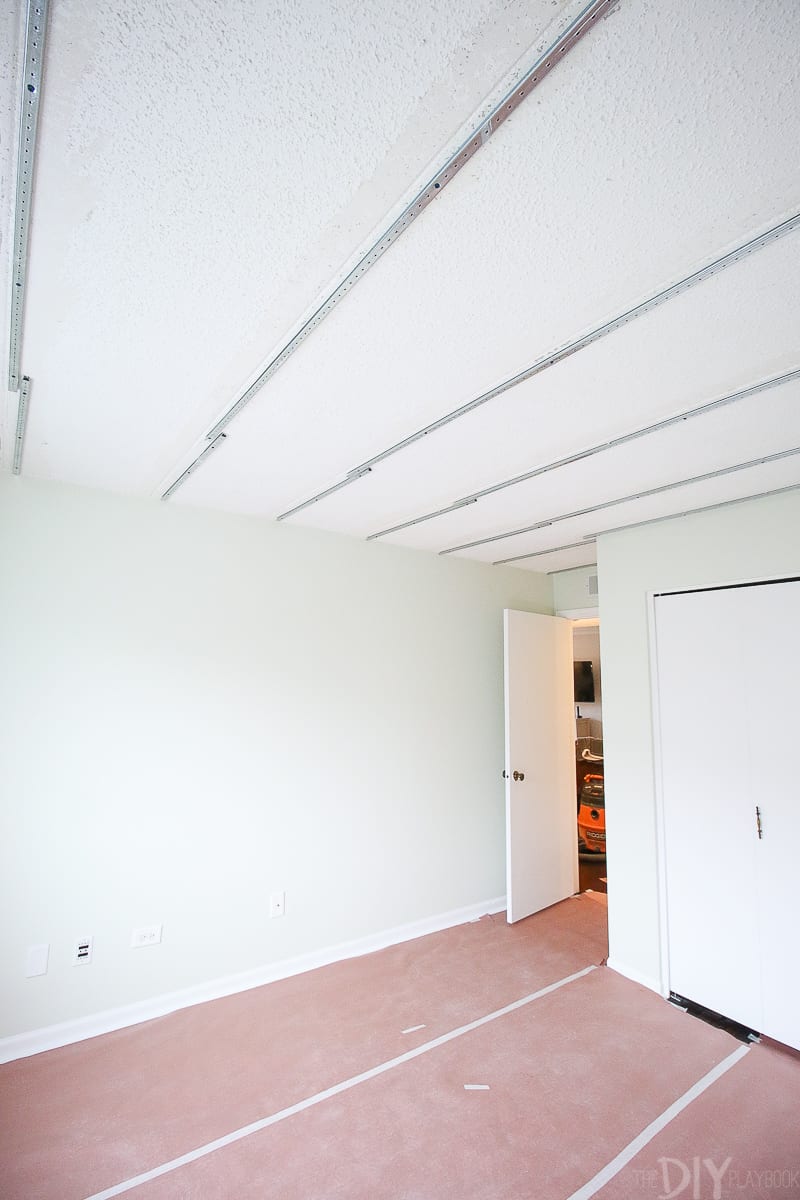
Keep on going with the tracks until they are all up on the ceiling. On the opposite wall, make sure the track is 2 inches away from the wall.
Because our ceiling was concrete, this was the hardest part of this project. The hammer drill requires some extra muscle, as do the concrete anchor screws. But it was still totally do-able and we were relieved when things started moving quickly!
Do Some Math!
Ugh, math is definitely not our strong suit. But sadly it’s necessary for this step of the project. With all of our tracks up, we had to figure out the width of the border planks so the planks could fit across the entire ceiling. You’ll want to hide “thinner” planks on one edge of the room, and have the middle be normal planks. But how thick should those edge planks be? There is a formula in the instructions that you’ll need to follow to figure out that measurement for your space. Just follow that and you’ll have your answer!
Cut & Install First Row of Ceiling Planks

With that measurement, it was time to head to the circular saw. You’ll want to cut on the tongue side of the plank. Using a circular saw will ensure that you get a clean, straight line on the long side of the plank. 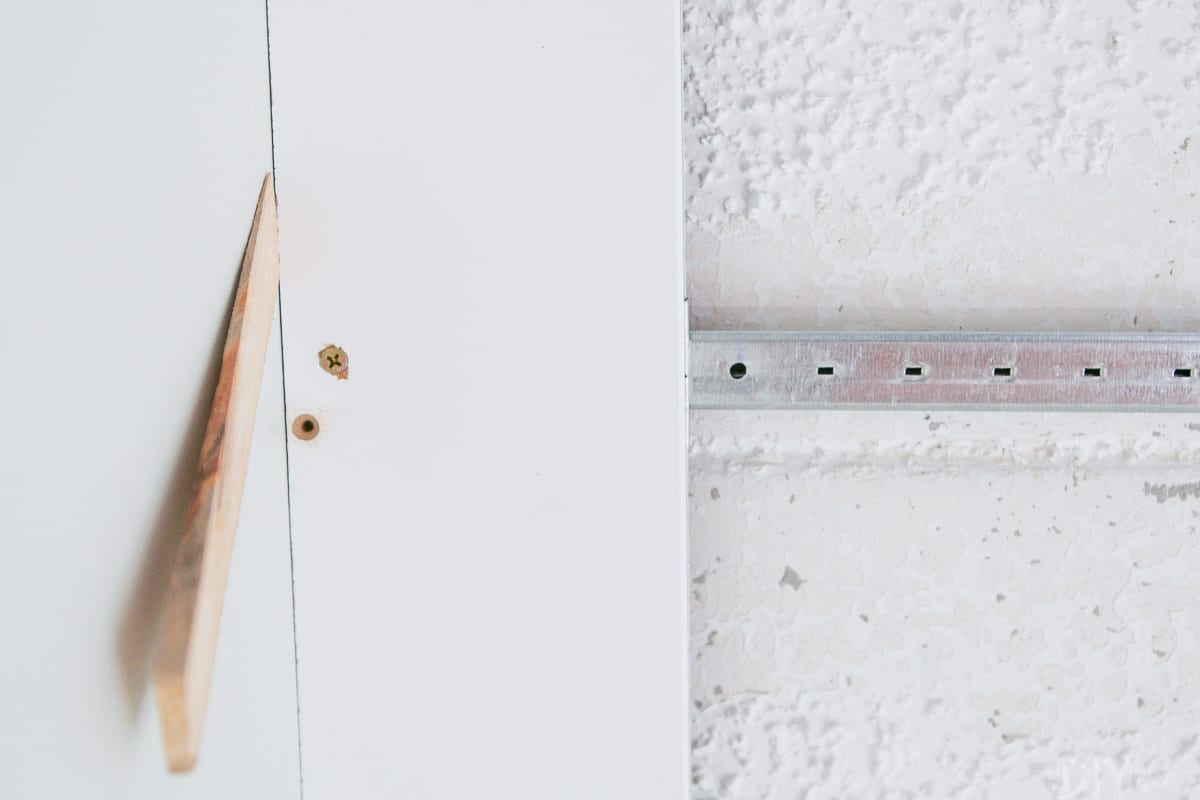
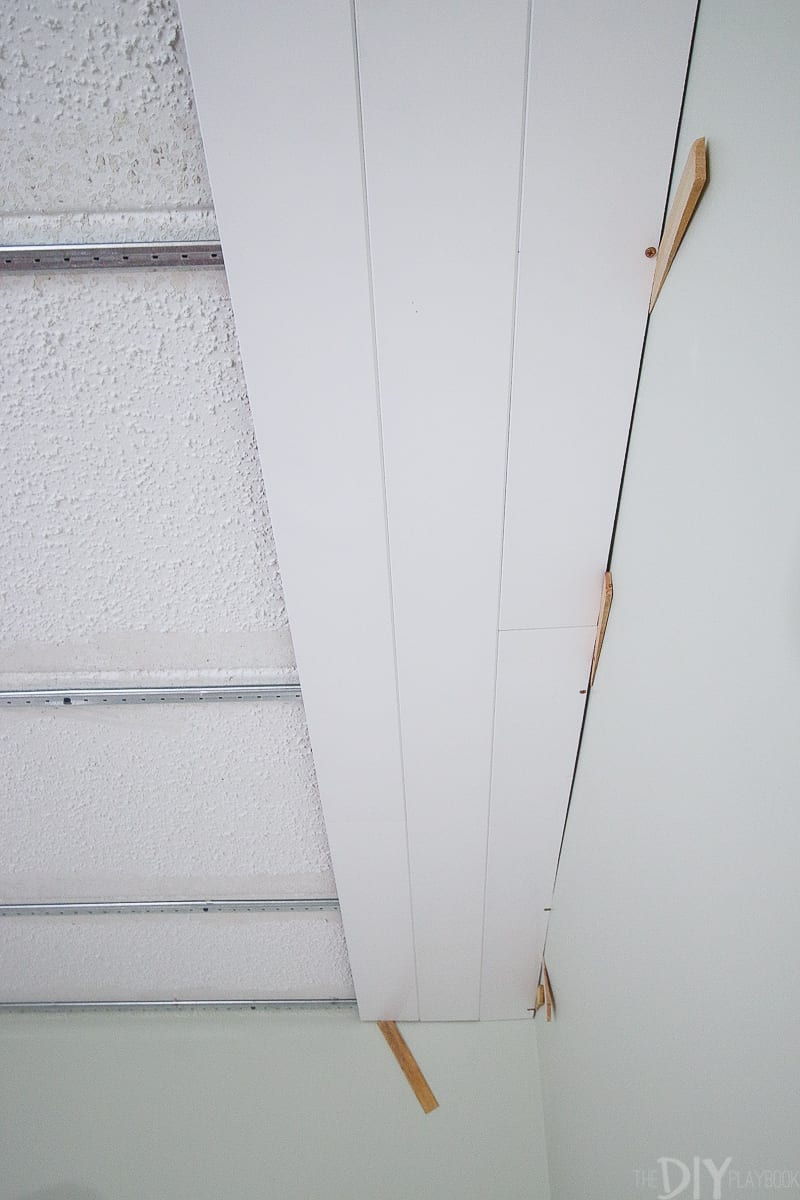
You only need to screw in the planks on the edges of the wall…the rest of the ceiling planks are just clipped into place. So the first line of ceiling planks is the hardest. You’ll just screw the plank directly into the track (pre-drill first if you need to). You’ll want to keep some space between the first plank and the wall. That’s where our wood shims came in handy!
Add Clips to First Row

While the first row of ceiling planks is screwed into the track, the rest are just clipped into place. Take a clip and slide it onto each track to hold the other side of the board in place. 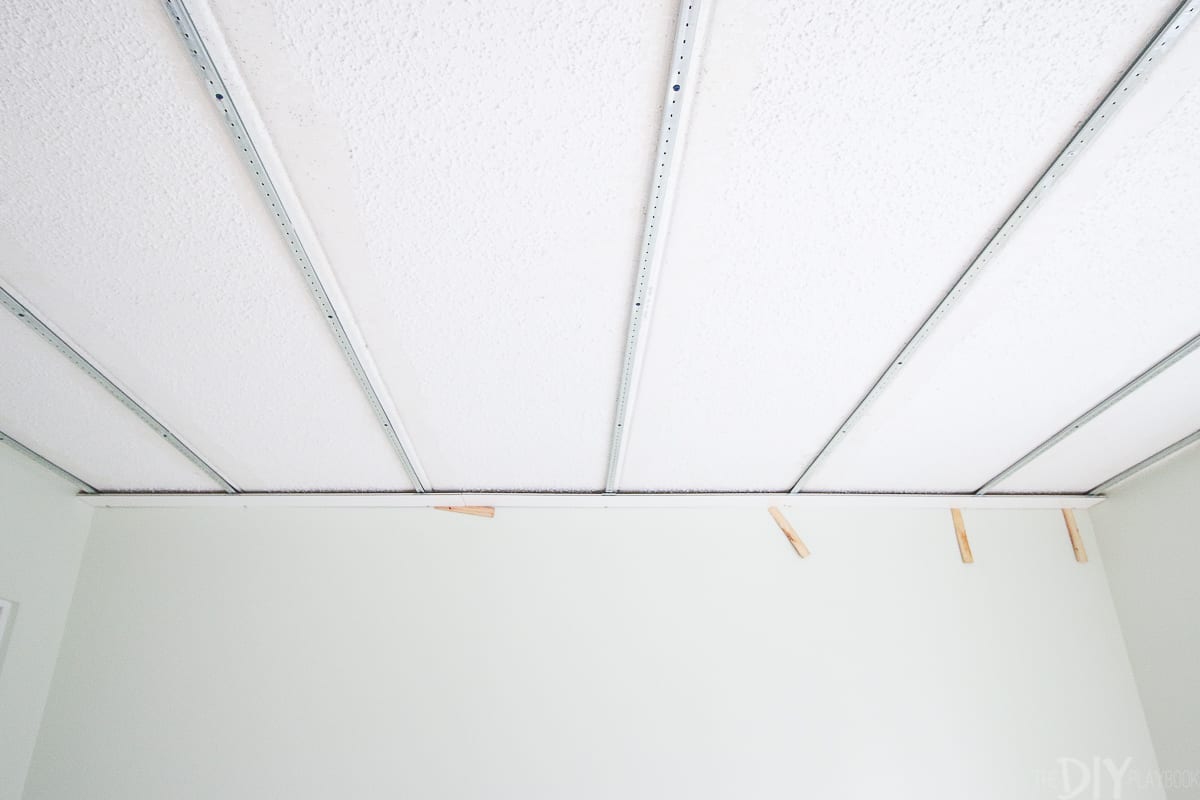
Build Out Rest of Ceiling
Because the boards are tongue and groove, they’ll slide right into one another (kinda like a floor…but on the ceiling!). So you can quickly build out the rest of your ceiling since things fit together fairly easily. You’ll just have to stop and make cuts every once in awhile on the miter saw, to get the perfect length on the edges. 
You’ll want to stagger your cuts as you go (similar to our shiplap project) so the seams don’t all line up. If you make a cut on one end, just use the leftover piece on the next row of ceiling planks. That way you won’t waste too much material. 
The final row will be just like the first row…screwed directly into the metal track (and thinner). Pre-drilling can help here if you have trouble getting it screwed up in there. Again, be sure to leave 3/4 of an inch on the edge. Don’t worry…this will be covered with trim. (Which leads us to our next step!)
Add Trim or Molding
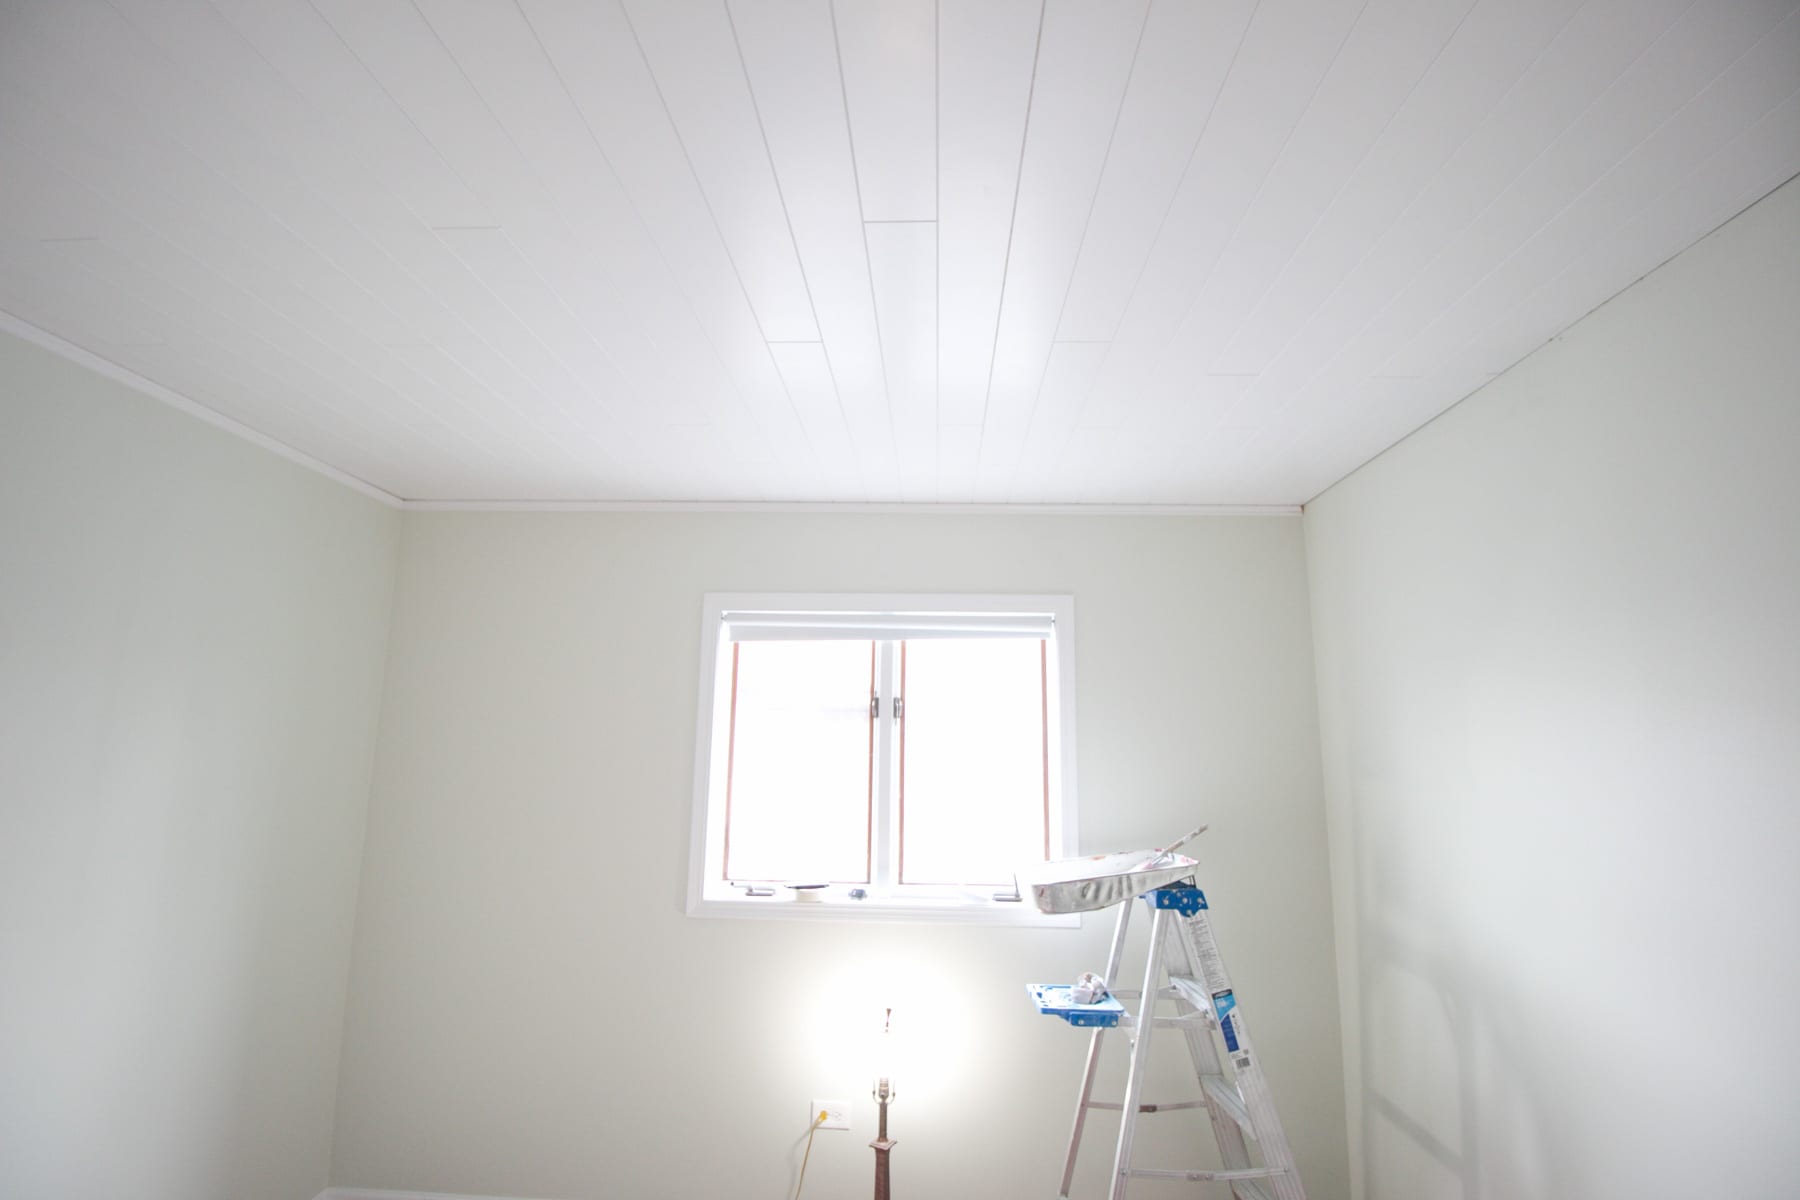
Because the ceilings in this room aren’t super high, we didn’t go with a typical crown molding at the top of the wall to finish off the look and hide the seams. Instead, we added a thinner shoe molding to the top of the ceiling. This gave the ceiling a finished and polished look. (For more scoop on installing trim, check out this DIY post).
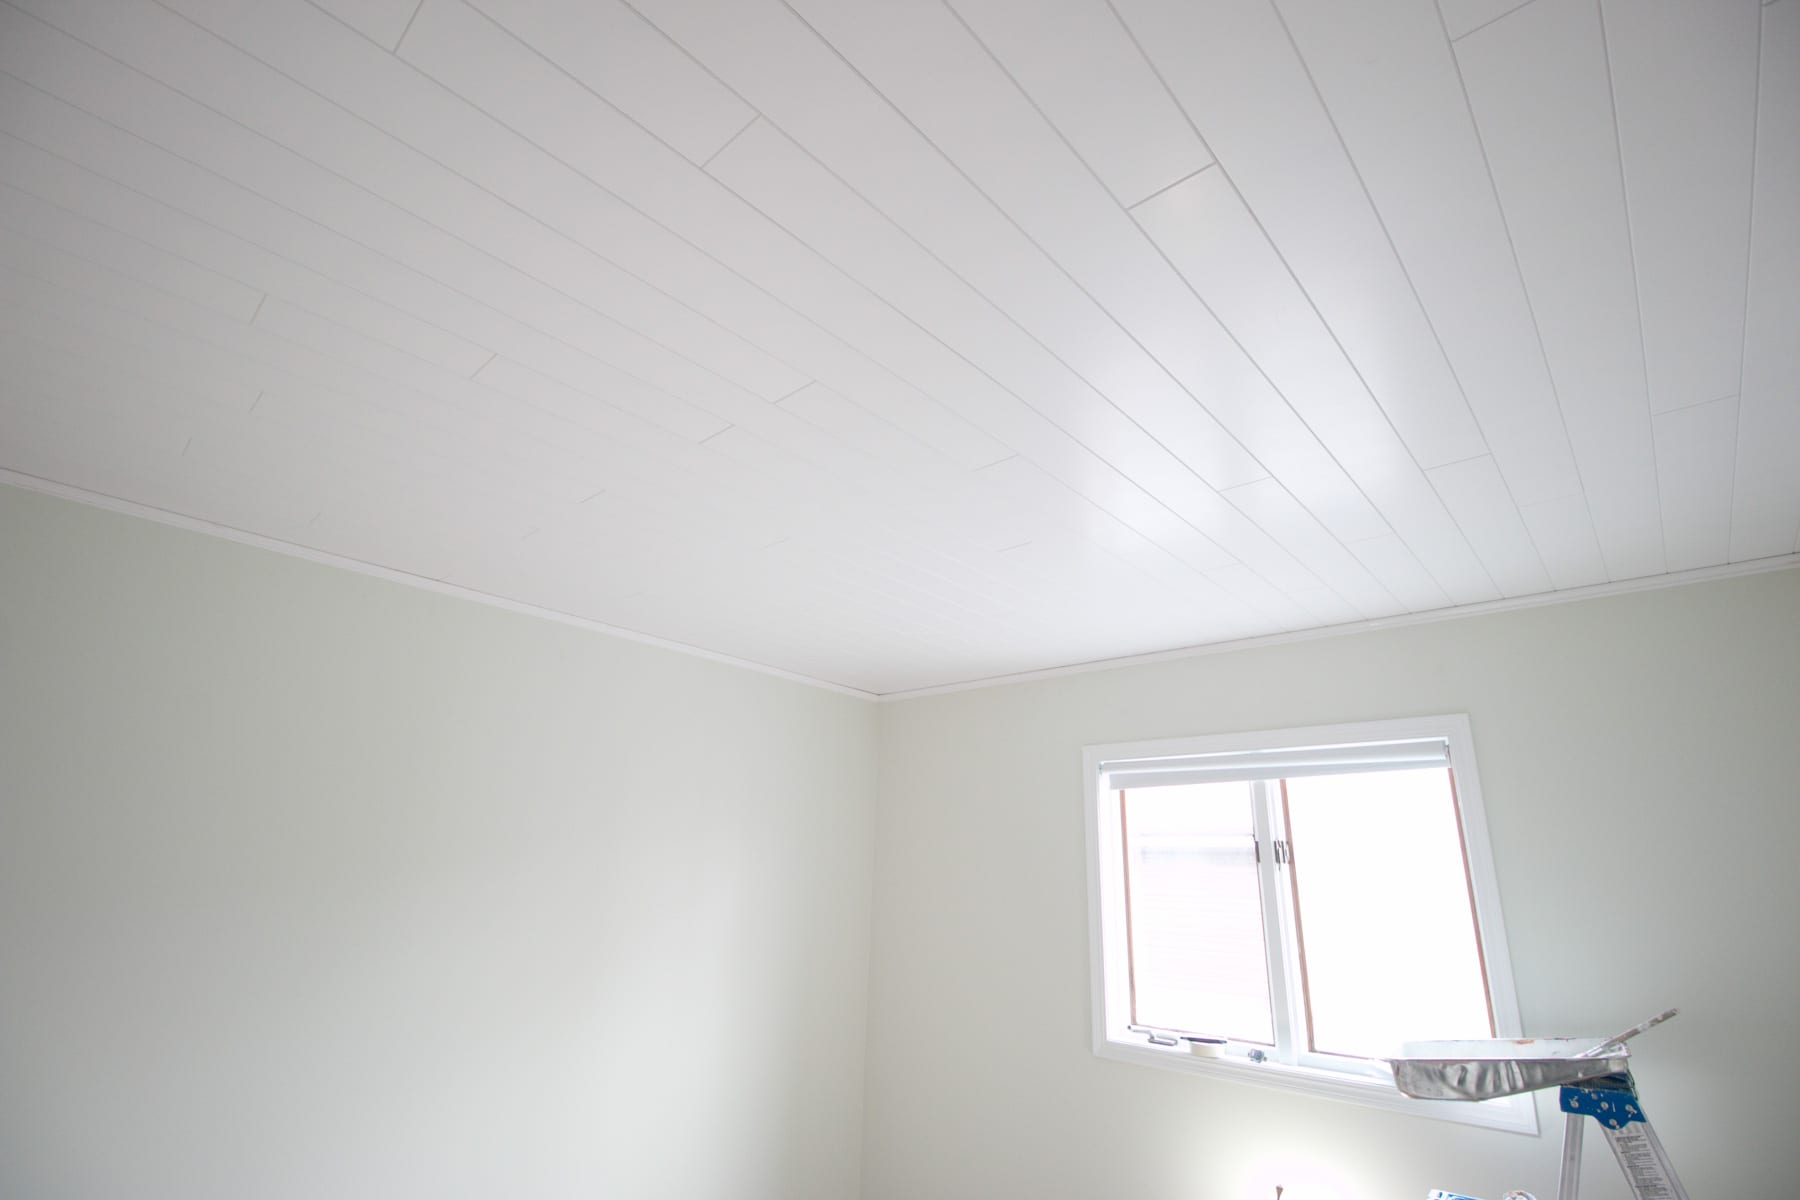
And that’s it! It took 2 days to get this project done, but can you believe what a transformation we made in 2 days?! We’re confident you could cover your popcorn ceilings with ceiling planks over a long weekend. It’s definitely worth the time and hard work, just look at this before & after…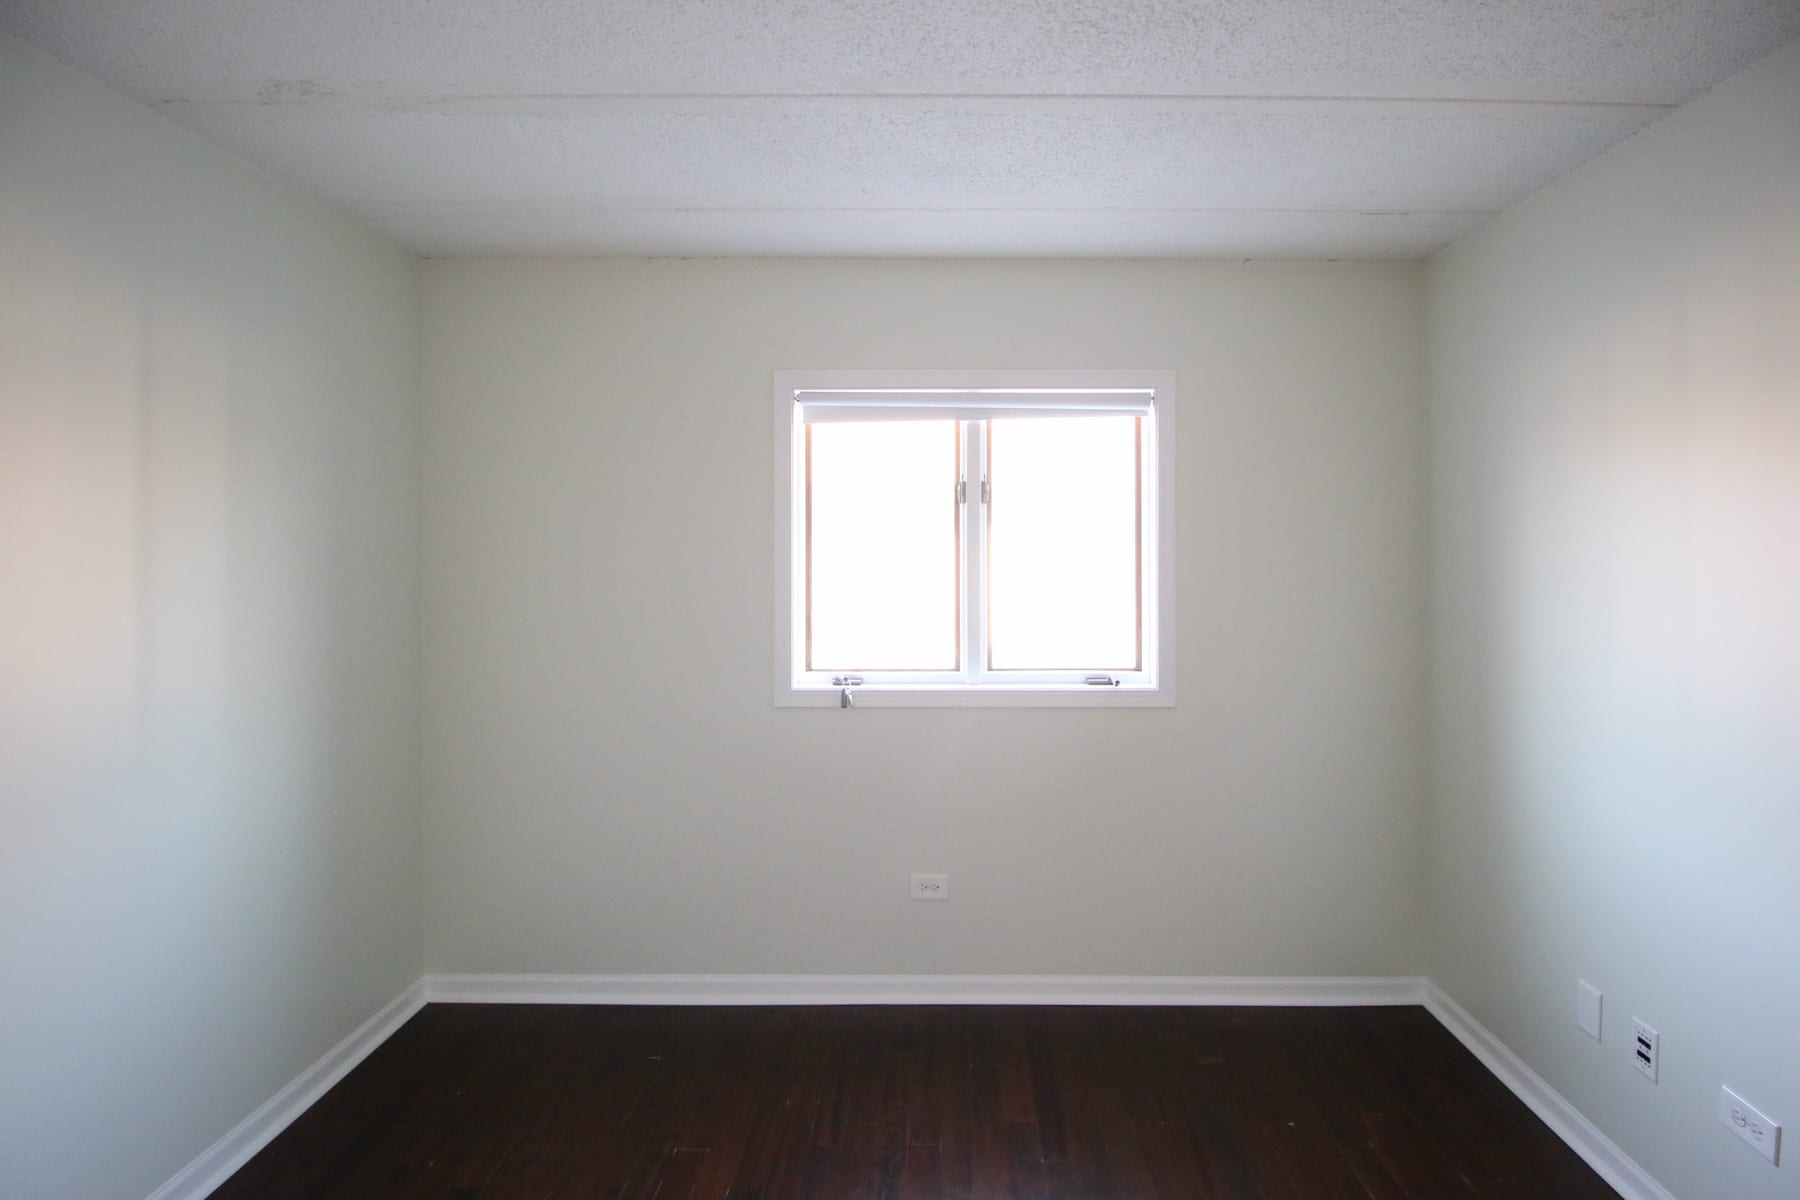
 And here it is from when we first saw this room…
 The room just seems so crisp, clean, and fresh with the new ceiling planks up there! We can hardly believe what a difference it made covering up those popcorn ceilings. Between the fresh paint and the new ceiling, this is the perfect blank canvas for our kids’ room design.
NEXT WEEK we will share the final reveal of this cute space. We cannot wait to show you this room filled with furniture, accessories, and adorable children who are (hopefully!) thrilled with their new space. Until then…
Bridget&Casey