How to Build Simple Closet Shelves
The week we moved into our new house, we tackled about a dozen quick DIY projects to get our place organized and functioning well for us. Today’s post features one of those simple projects. To be honest, I wasn’t even planning to do a blog post on this because it’s pretty straightforward. But when I shared it on Instagram stories, many of you chimed in saying you wanted a step-by-step tutorial. So here’s how to build simple DIY closet shelves.
Our Empty Pantry
Guys, we have an entire closet dedicated to just food. What?! In our condo, we had one little cabinet where we kept pantry items and kitchen staples. To have an entire closet (with multiple shelves) is absolutely amazing! I’m telling ya, it’s the little things. Going from a condo to a house has been quite a change in our everyday routine.
Finn and I originally hit up The Container Store to check out their closet systems for this empty spot. We figured we could leave with a cool system that would make us super organized in here. Sadly, nothing really worked for this space. The sizes were all off and we would have had to go the custom route, which equals more money! We left the store and instead, headed to Lowe’s to build our own DIY closet shelves.
Supplies to Build DIY Closet Shelves


- MDF (medium density fiberboard) We went with 1x2x8’s
- Wood or Shelves (we used these from Lowe’s)
- Wood Screws (at least 2 inches long)
- Tape Measure & Pencil
- Stud Finder
- Level
- Drill
- Miter Saw (if you don’t have a saw, you can have the wood cut to size at the hardware store)
Steps to Build Simple DIY Closet Shelves
The general overview is to take the MDF and make three cleats on the left, back, and right walls. Then the shelf can rest on top of those pieces securely. When shopping at Lowe’s, we looked at all types of wood for this project. We ended up going with these laminate shelves because they were a great price, the depth was perfect at 12 inches, and we could get two shelves per board. Plus, we wouldn’t have to sand and paint any raw wood, which would have made this project take longer than we had time for during move-in week! 
We decided to install four shelves in our closet and we started with the bottom one. First, we used a stud finder to mark all of the studs on the back and side walls. It’s important to install the cleats into those studs so it’s super secure. If you can’t drill into a stud, then make sure you use heavy-duty anchors!
We started with the back wall, making sure the cleat was hung completely level, horizontally. You’ll want to drill a pilot hole through the wood and into the wall first, so it’s easier when you are ready to screw it in. Make sure your screws are long enough (we went with 2 inches in length). That way, they go through the wood and have enough holding power in the stud. With the back cleat up, you can install the side cleats. For these, make sure they’re level on the wall and also level with the back cleat. 
With the cleats up, we cut the shelving to the exact size of the closet. You would think all of the sizes would be the same, but each shelf was about 1/4 of an inch different (crazy old walls, I tell ya!). Once your shelf is cut to the correct width, you can place it on top of the cleats. For extra staying power, you could screw the shelf down into the cleat from the top (or up into the shelf from the bottom of the cleat to hide the screwhead). We didn’t find this necessary, but it’s definitely a possibility!
In about thirty minutes, we had our four shelves securely attached to the walls in our pantry! It was easy work and we just followed the steps. Install back cleat; install side cleats; cut wood; place shelf on top. We left about 12 inches in between each shelf.
I would say this entire project cost about $40 with the MDF and shelving. Waaaay cheaper than any closet system we came across. Plus, we were able to customize it exactly to our space.


I kept telling myself that I would paint the shelves and the back closet walls all the same color, but honestly, I doubt I’ll ever get around to it! We were at the point where we had to unpack and food was sitting out on our counters, so we just had to fill it on up. But if you wanted to take your DIY closet shelves to the next level, I recommend a nice coat of fresh paint on everything so they blend right in.
Our New Organized Pantry


Since we saved so much money building the pantry shelves ourselves, we were able to splurge on some new accessories to organize our pantry. 
We placed this pull-out drawer system on the bottom of the closet. It holds plastic bags, shopping bags, chips, and snacks. 
It’s a good place to store some of the bulkier and random items in our pantry. 
We purchased a few clear bins to corral smaller items on the shelves. Now, whenever we buy granola bars or nut butters, we take them out of the large boxes and put them in here for easy snacking. 
We’ve always been a big fan of clear canisters for cereal. These work great to keep our cereal fresh! 
I find that we eat healthier when we have healthy snacks at our disposal. We both eat a lot of nuts, so we organized those in these containers. Some of the storage containers we owned before, but we did end up buying more so we could really get all of our pantry staples organized. 
While it isn’t the most Instagram-worthy pantry, it certainly gets the job done! We’ve been loving this setup for the last month and a half and it’s so nice to have a dedicated closet just for food!


I’m so pleased that we went ahead and quickly built these inexpensive DIY closet shelves ourselves. If you have an empty closet anywhere in your house, I highly recommend giving these a try! Linen closets, hall closets, storage units…these work just about anywhere.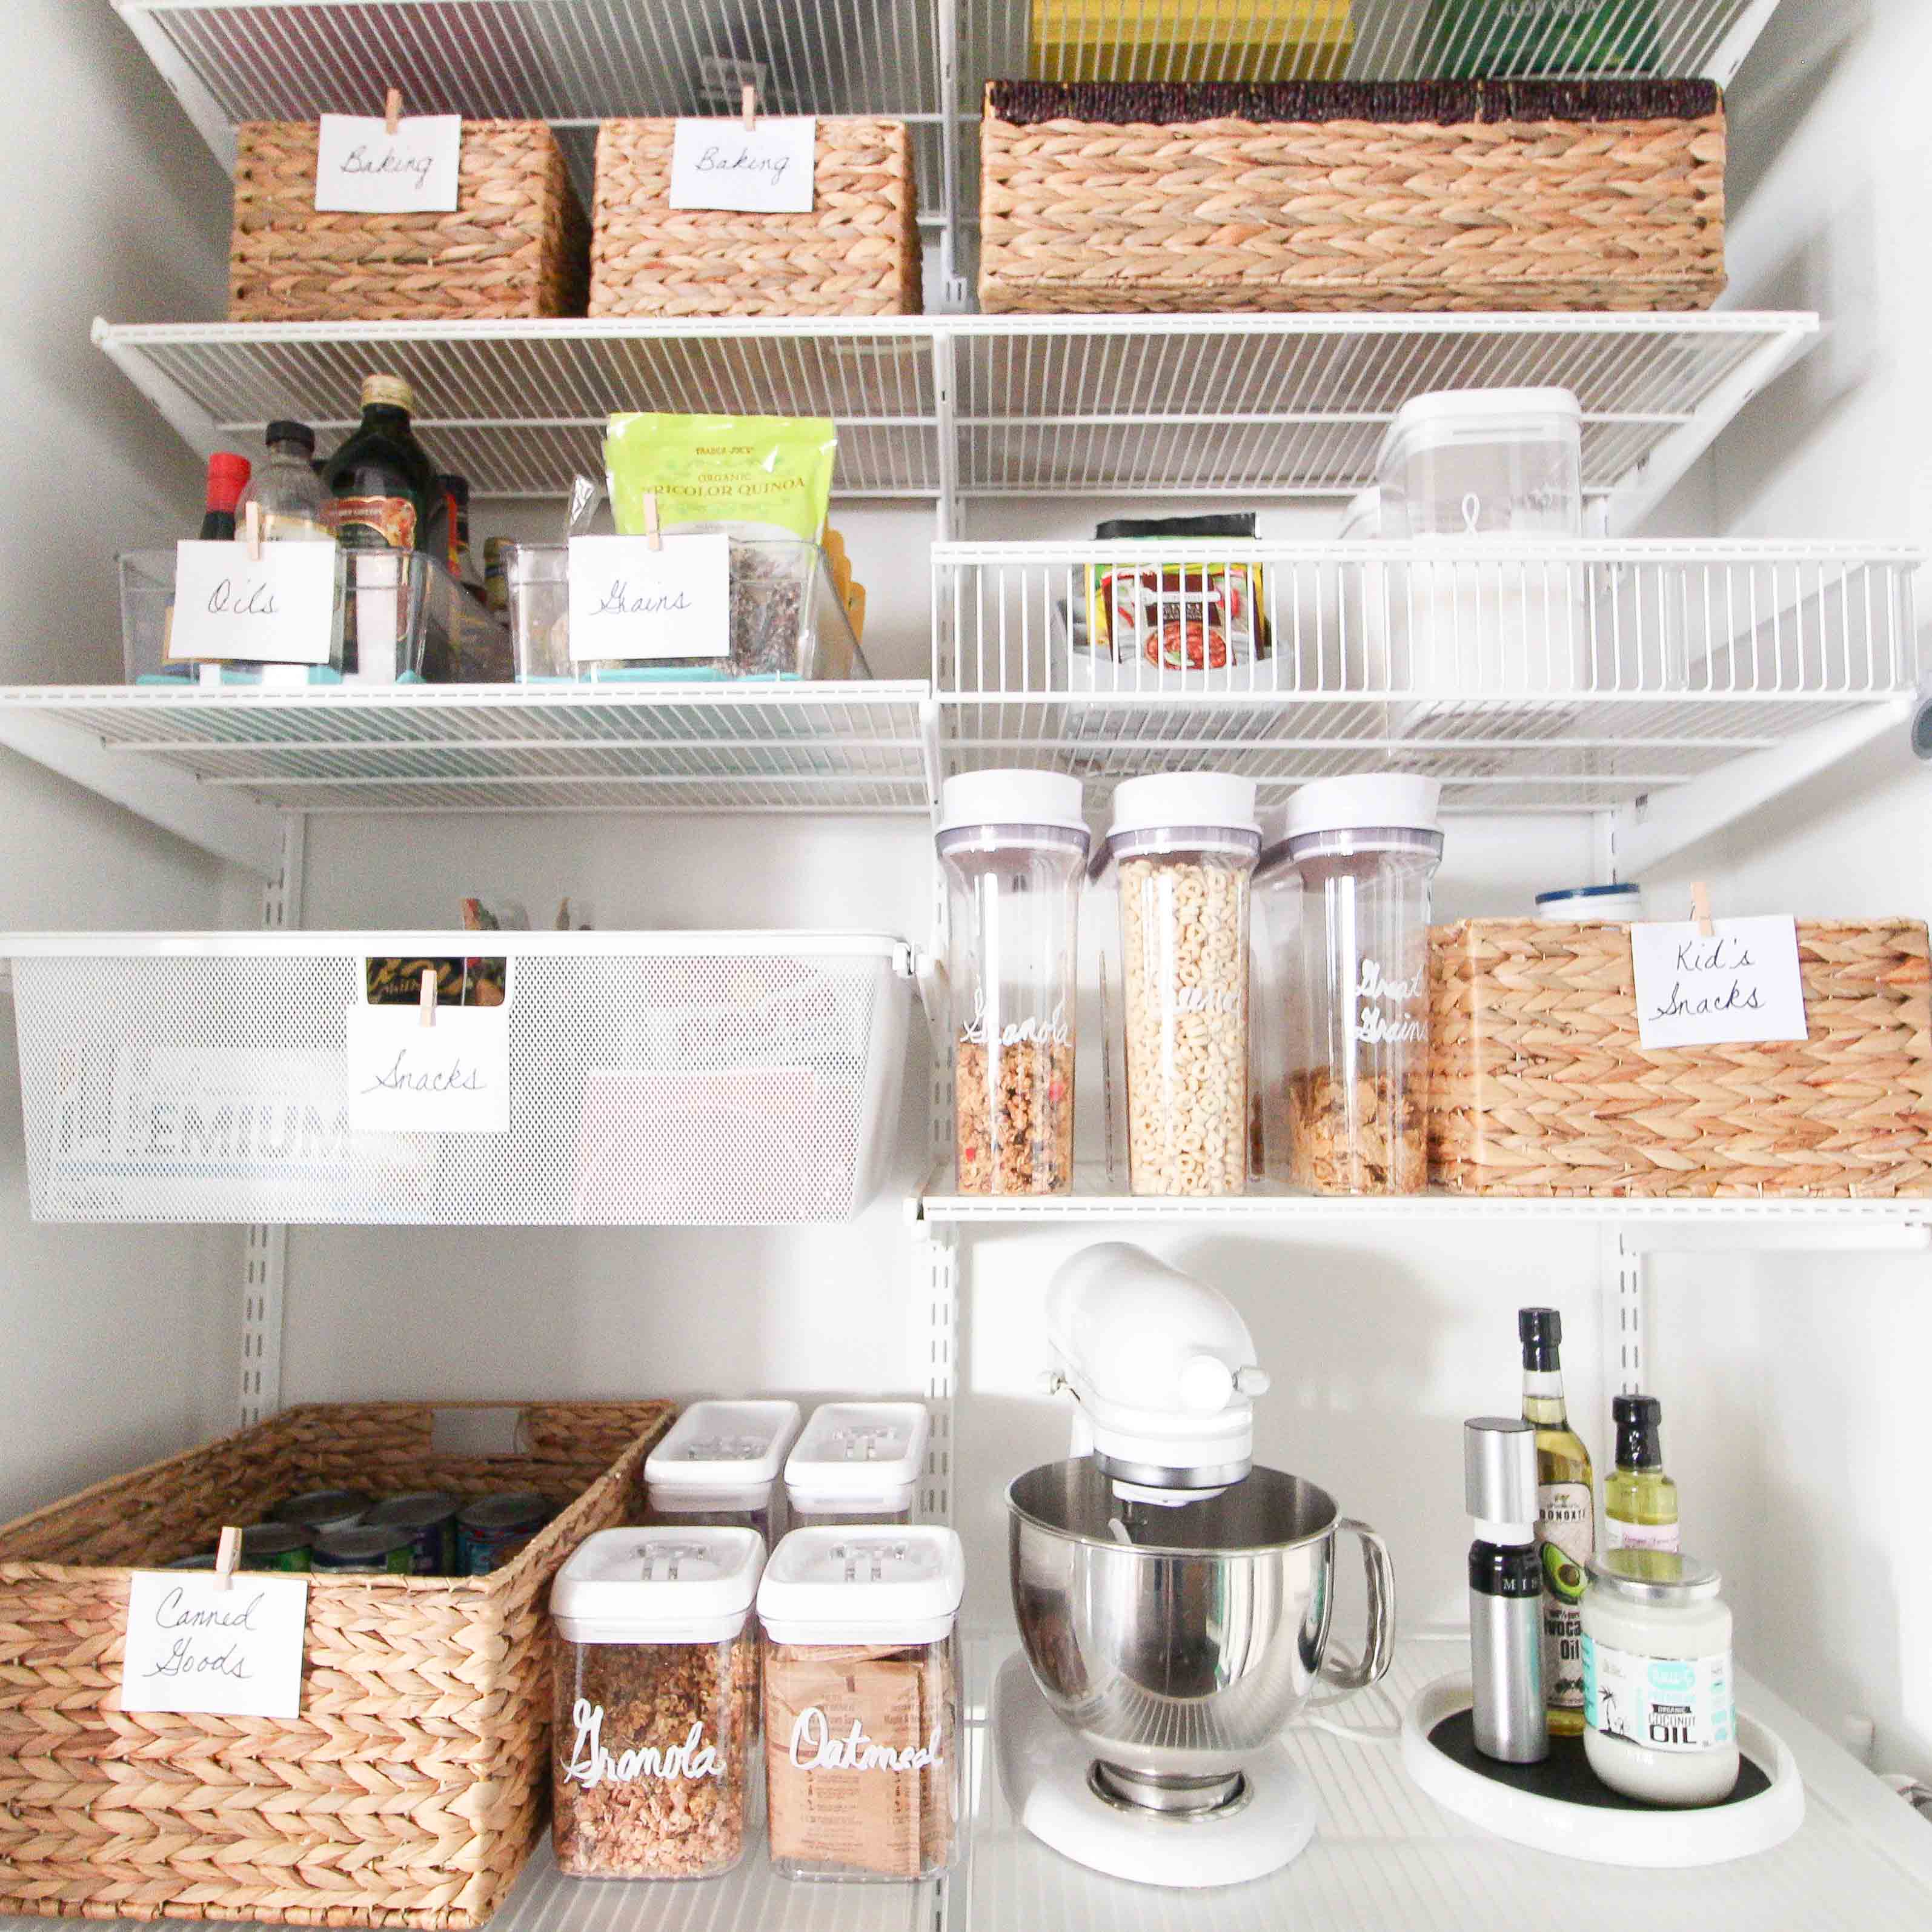
Oh, and if you want ideas to make a super gorgeous organized pantry check out my mom’s pantry makeover. I gave it the ultimate VIP treatment earlier this year…
Casey
You may also like…


Hey there!
I’m Casey Finn, the voice behind The DIY Playbook. I’m a Chicago gal teaching you how to design, DIY, and maintain your home…by yourself! Learn more about me right here.
