10 things I learned from DIY-ing Backsplash
Now that I’ve tackled a DIY backsplash alongside my dad, I’m a lot more confident to do it all over again. Hopefully bigger, better, and with less supervision from the boss! We were both first-timers and I think if we had to team up again to tackle a backsplash, we would feel a lot more comfortable because we learned little tips along the way that made a big difference!
10 Things I Learned DIY’ing Backsplash
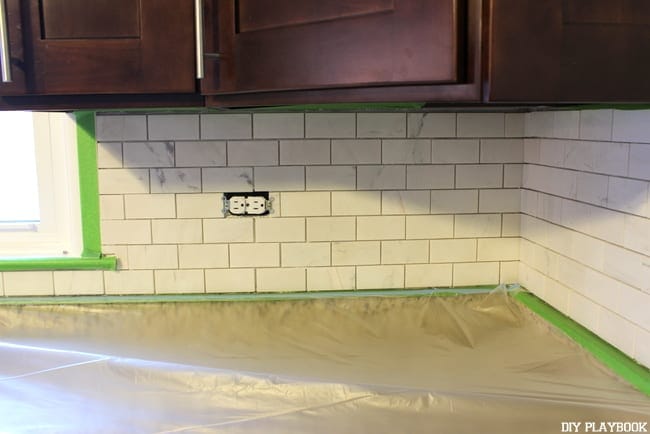
 1. Have lots of drop cloths, painter’s tape, and even plastic to protect your kitchen!
Tiling is a hot mess! Drop cloths, painter’s tape to line the counters/cabinets, and plastic to cover another layer of dust will come in handy! Oh, and PLENTYYYYYY of rags on hand. Trust me…
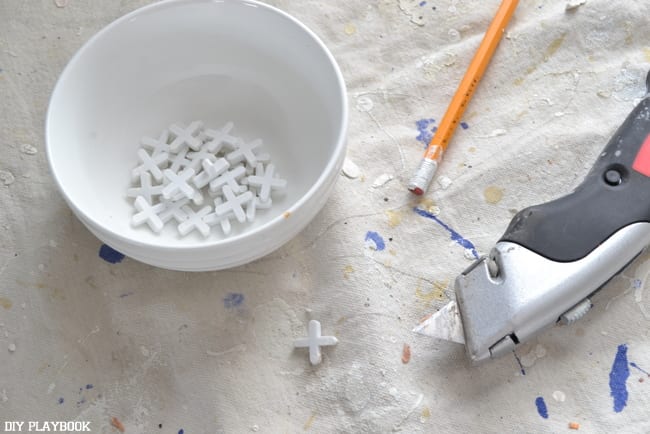 2. Spacers are super important and so are a few other supplies
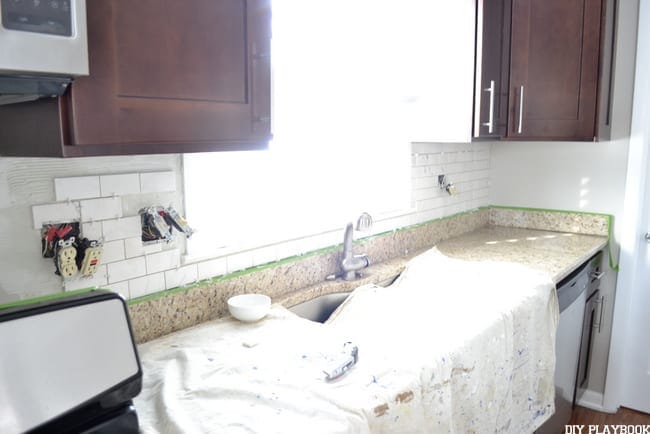
Those white “x’s” are spacers, which are super cheap yet extremely helpful to keep tile evenly spaced. However, here are a few other supplies to have on hand:
- level
- pencil
- straight edge
- screwdrivers
- scraper
- wet saw
- sponge/rags
- bucket

3. Turn off your electricity
Safety first– or 3rd (?) in this case. Turning off your electricity is an important step to stay safe when applying the tile and manipulating the areas around these outlets throughout the process.
 4. If possible, save the really tough cuts until the very end
As you experiment with the wet saw, you’ll definitely get better as the day goes on. If possible, put off those intricate cuts using the wet saw until the end of the day. This will ensure you give it your best shot and get your best results when it really matters.
 5. Same color grout is more forgiving
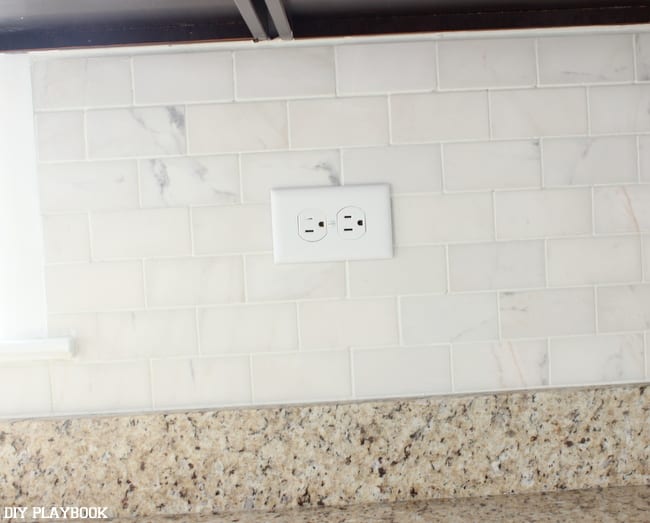
I never really thought about this when picking my grout color, but man… I really got lucky when I chose white grout with the white tile. Before we put in the grout, we could see a few imperfections here and there. Of course, we were being way more critical on ourselves than anyone else would have been.
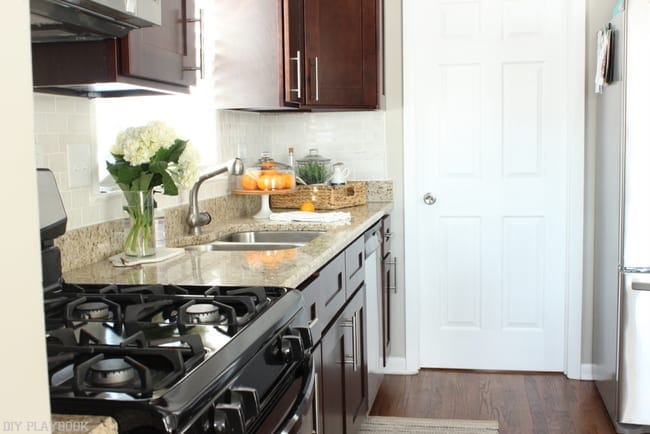
However, after the white grout was applied, those imperfections were hidden! The white grout made our tiling talents look better than they actually are. A part of the process that we’re definitely not complaining about….
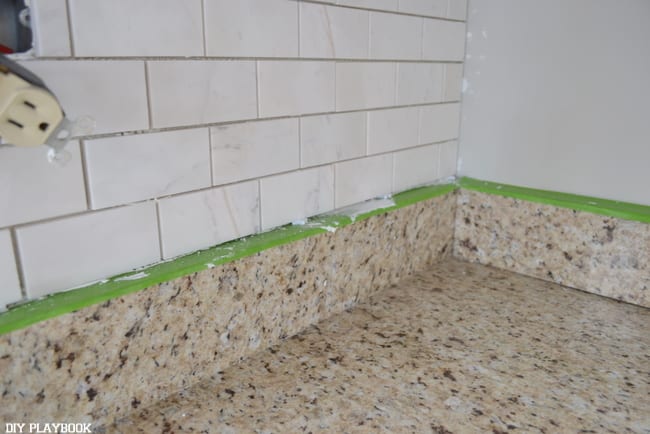
6. Start at the countertop and move up
Yes, your first layer should start at the countertop for a few different reasons. Number one- this will ensure the tile is level because it will rest on the countertop (that’s if your countertop is level of course).
Second– starting the tile at the counter and moving up will allow you to cut the tile (if necessary) at the top of the backsplash, usually a place where the tile is hidden under the top cabinets. Your cuts won’t have to be as “perfect” because they will be hidden at the very top of the backsplash.
 7. Set yourself up for success with some extra support
Long story short, we were resting the tile along the counter and adding spacers as we made our way down the wall. When we finally got to tiling behind the oven, we noticed that no matter how hard we tried, the tile was drooping and causing an uneven line of tile. Not the look we wanted.
We quickly realized that this was because we didn’t have the counter to guide us while also keeping the tile level with the rest of the backsplash. To align the tiles once again, we nailed in a temporary piece of wood behind the oven to act as a temporary countertop guide.
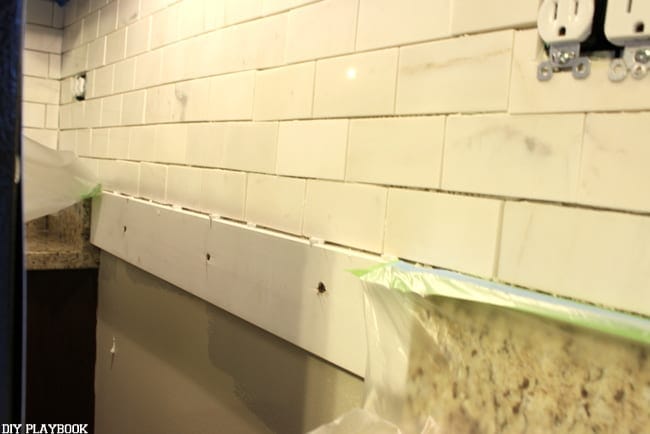 The next day, when the tile was dry, we detached the piece of wood from the wall and were left with a line of level tile. <– Genius problem-solving skills dad!
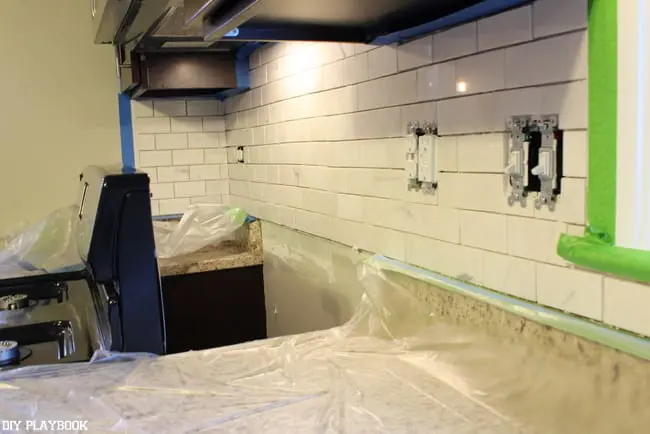
 8. Grout is very messy… prepare for the worst!
Remember when I said tile is a hot mess? Grout is worse! This plastic helped protect our counters from the “heavy stuff”, but I would also recommend lots and lots of painter’s tape. Put it on outlets, covering cabinets, anywhere possible to help contain the mess.
 I do have to say…. the grout grossness is totally worth the mess! So keep your eye on the prize… the mess will be over before you know it!
 9. A finished edge isn’t as scary as it looks
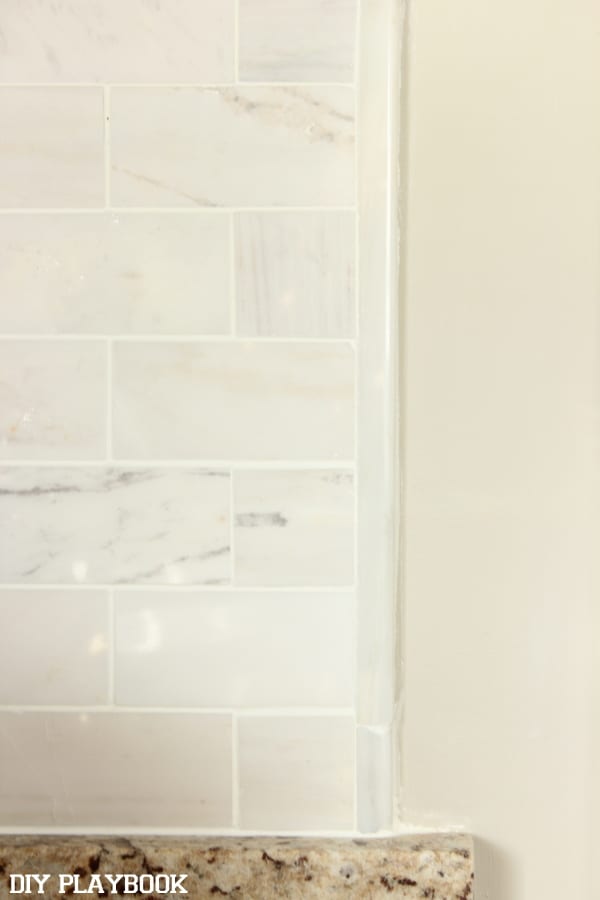
I used to look at “finished” edges and think, “how does that happen?” As you can see in the photo above, we cut the tiles on the end as a straight line right where the cabinets ended. Then, we bought a separate piece of tile edging ($7 each) and placed it along the line of cuts. With a little glue and grout, we were able to make a finished looking edge that looks a lot more impressive than it actually is!
 10. Don’t leave your grout and sealer materials in the garage to freeze!
 Rookie Fail: I should have known better!! I should have known that the latex in the sealer and in the grout mixture would be forever RUINED if I left it in the garage to freeze during the weeks leading up to this project. When it came time for the project, the materials had ice cubes floating in them and I had to throw them ALL away and buy all new because the deep freeze ruined them. Huge bummer, but a valuable lesson learned. Hopefully, I made that mistake on behalf of all of us.
Extra Credit Tip –> 11. Hands down my biggest lesson learned from this DIY adventure? You never know what you can do until you try! So why not give it a try?!
Bridget