Board and Batten Bedroom Progress
I hate to get too personal here, but allow me to give you a little insight into what I see (literally) when I first open my eyes every single morning. Monday through Friday I hear my alarm blaring at 5:25am and I see this… A wall that is just “blah”. On the weekends, I open my eyes to a sunshine-filled room (one of my favorite things about the weekend) and I look at this same wall, which looks a tad brighter and happier on the weekend but still just as plain and boring. Well, my morning view has finally gotten less boring!
To Do List:
1. Add some type of board and batten
2. Paint the board and batten white
3. Change the outlet covers to bright white
4. Add hooks for function
I showed that inspiration picture to my dad and we teamed up once again to DIY board & batten in my bedroom.
If you notice from the photo, we actually (secretly) tackled most of this project the same weekend we hung the hallway board & batten. It was way easier to do it in all one big swoop since we had all of the tools out and the saw set up. Unlike the hallway, this project was a tad more spur-of-the-moment on that weekend in February. I always had it in the back of my mind, but didn’t really decide to get both projects done at the same time! #WINWIN
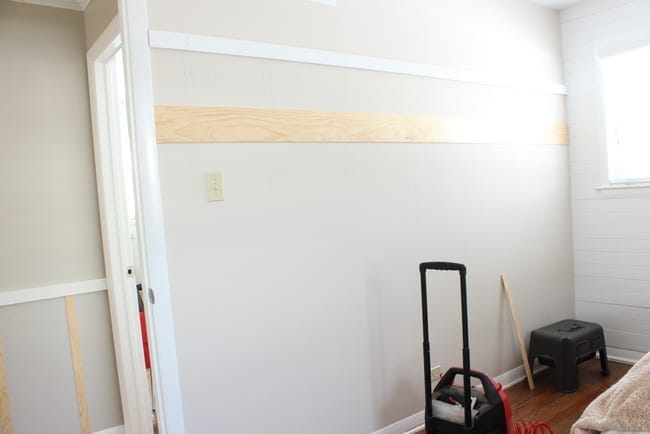
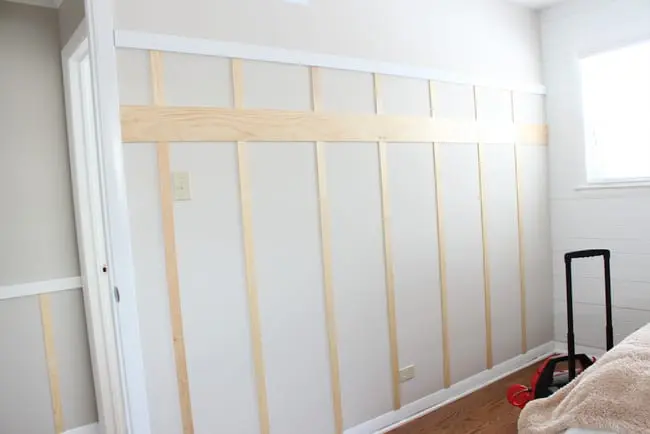
Although this board & batten has a bit more detail because of the second horizontal piece, we practically followed the exact same step-by-step tutorial in making it happen. Just like we did in the hallway board & batten project, we hung the horizontal pieces first followed by the vertical pieces (top first, then bottom). Here are the exact measurements:
White piece (Primed MDF Board): 75 inches from floor to very top of the wood piece.
Bottom horizontal piece (4″ Lattice-Pine): 64.5 inches from floor to top, and approximately 8.25 inches in between the horizontal pieces.
 Then we cut the vertical boards (1.75″ Lattice-Pine) and placed them in between the two top horizontal pieces. These vertical pieces are placed on every stud and do not measure up to a consistent space between each one of them (use a stud finder to place the boards on each stud).
 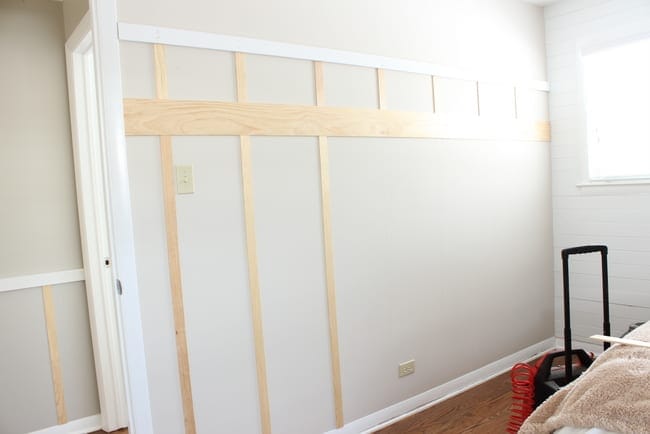 All we had left to do was place the longer vertical boards in line with the top vertical boards and nail gun away.
 After all of the wood was hung. I used painter’s putty to fill the nail holes. After that dried overnight, I caulked ALL of the seams, which was probably a tad over-kill but made it look extra “finished”.
 As you can kind of tell from this picture, the top board is a tad thicker and protrudes away from the wall just a hair more than the second (wider) board. I love the contrast and think the top piece adds more of a finished look… but that’s just me.
I thought about making that more of a ledge for frames but decided against it. I’m glad I did because I’m not sure if the board I chose is thick enough to rest anything on it.  Beyond painting the board & batten/baseboard white, we also have to change the outlets and outlet covers to WHITE and then hang some hooks, which will add some extra function to our previously useless wall. Stay tuned for the big reveal on Thursday!
After Thursday, I’m sadly DONE with all of my board & batten projects around here. =( I wish I had more space to add this charming/affordable technique, sadly… not so much. However, I’m looking on the bright side and not getting ahead of myself too much here. I have to say that finishing this project has been AWESOME! Waking up to look at a wall that makes me smile really does make the morning a tad brighter. I’m sure that excitement will eventually wear off, but for now, it’s totally making me happy and making rolling out of bed @ 5:30ish (emphasis on the -ish) a little more bearable.
Moral of this story: DIY something you look at everything single morning and I promise that project will feel a little extra fulfilling!
Bridget
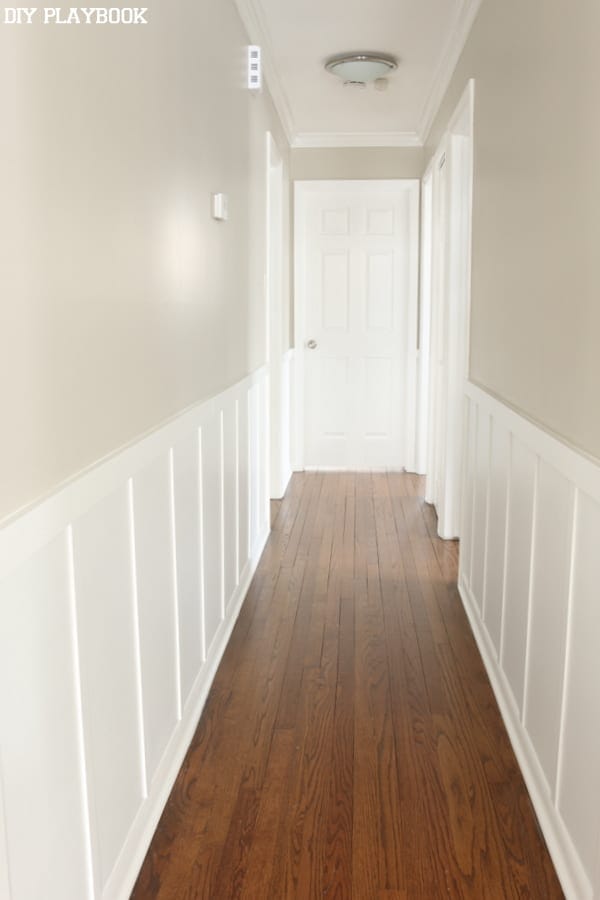
PS. If you missed our hallway board and batten project, you can check out these posts to catch up!
1. Hallway Board & Batten Inspiration
2. Hallway Board & Batten Tutorial (PROGRESS)
3. Hallway Board & Batten Reveal