An Easy Fireplace Update that Makes a Big Difference
We haven’t chatted much about our fireplace here on the blog, and for good reason. We haven’t ever used it.
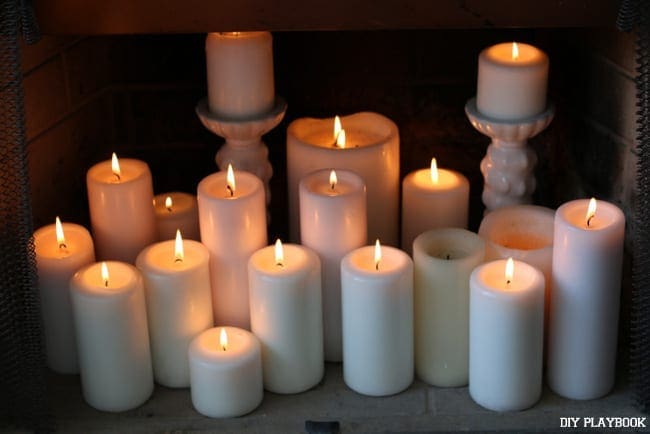
In fact, if you remember this post then you know that for a majority of the time we’ve lived in our condo our fireplace has been full of candles (which if I’m being honest, we rarely lit!).
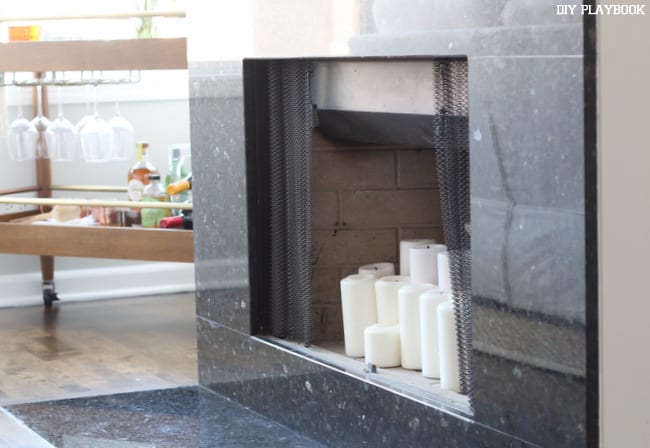
I really loved the look and it was super easy to maintain. But with the chilly winter looming my husband and I decided that we needed to get our fireplace in working order so we could enjoy warm fires all season long.
So my first order of business was to get our fireplace inspected and cleaned. We called a reputable company, they came out in September, and within an hour our fireplace was ready for action! From all of the research I’ve done, it’s recommended that you always hire a professional to sweep your fireplace. It really just is not a DIY project that anyone should tackle themselves.
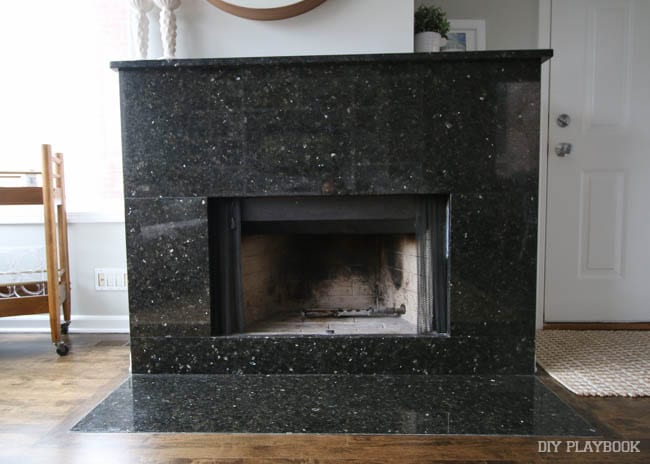
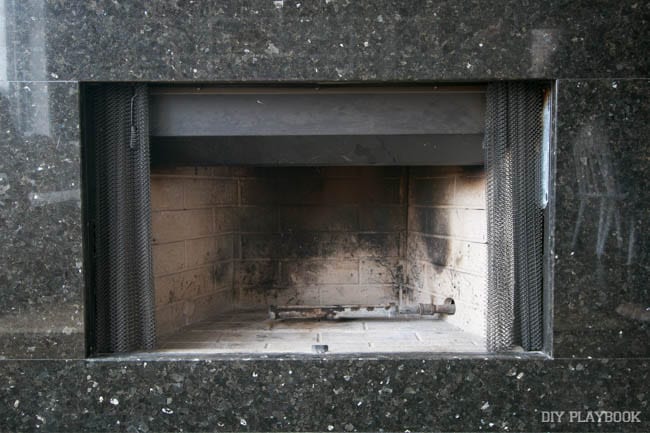
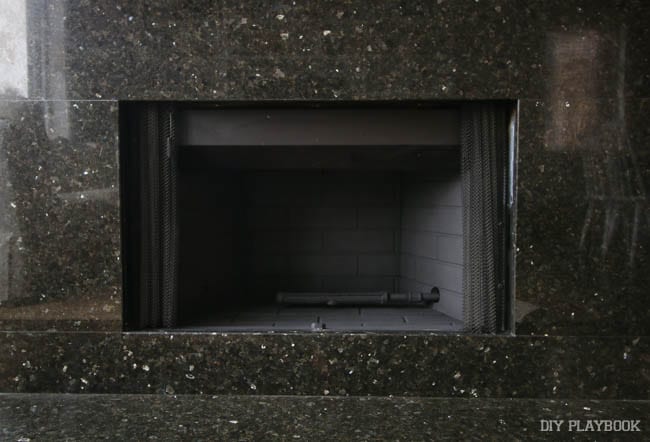
So our fireplace received the green light, but it wasn’t looking too pretty. I mean look at this thing. It’s dirty, sooty, and just a bit of an eyesore.
Tips to Spray Paint Fireplace Interior
In an attempt to “hide the dirt” I decided to paint the interior of our brick fireplace black! That way it would always look cohesive and future soot wouldn’t tarnish the aesthetics of the fireplace.
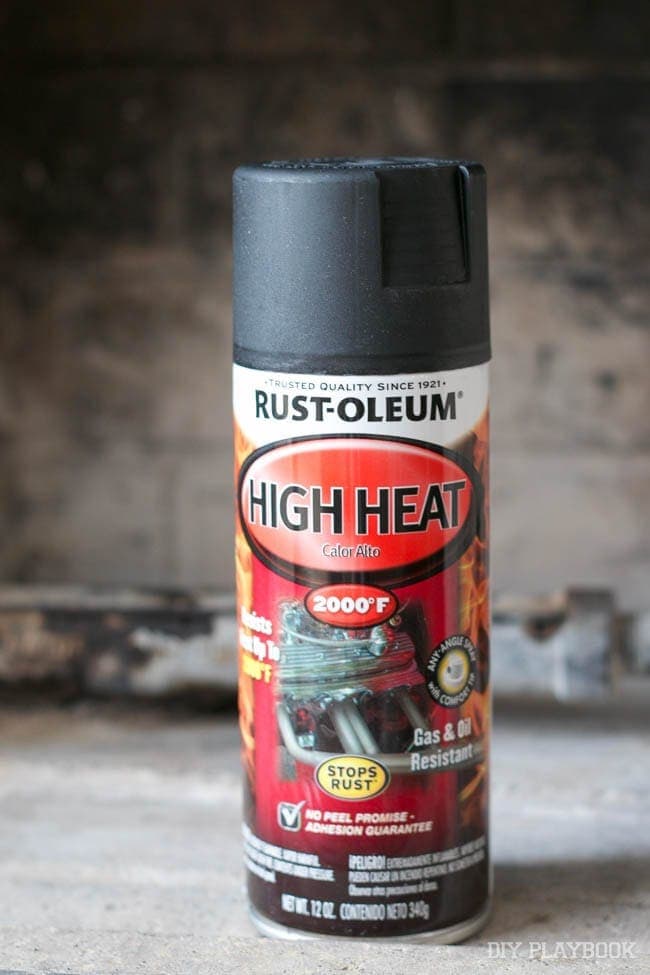
I did some research and decided to go with high heat spray paint. (Fun fact: You cannot buy spray paint in the city of Chicago, so I always either shop online or pick spray paint up when I visit the suburbs!) I ordered 2 cans of this specific spray paint on Amazon (I’m a prime junkie), and patiently awaited its arrival.
Once my spray paint arrived, I was ready to get my DIY on.
Supplies
- High Heat Spray Paint (I used matte black)
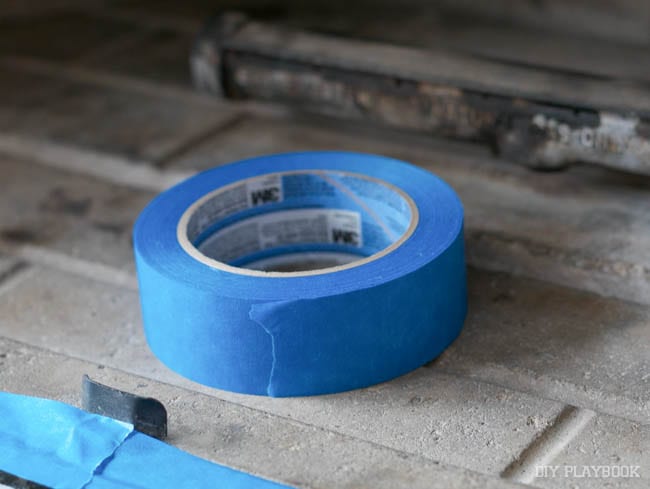
- Painter’s Tape
- Gloves
- Rags
- Water/Vinegar Mix
- Scrub Brush
- Small Vacuum
- Drop Cloth
How to Spray Paint a Fireplace Interior
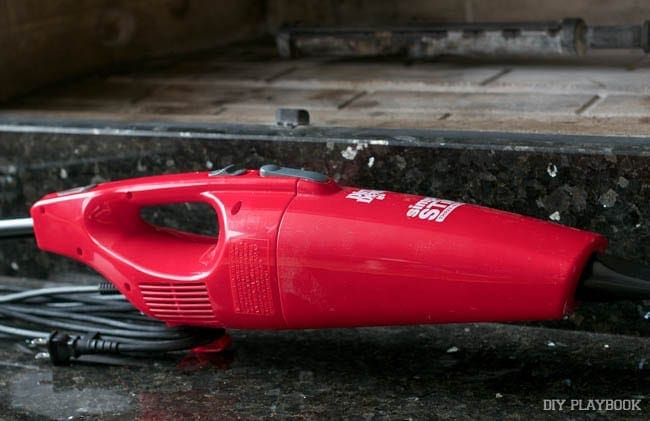
Step 1: First you’ll want to get rid of any of the excess ash & dirt that has accumulated in your fireplace. For this, I used a little dirt devil and just sucked up as much as possible. You can also take a little brush and sweep some of the dirt on out of there. Also, it’s a great idea to have a drop cloth down so you don’t get the rest of your home and floor incredibly dirty.
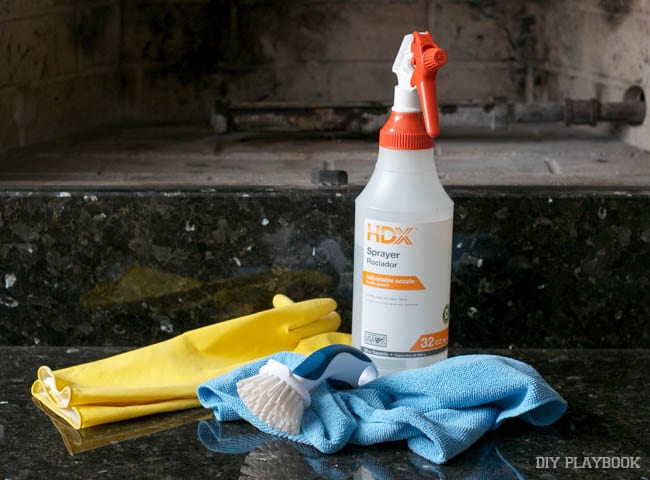
Step 2: With all of the loose debris outta there, it’s time to give your fireplace a good deep clean. I recommend wearing rubber gloves for this step because man oh man will you get dirty! Legit soot and ash everywhere. I just sprayed down the interior and used a brush to scrub every nook and cranny of it.

Step 3: While the fireplace dries from the intense scrub down, you can tape off any areas that you don’t want to get hit with spray paint.

Step 4: Finally, it’s painting time! Follow the directions on the back of your can, but really you’ll just want to shake it up vigorously and use light coats of spray paint on the interior. I ended up doing 3 light coats and only waited a few minutes in between each (per the instructions on the can).

And that’s seriously it. It’s just like any other spray paint project! I probably got this entire project done in less than an hour from start to finish.
And guys, doesn’t it look so much better?! I love the matte black and it looks SO MUCH CLEANER! Let’s do a little before and after to jog your memory.
Before…
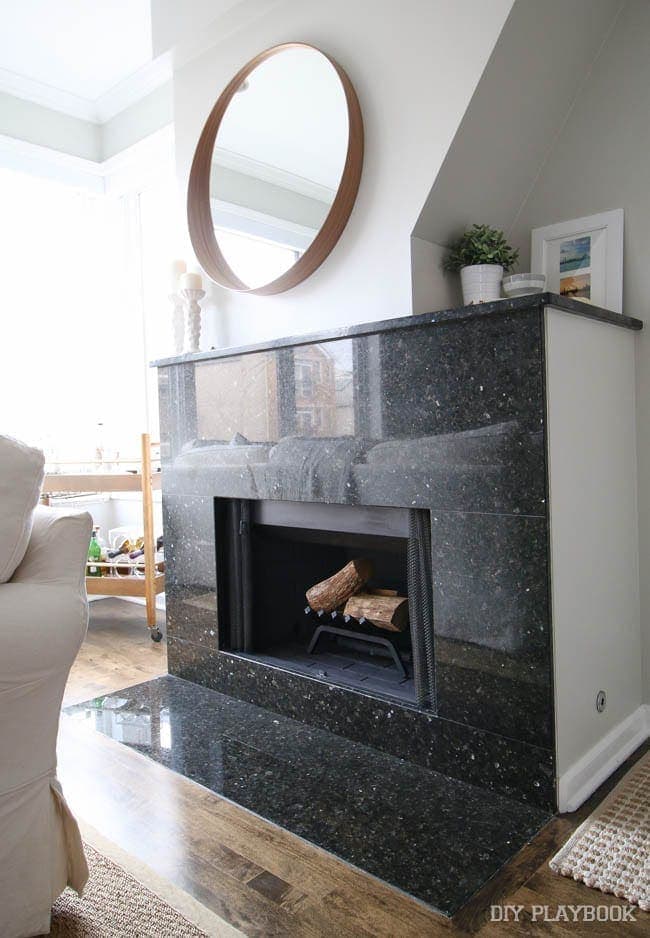
After!
How come I didn’t do this sooner?!

With our fireplace looking all fresh and clean, I purchased a new fireplace grate too so we are officially prepared for those winter fires! This one was a good price and I love that it’s just very simple, sleek, and black.
It’s been a bit too warm to really give this baby a try, but I’m so excited for those temperatures to dip so we can enjoy a cozy fire and a lazy night at home.
In the meantime, I’m on the hunt for fireplace accessories that aren’t hideous (like the little pokey guy…not sure the official term. Can you tell I’m a fire newbie?). Any suggestions on where to look? I’d love to get all of the functional accessories and tuck them in the corner by the bar cart, so give me the scoop if you have a source for cute ones!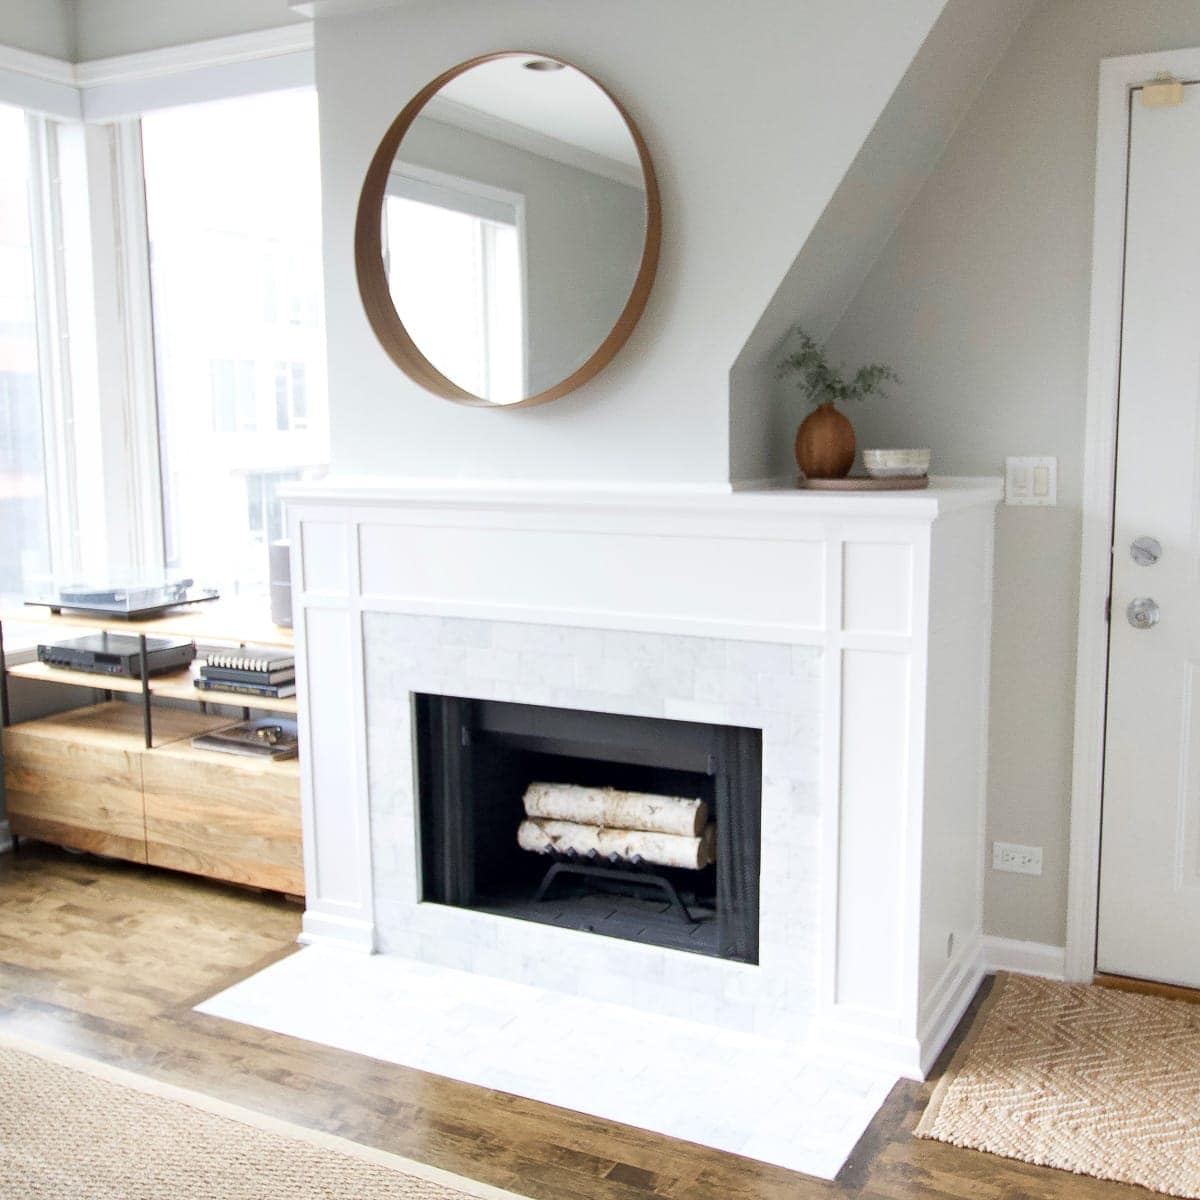
Here’s a look at my fireplace after a DIY fireplace surround makeover. Come check out the after pics and all of the tutorials right here.
Casey


