Painting My New Beadboard Dark Green
Last week, I walked you through the entire process of adding beadboard to our basement bathroom. It was a big DIY, but I’m really satisfied with the end result.
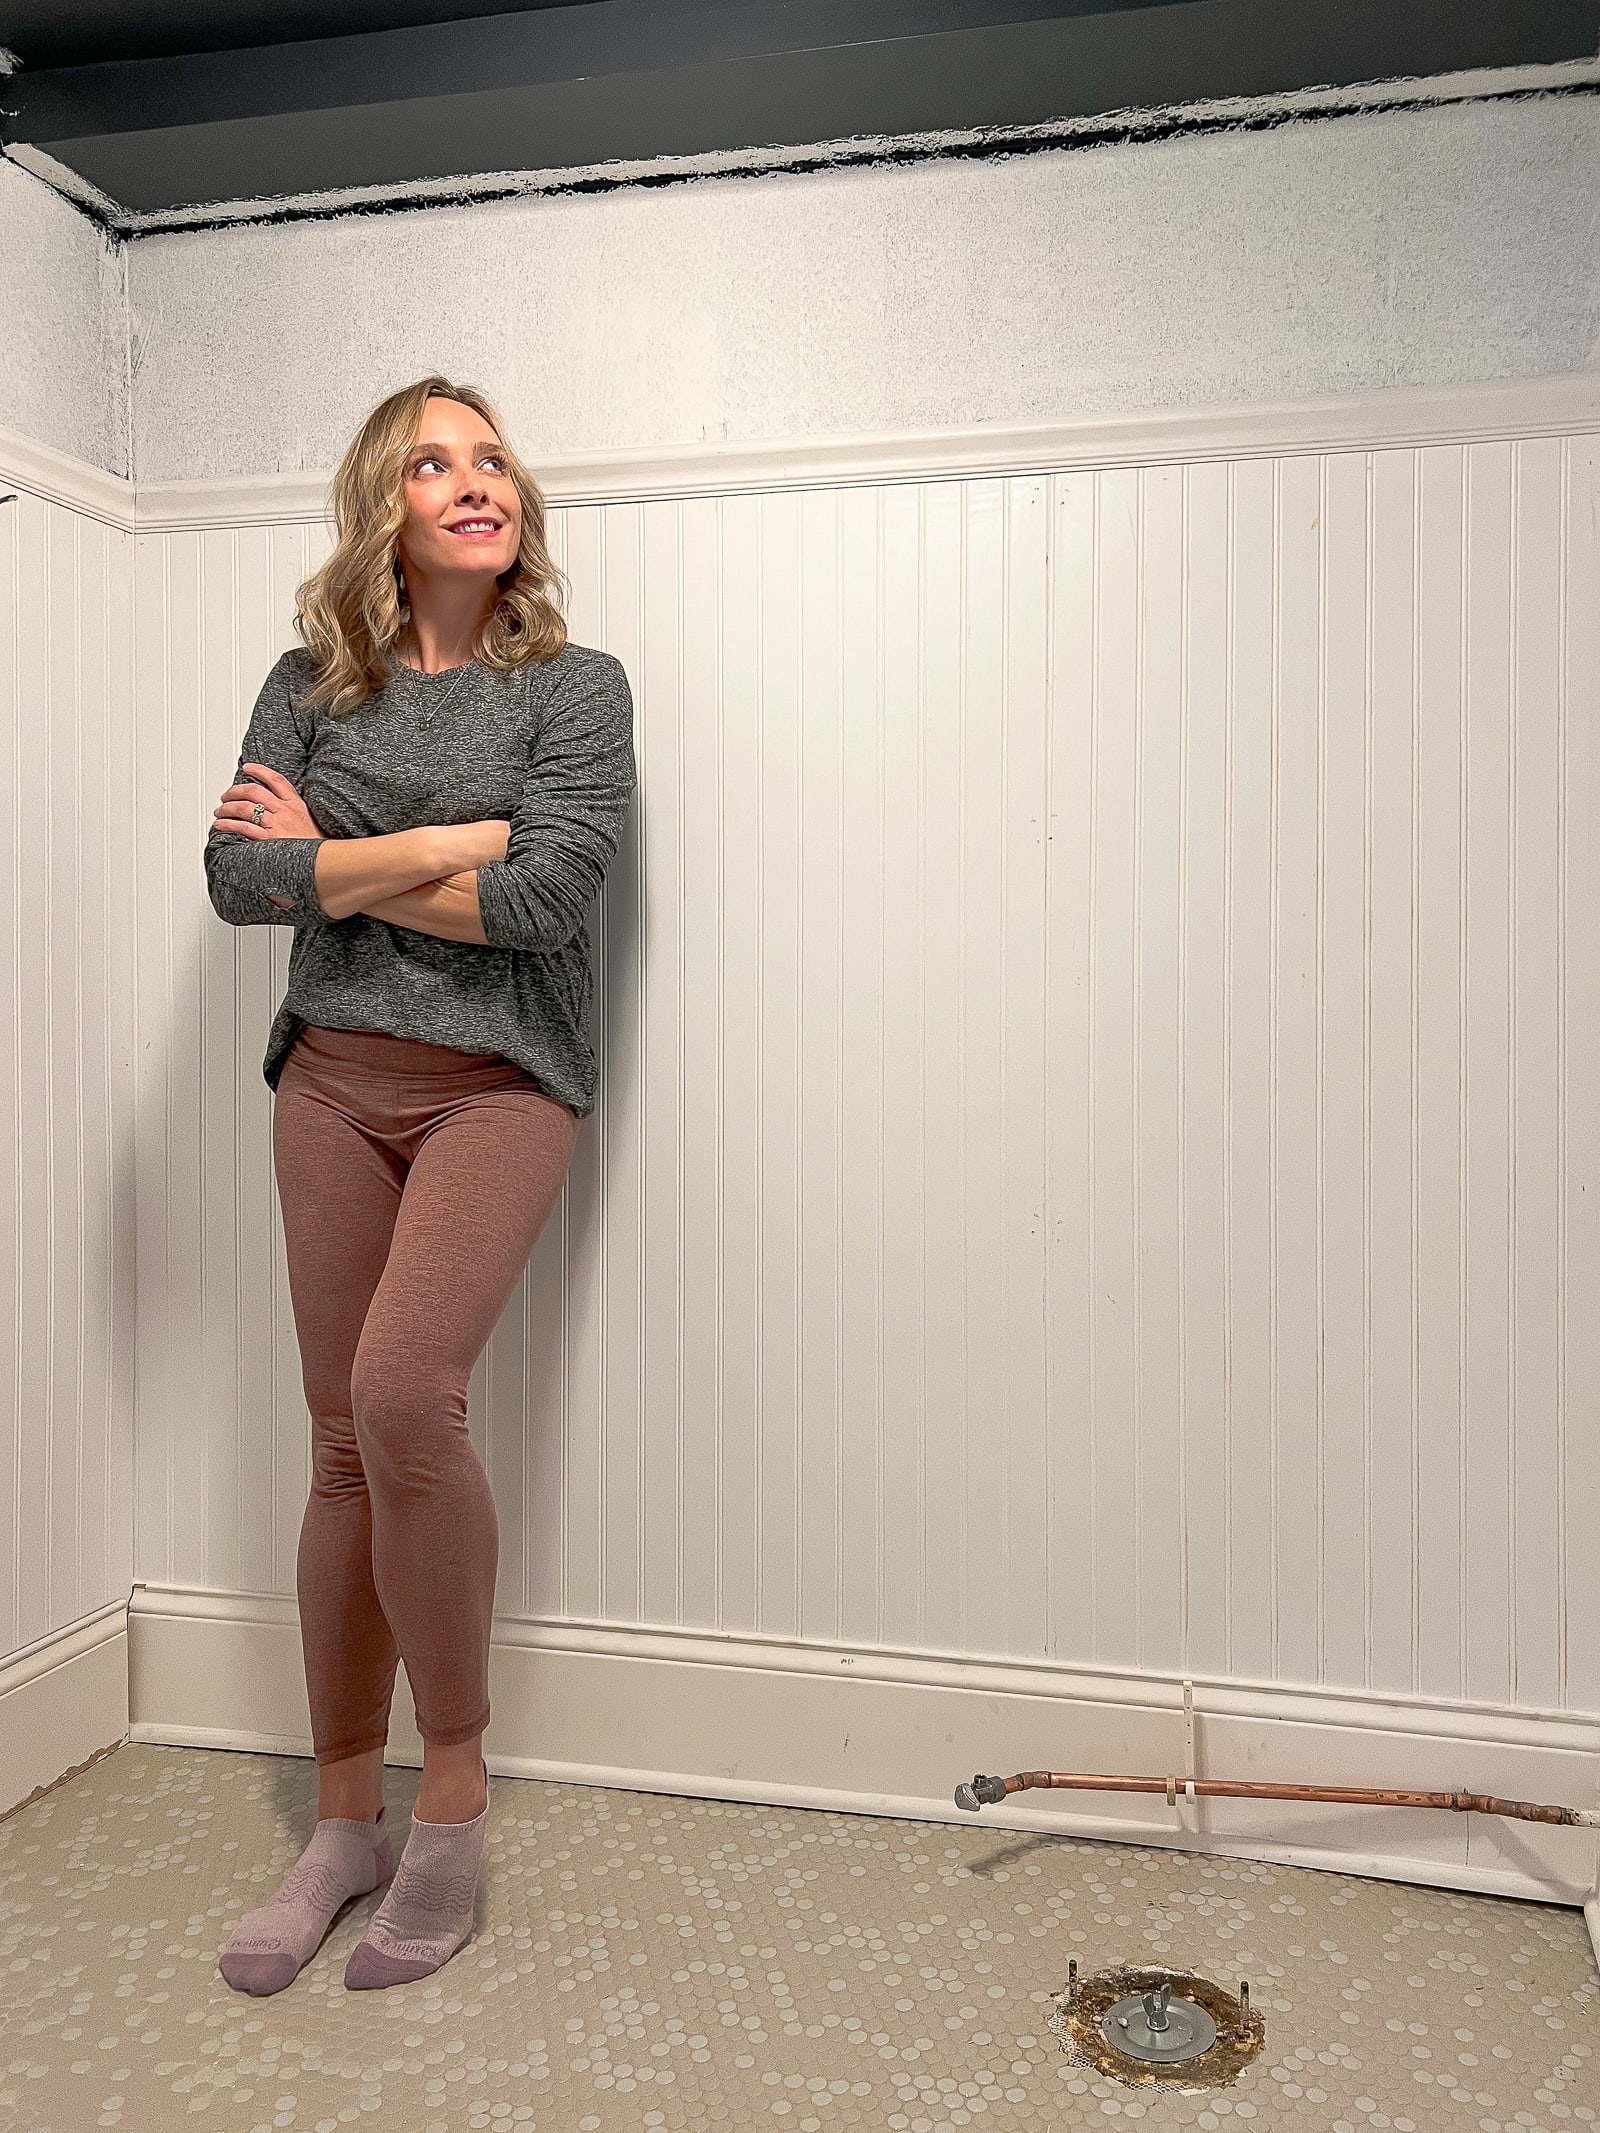
Last I left you, the beadboard was up, the holes were filled, and the seams were caulked. The space was officially ready for paint, but I wasn’t totally sure what color I was going to choose for this little bathroom of mine. My first thought was to match the walls to the dark green vanity that I chose for the room, for a tone-on-tone look. I polled my Instagram community and a majority (I think over 70%) didn’t love that idea. Ha!
However, I kept coming back to the idea of using that same color on the walls. I just knew it would be bold, moody, and look elegant with the vanity. So, I went against the popular vote and made my decision…DARK GREEN FOR THE WIN!
Prime It All
Before I could start painting, I needed to get primer on everything in here. Our old bathroom (pictured above) had the cutest two-tone walls with dark navy (“Chimney Smoke”) on the top and ceilings and a warm white (“Clay Angel”) on the bottom walls. I absolutely loved that look and it was a really fun painting project.
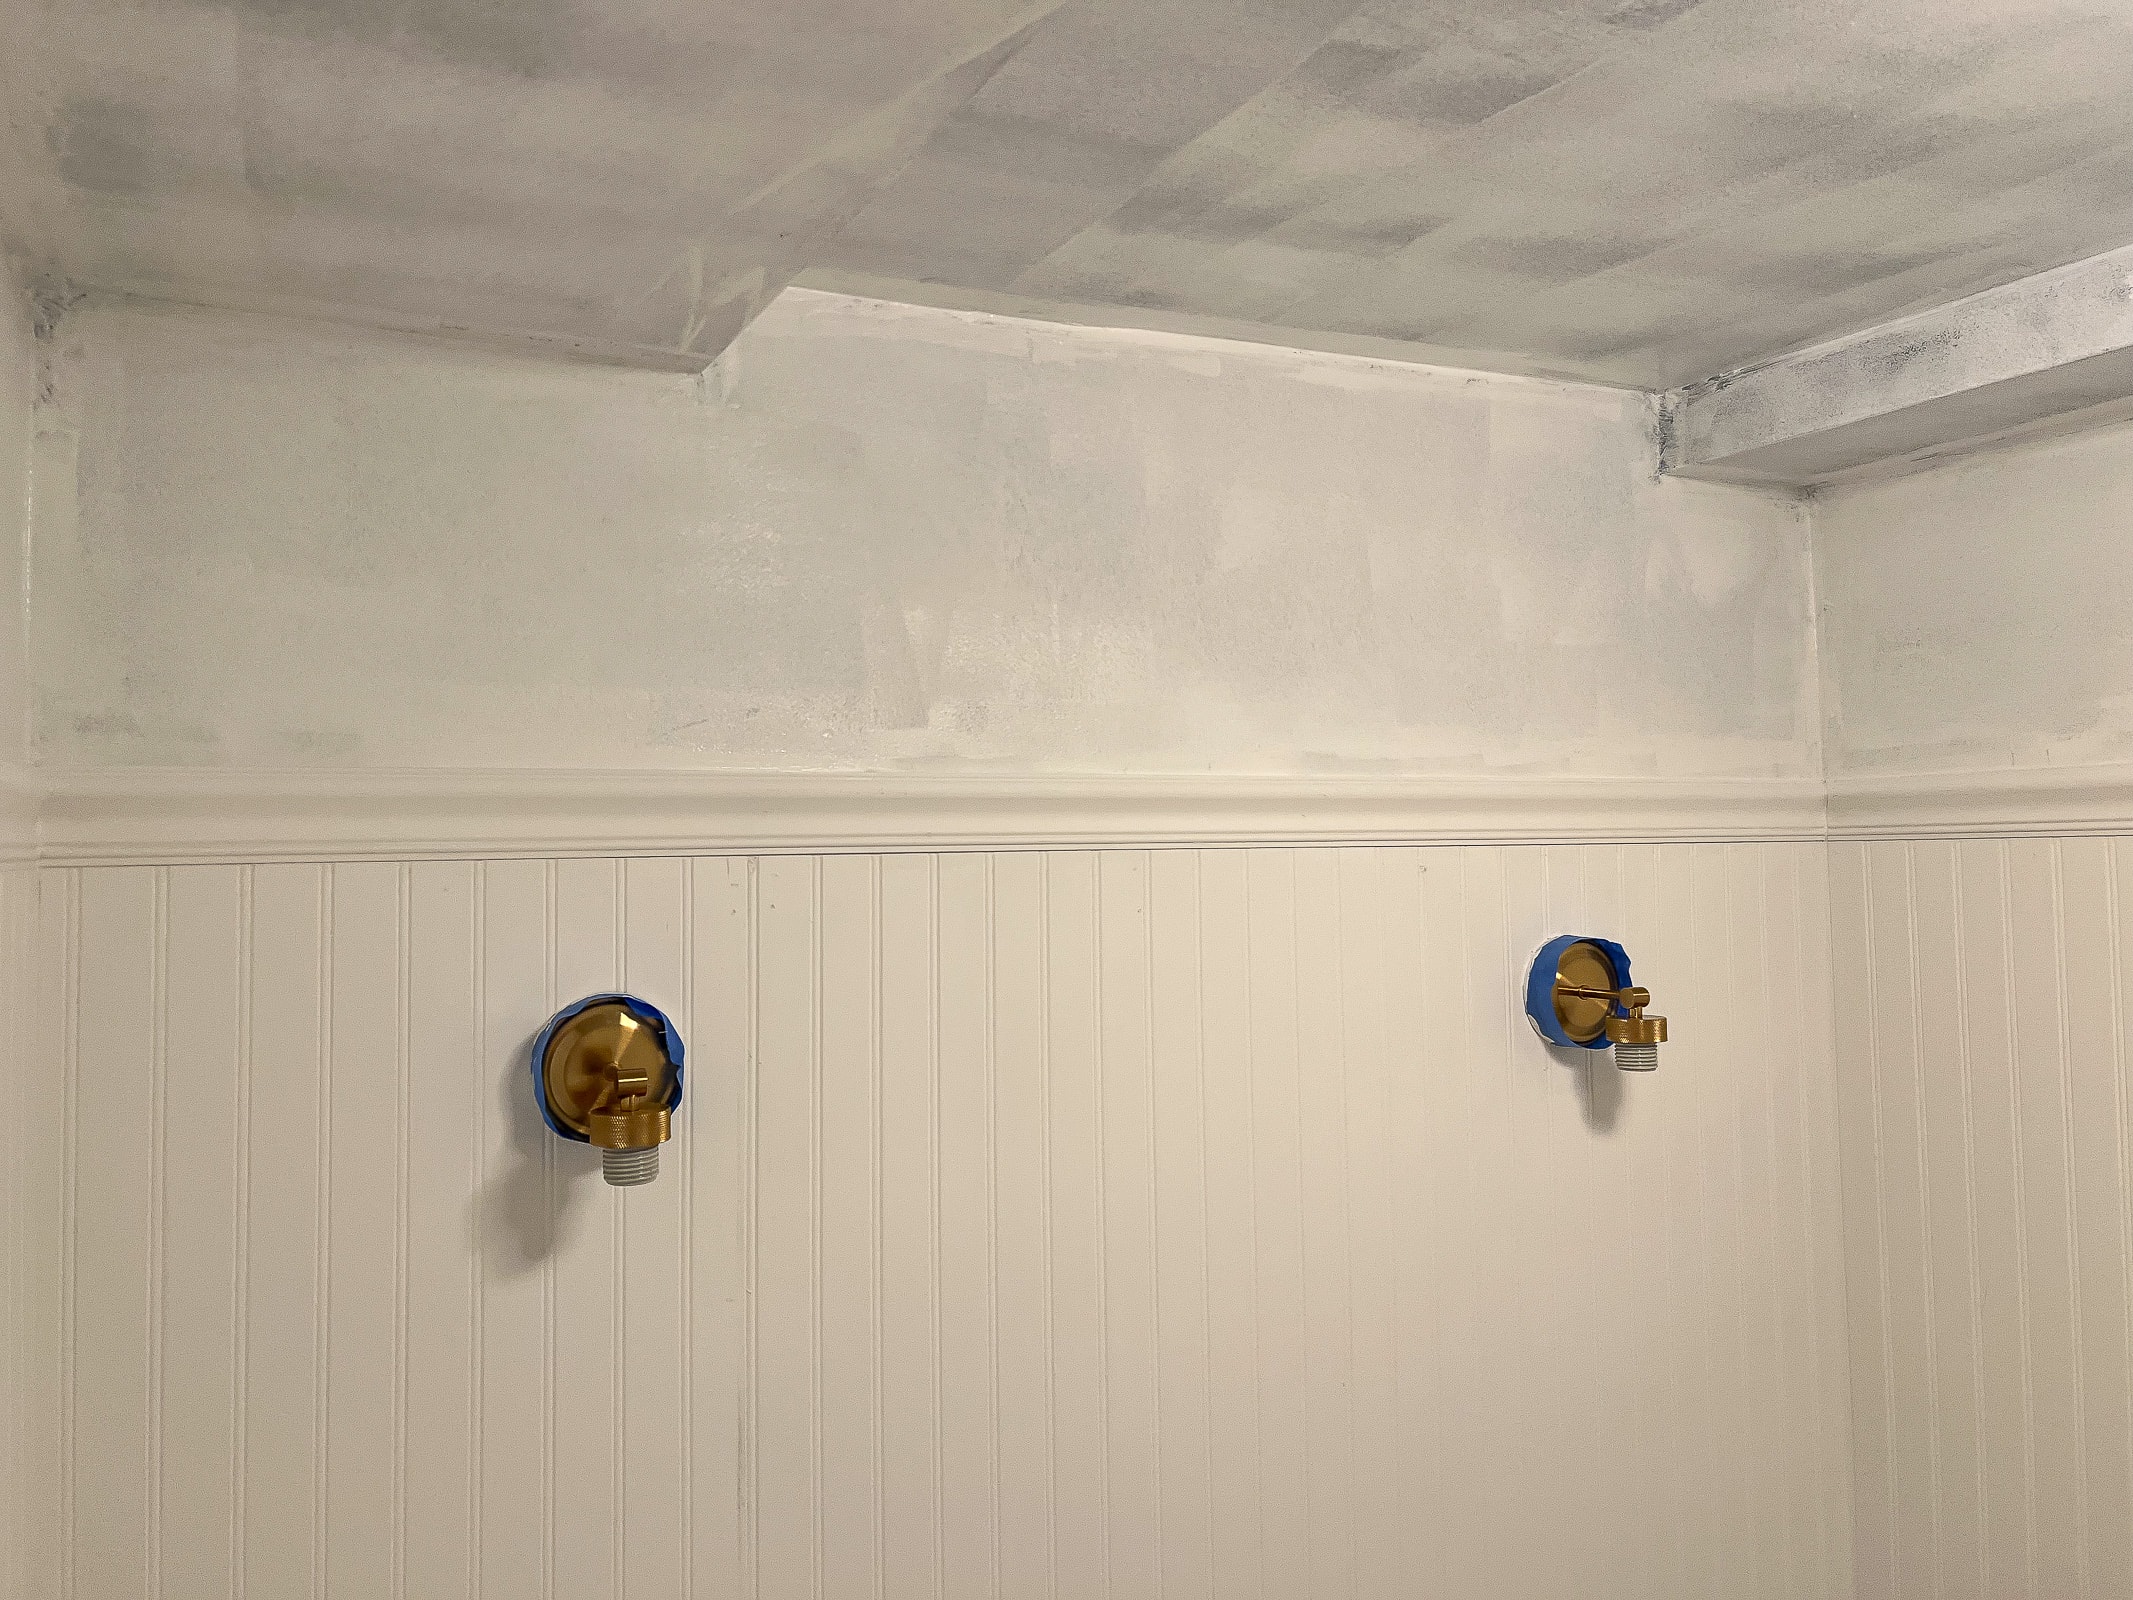
This time around, I wanted to change things up with a dark color on the bottom and a light color on the upper walls and ceiling. Therefore, I needed to cover the dark navy with primer.

I had some leftover primer from when our contractor re-drywalled the basement, so I just used that. I’m all about using up what you got!
Choosing a Warm White Paint Color
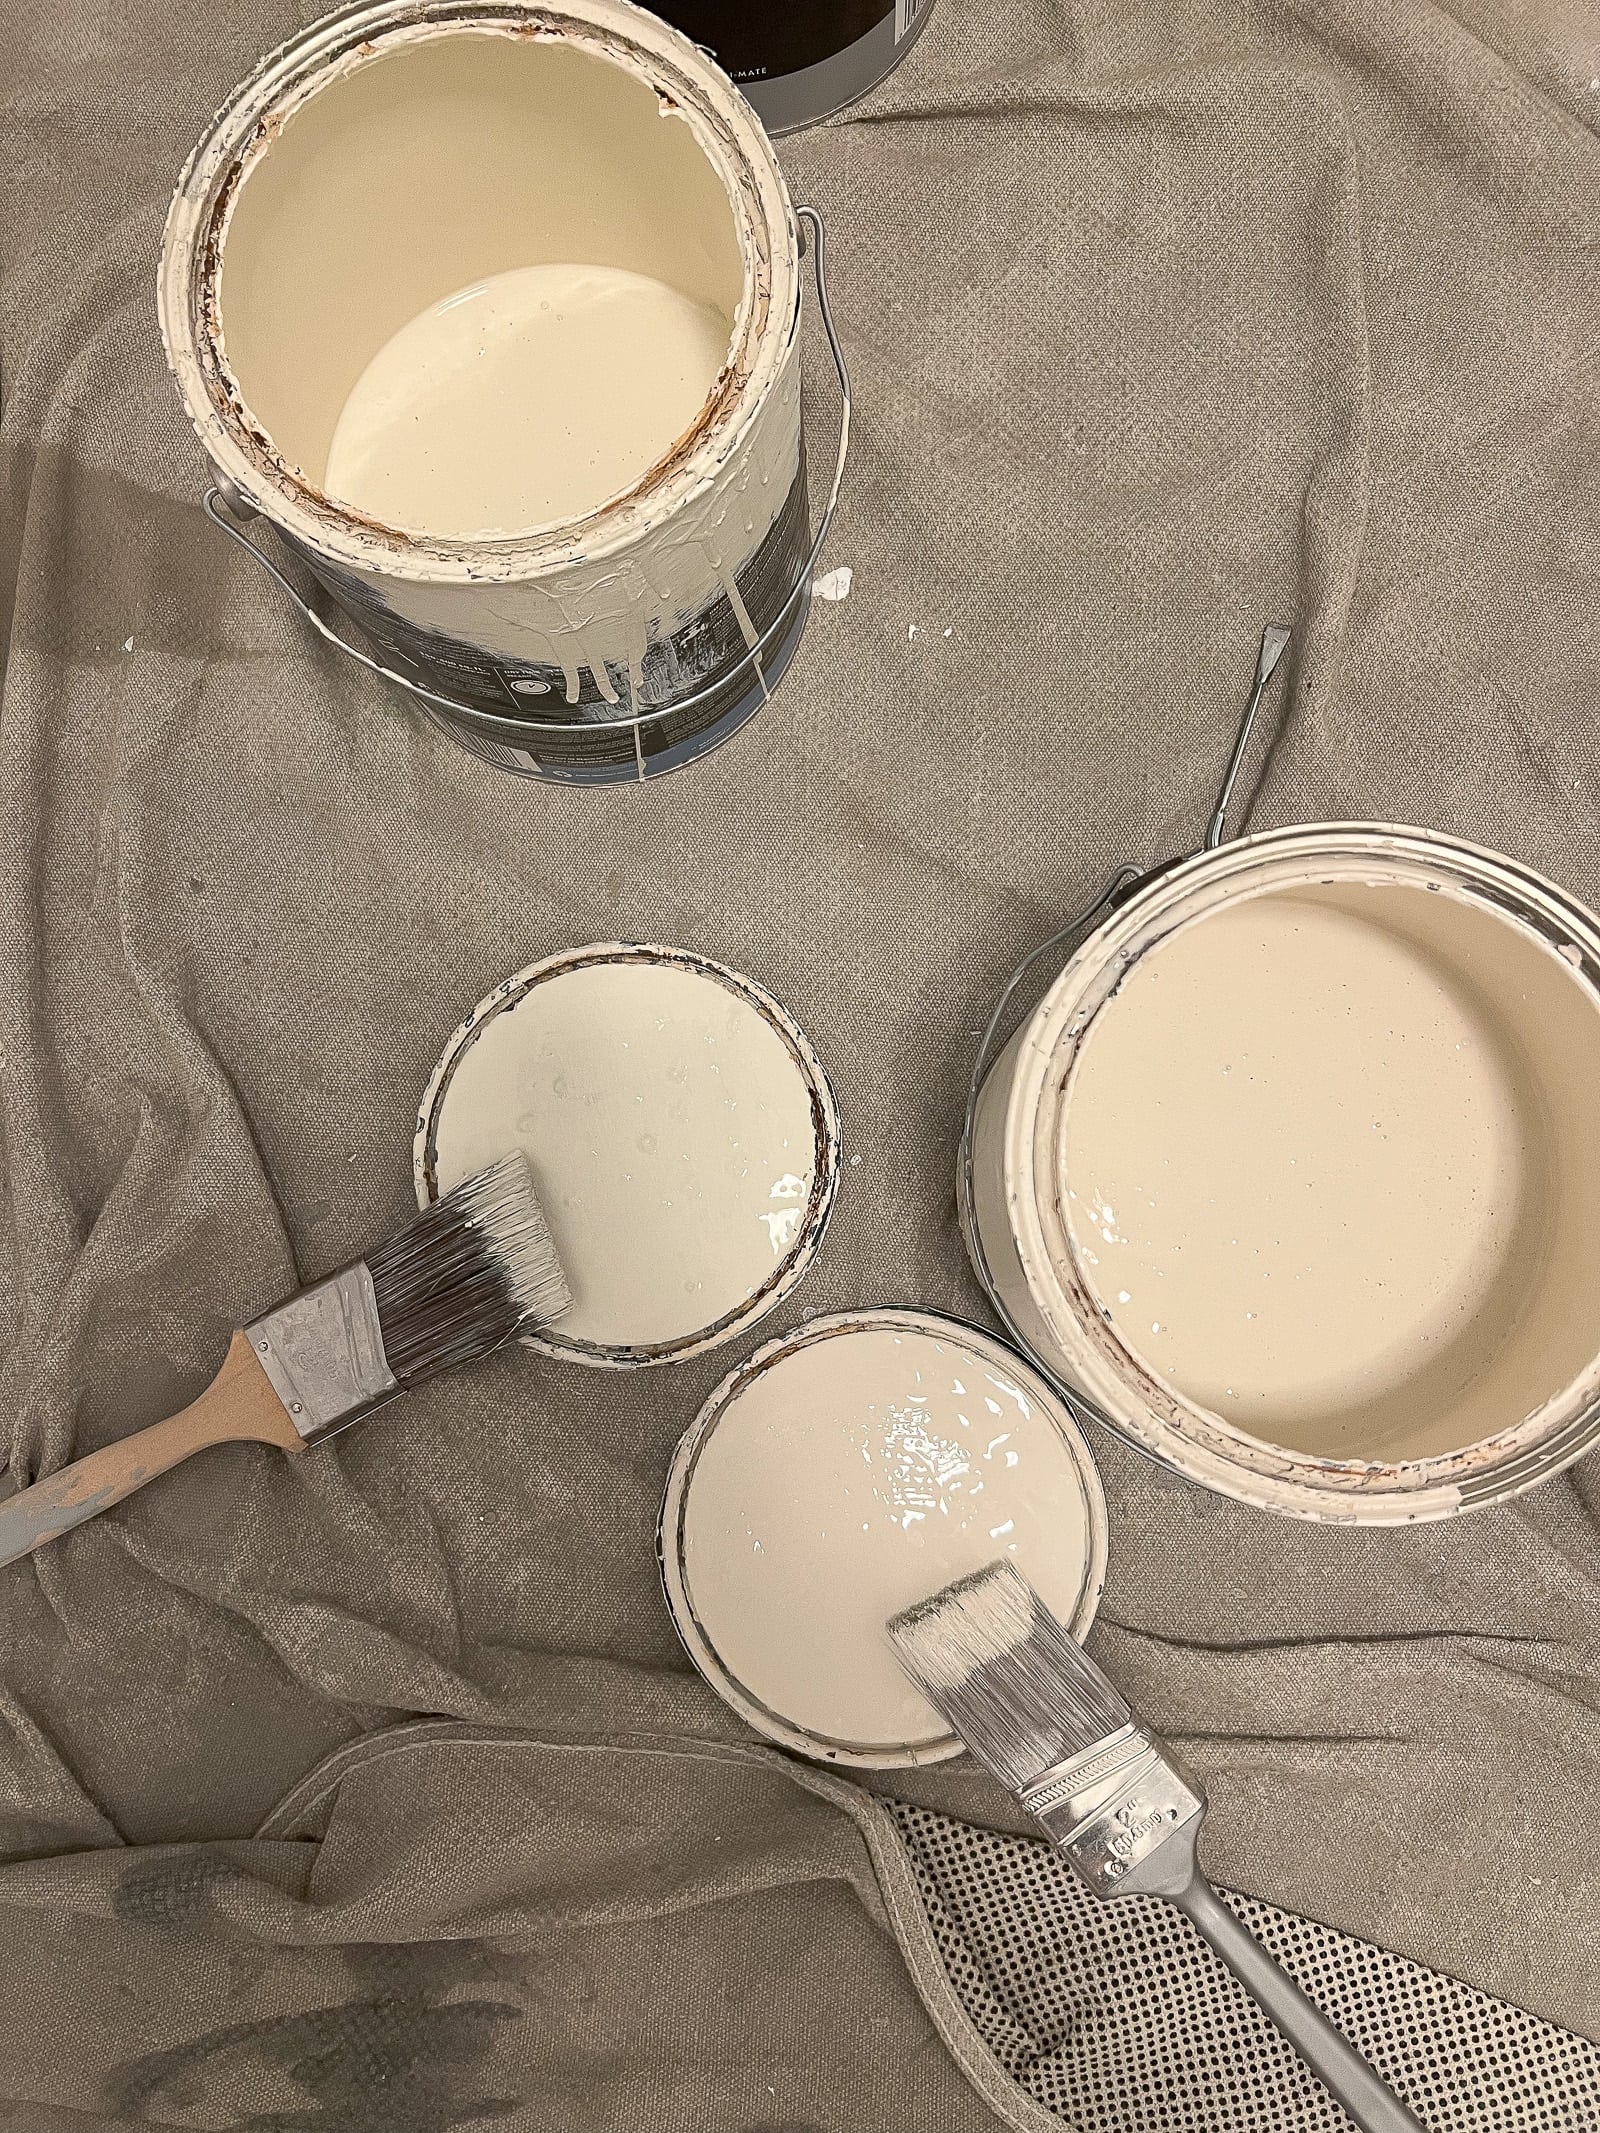
I primed one day and the next day I was ready to paint! However, I still wasn’t certain what color I would use on the top areas. I knew I wanted it to be a warm white to go with the cream penny tile floors, but I didn’t have an exact shade in mind. I perused my stash of old paint cans and came upon Benjamin Moore’s “Ballet White” (which we have throughout most of our home) and Valspar’s “Clay Angel” (which is what this bathroom was painted before).
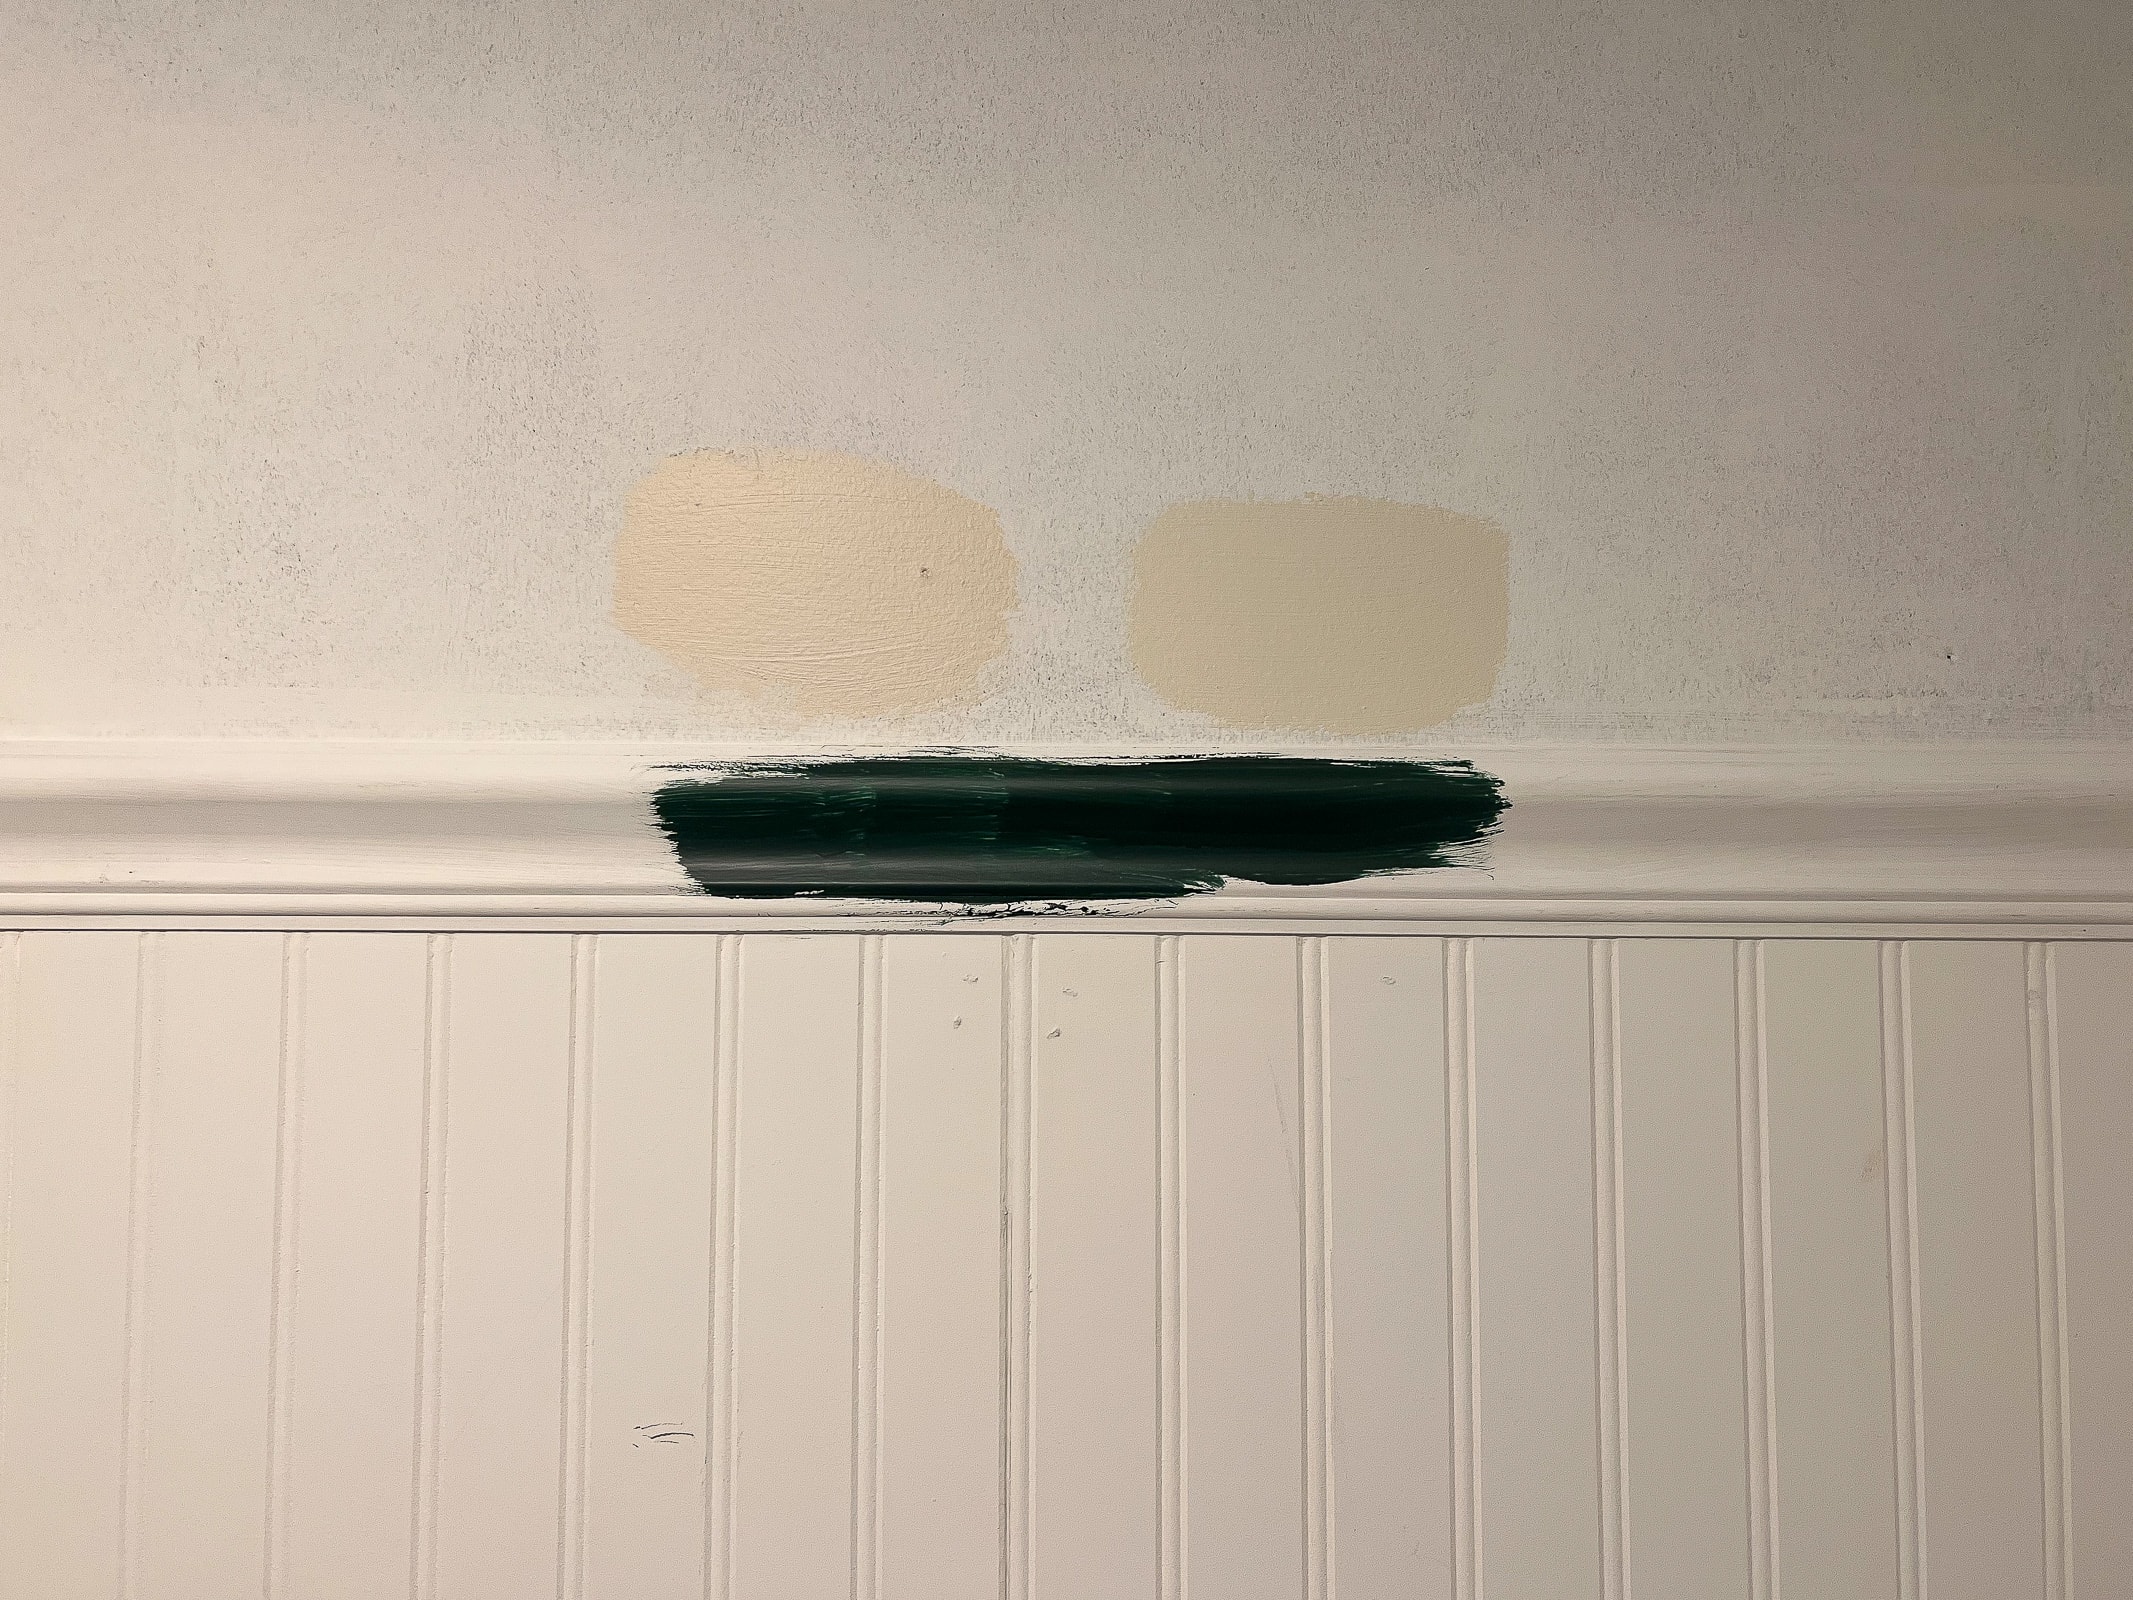
I added those colors to the walls, along with my dark green paint (more on that next), to figure out the winning paint color. In the end, I decided that Valspar’s “Clay Angel” looked best in the space, which shouldn’t have been a surprise to me since I had chosen that same color for this same space three years ago!
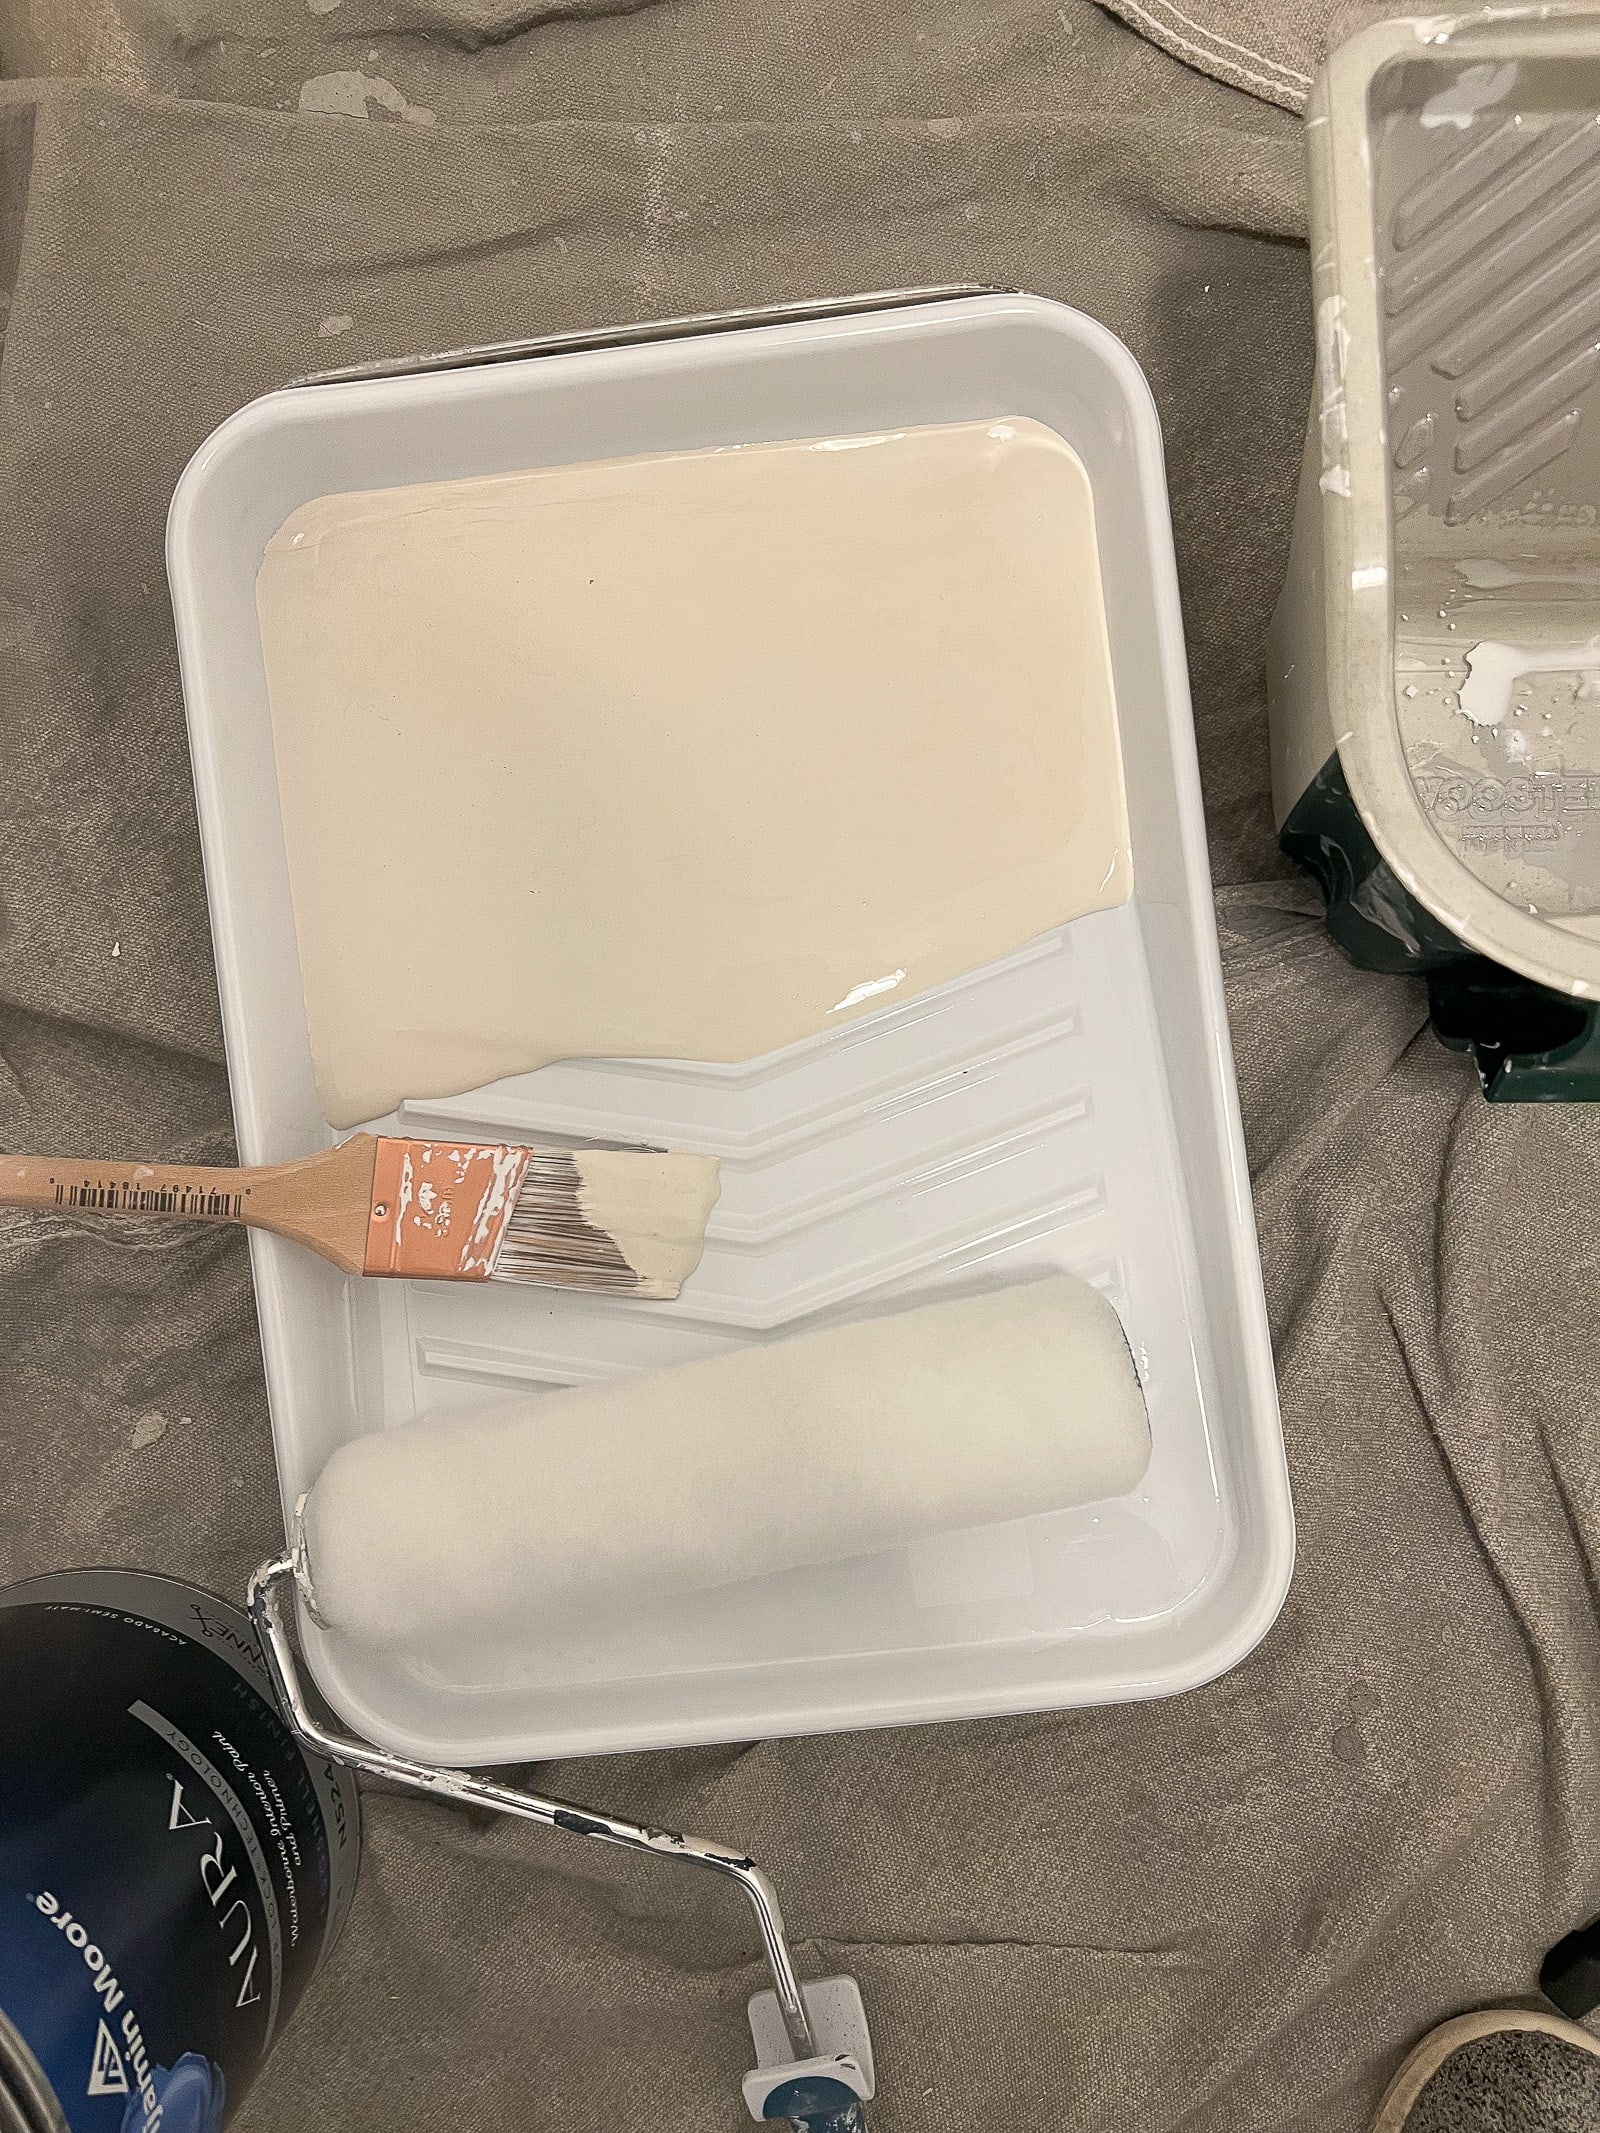
Two Coats of “Clay Angel”

I painted the ceilings and upper portions with two coats of this gorgeous shade and it looked fantastic.

On the second coat, I was having a bit of trouble figuring out which areas were already painted, so I whipped out my trusty headlamp to help illuminate the space. Finn bought this headlamp a few years ago and I made fun of him for such a random purchase. Well, of course, I now use it all the time for strange things like this! The headlamp worked like a charm to show me which areas were wet and which areas still needed more paint!
Tips to Color Match
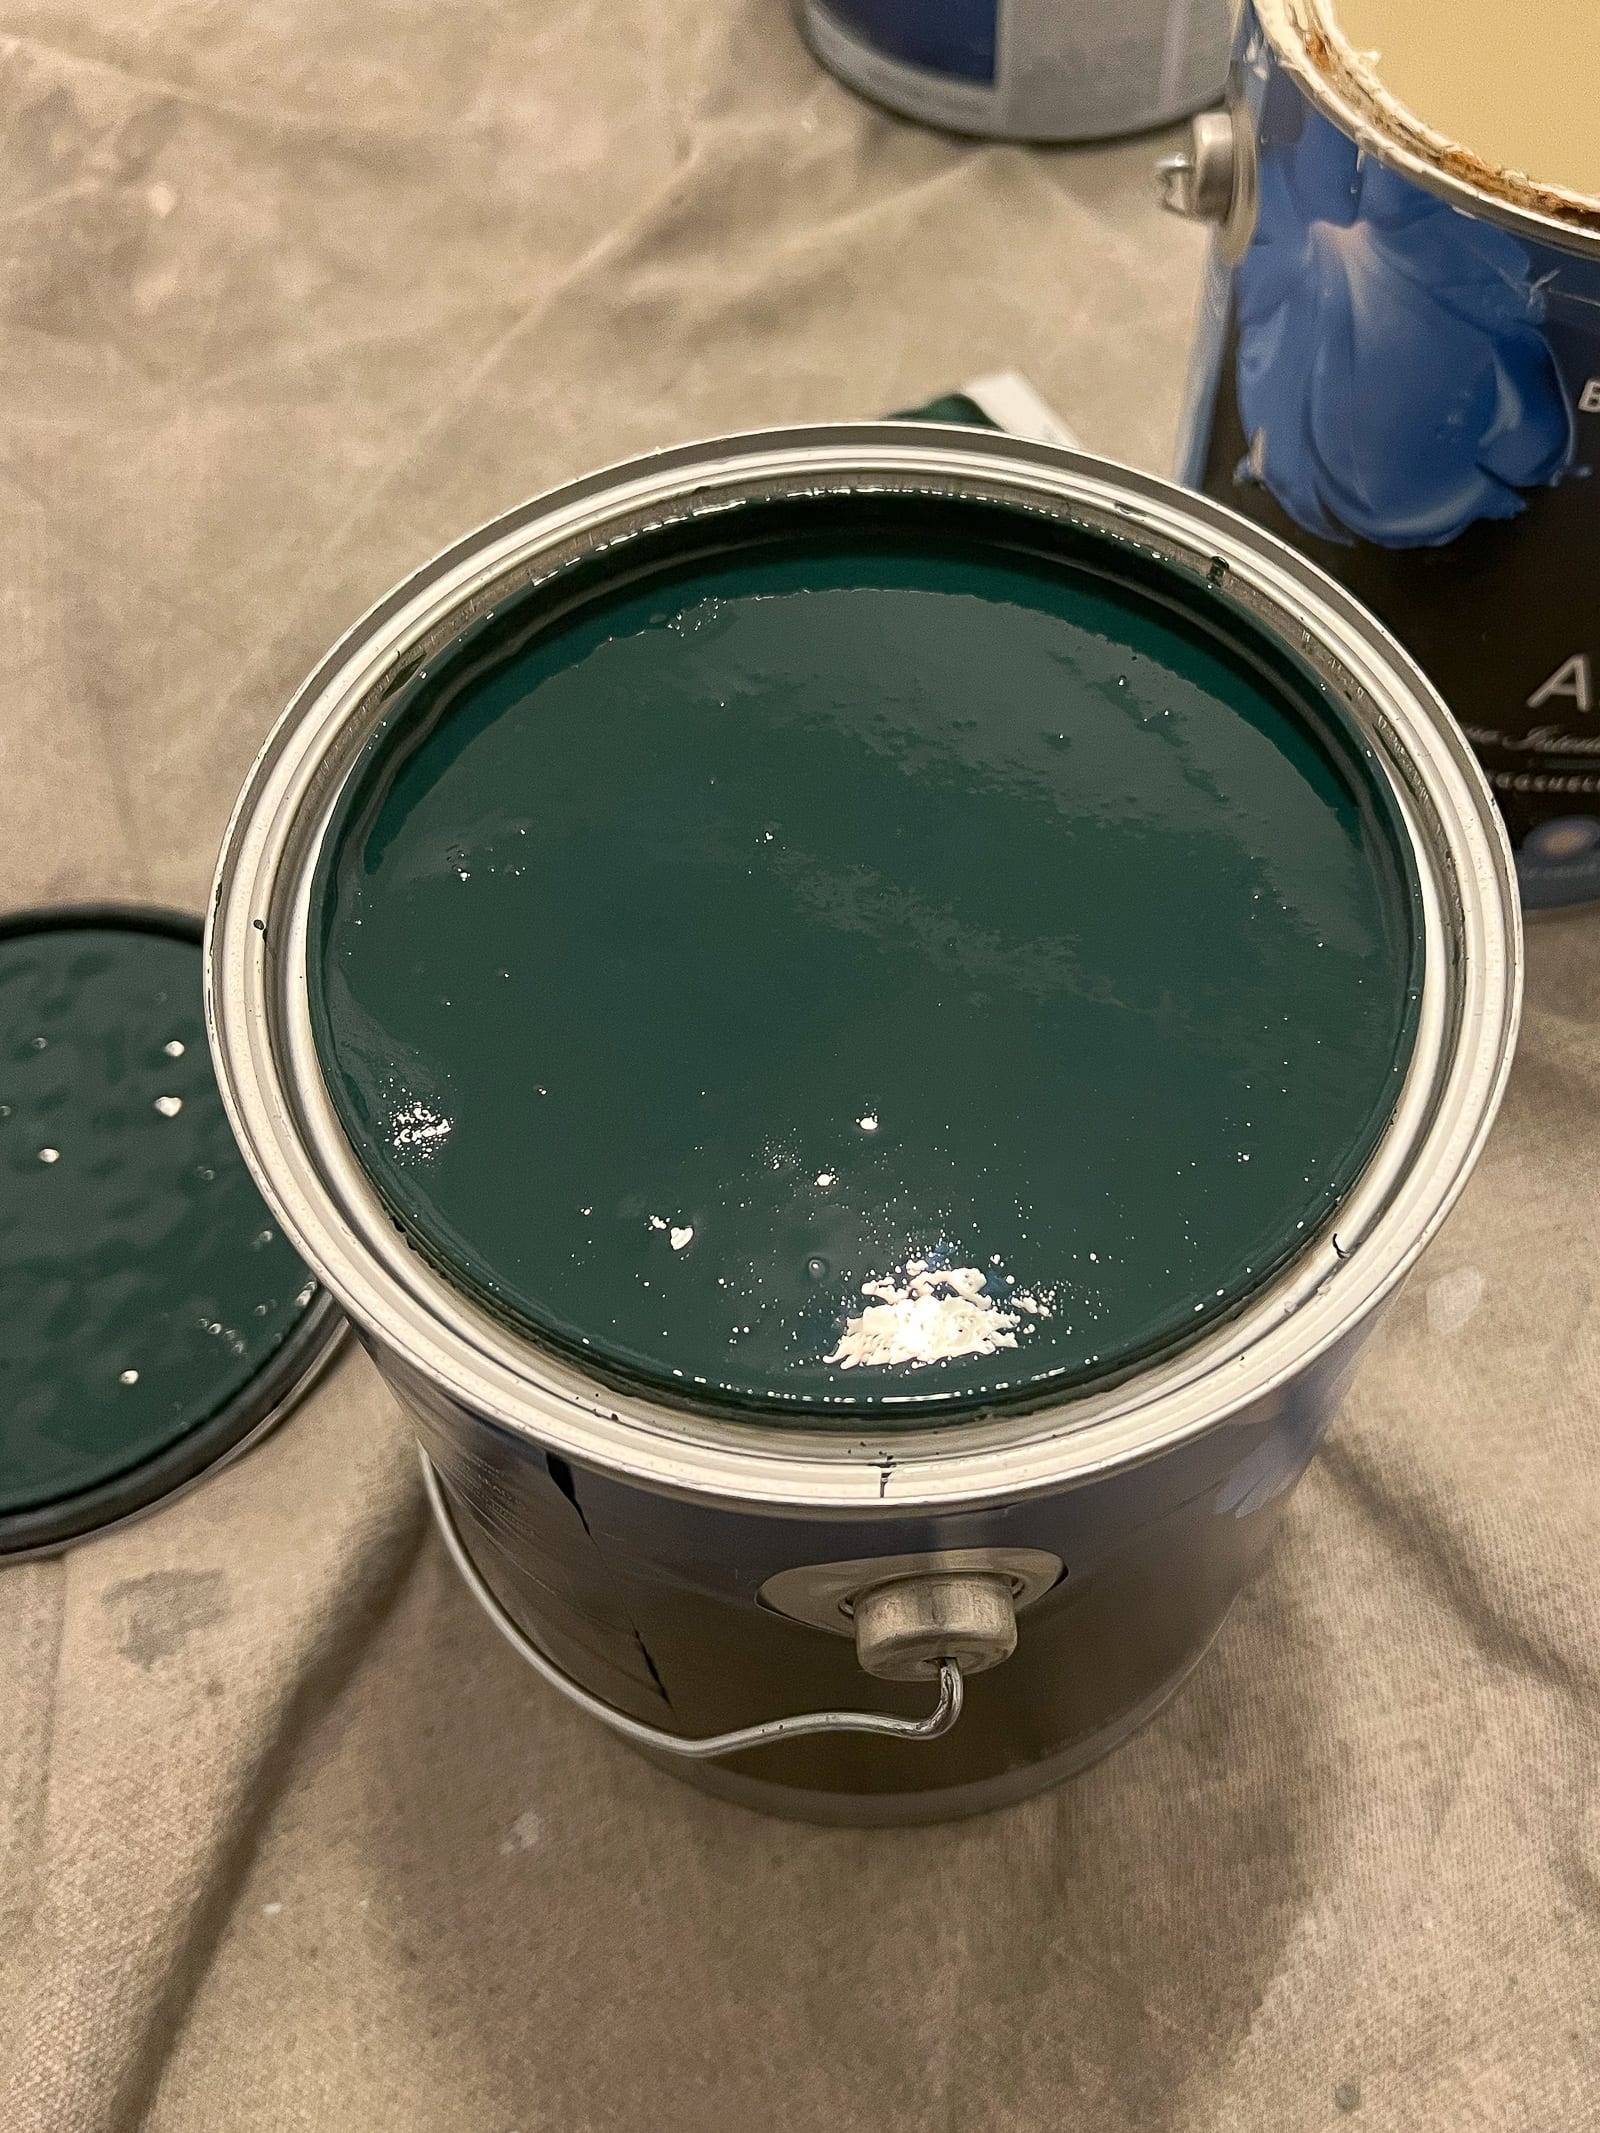
Now, onto the most important color in the room…the dark green! I’ve color-matched paint before and I’ve always had success. My best tip for you is to bring a large sample of the color you want to match. They’ll usually need at least a few inches of the color to properly match it.
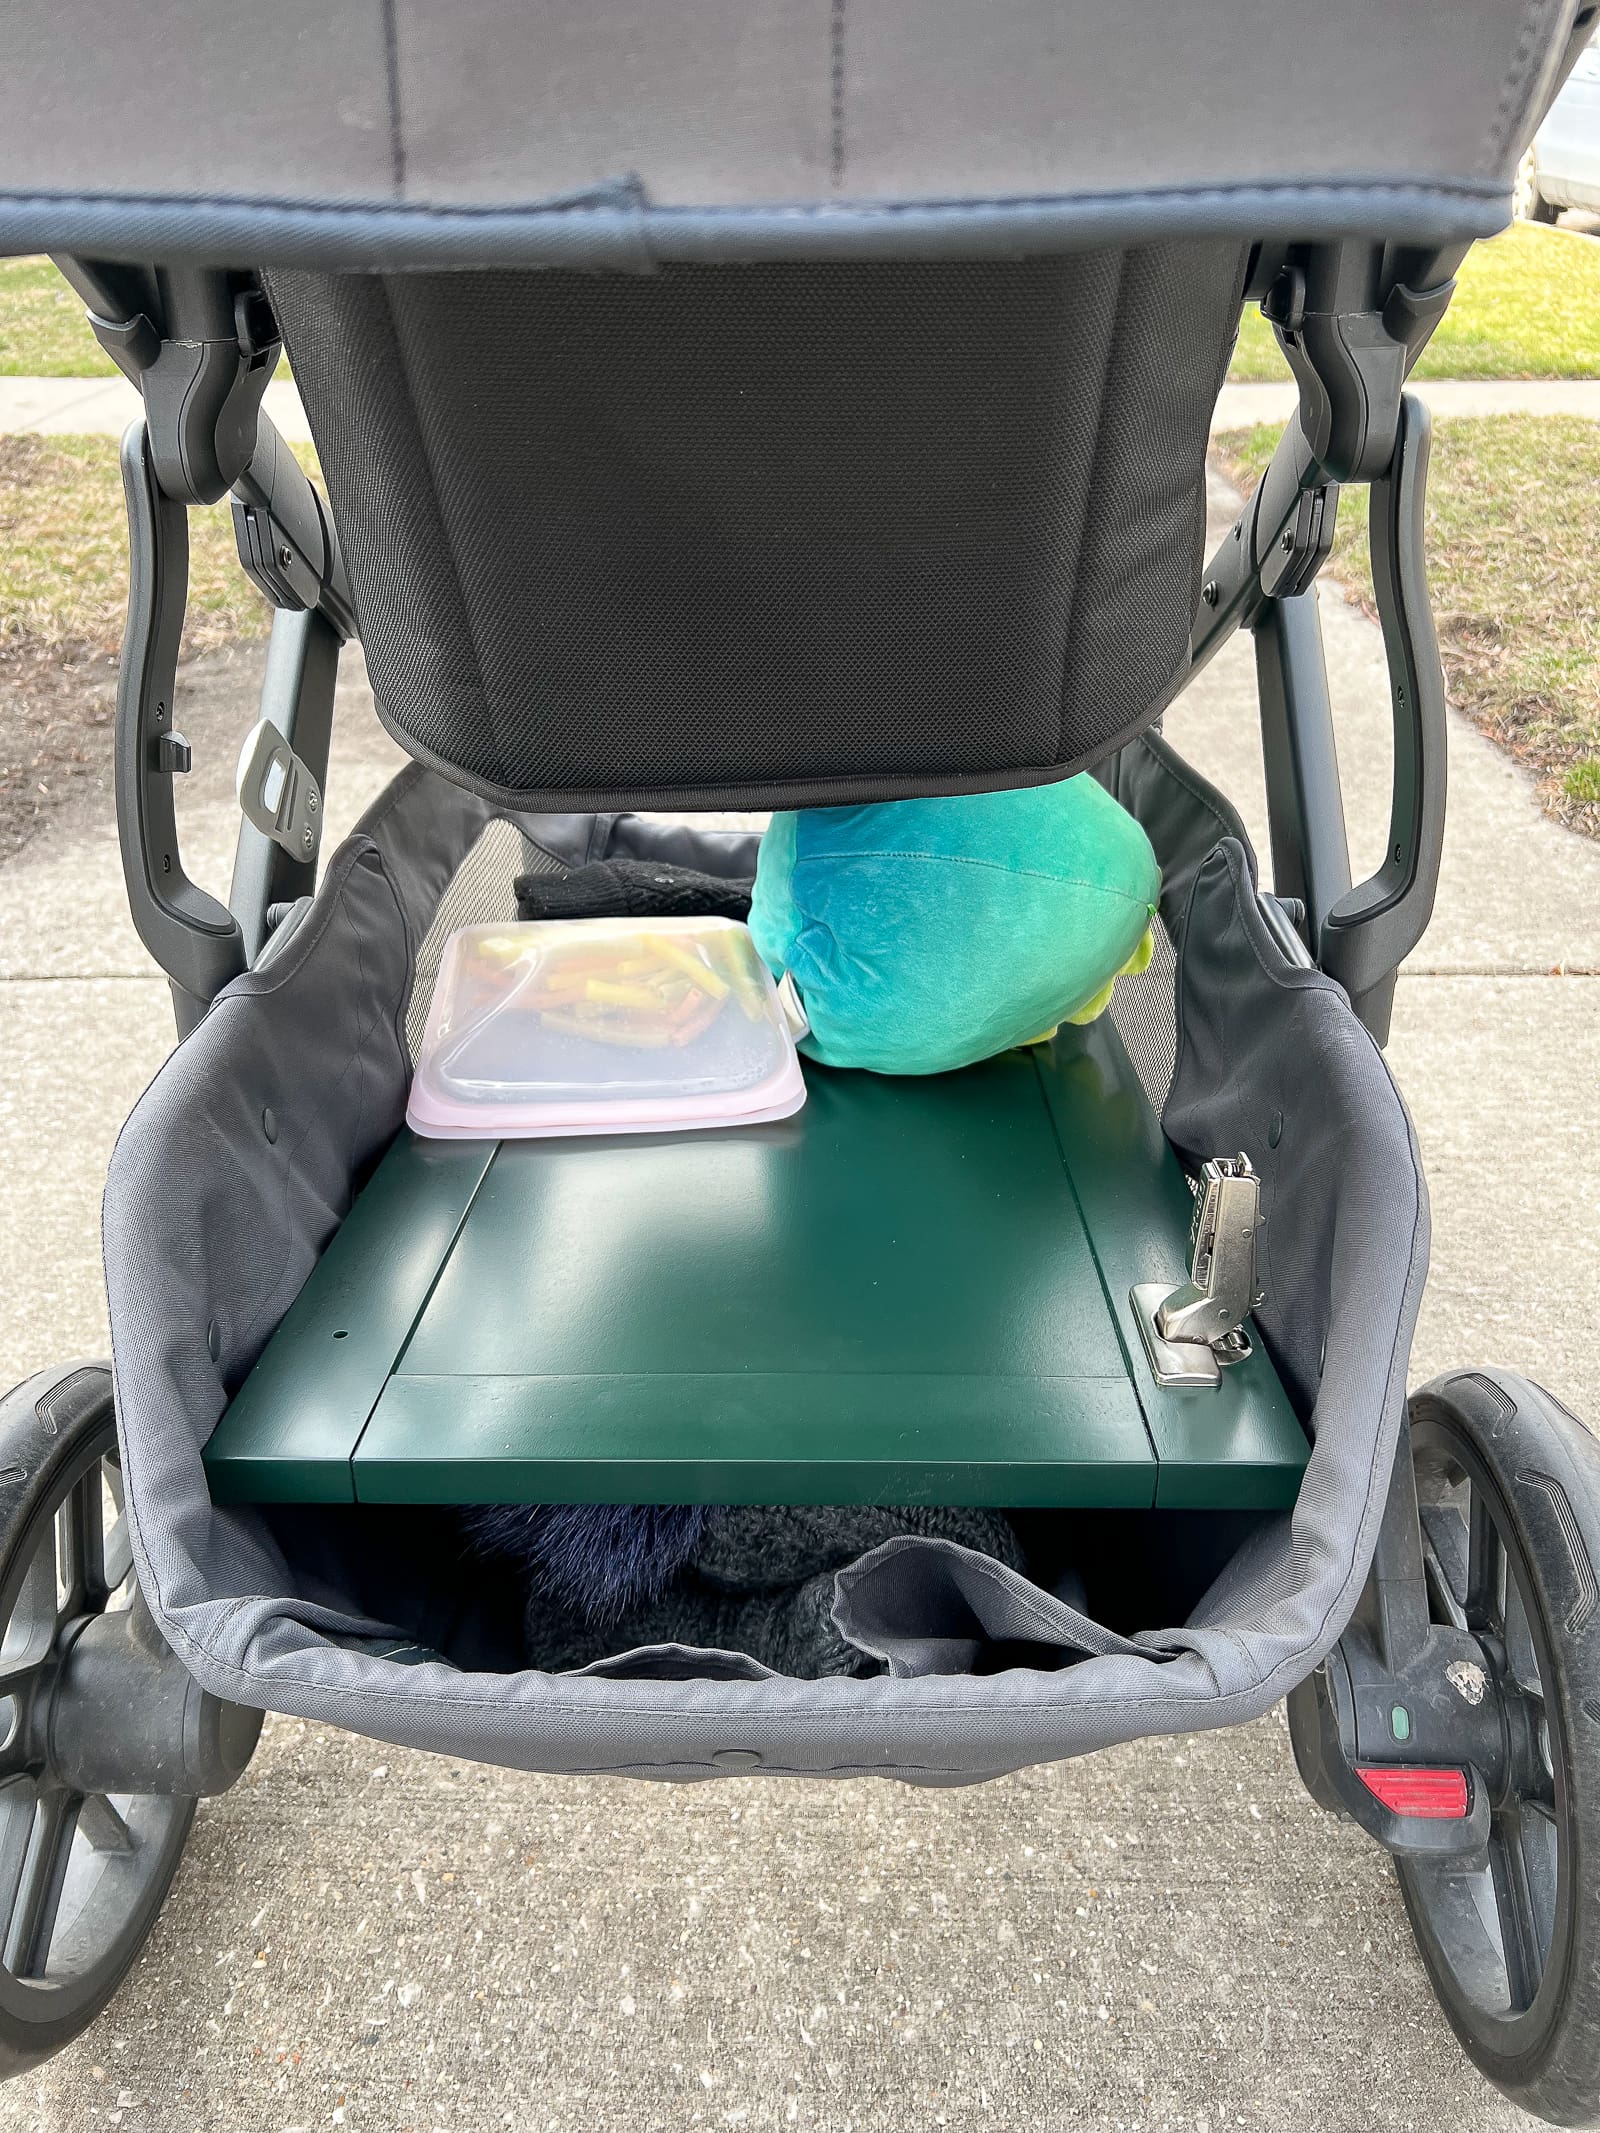
I took the door off of the vanity, threw it in the stroller, and Ellis and I walked to our local Benjamin Moore to get it color-matched. You just tell them the paint you want (Aura) and finish (eggshell) and they do the work to get it to match as best they can.
Dark Green Paint Color Formula
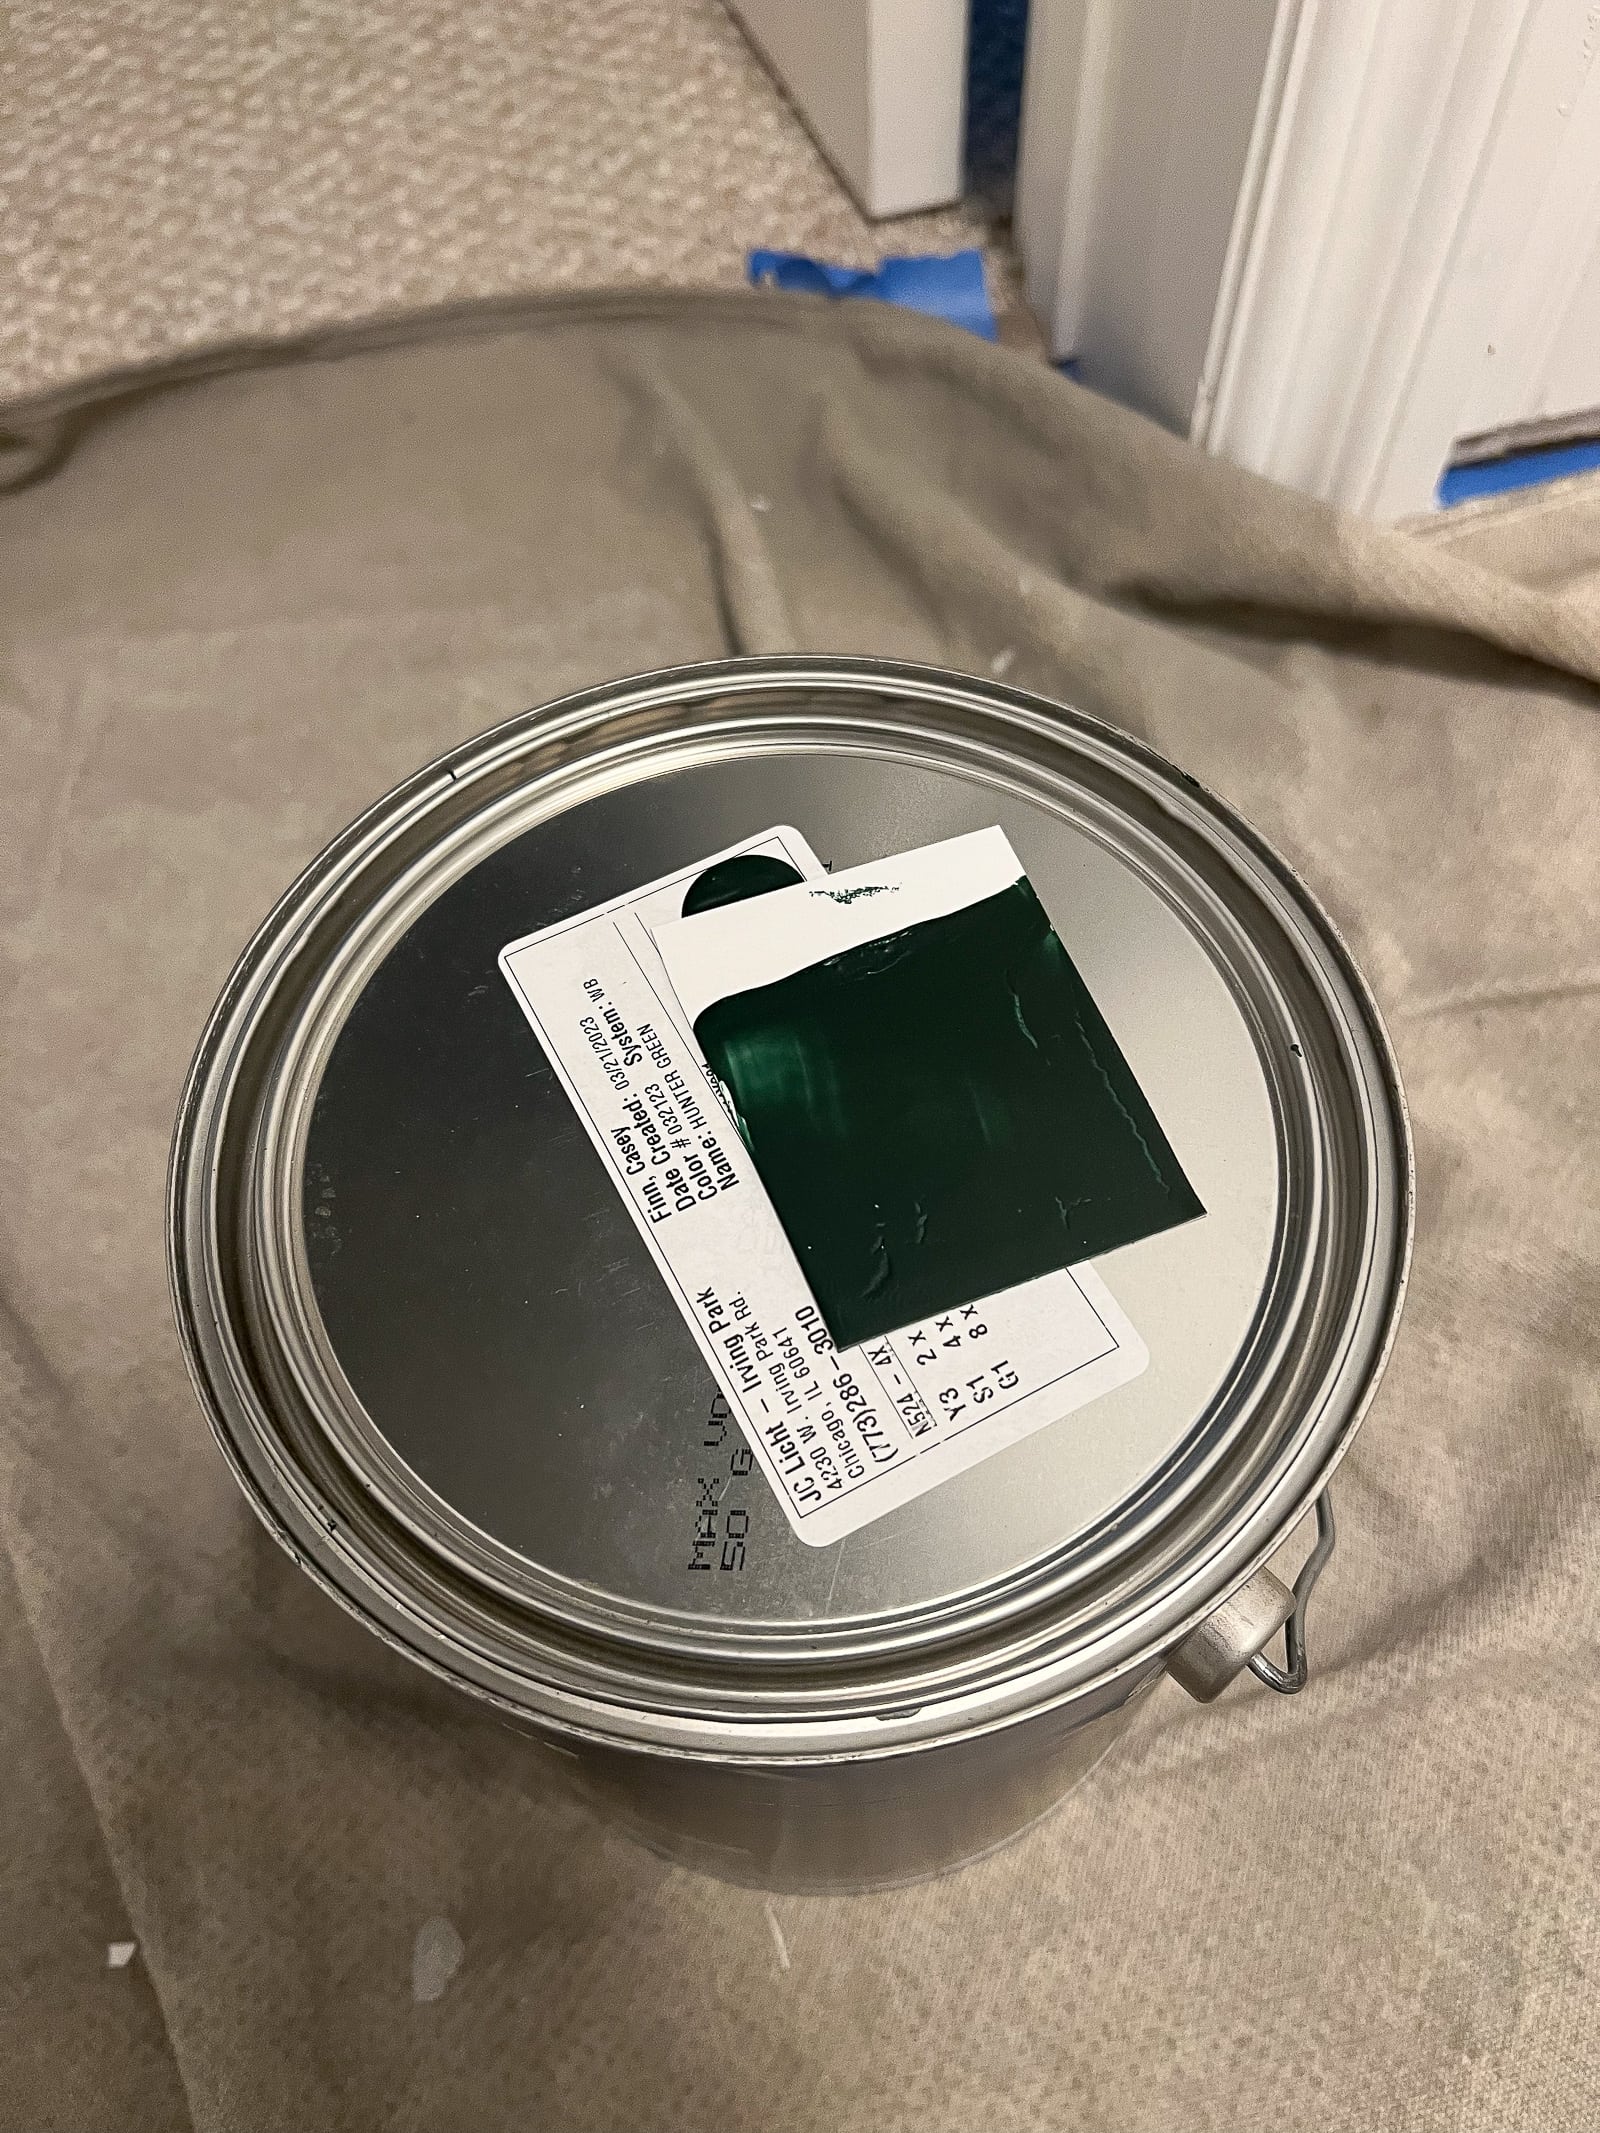
If you end up loving the dark green on our painted beadboard and want to recreate it in your own home, here is a look at the paint color formula. Just bring this to your local paint store and they can make this exact same color using these numbers and letters. Pretty cool, right?! They also mentioned that this is most similar to their “Hunter Green” shade if you just wanted to go for that!
- 74 Y3, 128 S1, 256 G1
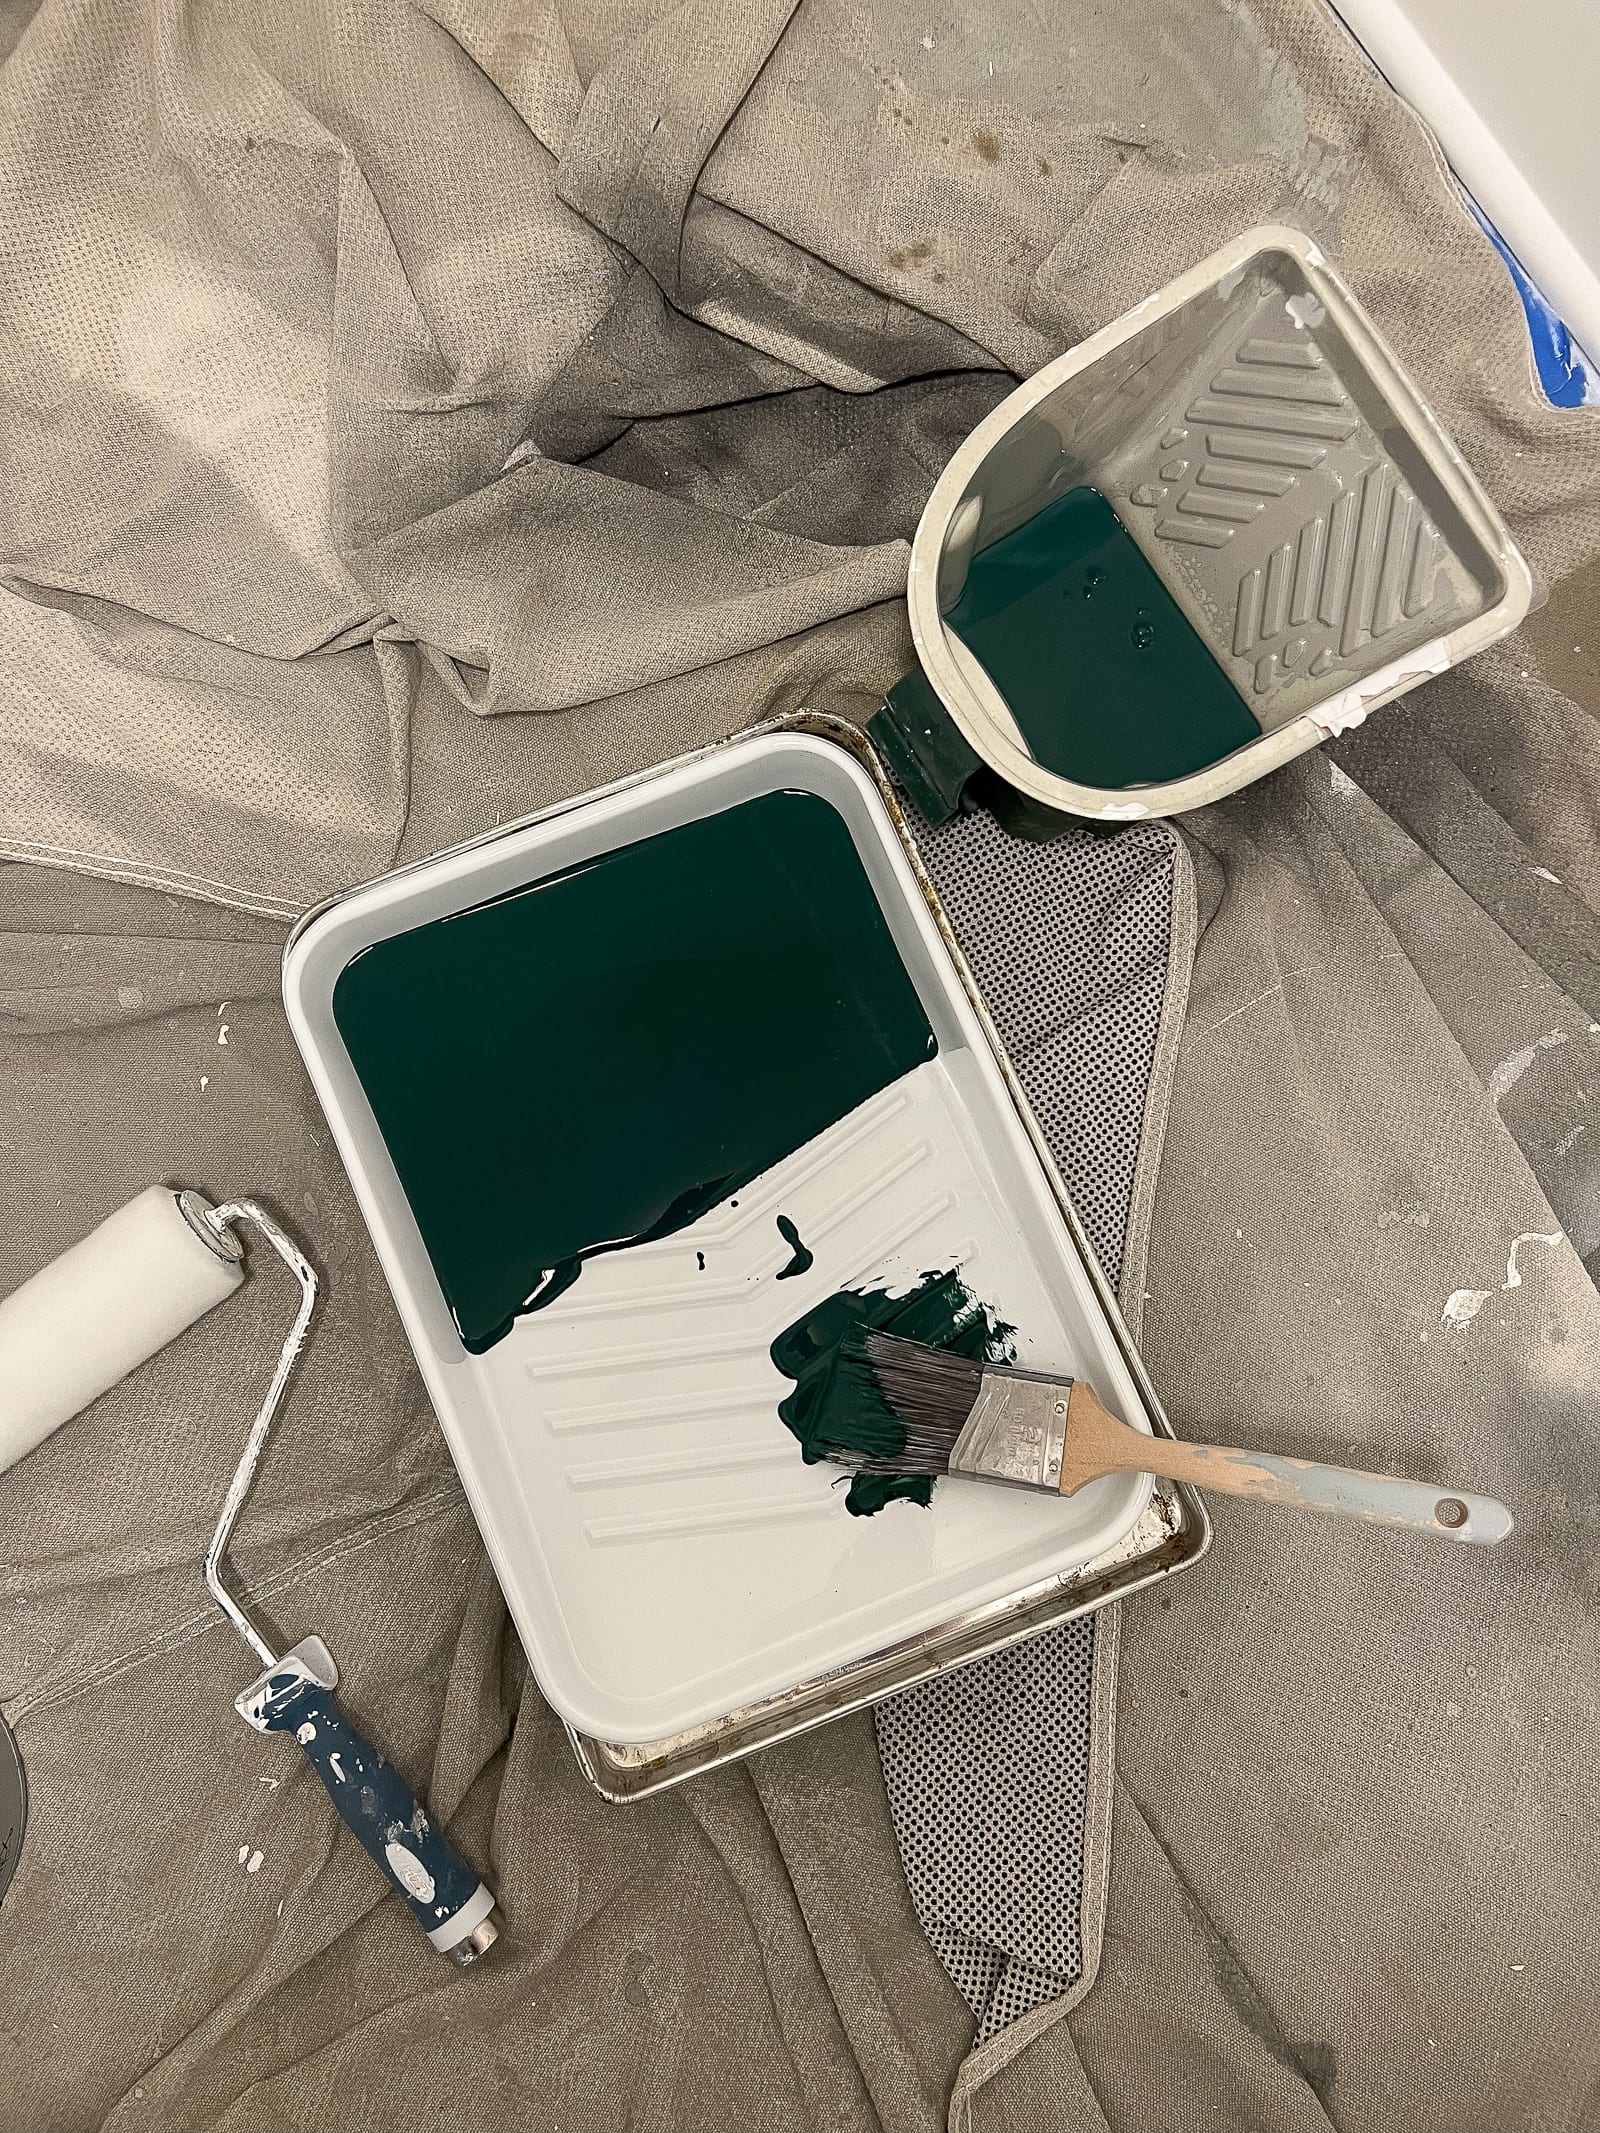
Tips to Paint Beadboard
With the top portion painted, and my dark green all ready to go, I could finally paint some beadboard! For this, I went back and forth between a brush and a roller. The grooves of the beadboard can be tough to get into, so I originally started by brushing each and every line. That seemed like it was going to take forever, so I ended up just pressing a bit harder with my roller to saturate the grooves of the boards. This worked out okay.
One Coat On…

After the first coat, I was a little nervous. It was so splotchy and I couldn’t get a good sense of how it would look in the end. Guys, I’m here to tell you – one coat of paint is never going to be enough. I don’t care what the paint brand marketing promises. You’ll never get great coverage with one coat.
I knew that I would need at least two or three coats to really get that deep dark green to saturate the beadboard.
Three Coats On!
I had to wait a while between coats for the paint to fully dry and this definitely slowed down the project. But, with a little patience and perseverance, I was able to paint the beadboard with three coats. When painting, I like to brush first and then go in with my roller. I recommend doing one wall at a time, so the brush strokes don’t dry before you hit them with the roller. This will prevent your paint from peeling up.
Getting A Crisp Striped Line

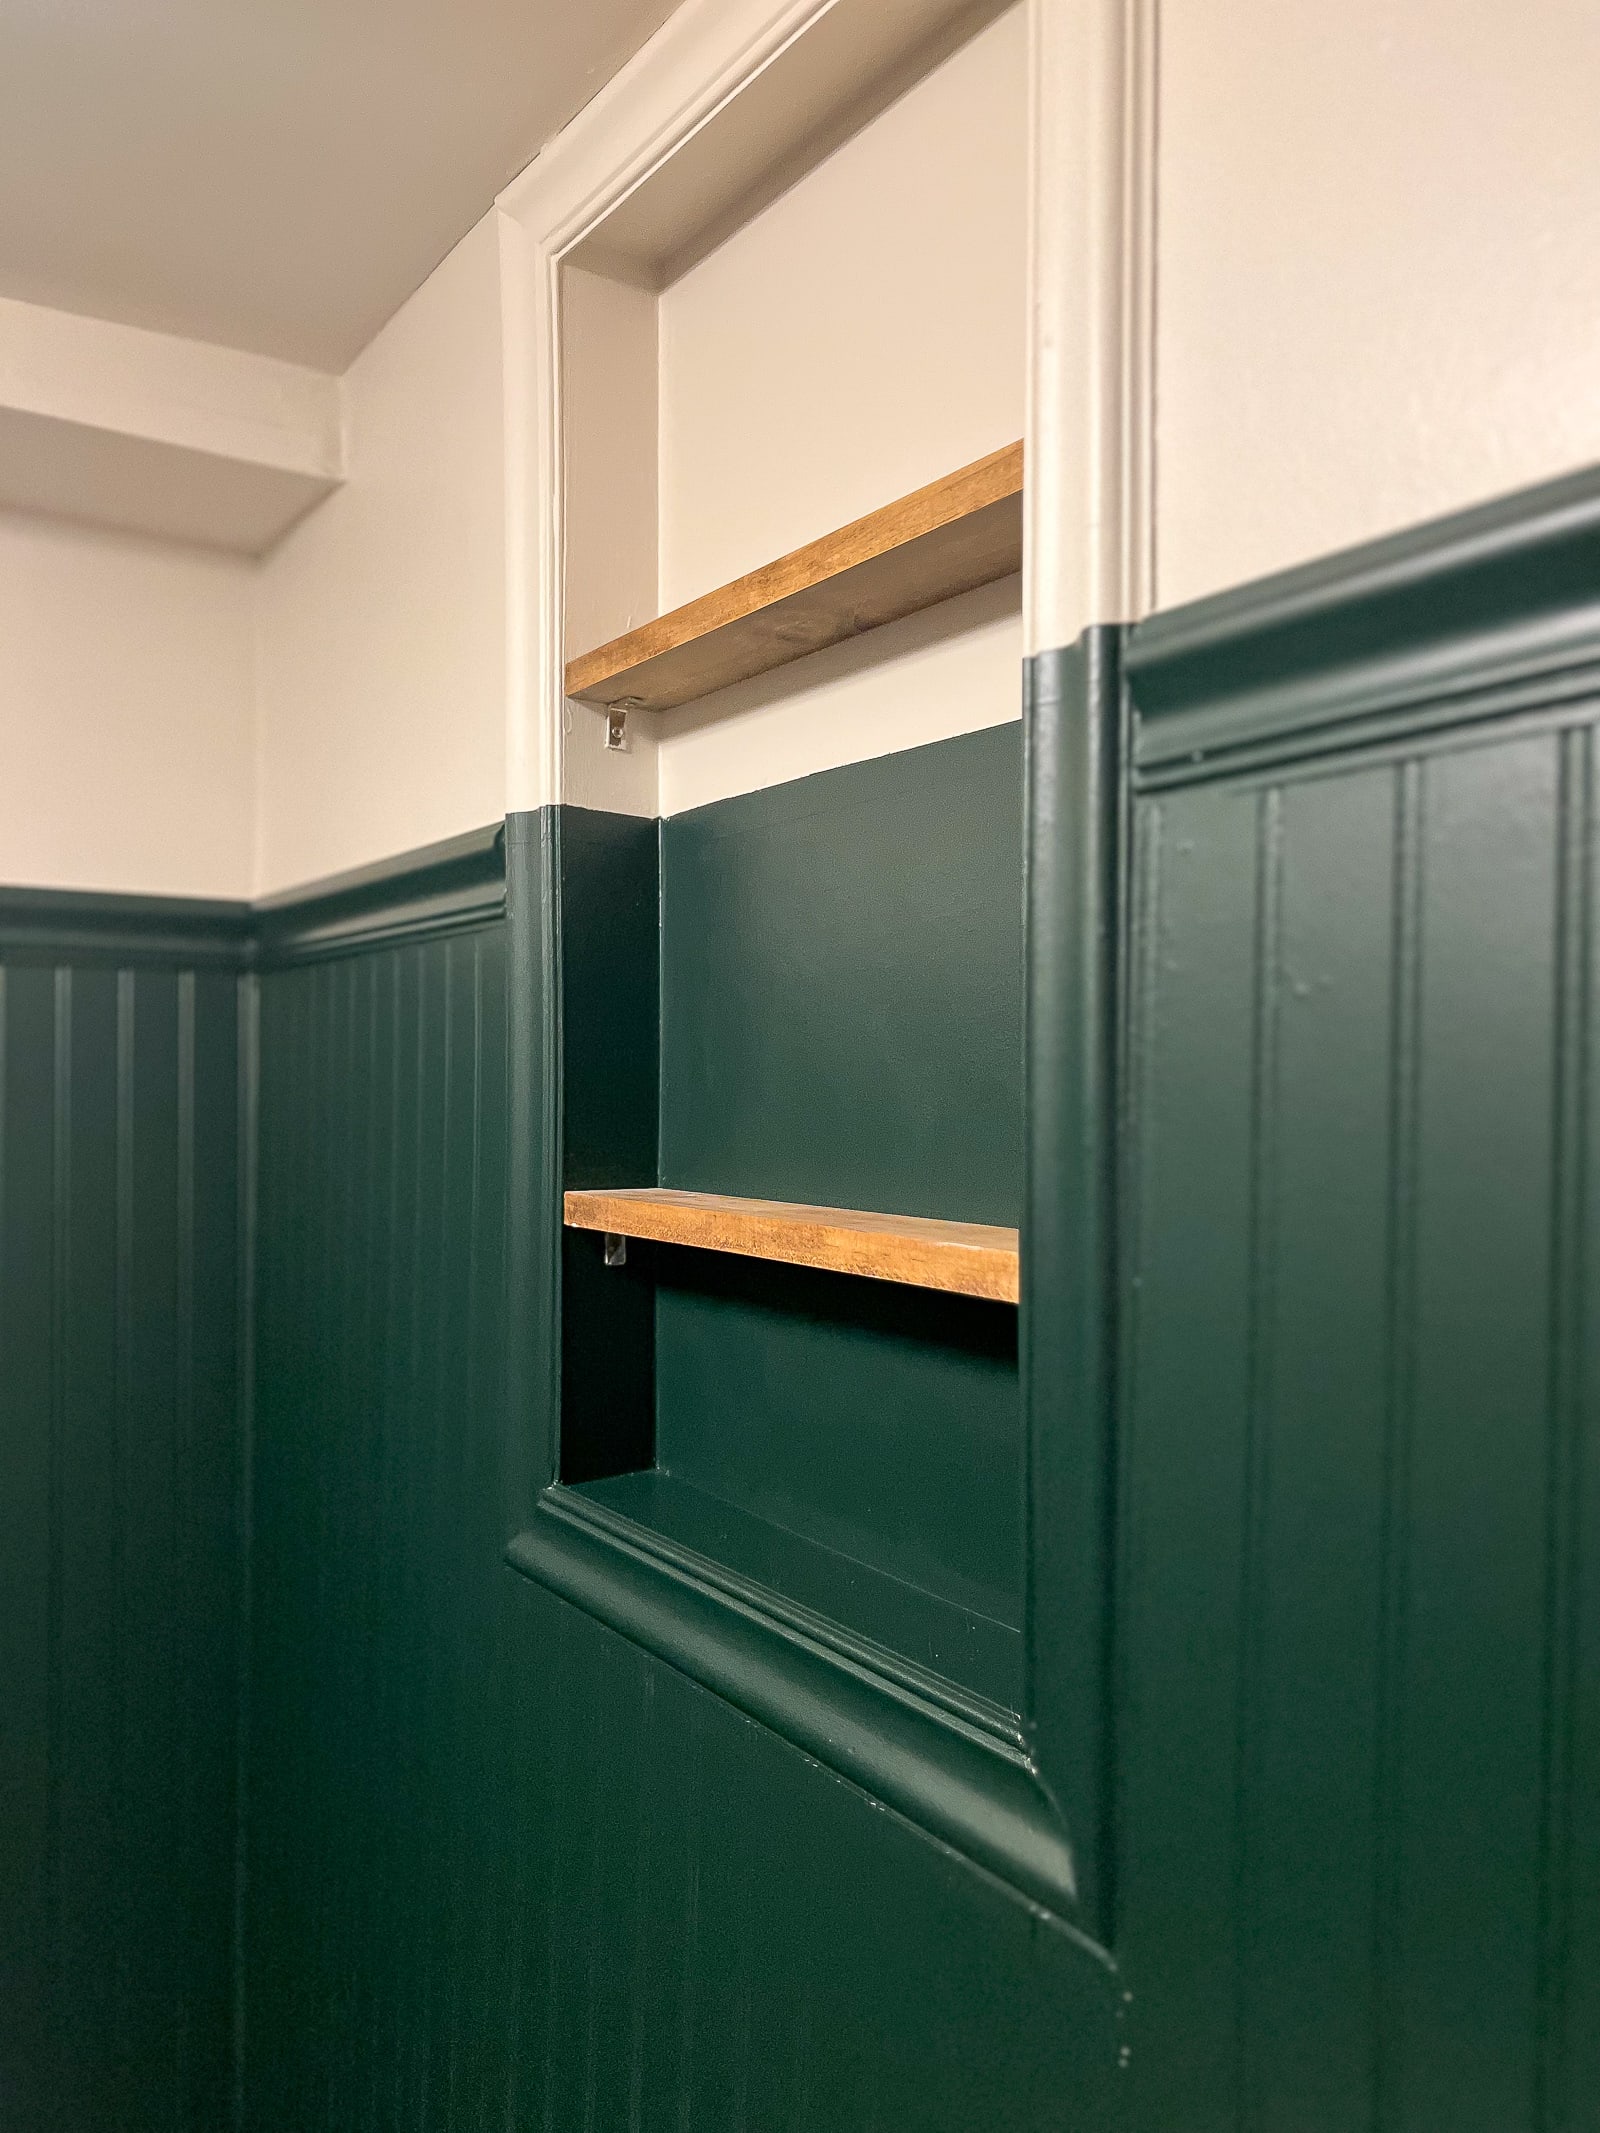
In the shelf area, I wanted to keep that straight line between the two colors. For this, I did the same technique that I did a few years ago in this same bathroom with my two-toned walls. I placed a piece of painters tape on the wall and painted the top color (“Clay Angel”) on the bottom portion of the tape. This ensures that the dark color won’t seep through the paint.
Once that dried, I was able to do my three coats of green right on top of the painters tape. The end result? A very crisp line!
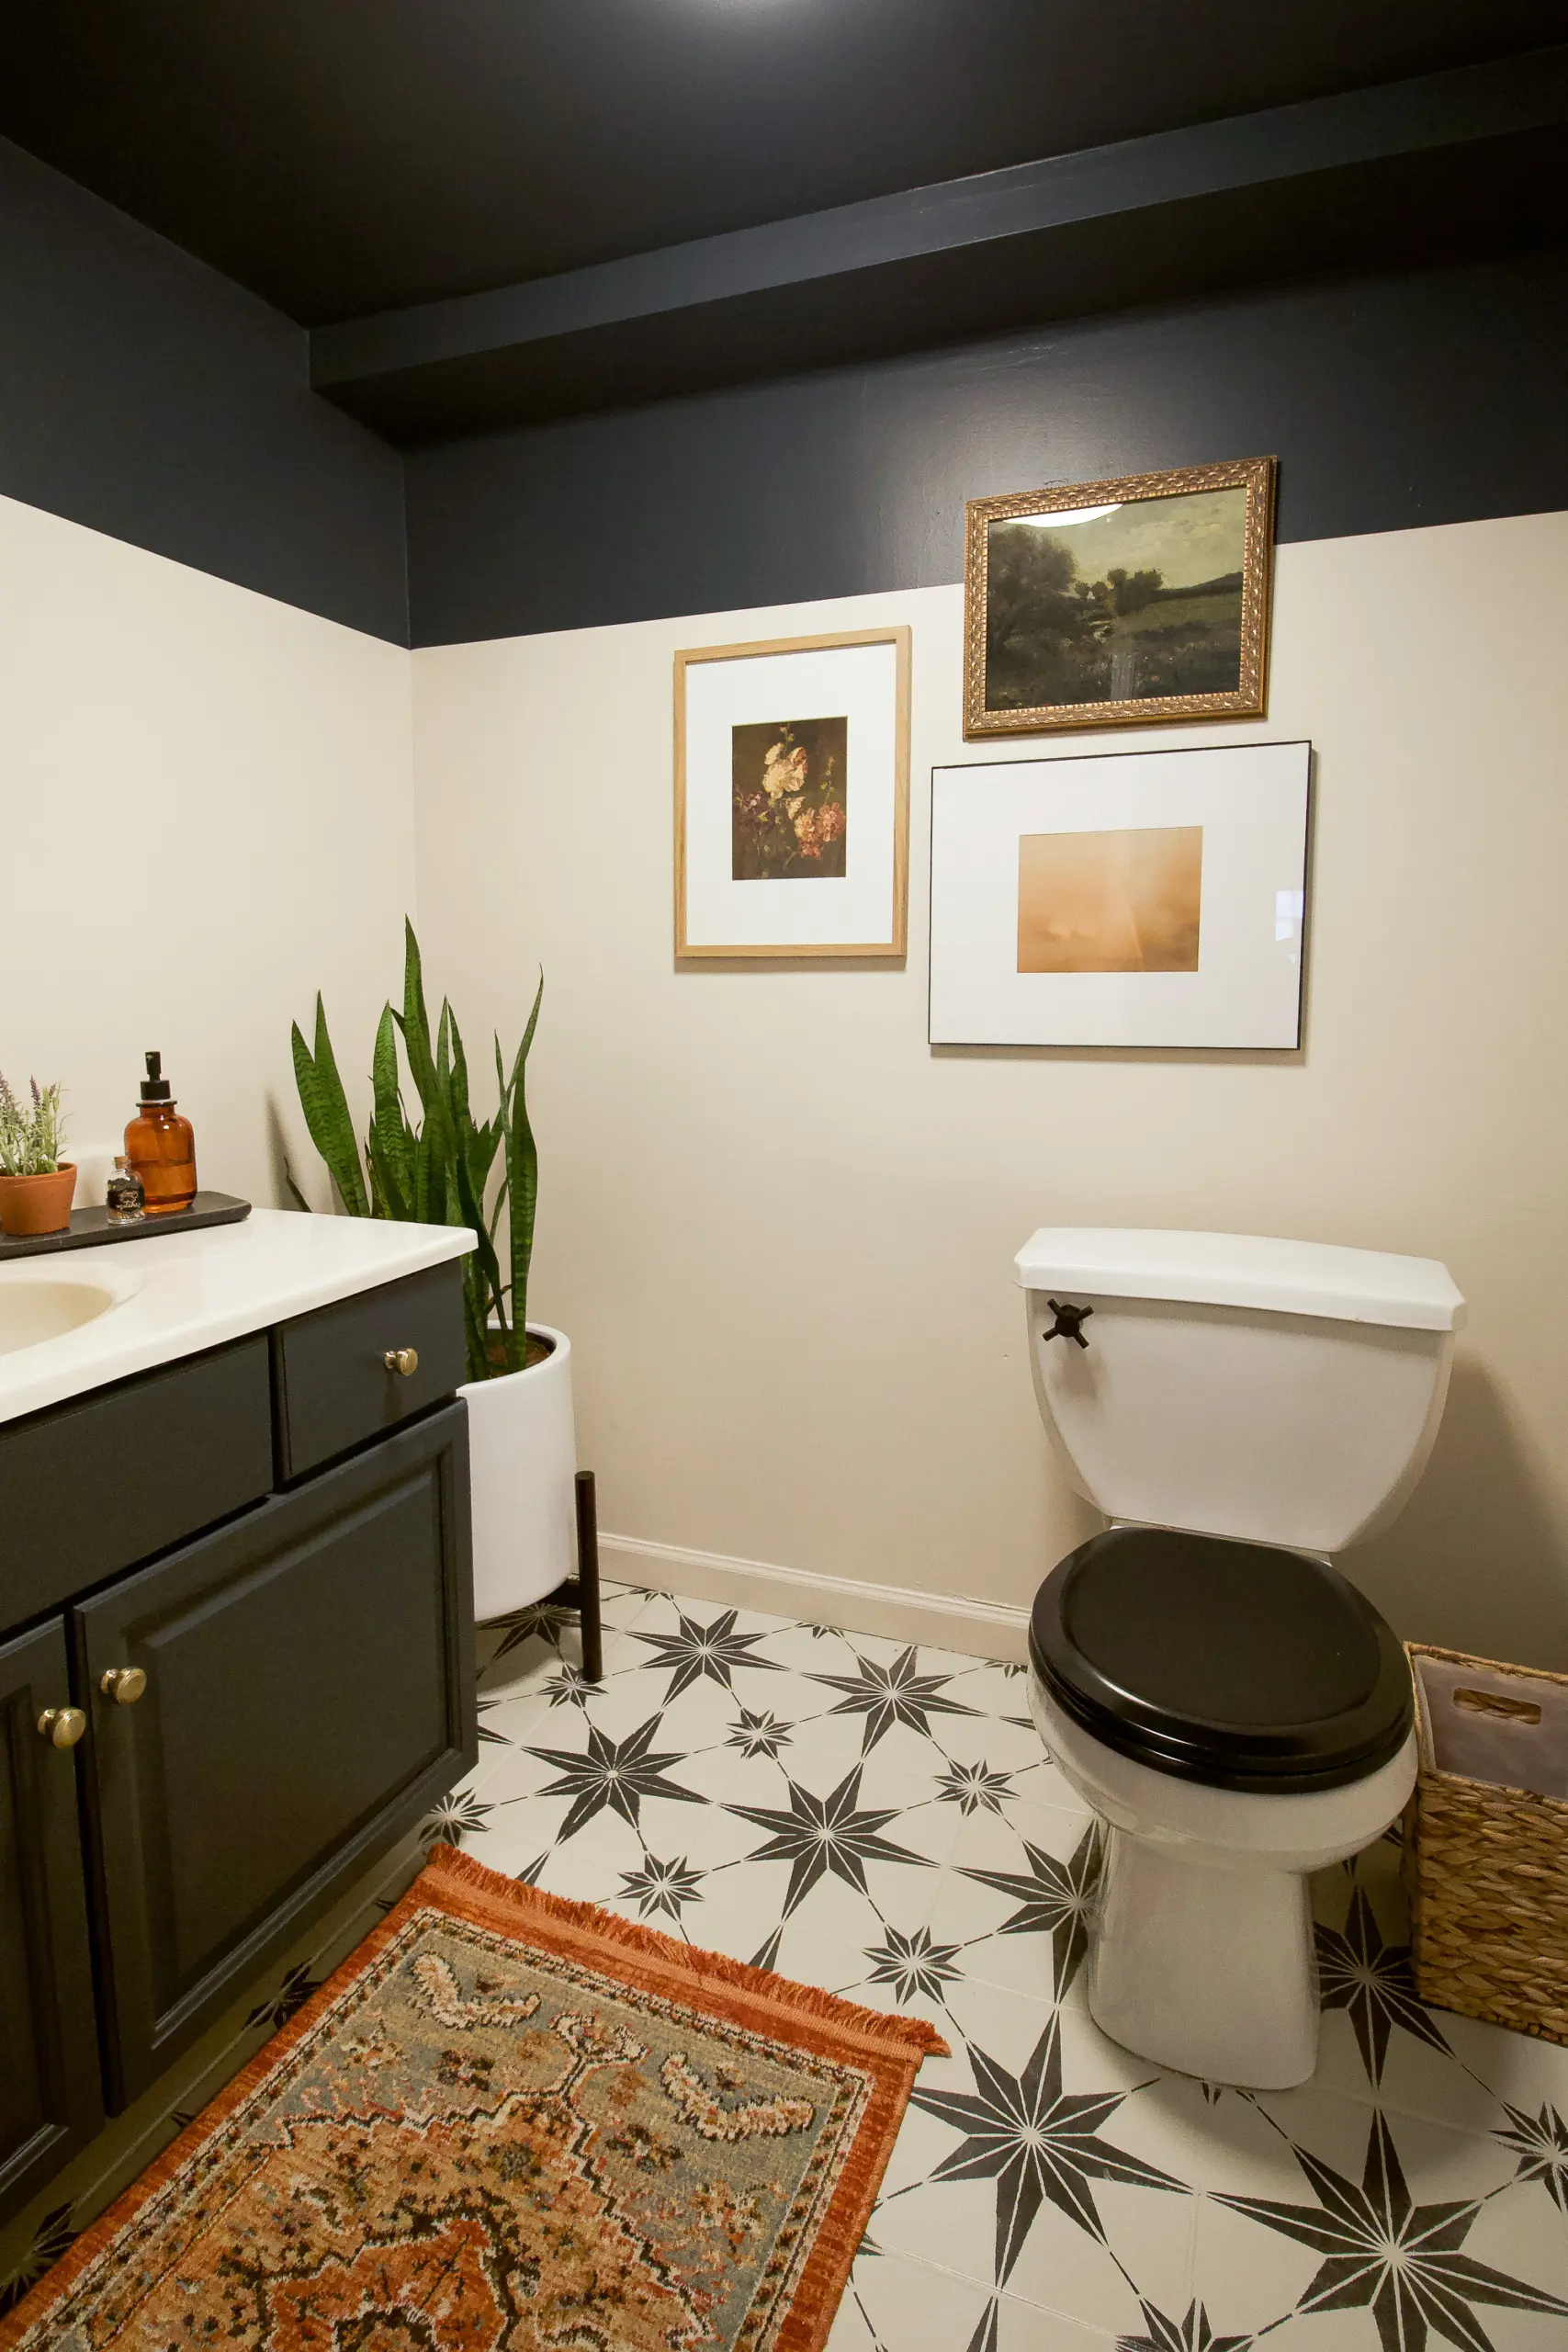
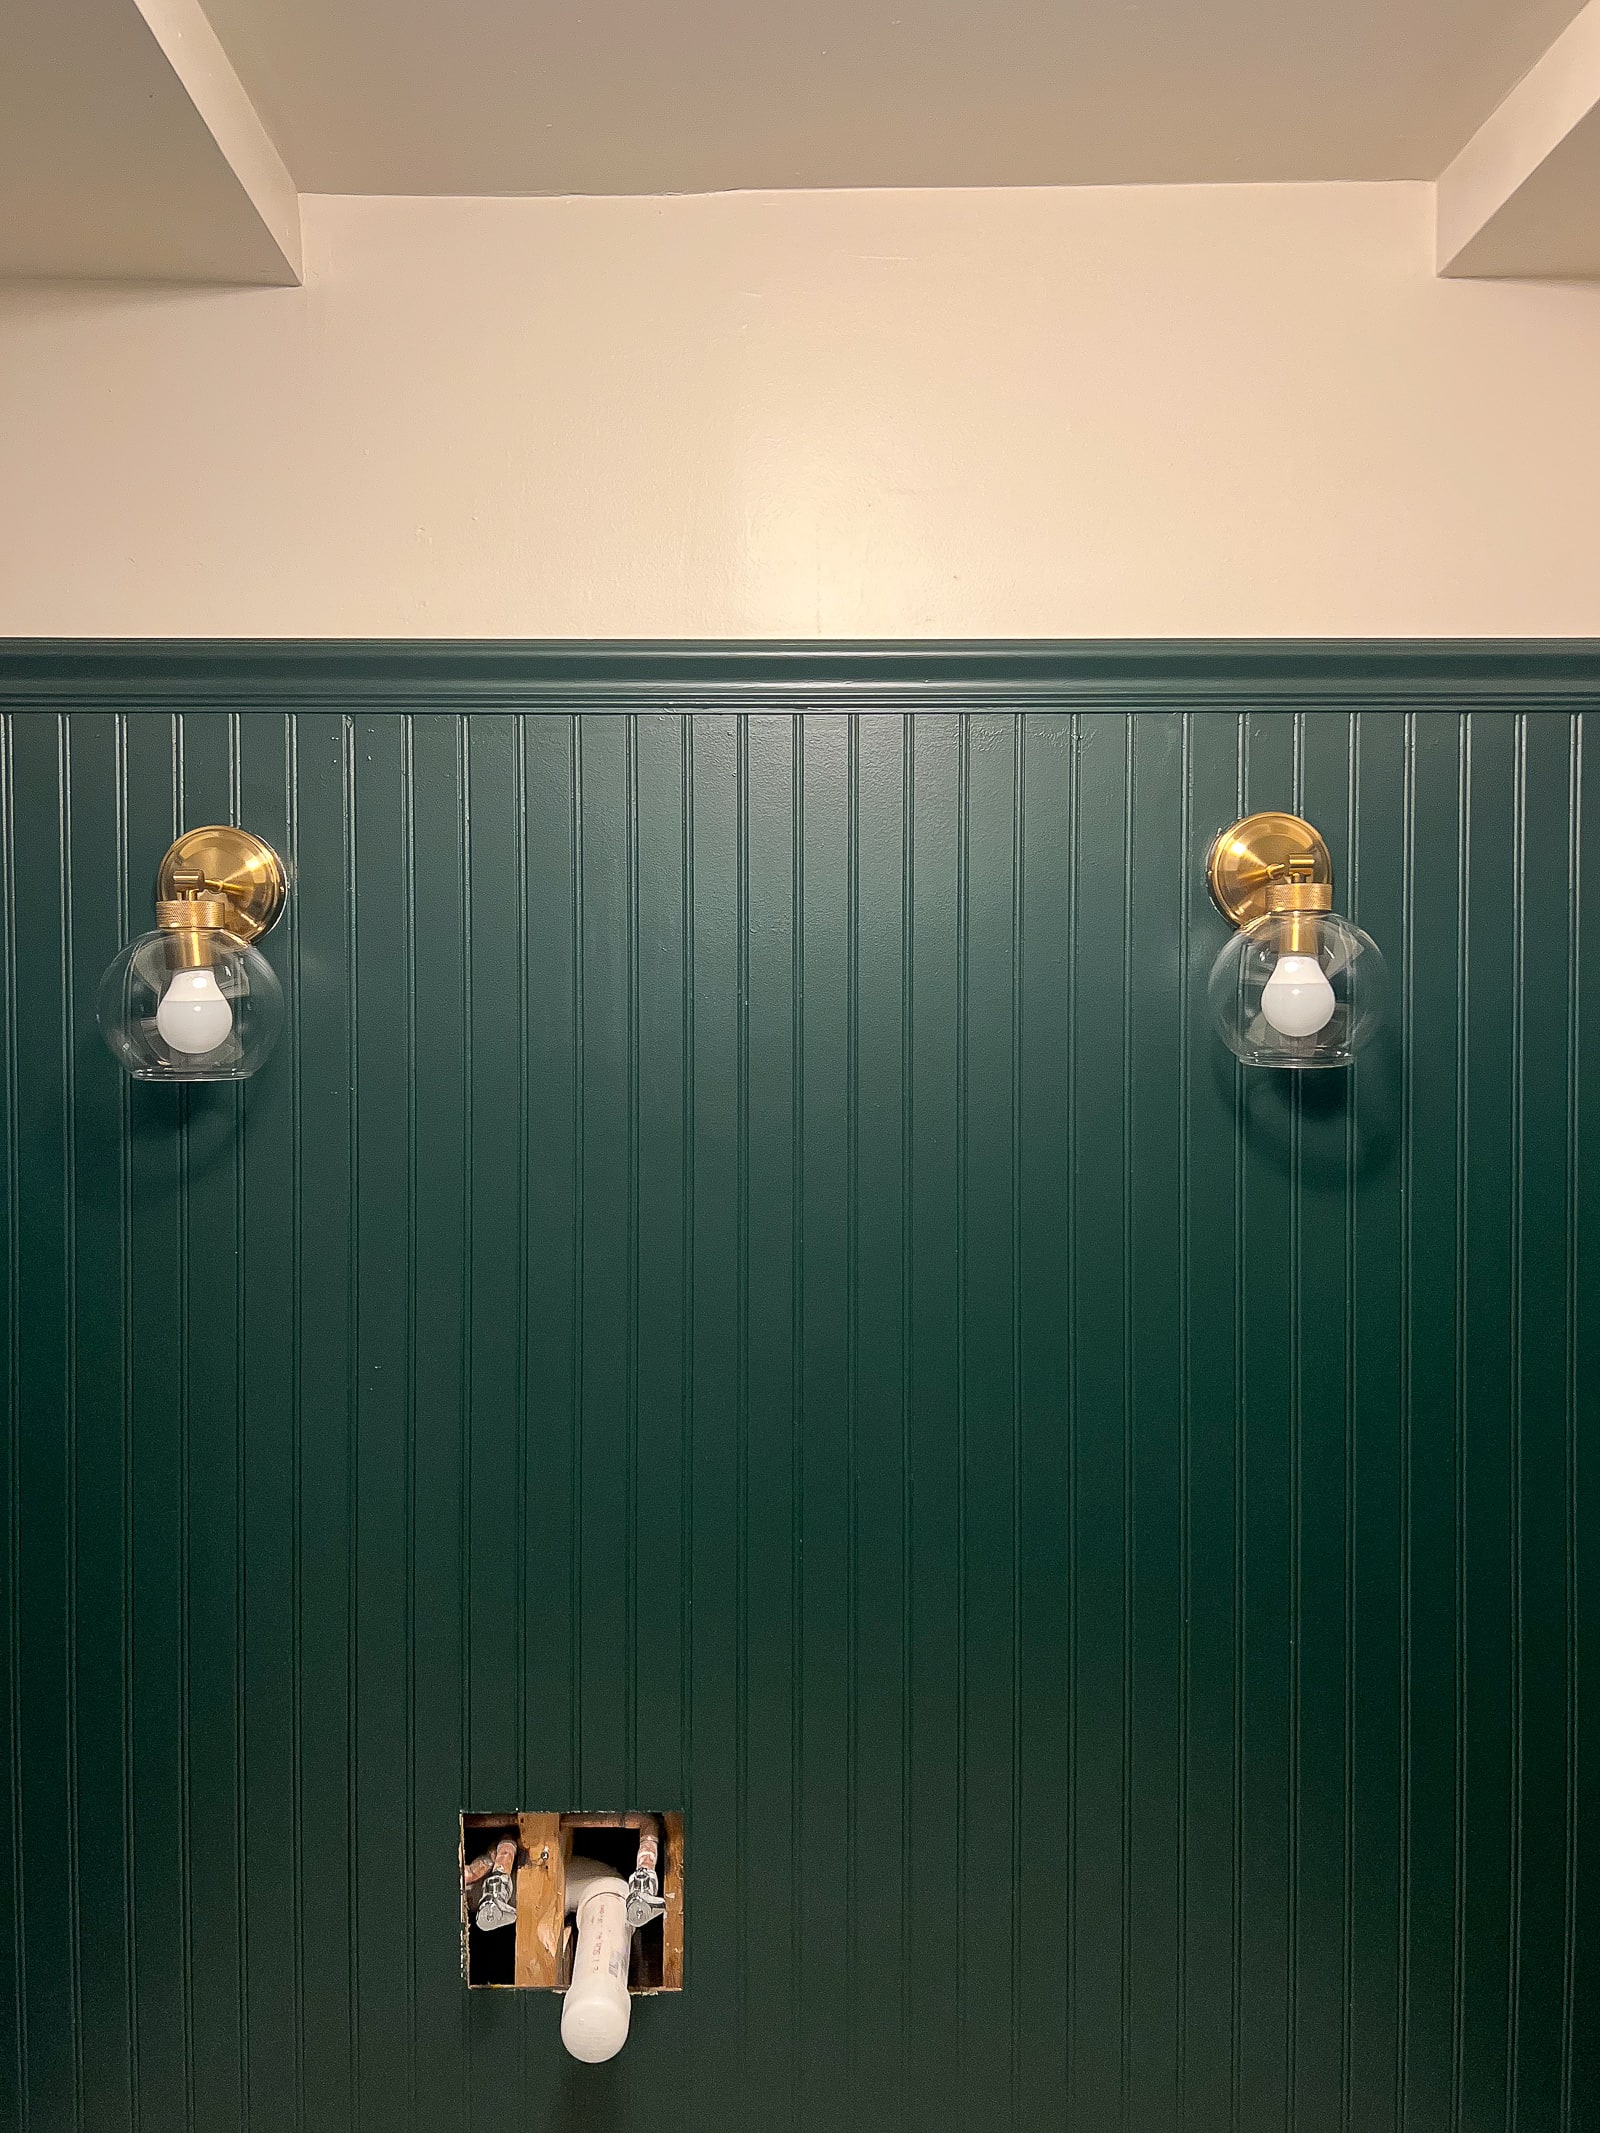
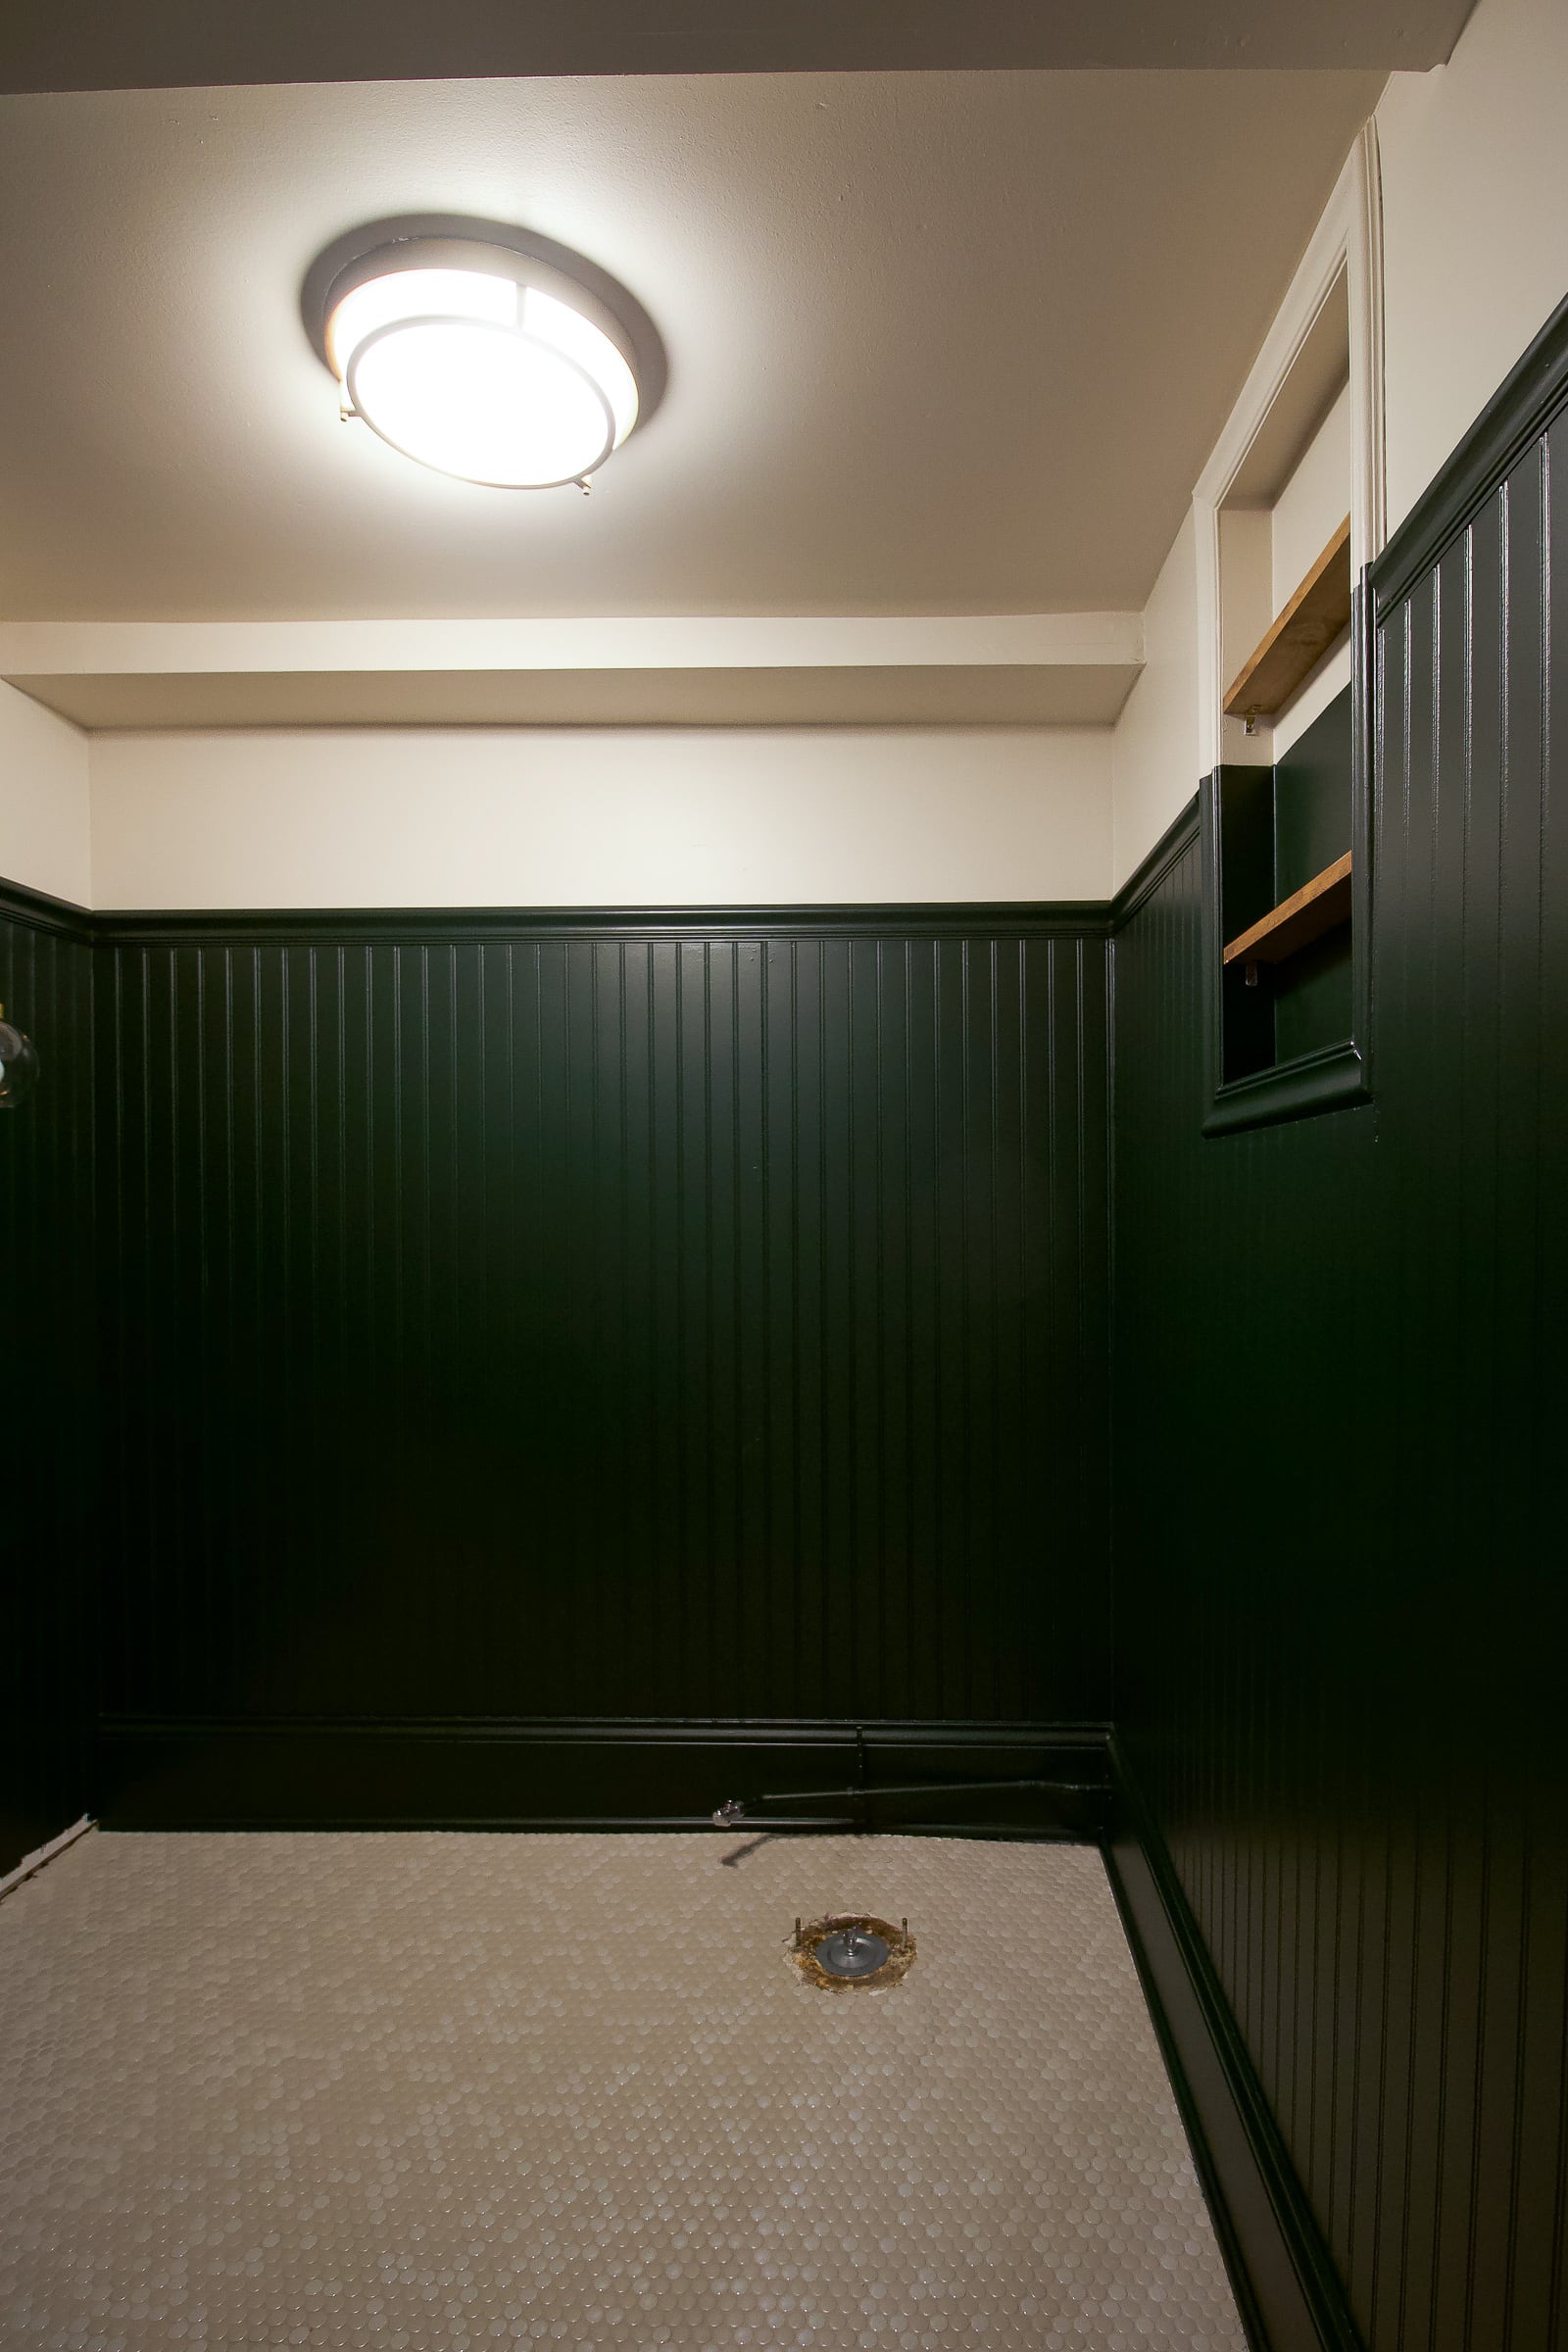
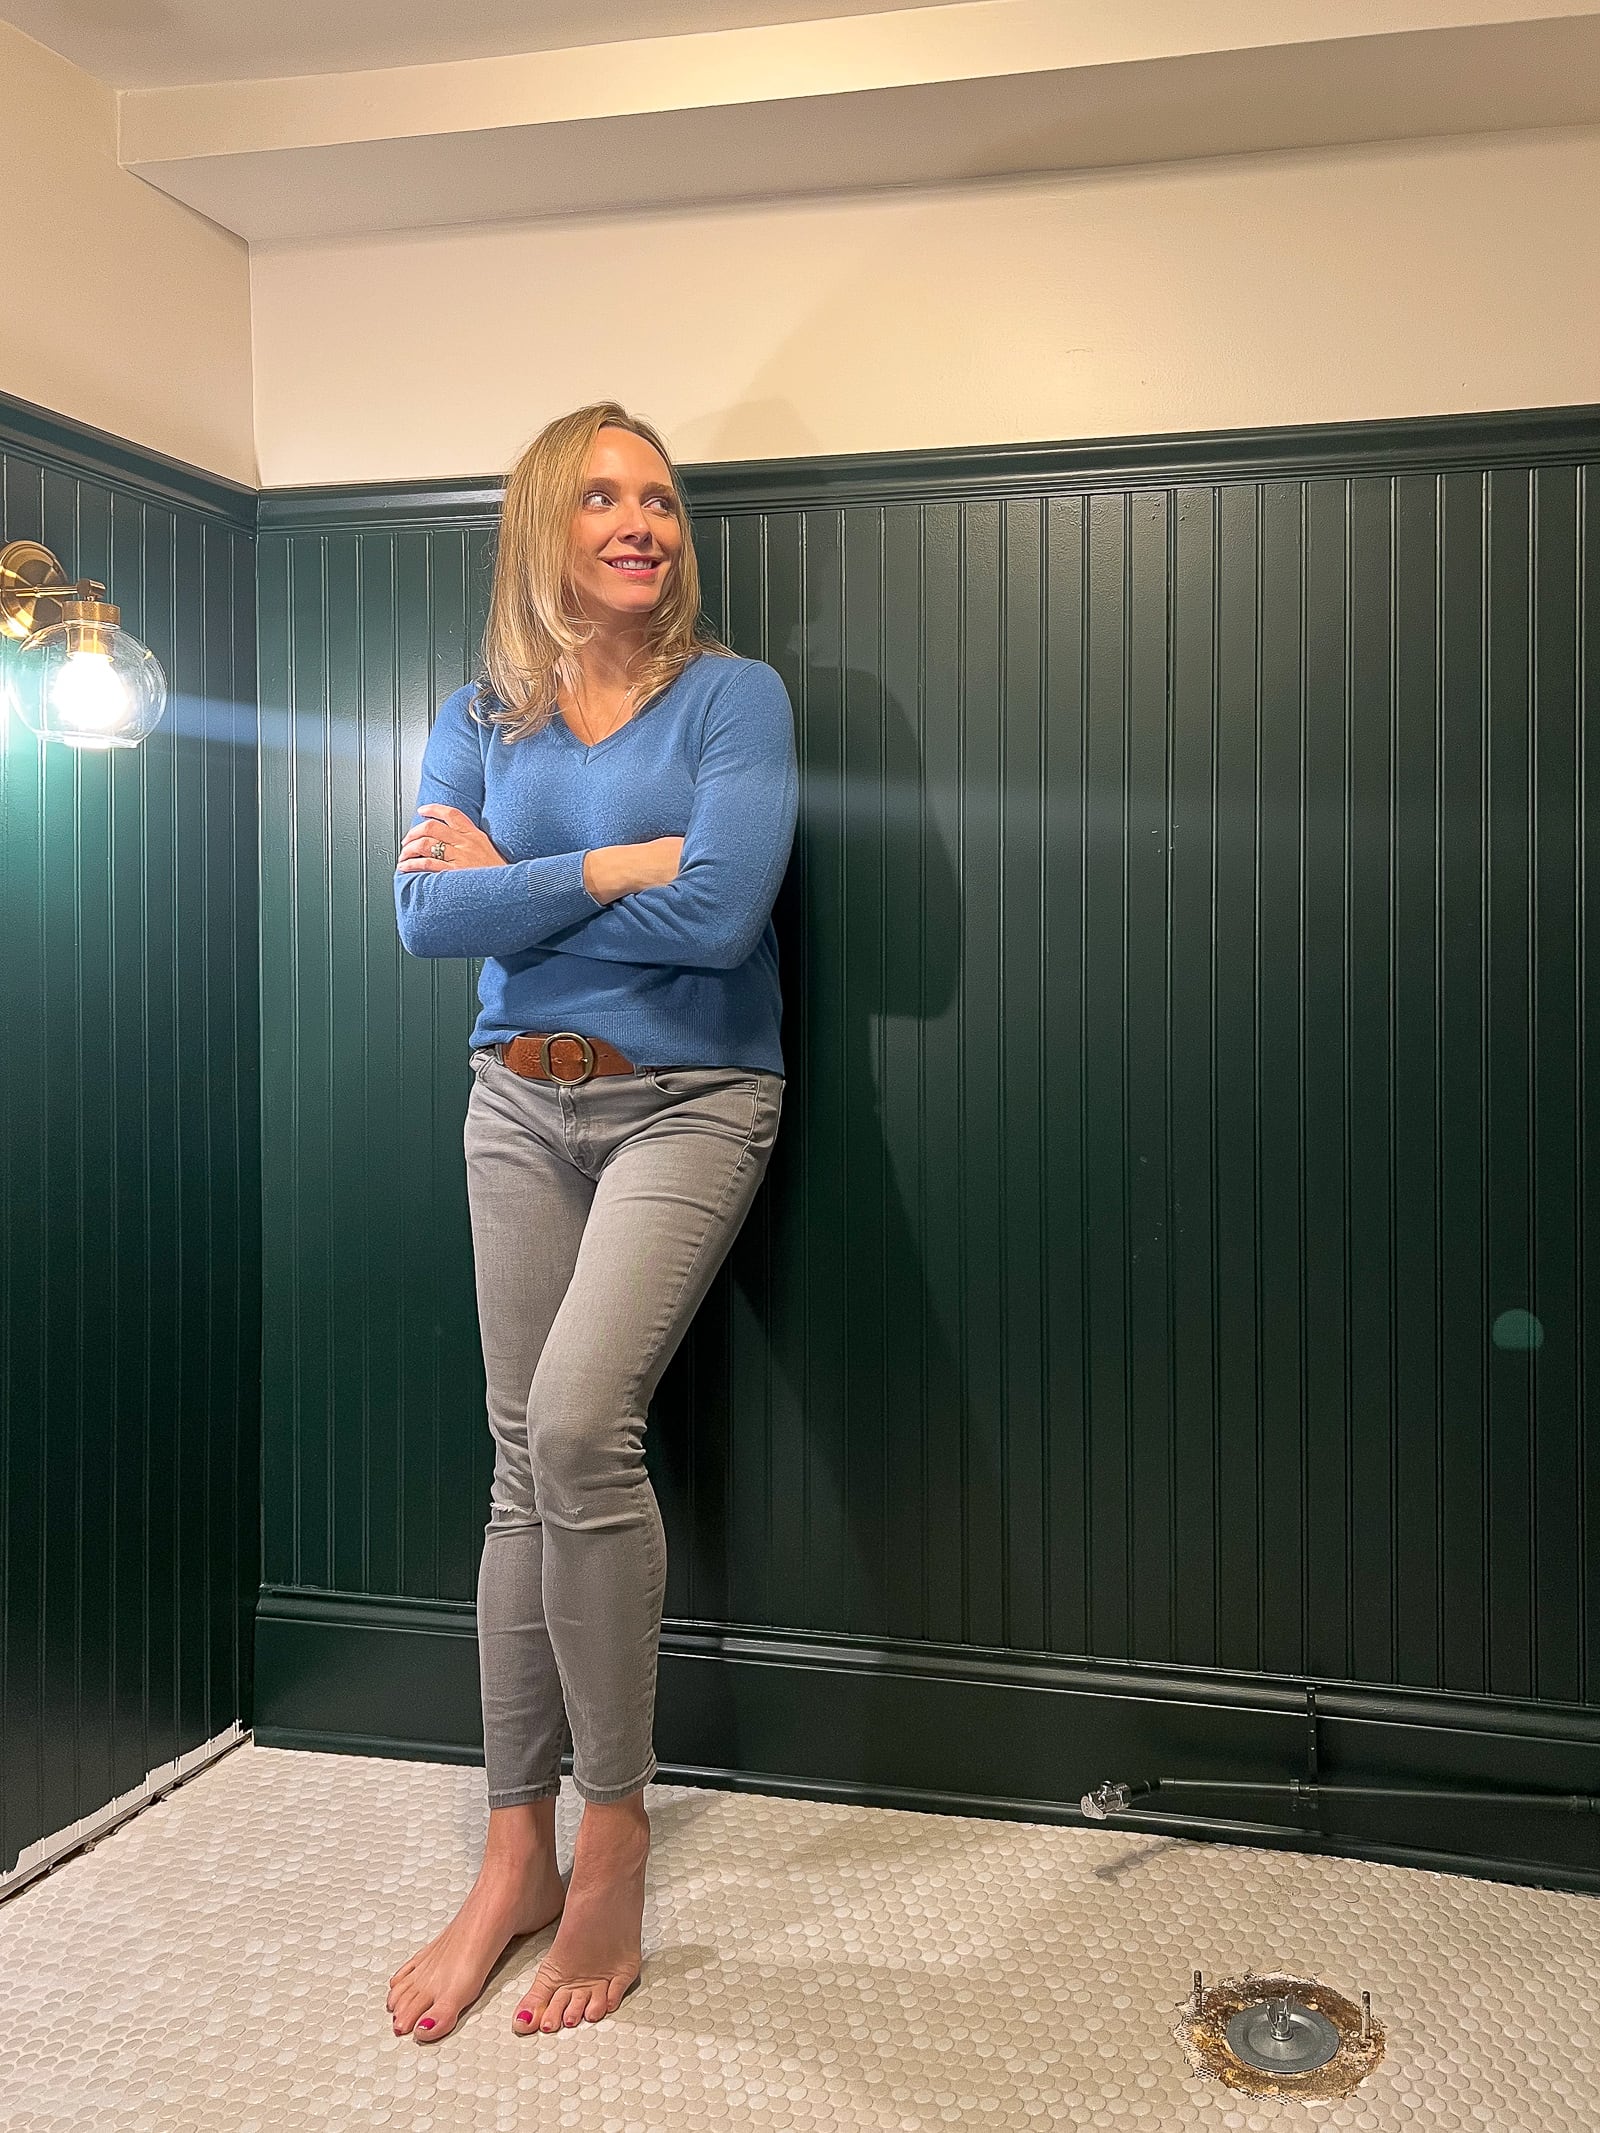
The Bathroom Now

Here’s the painted beadboard in our new bathroom.
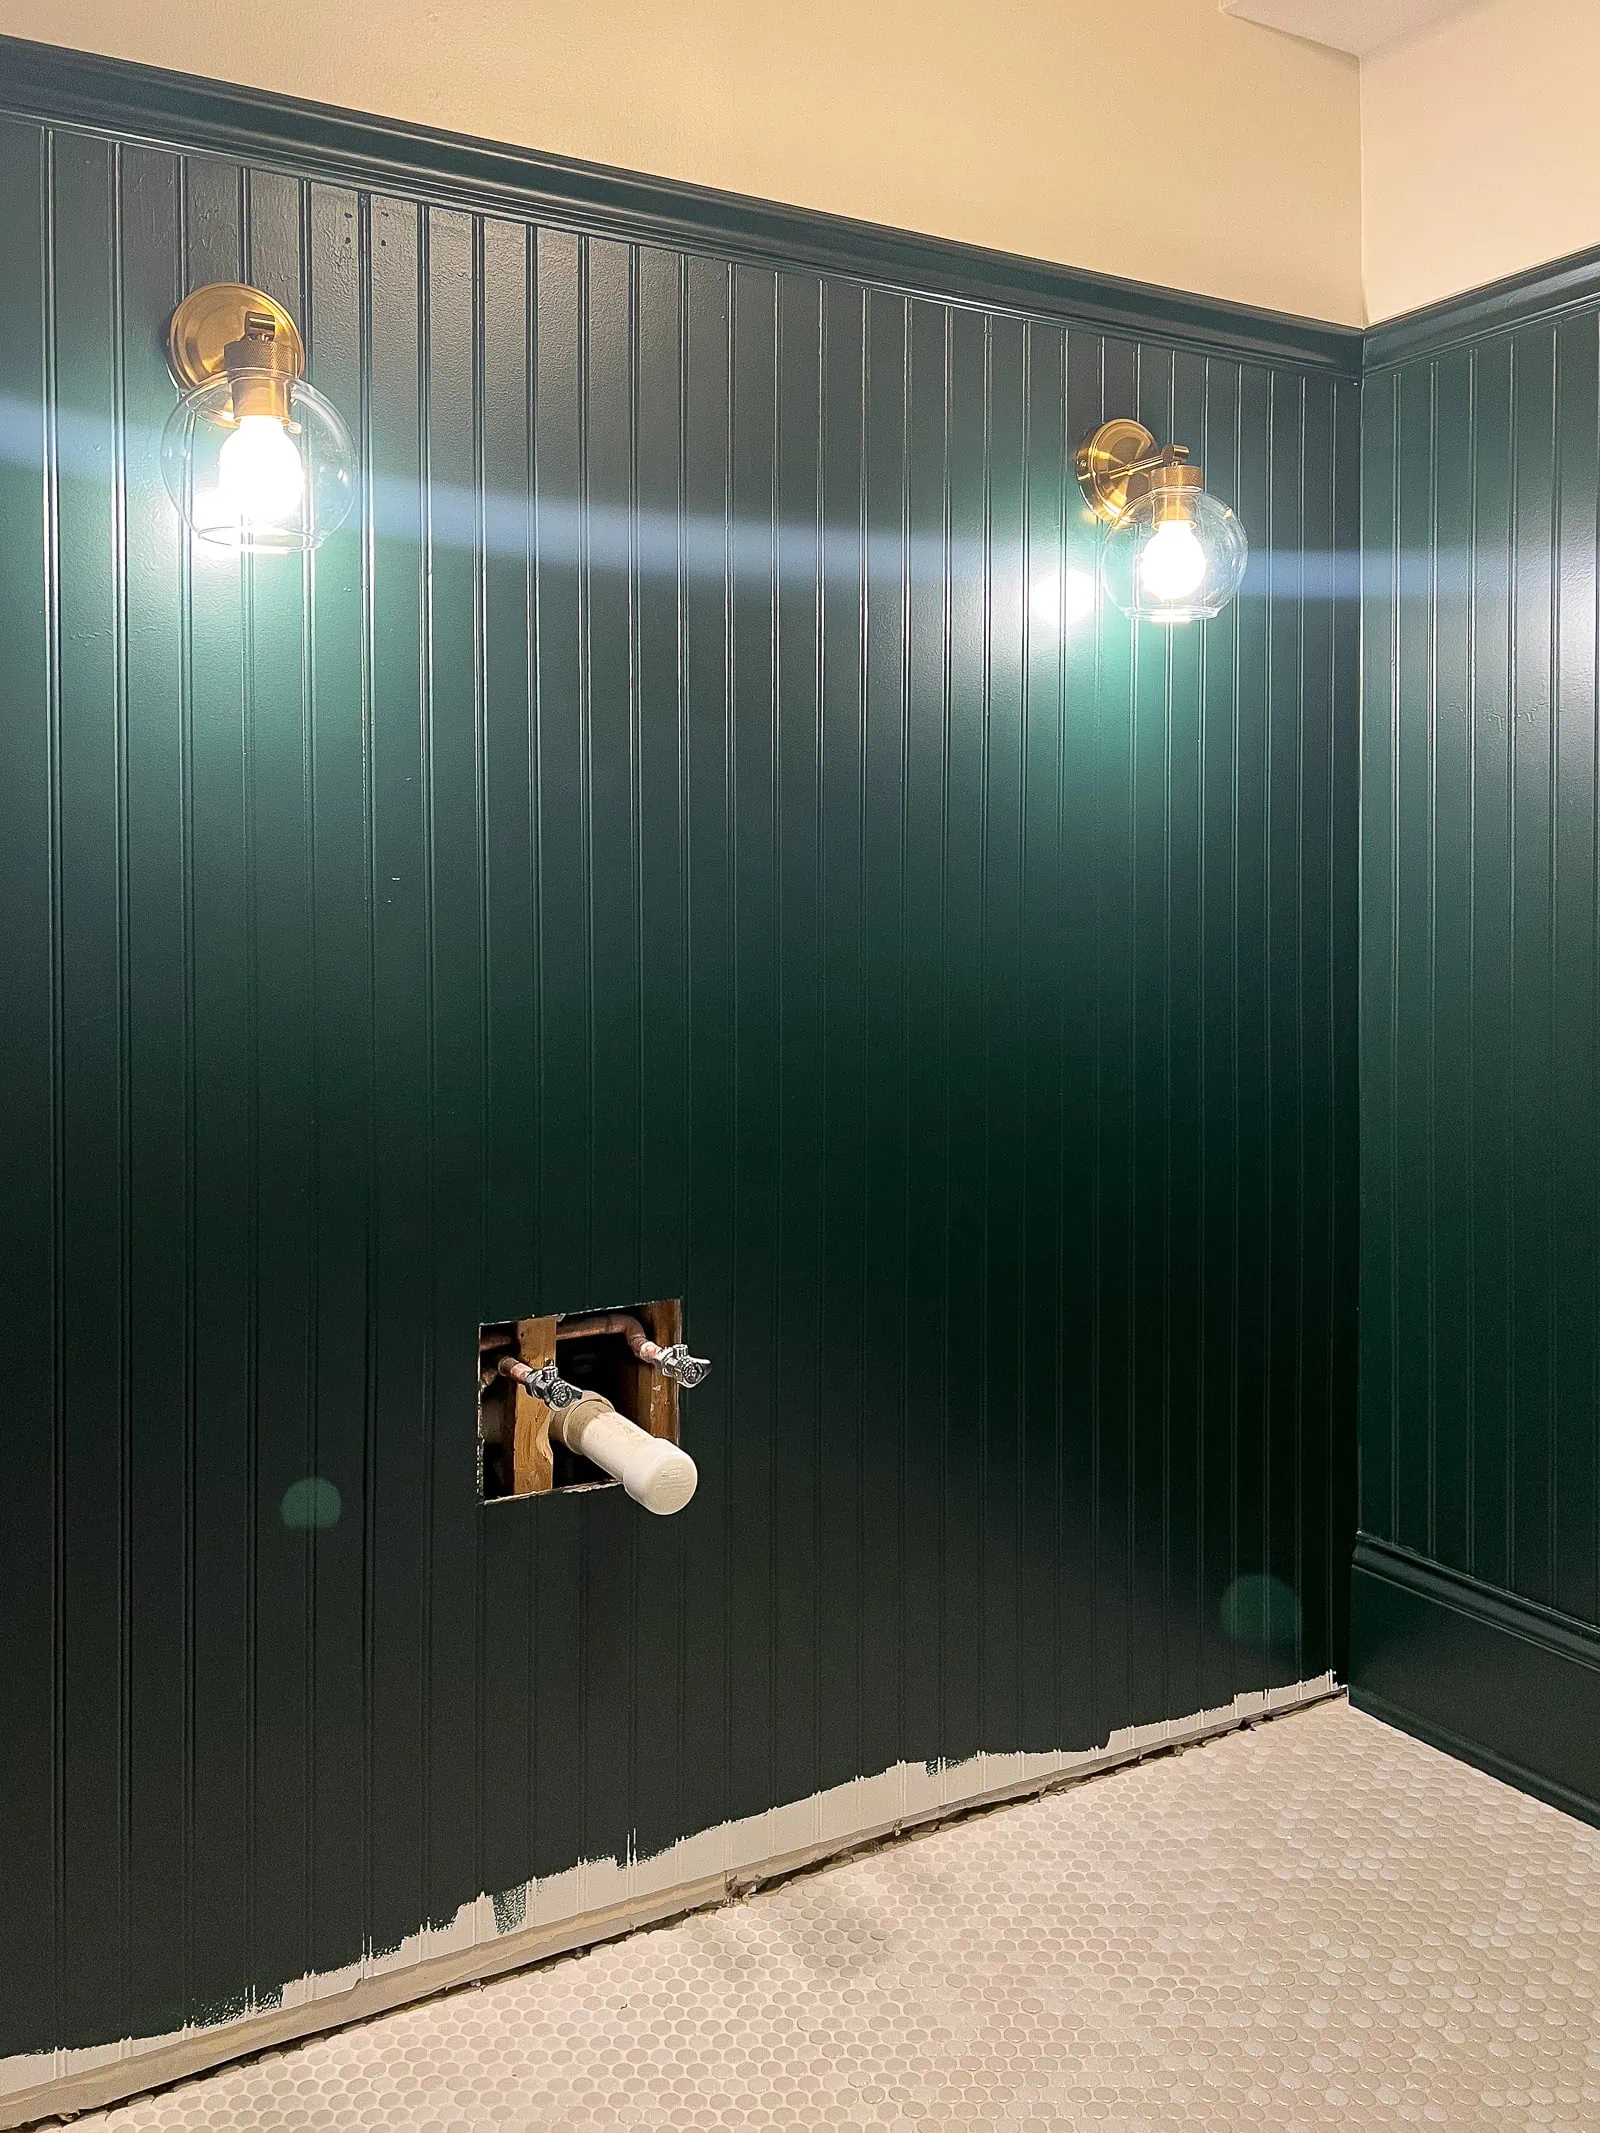
The penny tile, dark green beadboard, and gold sconces immediately gave me speakeasy vibes. It just felt super cool and upscale to me.
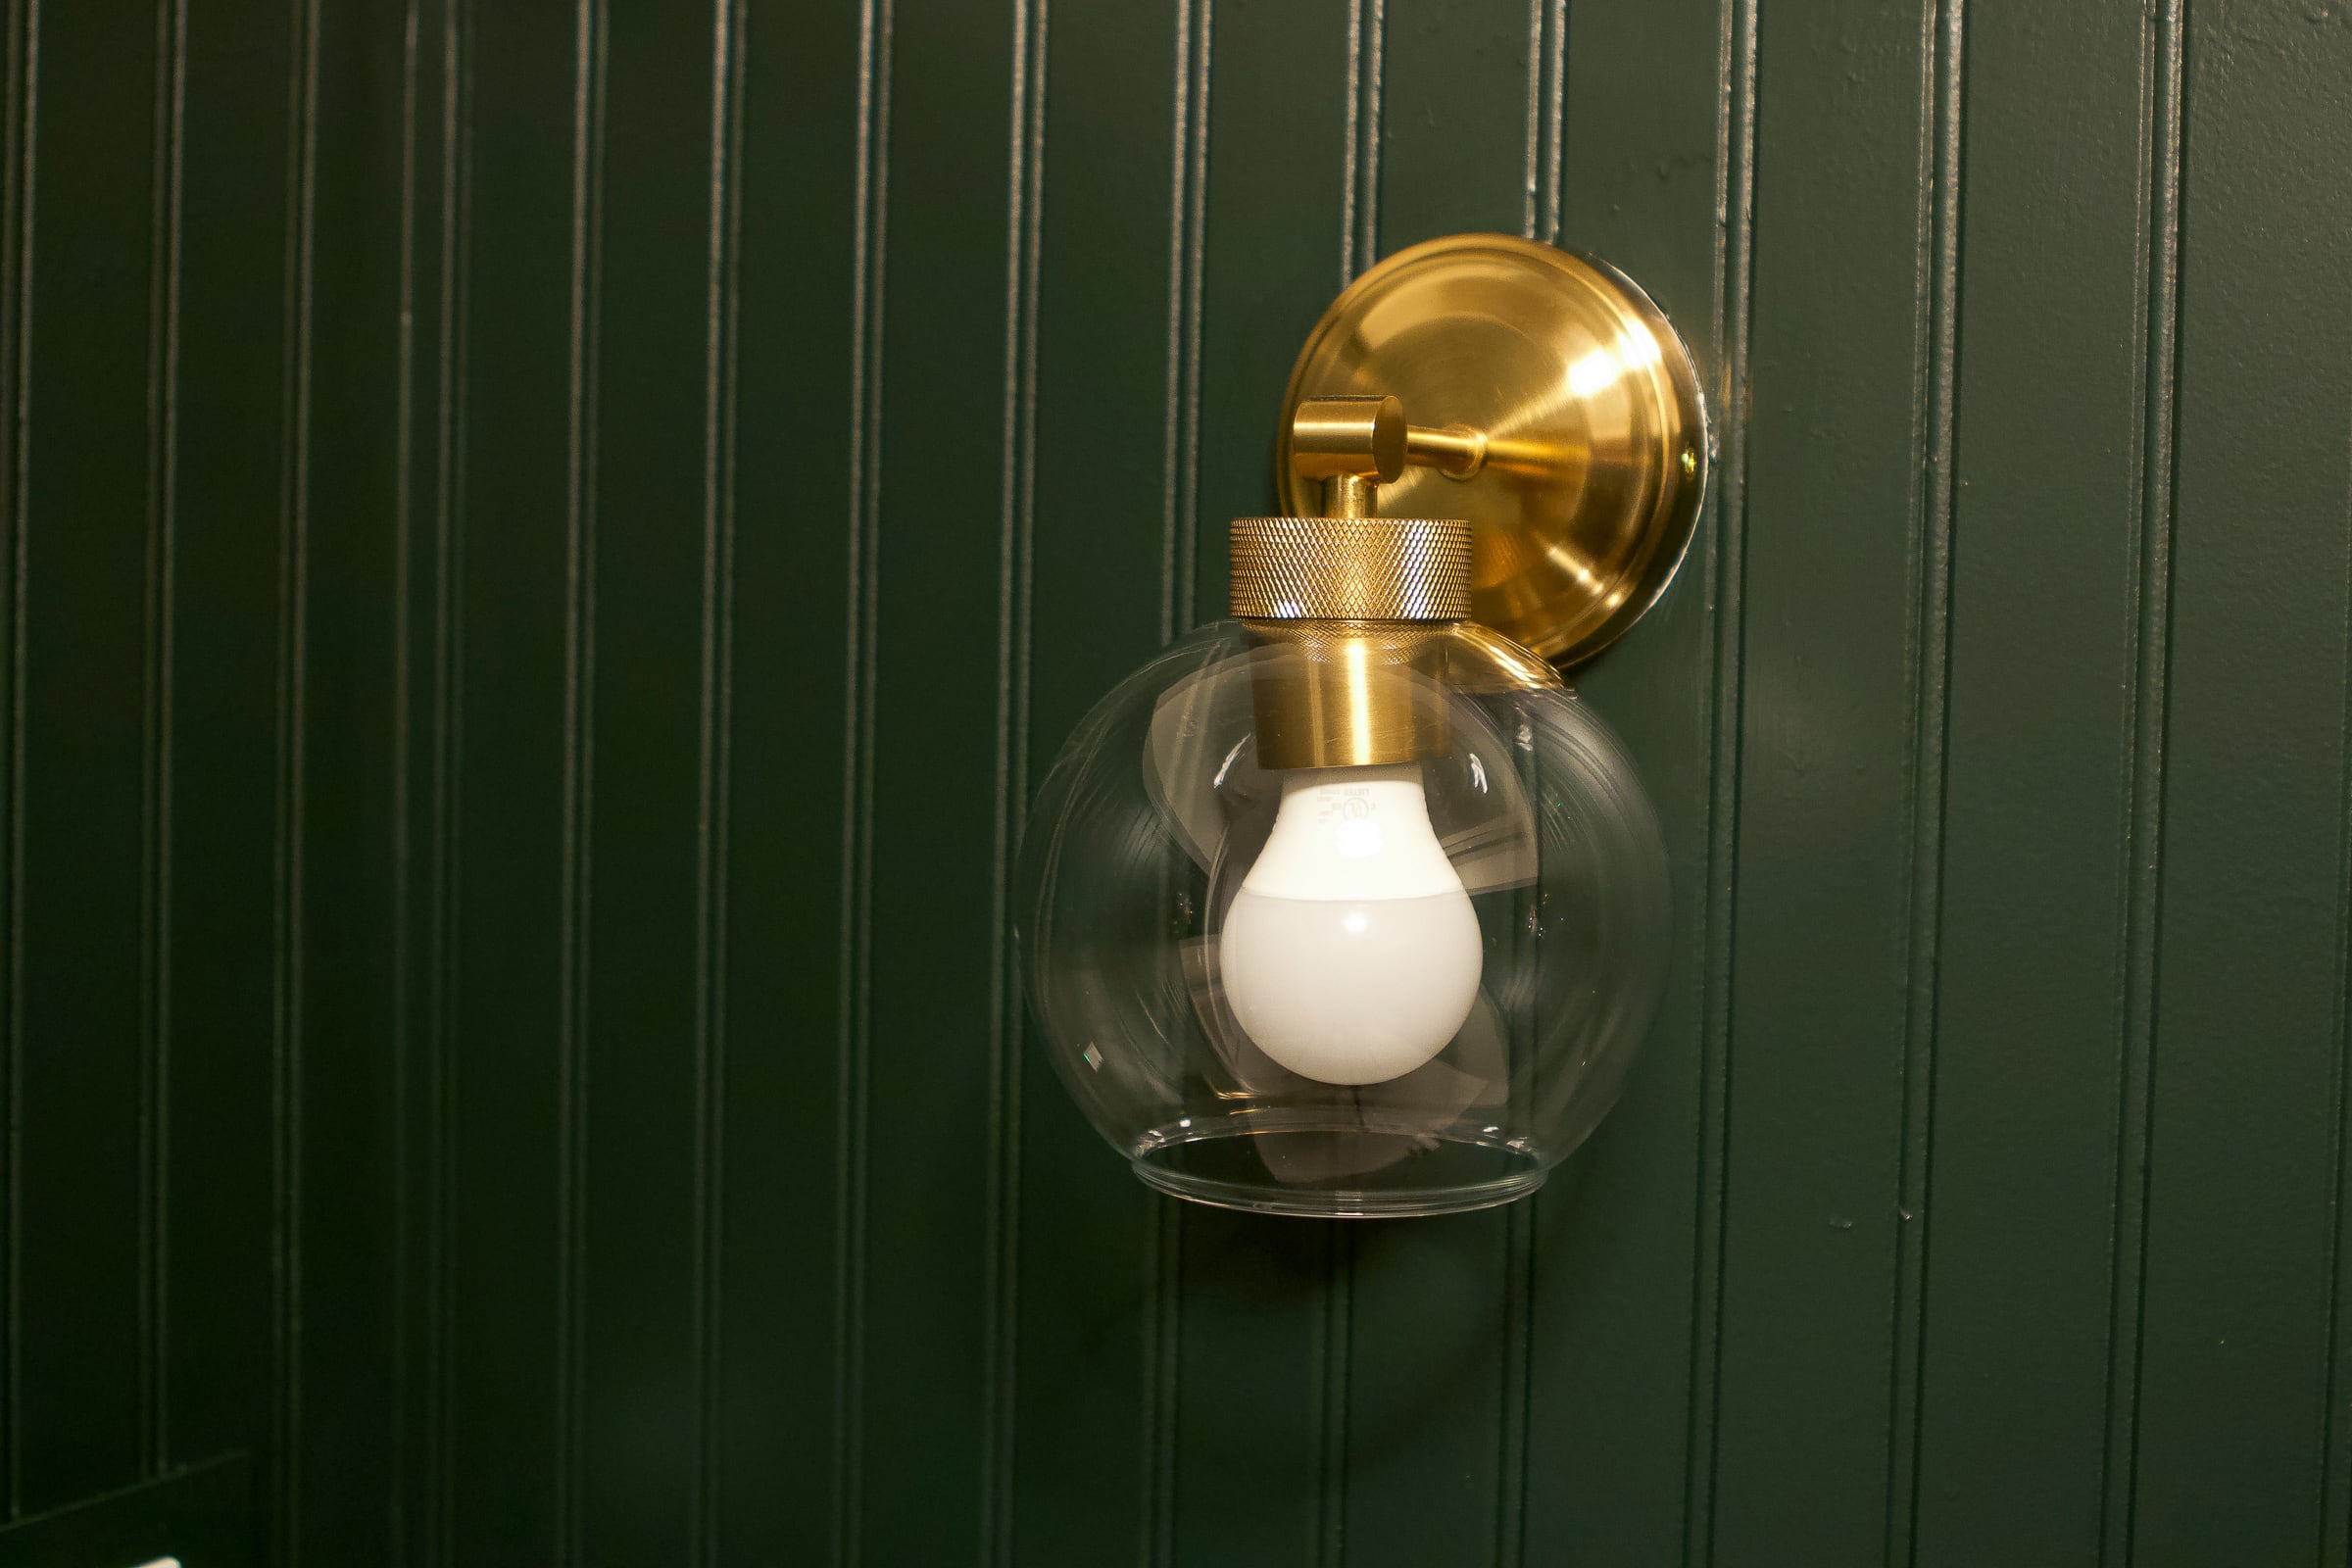
It’s safe to say I’m smitten with the color!
What’s Next?
The finish line is sooooo close! The plumber will be back to finish up his work and install the vanity and toilet. Then, I can do my finishing touches, which include adding the baseboard up to the vanity, painting the baseboard, adding the mirror, and accessorizing this place! We are getting there and I am so proud of how far we’ve come!


