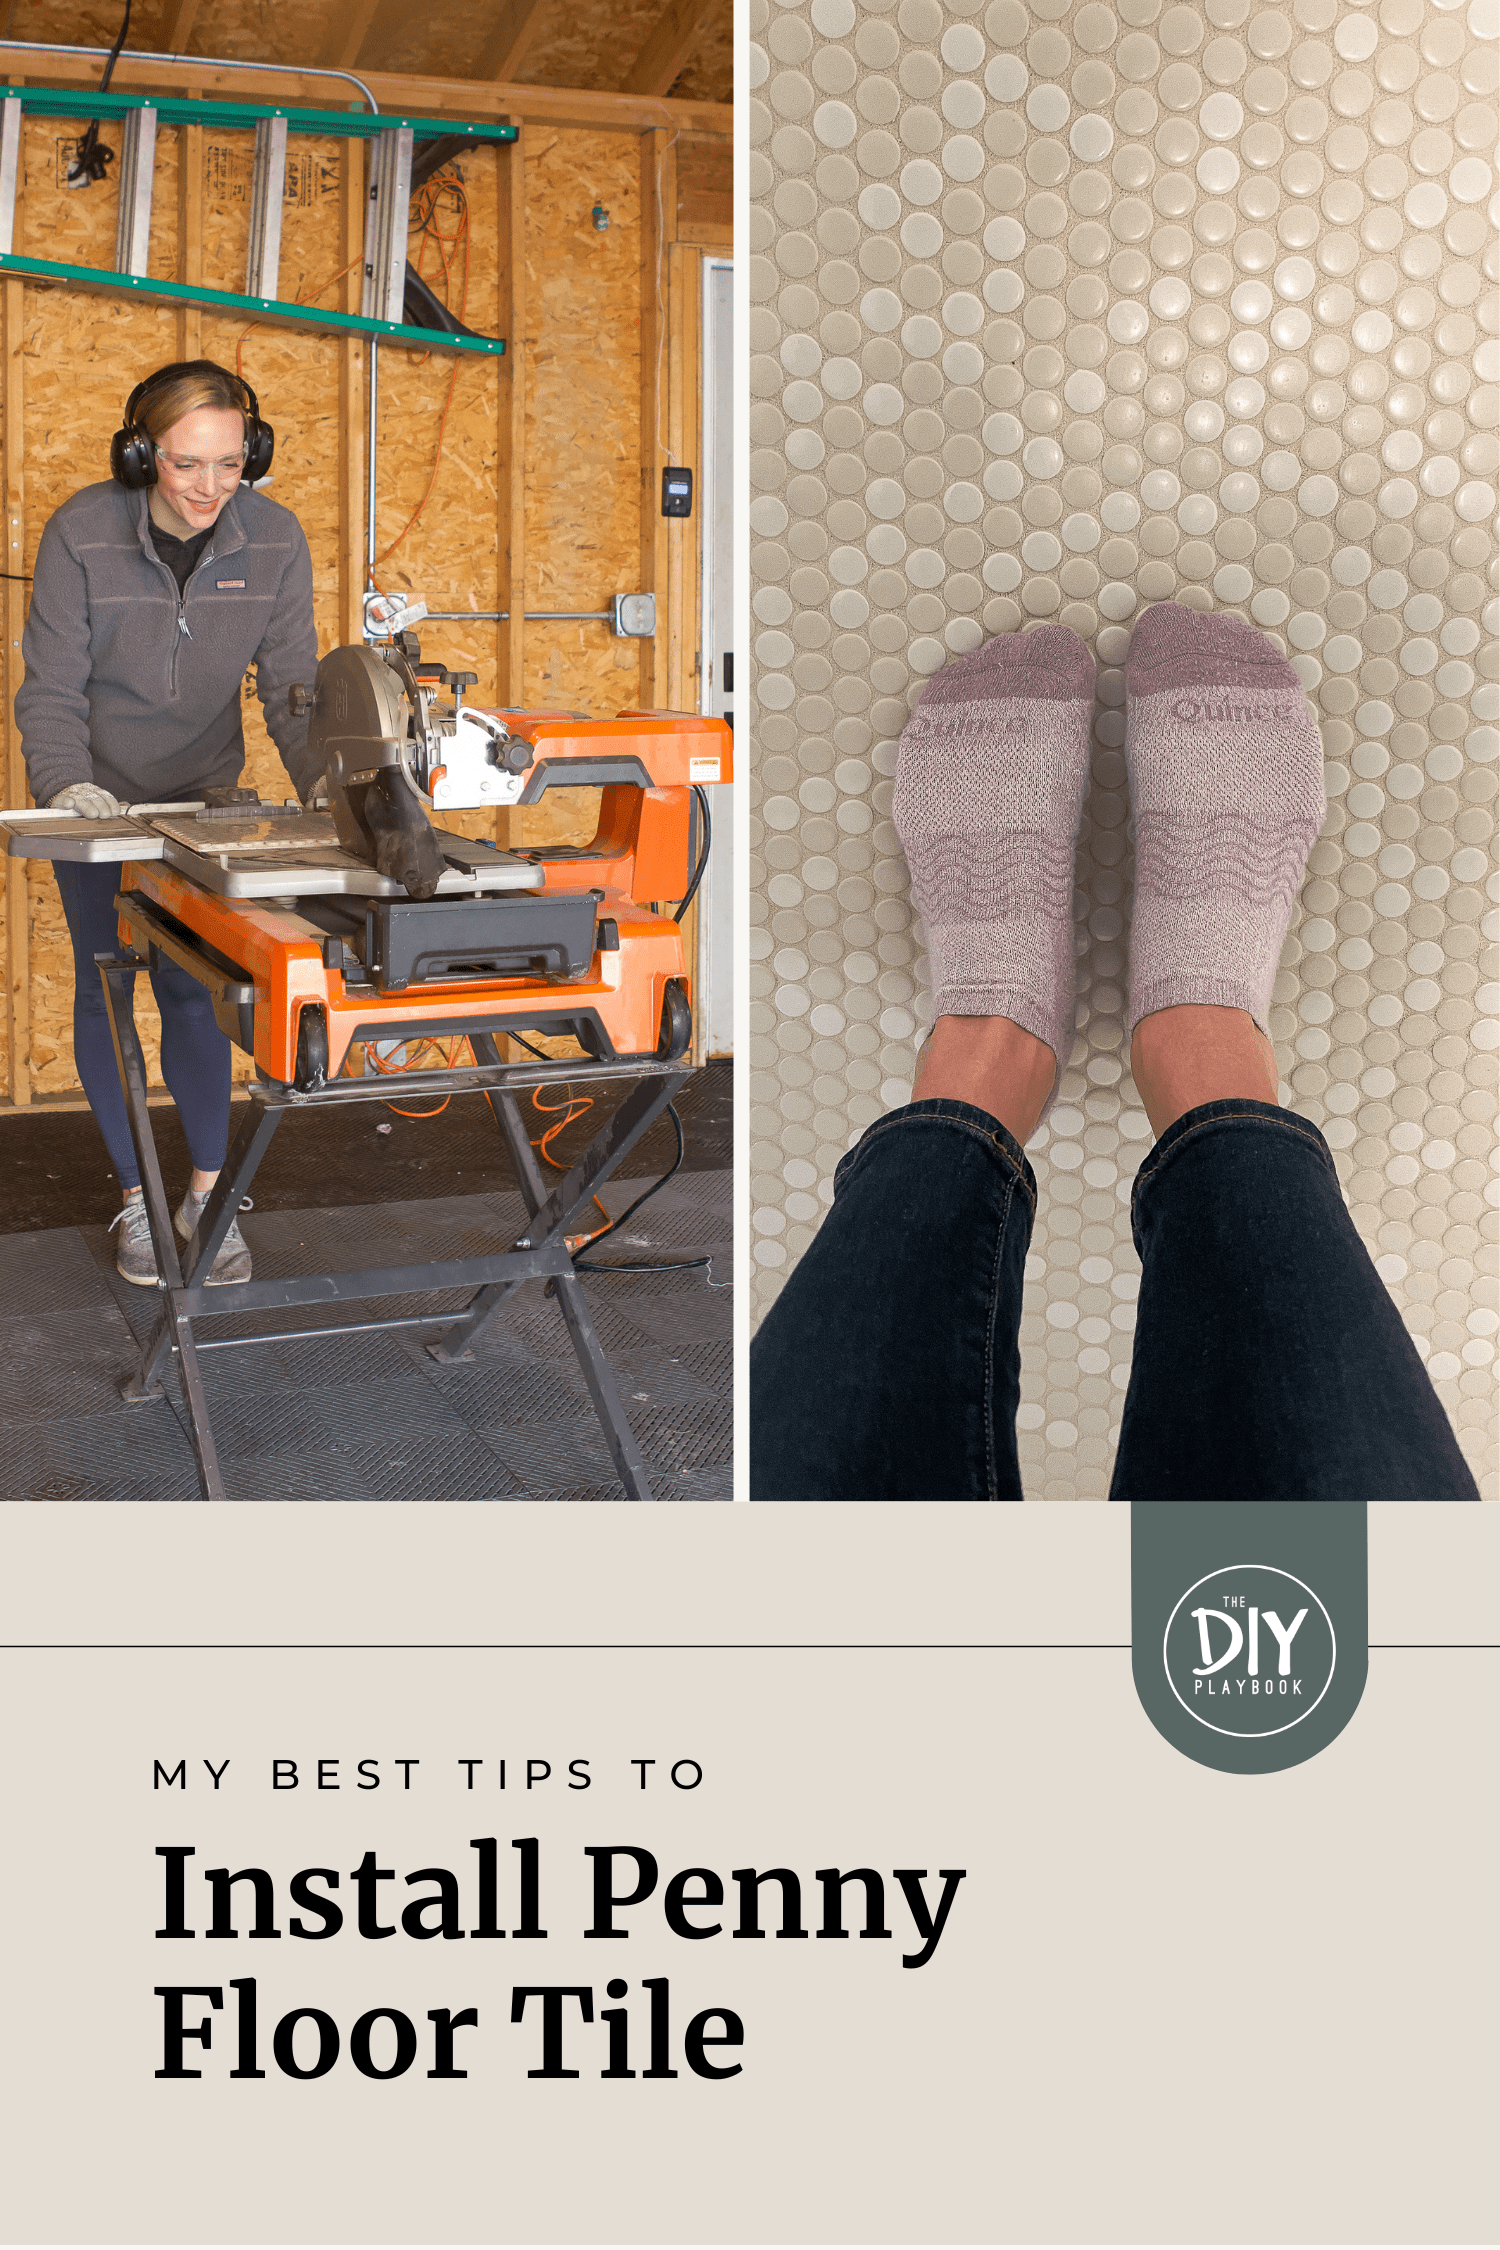
My Best Tips to Install Penny Tile
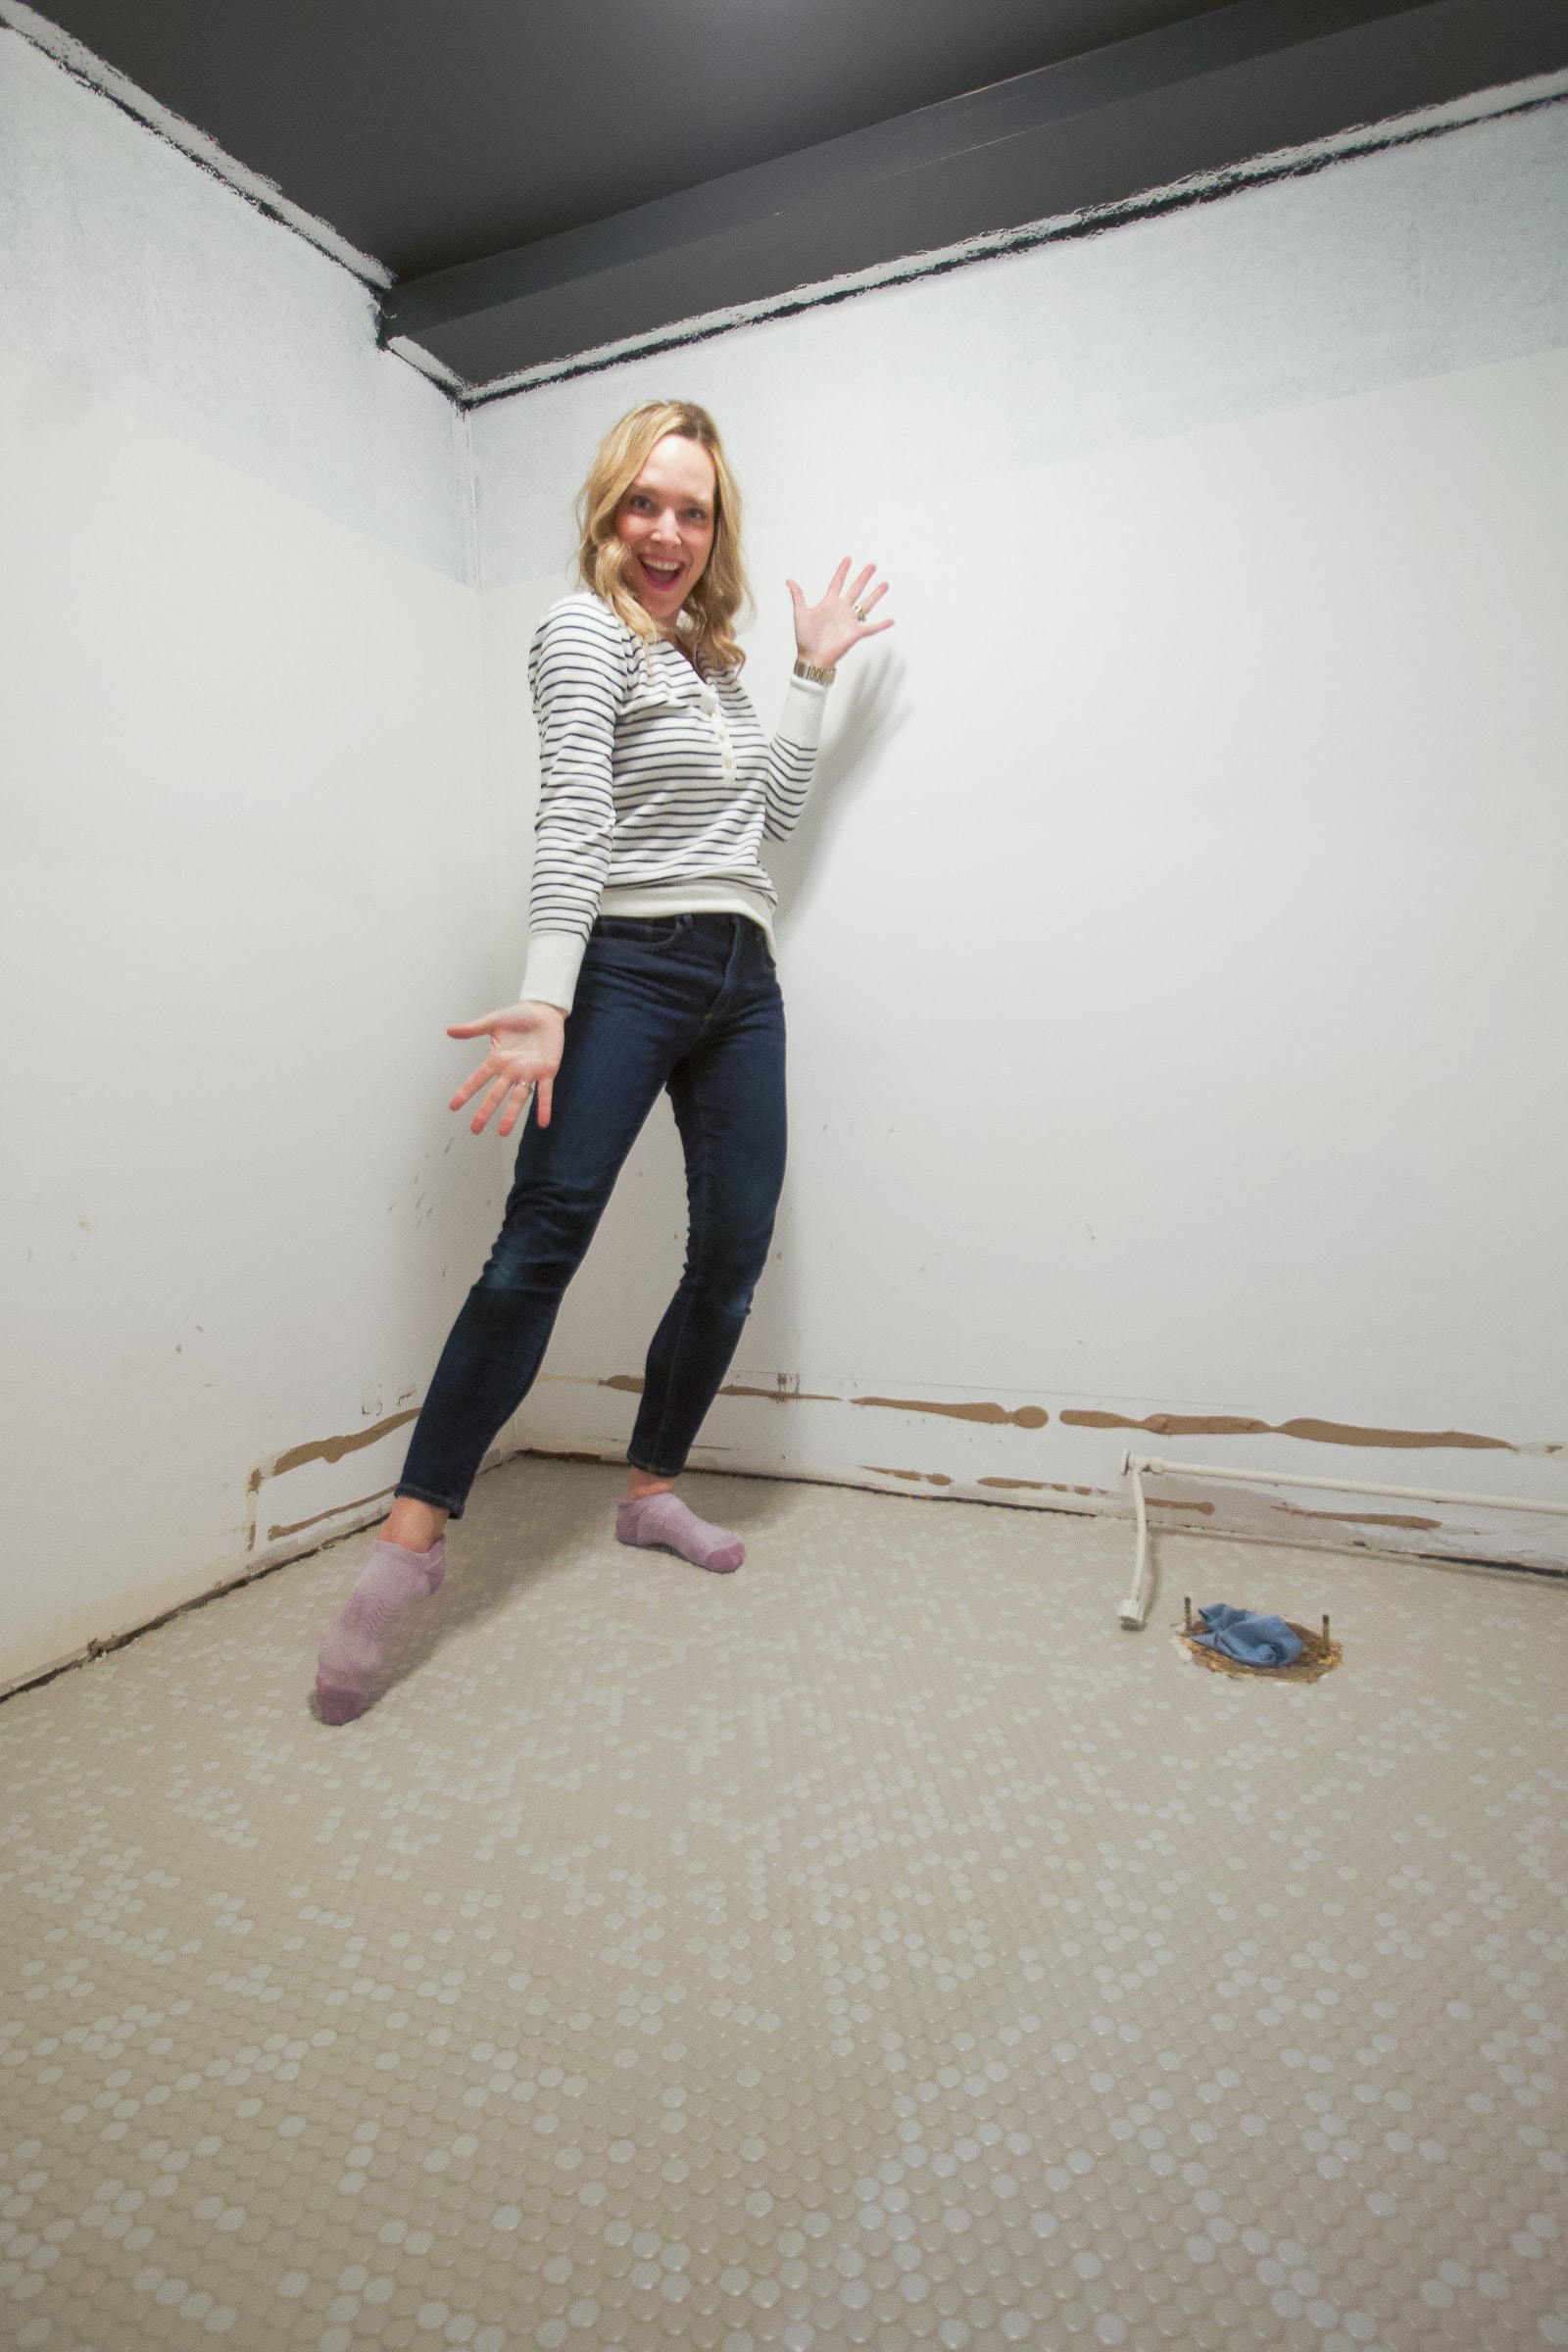
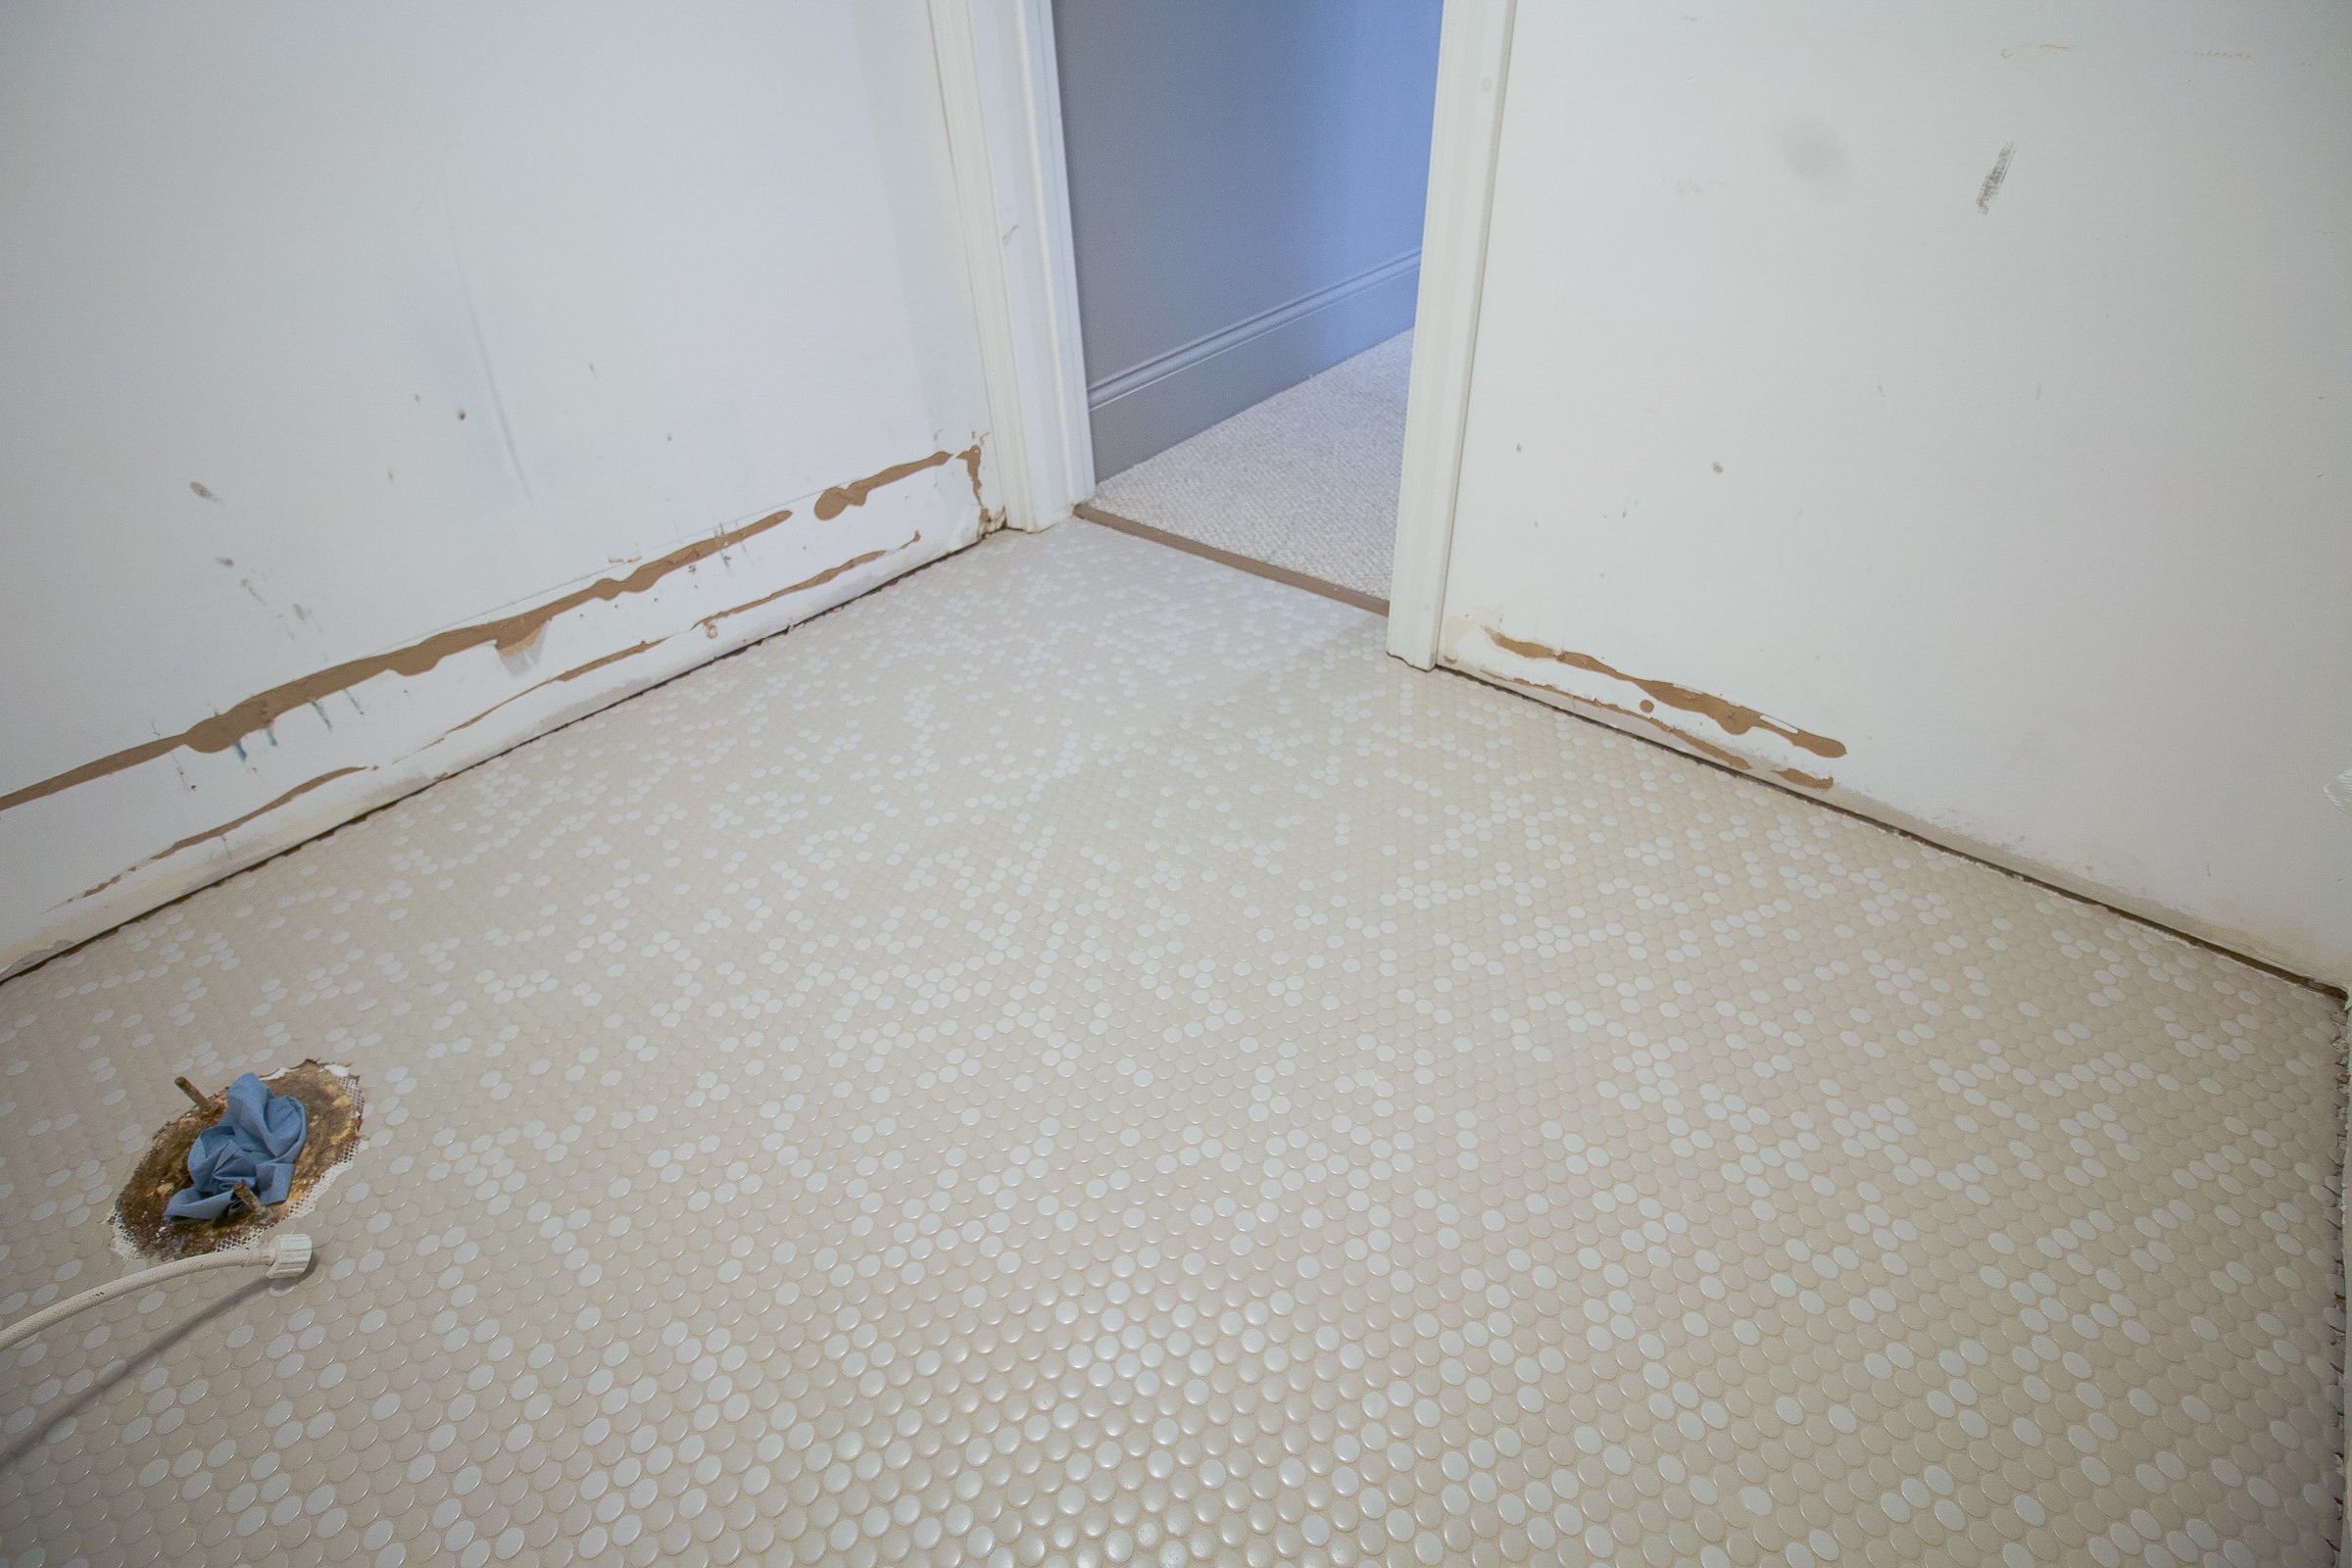
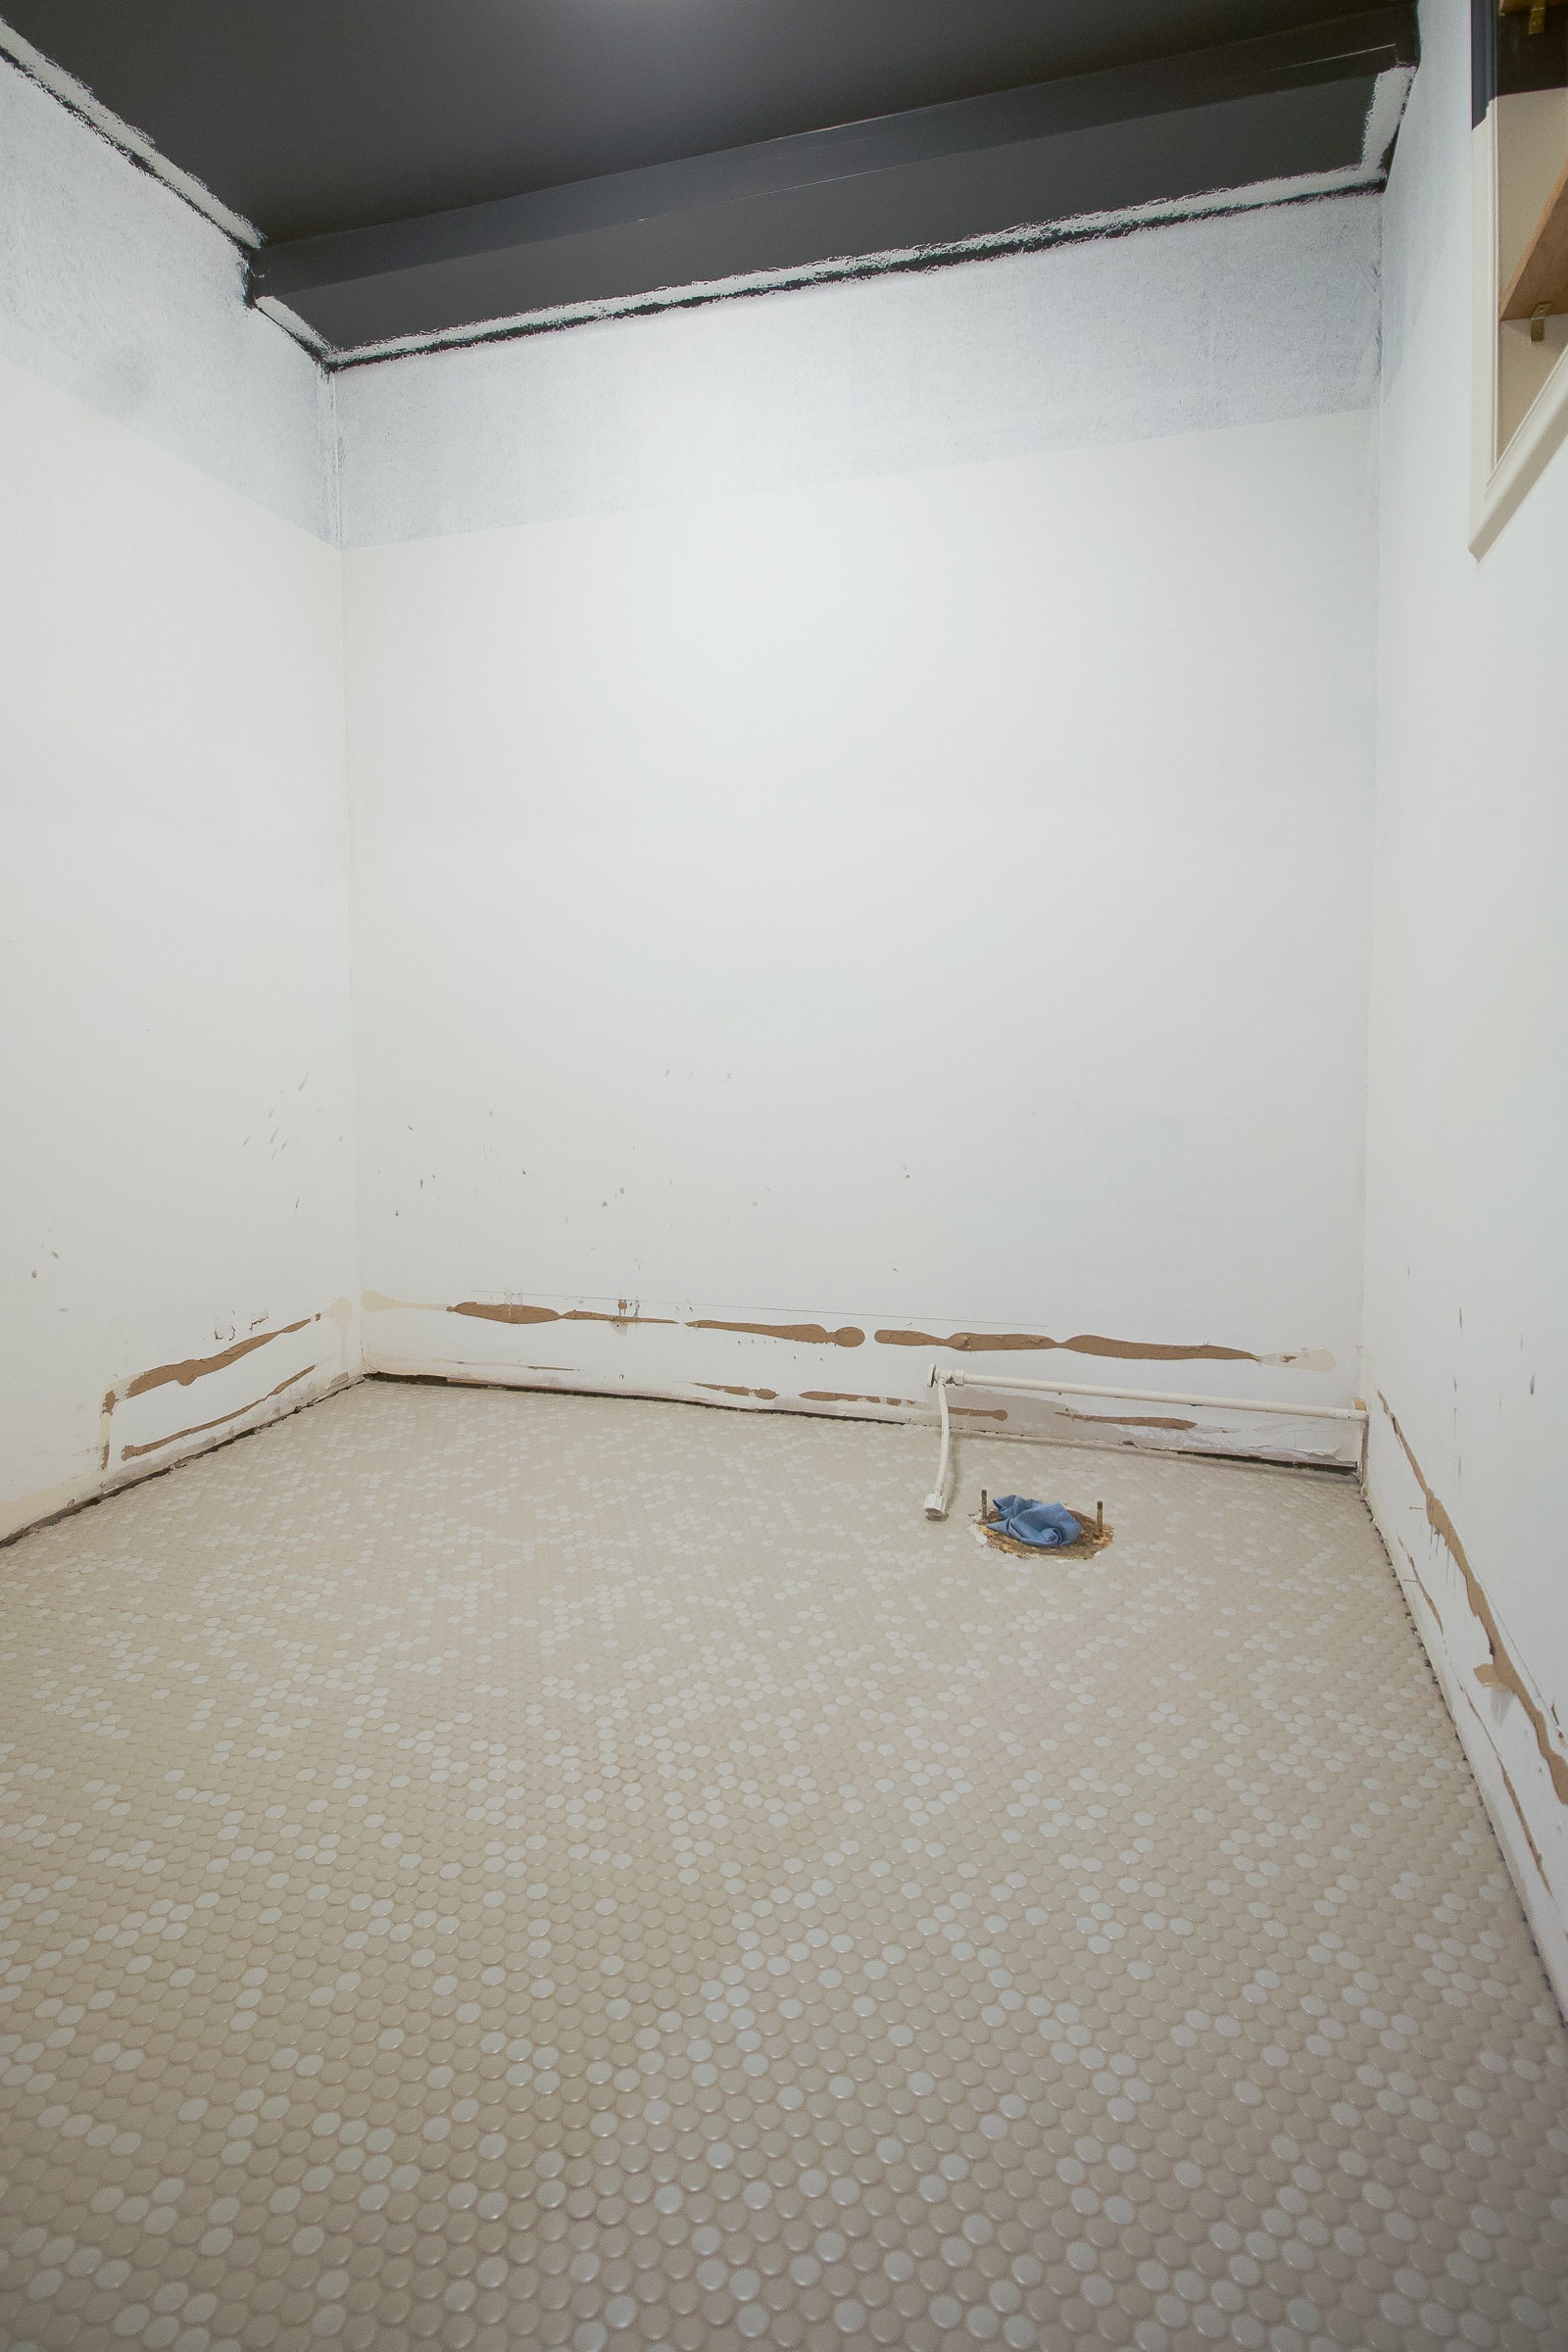
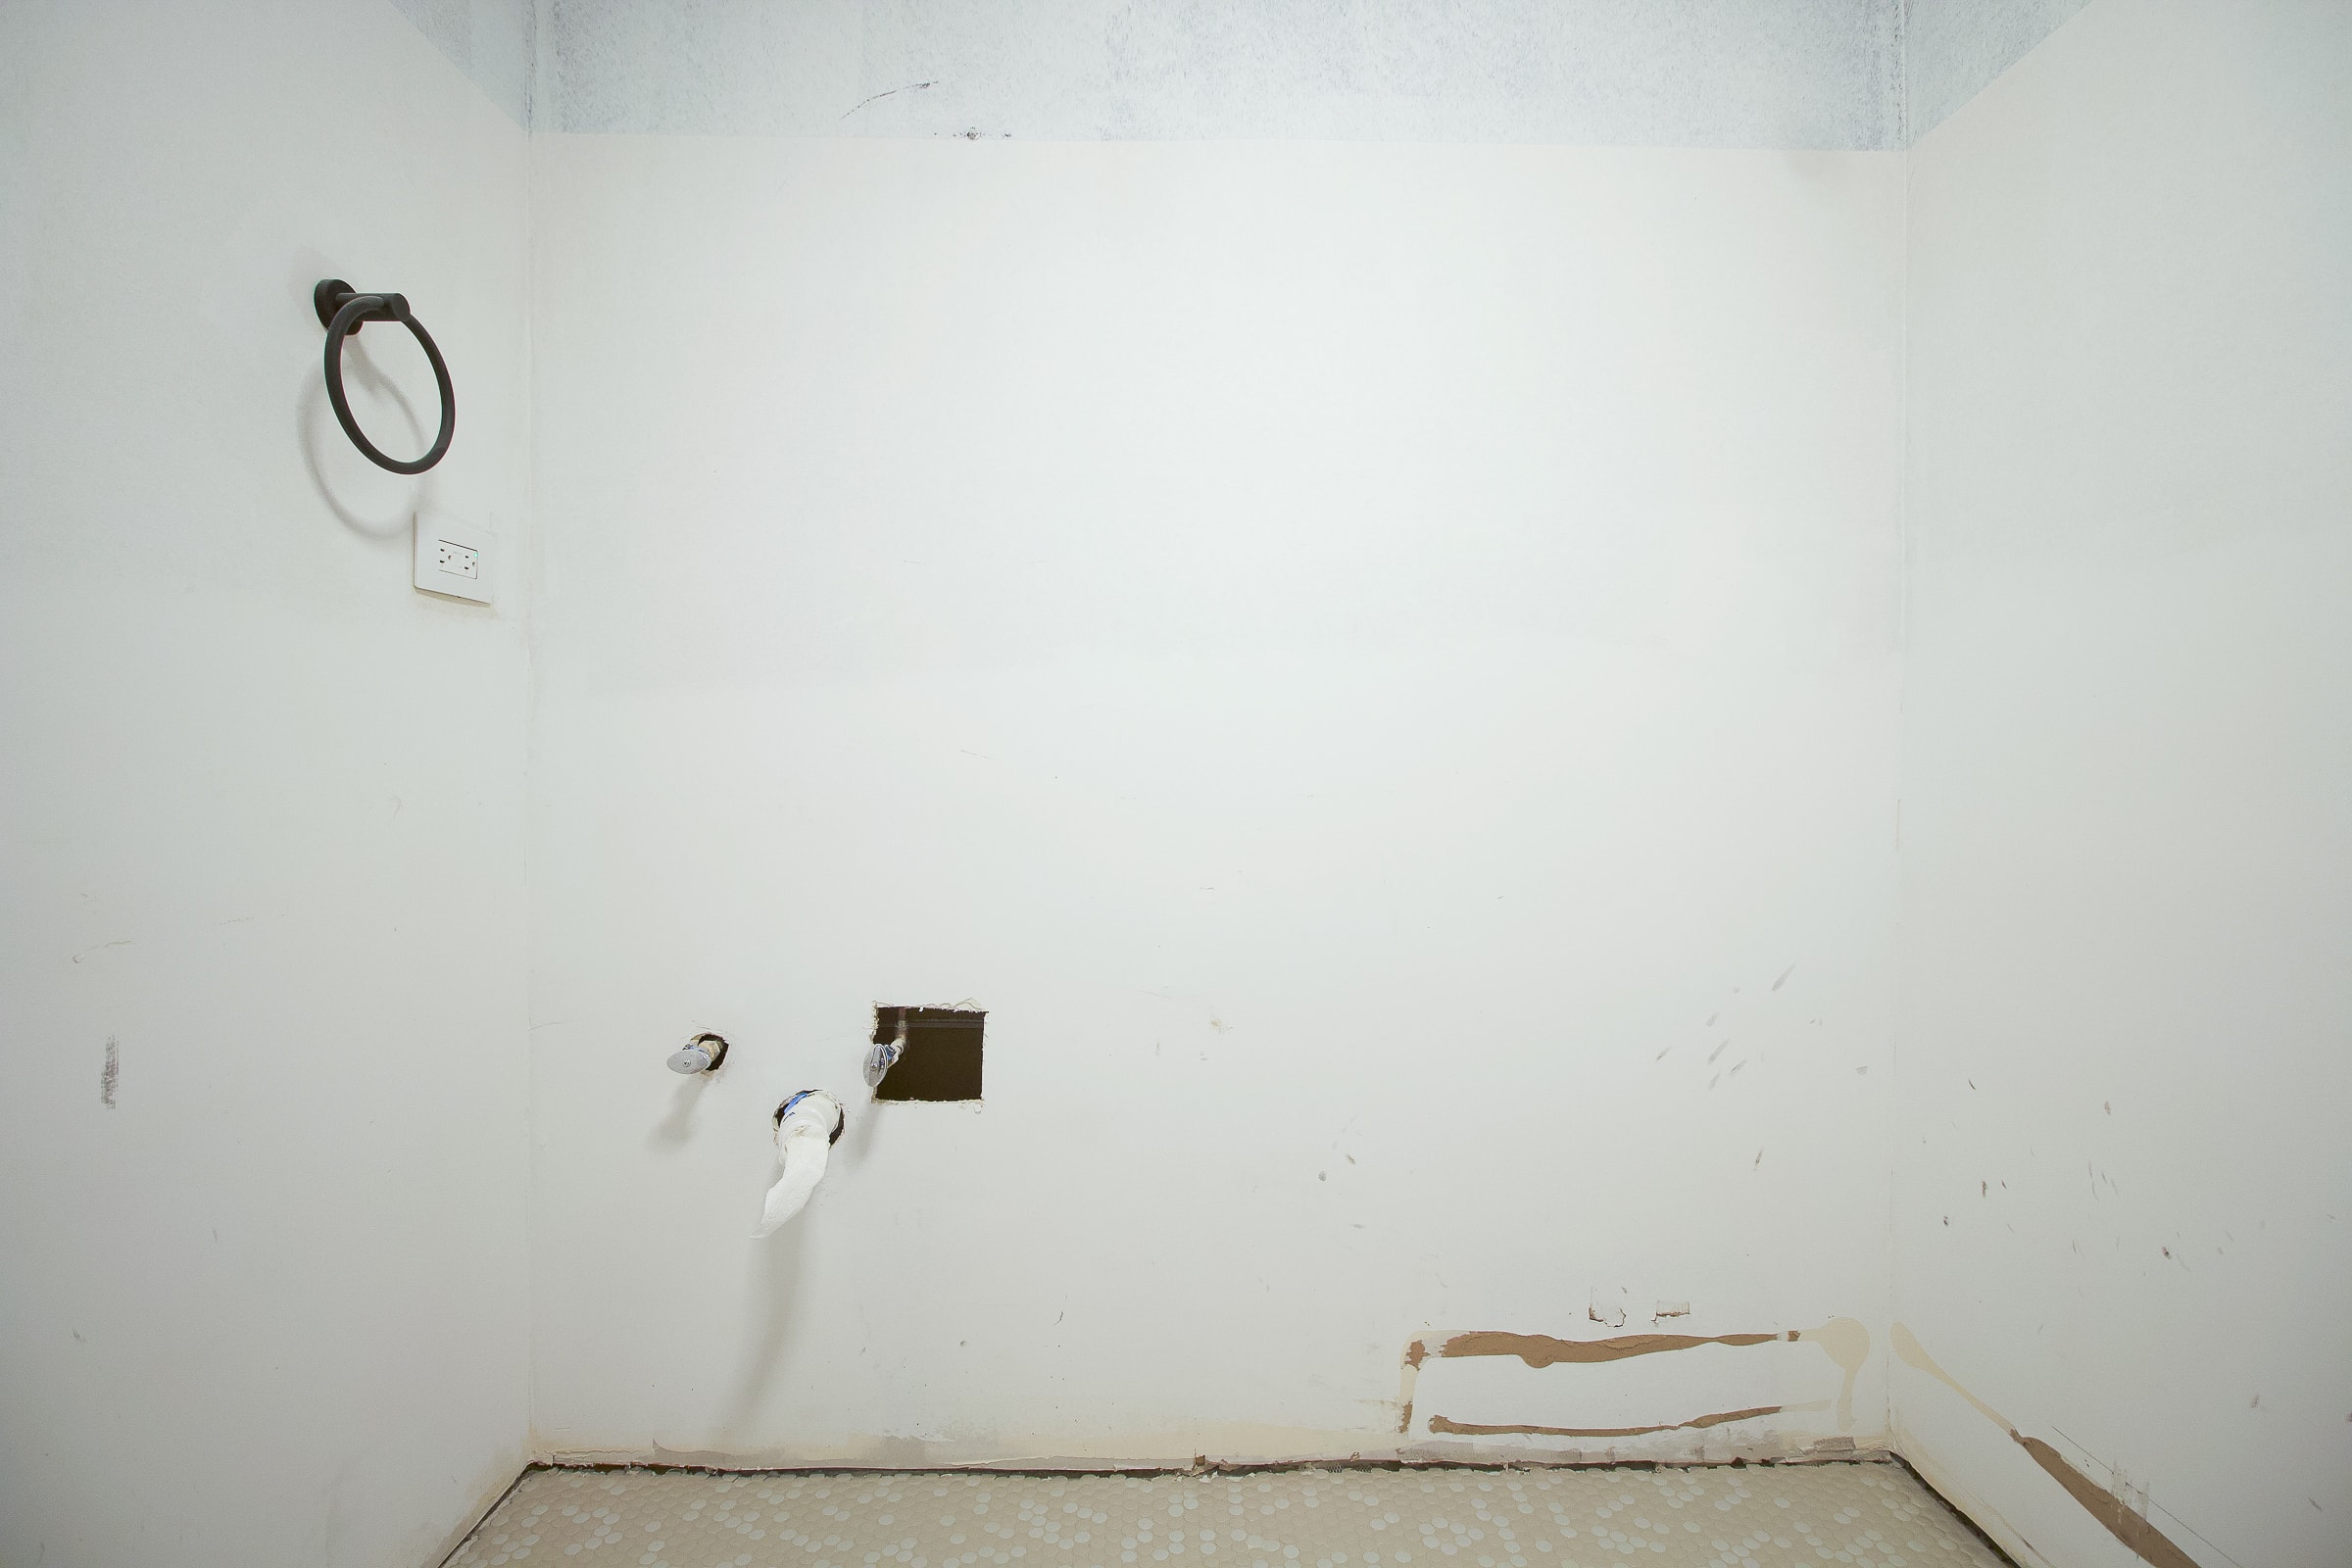
Last I left you, our basement bathroom was gutted and the floor was ready for some tile! Today, let’s dive into my best tips to install penny tile. It’s been a while since I installed floor tile and I learned a lot along the way with this one.
To be honest, I was a tad nervous about this tile job. I read a few horror stories, online, about penny tile installs gone wrong and I wanted to make sure that this project went smoothly. (Just Google “bad penny tile installation” and you’ll see why.) With penny tile, you run the risk of seeing the seams in between each sheet of tile and I didn’t want that to happen to me. So, I’ll be sharing my best tips to install penny tile so you avoid that fate!
Tile Installation – Supplies
Here’s what I grabbed for my penny tile install…
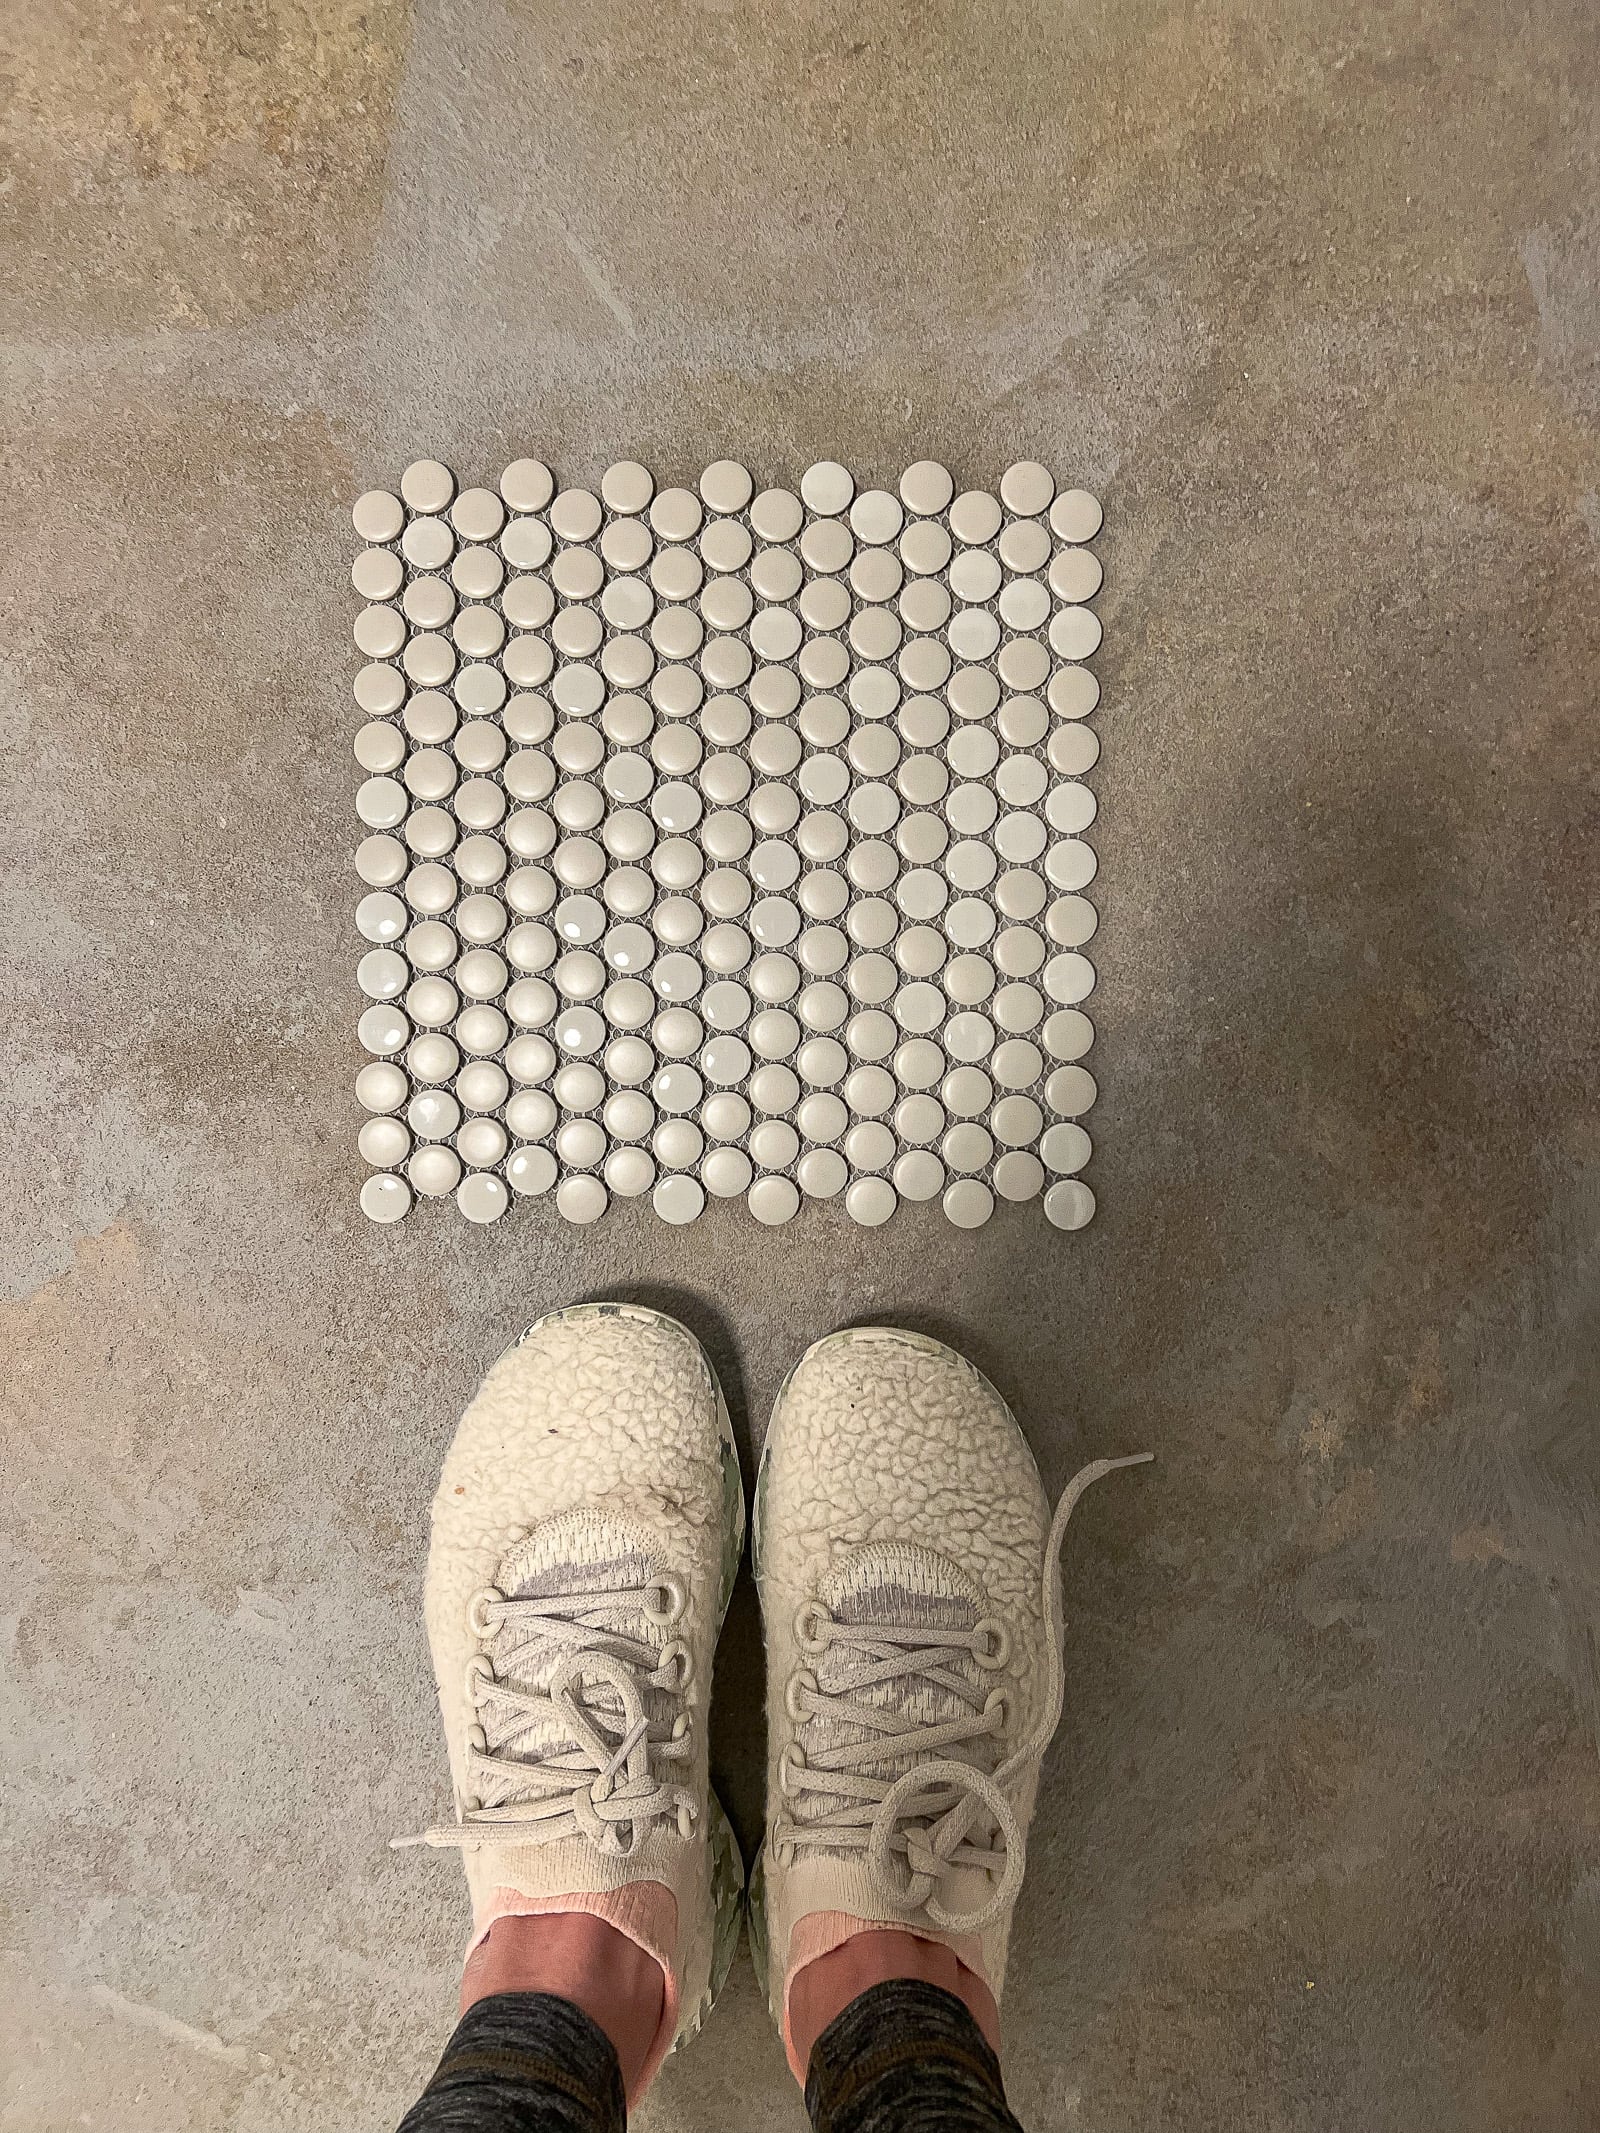
- Penny Tile
- Utility Knife
- Tile Nippers
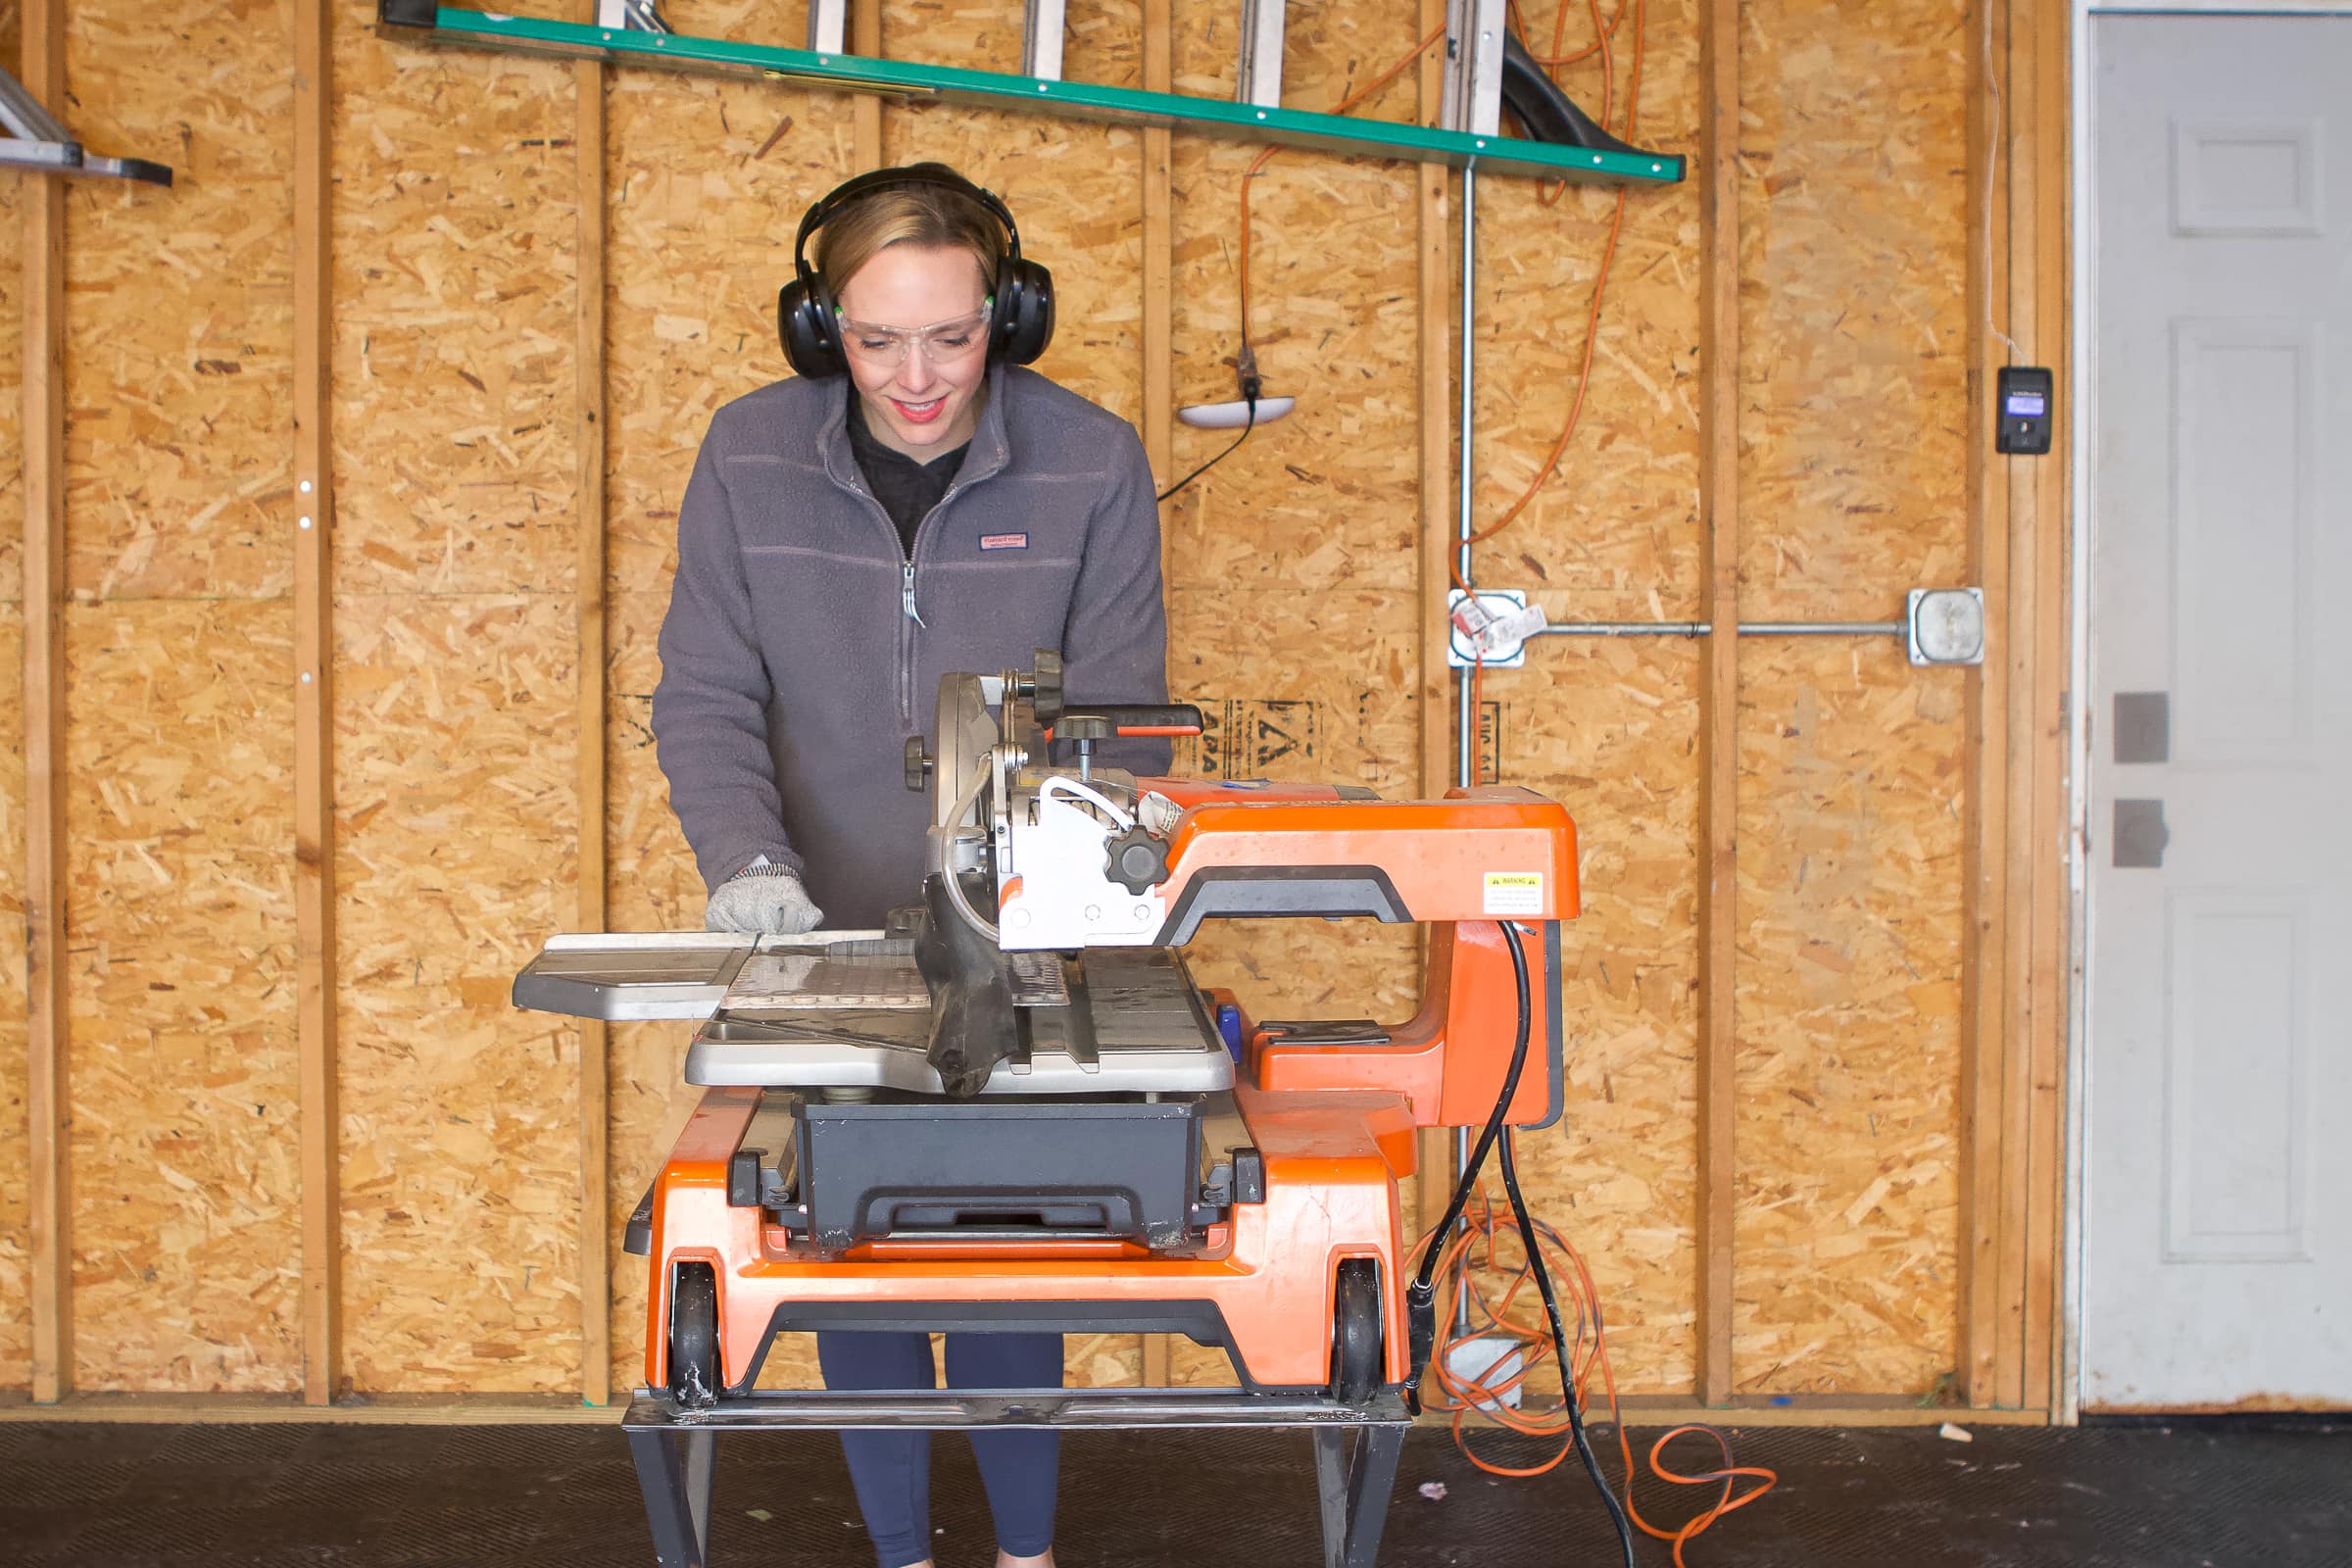
- Wet Saw (I rented this one)
- Knee Pads (my number one supply!)
- 3/16″ V-Notched Trowel
- Grout Float
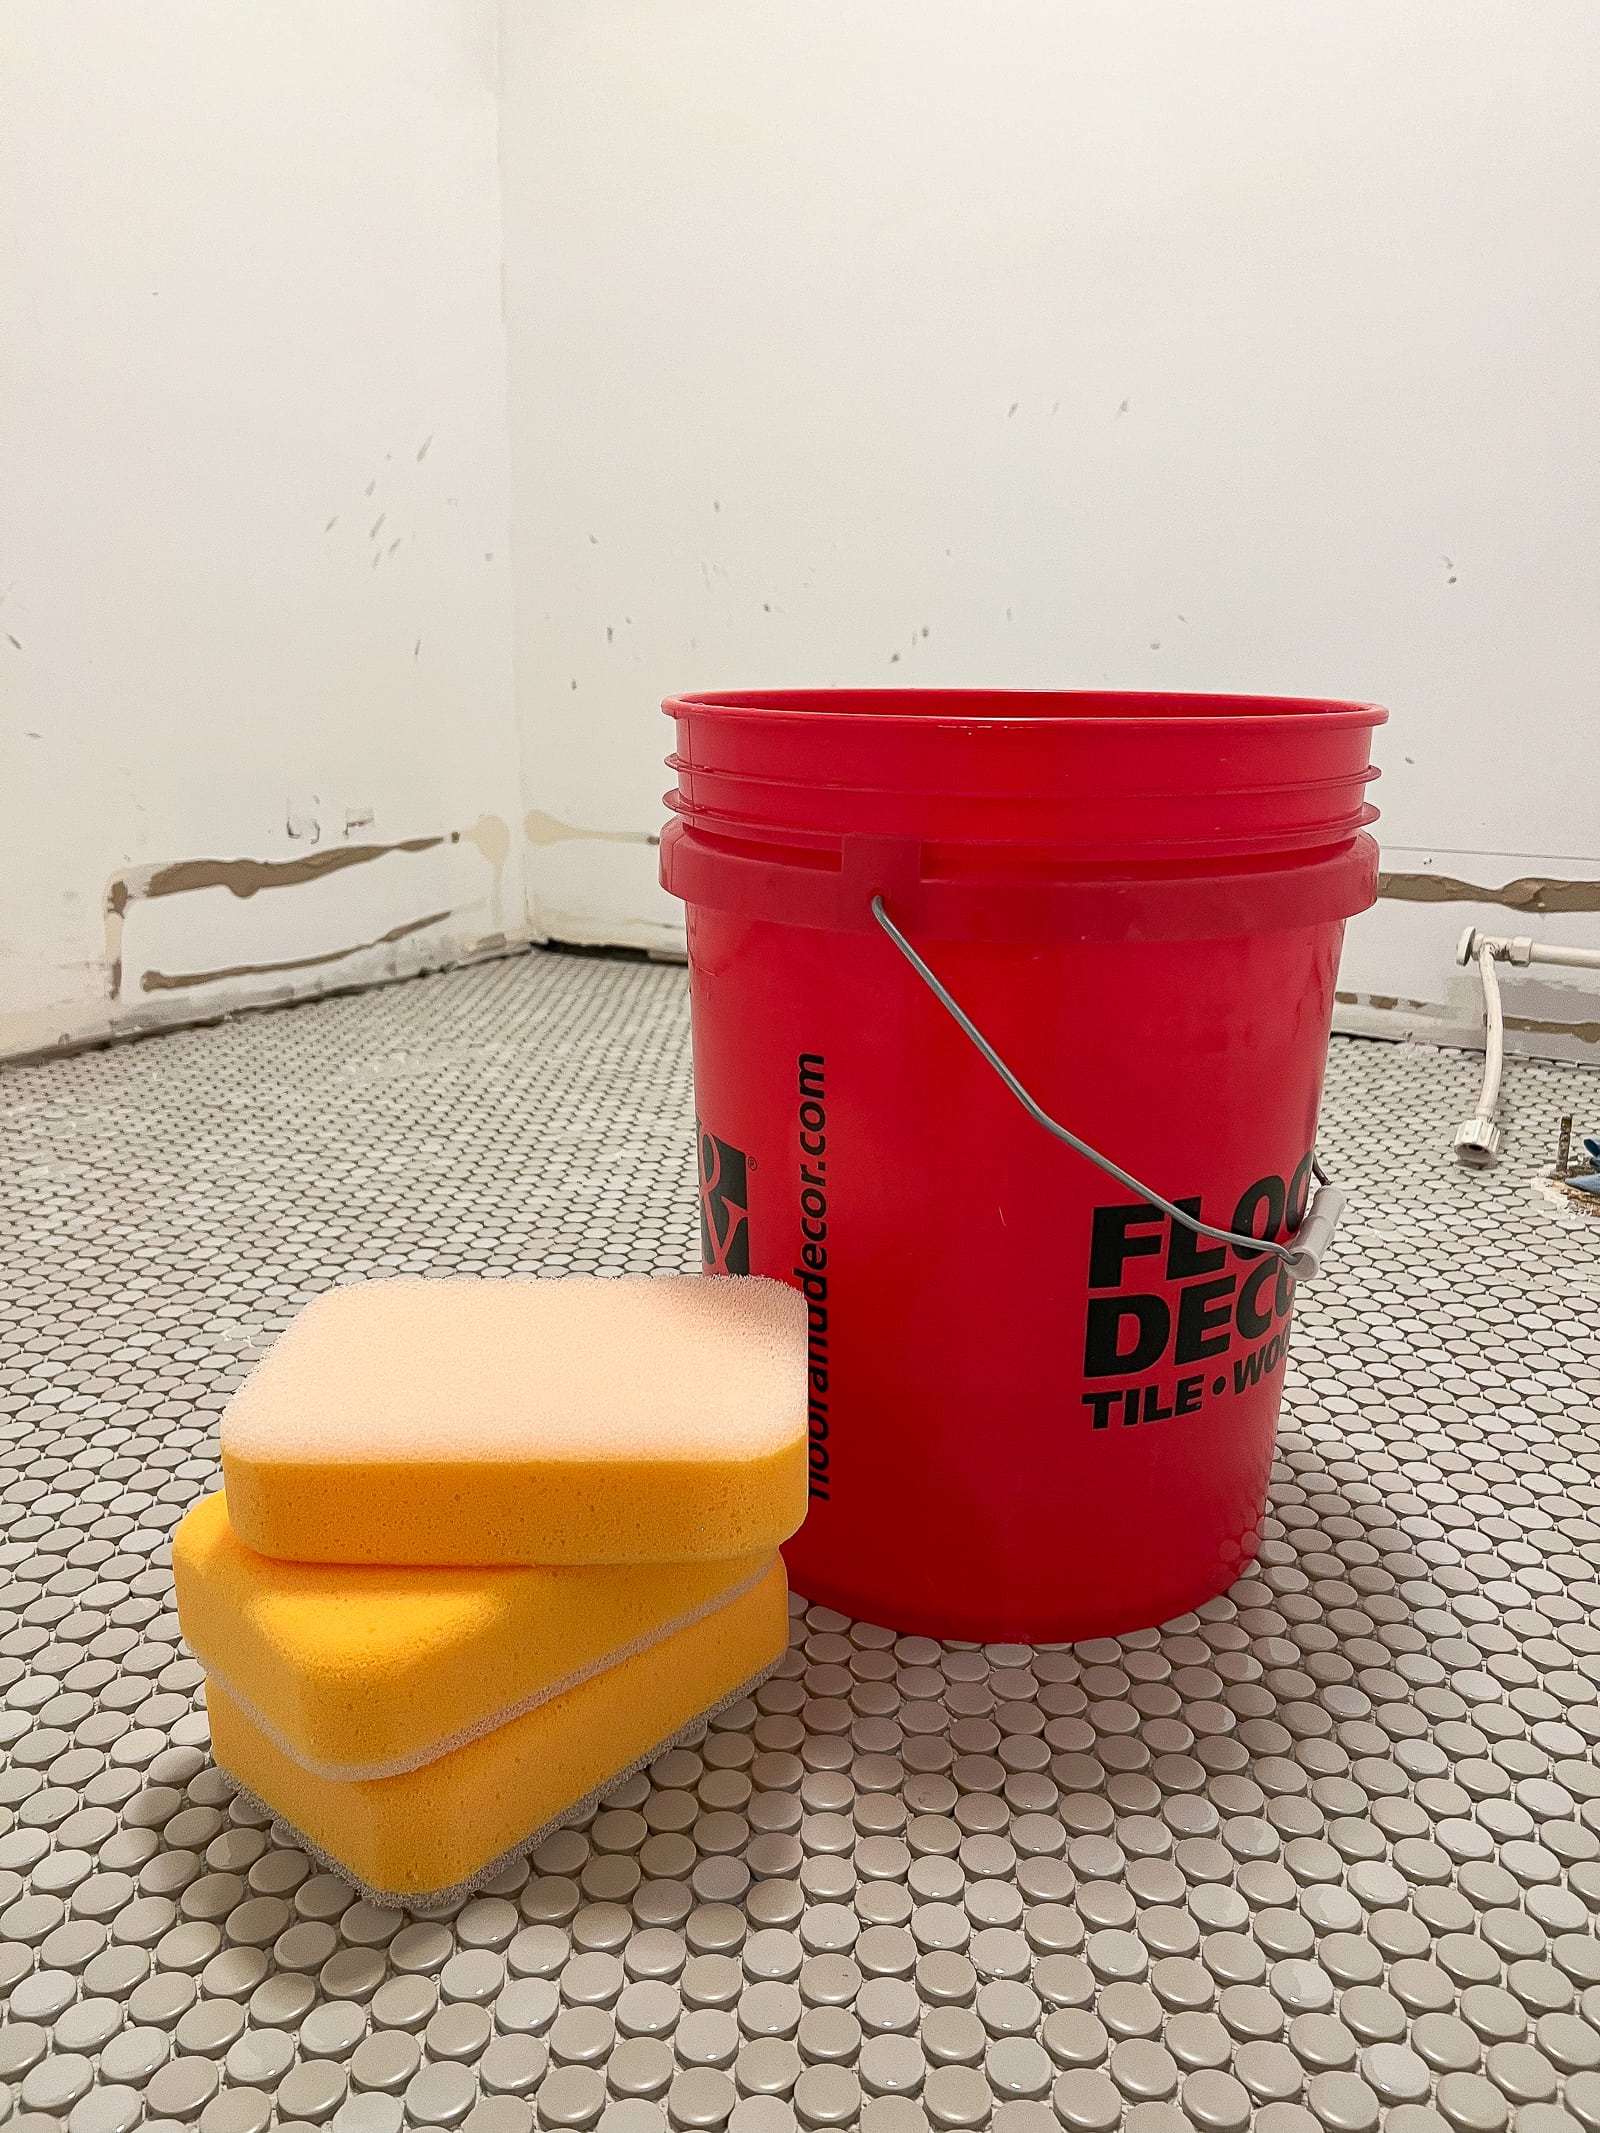
- Bucket
- 3 Sponges
- Trowel
- Thinset
- Mixing Paddle
- Pre-Mixed Grout (I went with the color “Ivory”)
My Best Tips to Install Penny Tile
I gave myself a few days to get this project done and that worked well for me and my sore body. I did the dry fit on day one, installed it with thinset on day two, and then grouted on my third day. This worked out well and gave the tile proper time to dry in between steps.
Dry Fit First
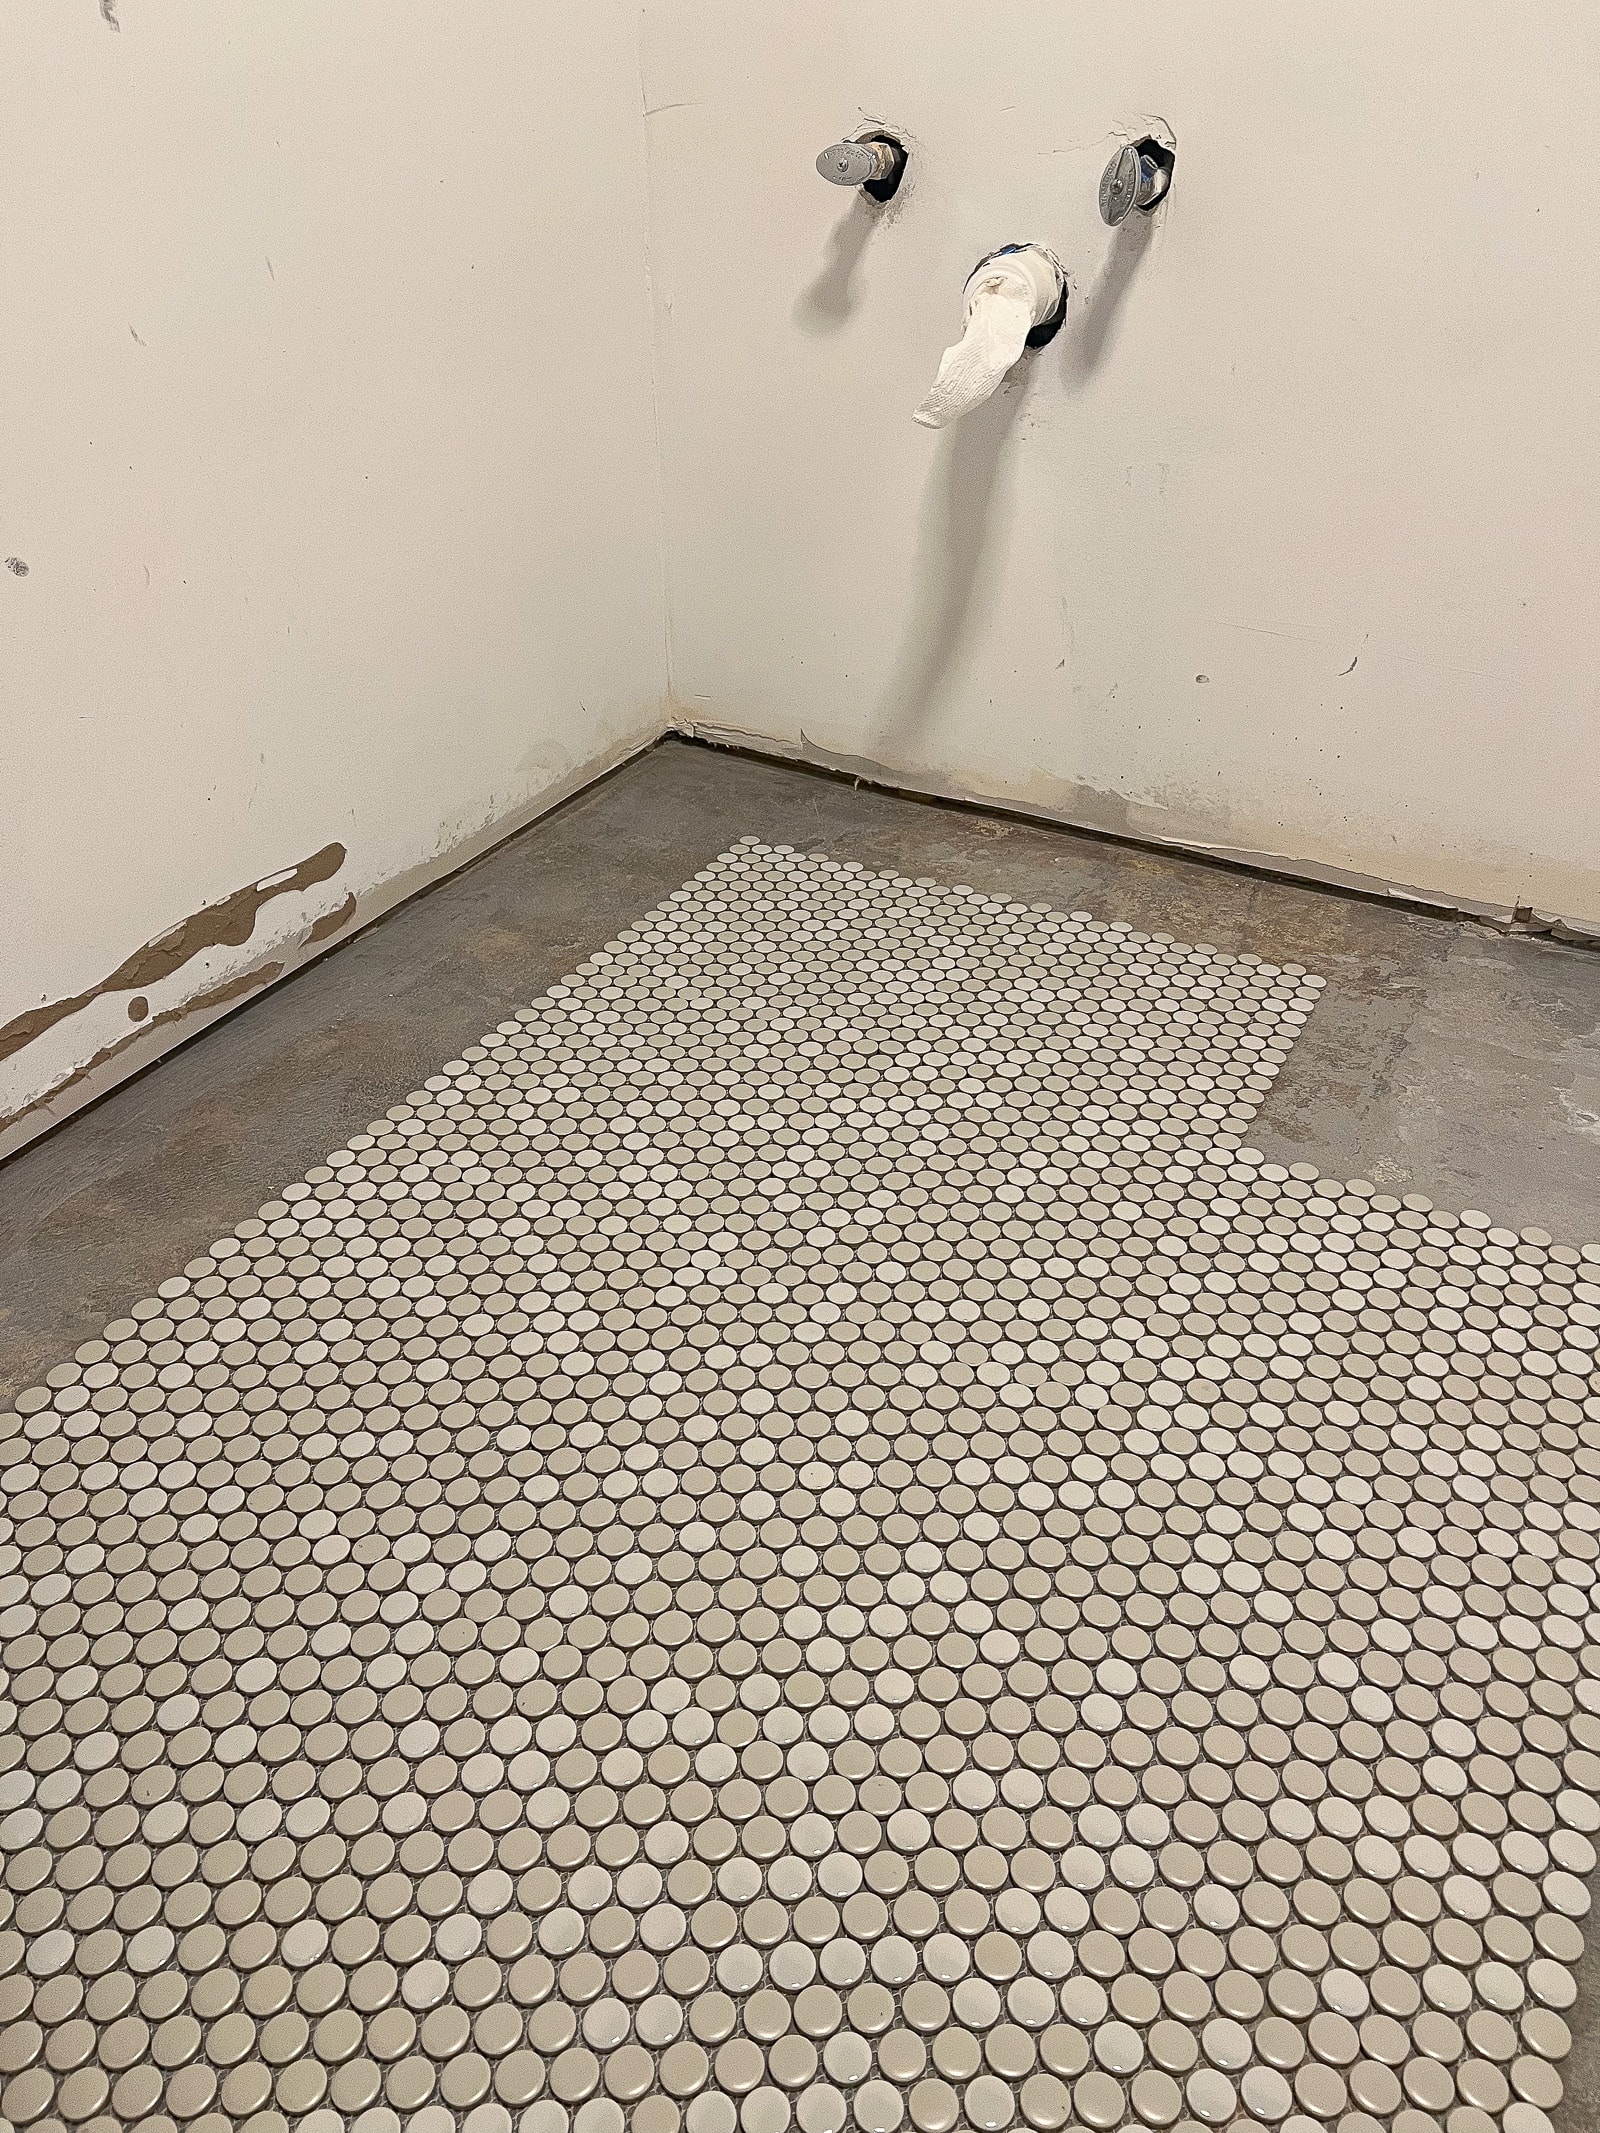
The first thing you want to do is “dry fit” the tile. Essentially, this means getting the tiles in place without actually applying them with thinset. So you’re getting all of the sheets in the right spots and making your cuts during this first step. To do this, you need to choose your starting point.
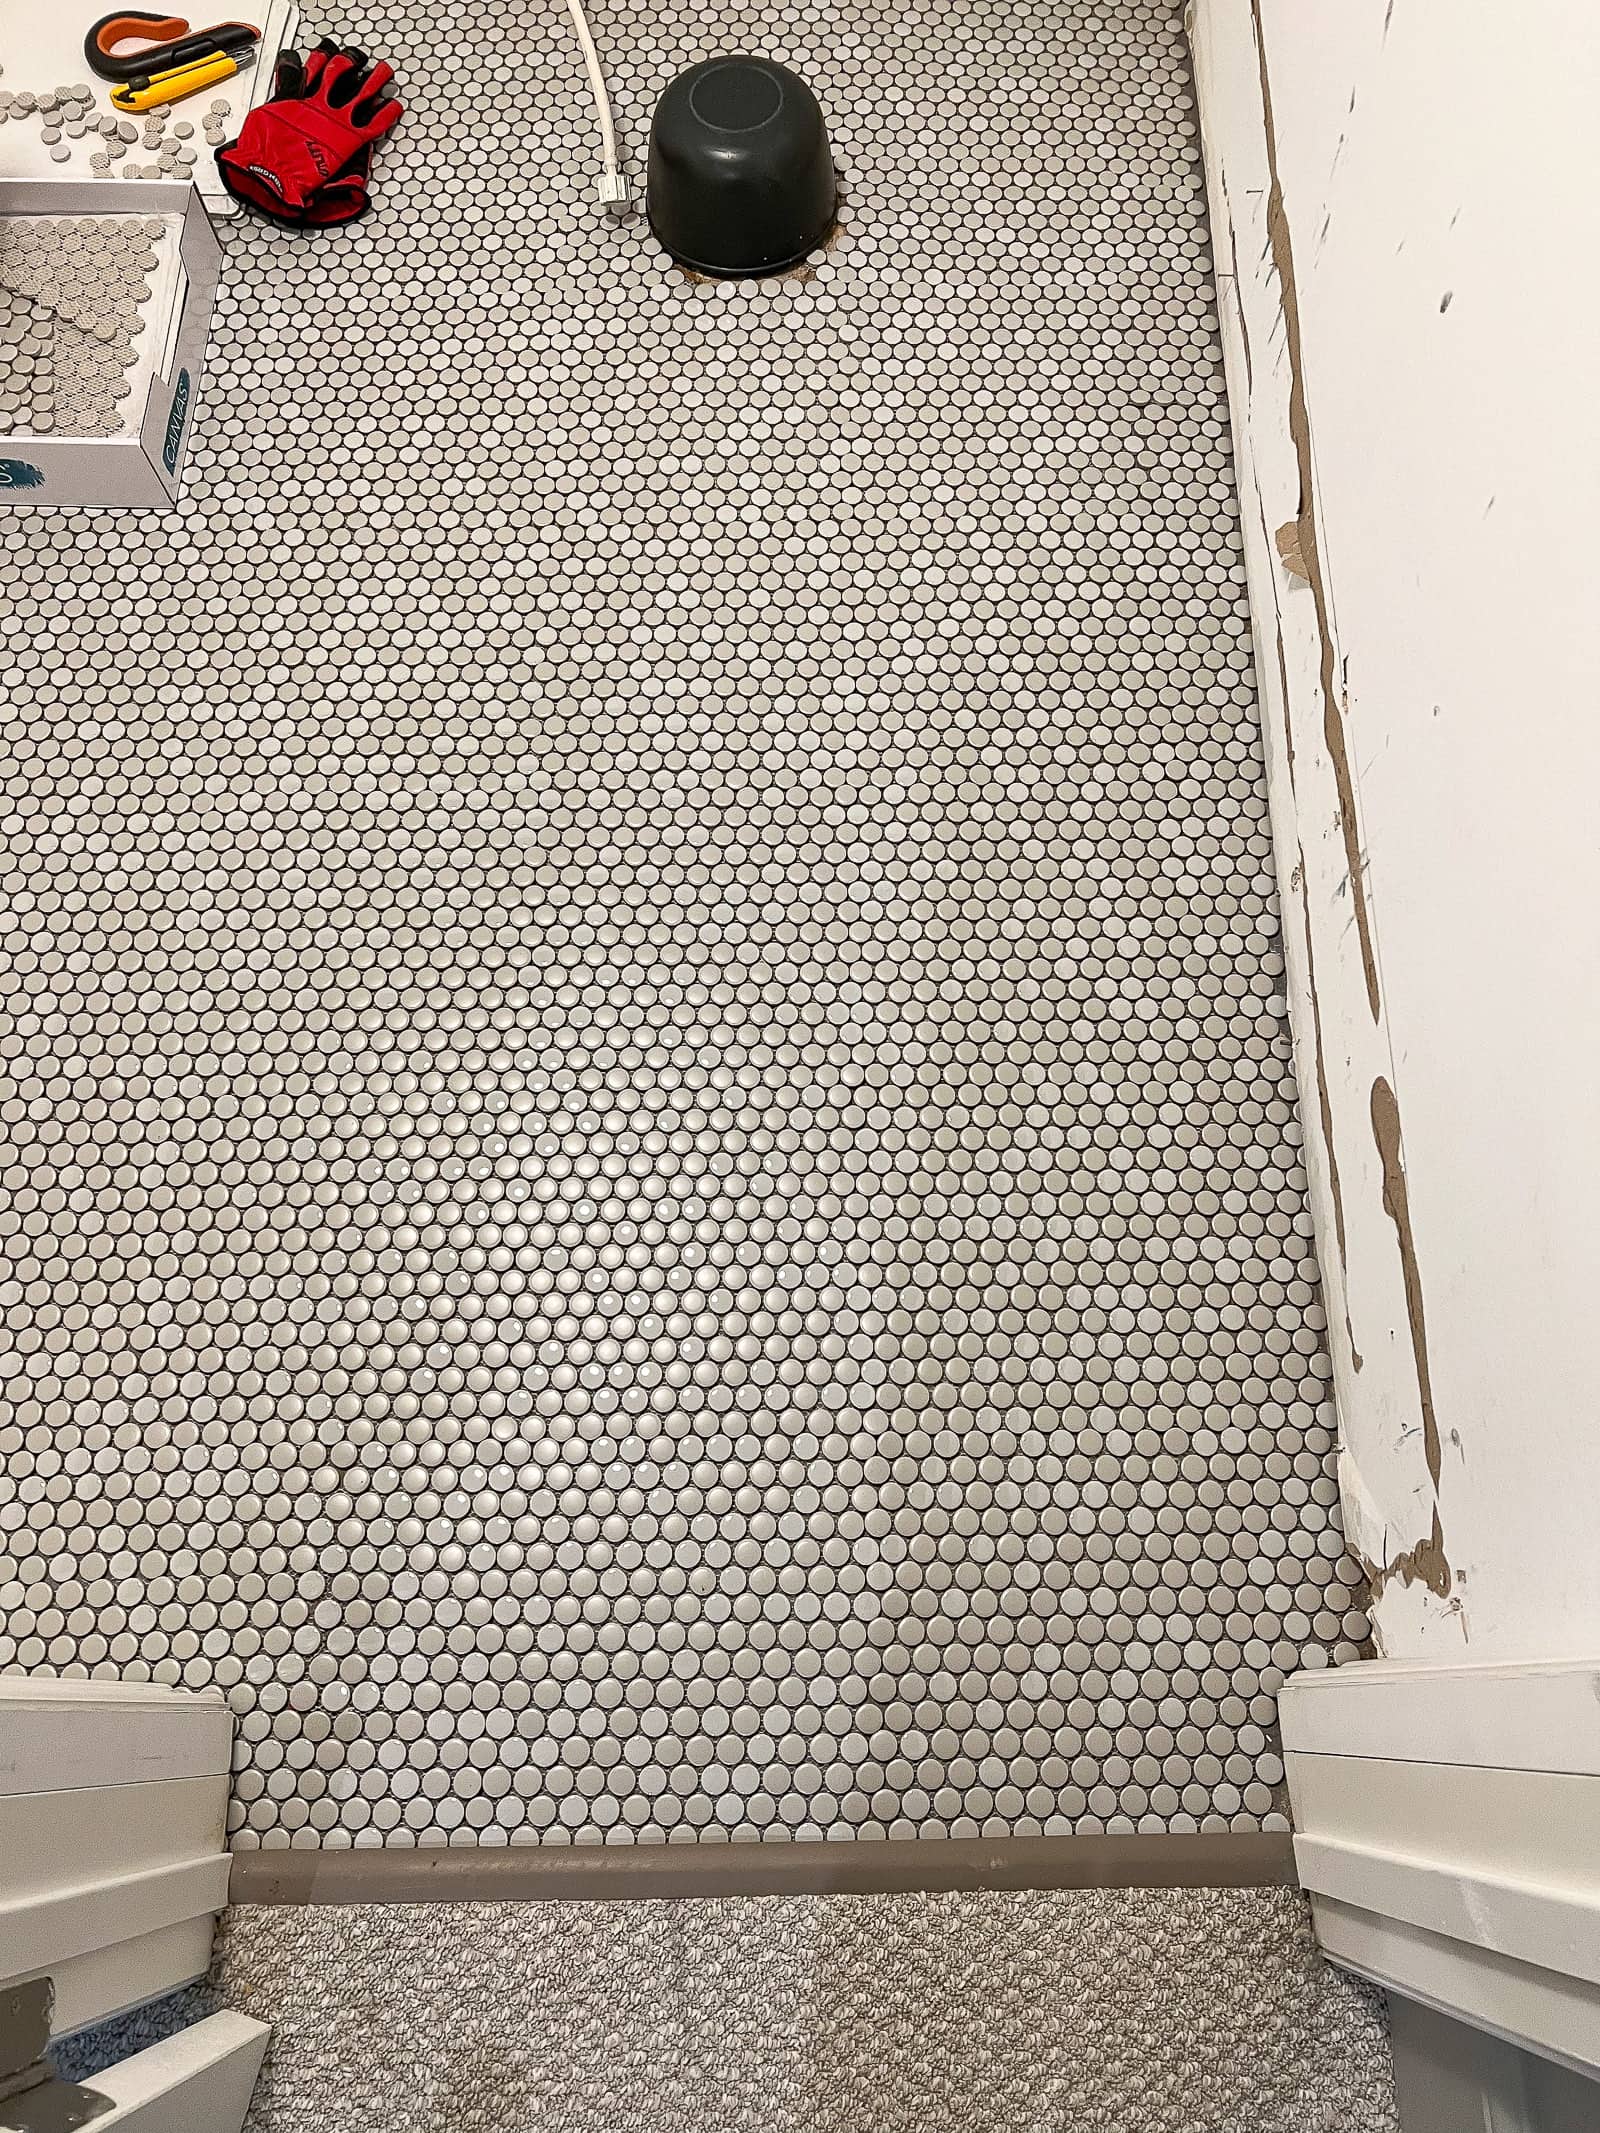
I wanted the tiles to look their best at the door threshold as you walk into the bathroom. Therefore, I started there, making sure my tiles were straight and looking their best. I then worked my way into the rest of the bathroom, knowing that any wonky cuts would be hidden on the back wall under the vanity and toilet.
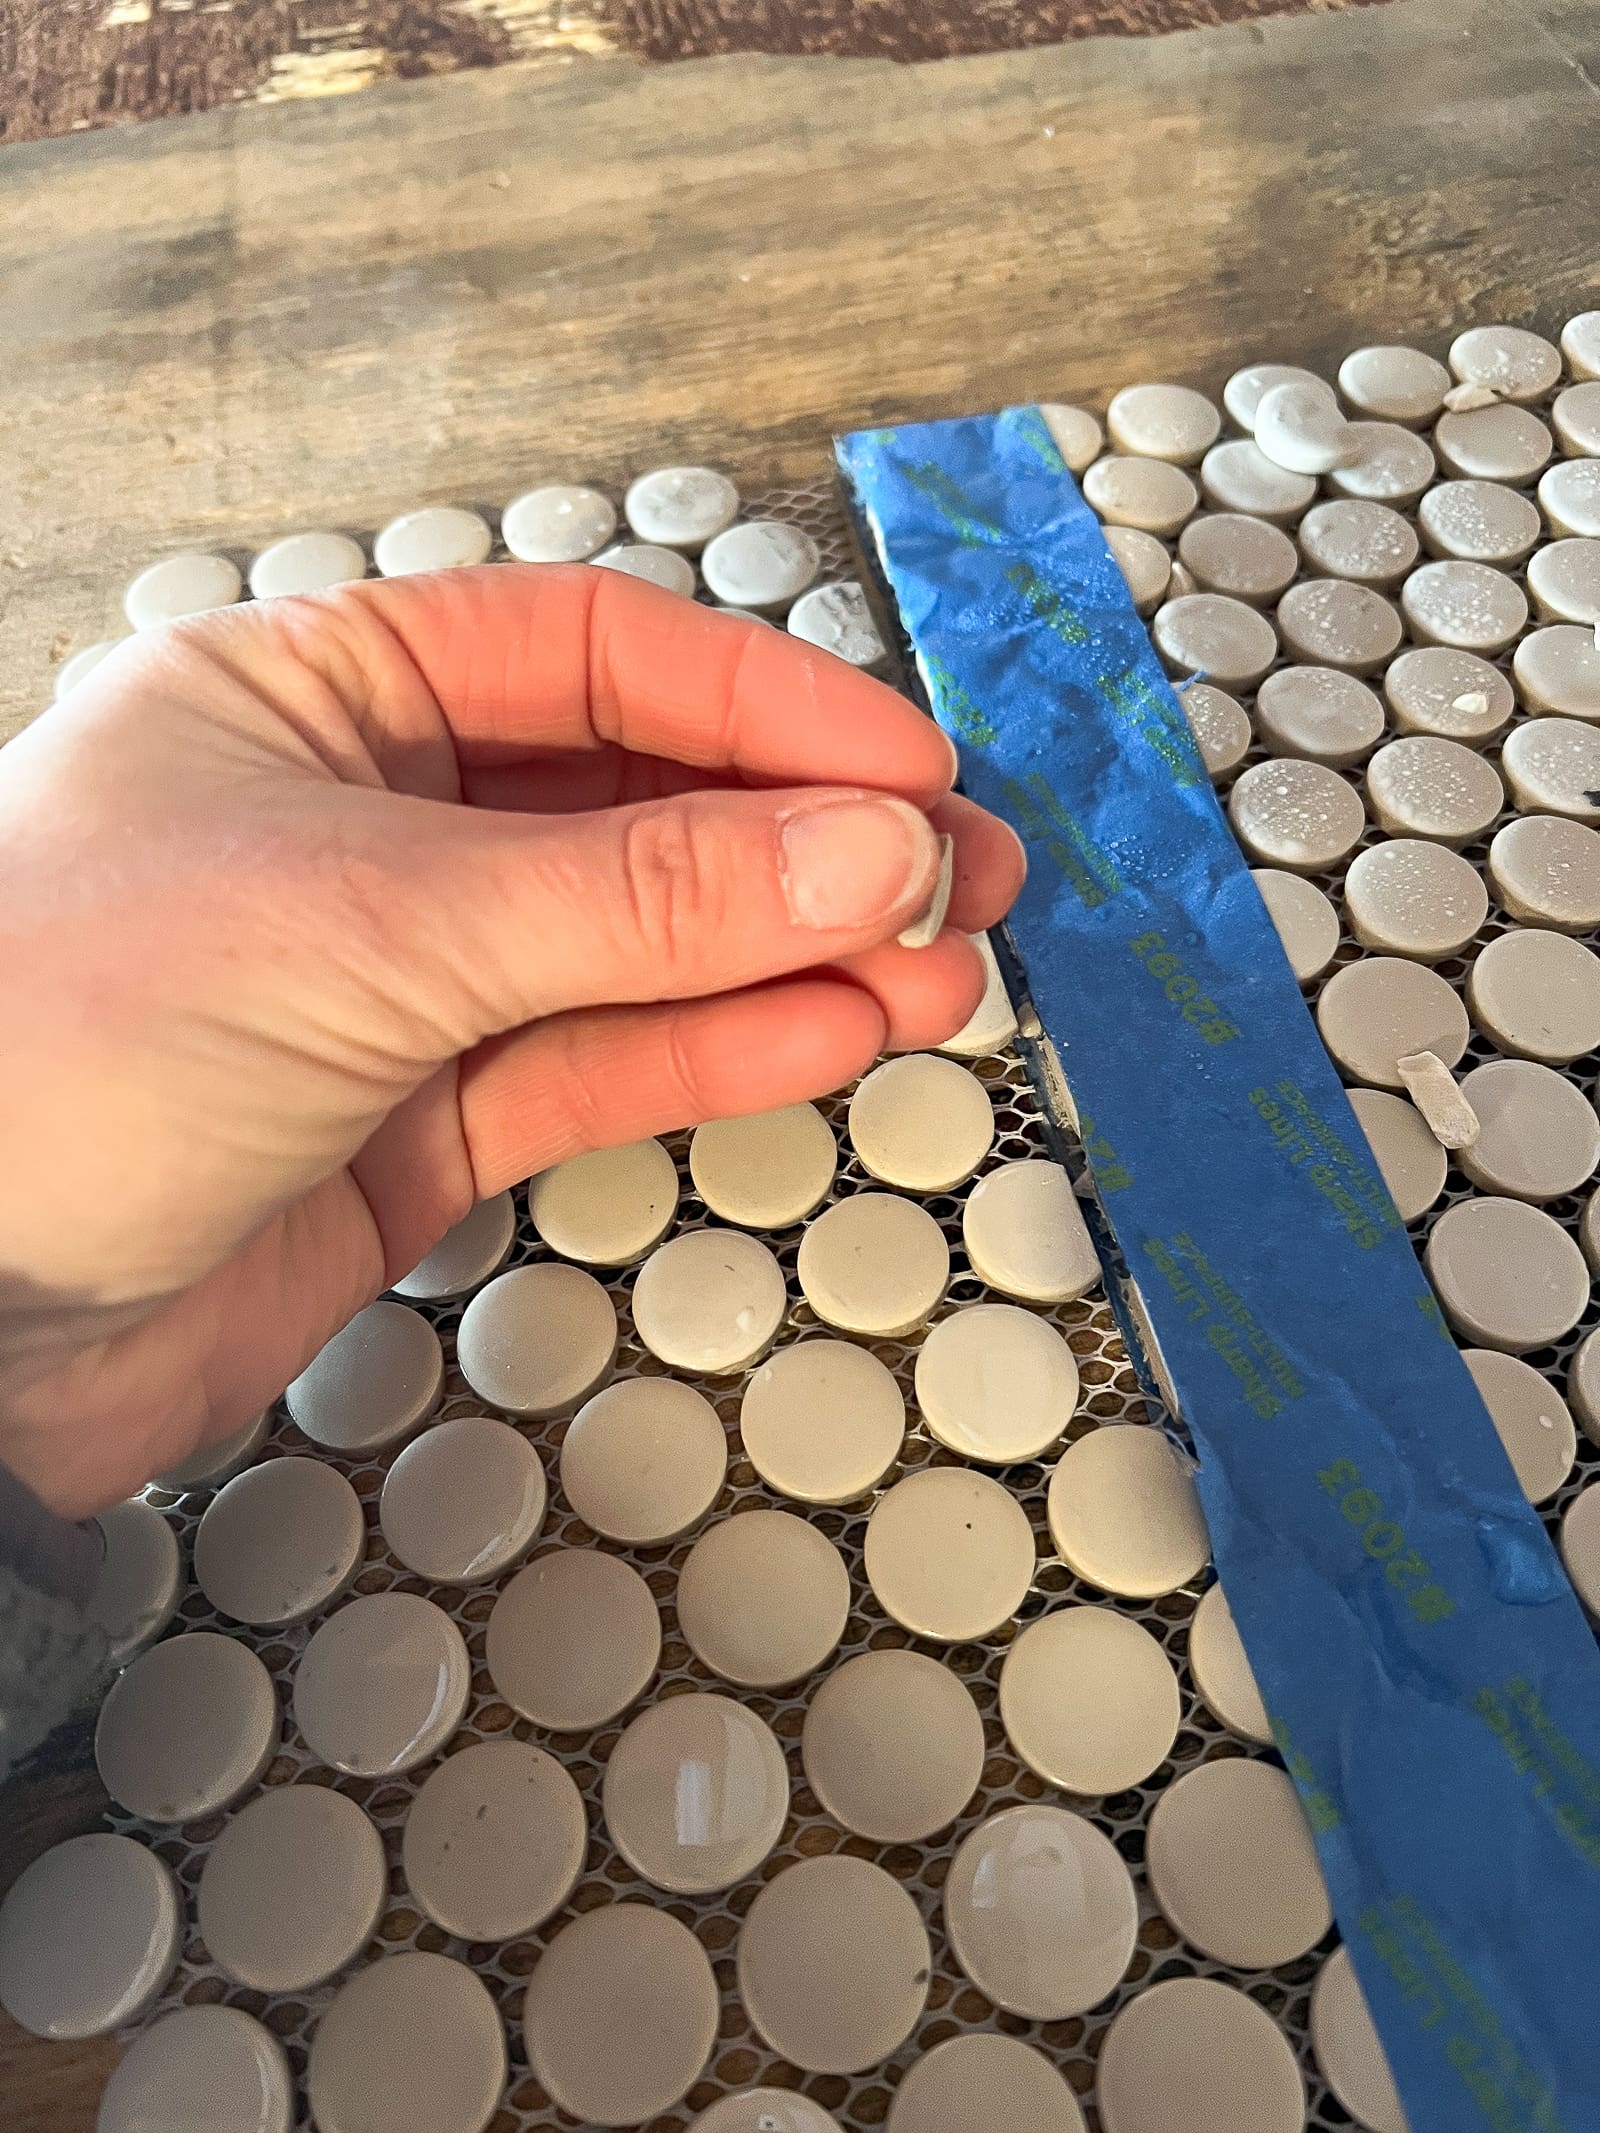
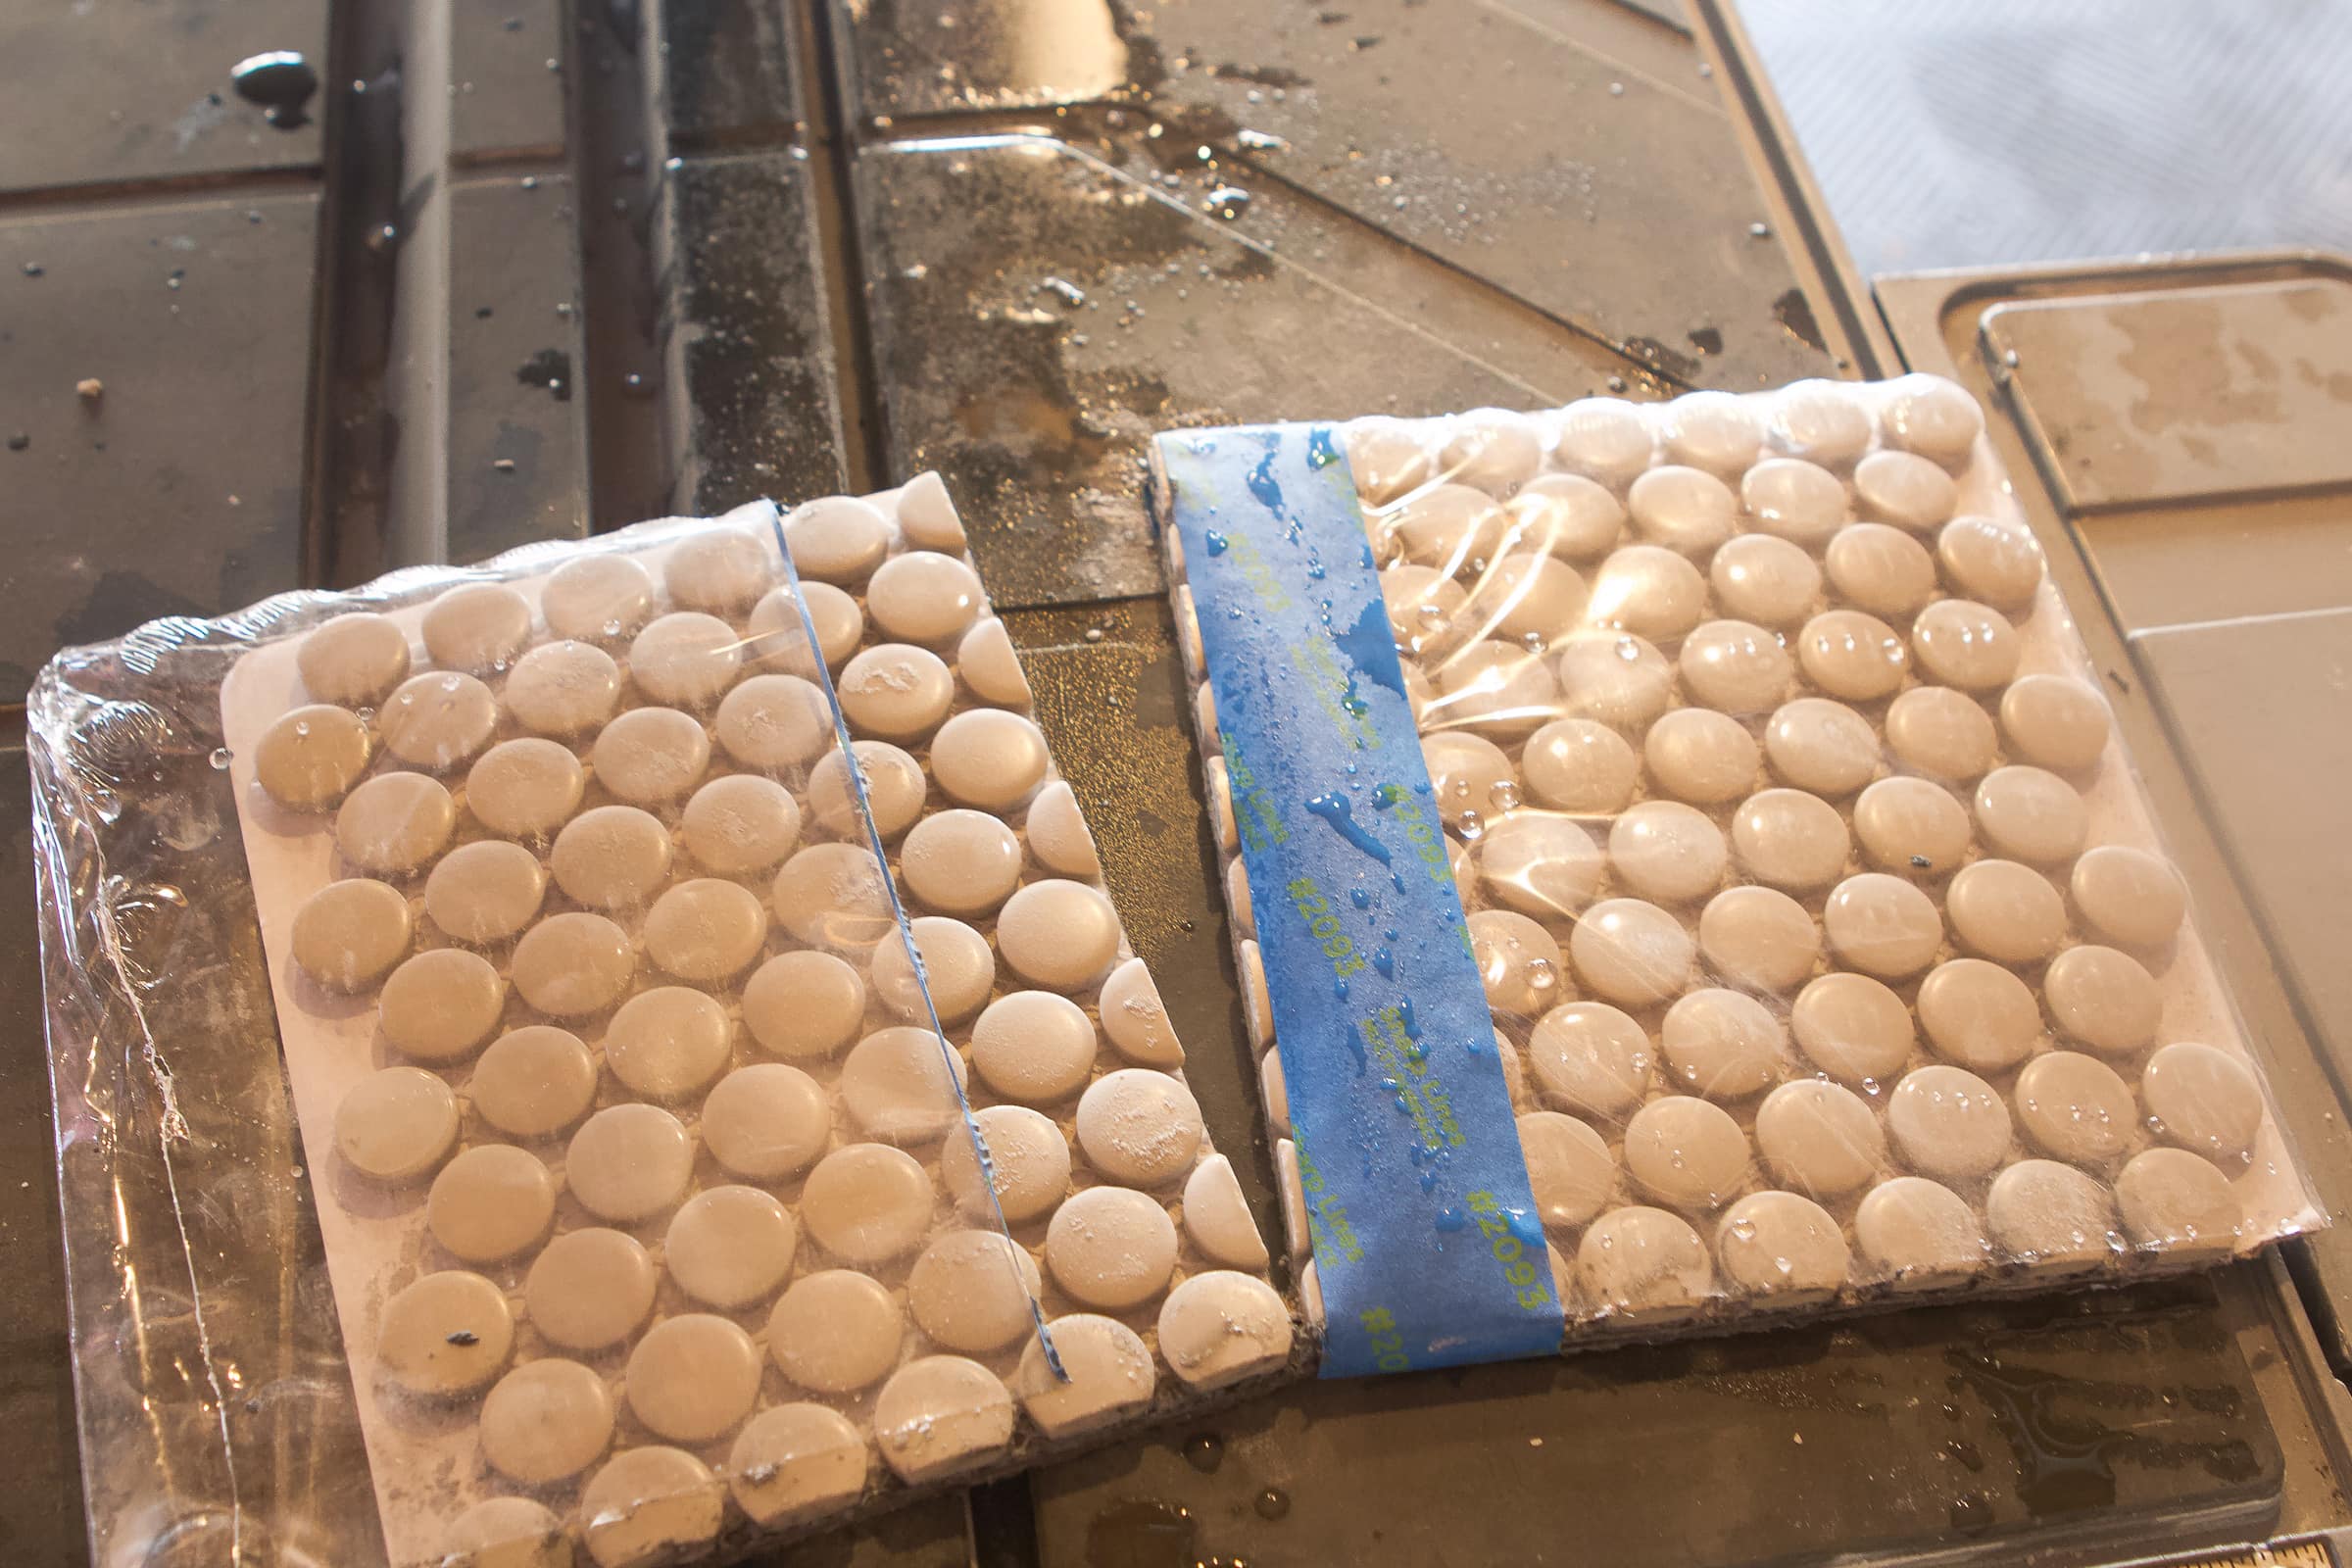
Create Your “Flower”
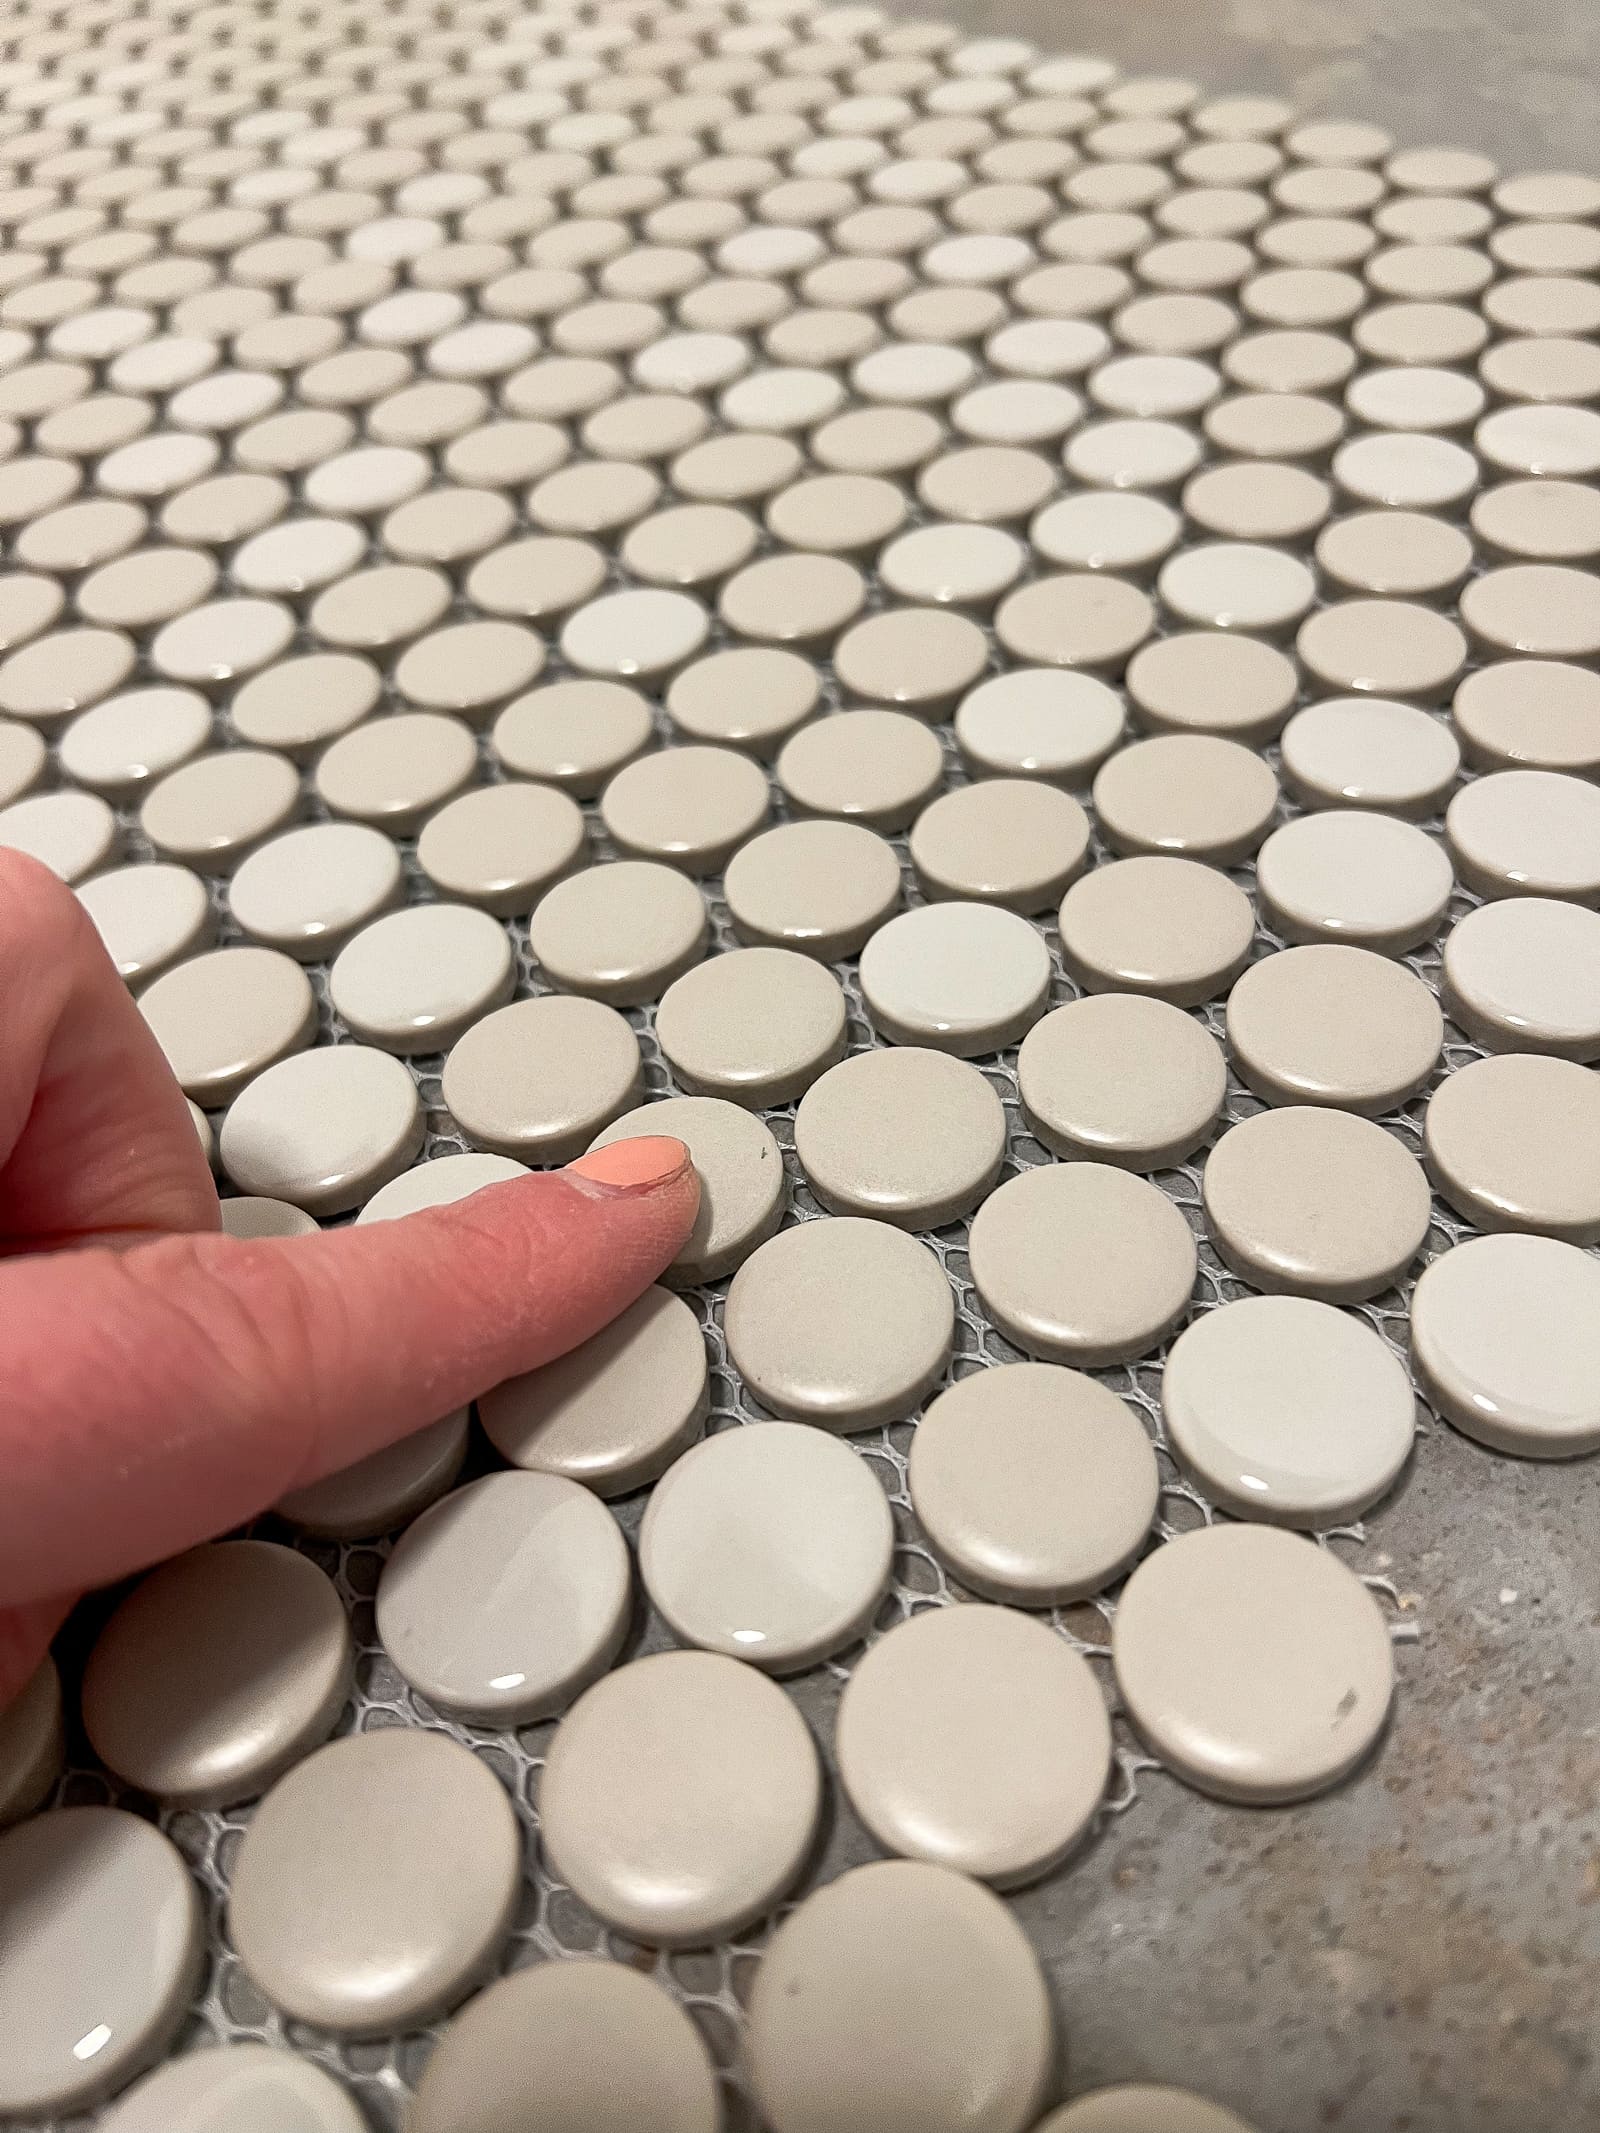
To avoid the dreaded seams with penny tile, you want to continue to make sure your “flower” is spaced correctly. Where the penny tiles meet, there will be five circles with an additional circle in the middle. Make sure that these circles are all spaced evenly. If you do this, then you shouldn’t see the seams.
I think it also helps that the particular penny tile I chose has a variety of cream hues in it and isn’t all the same color. That helped camouflage any seams.
Cut Edges With A Utility Knife

Because my edges will be hidden with baseboard and shoe molding, I didn’t need perfectly straight edges. This saved SO MUCH TIME. I was able to use my utility knife to cut the backing of the tile sheet to fill the tile to the walls. Wear gloves and put the tile on cardboard as you cut, to stay safe.
Using The Wet Saw For Tricky Cuts
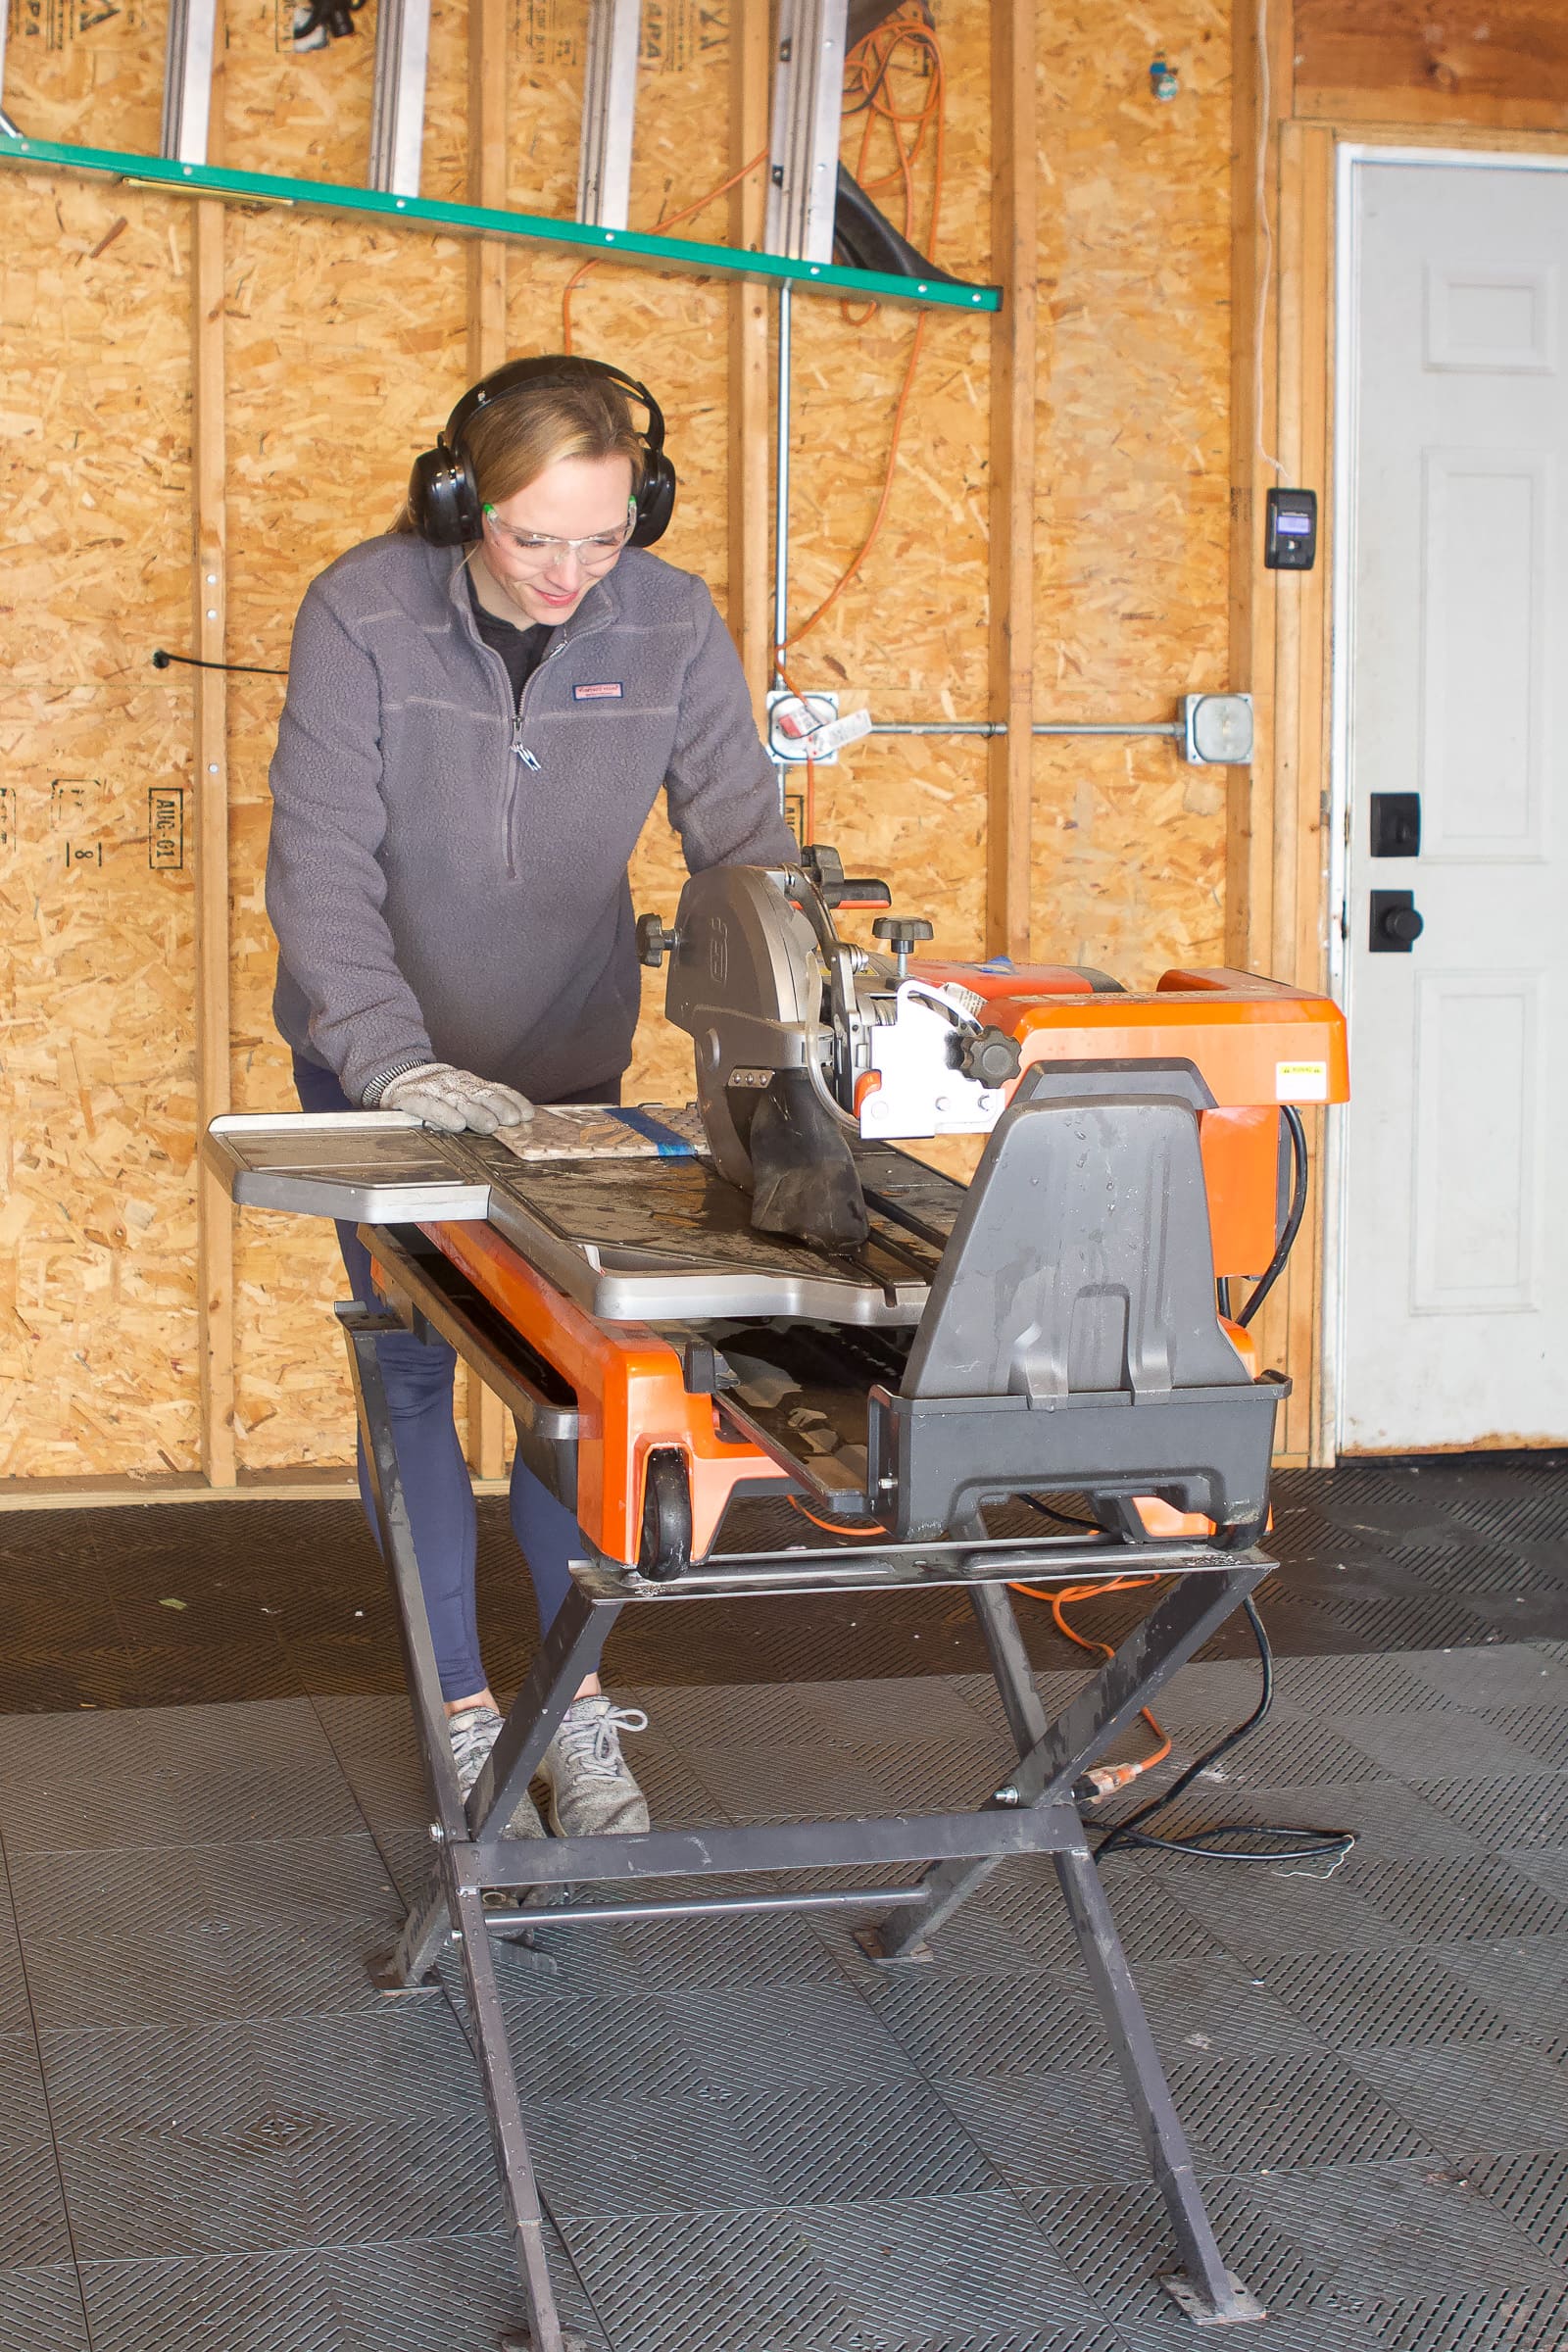
For 95% of the room, I didn’t even need to make any cuts! Again, this was such a timesaver. However, I did need to make some cuts, using the wet saw, for a few pieces near the door and around the toilet collar. If you don’t want to use a wet saw, I saw some tutorials where people just used tile nippers to cut the penny rounds. But the edges can get a bit wonky with this method.
I chose to rent a wet saw to make those tricky cuts and it took some trial and error to figure out the best way to cut penny tiles. First, I used painter’s tape on the front and back of the tile sheet to mark my cut line and keep the sheet together as it got wet and was pushed through the wet saw. This didn’t work great.
My next method? Keeping the tile in the packaging (on the cardboard) and cutting it that way. This worked great!

The sheet didn’t get all wet and mushy and I was able to make much cleaner cuts with this method. I was able to cut my penny rounds with the wet saw and get them into place on the floor.
Mix Up Your Thinset
Once the entire room was dry fit, it was time to actually get these tiles down.
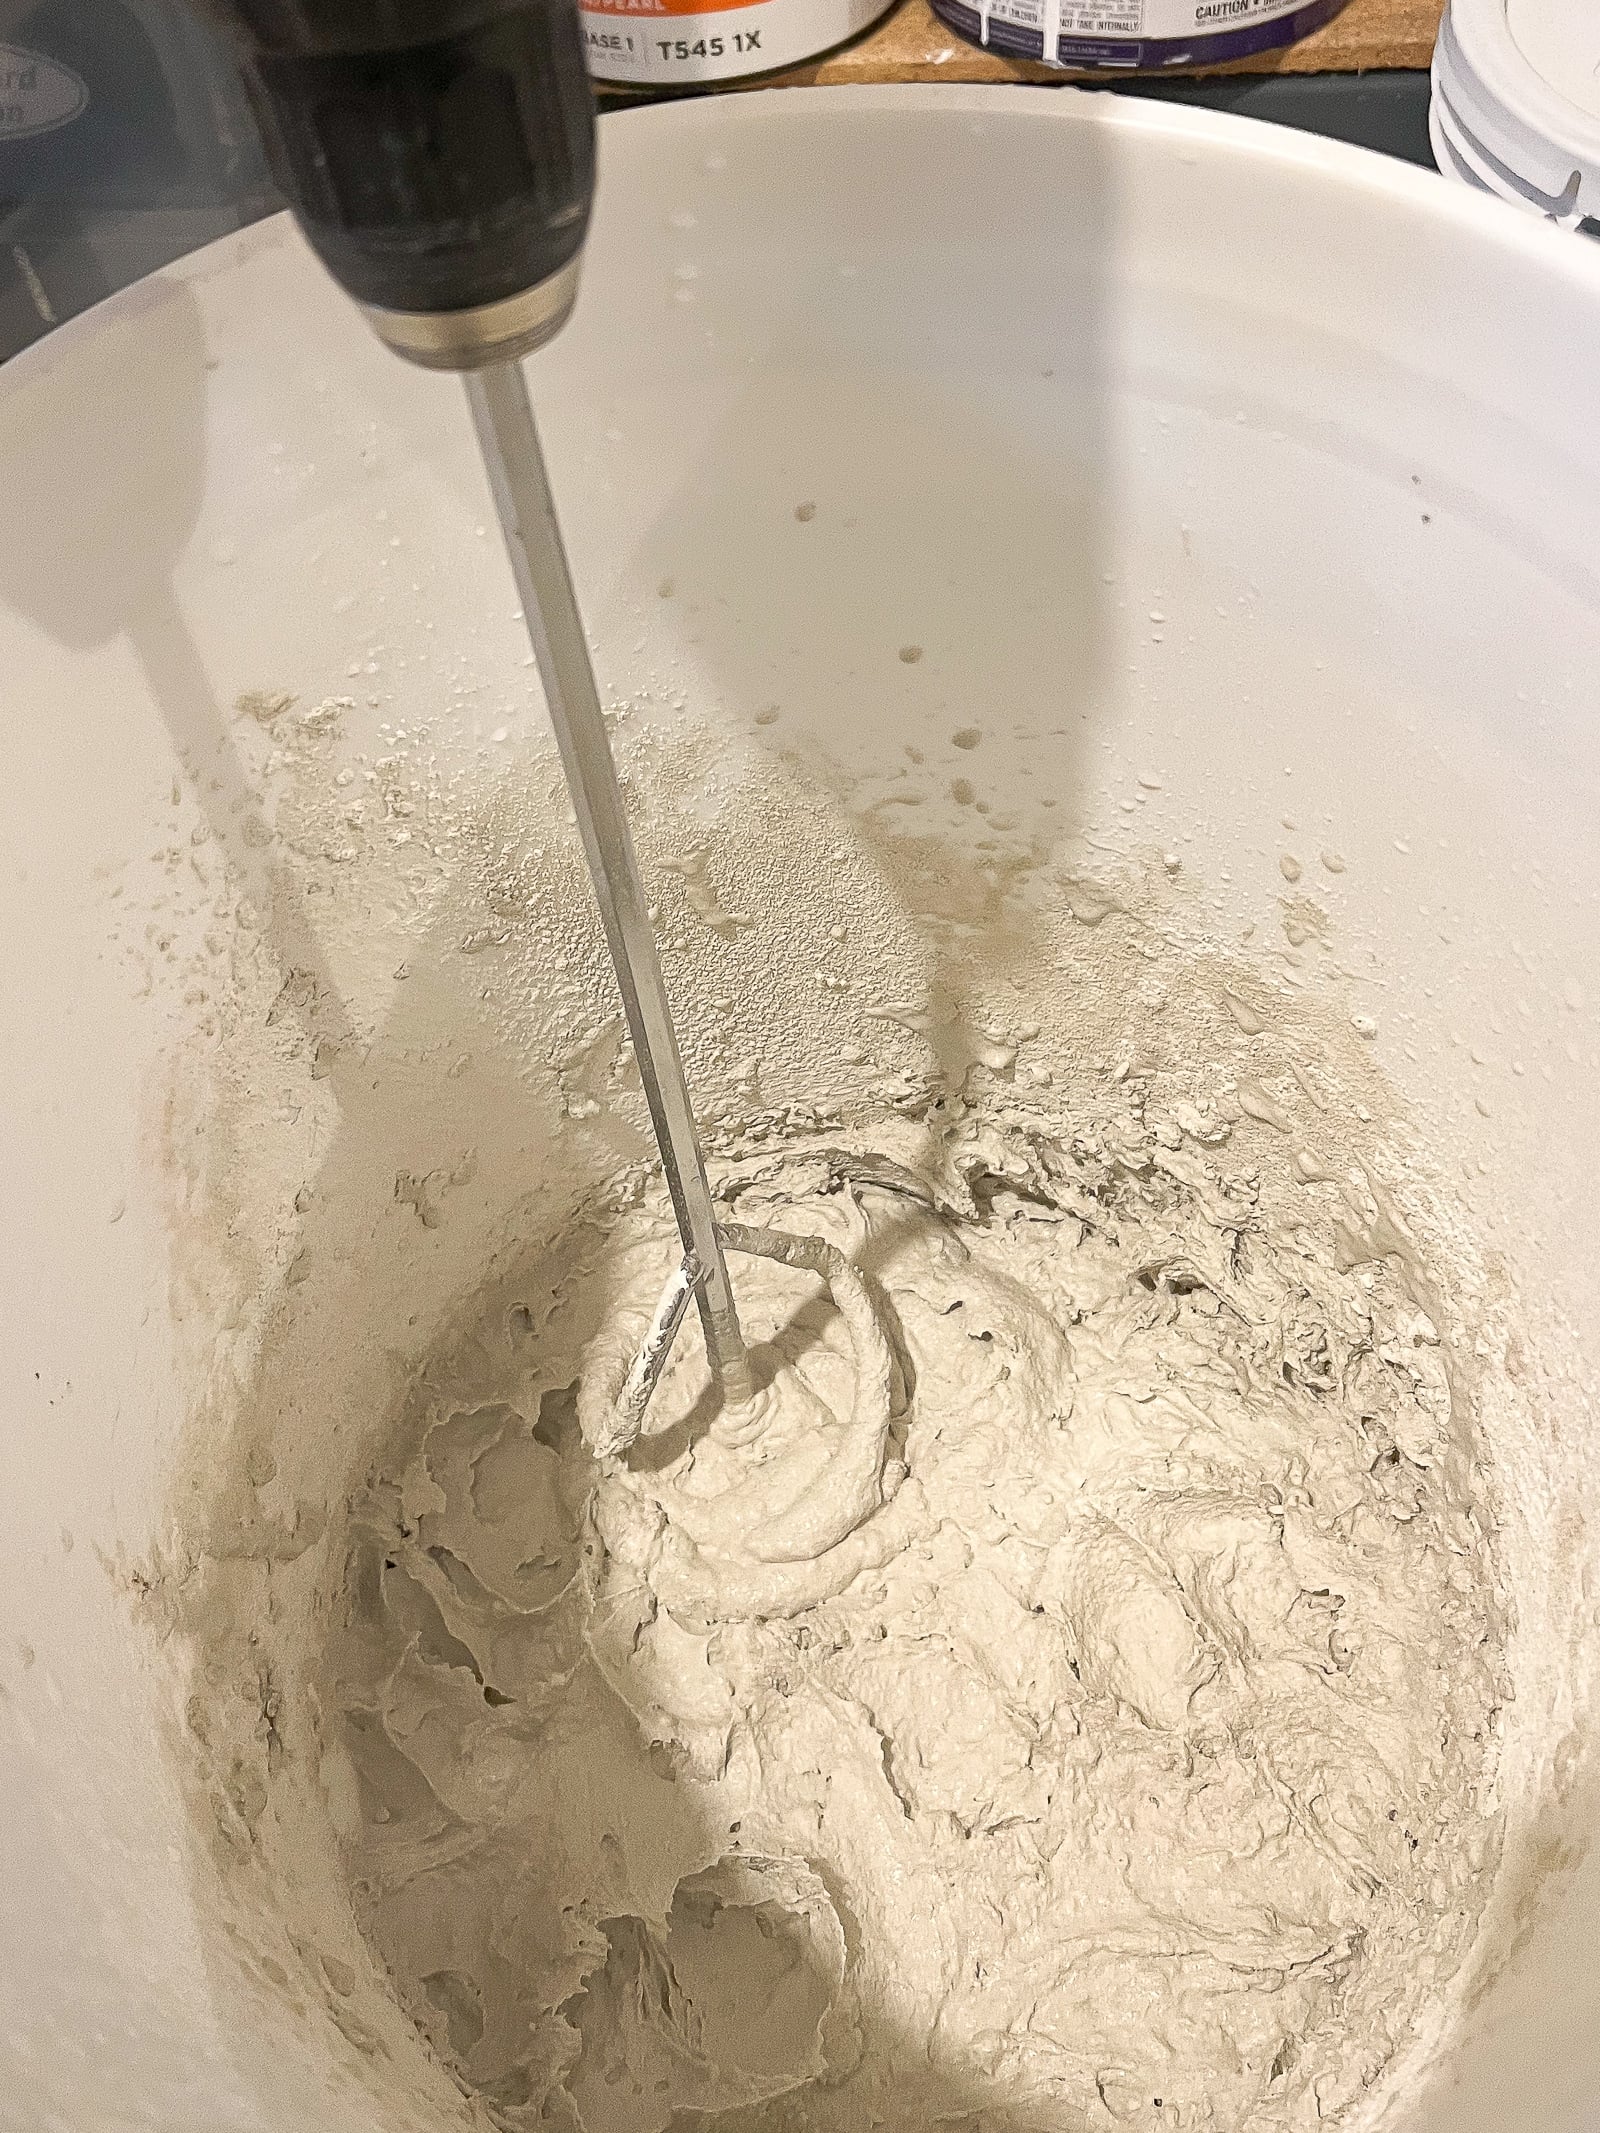
I used this white thinset that I picked up from Floor & Decor and mixed it up using this mixing paddle attached to my drill. I highly recommend going with a paddle instead of mixing by hand to get the right consistency. I always start with water first and then add a bit of the thinset to the bucket. Follow the directions closely so it isn’t too soupy or too thick and make a small amount at a time.
Starting At The Door
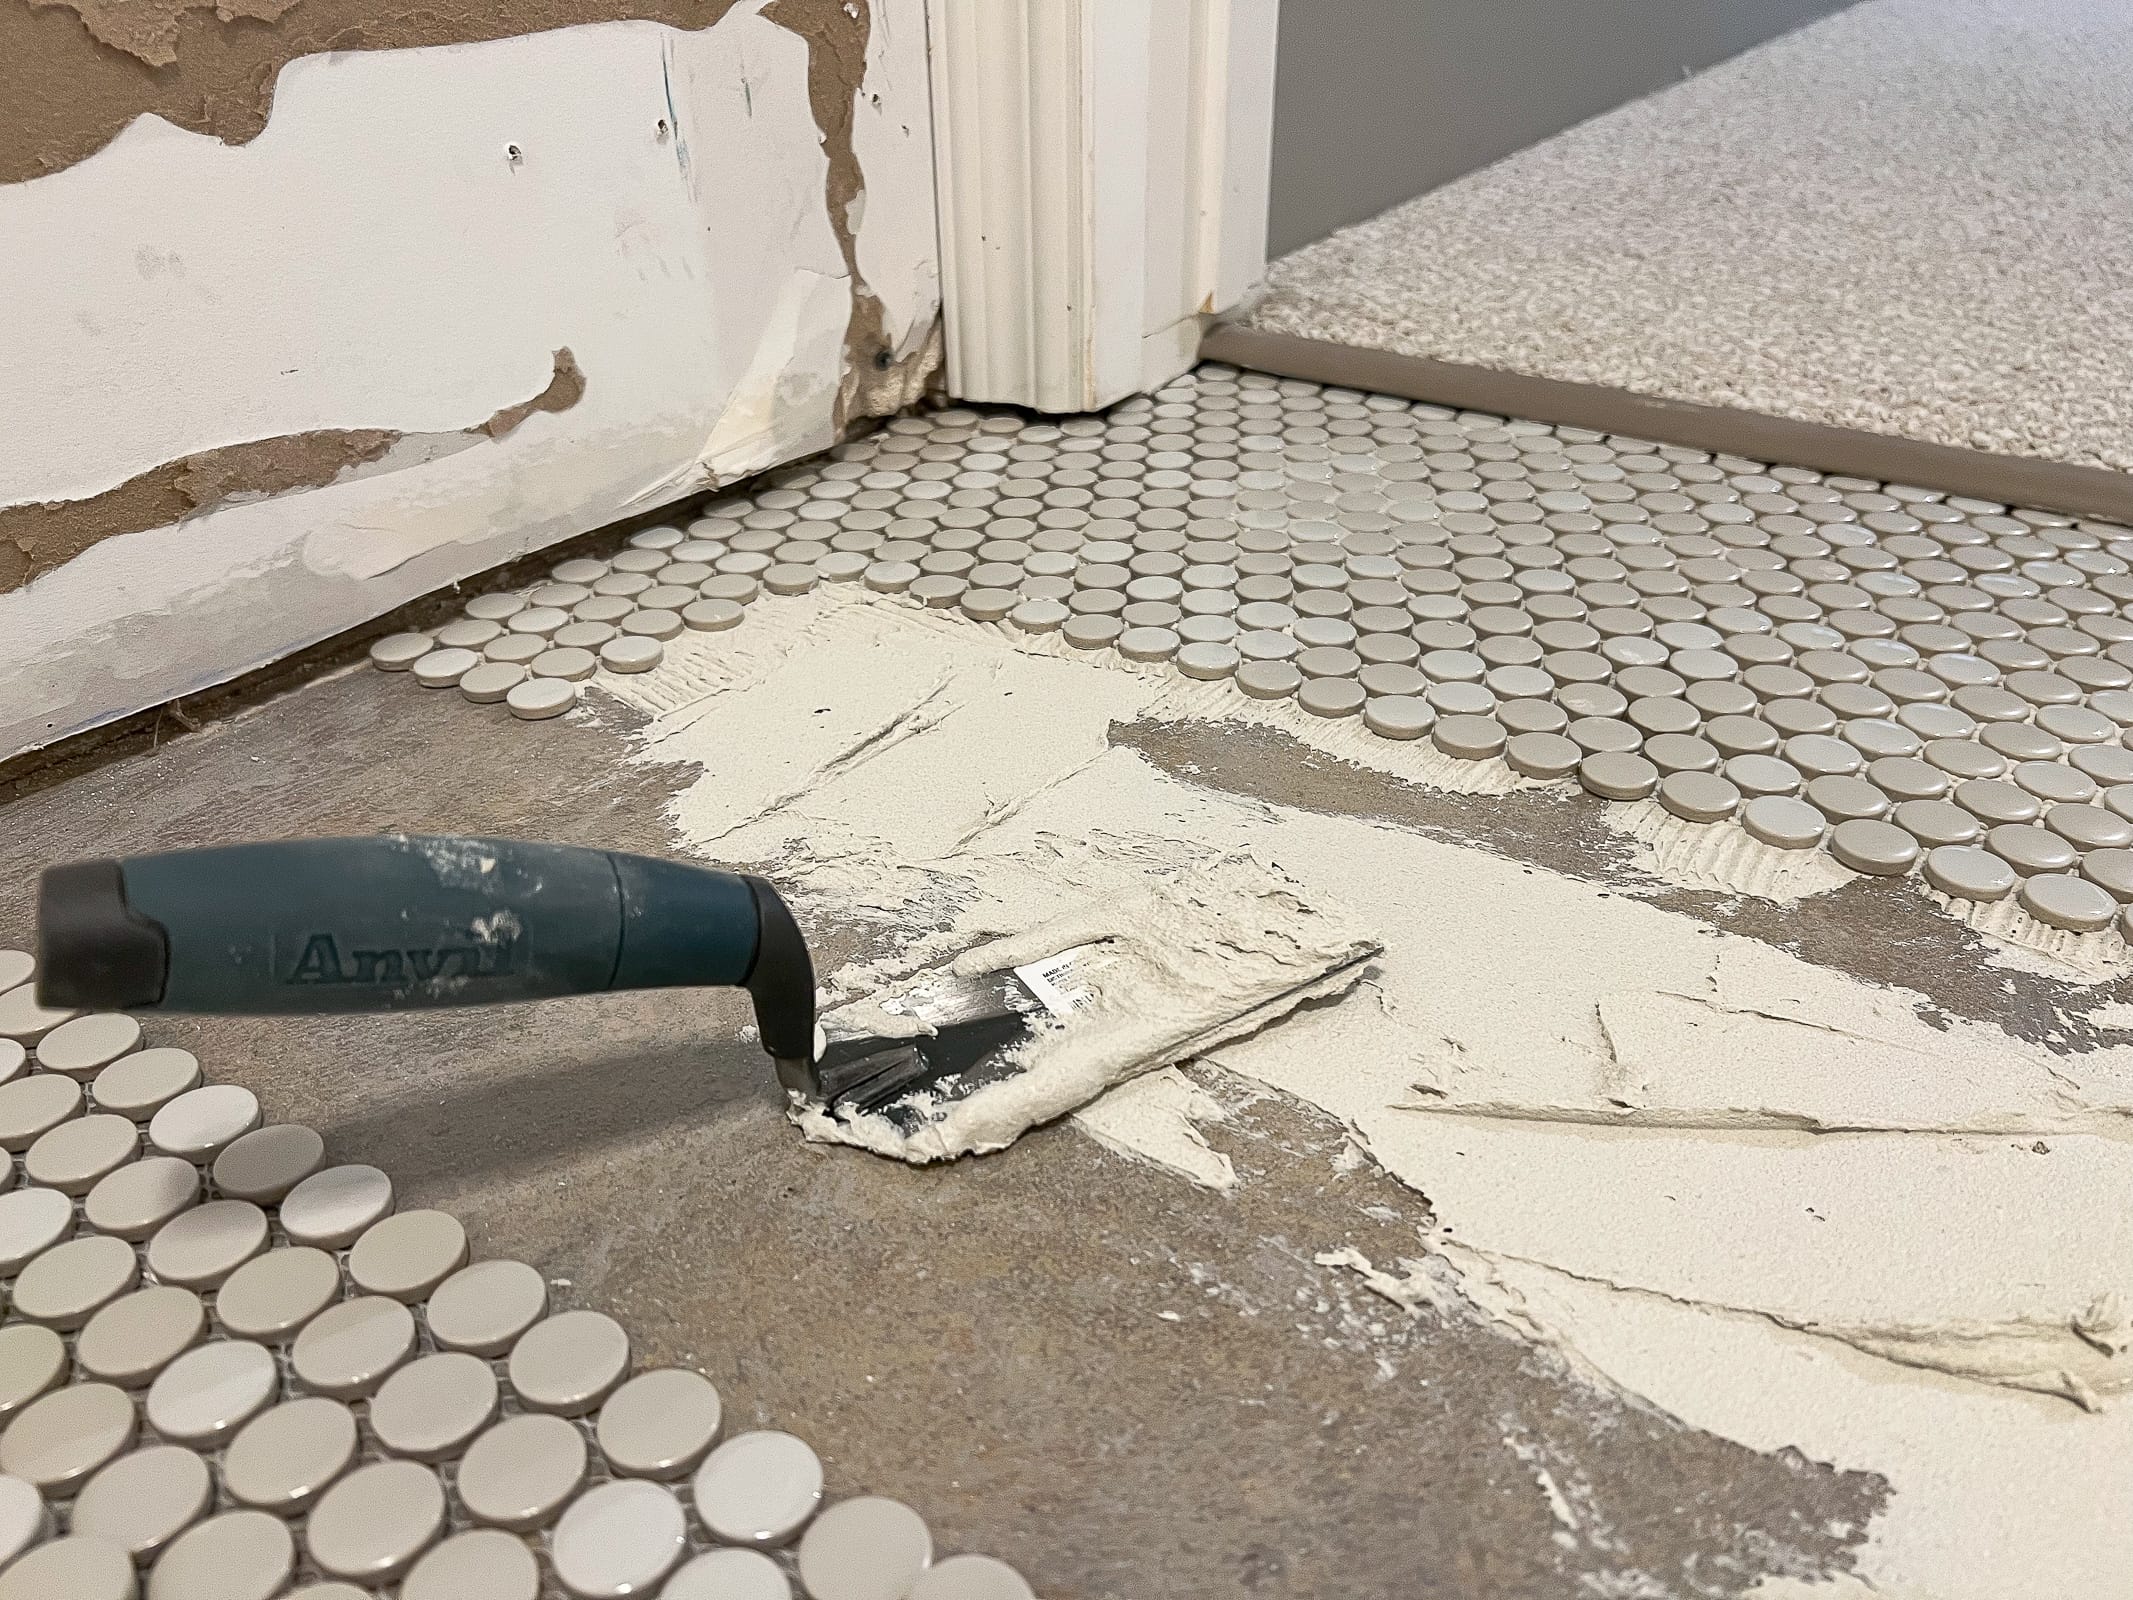
Again, I started at the door because I wanted to make sure that it looked the best. Yes, this did mean that I was literally backing myself into a corner as I installed it, but that was okay by me.
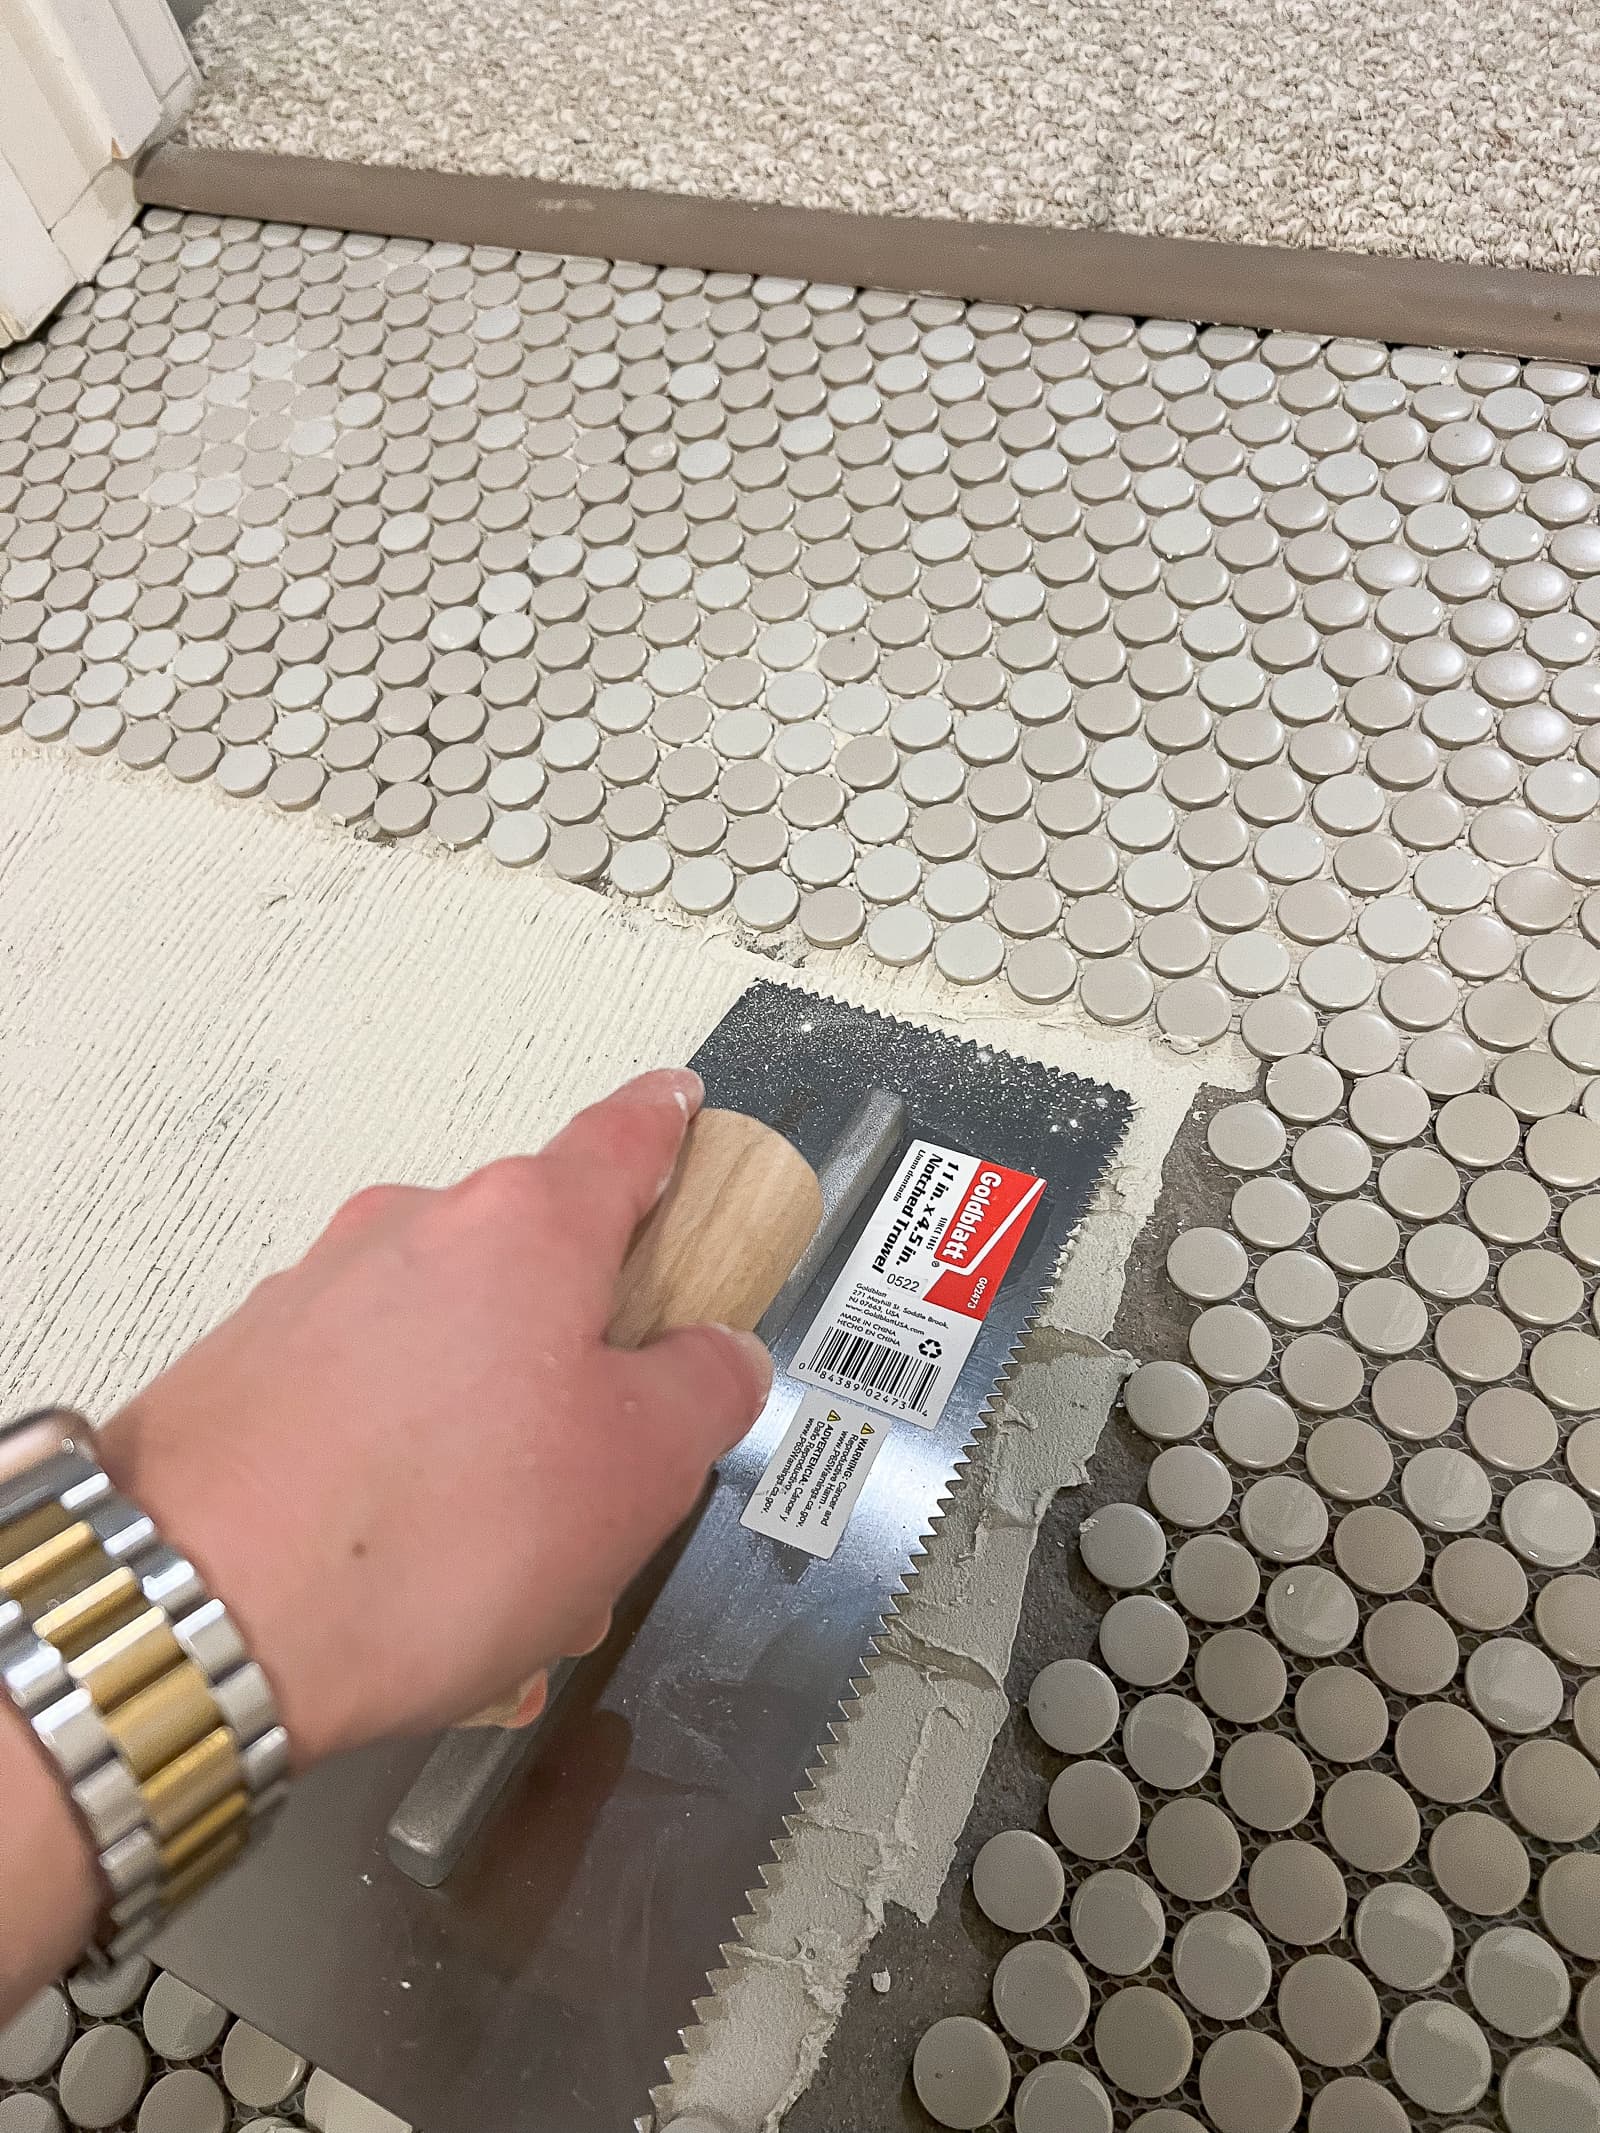
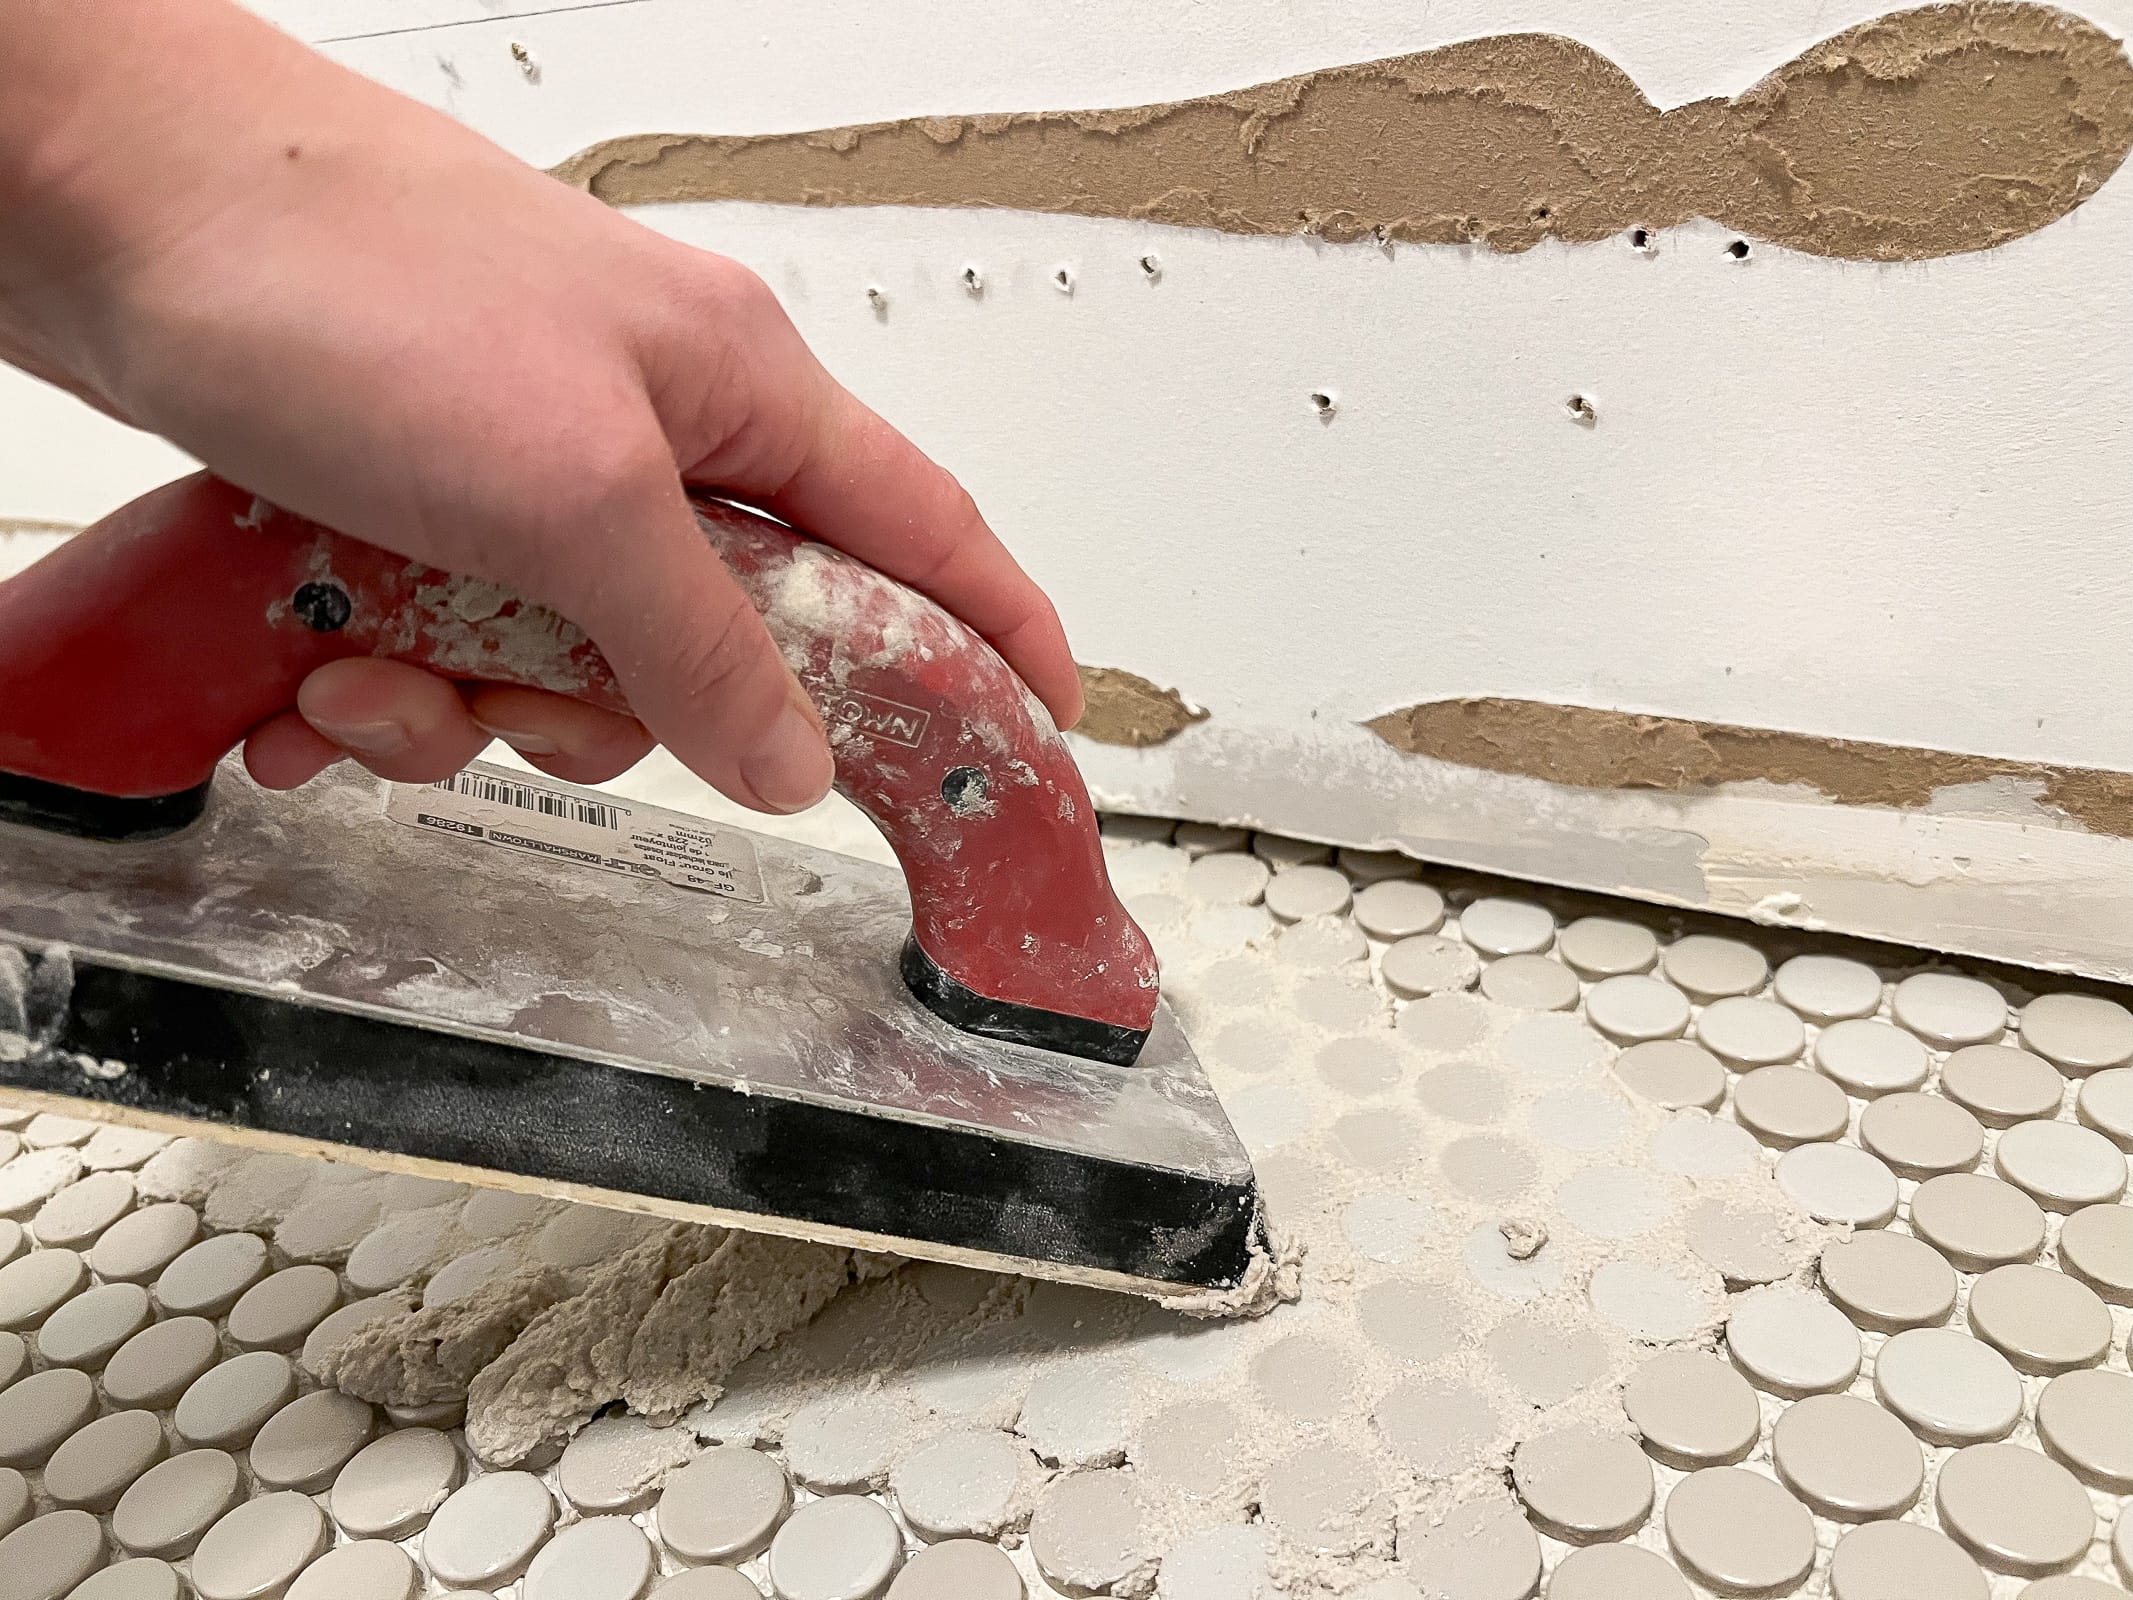
I used a trowel to scoop the thinset out of the bucket, plop it onto the ground, and smooth it out. Then, I went over the area using a notched trowel. The size of the notched trowel depends on your tile size. The bigger your tiles, the larger the notches. For penny tile, I went with a 3/16″ v-notched trowel. The notches get rid of any excess thinset so you don’t apply too much to the ground. If you do, it will ooze through the tile and make a big mess! I like to keep my grout float handy so I can press the tiles into place from the top too.
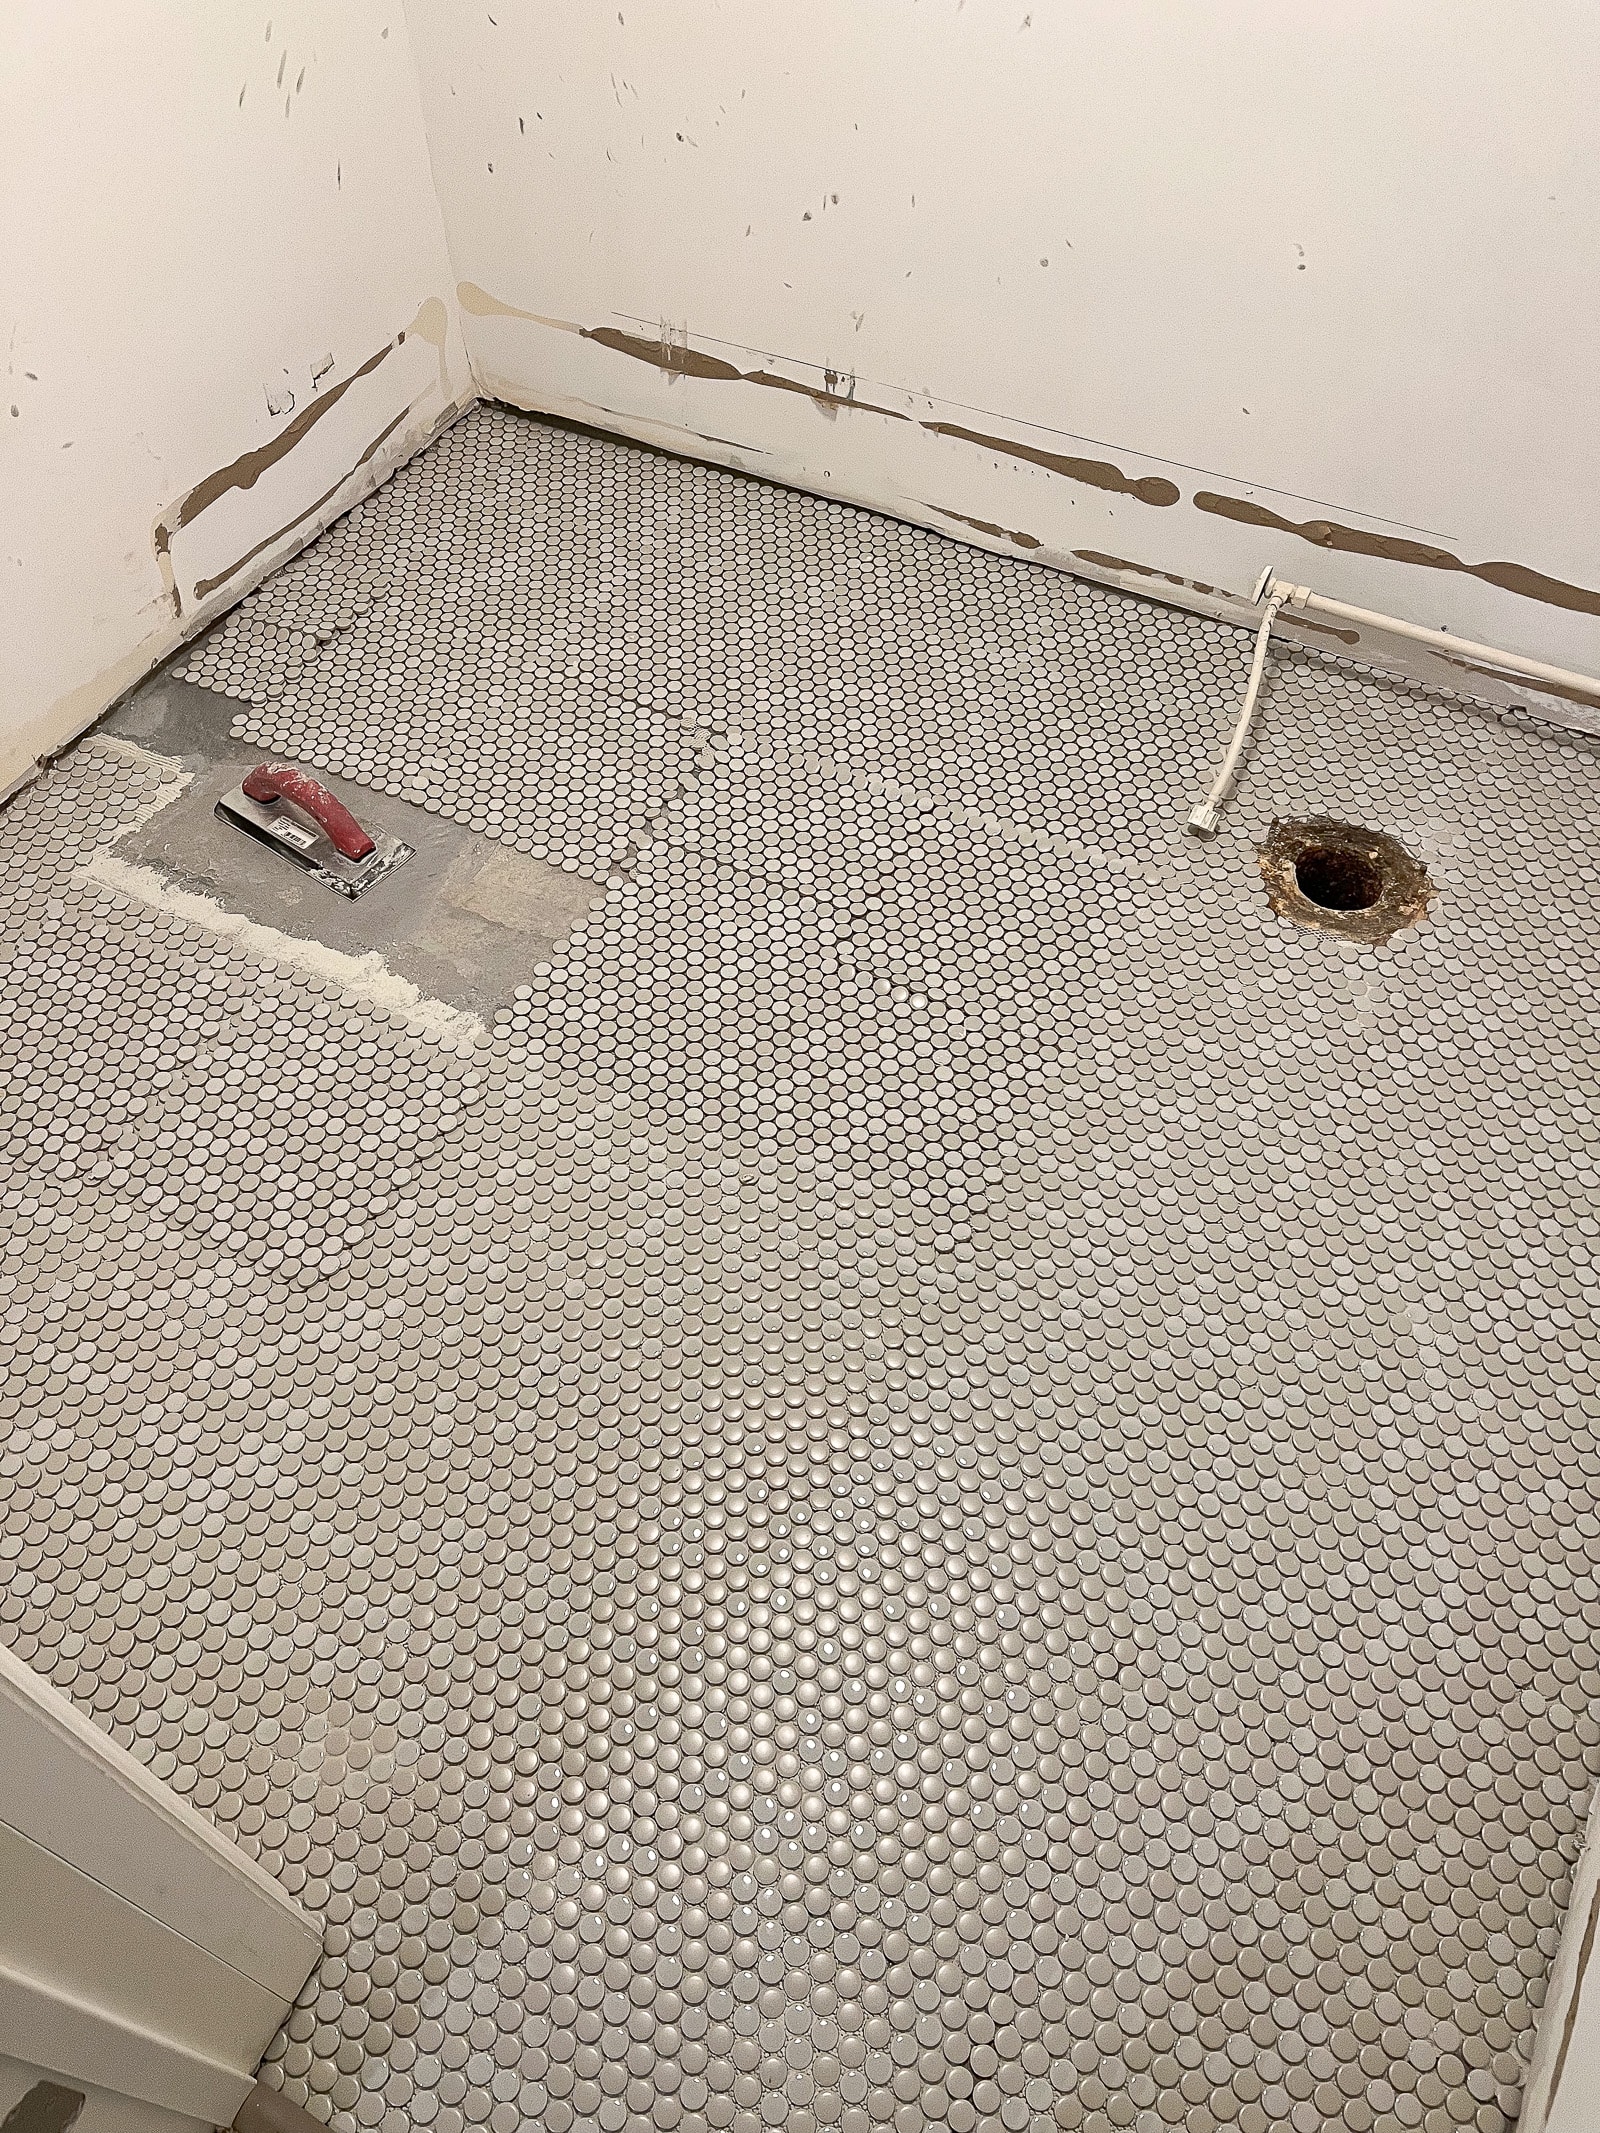
It took me about four to five hours to get everything installed in the bathroom and my body was very sore in the end. By the time I got to the corner, I was squatting in a tiny position so I didn’t mess up the other tiles around me. I then tip-toed outta the room!
Time to Grout
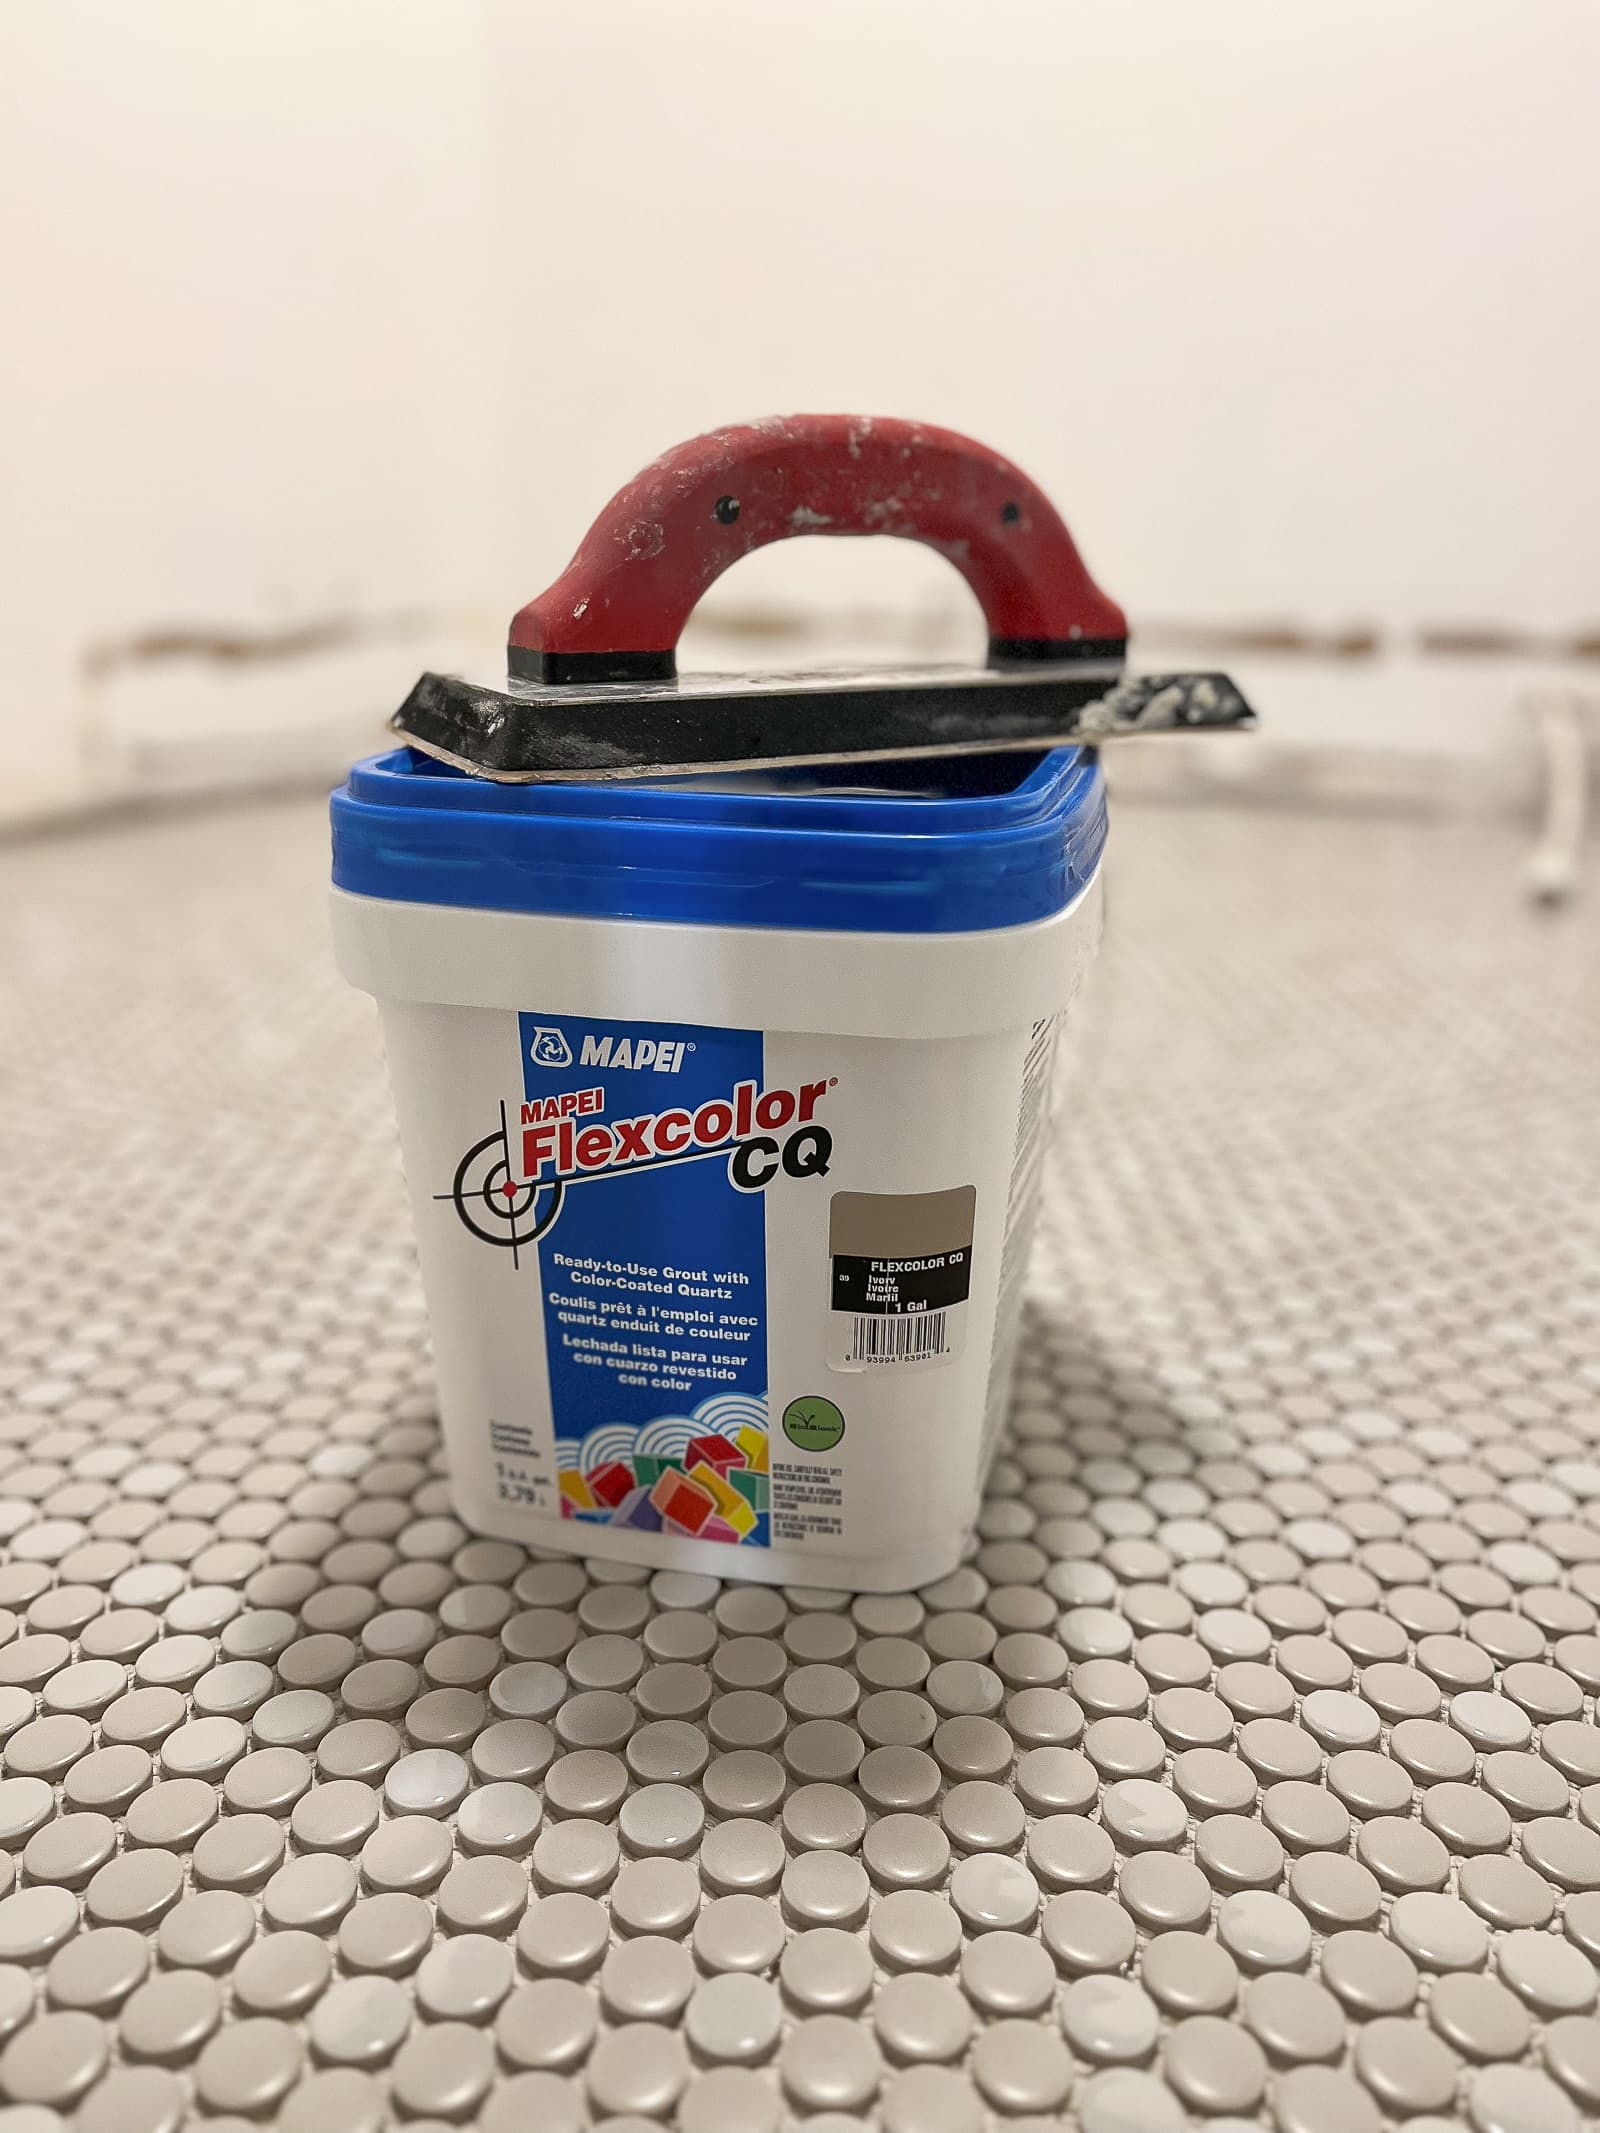
I let the thinset dry for two days and then it was time to grout! I prefer to use pre-mixed grout to ensure that it’s a perfect consistency. Yes, this does mean that the grout is a tad more expensive, but it takes the user error out of it! I chose the color “ivory” in a sanded grout.
What I learned from grouting is that it always takes much longer than you think it will! I thought this small bathroom would take an hour or two, but it was more like three to four hours of work. Here are some of my best tips…
- Hold a grout float at a 45-degree angle and move the grout around on the surface to get it into the joints.
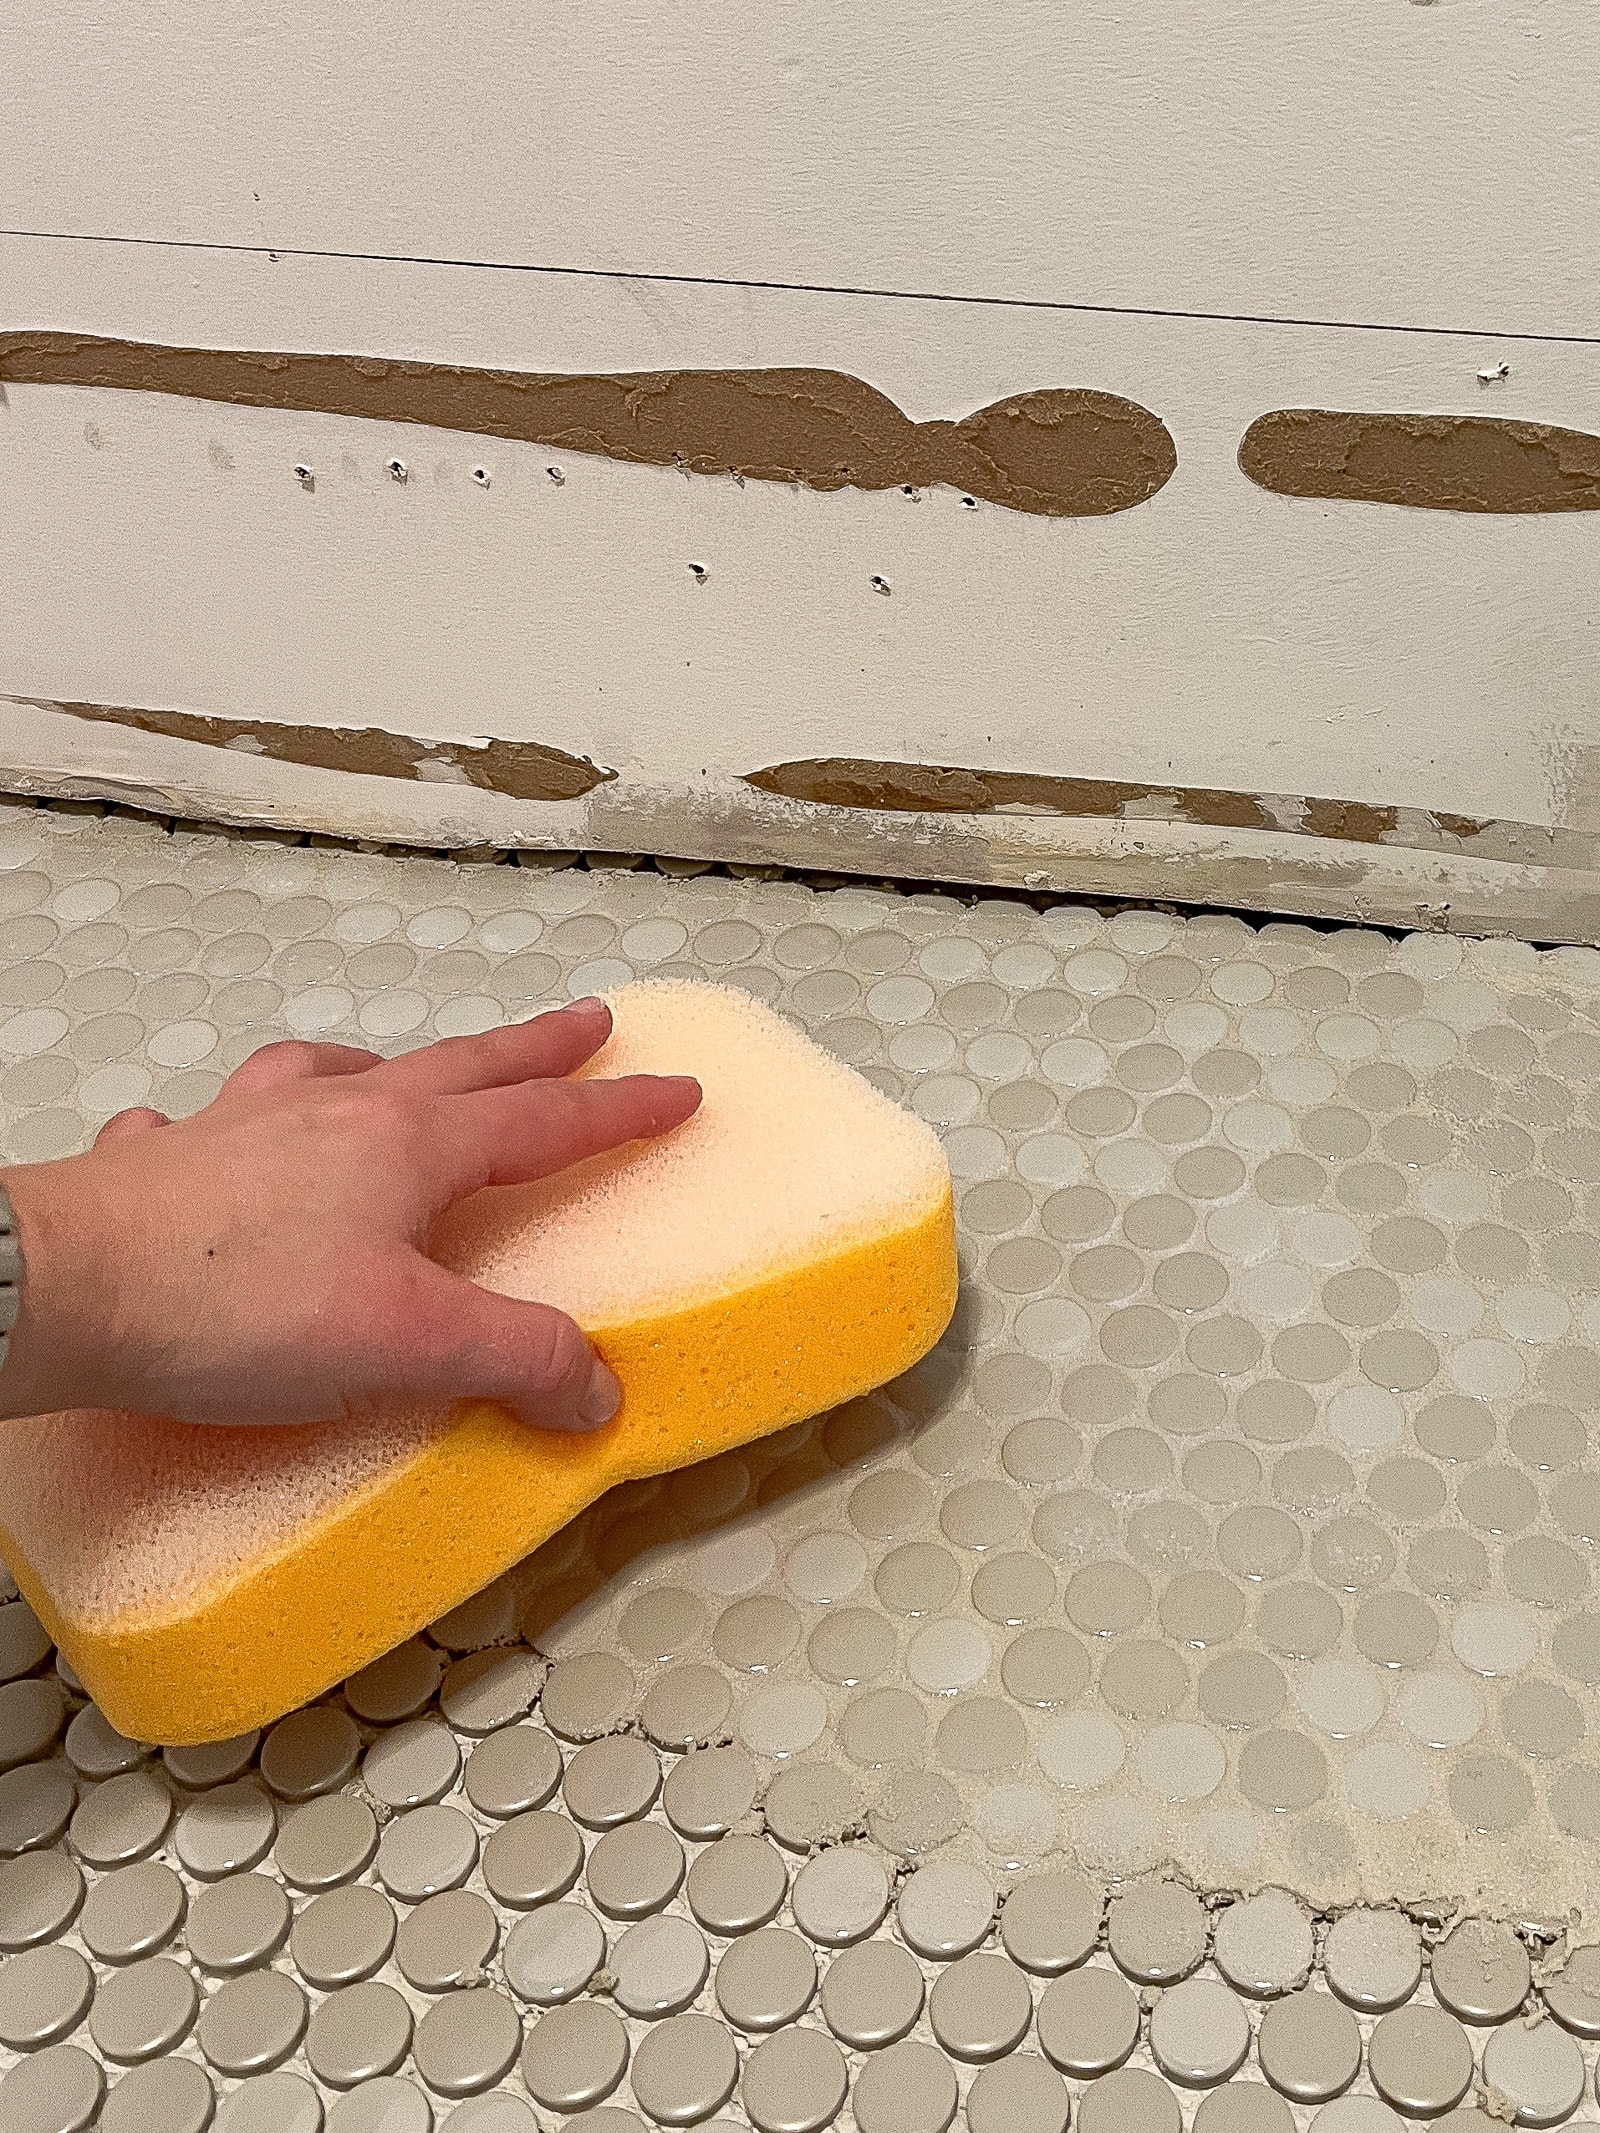
- Keep a bucket of clean water nearby, along with three sponges.
- Take a wet sponge and ring it out really well.
- Let your grout sit for 5-10 minutes and then take your sponge and wipe, wipe, wipe! The damp sponge will help shape the joints.
- Keep swapping out your sponges, so you’re always using a clean one!
- After another 10 minutes, go back over the area to ensure it’s super clean and no grout is on the surface.
Going Back For More Grout…
I was chugging along on the floor, working my way out of the room. Then, with literally less than 5% of my tile to do, I ran out of grout! Ugh, the absolute worst. I was literally scraping the bottom of the bucket to get every last morsel out and couldn’t stretch it. So another trip to the store was in order to get more grout. Don’t you hate when that happens?!
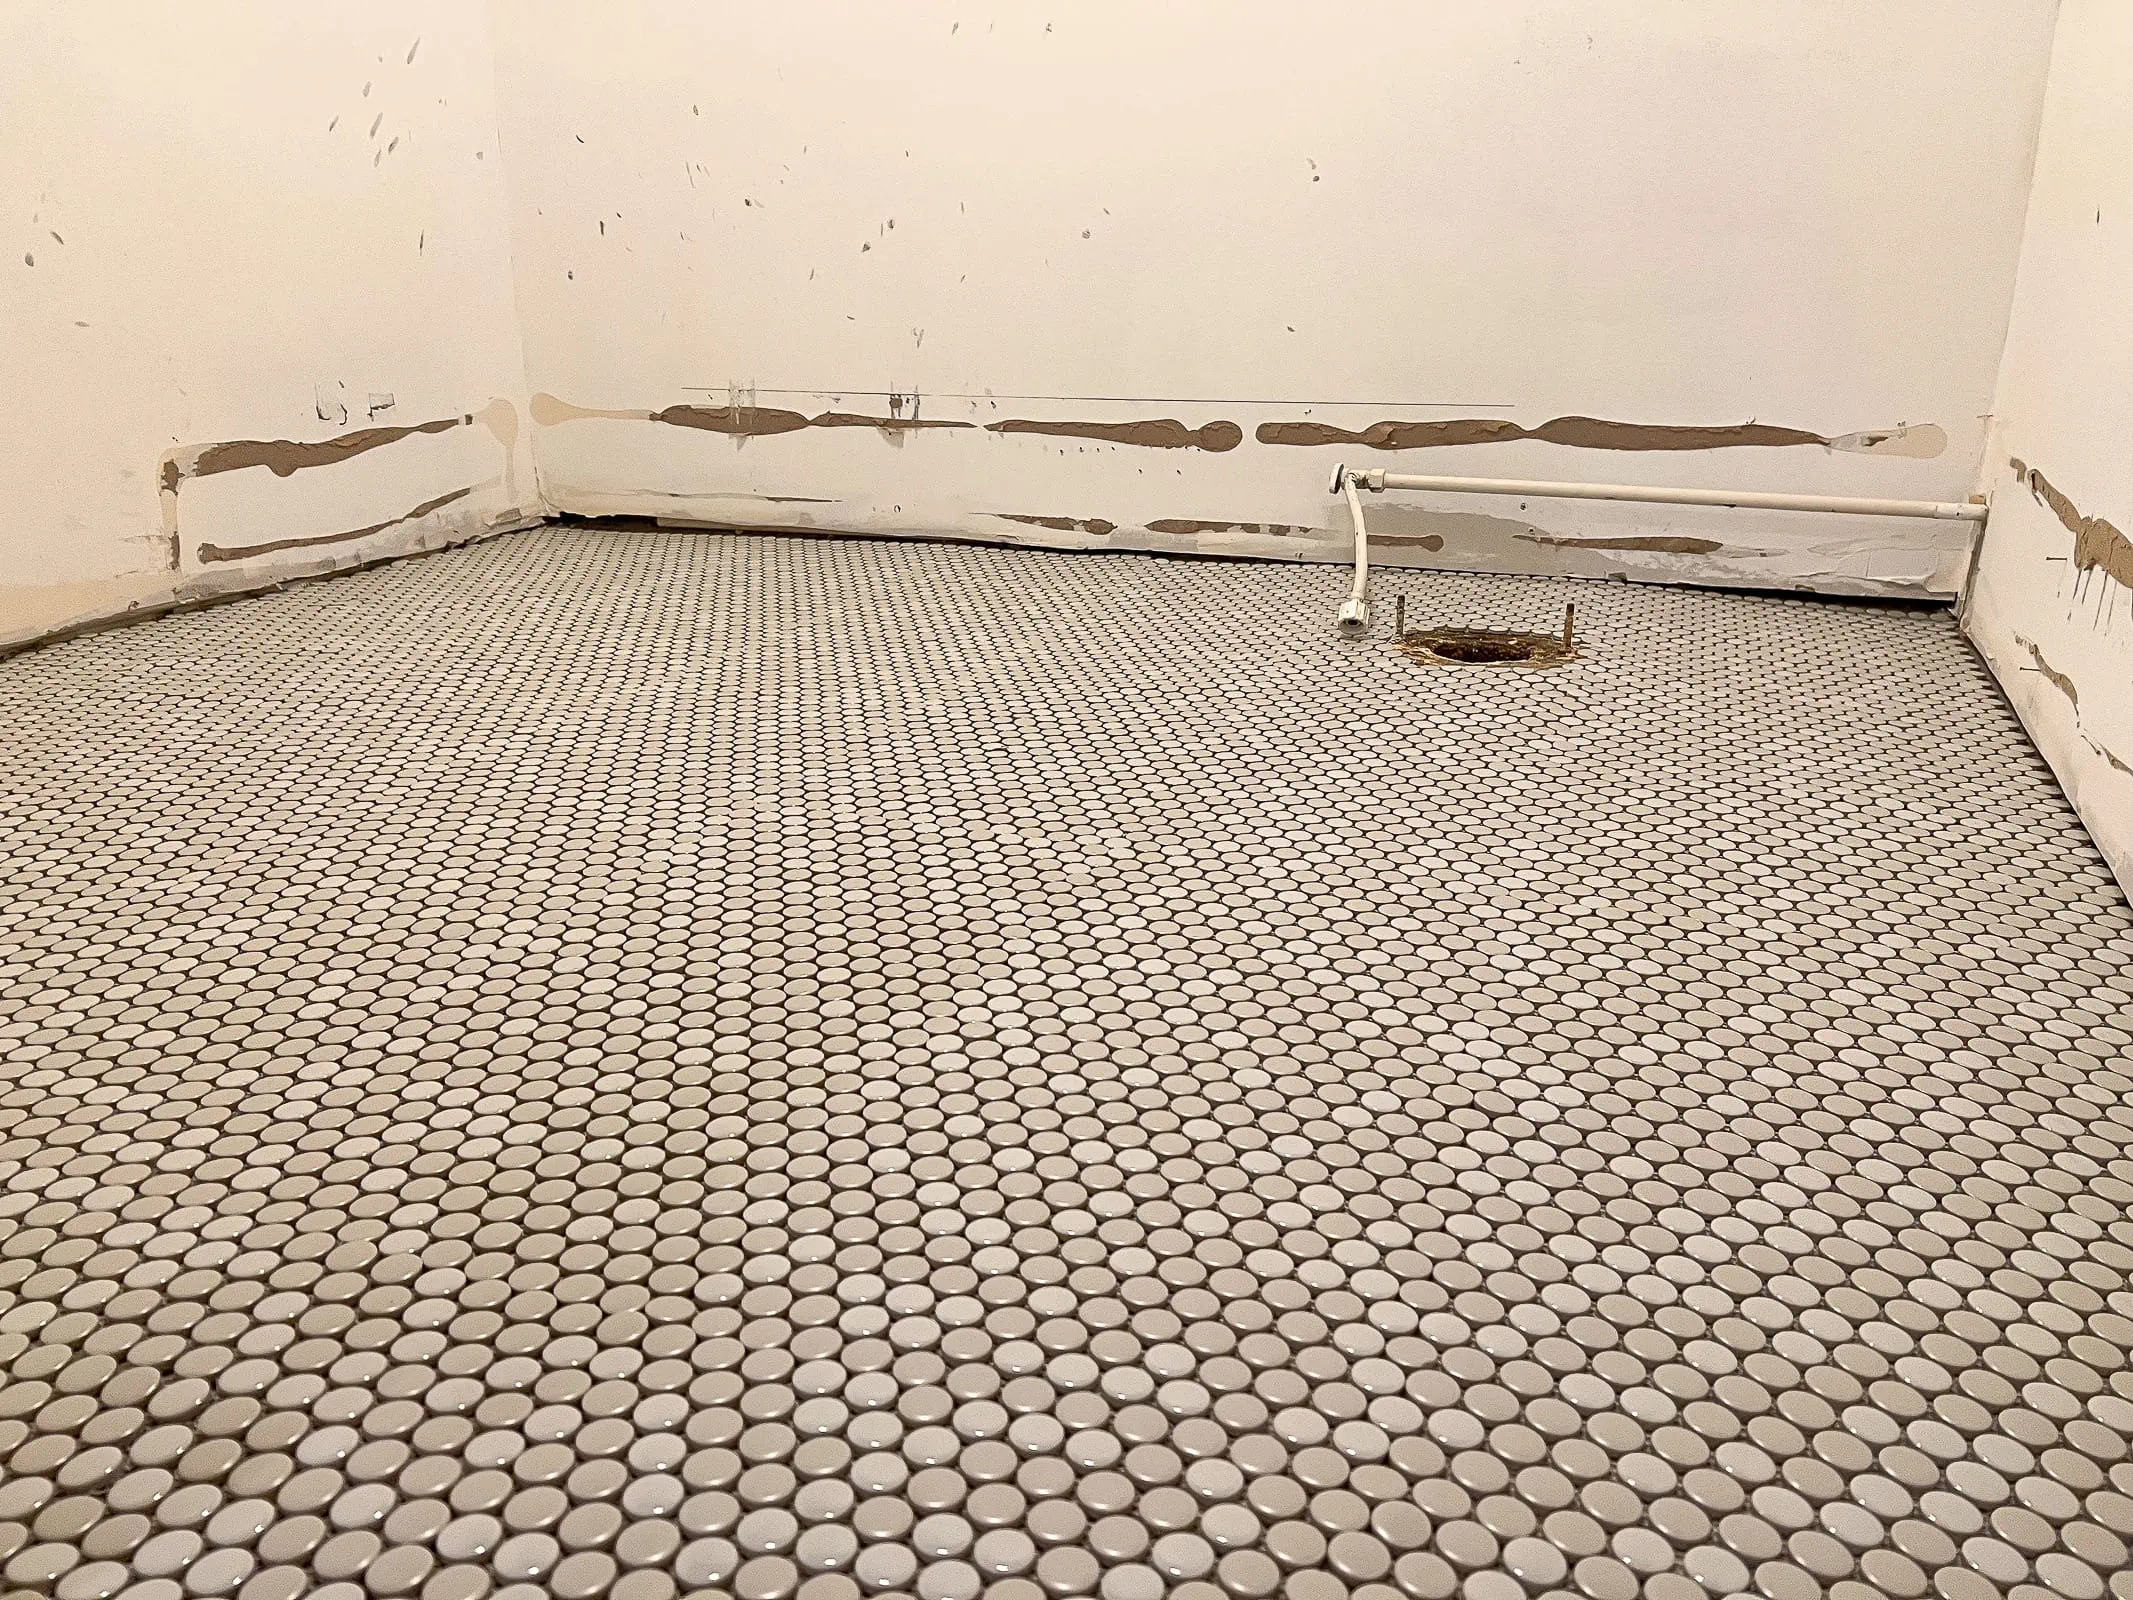
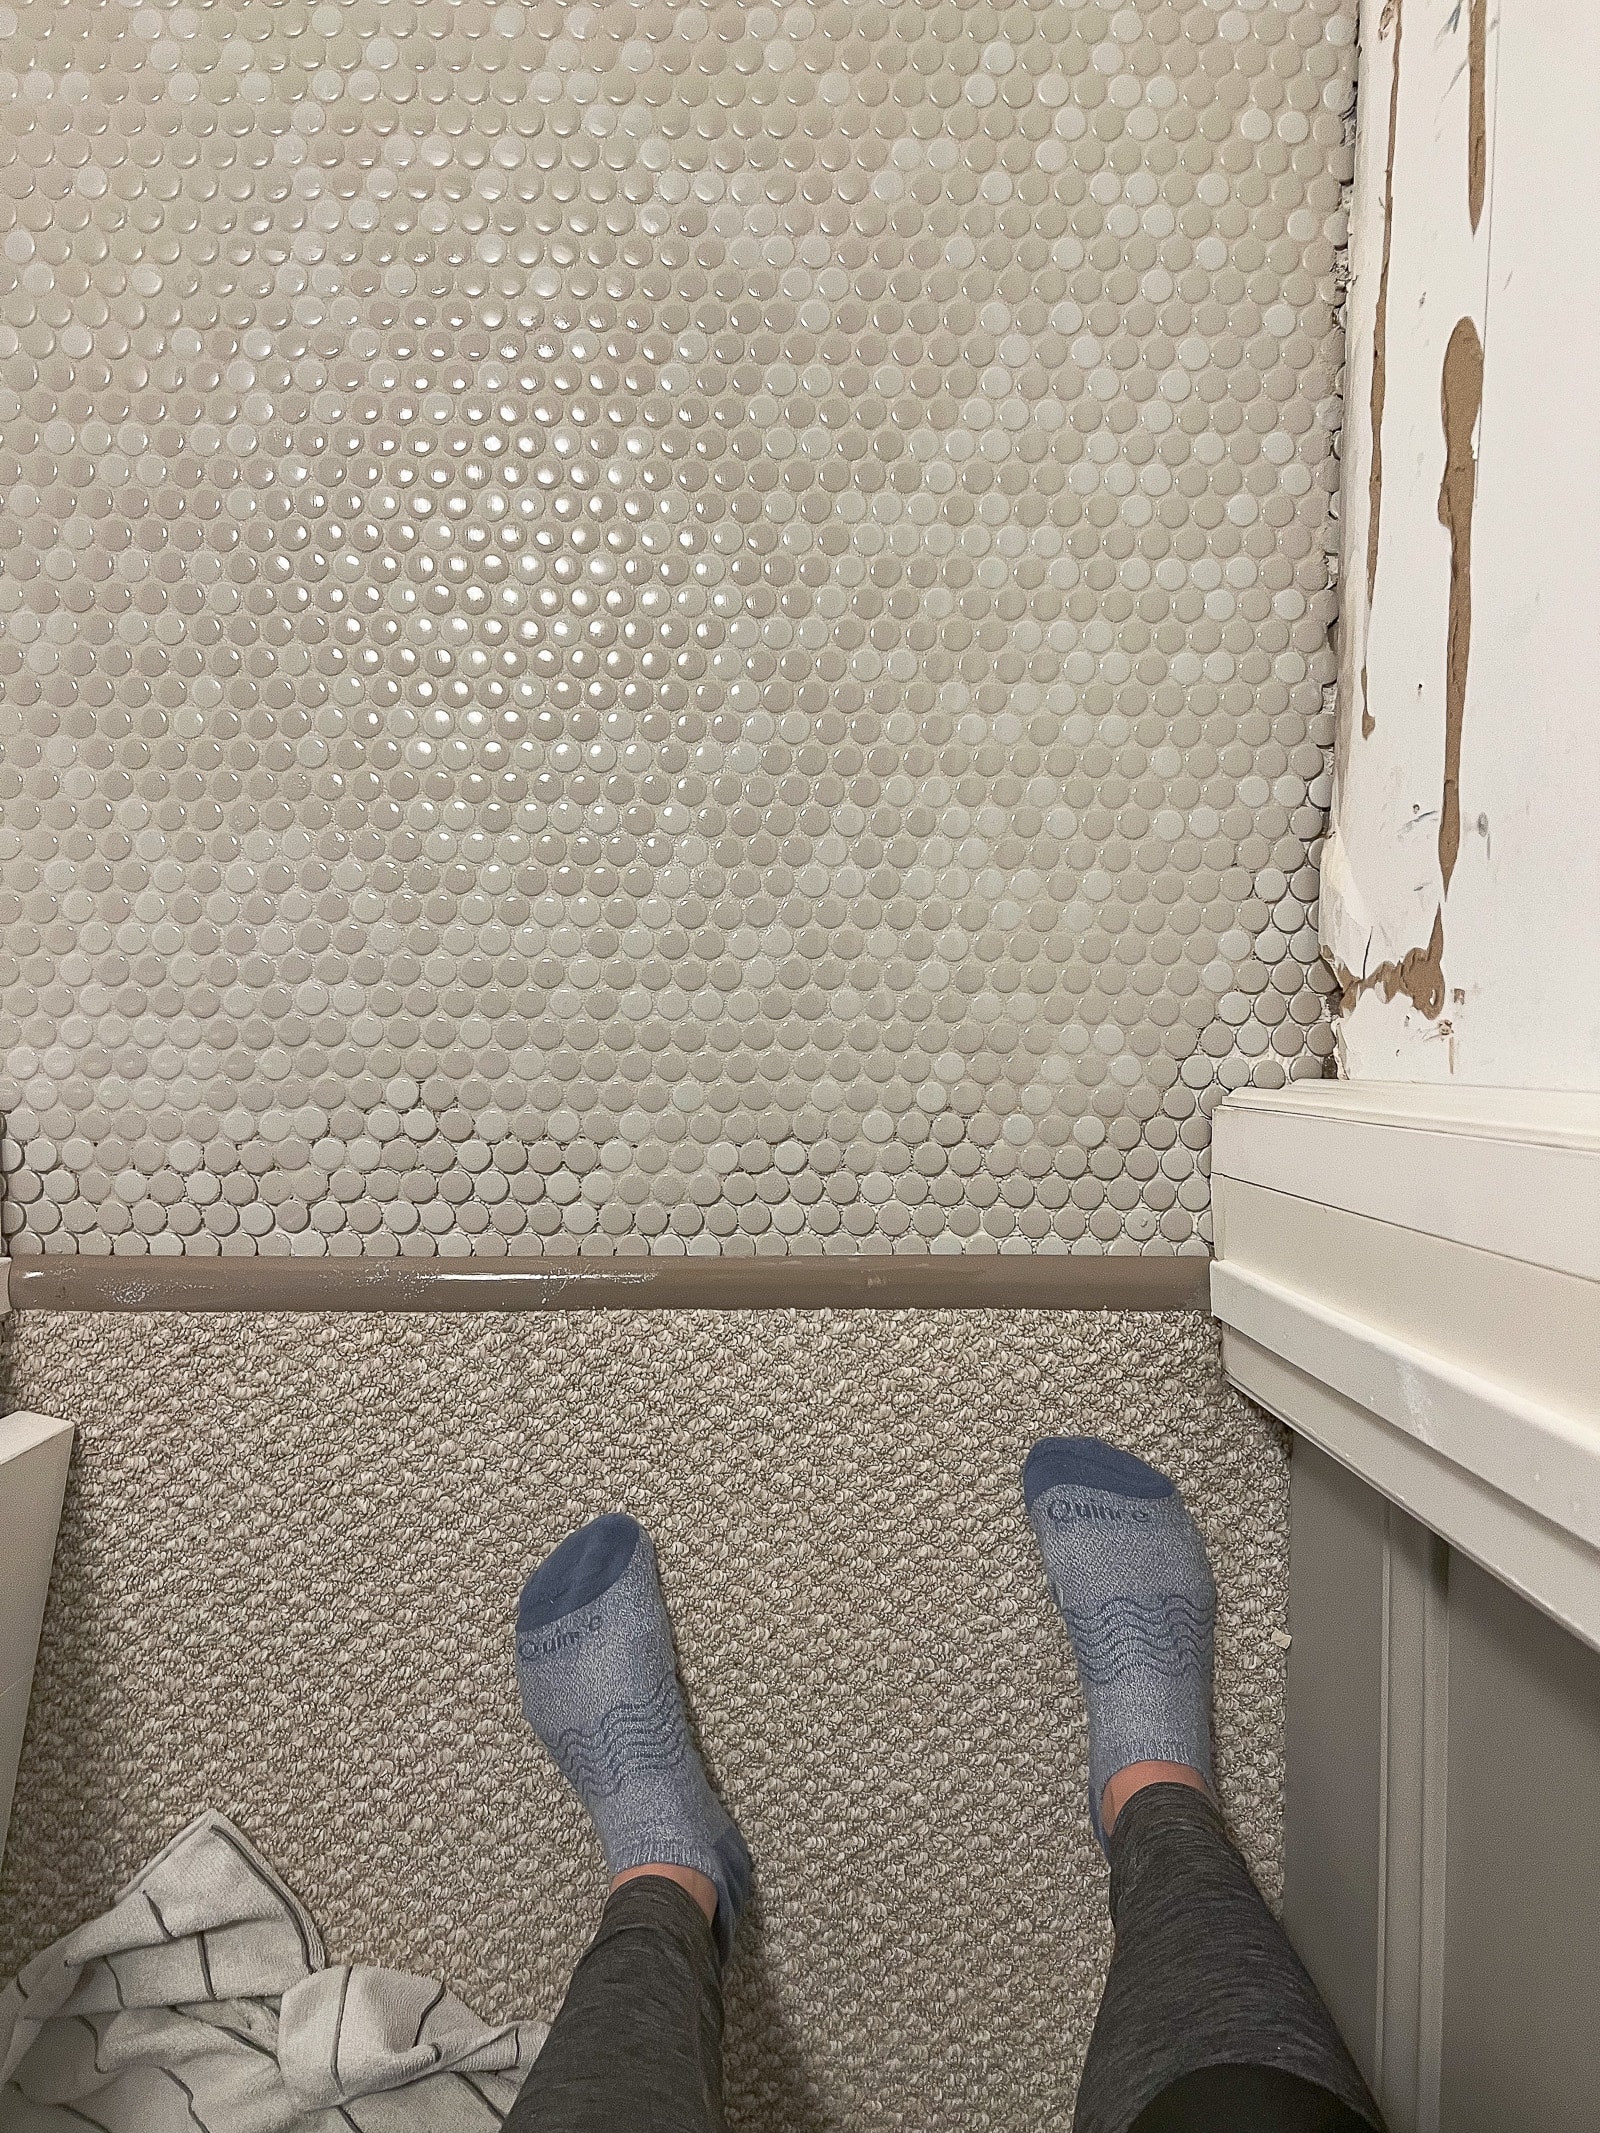
Our New Penny Tile Floor
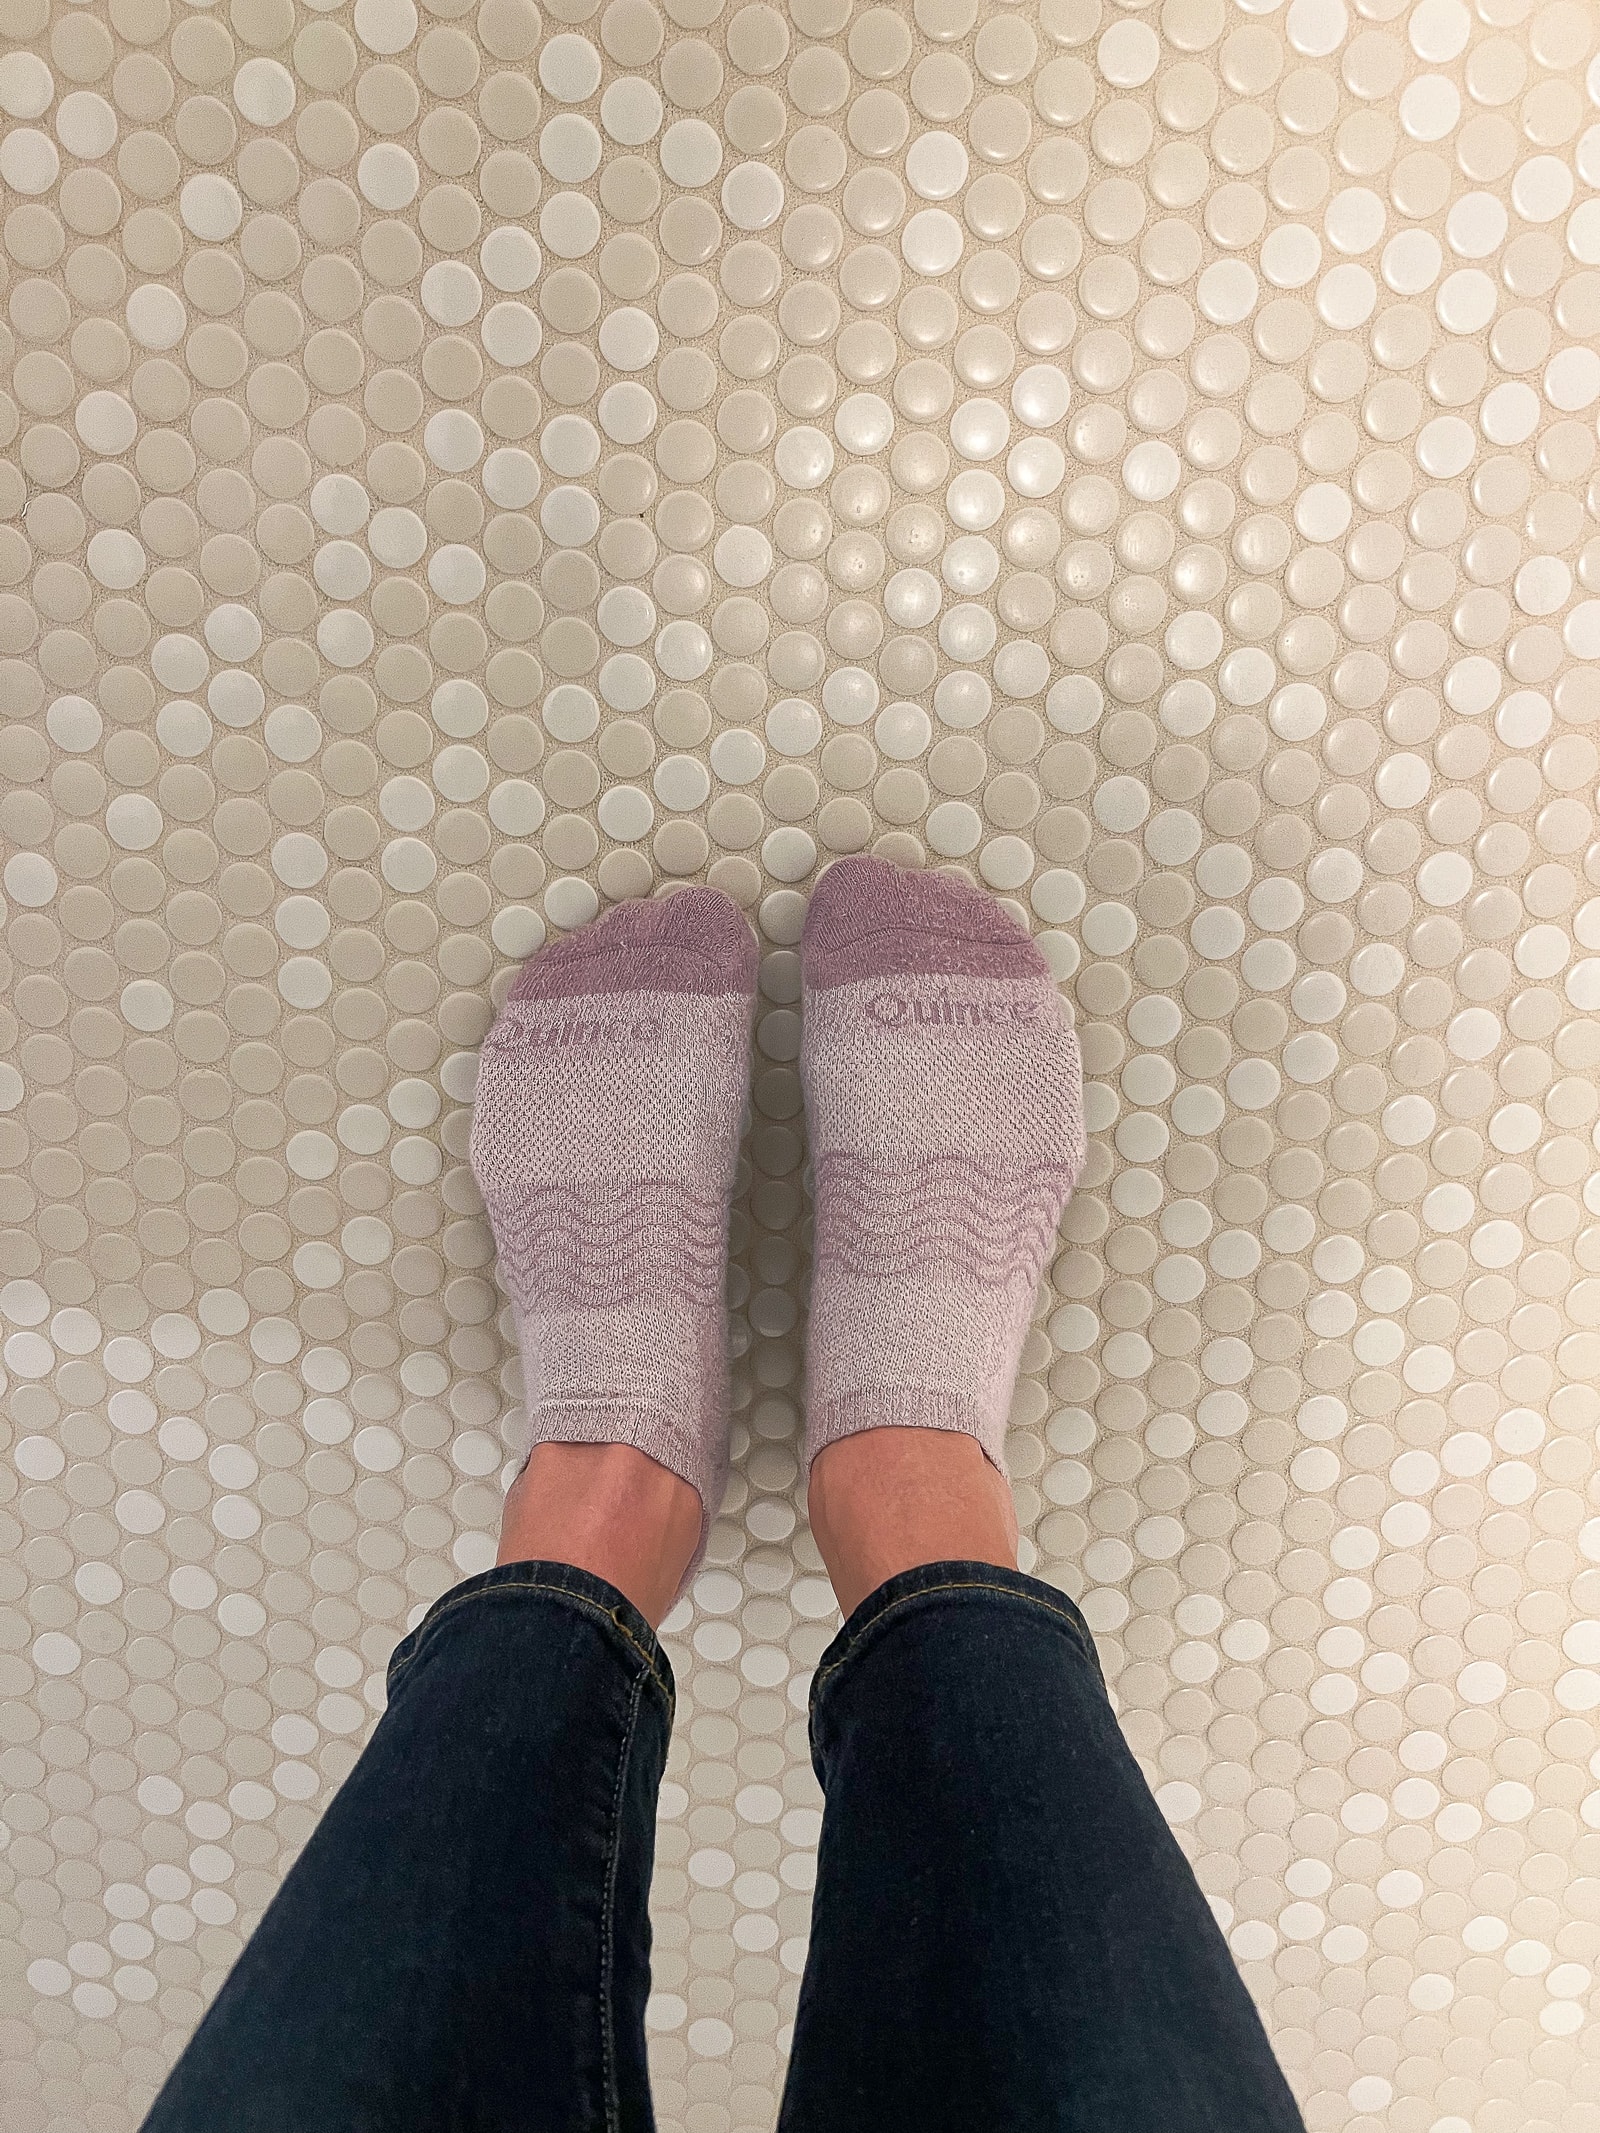
Here’s a look at our new penny floor tile. Isn’t it so pretty?!
I’m really happy I went with this particular tile. The color variations are gorgeous and all of the seams will ensure that it’s grippy for my kids in here.
It’s also a good neutral and jumping-off point for the rest of the room makeover – like that green vanity I’ll be installing.
What’s Next?
If you follow me on Instagram, then you may have seen my saga about centering the vanity on the wall. I’ve been chatting with a few plumbers and gathering estimates, and moving the vanity to the center of the wall is going to cost more than I anticipated. I’m still deciding if it’s worth it. I’ll keep you posted. For now, I’m just so happy to have this gorgeous penny tile in place.
Catch Up On Our Basement Bathroom