Progress on B’s House: 2 Months Later
It’s been just about TWO months since we closed on our new house and as you guys know, things have been a whirlwind around here ever since. A very PRODUCTIVE whirlwind… but a whirlwind nonetheless.
Making a List, Checking it Twice
I shared a to-do list of what we wanted to accomplish during “Phase 1” of this remodel right when we moved in (you know we LOVE a good to-do list). I thought it would be fun to check-in today, two months later, and share what we’ve gotten accomplished since then.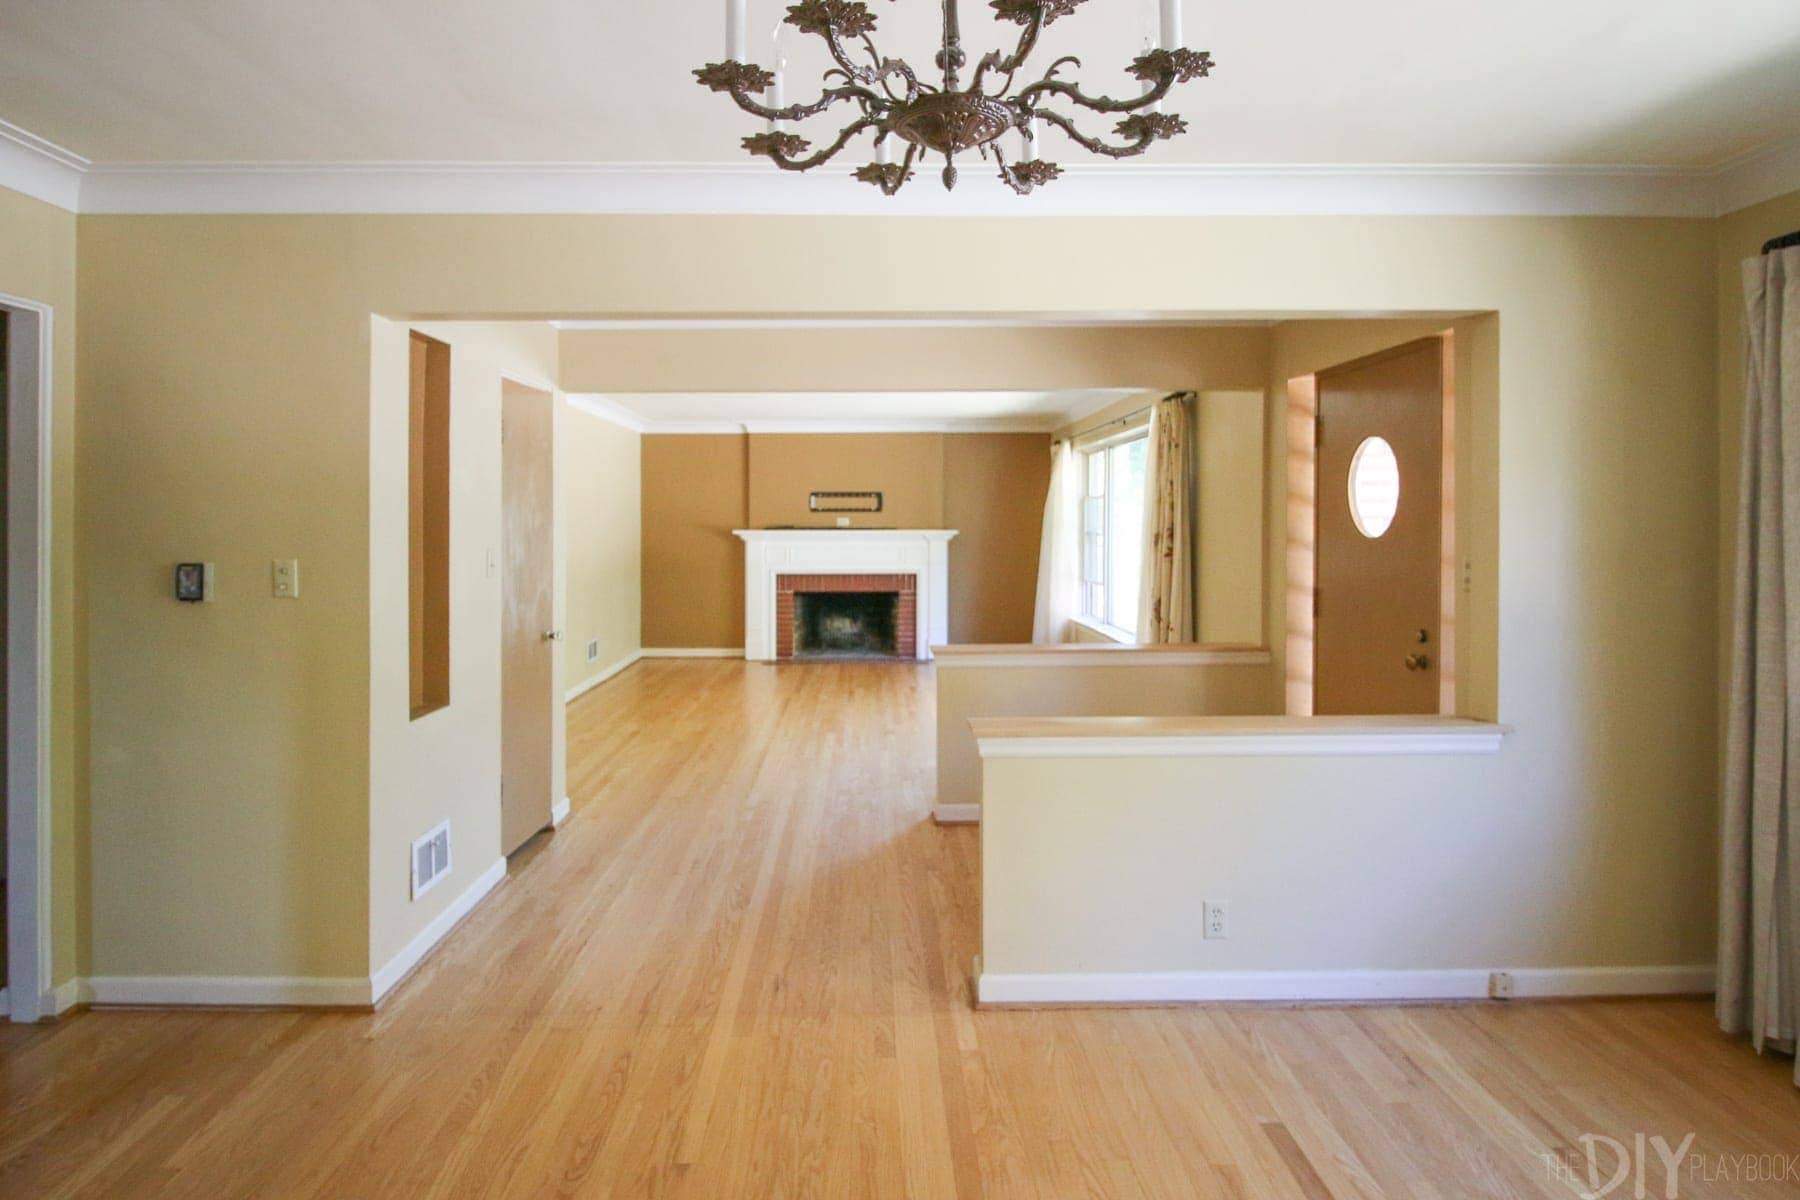
Before I get into the details of some of these projects, here’s a quick overview of what we were originally hoping to get done before Baby Mac arrived.
The Original To Do List (85% completed)
Demo the trim, window casings and all doorsAdd new trim, new doors, and new casing- Install hardware on all doors
Add can lightsChange all outlets and light switches to white- Paint… everywhere
- Restain the hardwood floors
Remodel the MudroomInstall the NestPowerwash the driveway, front porch stepsRip out all old/overgrown landscaping, clean up what’s leftTake down large decorative pieces hanging on the home’s sidingRent a professional edger and edge the overgrown grass, give the lawn a little TLC- Paint the front door
And since some additional projects have “popped up” since September, here’s a list of other projects that we added to the mix.
Extra Items We Added Along the Way (95% completed)
Replace the furnace with a high-efficiency optionPaint the floors and walls of the basement storage roomsGet mortar fixed on the front porch and some cracks in the bricksReplace the tile on the fireplaceGet the dead tree outside cut down and replaced with a new treeShiplap basement wallCover up doorbell indentation in the wallMove outlets to accommodate the future built-ins & mounted TVReplace all floor vents & wall returns- Replace backup battery for sump pump


Overall I can’t be more EXCITED for all of the work we have gotten done so far! And yes I say “we” because it really has been a GROUP EFFORT by my dad (#MVP), mom, Matt, Casey, in-laws, uncle, and the contractors we hired to help on some of these projects. I have a LOT of details coming your way on some of these larger projects, but because so much has been happening, I felt the need to check in with some of the Cliff Notes.
Once you’re all updated on the overall progress, I can start diving into more detailed posts (like I did with the mudroom) soon. Sound like a plan?
Demo the trim, window casings, and all doors (DONE)

You can read more about how we demoed all of the trim and doors in the house to save money right here. Long story short: it was well worth it and was a lot easier than we thought!
Add new trim, new doors, and new casing (DONE)

We hired this project out and boy do I have a lot to fill you in on. Between a serious contractor issue, having to hire a new carpenter last minute, and then ordering all of the materials myself to save money… getting this item checked off our list was a lot more involved than I anticipated. The great news is that the new baseboard is in and looks gorgeous! The doors are up- WOW. And finally, the doors and windows have trim around them for the first time in this house’s history. Stay tuned for the whole story (and lots more pictures) soon.
Install hardware on all doors (SOON!)
We still need to paint the doors and then it’s time to add the GORGEOUS black hardware to the crisp white doors. I can hardly believe my dreams of having black hardware is almost a reality.
Add can lights (DONE)

We hired 2 electricians to install 14 can lights — 6 in the living room, 4 in the dining room and 4 in the master bedroom. Best. Investment. Ever. They were done in a day and a half and the new lights look so classy and make the whole house feel more “polished”. In our last house, we waited almost 2 years to tackle this project. When they were finally installed we scratched our heads and thought, “how did we live without this light?!”. We definitely didn’t want to make that same mistake again.
Change all outlets and light switches to white (DONE)


While the electricians were there, we also had them change all of the old, almond-colored outlets and light switches to white ones from Legrand and I’m OBSESSED. We put these screwless outlets in our old office and knew we wanted these to be in our “next house” because we loved the look and ease of installation so much.
I know this is such a small detail, but it makes a world of a difference. We ended up ordering screwless cover plates for all of these outlets/light switches and really love the seamless look throughout the house. Who knew new outlets would make me so excited?! But honestly, they’re gorgeous… and totally worth doing all in one swoop!
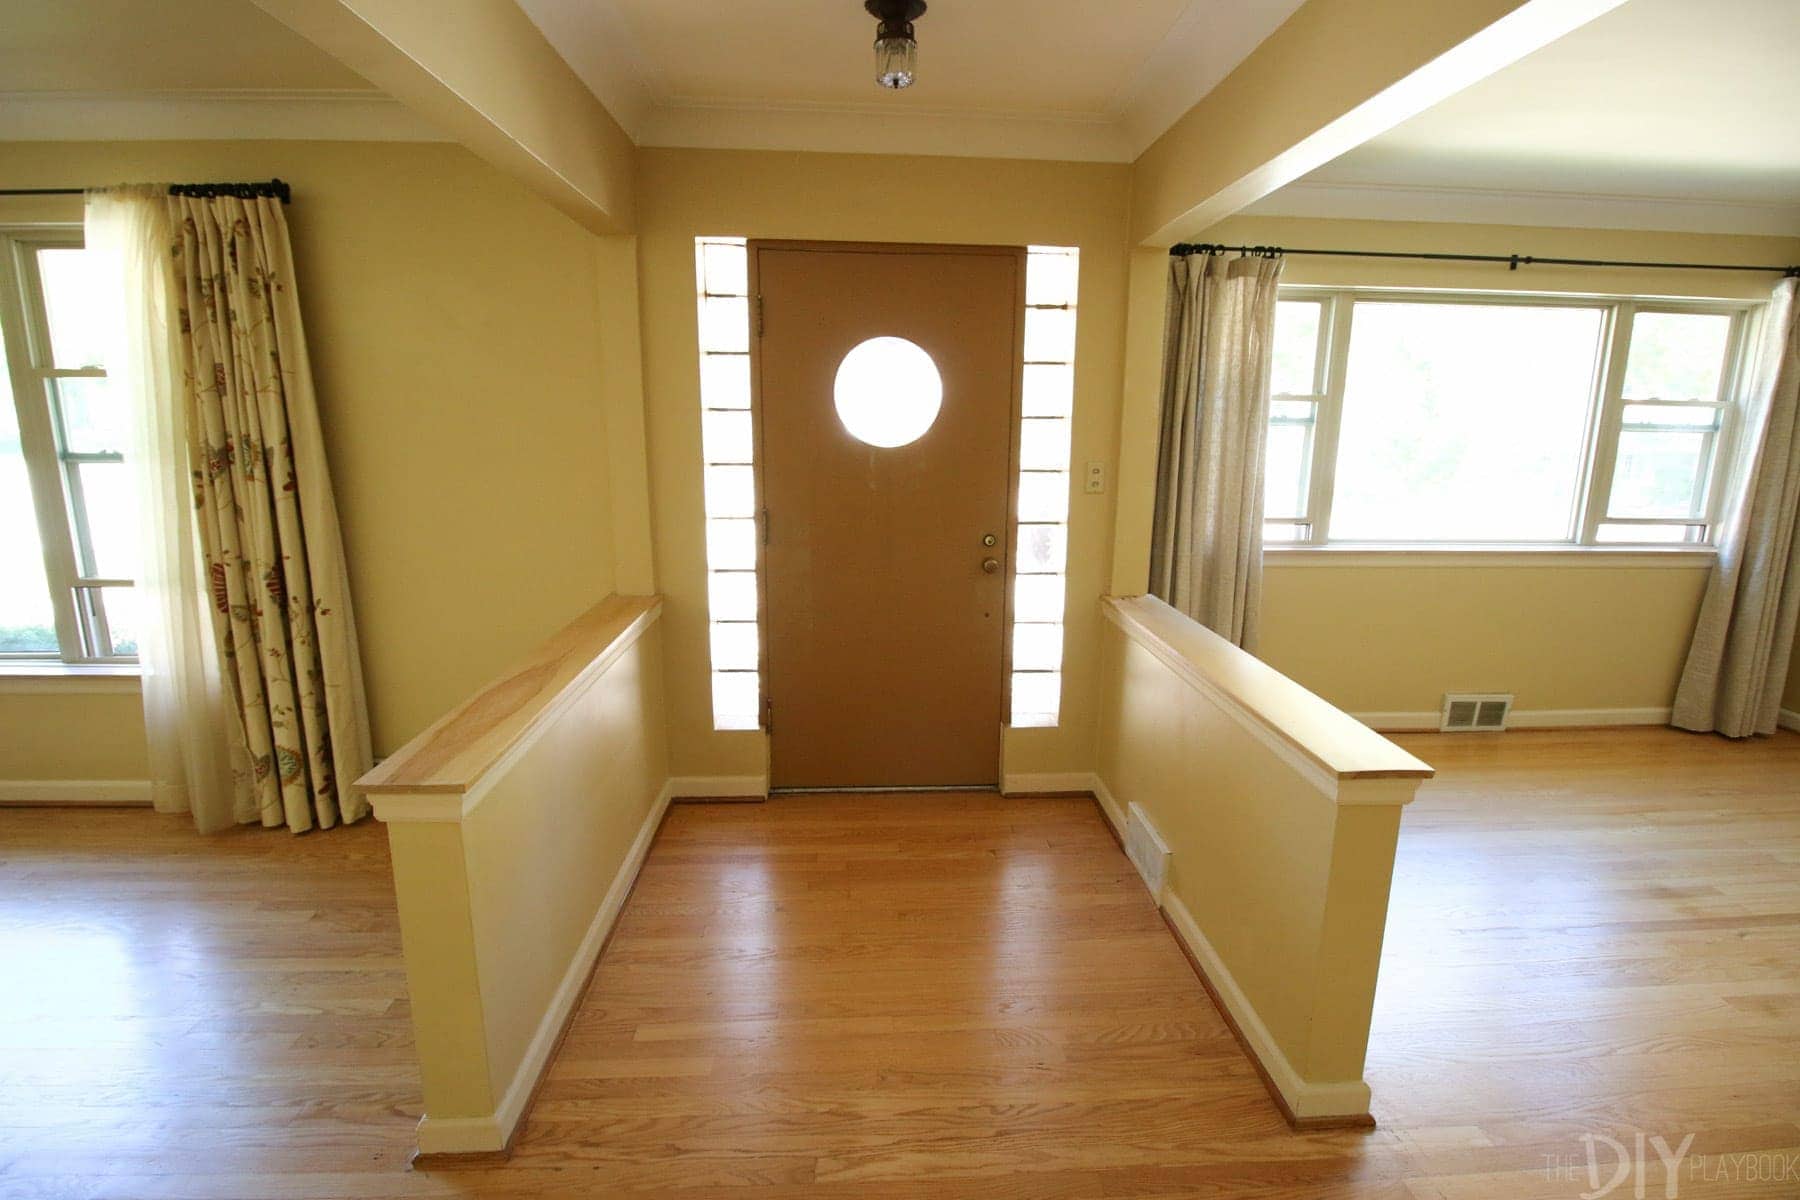
Paint… everywhere (Finishing TODAY!)

Wait until you see this place, I can hardly recognize it now that it’s not yellow! The final coat is currently drying and then I can’t wait to show you the updates. We went with a light gray paint for the main living spaces (are you surprised?!) and the whole place looks completely different.
Restain the hardwood floors (Starting Monday)
Once the paint dries, the last “major” steps start — refinishing the floors! It’s like the grand finale of updates and I really just can’t imagine how the dark floors are going to look next to the white trim and gray walls. I never want to wish a weekend away, but boy oh boy am I excited for Monday.
Remodel the Mudroom (DONE… kinda)
I haven’t added a single piece of furniture to the mudroom, so it looks exactly how it looked when I revealed the tile. I figured once the construction mess is over, I’ll start adding some decor.
Install the Nest (DONE)
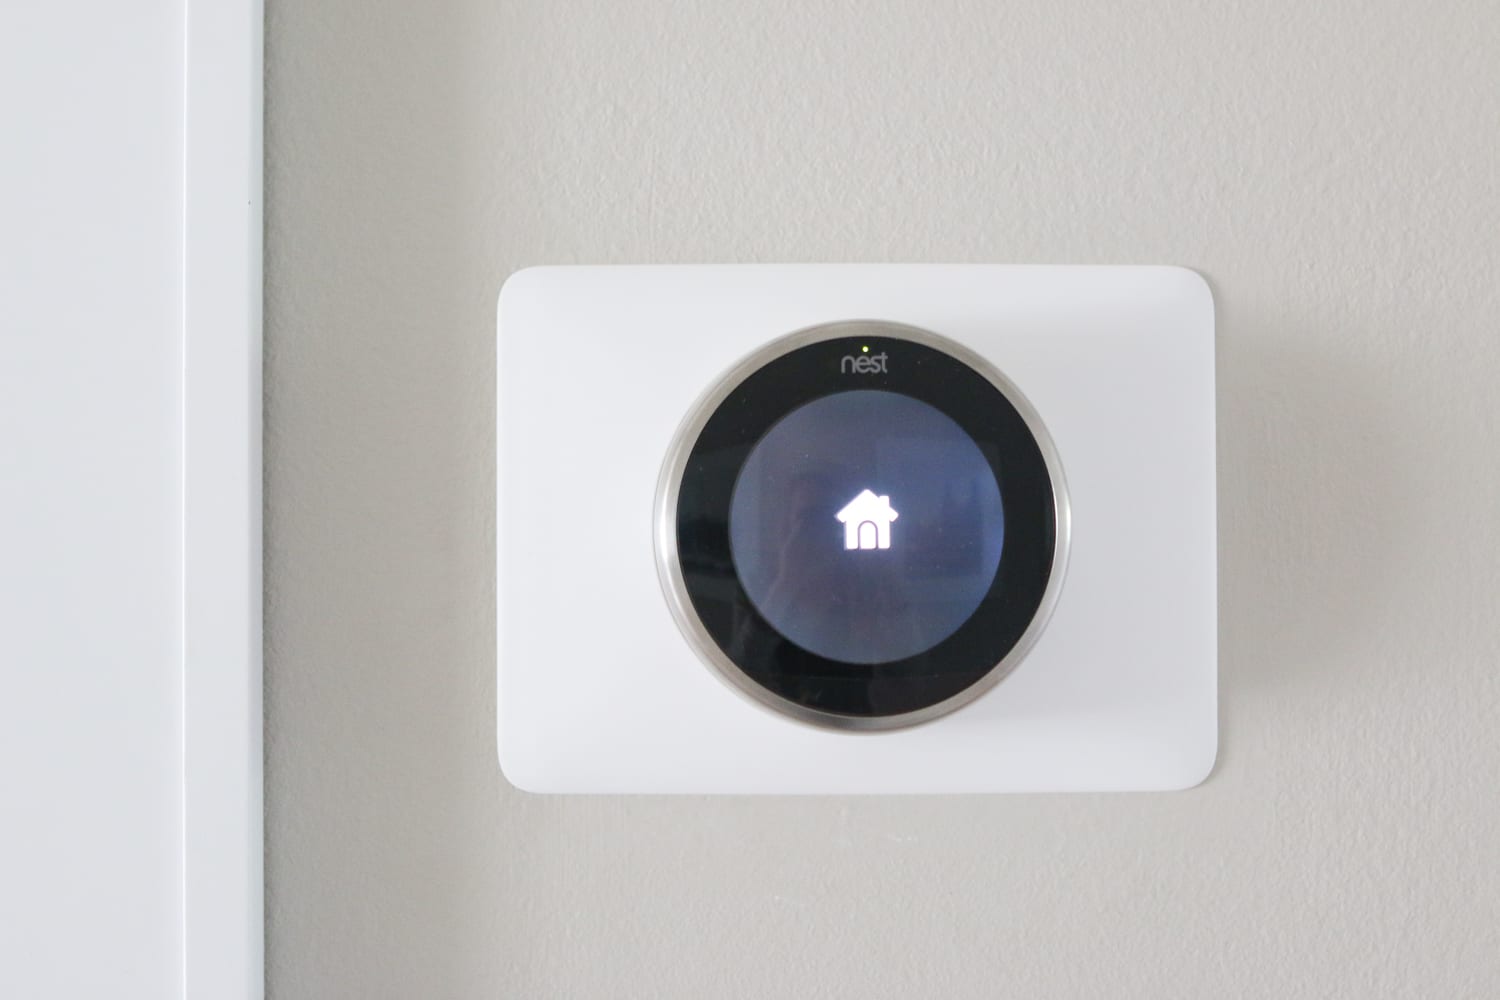
We loved the Nest thermostat in our first house and already love it in this house. Plus, it took about 10 minutes to install since I knew exactly what I was doing this time around. And it qualified us for rebates with both our gas and electrical company ($200 worth, so almost the cost of buying it).
Powerwash the driveway, front porch steps (DONE)
Good thing it’s getting cold outside because I think I’m now addicted to power washing. Such a gratifying job!
Rip out all old/overgrown landscaping (DONE… for now)
We plan to address the landscaping more seriously in the spring, but for now, we got all the dead/overgrown stuff out, so I count that as a win.
Take down large decorative pieces hanging on the home’s siding (DONE)
Getting the house ornaments was one of the very first things we did here. Honestly, Matt and I were outside at 6 am taking them down the first weekend we had the house.
Rent a professional edger and edge the overgrown grass, give the lawn a little TLC (DONE)
We rented a high-quality edger for two hours from HomeDepot for $30 and it was some of the best money we’ve spent so far. We had lots of overgrown grass and I love a sharp, clean line along the sidewalks, but it was non-existent. We ran this heavy-duty edger along the sidewalks and ta-da… it looked like a new place!
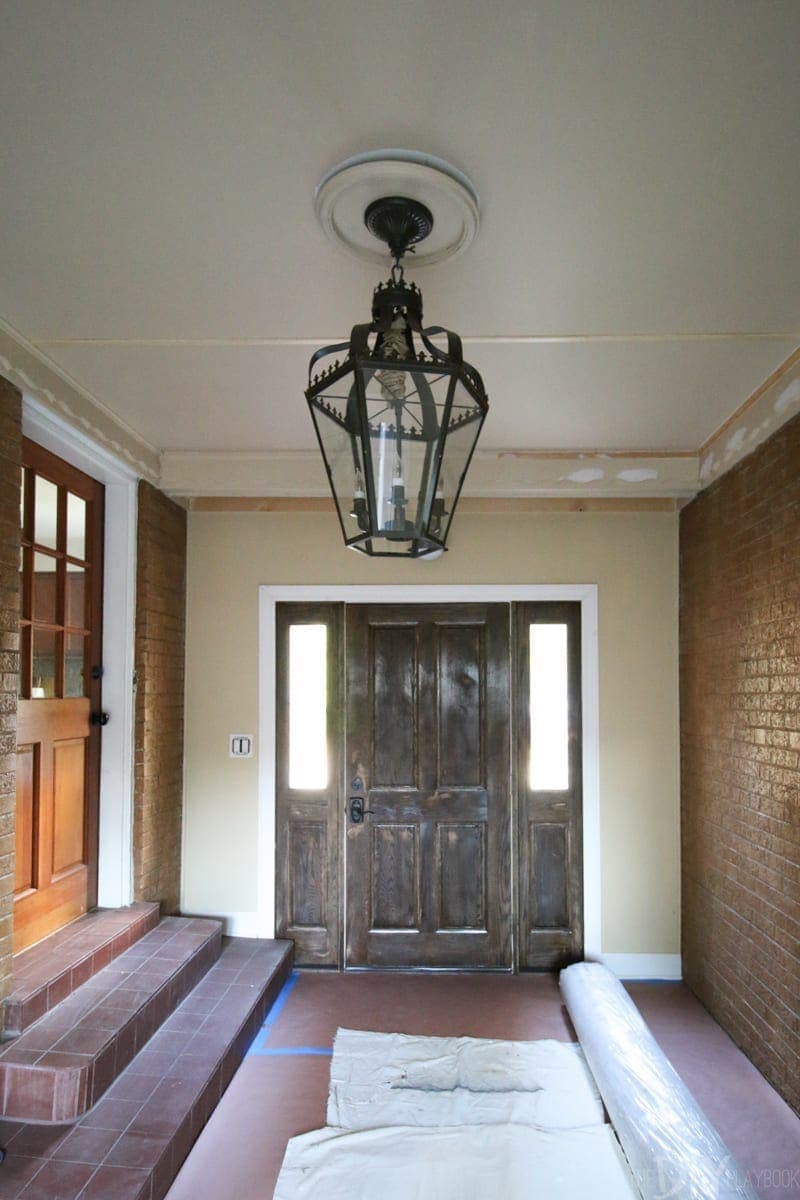
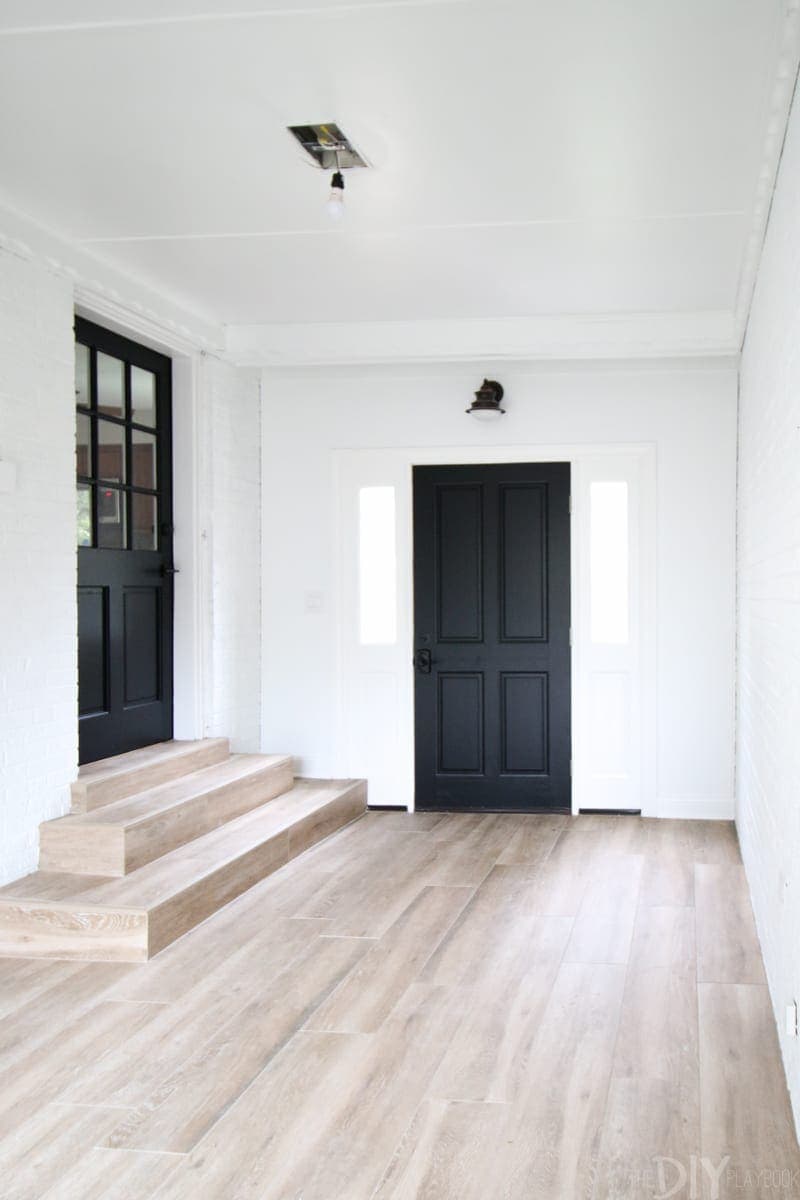
Paint the front door (Soon-ish?)
I don’t want to paint the front door until we get more of a feel of how we are going to decorate the family room and dining room. Once we have our new couch in and some other furniture, then I can’t wait to paint the door. Black? Navy? A pop of color? Anything is better than now!
Replace the furnace with a high-efficiency option (DONE)
We knew we needed to address some furnace problems when we moved in, thanks to our inspection and negotiations. But instead of making repairs to an already old furnace, we chose to hire someone to replace the furnace all together with a high-efficiency furnace. This upgrade was a bit more pricey (about $2,000) but it came with peace of mind and more rebates because it’s high-efficiency. We’re hoping, in the long run, it will save us money.
Paint the floors and walls of the basement storage rooms (DONE)
Getting the floors and walls painted in the storage rooms before we moved in was amazing because this is probably not something we’d ever come back and do. Plus the storage rooms look a lot less scary!
Get mortar fixed on the front porch and some cracks in the bricks (DONE)
We didn’t notice this at first, but a lot of the mortar on our front porch had eroded and we wanted to get that fixed before it caused any permanent damage.
Replace the tile on the fireplace (DONE)

Since we had the tile guys working on the mudroom for a few day, we asked them to add the new tile to our fireplace while they were over. For a few hundred bucks extra in labor and the cost of the tile (details soon), they got it done at the same time as the mudroom and I’m so happy we killed two birds with one stone.
Get the dead tree outside cut down and replaced with a new tree (DONE)
The village came and handled that, which was awesome. They even allowed us to pick out a new tree that they are going to plant in the spring.
Shiplap basement wall (DONE)
Casey had the DIY itch, so I invited her over and we added a little shiplap to the basement. I wanted to add a little texture to the wall where we mounted the TV and it only took one day to get it done. I could have easily waited on this project but why wait to make a mess later down the road when the house is a hot mess now?! Excited to show you how it turned it. Spoiler alert: it’s NOT white!!
Replace backup battery for sump pump (Researching)
The old homeowner left a backup generator for our sump pump but it doesn’t work (wah-wah). We are currently in the processing of researching a replacement but can’t believe how expensive these are. I know they’re well worth it since we don’t want our basement to ever flood if the power goes out. Anyone have any tips for us?
Whoa… That Was A LOT!
You guys know how much we love a good to-do list around here so this post (and checking these items off the to-do list) makes my heart skip a beat. With the paint finishing up, the floors being refinished next week, and the nursery plans in the works, we have a lot of excitement coming up soon!
I promise to keep you guys updated…and share lots more details soon. If you have any questions or topics you DEFINITELY want me to cover regarding our progress so far, please let me know. I’m willing and excited to share whatever you guys want to know but don’t want to bore you with the construction details. Any burning questions — just let me know & I’ll add it to my to-do list. 😉
Bridget